


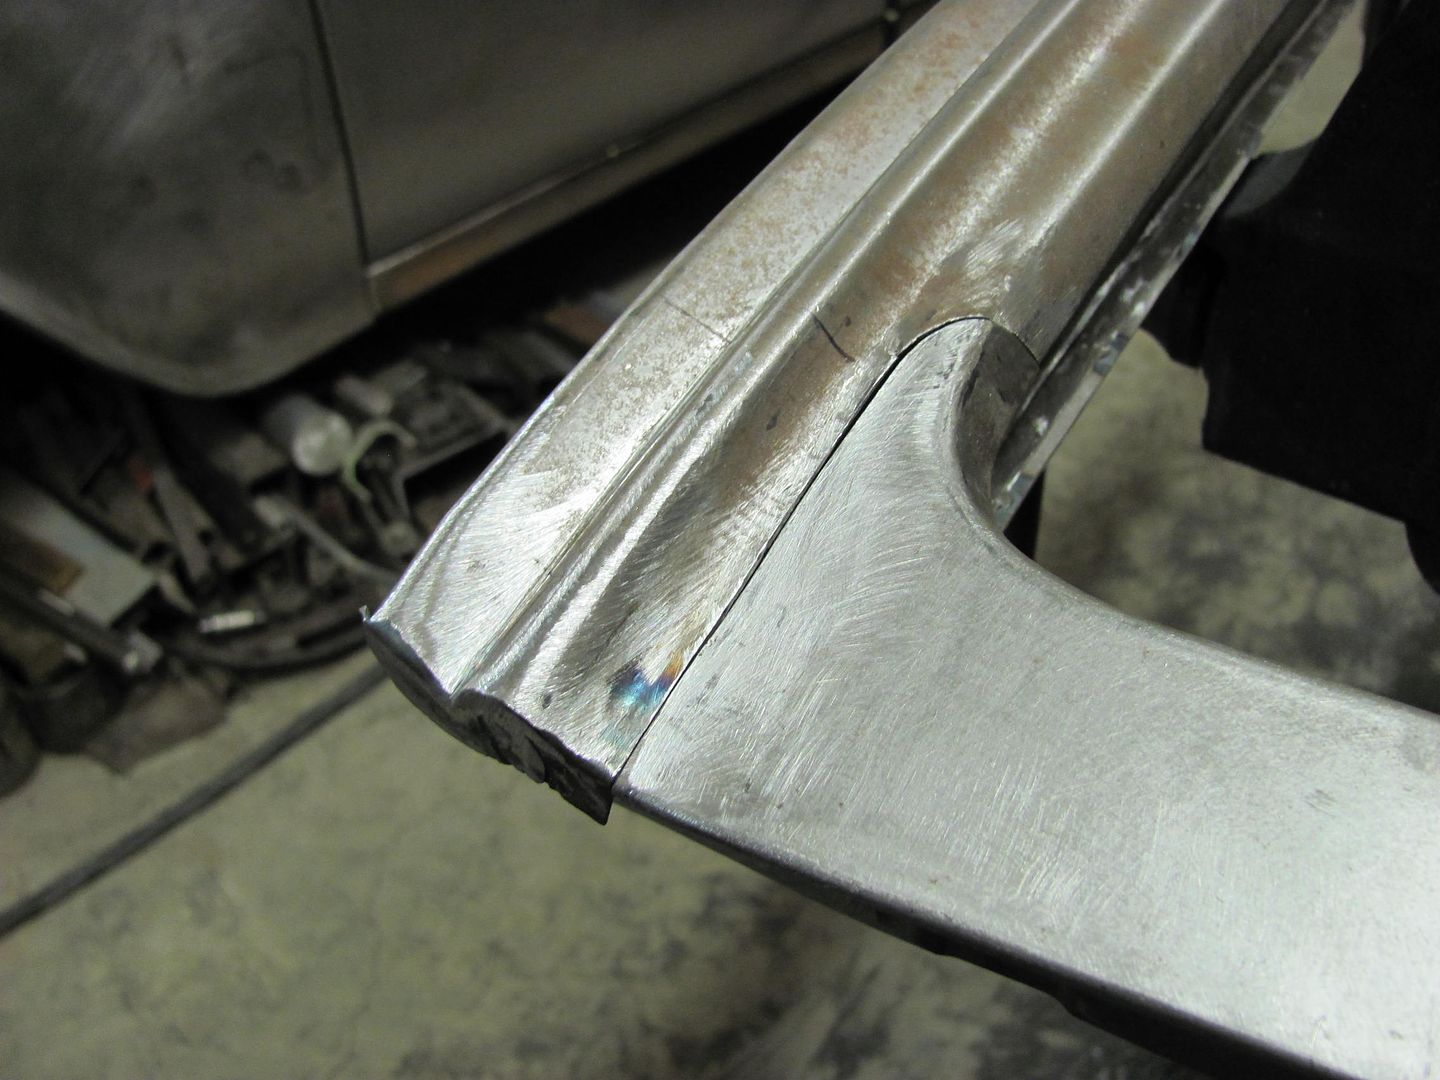
Laying out the ends for trimming.....
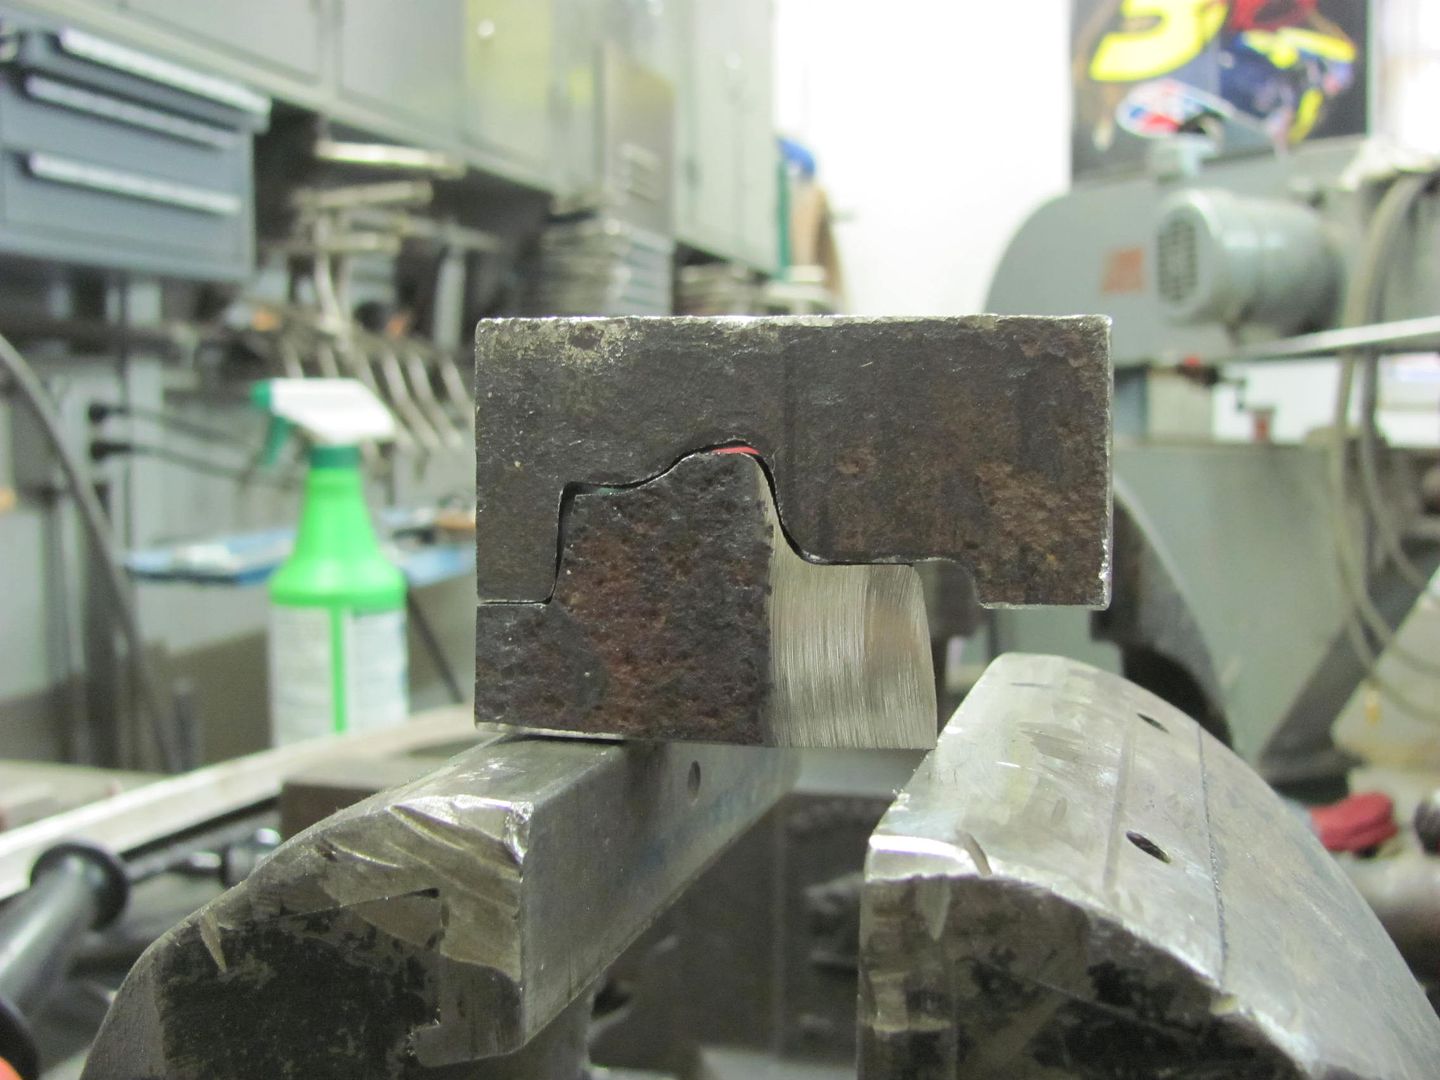
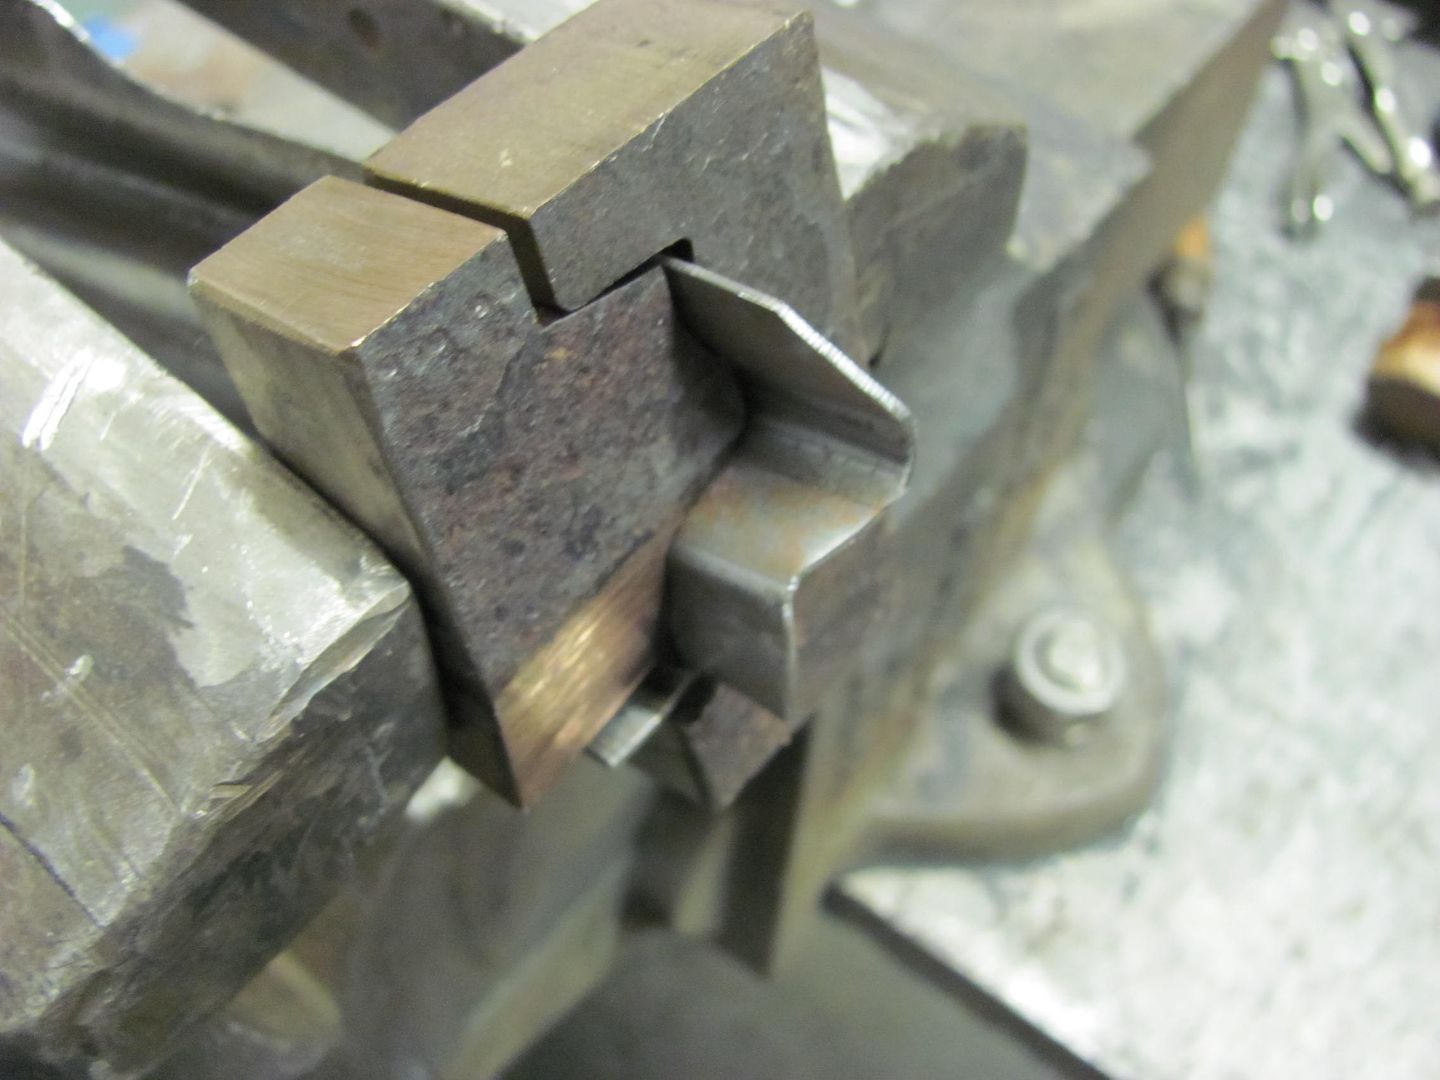
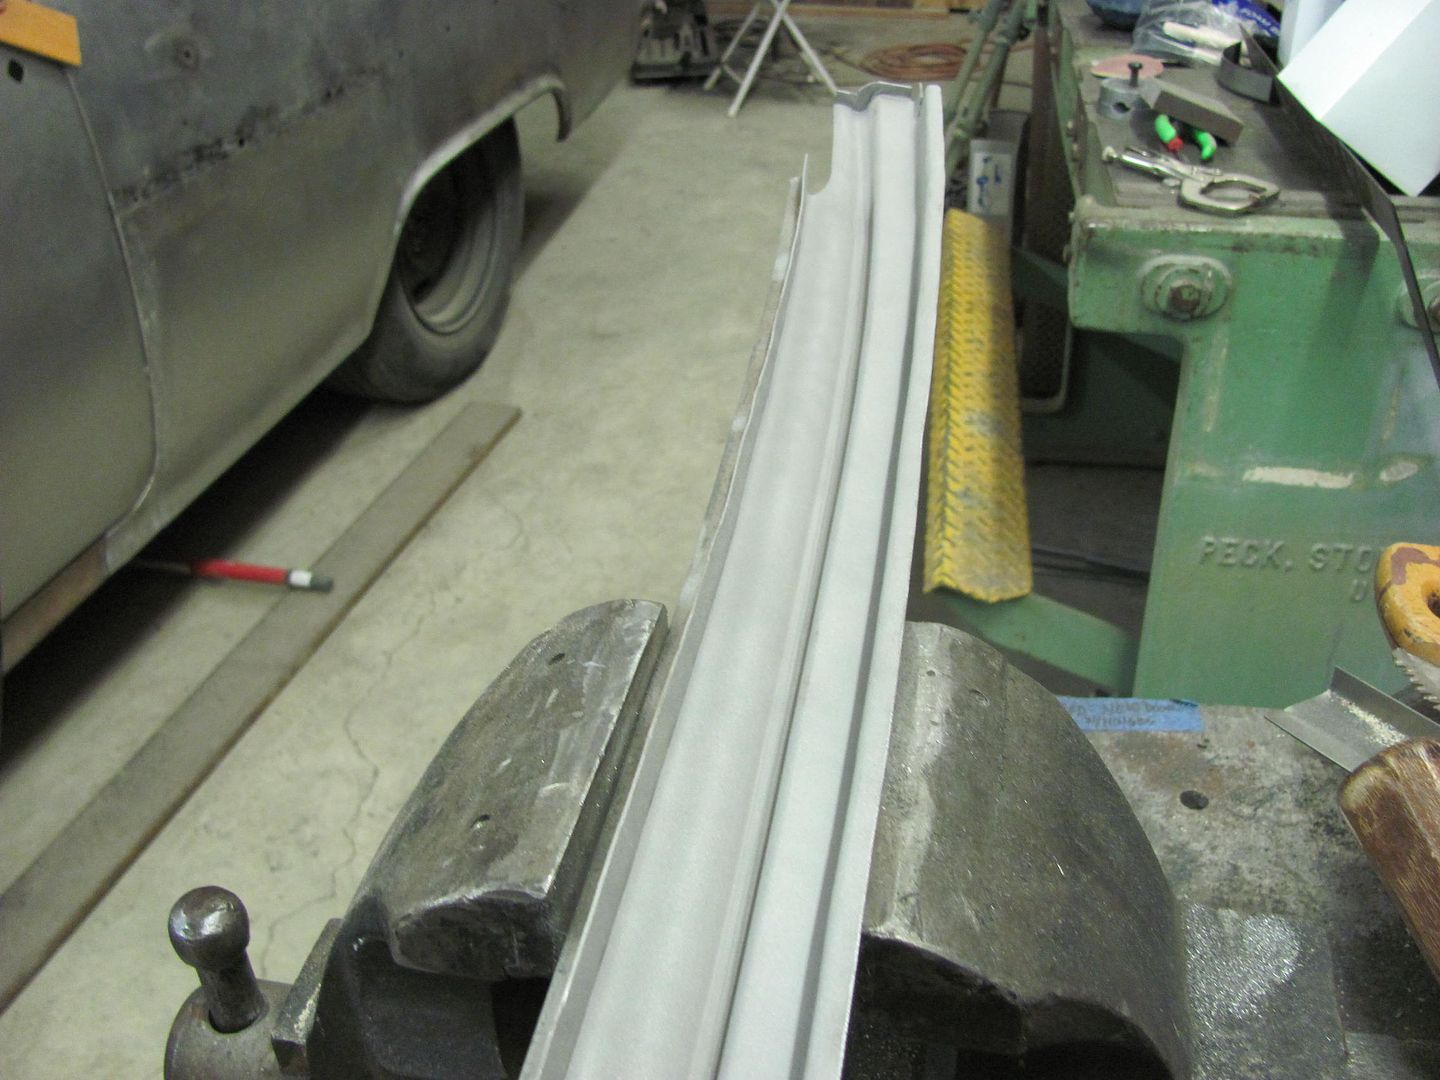
Here's the piece we'll use to cut out the profile blocks, 3/4 thick steel
As I am fresh out of good band saw blades, these were used....
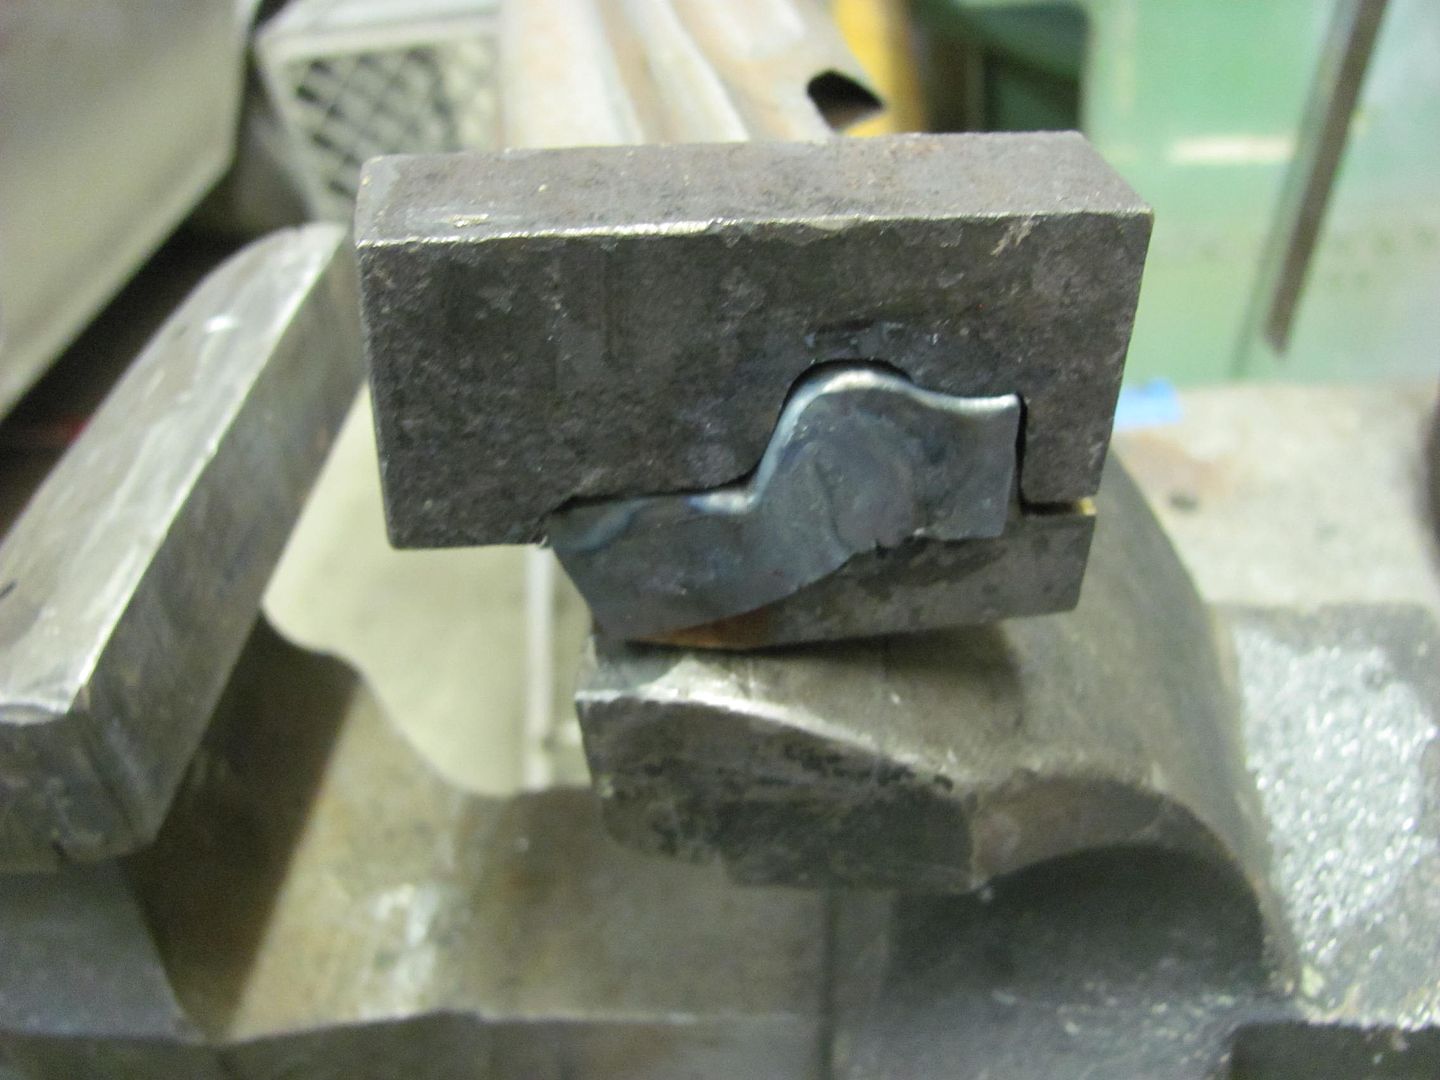
The lower piece was tapered at the bottom as the bottom of the lift gate tapers in below the bead detail..
.....like so.....
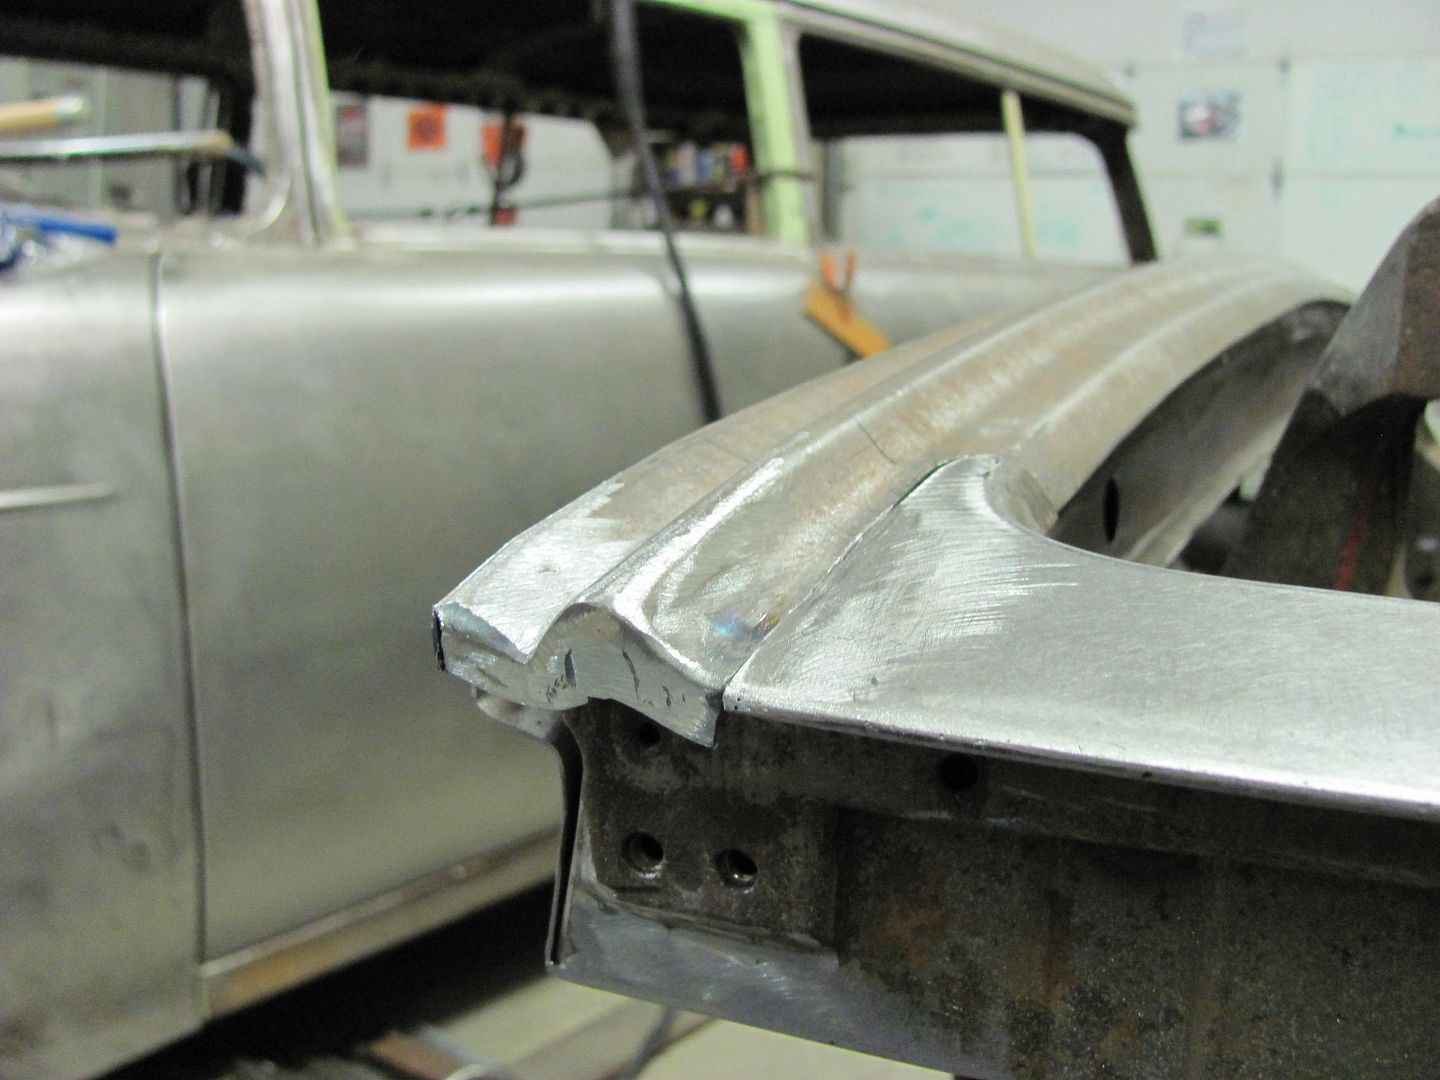
Not perfect, but should work just the same...
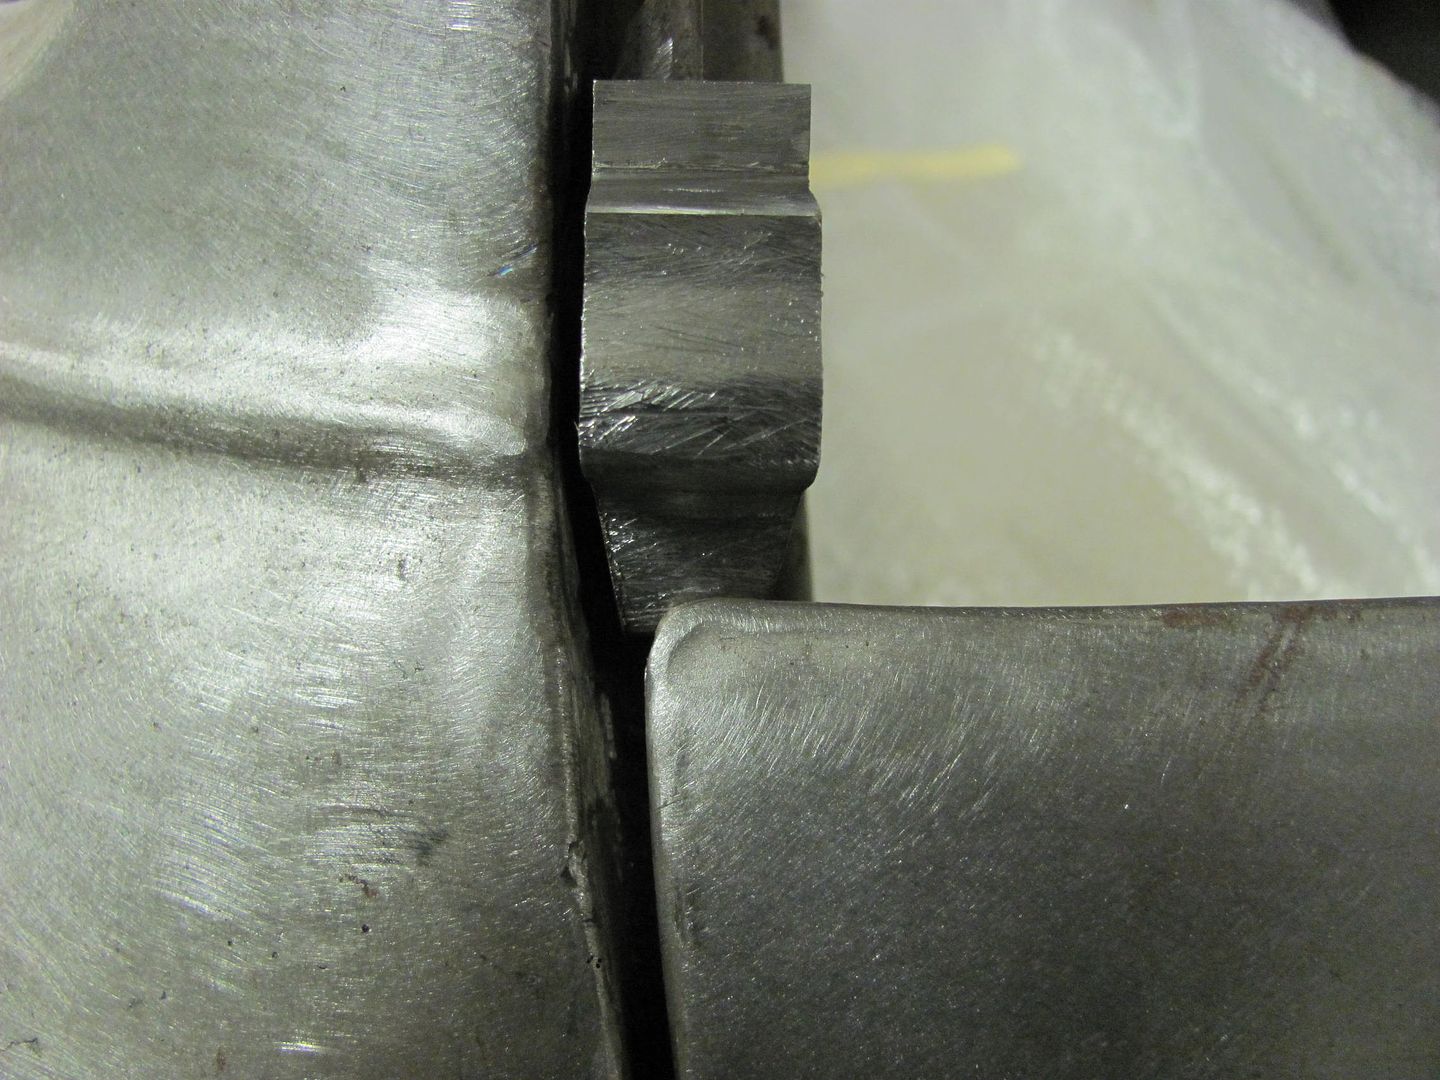
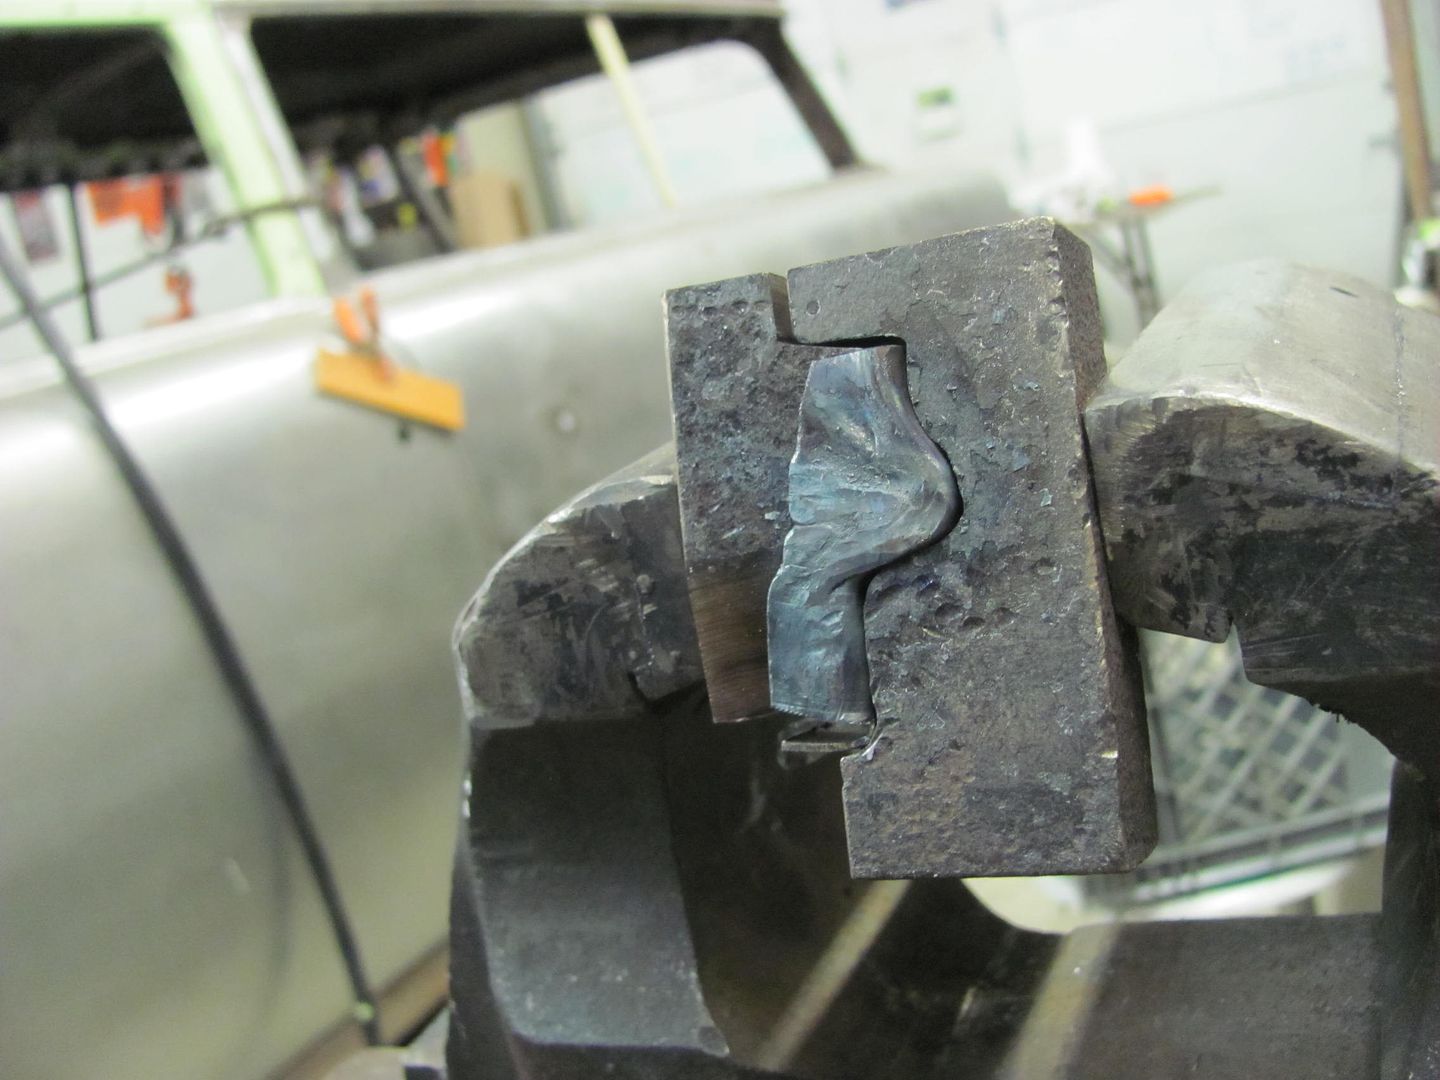
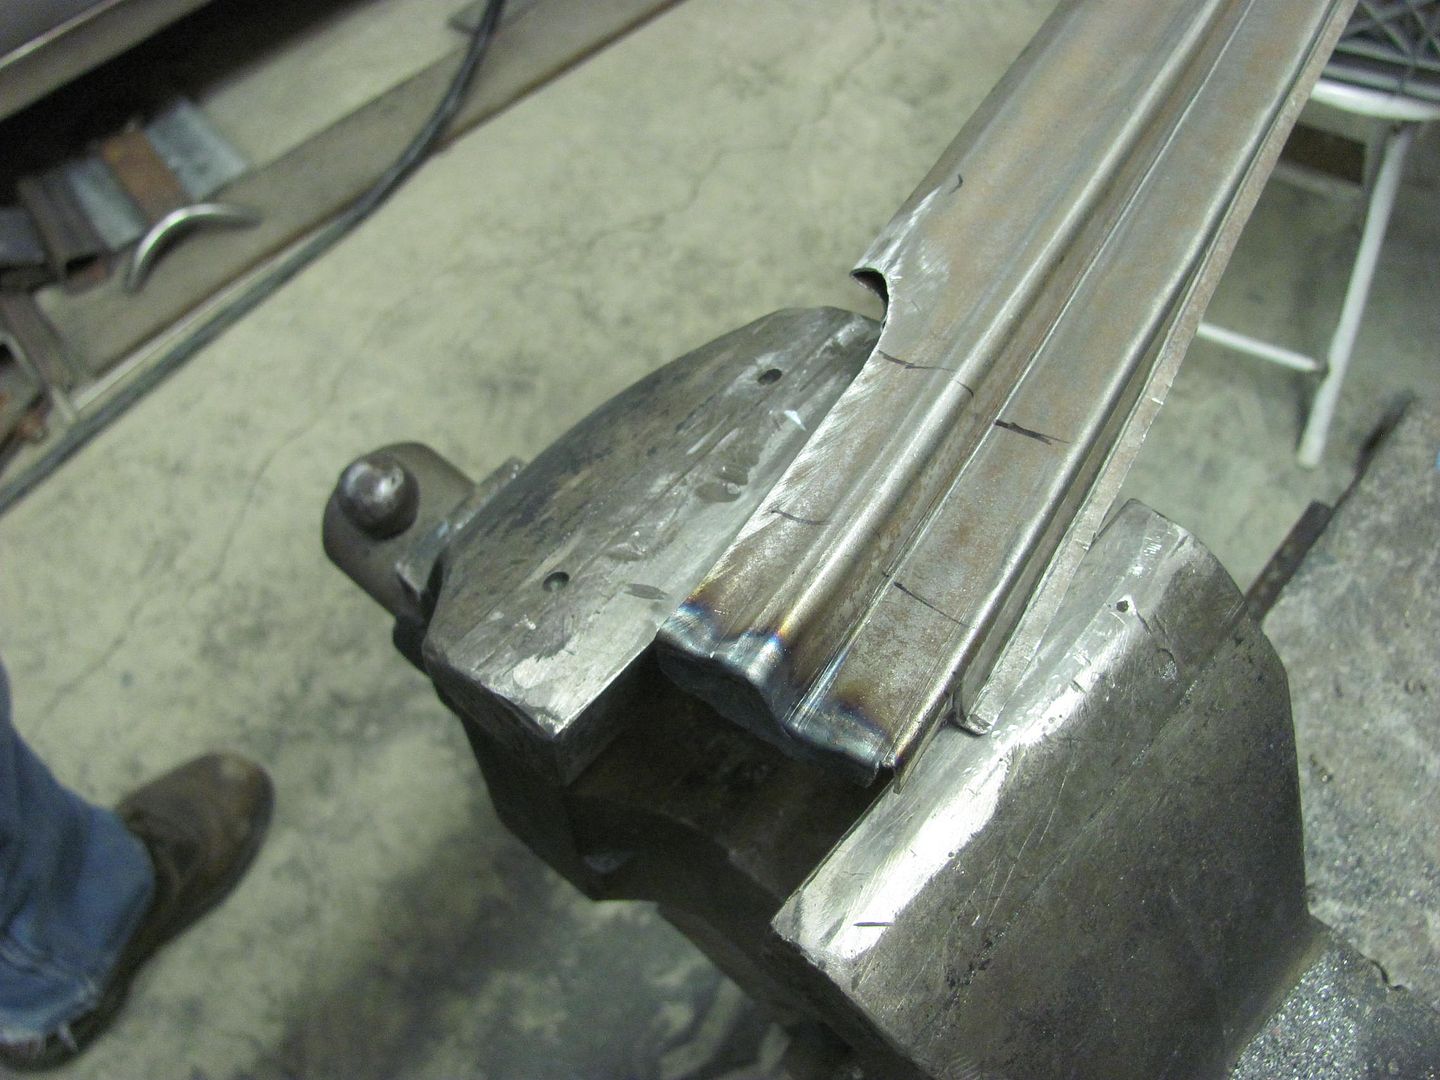
Clamped in the vise.....
Then some heat is applied, and hammered the high spots..
Fitted.....
and the other end......
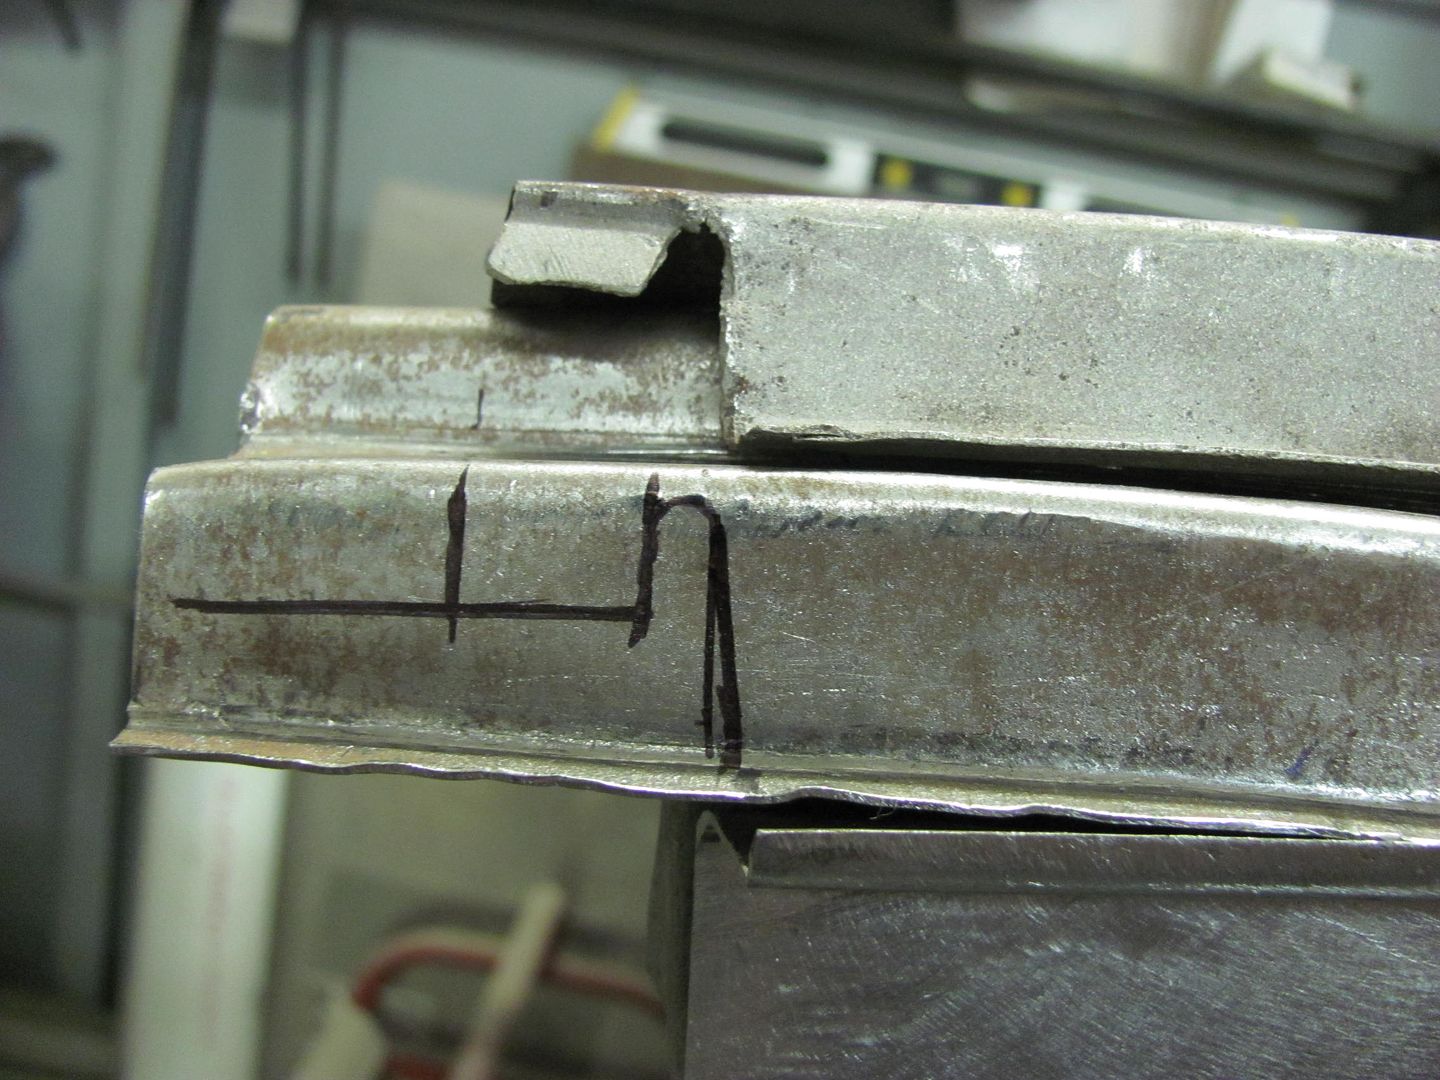
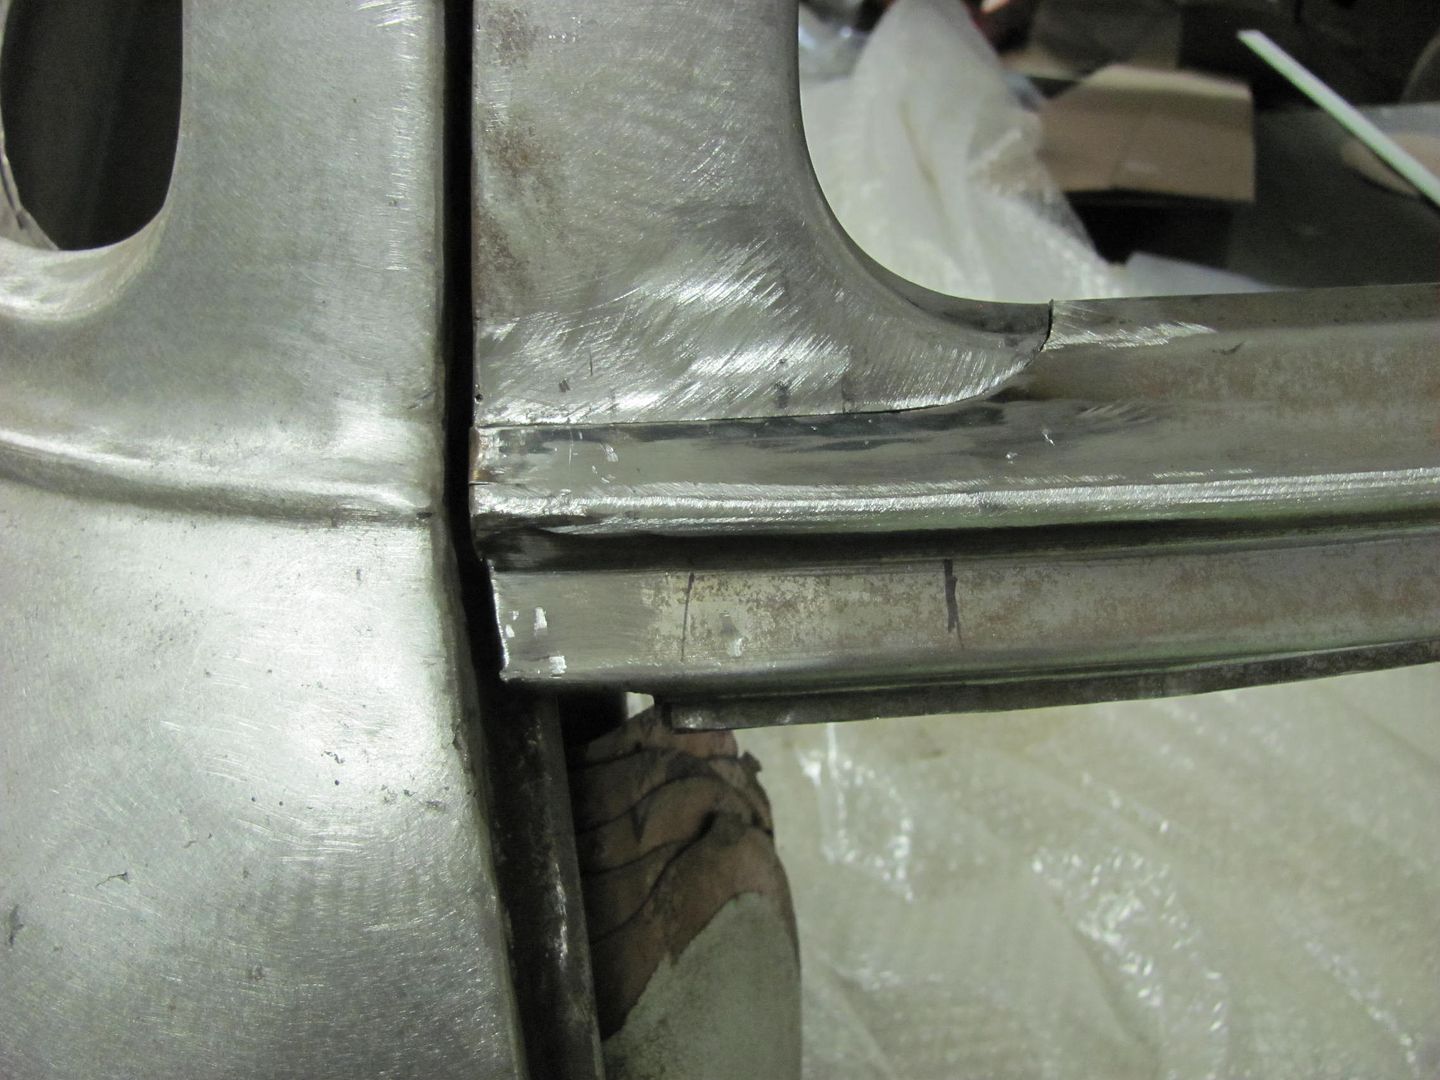
Things don't always work the way you planned. Before the ends were folded, the bottom piece could never be test fit into the opening. Now with the ends folded, it was slipped over the bottom of the lift gate and it bolted into the opening. With the upper bead detail aligned, the lower was considerably off kilter. Slightly off on the contour, I guess.
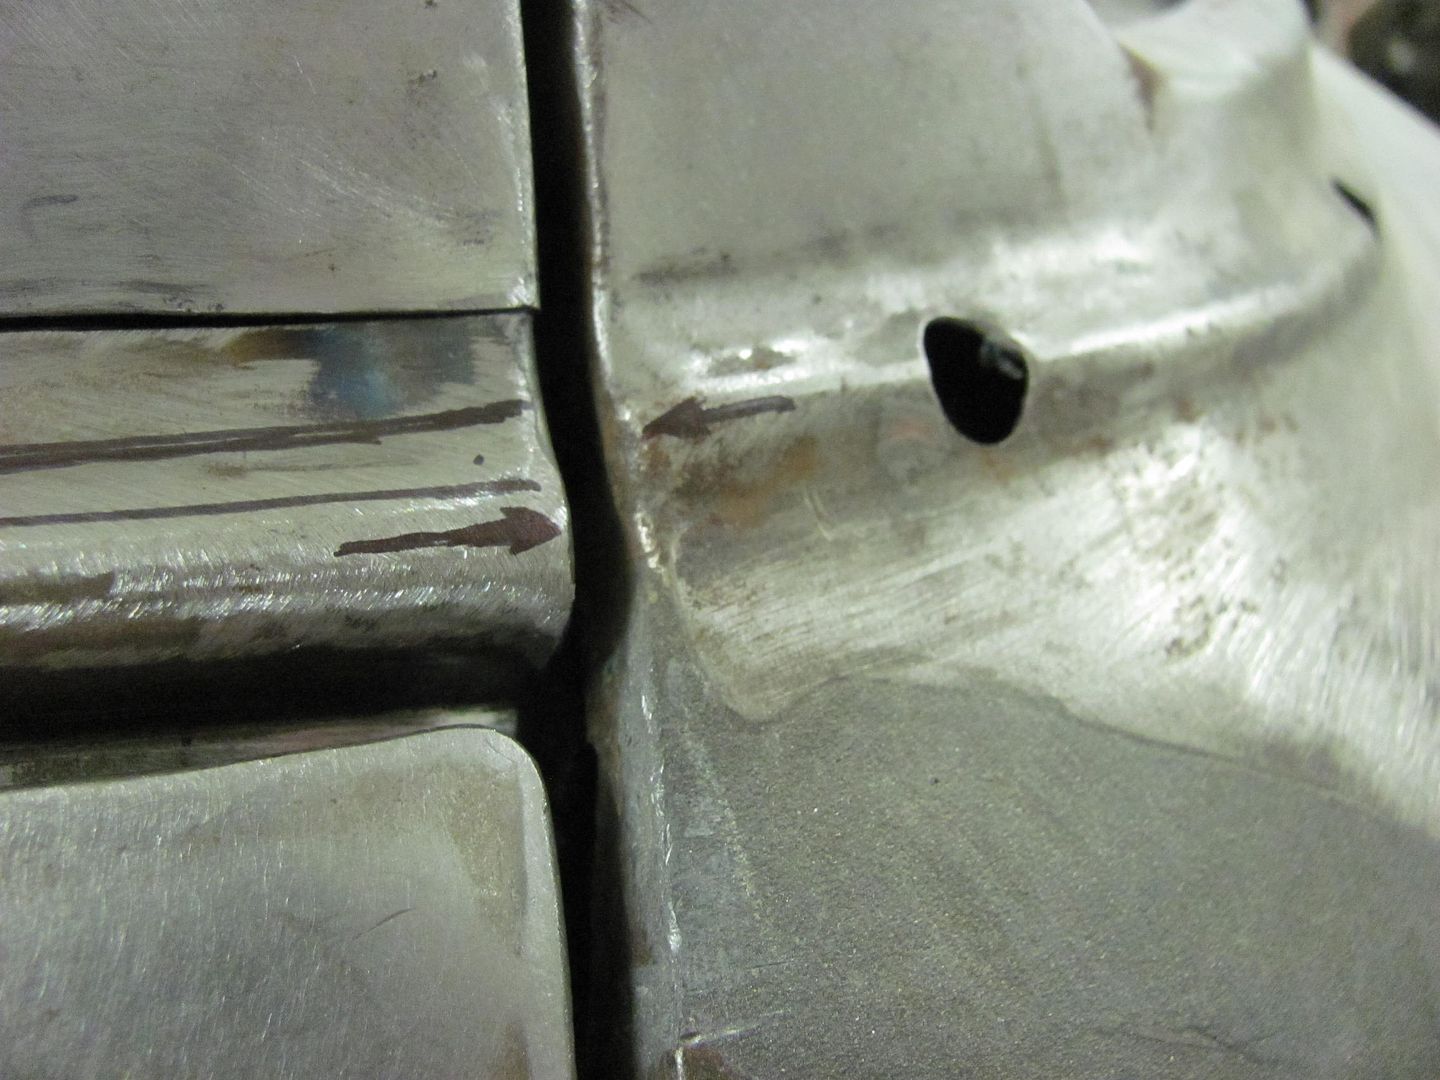
The patch piece was marked off on both ends to bring the lower bead detail up into the car for better alignment...
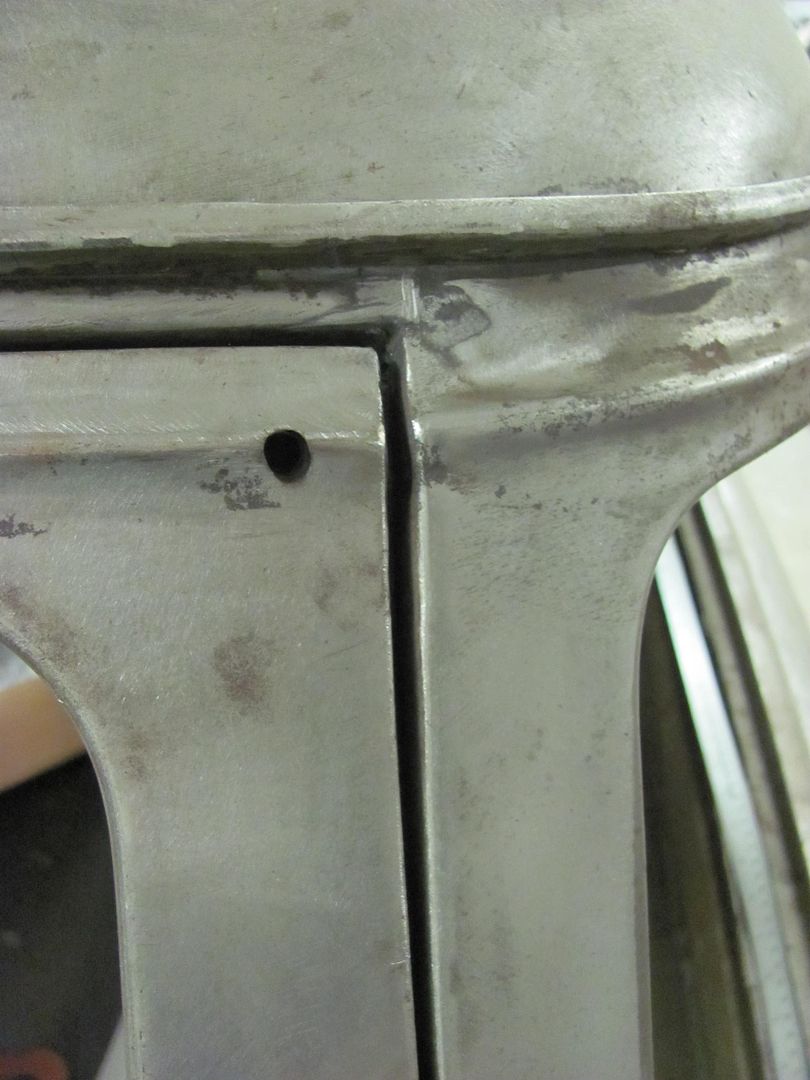
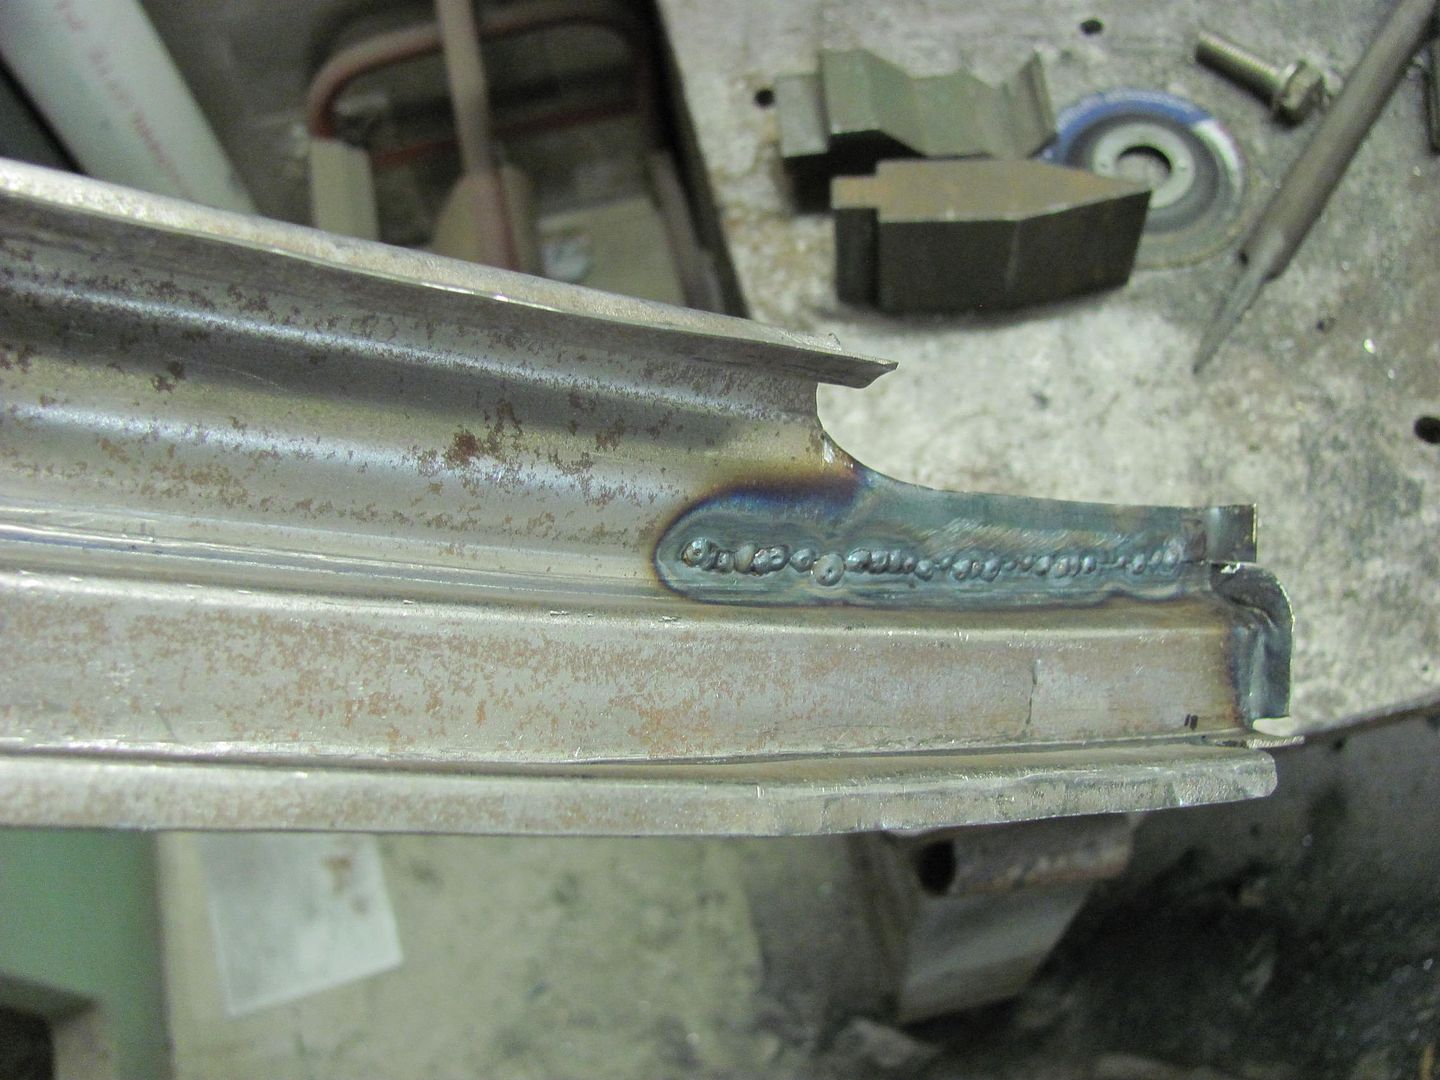
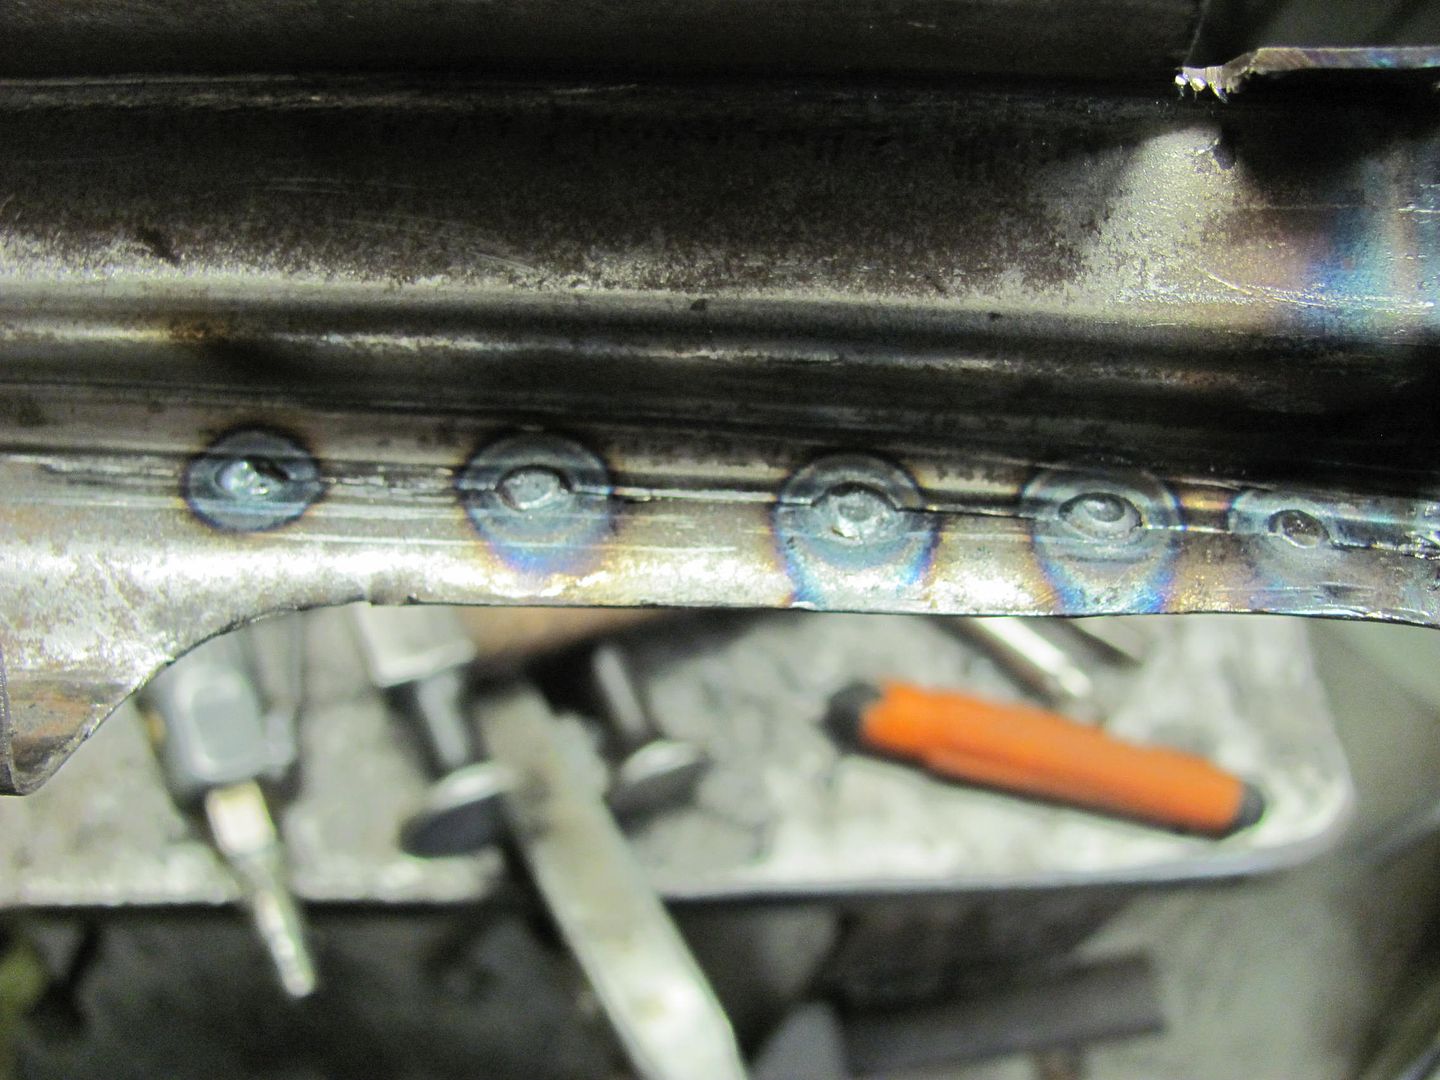
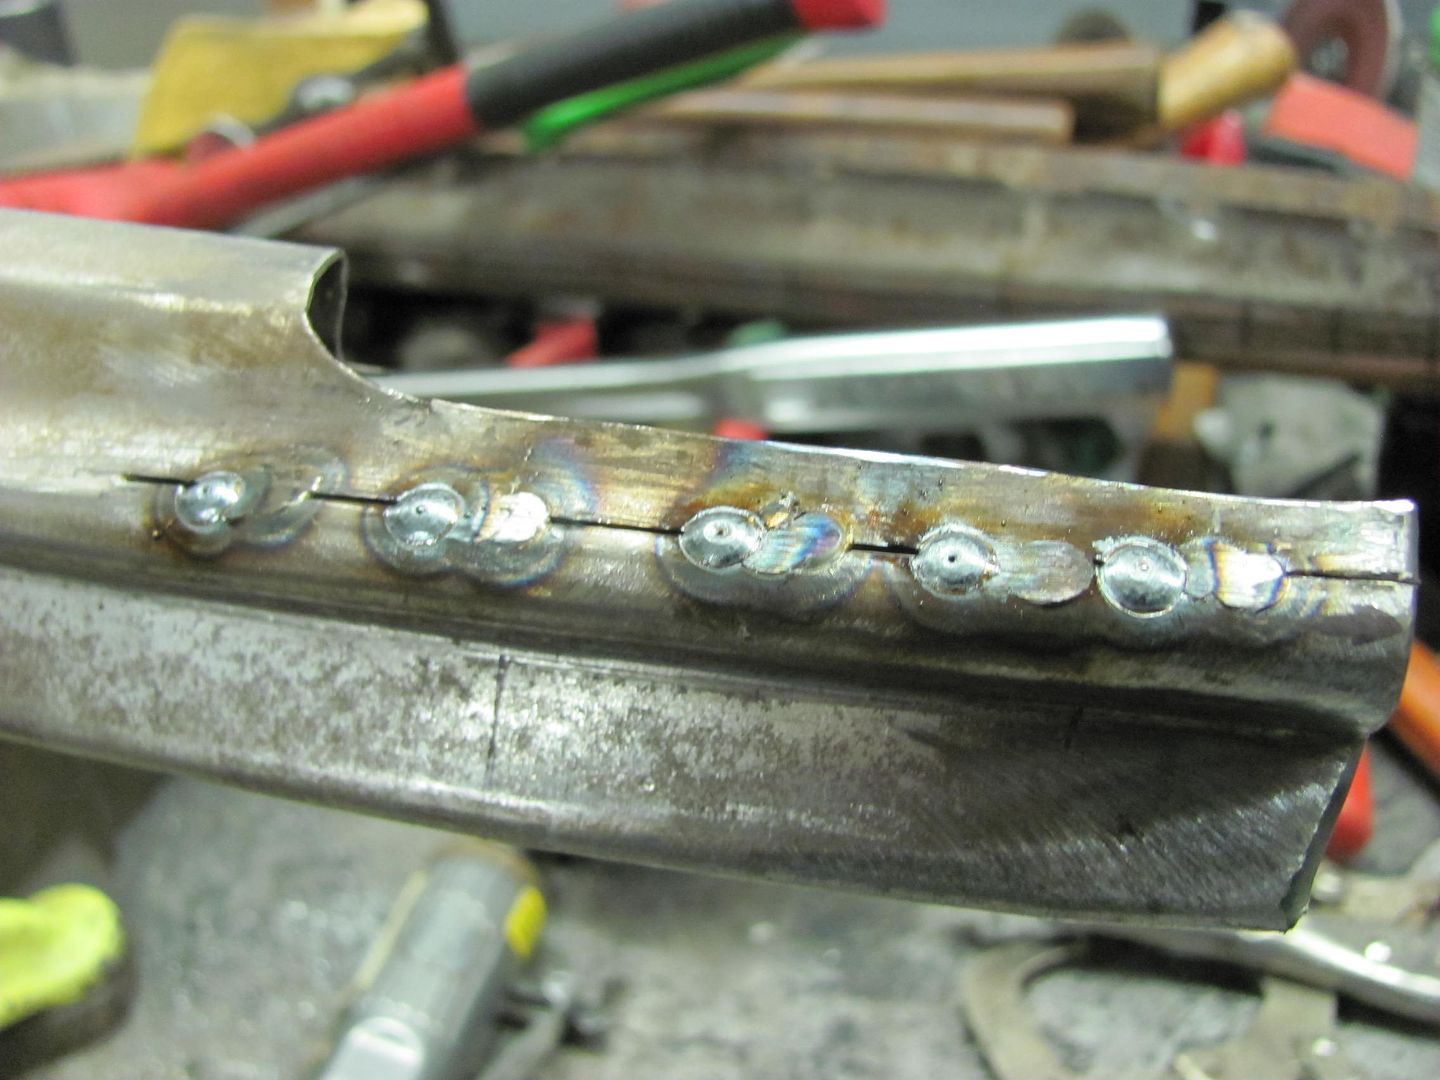
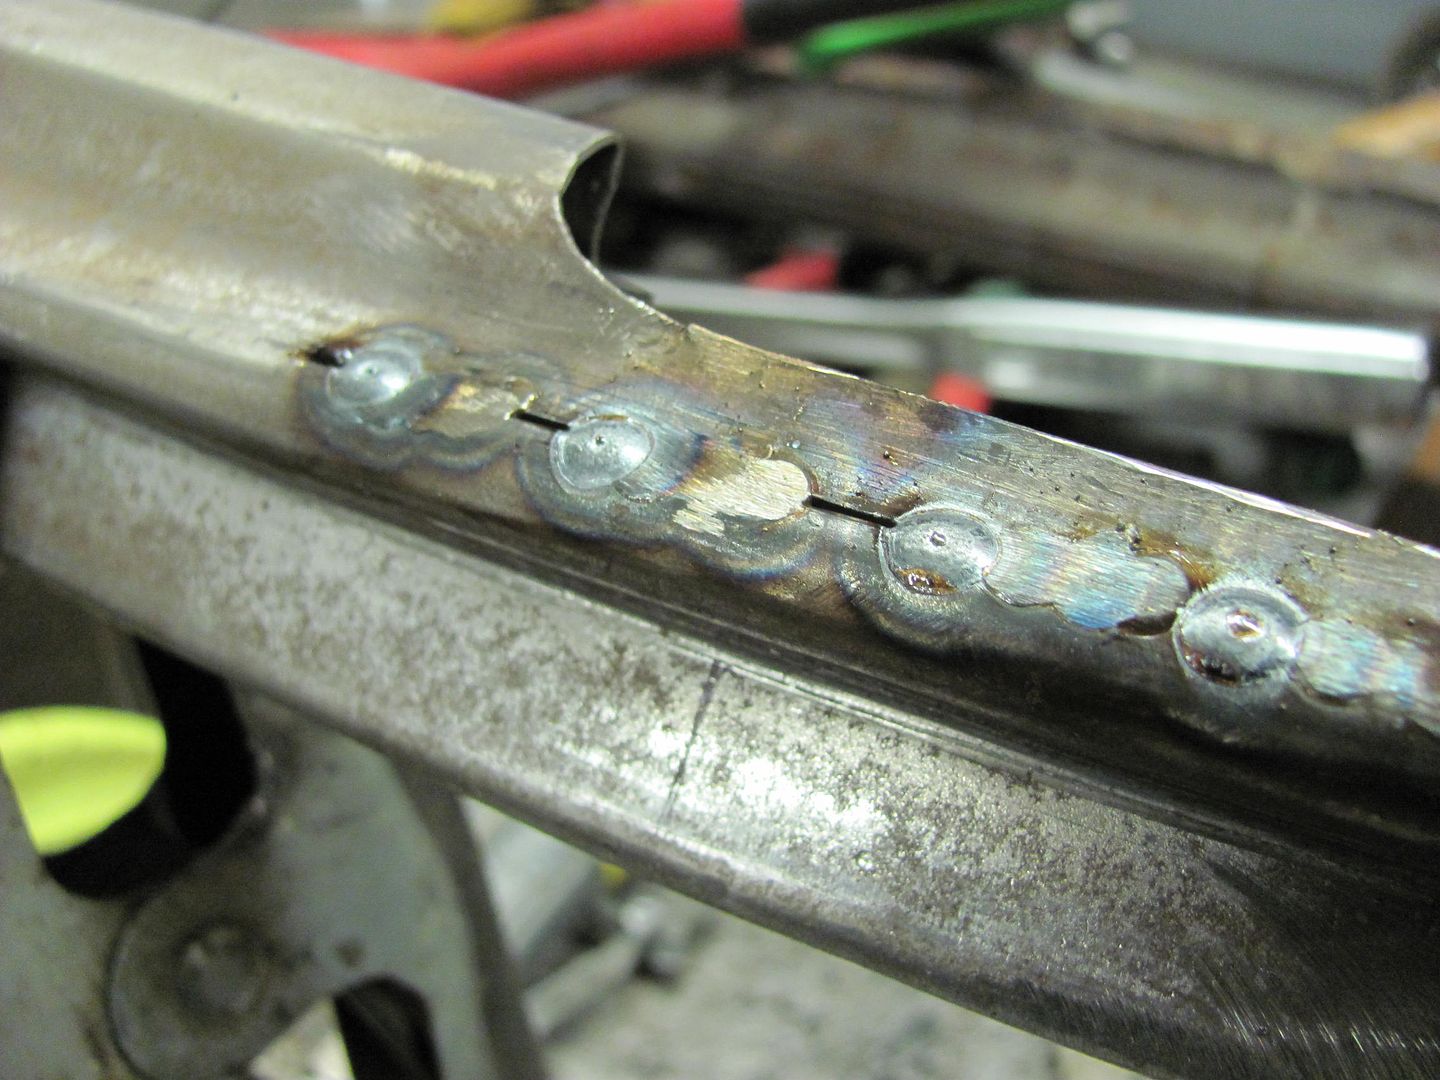
Here's the driver's side after cutting and welding, shows a much better alignment. Good weld penetration on the inside, the seam at the end will be finished after folding onto the lift gate..
We may be able to save this yet..
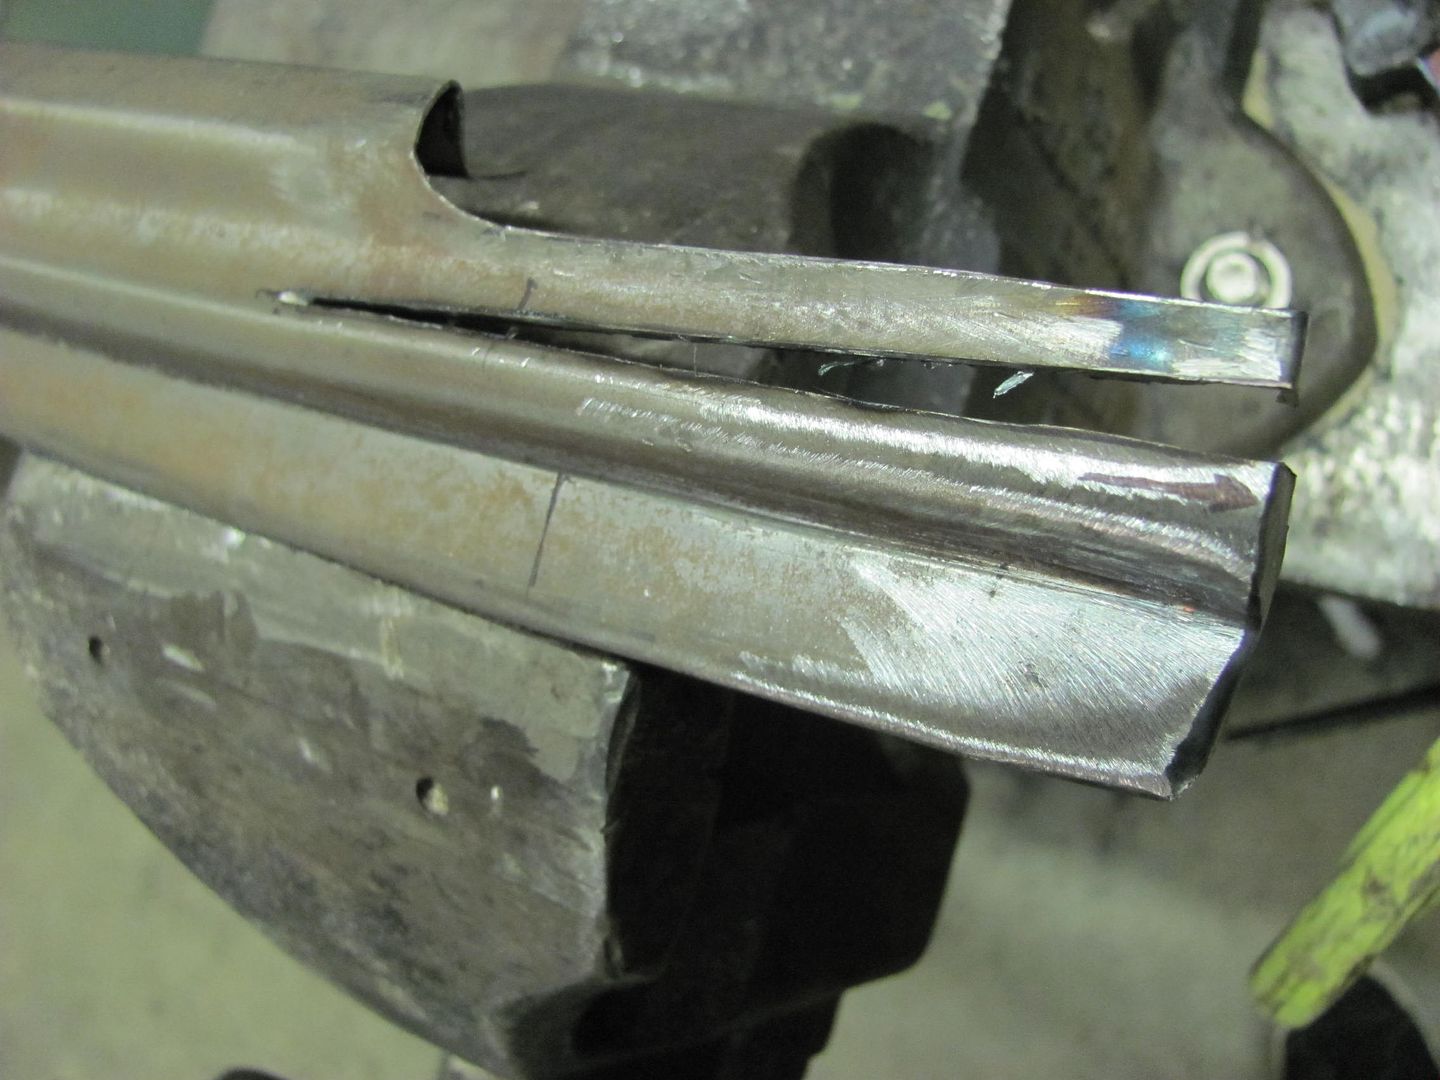
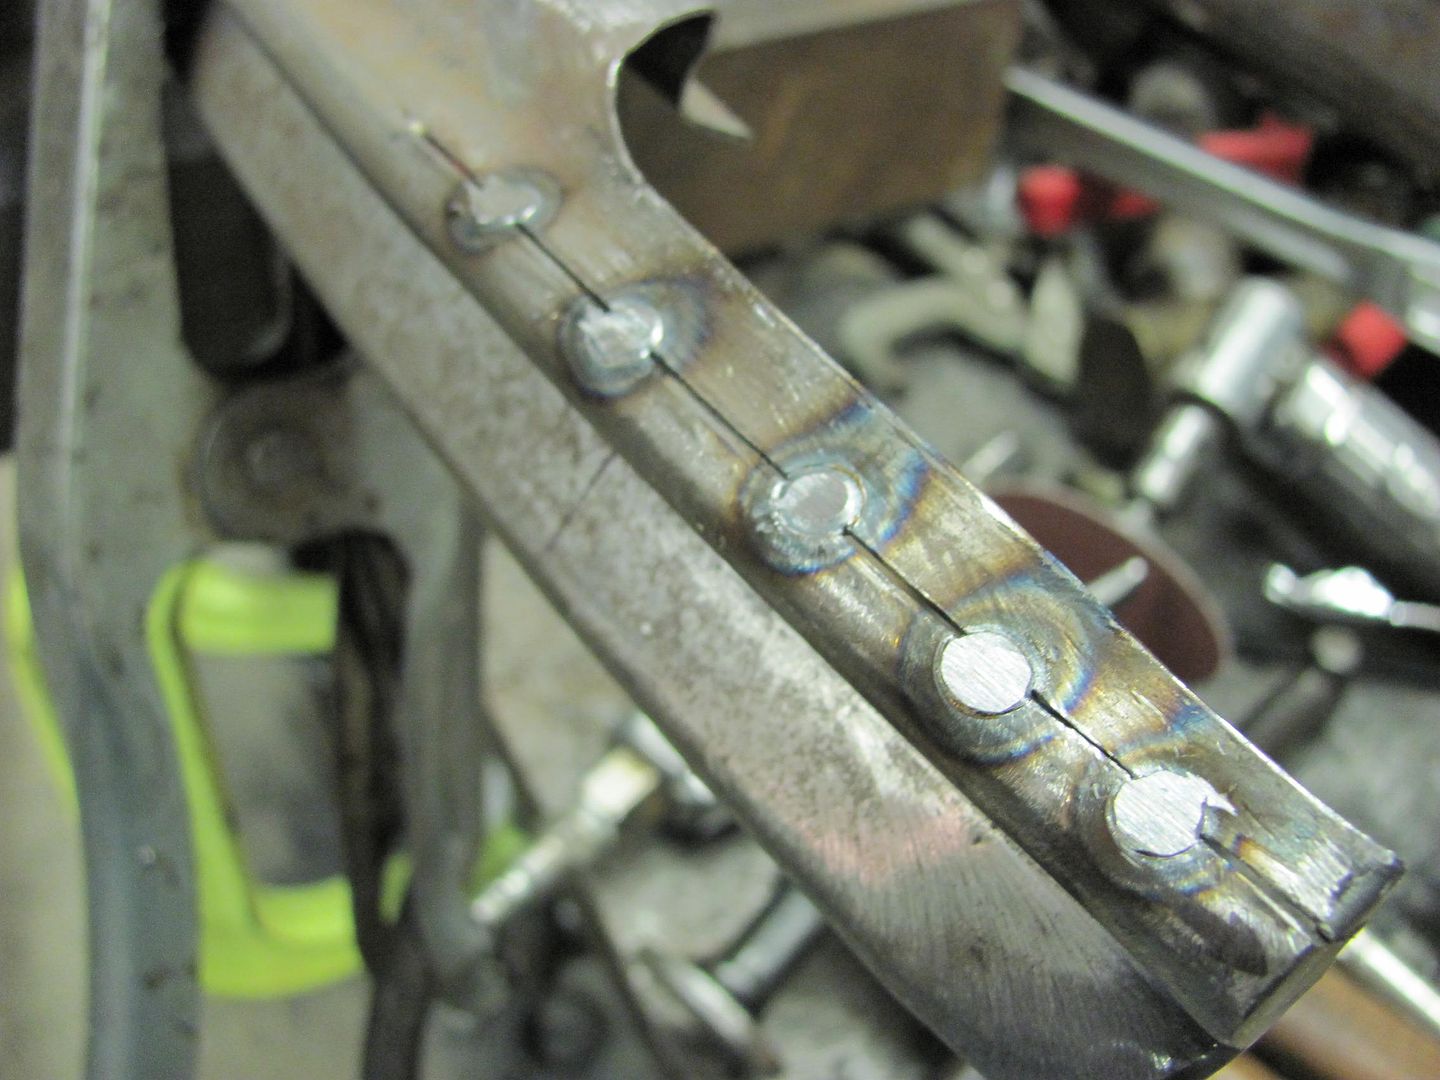
Working on the other end of the lower patch today, to fix the mis-alignment of the beltline trim, I did get more detailed shots of the process this time...
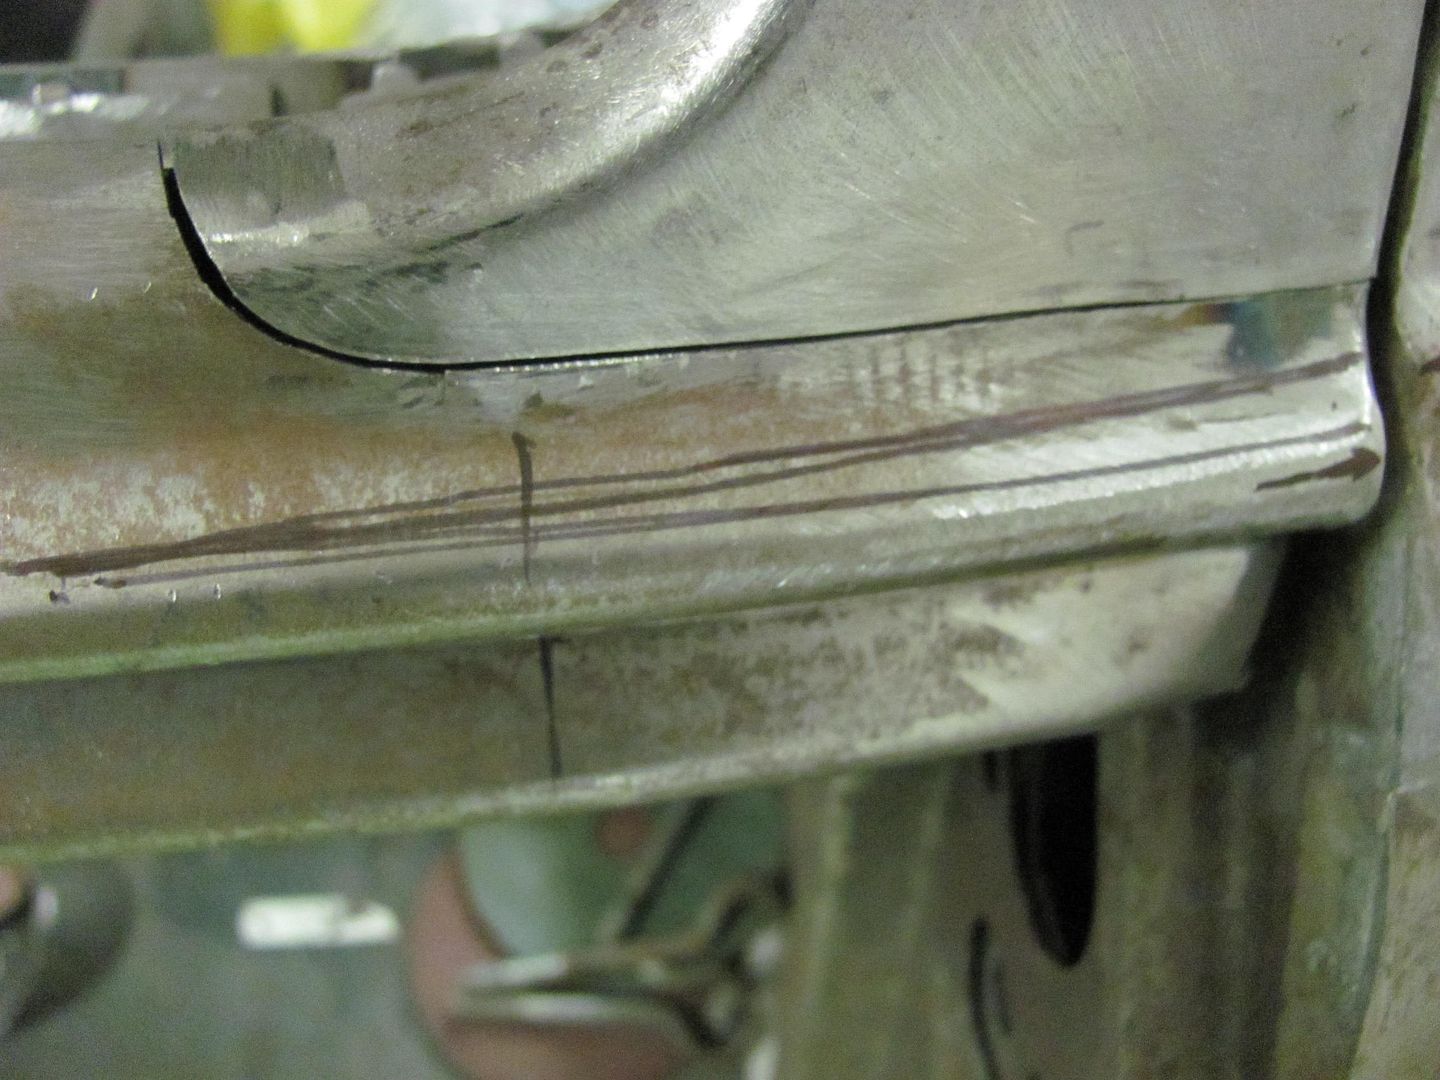
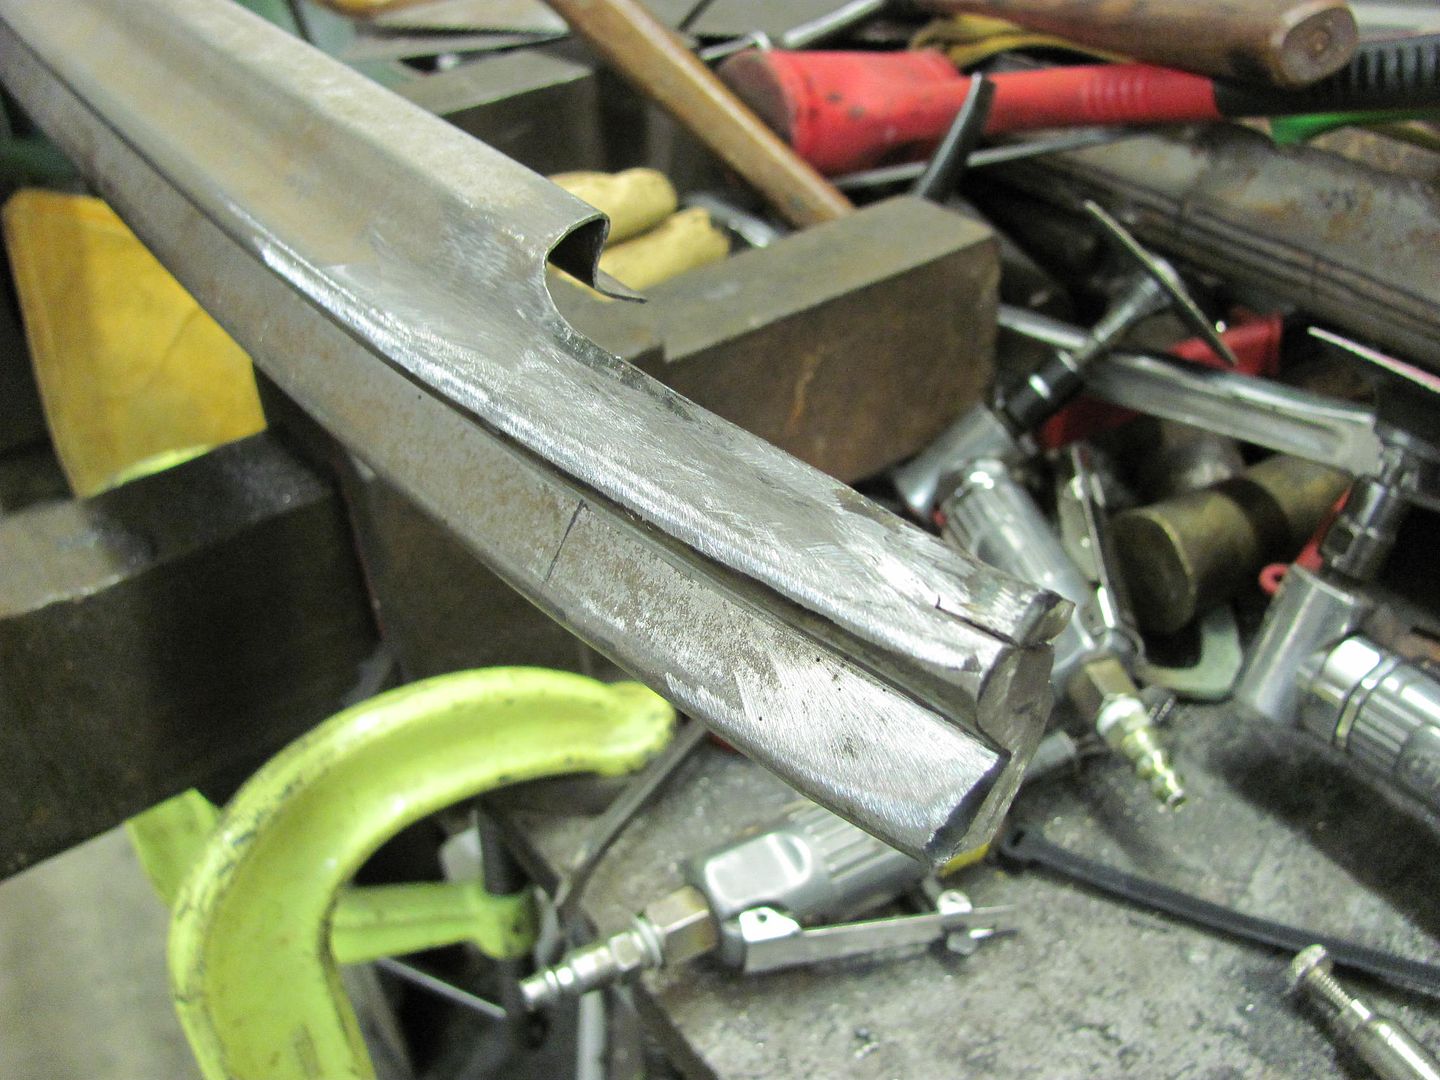
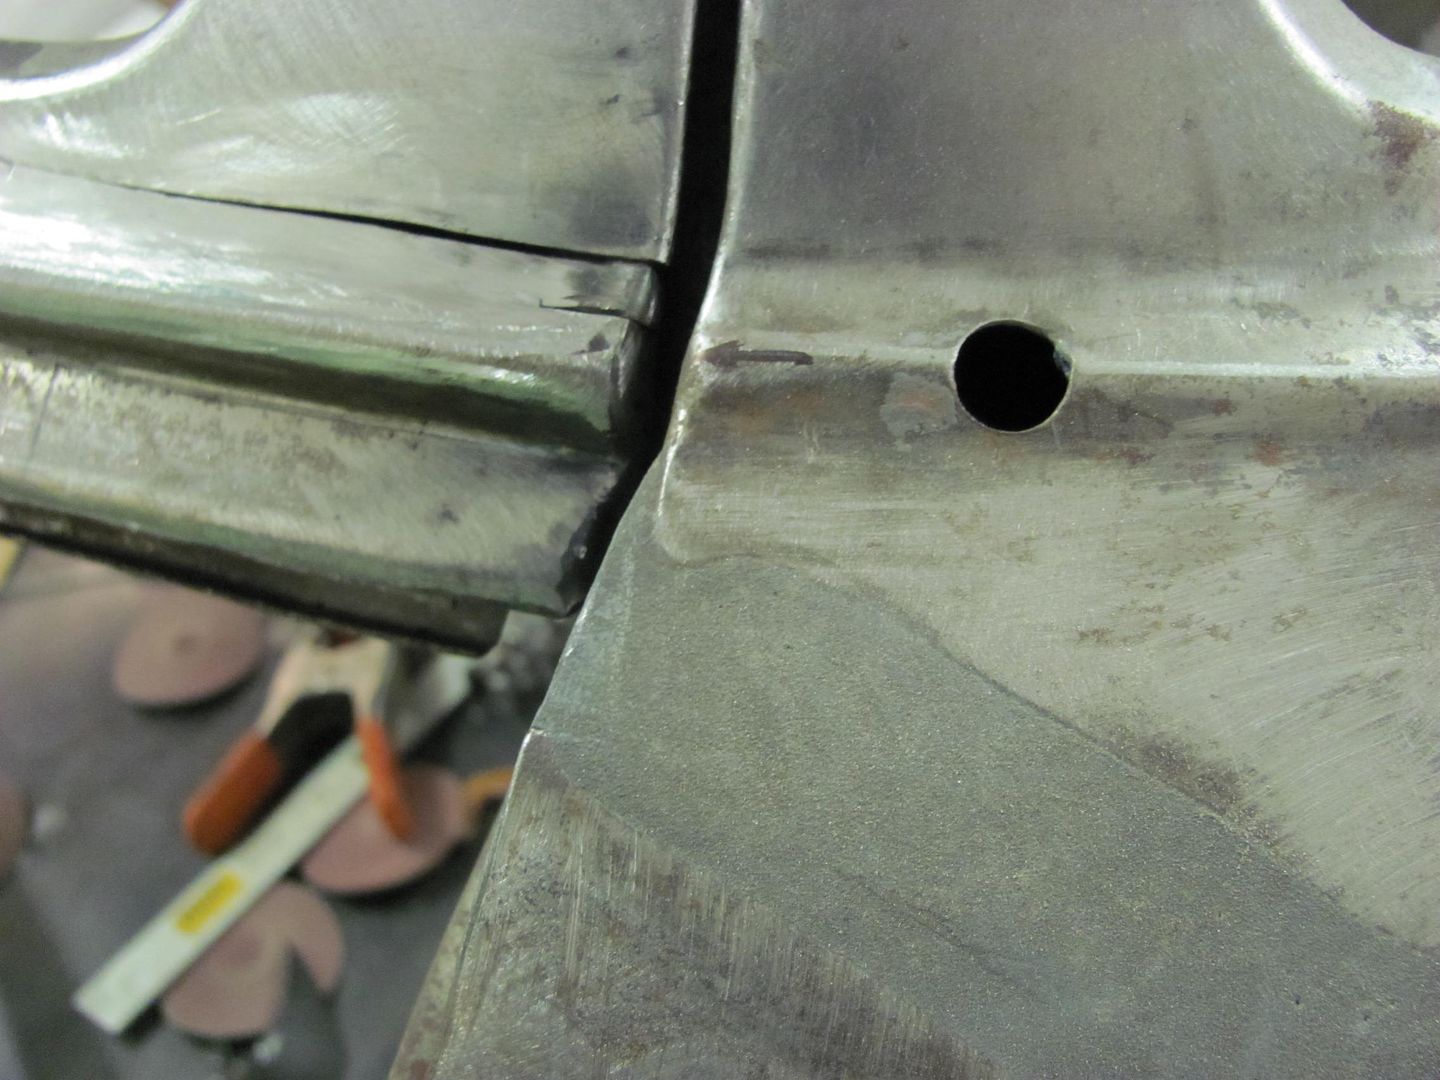
Made a relief cut....
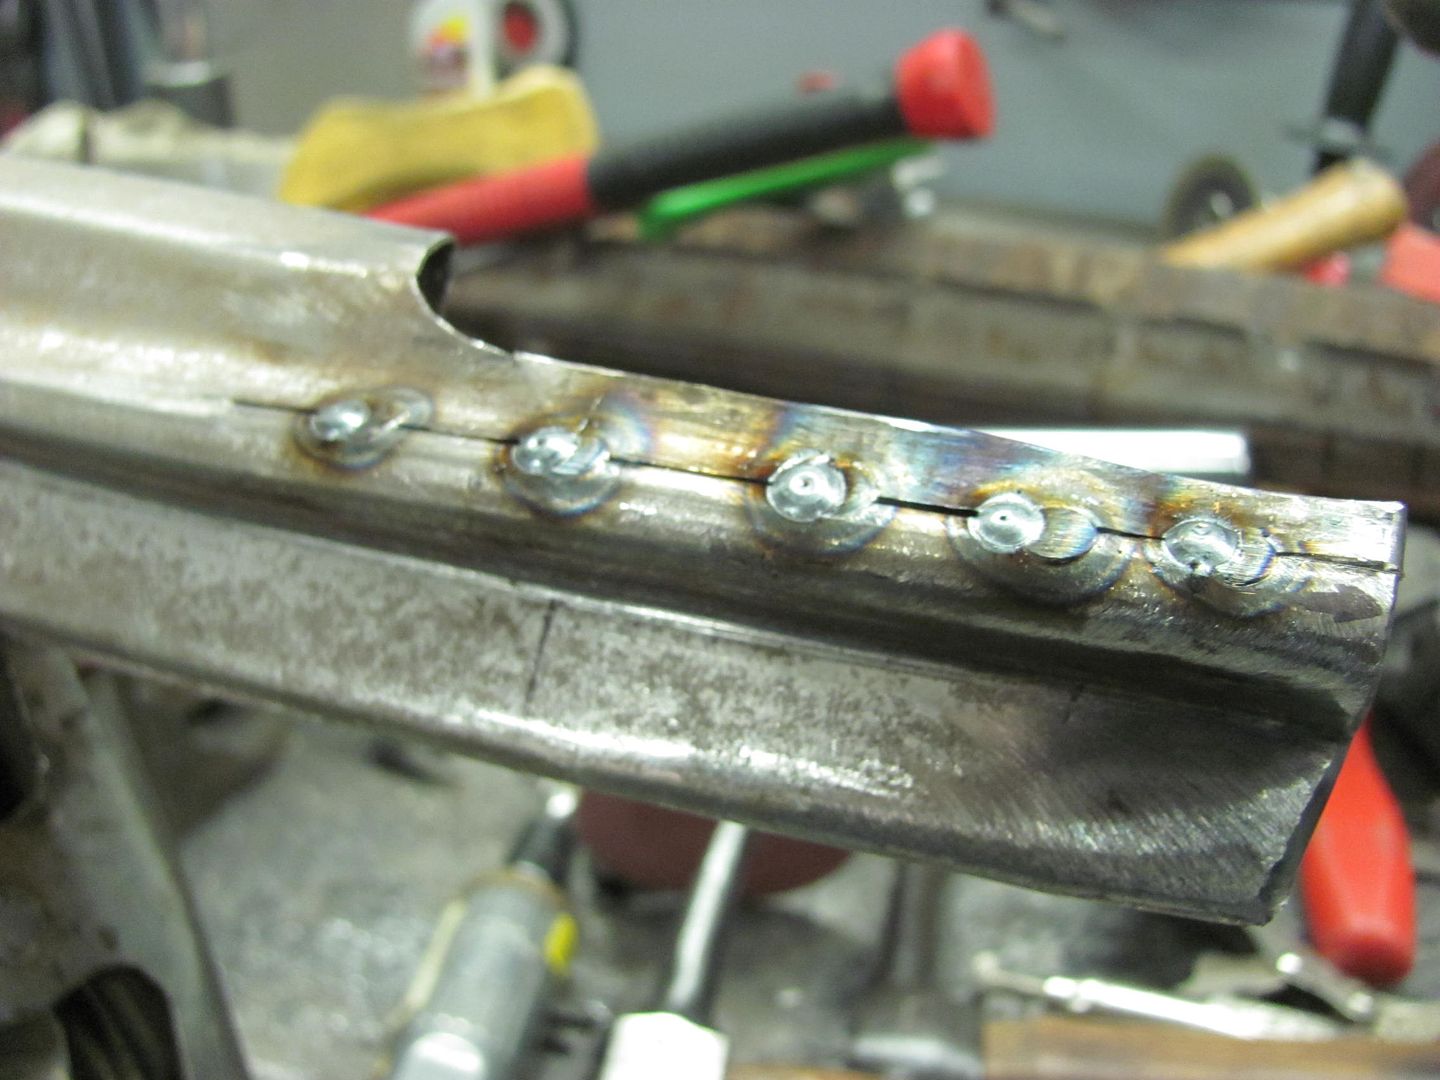
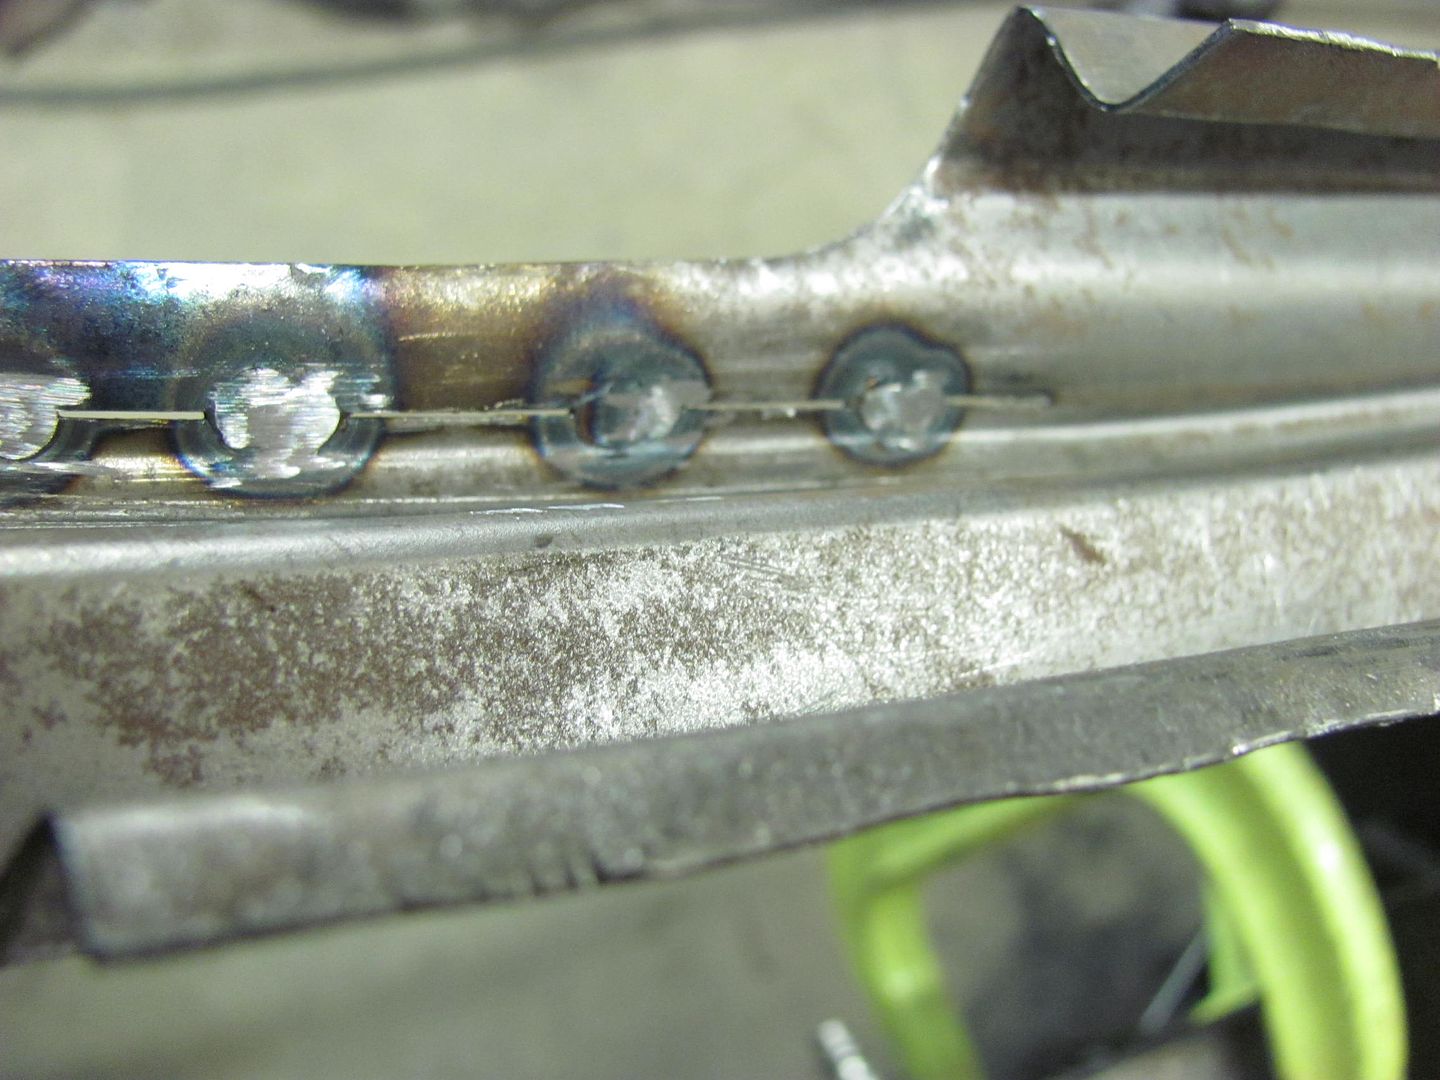
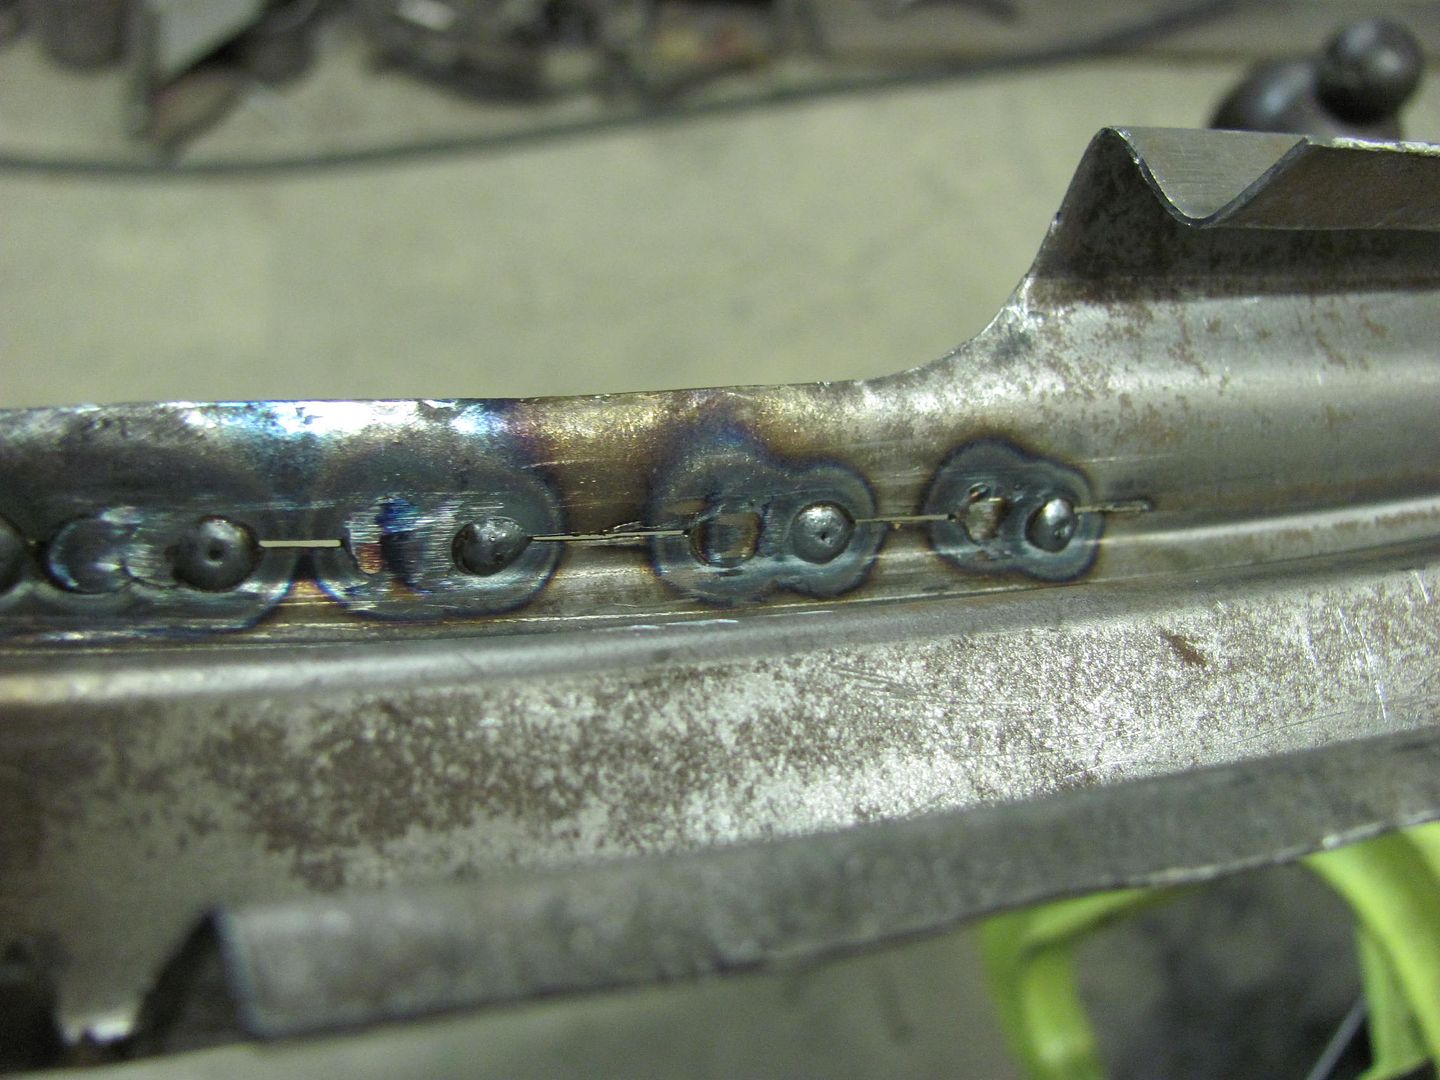
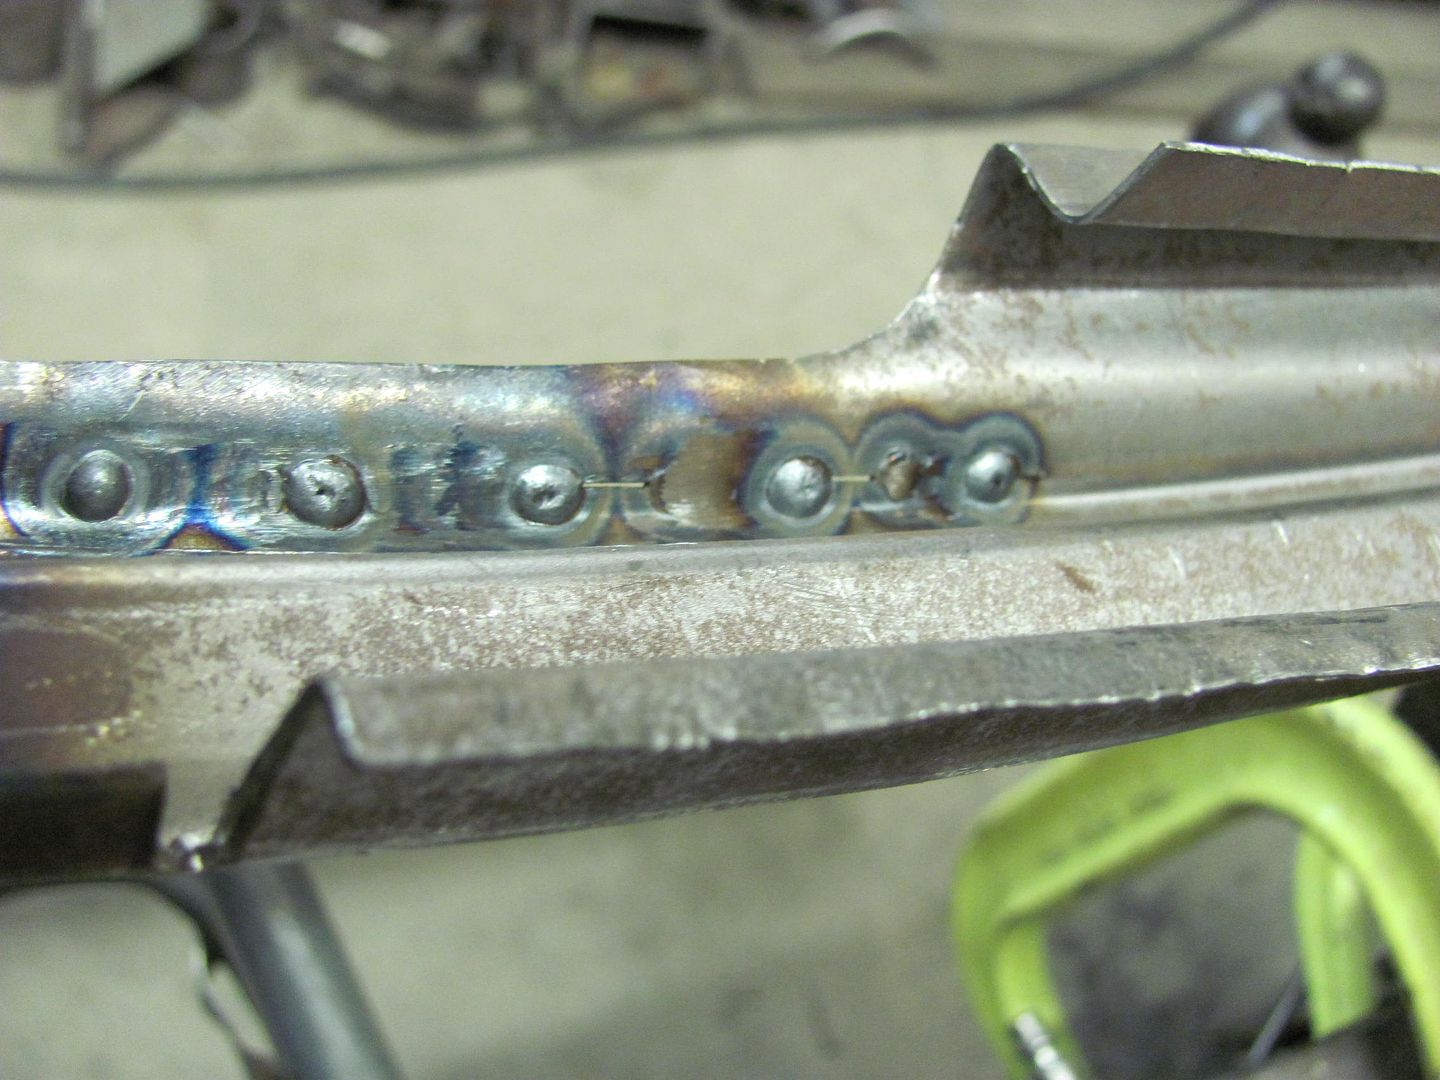
Rear view shows full weld penetration....
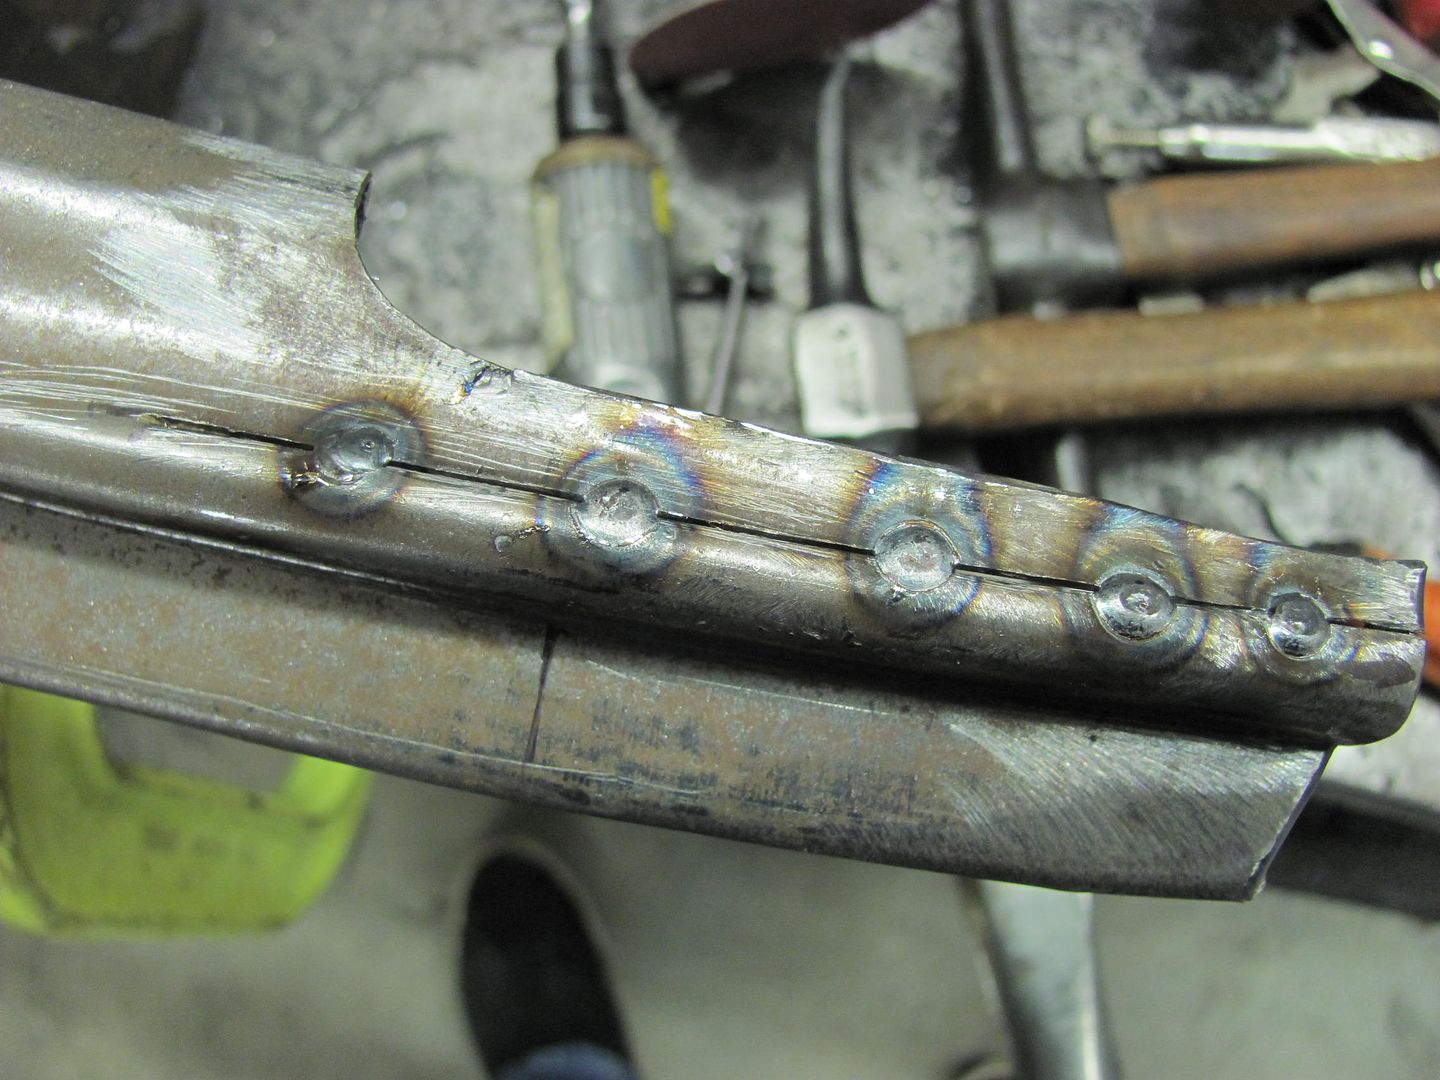
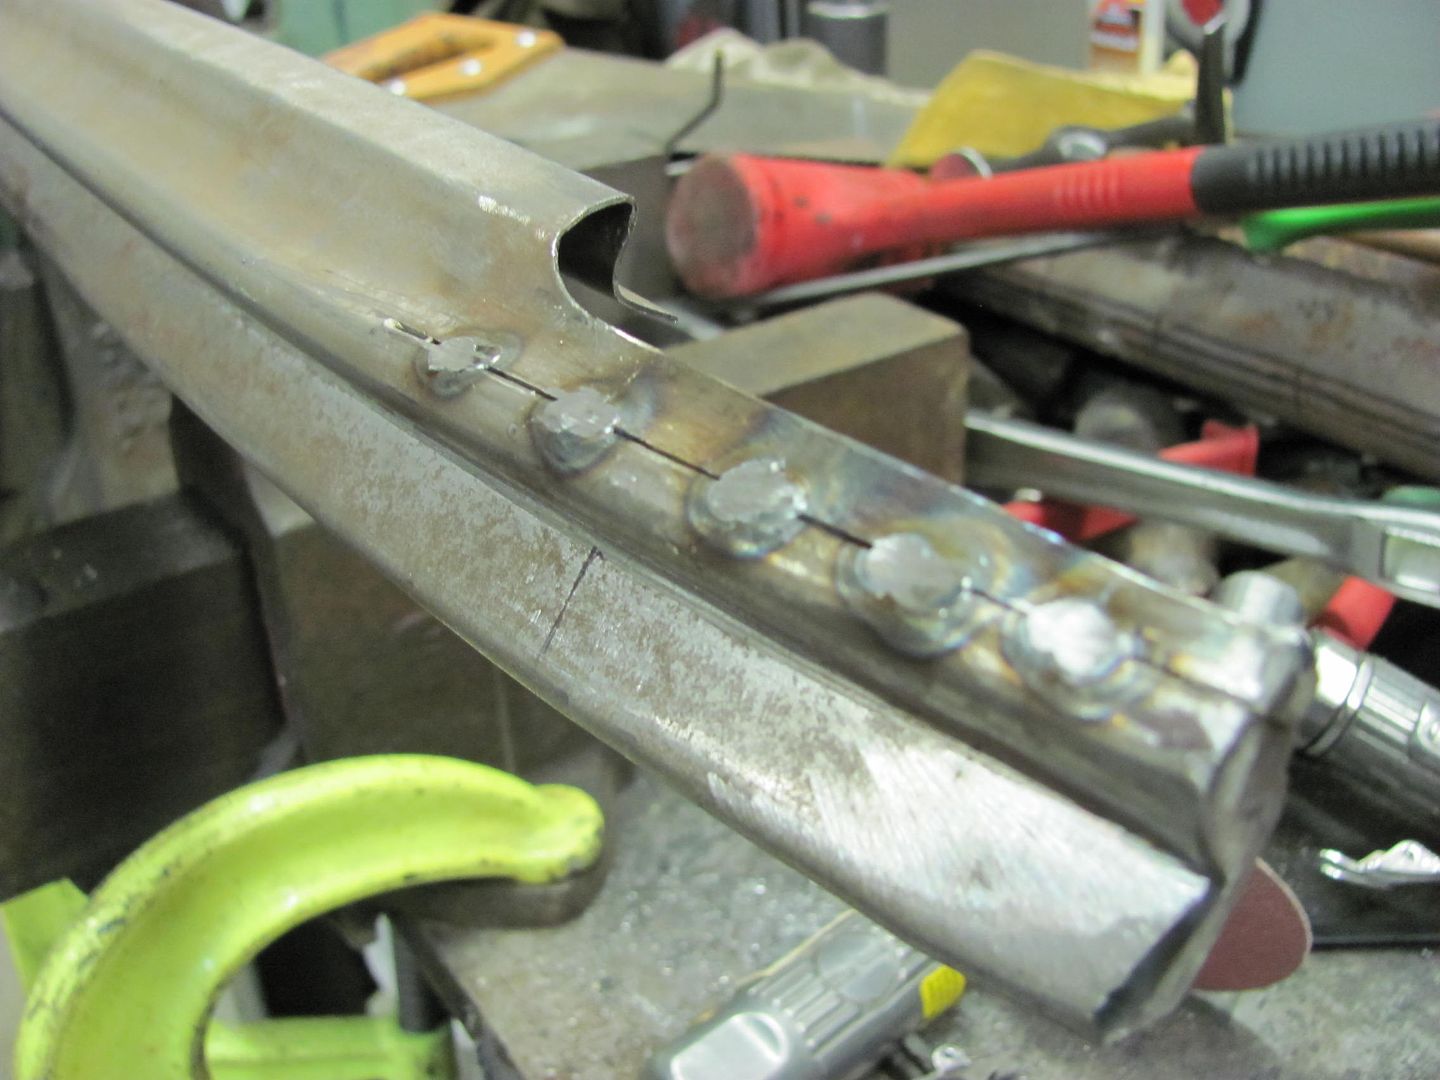
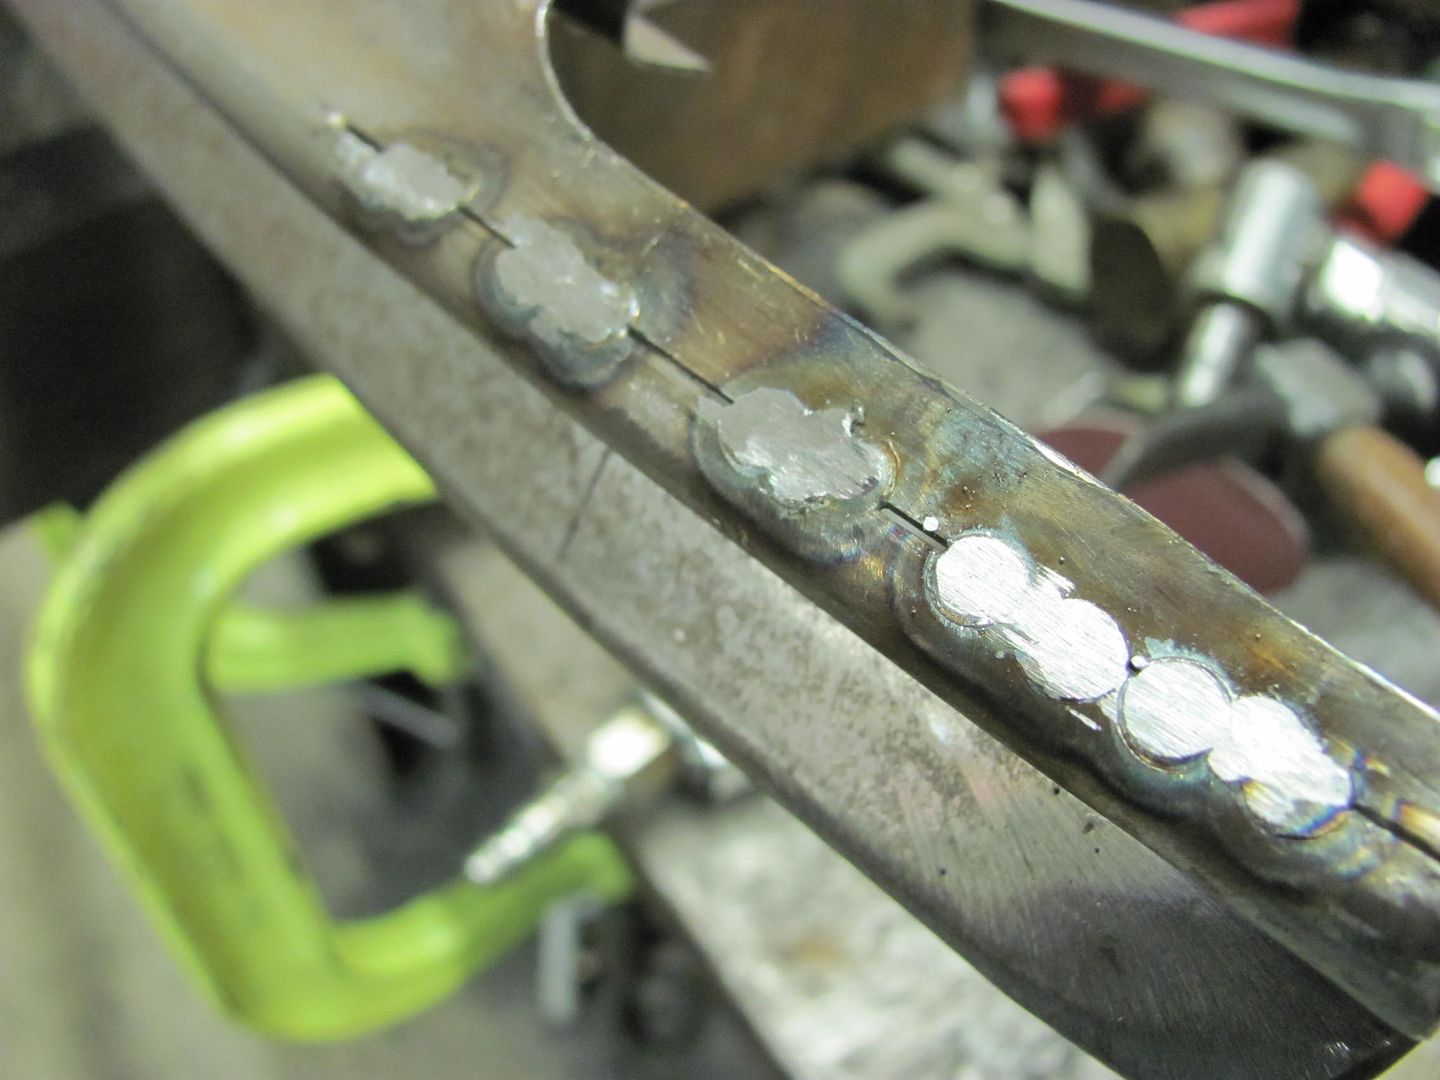
Welds were planished, then ground to just above panel surface, and next weld overlapped, and repeat. The overlapping helps to eliminate any missed welds/pin holes.
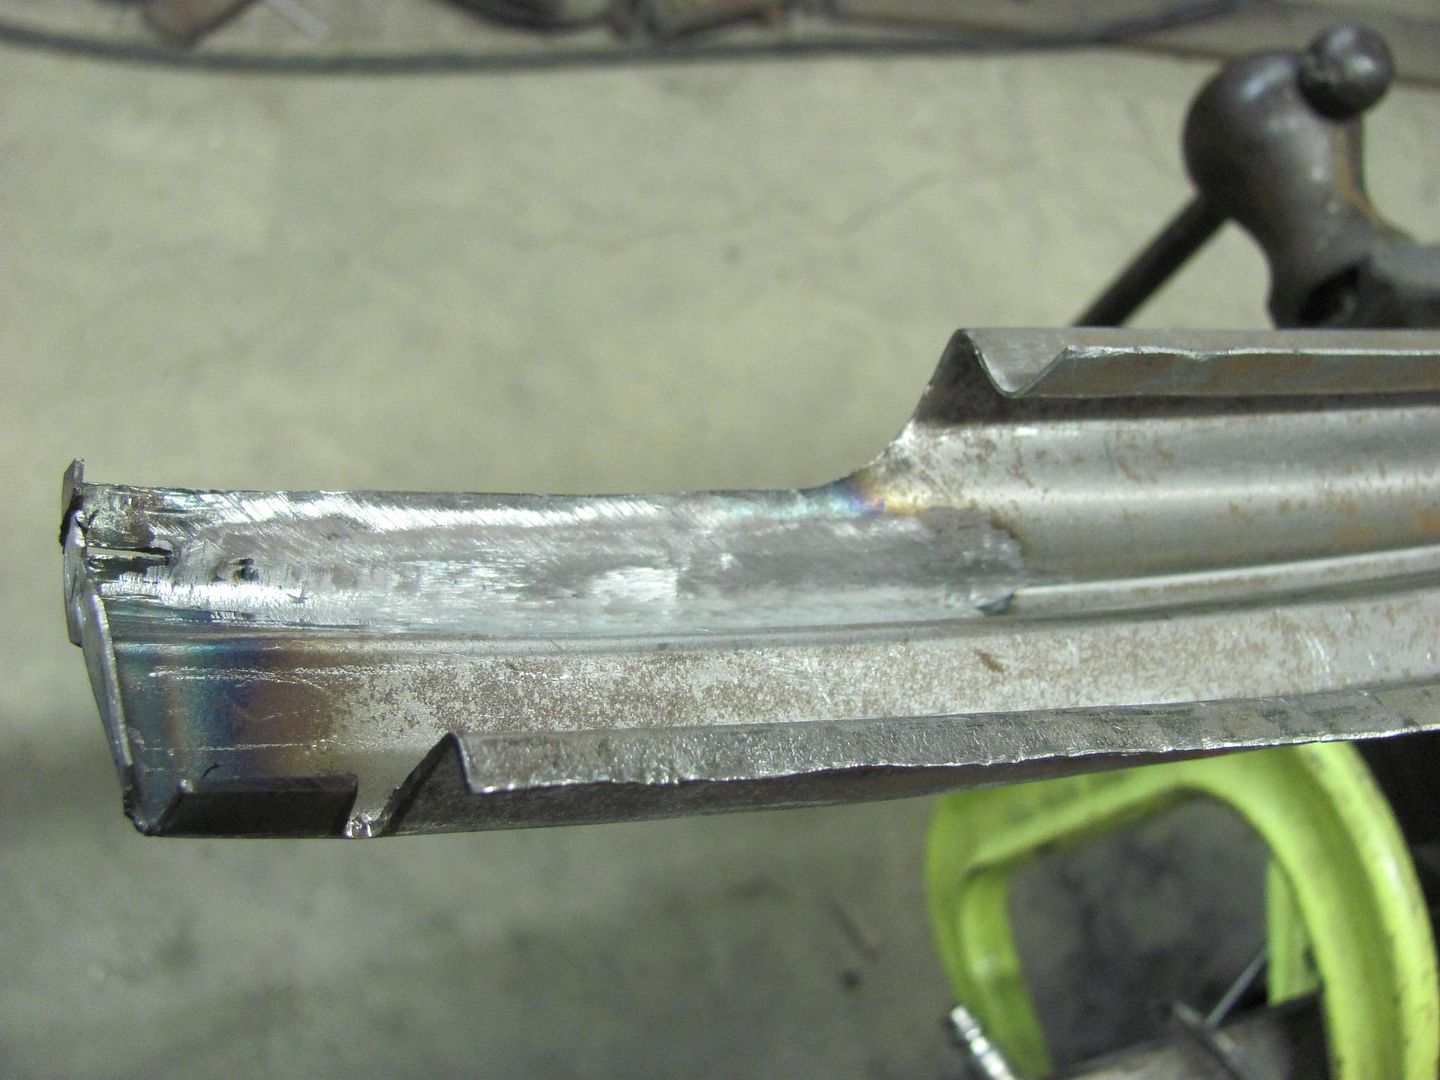
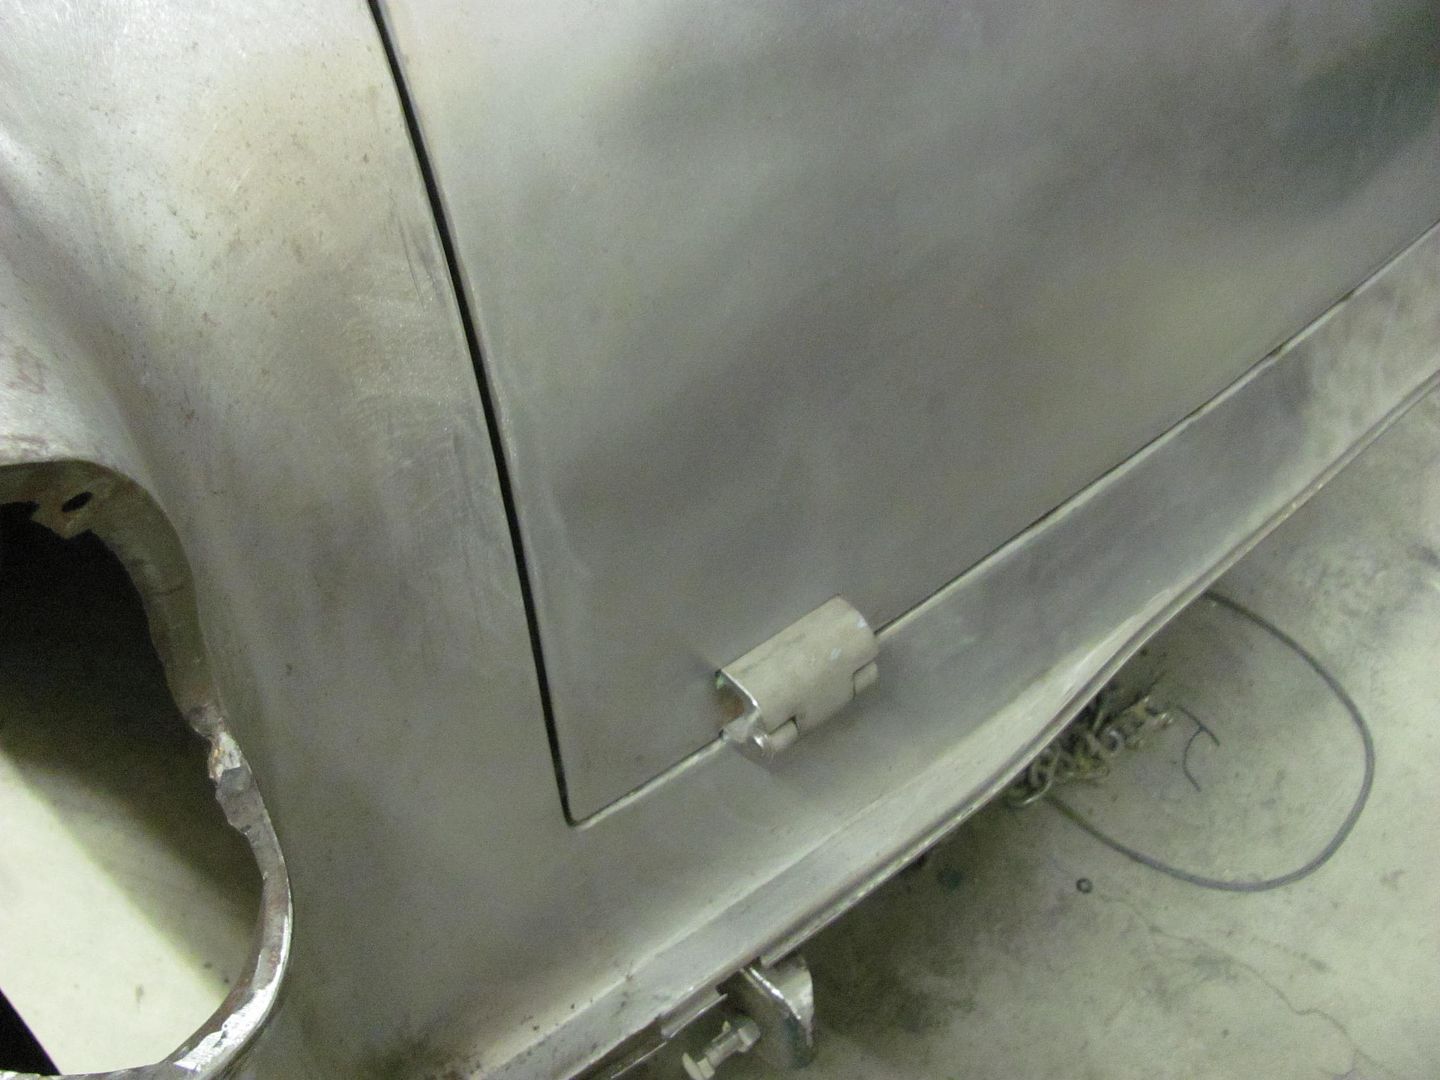
All done and cleaned up....
......for a much better fit..
Then media blasted the inside in preparation for some epoxy primer...
.....and did some adjustment of the tailgate fitment.


 Reply With Quote