


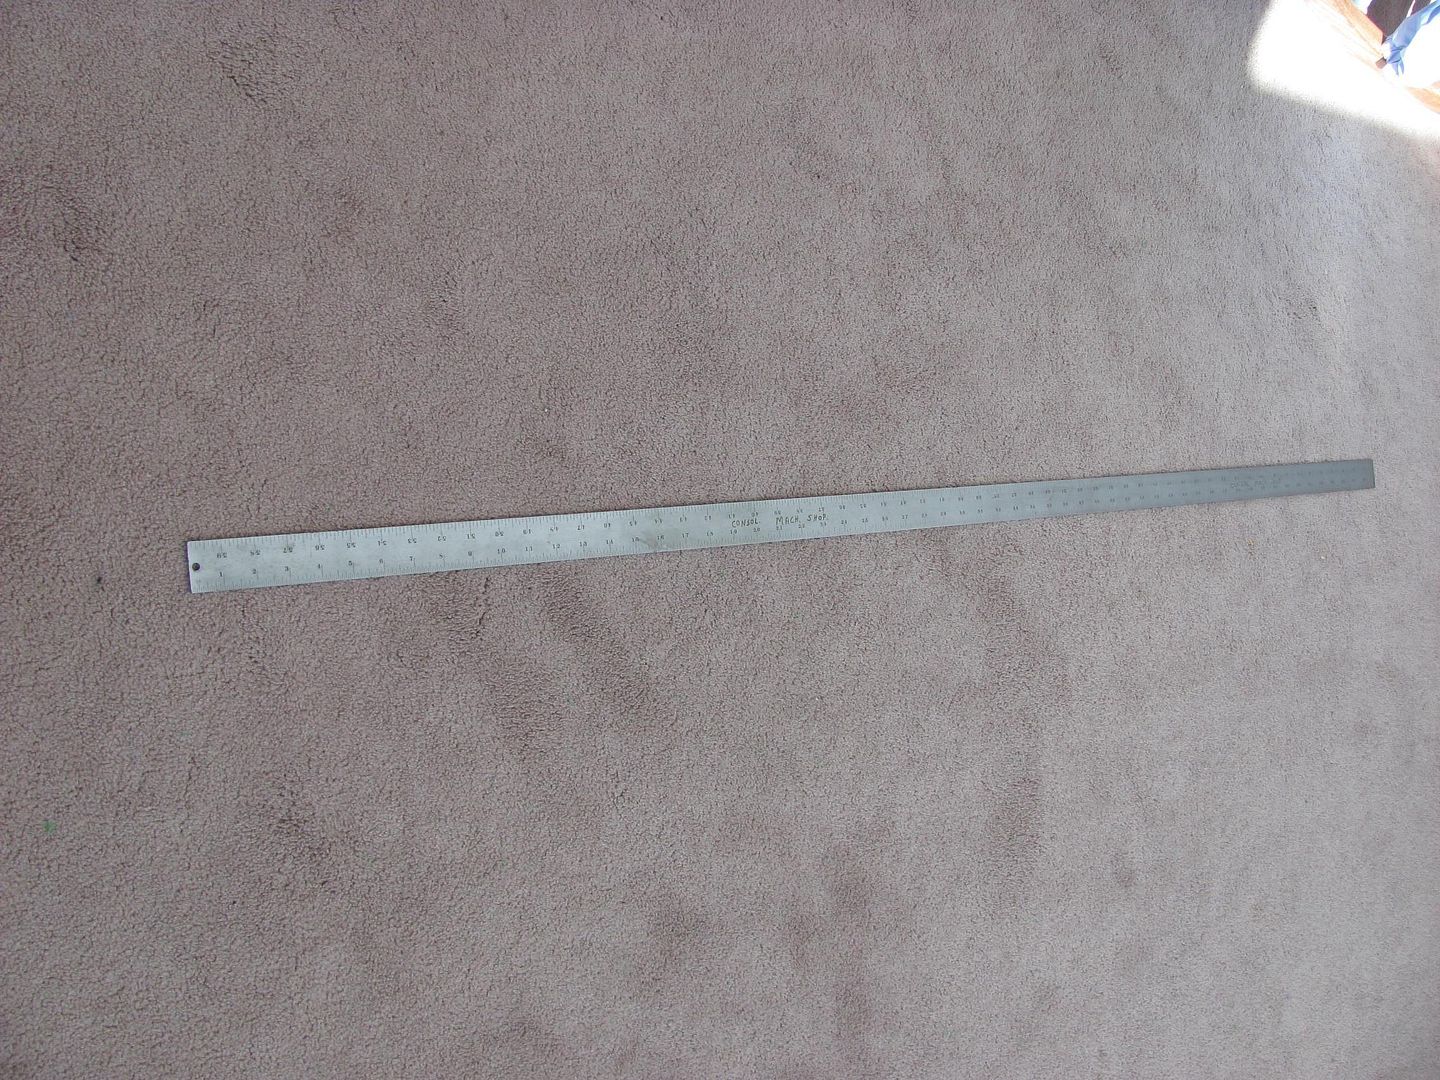
A few months ago, I had bought a 60" Starrett rule.
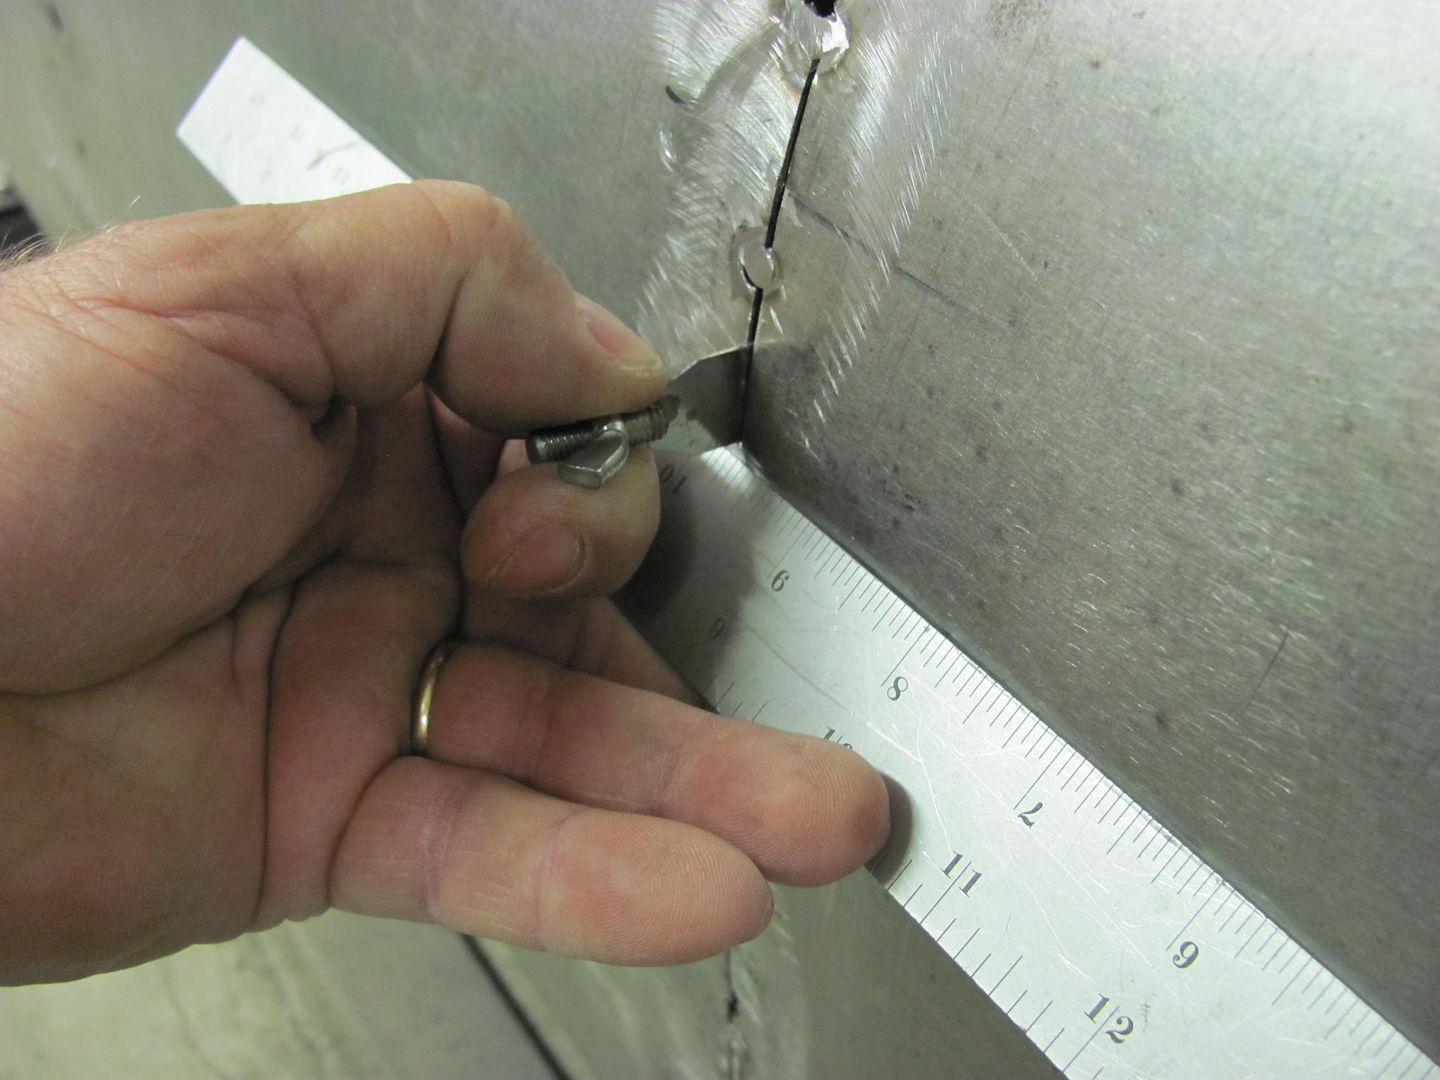
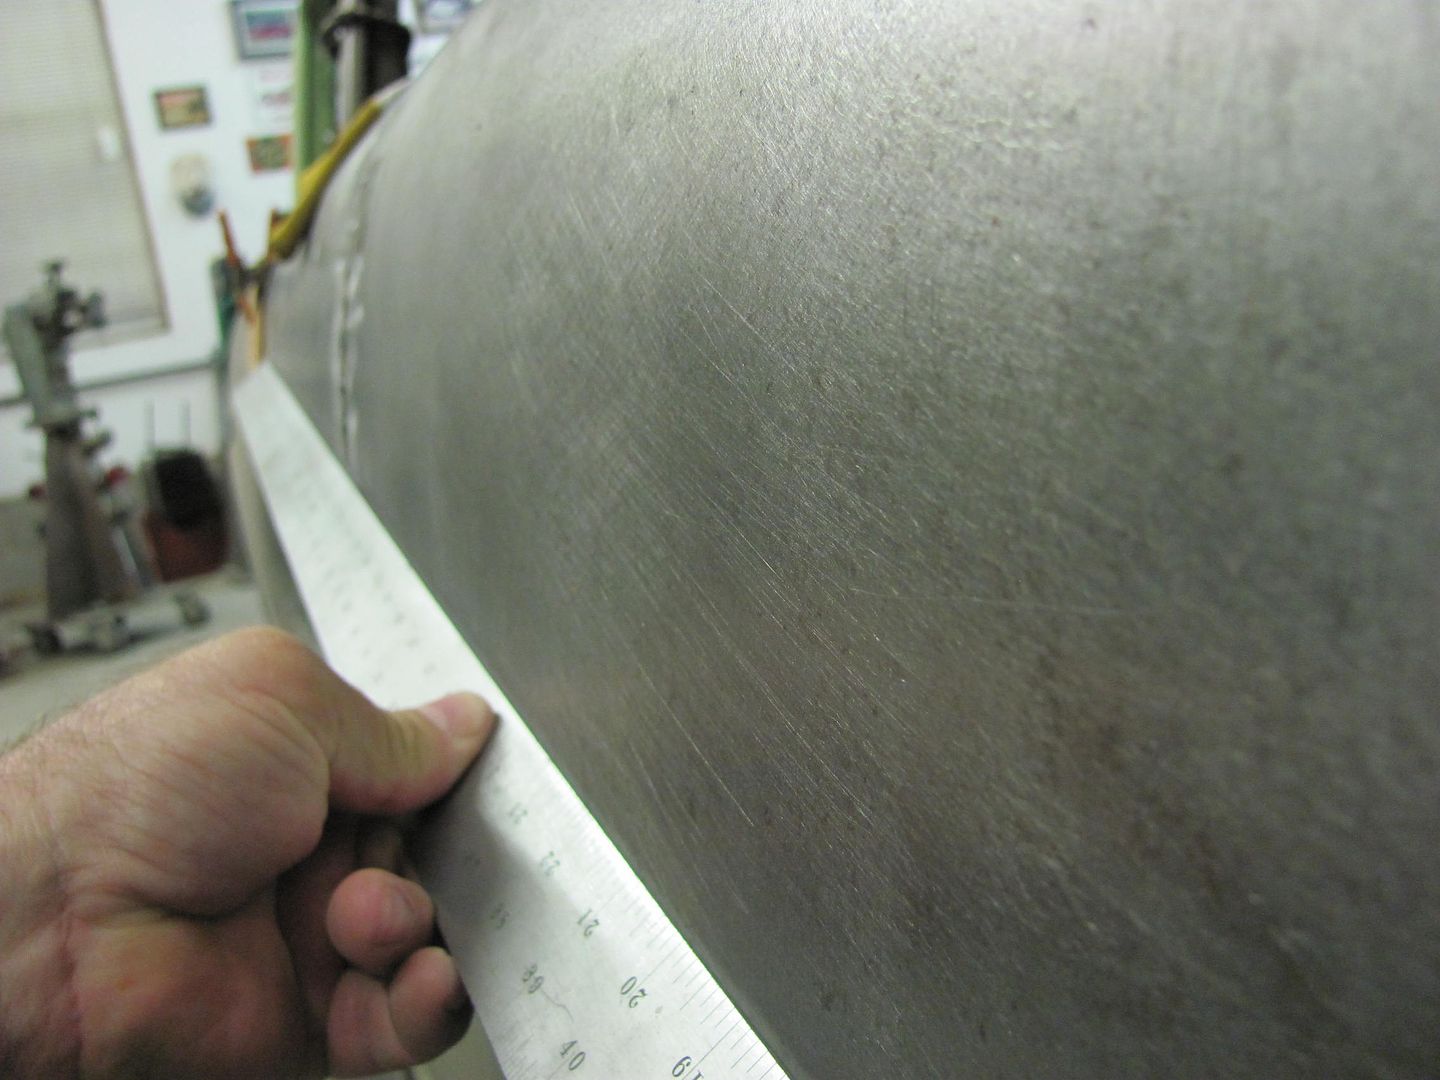
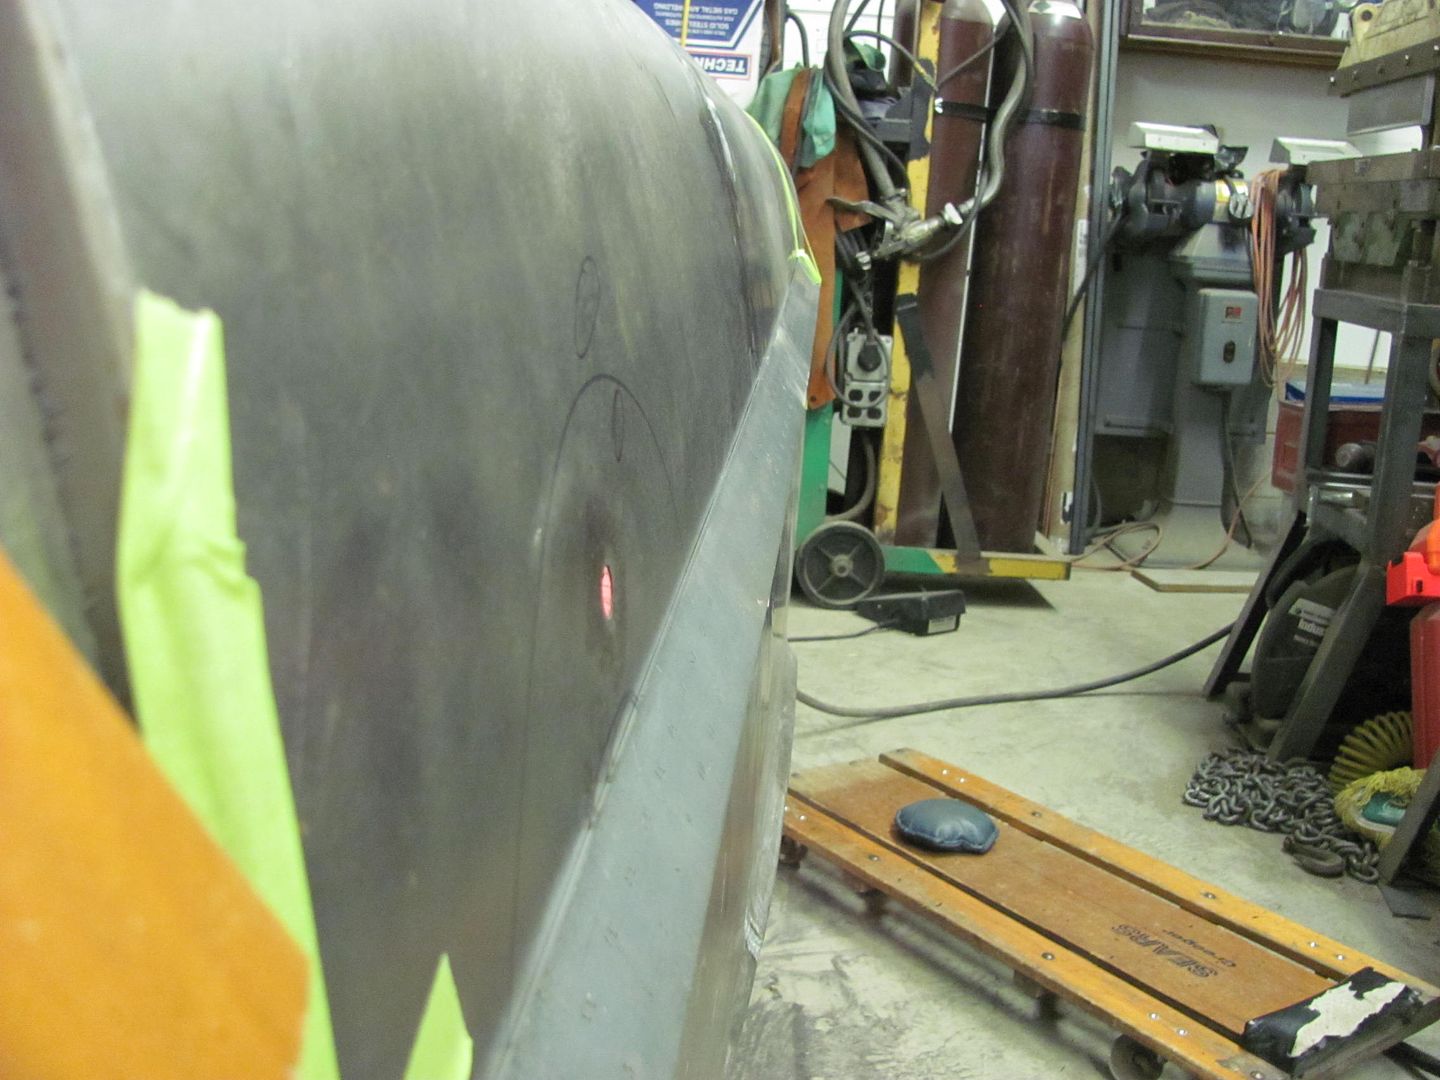
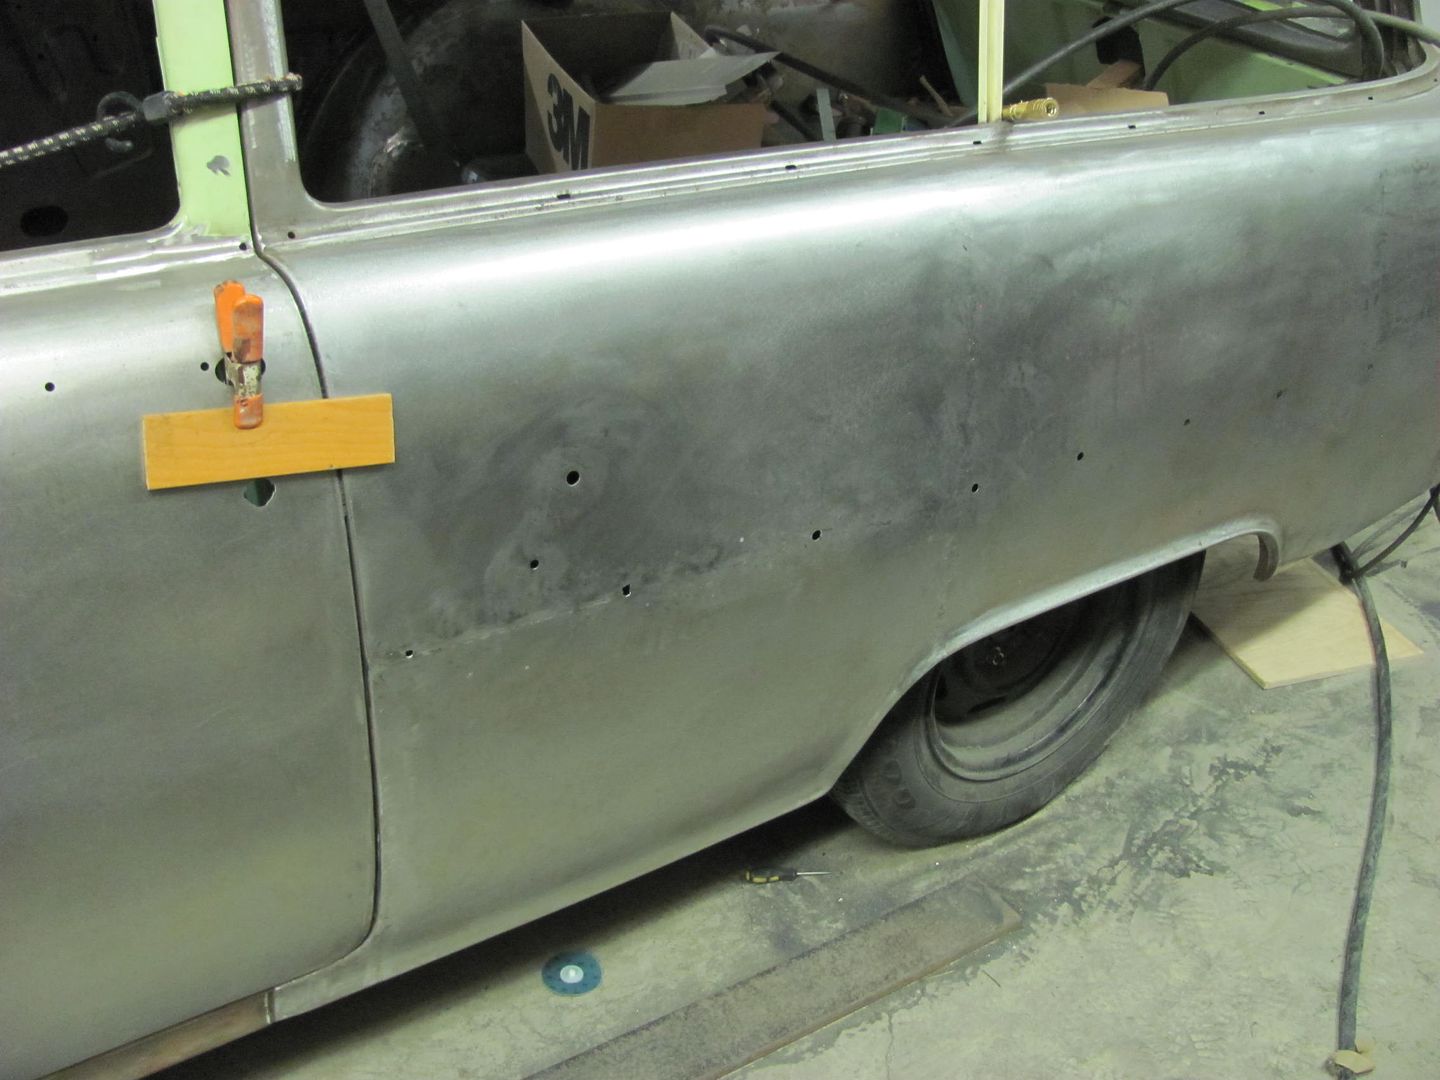
One of the first things I checked with it was the vertical weld that joined the 4 door NOS quarter on the drivers side of the 55. Previous to this the largest rule I had was a 24", which did not show this newly found deflection as well. When the 60" rule spanned the joint, it showed a pronounced high spot at the vertical weld instead of the gradual crown that the panel should have. I'm not one to overload something with bondo to cover up something like this, so the vertical weld as well as part of the horizontal was sliced open to re-adjust the panel and get the correct contour.
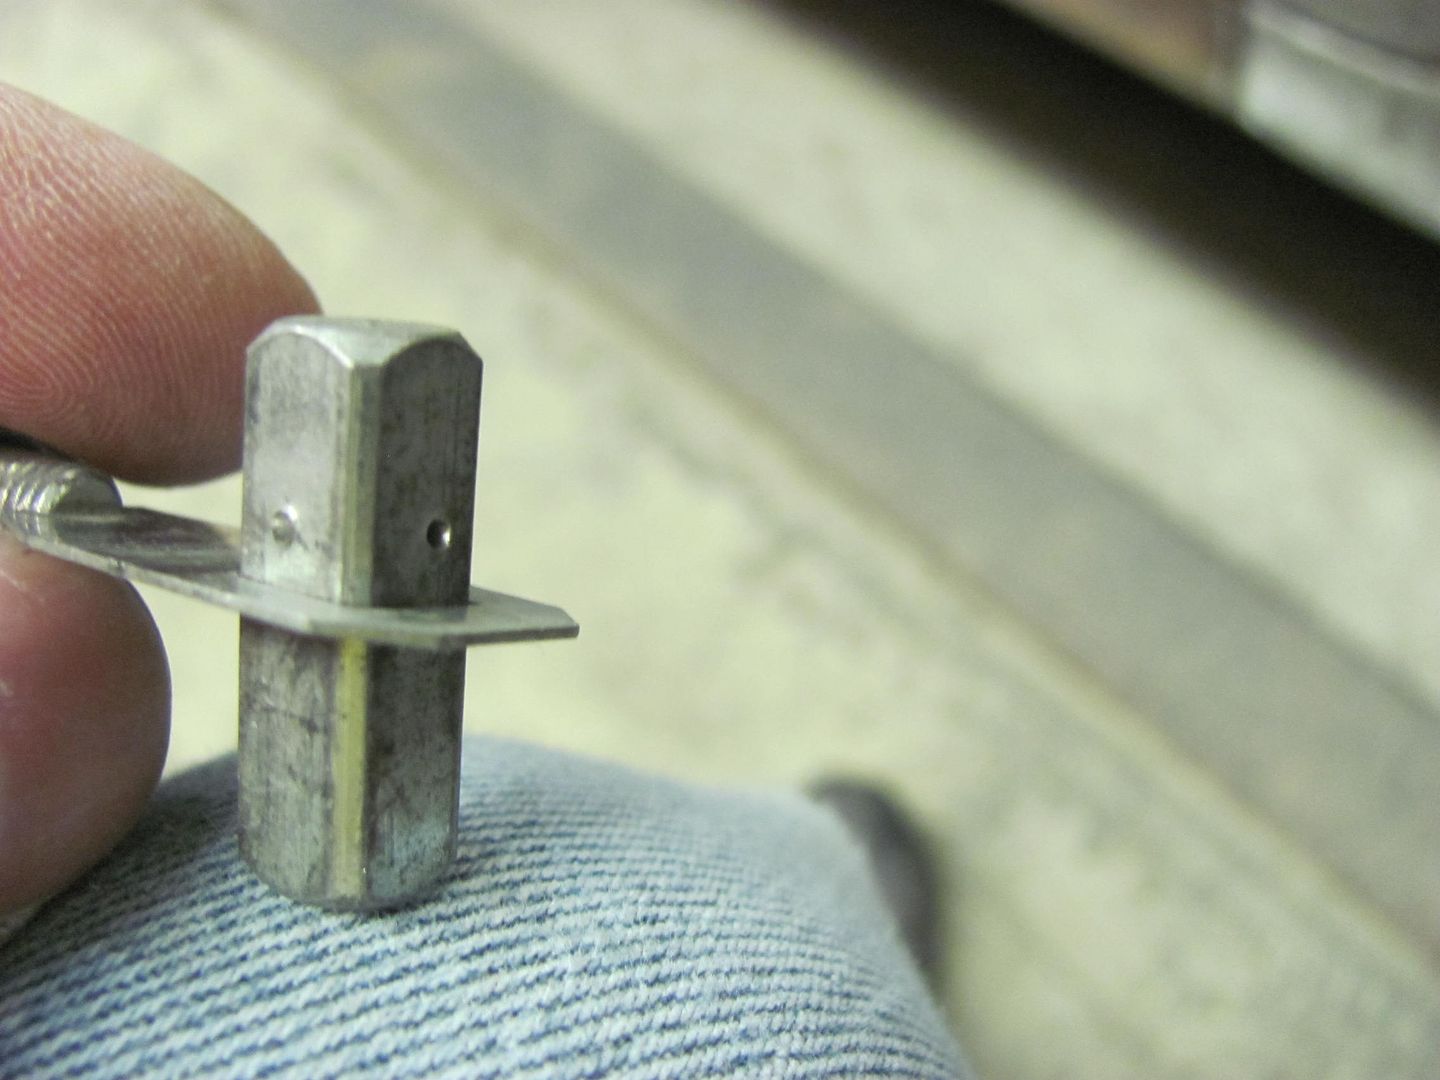
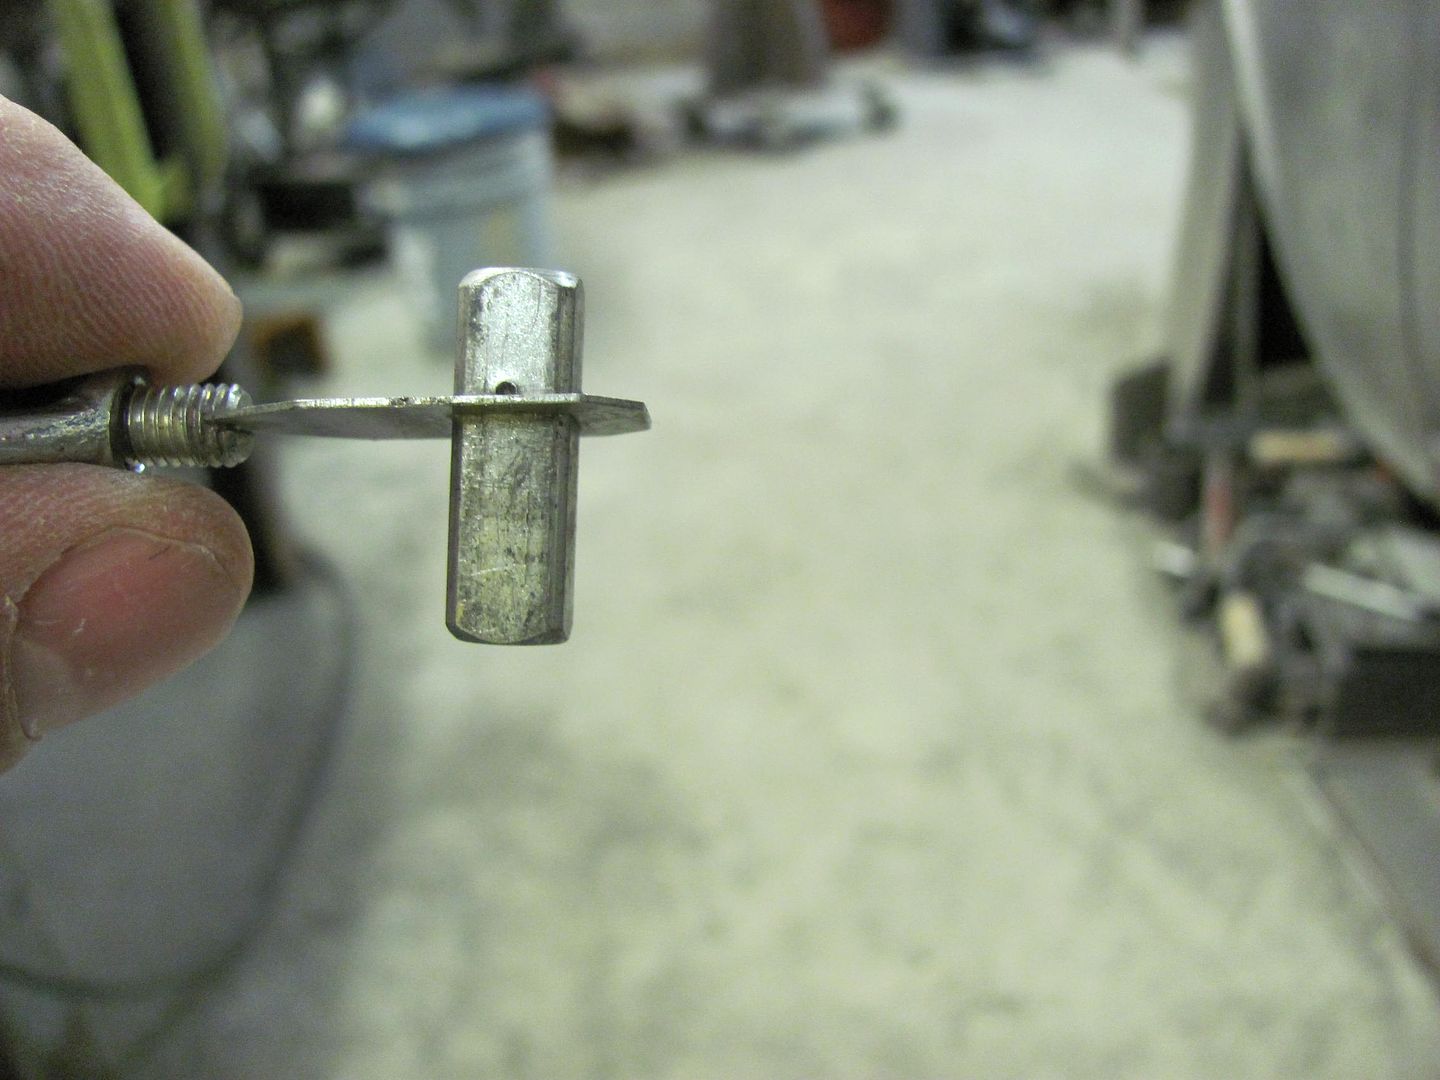
After the slicing was complete, despite the panels coming together slightly, the gap was slightly wider than the first time welded. The butt weld clamps did not work all that well in keeping the panels where they needed to be, and after about the third time of the square peg falling out of the hole, I made a slight modification to better keep the peg from falling out. About one third the way down, the peg was punched on all four sides to keep from falling out.
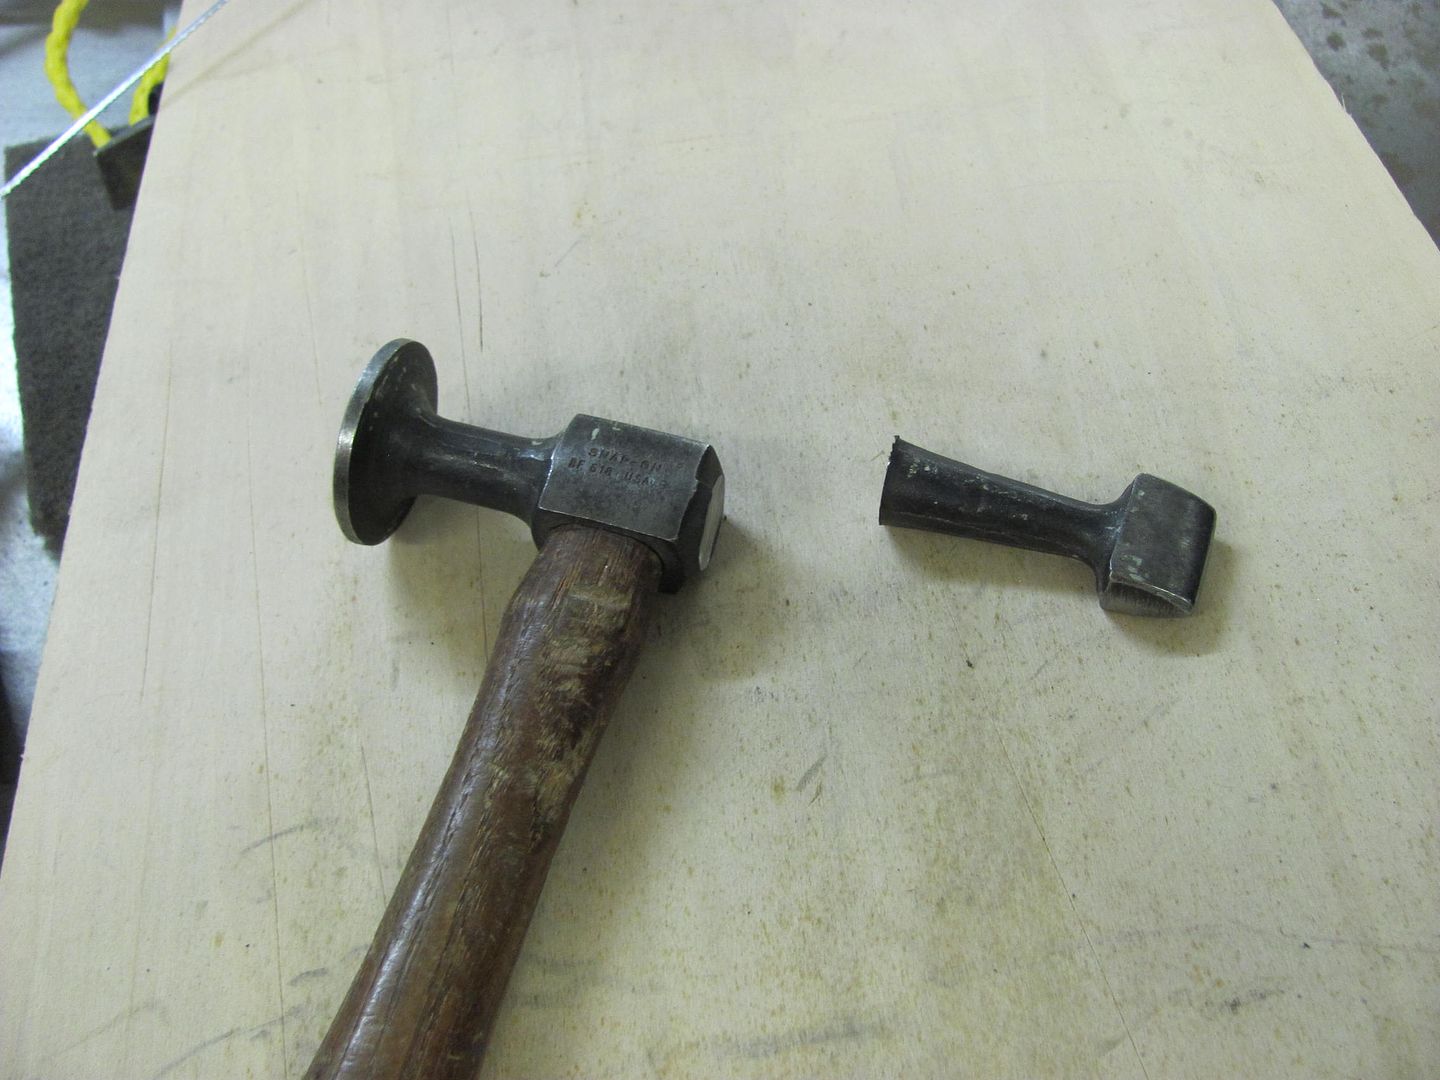
Although I didn't get pictures of this part, the modified clamp worked especially well in gapping the horizontal weld joint to better fit the profile template for the crown of the panel. Basically with the peg no longer falling out, the portion of the butt weld clamp shown above was used to pull out on the panel until it filled the profile template, then the panels were tacked at that point. Move another couple inches, repeat. This got the vertical crown back where it should be. This was process was repeated for the vertical weld to correct the horizontal crown along the length of the quarter, checking across the vertical seam with the 60" rule. This picture was taken afterwards with the smaller rule so I could hold all the components and the camera, but gives an idea how the "partial clamp" was used to get the panel's crown correct.
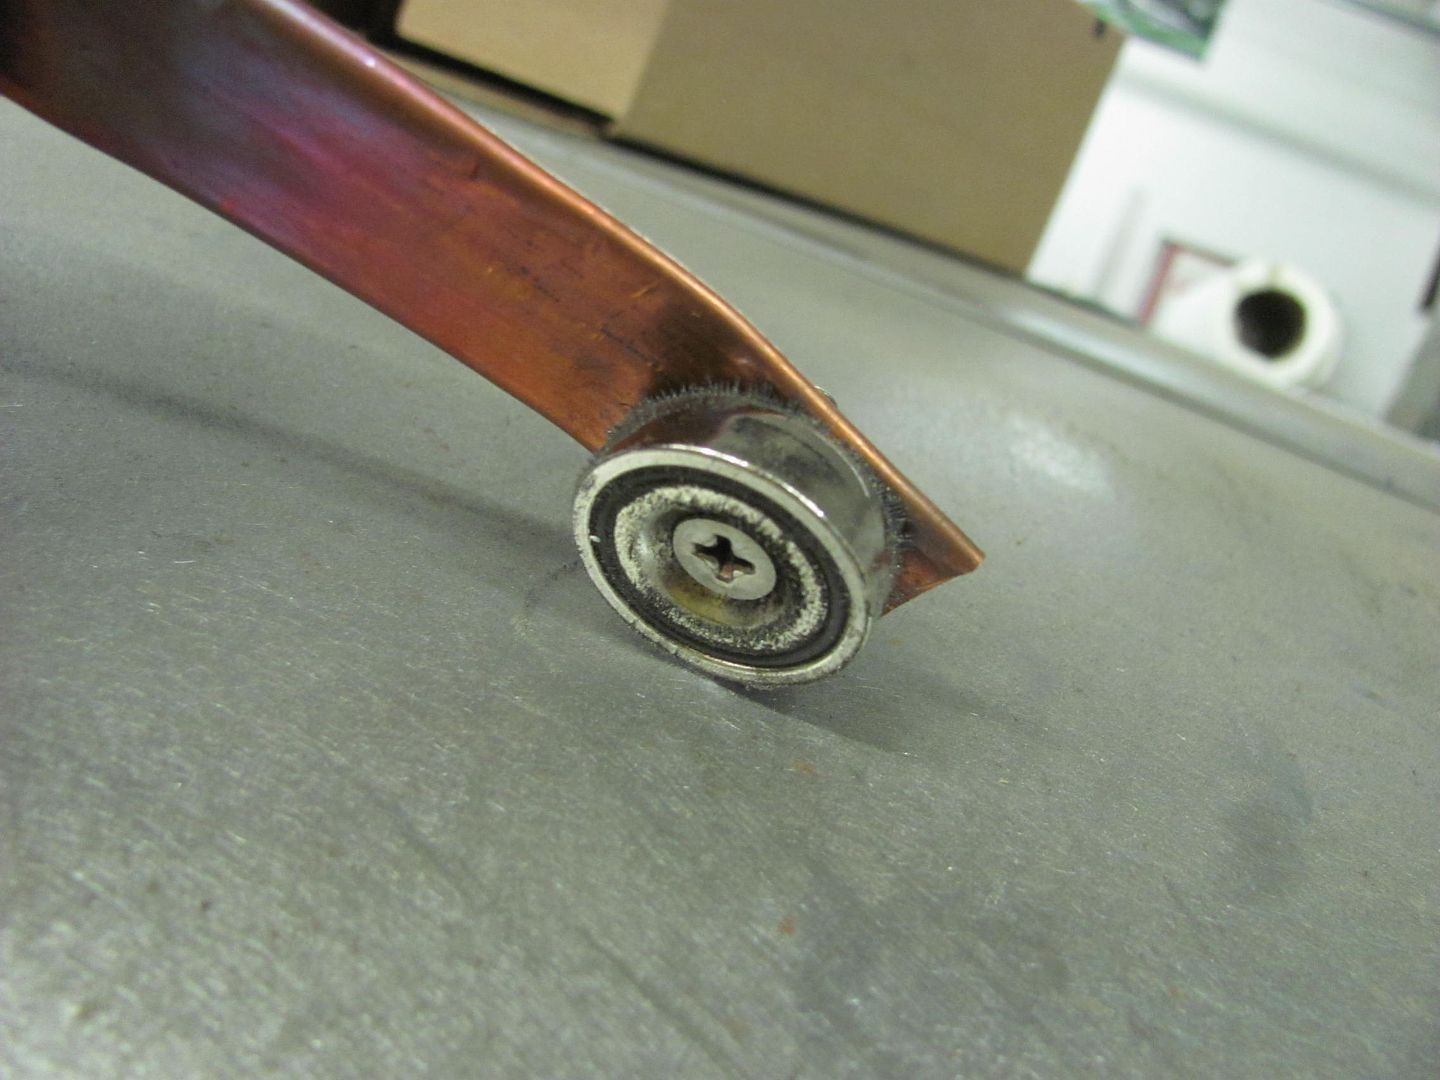
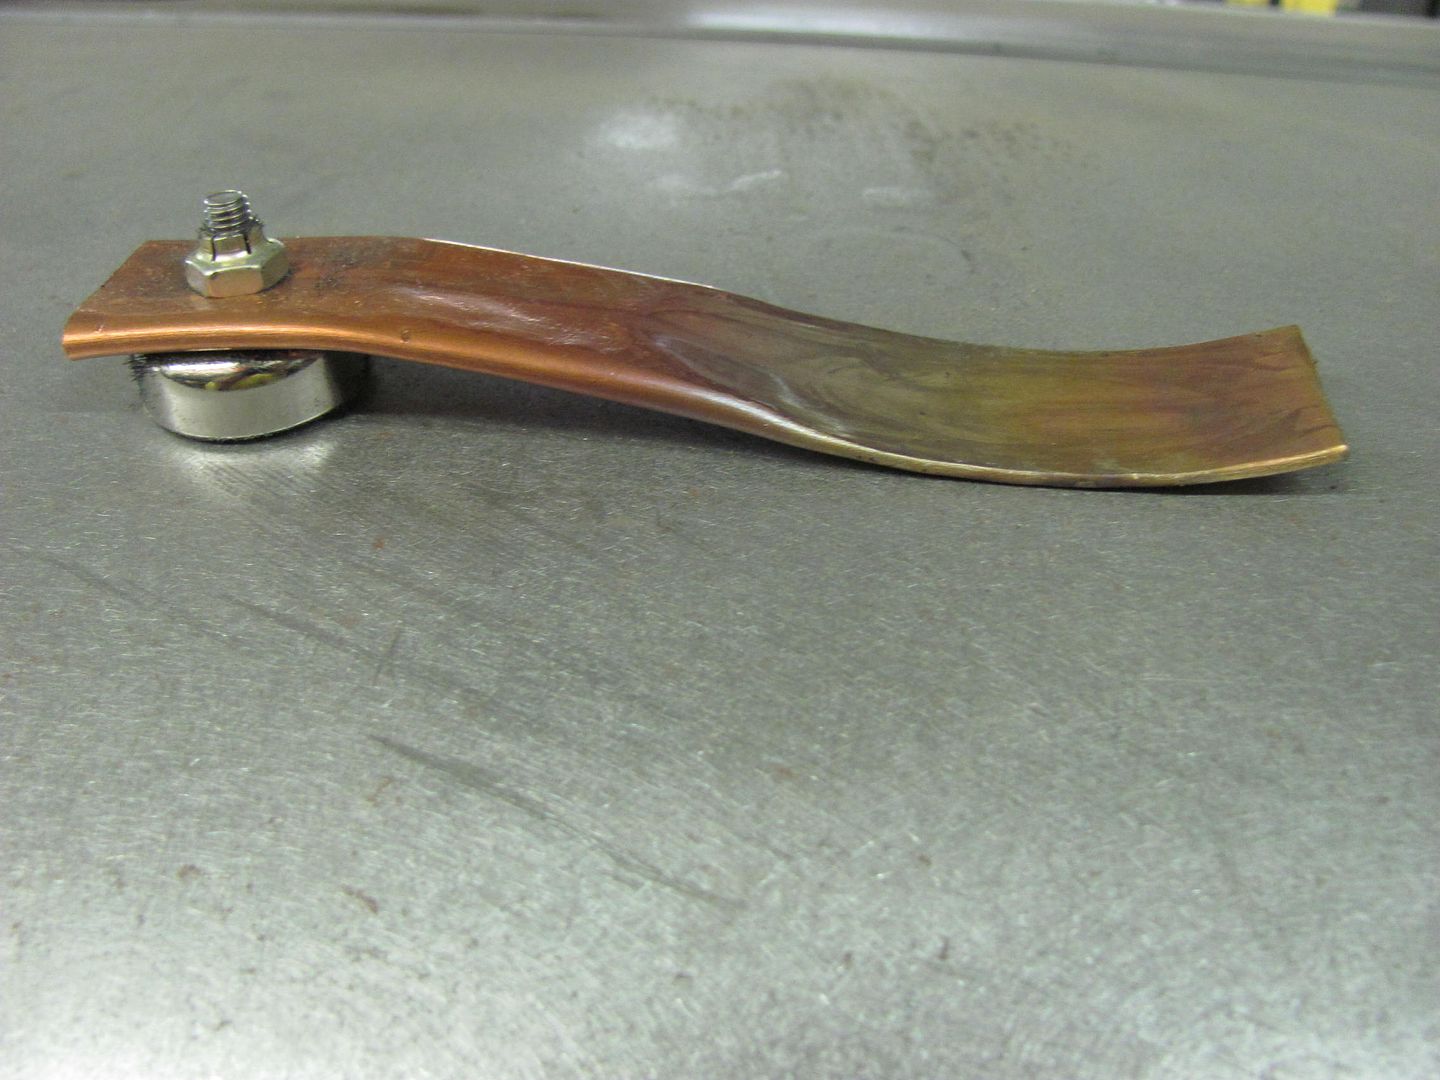
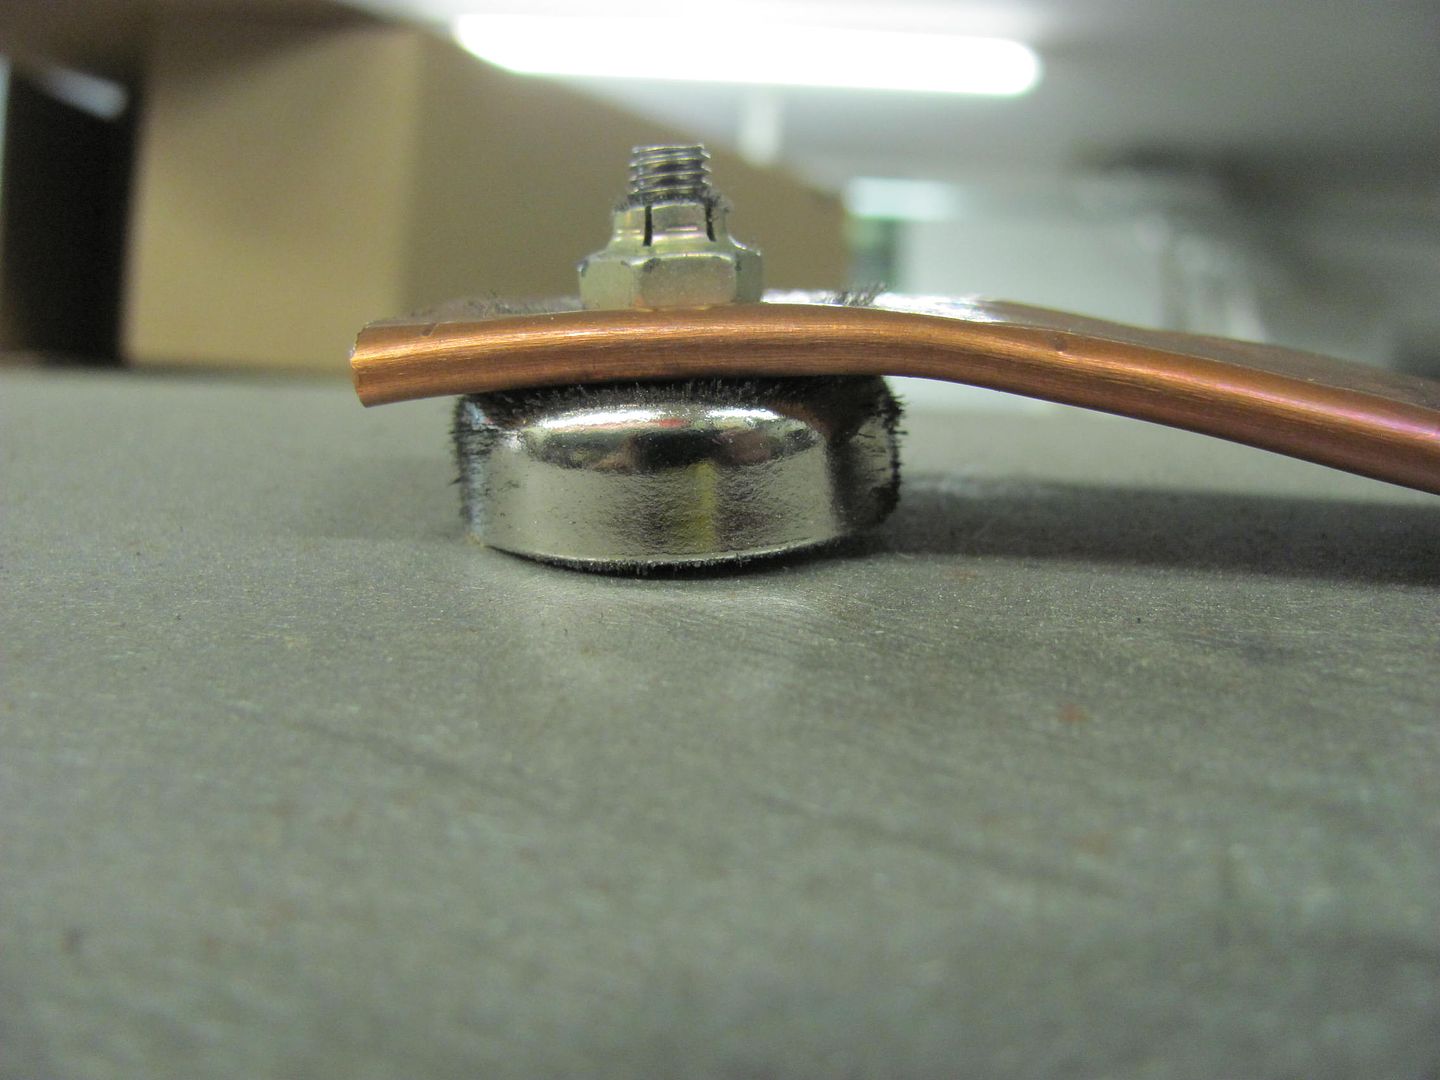
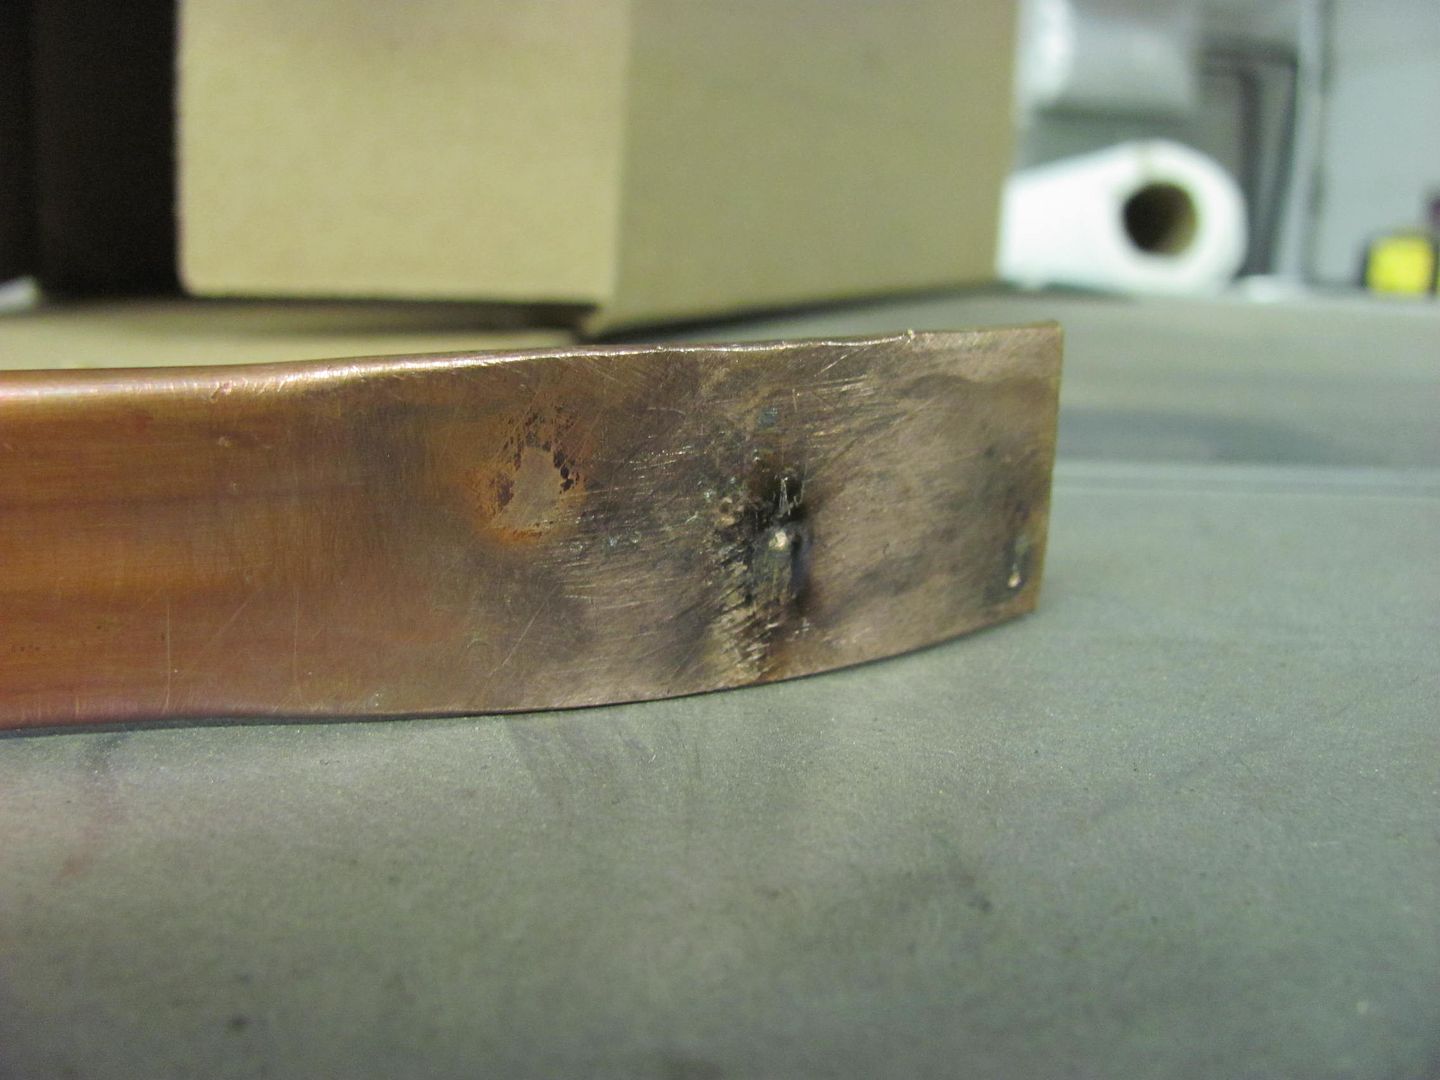
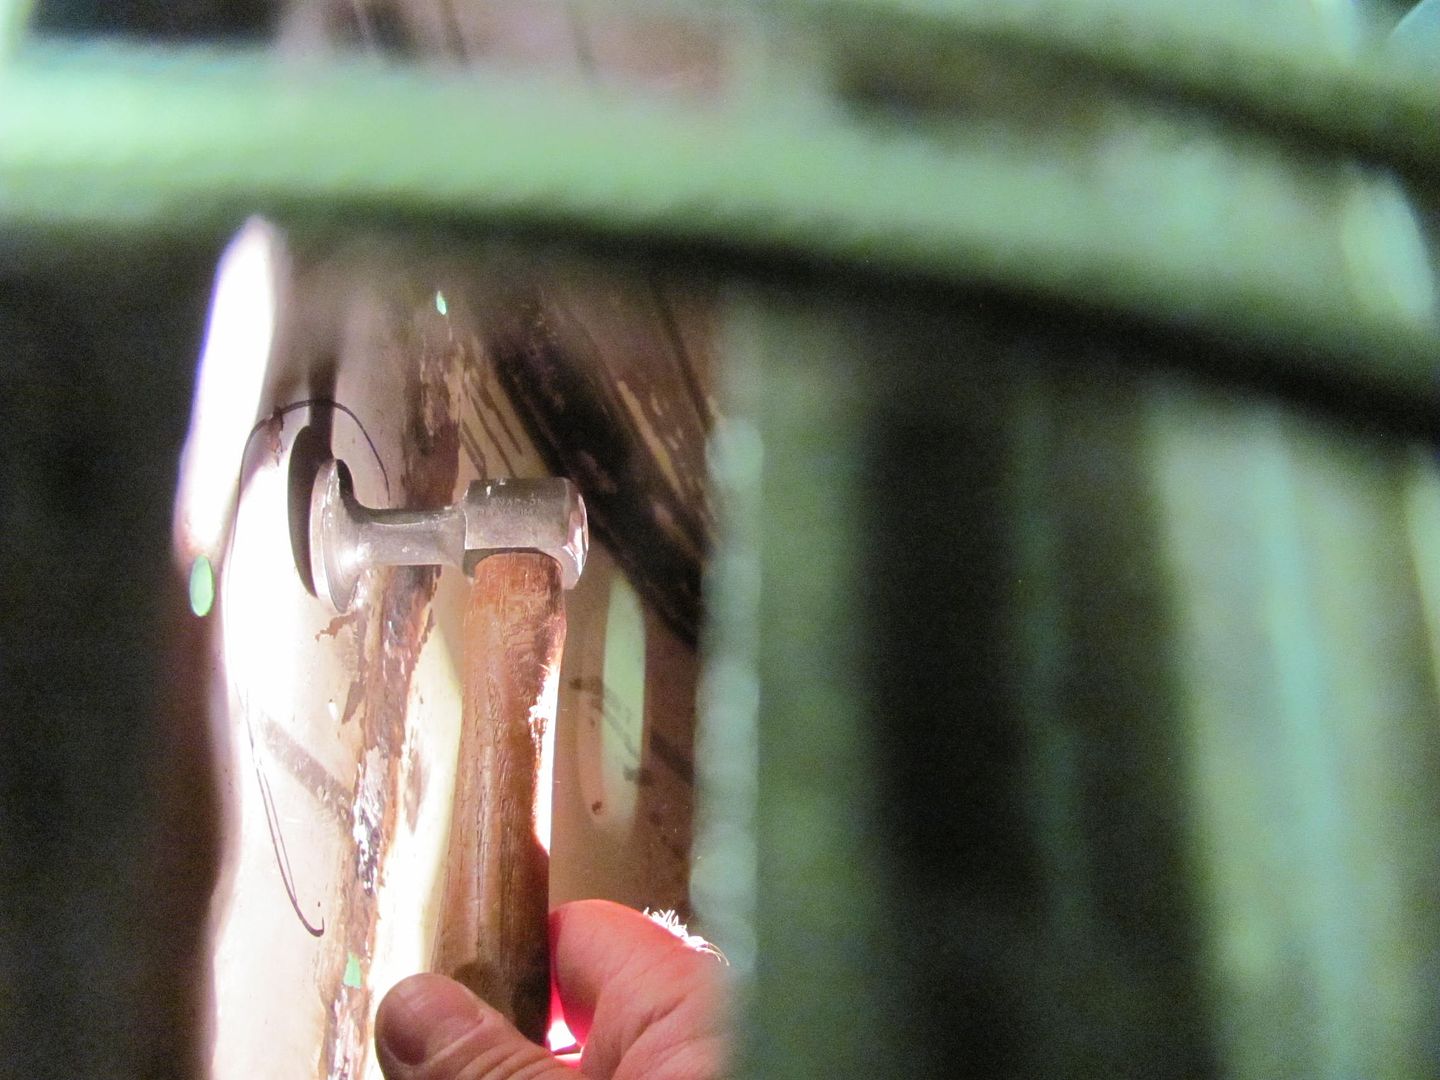
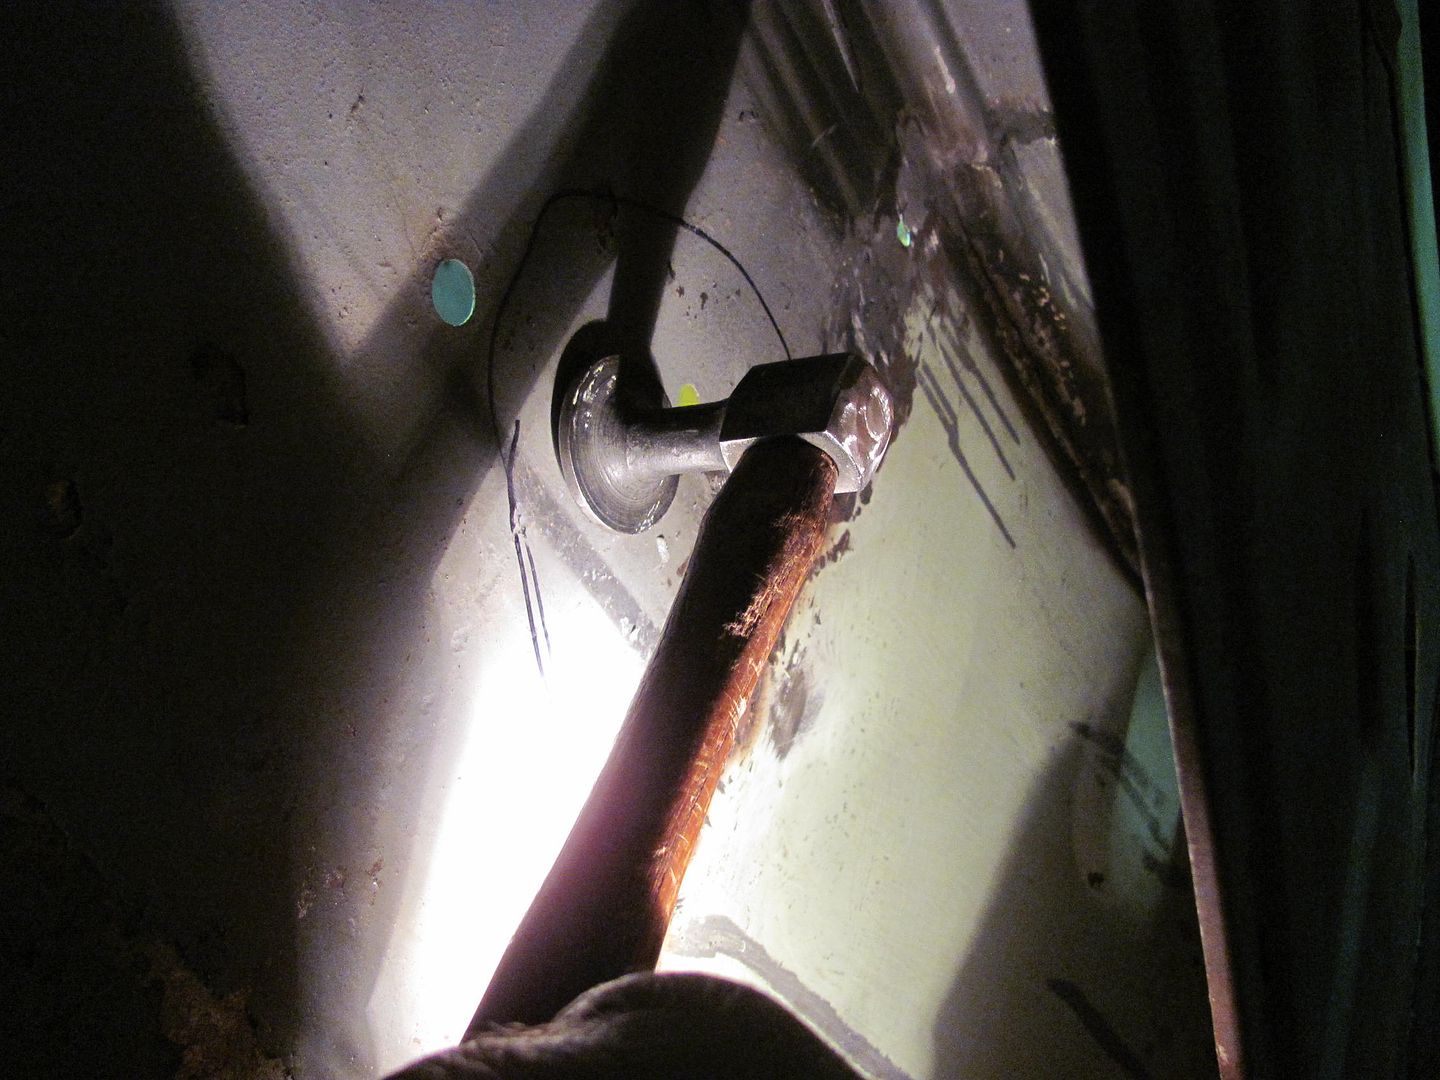
I don't typically used gaps in welding panels, was kinda forced into this to get the crown corrected, so I needed to make a copper backing tool. I had some rare earth magnets so I used one along with some flattened copper pipe. Note the magnet is ever so slightly raised to insure the copper is pulled good and snug to the panel..
Each use will tend to leave the copper soot covered, so I used a welding brush to clean the copper between each weld.
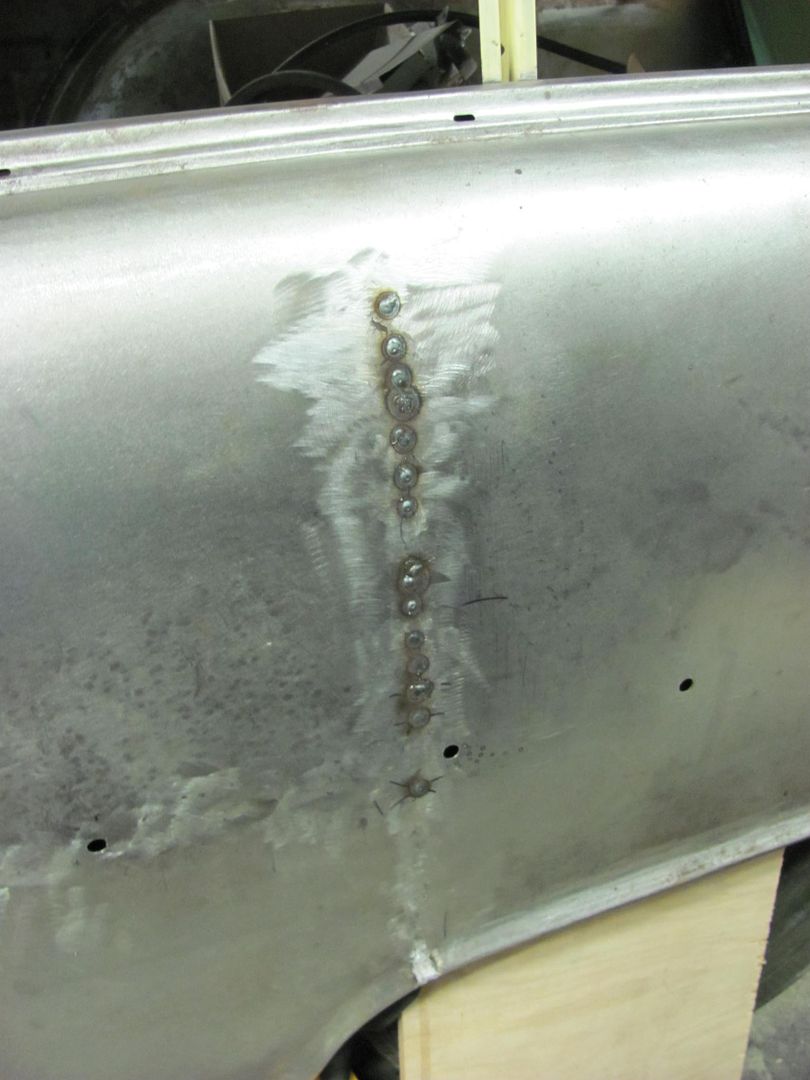
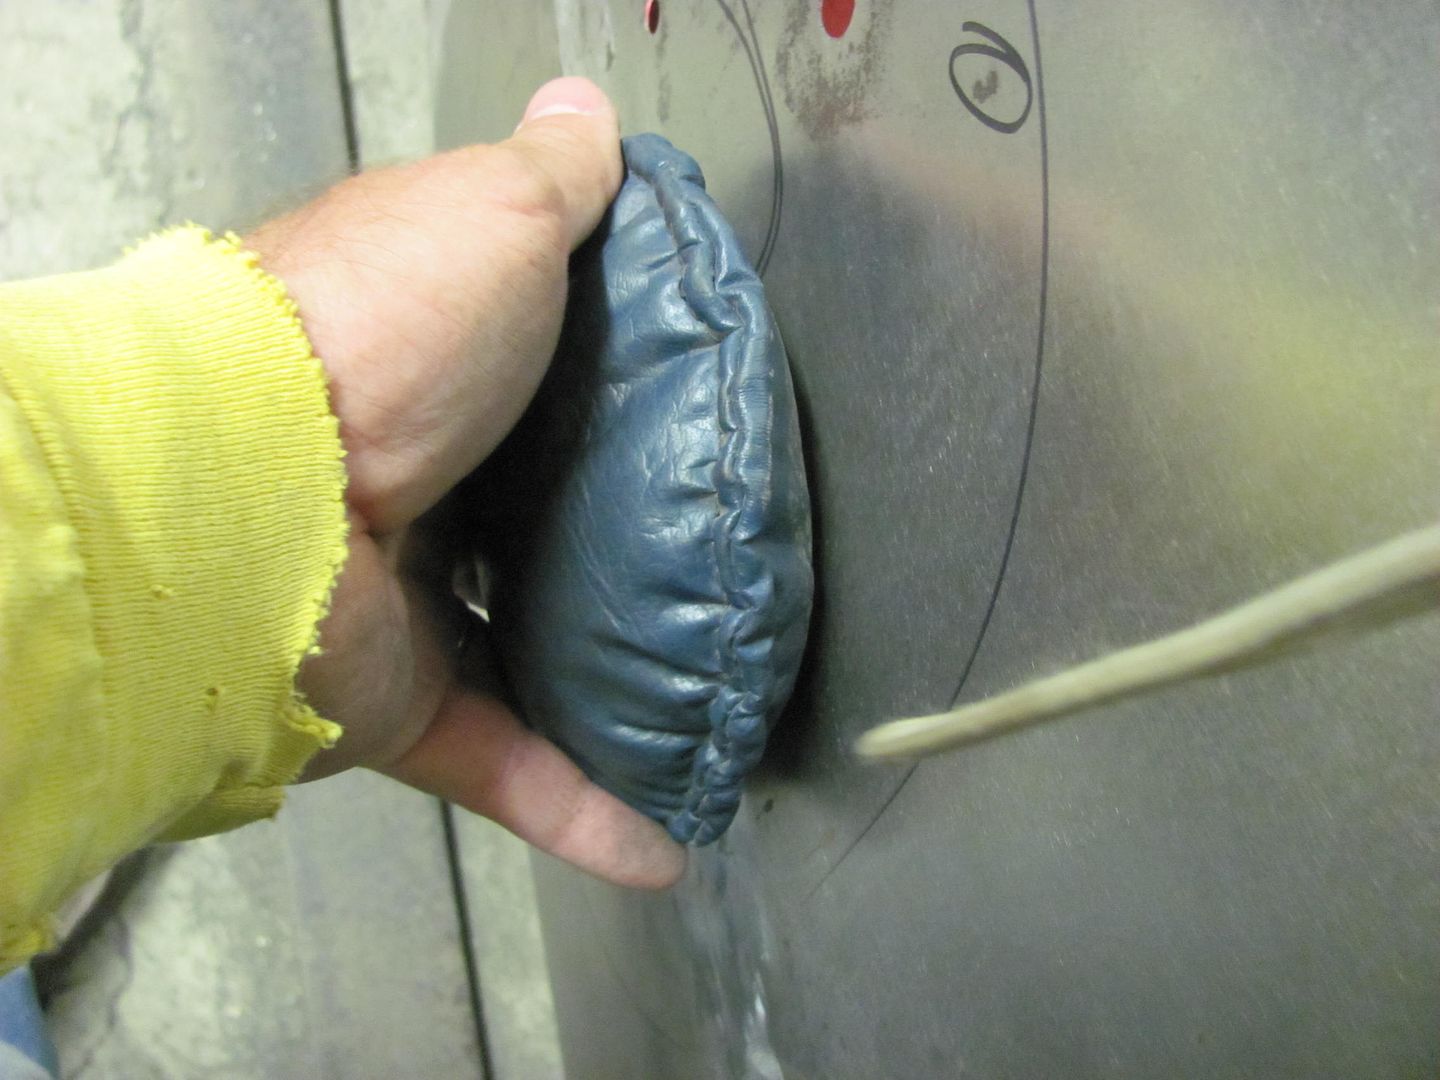
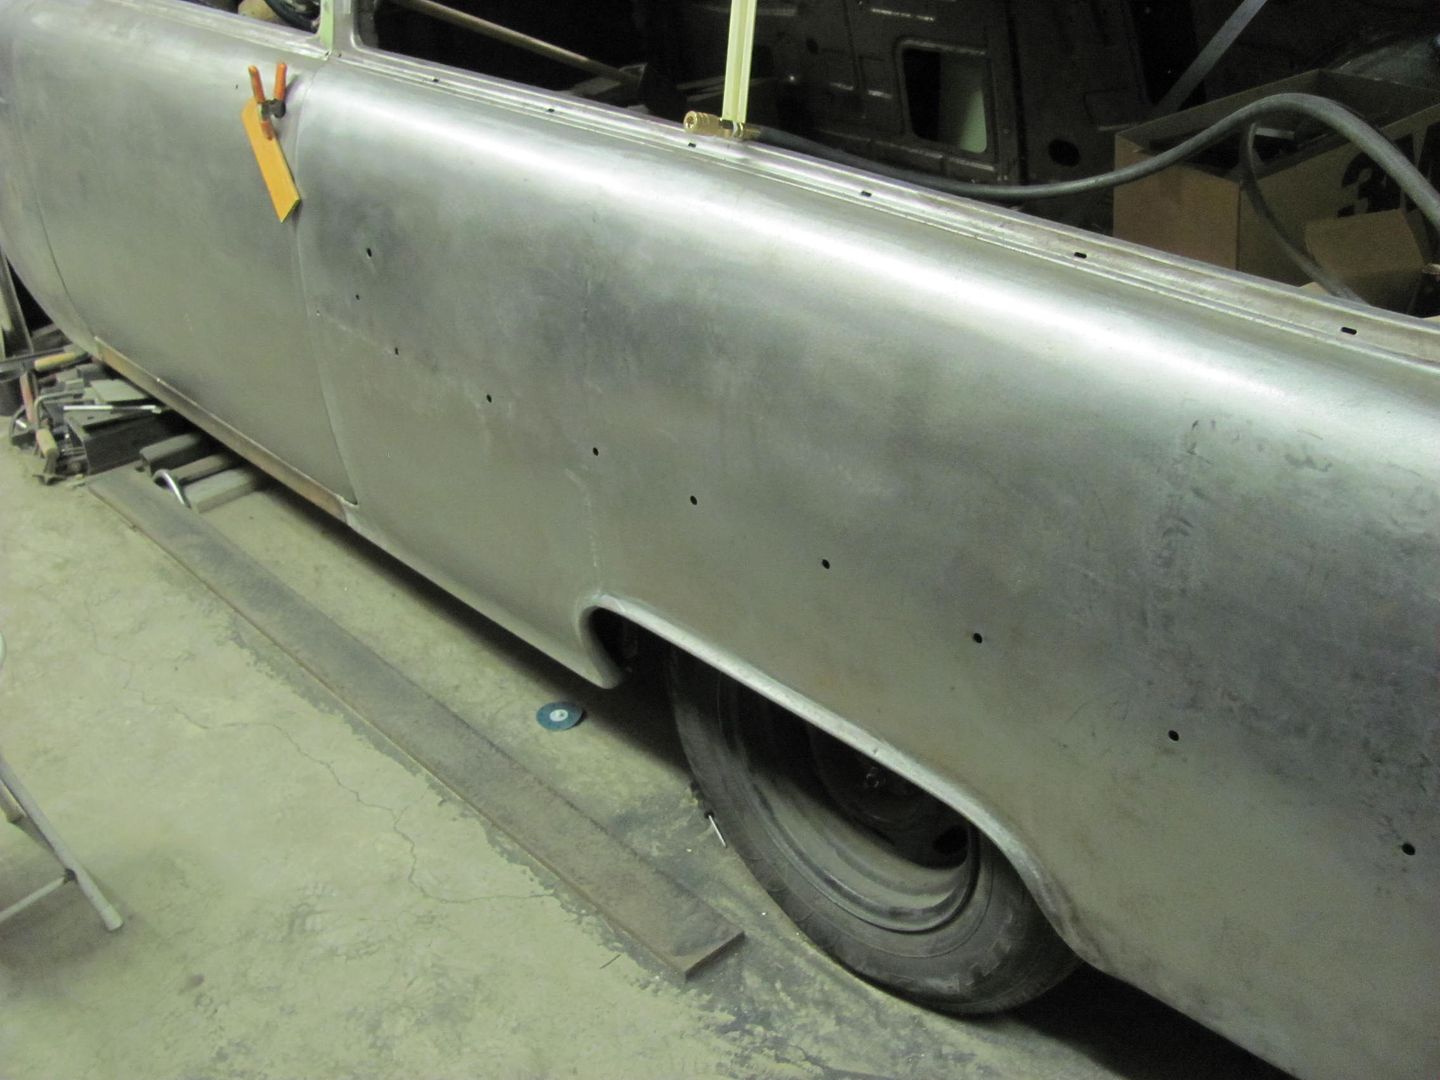
Welds all complete, just a few left to planish and dress, then some panel bumping and we should have one more thing crossed off the list..


 Reply With Quote
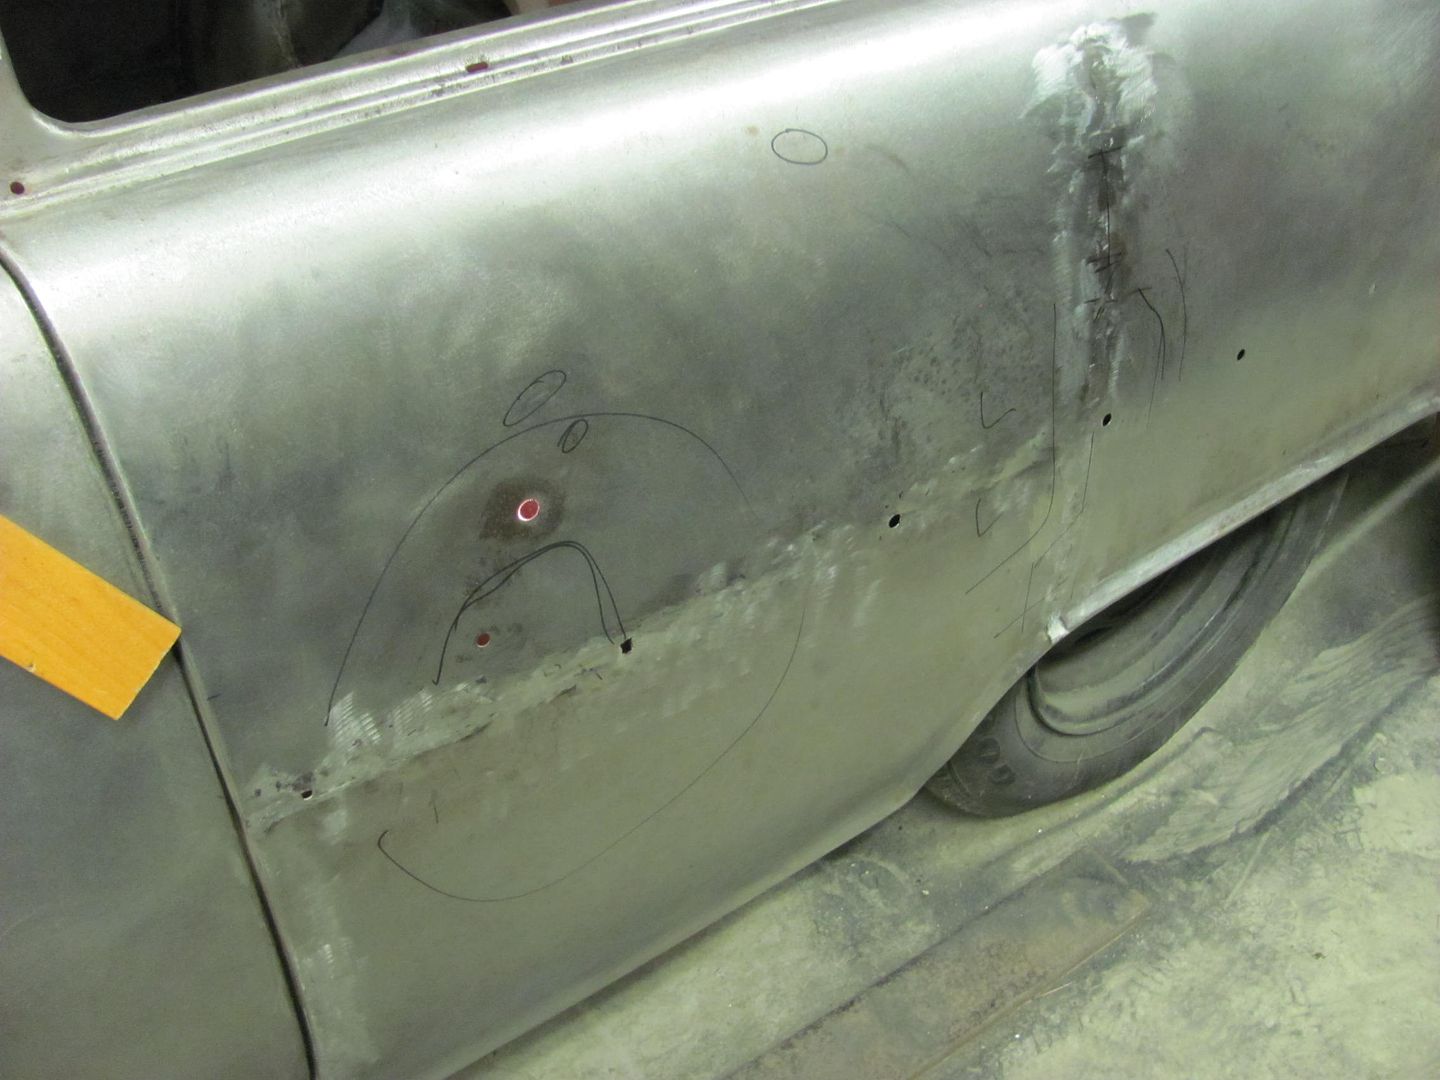

's Avatar")


