Just joined? Please introduce yourself.
Page 1 of 2 12 LastLast
Results 1 to 10 of 16

Thread: Using cut off wheels to grind welds

  1. #1
    Registered Member MP&C's Avatar
    Join Date
    Dec 2013

    Member #:2017
    Location
    Southern MD
    Posts
    1,293

    Using cut off wheels to grind welds

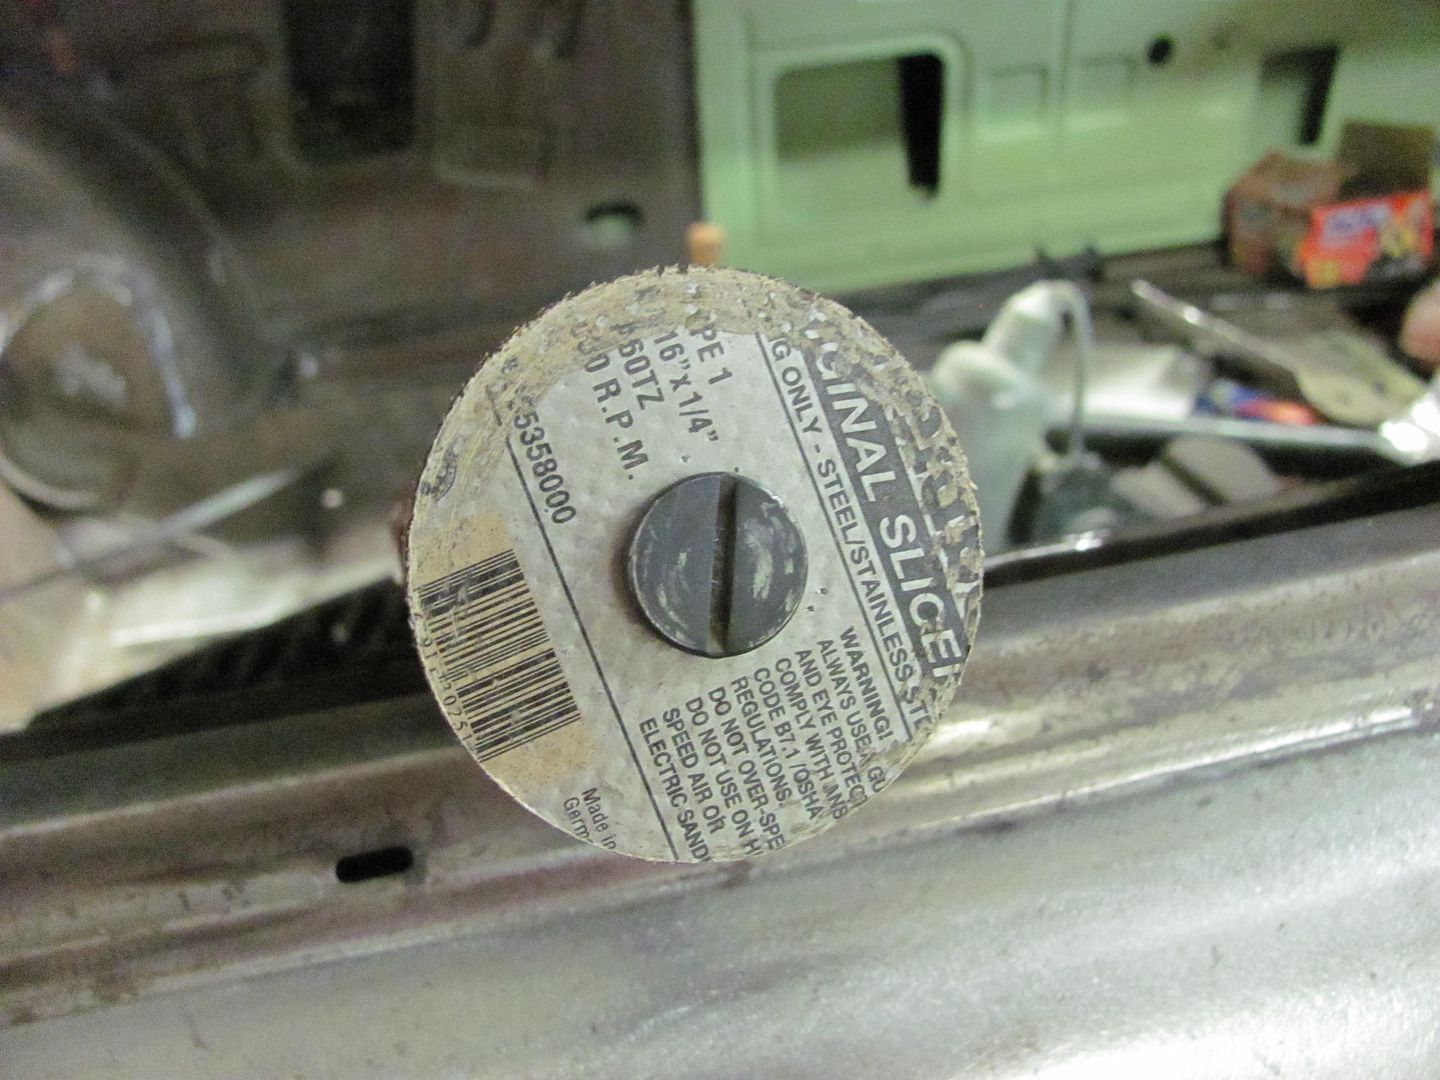
    Doesn't look like I've done much here, but got more grinding done on the quarter panel seams, a little over 6' of weld length done. Here's where the stainless rated cutoff wheels work so well. When I was using the cheap discs (the brown cloud makers) this much weld would have taken well over two discs to grind, and an air hose to clean up before walking back in the house. One stainless rated disc did this amount, and diameter went from 3" to 2-1/2, so still have quite a bit left in it..
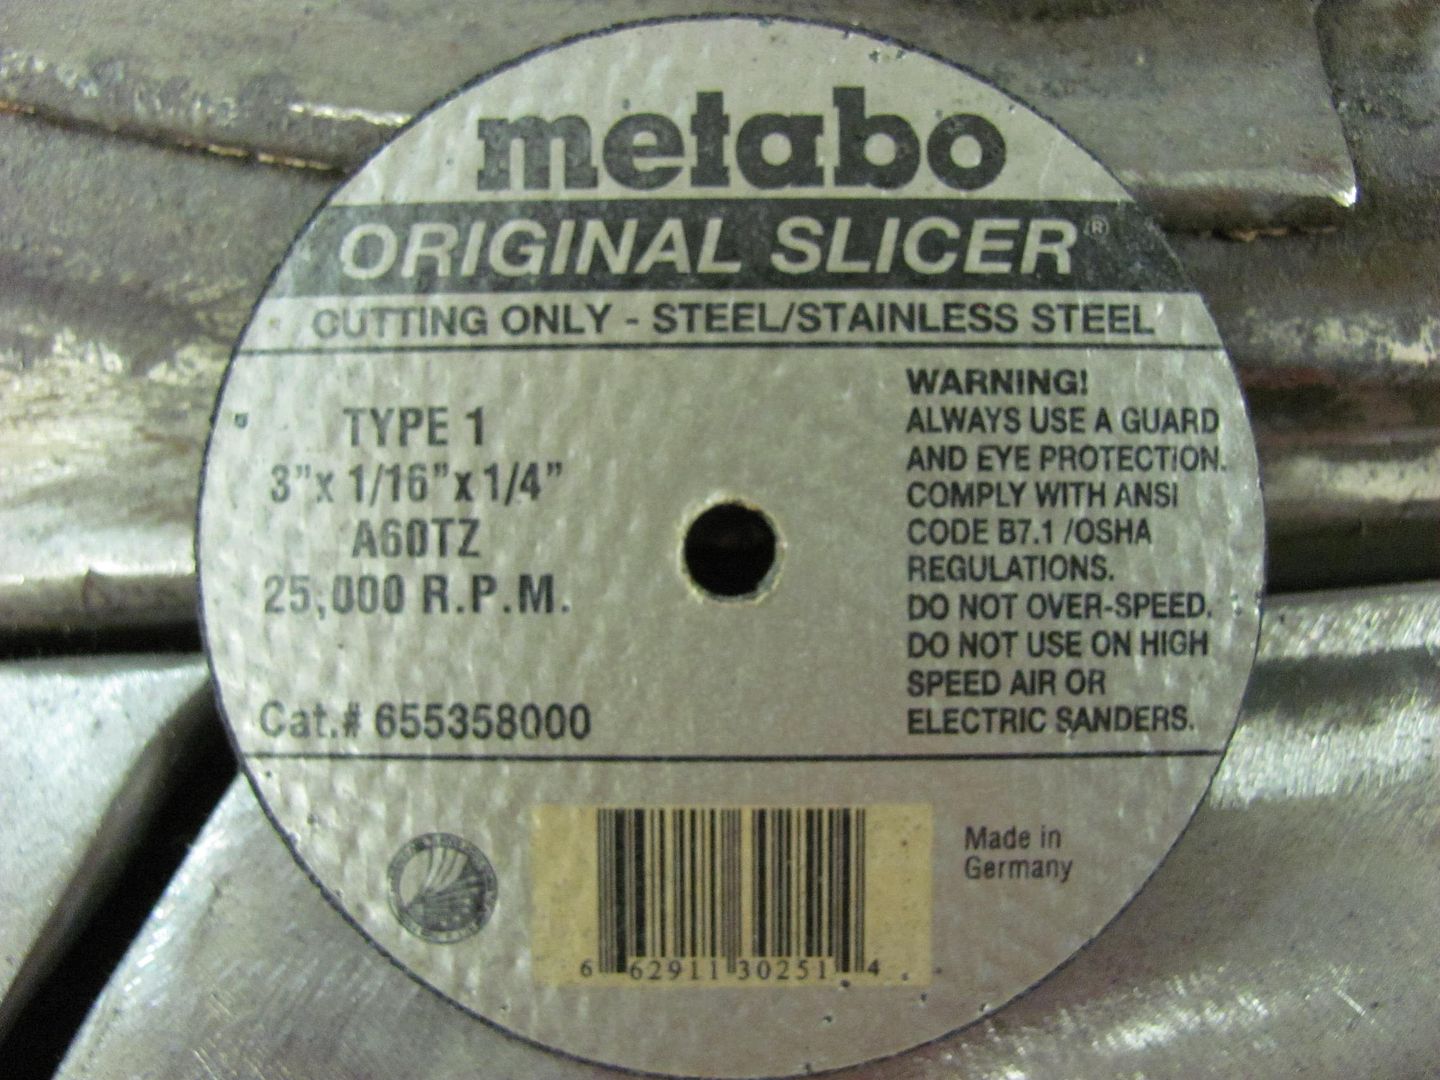


    new disc


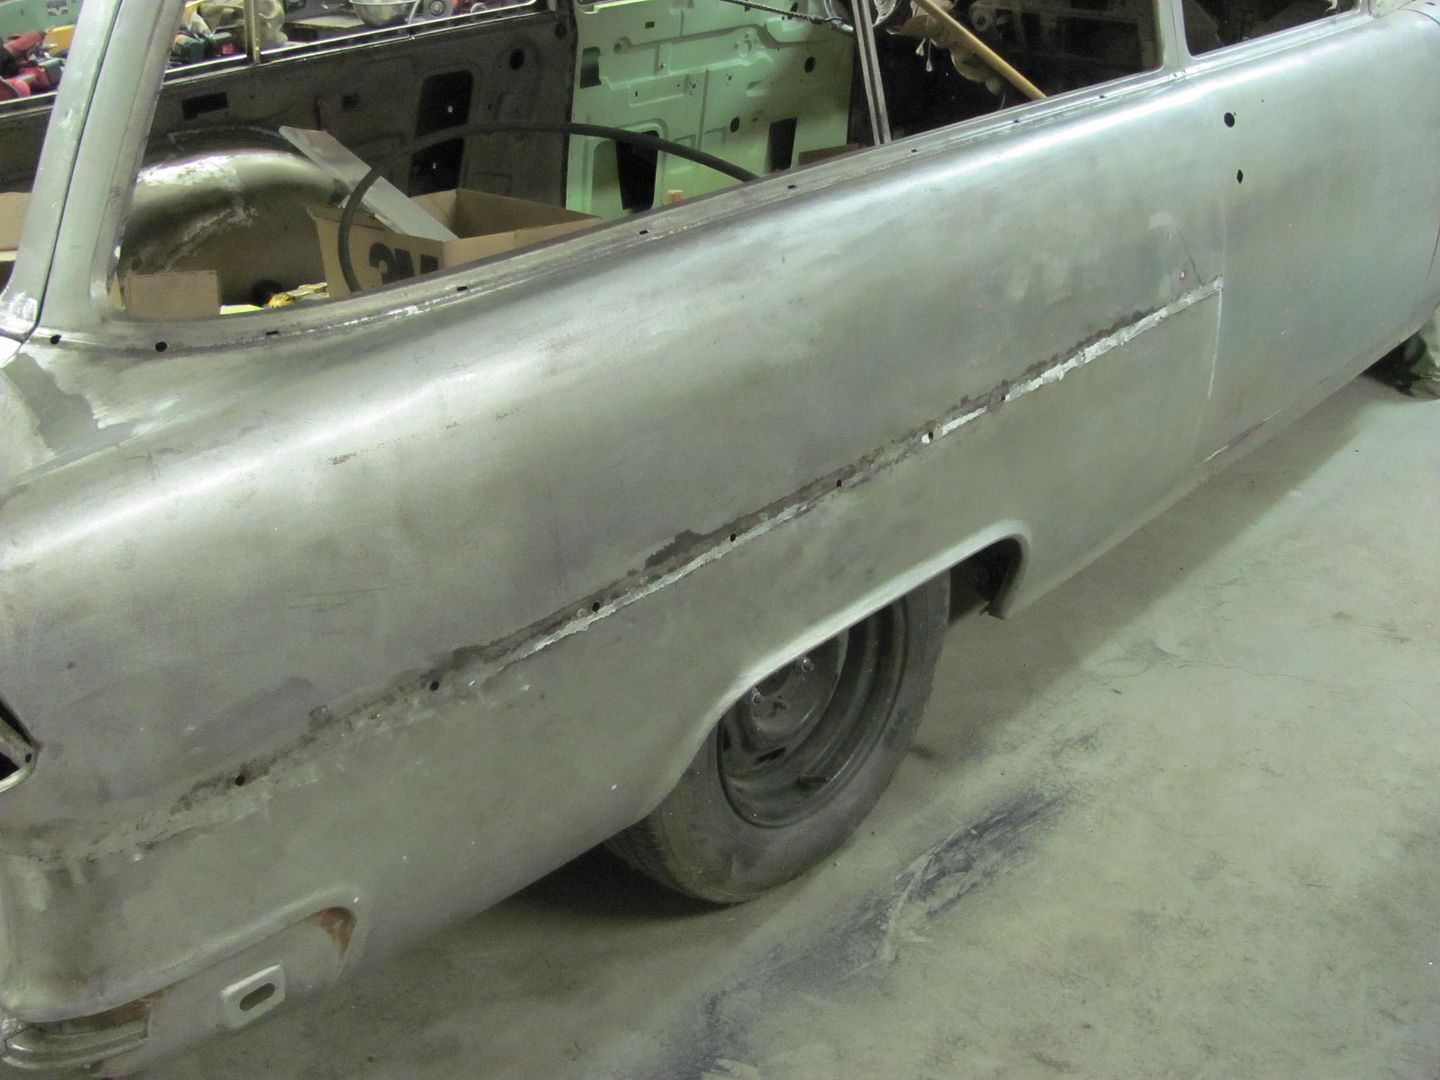
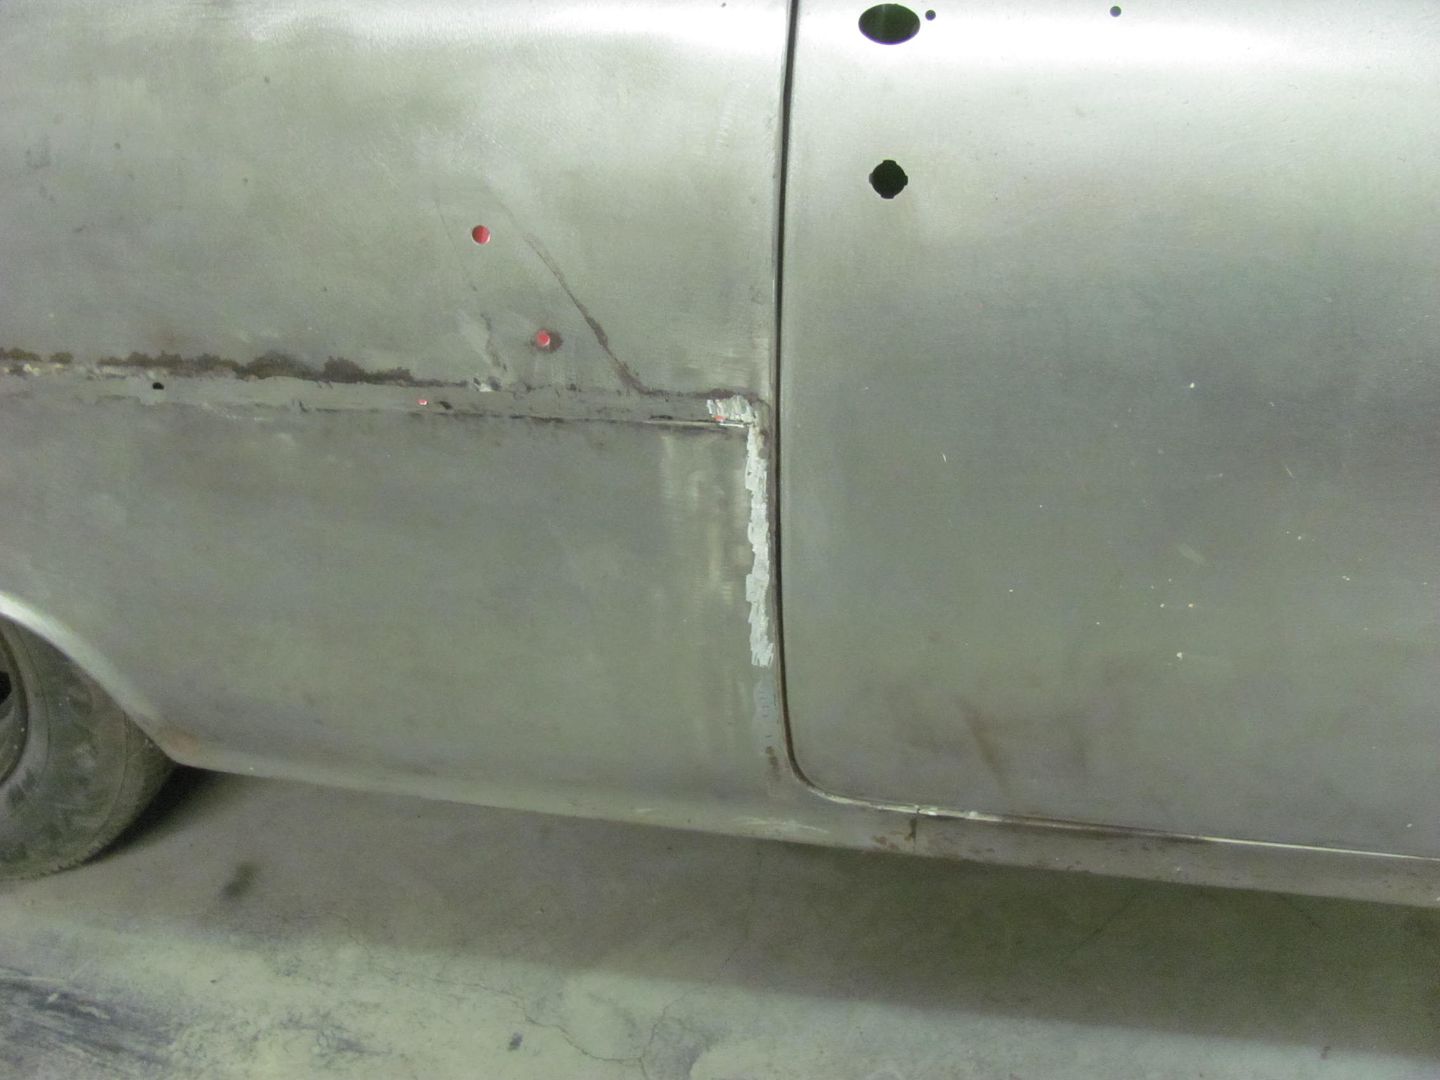
    after tonight's grinding


    So despite how appealing those cheap cutoff wheels may be to those on a tight budget, cheap ain't always cheap. The stainless rated wheels are the only ones I buy anymore, money ahead.

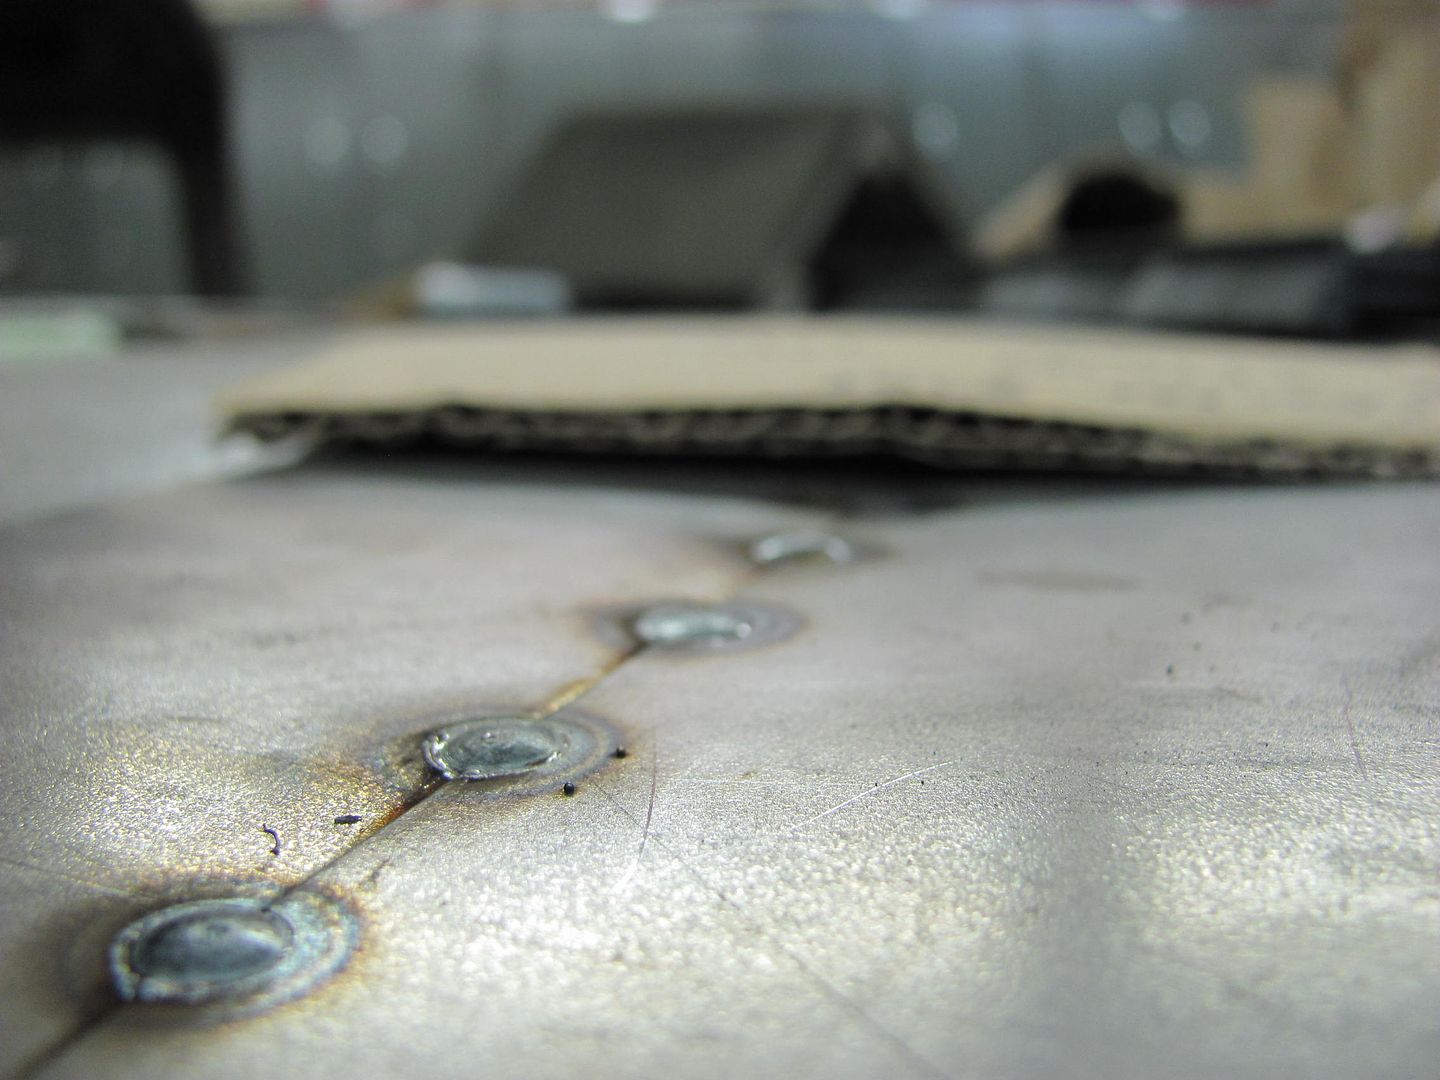
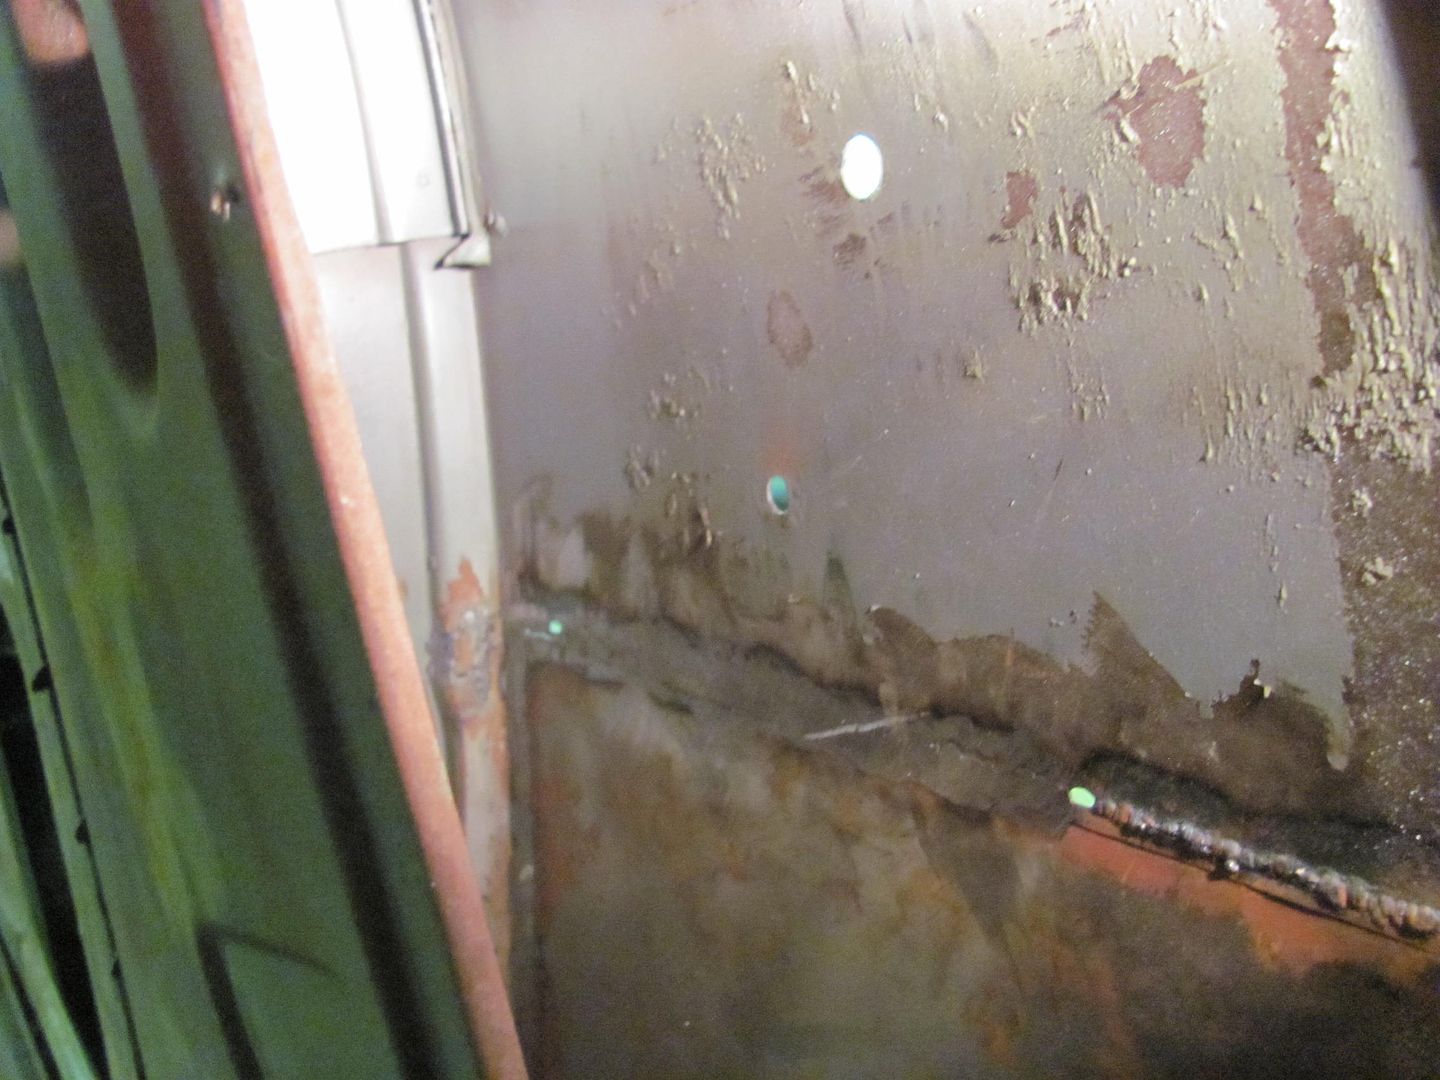
    Here's the weld grinding process...


    Robert


    MP&C Shop Projects-Metalshaping Tutorials


    Instagram @ mccartney_paint_and_custom


    .

  2. #2
    Registered Member
    Join Date
    Apr 2012

    Member #:571
    Posts
    4,672
    Where do you buy the stainless rated wheels? I've never seen them until you posted recently about them.

  3. #3
    Registered Member chevynut's Avatar
    Join Date
    Nov 2011

    Member #:115
    Location
    Fort Collins, CO
    Posts
    10,854
    Wow, 4 minutes per plug weld? LOL!

    What is the abrasive in the "stainless-rated" discs? I use the 1/32" discs almost exclusively but they're the "brown" ones. I'd like to try those.
    56 Nomad, Ramjet 502, Viper 6-speed T56, C4 Corvette front and rear suspension


    Other vehicles:

    56 Chevy 2-door BelAir sedan
    56 Chevy 210 4-door sedan
    57 Chevy 210 4-door sedan
    1962 327/340HP Corvette
    1961 Willys CJ3B Jeep
    2001 Porsche Boxster S
    2003 Chevy Silverado 2500 HD Duramax
    2019 GMC Sierra Denali Duramax

  4. #4
    Registered Member MP&C's Avatar
    Join Date
    Dec 2013

    Member #:2017
    Location
    Southern MD
    Posts
    1,293
    Quote Originally Posted by Rick_L View Post
    Where do you buy the stainless rated wheels? I've never seen them until you posted recently about them.

    My local welding supply has them, in both .035 and 1/16 thickness. And probably more that I don't use


    Quote Originally Posted by chevynut View Post
    Wow, 4 minutes per plug weld? LOL!

    What is the abrasive in the "stainless-rated" discs? I use the 1/32" discs almost exclusively but they're the "brown" ones. I'd like to try those.

    It's only 4 minutes when I get talking...

    Not sure of the abrasive, definitely cuts down on the brown cloud effect..... This weld was also done with the -6 wire; the -7 I'm using now would have easily shaved more time. For about a 3 minute video with talking
    Robert


    MP&C Shop Projects-Metalshaping Tutorials


    Instagram @ mccartney_paint_and_custom


    .

  5. #5
    Registered Member chevynut's Avatar
    Join Date
    Nov 2011

    Member #:115
    Location
    Fort Collins, CO
    Posts
    10,854
    So you['re using ER70S-7 wire? I think I'm using the -6 now. What's the difference?
    56 Nomad, Ramjet 502, Viper 6-speed T56, C4 Corvette front and rear suspension


    Other vehicles:

    56 Chevy 2-door BelAir sedan
    56 Chevy 210 4-door sedan
    57 Chevy 210 4-door sedan
    1962 327/340HP Corvette
    1961 Willys CJ3B Jeep
    2001 Porsche Boxster S
    2003 Chevy Silverado 2500 HD Duramax
    2019 GMC Sierra Denali Duramax

  6. #6
    Registered Member MP&C's Avatar
    Join Date
    Dec 2013

    Member #:2017
    Location
    Southern MD
    Posts
    1,293
    -6 is what comes with most welders. About a year ago I asked my welding supply to get me some EZ grind. He stated that he thought they had stopped making it (??), and told me to try the ER70S-7. (Esab's 87HP) This has a higher manganese content, for better wetting to the parent metal. This means better flowout, and results in slightly less height on the weld proud, for less grinding, less cost spent in grinding consumables. In the singular form (one weld dot) it has also shown to be softer for easier planishing and easier grinding. Piled up in a blob, it tends to harden previous welds, or similar to that of the -6 wire.

    Here are some welds using the -7 wire, just to show wetting (flow-out). Note the minimal height and consistency of weld prouds from front side to back side..

    front view


    rear view


    This isn't as good as using O/A or Tig for getting softer welds, especially using fusion welding. But for those using Mig, it certainly helps out over using the -6.
    Robert


    MP&C Shop Projects-Metalshaping Tutorials


    Instagram @ mccartney_paint_and_custom


    .

  7. #7
    Registered Member chevynut's Avatar
    Join Date
    Nov 2011

    Member #:115
    Location
    Fort Collins, CO
    Posts
    10,854
    I have never been able to successfully TIG weld old sheetmetal. It always "volcanoes" on me, even when I clean the crap out of it. I don't know why.

    We've discussed this before, but I don't see why MIG makes any harder weld than TIG using the same ER70S-6 rod and wire. I still believe the perceived difference is that MIG deposits more metal you have to grind, but it's not any harder. Do you know of any hardness testing that's ever been done to validate this?
    56 Nomad, Ramjet 502, Viper 6-speed T56, C4 Corvette front and rear suspension


    Other vehicles:

    56 Chevy 2-door BelAir sedan
    56 Chevy 210 4-door sedan
    57 Chevy 210 4-door sedan
    1962 327/340HP Corvette
    1961 Willys CJ3B Jeep
    2001 Porsche Boxster S
    2003 Chevy Silverado 2500 HD Duramax
    2019 GMC Sierra Denali Duramax

  8. #8
    Registered Member MP&C's Avatar
    Join Date
    Dec 2013

    Member #:2017
    Location
    Southern MD
    Posts
    1,293
    Sure, weld two pieces of sheet metal together, grind them flat to form "one sheet", and then cut through the weld area with some tin snips. You'll know exactly where the weld is.

    I have some scraps here with the -7, maybe I need to do a tin snip test with them as well.
    Robert


    MP&C Shop Projects-Metalshaping Tutorials


    Instagram @ mccartney_paint_and_custom


    .

  9. #9
    Registered Member
    Join Date
    Apr 2012

    Member #:571
    Posts
    4,672
    I tried some "EZ Grind" a while back and saw no difference in the welding or grinding - unless it wasn't the real thing.

    Anything you can do to make a mig weld "flow out" will be of benefit.

    I'm not an accomplished tig welder, but occasionally I can make great welds with "old metal" - or one side of the joint being "old metal" which is really the problem to solve. I bought a new better welder a while back, and it helps. I have been able to weld two pieces of new 20 gauge mild steel with no filler with it. At a work bench - not on the car. Obviously with thin material cleanliness and excellent fit are your goals.

  10. #10
    Registered Member MP&C's Avatar
    Join Date
    Dec 2013

    Member #:2017
    Location
    Southern MD
    Posts
    1,293
    I think many people's problem with Mig is that they are reluctant (skeered) to add enough heat. I have always adjusted the heat for full penetration welds first and foremost, then adjust wire feed to prevent blowout, then control weld size (heat applied) by duration of trigger pull. IIRC, the -7 welds above were with the machine set at the factory recommendation for 16ga steel, even though the panel is 19ga... I also did similar welds with the machine set at 3/16" steel heat setting, and trigger duration was less than 1 second, and absolutely NO BLOWOUT. It was just something I was playing with the see what worked best. I'd suggest for anyone to cut out some sheet like I did above and play with their machine's settings, try 16, 14ga, up to 1/8" heat settings and see what it does for your weld dots. Control weld size with duration. Find the sweet spot for you machine and use it.
    Robert


    MP&C Shop Projects-Metalshaping Tutorials


    Instagram @ mccartney_paint_and_custom


    .

Page 1 of 2 12 LastLast

Posting Permissions

  • You may not post new threads
  • You may not post replies
  • You may not post attachments
  • You may not edit your posts
  •