Just joined? Please introduce yourself.
Page 2 of 3 FirstFirst 123 LastLast
Results 11 to 20 of 21

Thread: Inner Fender repairs

  1. #11
    Registered Member MP&C's Avatar
    Join Date
    Dec 2013

    Member #:2017
    Location
    Southern MD
    Posts
    1,293
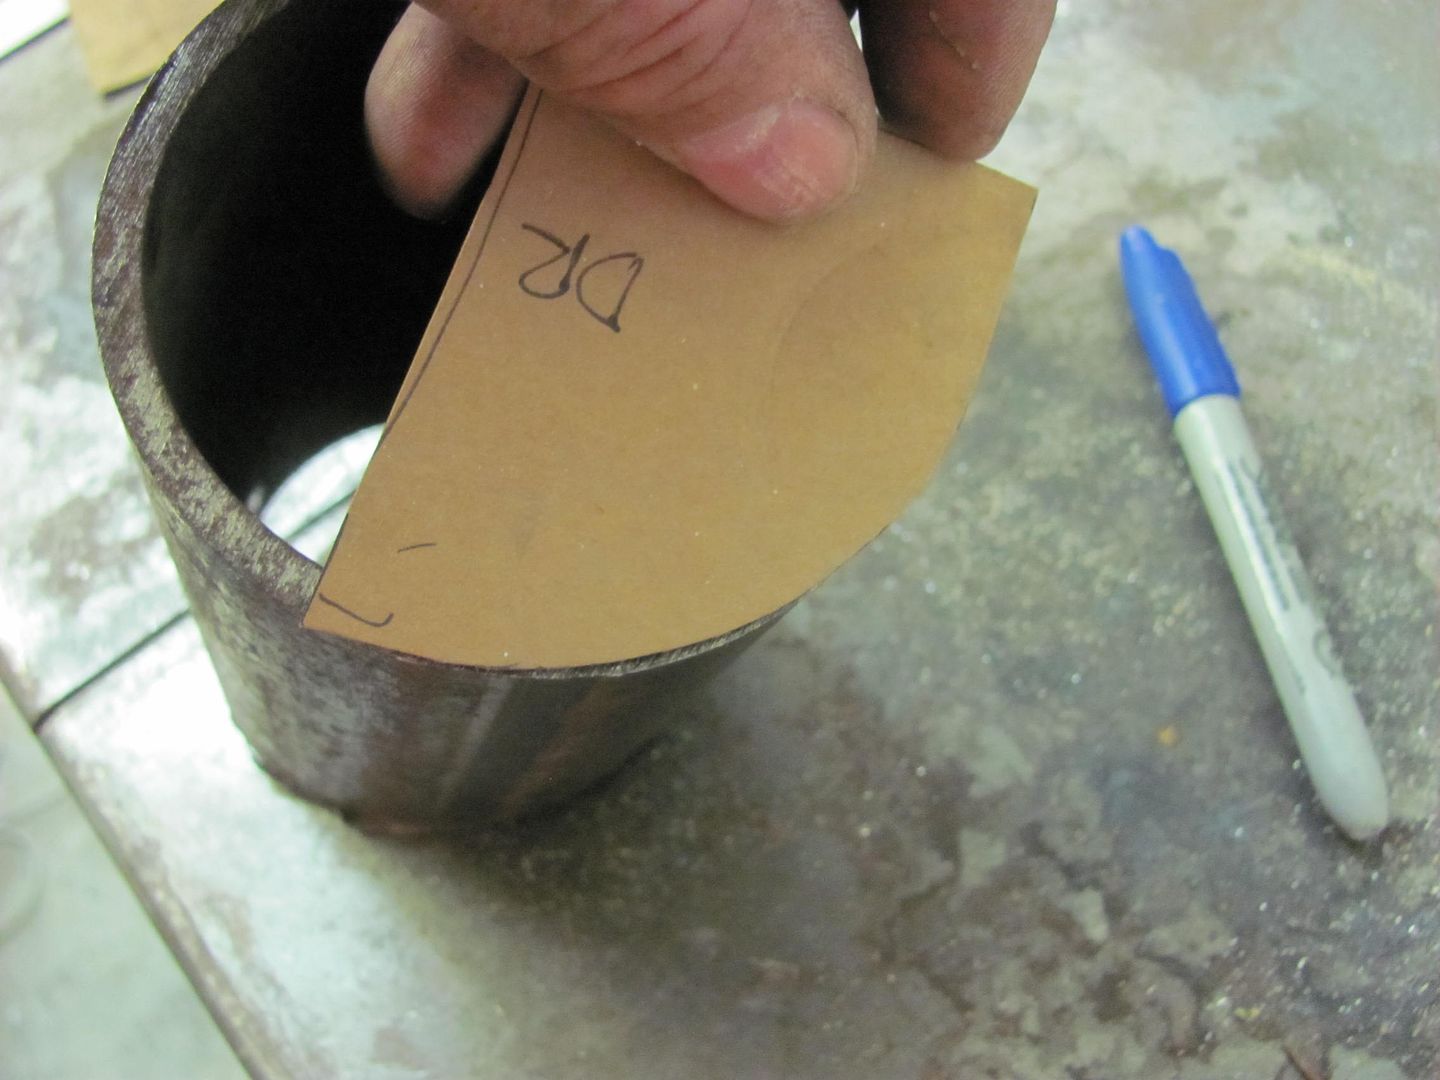
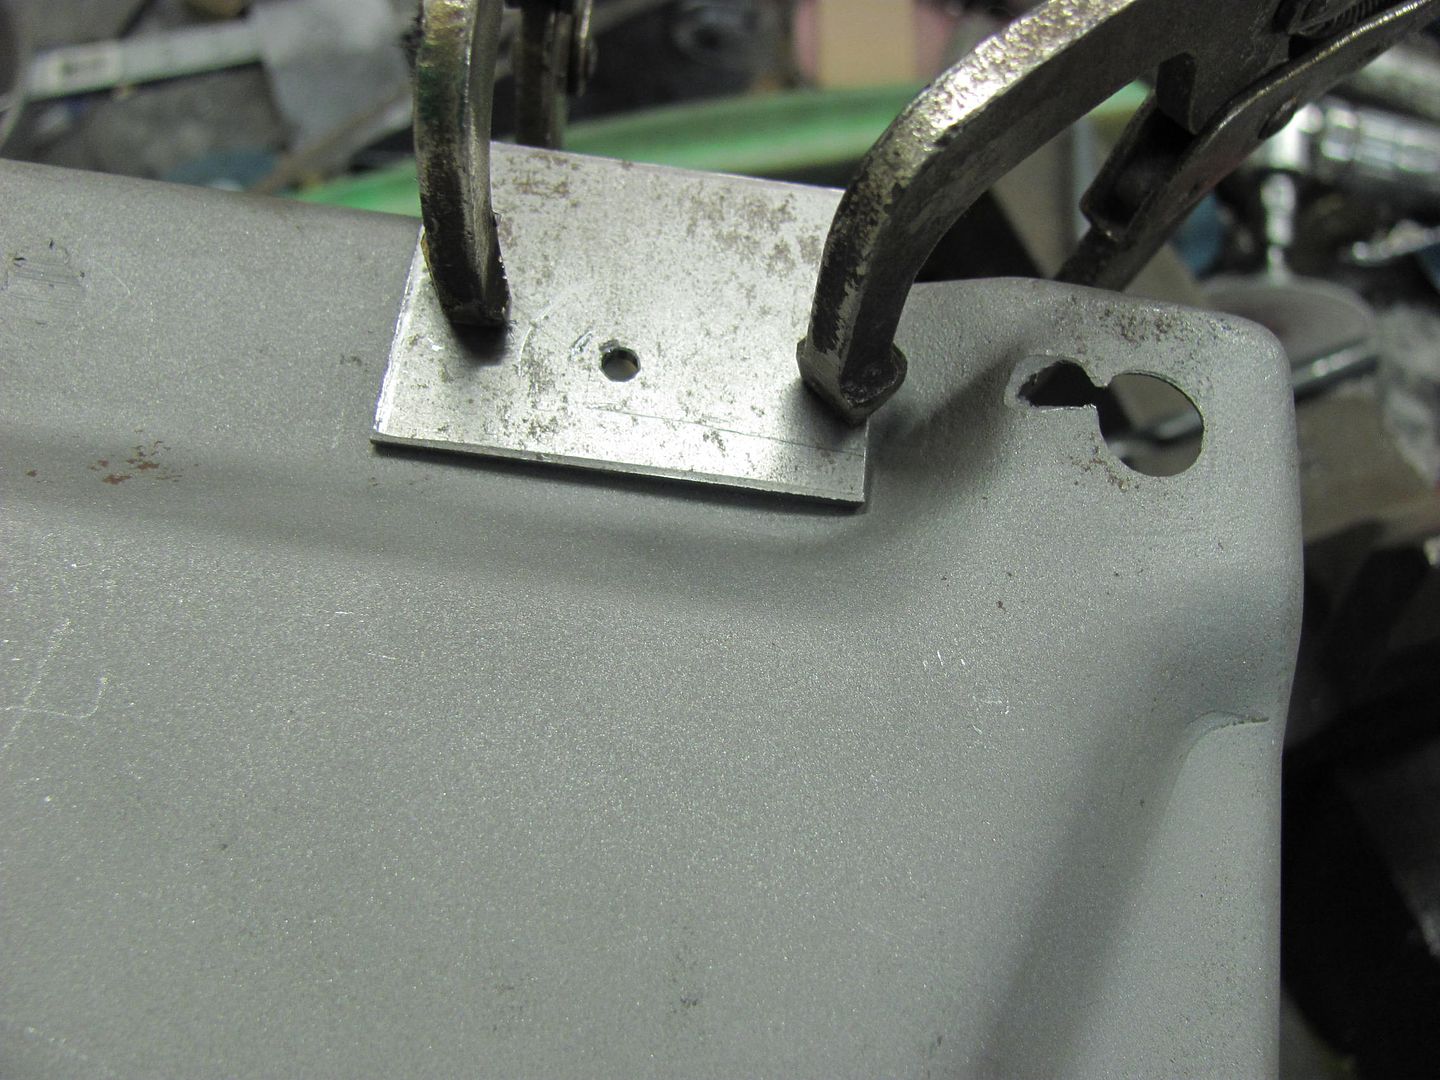
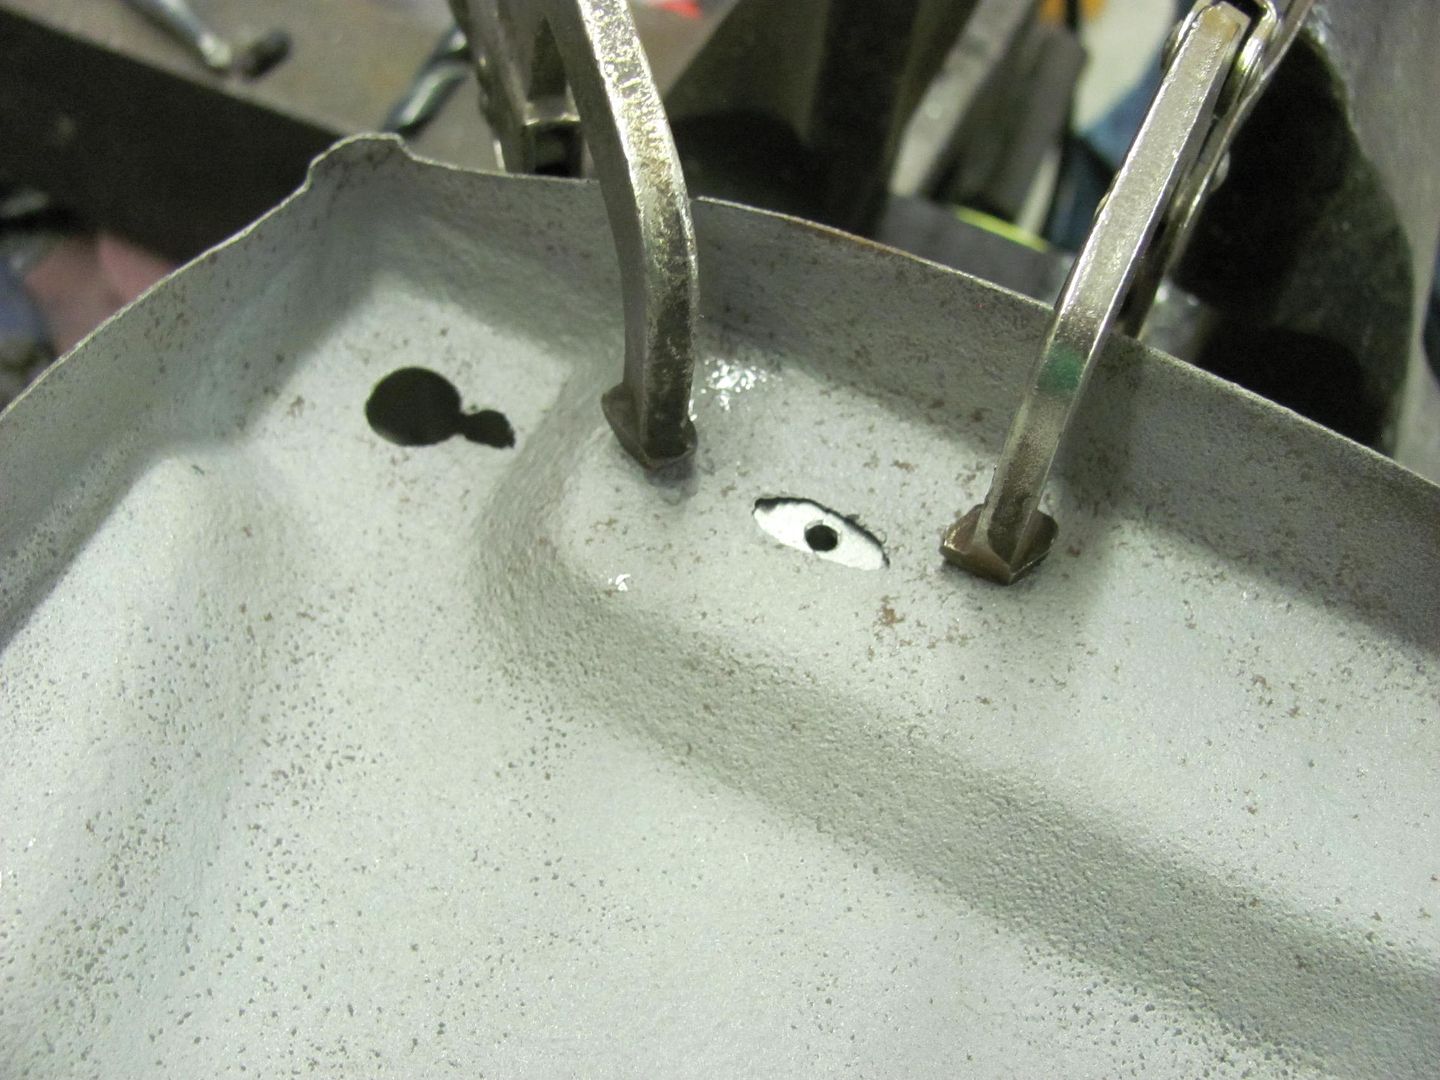
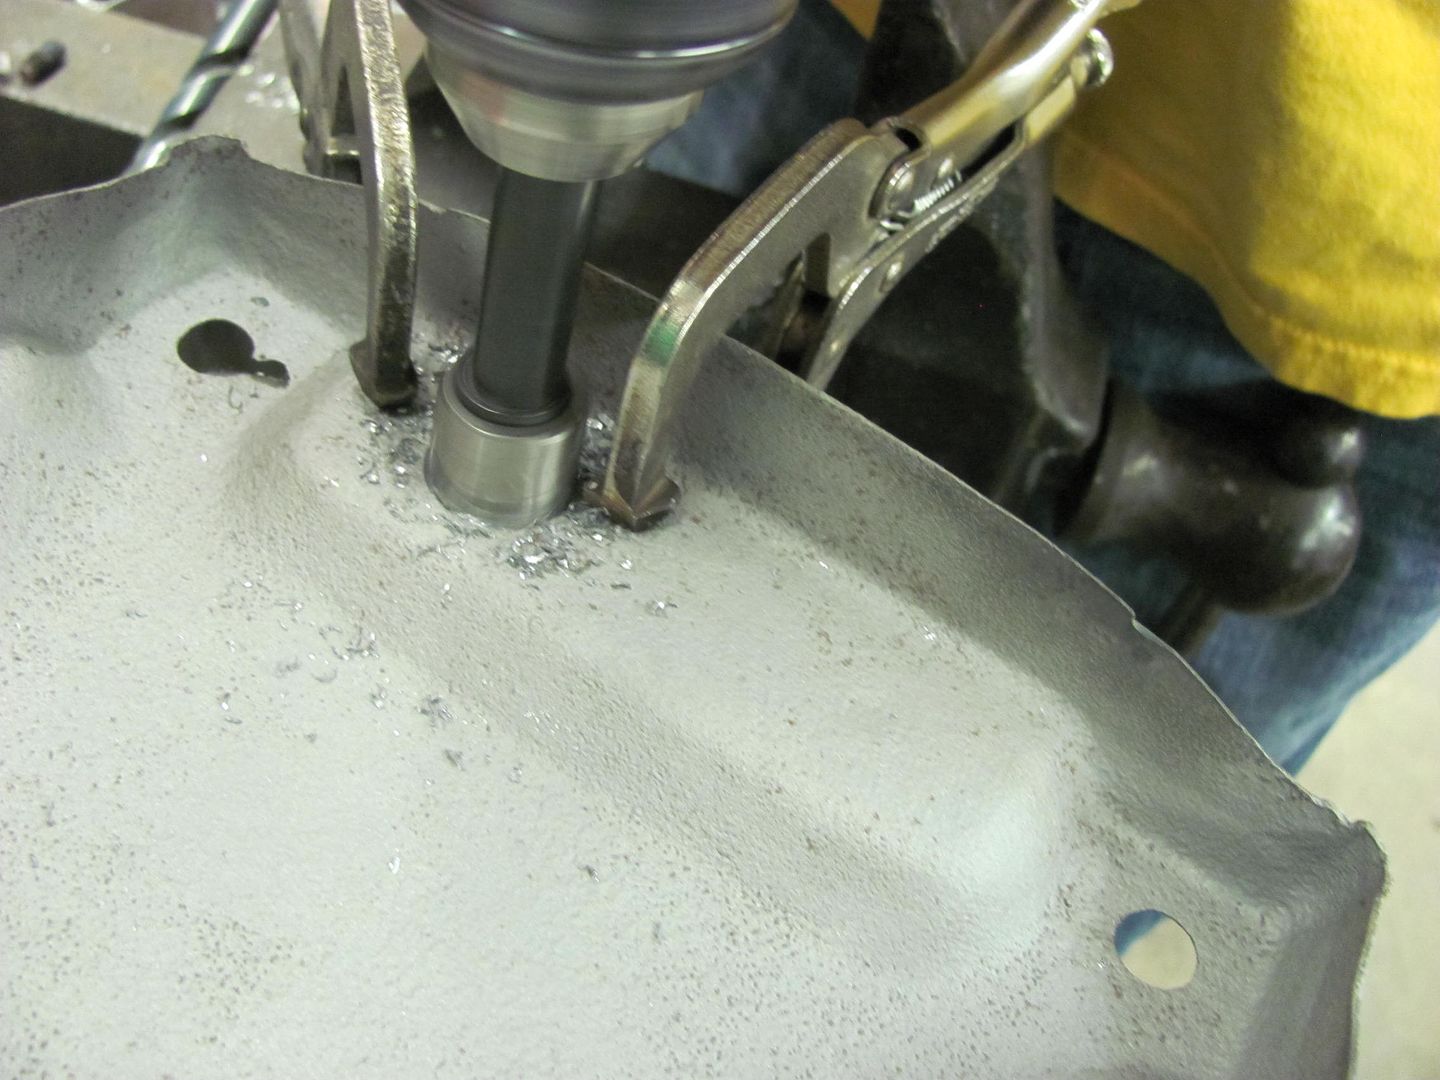
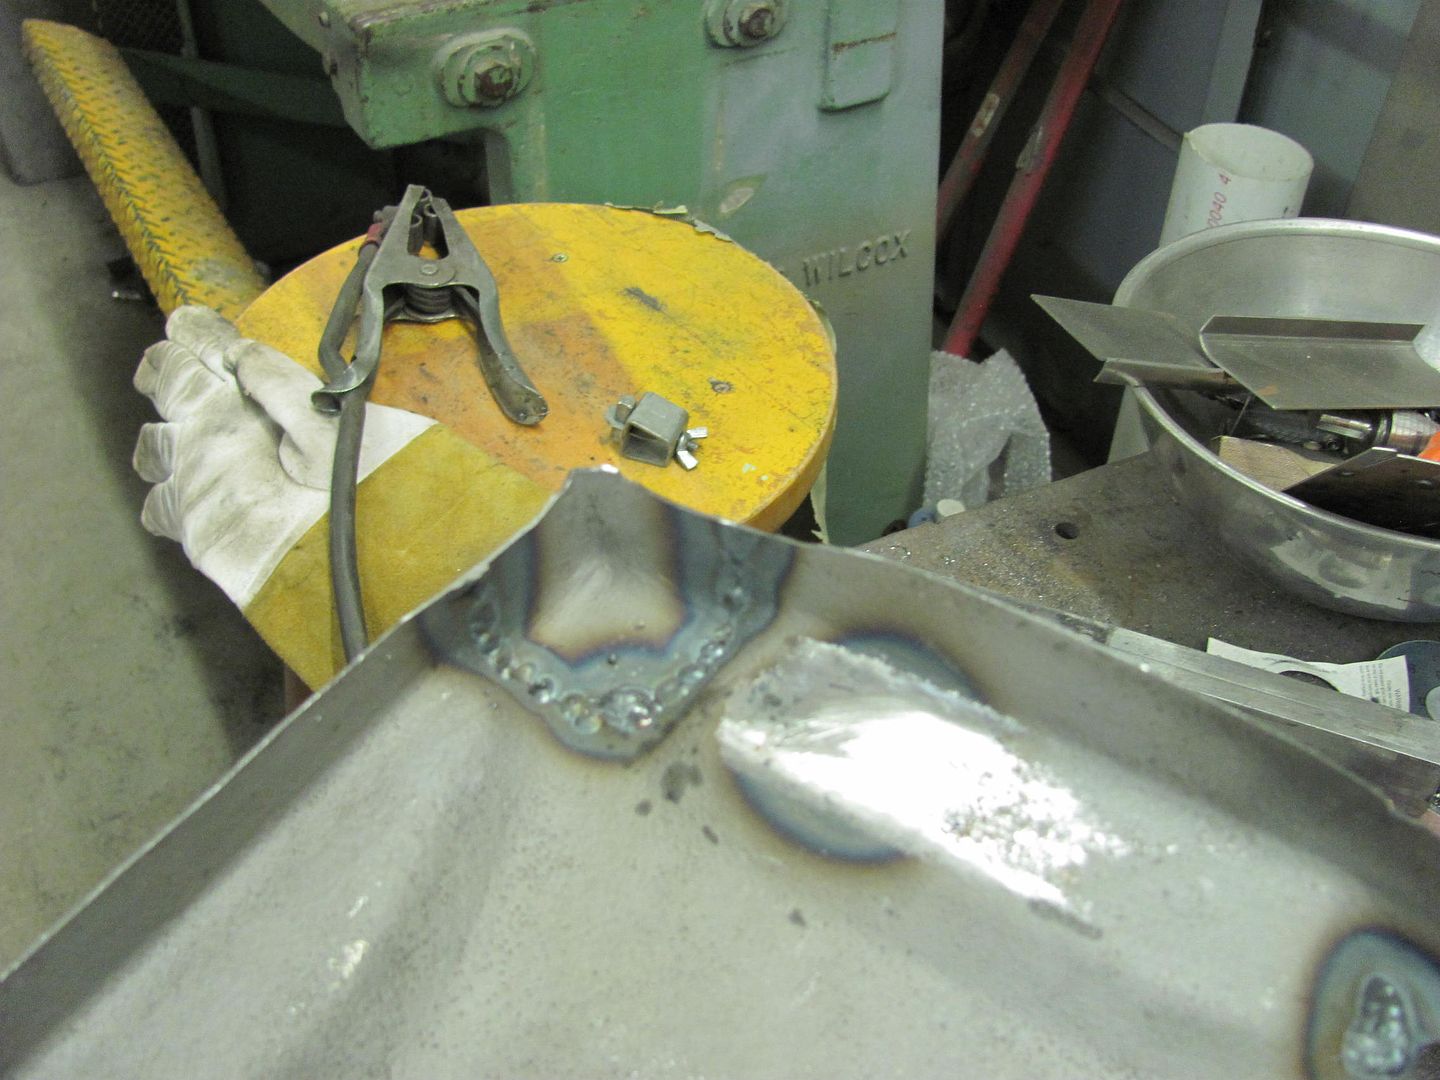
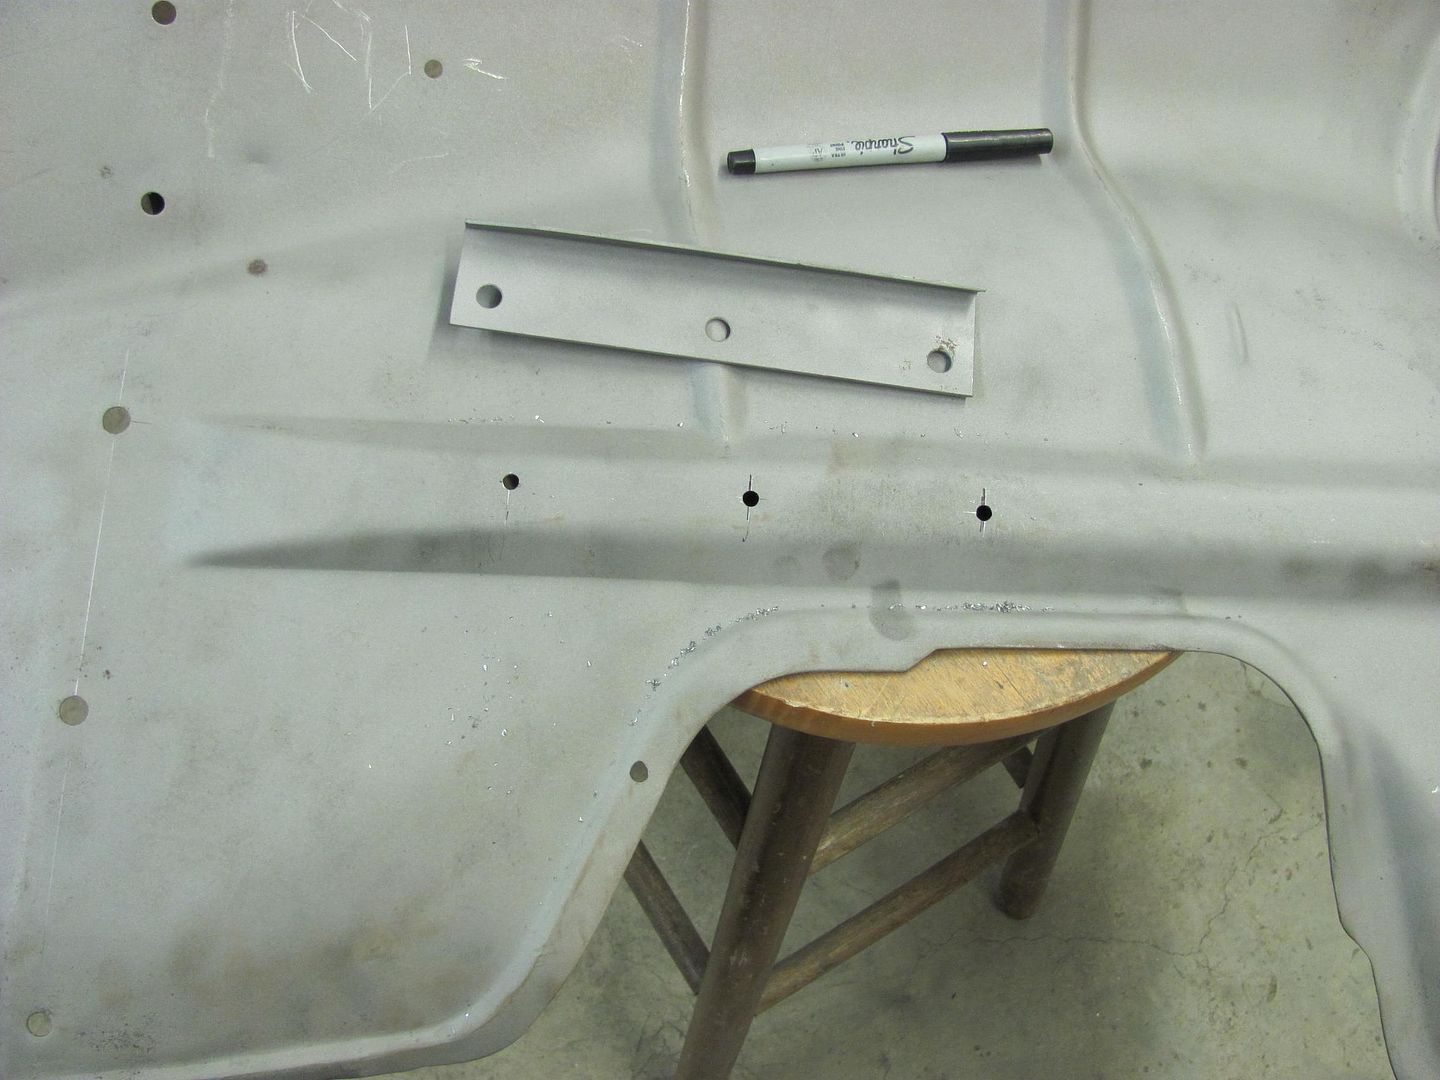
    Today we worked on filling some holes in the battery trays. Hard to drill out a slot, so we clamped on a plate with a pilot hole to use with the Blue Point sheet metal hole cutter:
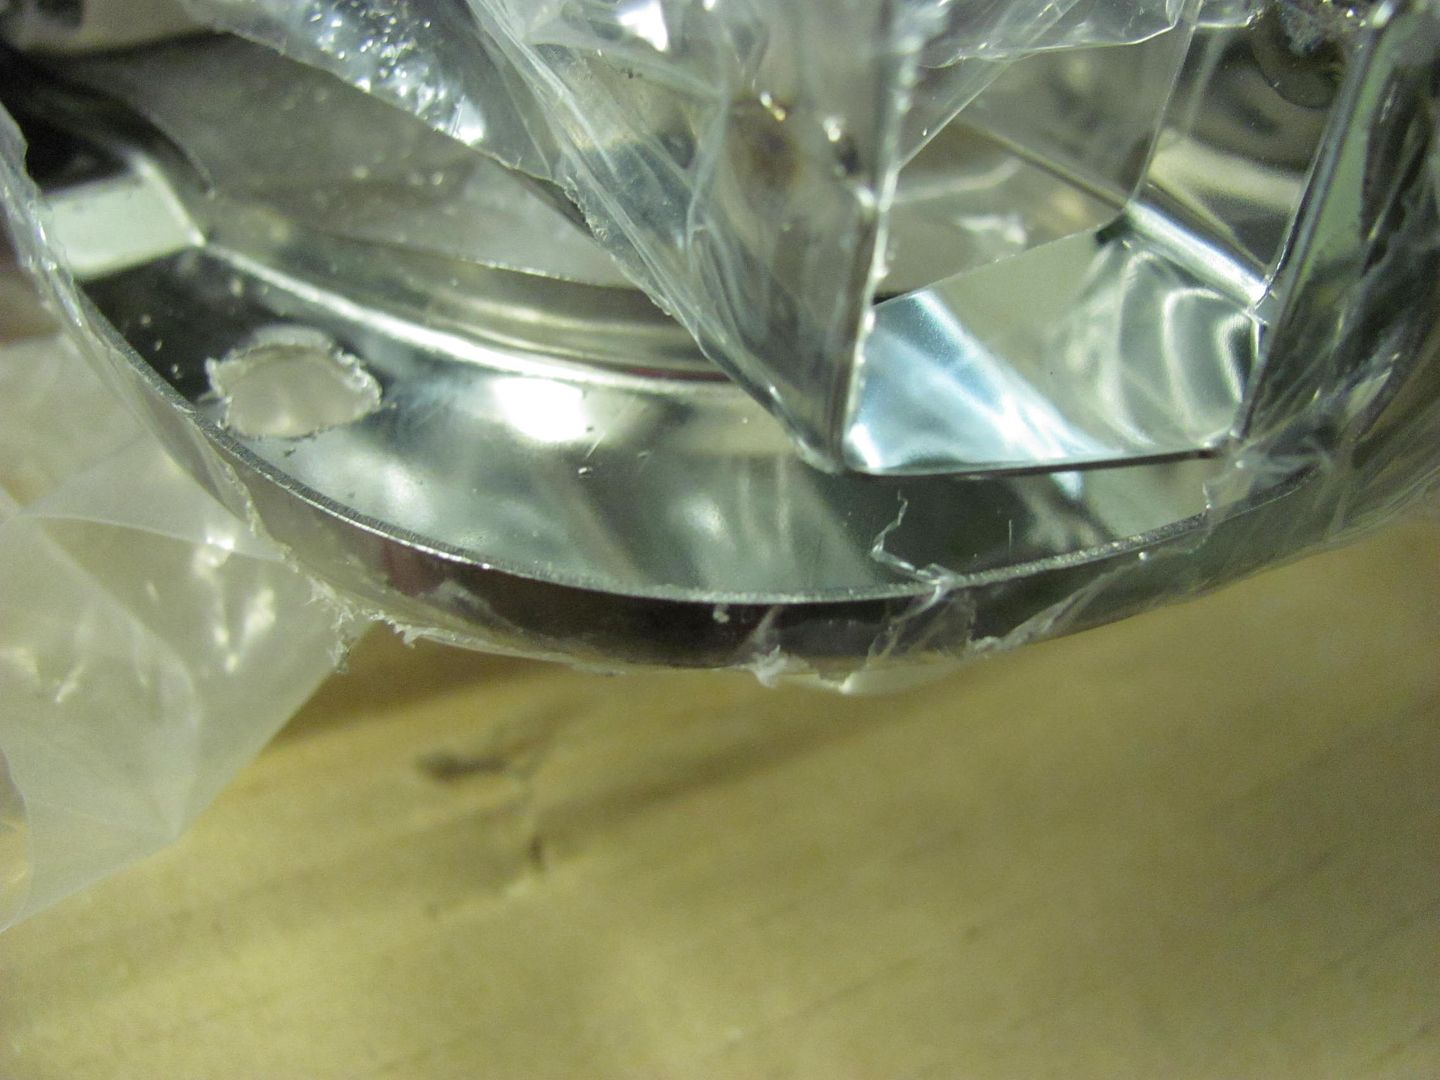
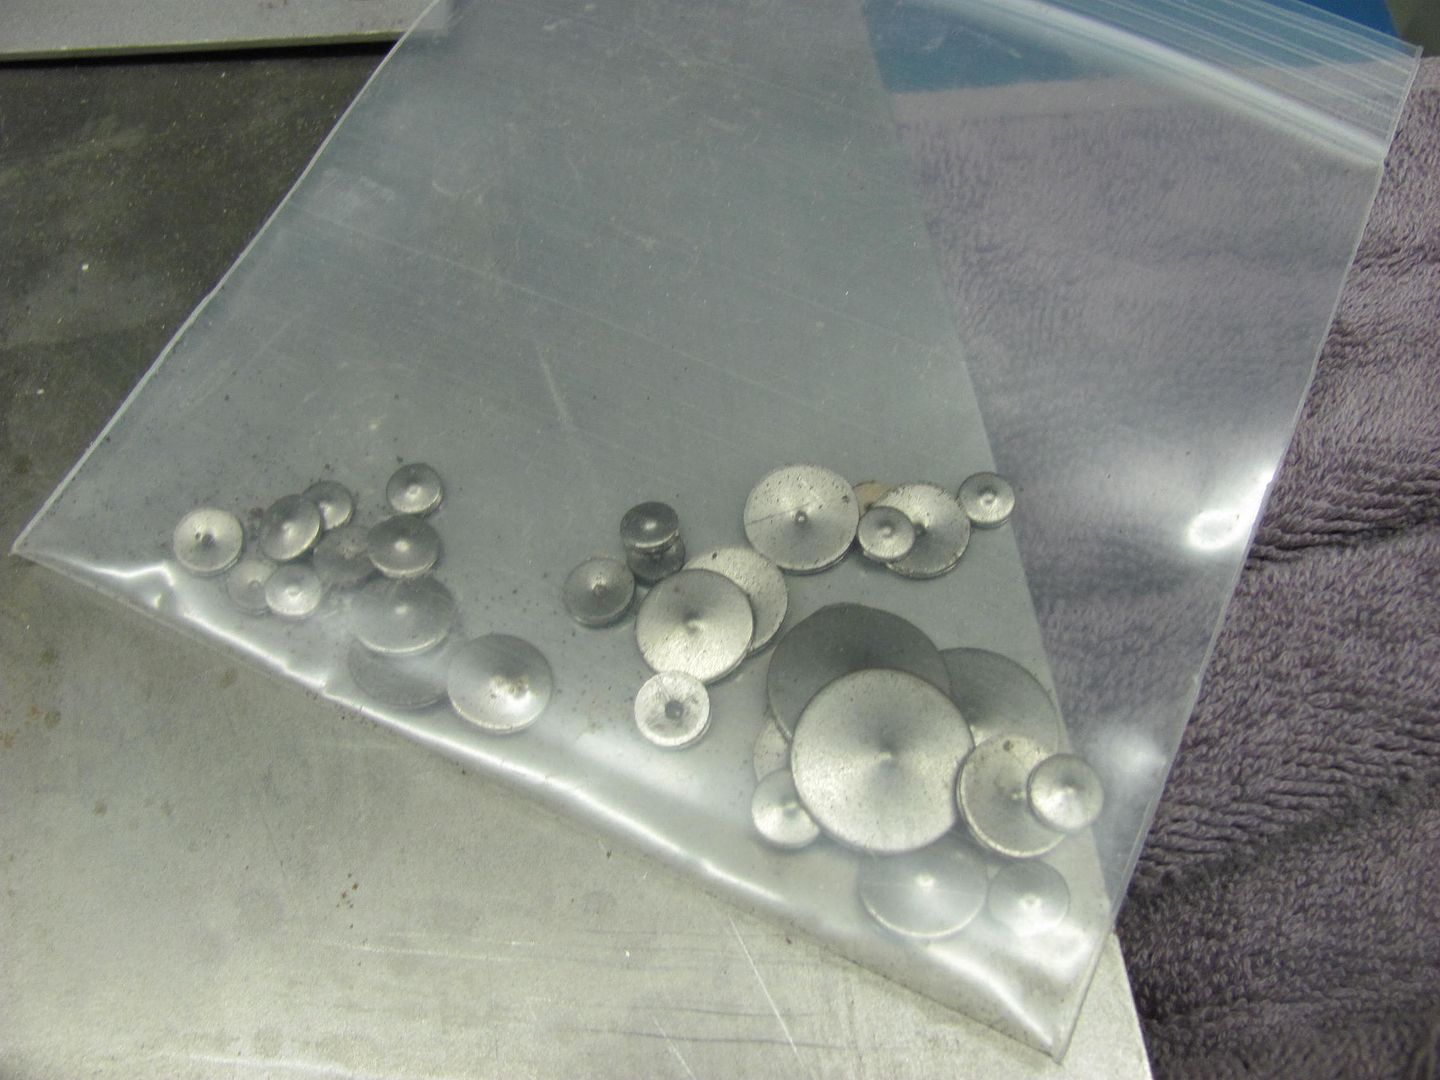
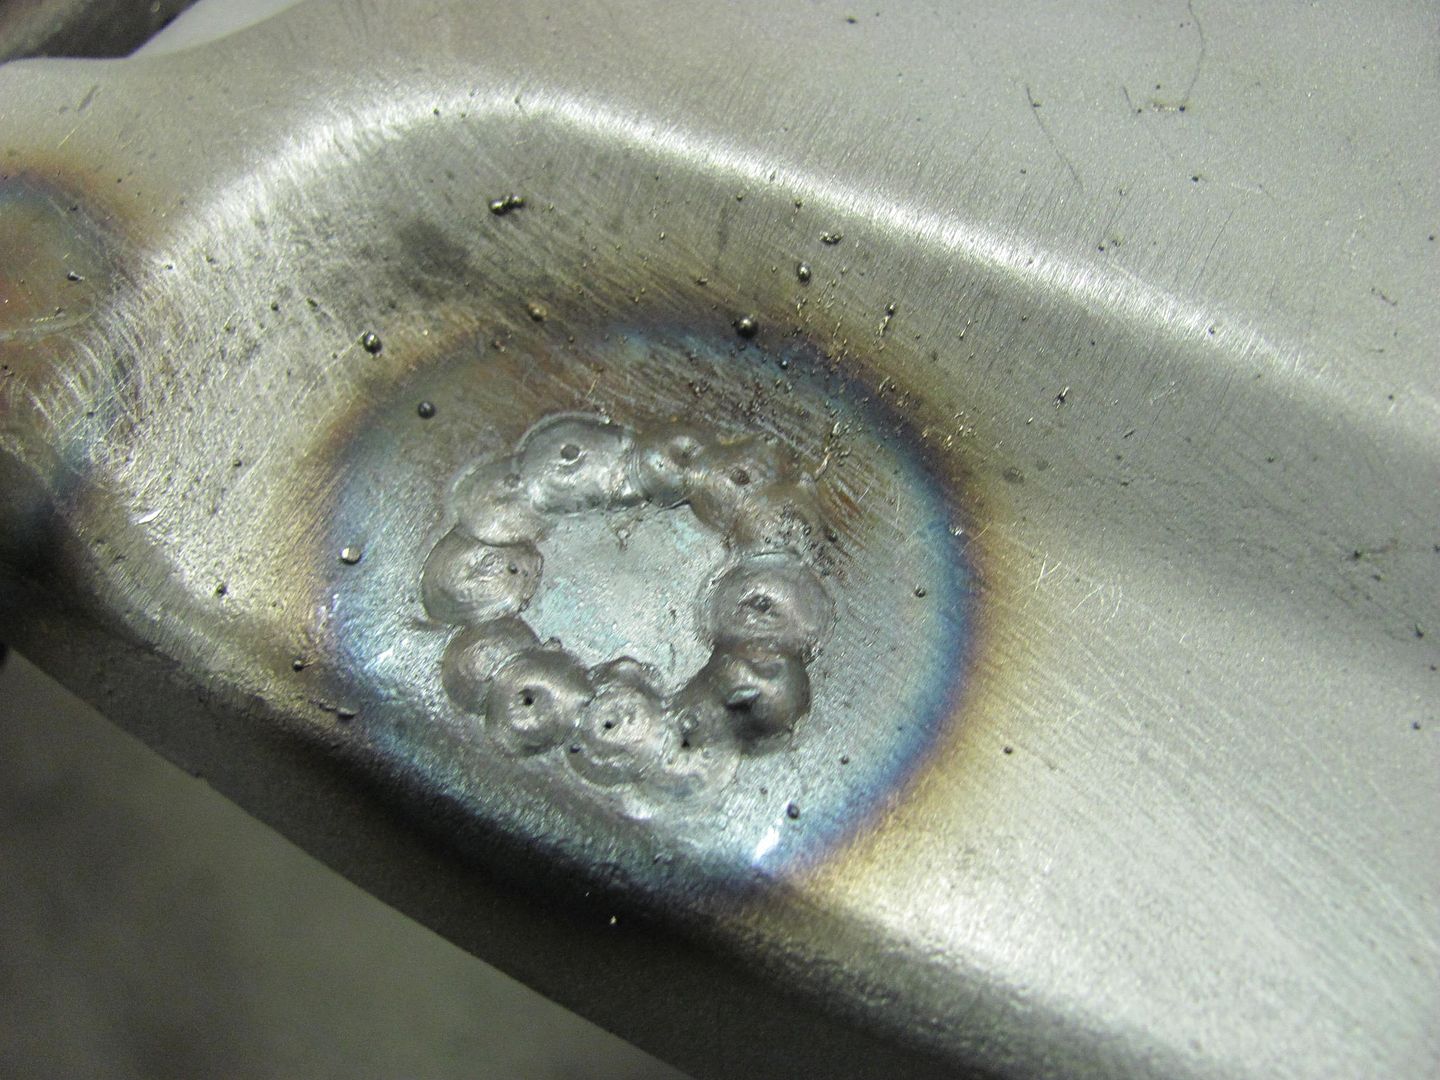
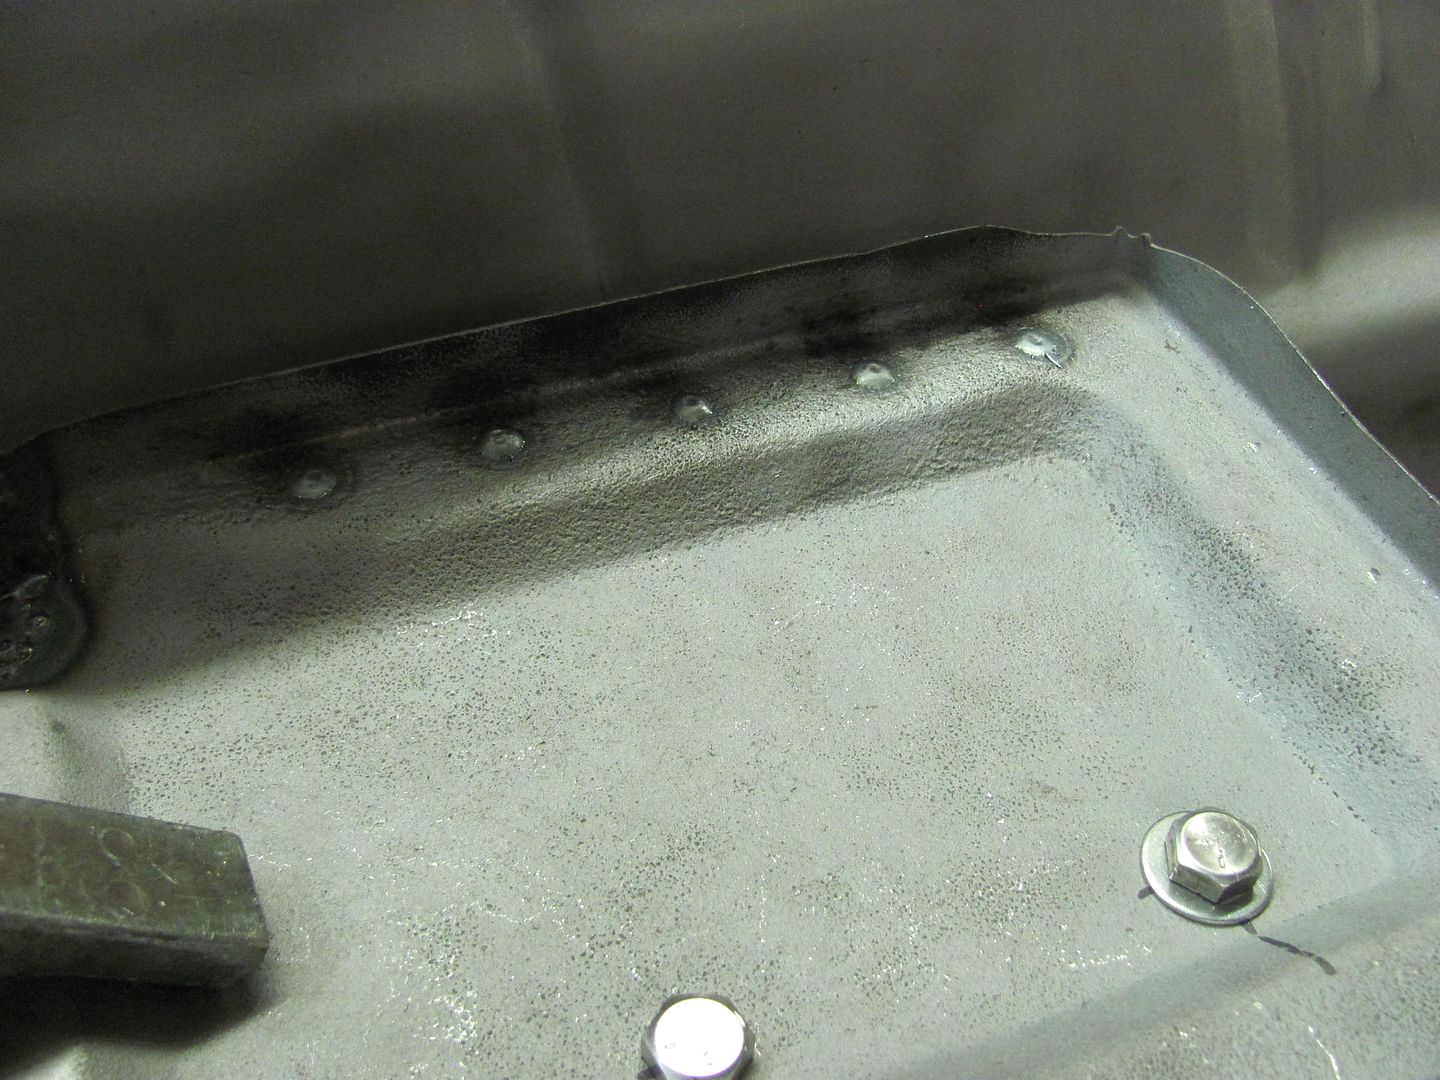


    Plugs.....


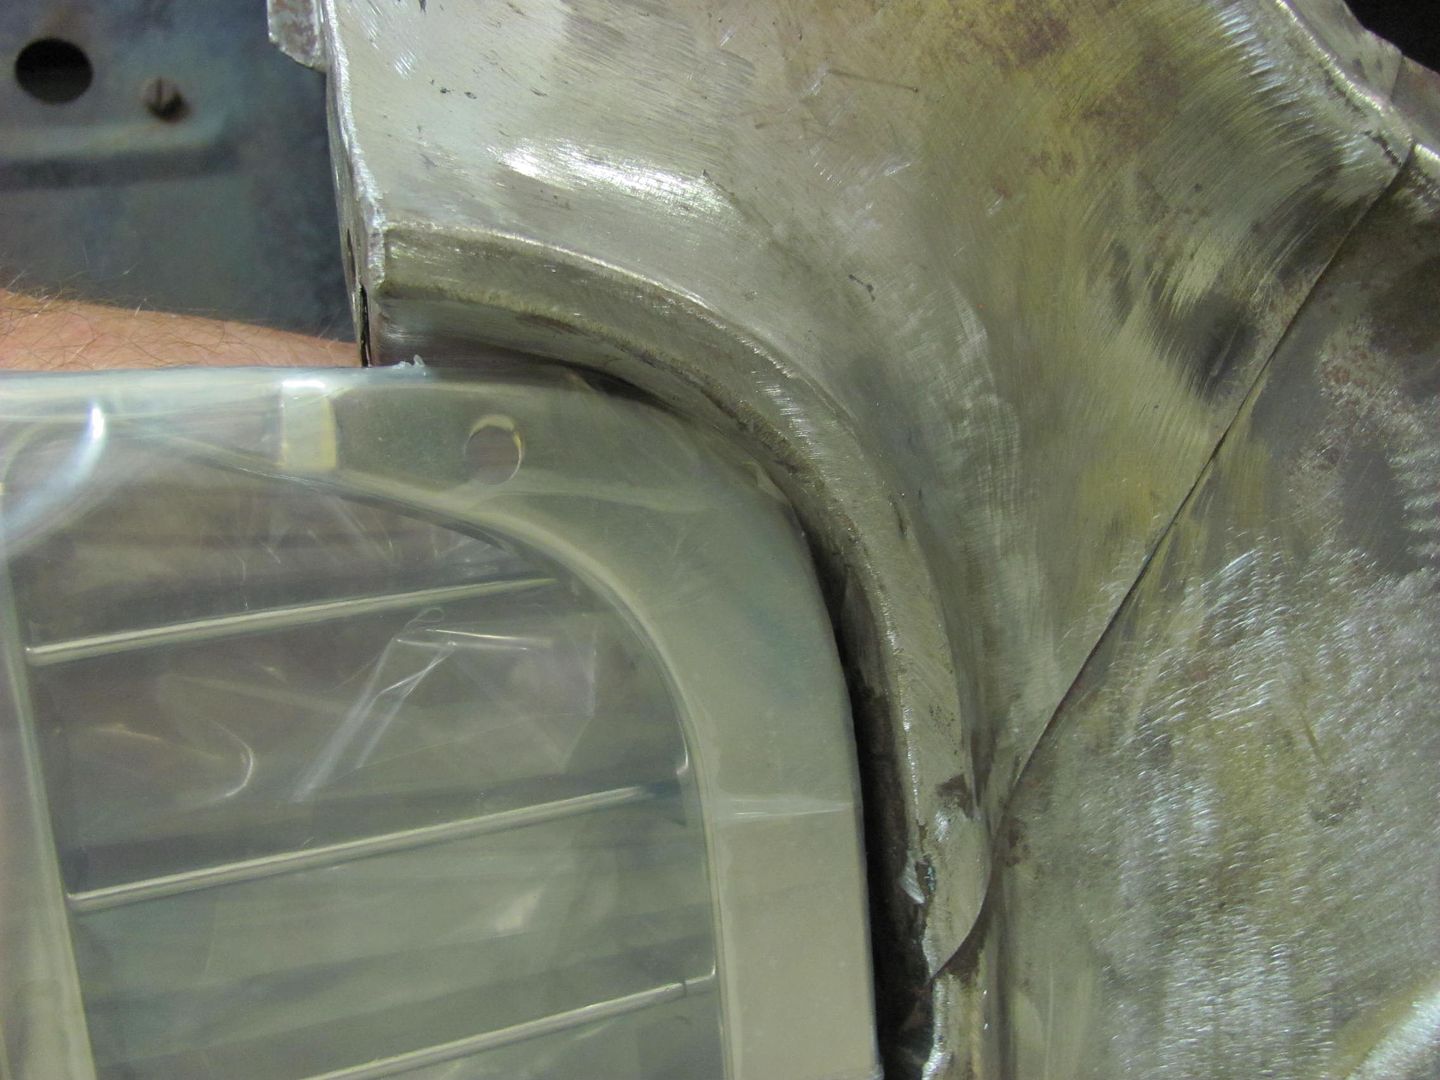
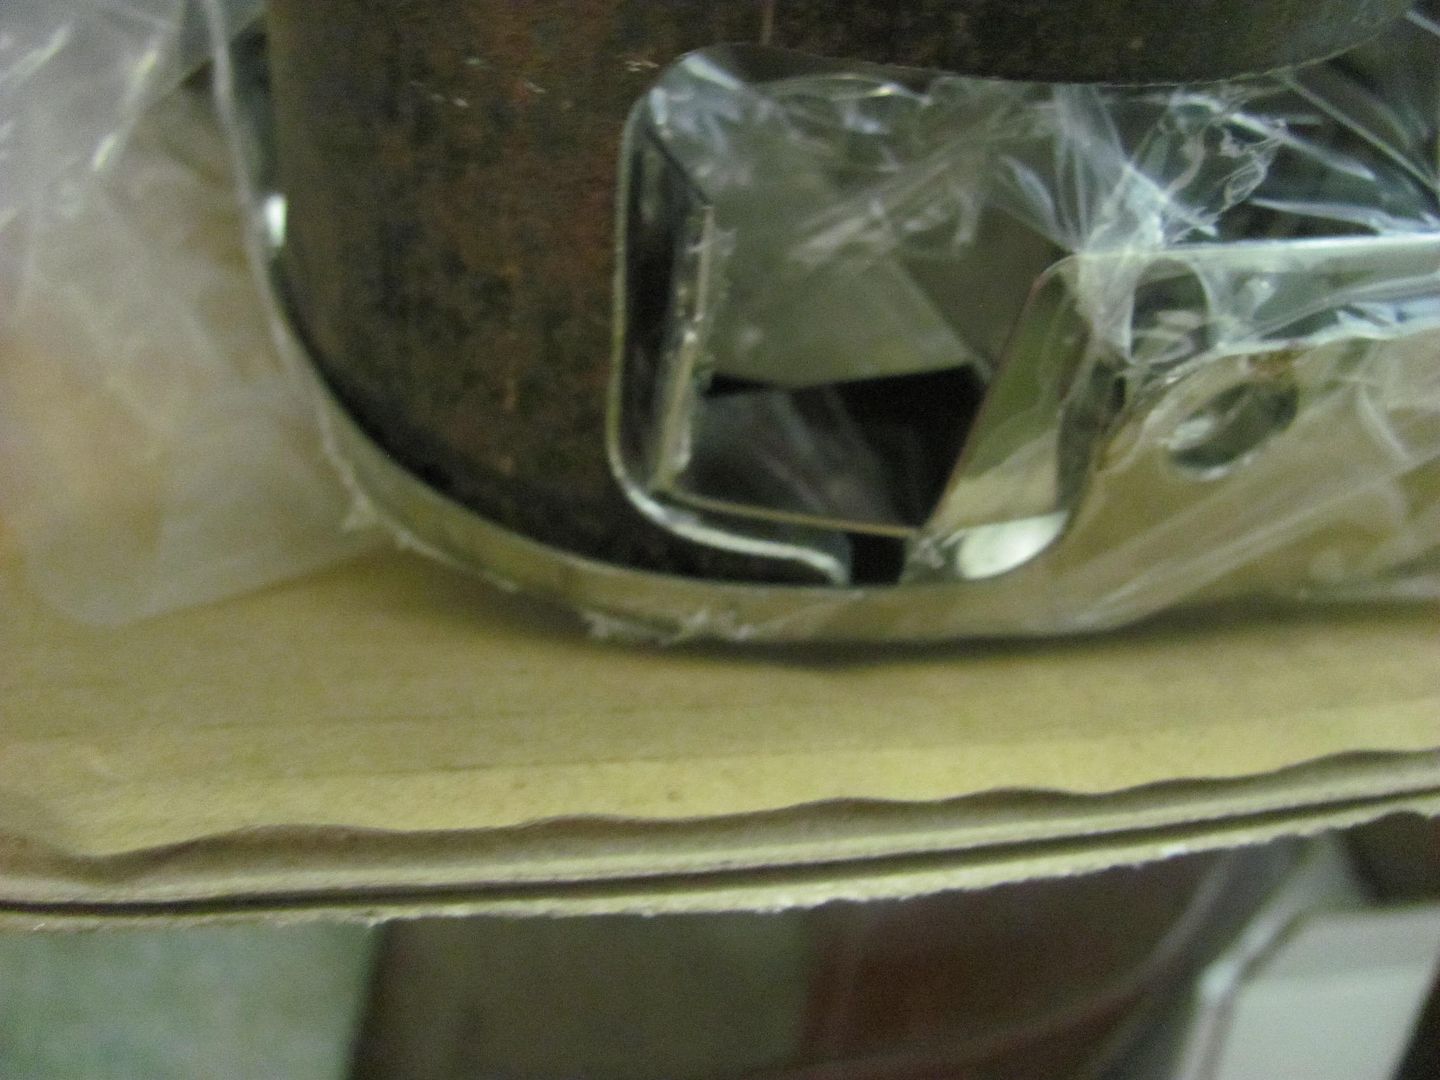
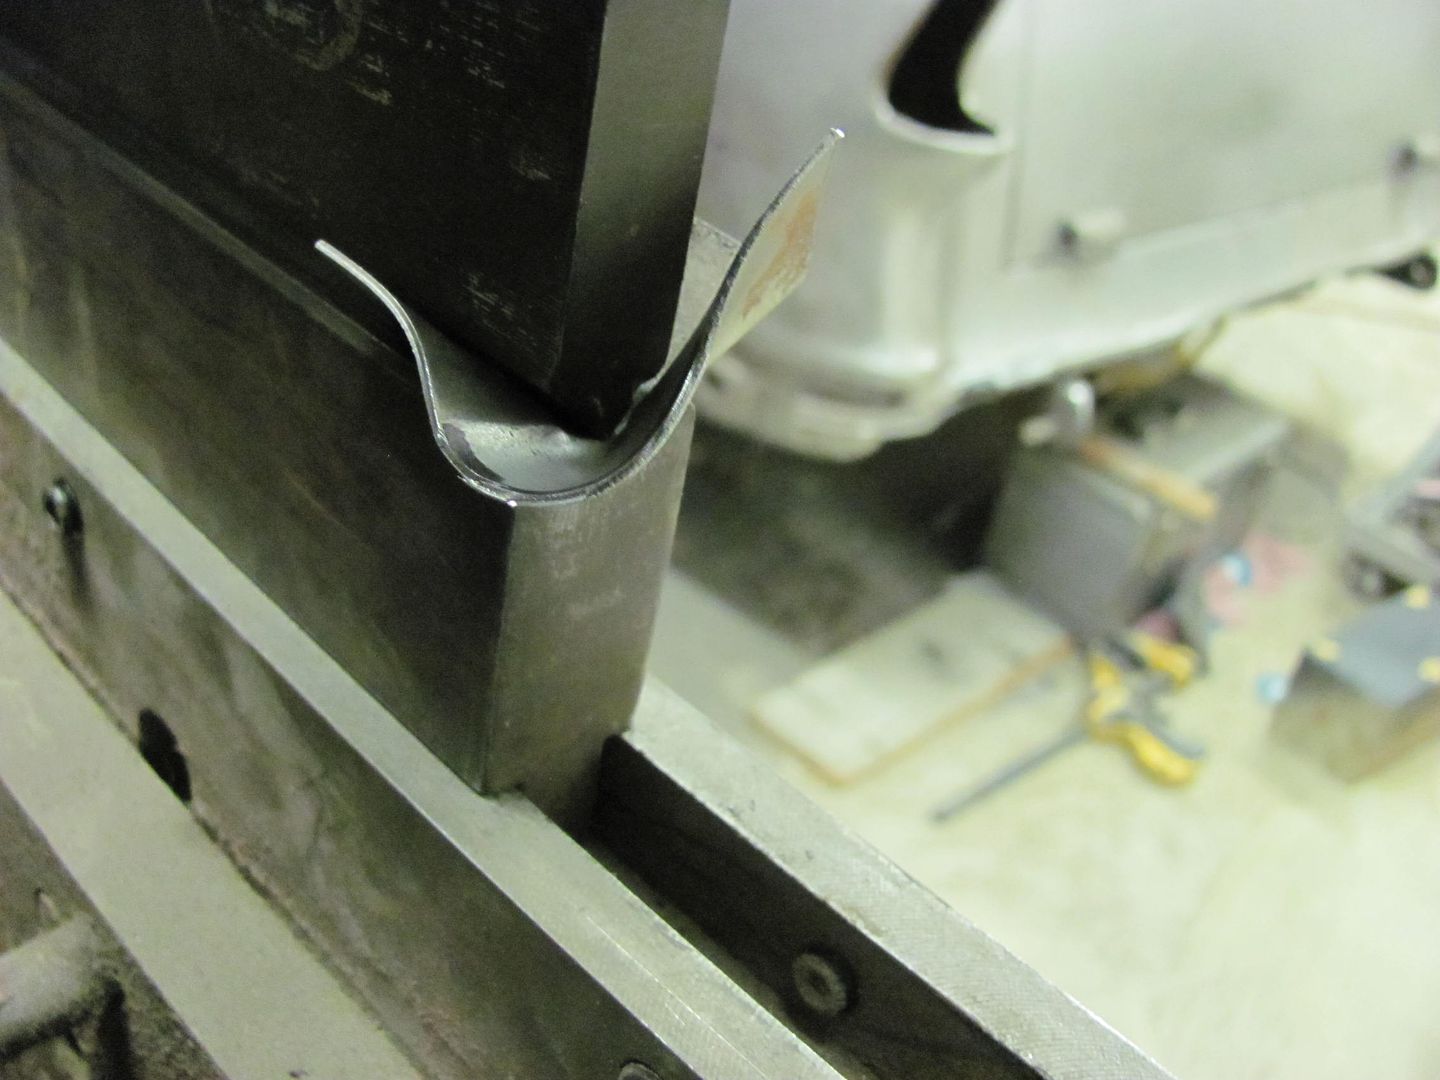
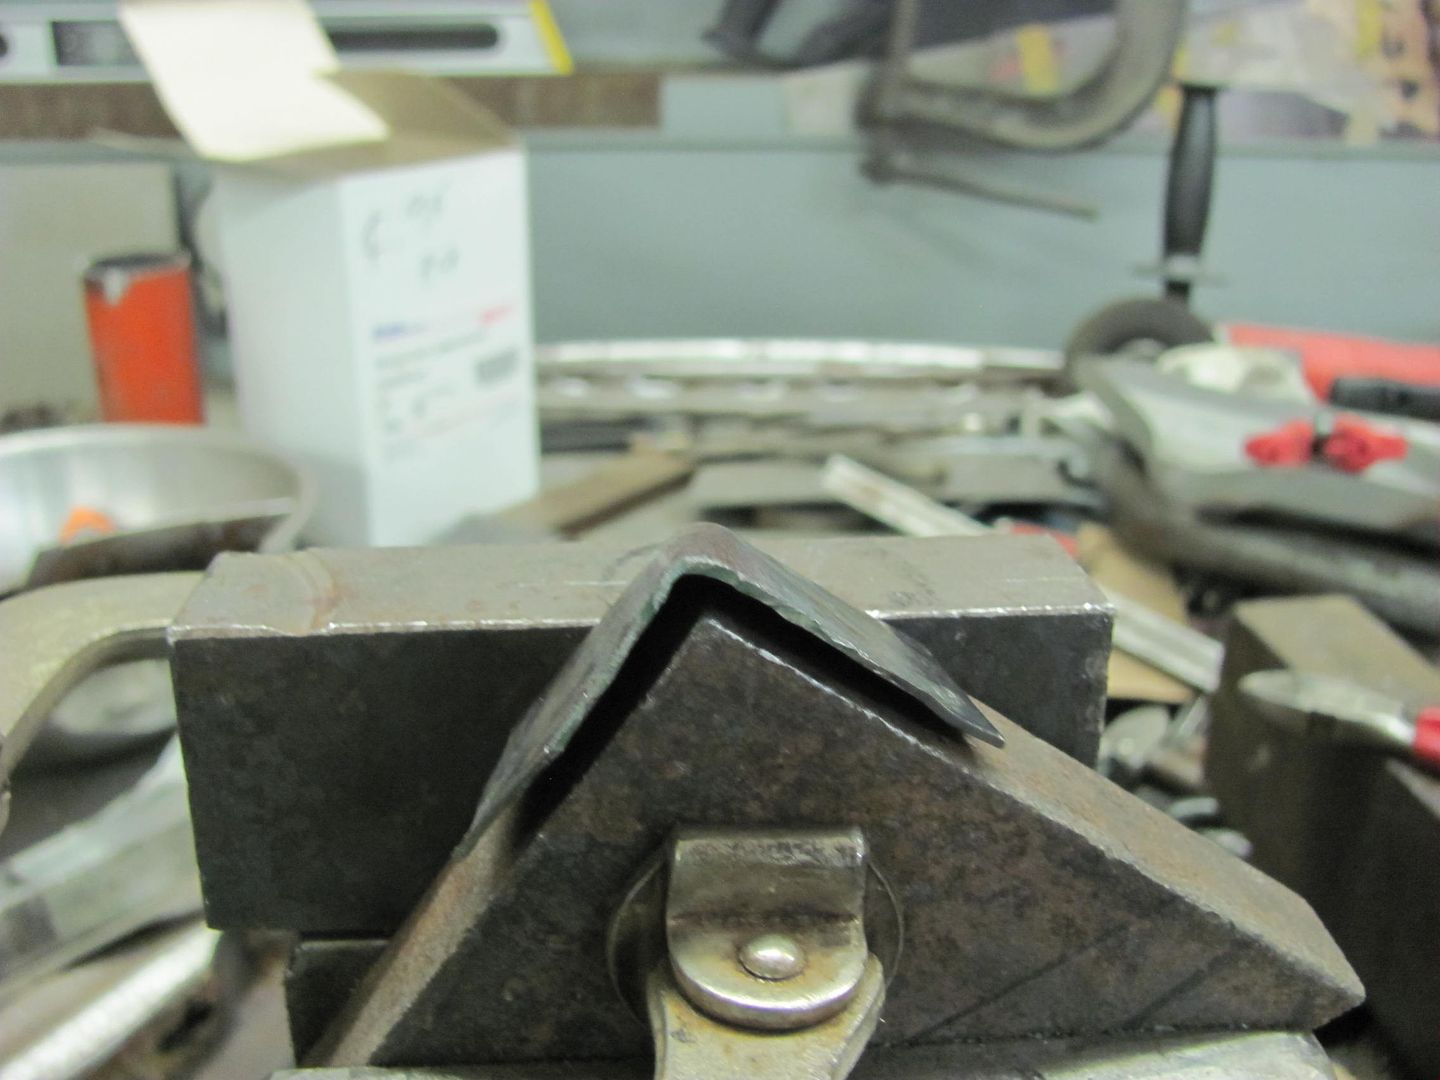
    We tried this same repair in the corners, but the pitting was too far along and did a good job of blowing holes. So, time to back up an punt, let's make some new corners..


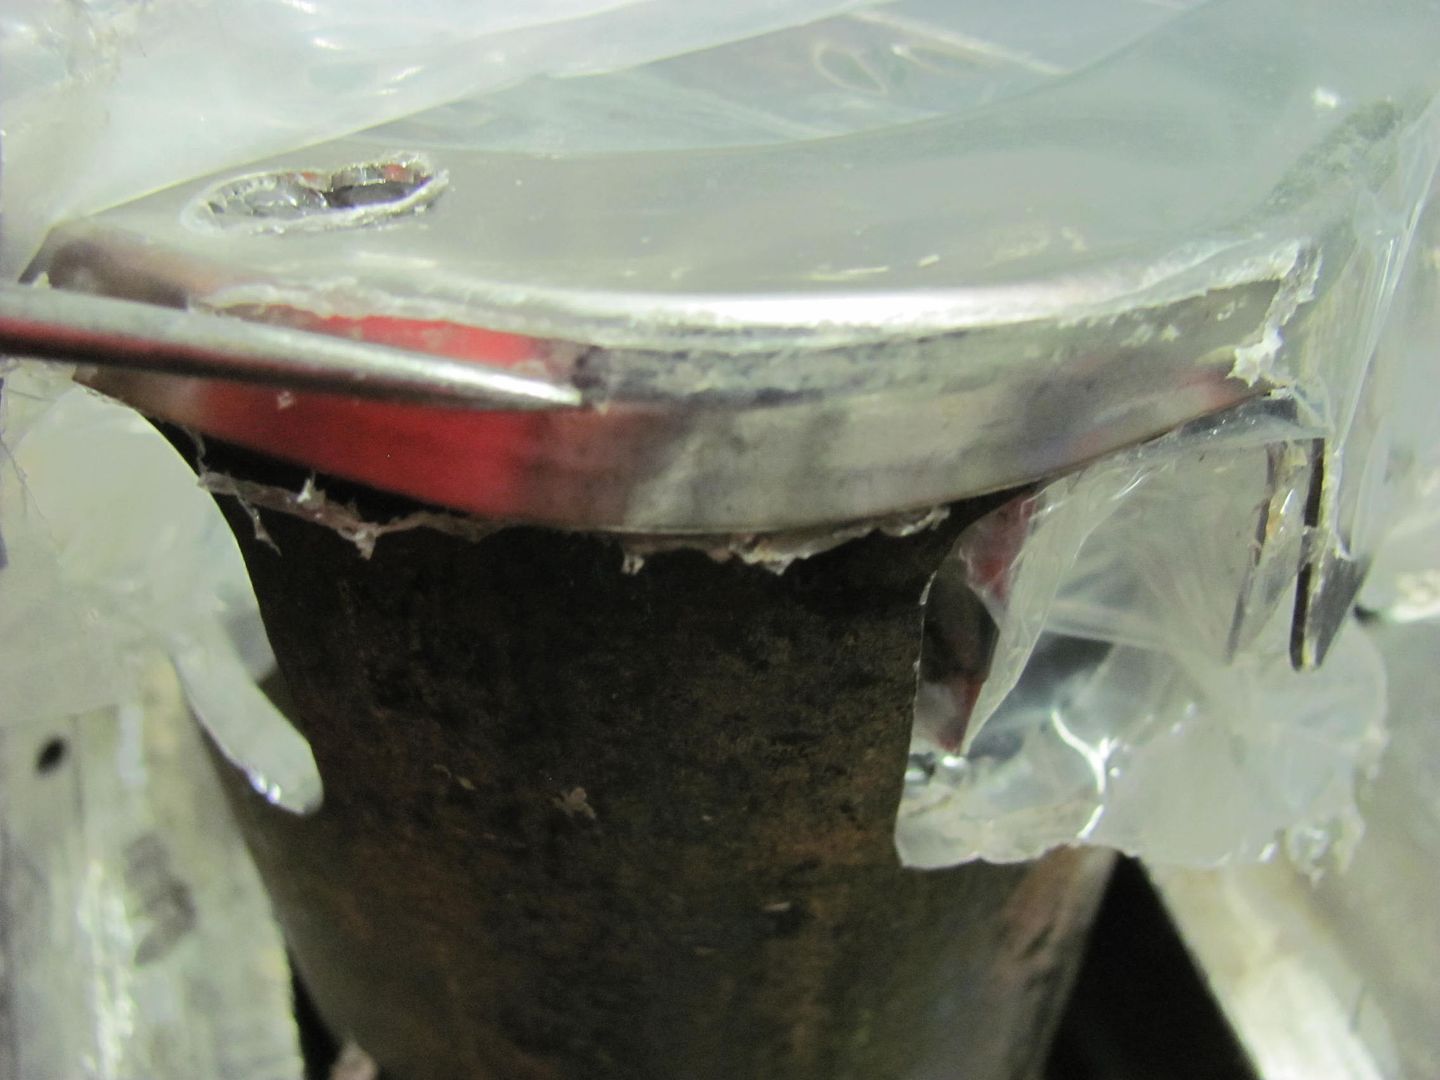
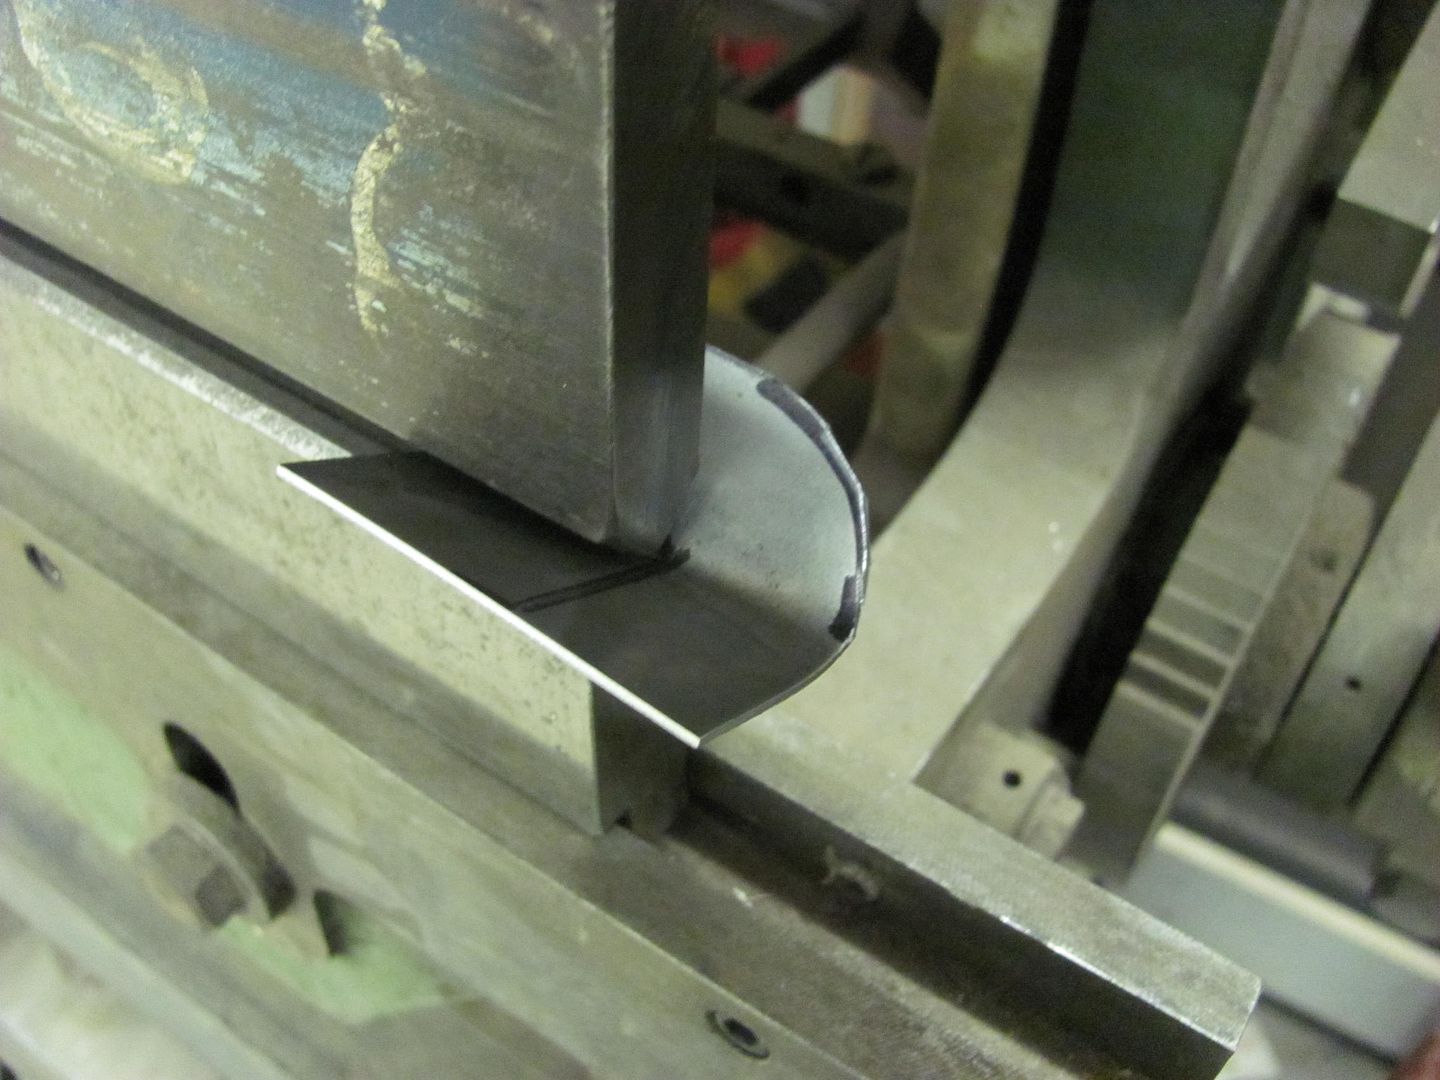
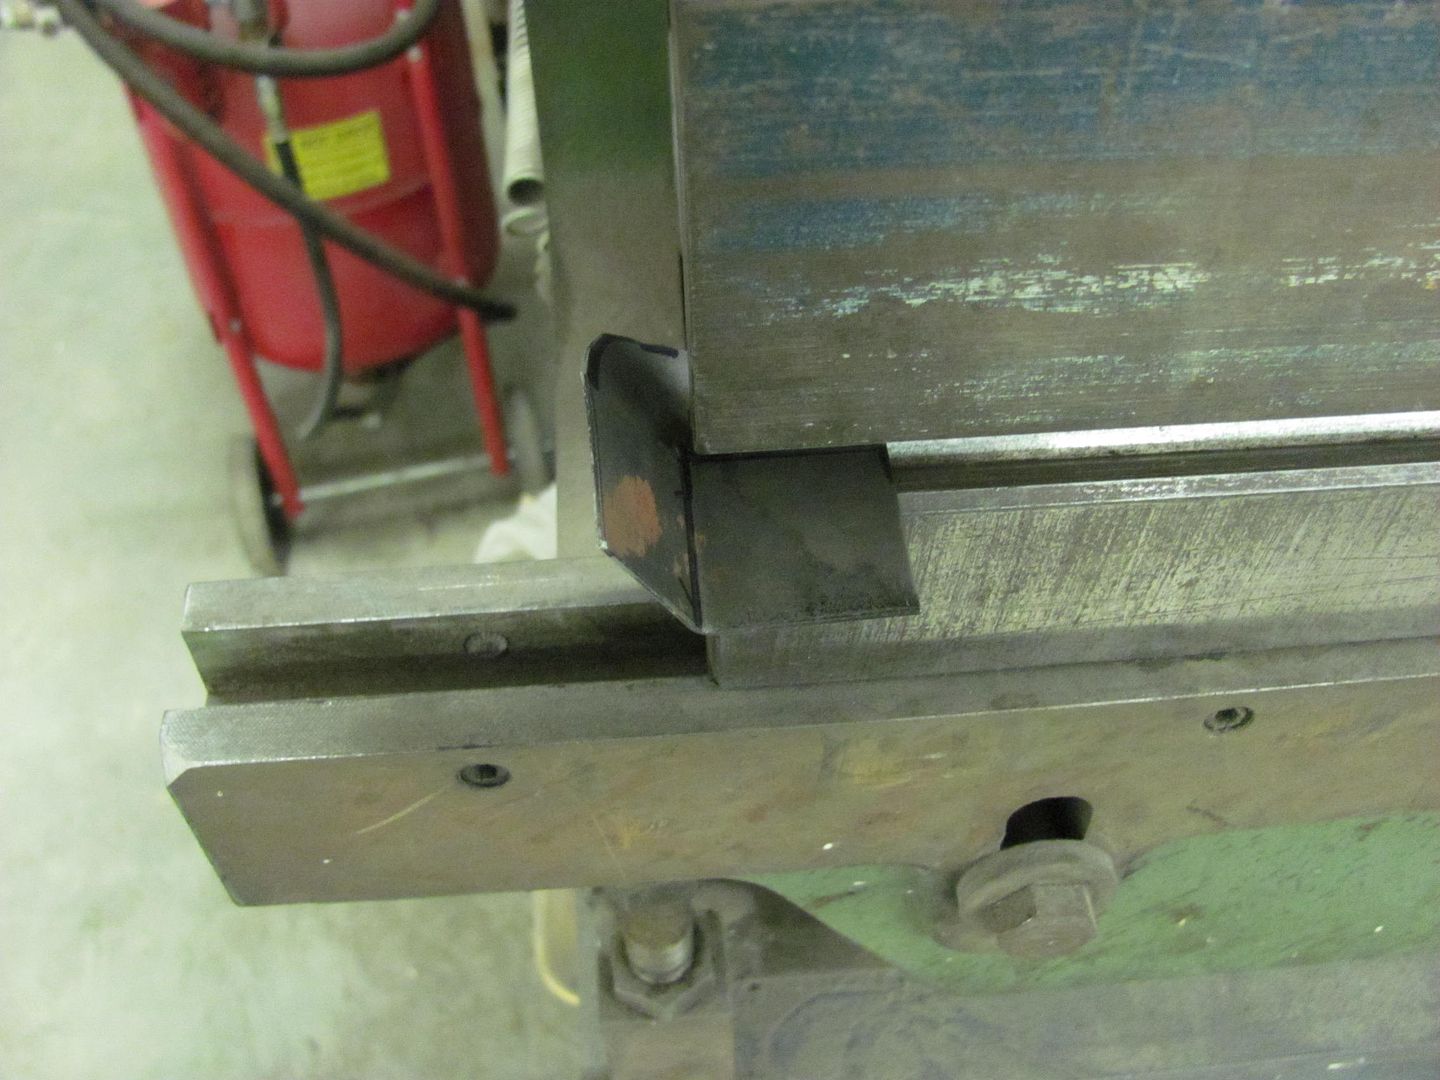
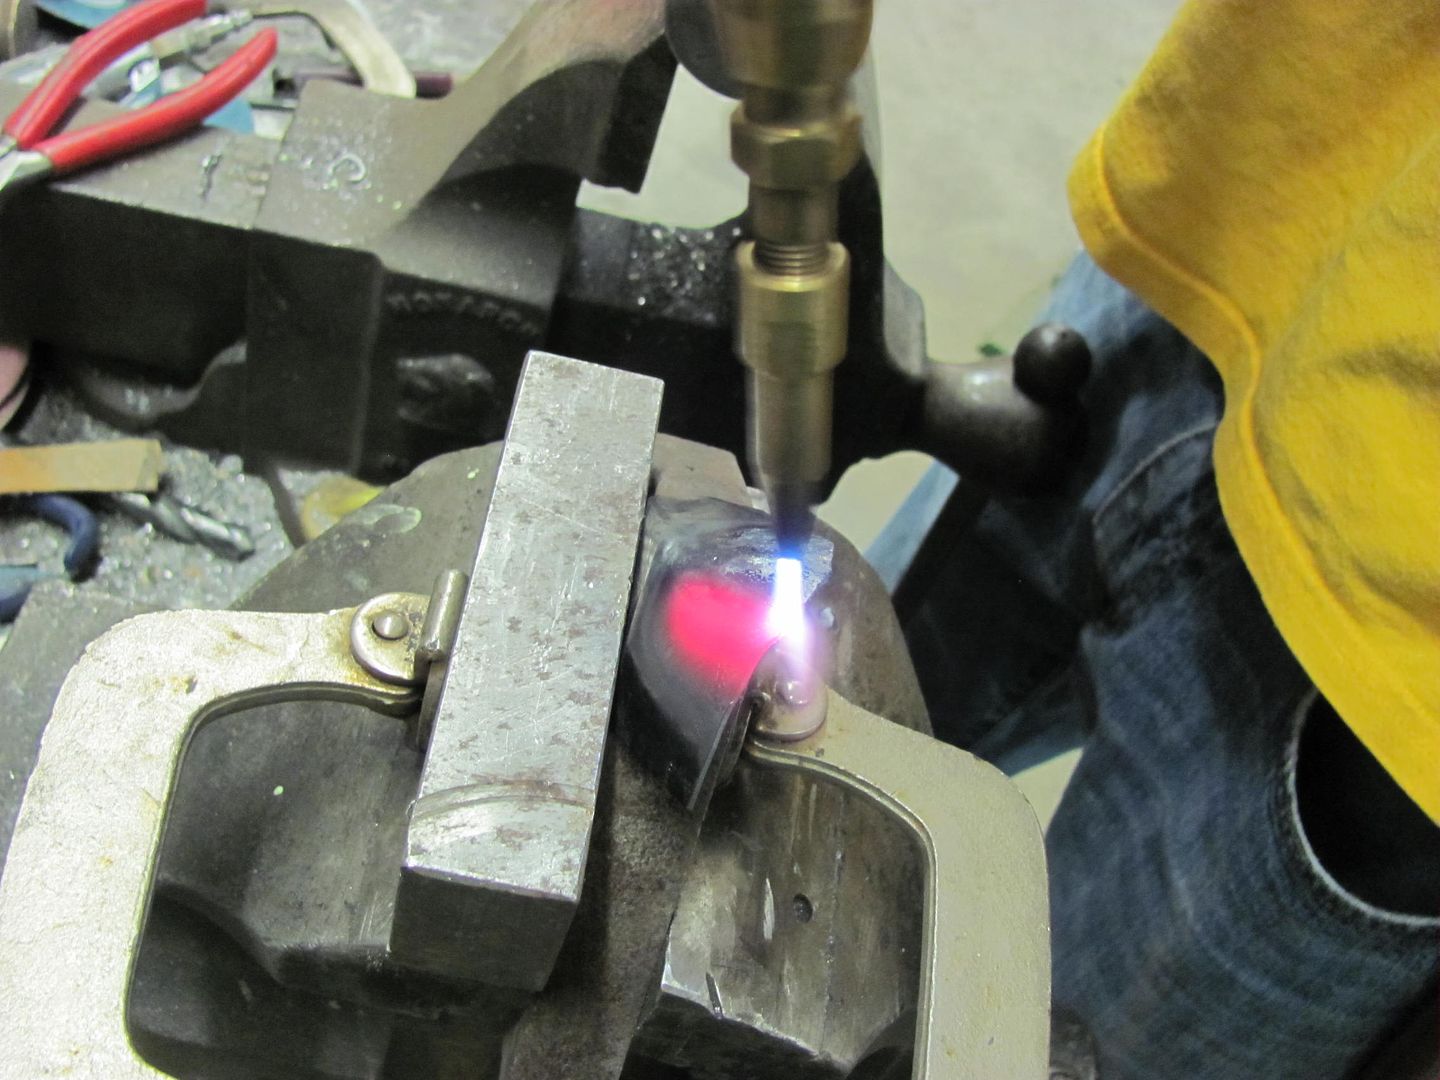
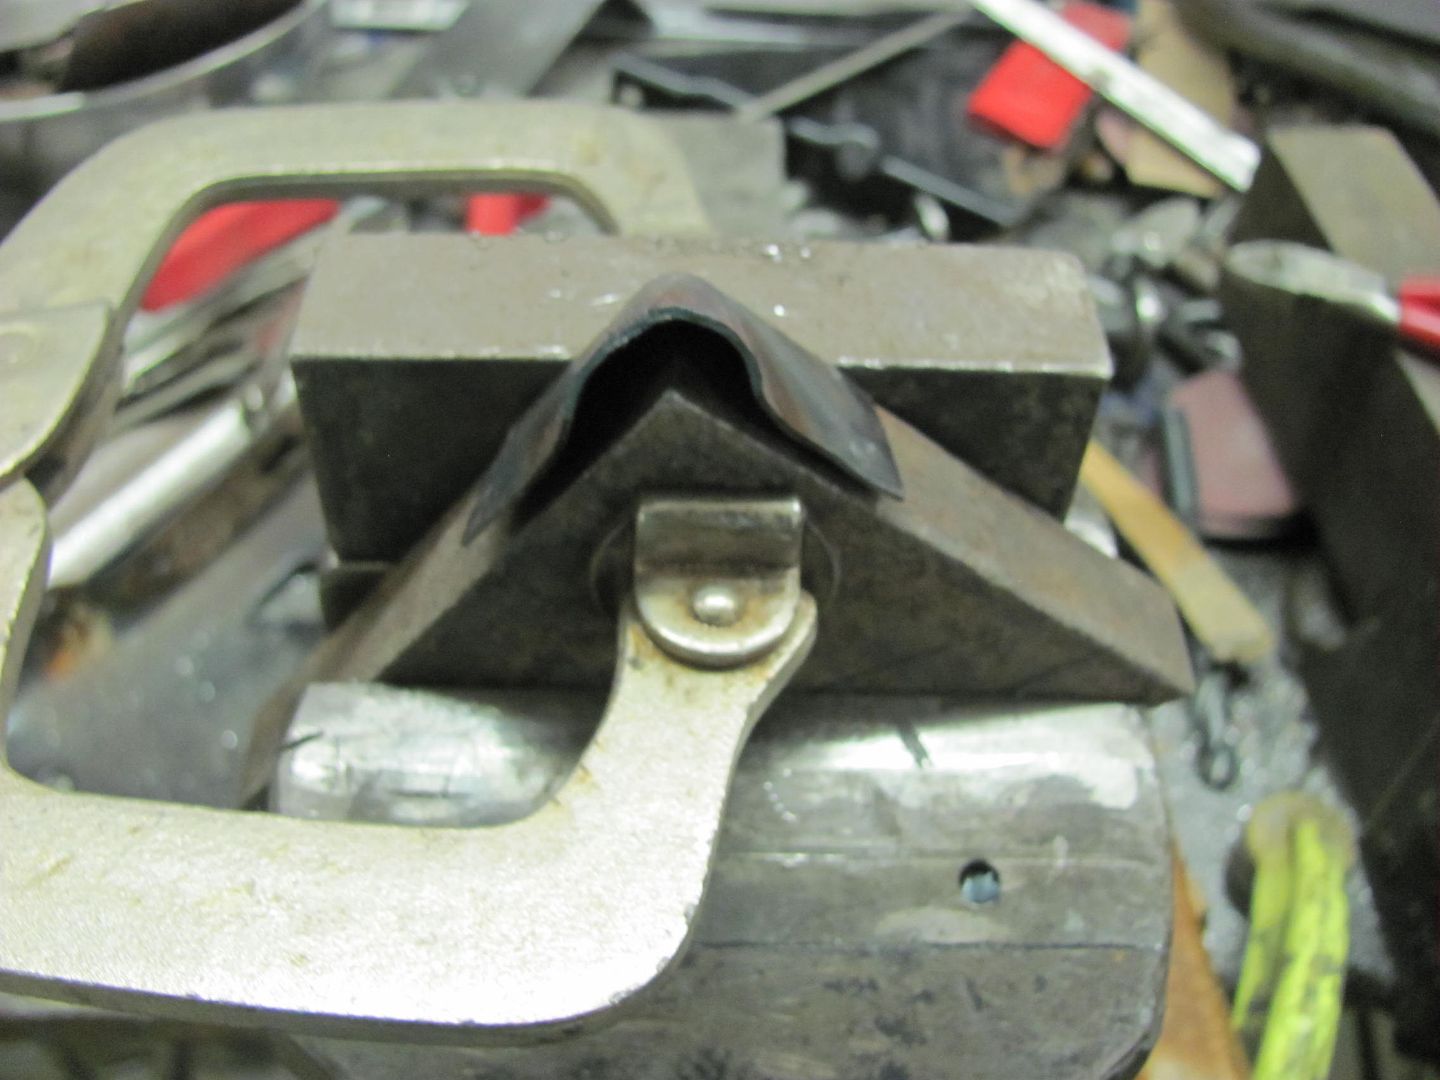
    Shrinking the tuck....


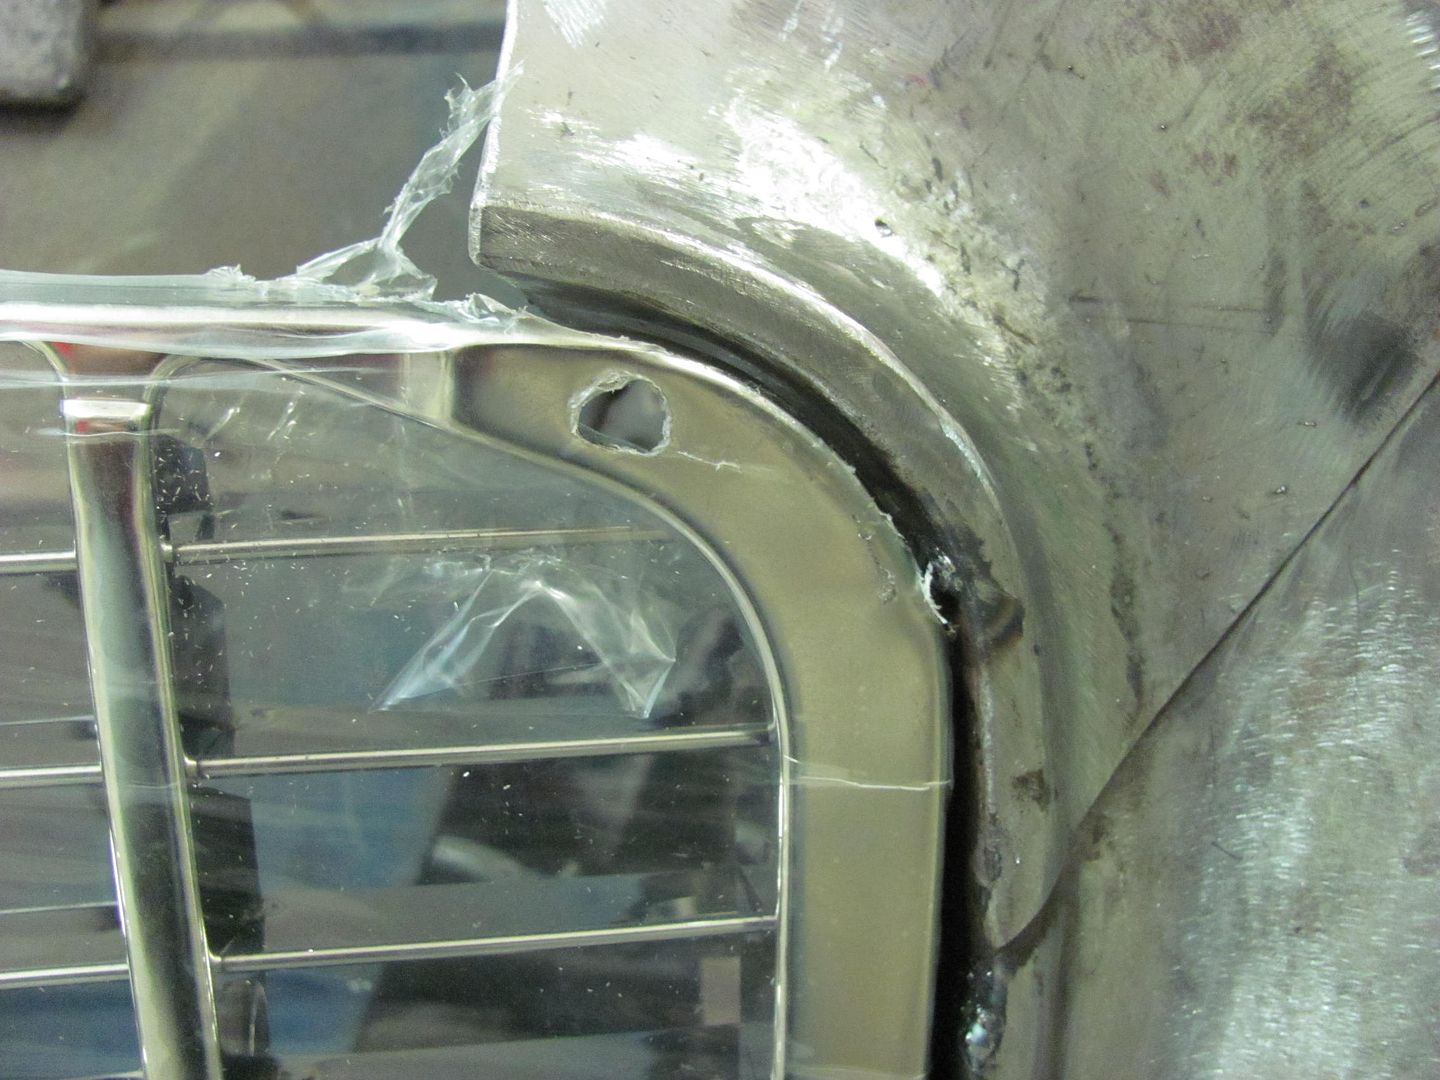
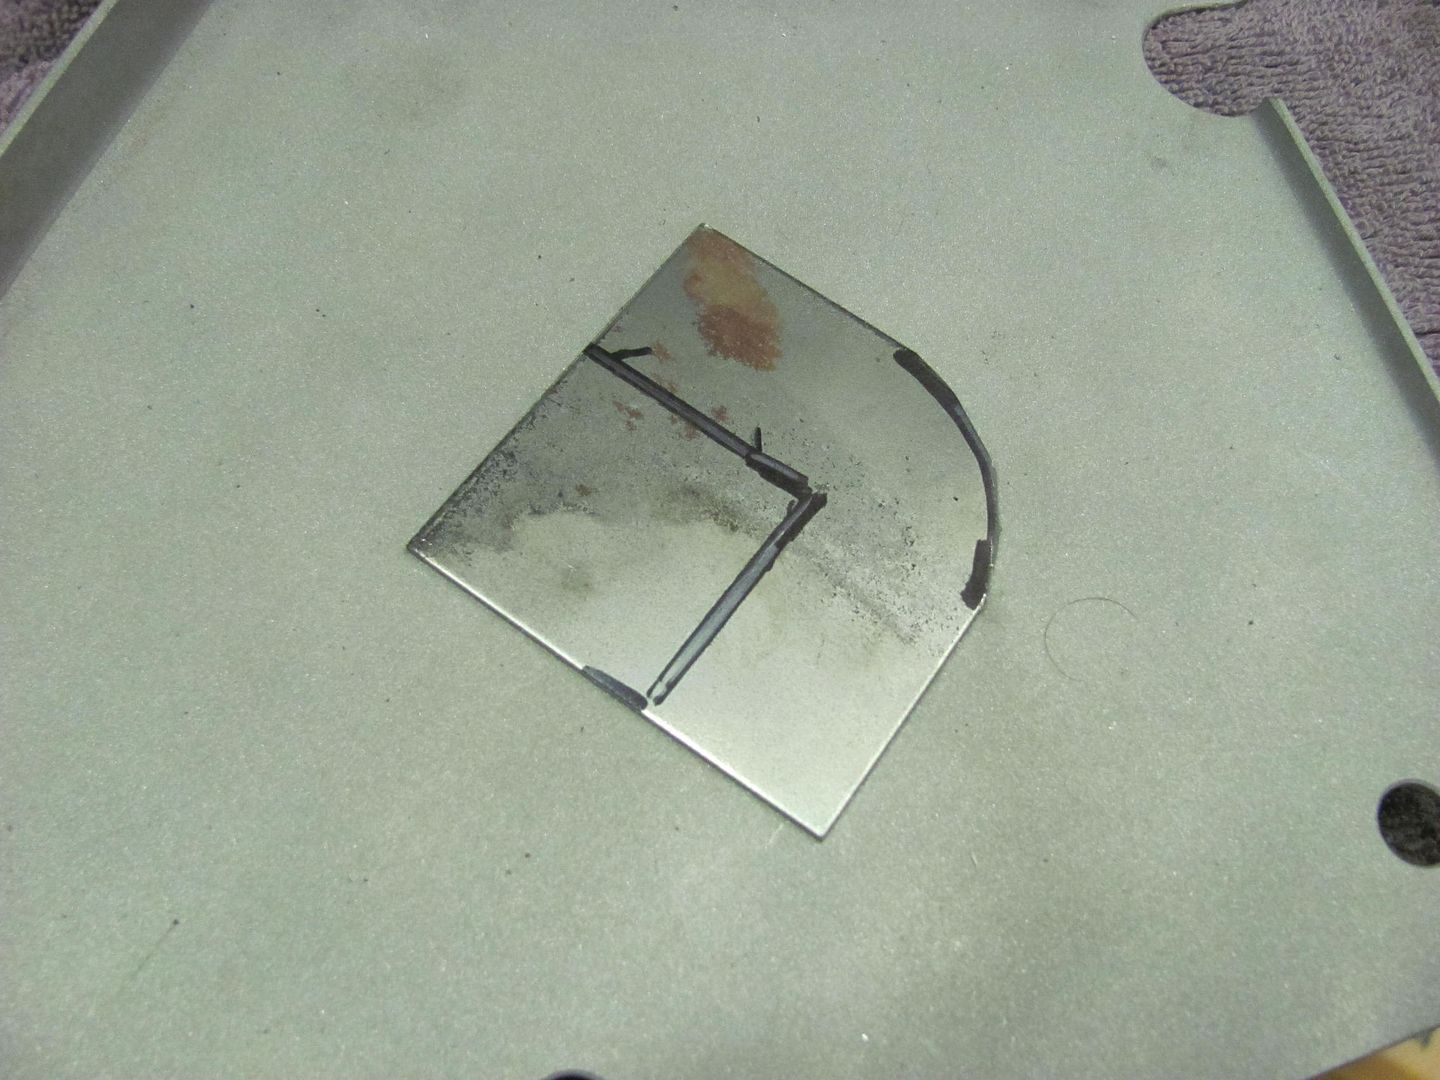
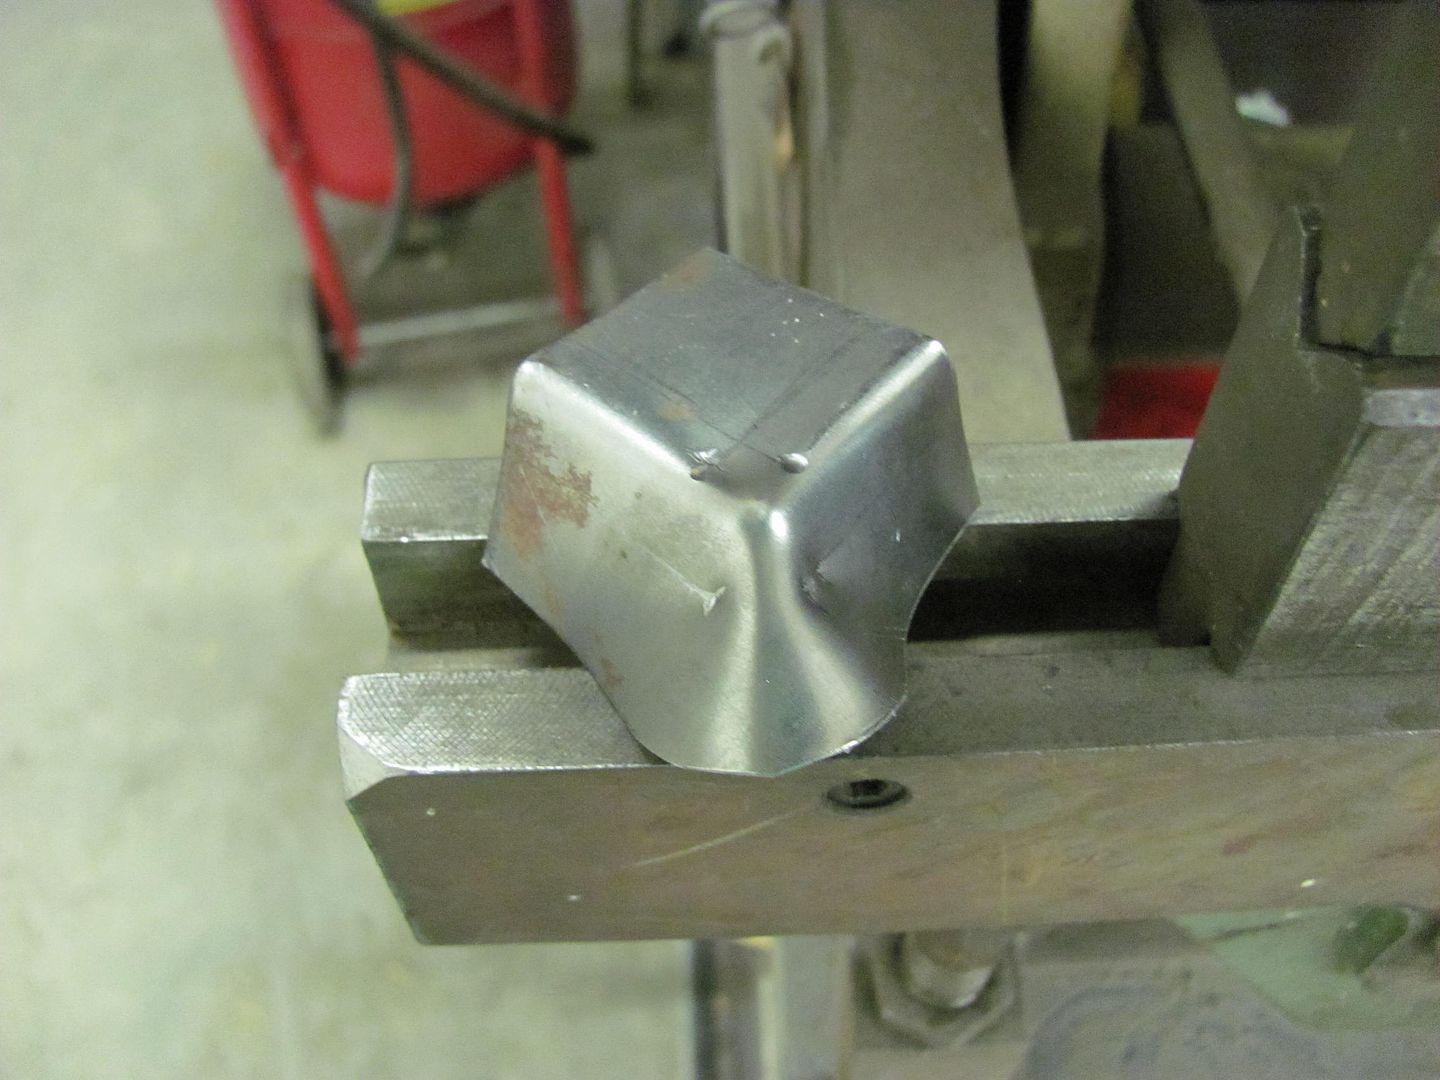
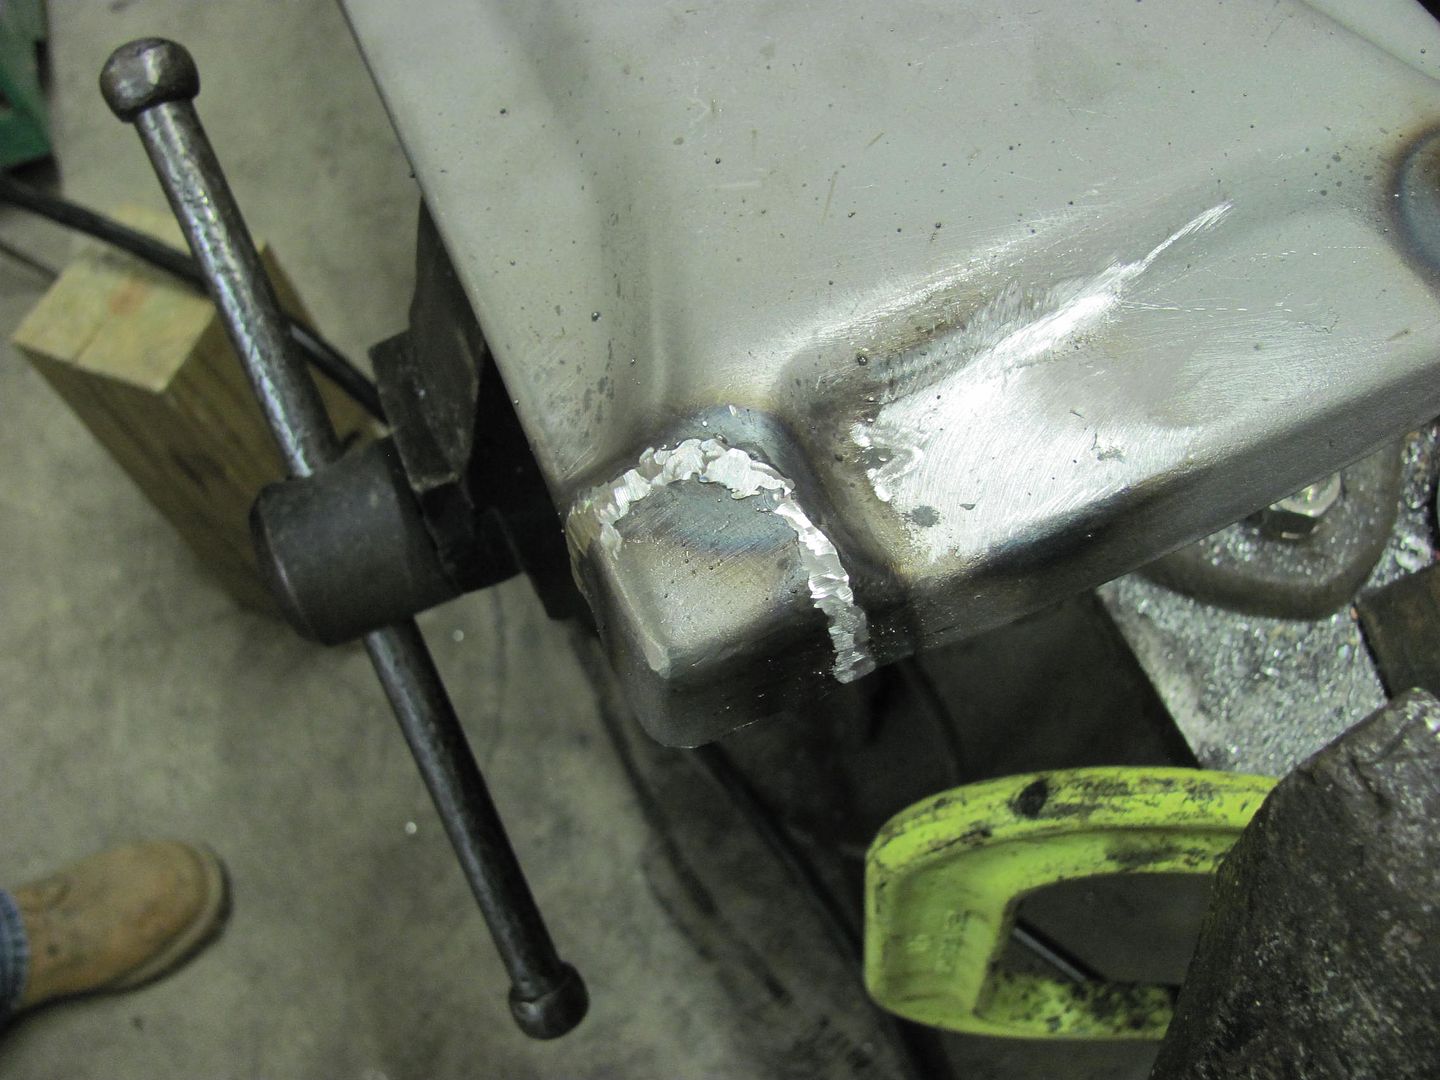
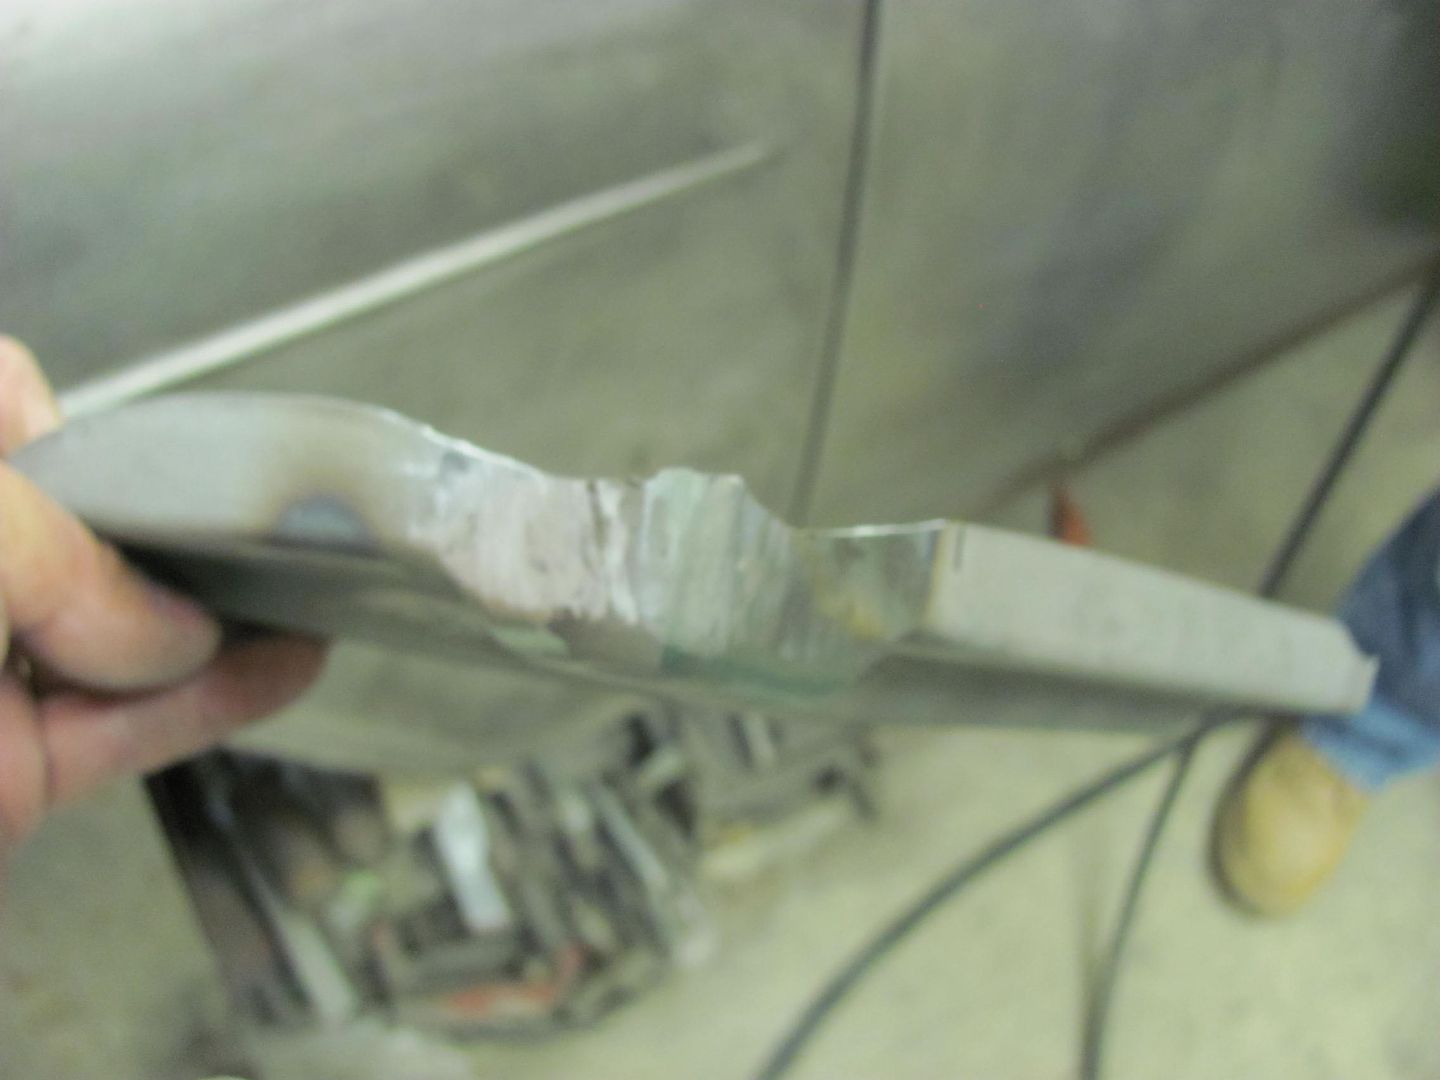
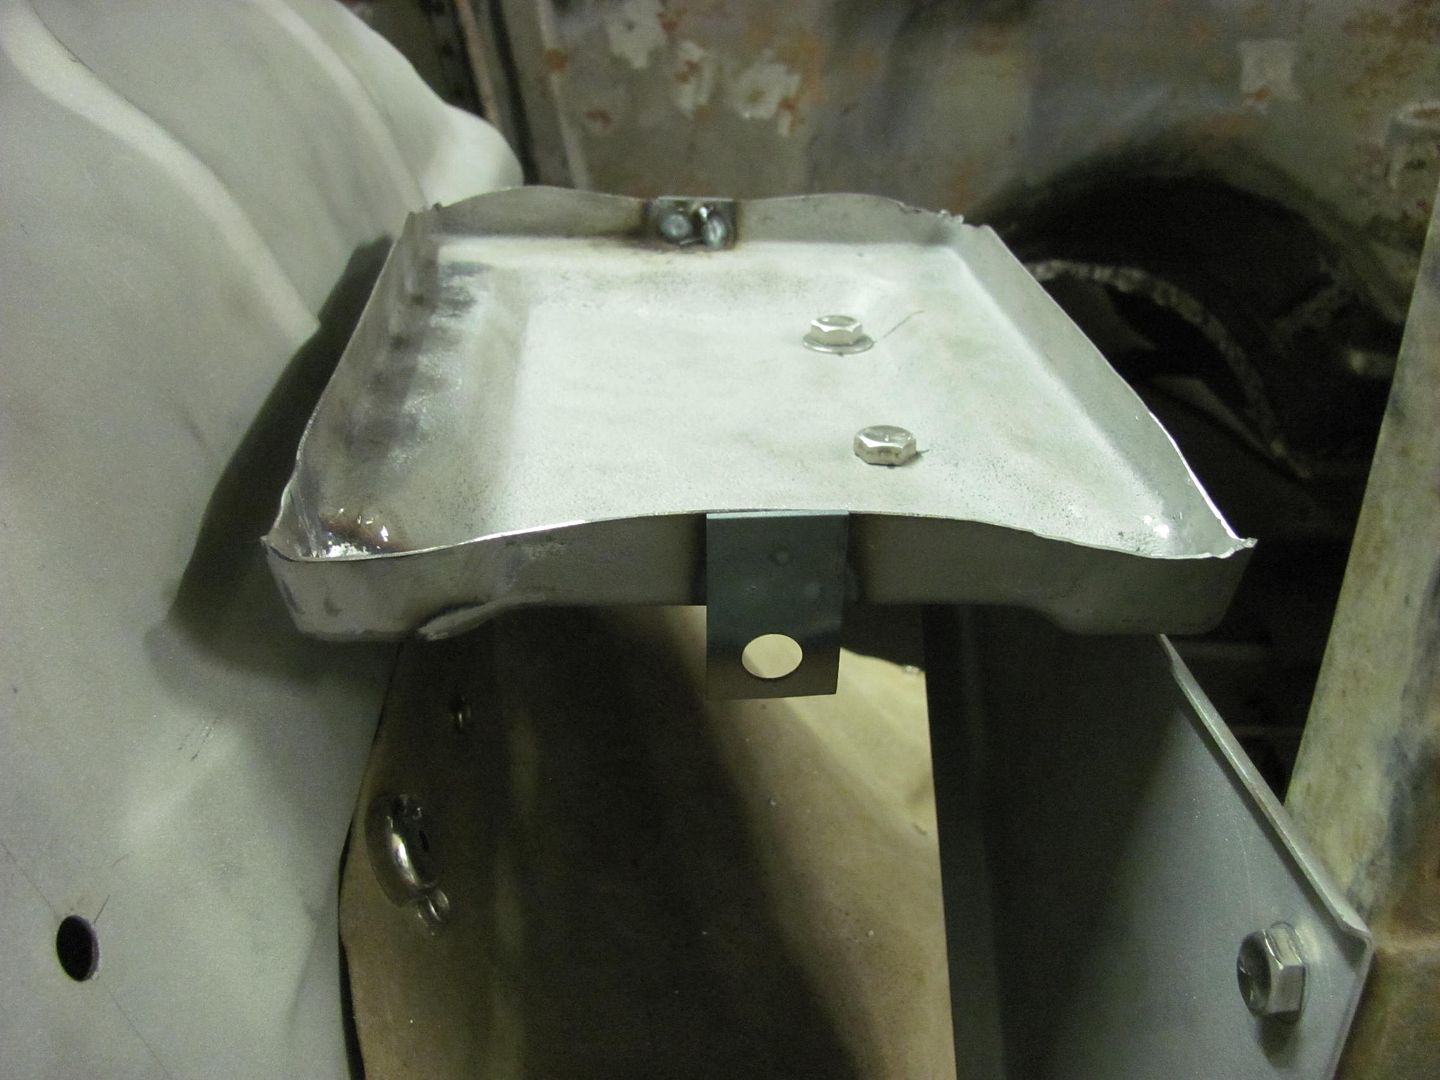
    New corners welded in....


    Some of the lines from forming were left to duplicate those from the factory...


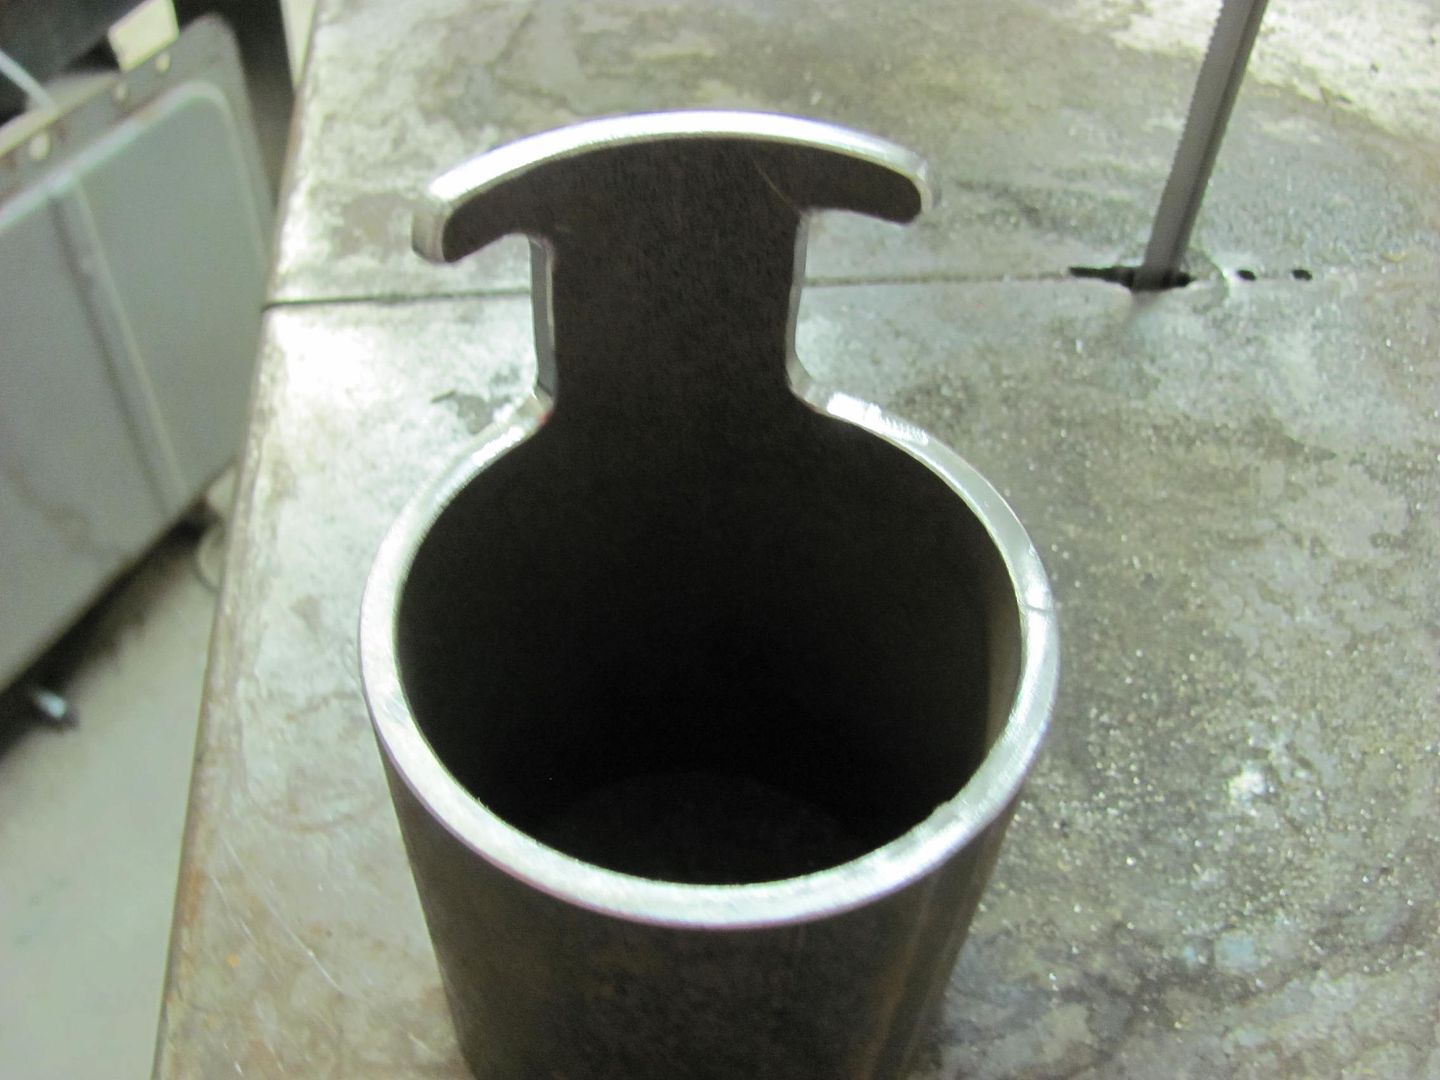
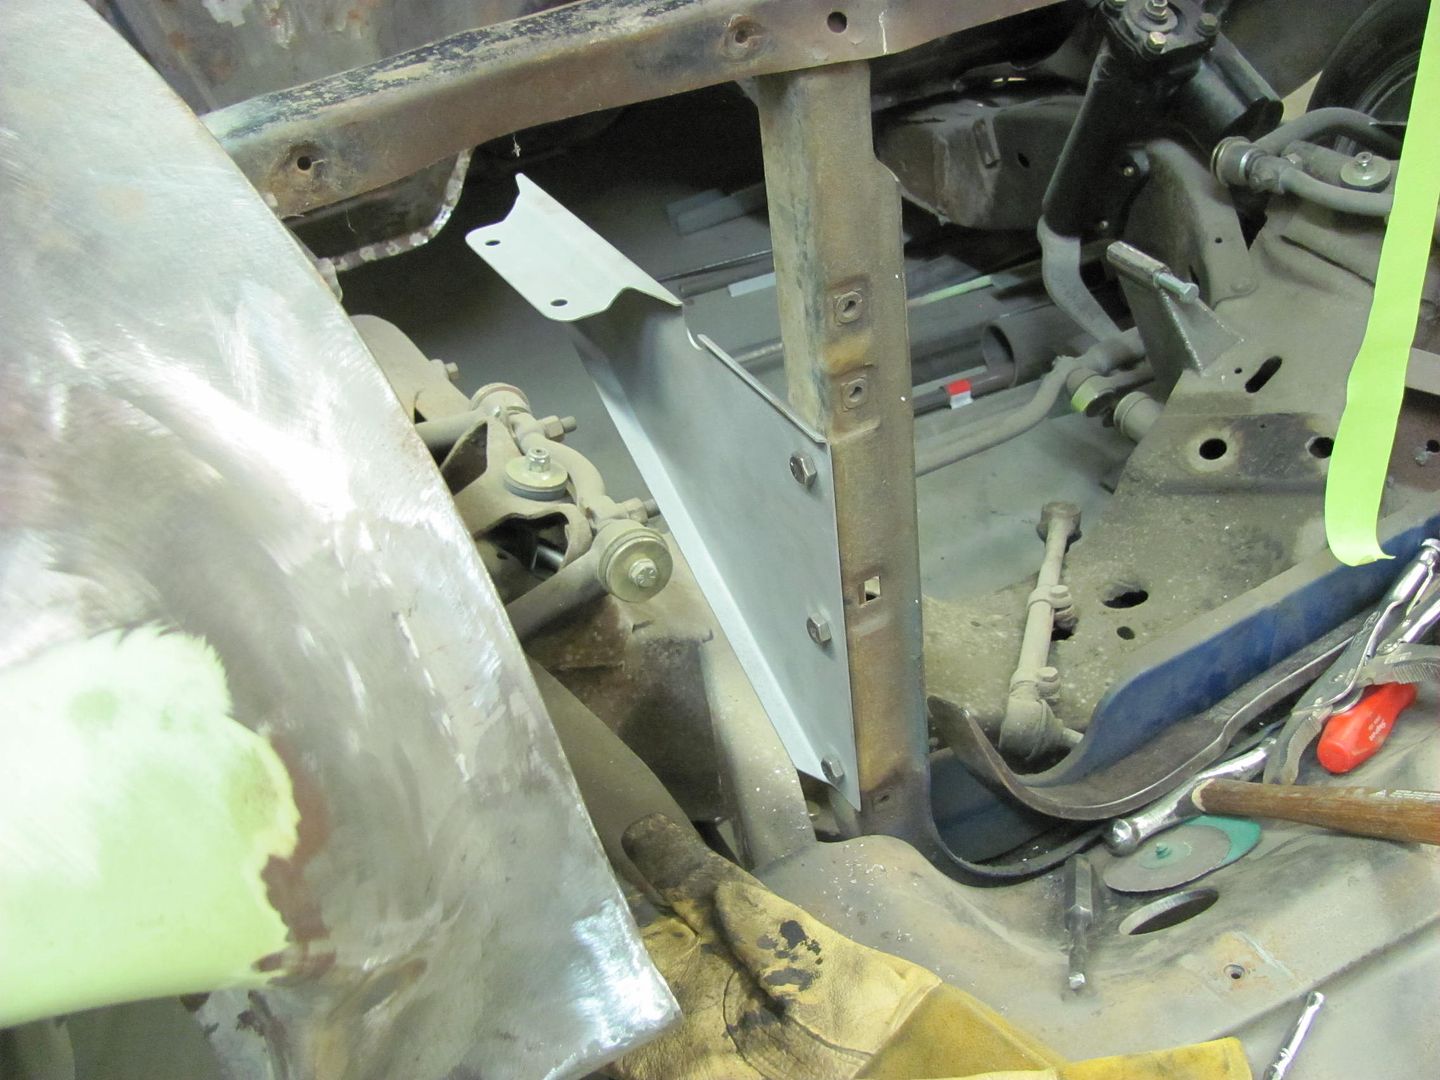
    Gusset bracket added to core support....


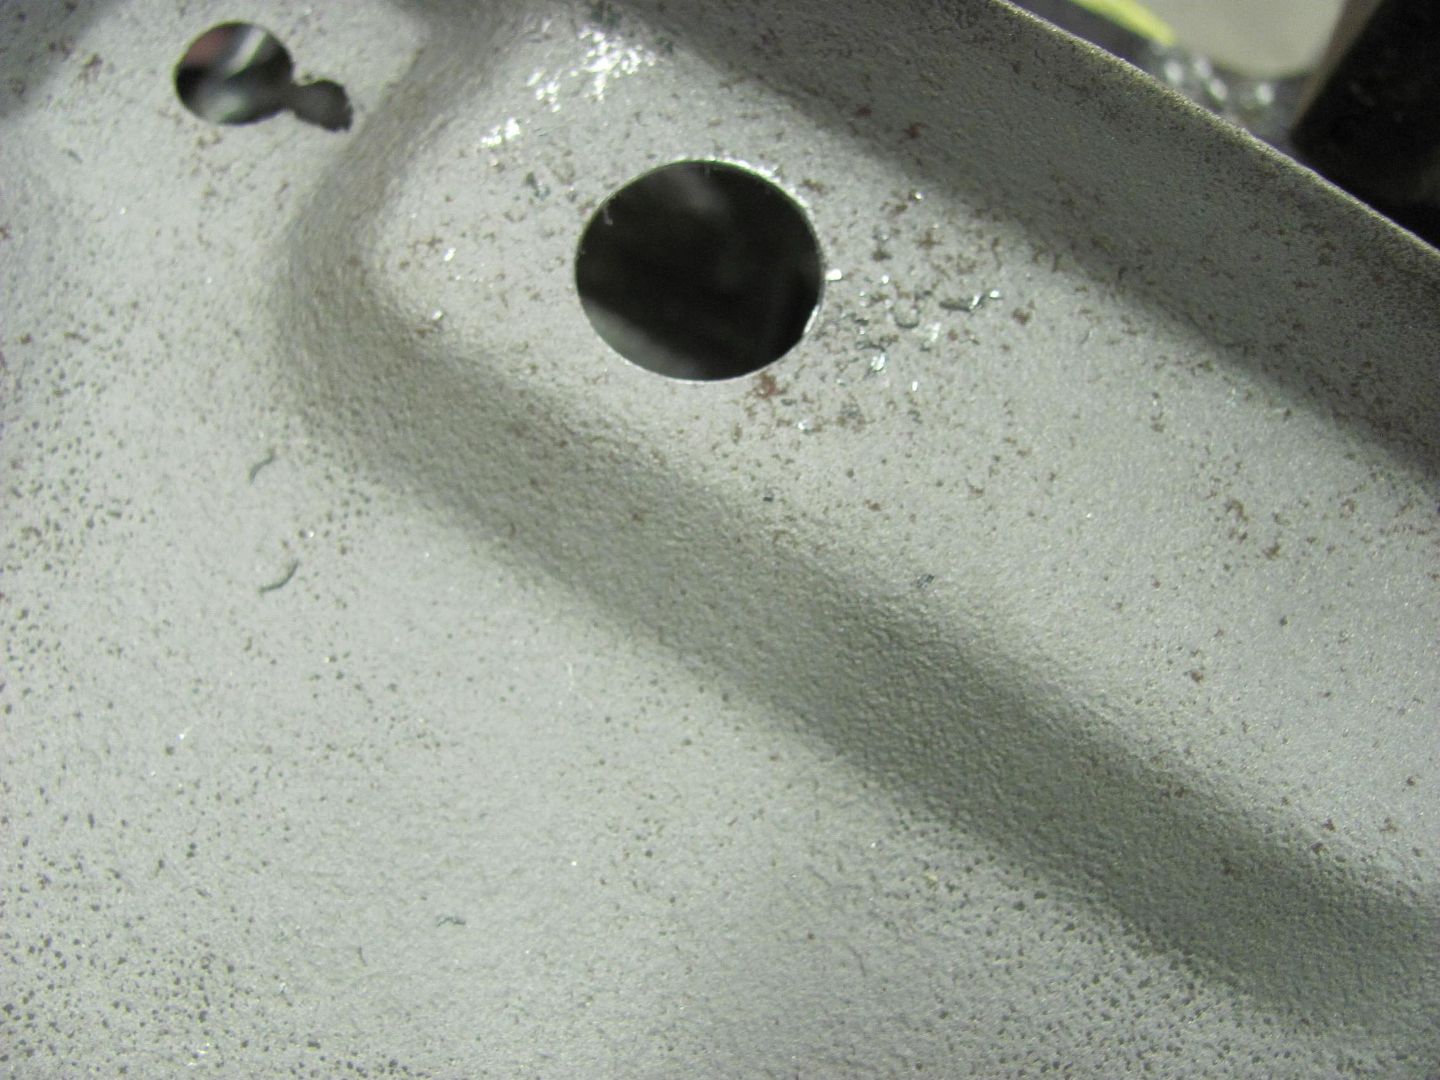
    Holes located on inner fender....


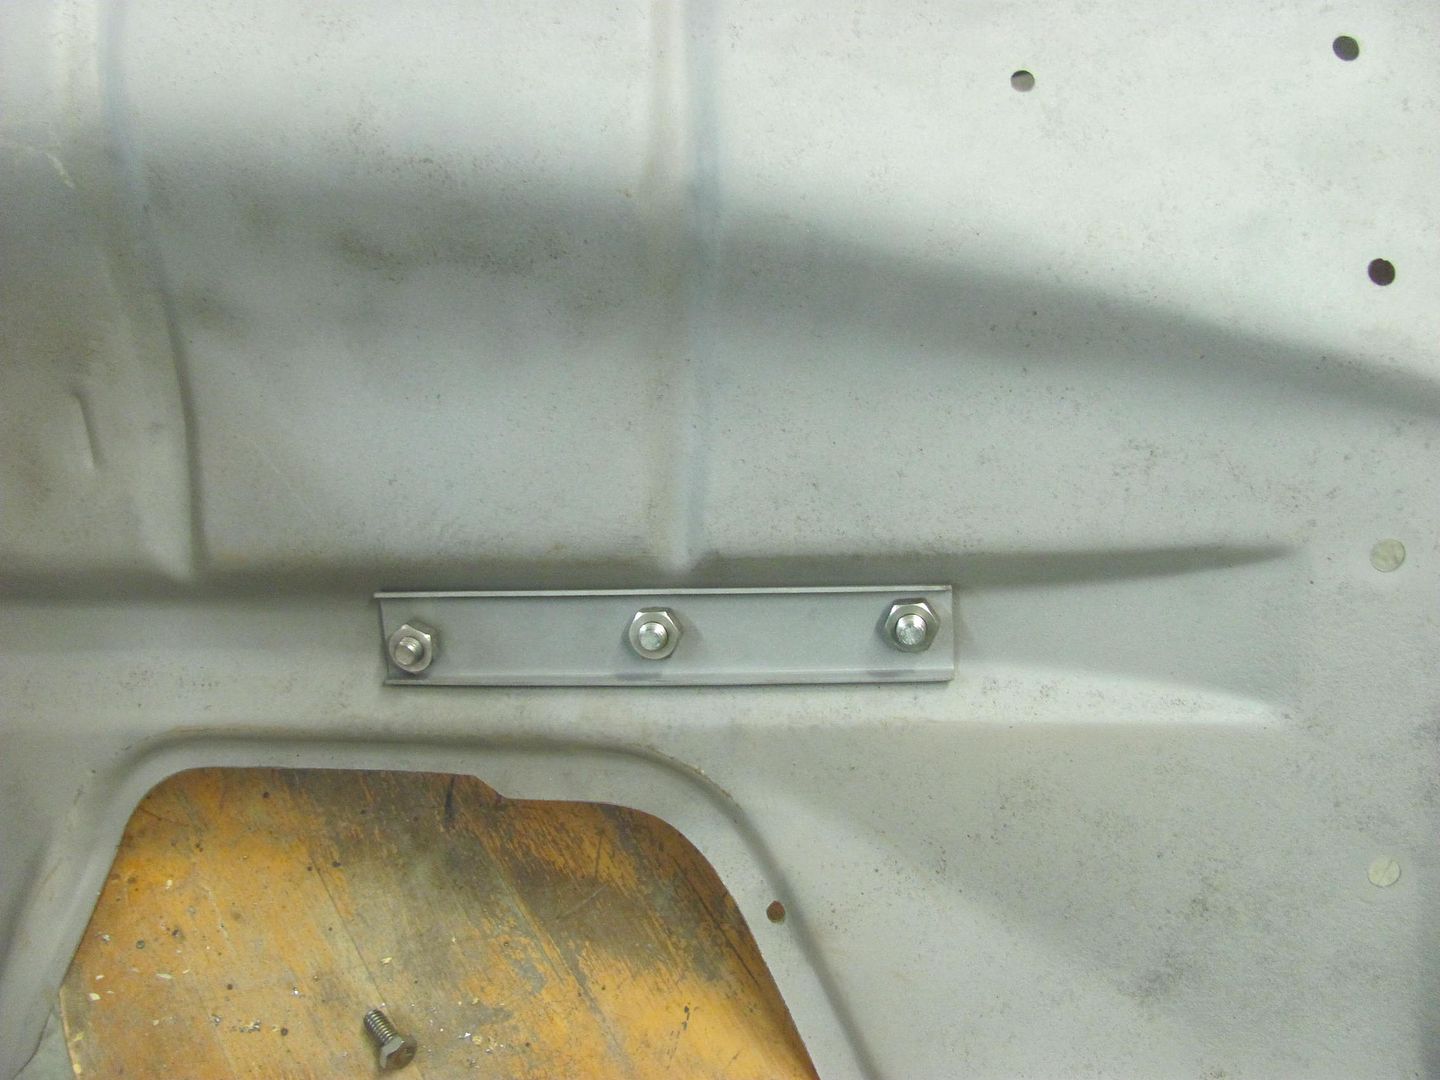
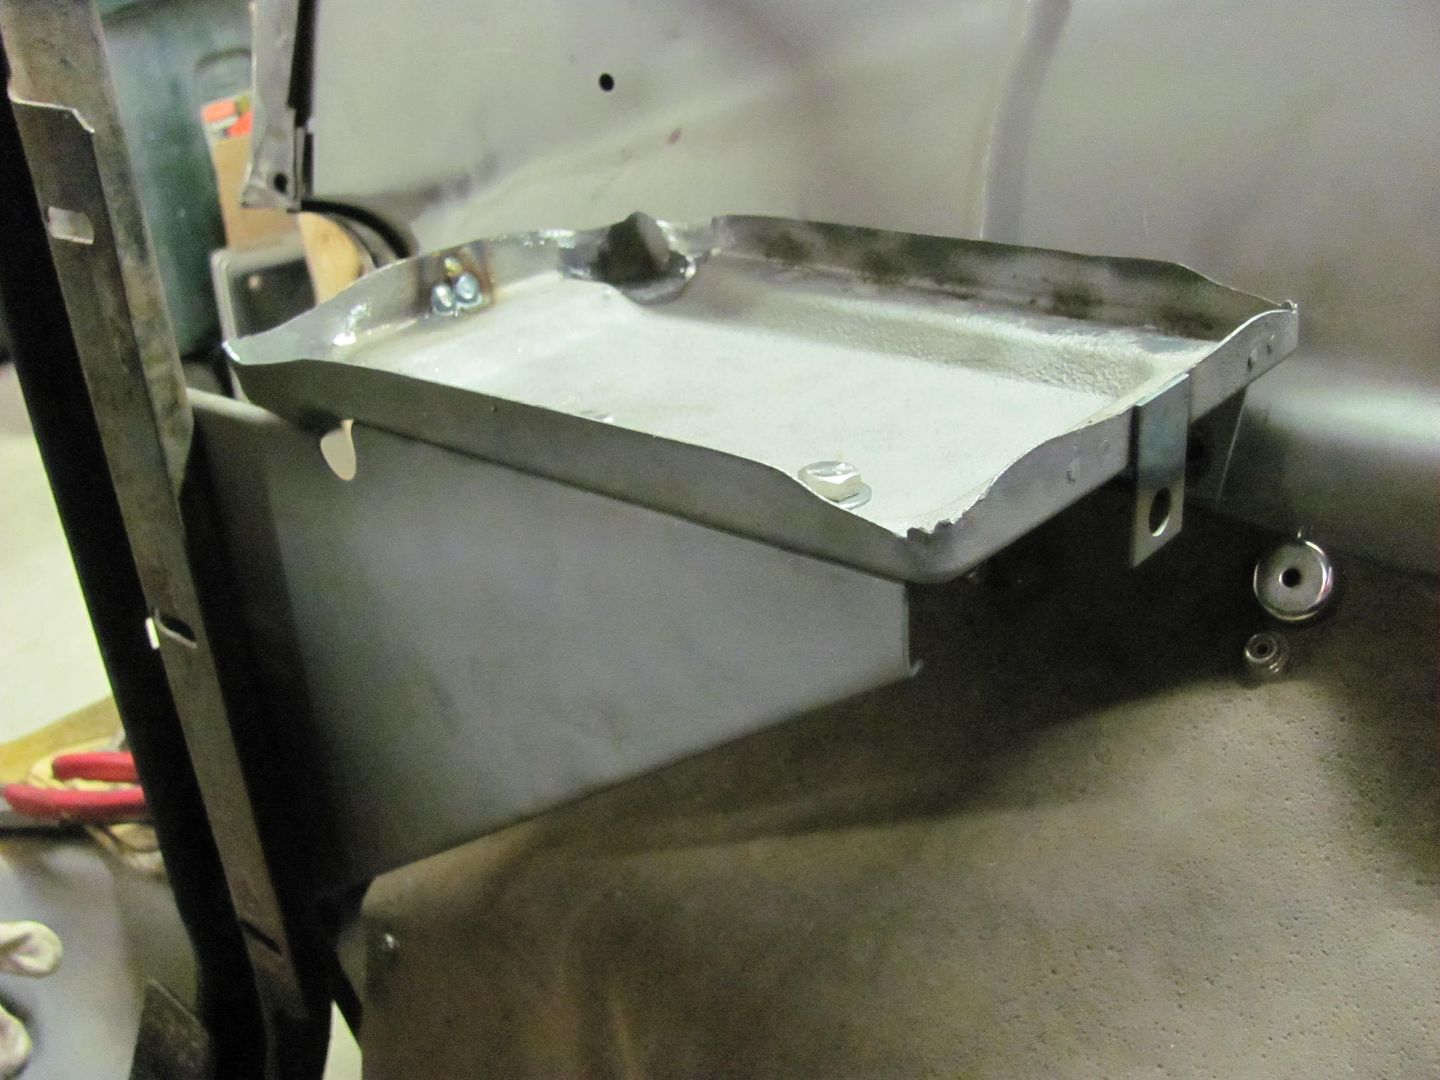
    Stiffener brace and angle bracket bolted in....


    Tray bolted to the gusset, and plug welded to the angle bracket....


    Battery hold down brackets added....


    Got a couple plug welds to grind, media blasting, and these parts are ready for powder coating!
    Robert


    MP&C Shop Projects-Metalshaping Tutorials


    Instagram @ mccartney_paint_and_custom


    .

  2. #12
    Registered Member
    Join Date
    Mar 2012

    Member #:328
    Location
    North East Ohio
    Posts
    81
    Thanks for your effort to educate. you make it look so easy. Also taking pics as you go isn't simply done as have to stop at each step.

  3. #13
    Registered Member NickP's Avatar
    Join Date
    Mar 2012

    Member #:1653
    Location
    De Queen, AR
    Posts
    4,157
    As always Robert, great stuff!

  4. #14
    Registered Member MP&C's Avatar
    Join Date
    Dec 2013

    Member #:2017
    Location
    Southern MD
    Posts
    1,293
    Thanks Nick. That's the 55 factory Air Conditioned style battery tray parts, gets the battery off the firewall...
    Robert


    MP&C Shop Projects-Metalshaping Tutorials


    Instagram @ mccartney_paint_and_custom


    .

  5. #15
    Registered Member chevynut's Avatar
    Join Date
    Nov 2011

    Member #:115
    Location
    Fort Collins, CO
    Posts
    10,854
    Robert, years ago I moved my '56 battery to the radiator support area using a 57 battery tray. Worked perfectly. I assume you're doing all this work to teach metalworking, not necessarily to get the car finished as soon as possible. Some of the stuff you're doing would be easier/cheaper to just buy a new part. Thanks for the great tutorials.
    56 Nomad, Ramjet 502, Viper 6-speed T56, C4 Corvette front and rear suspension


    Other vehicles:

    56 Chevy 2-door BelAir sedan
    56 Chevy 210 4-door sedan
    57 Chevy 210 4-door sedan
    1962 327/340HP Corvette
    1961 Willys CJ3B Jeep
    2001 Porsche Boxster S
    2003 Chevy Silverado 2500 HD Duramax
    2019 GMC Sierra Denali Duramax

  6. #16
    Registered Member MP&C's Avatar
    Join Date
    Dec 2013

    Member #:2017
    Location
    Southern MD
    Posts
    1,293
    I initially was making a couple sets of the brackets for Mikey Domoracki, he was going to use new reproduction trays with his.. These brackets are patterned directly from parts off a 55 AC car. He had put out feelers to see if anyone wanted some made, but I guess they are too used to paying offshore prices and those who initially expressed interest never made a peep once the price was indicated. So I only made three sets of the brackets, this being one set as Dana had wanted the battery off the firewall. On the tray, you are correct, a new repro would have been cheaper and less labor. This one had a PC finish on it, so most defects we couldn't see until it had been media blasted.. But factoring in the time to get a new one, we are all but done now and not waiting on a shipment. That happens quite a bit working on weekends in a "just get it done" fashion.. Yes, it was a good tutorial for Kyle... and those looking on now.. We will be buying the battery hold down, but it will still require an additional bracket that bolts it to the core support, per OEM style.
    Last edited by MP&C; 09-29-2014 at 09:28 AM.
    Robert


    MP&C Shop Projects-Metalshaping Tutorials


    Instagram @ mccartney_paint_and_custom


    .

  7. #17
    Registered Member slowfinger's Avatar
    Join Date
    Jul 2013

    Member #:1761
    Location
    near chicago
    Posts
    78
    Robert, Very interesting! Haven't got that far yet. Was wondering if you have advice for lengthening the pitted lower ends of the rear lower inner wheel housing where it gets welded to floor pan. We have about a 1 1/2" gap where the metal is gone. Want to save these inners on a 56 hardtop. Will be replacing the outers though. Geo.

  8. #18
    Registered Member MP&C's Avatar
    Join Date
    Dec 2013

    Member #:2017
    Location
    Southern MD
    Posts
    1,293
    Post up a picture....
    Robert


    MP&C Shop Projects-Metalshaping Tutorials


    Instagram @ mccartney_paint_and_custom


    .

  9. #19
    Registered Member MP&C's Avatar
    Join Date
    Dec 2013

    Member #:2017
    Location
    Southern MD
    Posts
    1,293
    As Kyle media blasted and otherwise prepped parts for powder coating, I turned my attention to the new grille. This looked to be a very accurate reproduction as it fit tightly in the corners exactly as the original did..


    In order to do some metal bumping on the grille corners and provide some clearance, which should help eliminate future front end squeaks and paint rubs, we'll need to make an anvil. This piece of pipe looks close to our templates..


    Unfortunately our grille shows some interference, so unless we plan on disassembly of a new grille, the anvil will need a specialized shape..


    After some drilling, band saw and sanding action, here are the results:


    This may just work...


    Working the corners.... Luckily any markings that may occur here will be covered by the surround chrome..


    Test fitment shows a nice consistent gap:

    Robert


    MP&C Shop Projects-Metalshaping Tutorials


    Instagram @ mccartney_paint_and_custom


    .

  10. #20
    Registered Member chevynut's Avatar
    Join Date
    Nov 2011

    Member #:115
    Location
    Fort Collins, CO
    Posts
    10,854
    Wow, what a difference. Nice fit. Too bad the manufacturer can't make them fit right in the first place. My Gene Smith lower grille bar doesn't fit my Gene Smith stainless grille without jamming it on. It doesn't fit anything like the original parts.
    56 Nomad, Ramjet 502, Viper 6-speed T56, C4 Corvette front and rear suspension


    Other vehicles:

    56 Chevy 2-door BelAir sedan
    56 Chevy 210 4-door sedan
    57 Chevy 210 4-door sedan
    1962 327/340HP Corvette
    1961 Willys CJ3B Jeep
    2001 Porsche Boxster S
    2003 Chevy Silverado 2500 HD Duramax
    2019 GMC Sierra Denali Duramax

Page 2 of 3 FirstFirst 123 LastLast

Posting Permissions

  • You may not post new threads
  • You may not post replies
  • You may not post attachments
  • You may not edit your posts
  •