Nick, I see everything on the last page.


Nick, I see everything on the last page.

I do now. Who knows.

Check these Nick....
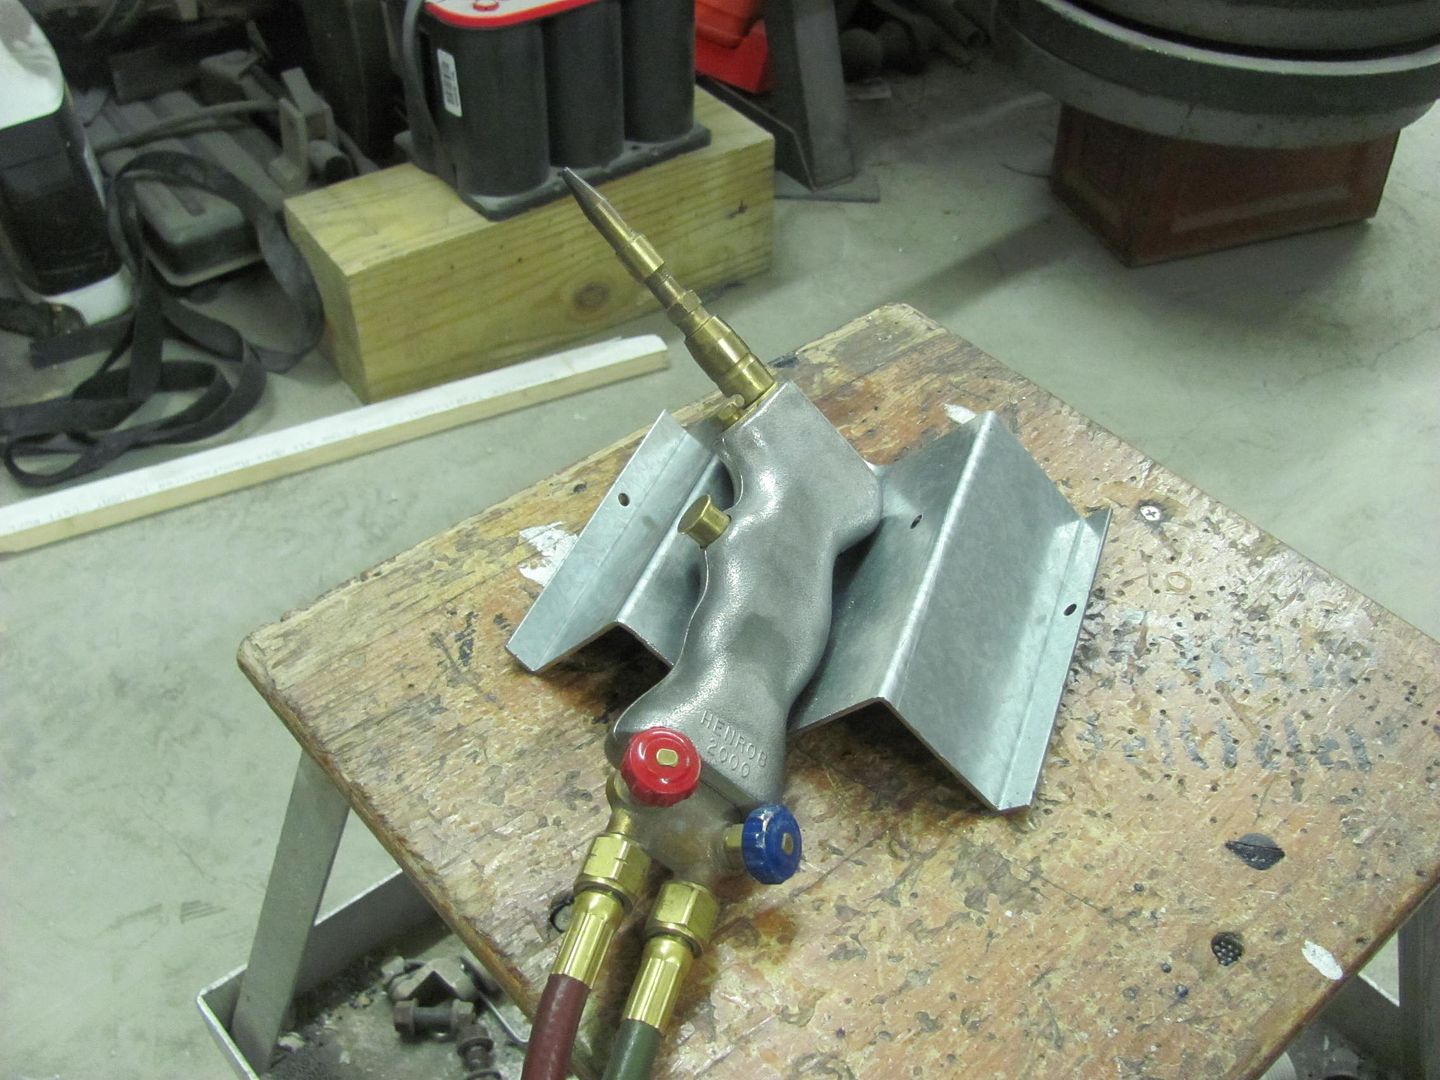
Well this isn't much of an update, but since Kyle was busy media blasting
some parts I had torch and hammer duty.. So to have a place to drop the torch
quickly, bent this up:
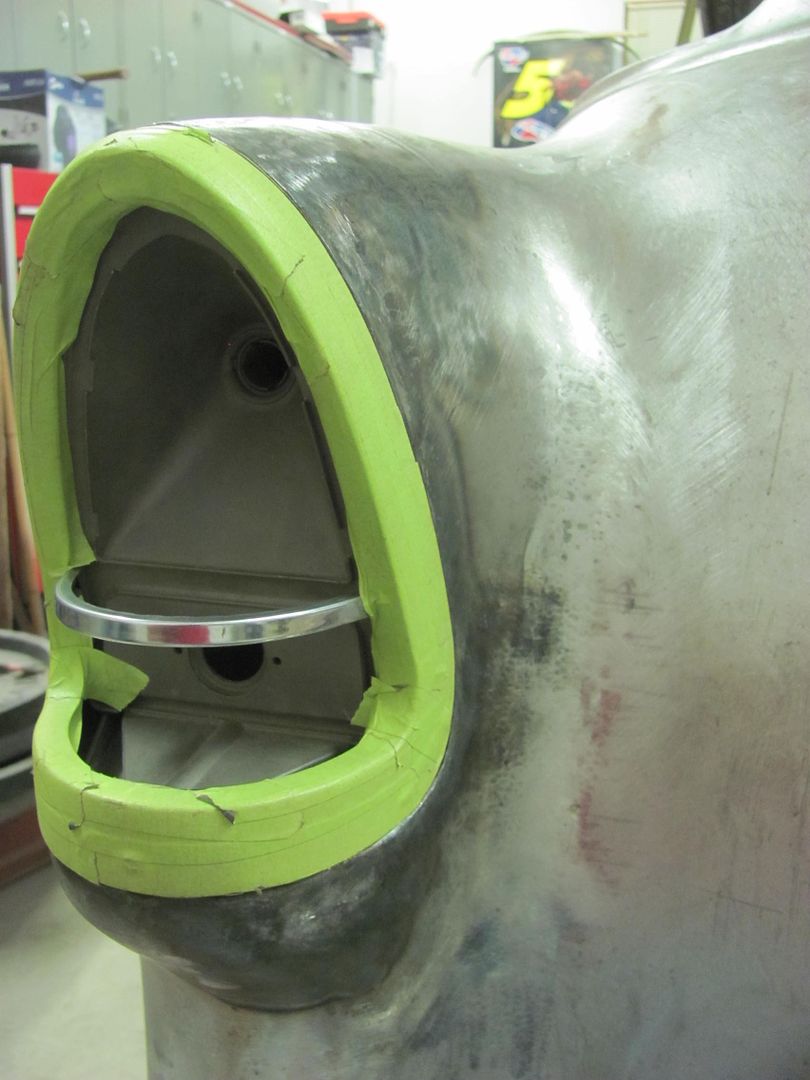
When the top seam was welded we had a slight bulge just in from the tail
light. So some dime sized spots were heated and then hammered with glancing
blows to bring things down a bit.. The fit of the tail light is much better
now, and we've started the fitup of the motor assembly's mounting plate. Should
get that welded in tomorrow..
Sweet!

Looking god Robert...nothing like a "blueprinted" car.
56 Nomad, Ramjet 502, Viper 6-speed T56, C4 Corvette front and rear suspension
Other vehicles:
56 Chevy 2-door BelAir sedan
56 Chevy 210 4-door sedan
57 Chevy 210 4-door sedan
1962 327/340HP Corvette
1961 Willys CJ3B Jeep
2001 Porsche Boxster S
2003 Chevy Silverado 2500 HD Duramax
2019 GMC Sierra Denali Duramax
Thanks guys...
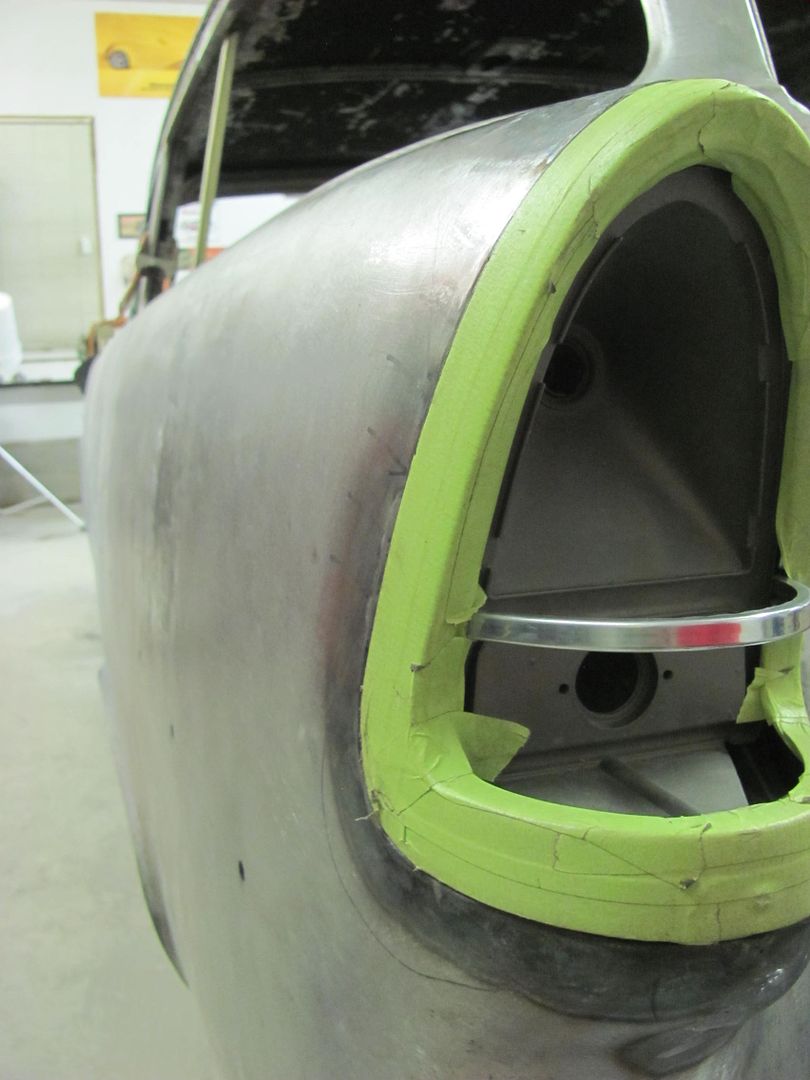
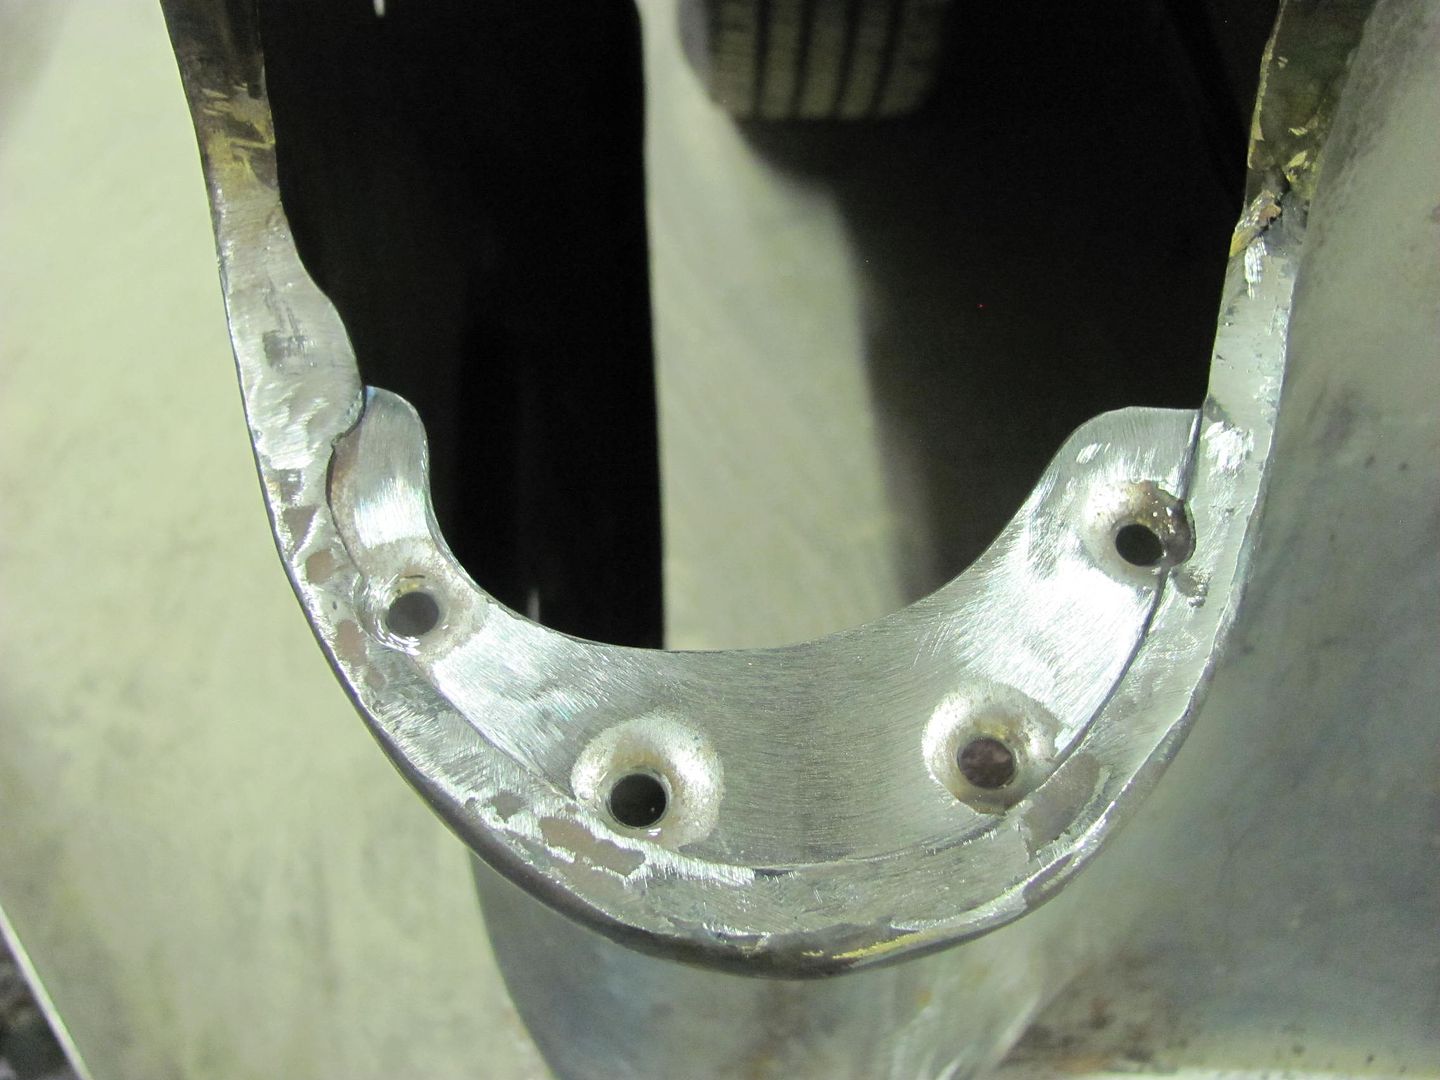
Worked on the Rocky Hinge hidden fuel door this evening. The mounting plate we made is plug welded to the tail light opening..
Slight trimming needed.....
Then some 3M body molding adhesive tape is added to the top of the pivot bracket and the lens pressed in place. Here's the initial test...
https://youtu.be/oZ6JYr988dc[/URL]
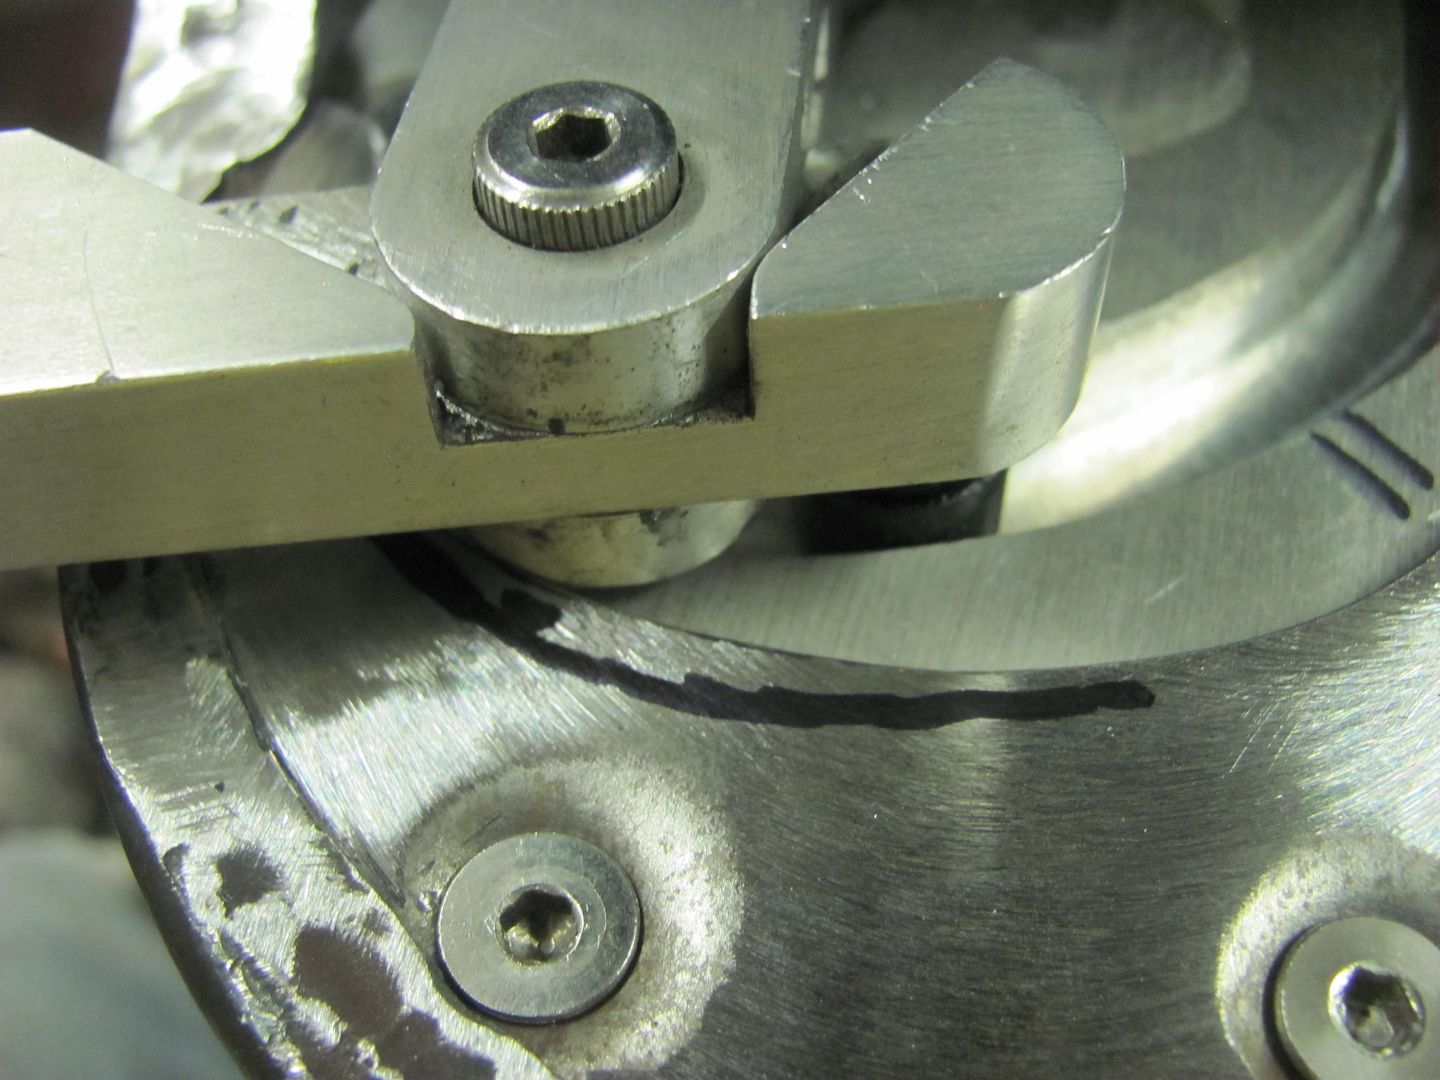
That worked fairly well, so it was clamped in place and a transfer punch used to mark the housing for drilling mounting holes..
Then the holes were slightly slotted using a dremel for side to side adjustability. Here's the results, from different views....
https://youtu.be/848V2PbuQJw[/URL]
https://youtu.be/N_Qz0NZxh5g[/URL]
https://youtu.be/PVeWQyb35j8[/URL]
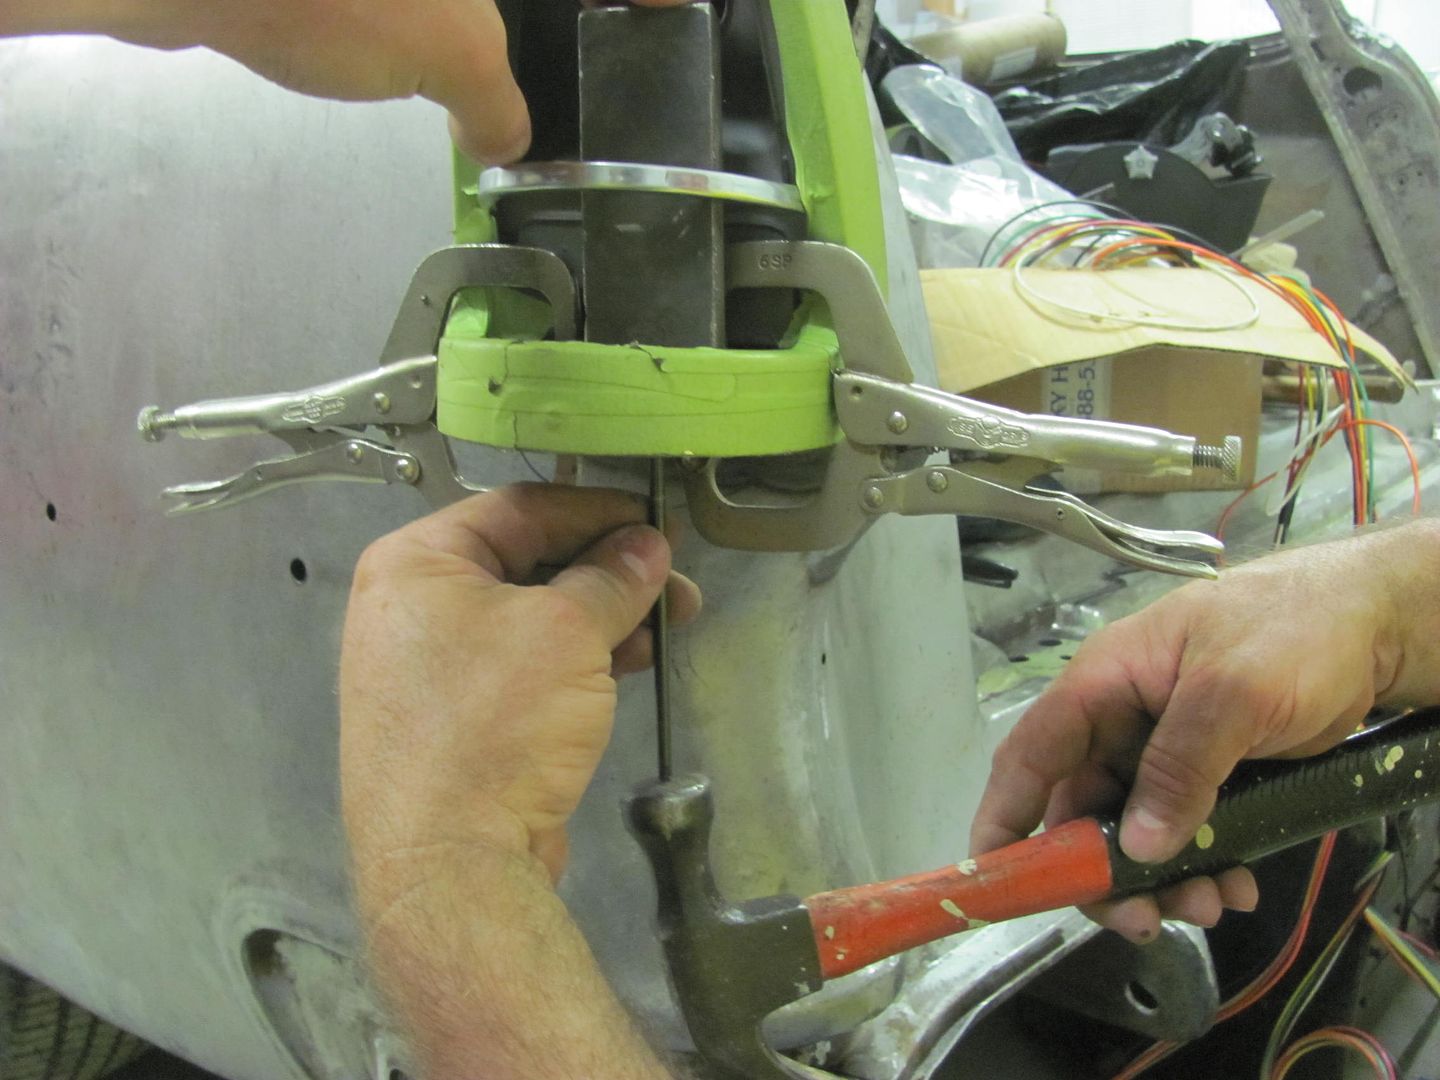
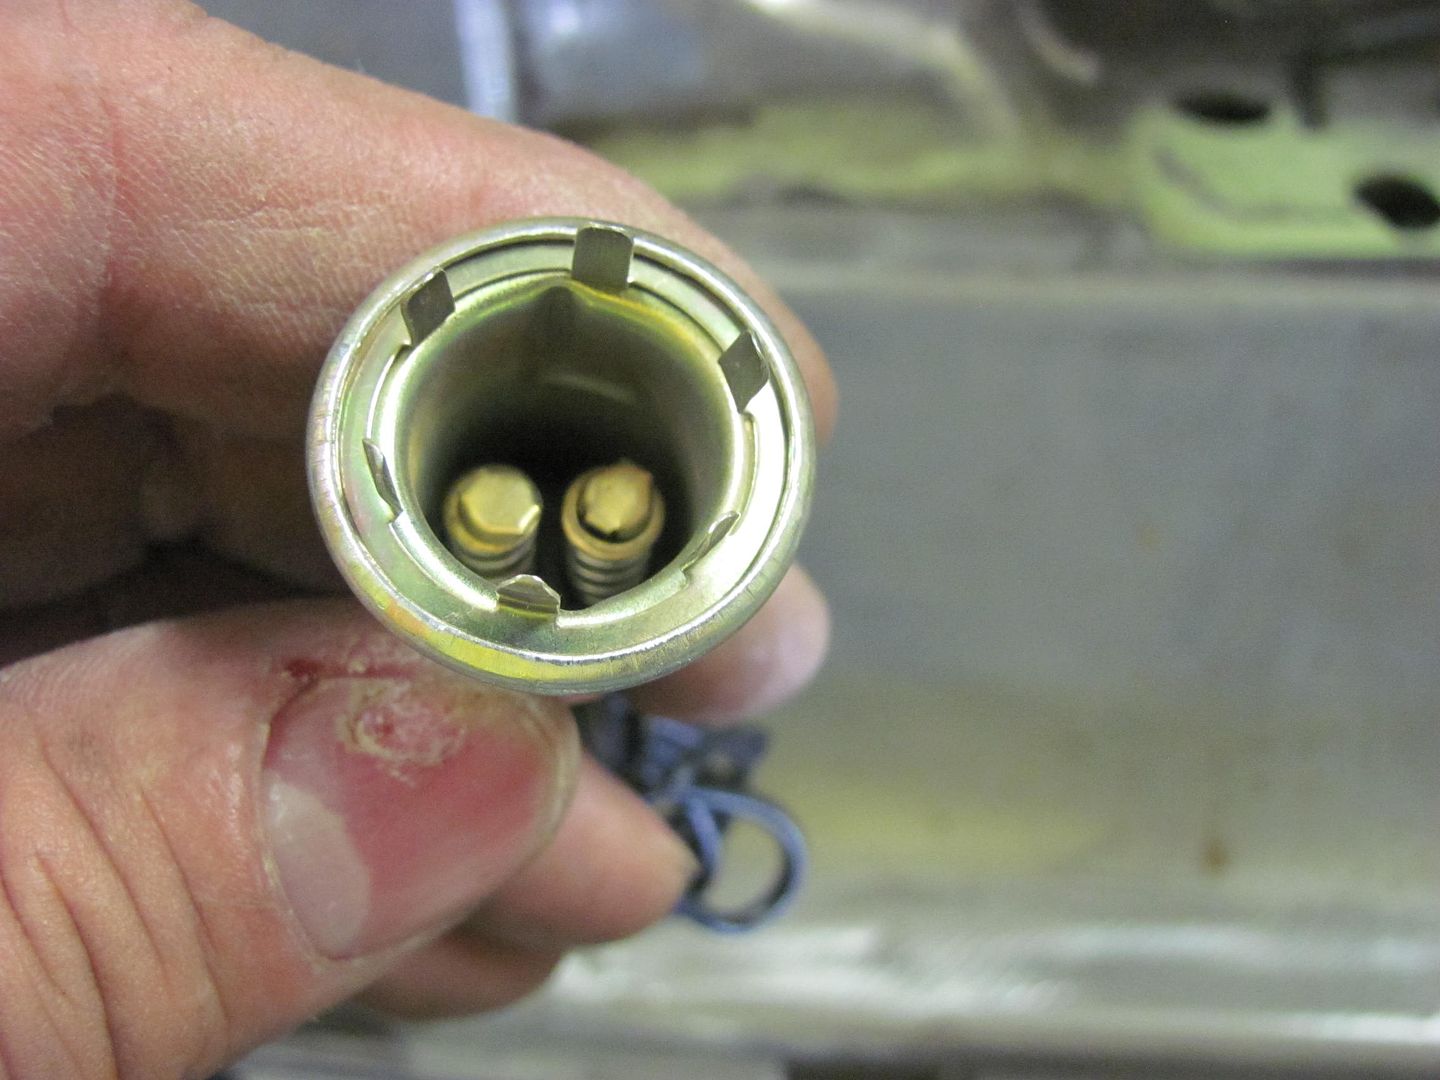
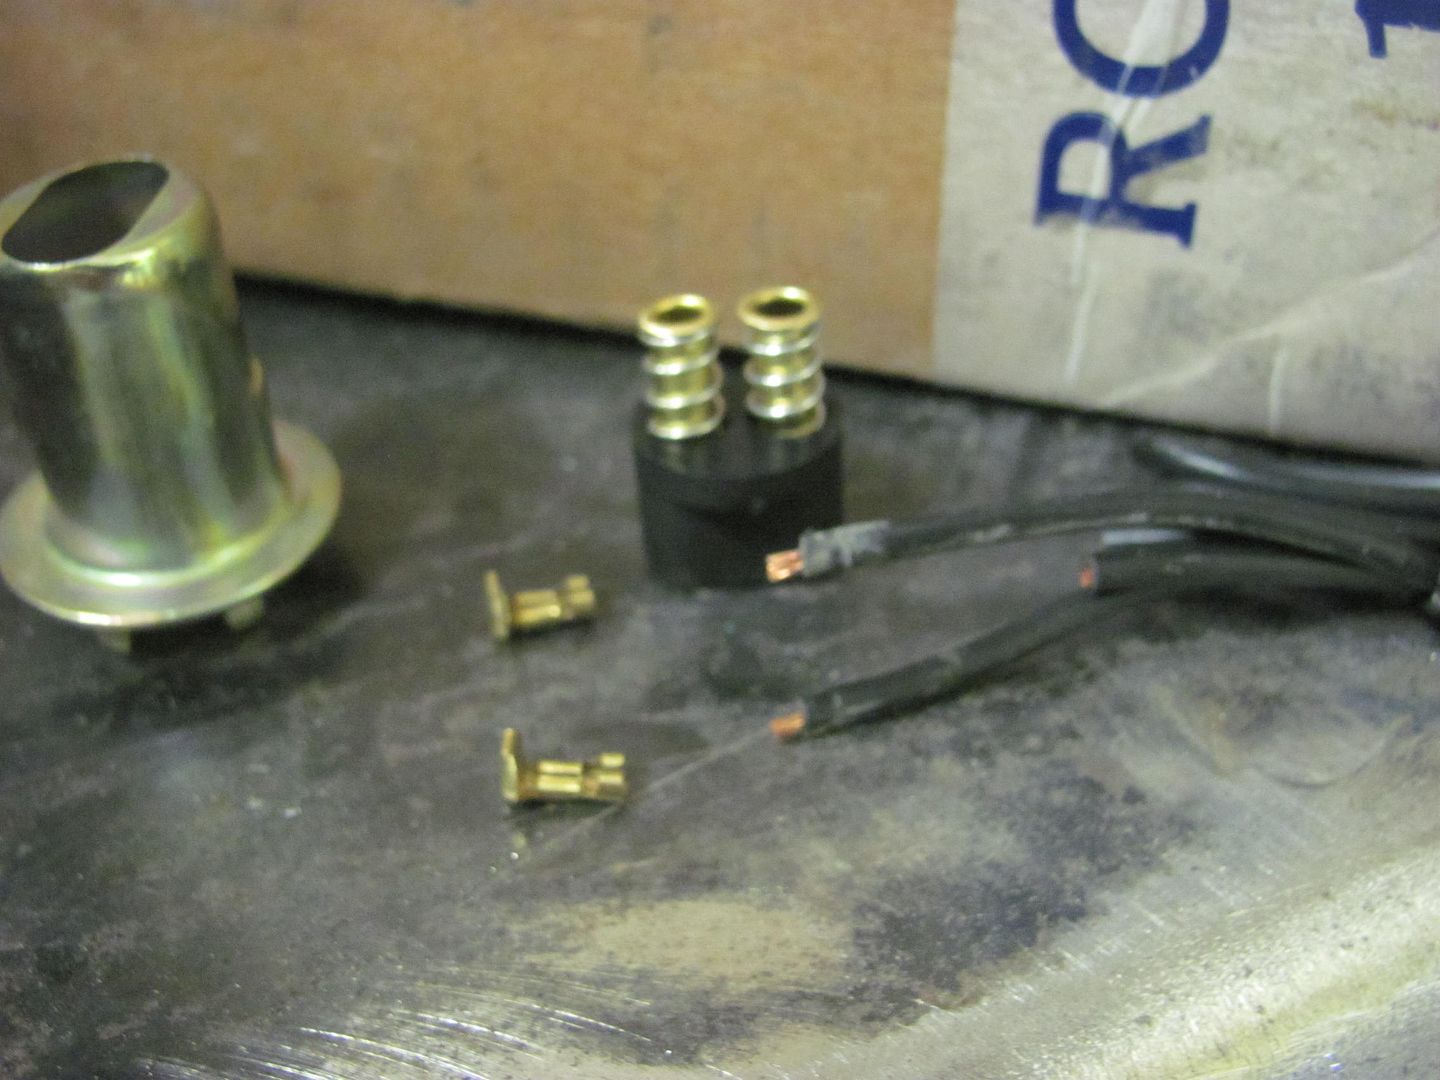
OK, now for the bad that we found with the kit... The original lamp housing must be removed for clearance, and a new (included) one gets installed below the original position. The new housing has those spring loaded contacts that some tend to bend over and short out, so I gave the wires a couple gentle tugs to see if the contacts deflected toward the outside shell...
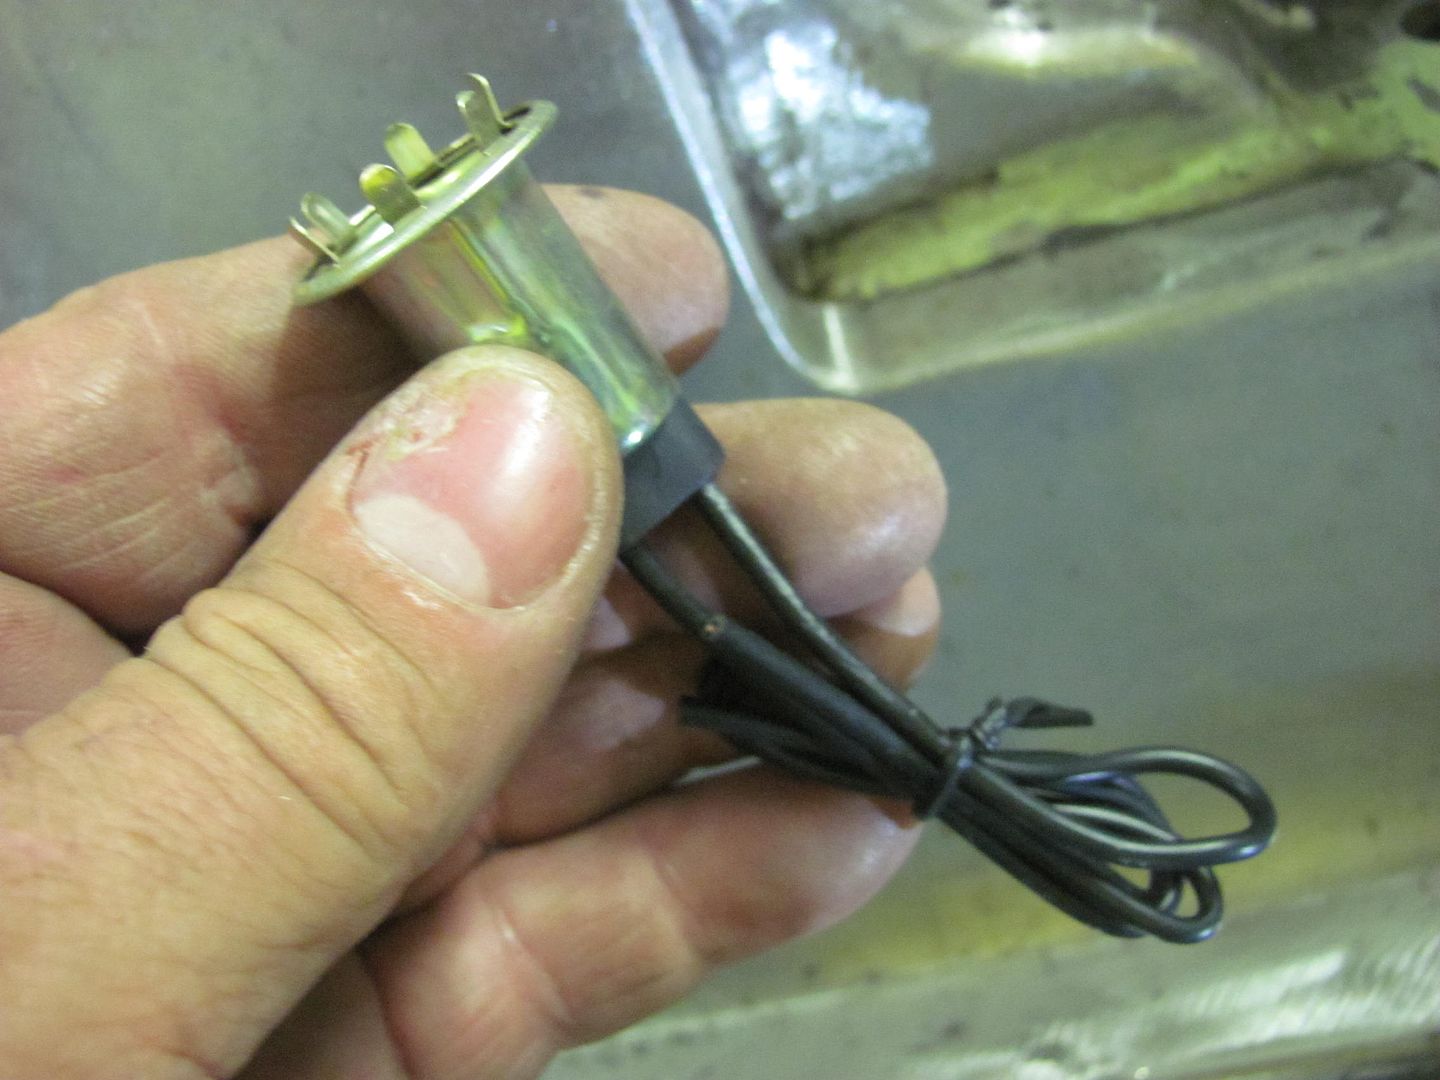
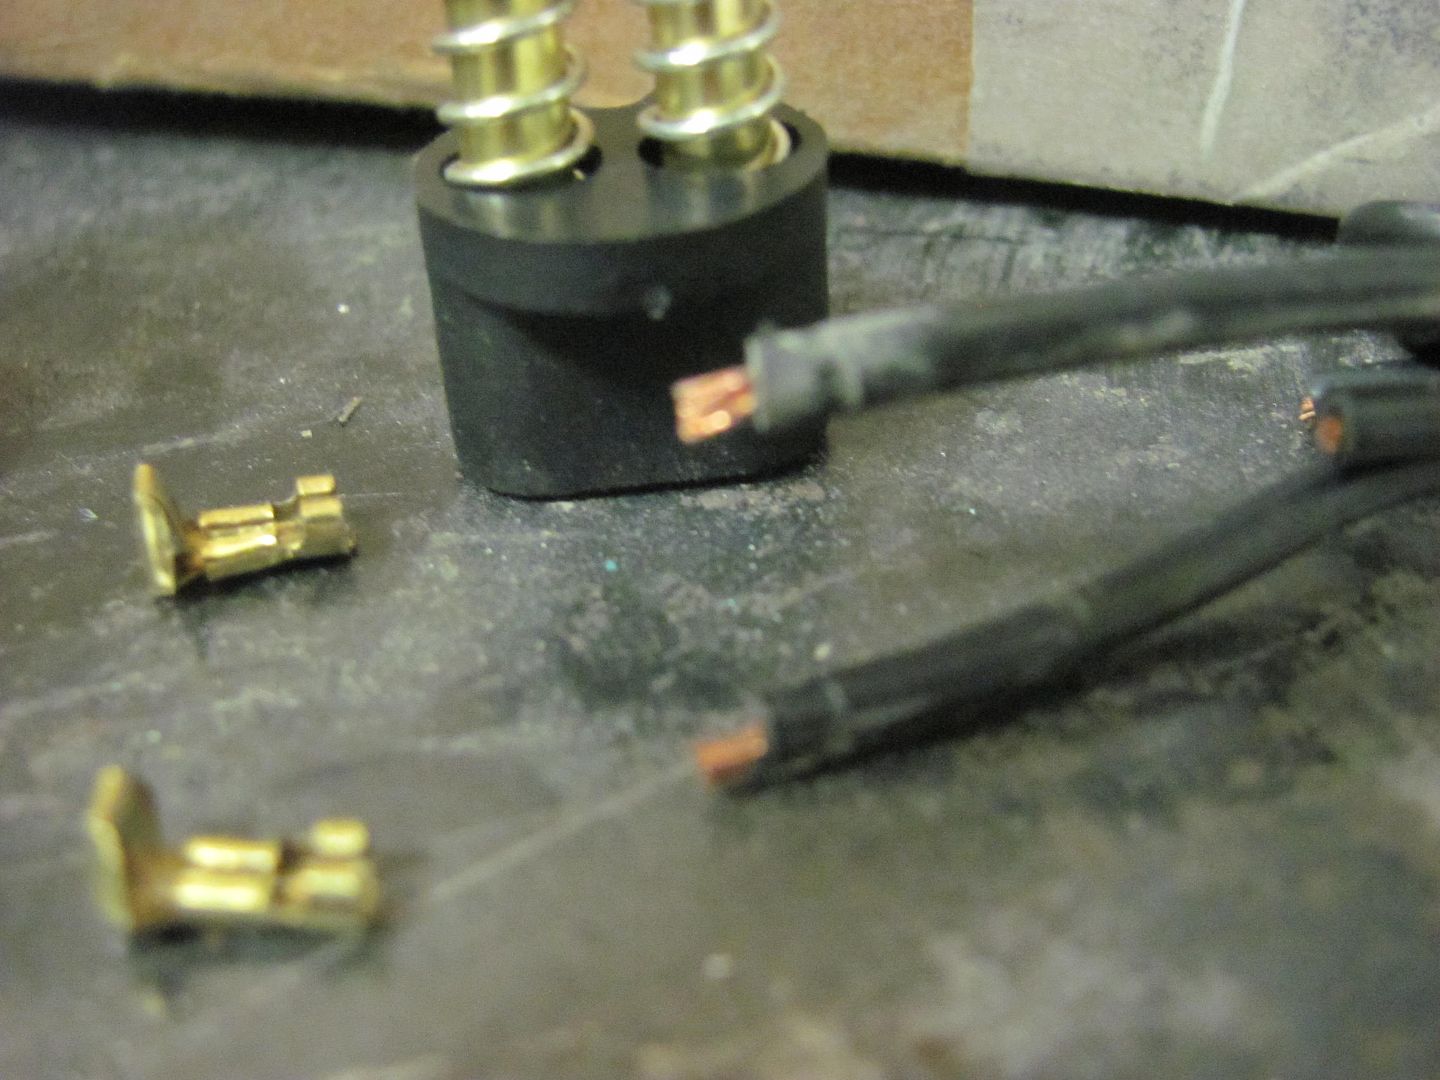
Surprise, surprise, the contacts pulled clean off....
Note there is no copper inside the contacts, indicating these had a loose crimp...
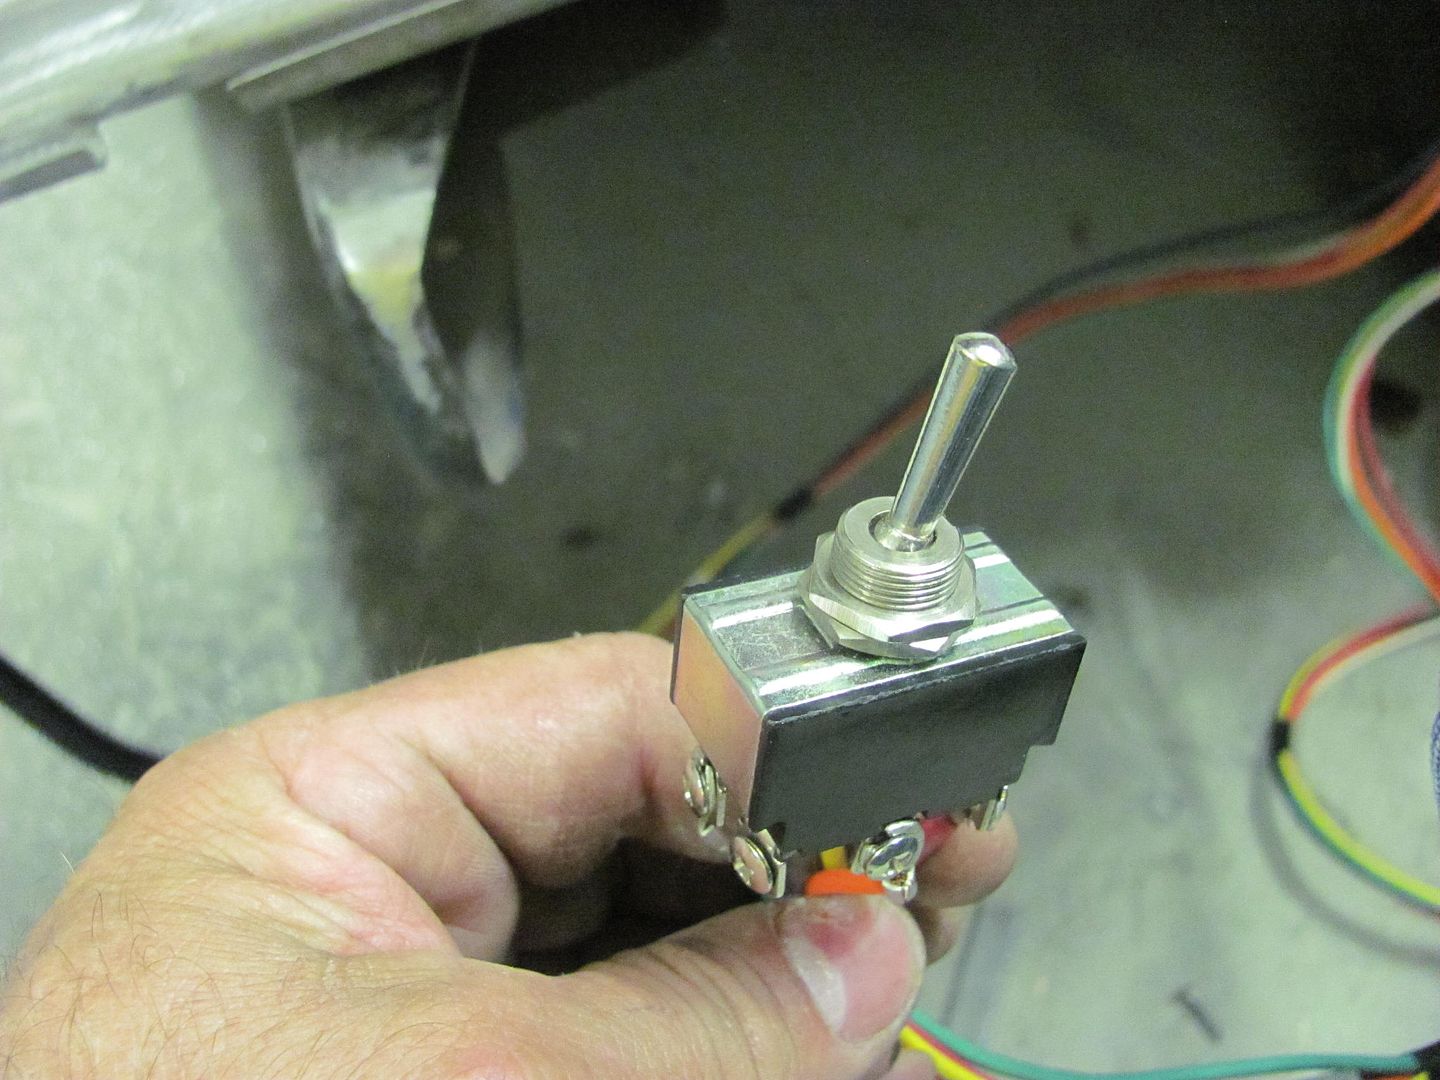
Next, the operation of the motor function seemed to be intermittent. A recheck of the power connections showed no issues, so we pressed a bit harder on the switches toggle, and the function returned. Multiple repeat attempts were performed and the switch proved to be the culprit. It appears to be a cheapo switch that has intermittent contact function. So looks like we'll be replacing a couple of the parts for this kit... So much for everything you need in one package....
Robert, how does the driver know when the door is open, so he can let up on the switch? Is there a breaker in the circuit that opens or are there limit switches? If the motor stalls, it seems like it would blow a fuse.
56 Nomad, Ramjet 502, Viper 6-speed T56, C4 Corvette front and rear suspension
Other vehicles:
56 Chevy 2-door BelAir sedan
56 Chevy 210 4-door sedan
57 Chevy 210 4-door sedan
1962 327/340HP Corvette
1961 Willys CJ3B Jeep
2001 Porsche Boxster S
2003 Chevy Silverado 2500 HD Duramax
2019 GMC Sierra Denali Duramax

Looks great Robert ,Originally Posted by MP&C

Thanks for taking the time to post this so others can learn and enjoy looking at your talents .
Sid

1955 2 DR Post
1937 Chevy Coupe
2023 Ford Super Duty F350 TREMOR
2019 Corvette Z06
1955 Chevy Nomad
1935 Ford 2dr Slant back I have 4
Thanks for the comments... Laszlo, the tail light should be in the driver's rear view mirror if it's open. It has a set of relays that the light goes all the way out until it hits the limit switch. Then pushing the toggle switch the other way to close, it rotates inward until it hits the next limit switch.. I like the gas door on the quarter panel more every day...
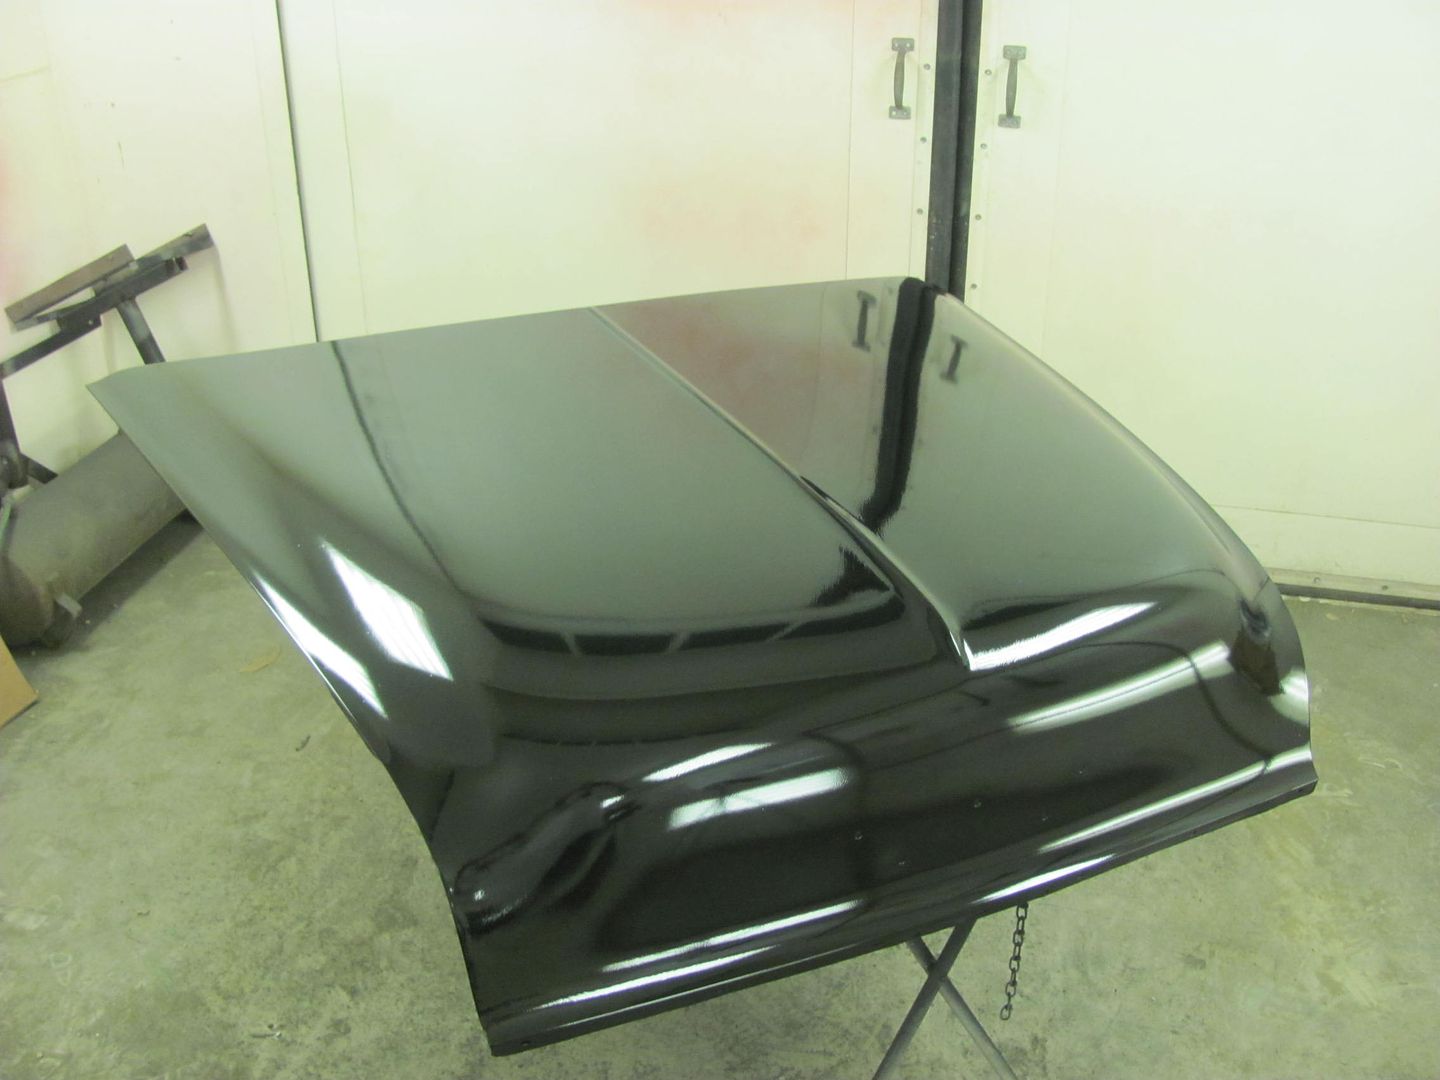
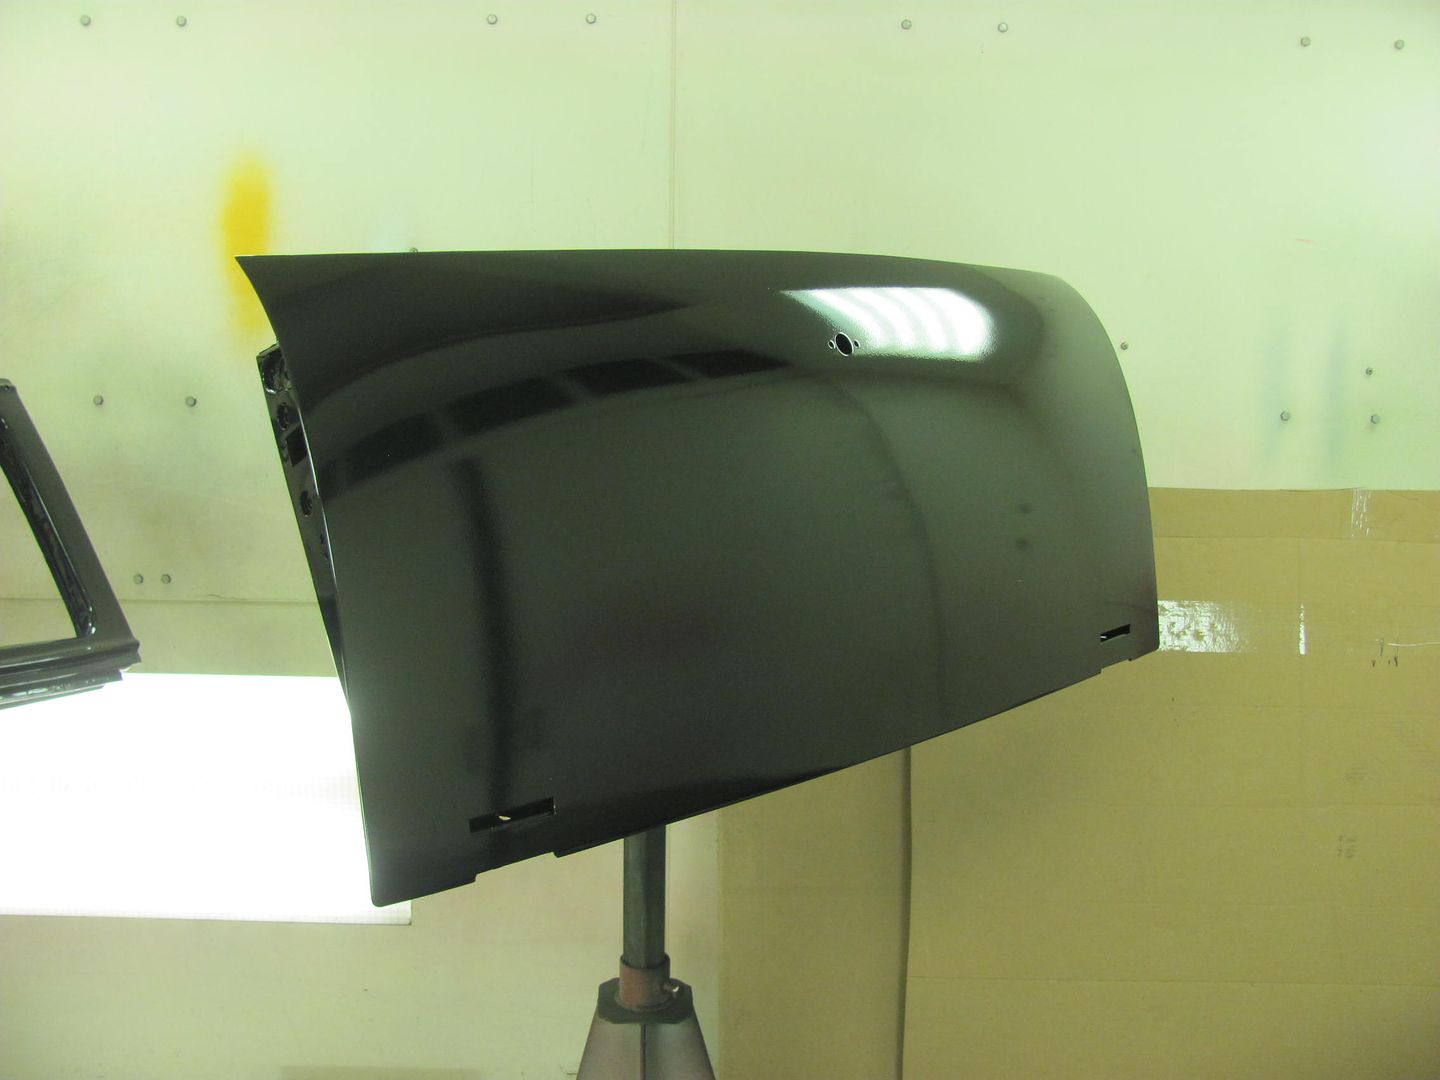
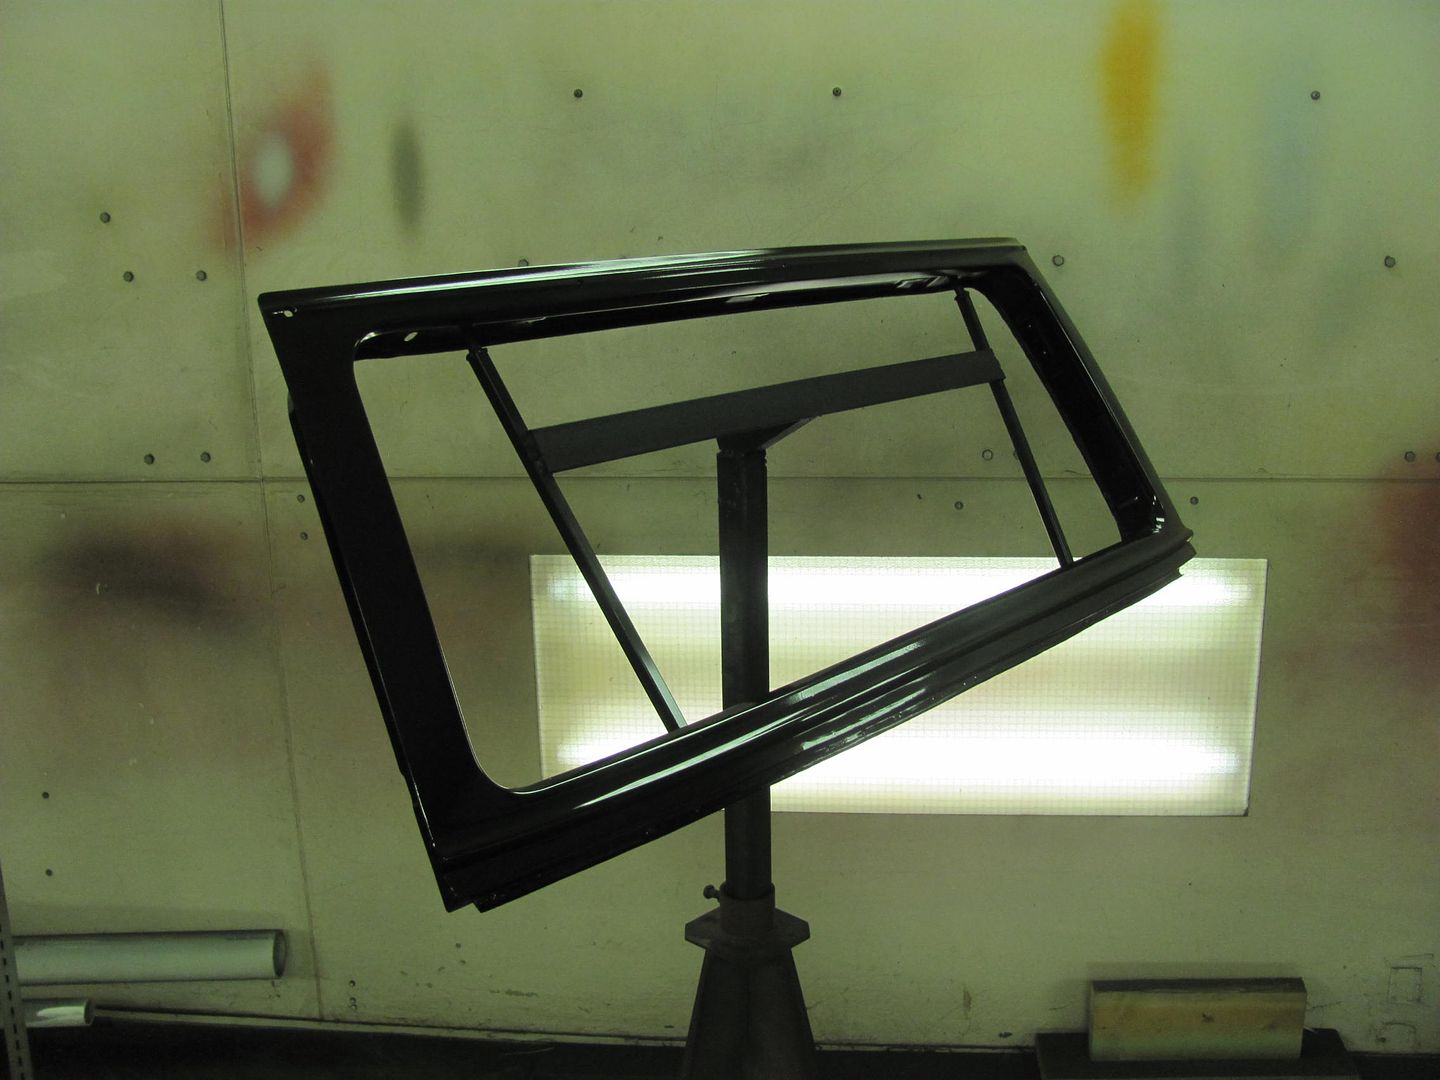
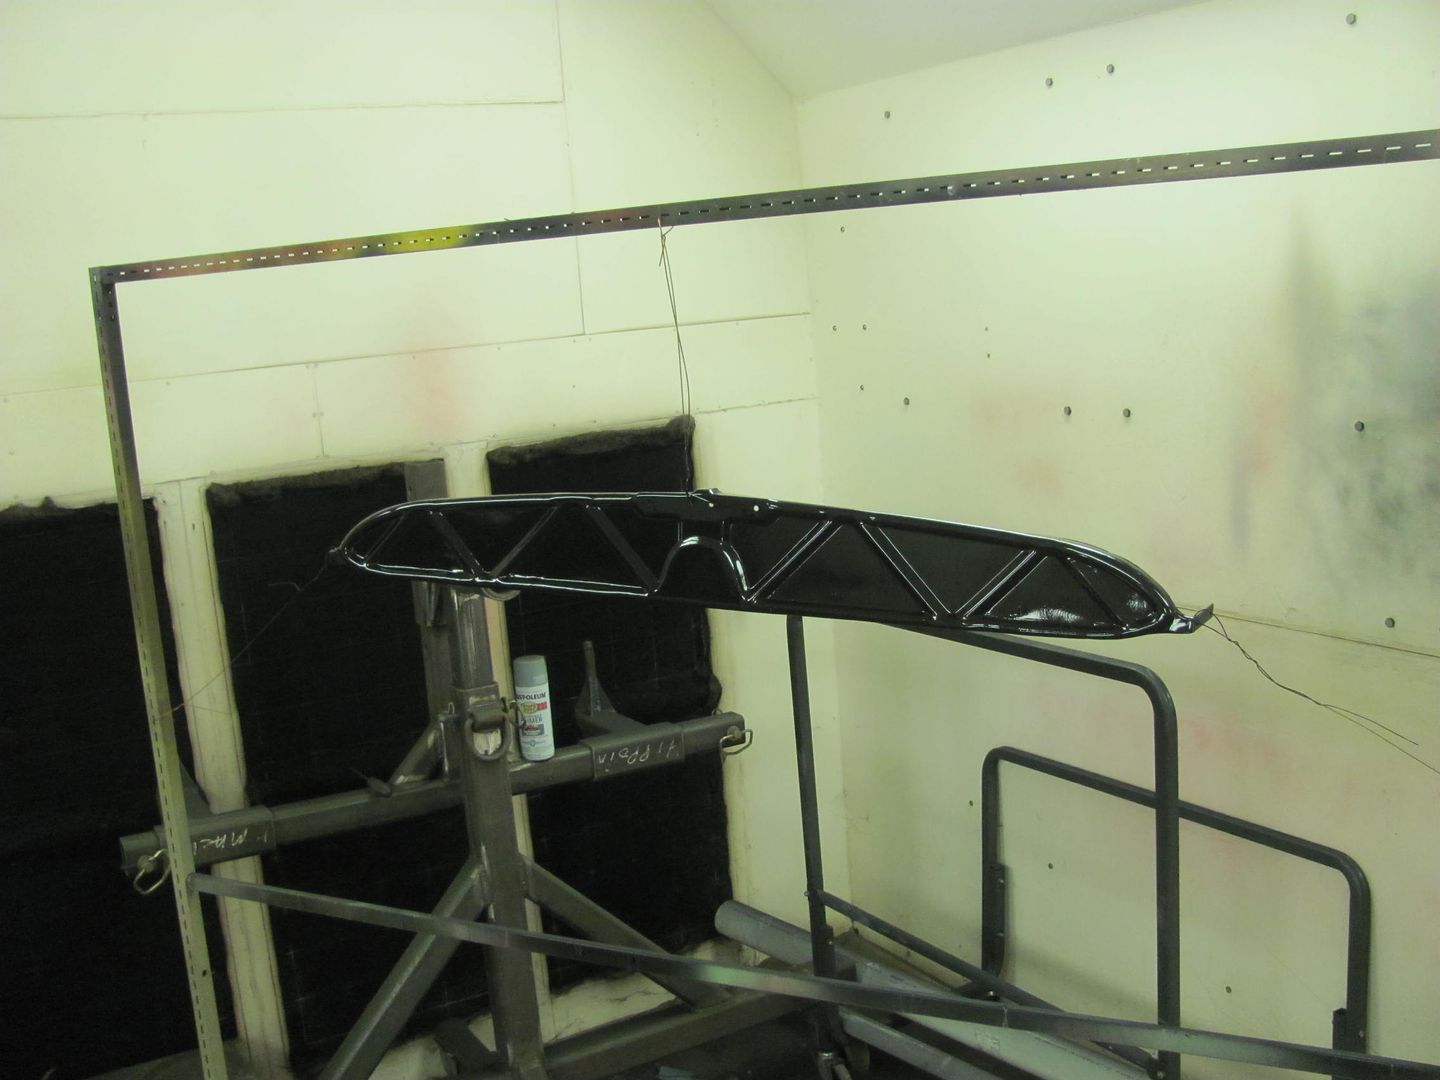
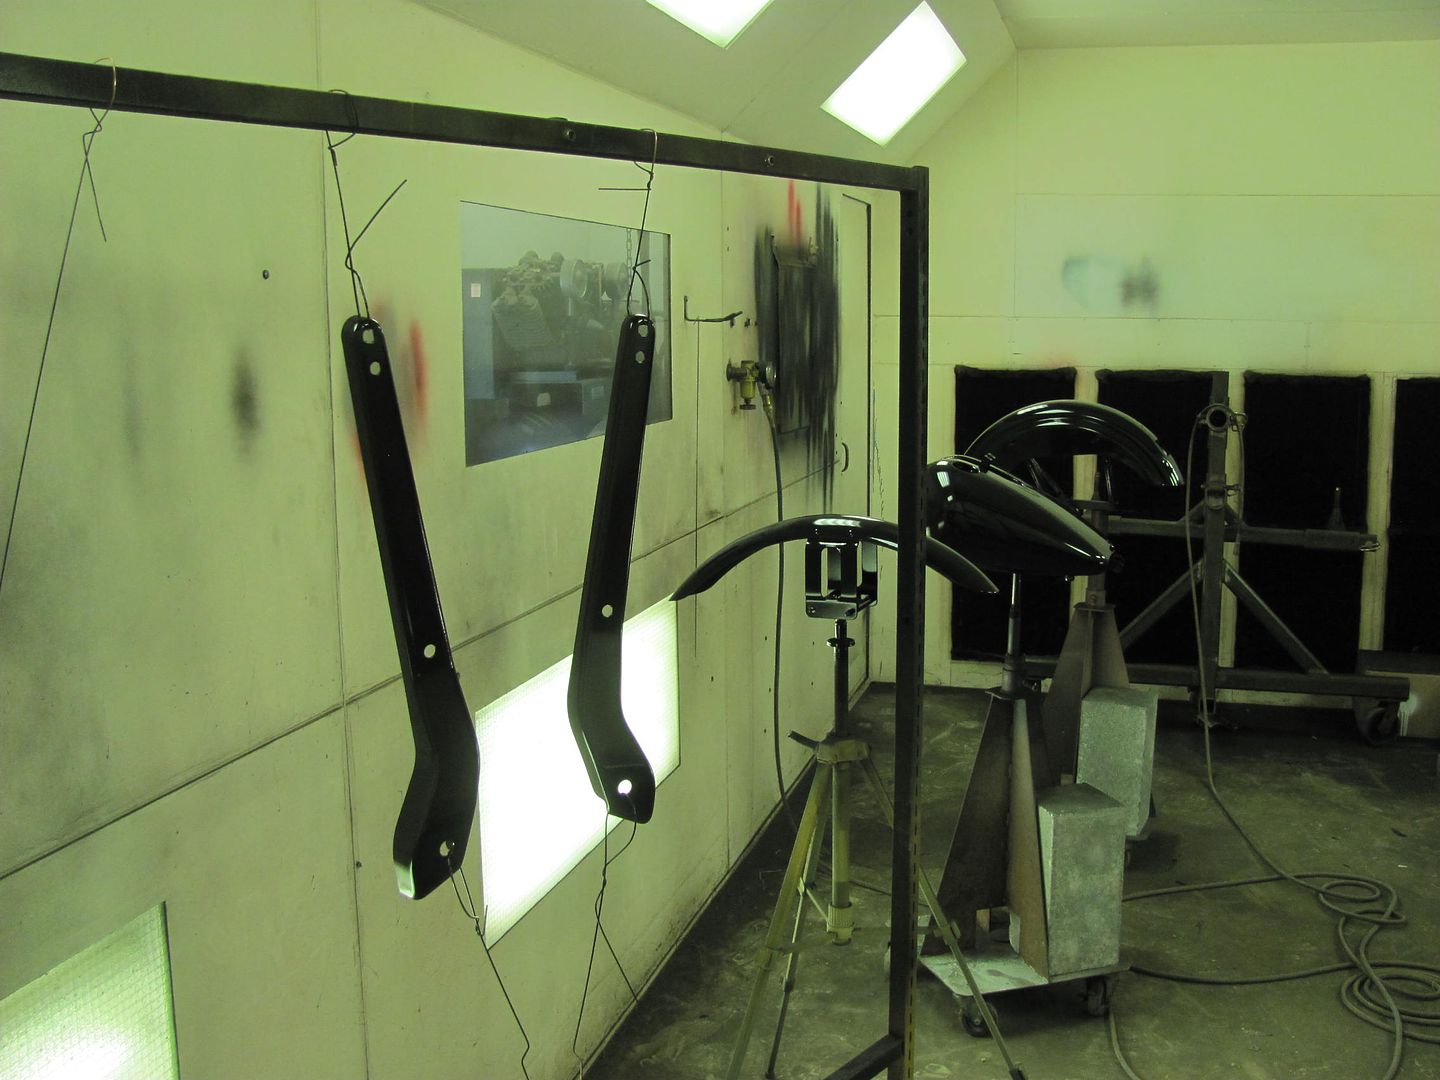
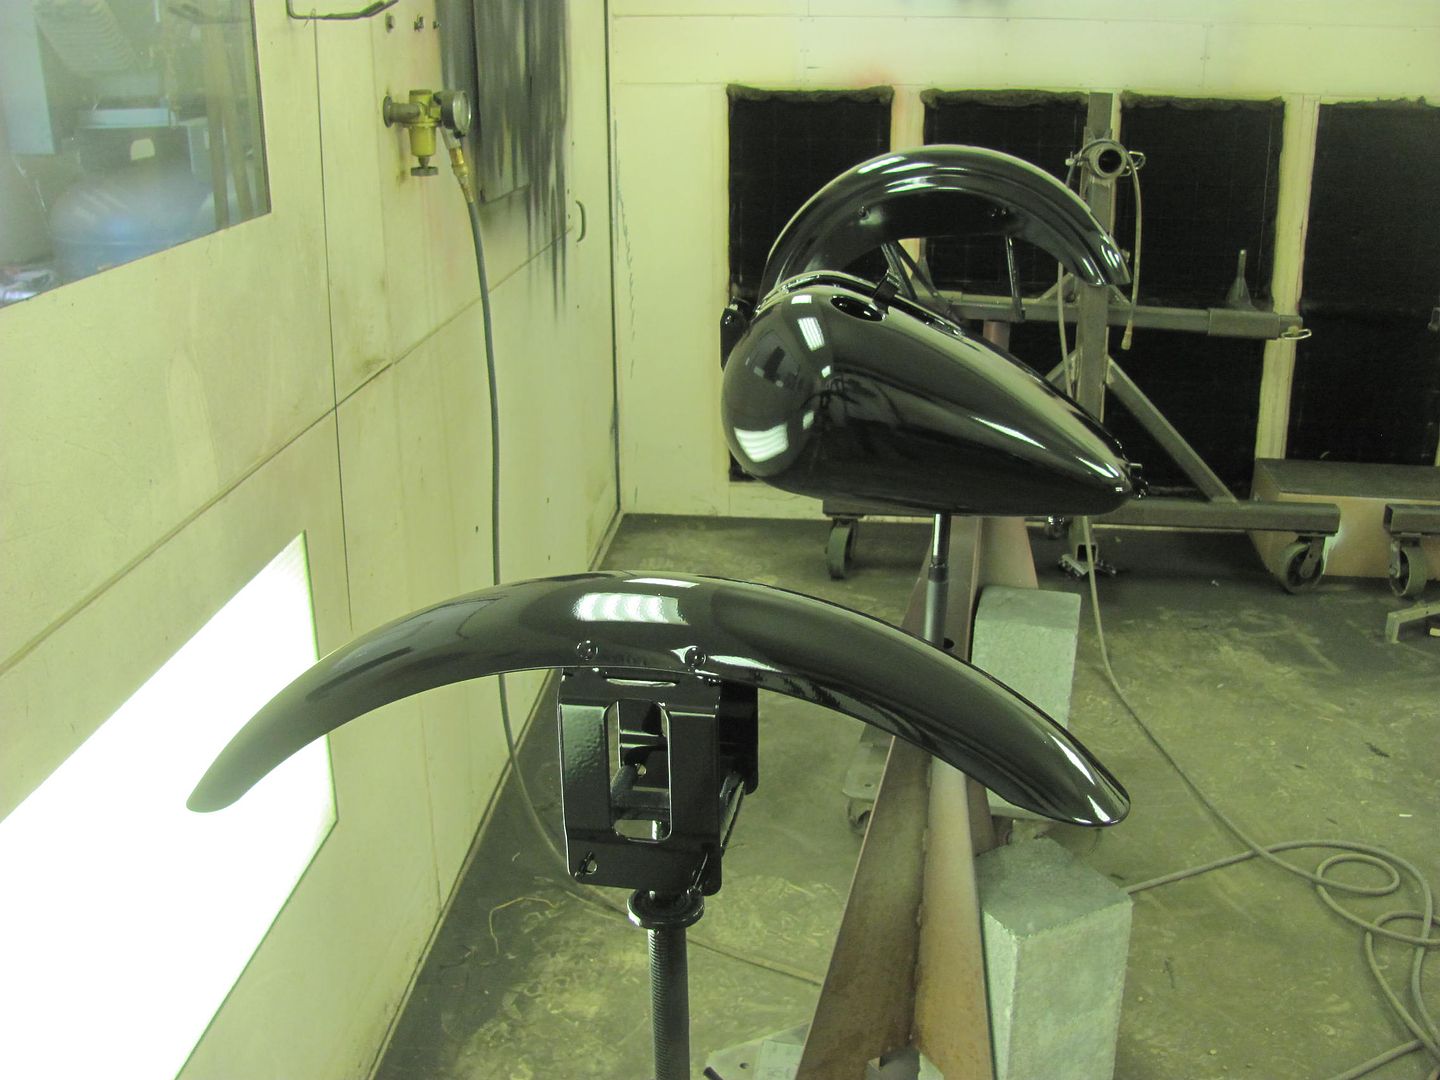
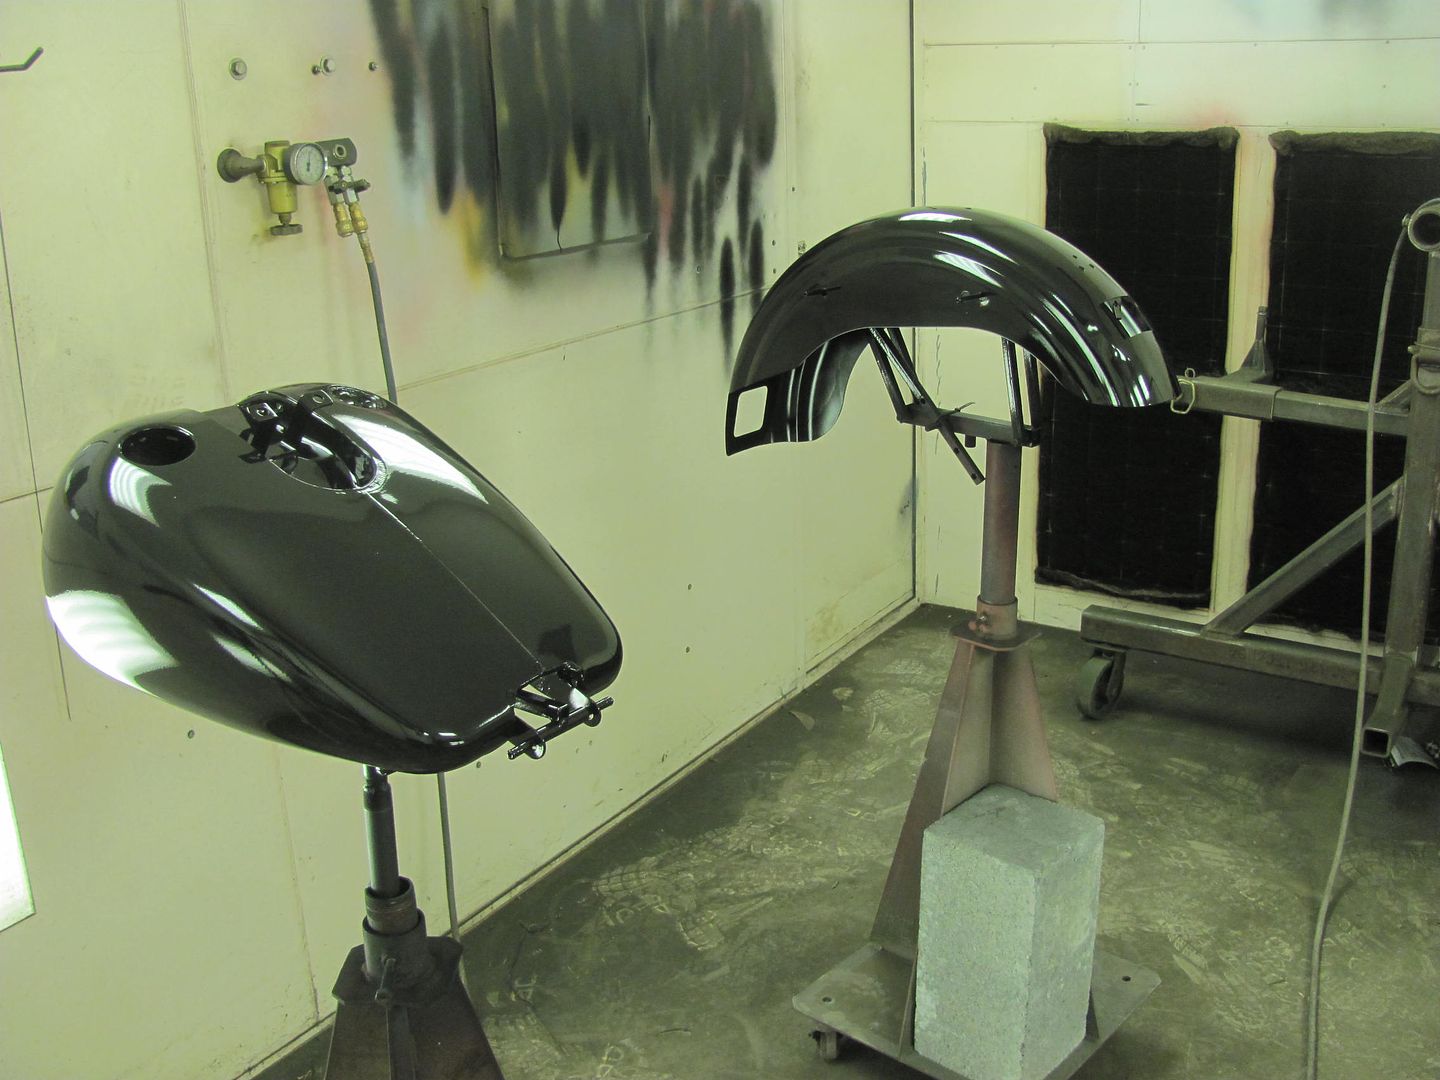
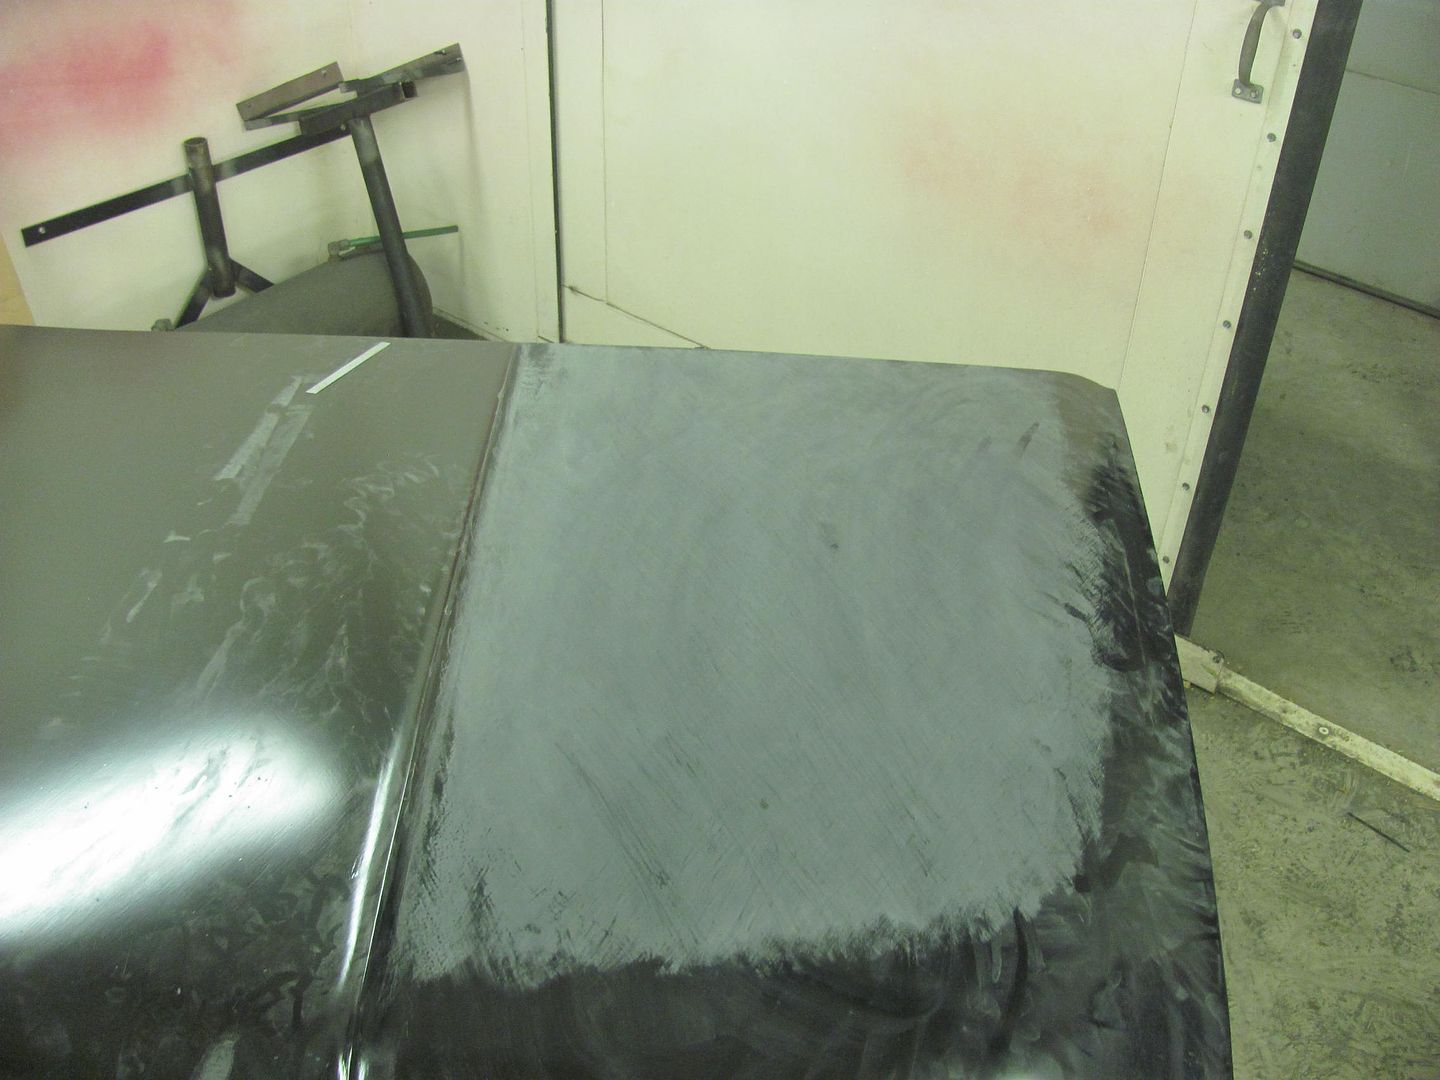
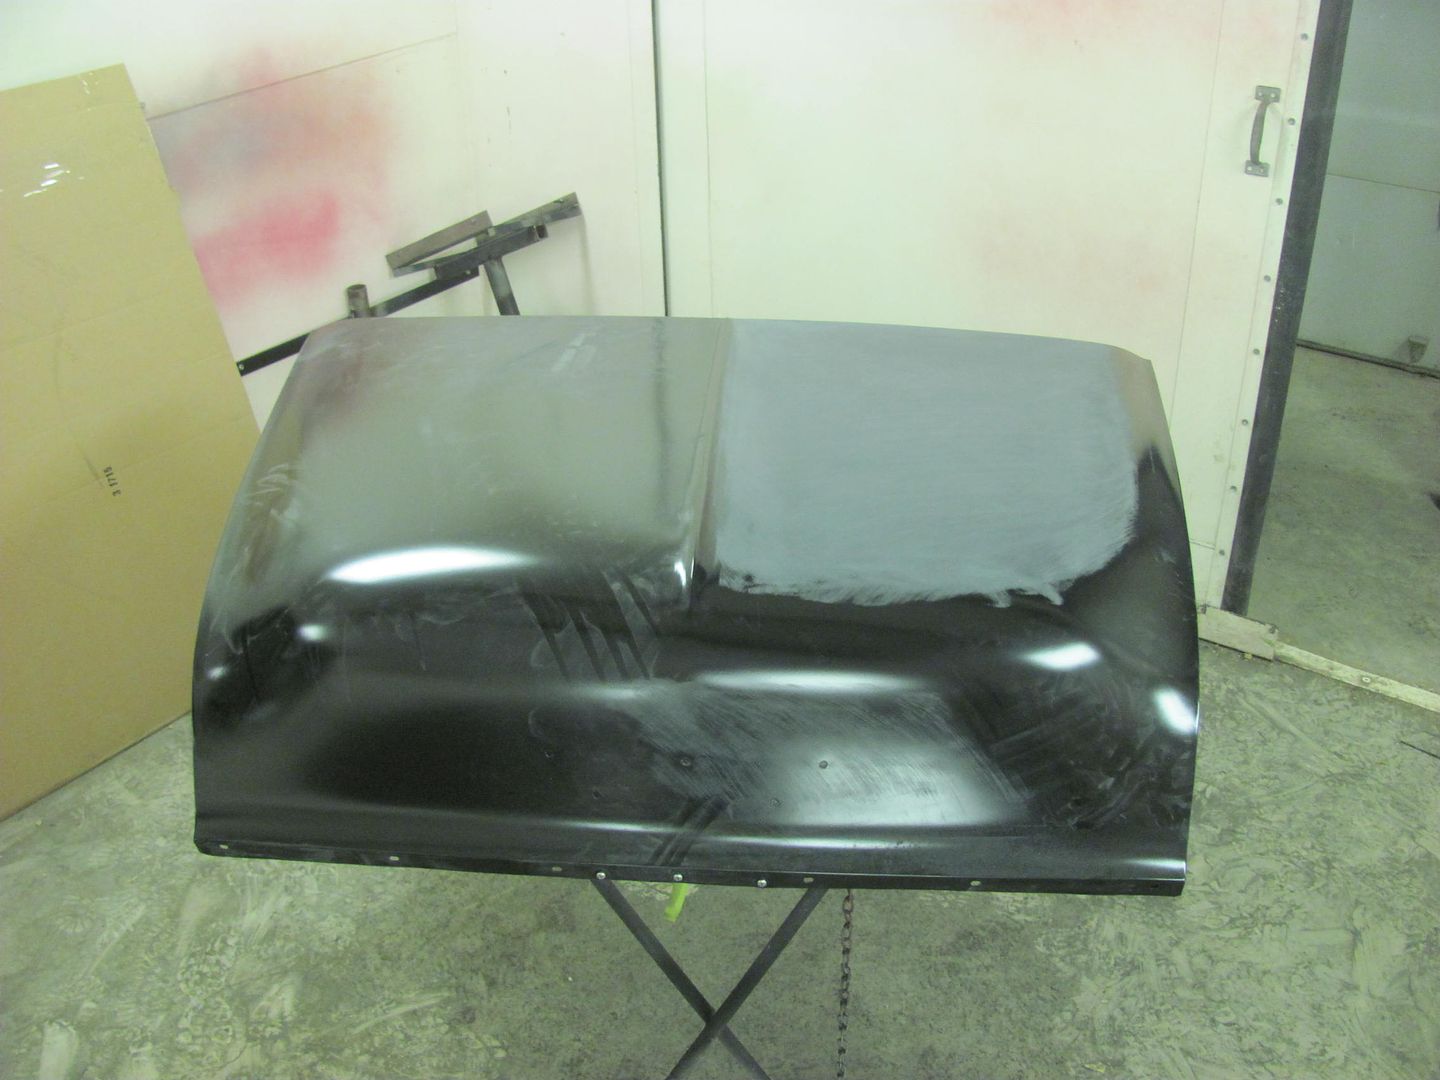
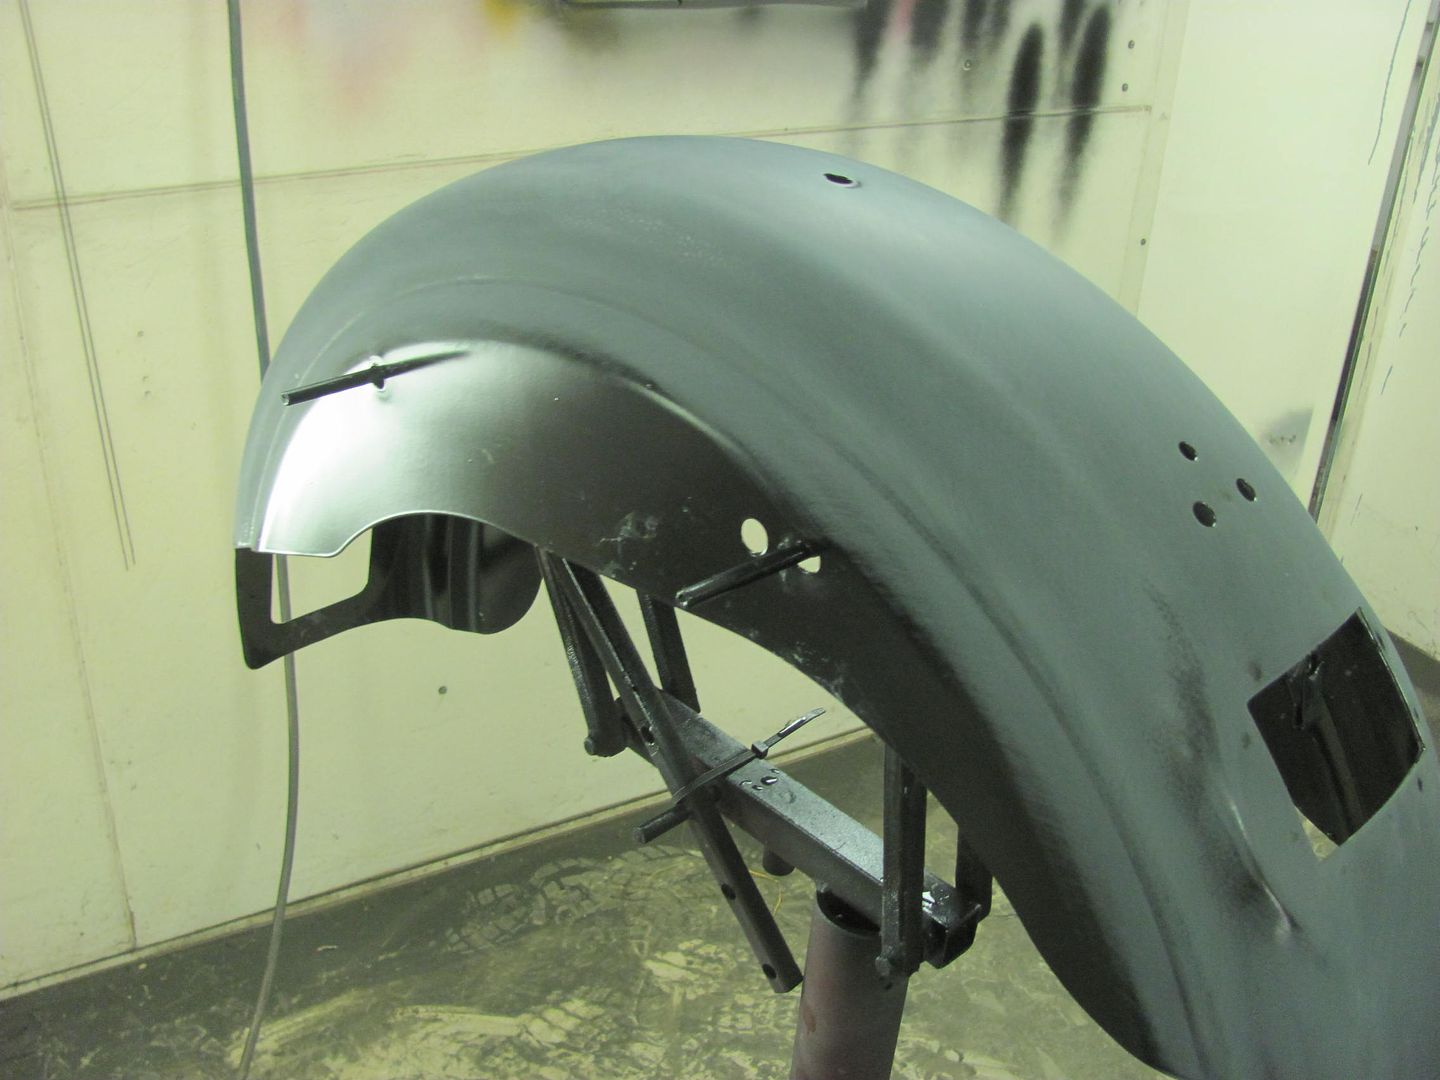
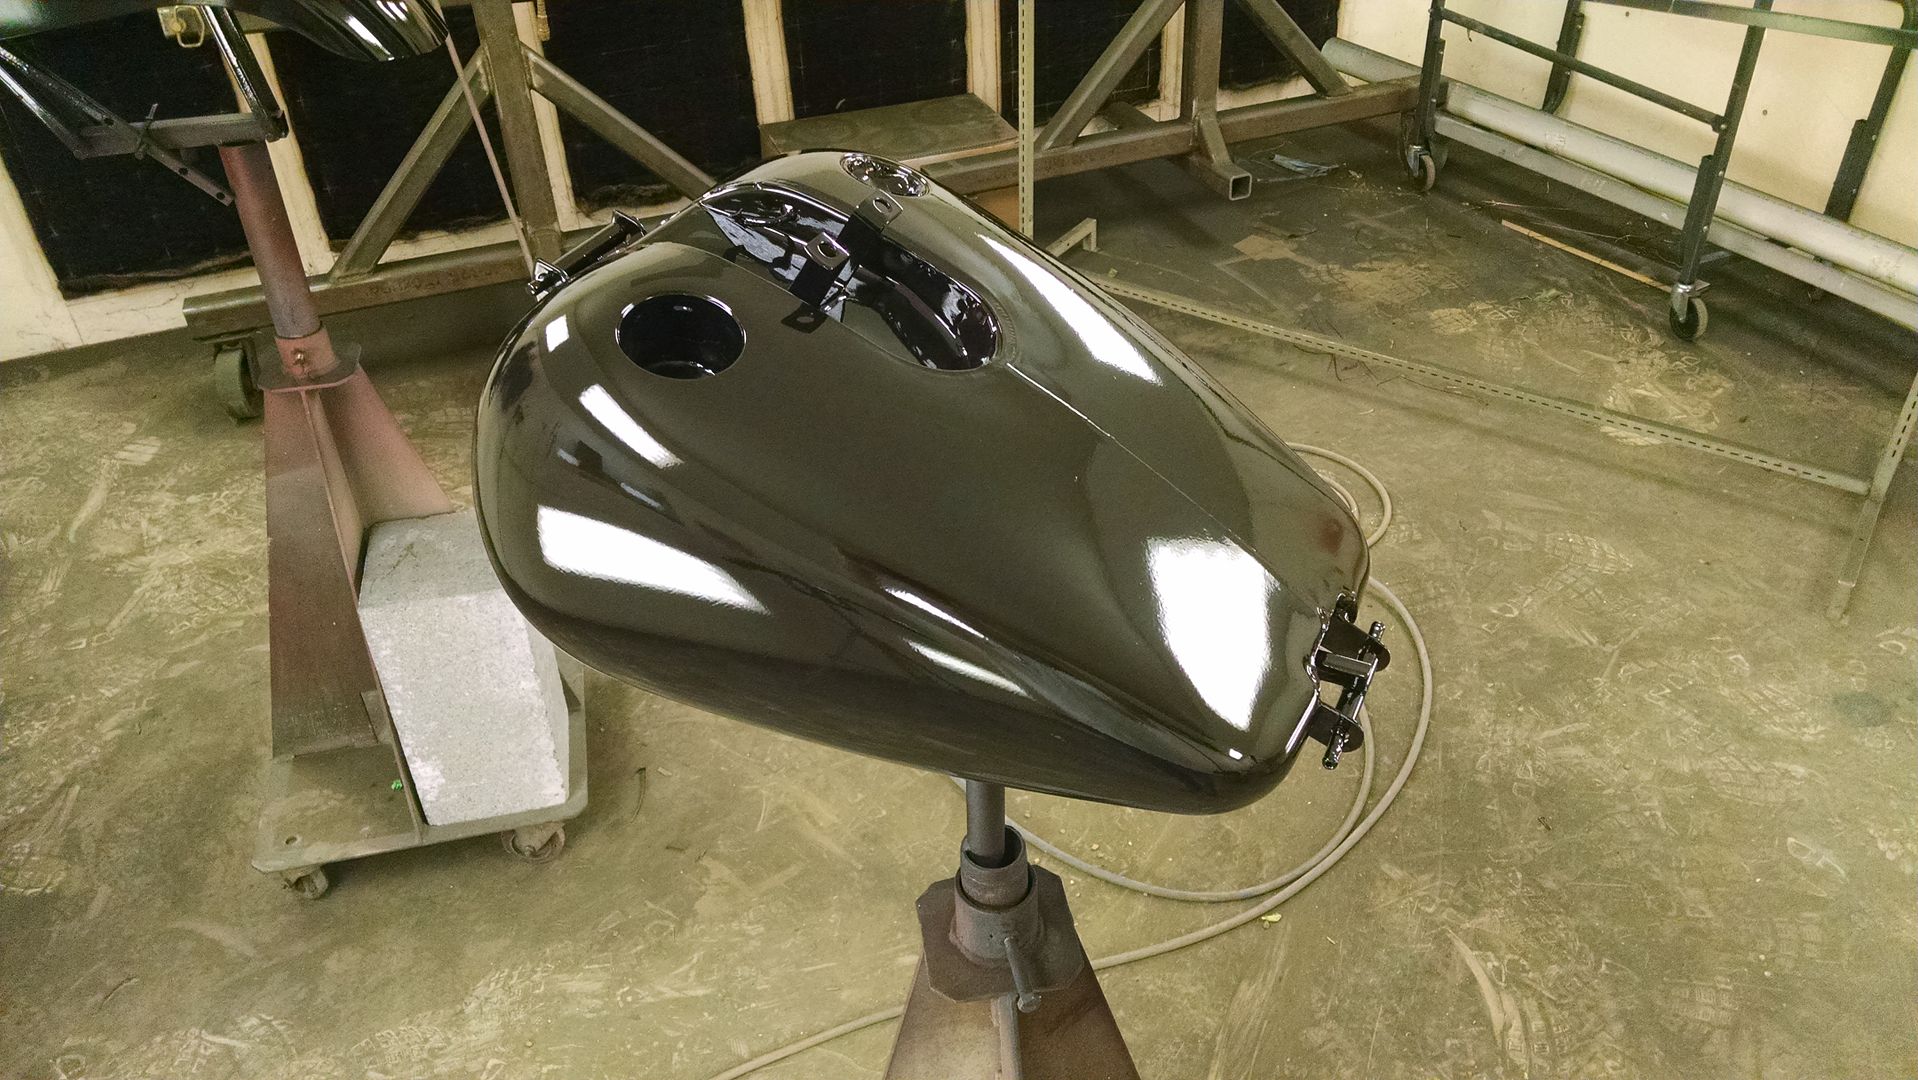
More progress on the wagon, got some SPI epoxy sprayed, hopefully this will wet sand out and be ready for BC/CC.
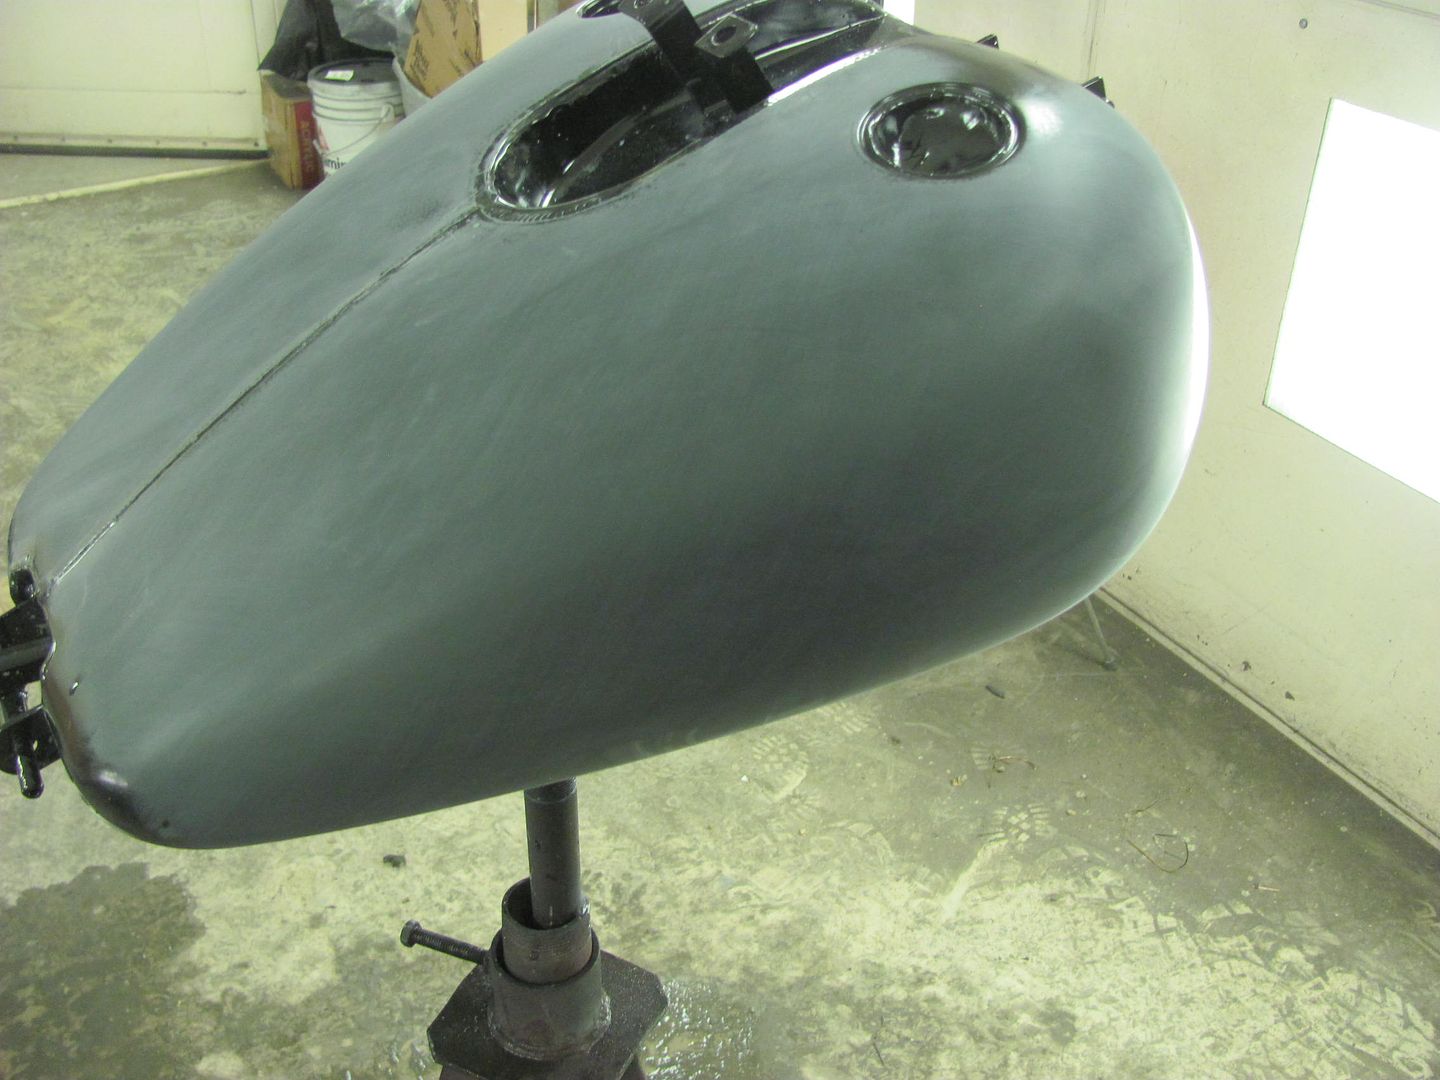
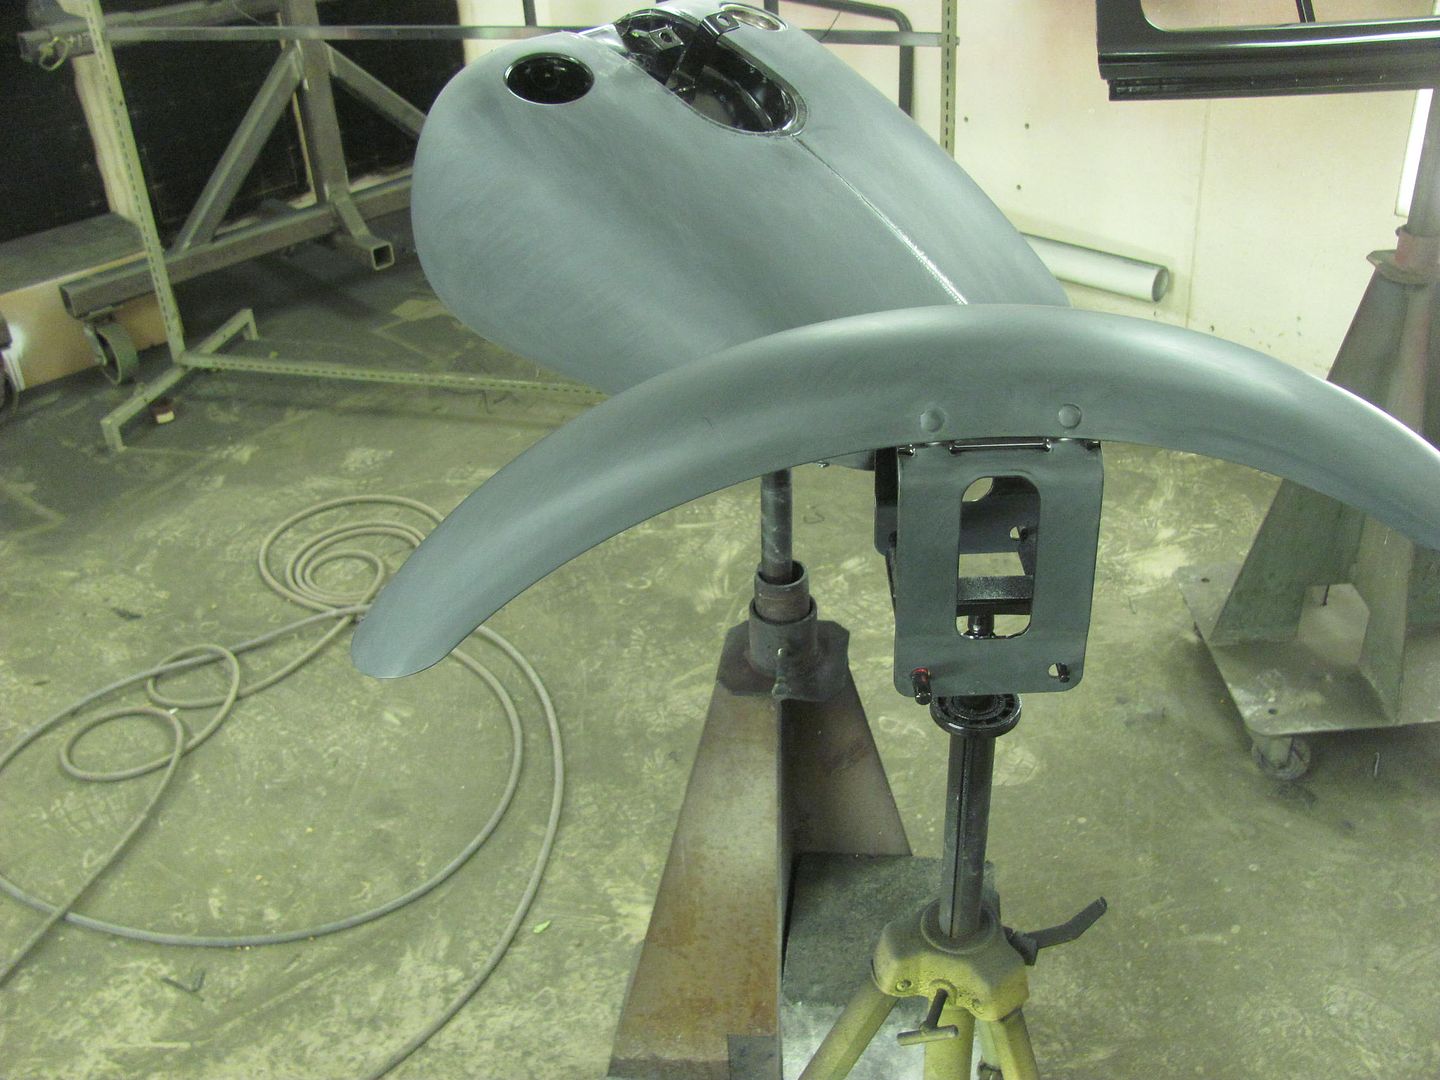
Also got some primer on the sheetmetal for an 01 Dyna
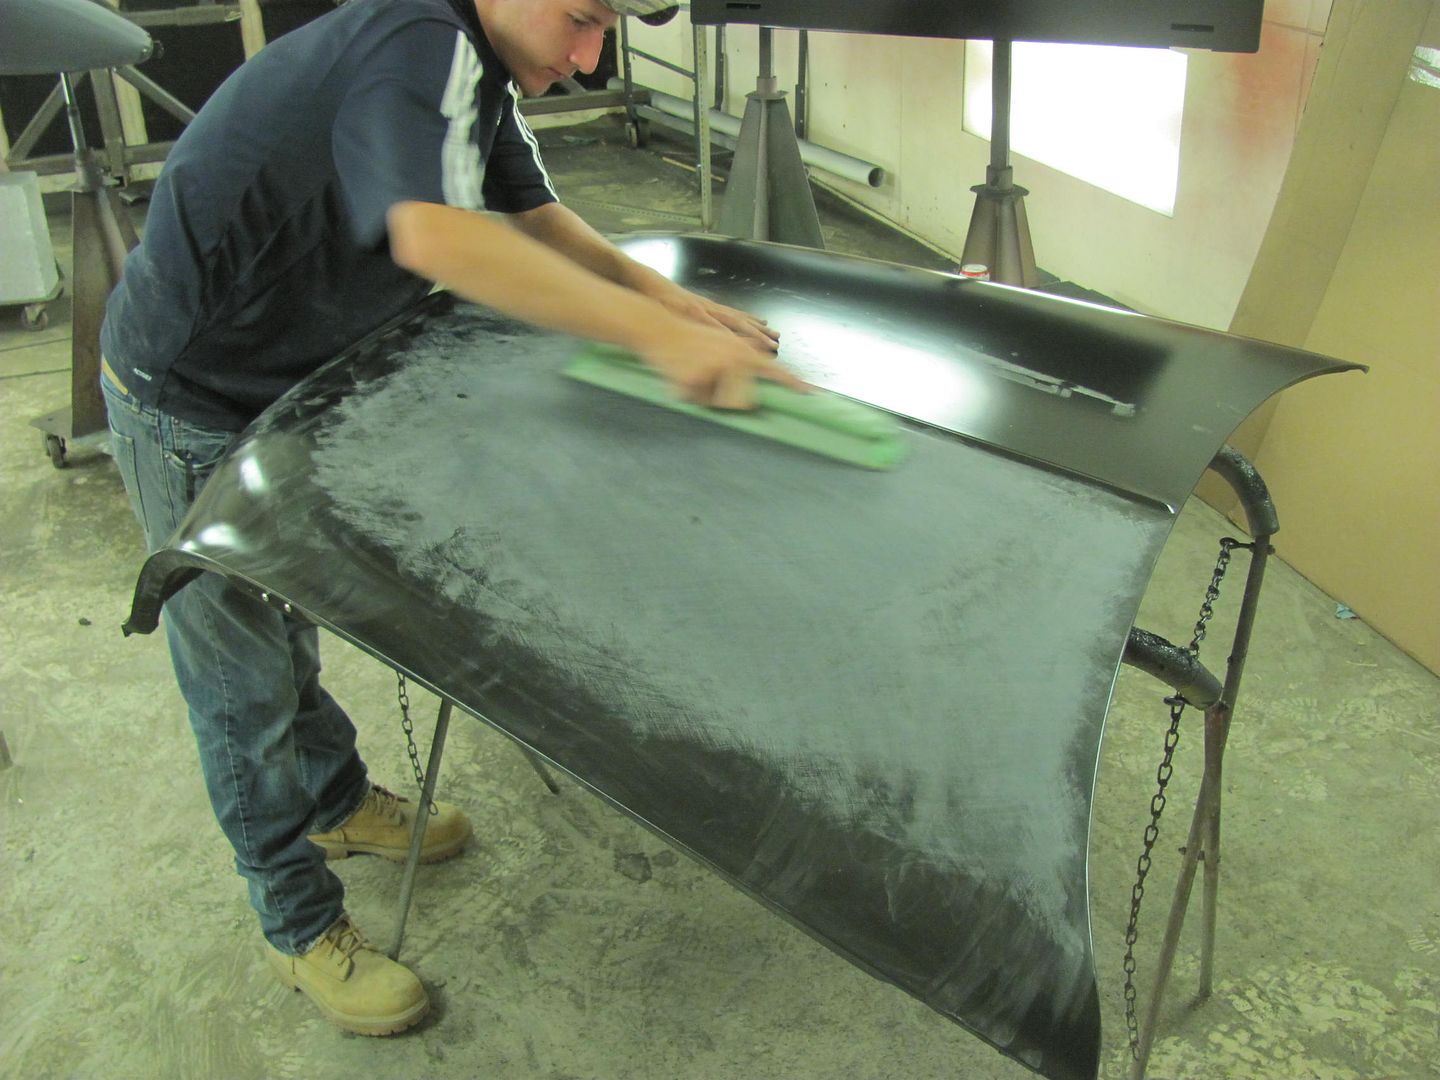
Look Scott, the dent's gone...
Kyle learning the fine art of blocking....
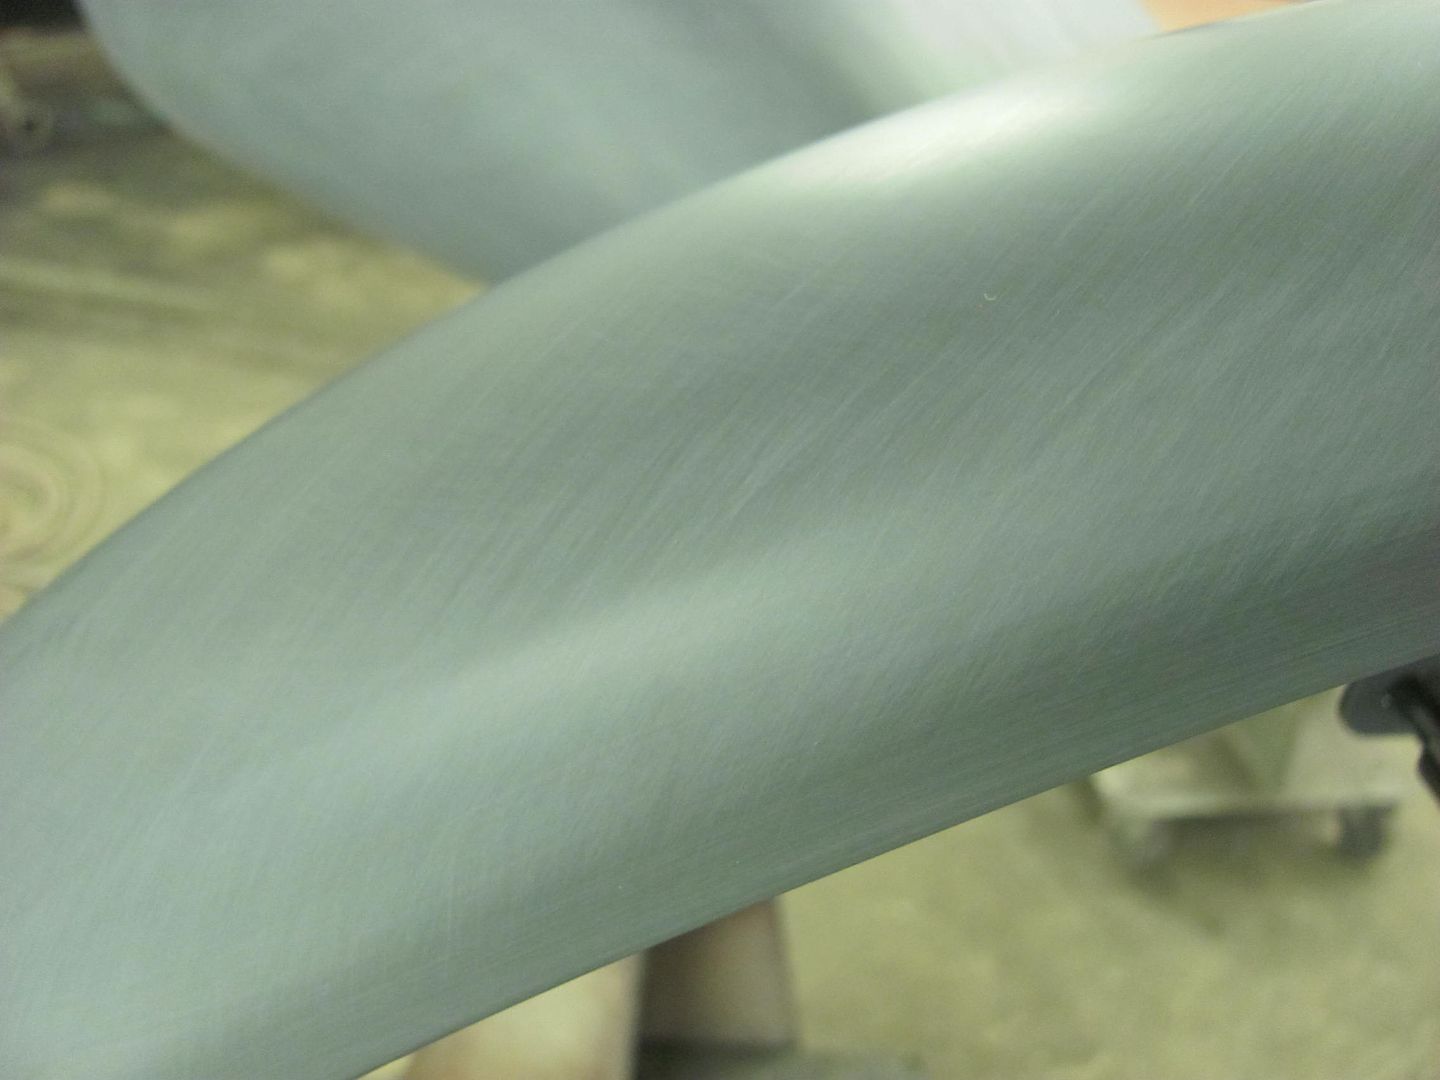
Meanwhile, I was wet sanding the motorcycle parts...
This SPI epoxy sure is nice sanding!
 Posting Permissions

 Reply With Quote
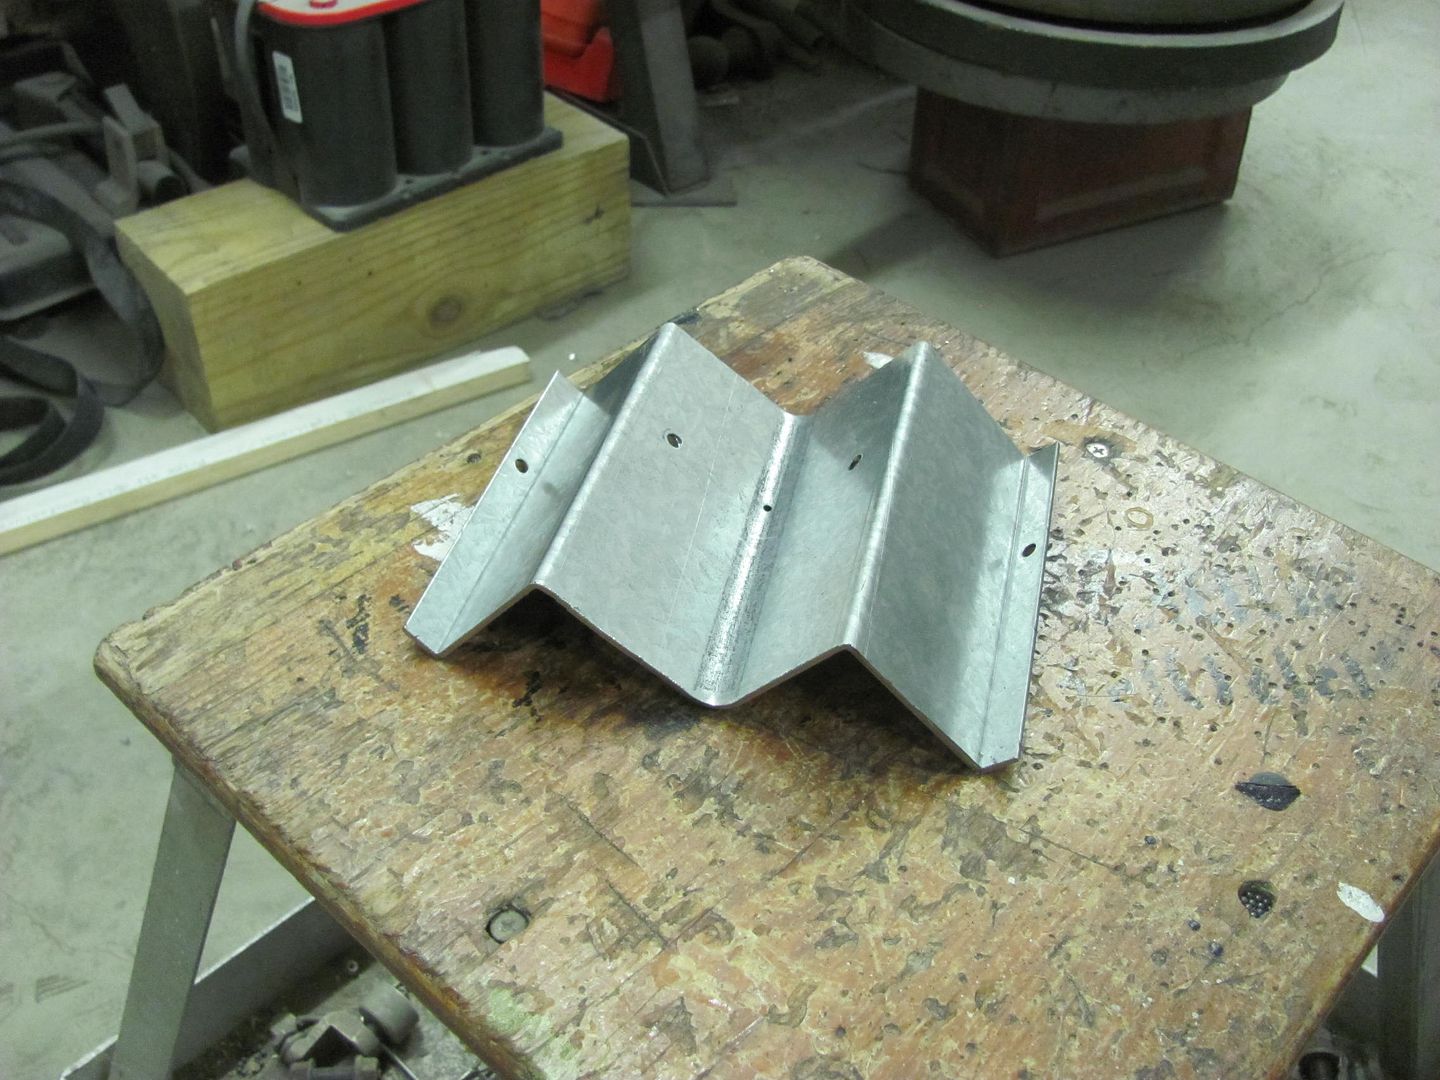

")