Just joined? Please introduce yourself.
Page 17 of 102 FirstFirst ... 715161718192767 ... LastLast
Results 161 to 170 of 1019

Thread: wagon progress

  1. #161
    Registered Member MP&C's Avatar
    Join Date
    Dec 2013

    Member #:2017
    Location
    Southern MD
    Posts
    1,293
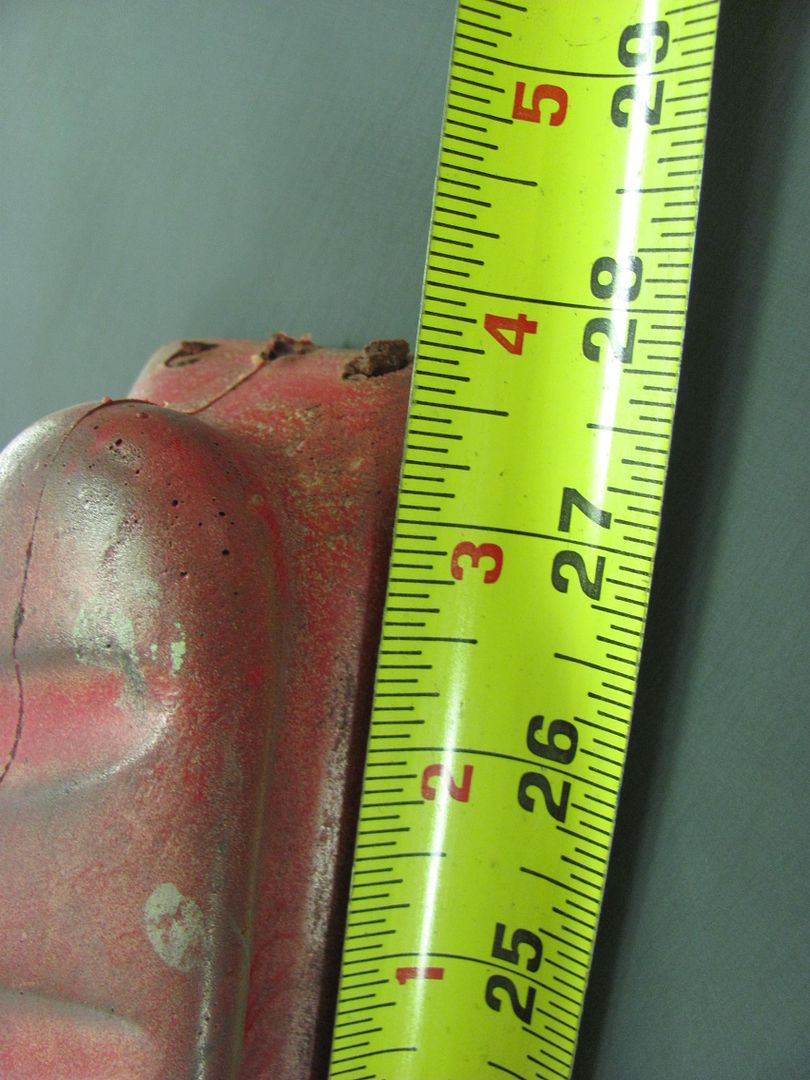
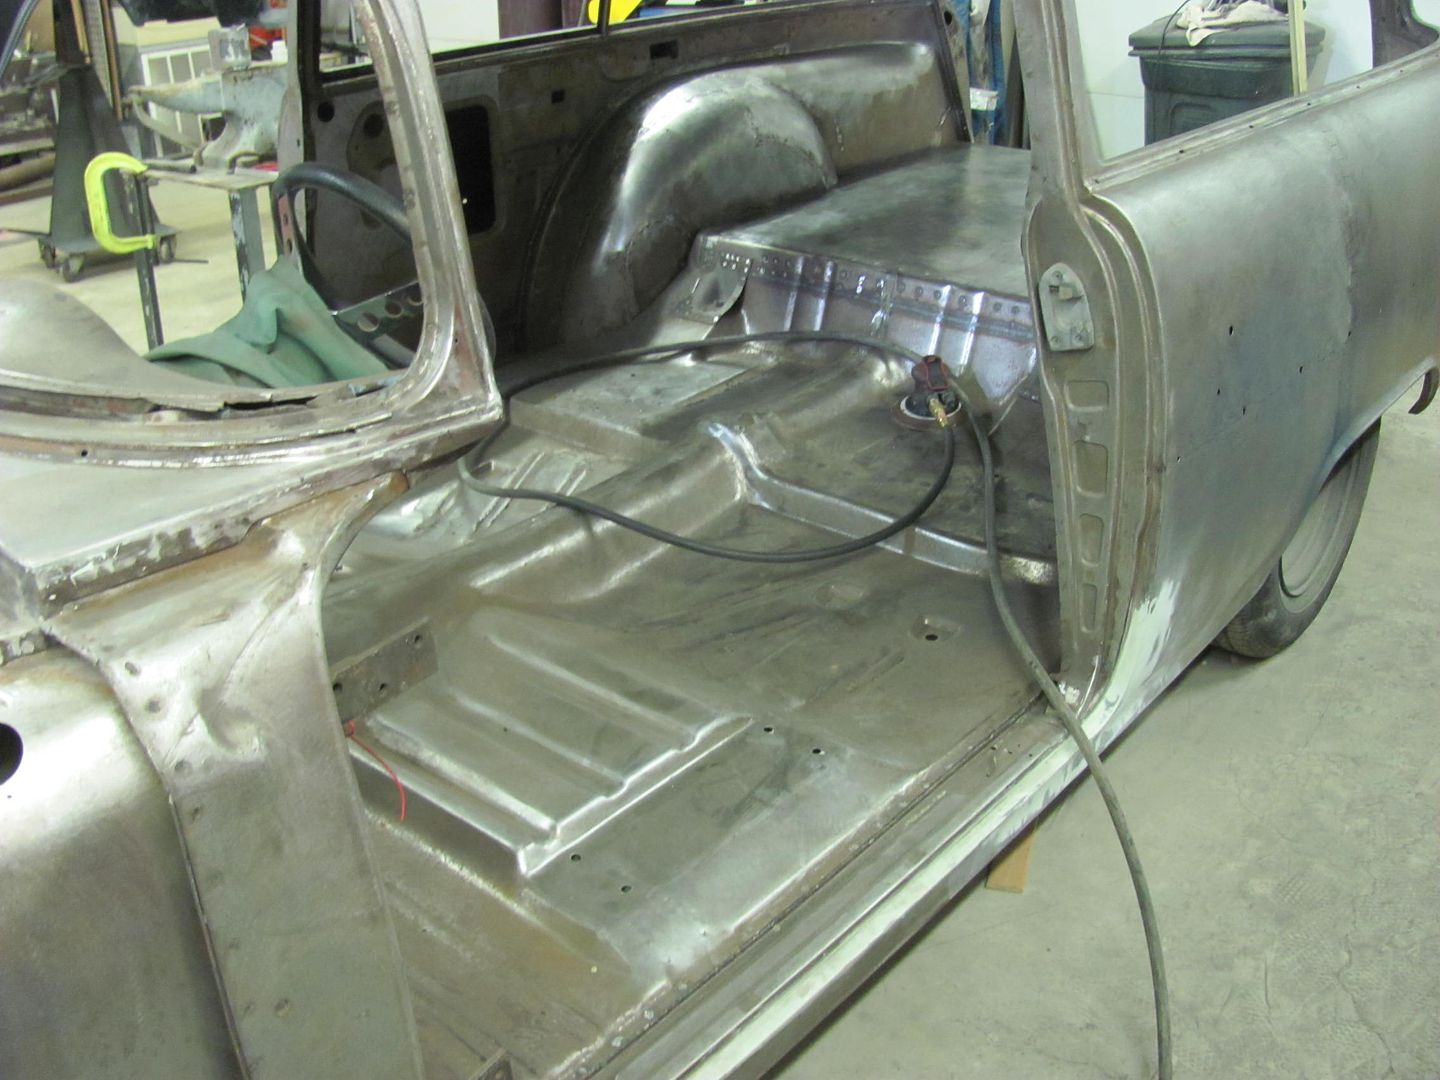
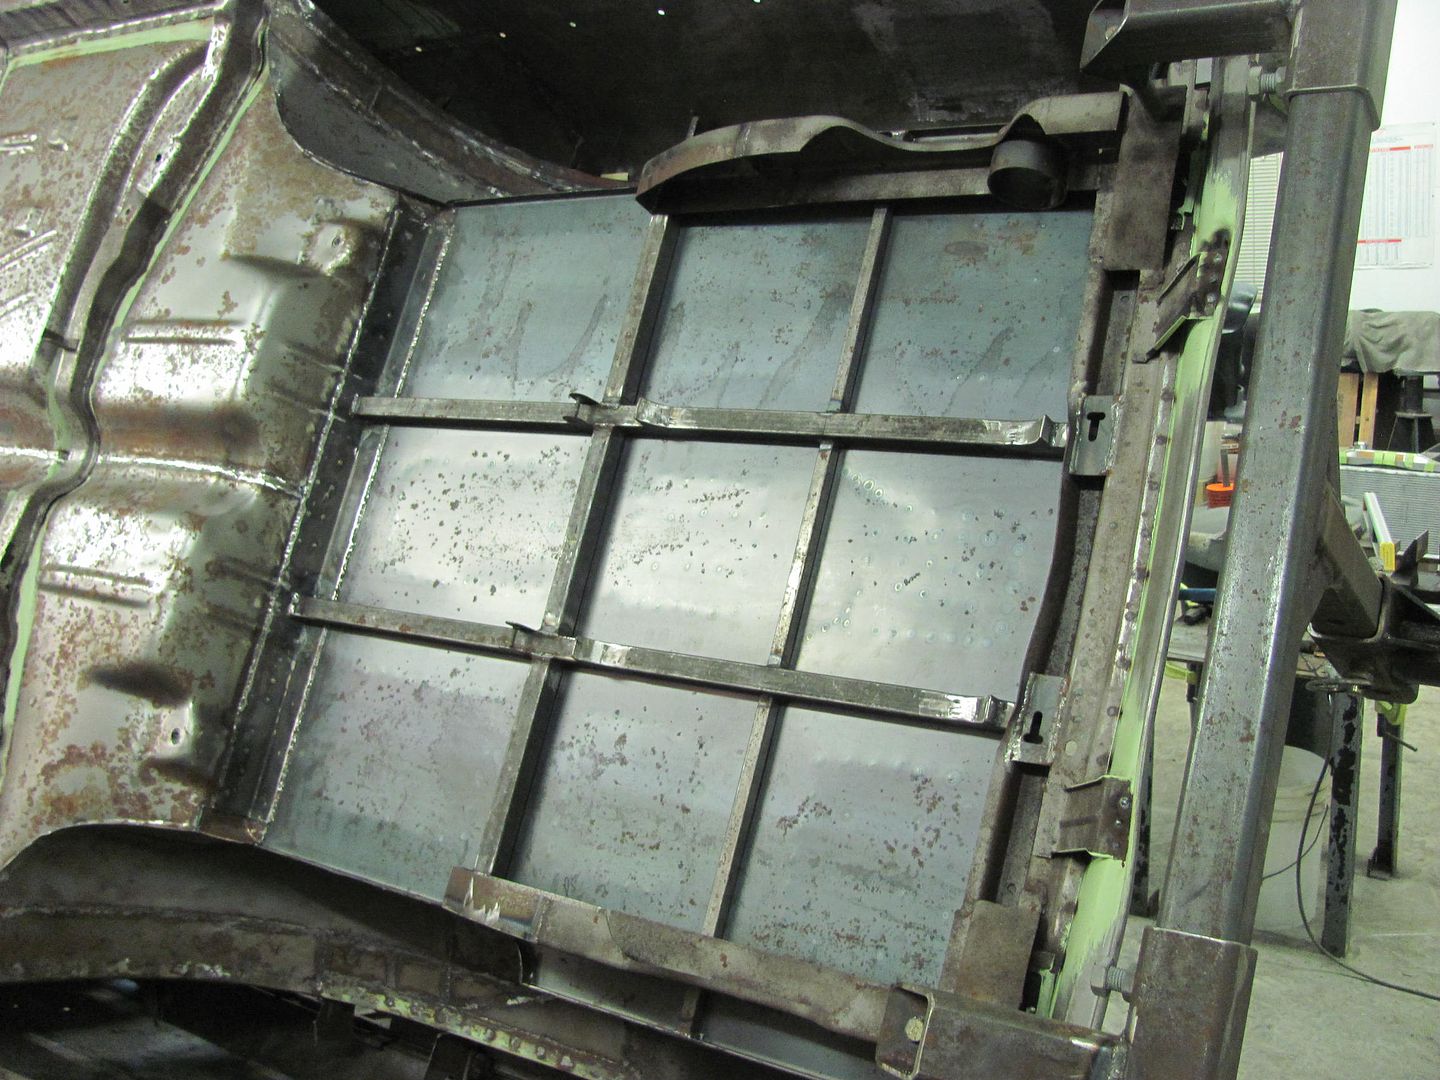
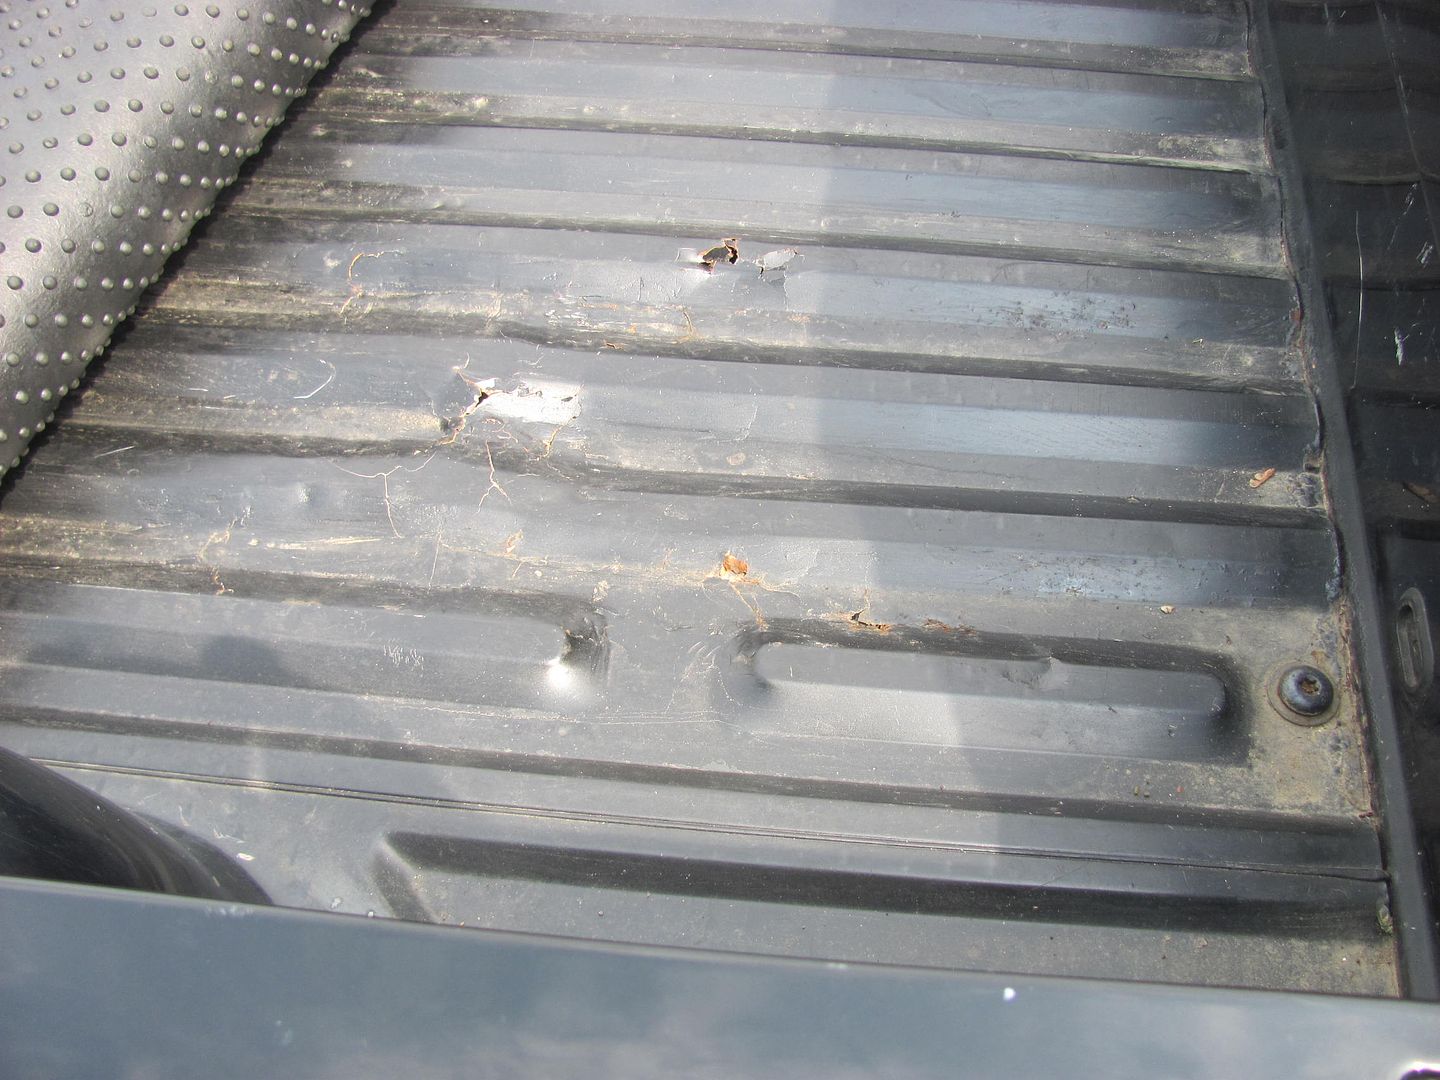
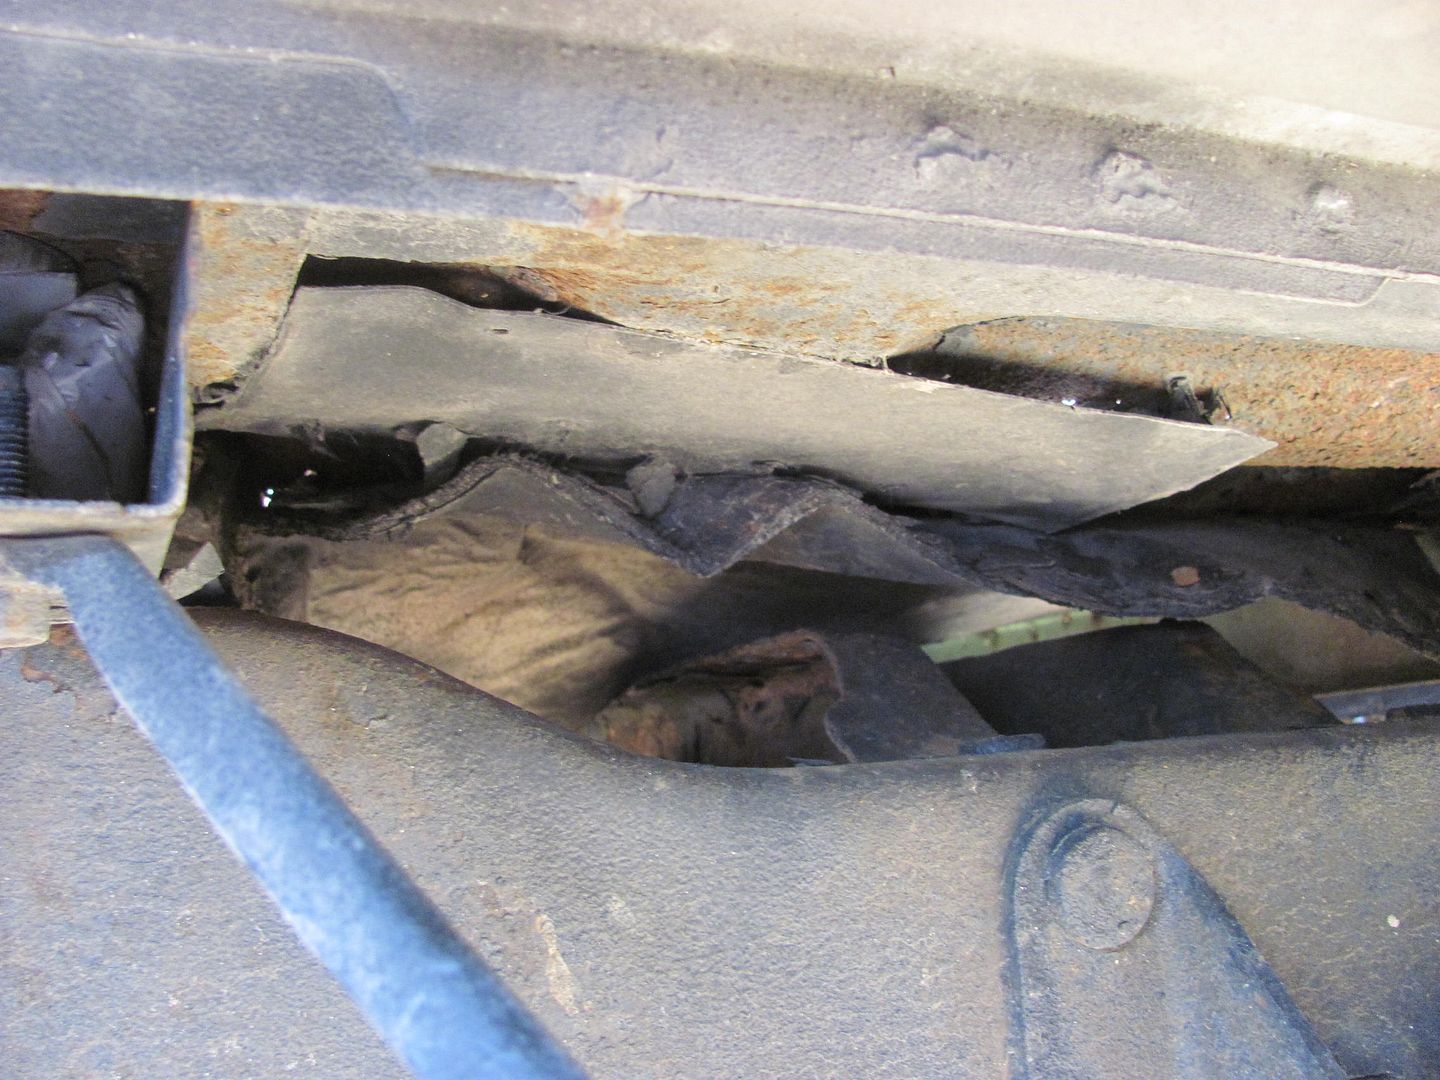
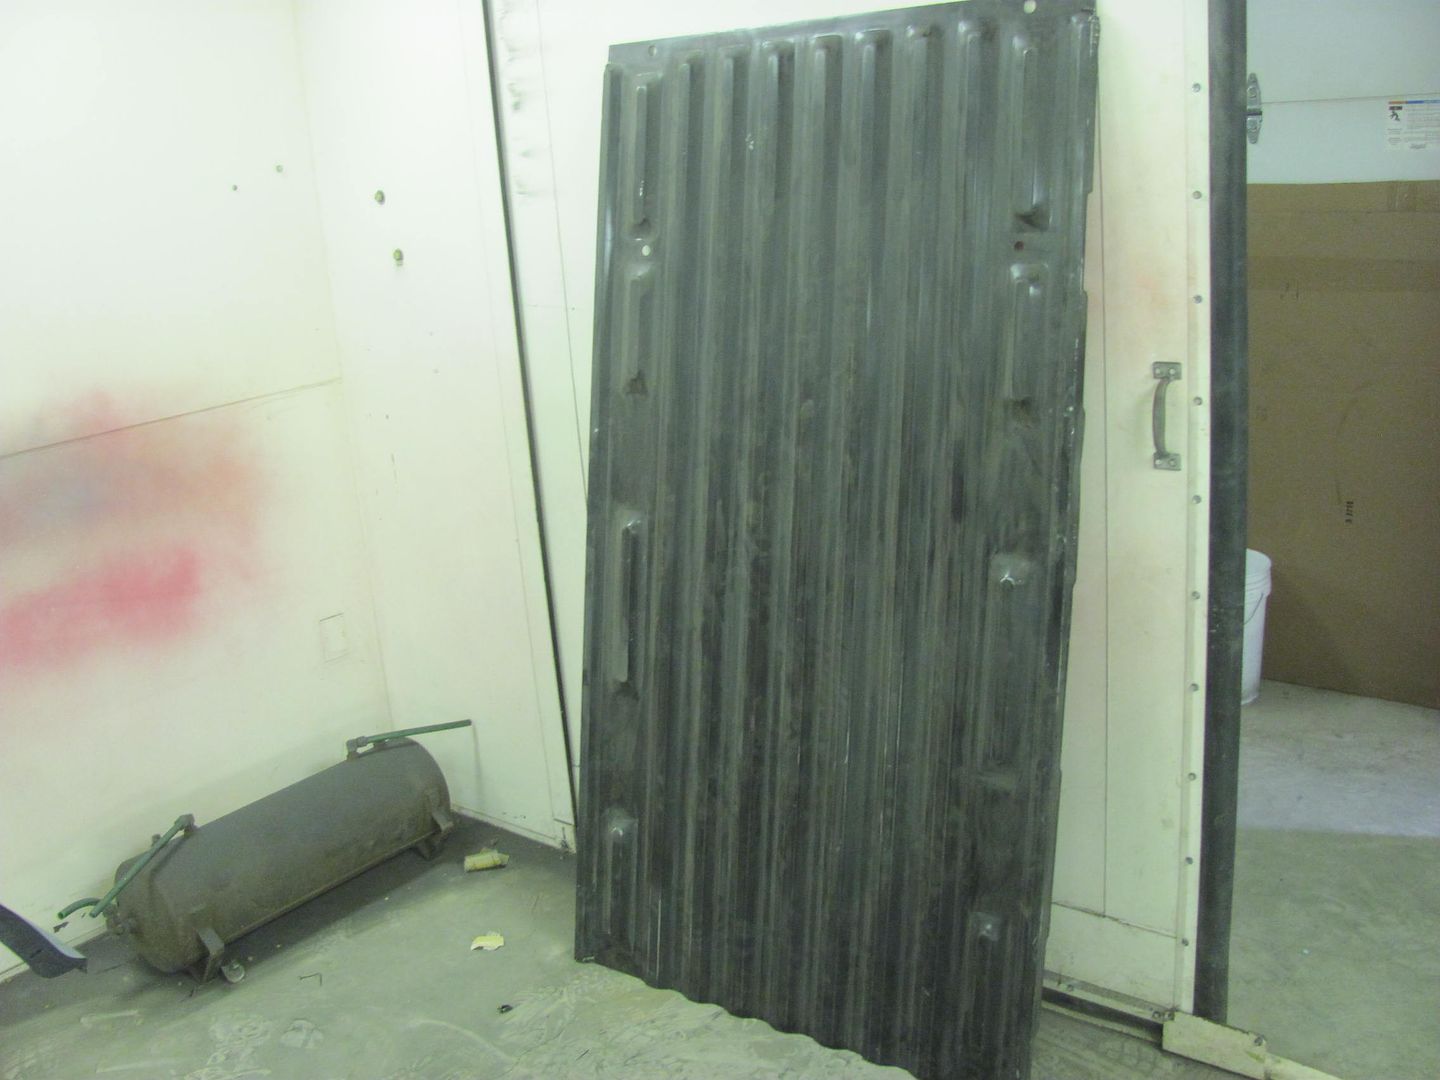
    Another job in the shop, here's one of the downfalls of the insulation blankets the factory used above exhaust systems...


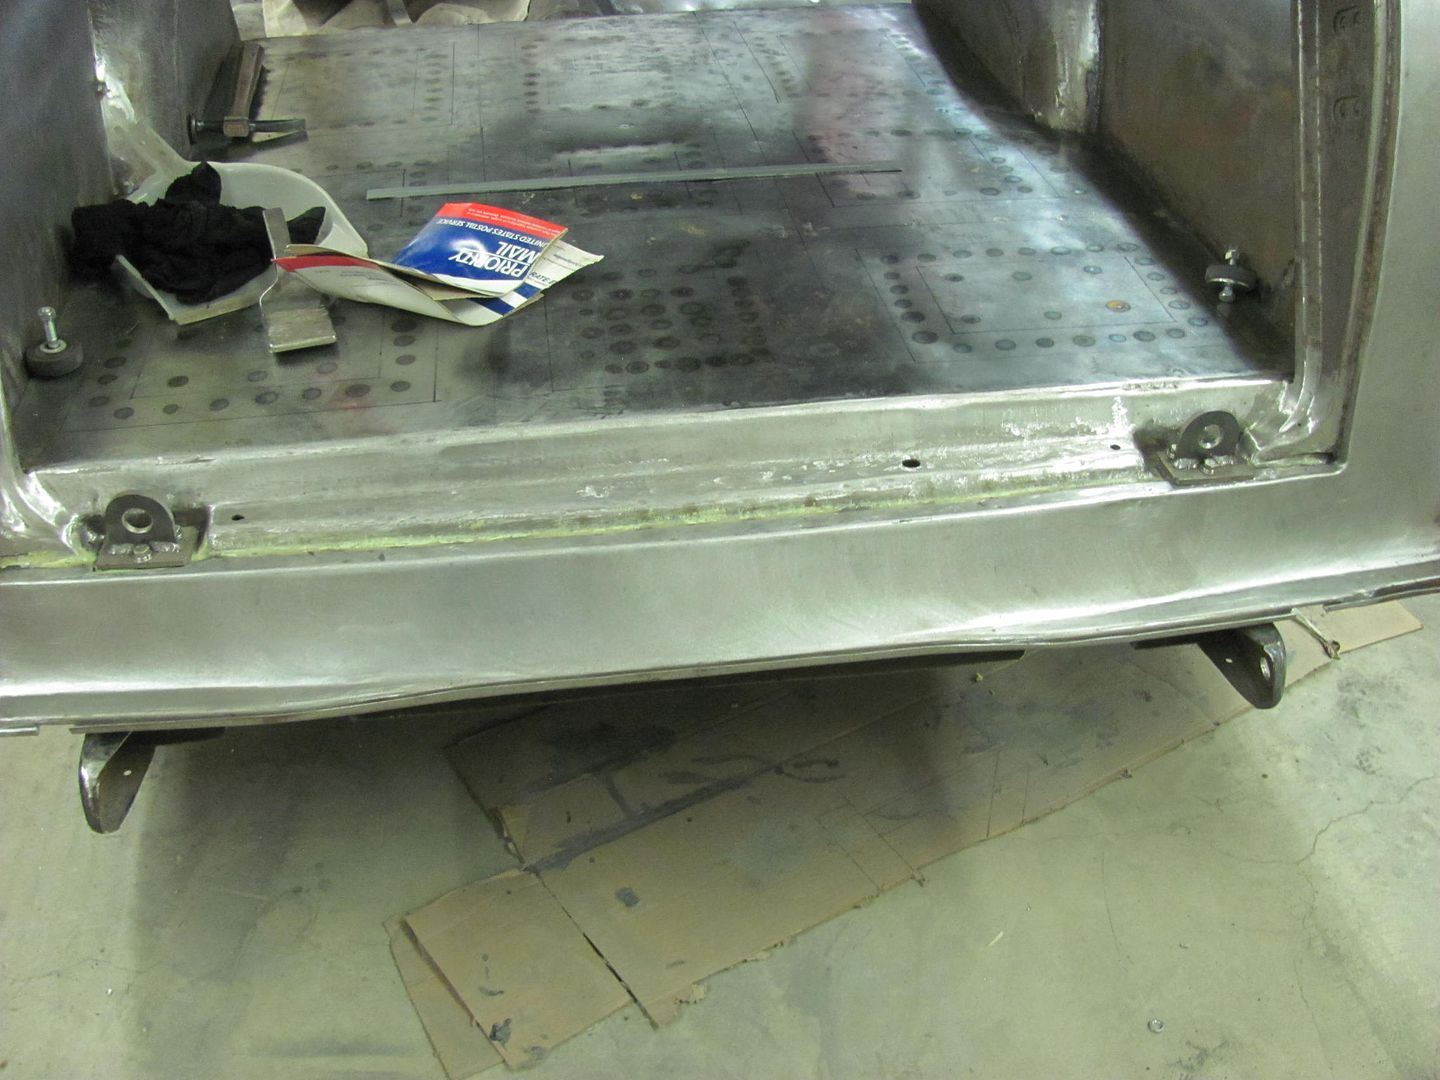
    Nice moisture traps and rust generators. All the used beds found either had similar rust issues or the lower quarters rounded under where the salvage yards had removed them and set them down on the ground. So we went back to the local dealer and ordered the bed floor and new cross members. We have a couple cross members that still haven't arrived, but we can get started in prepping for epoxy primer on the parts we do have..
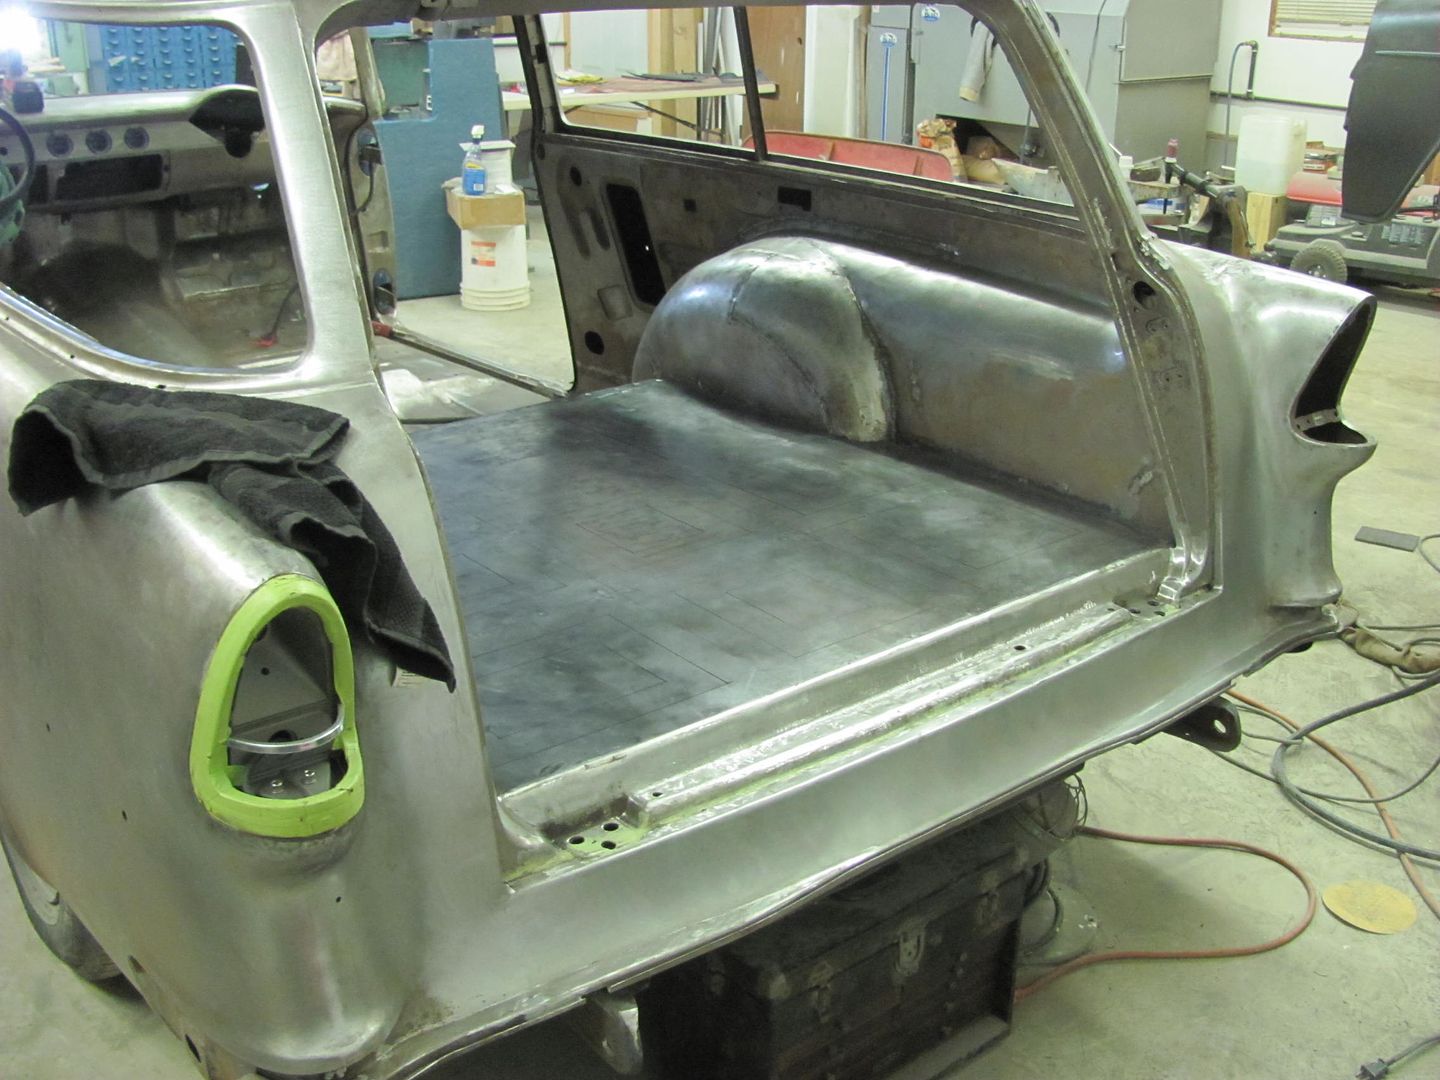
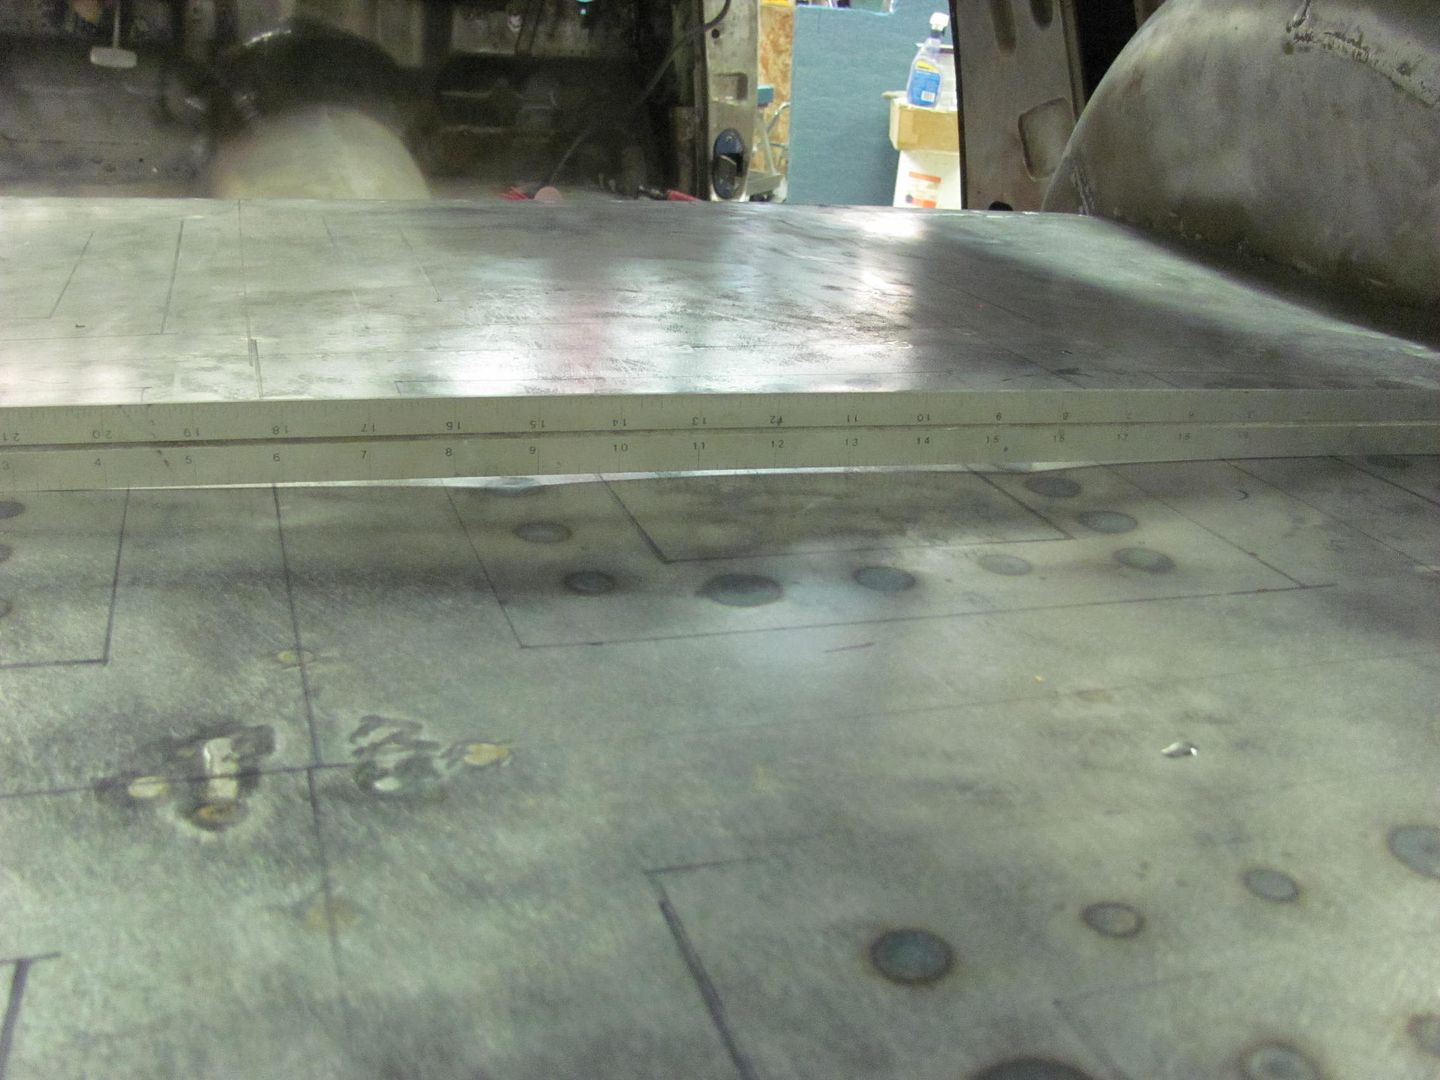
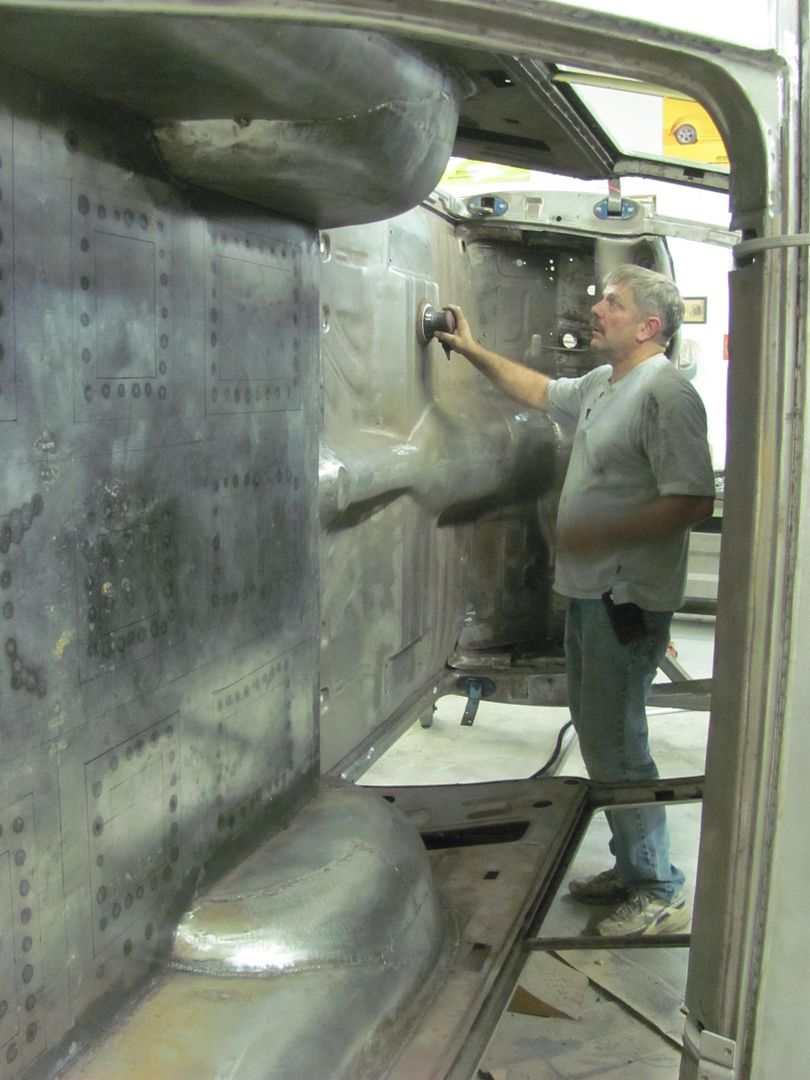
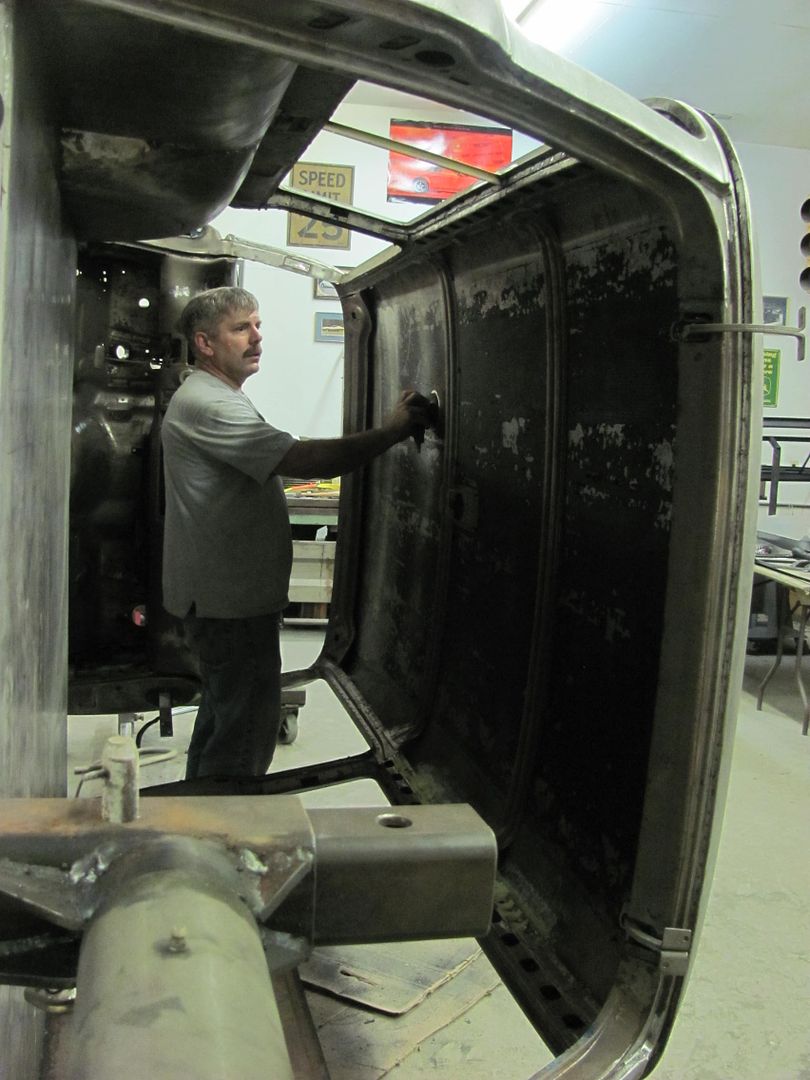
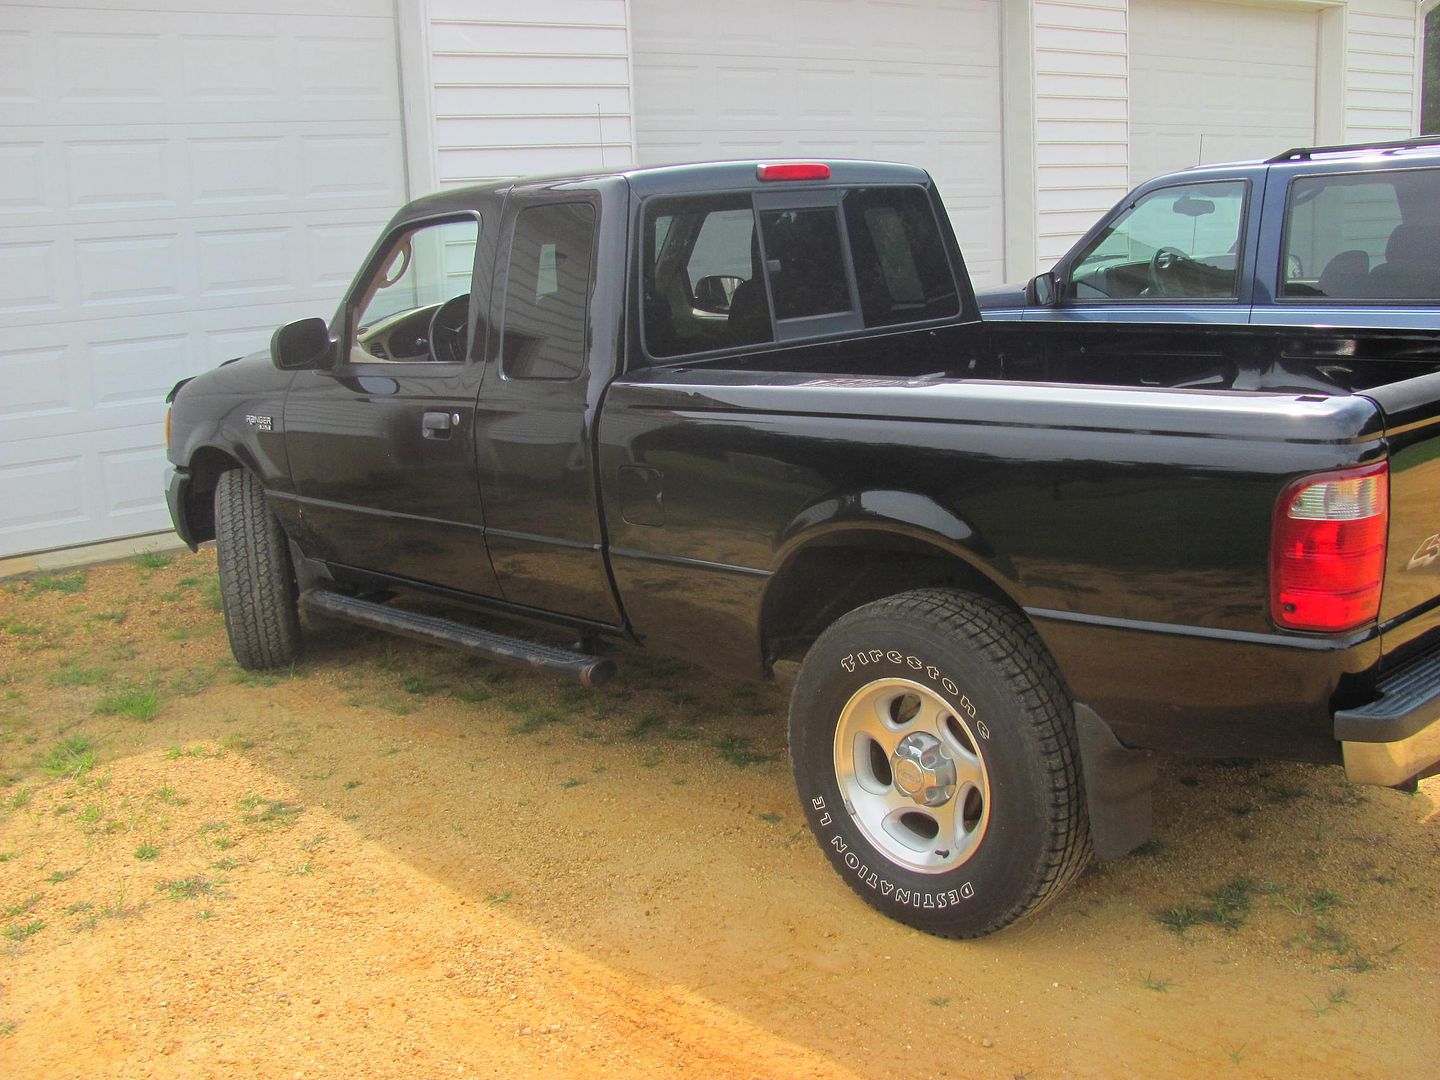
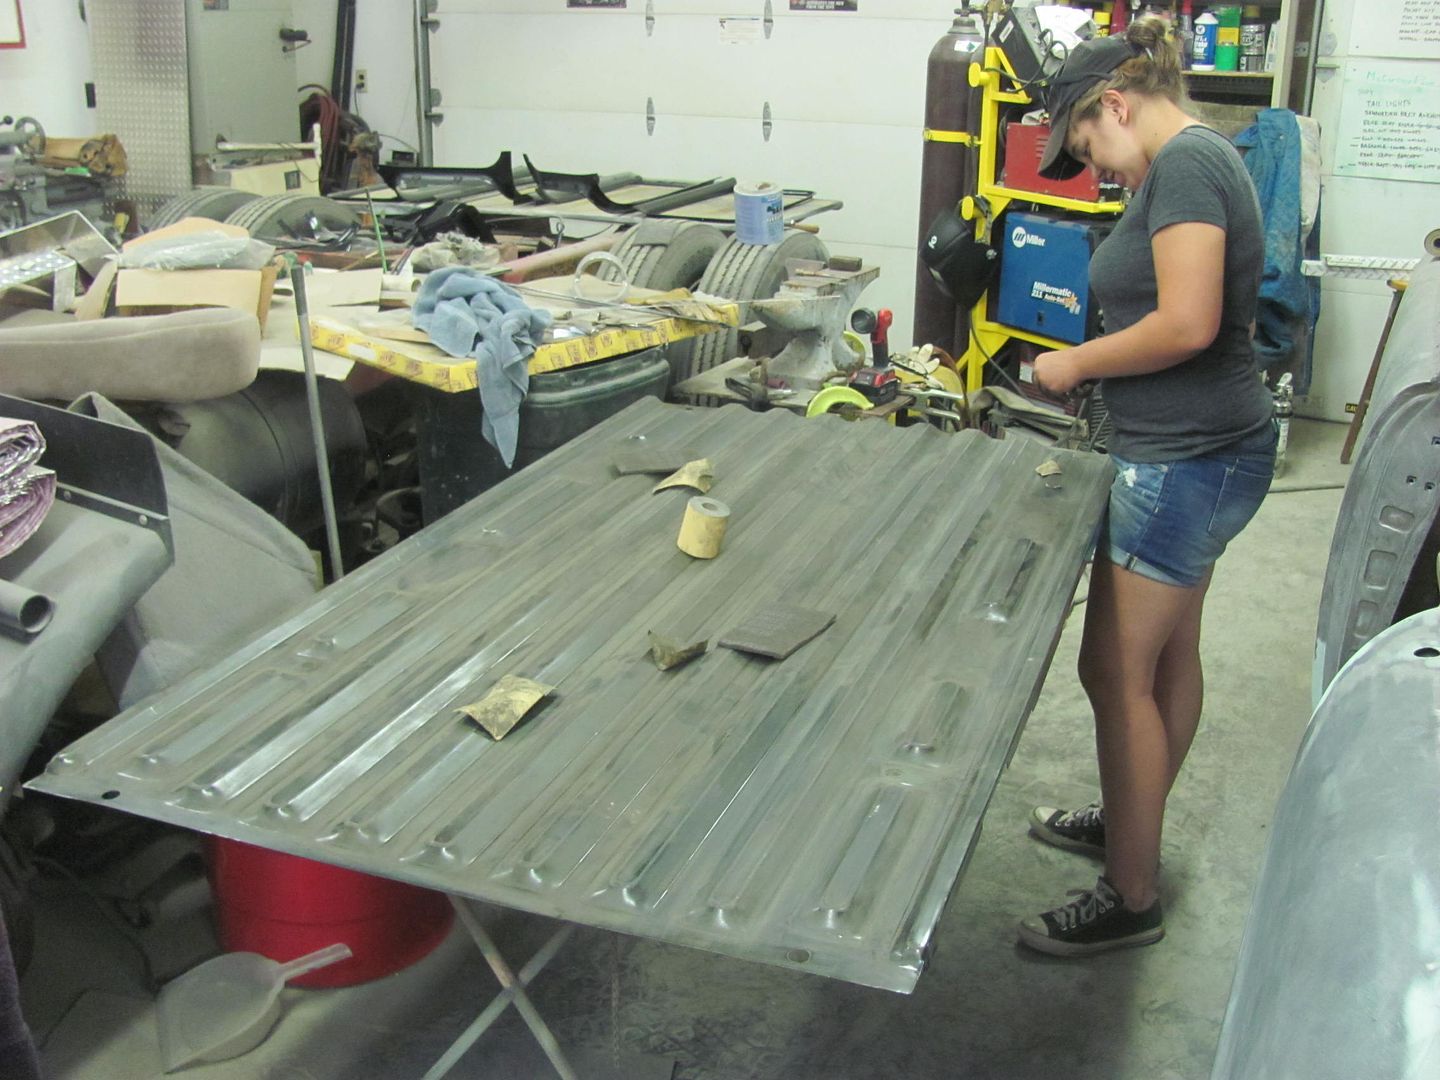
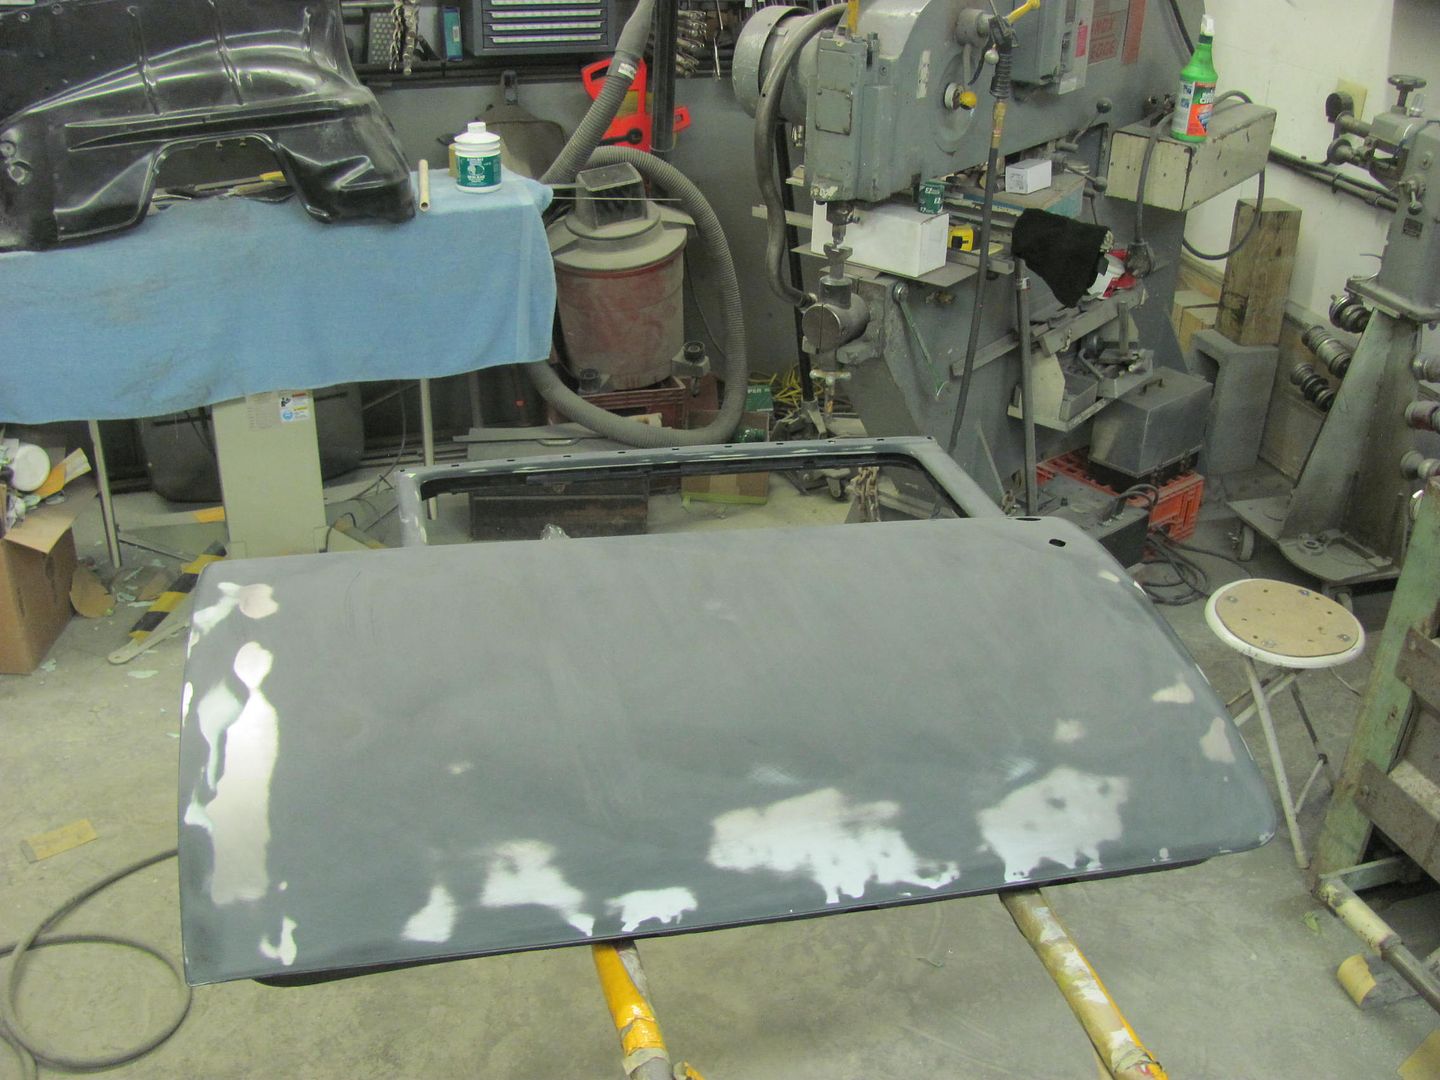
    Scuffing up the floor using 400 grit. Here's the new apprentice for this job, my niece Katie. (her truck) She's not afraid of work and needed little instruction.


    All scuffed, now to wait on the cross members to come in..


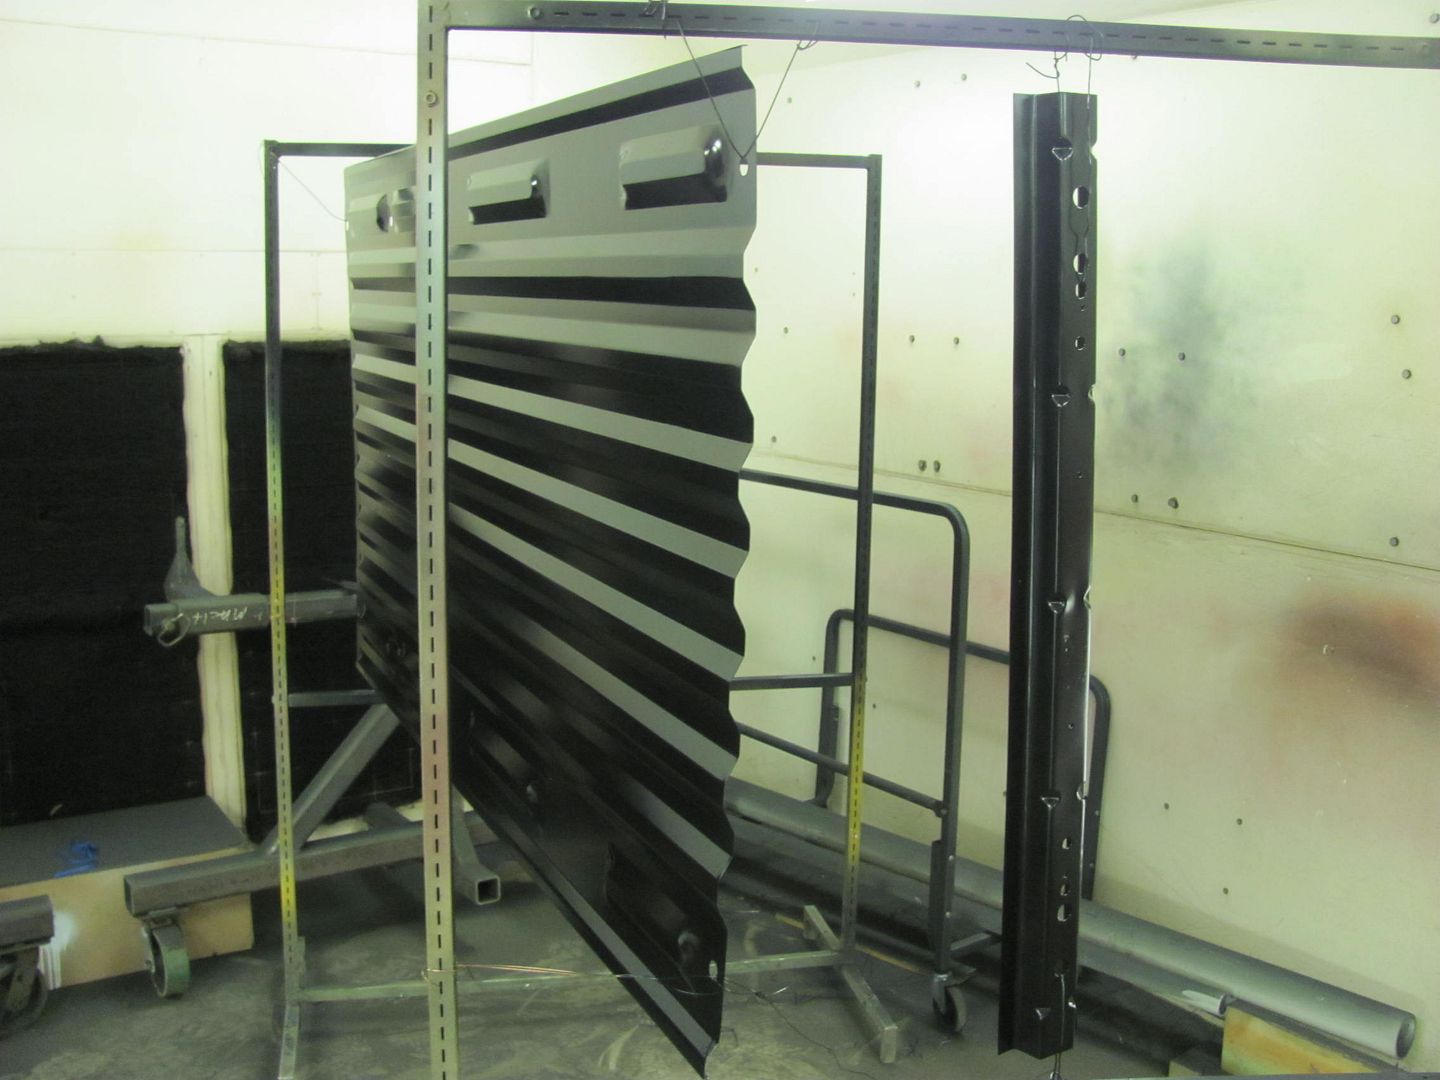
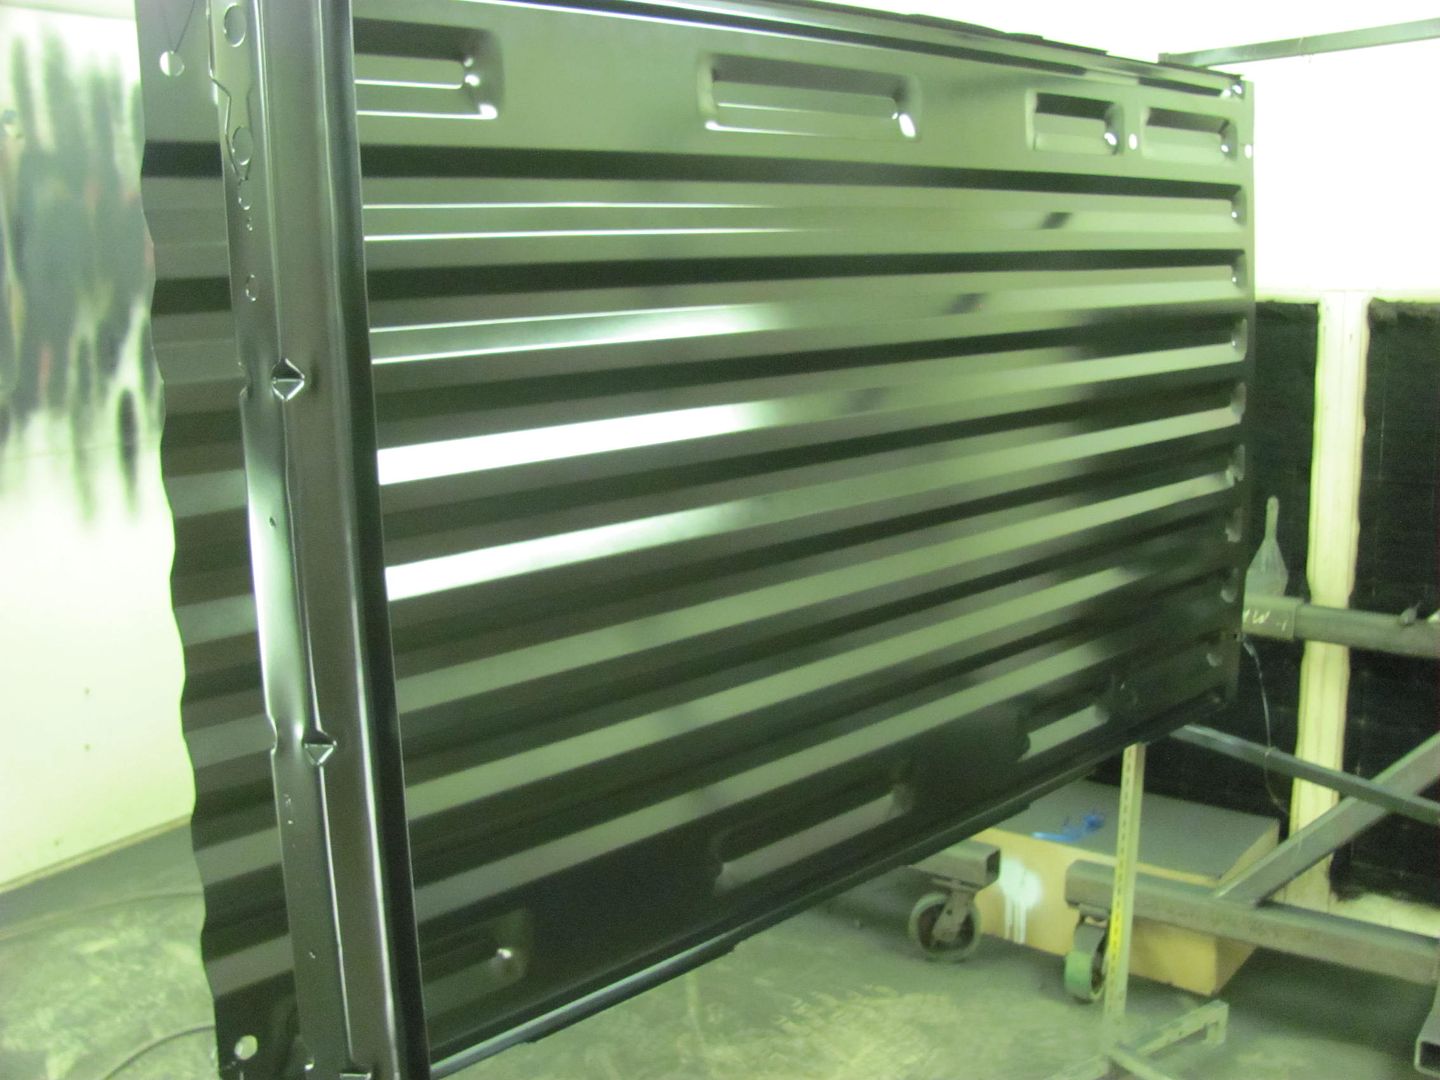
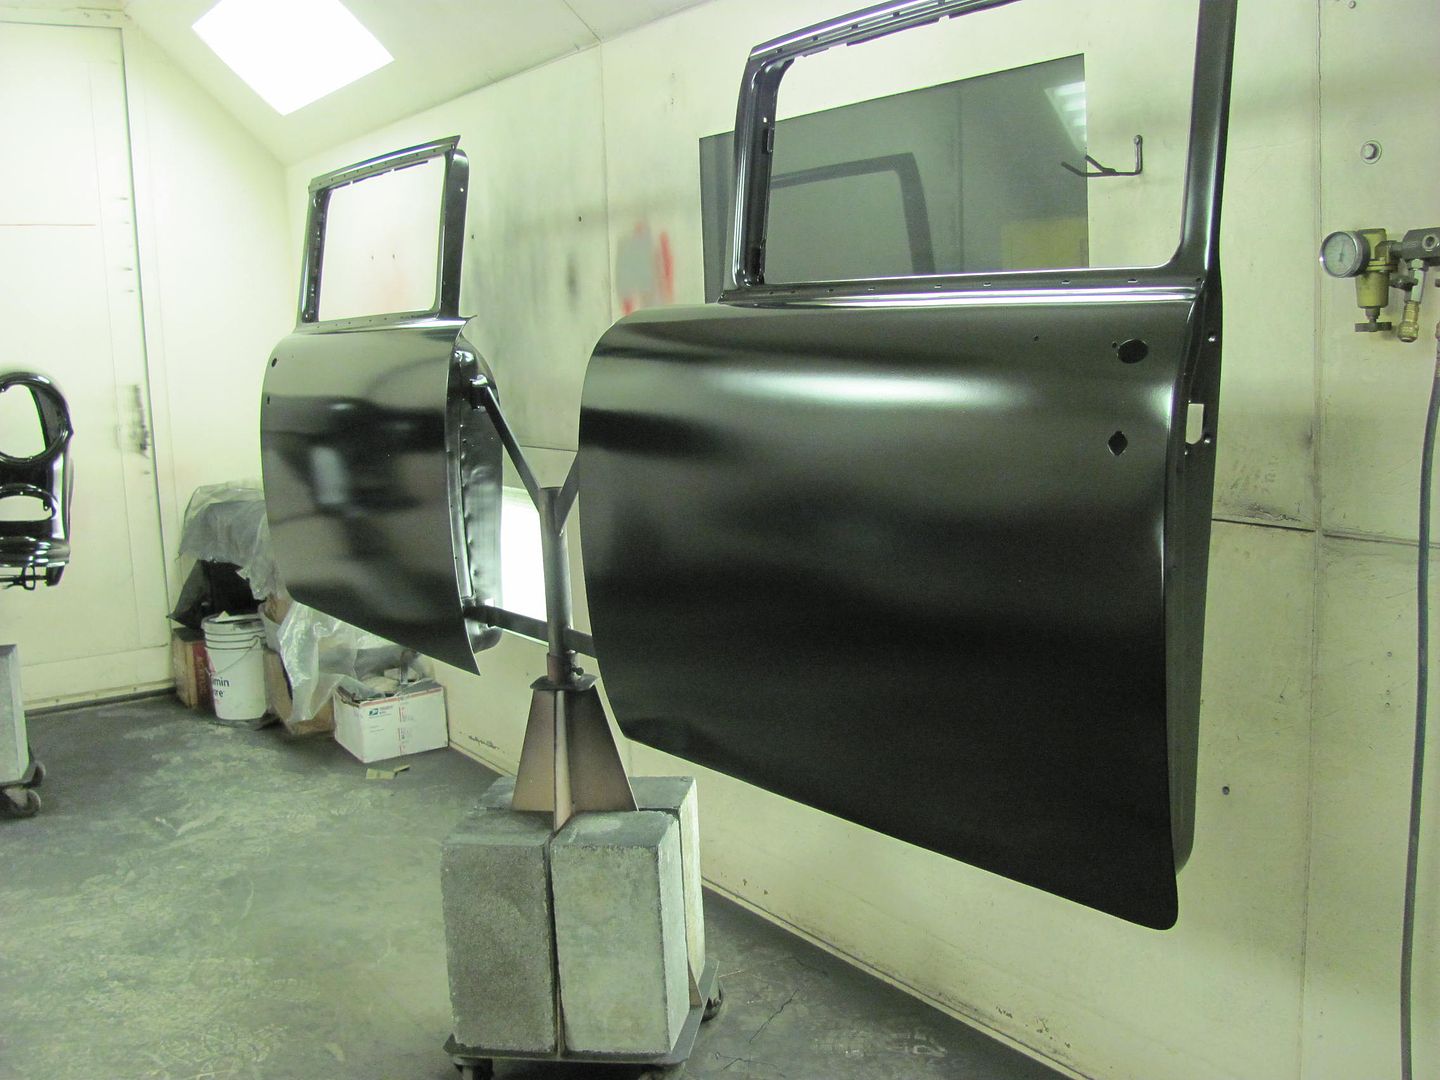
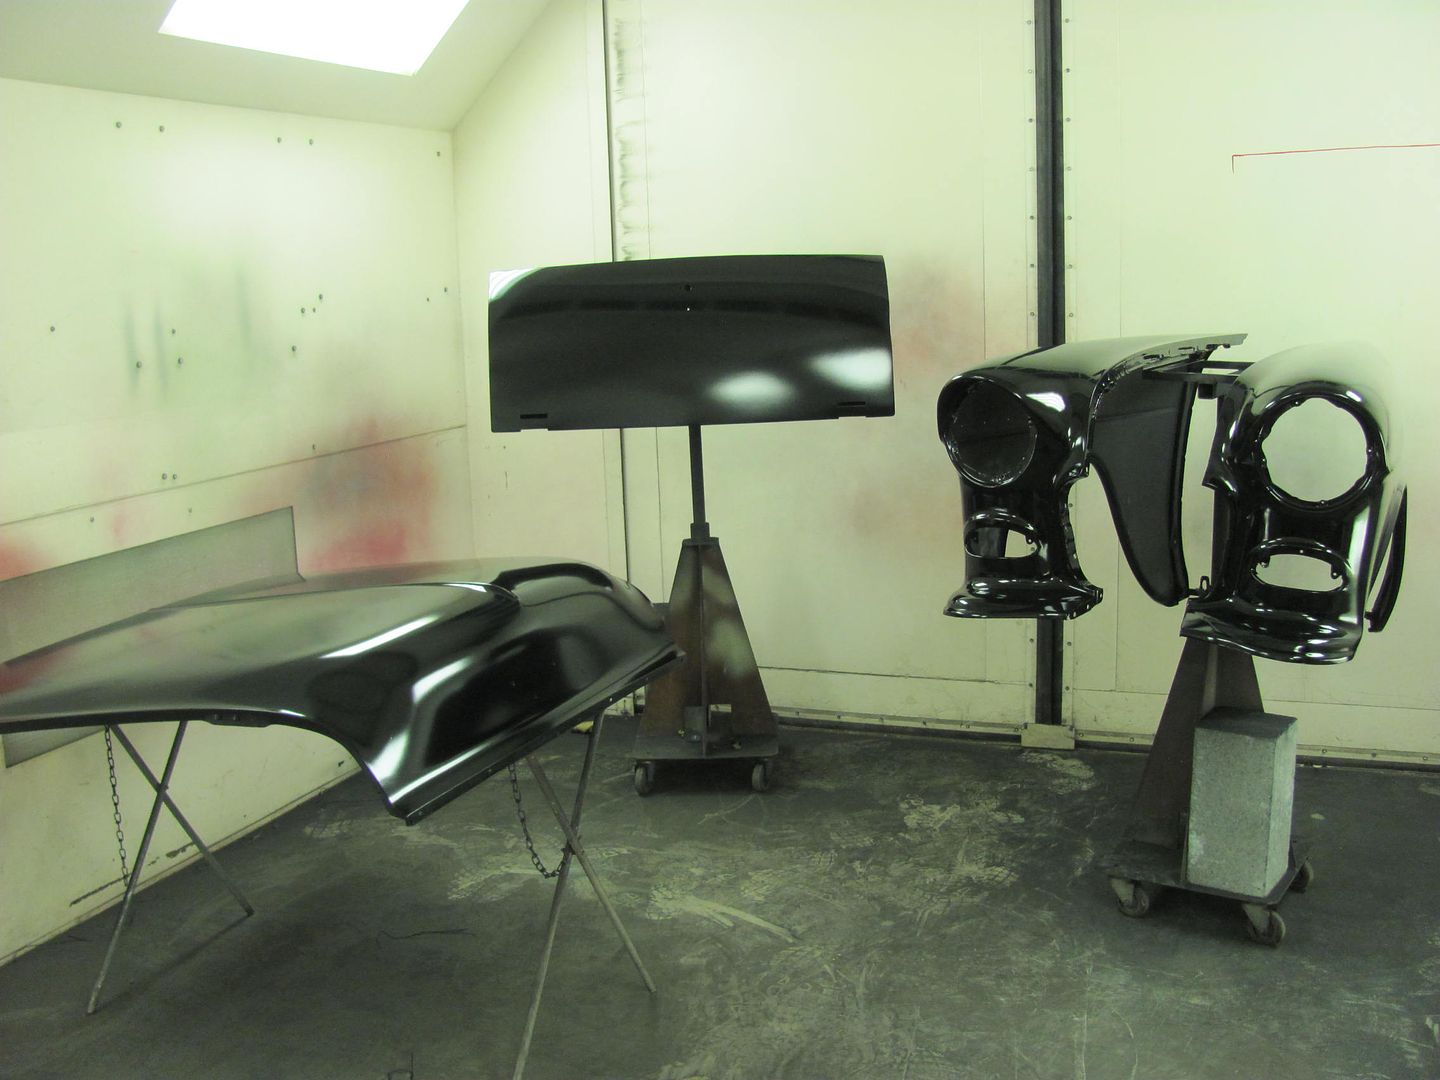
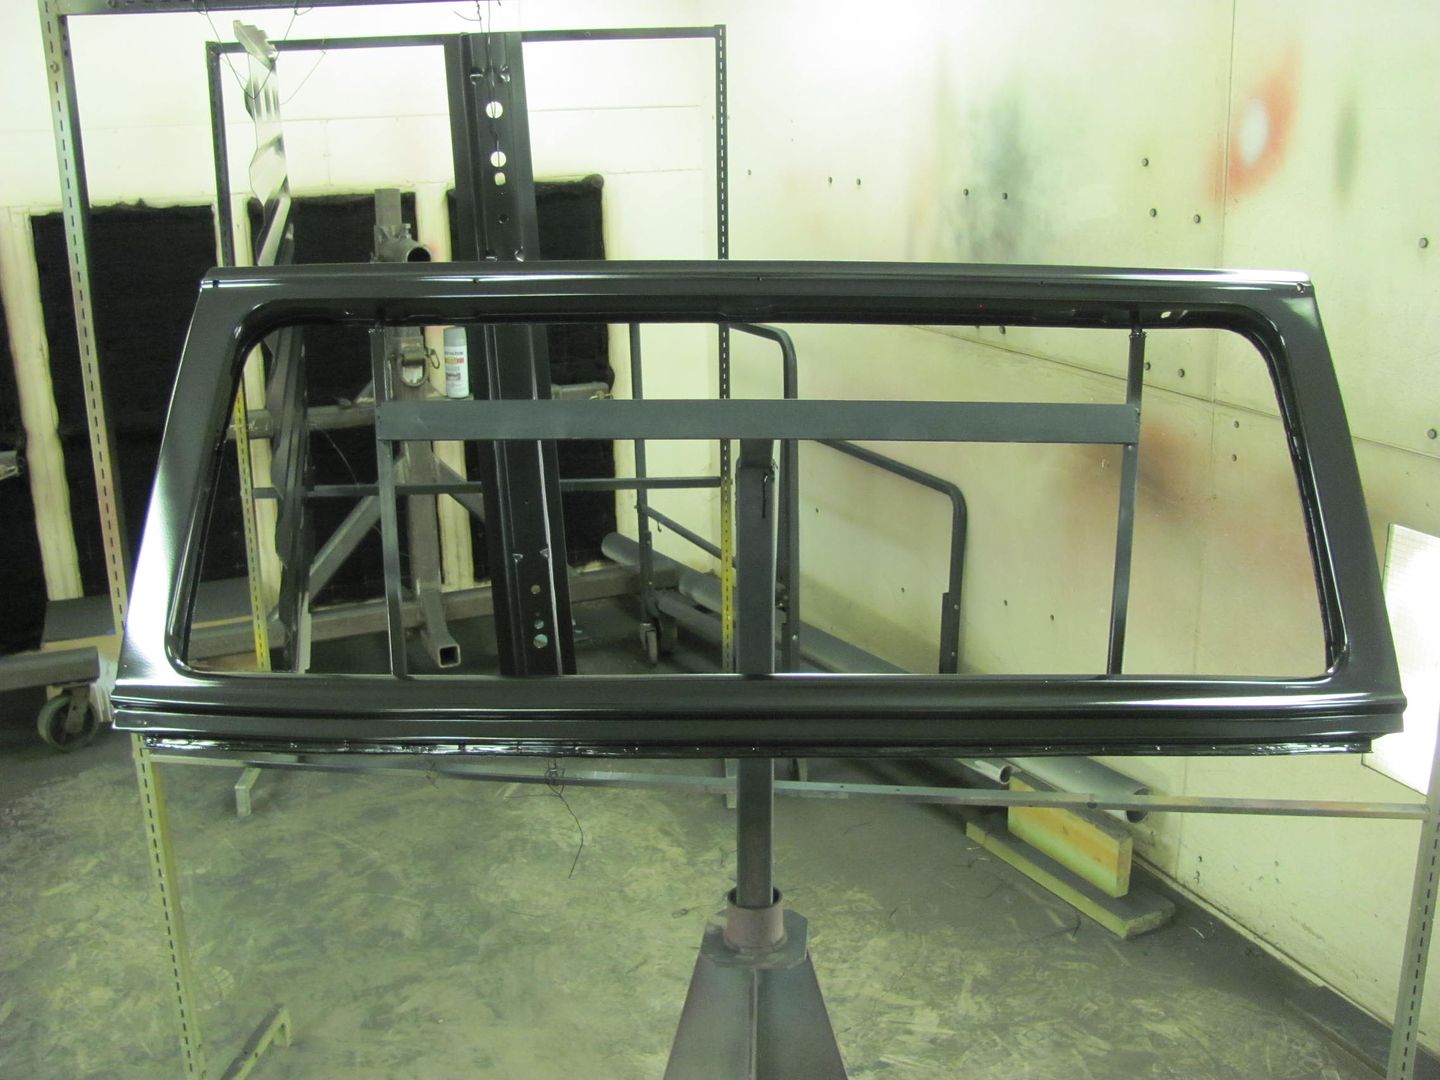
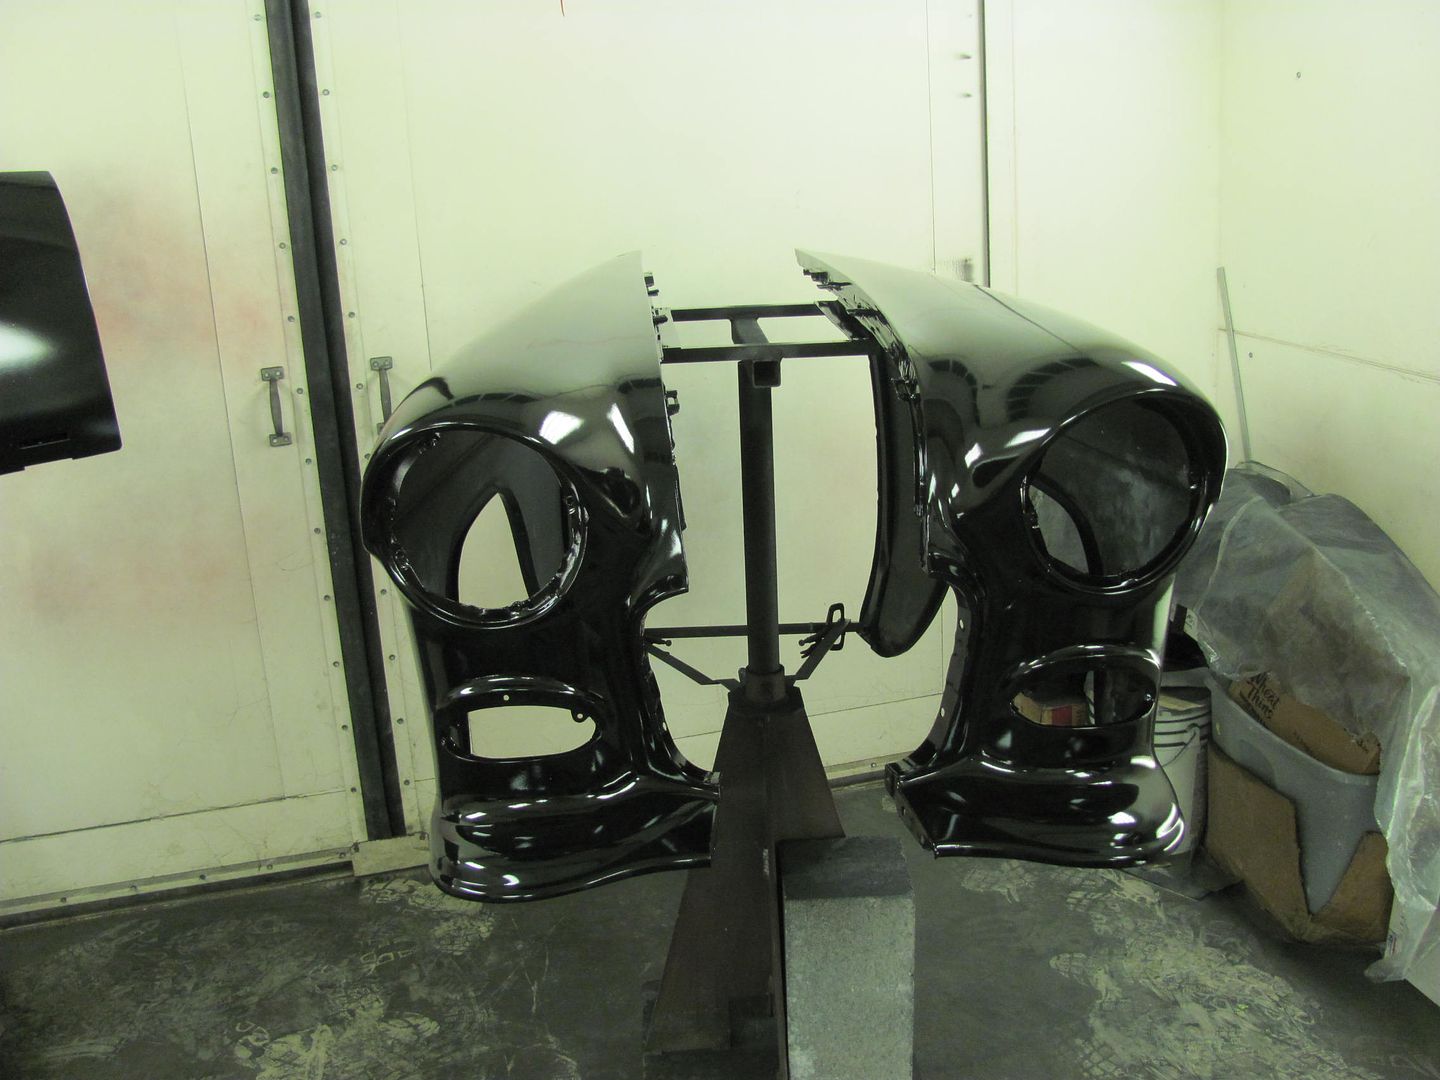
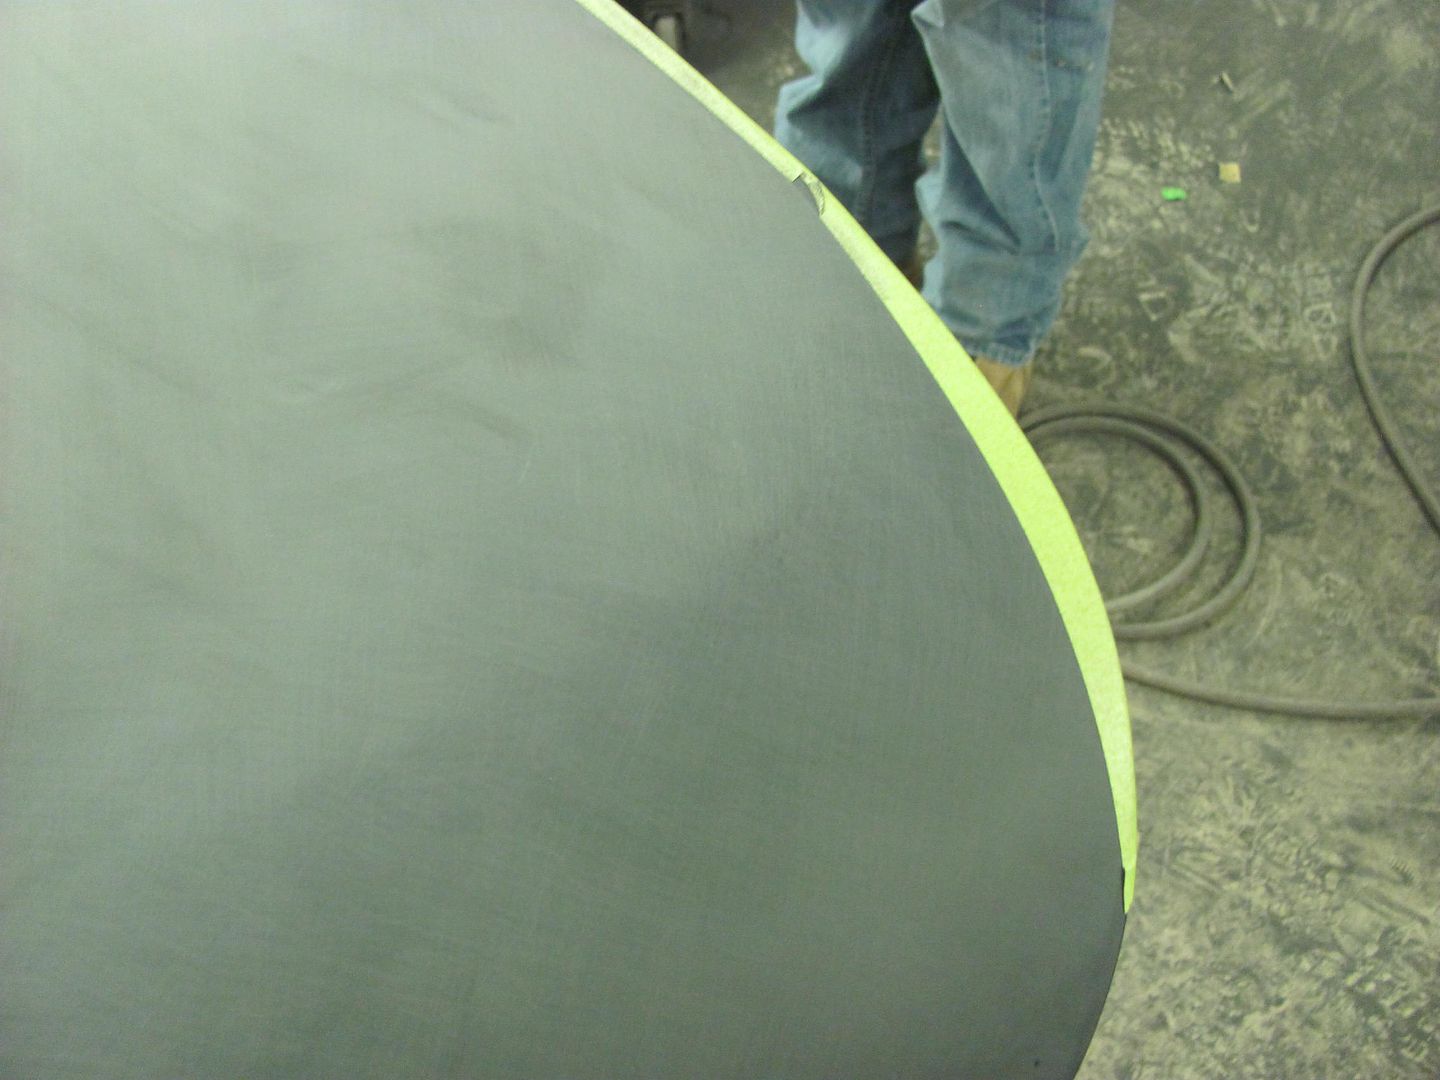
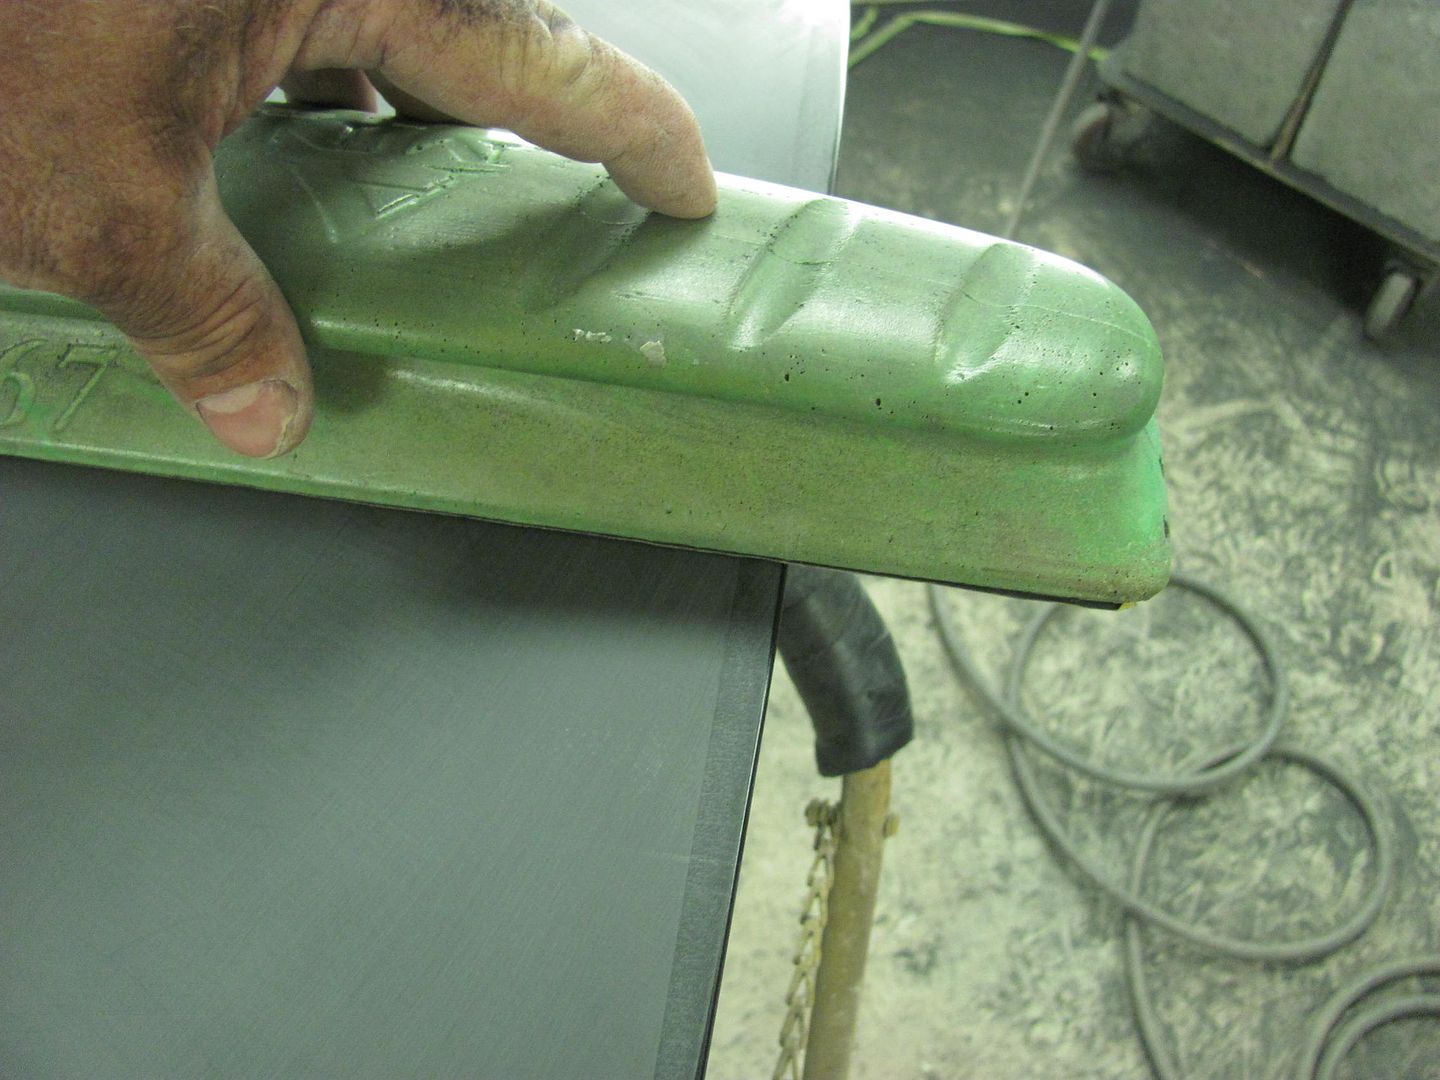
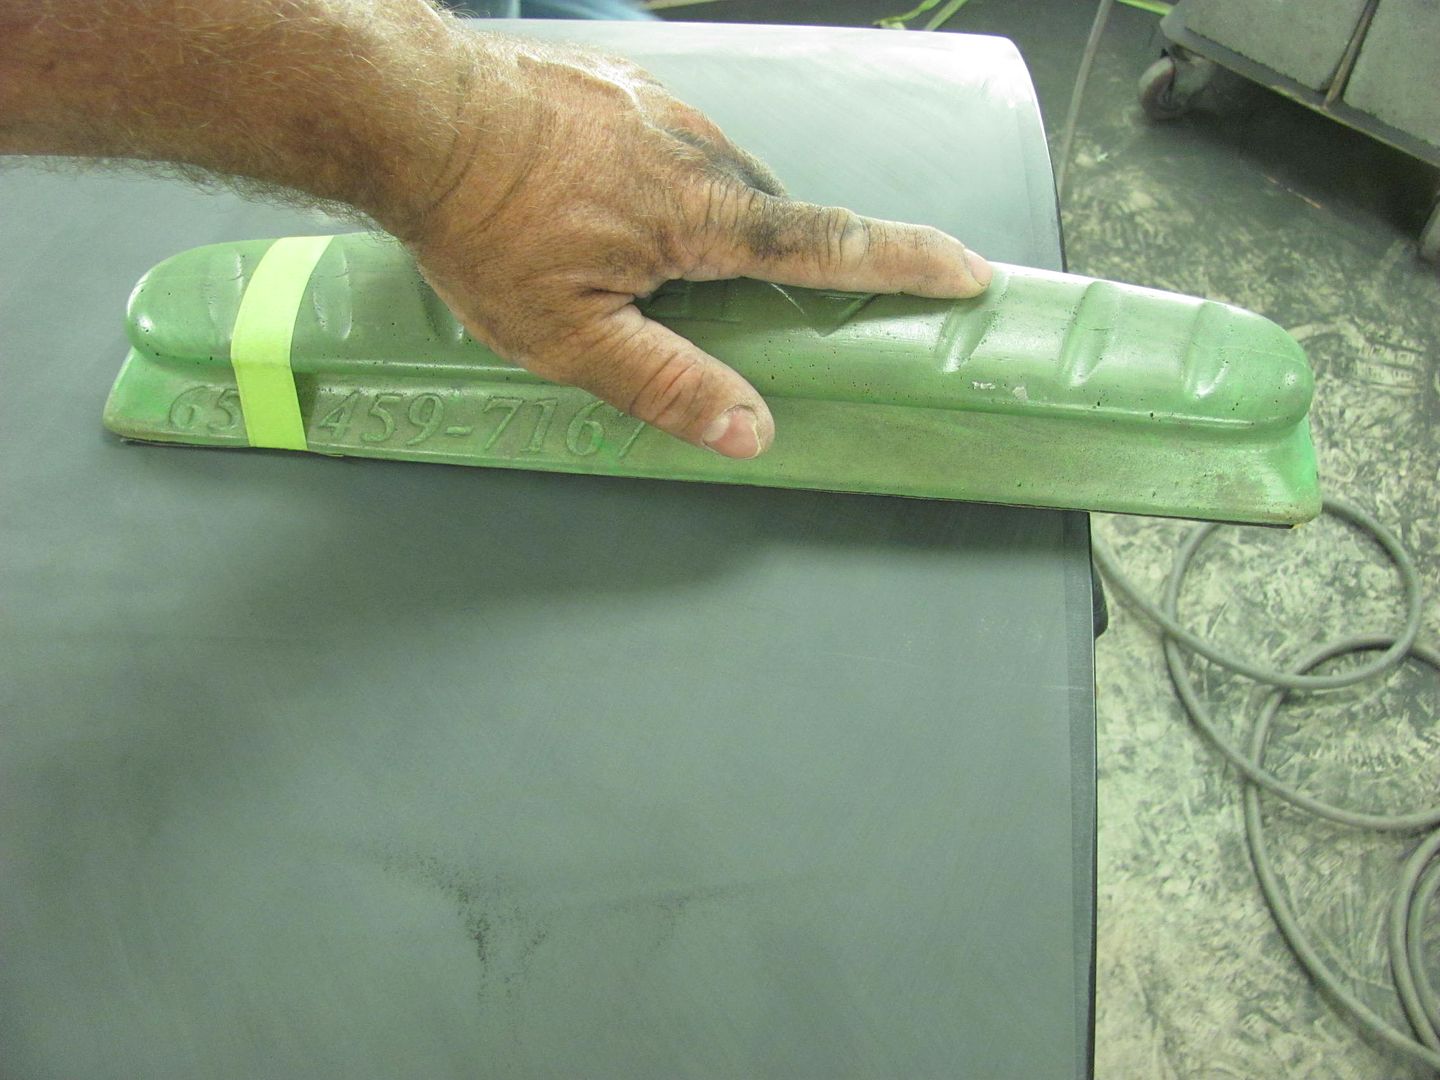
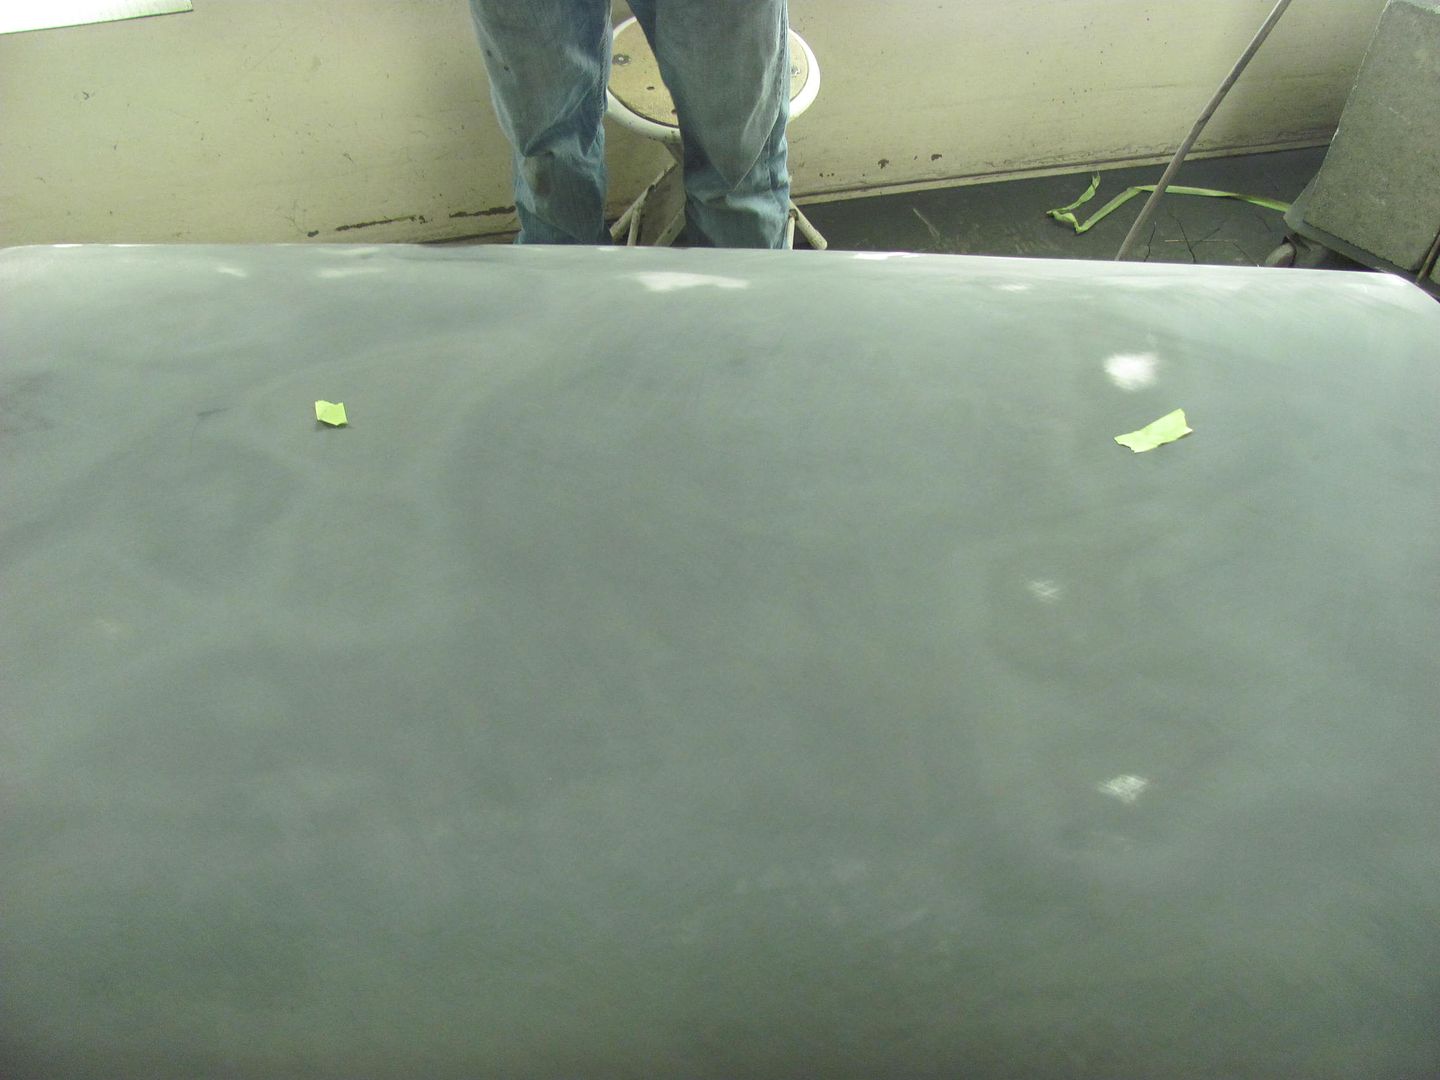
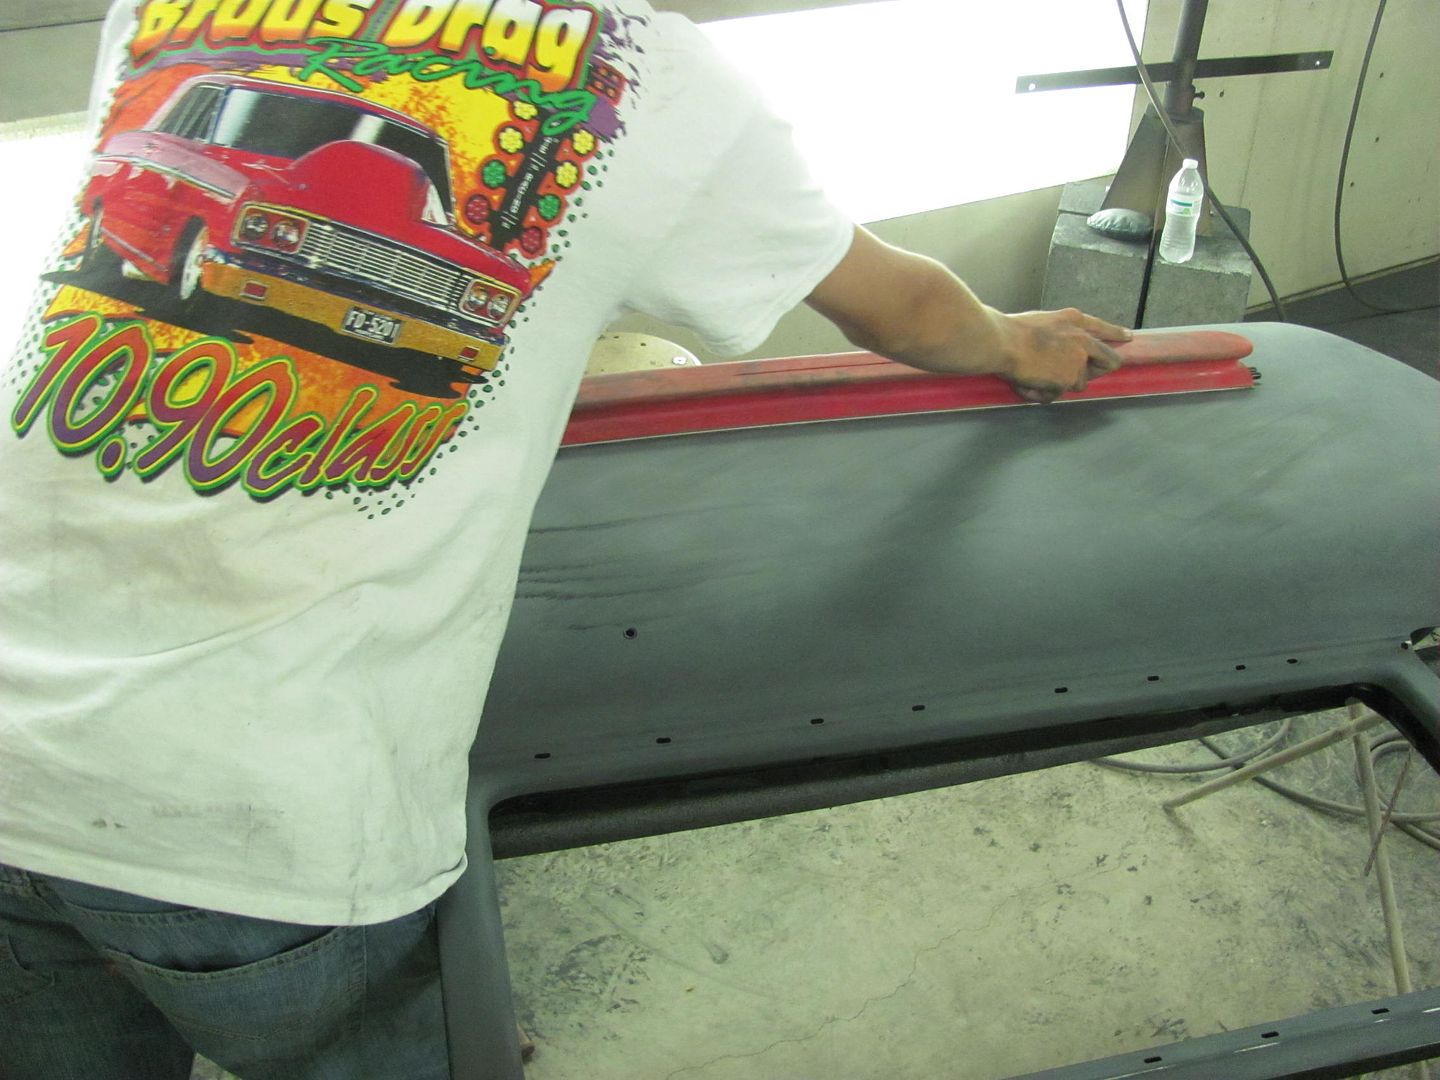
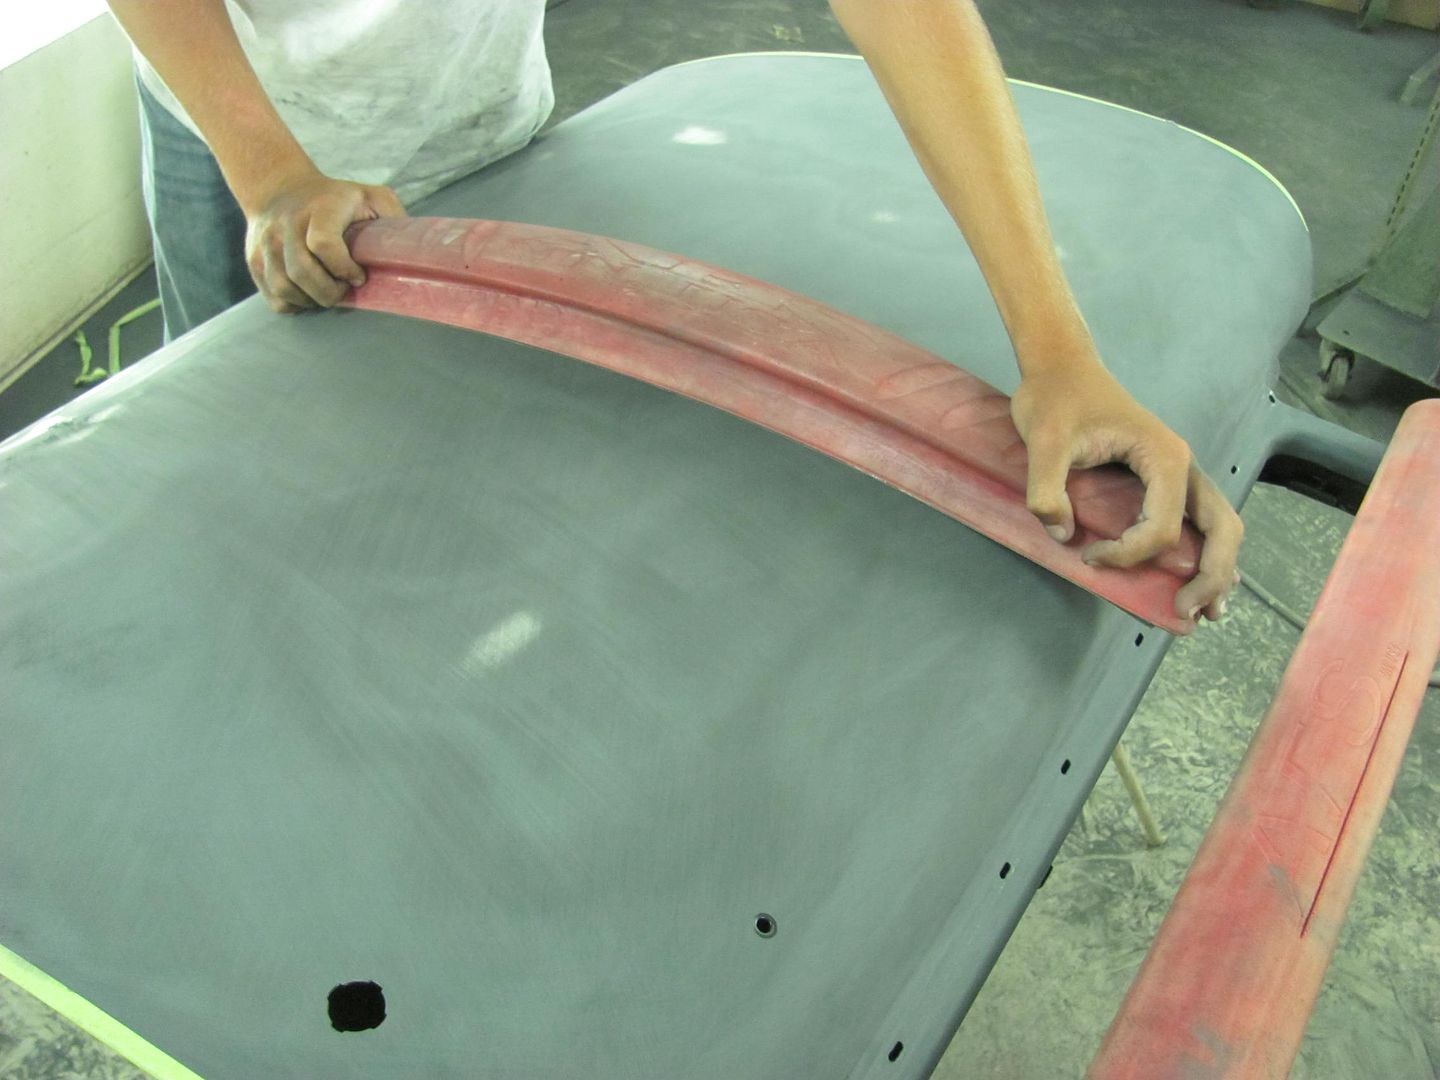
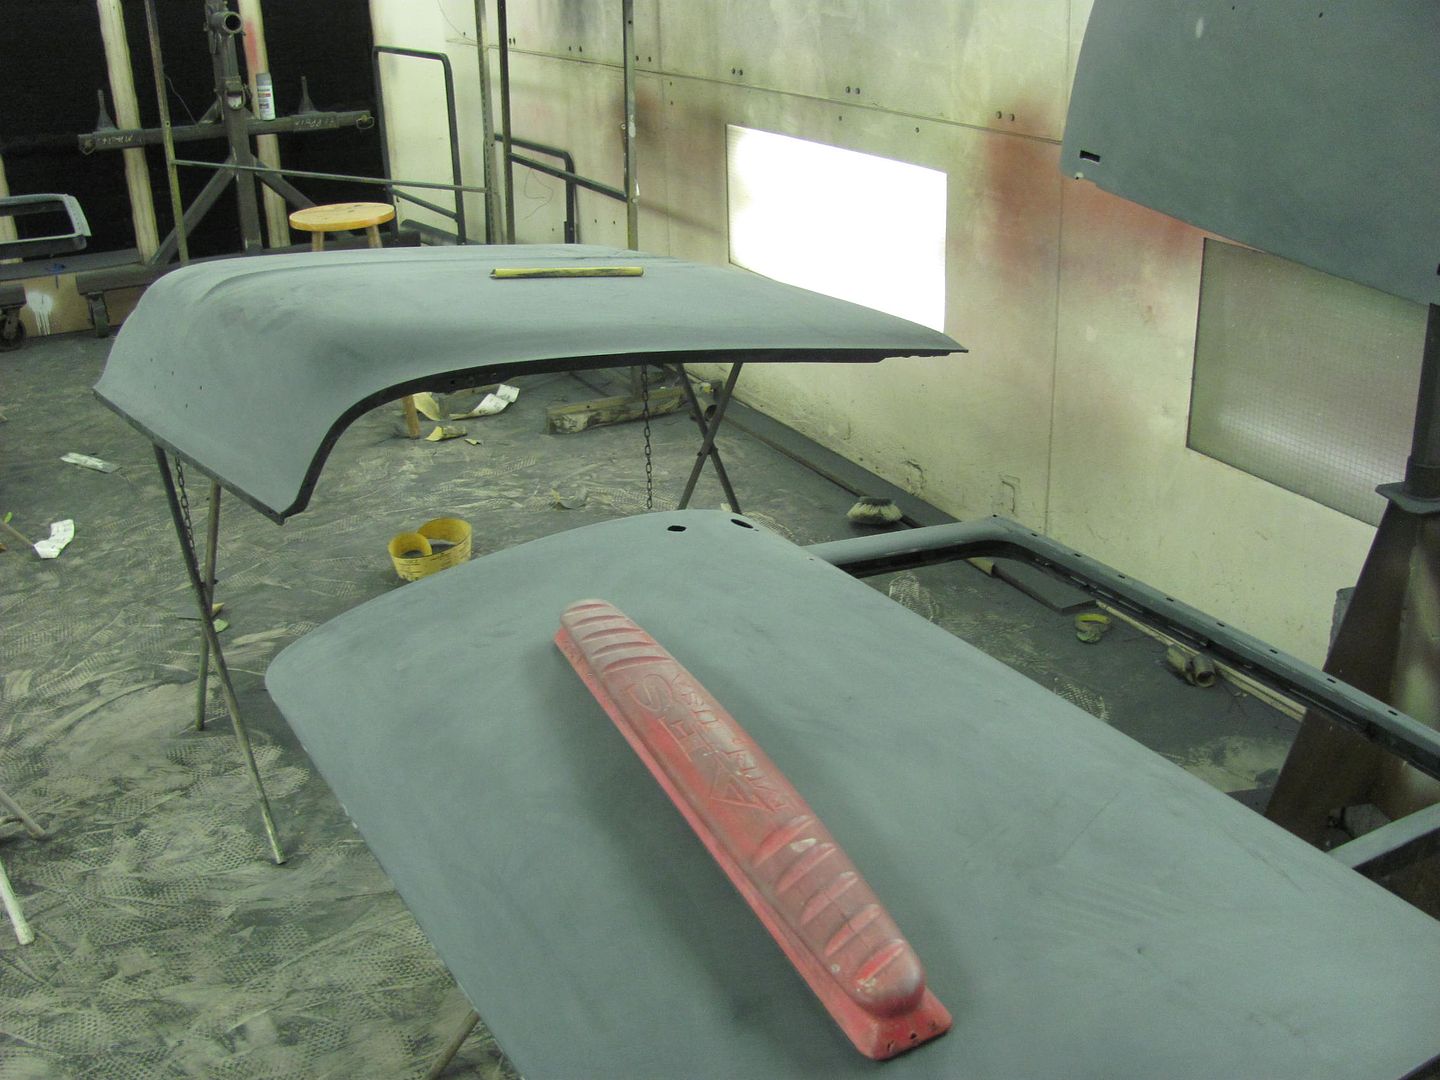
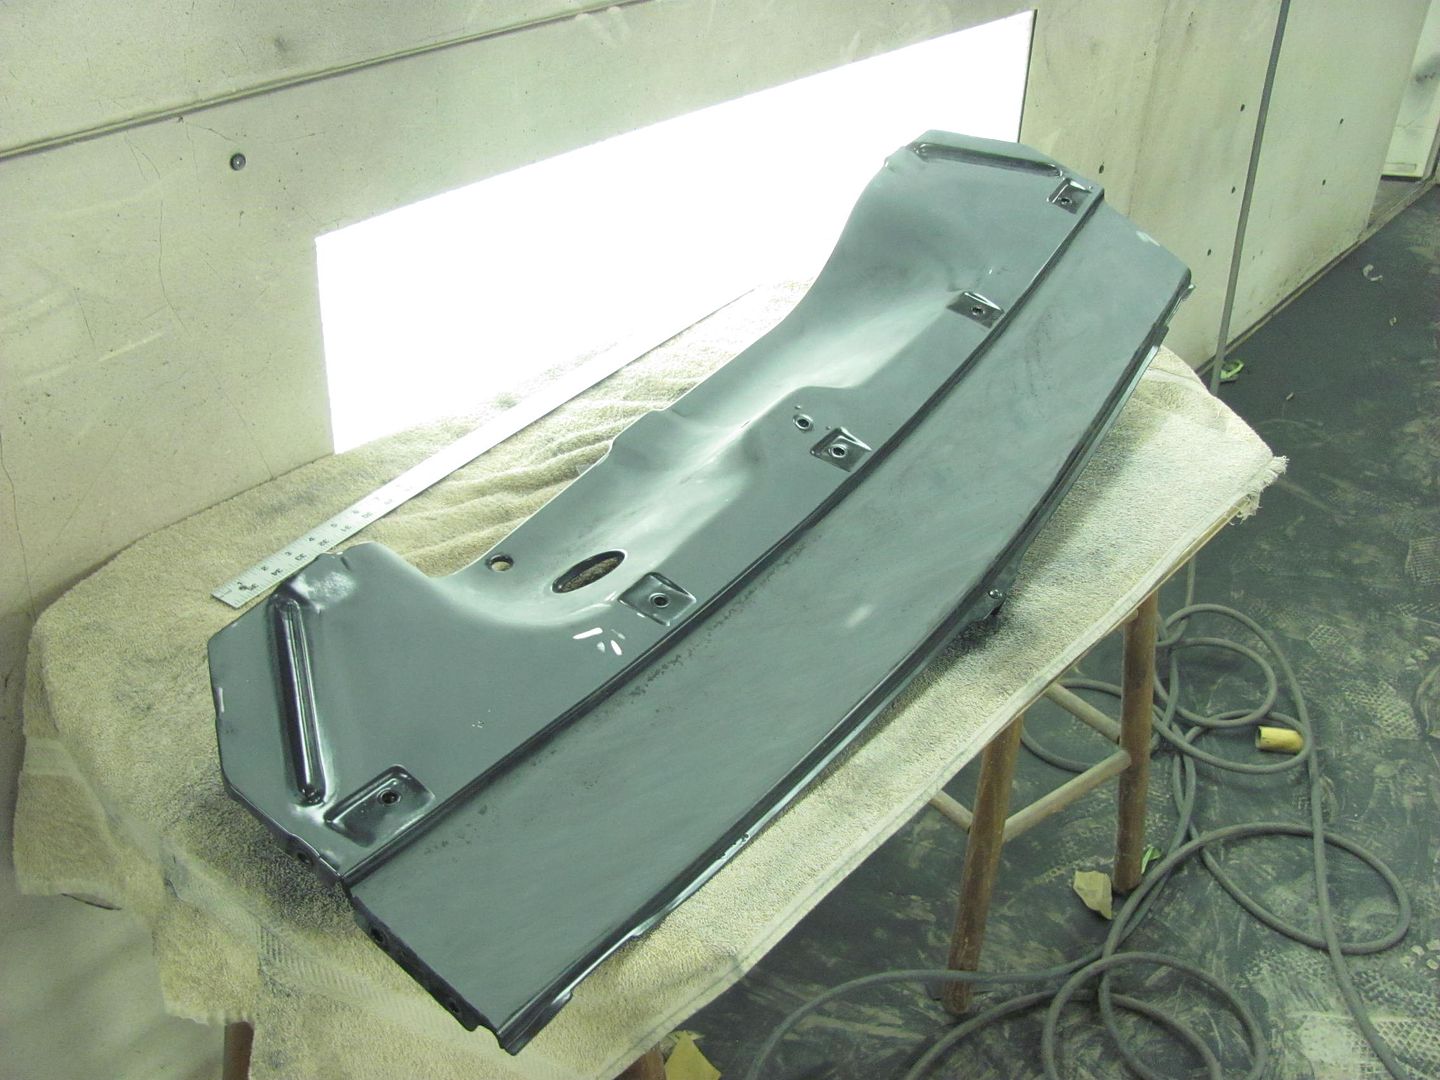
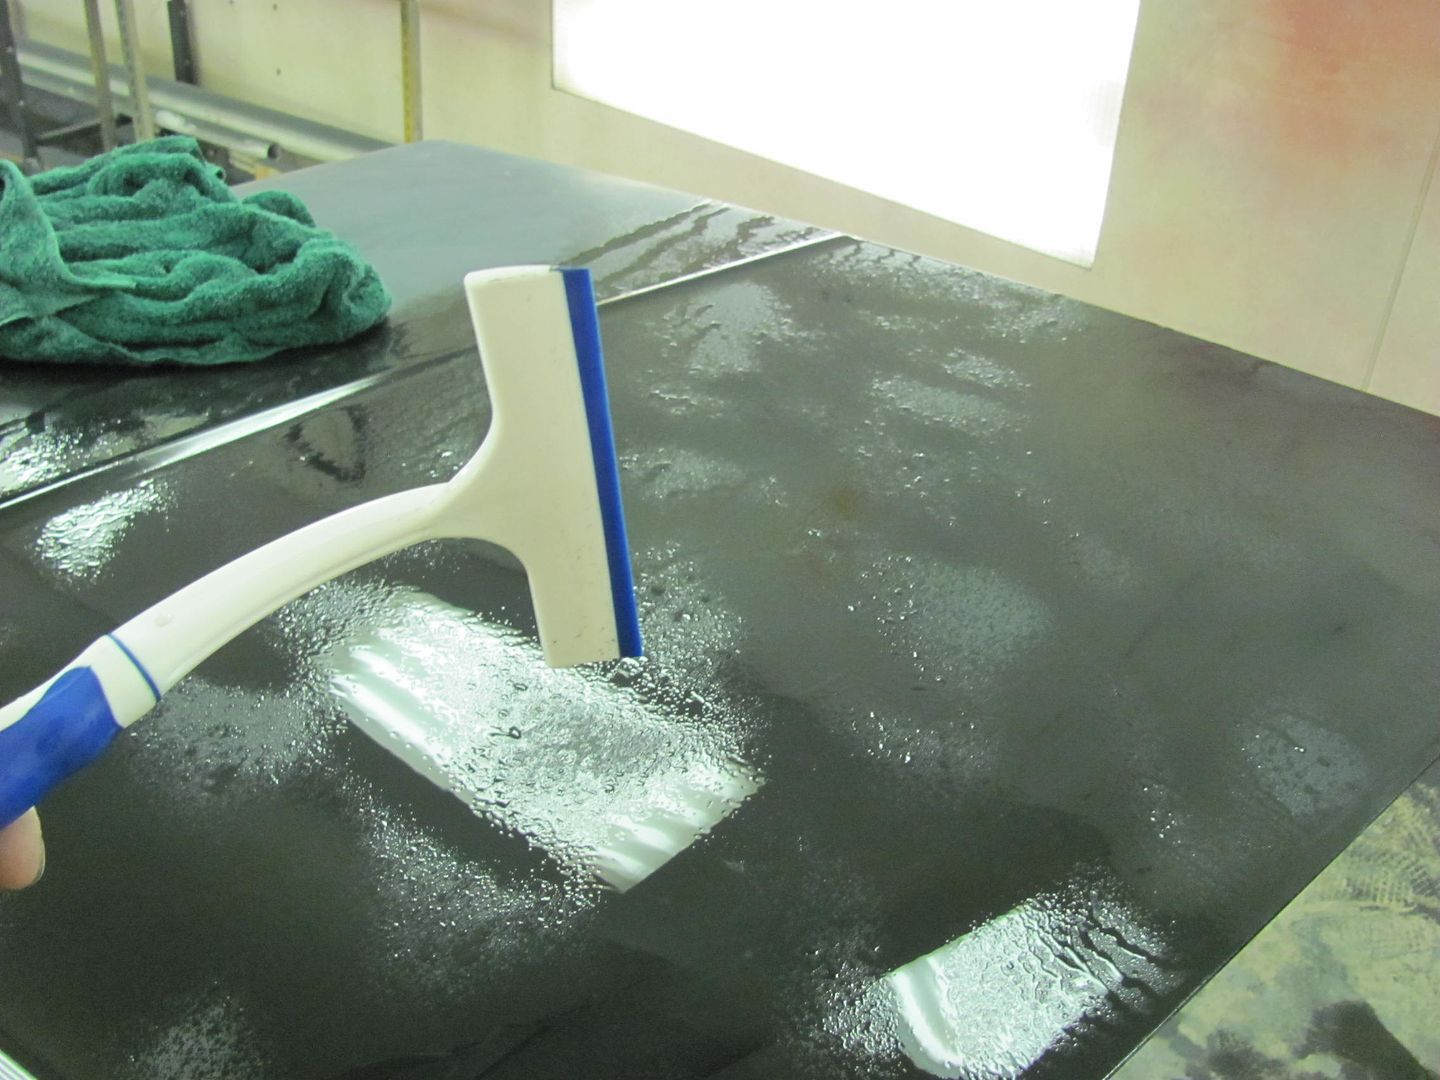
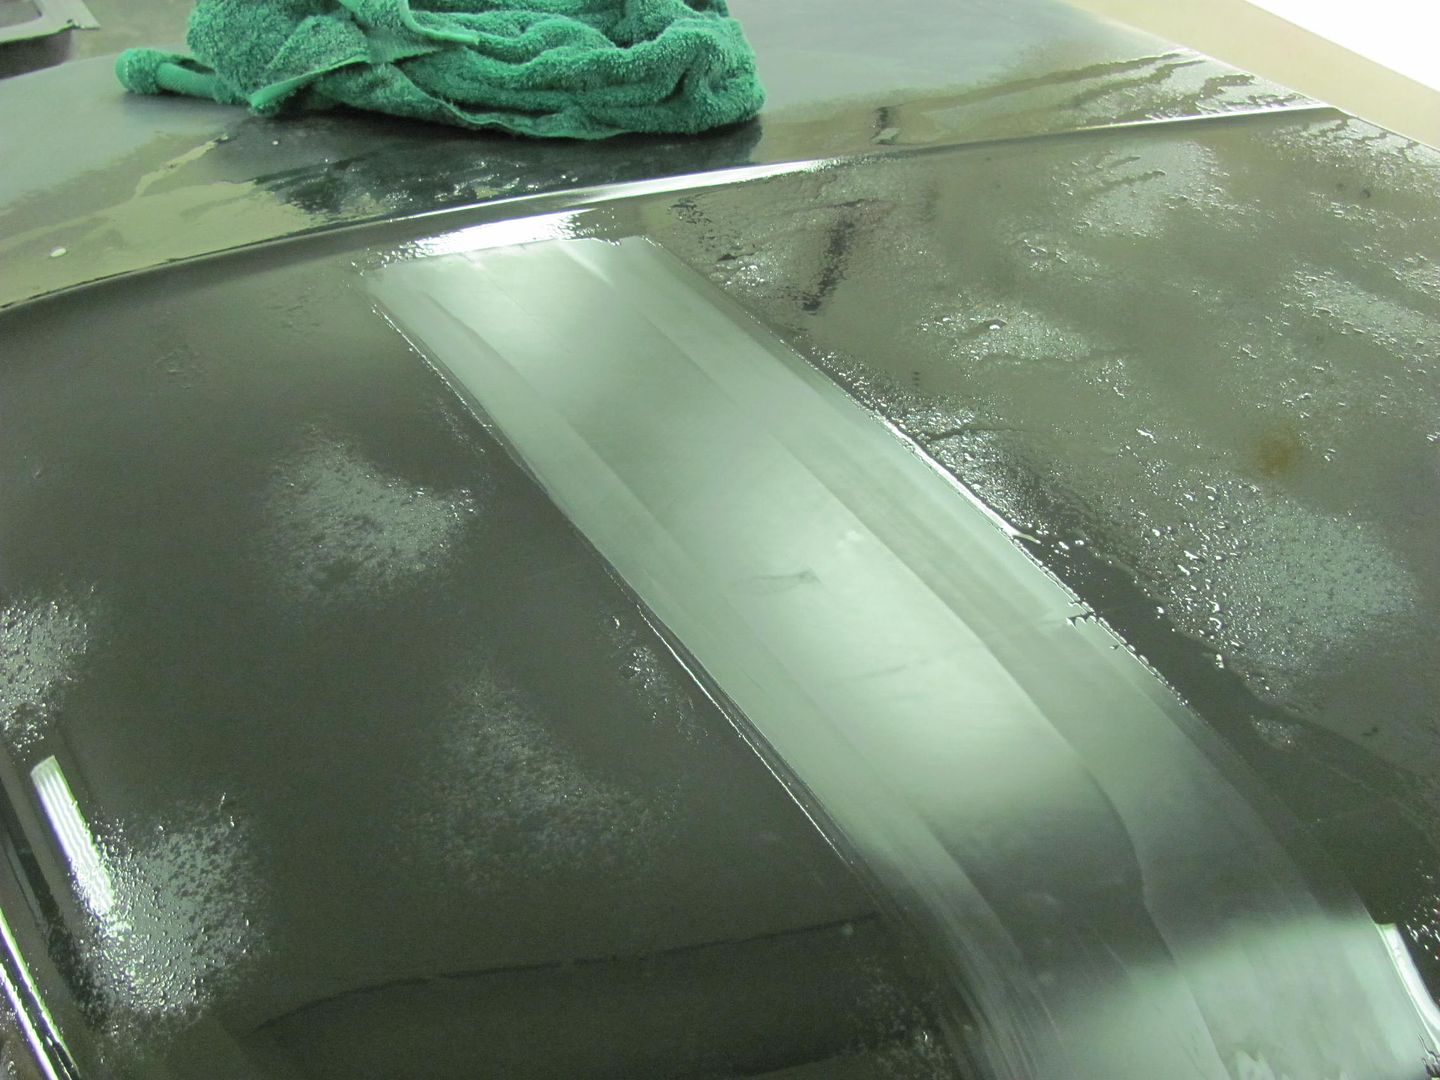
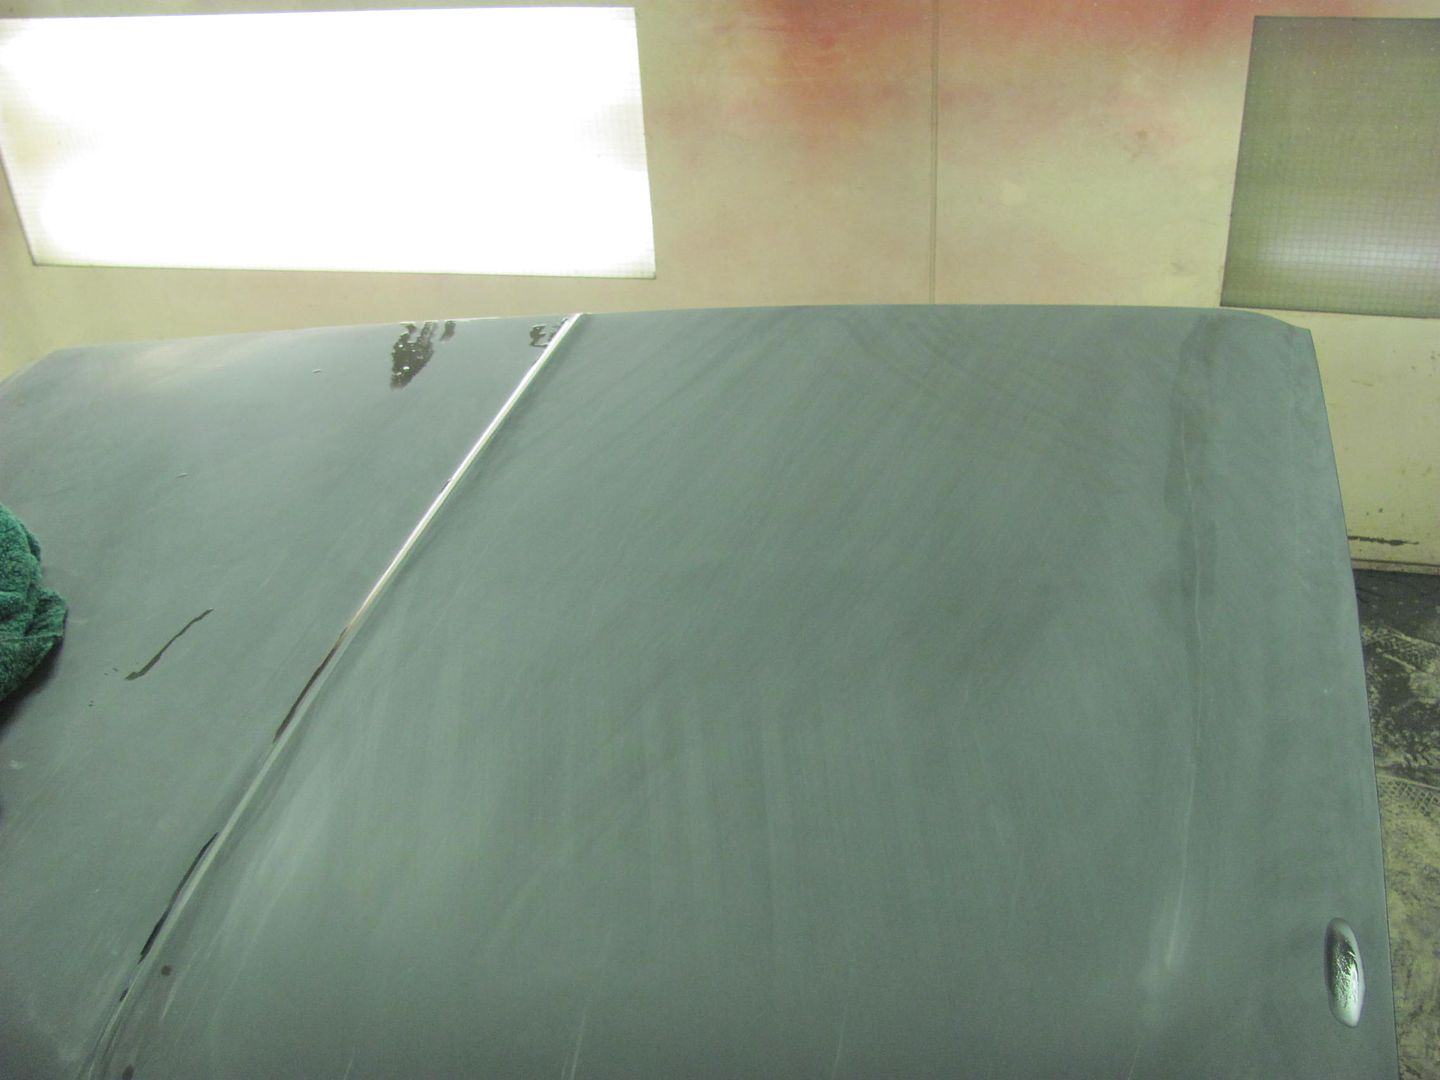
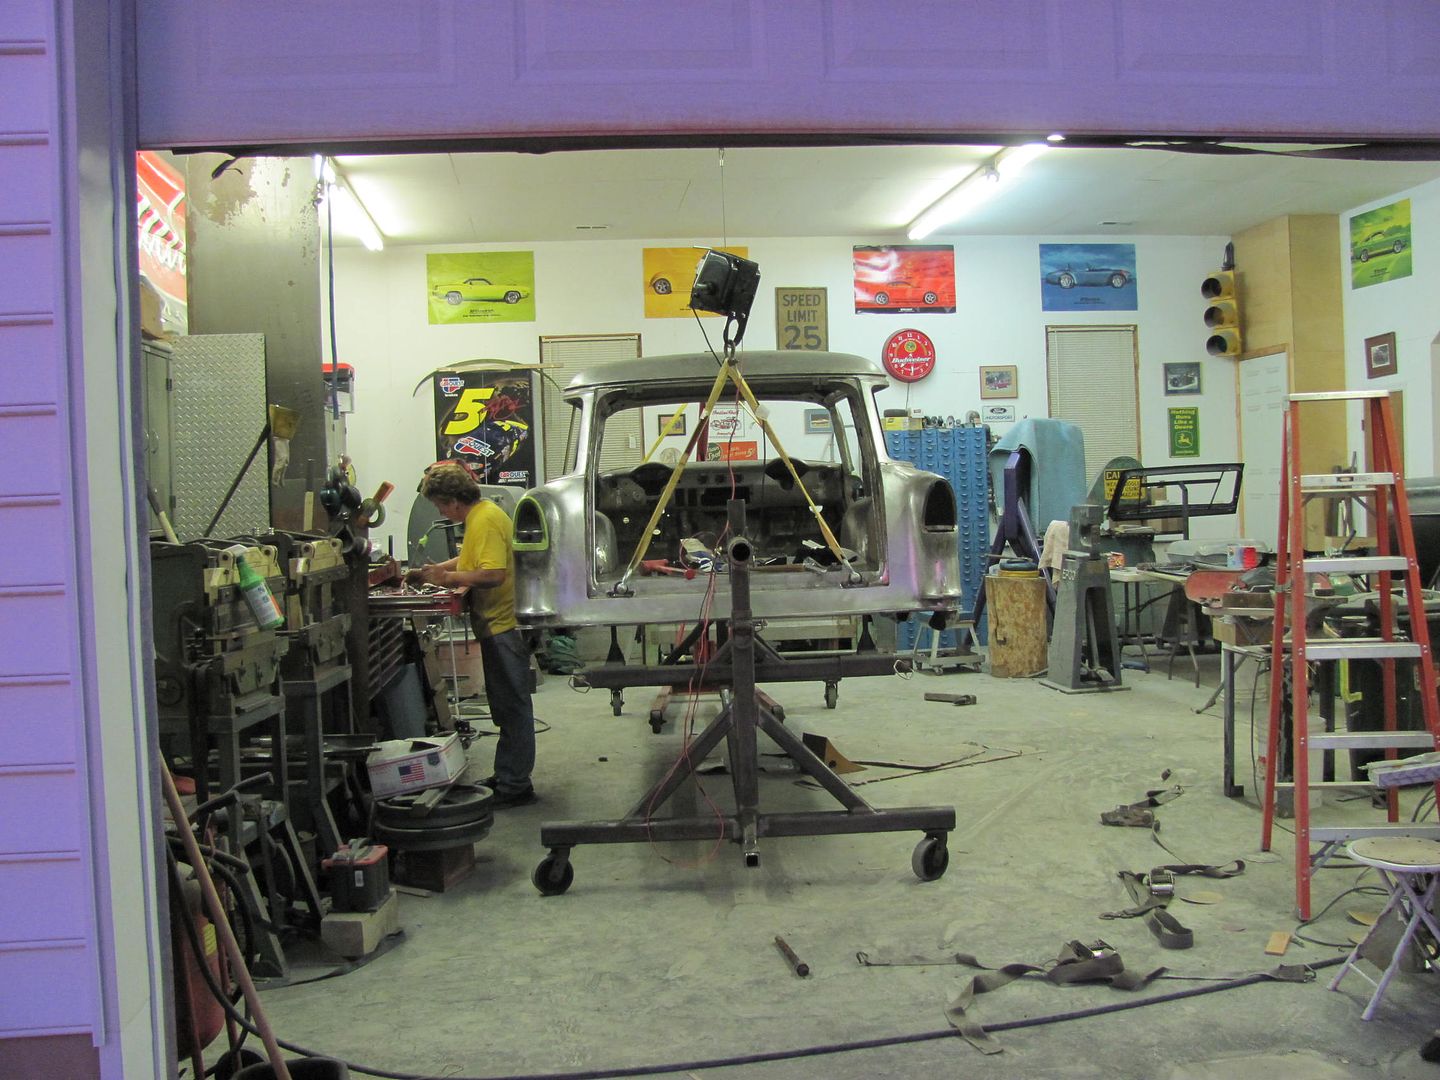
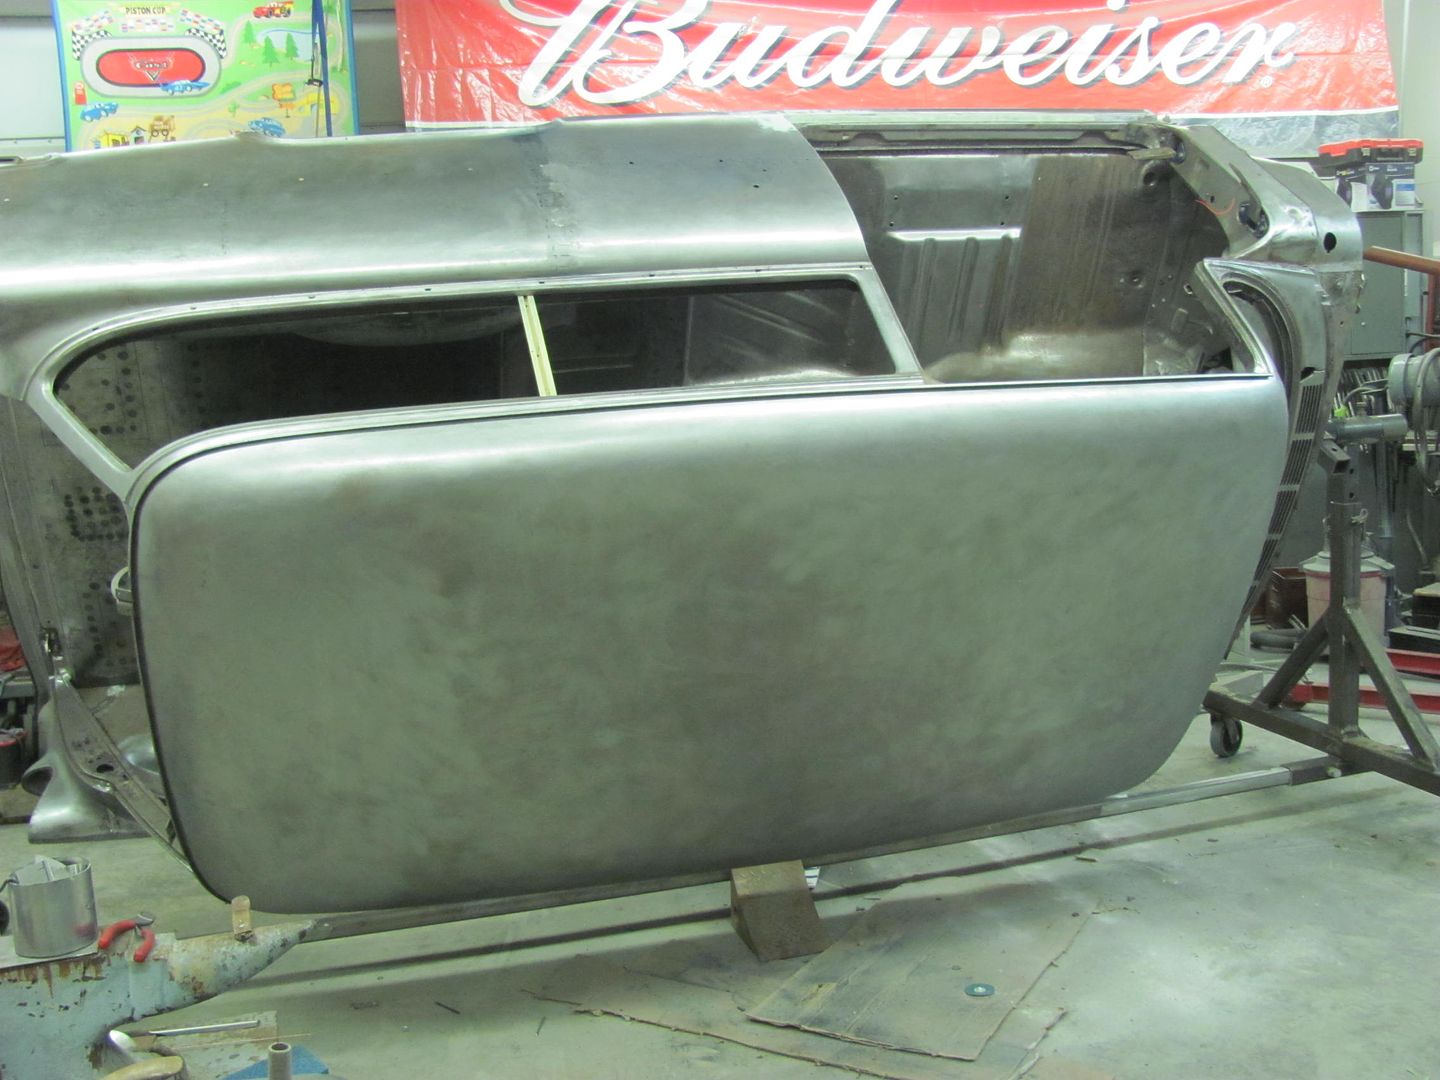
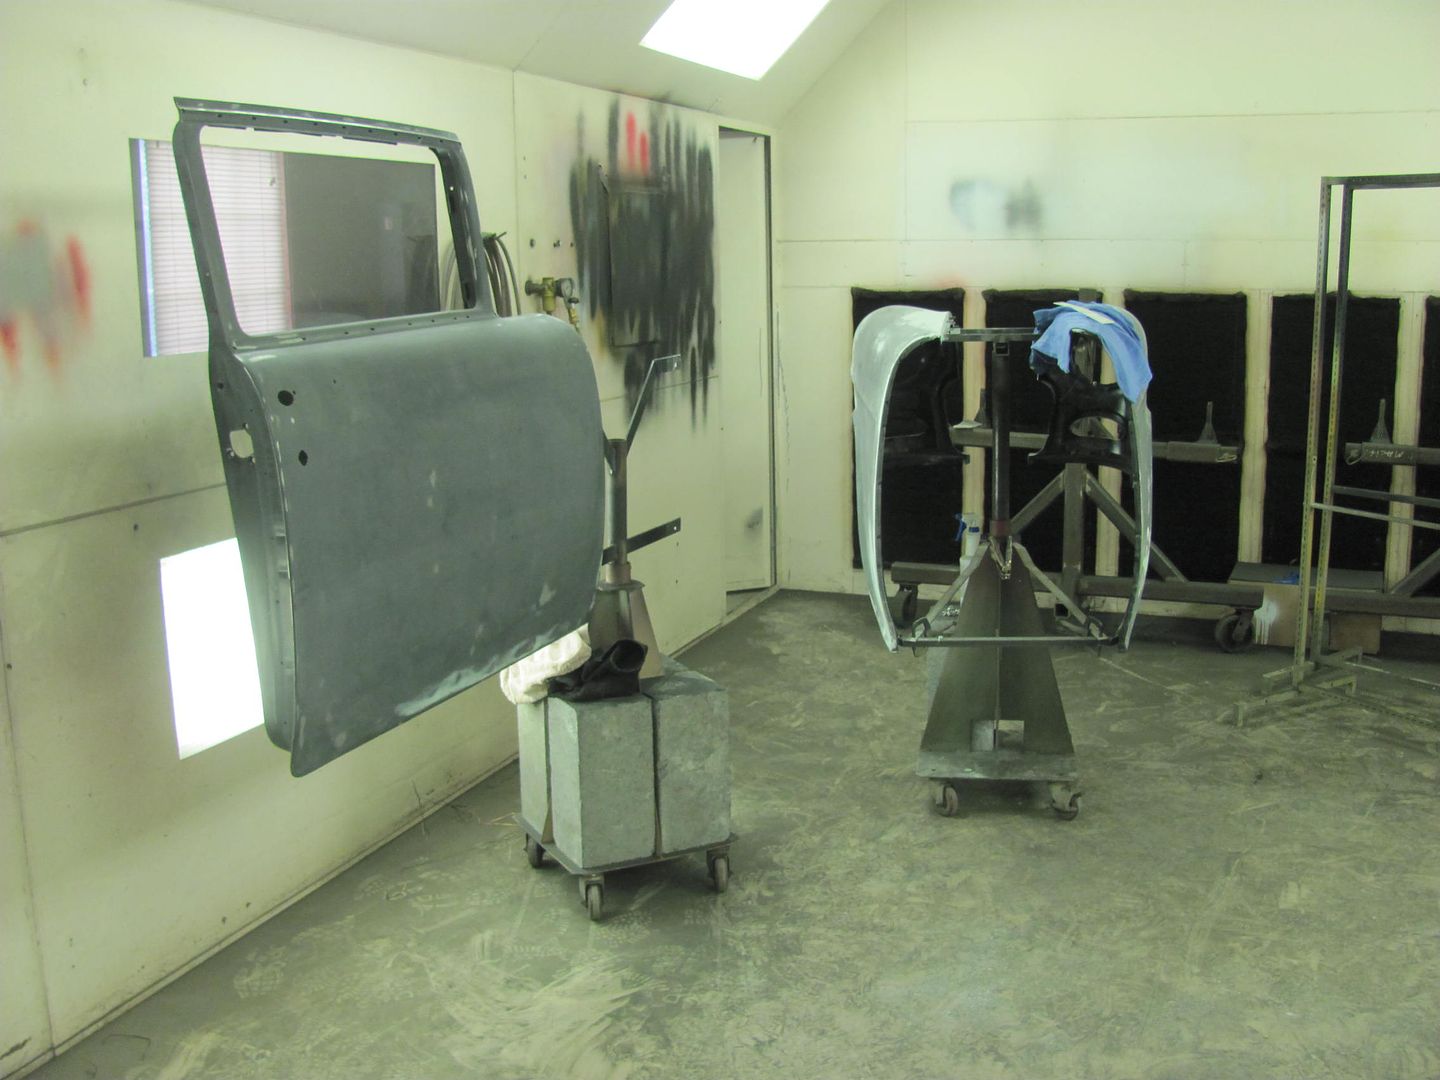
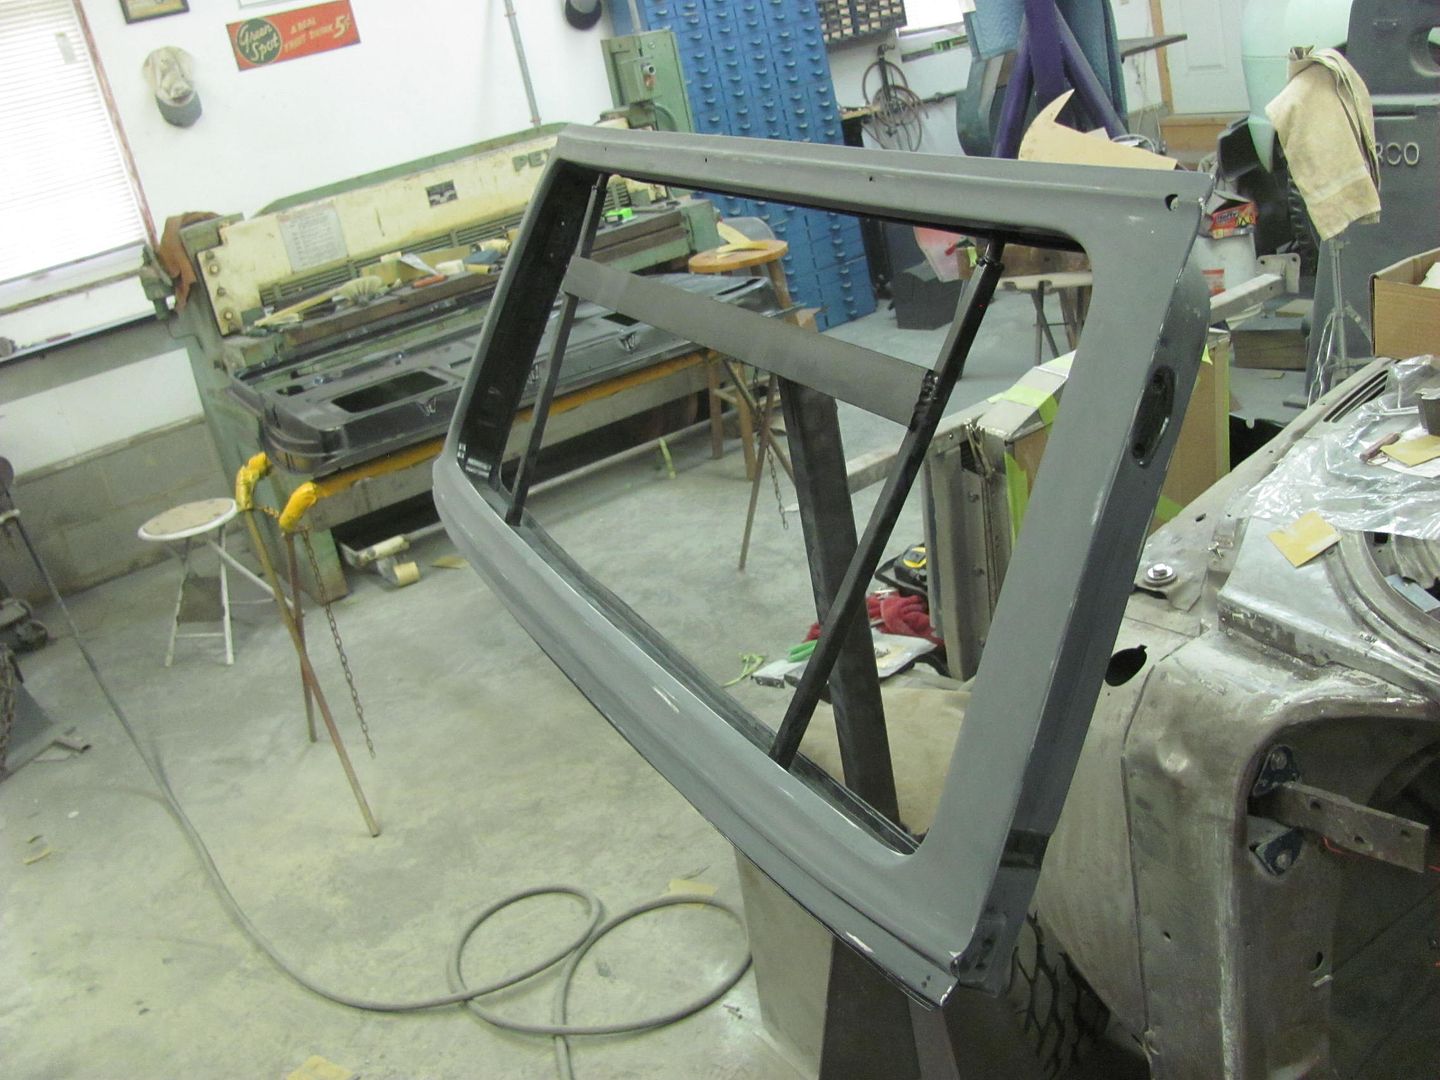
    Meanwhile Kyle and I have continued blocking body parts for another dose of epoxy...


    Robert


    MP&C Shop Projects-Metalshaping Tutorials


    Instagram @ mccartney_paint_and_custom


    .

  2. #162
    Registered Member MP&C's Avatar
    Join Date
    Dec 2013

    Member #:2017
    Location
    Southern MD
    Posts
    1,293
    Got some more SPI Epoxy sprayed, here's the parts for Katie's truck that she prepped...


    ....and some more on the wagon parts....


    Robert


    MP&C Shop Projects-Metalshaping Tutorials


    Instagram @ mccartney_paint_and_custom


    .

  3. #163
    Registered Member MP&C's Avatar
    Join Date
    Dec 2013

    Member #:2017
    Location
    Southern MD
    Posts
    1,293
    Tonight's post offers some blocking pointers.
    We had already done a couple sessions of priming/blocking the door across to the quarter and to the fender, all installed on the car. After this, more primer and put a perimeter of tape on the door skin. Now block separately, and the tape allows you to block the door and keep off the edge to prevent losing your match to the fender/quarter.


    I don't stick with 45* angles, if you want to keep a long direction flat, you need the long block to better follow that direction. So change up to some sharper angles, about 30* off the long direction every now and then. Work one end to the other, consistent spacing, consistent angle, end to end. Then alternate to passes in the opposite direction.

    Once done, and the inner part is good and blocked, now remove the tape and GENTLY block to the edge, taking care to not pull down at the edge and round things back off again. Whatever hand is holding the block make sure it is minimal pressure and stays on the door skin. In other words, no pressure pulling down past the edge.


    One other point, to keep the inner end of the sanding block from sanding out all your hard work in the center of the door, put a wrap of tape around the end of the sanding block that is towards the center of the door. This helps that end to glide across the center of the door without cutting primer there.


    Now to show the importance of the long board..

    We had done some blocking with the 27" AFS and seemed to have two high spots with a low in the middle of the door..
    Note the high areas marked by the green tape...


    Now we can see that as the sander is moved to the left, the left portion of the AFS is over the high spot on the left, and a bit more movement and the right portion of the AFS will start dropping into the low void. Effectively, this is still cutting material out of the low, keeping it low.


    Looking at the next size up, a 36" AFS....


    Here we can see this one does a much better job of spanning the high spots and staying up on top, for a more effective job of knocking down the highs and leaving the low in the center alone...


    After a few horizontal passes at slight angles, like so with the 36".......


    We follow up with some vertical passes at slight angles with the 27".... all rods removed to better follow the contour. Then alternate back to the 36 and another horizontal session..
    Robert


    MP&C Shop Projects-Metalshaping Tutorials


    Instagram @ mccartney_paint_and_custom


    .

  4. #164
    Registered Member
    Join Date
    Jun 2015

    Member #:2581
    Posts
    111
    Robert, great tutorial as always.

    I never sanded vertical which may be one of the reasons it took me sooooo long to get my doors straight. So I wonder, how did I got them straight never sanding vertical? Lucky I guess. I will be using that tip when doing my quarter panels, hope it helps because they are a pain. I'm thinking it's not just me because I've yet to see a waveless/straight 55 quarter at any of the car shows.

    Thanks for sharing your talents and taking the time to help us amateurs, it truly is appreciated.

  5. #165
    Registered Member chevynut's Avatar
    Join Date
    Nov 2011

    Member #:115
    Location
    Fort Collins, CO
    Posts
    10,847
    There's some great ideas here as far as blocking a car. I never saw it as a "science" before. I am going to be returning to blocking my Nomad before long so I'm glad you brought this topic up Doc. And thanks to Professor Robert for the instruction.
    56 Nomad, Ramjet 502, Viper 6-speed T56, C4 Corvette front and rear suspension


    Other vehicles:

    56 Chevy 2-door BelAir sedan
    56 Chevy 210 4-door sedan
    57 Chevy 210 4-door sedan
    1962 327/340HP Corvette
    1961 Willys CJ3B Jeep
    2001 Porsche Boxster S
    2003 Chevy Silverado 2500 HD Duramax
    2019 GMC Sierra Denali Duramax

  6. #166
    Registered Member MP&C's Avatar
    Join Date
    Dec 2013

    Member #:2017
    Location
    Southern MD
    Posts
    1,293
    Quote Originally Posted by DocHarley View Post
    Robert, great tutorial as always.

    I never sanded vertical which may be one of the reasons it took me sooooo long to get my doors straight. So I wonder, how did I got them straight never sanding vertical? Lucky I guess. I will be using that tip when doing my quarter panels, hope it helps because they are a pain. I'm thinking it's not just me because I've yet to see a waveless/straight 55 quarter at any of the car shows.

    Thanks for sharing your talents and taking the time to help us amateurs, it truly is appreciated.

    As mentioned in your thread, especially in high crown areas the flat sanding block may have a tendency to leave flat marks. We noticed it after many rounds of horizontal blocking that there were some "ridges" left behind, so a couple swipes in the vertical direction took care of them quickly..
    Robert


    MP&C Shop Projects-Metalshaping Tutorials


    Instagram @ mccartney_paint_and_custom


    .

  7. #167
    Registered Member MP&C's Avatar
    Join Date
    Dec 2013

    Member #:2017
    Location
    Southern MD
    Posts
    1,293
    Well there has been a slight break in the updates, as I've been in Okinawa for about a month. Not to fear, Kyle has been plugging away on the wagon, it even has a floor in it, as you can see here...


    He did get a quite a bit of blocking done while I was gone....


    And did get some wet sanding done on a few of the interior trim pieces. Today he started on the rear floor, part of the problem with welding a flat plate is that it doesn't stay flat. The plug welds to secure the floor to the bracing beneath caused some shrinking, which resulted in the metal between bulging outward, some up, some down. Looks about like the Atlantic on a calm day.


    Today, as I was going to be wet sanding, he was going to try some torch shrinking. To better make this a one person job with minimal risk of open flame, we thought to give the "electric" torch a go.


    The plastic dust pan served as a tray to hold the wet rag, keeping it in closer proximity to where it was needed and attempt to limit the amount of water elsewhere. The results showed quite an improvement, and it's in need of some bumping at this point..


    But alas, the gas tank is in the way, so we will likely get the body back on the rotisserie here soon in an effort to get the remaining prep prior to paint completed.
    Meanwhile, I was wet sanding and couldn't find the squeegee, so a trip to the local Ace Hardware at lunch, and we had a replacement. Works well, and no metal hardware on this new one to add any scratches....


    Exterior of the hood is about done...


    Robert


    MP&C Shop Projects-Metalshaping Tutorials


    Instagram @ mccartney_paint_and_custom


    .

  8. #168
    Registered Member MP&C's Avatar
    Join Date
    Dec 2013

    Member #:2017
    Location
    Southern MD
    Posts
    1,293
    Well last night I picked up a winch and an engine hoist, if all goes well we should see lift off this evening. Kyle will stop by after school and get all the unbolting prep ready...
    Robert


    MP&C Shop Projects-Metalshaping Tutorials


    Instagram @ mccartney_paint_and_custom


    .

  9. #169
    Registered Member MP&C's Avatar
    Join Date
    Dec 2013

    Member #:2017
    Location
    Southern MD
    Posts
    1,293
    The last time we removed the car from the frame we used two engine hoists, which proved to be a bit cumbersome and a pain to get the frame rolled out. So I thought to try something different, this time an engine hoist at the front, and a winch in the back. Needing an anchor point for the winch, I welded this up last night to span two of the shop's trusses from overhead....


    Rear lift eyes use the tailgate hinge nut plates...


    Front lifting eyes bolt to the hinge mounts on the firewall...


    We have lift-off!


    The frame has a bit of welds left to do and we can clean it up and get it to the powder coaters...


    Dana helping out tonight...


    One way to clean it out...


    Here's the framework added to support the fuel tank and rear floor..


    This shows how nice access is for prepping, works equally well in painting..


    Robert


    MP&C Shop Projects-Metalshaping Tutorials


    Instagram @ mccartney_paint_and_custom


    .

  10. #170
    Registered Member
    Join Date
    Feb 2015

    Member #:2437
    Posts
    26
    Me thinks you will get more work done if you hook up the air to that sander........

    Just when ya think the project is looking good, then ya have to turn it upside down and all the hidden areas jump out a at ya...

    Progress is progress. Moving forward is always GOOD, wish I was.......

Page 17 of 102 FirstFirst ... 715161718192767 ... LastLast

Posting Permissions

  • You may not post new threads
  • You may not post replies
  • You may not post attachments
  • You may not edit your posts
  •