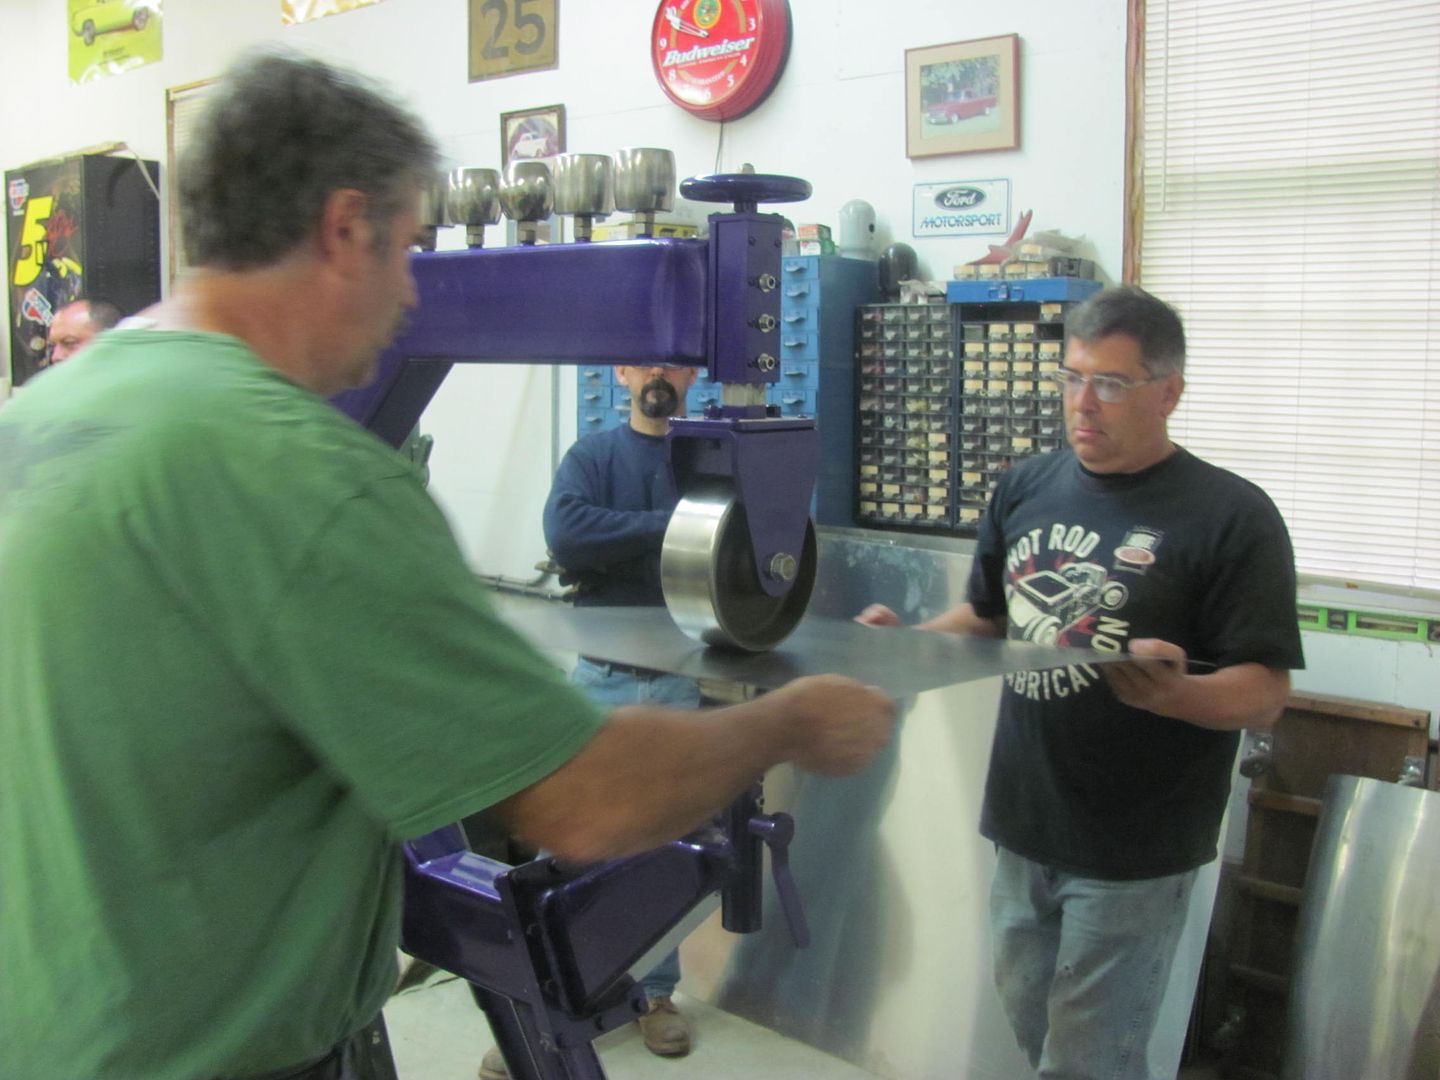
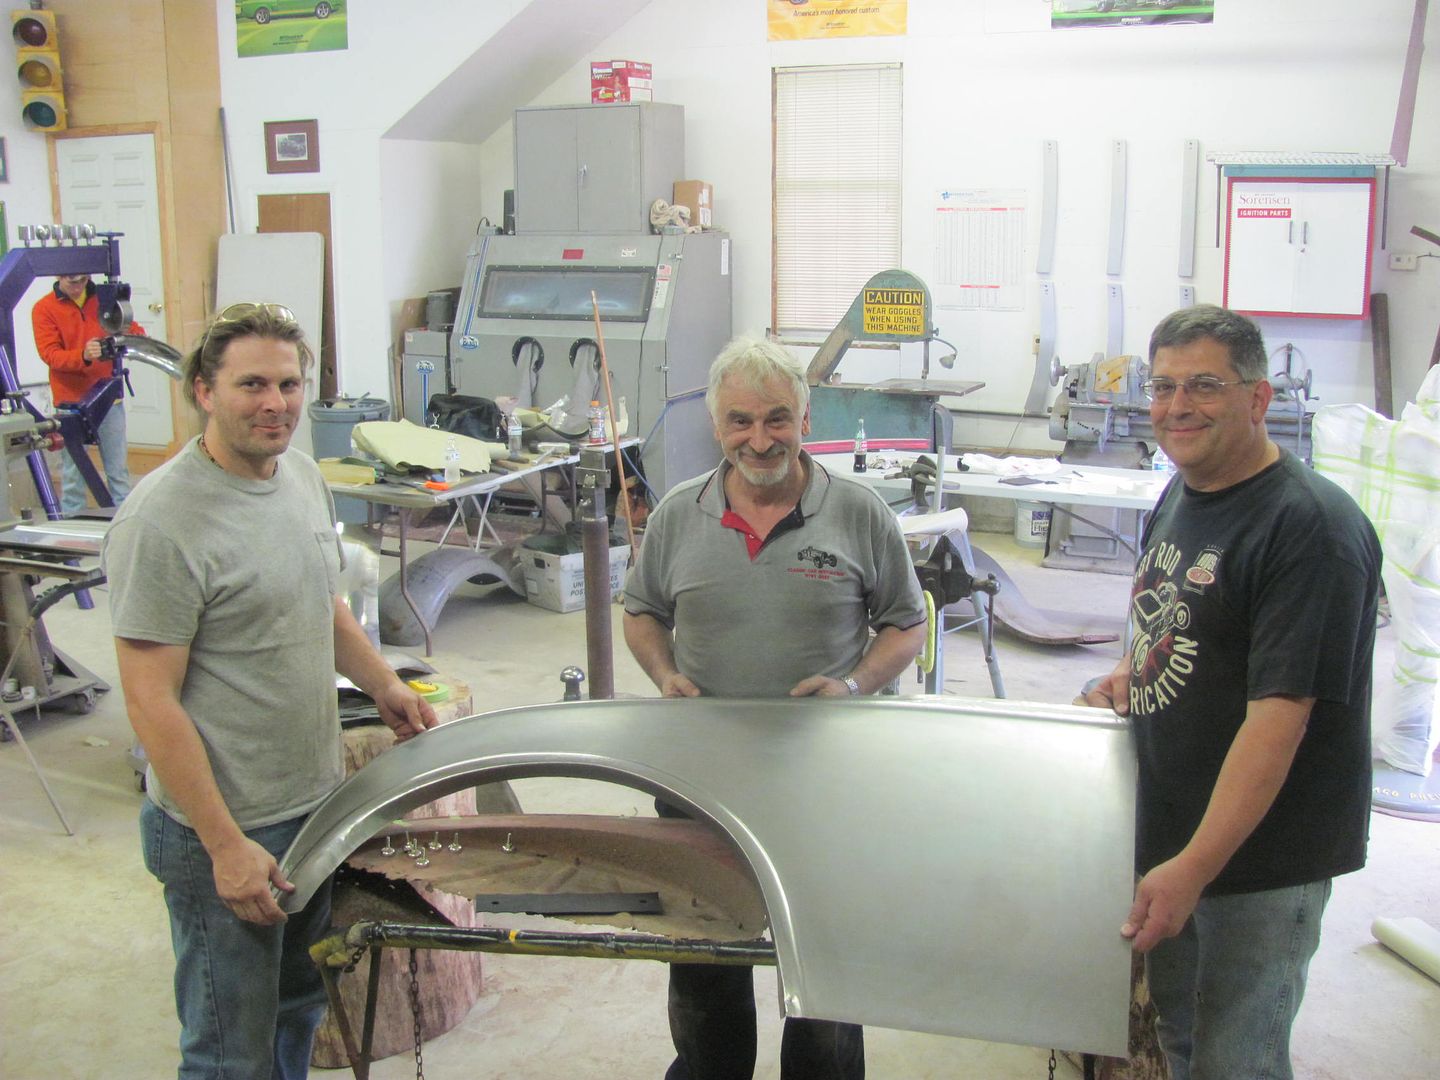
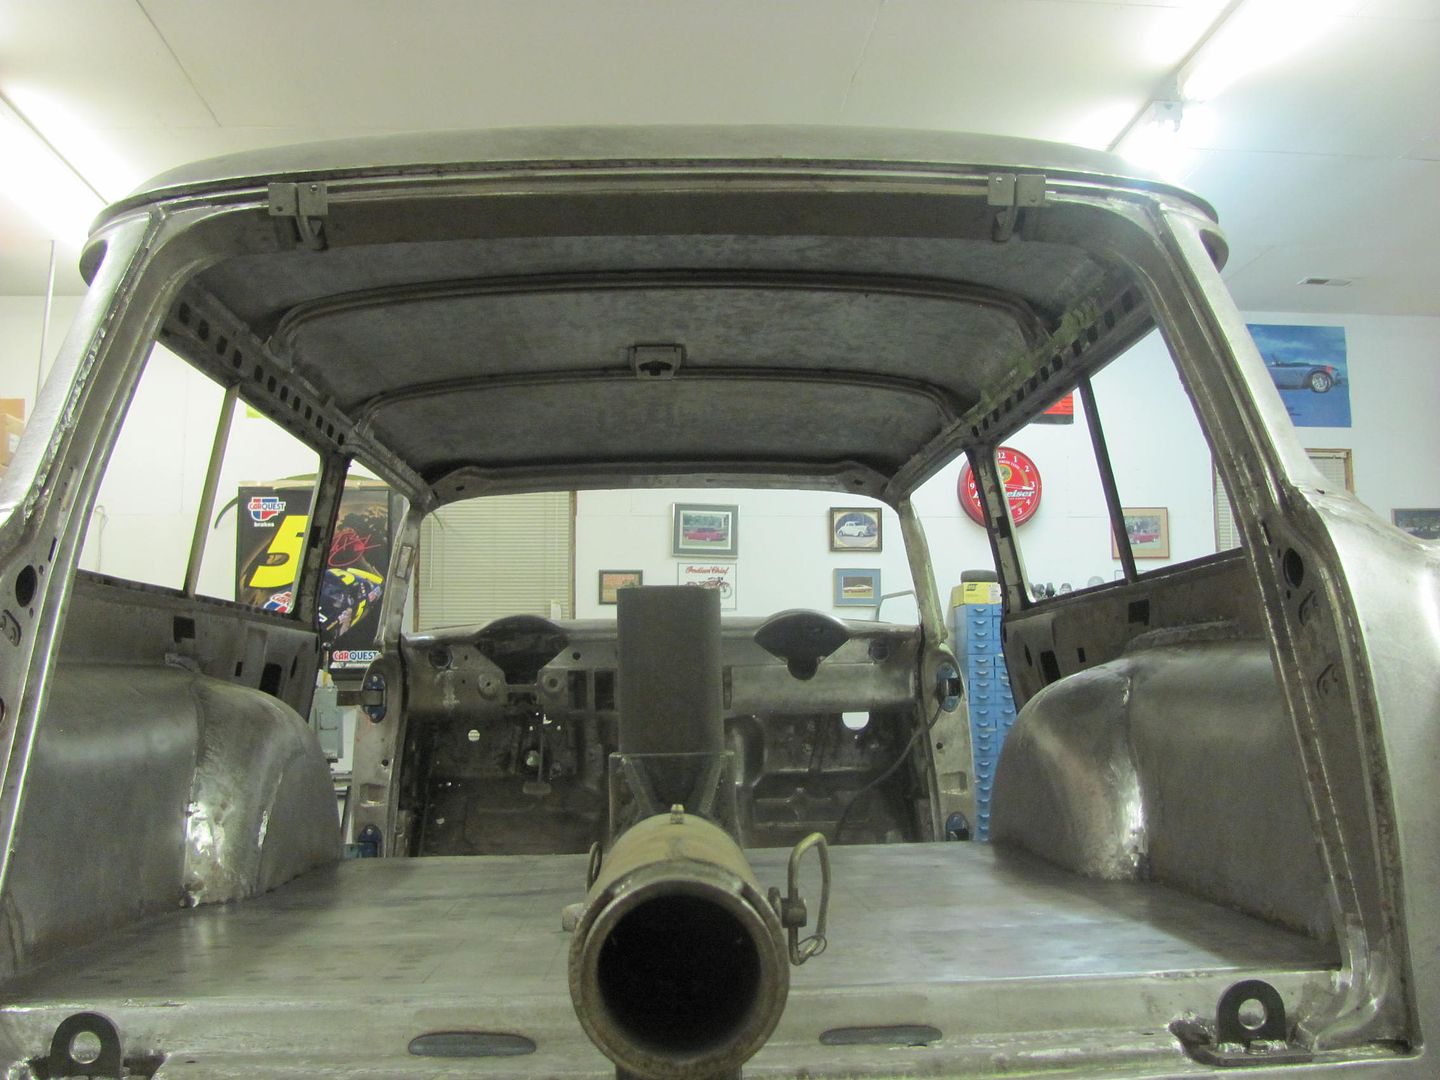
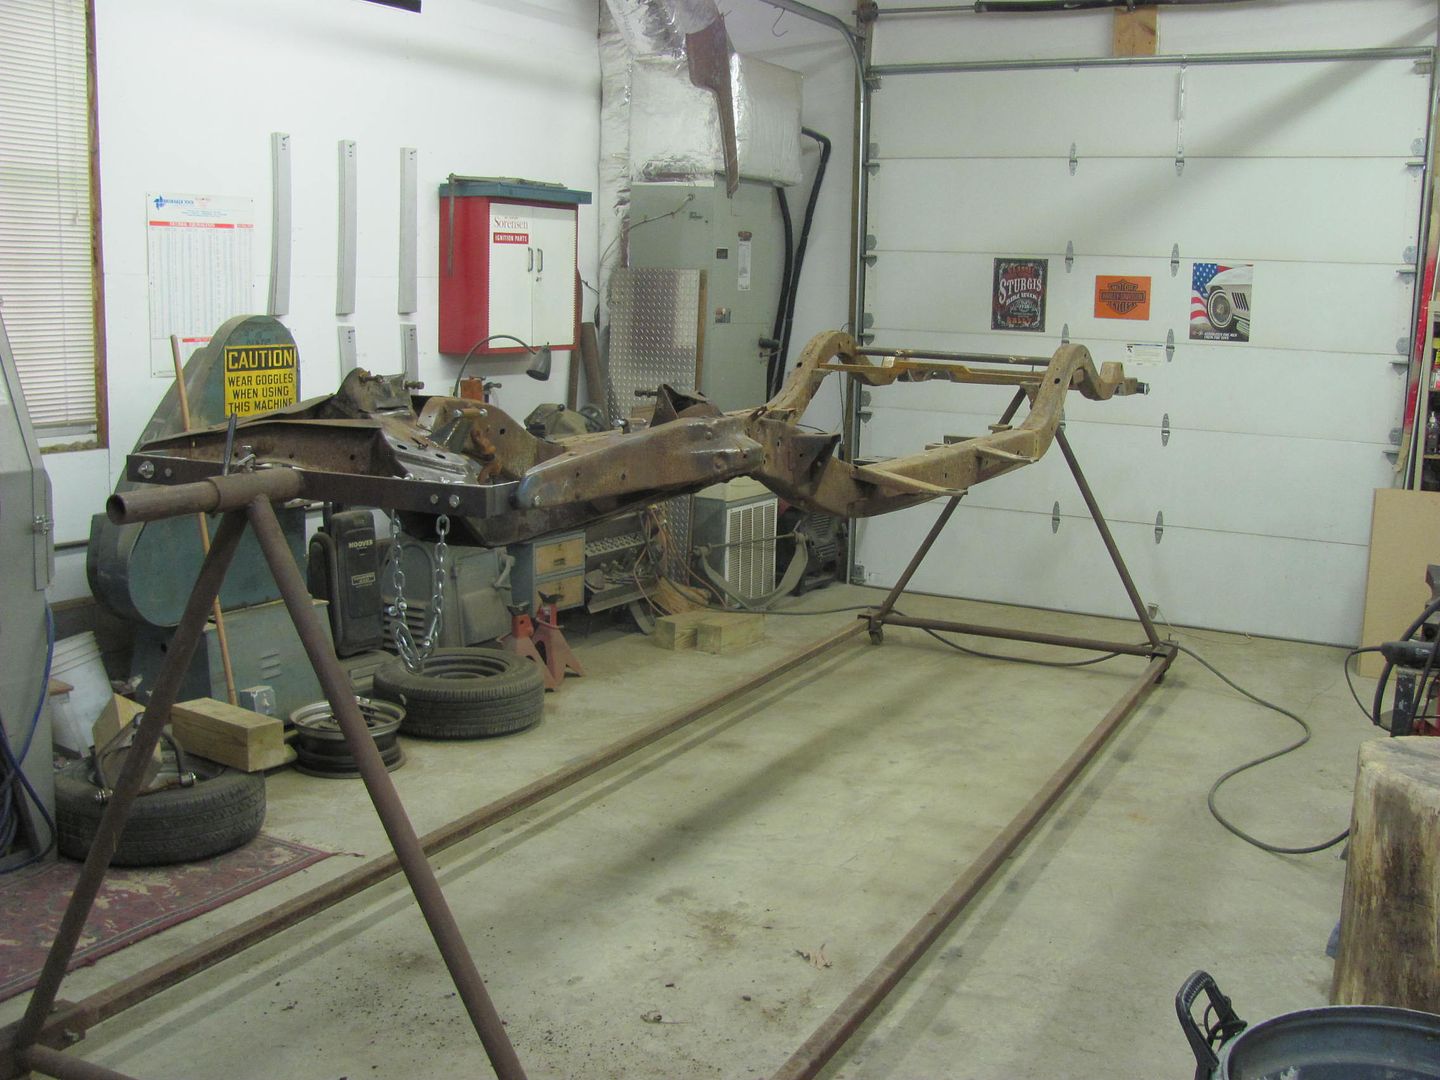
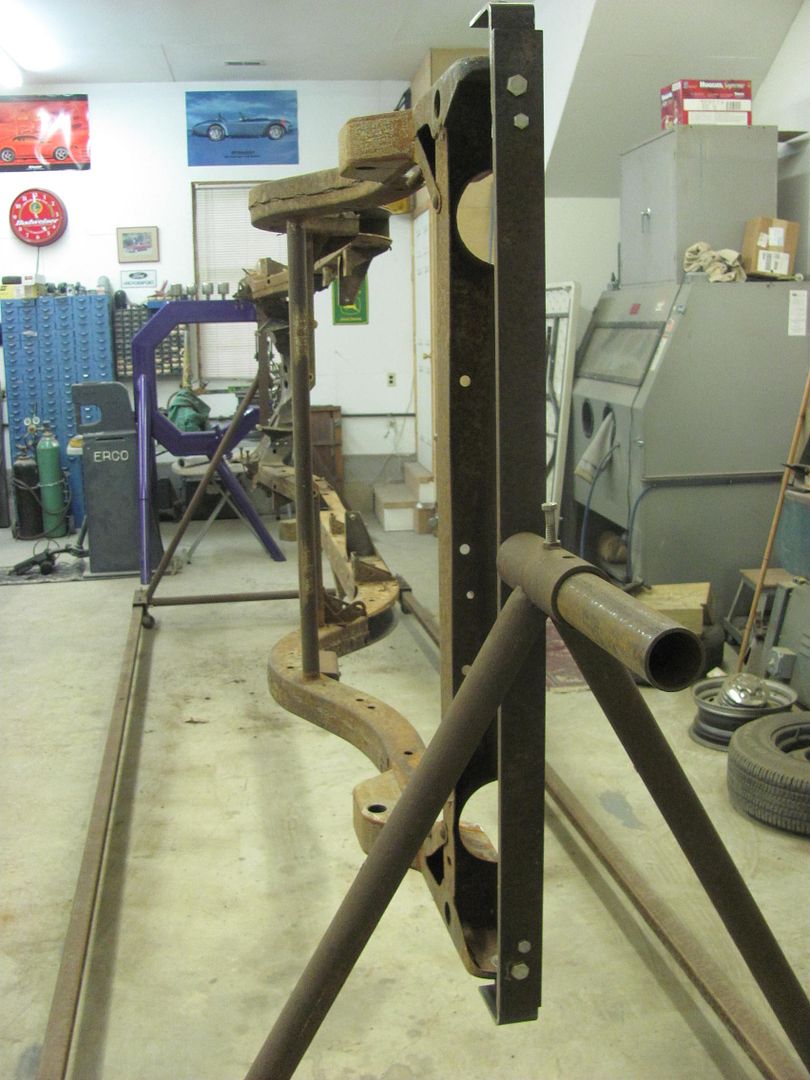
Project updates for todays class:
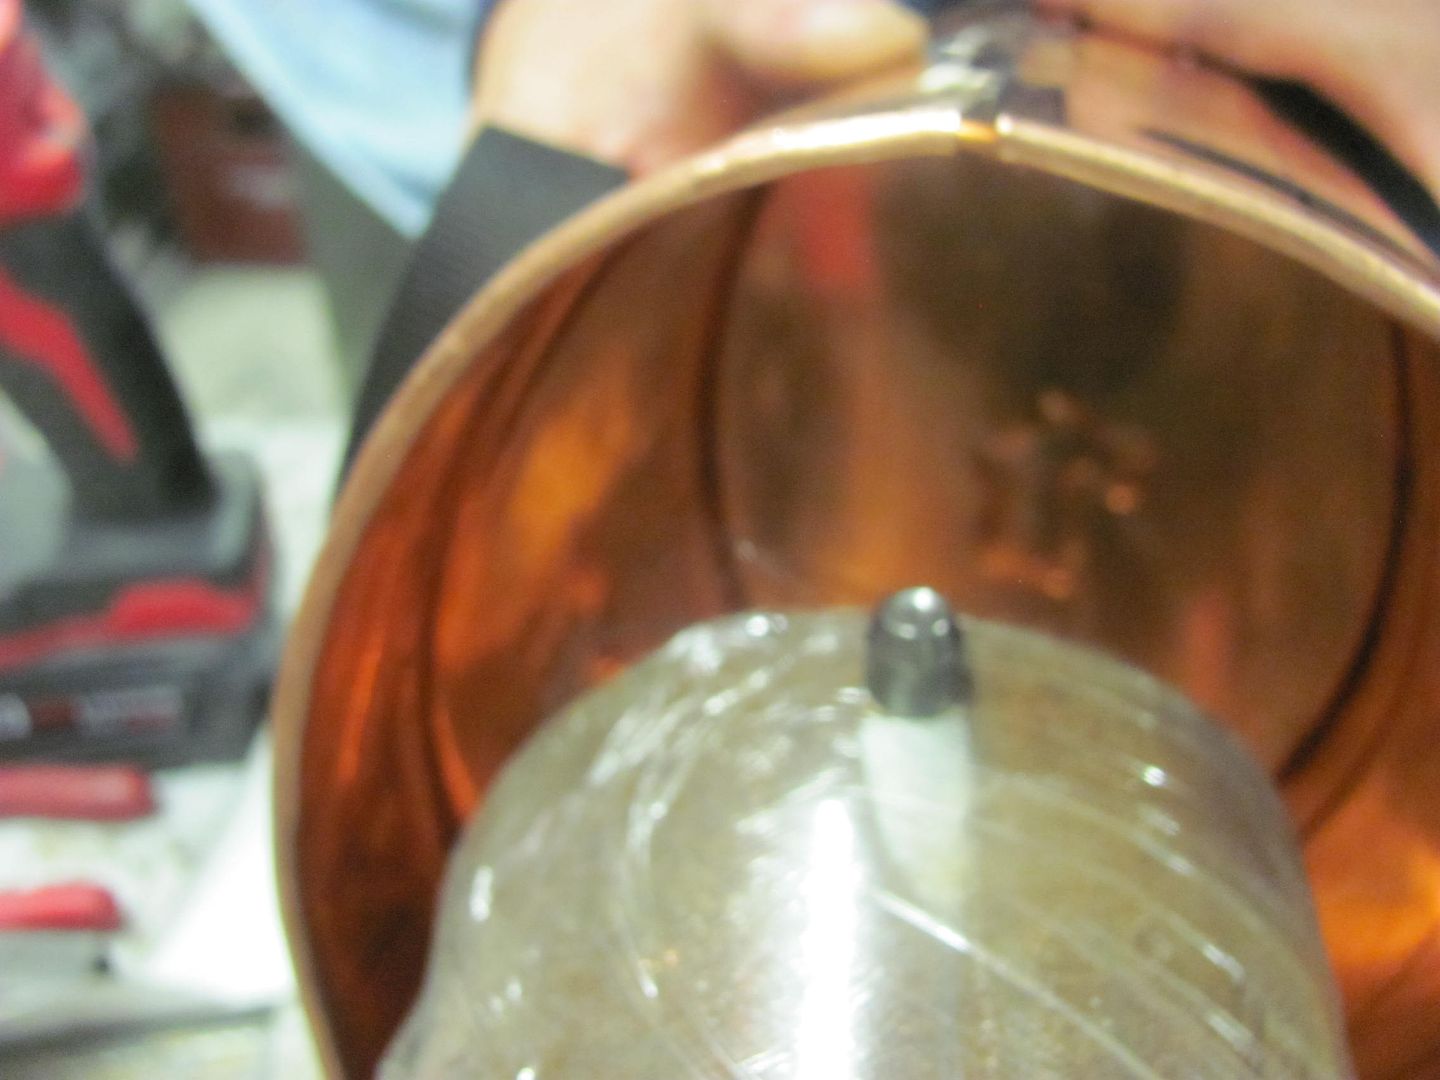
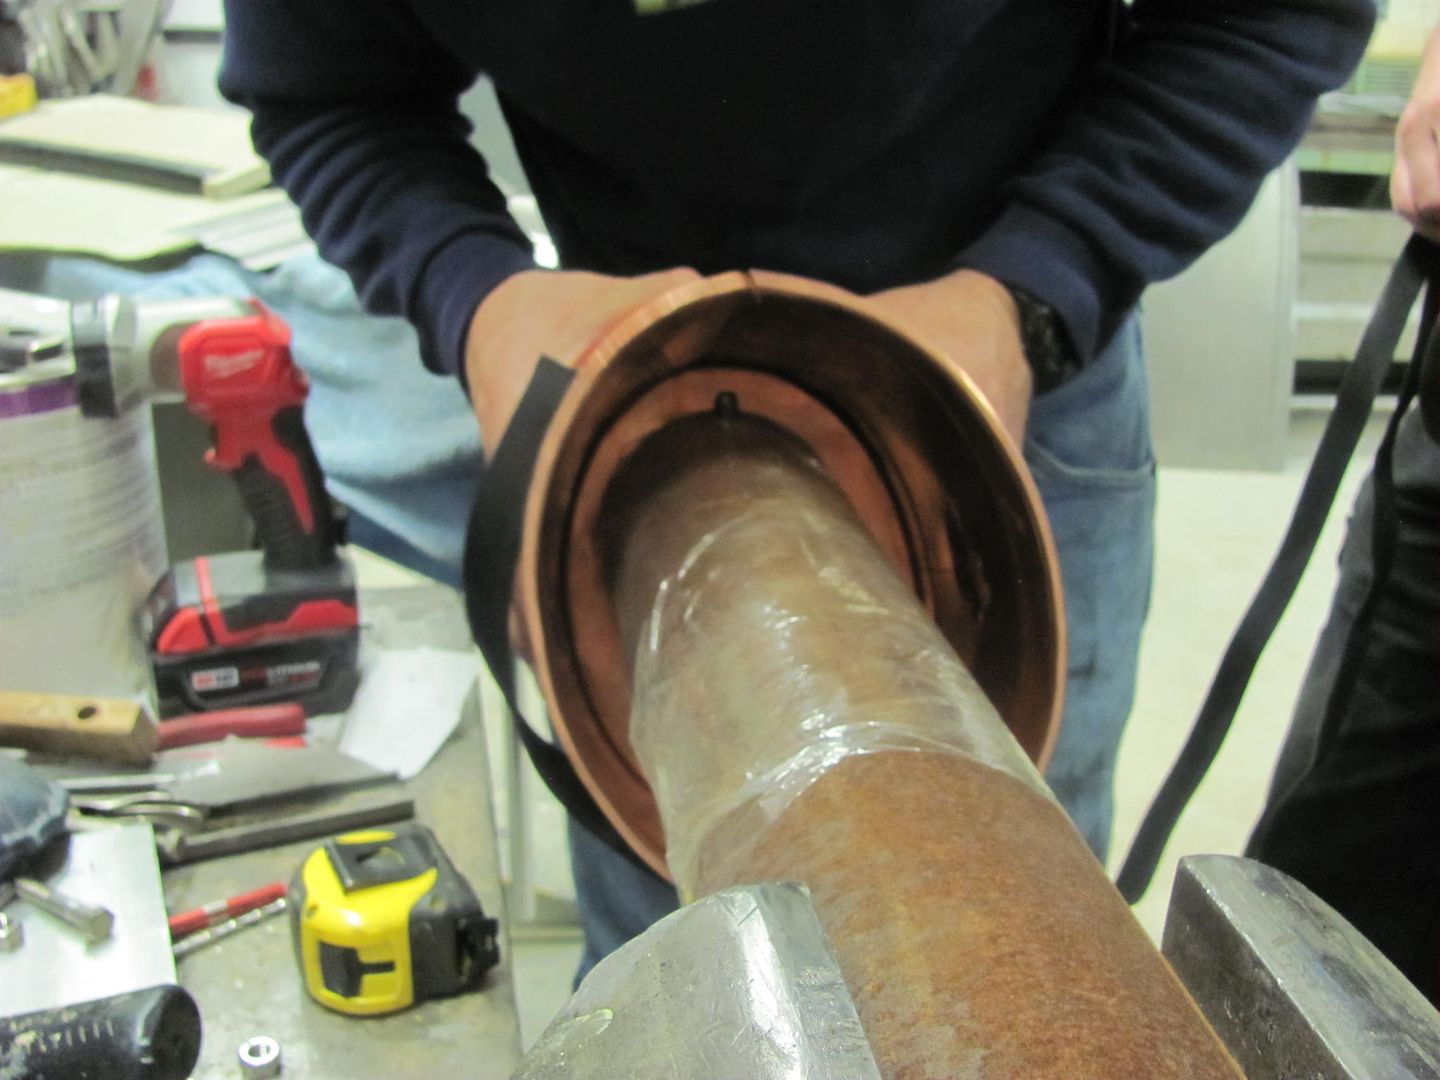
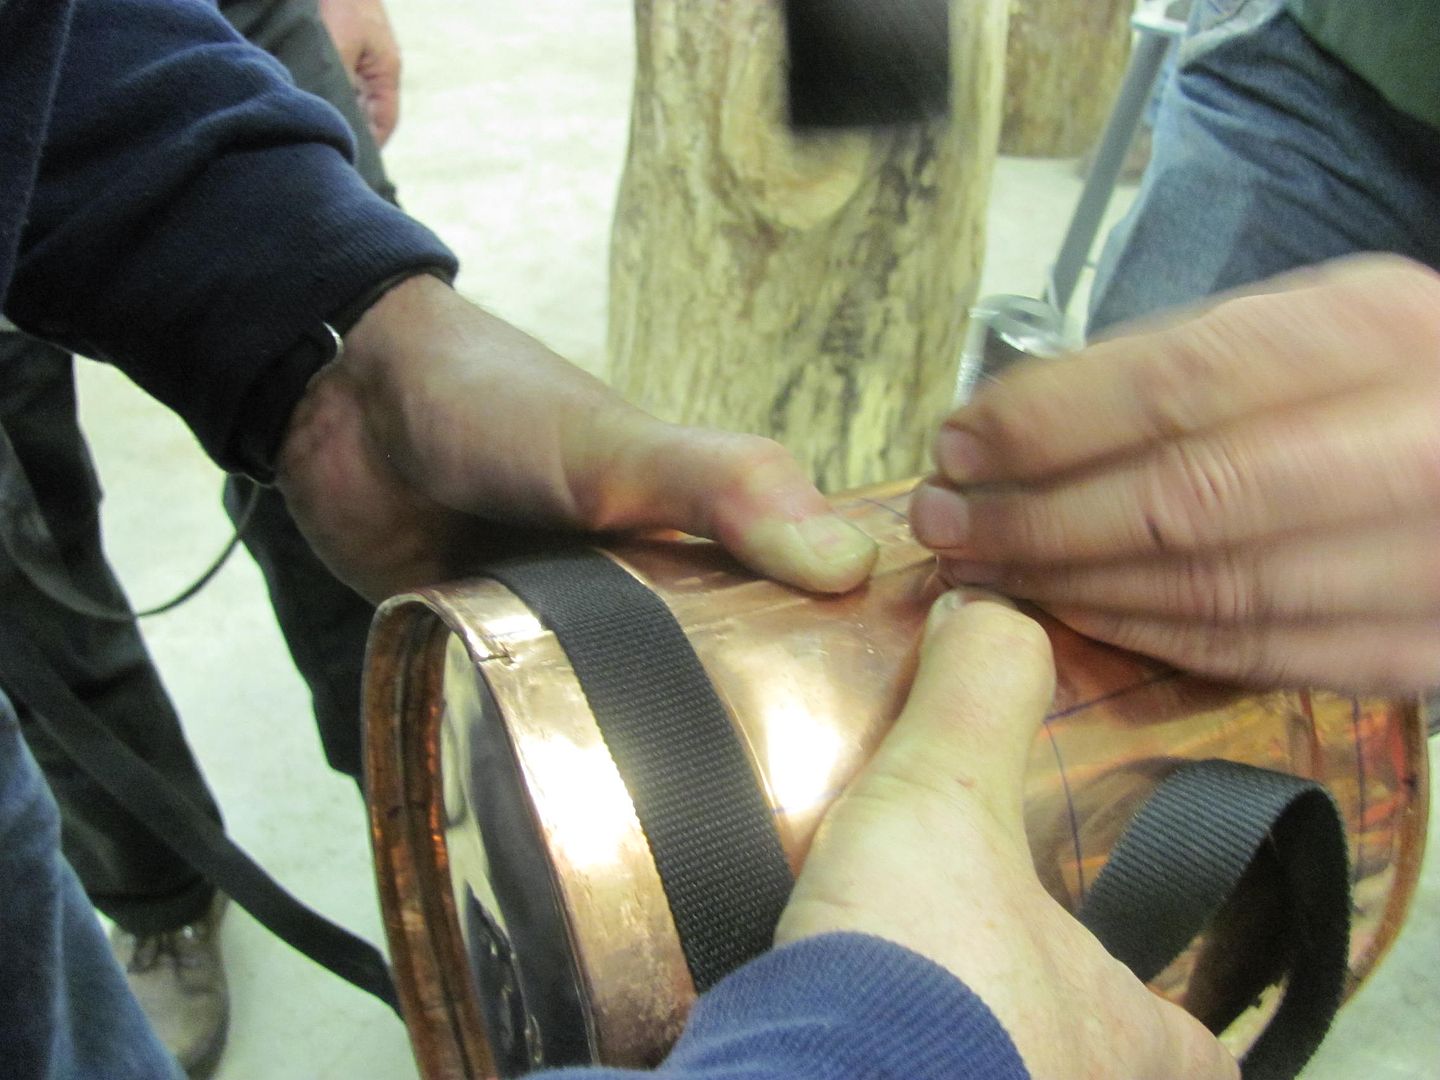
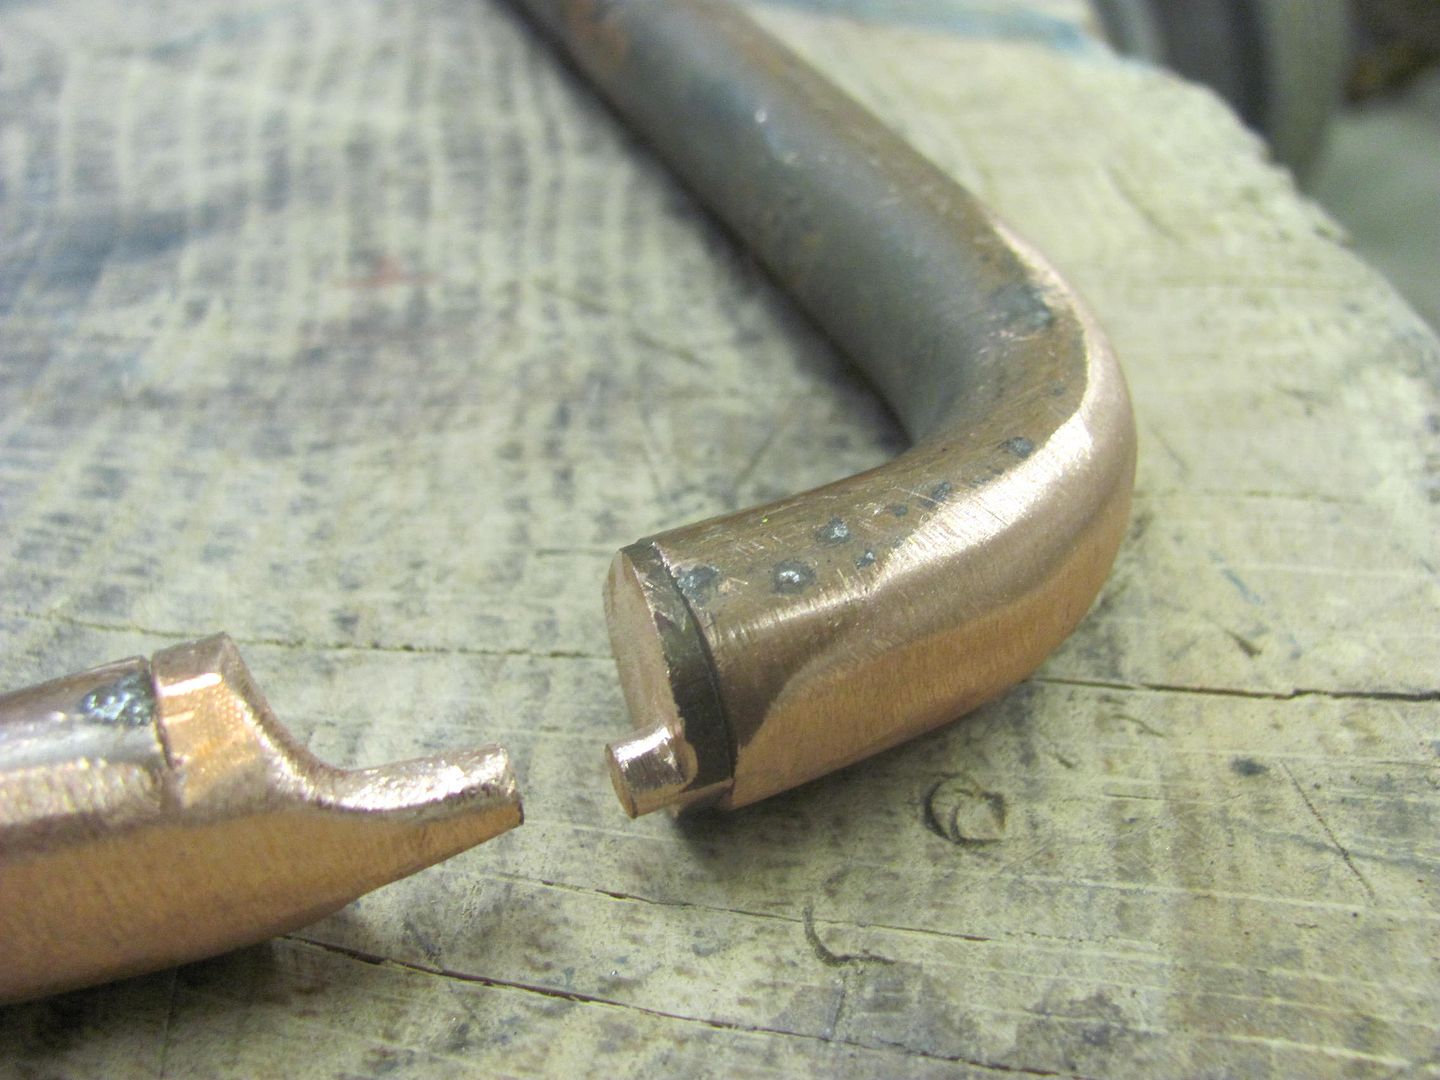
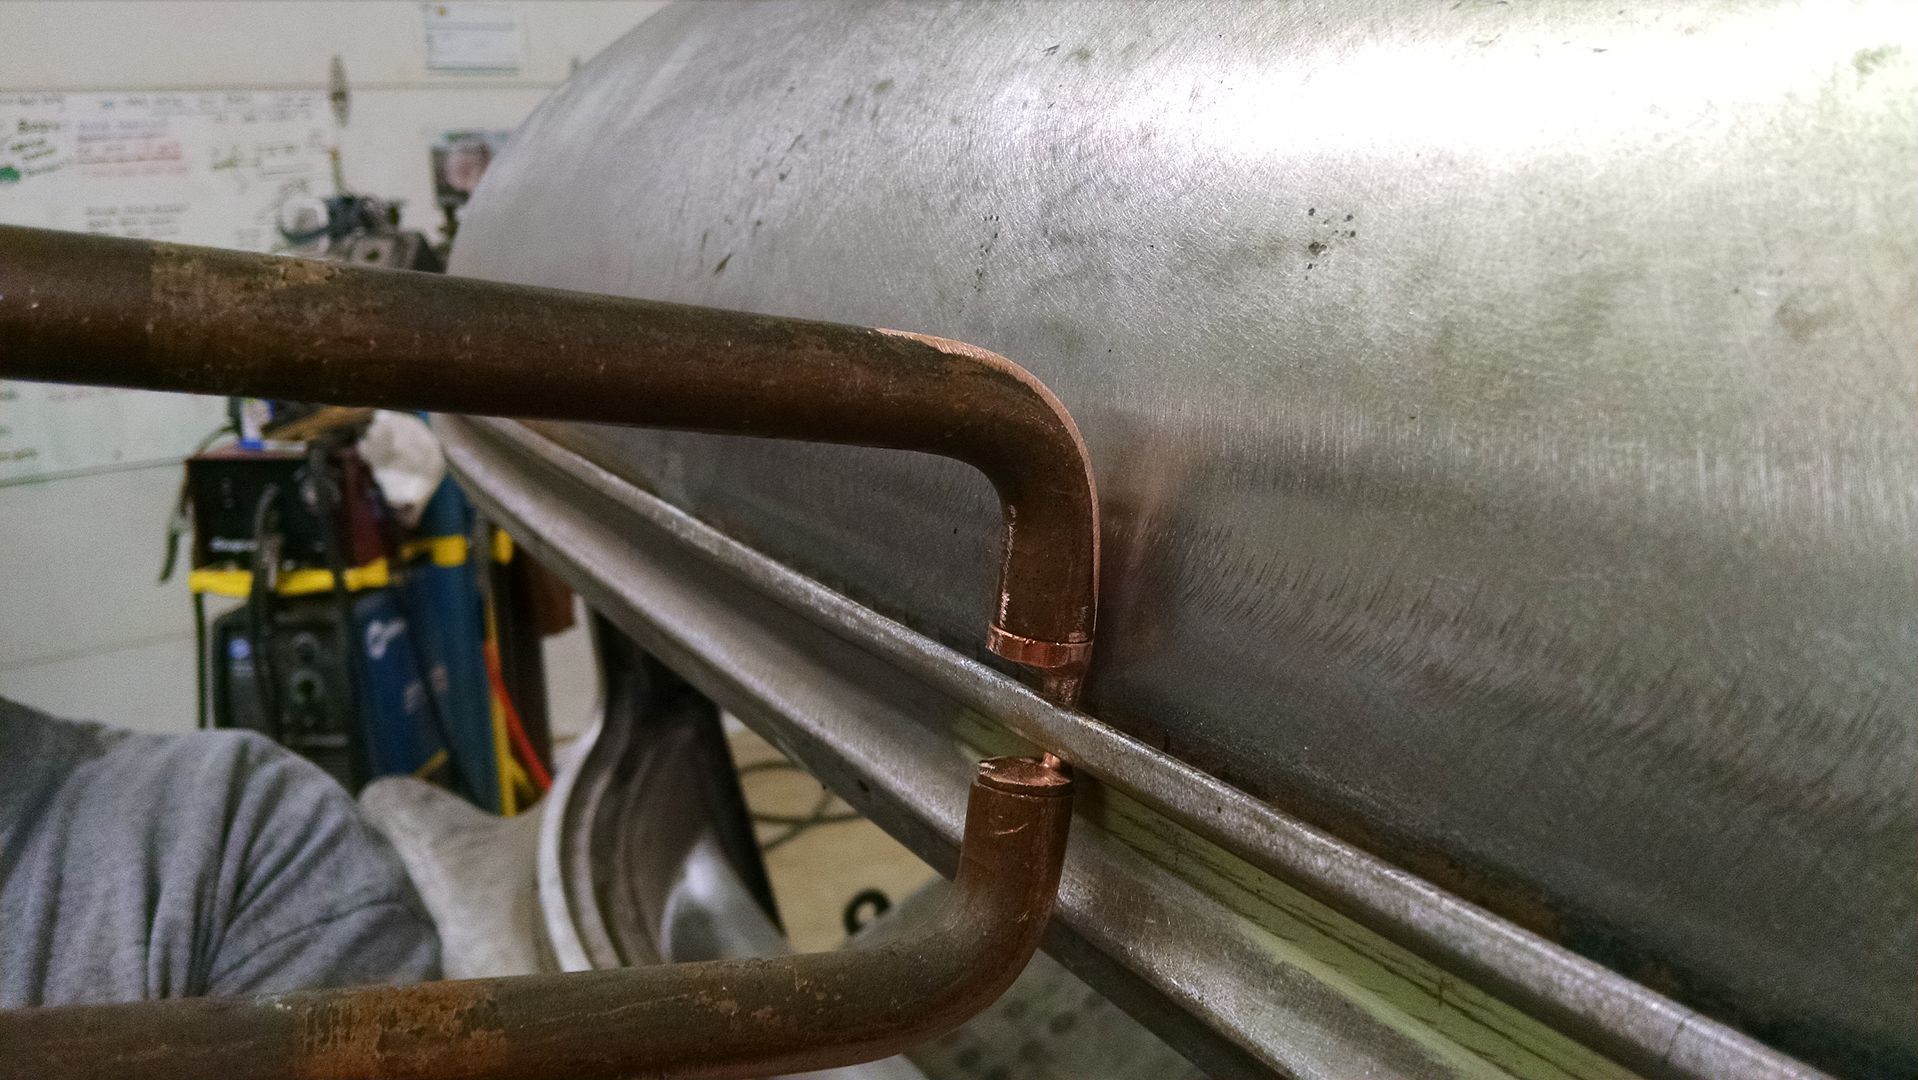
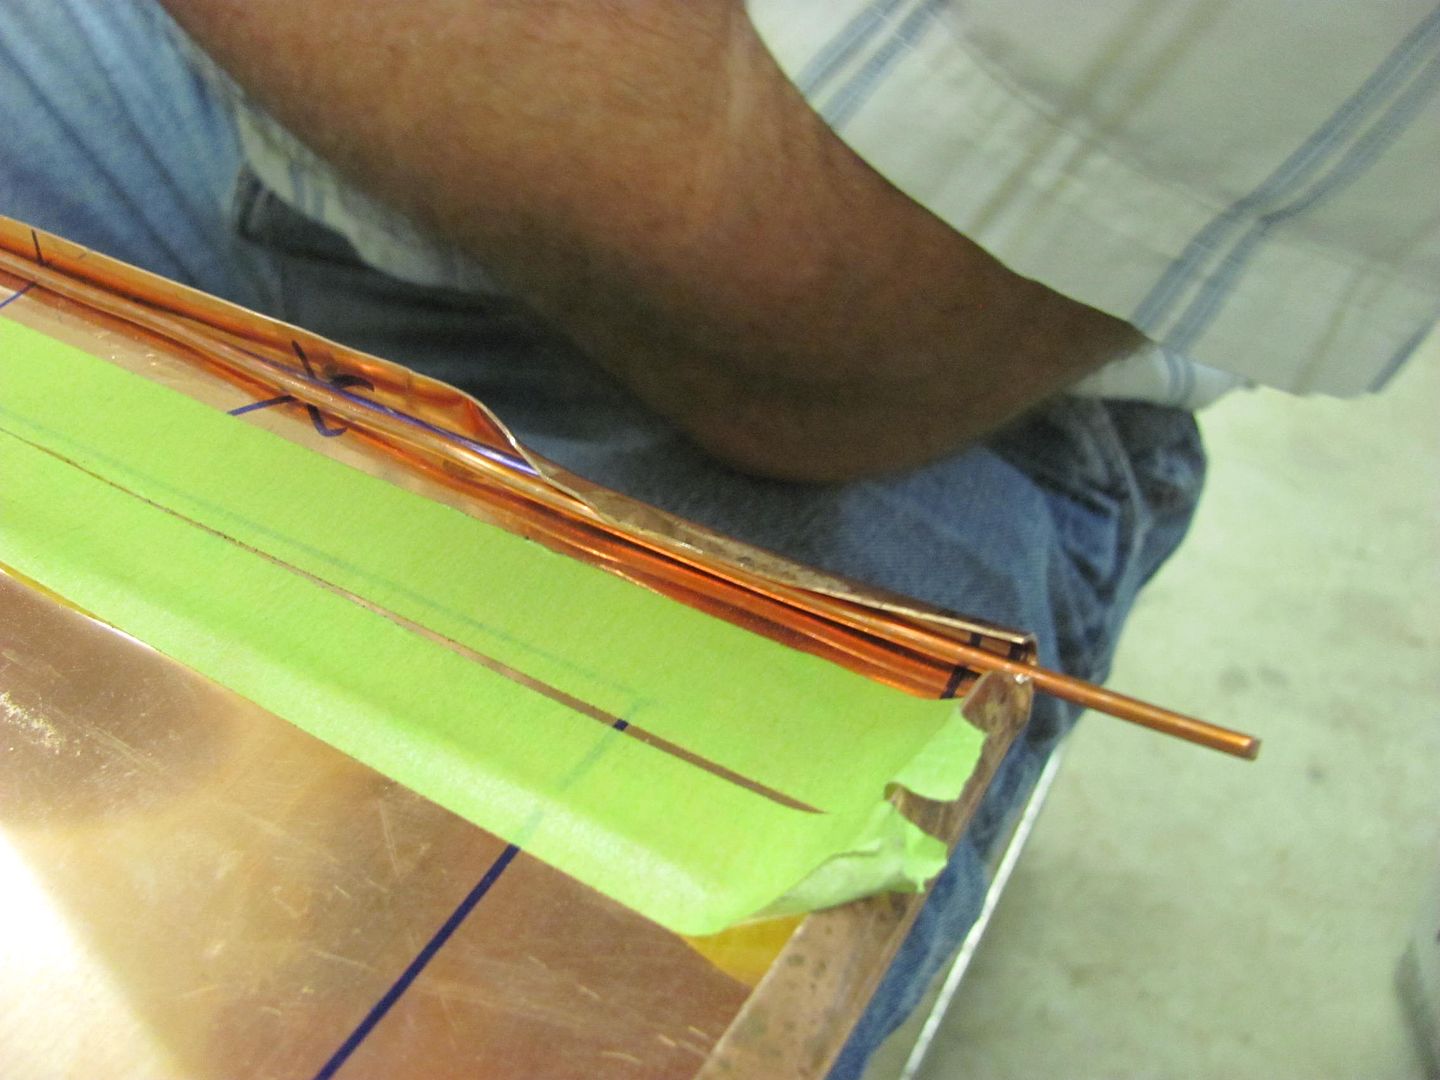
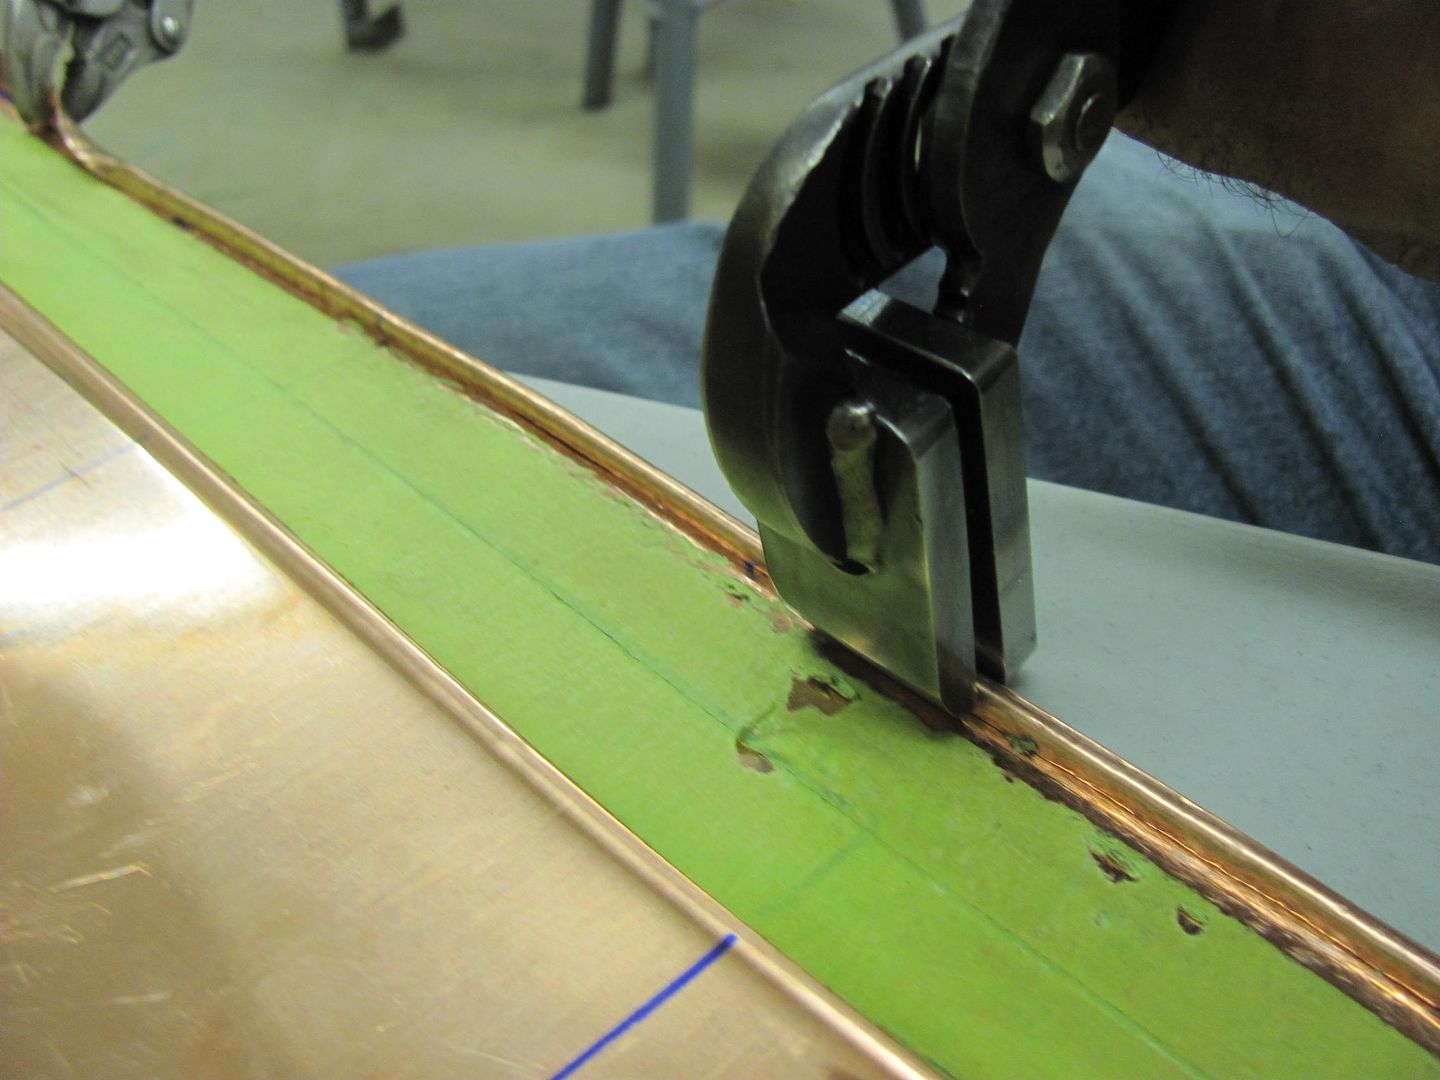
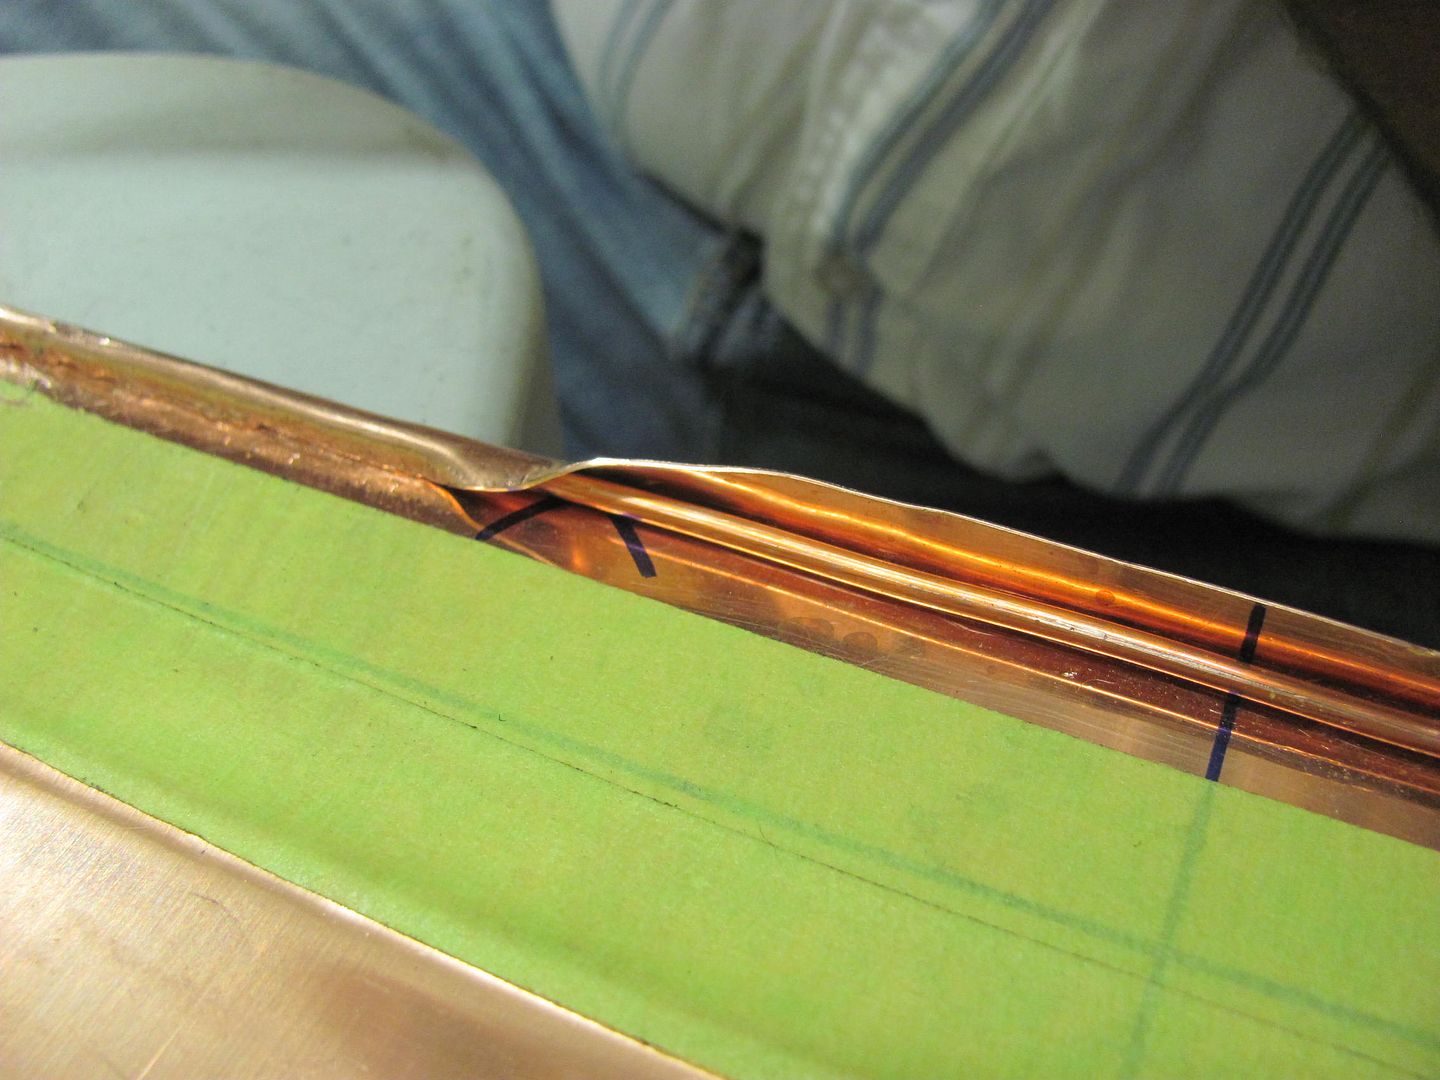
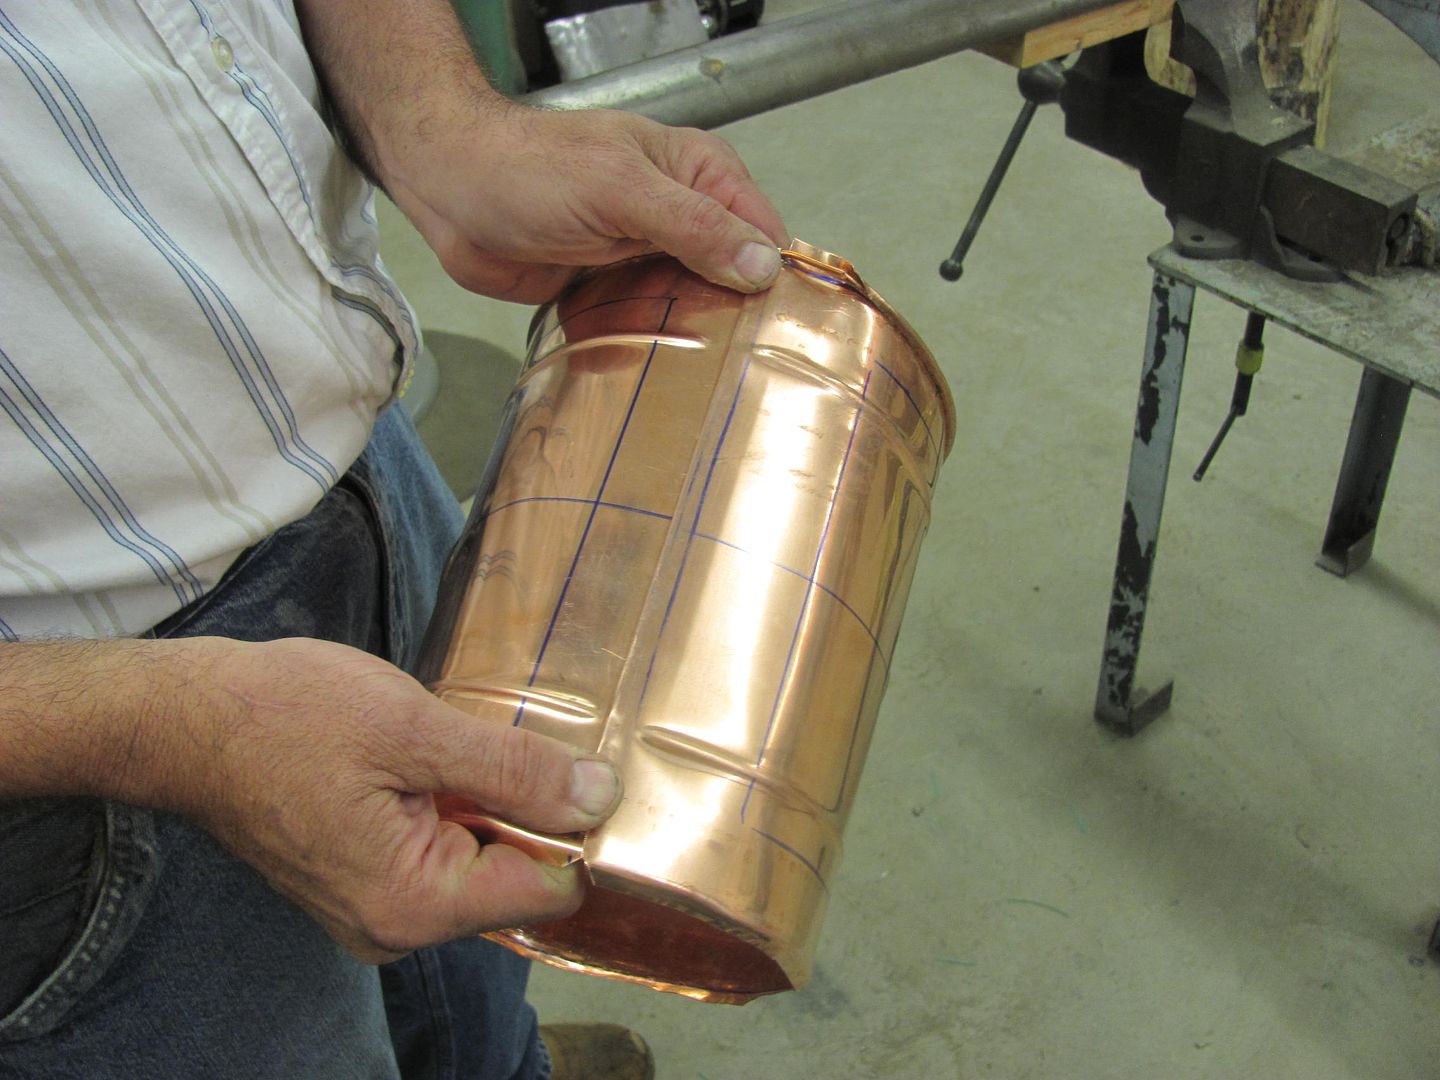
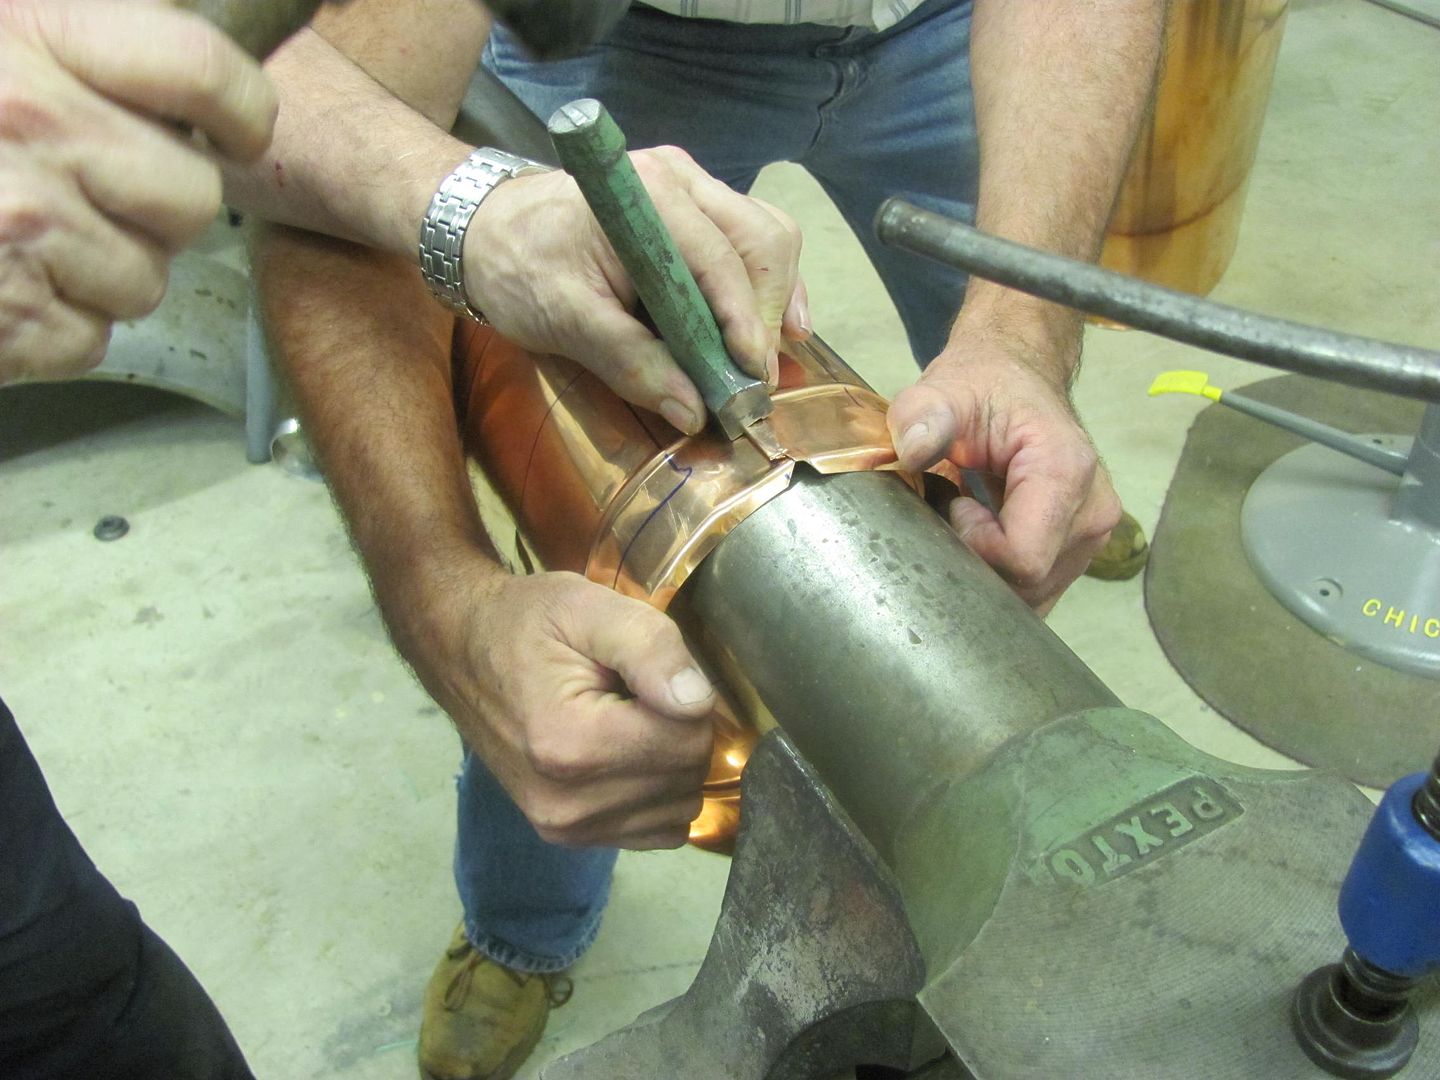
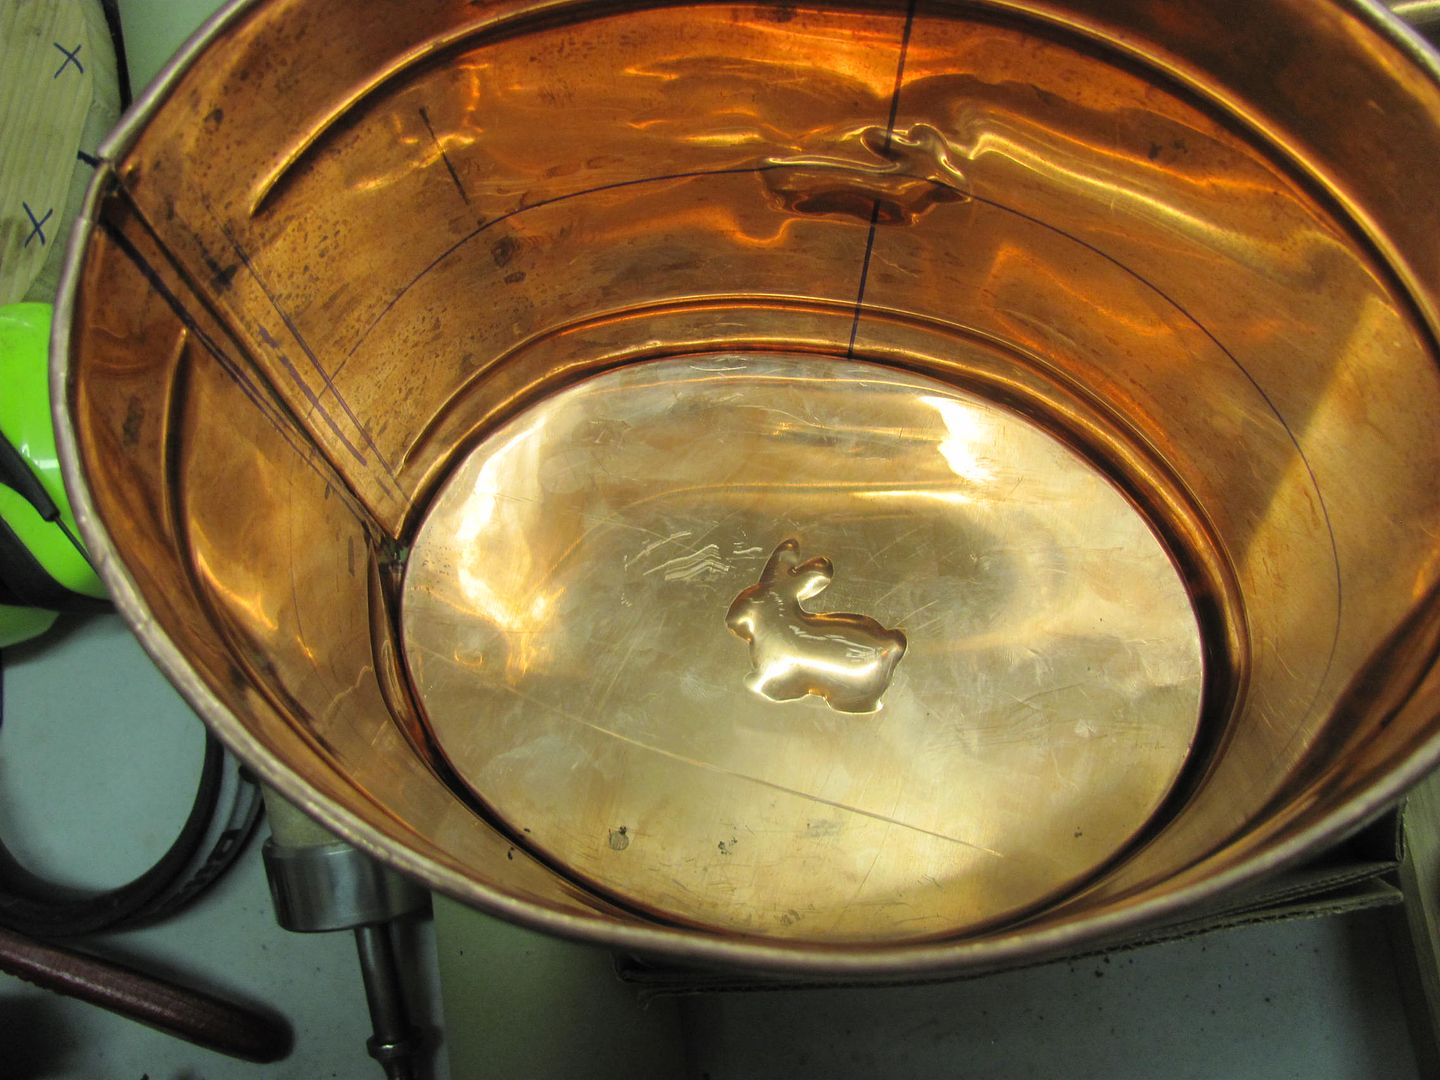
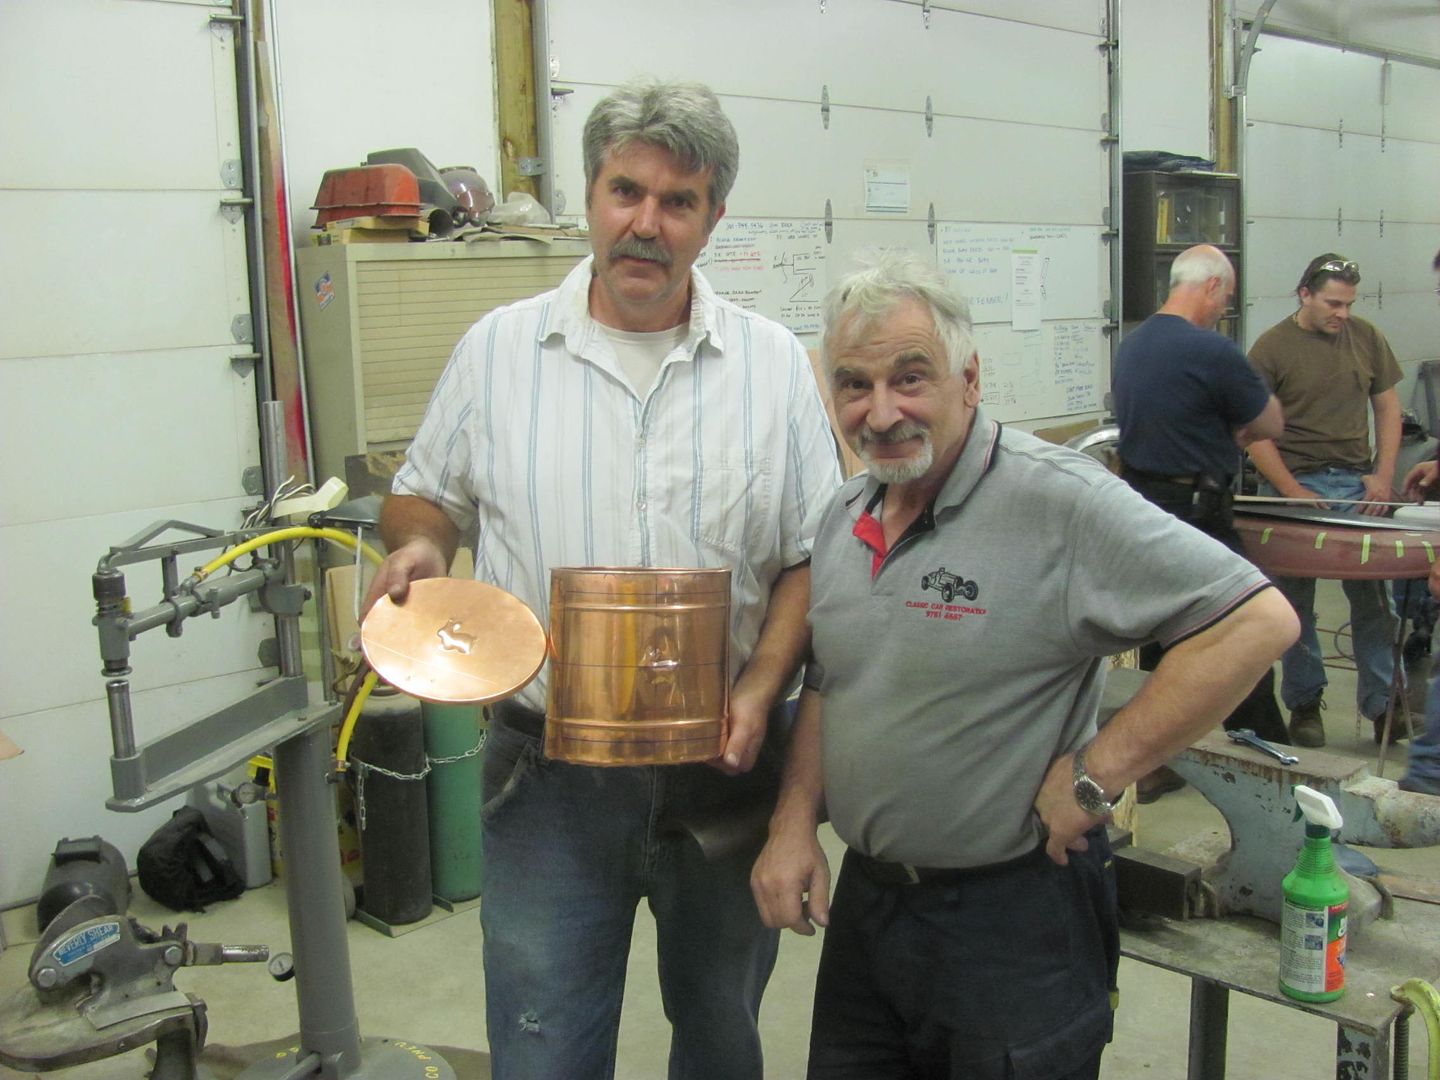
Wiring top edge of the copper trash can..
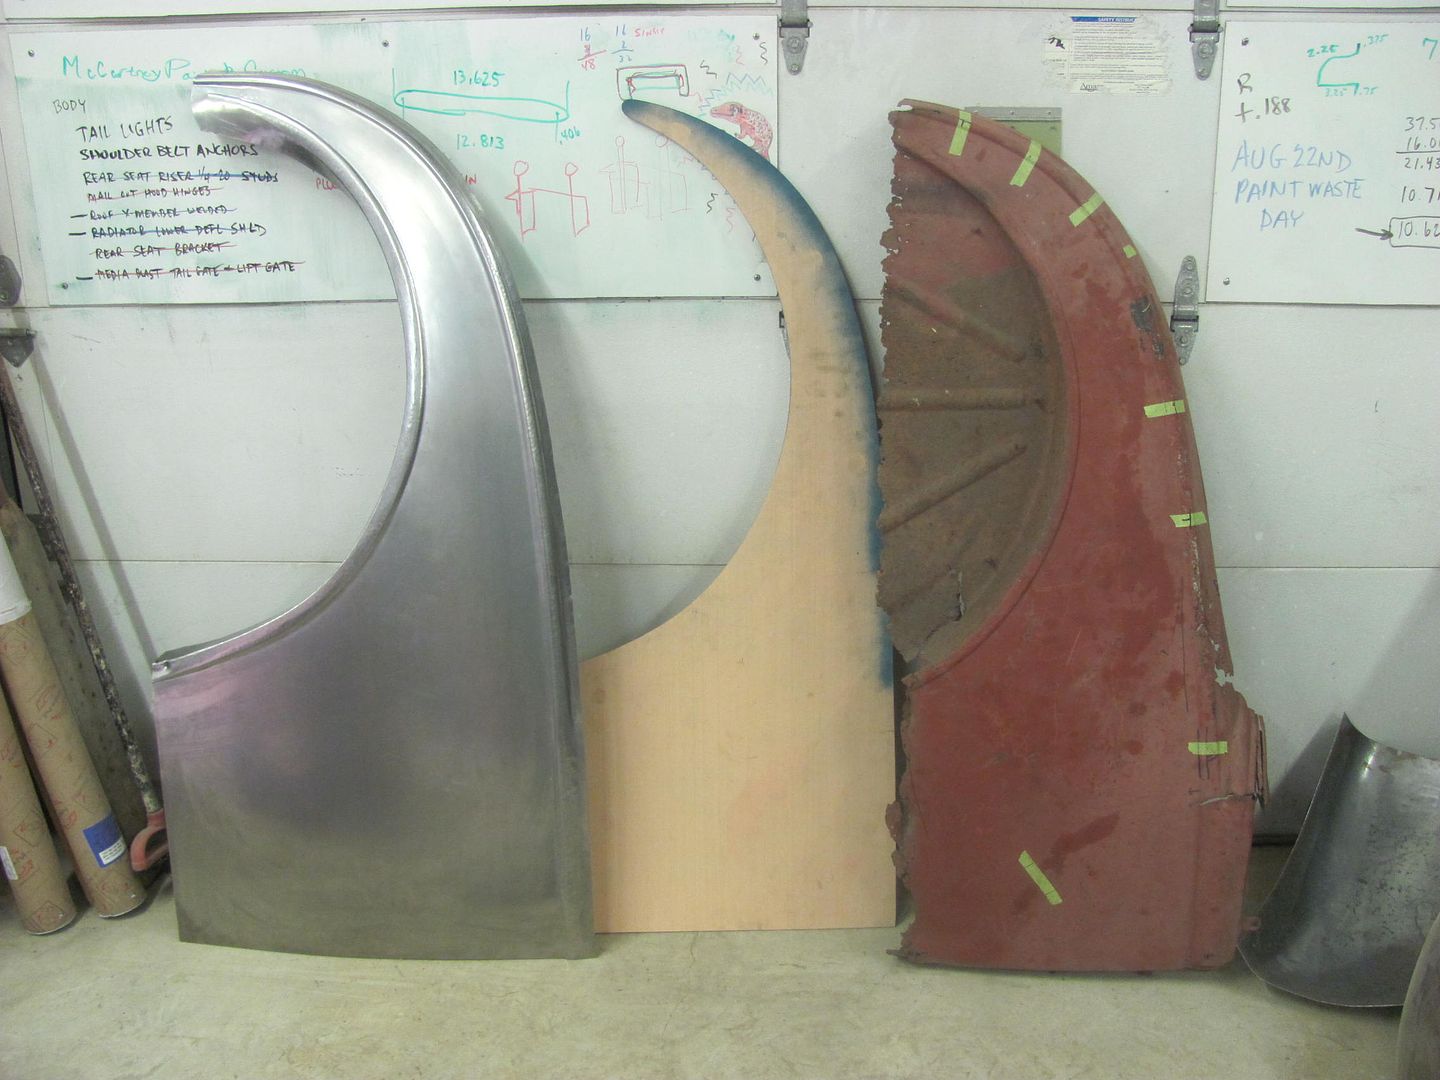
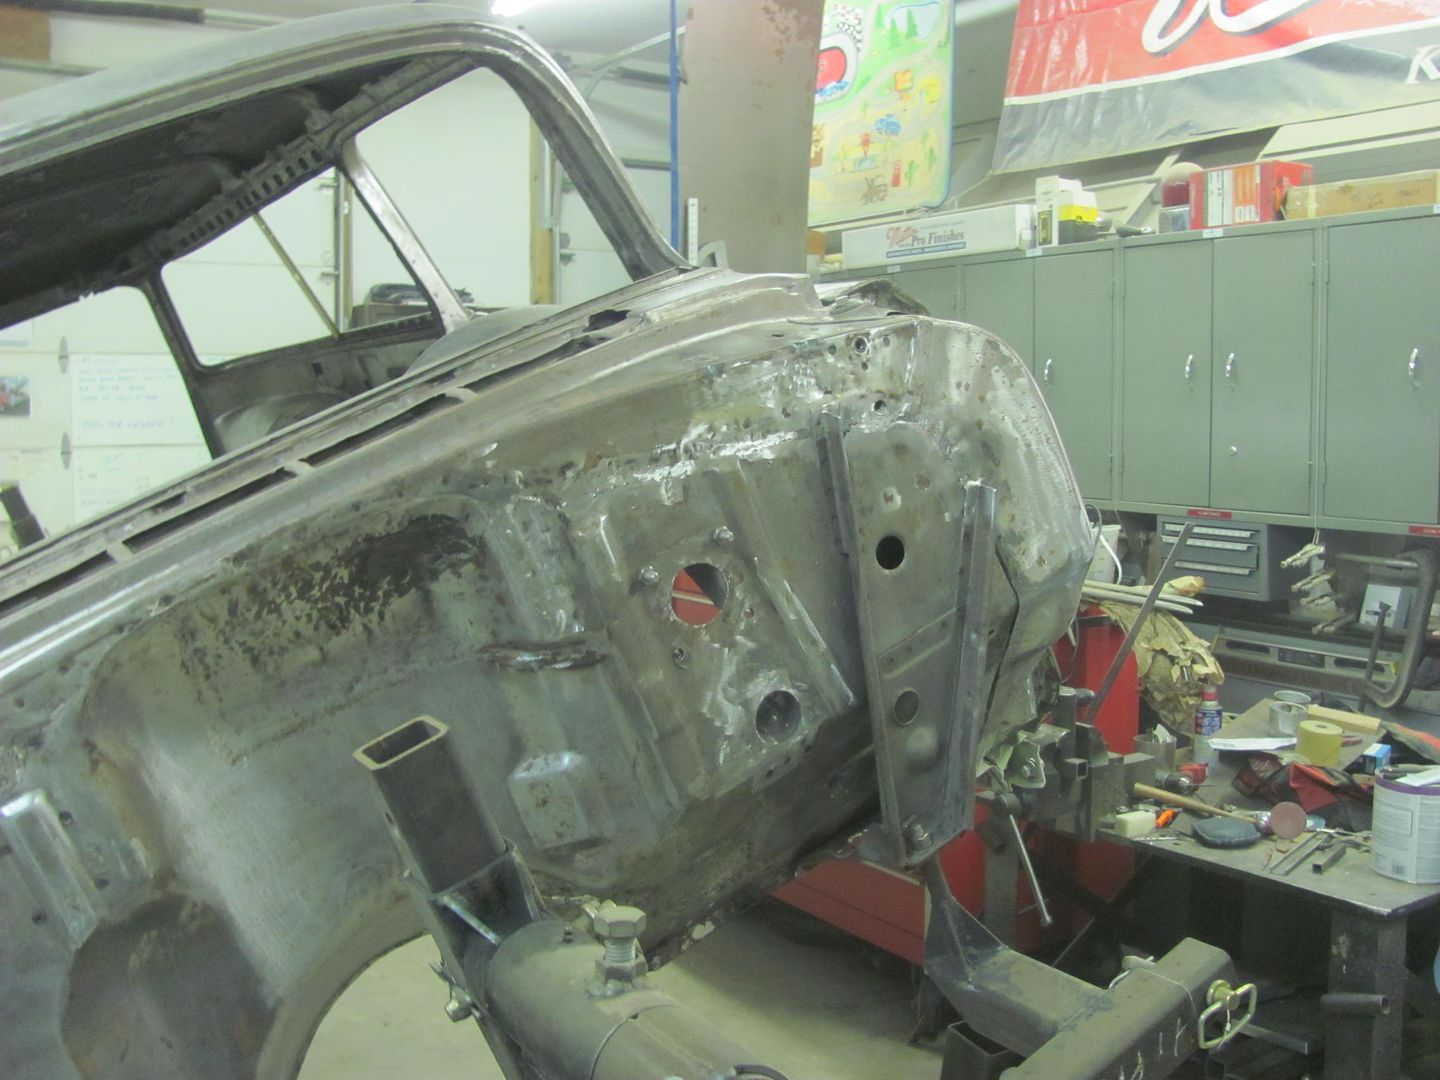
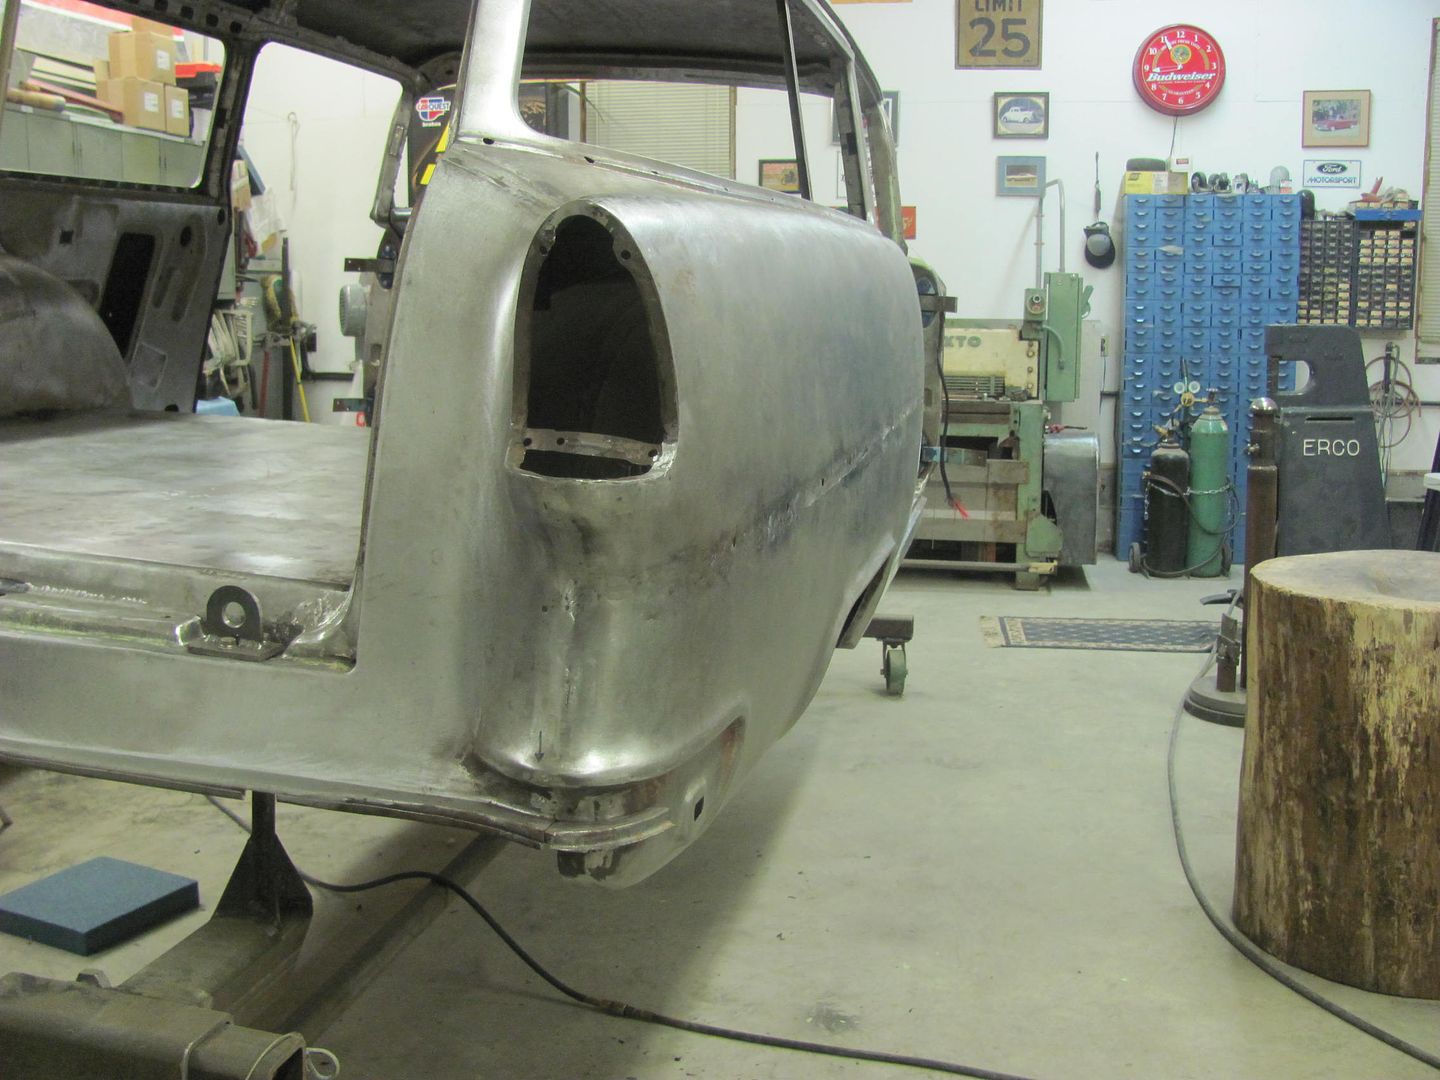
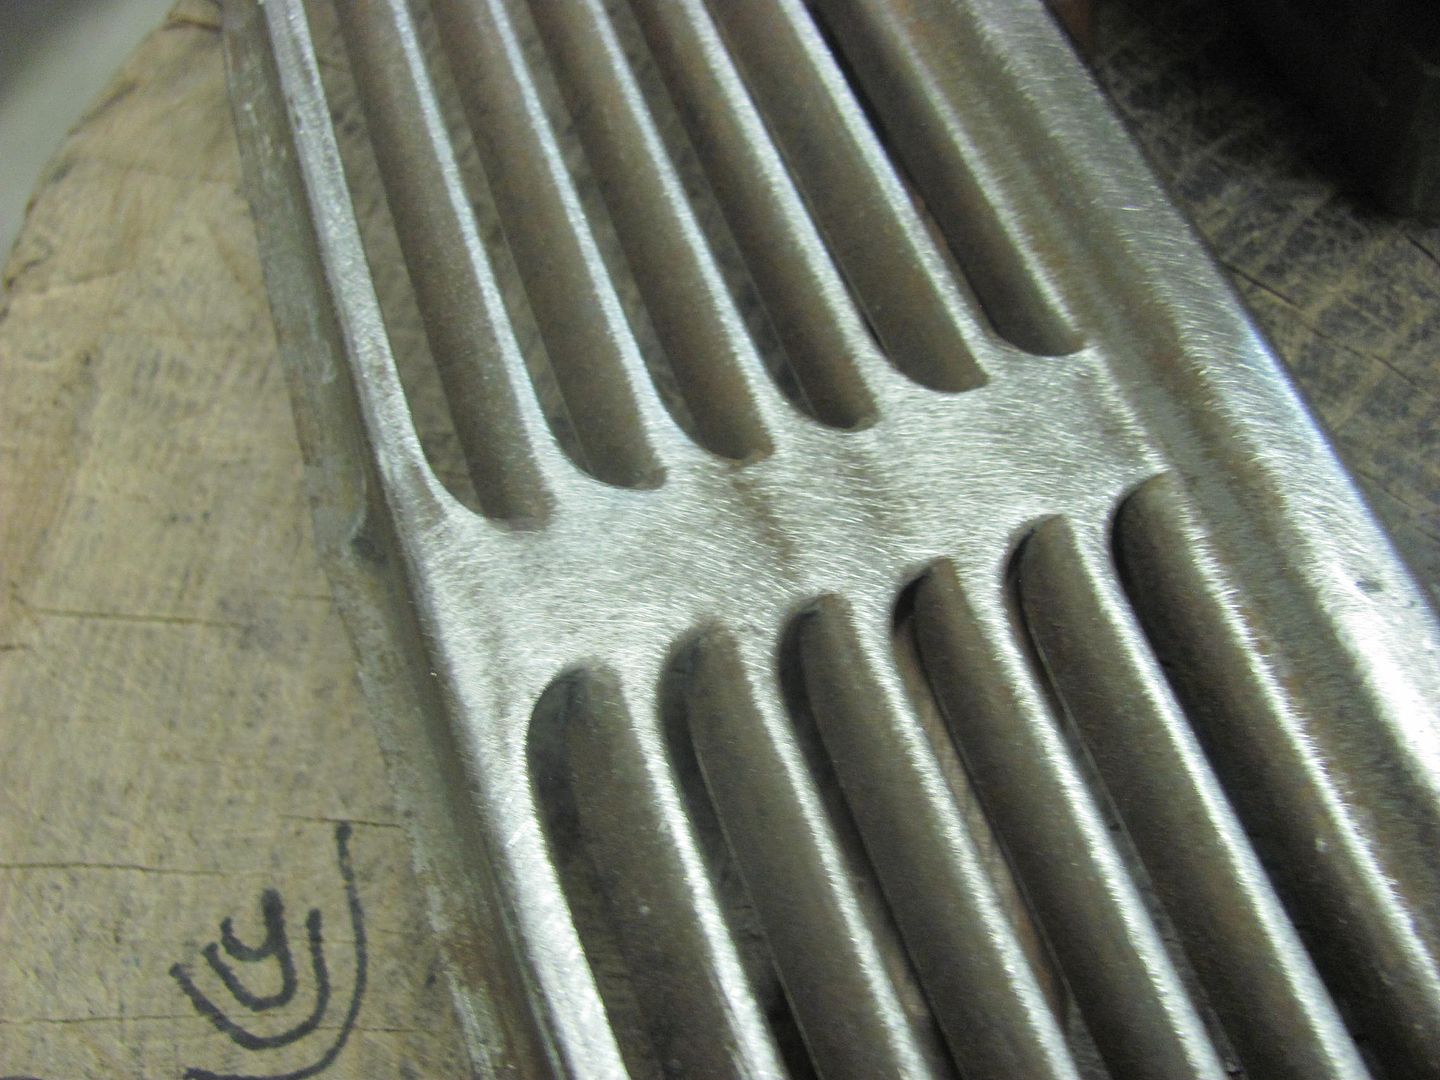
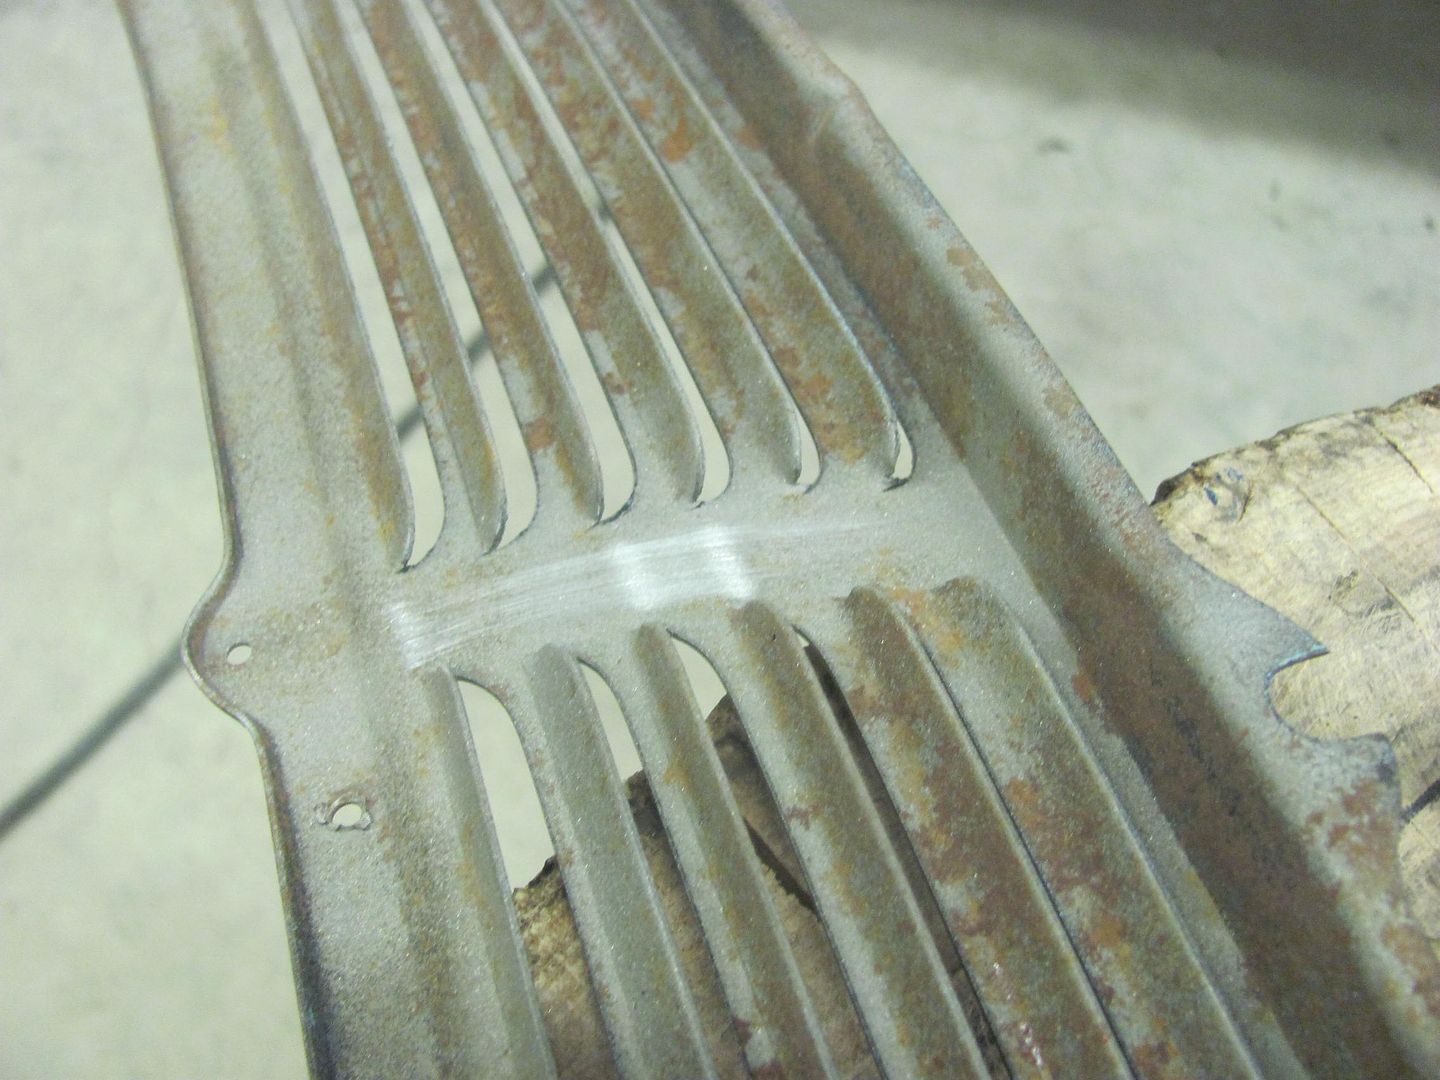
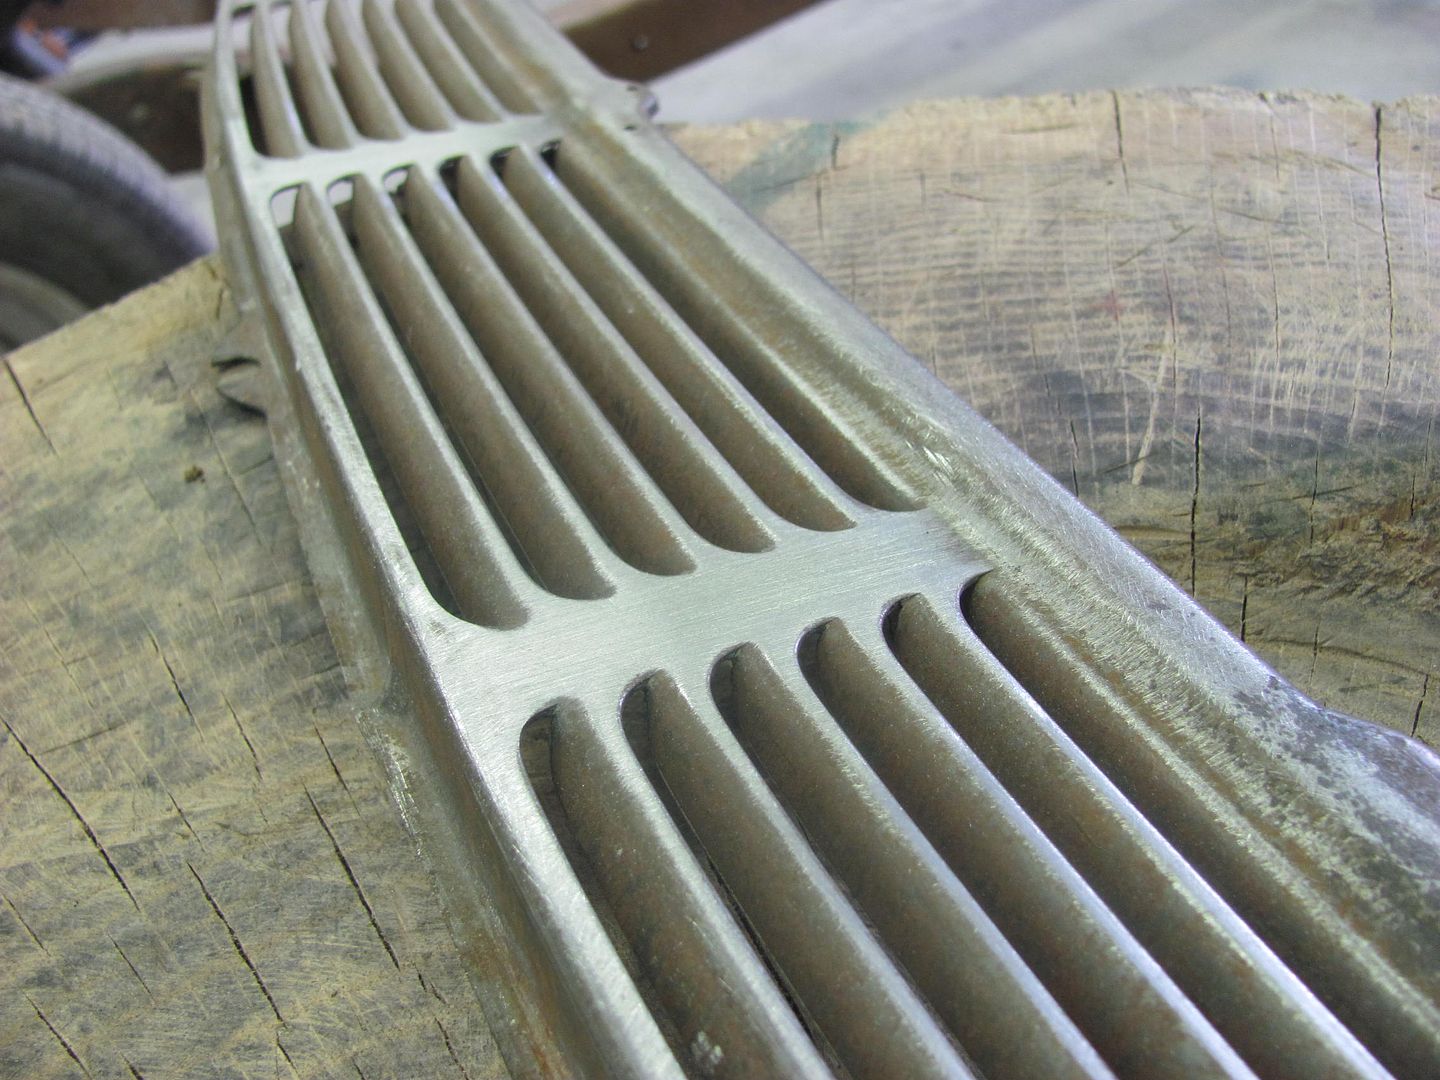
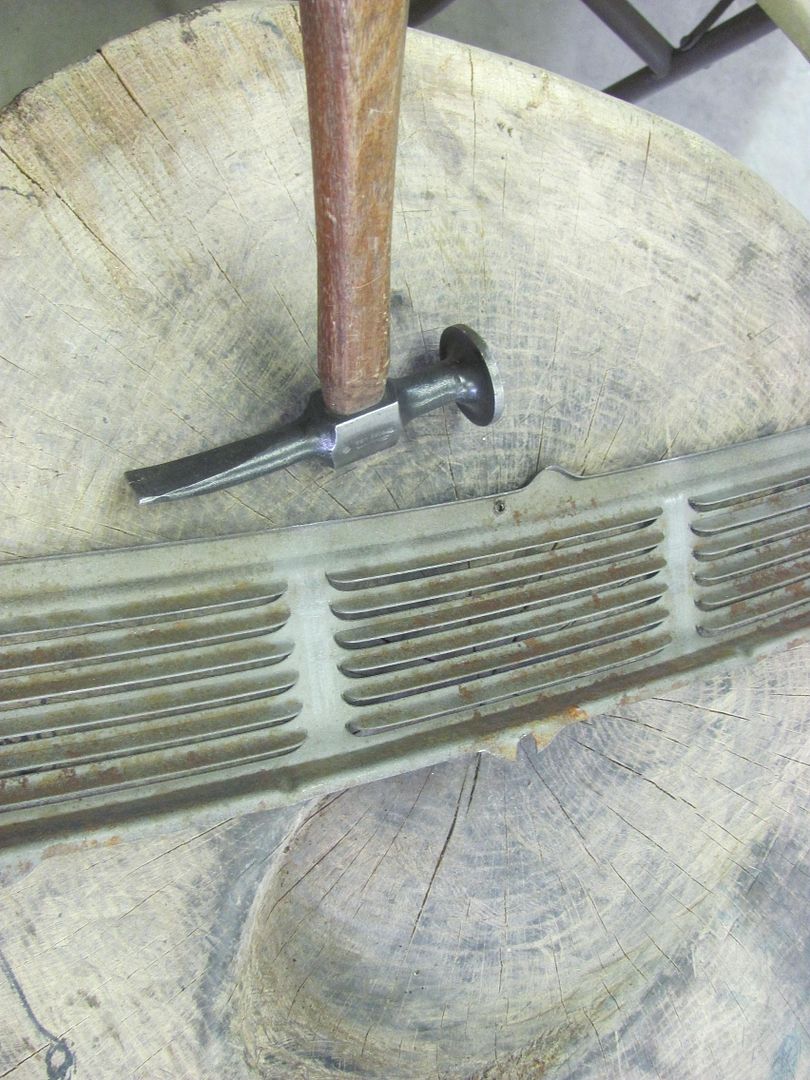
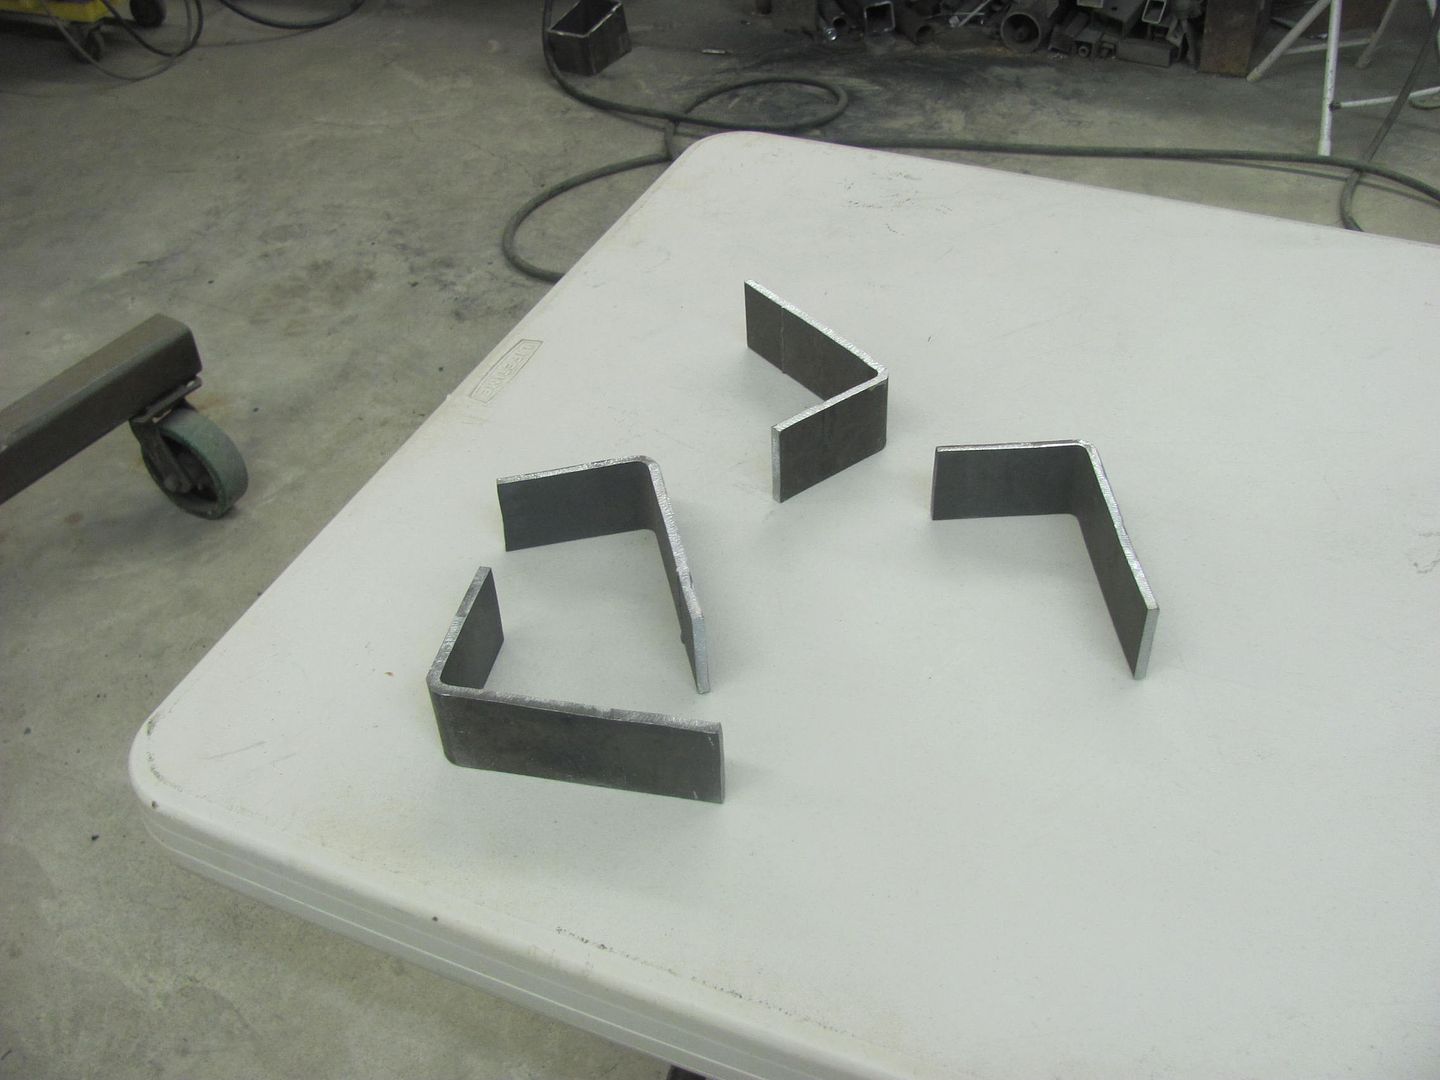
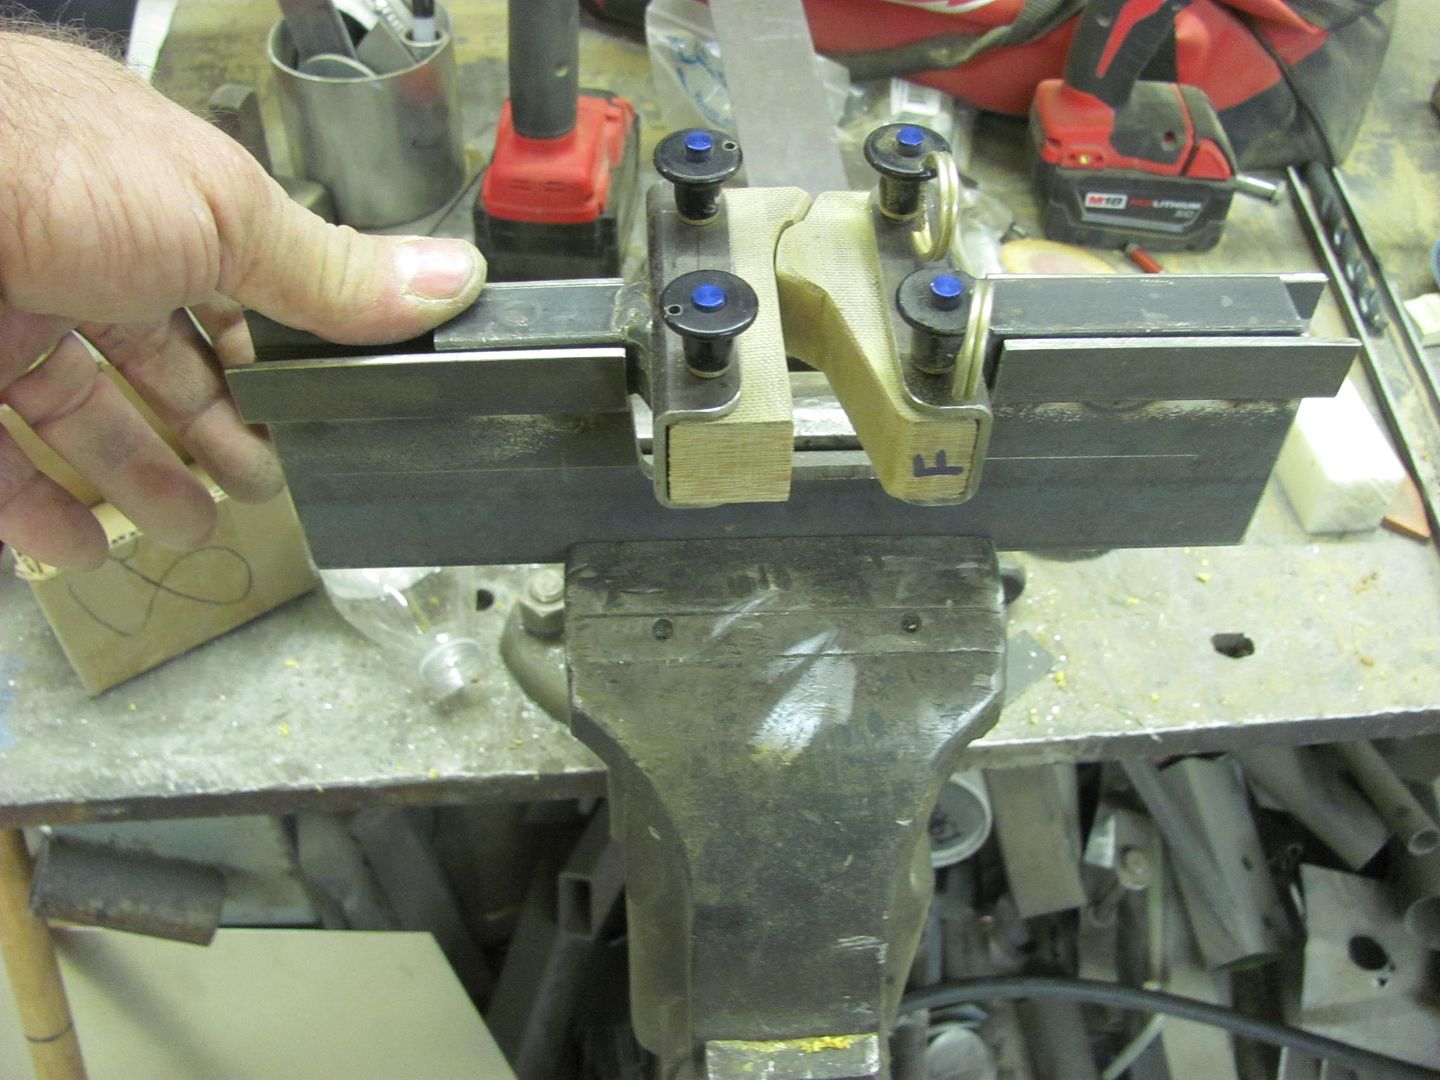
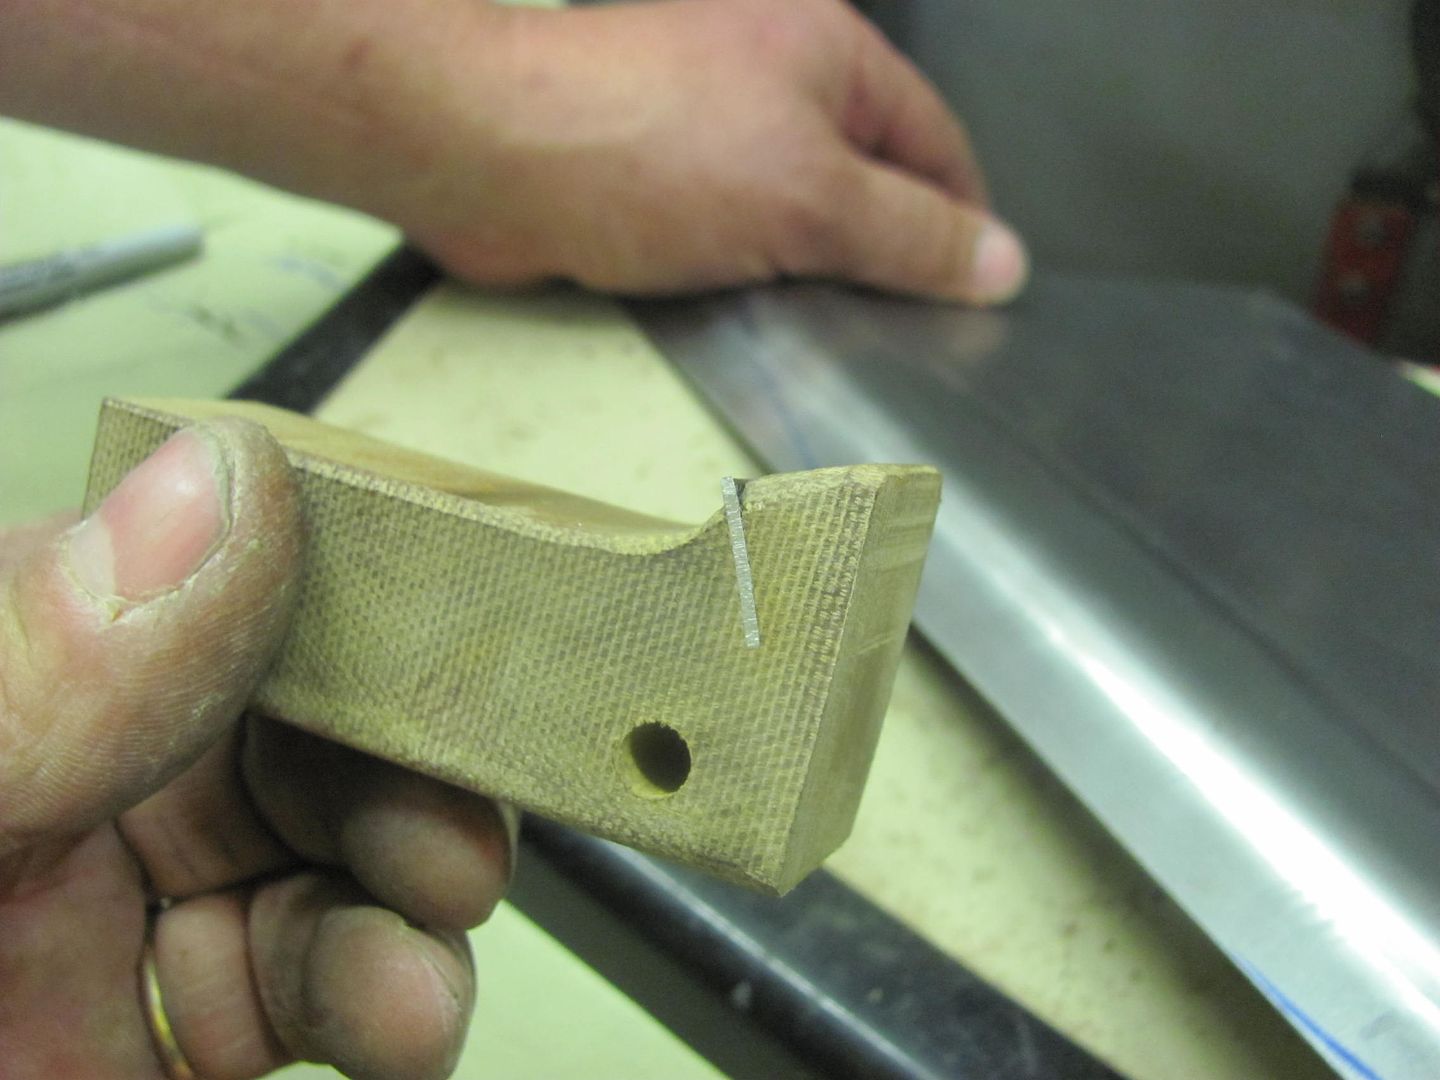
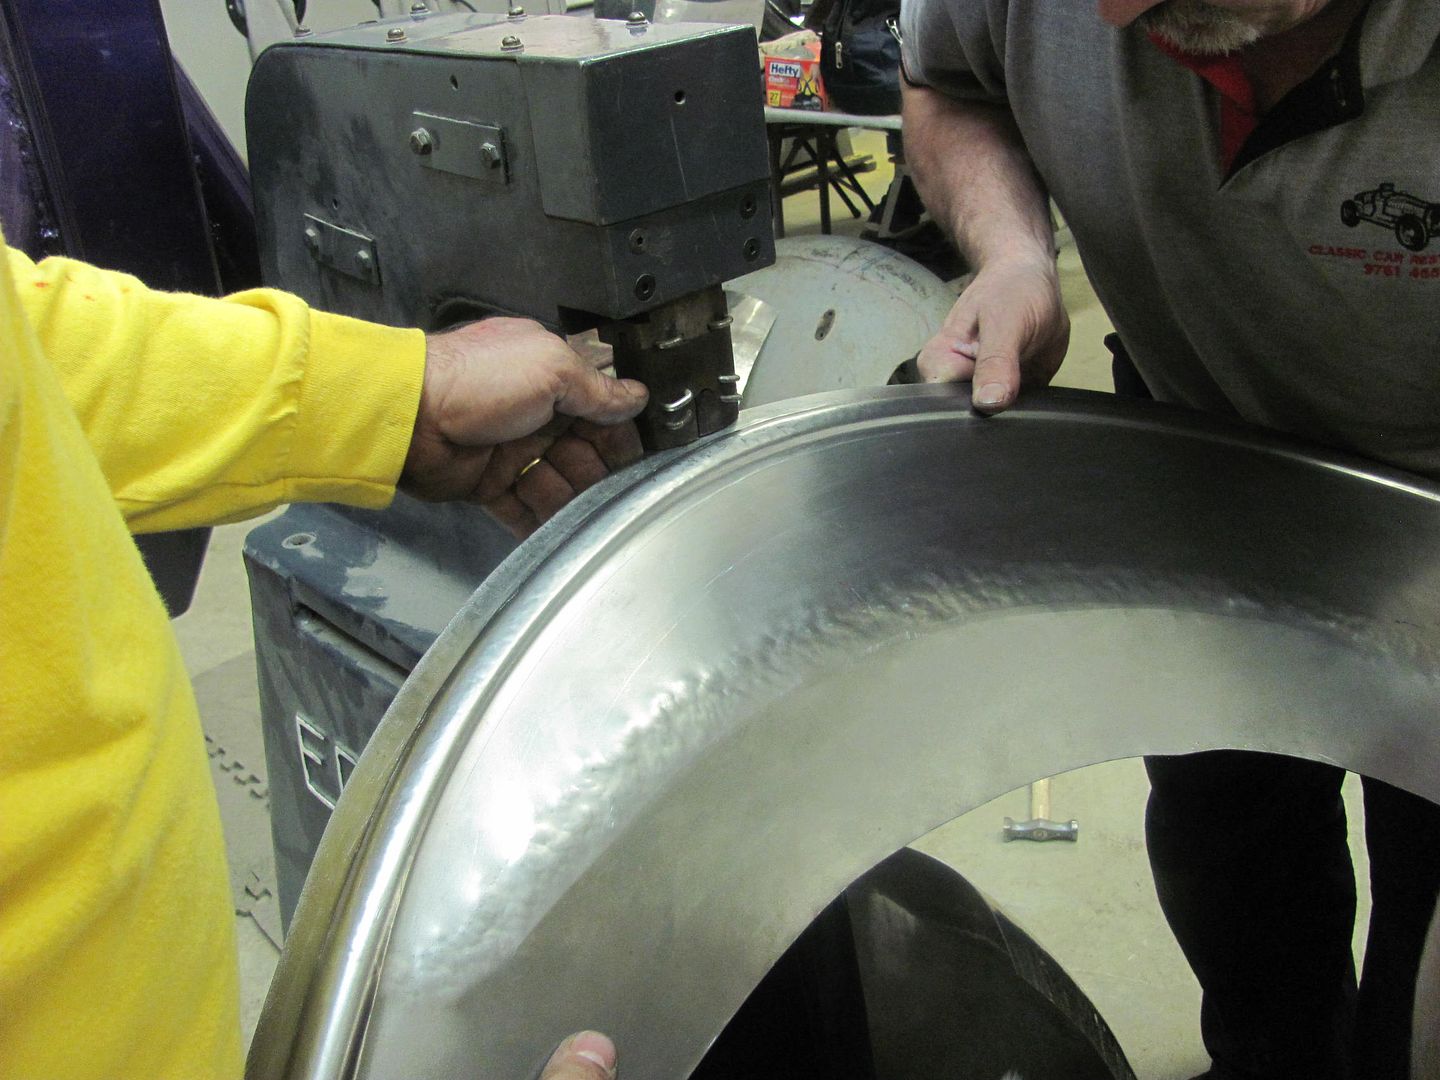
Roadster quarter, making dies for the upper bead detail....
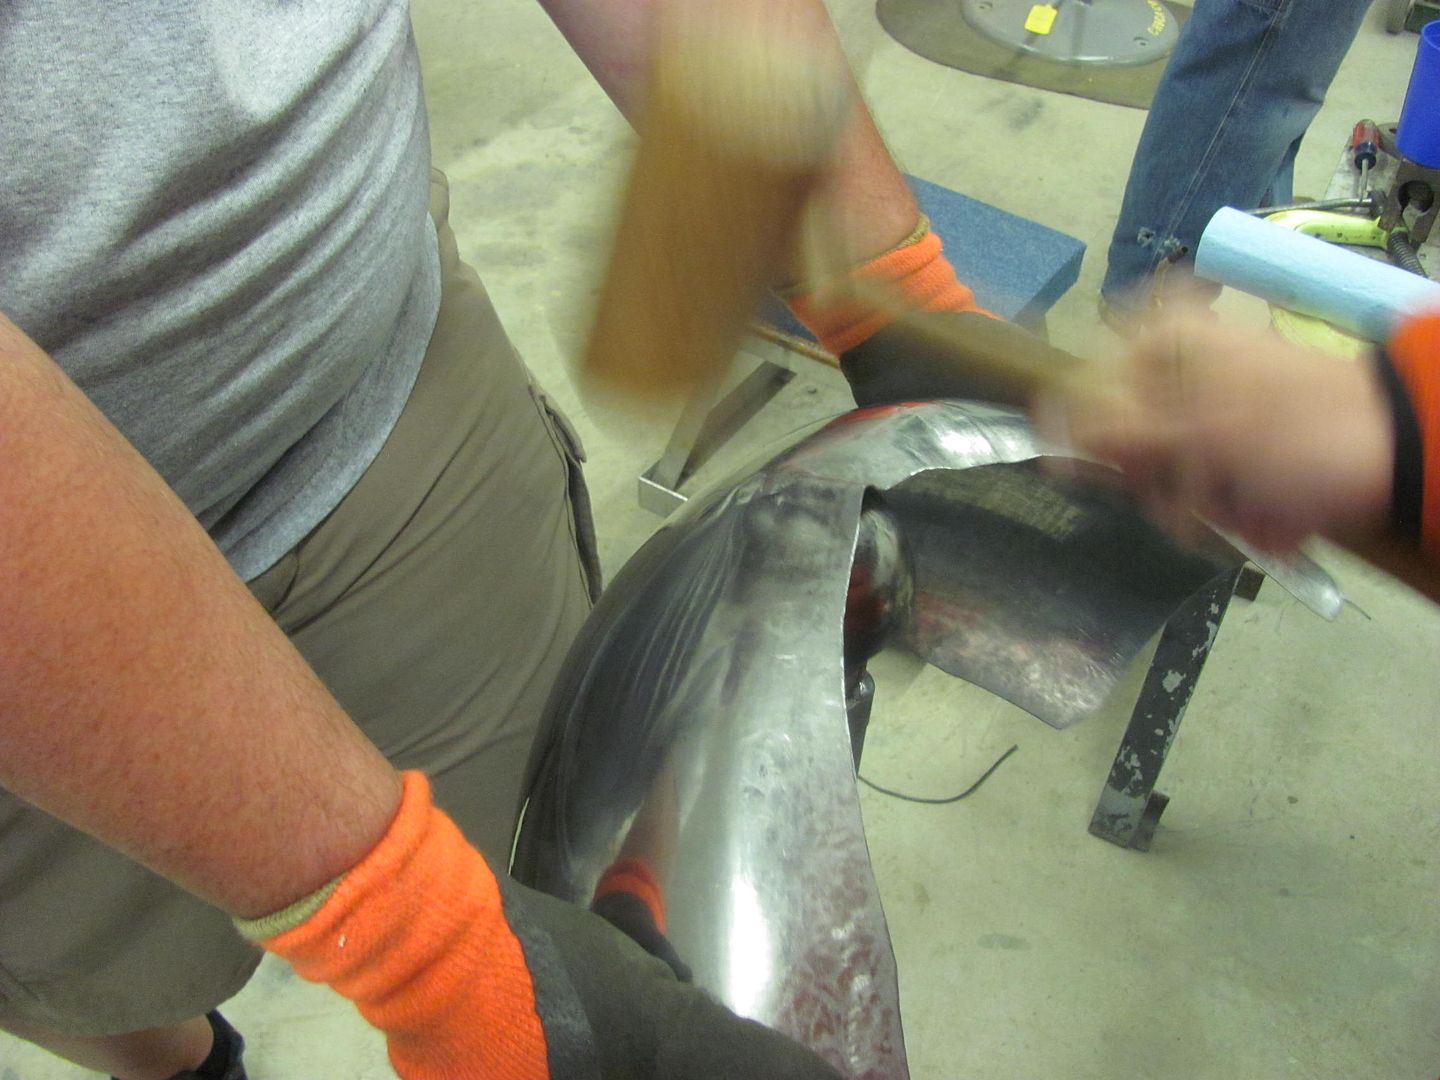
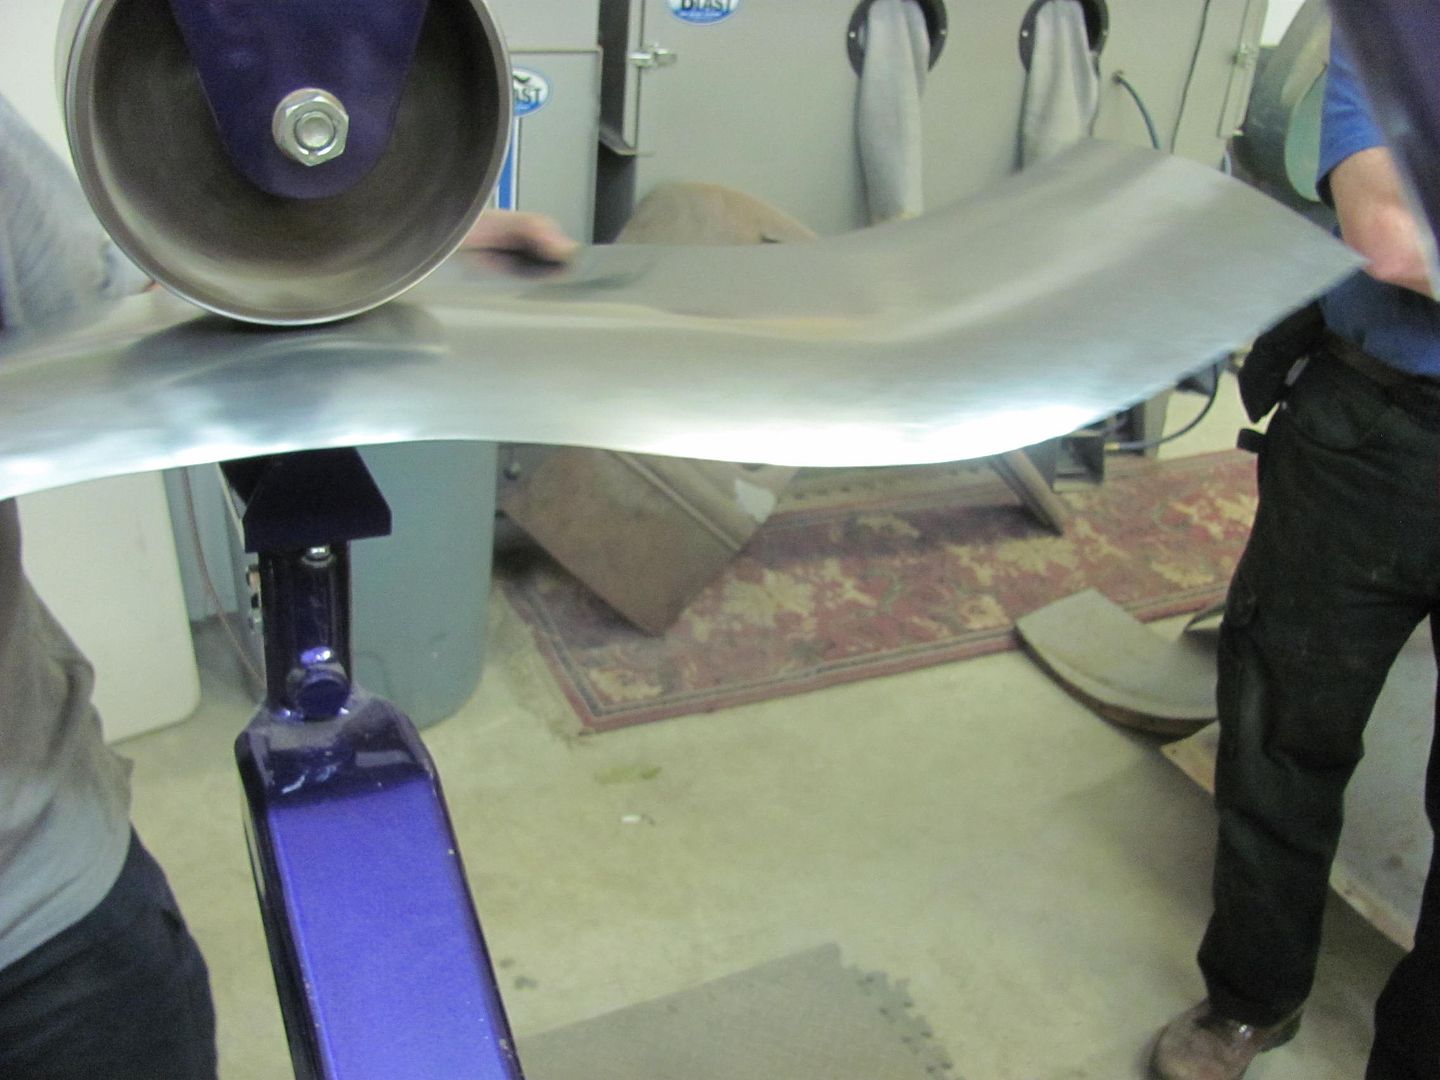
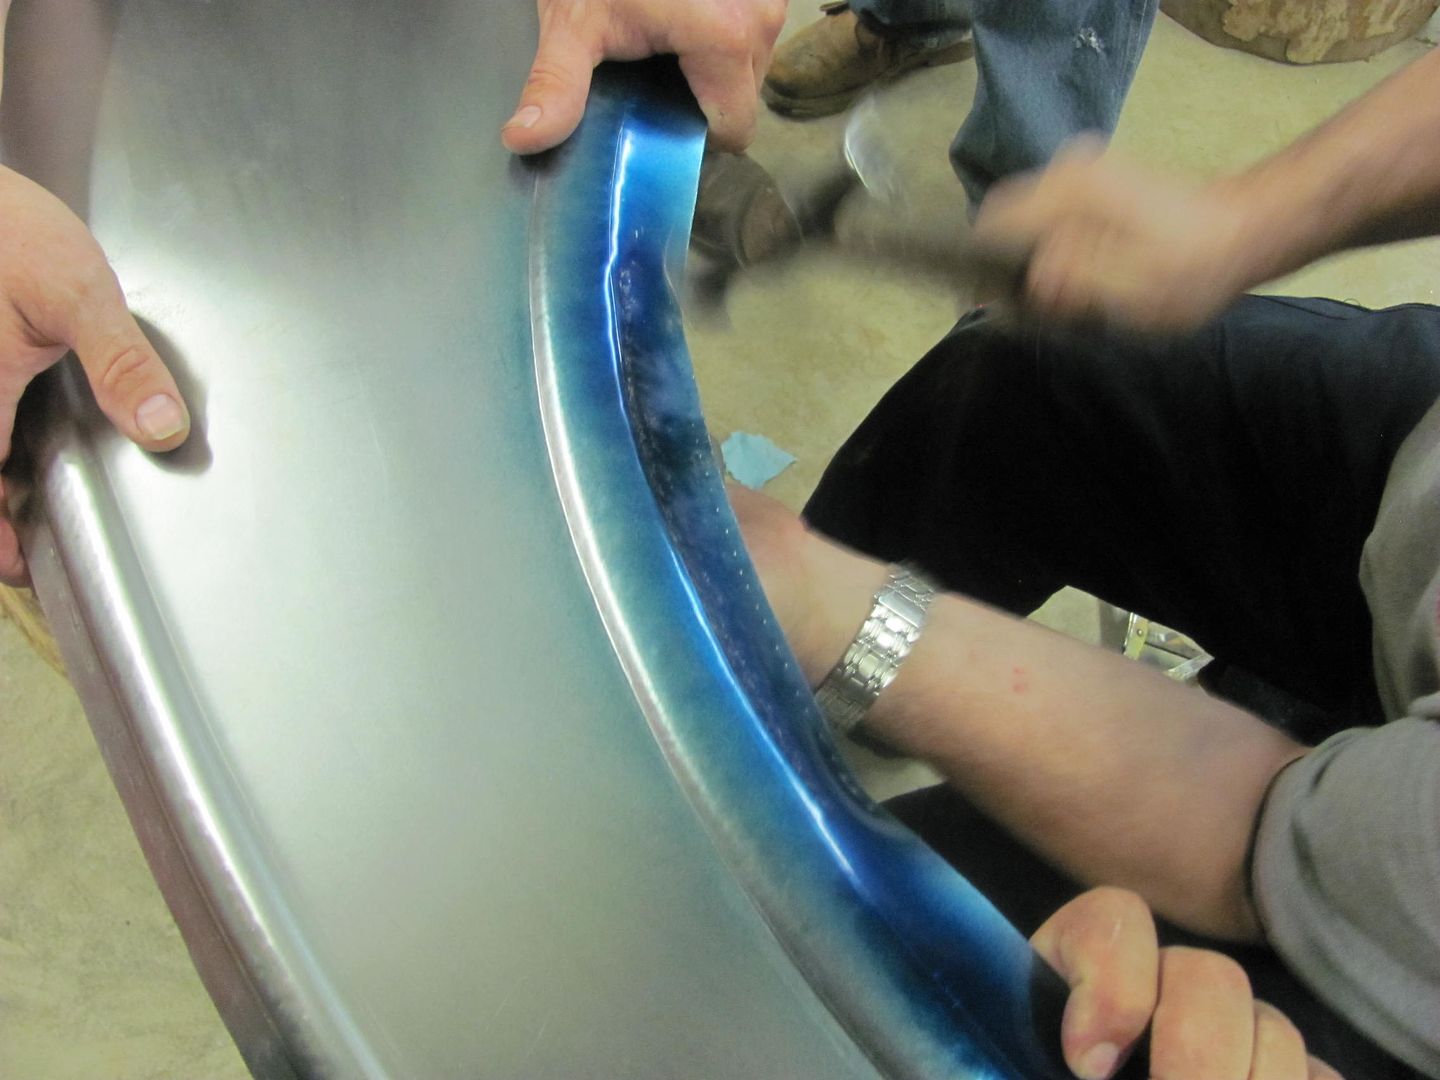
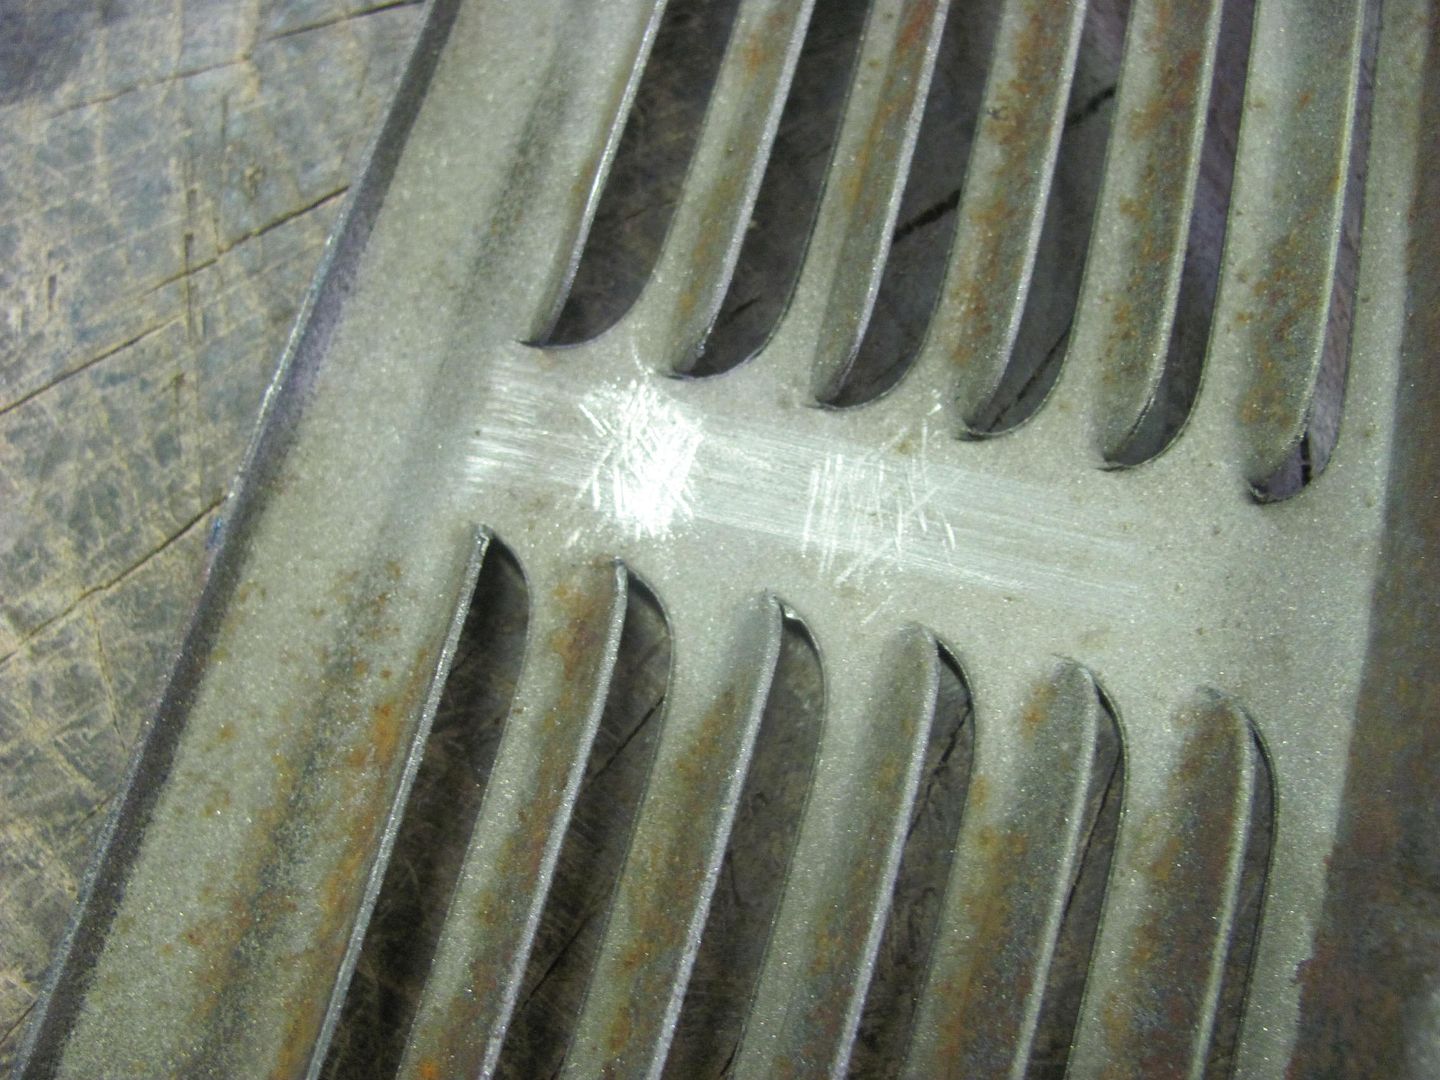
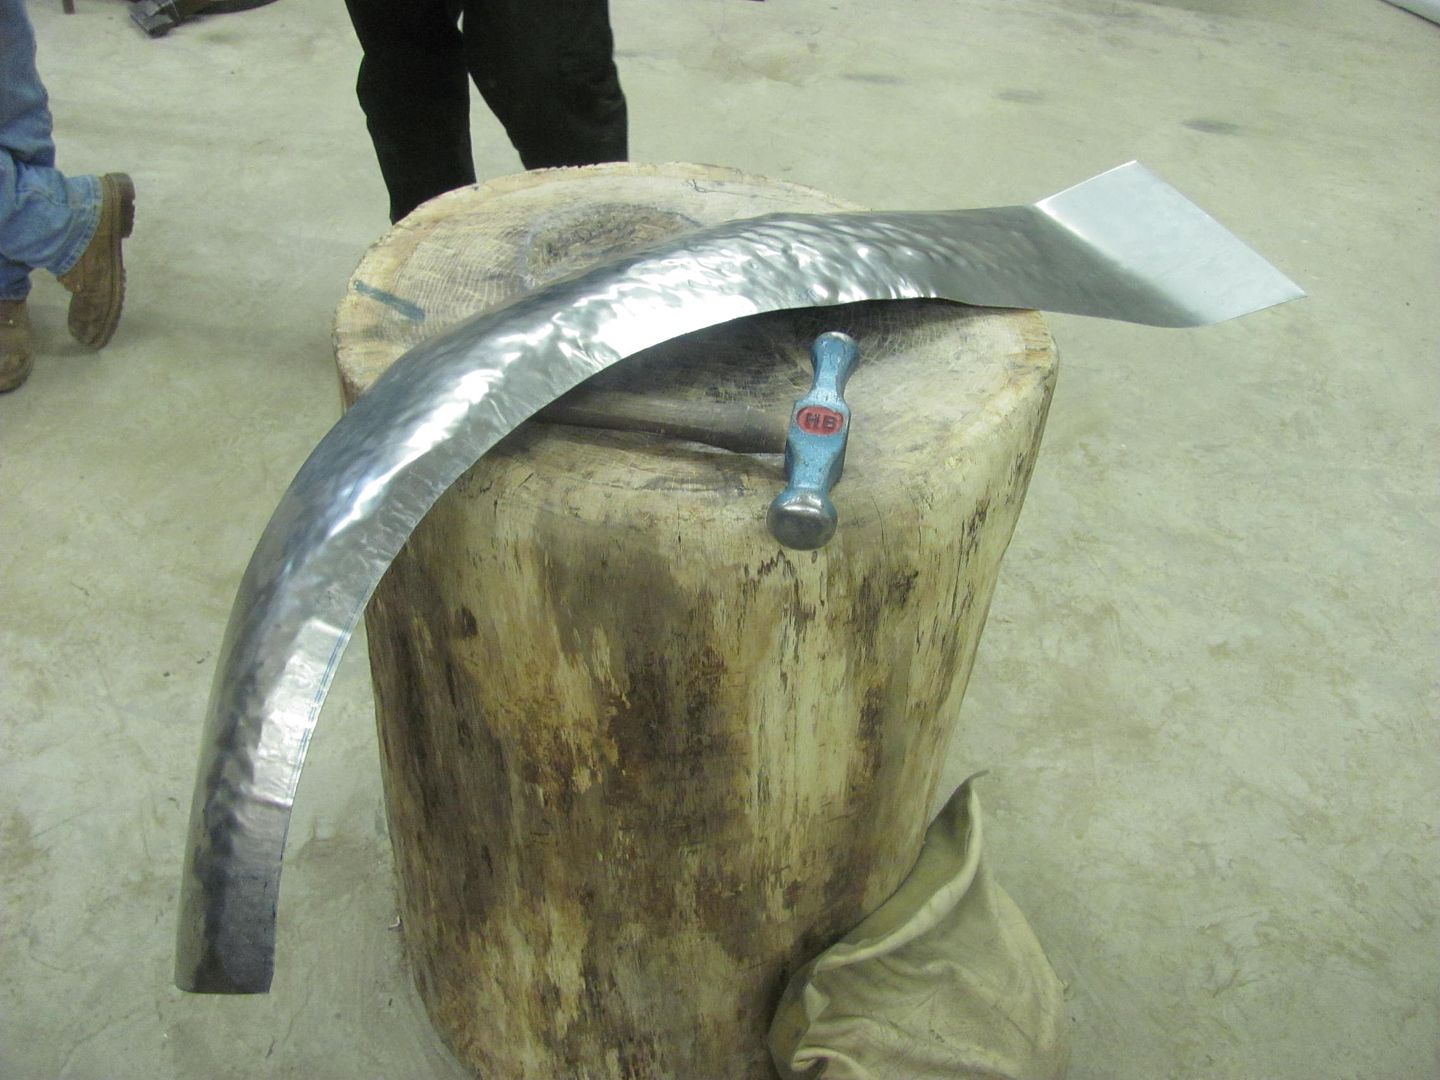
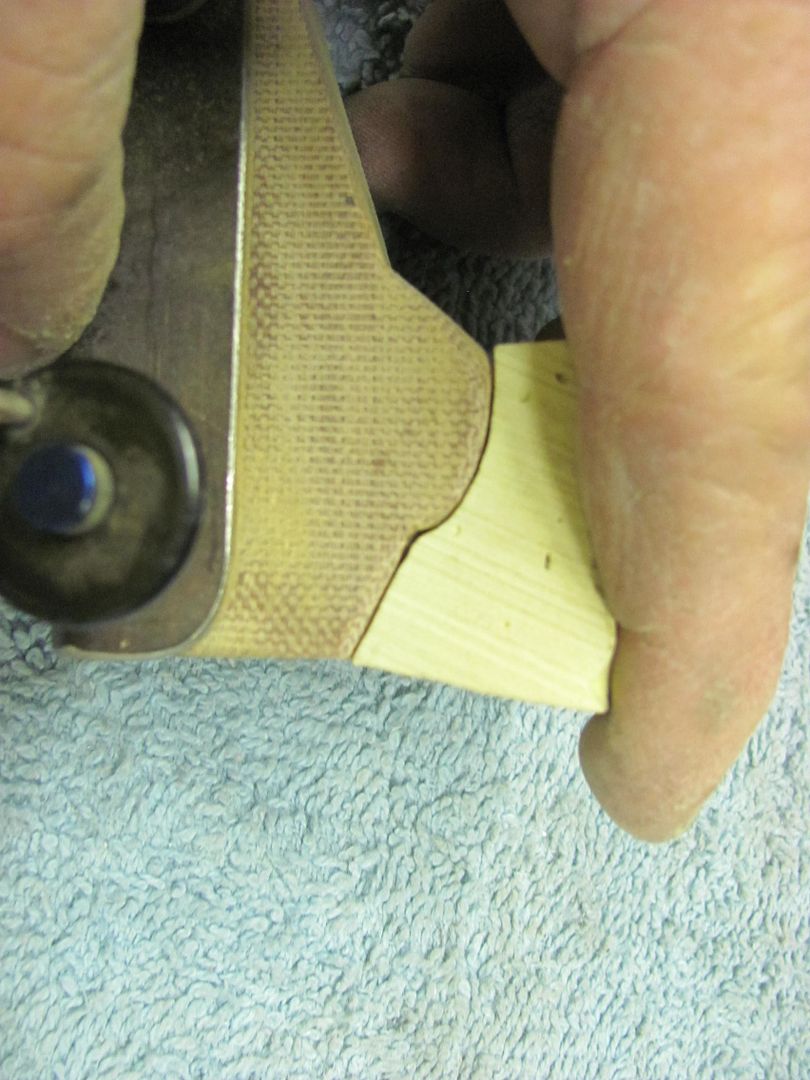
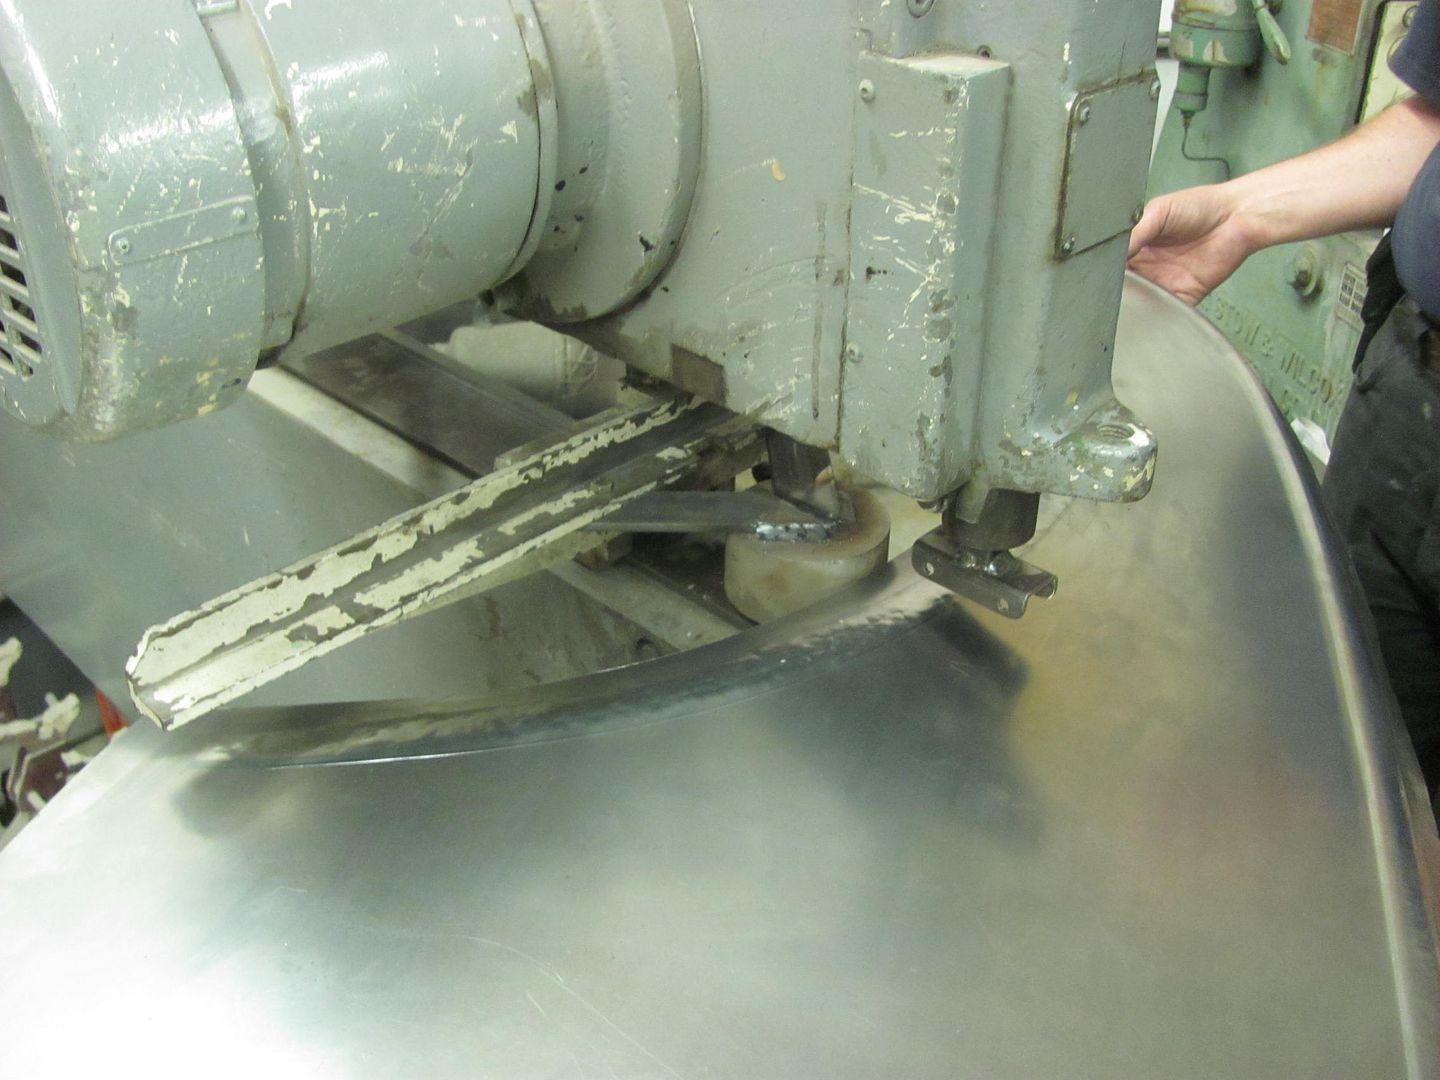
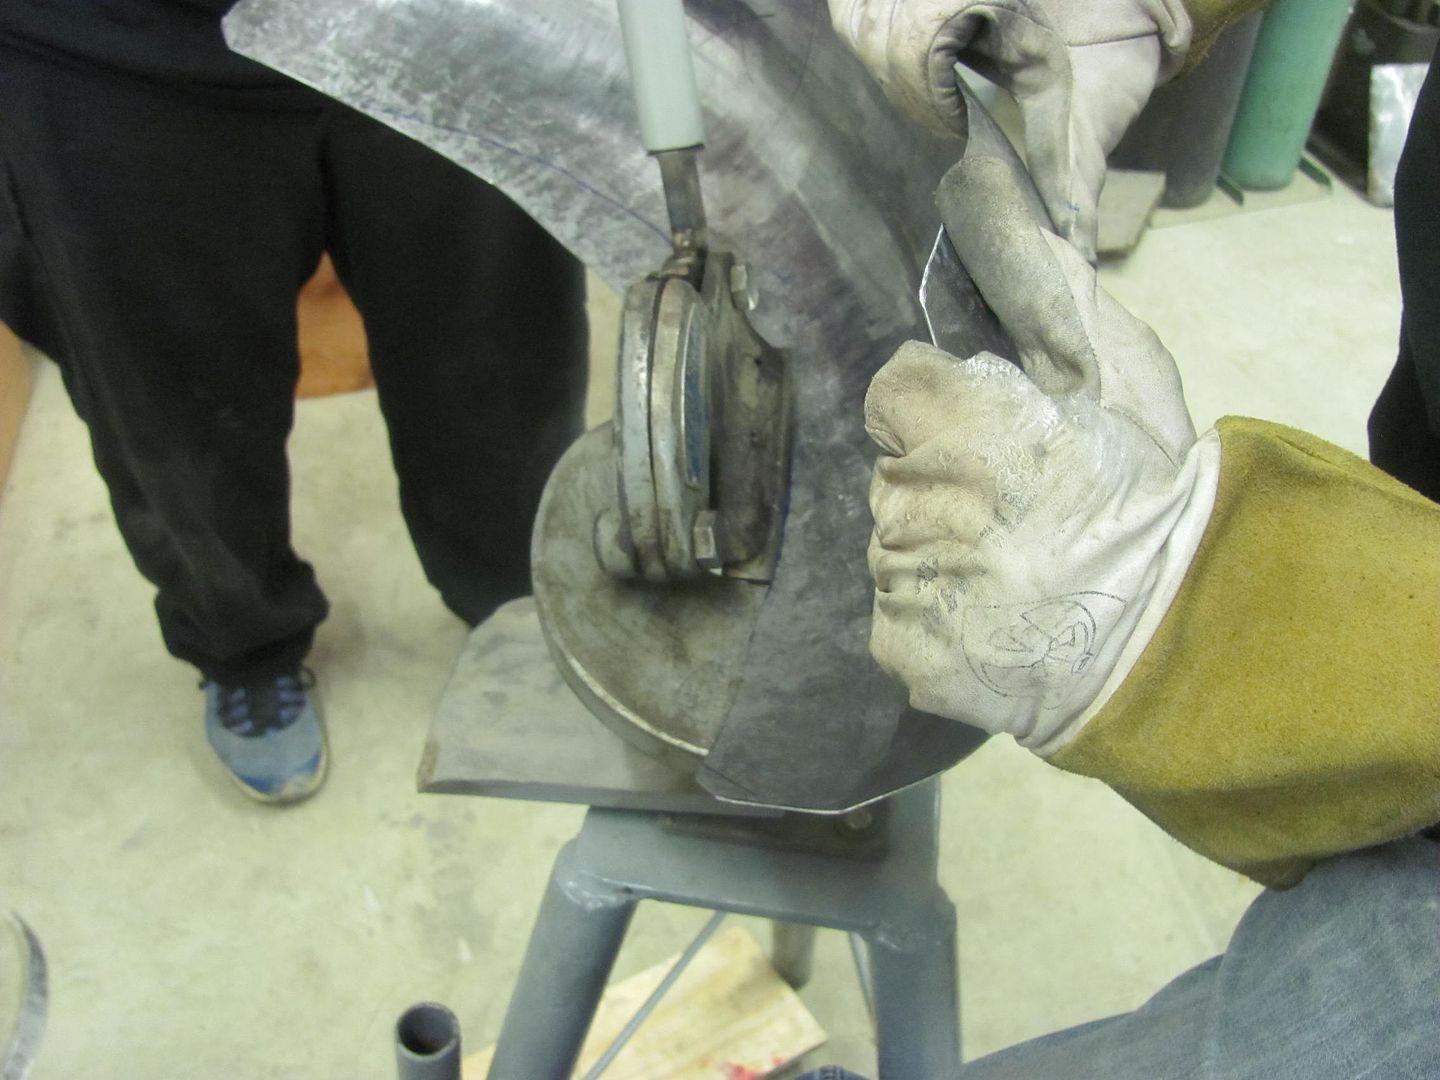
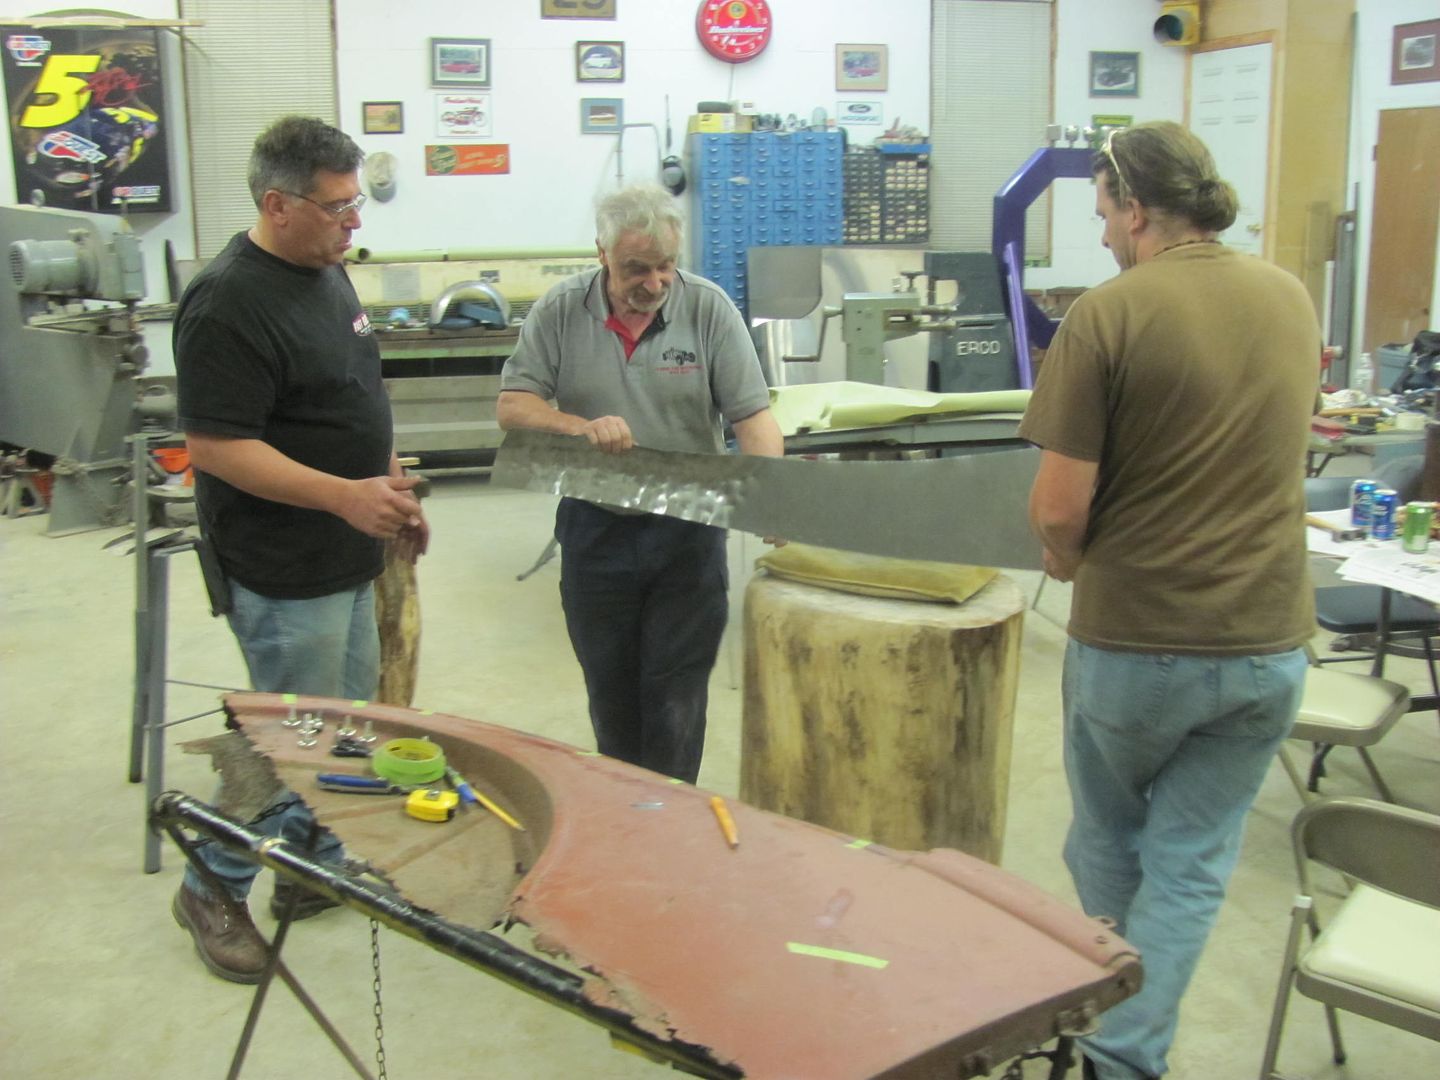
Sharpening the crease
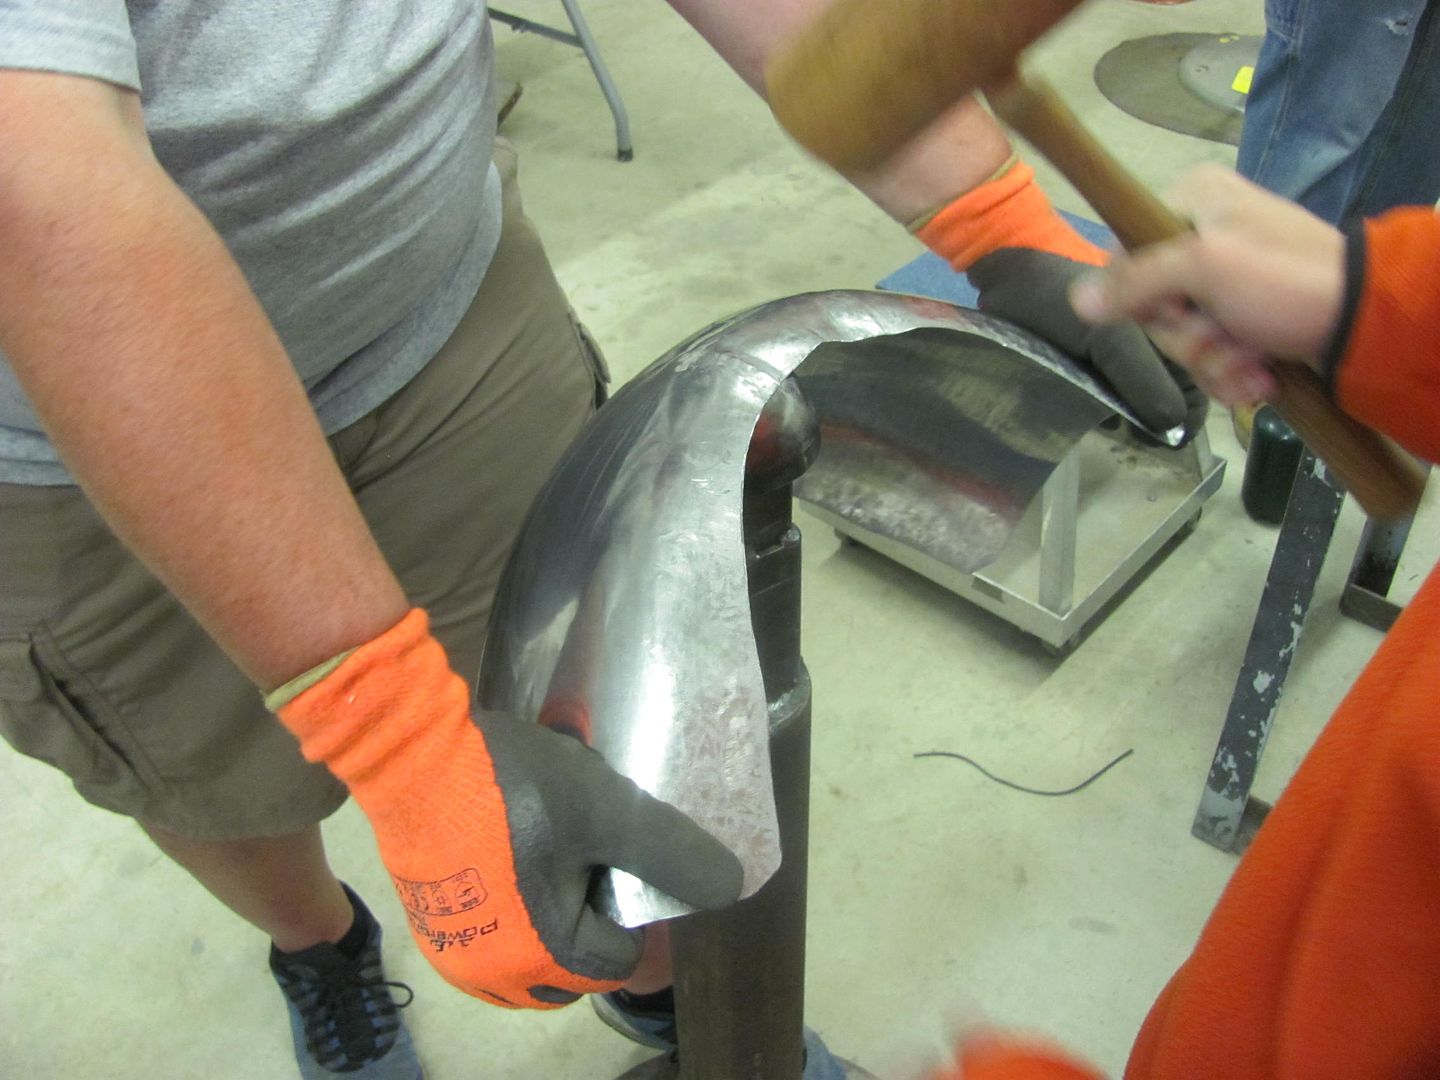
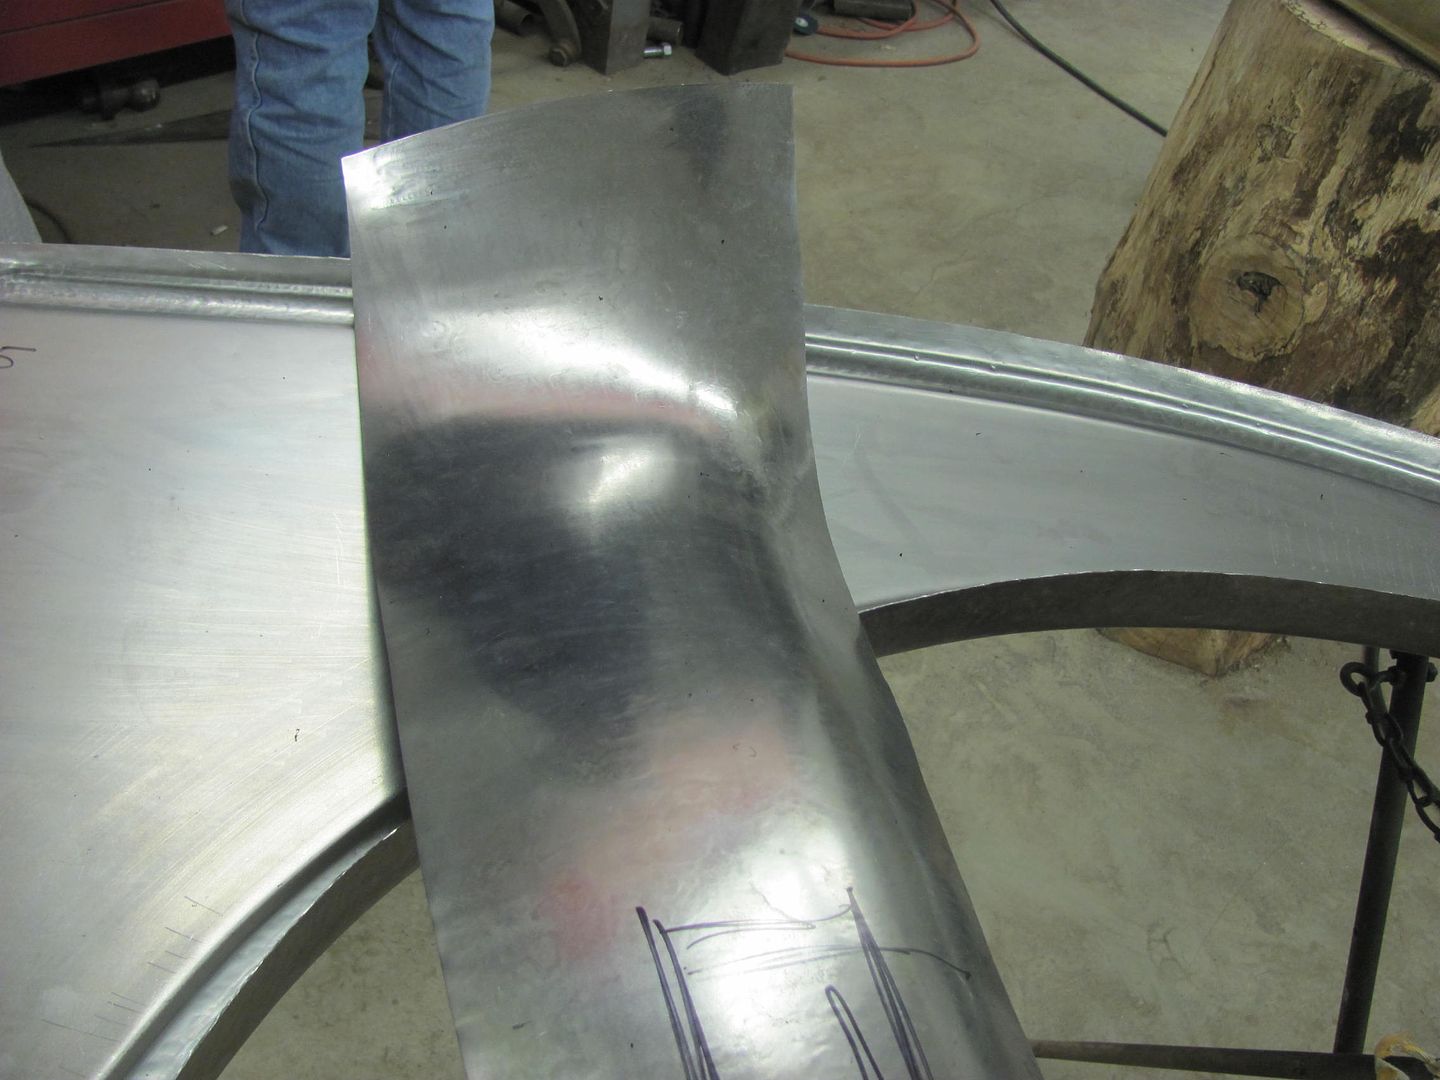
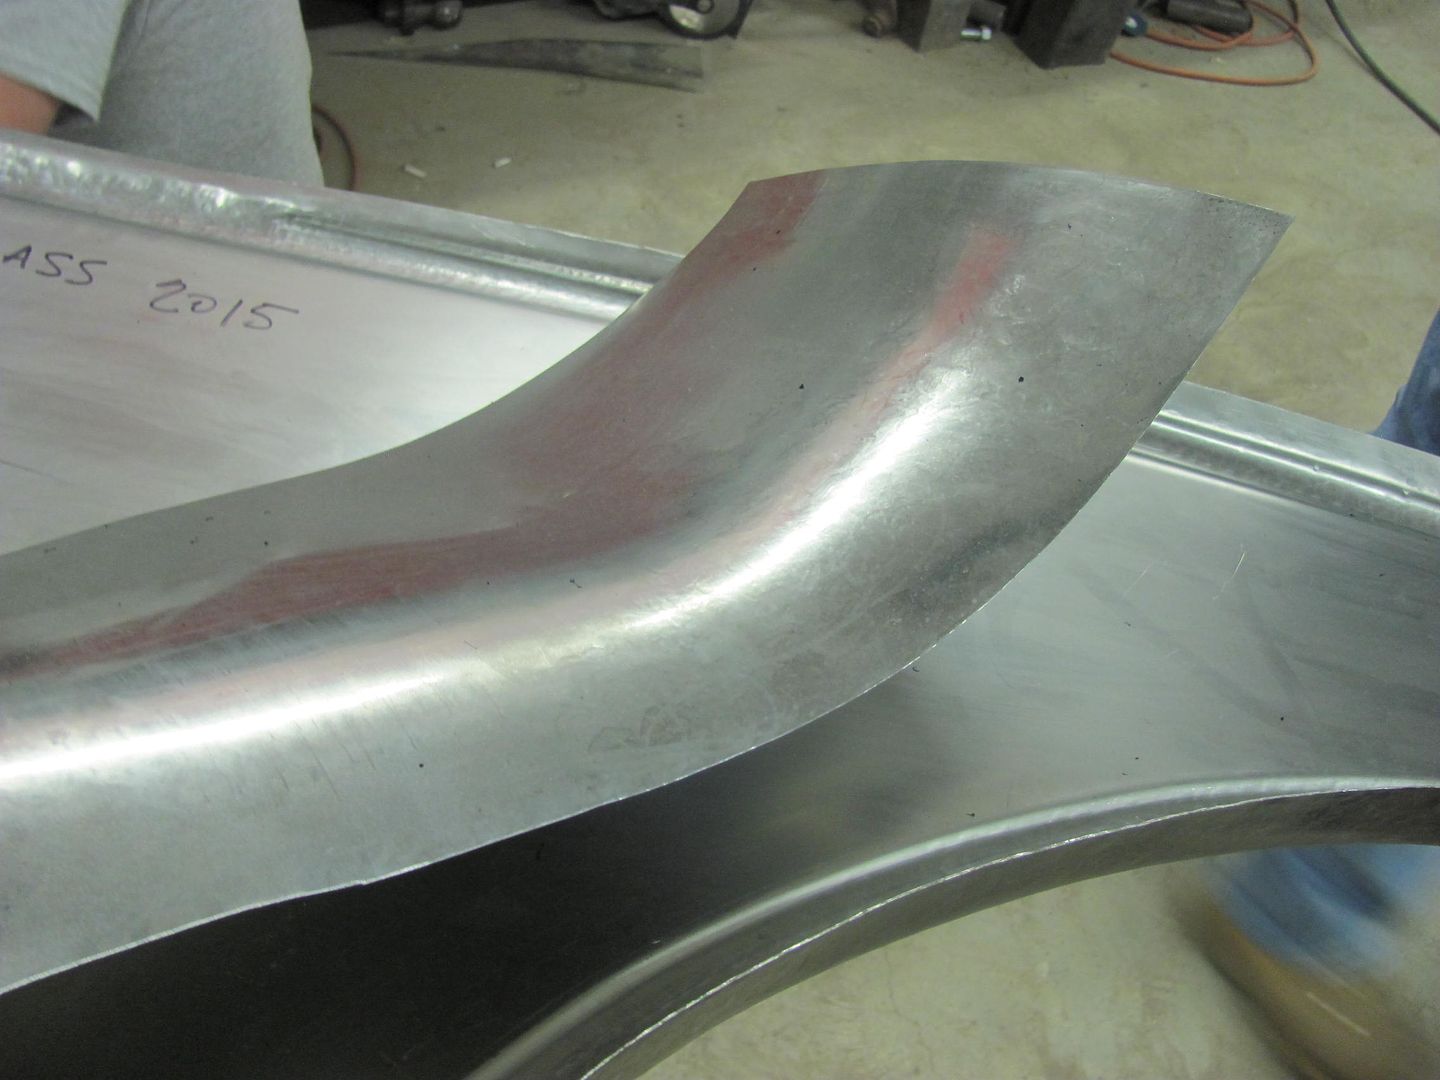
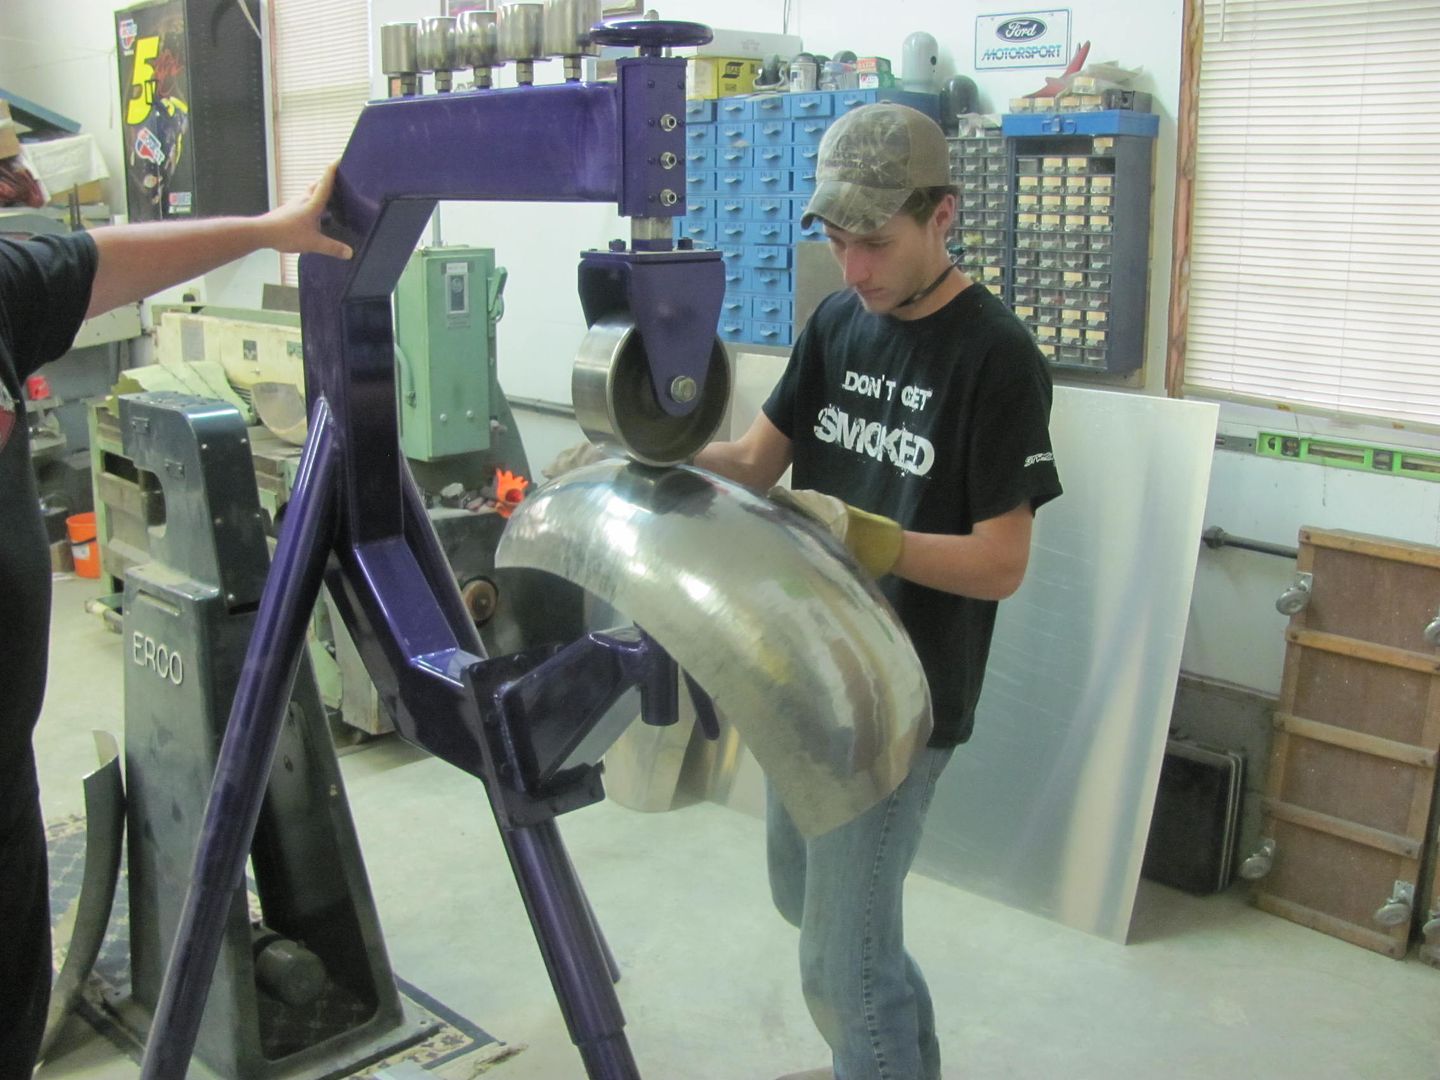
A bit of shrinking....
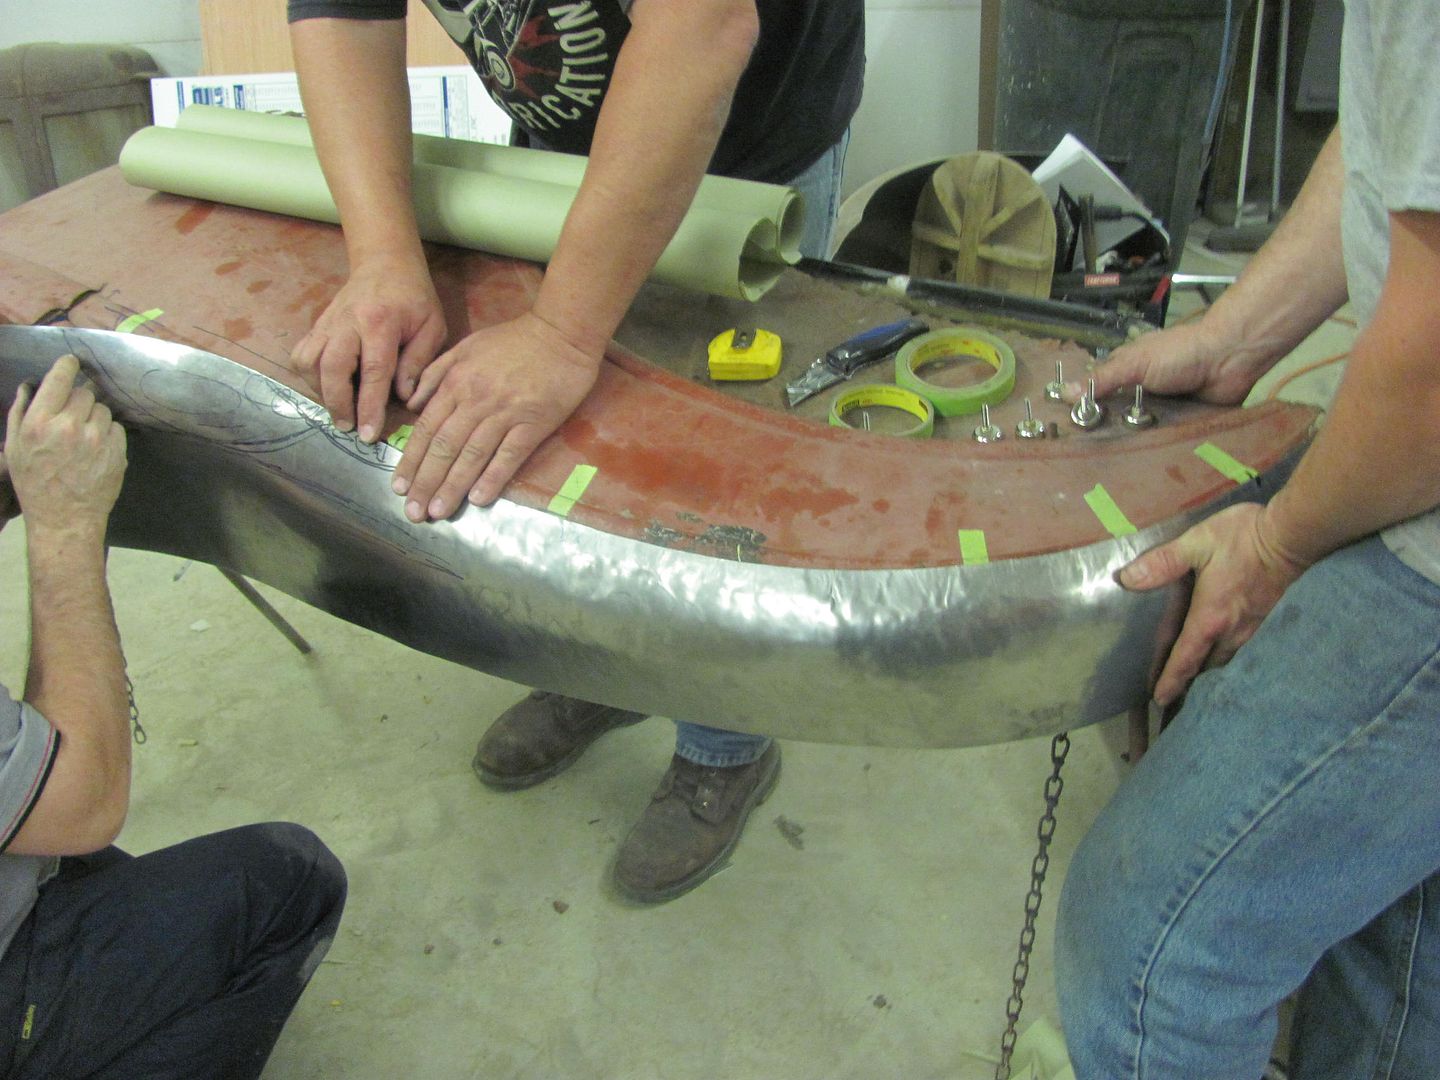
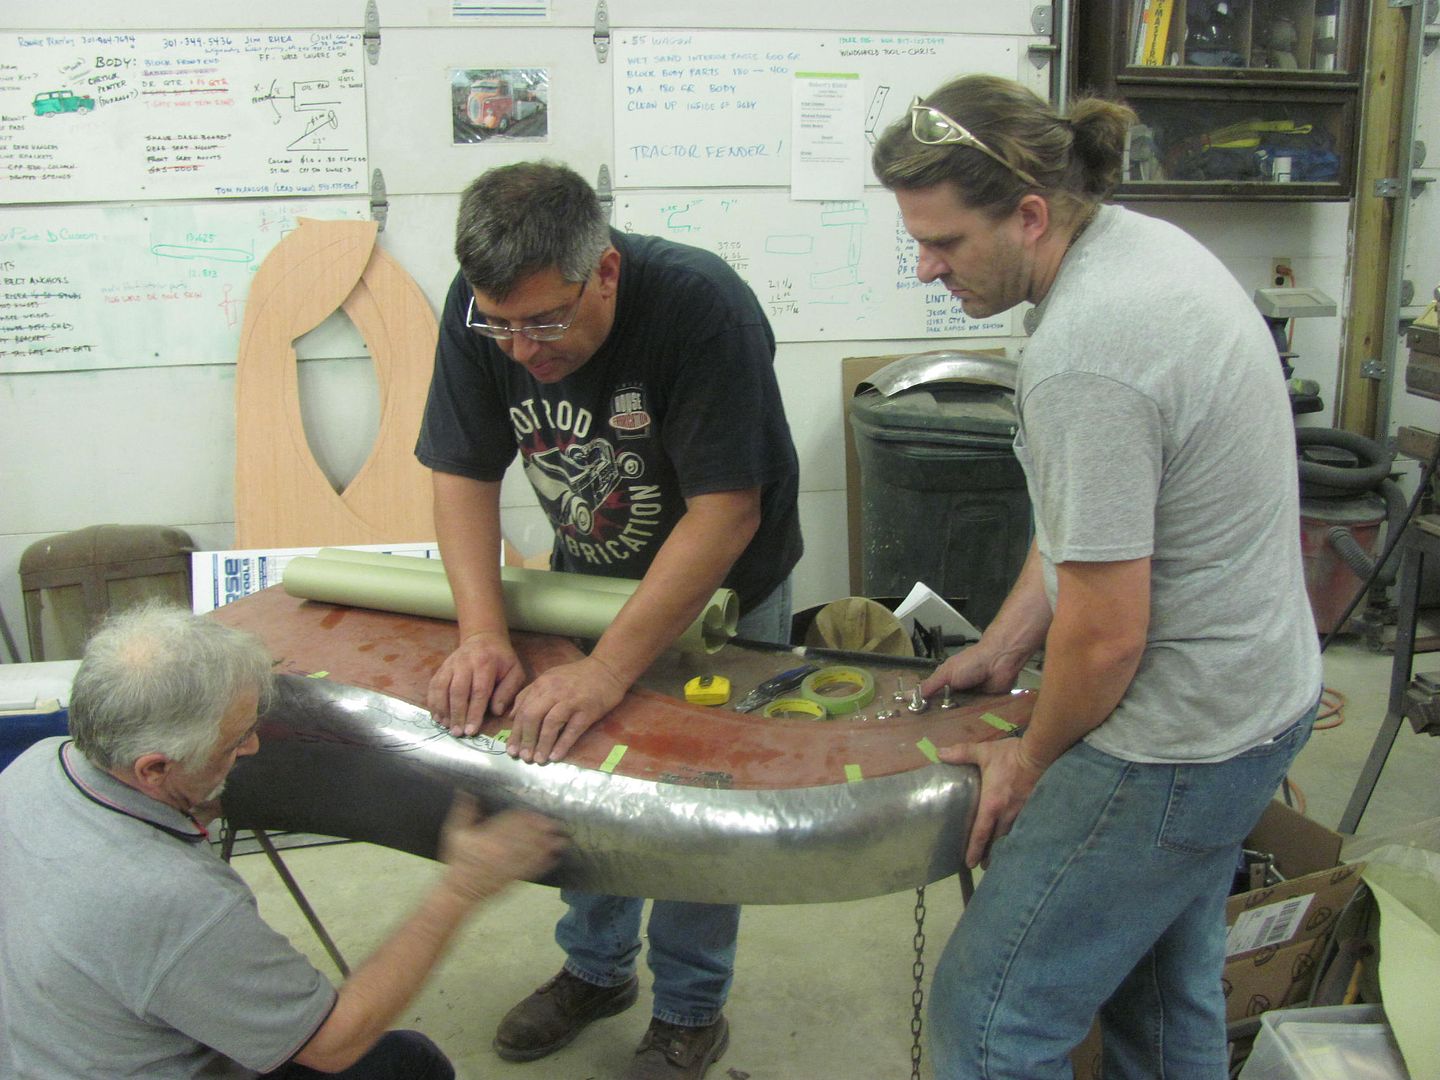
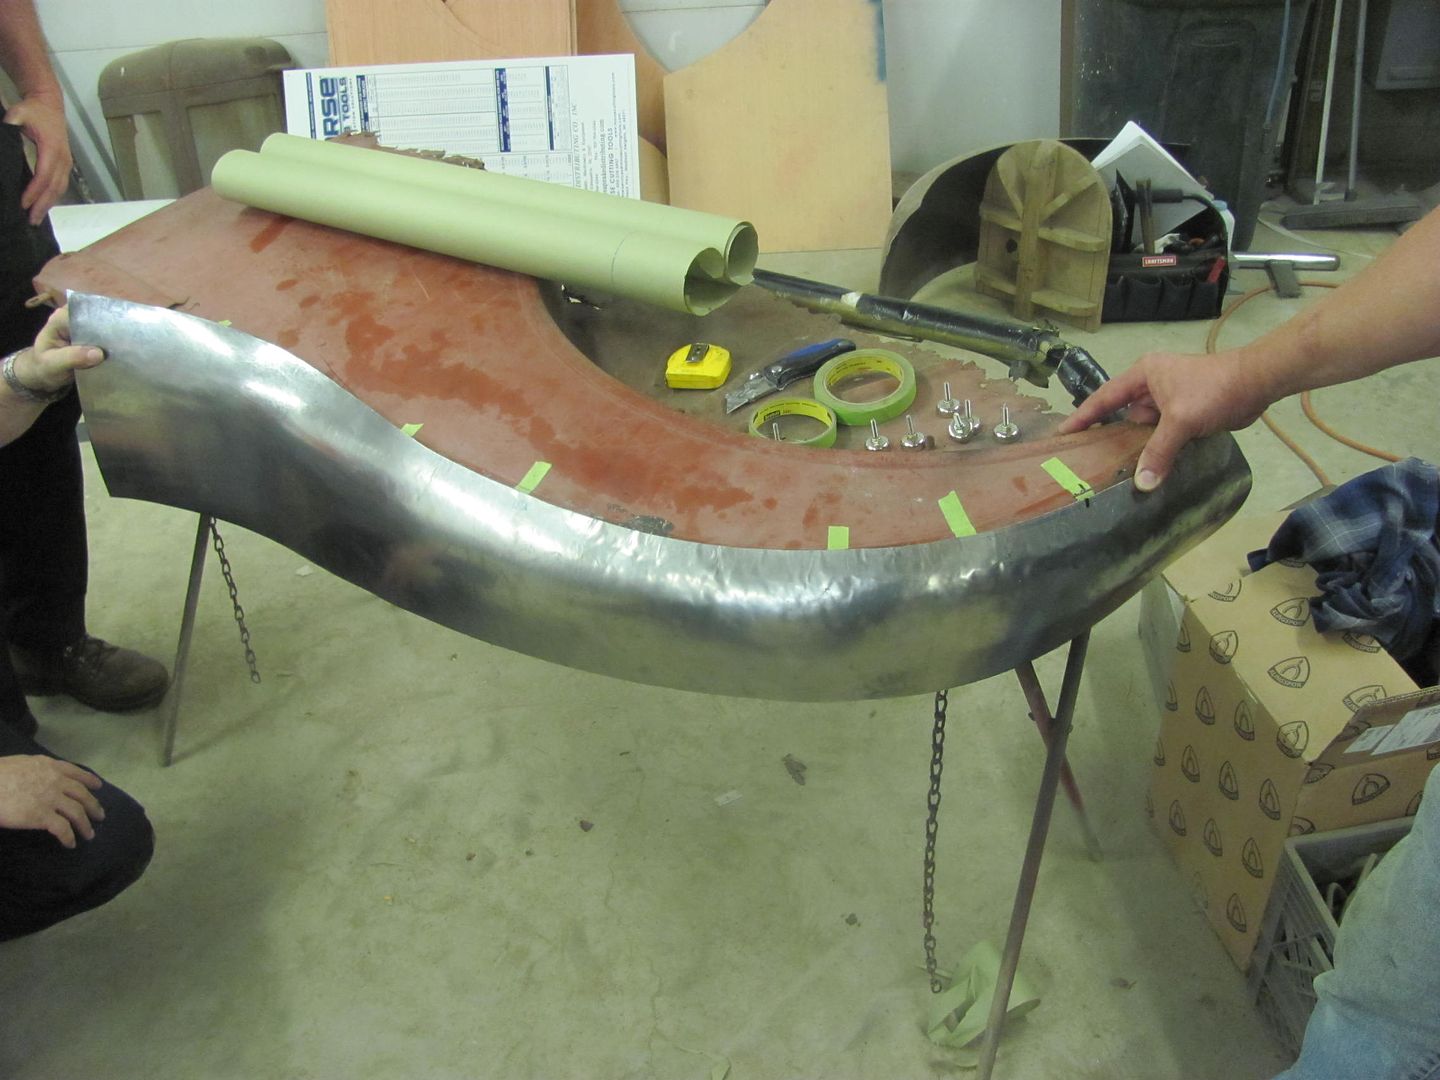
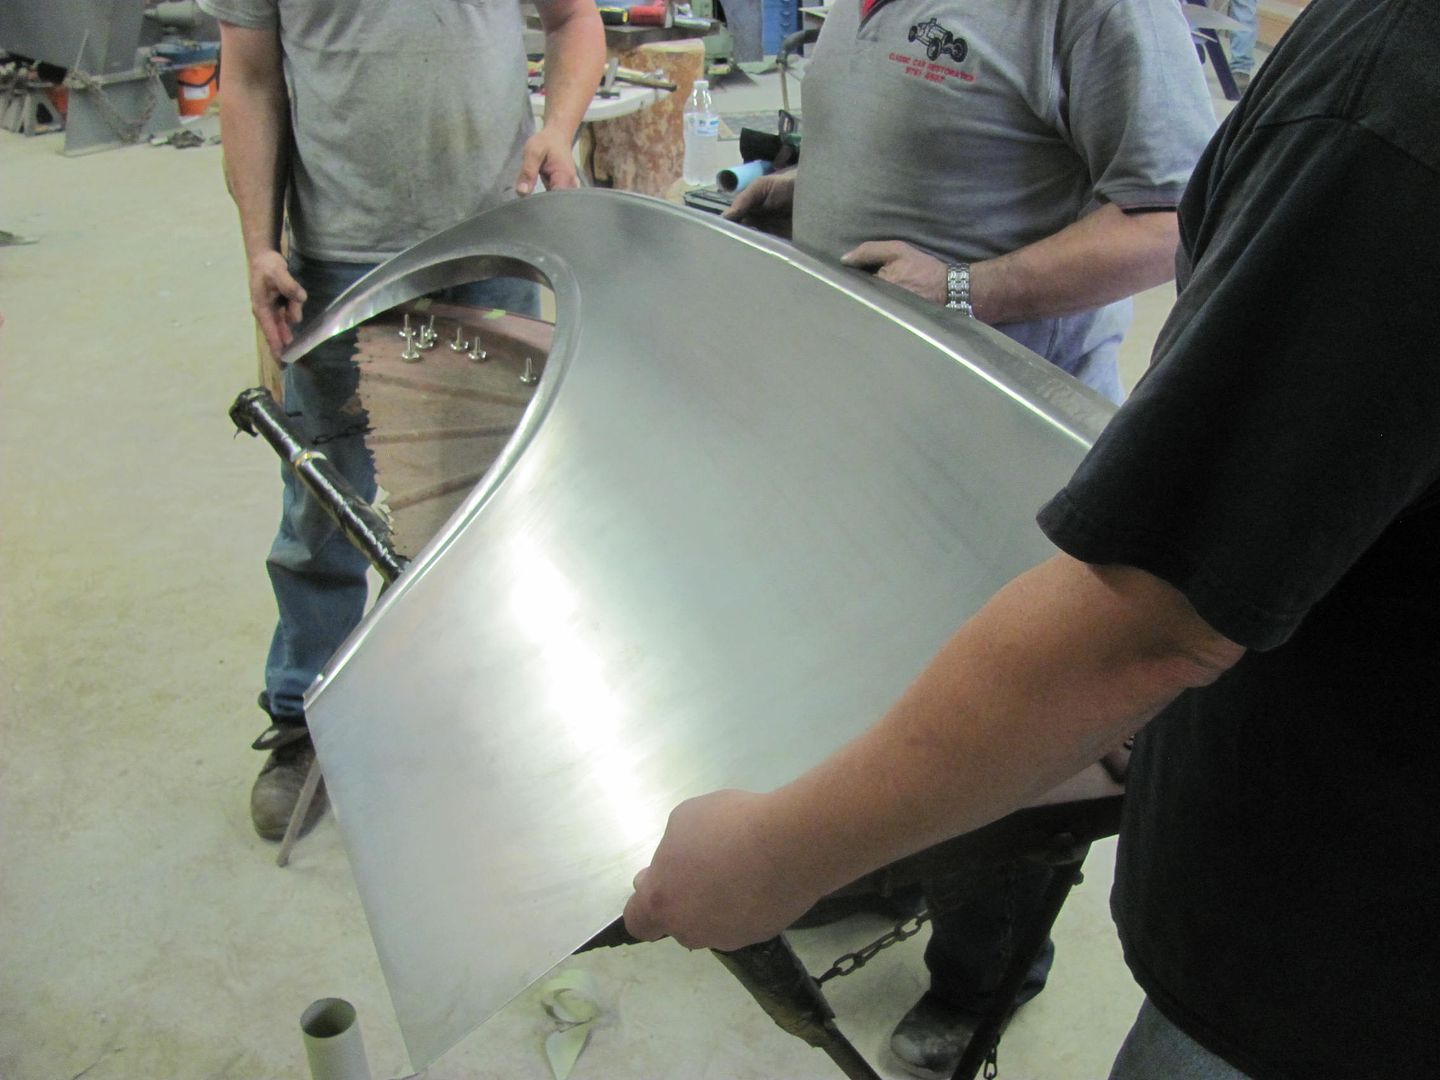
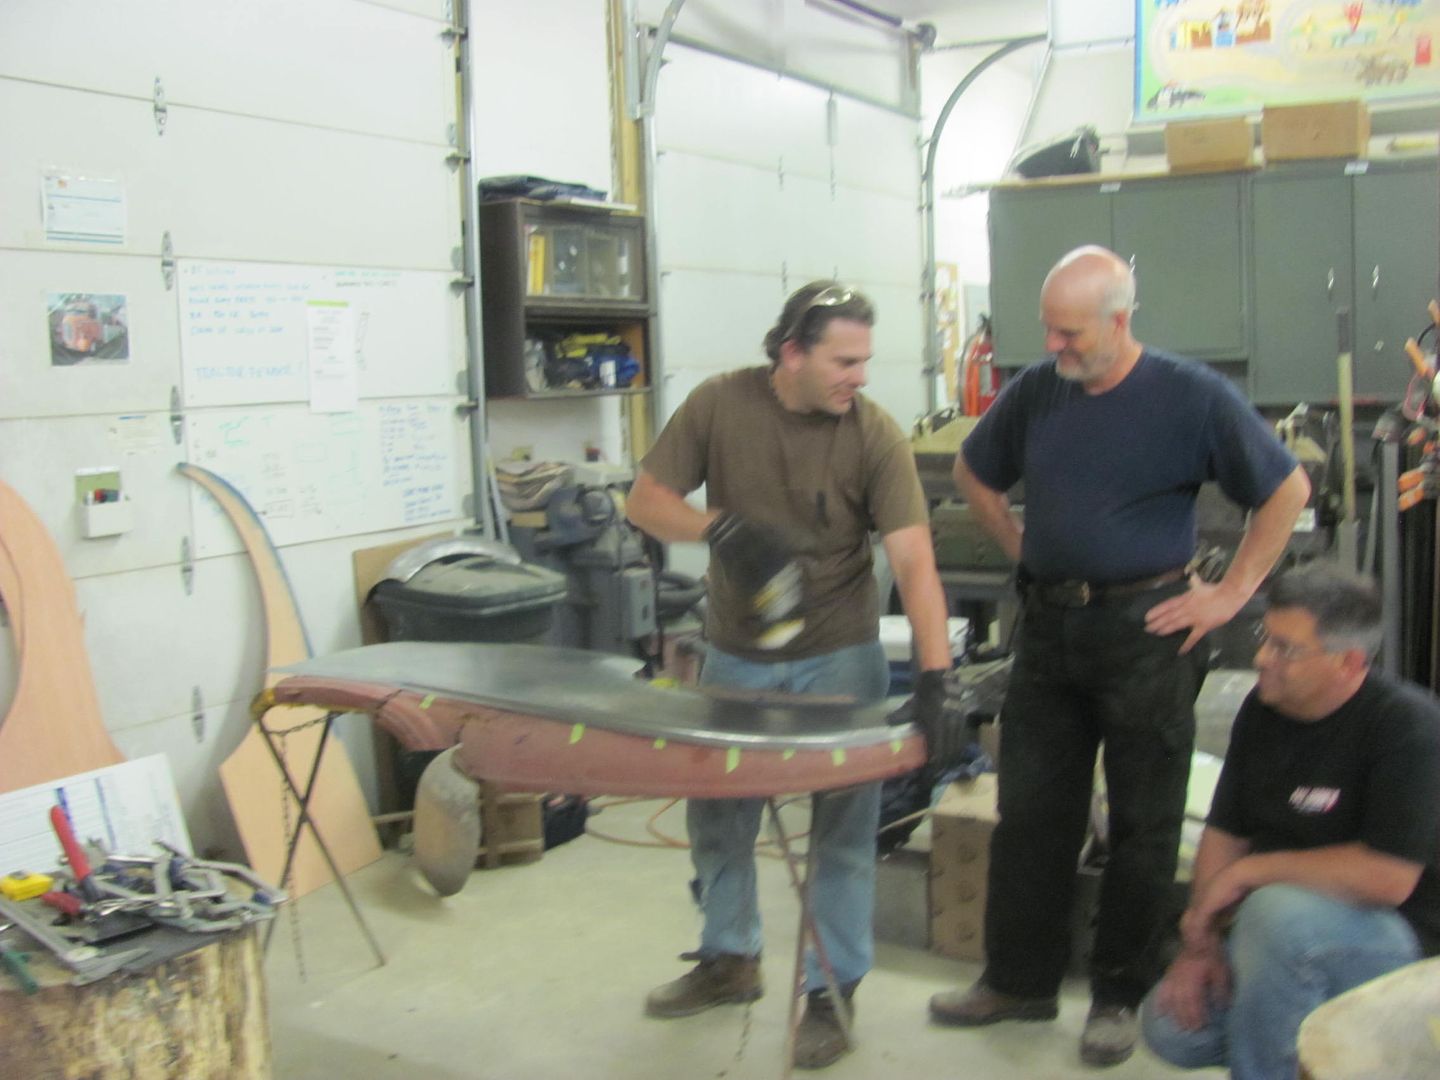
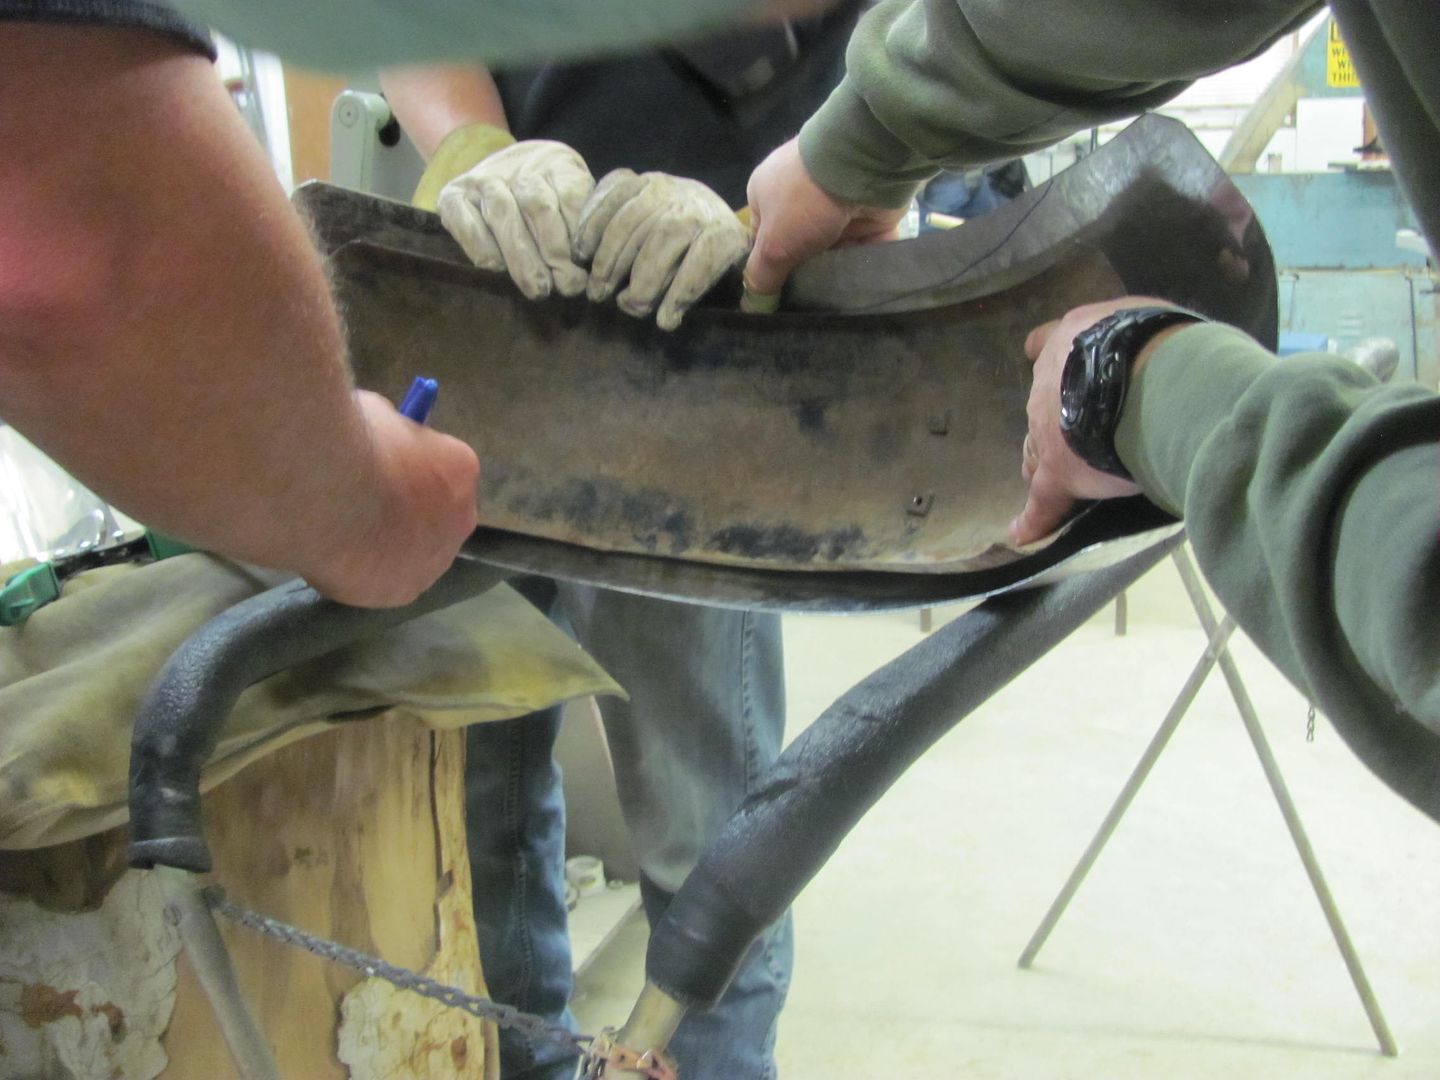
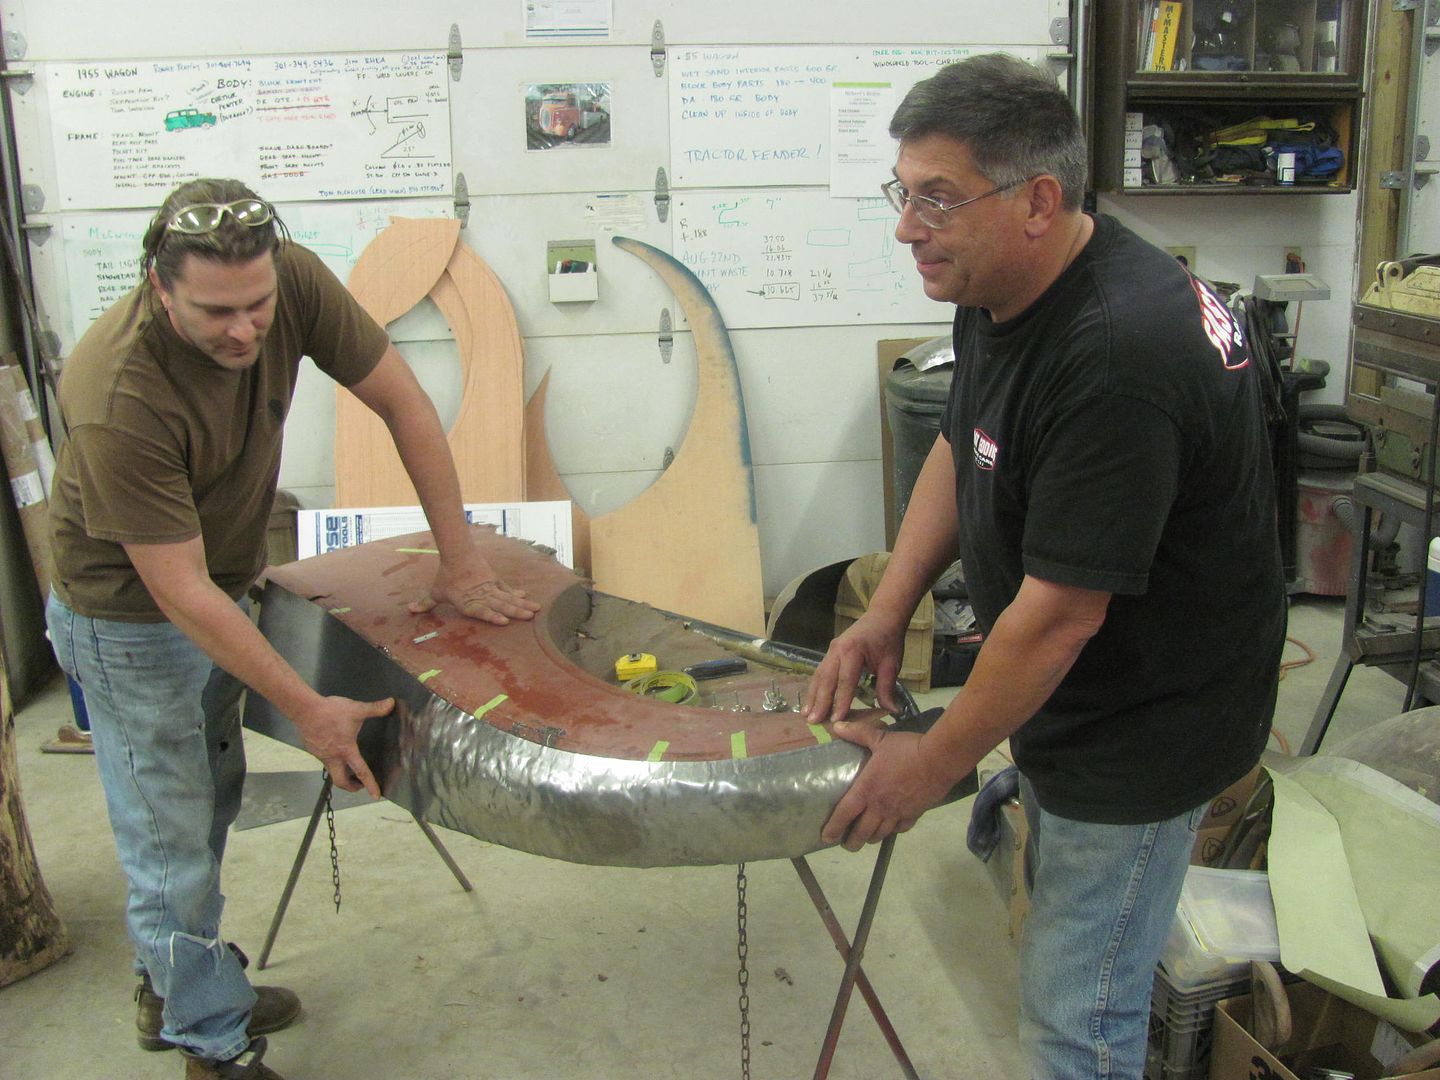
Test fit...
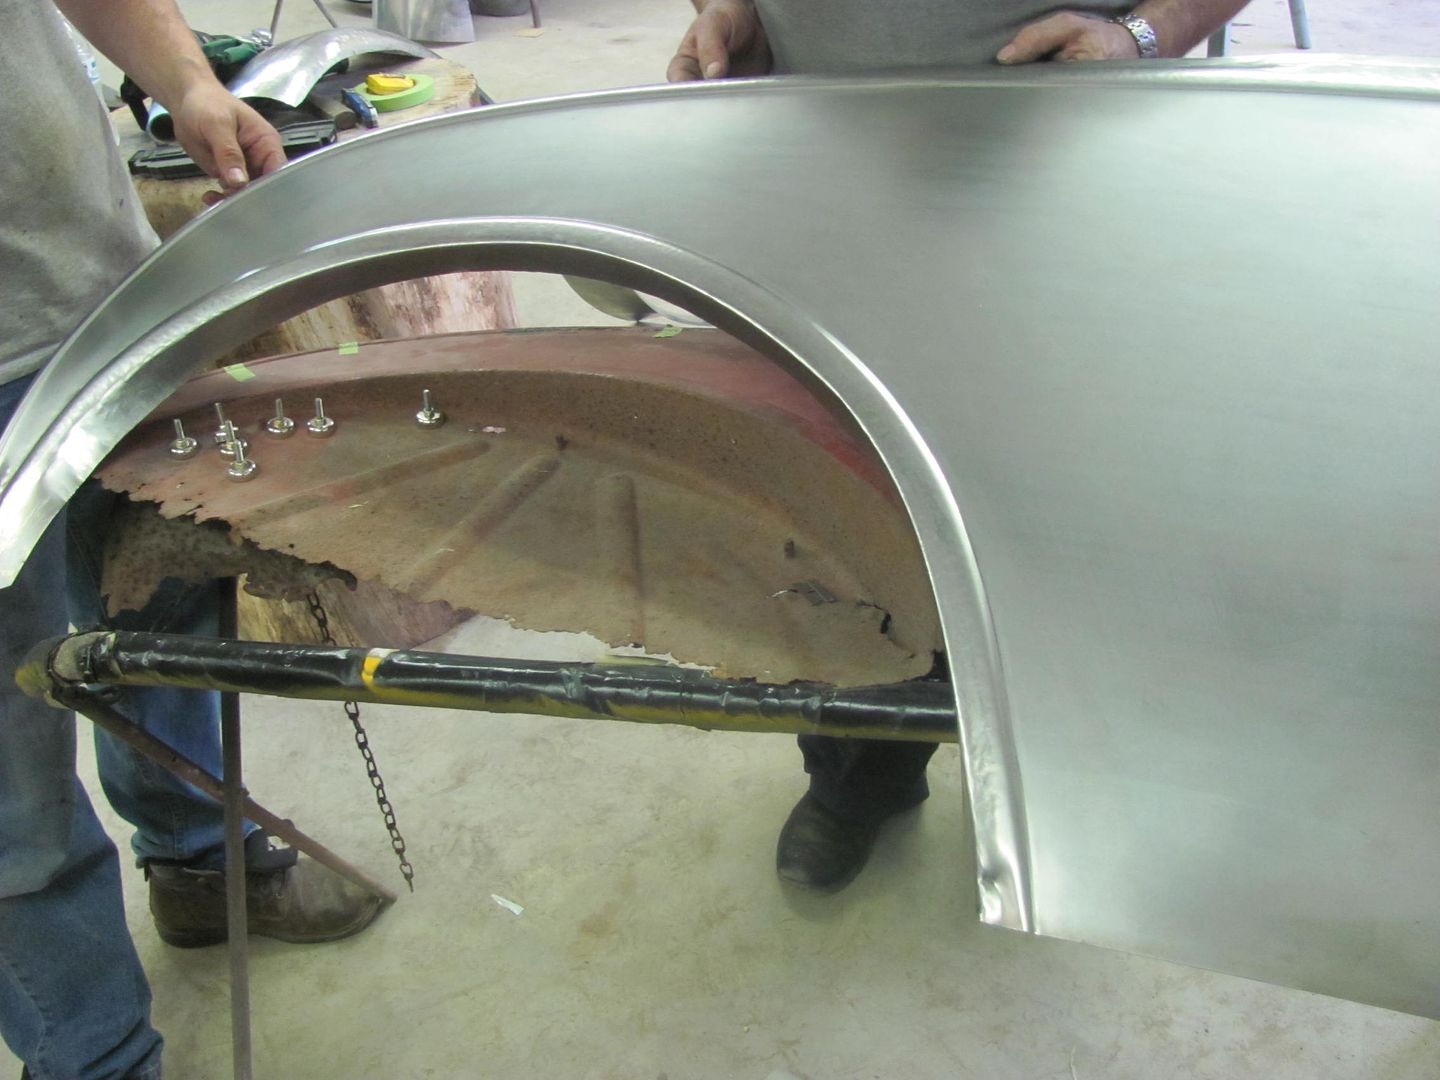
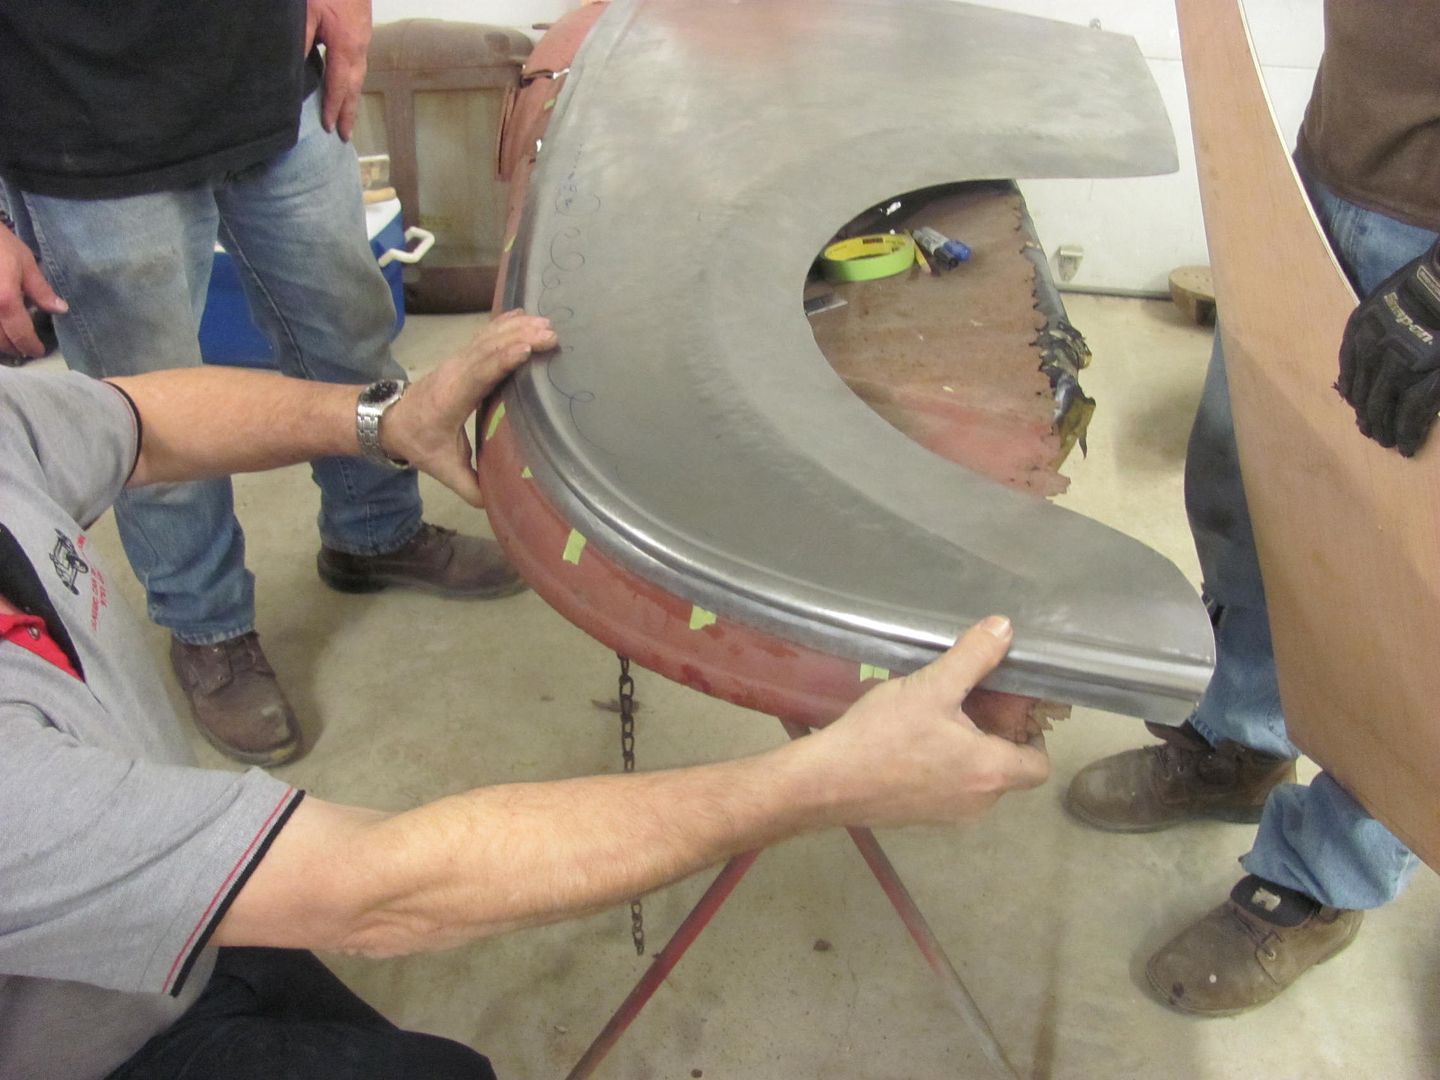
Marking for trimming the wheel opening...
Inside radius backstop
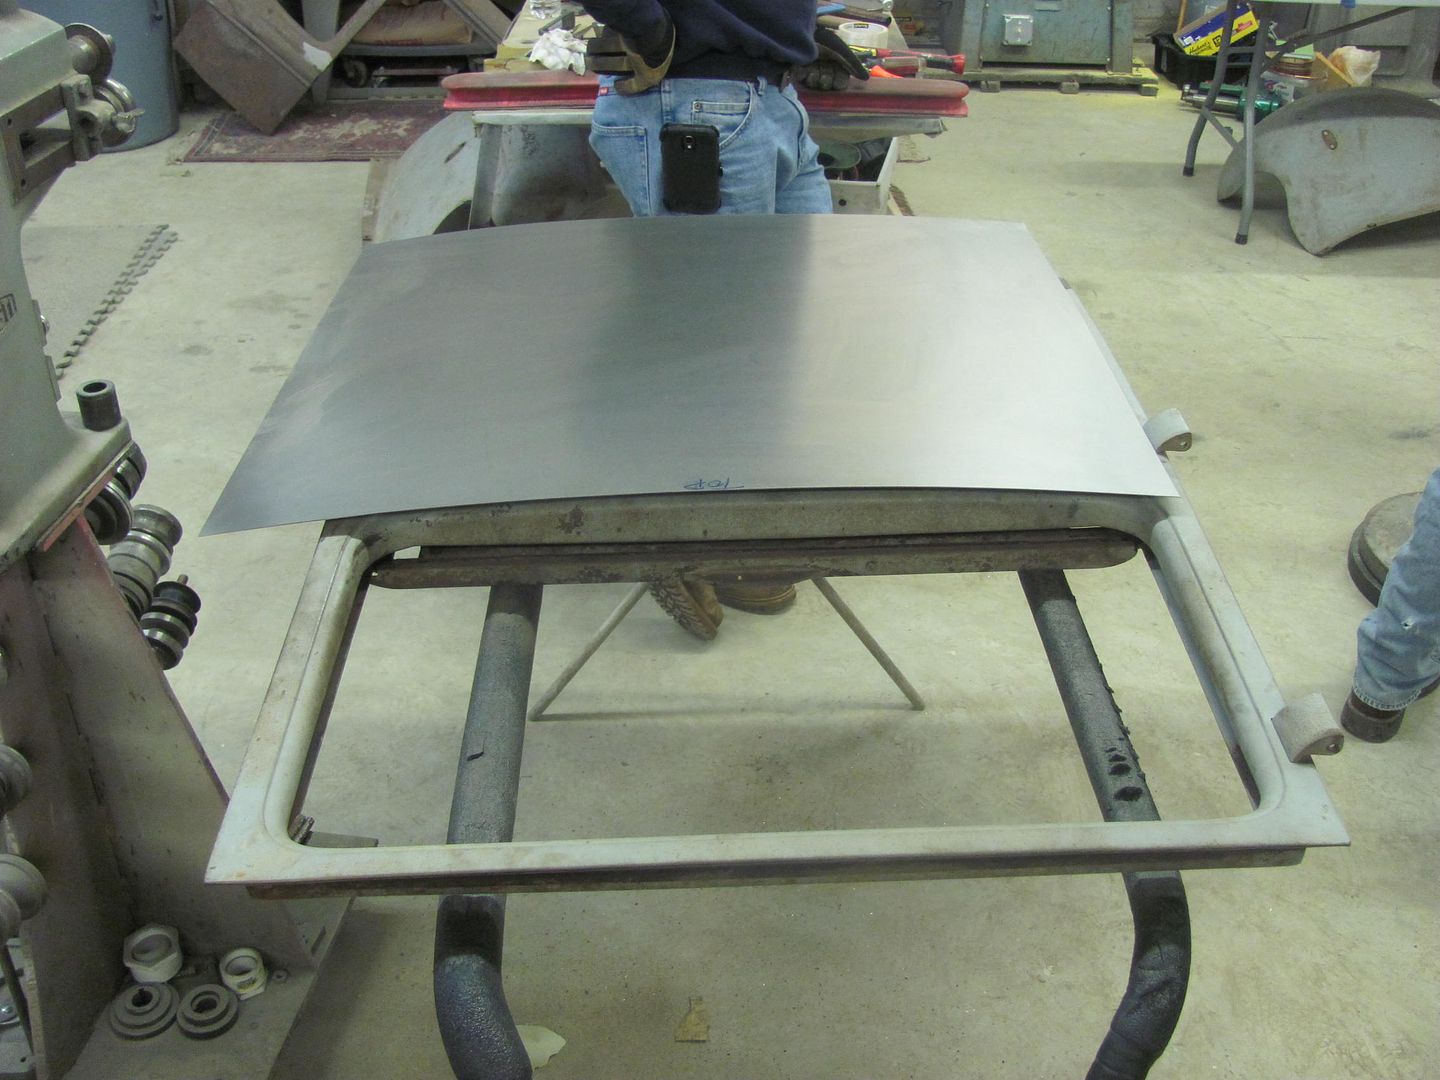
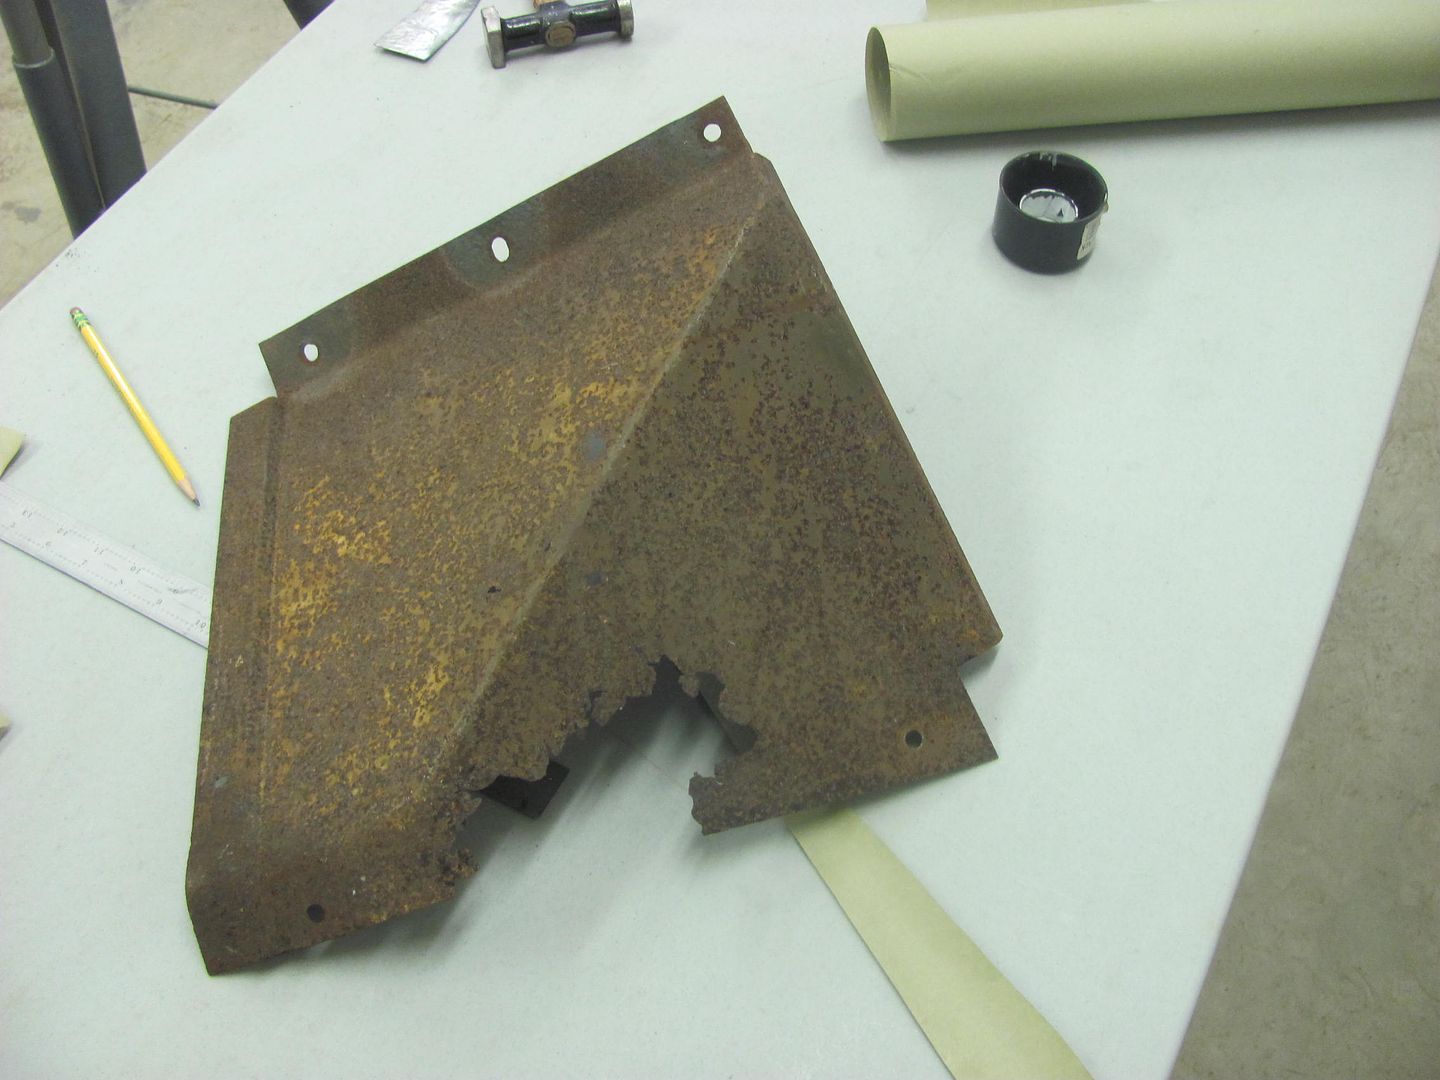
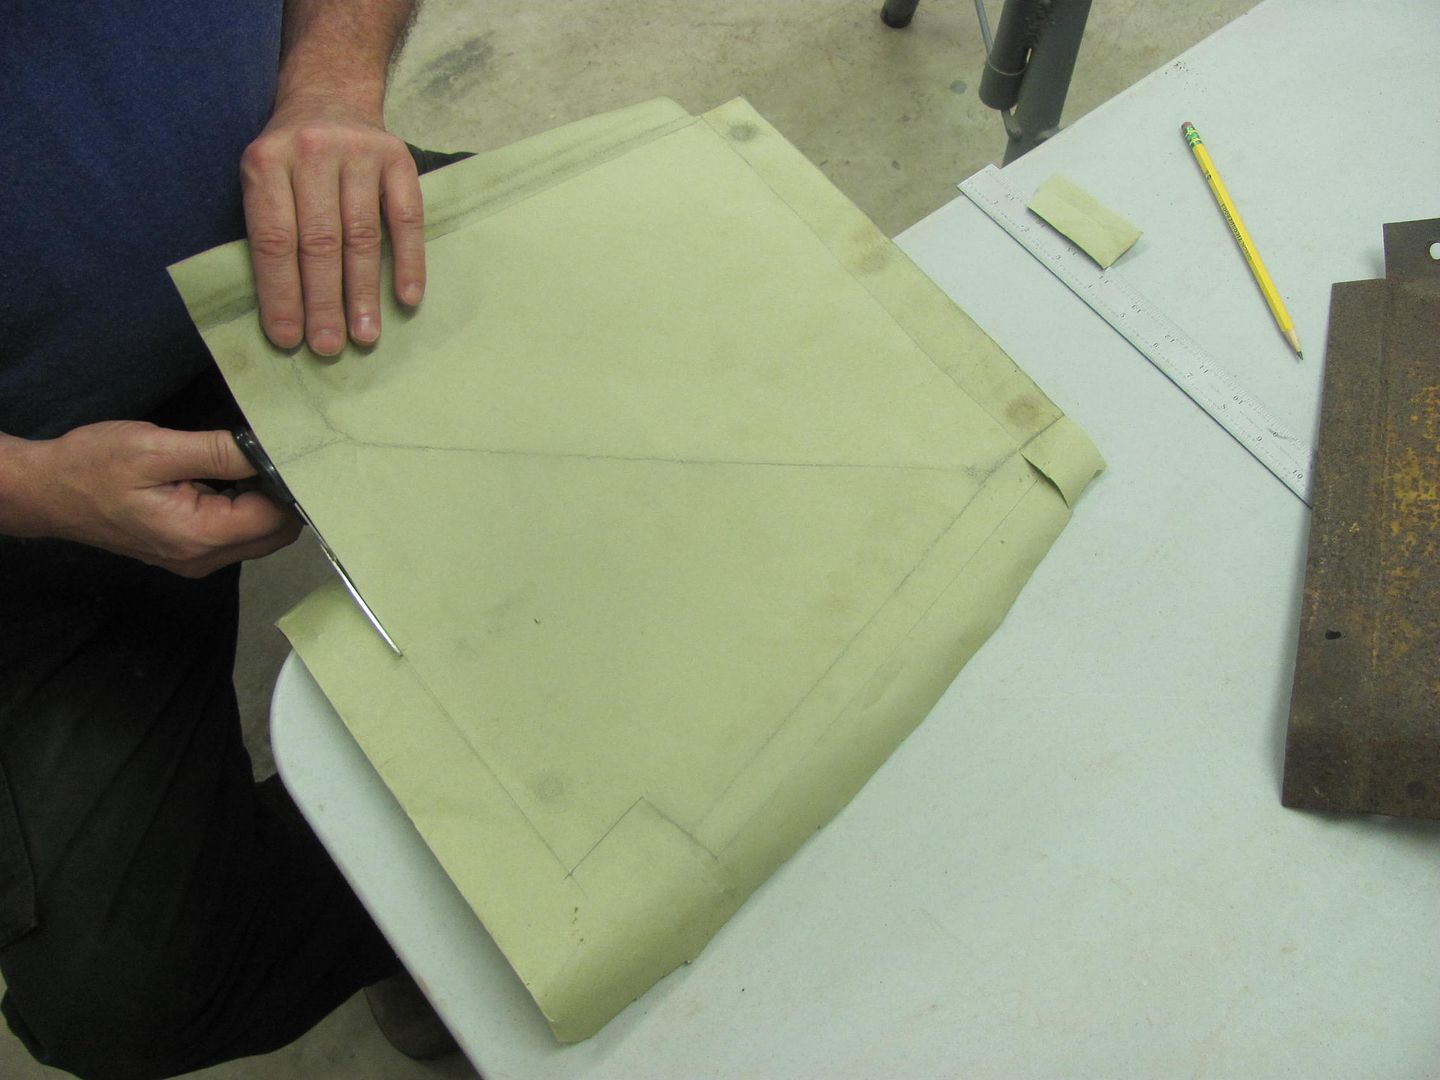
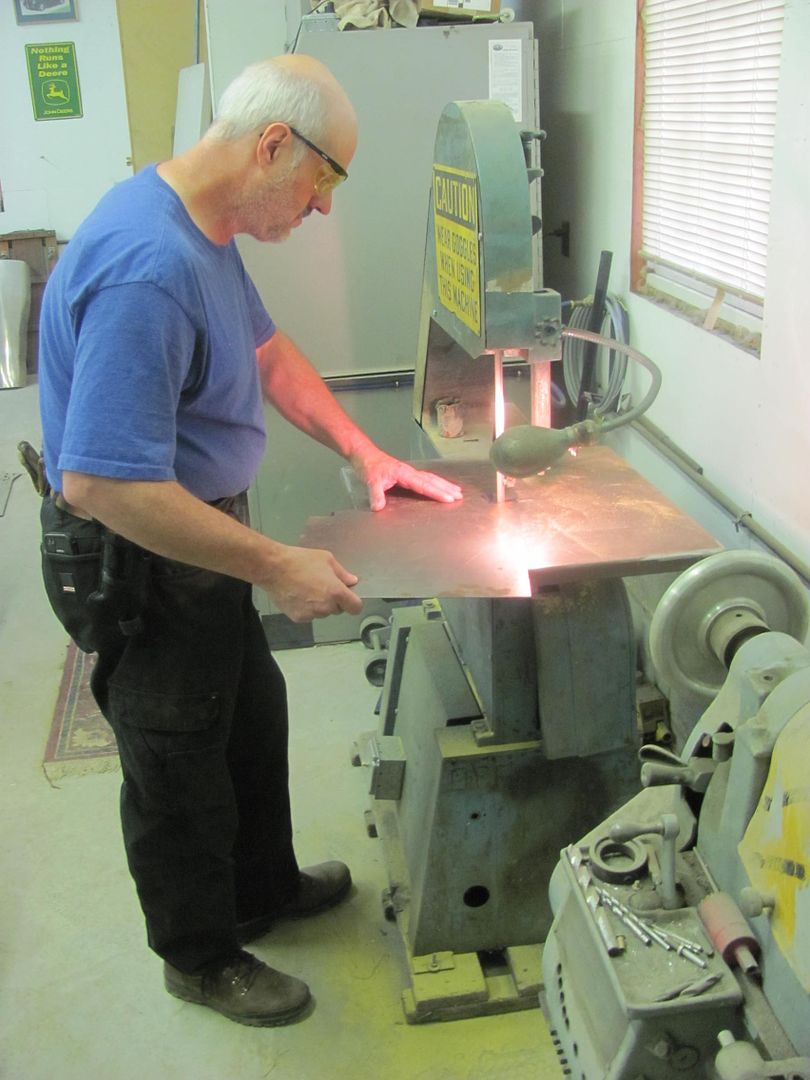
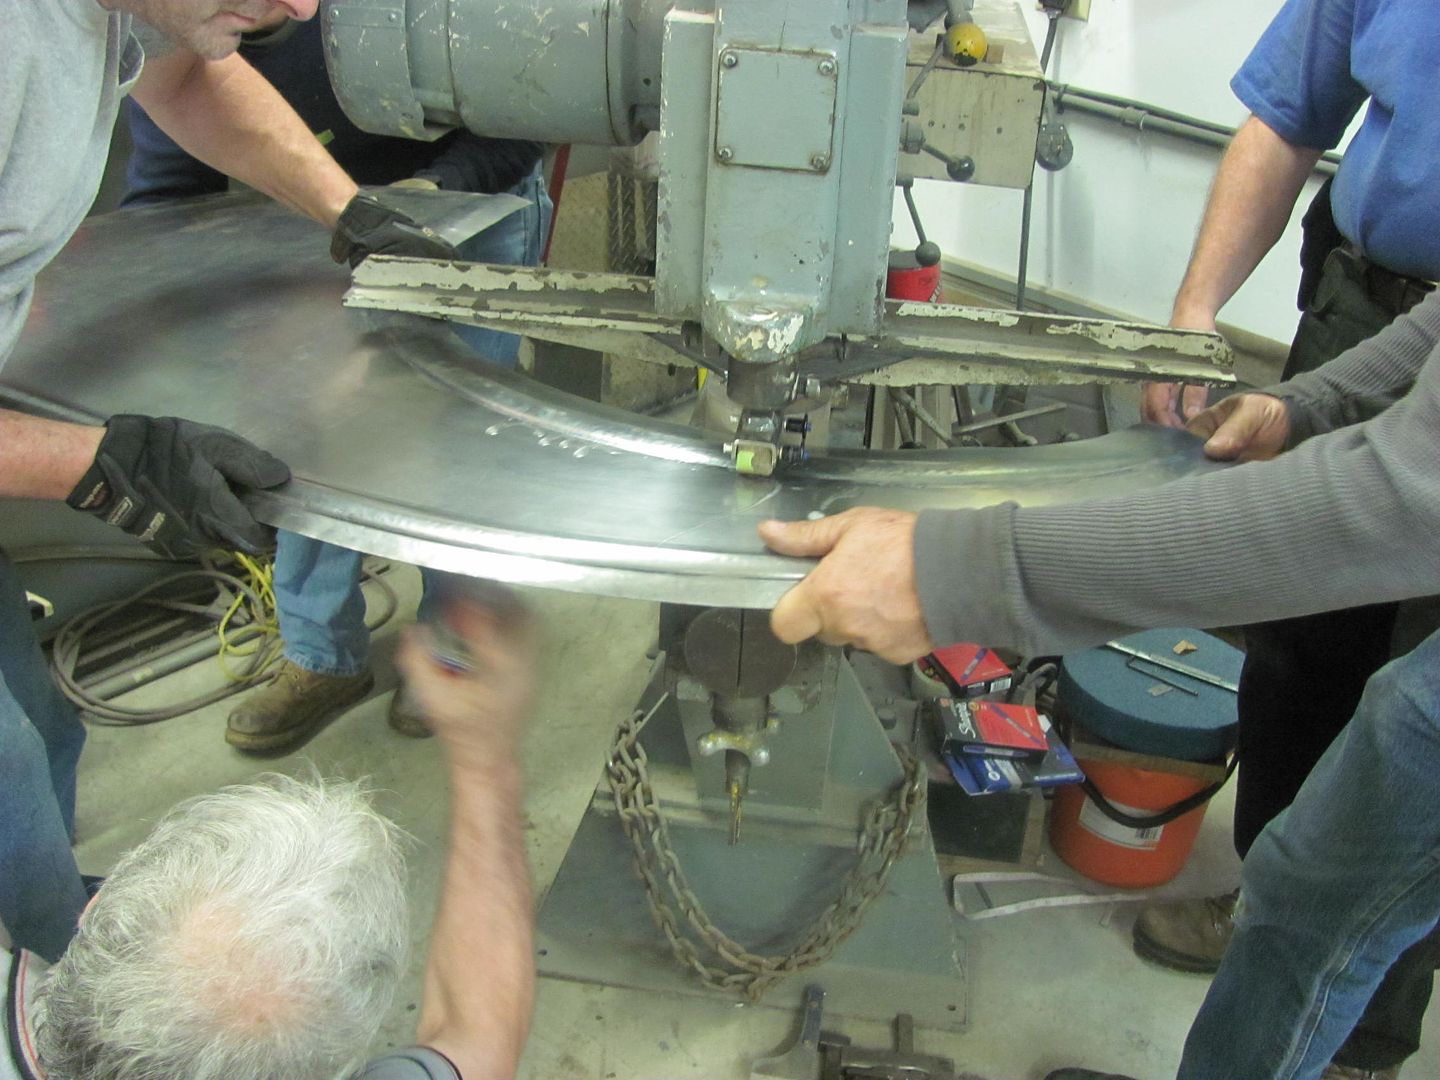
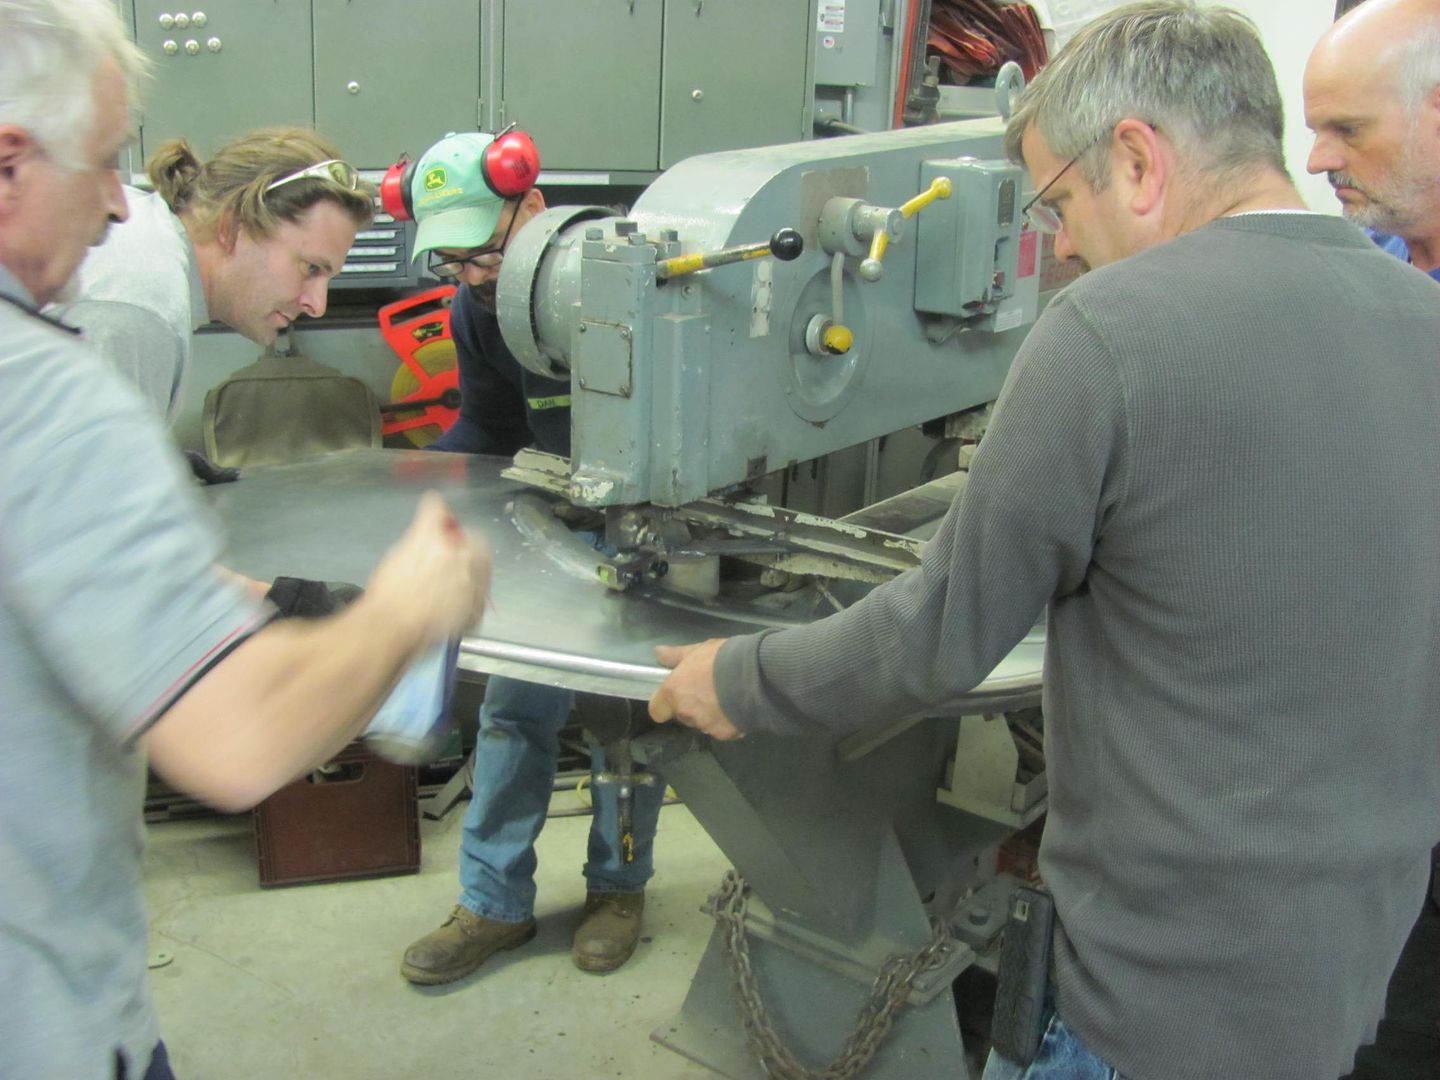
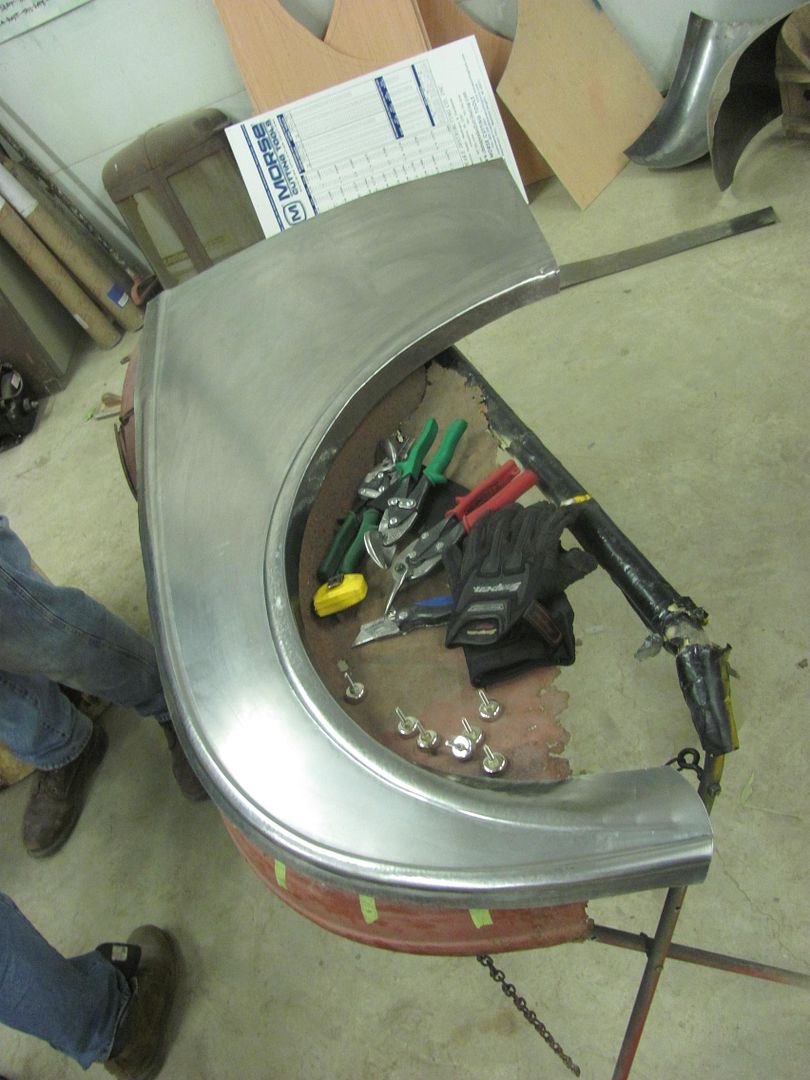
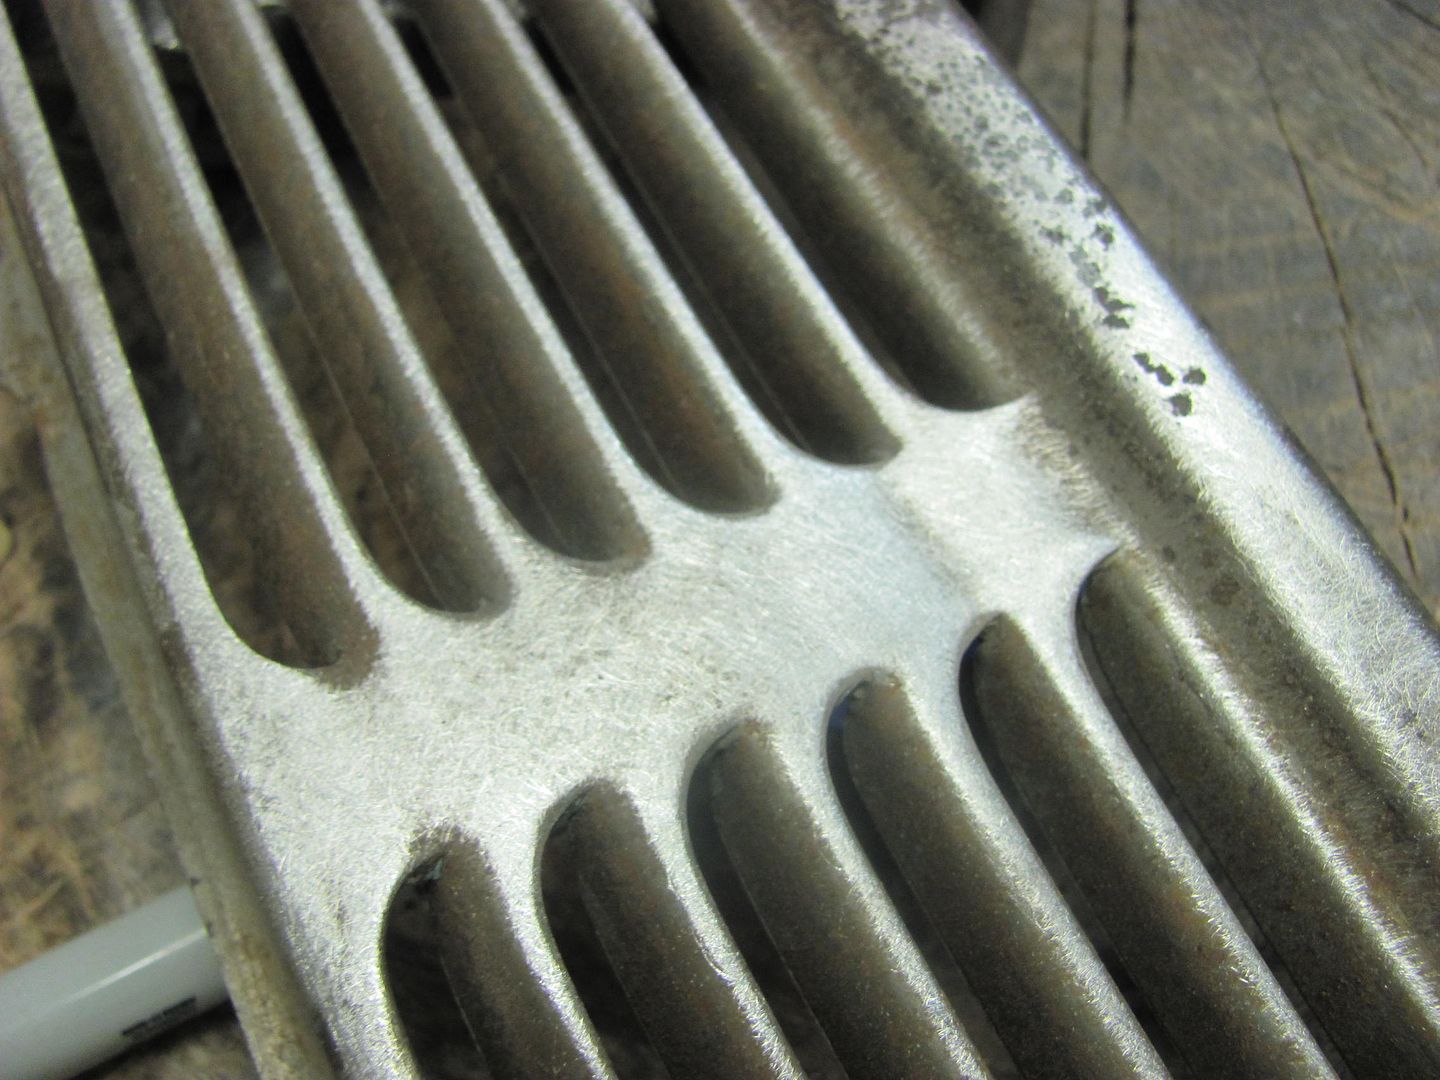
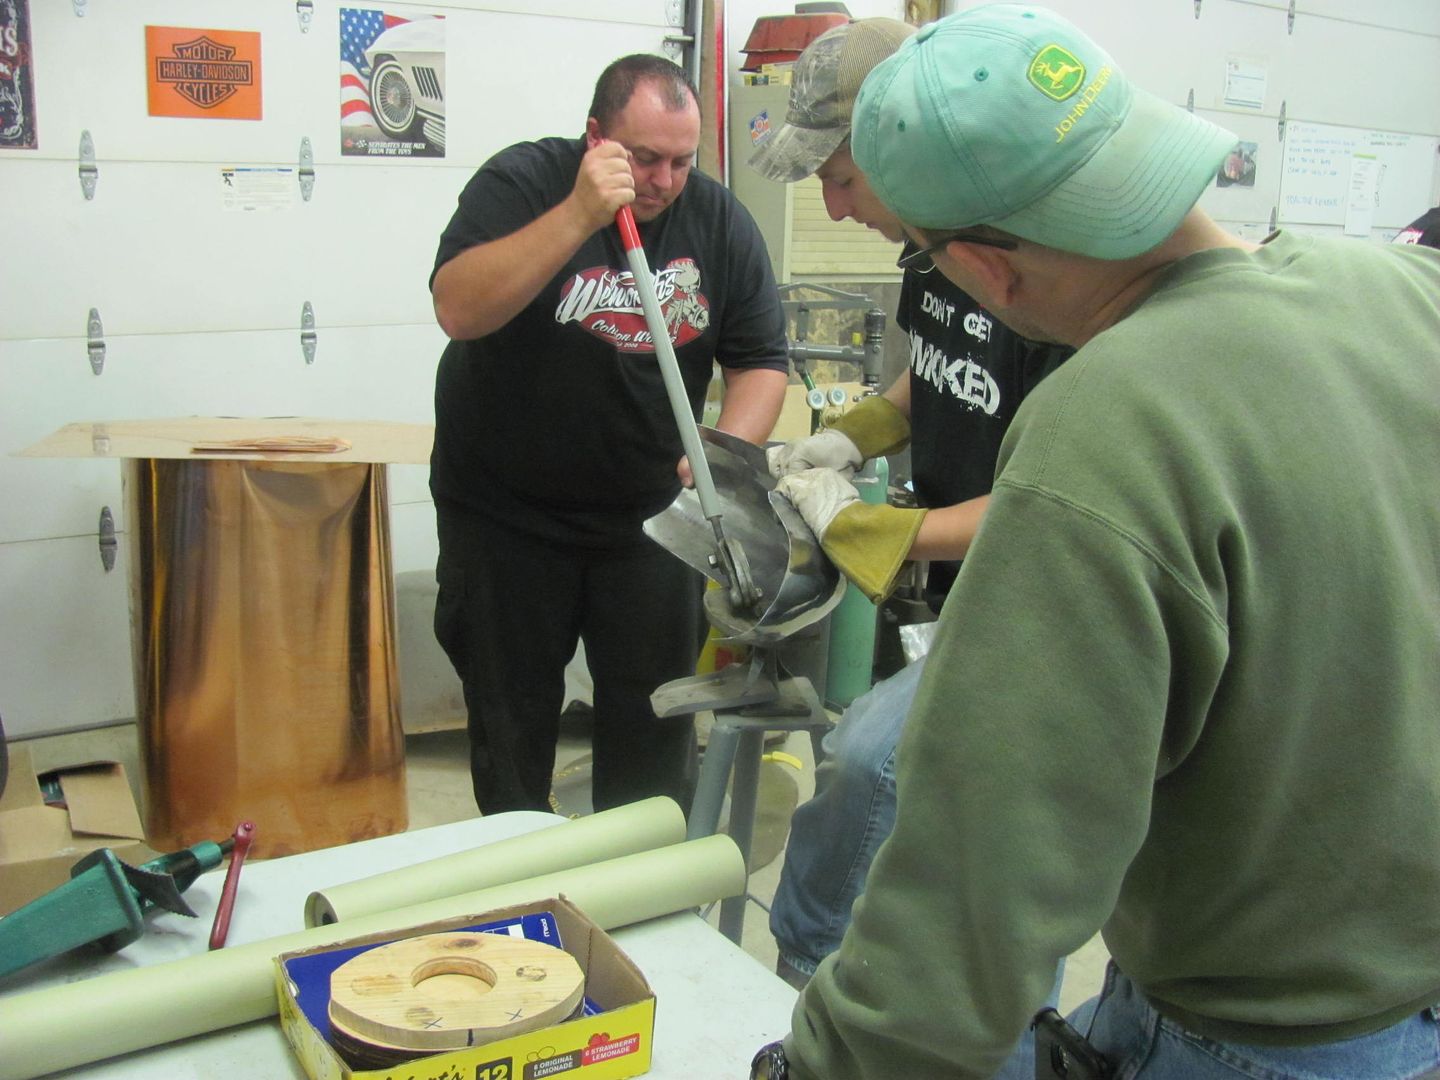
Scooter fender...
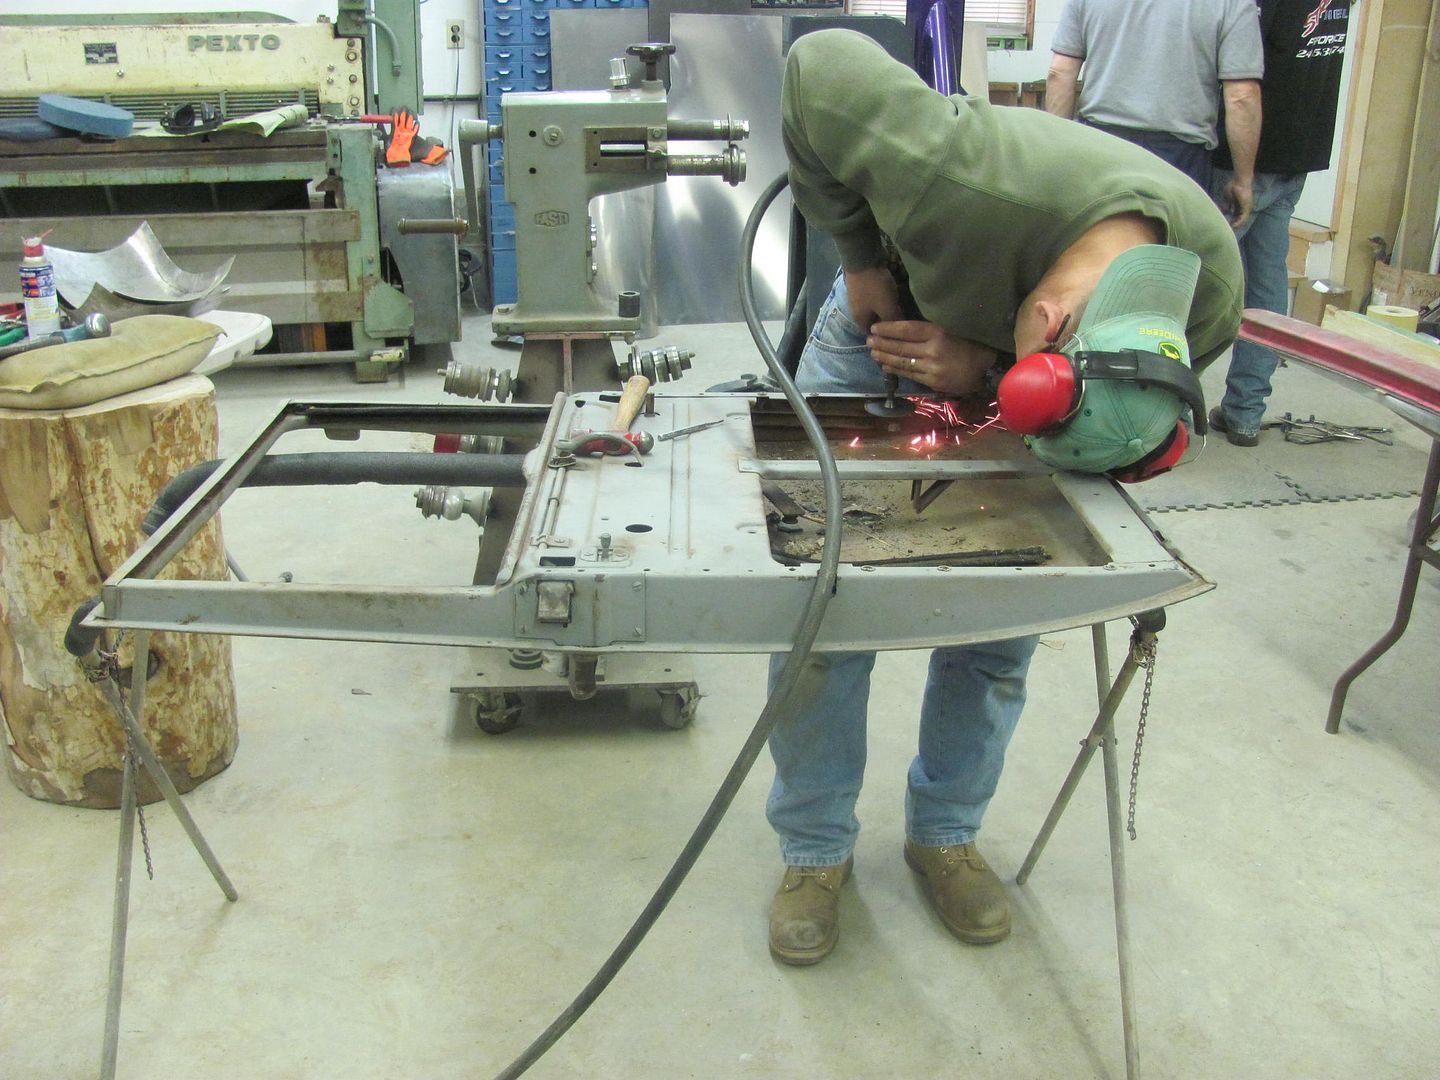
Trimming...
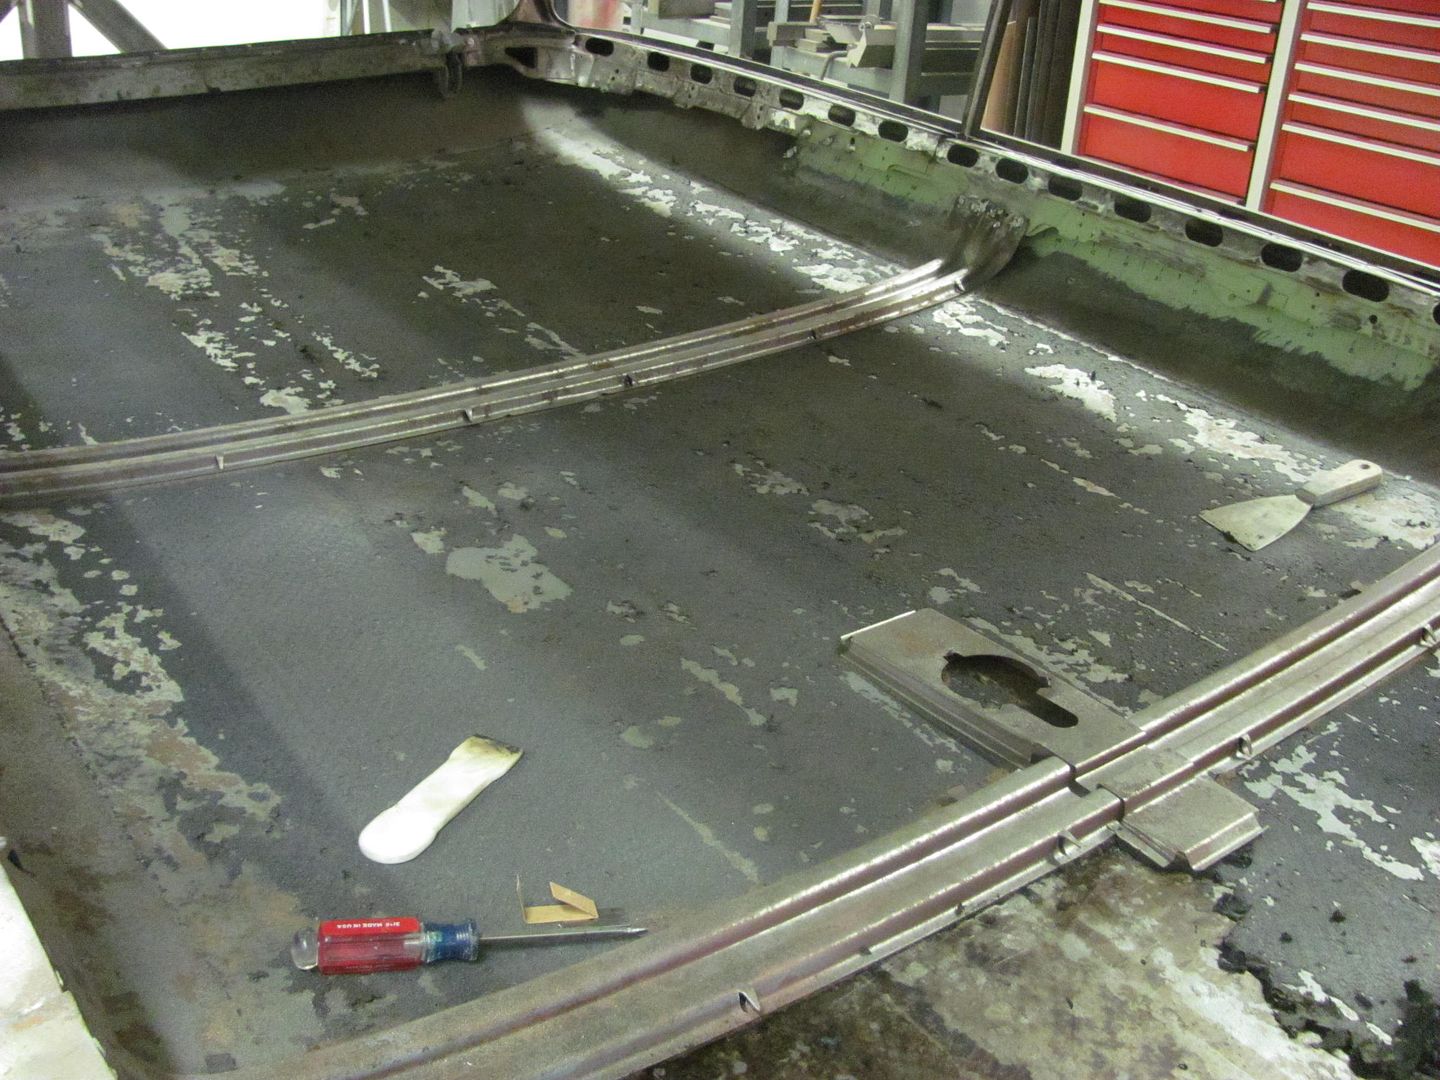
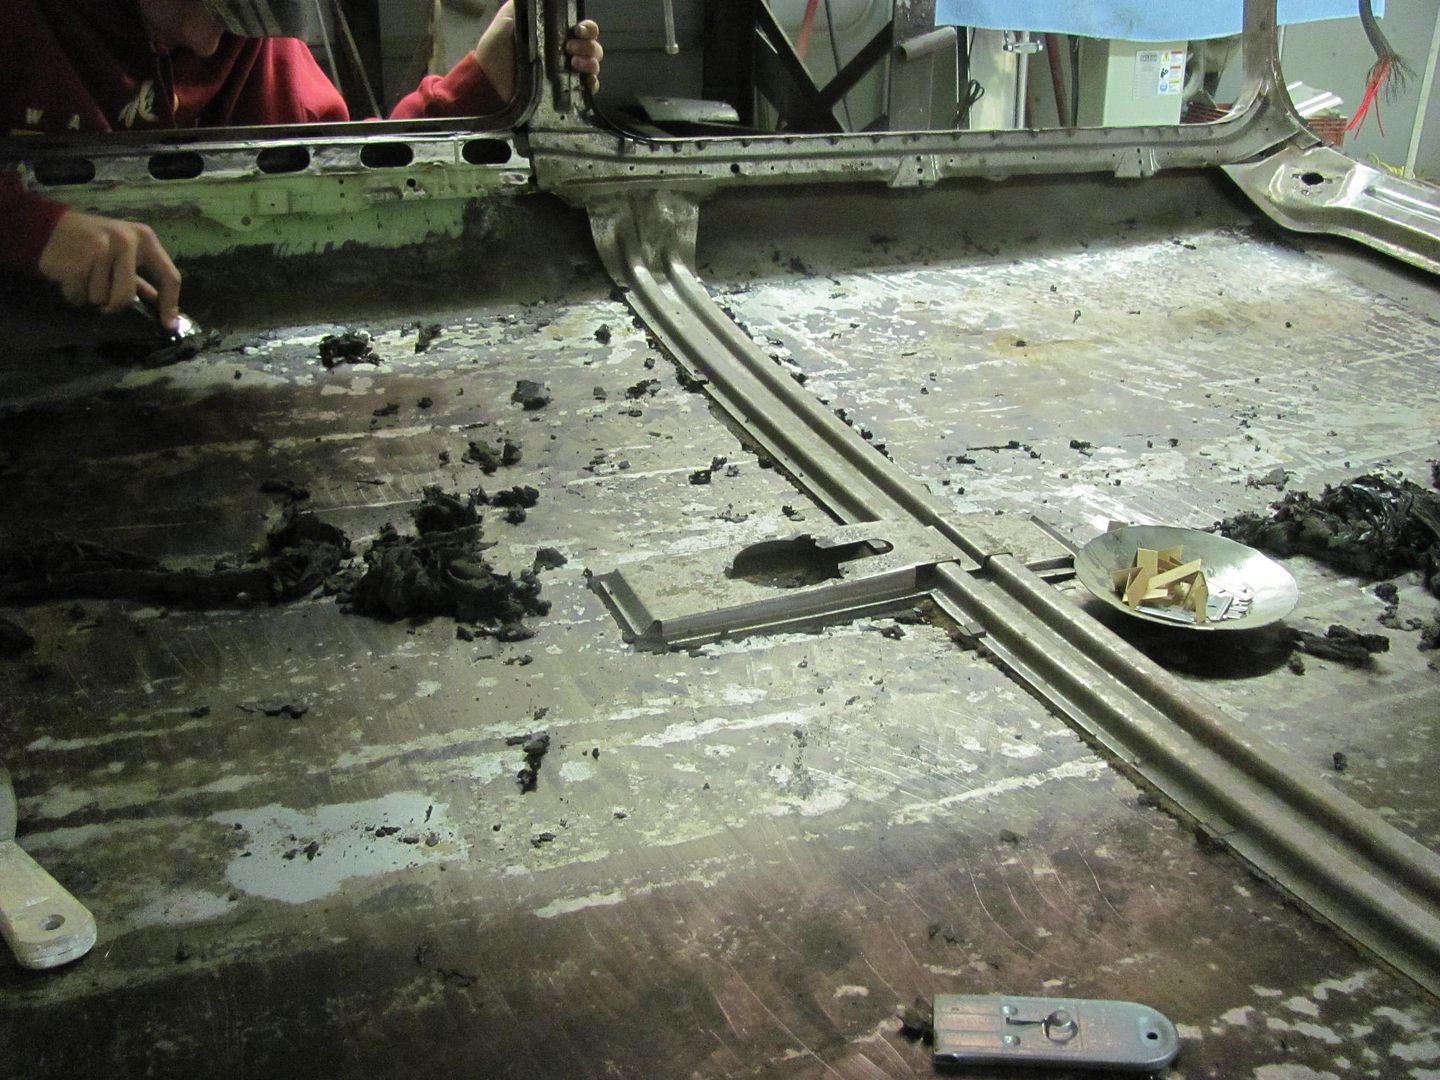
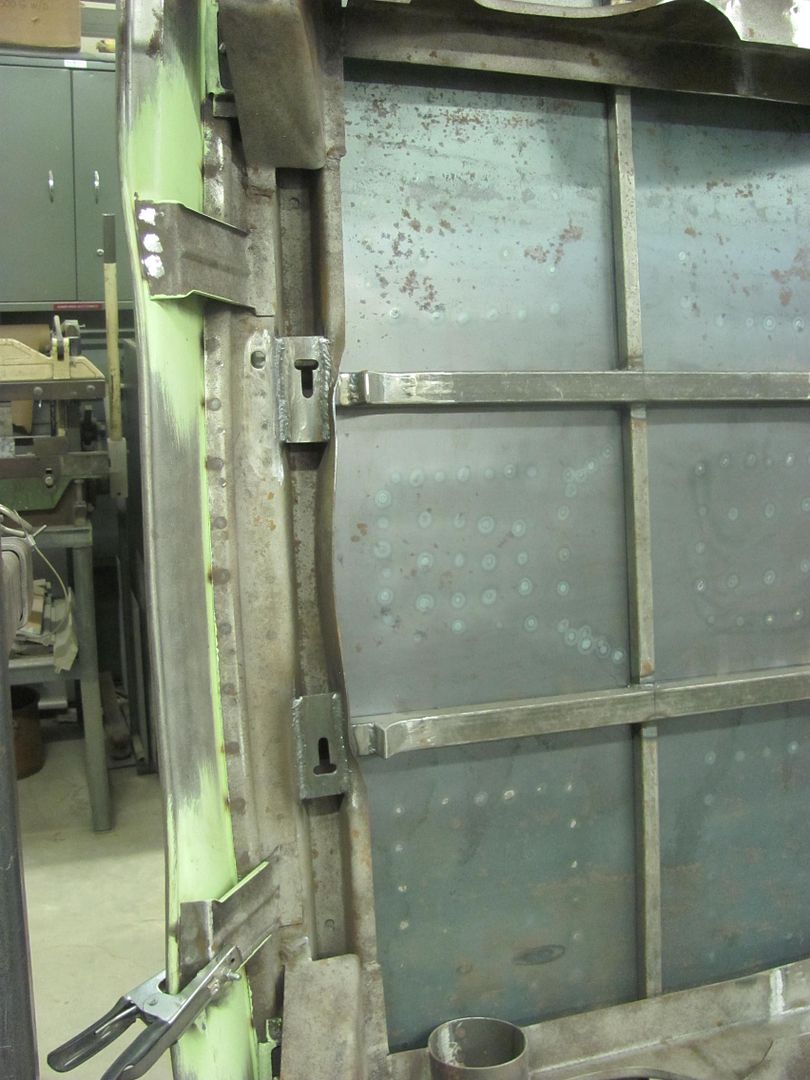
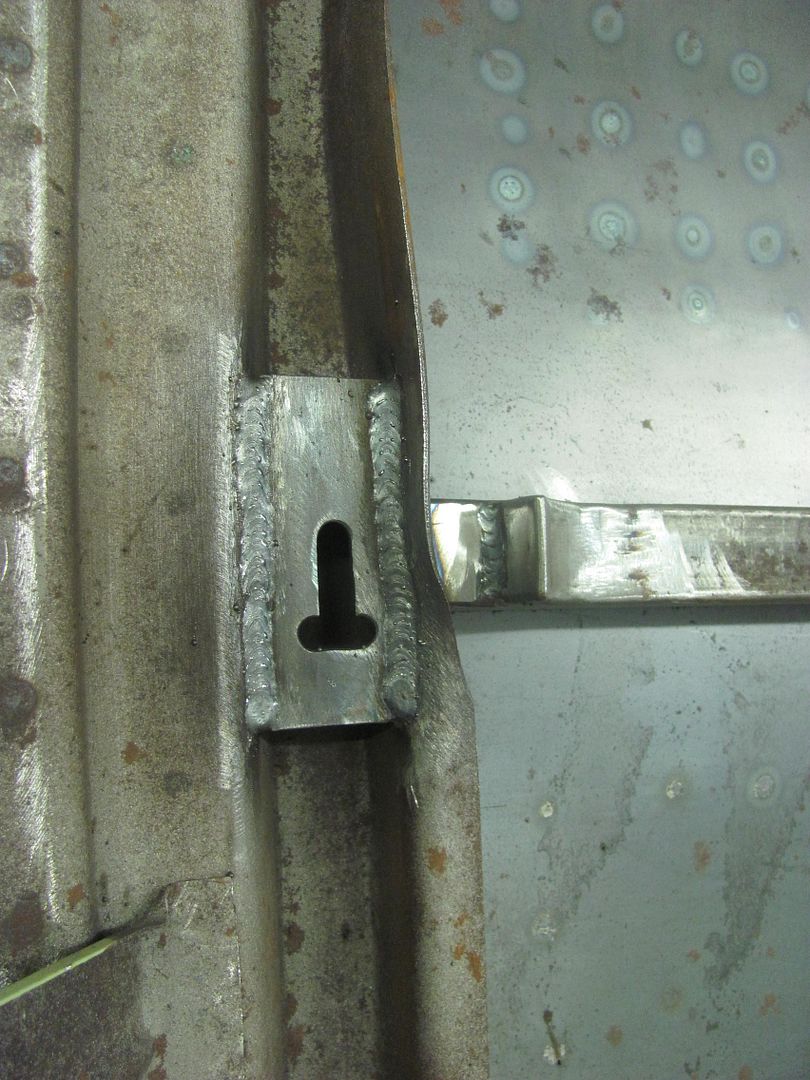
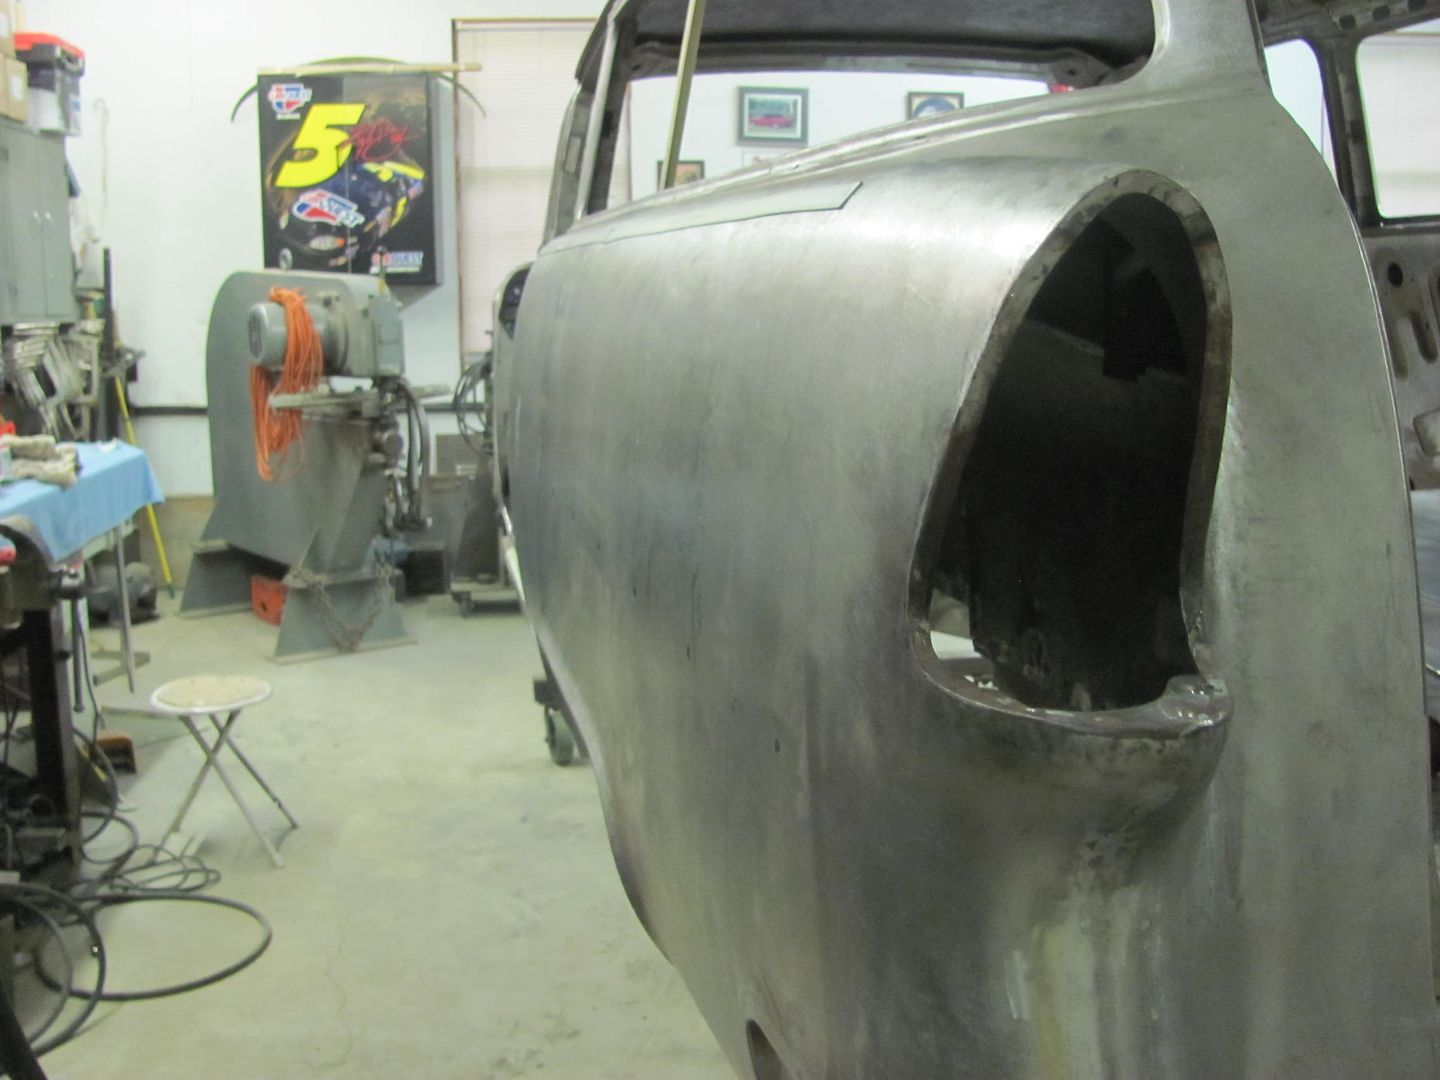
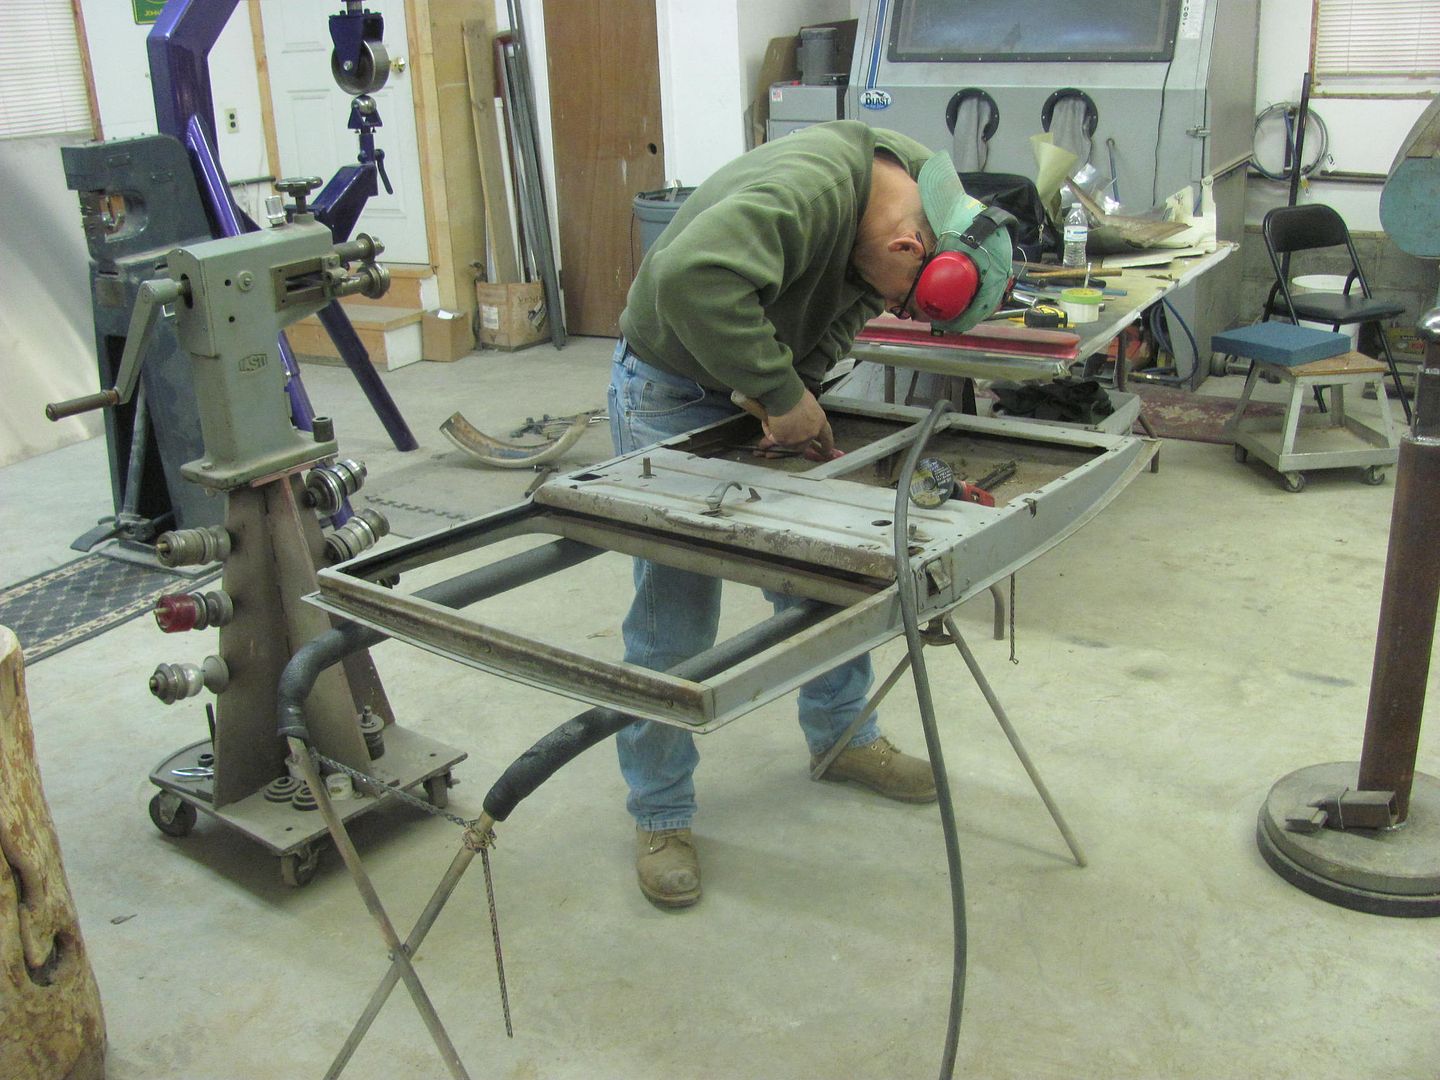
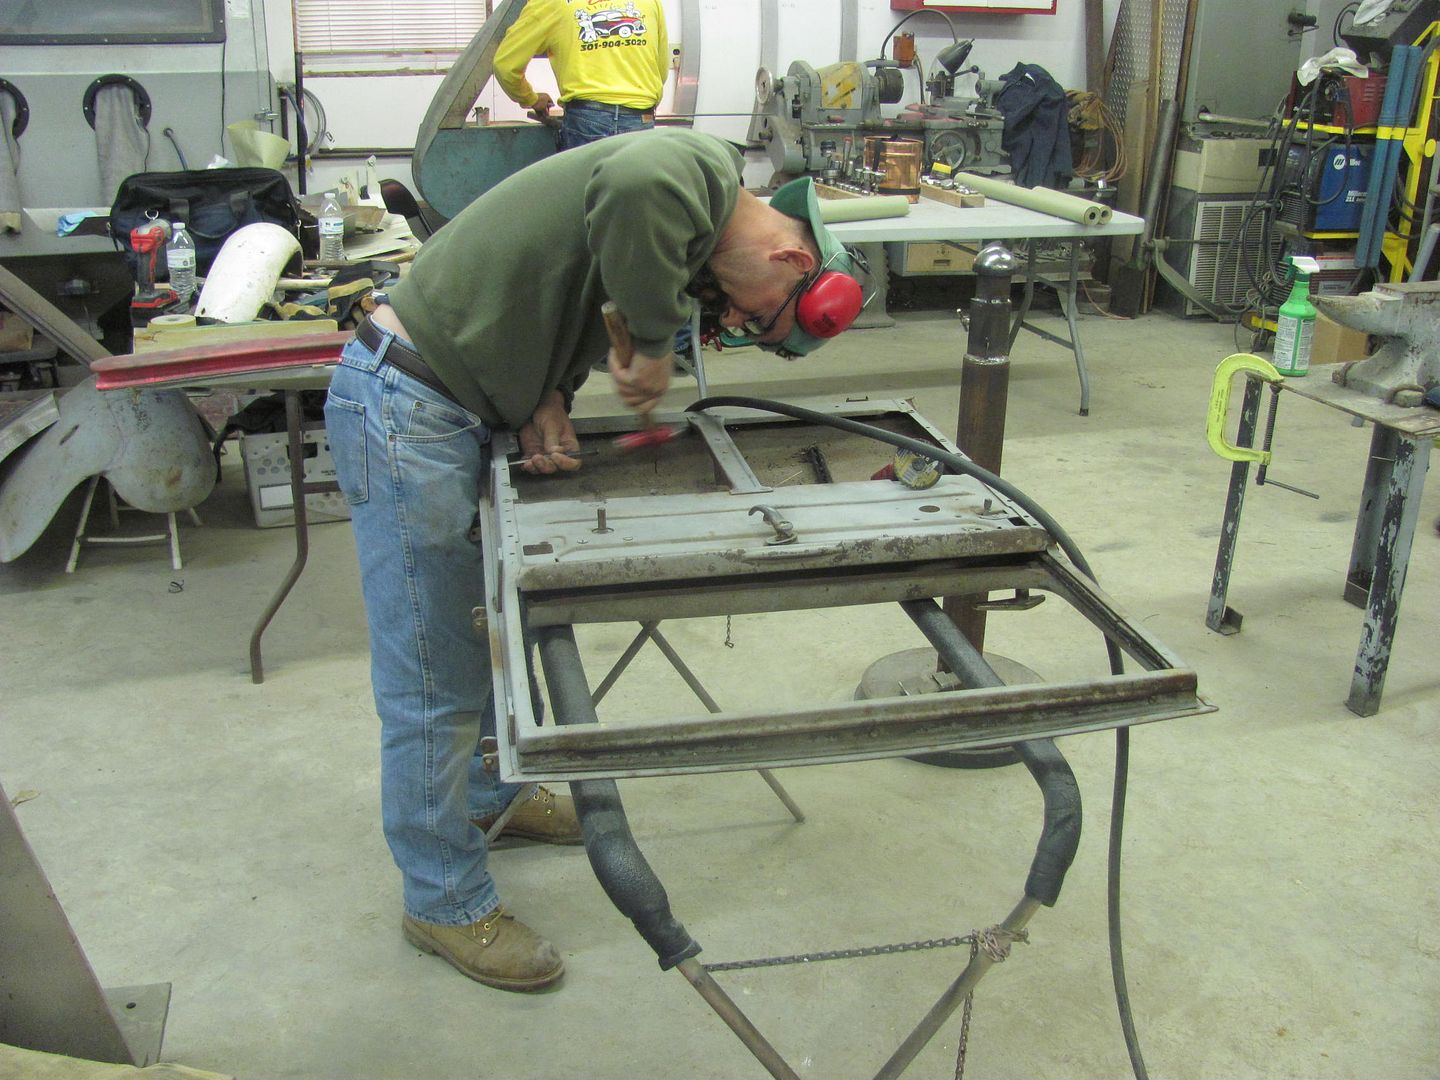
Prepping for Sport Coupe door skin removal
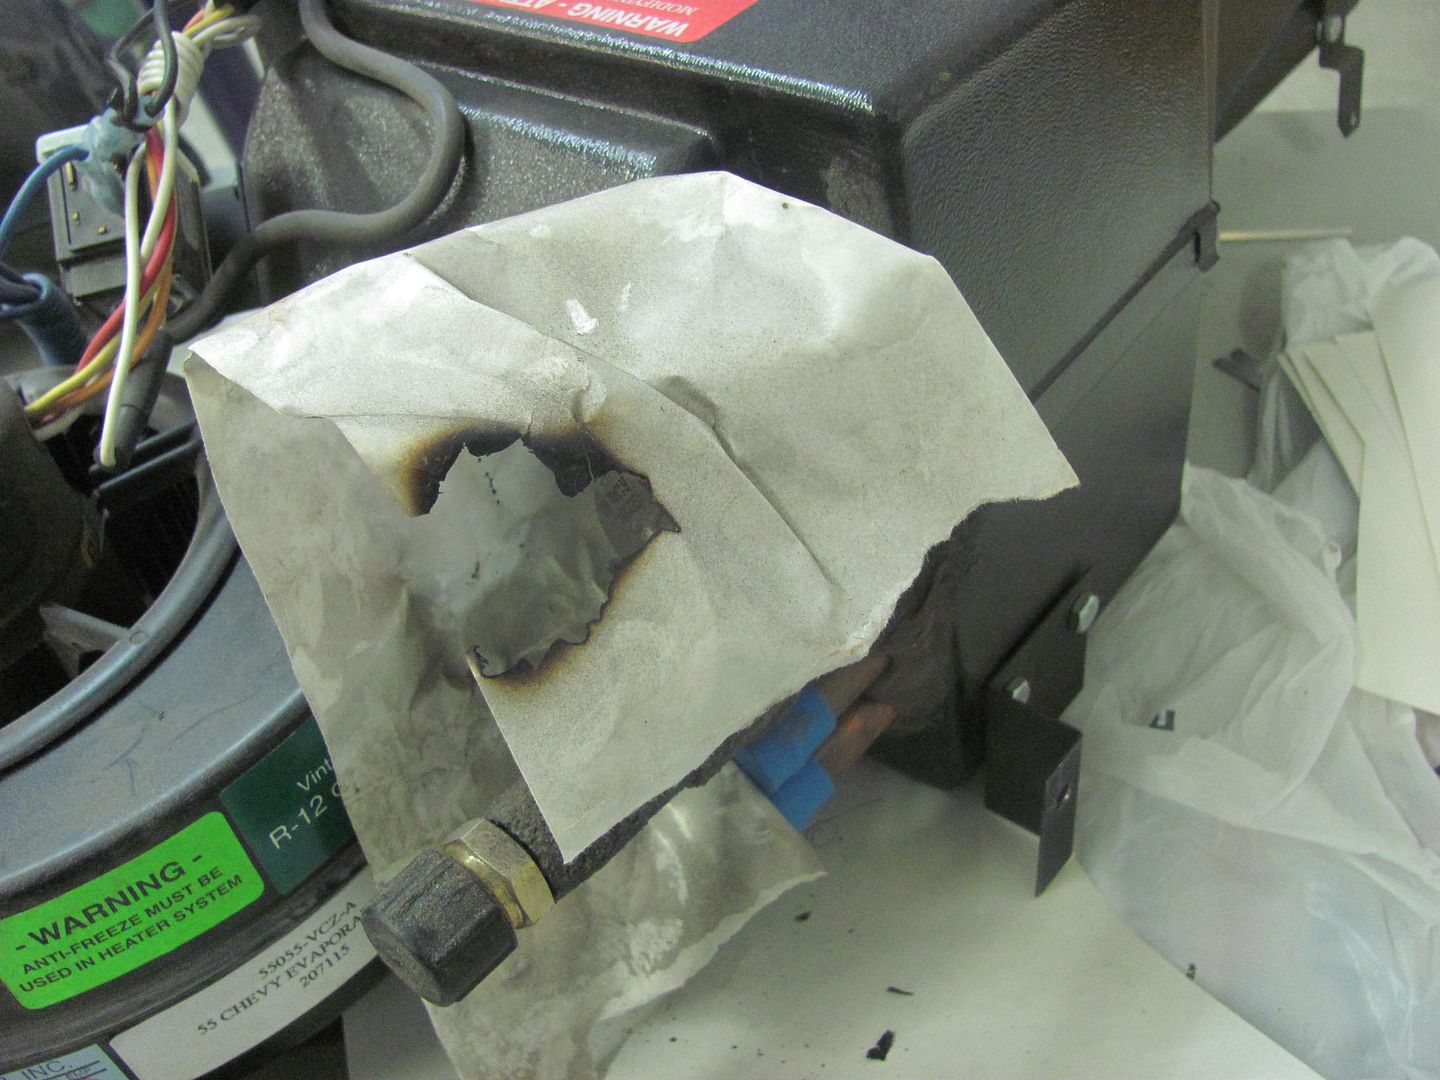
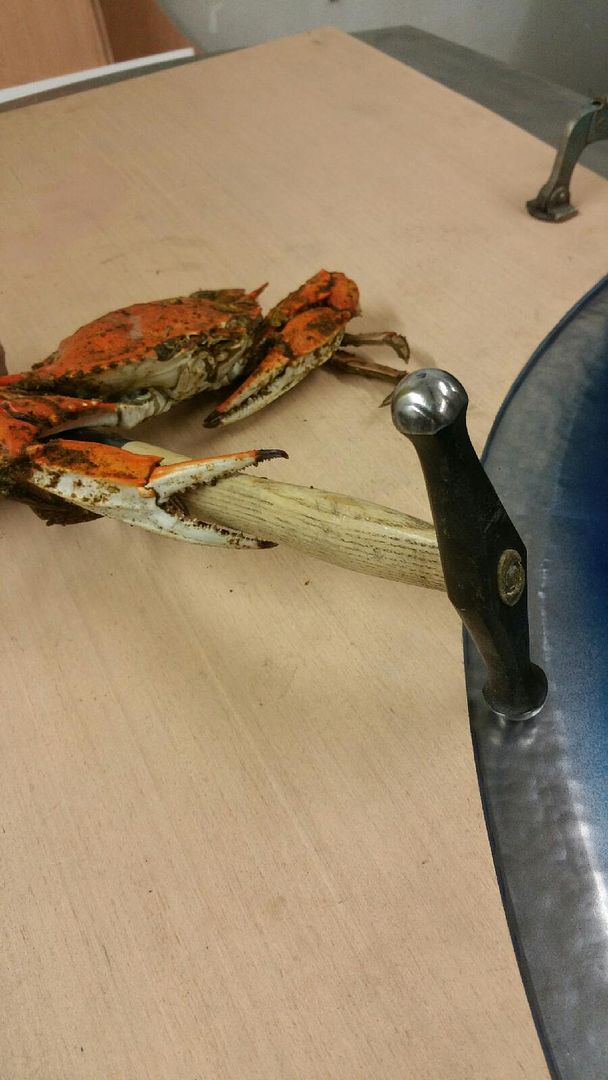
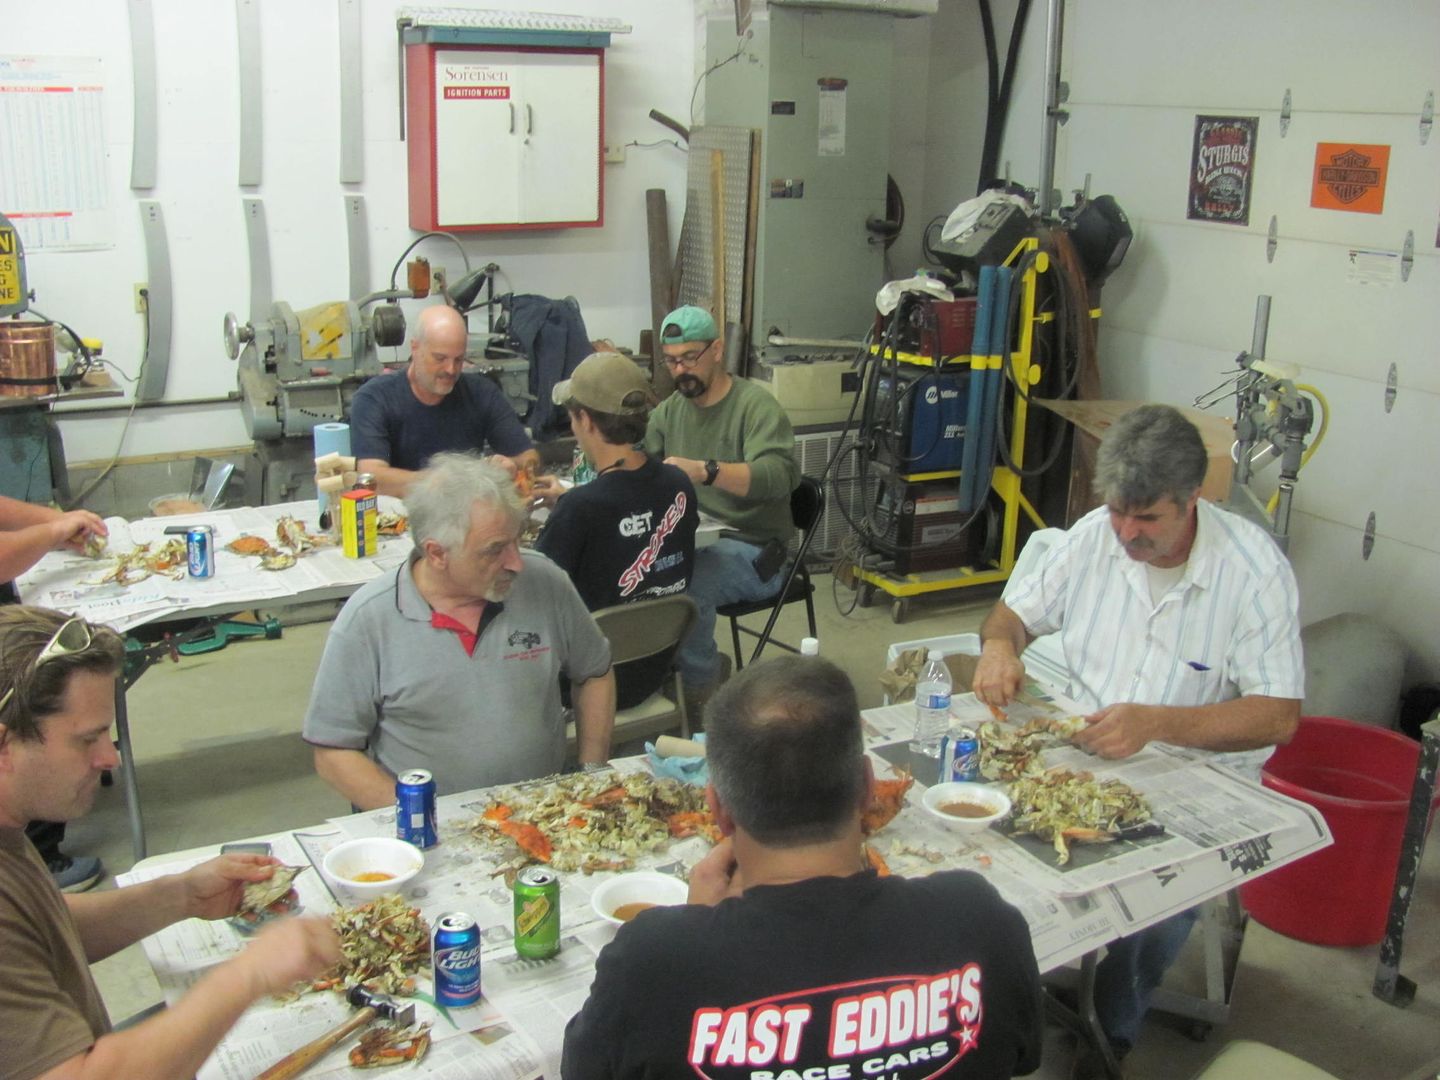
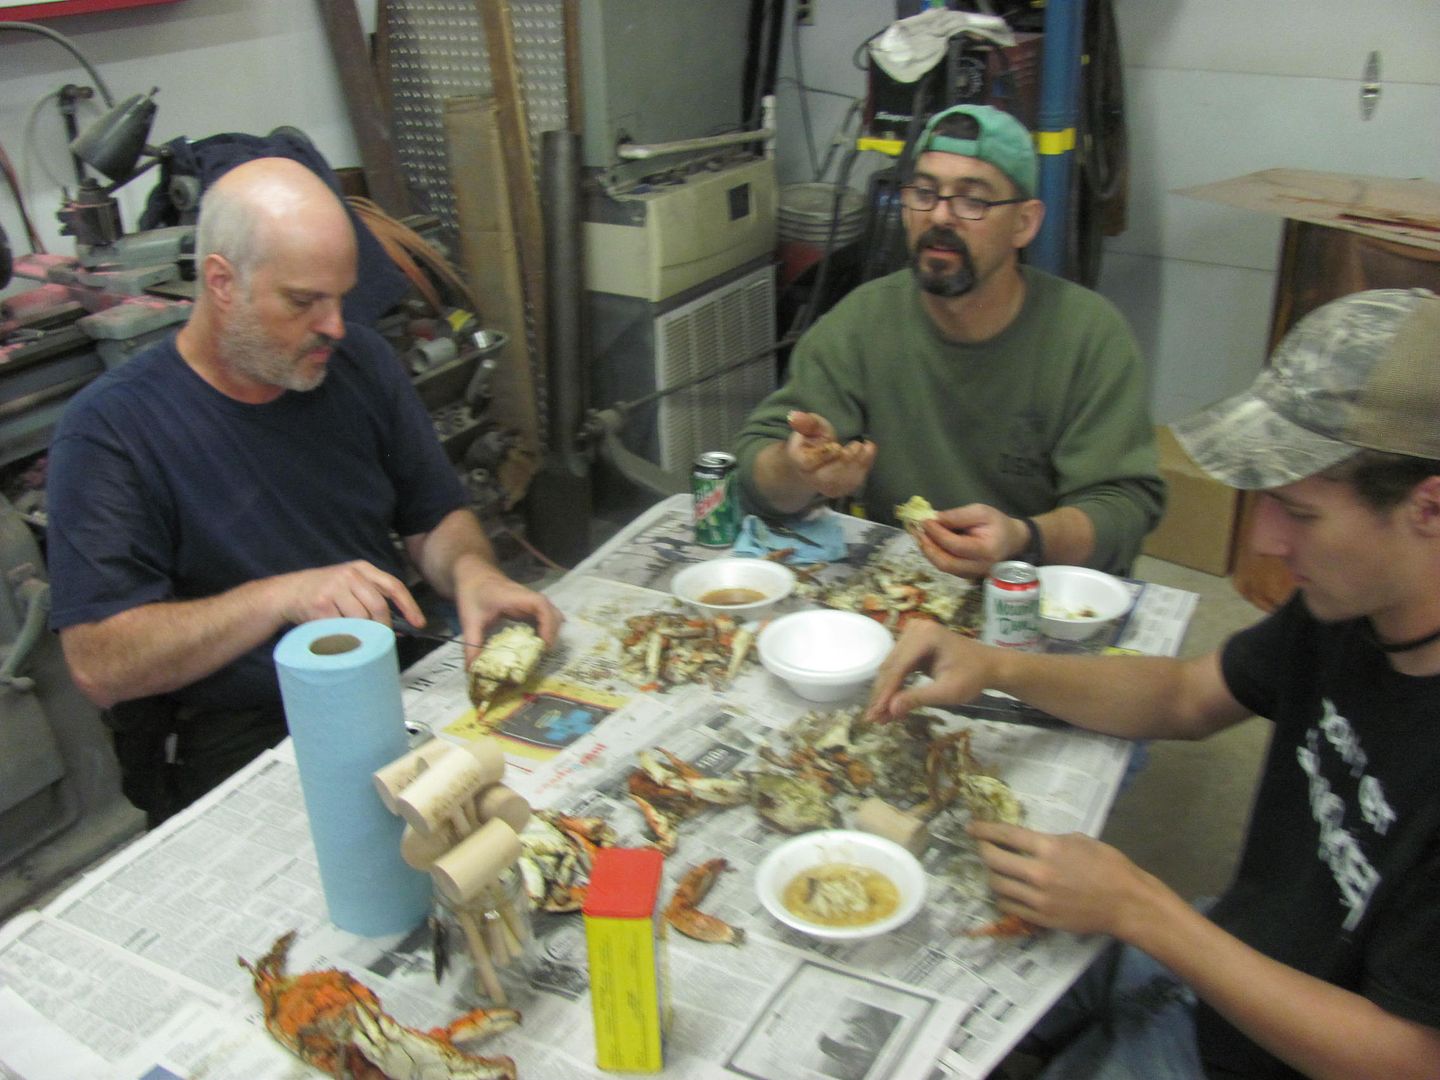
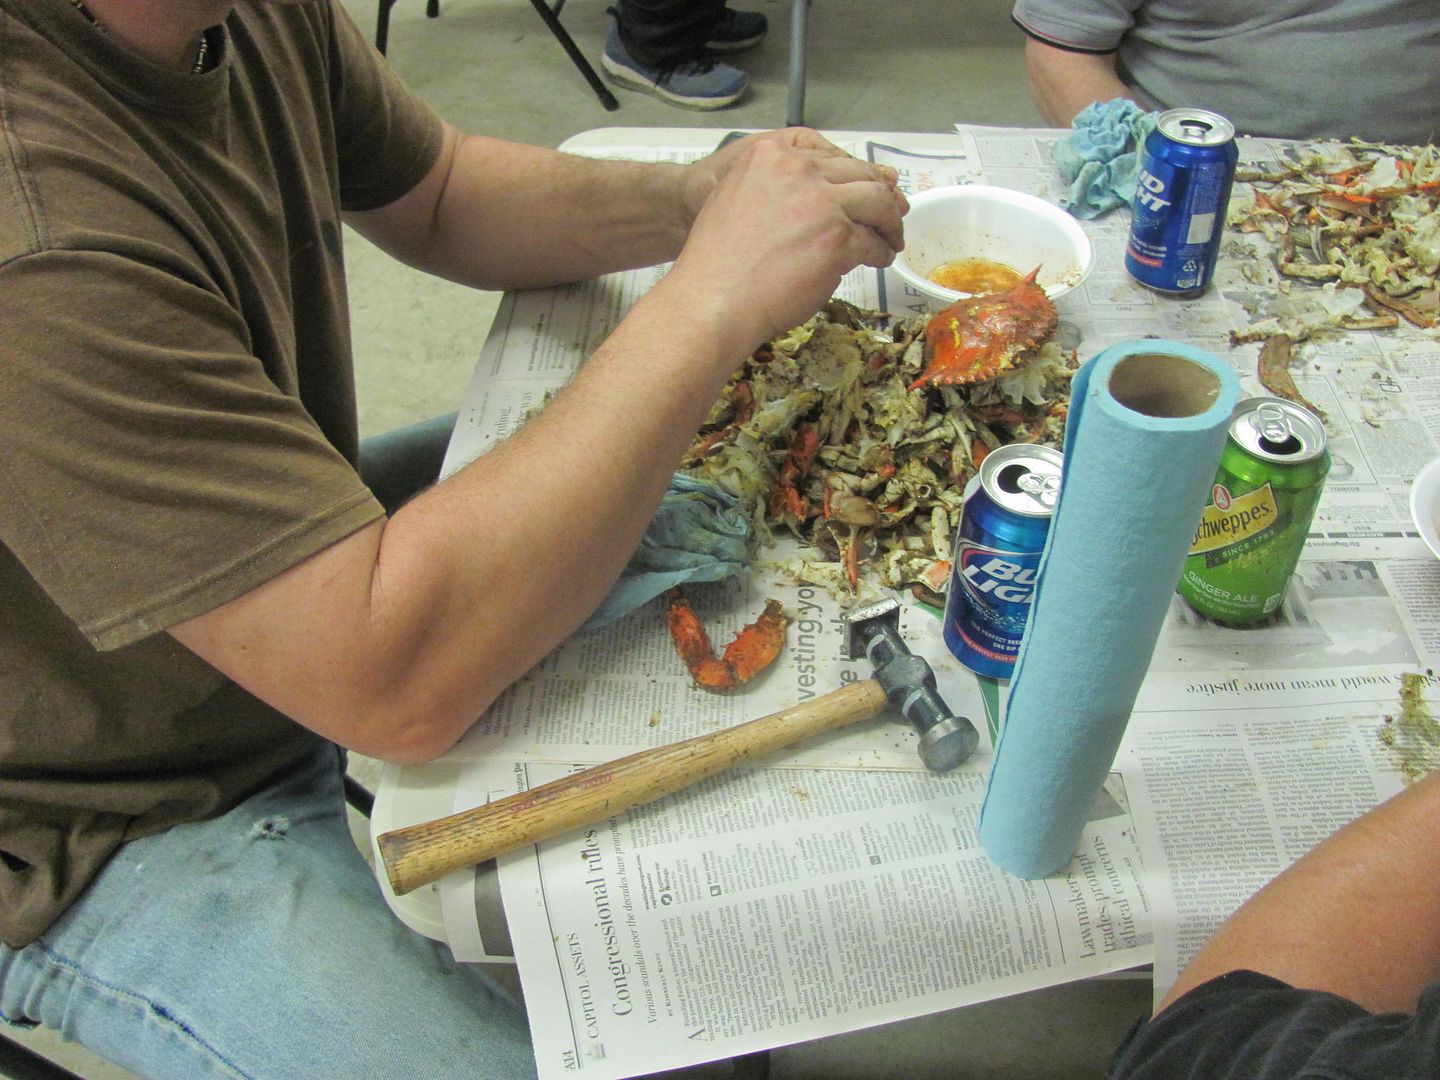
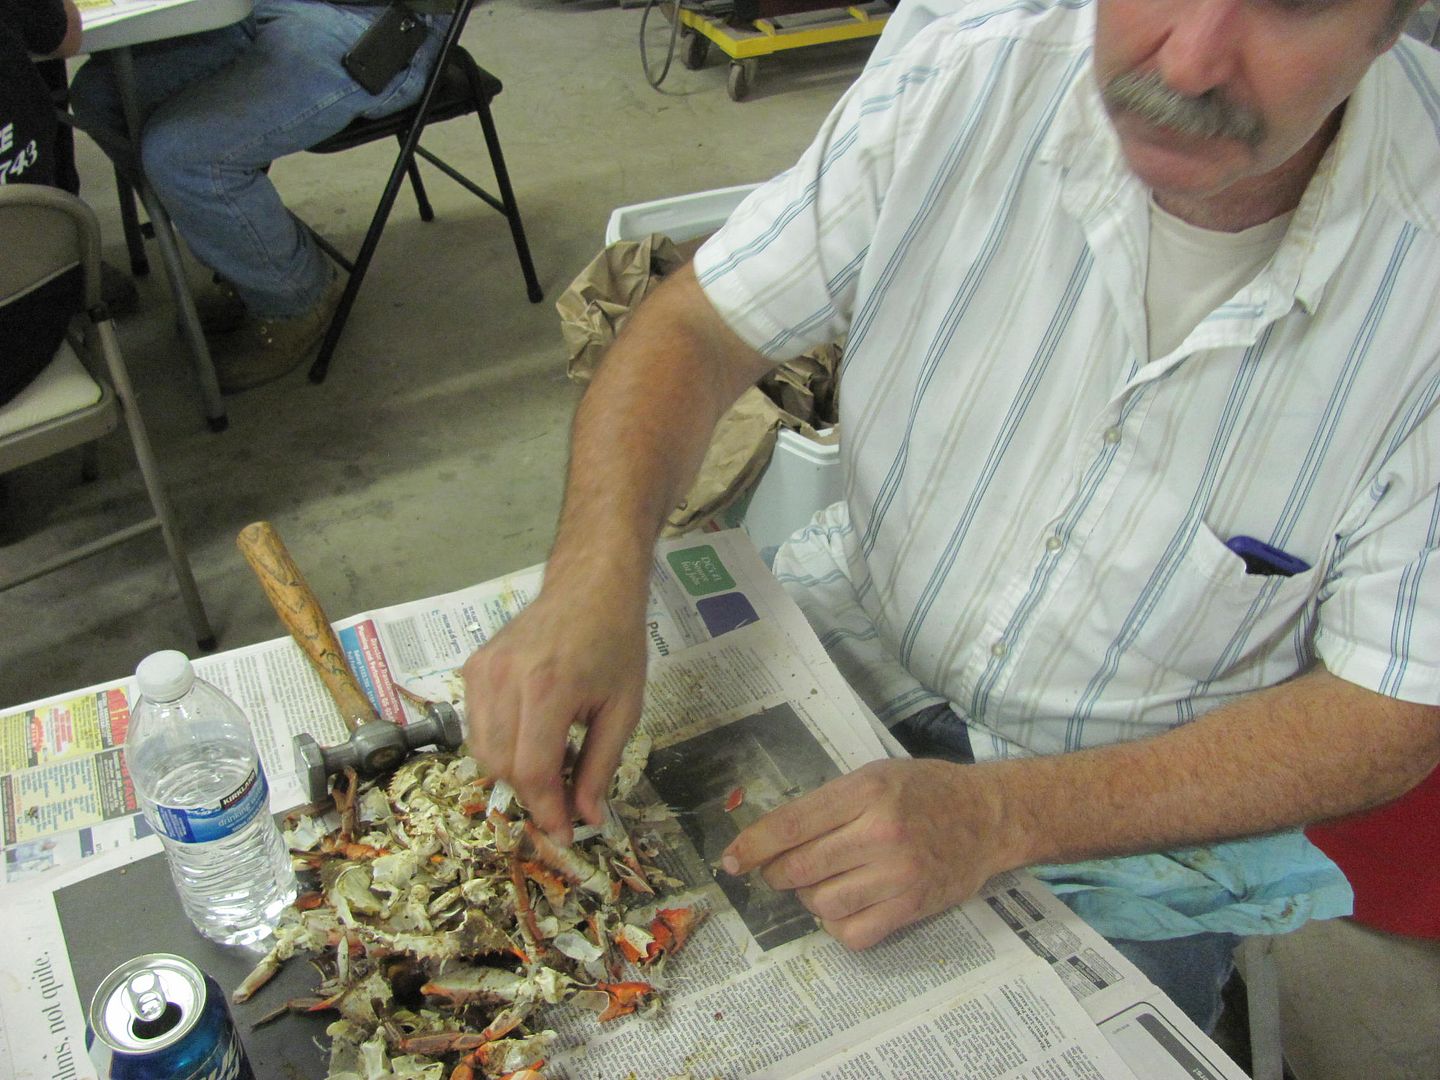
We took a short break for a Maryland treat...
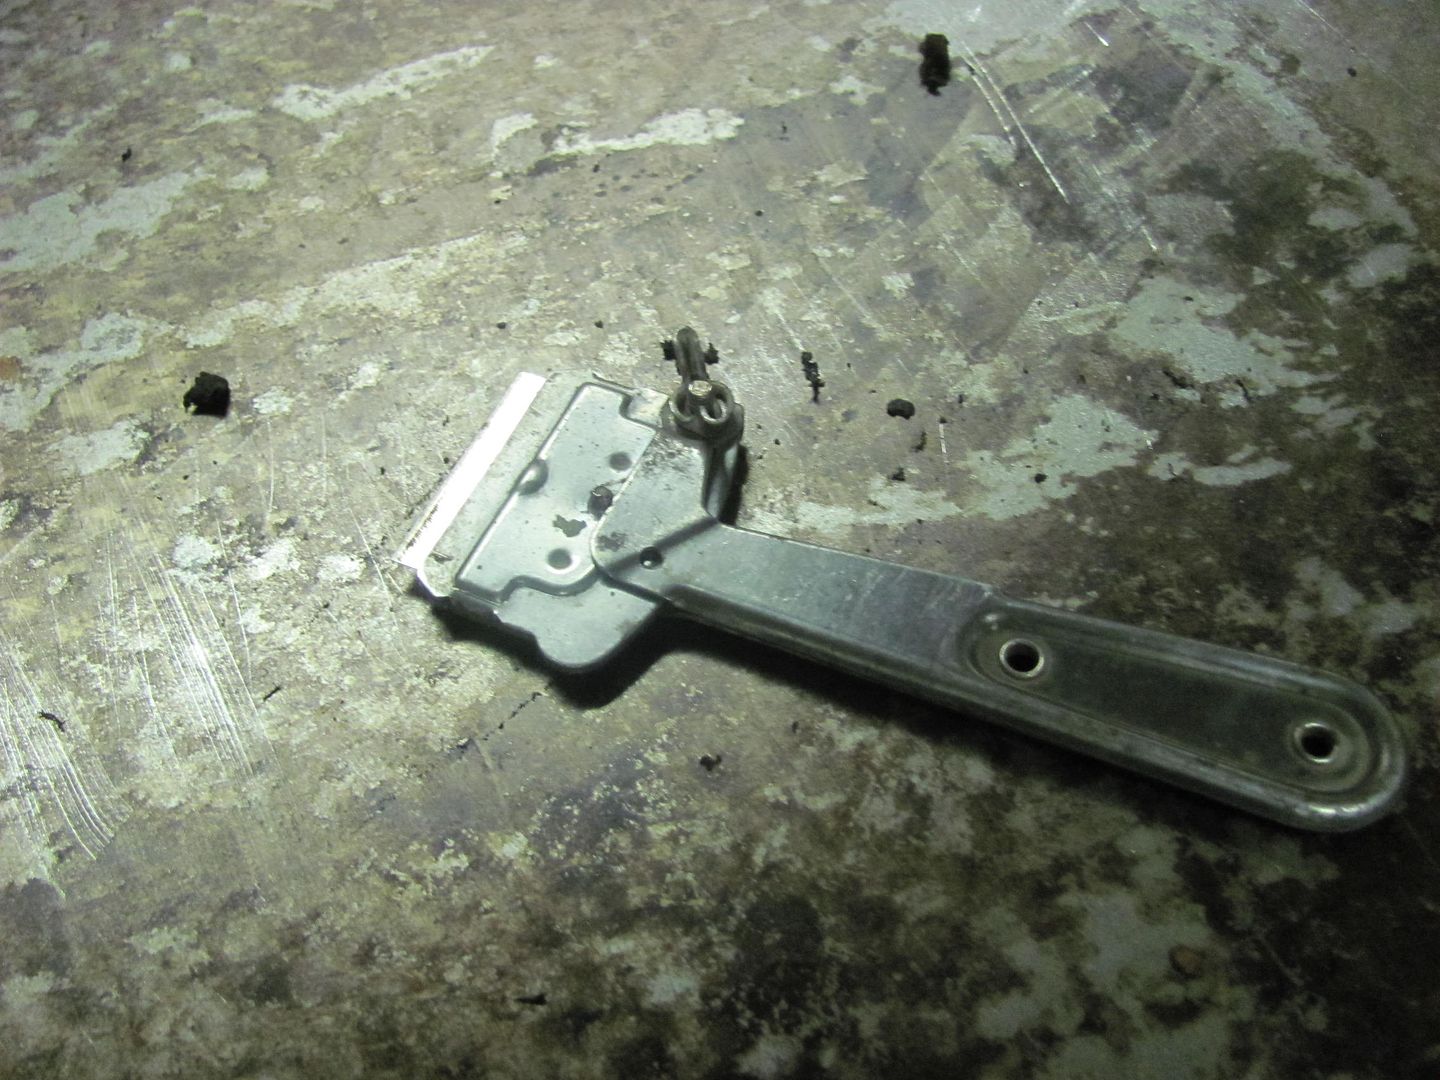
of course, using only the correct utensils....
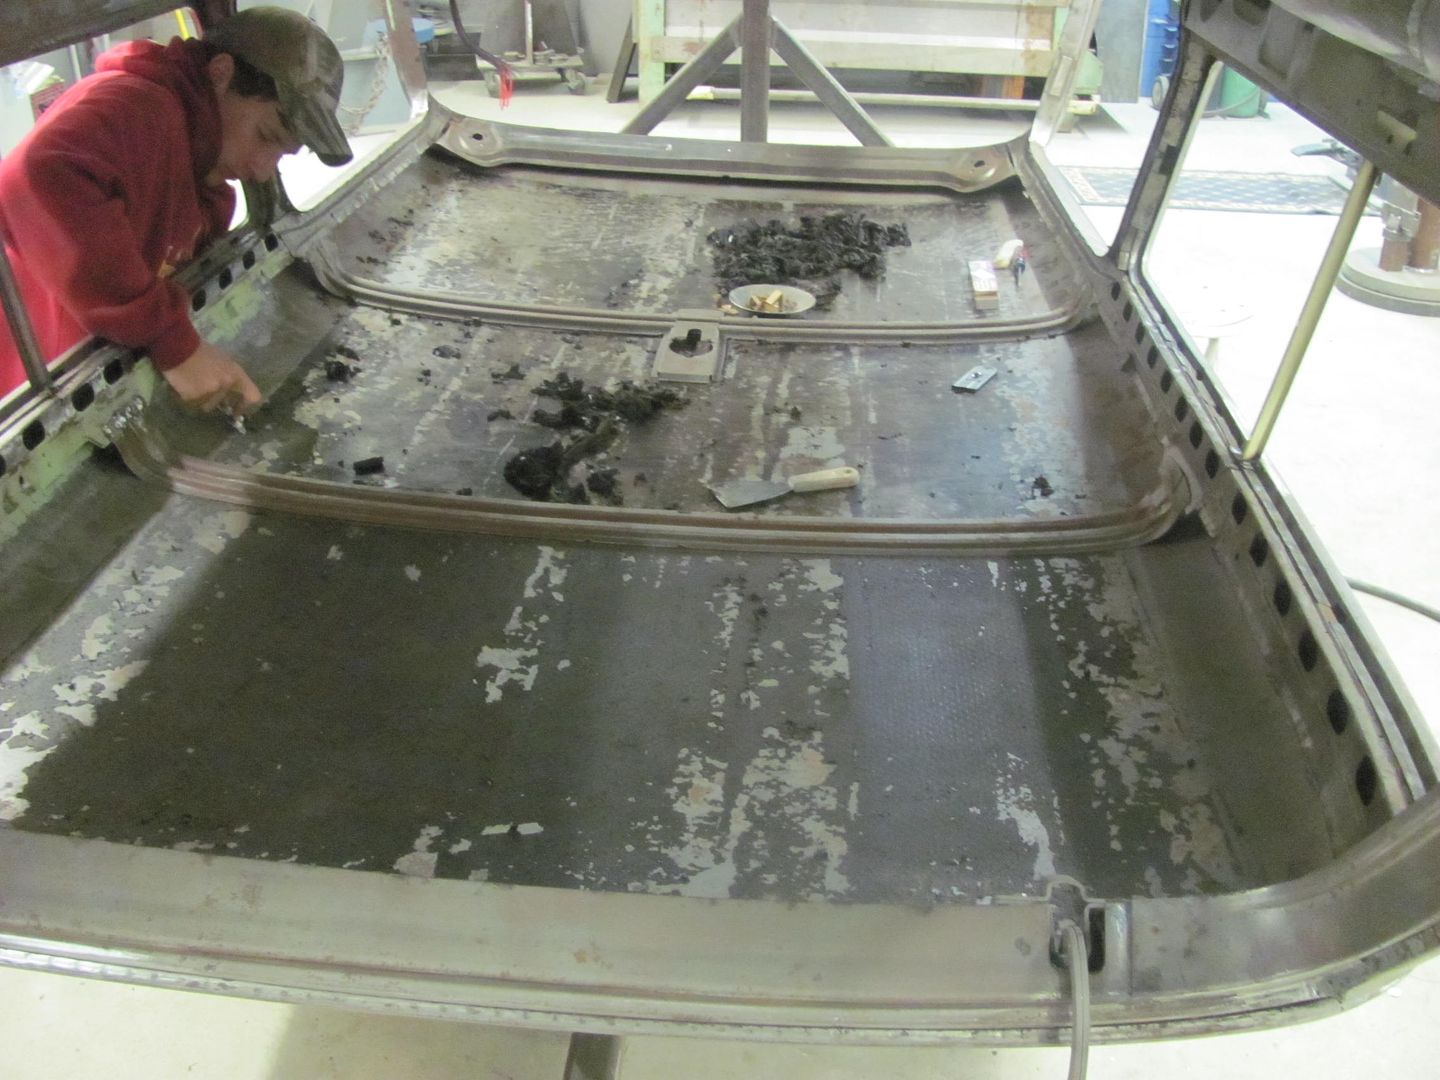
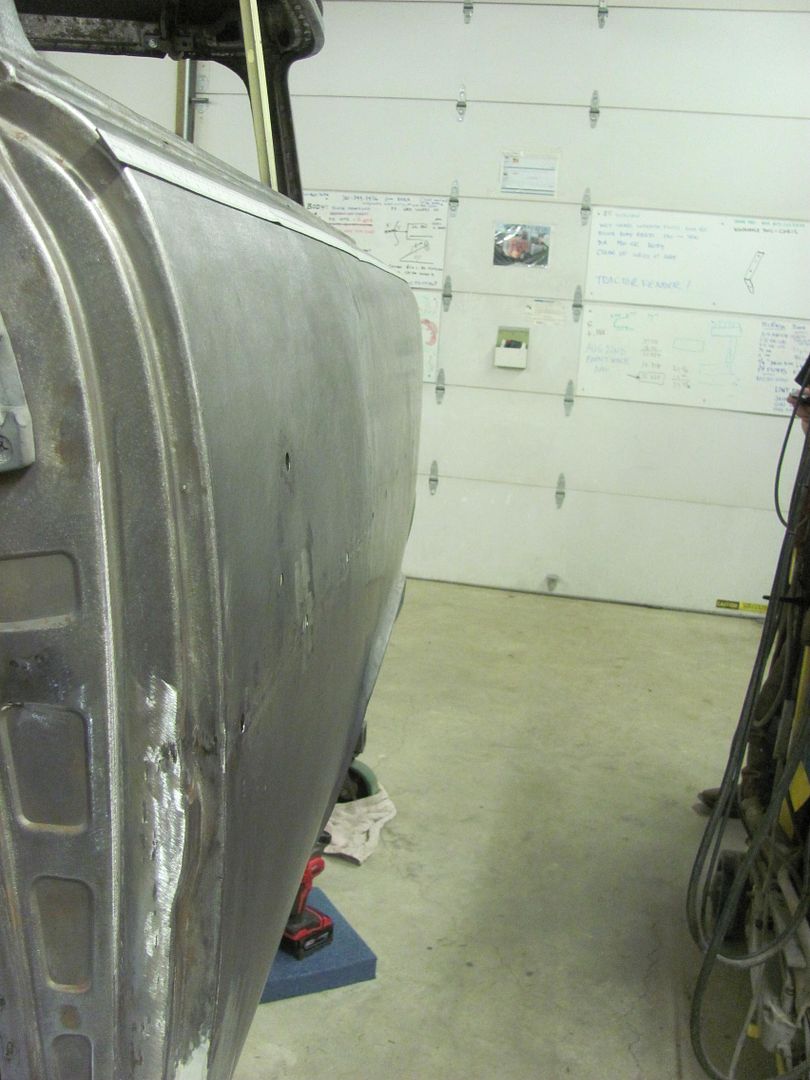
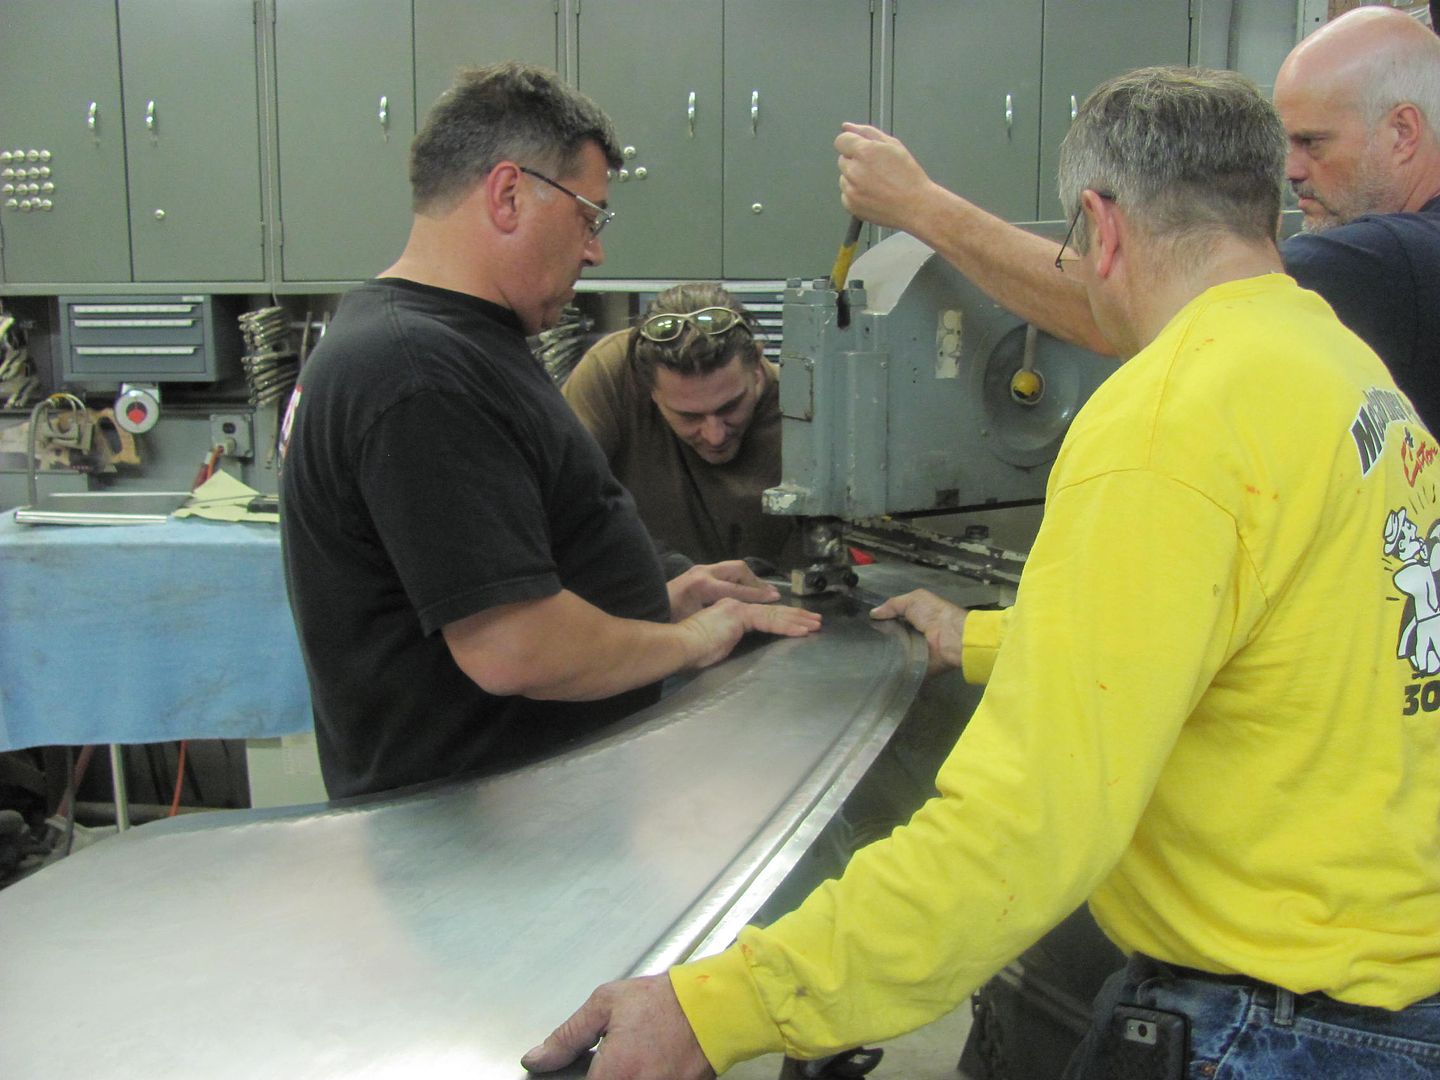
Blocking the top section of the roadster quarter.....


 Reply With Quote