Just joined? Please introduce yourself.
Page 2 of 101 FirstFirst 12341252 ... LastLast
Results 11 to 20 of 1006

Thread: wagon progress

  1. #11
    Registered Member chevynut's Avatar
    Join Date
    Nov 2011

    Member #:115
    Location
    Fort Collins, CO
    Posts
    10,826
    Hey Robert, how do you like the SPI Epoxy? I have read that it can be sanded pretty easily. It seems to me like that might make it more apt to water diffusing through it. There must be something added to make it more sandable than most other epoxies.

    Also, I've been wondering what to do with the inside of my quarters and back by the taillight area. It's all gray DPLF now, but I think I need to spray it either body color or black DPLF. What do guys typically do in this area?
    56 Nomad, Ramjet 502, Viper 6-speed T56, C4 Corvette front and rear suspension


    Other vehicles:

    56 Chevy 2-door BelAir sedan
    56 Chevy 210 4-door sedan
    57 Chevy 210 4-door sedan
    1962 327/340HP Corvette
    1961 Willys CJ3B Jeep
    2001 Porsche Boxster S
    2003 Chevy Silverado 2500 HD Duramax
    2019 GMC Sierra Denali Duramax

  2. #12
    Registered Member MP&C's Avatar
    Join Date
    Dec 2013

    Member #:2017
    Location
    Southern MD
    Posts
    1,288
    I've used it a couple times now but haven't done any sanding yet. The previous sprays were as a sealer for bus parts.. will let you know.. It's supposed to be one of the most waterproof epoxies out there.


    For inside the quarters, I've seen epoxy used, epoxy plus undercoat, but as fancy as yours is you almost need to spray body color or lower it another two inches so nobody will see it..
    Robert


    MP&C Shop Projects-Metalshaping Tutorials


    Instagram @ mccartney_paint_and_custom


    .

  3. #13
    Registered Member MP&C's Avatar
    Join Date
    Dec 2013

    Member #:2017
    Location
    Southern MD
    Posts
    1,288
    One of our projects for tonight was to make a stand to hold the doors for painting. I have some heavy duty "tripods" on casters that have a 2" ID pipe on top with a setscrew, which works well for changing out various fixtures for painting, as shown below on the left....


    My thoughts were to make a similar "tree" to hold the doors, using the hinge mounts. Here's the prototype design...


    Here's our CAD layout this evening (cardboard aided design). As the flat bar is a bit cheaper than the pipe, we altered the pattern slightly...


    While Kyle was working on the parts for the door "tree", I turned my attention to one of the doors that still needed some finesse. One of the problem areas on the 55 wagon is that apparently GM did not have sufficient quantity of passenger doors specific to the wagon for the assembly line, so the quick fix was to install doors from the 2 door sedan. The downside was that the rear of the door tapers off where the sedans roof starts to drop off to the back window. With the belt line trim details aligned, note what appears to be a sagging rear edge with a widening gap to the upper door opening.... Most people don't notice this detail..


    For comparison, the driver's door aligns well to the trim lines...


    To fix the passenger door, we plan on a sectioning and a lift kit, adding a wider patch in the B post of the door to make up the difference.


    This may just work yet.. Hope so, there's a big gap there..


    New section fabbed and fitted...


    Bottom seam welded in place...


    Yeah, this will be much better...


    One seam down, one to go...


    ....and Kyle tackled his first welding project this evening..


    until next time, Merry Christmas to all!
    Robert


    MP&C Shop Projects-Metalshaping Tutorials


    Instagram @ mccartney_paint_and_custom


    .

  4. #14
    Registered Member MP&C's Avatar
    Join Date
    Dec 2013

    Member #:2017
    Location
    Southern MD
    Posts
    1,288
    Had some time this evening so worked a bit more on the wagon..

    Finished up the door paint fixture.. will be adding some ballast to the base..


    Just to compare the driver's door and fitment / body line alignment to what we had to modify on the passenger side:


    Paint stick gap width at the top rear, all body lines straight across, about as close as you can get to what should be there.


    Also needed to finish the slotted holes for the trim under the door's window.


    We'll use a carbide ball nose in the Dremel...


    Straightedge spanned across two slots for a more precise scribed line..


    Robert


    MP&C Shop Projects-Metalshaping Tutorials


    Instagram @ mccartney_paint_and_custom


    .

  5. #15
    Registered Member MP&C's Avatar
    Join Date
    Dec 2013

    Member #:2017
    Location
    Southern MD
    Posts
    1,288
    Today Kyle worked on another paint fixture for the wagon, one to hold the front fenders, while I started on adding the weatherstrip and drain holes in the bottom of the driver's door. I had made new bottoms and hadn't gotten around to these holes just yet. I did save the old bottoms to use as patterns.


    The old was merely laid over the new and traced to get the horizontal alignment of the drain holes and weatherstrip holes. Then a more accurate measurement located the vertical dimension of the drain holes...


    After drilling, a couple of twirls by hand of a 3/8 bit worked nicely to de-bur the holes, inside and out..


    The end of the old section was cut out and trimmed to be able to use it as a scribing template..


    Using our same Dremel set up from the top slots.....


    Kyle is getting the hang of this welding stuff.....


    While he started media blasting the core support, I finished up the passenger door's "un-chop"


    Outside done, now for the inside piece...


    Fitted:


    And that will do it for today....
    Robert


    MP&C Shop Projects-Metalshaping Tutorials


    Instagram @ mccartney_paint_and_custom


    .

  6. #16
    Registered Member chevynut's Avatar
    Join Date
    Nov 2011

    Member #:115
    Location
    Fort Collins, CO
    Posts
    10,826
    Very nice work Robert. I can't say that I've ever seen anyone go to that level of detail fixing imperfections on a car. Are you saying that a 2door sedan front door is different than a 2-door wagon front door? I thought they were the same.
    56 Nomad, Ramjet 502, Viper 6-speed T56, C4 Corvette front and rear suspension


    Other vehicles:

    56 Chevy 2-door BelAir sedan
    56 Chevy 210 4-door sedan
    57 Chevy 210 4-door sedan
    1962 327/340HP Corvette
    1961 Willys CJ3B Jeep
    2001 Porsche Boxster S
    2003 Chevy Silverado 2500 HD Duramax
    2019 GMC Sierra Denali Duramax

  7. #17
    Registered Member
    Join Date
    Apr 2012

    Member #:571
    Posts
    4,671
    According to a guy I trust very much on the other board (who also owns what might arguably be the finest stock 55 convertible on the planet) - he says they are the same.

  8. #18
    Registered Member MP&C's Avatar
    Join Date
    Dec 2013

    Member #:2017
    Location
    Southern MD
    Posts
    1,288
    There has been quite a bit of discussion on this matter over the years. Apparently the 2 door sedan doors were used on the 2 door wagon, where they did not always have a good fit. Per Mikey Domoracki, GM never had a "wagon" door, and always used the 2 door sedan doors on the wagons. But in all the stories I have heard, as well as my own results, the driver's door is about perfect as is, the passenger door is not. This is what led to the speculation of an incorrect door being used on the passenger side..
    Last edited by MP&C; 12-28-2014 at 03:54 PM.
    Robert


    MP&C Shop Projects-Metalshaping Tutorials


    Instagram @ mccartney_paint_and_custom


    .

  9. #19
    Registered Member chevynut's Avatar
    Join Date
    Nov 2011

    Member #:115
    Location
    Fort Collins, CO
    Posts
    10,826
    Interesting....I just took a straightedge to the top of my 56 sedan driver's door, and it is NOT flat which was a bit of a surprise. It drops off about 1/2" at the rear from a quick glance. I'm pretty sure the passenger side is the same. I have a hard time believing GM would use a sedan door on a wagon, which does not roll down in the rear. It just doesn't fit correctly. It looks like there are wagon doors since one of yours is flat. I wonder if your passenger door was replaced at one time with a sedan door.

    According to a guy I trust very much on the other board (who also owns what might arguably be the finest stock 55 convertible on the planet) - he says they are the same.
    I always thought they were the same too. It's pretty clear that Robert's passenger door and driver door are different on top. My sedan doors are not flat on top as you would expect on a wagon, so I'd say your trusted source is wrong. 
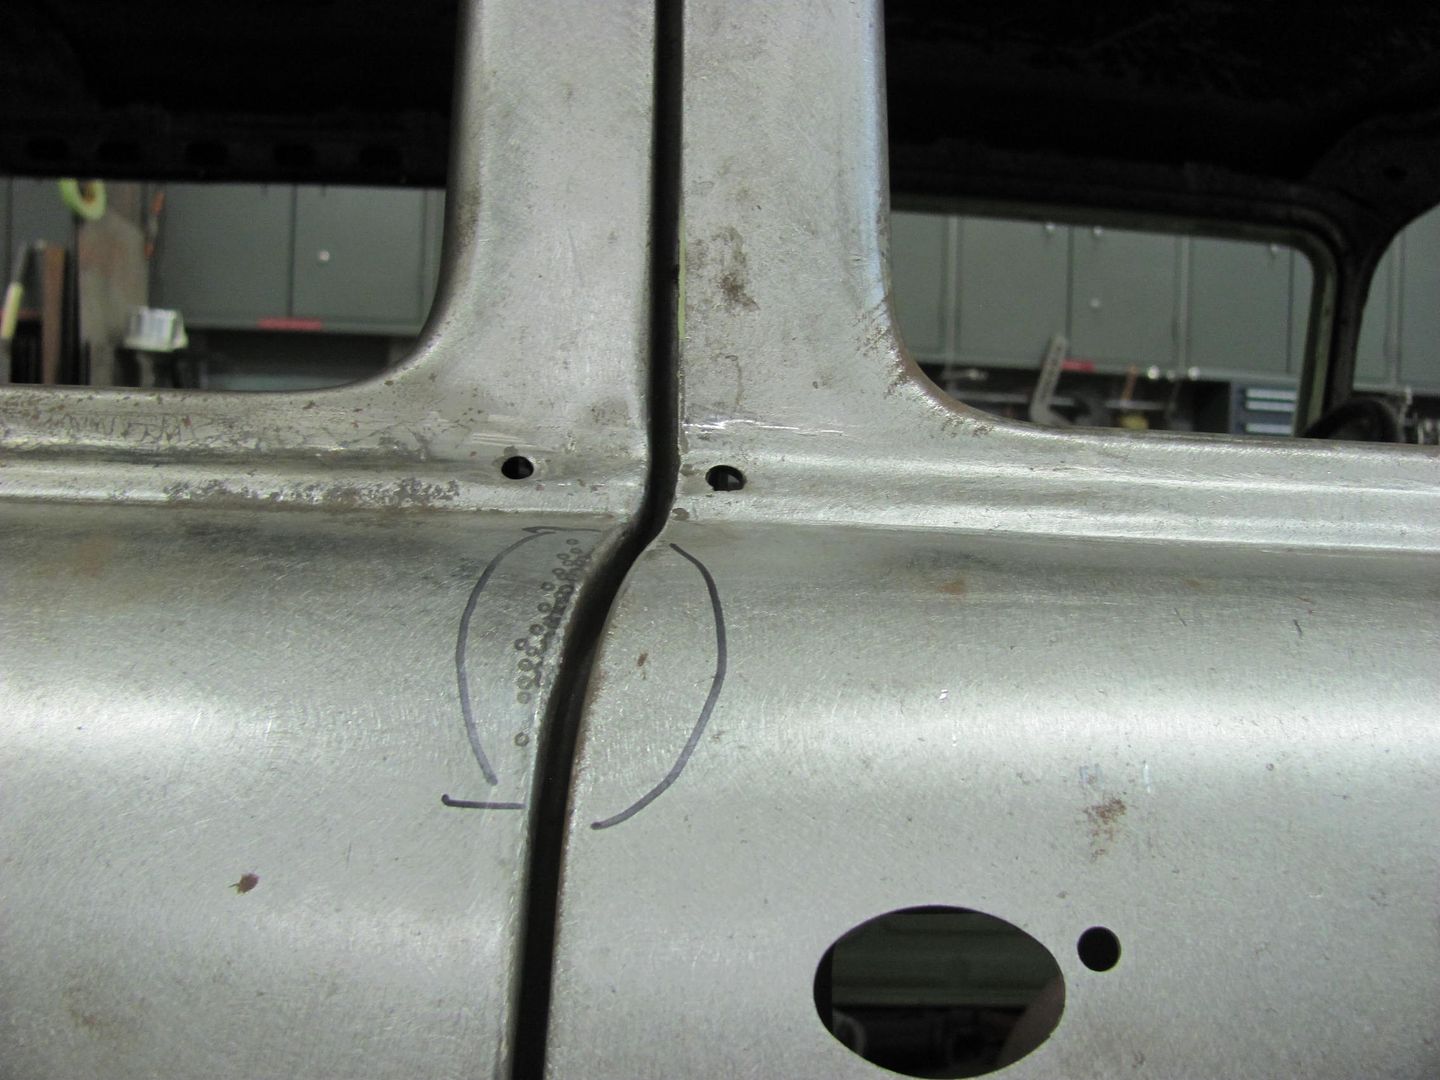
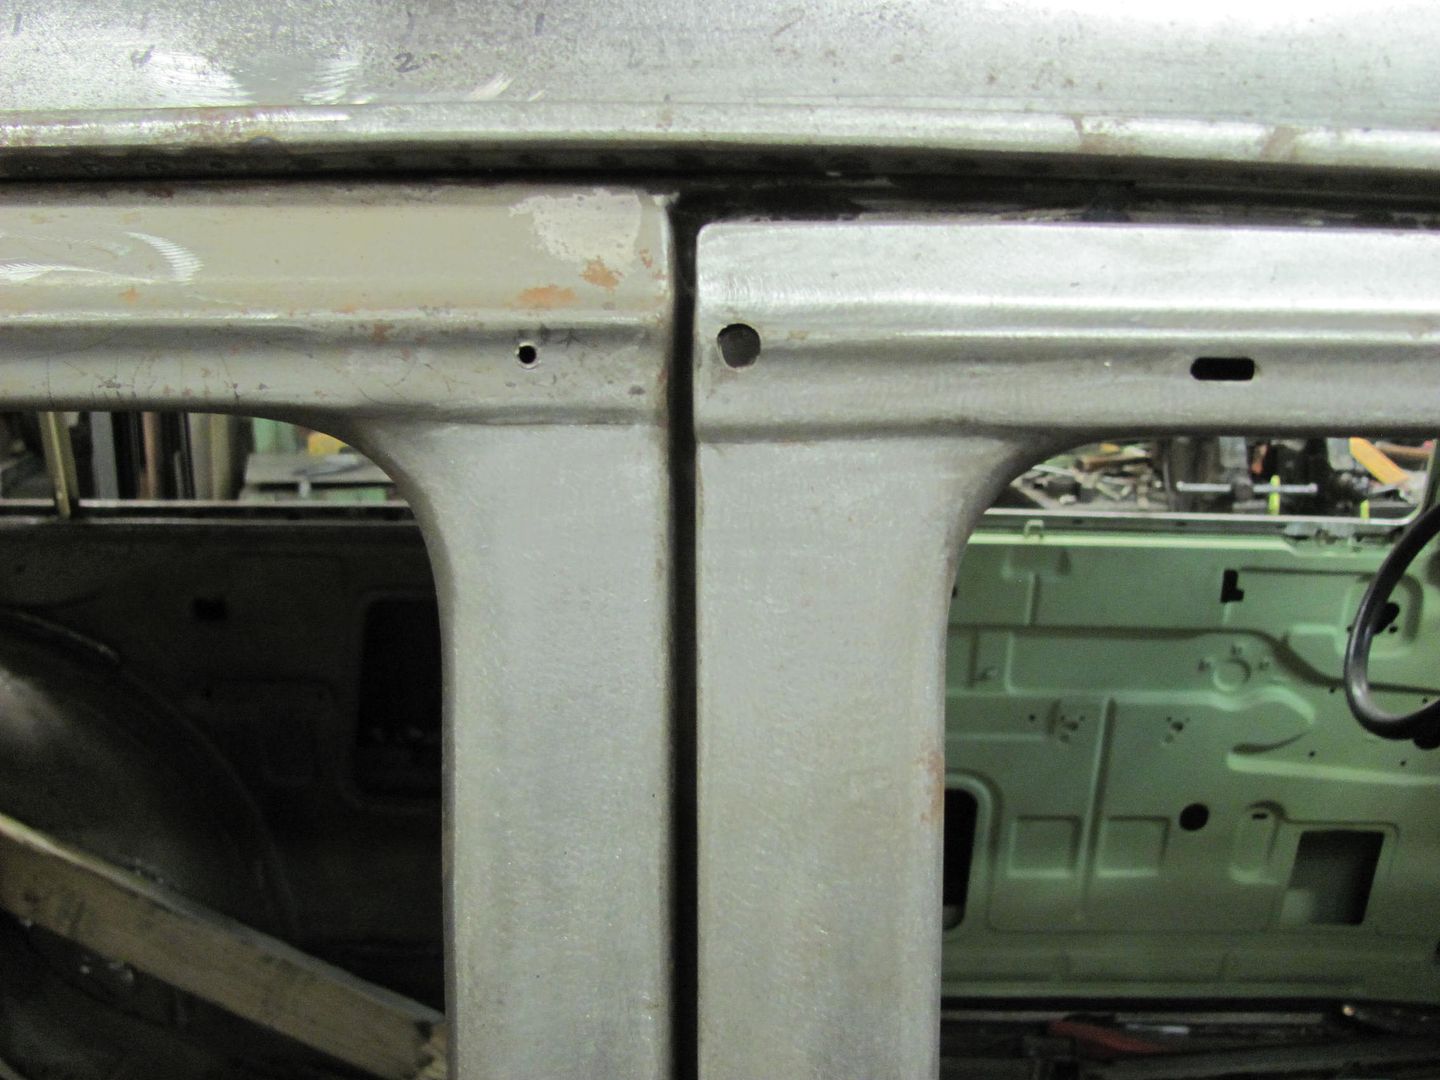
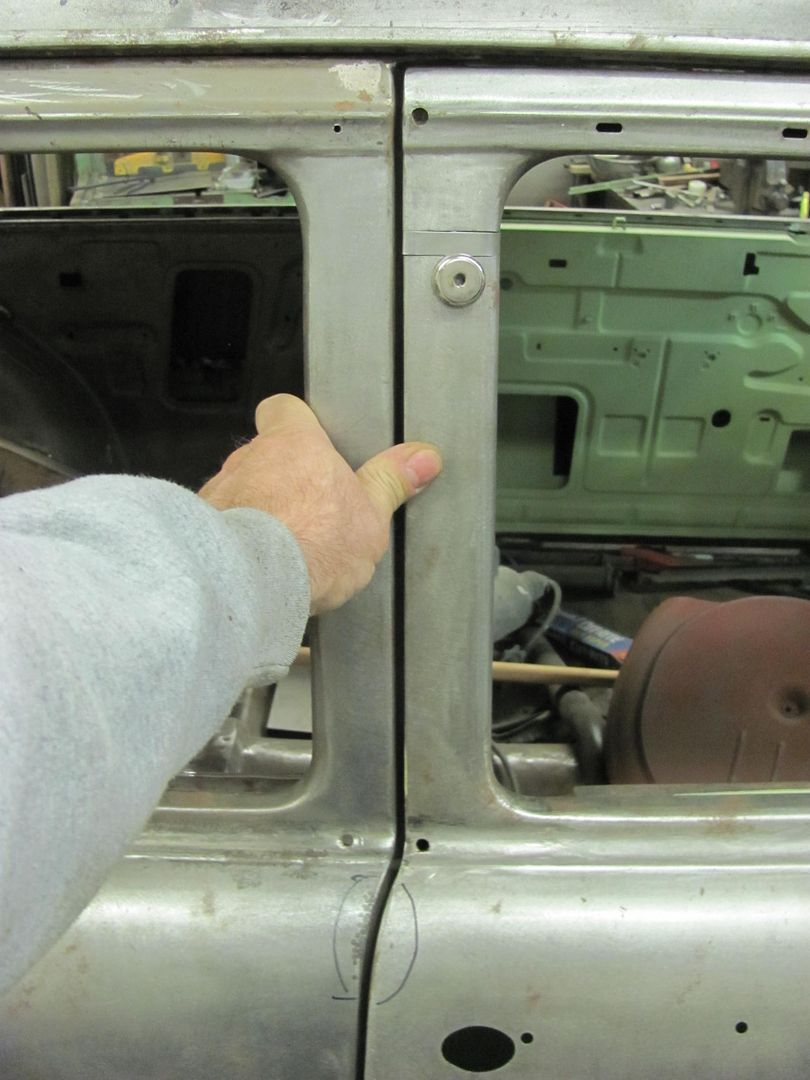
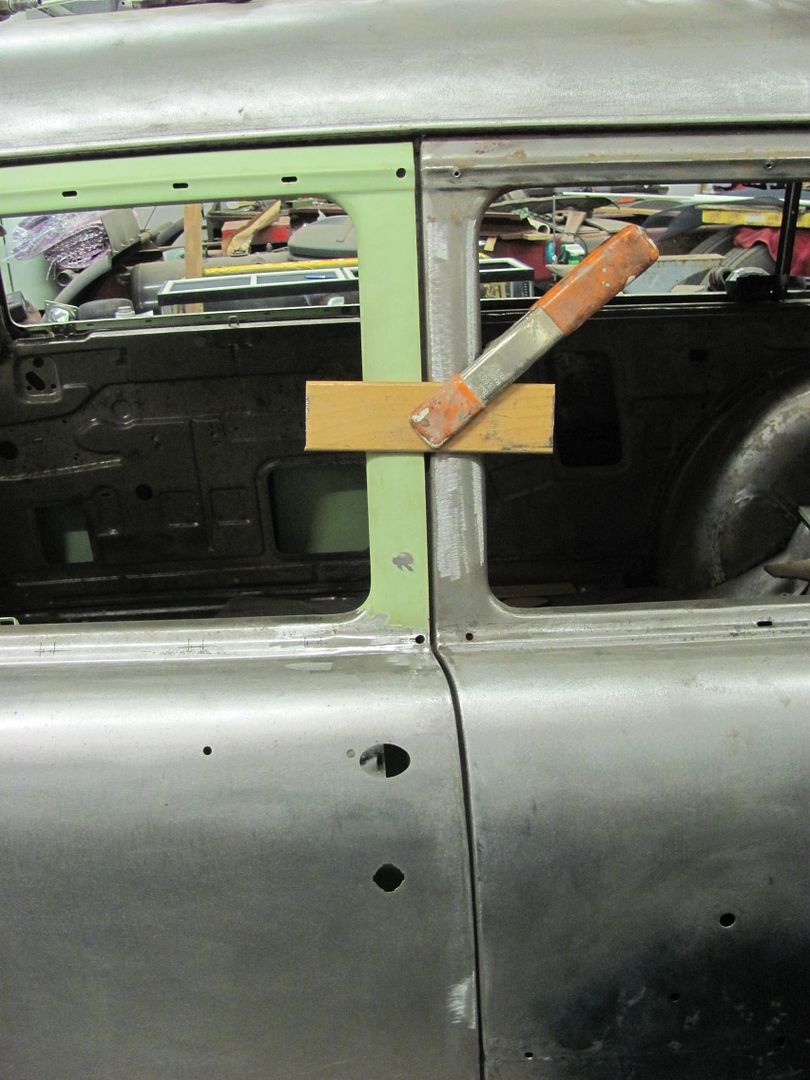
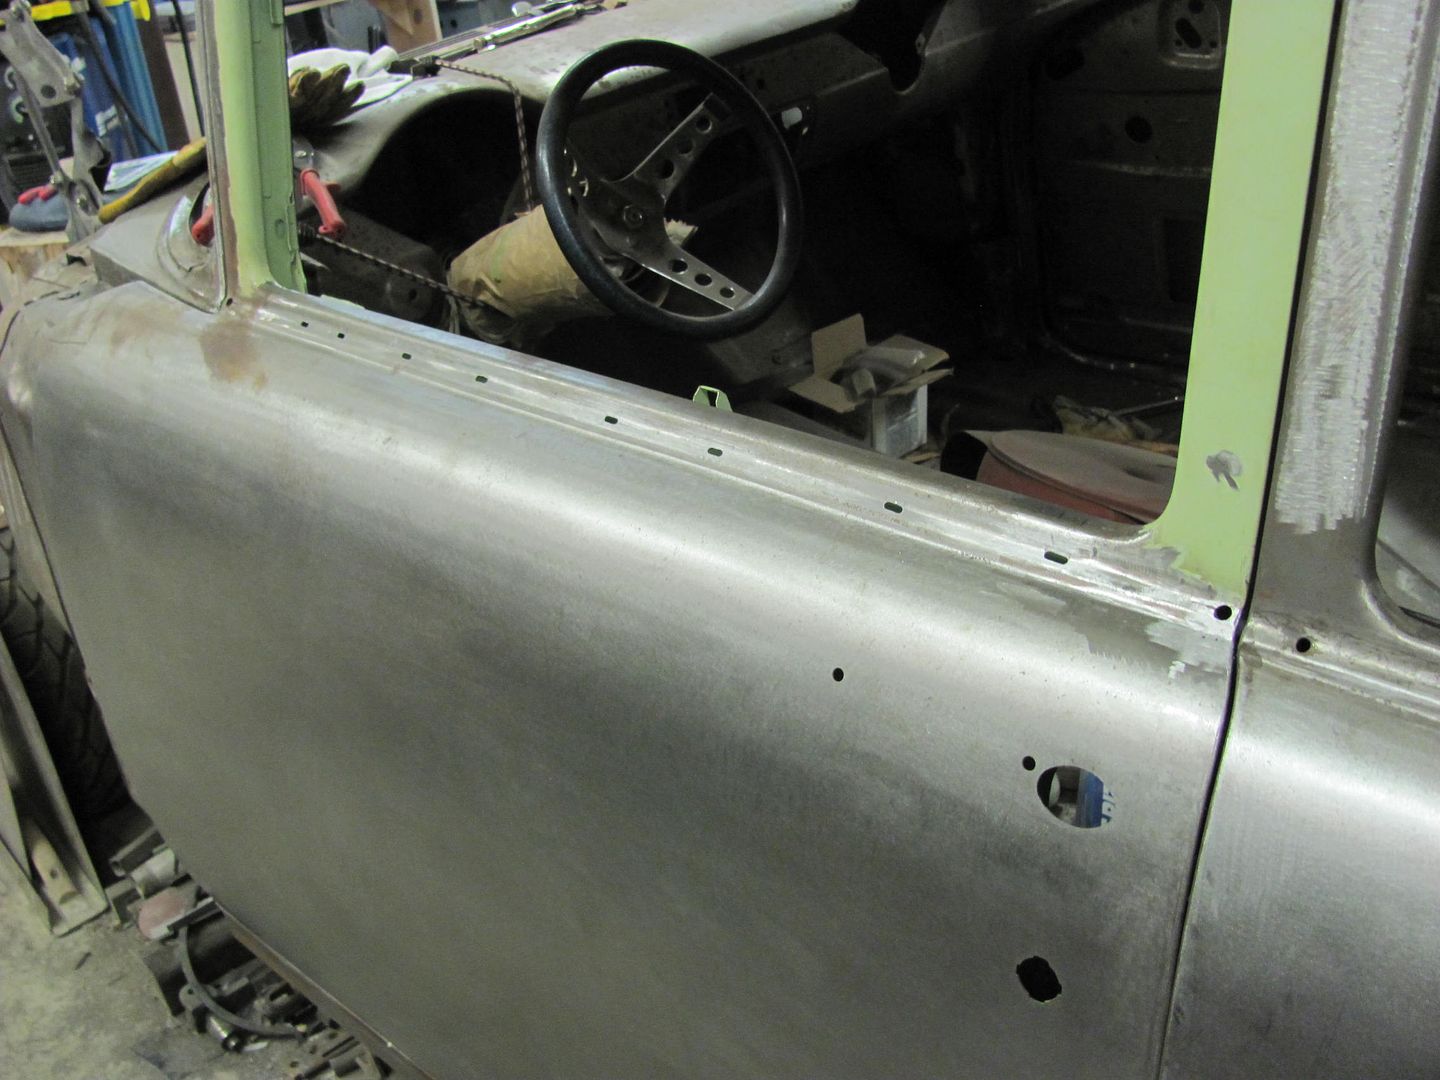
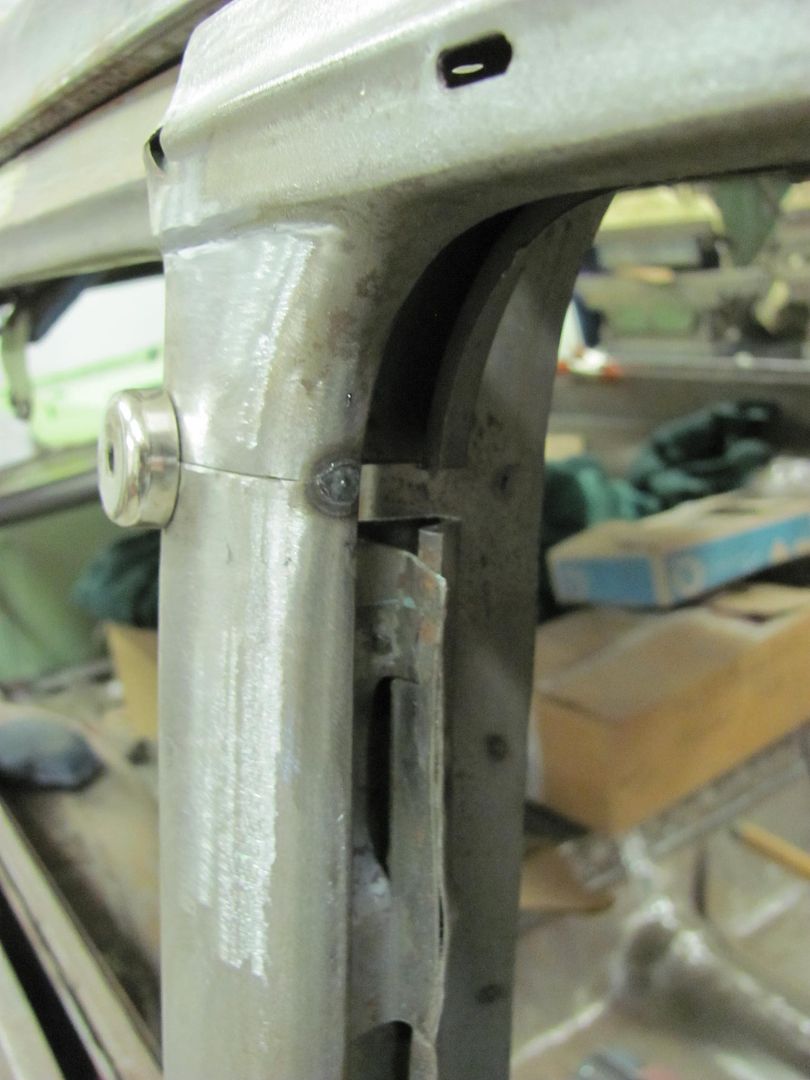
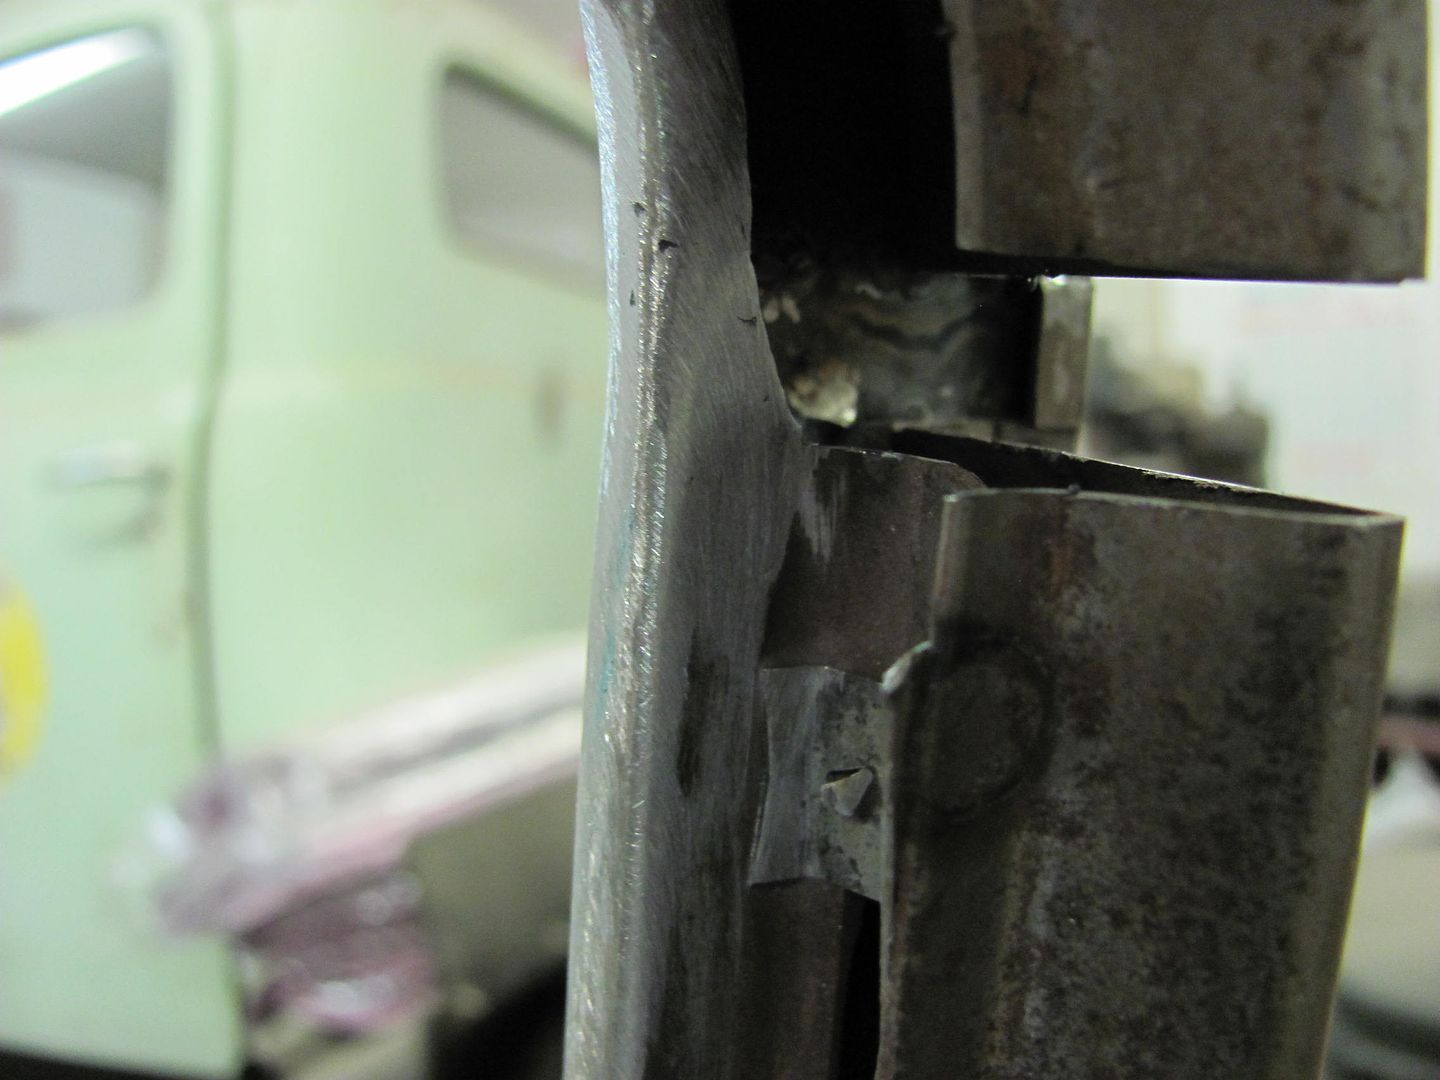
It looks to me like there are 2-door wagon doors and there are 2-door sedan doors and they are different.

    I now wonder if the front doors from a 4-door wagon are the same as those on a 4-door sedan. Any evidence to the contrary?
    56 Nomad, Ramjet 502, Viper 6-speed T56, C4 Corvette front and rear suspension


    Other vehicles:

    56 Chevy 2-door BelAir sedan
    56 Chevy 210 4-door sedan
    57 Chevy 210 4-door sedan
    1962 327/340HP Corvette
    1961 Willys CJ3B Jeep
    2001 Porsche Boxster S
    2003 Chevy Silverado 2500 HD Duramax
    2019 GMC Sierra Denali Duramax

  10. #20
    Registered Member MP&C's Avatar
    Join Date
    Dec 2013

    Member #:2017
    Location
    Southern MD
    Posts
    1,288
    Laszlo, the top of the "wagon" door should not be flat at the top either. There is a slight crown at the door opening, and the drip rail from the B post back is about as flat as you can get. When I pushed the loose passenger side up the 1/8 or so, it becomes a nice parallel gap to the door opening. So there is a bit of crown there. Rick's source is the same gentleman I mentioned above, and if he says it's so, you can hold it as gospel.
    Robert


    MP&C Shop Projects-Metalshaping Tutorials


    Instagram @ mccartney_paint_and_custom


    .

Page 2 of 101 FirstFirst 12341252 ... LastLast

Posting Permissions

  • You may not post new threads
  • You may not post replies
  • You may not post attachments
  • You may not edit your posts
  •