Laszlo, I figured that with a smaller patch at each of those areas would have inflicted more distortion than one piece across the entire panel.. Remains to be seen I guess..


Laszlo, I figured that with a smaller patch at each of those areas would have inflicted more distortion than one piece across the entire panel.. Remains to be seen I guess..
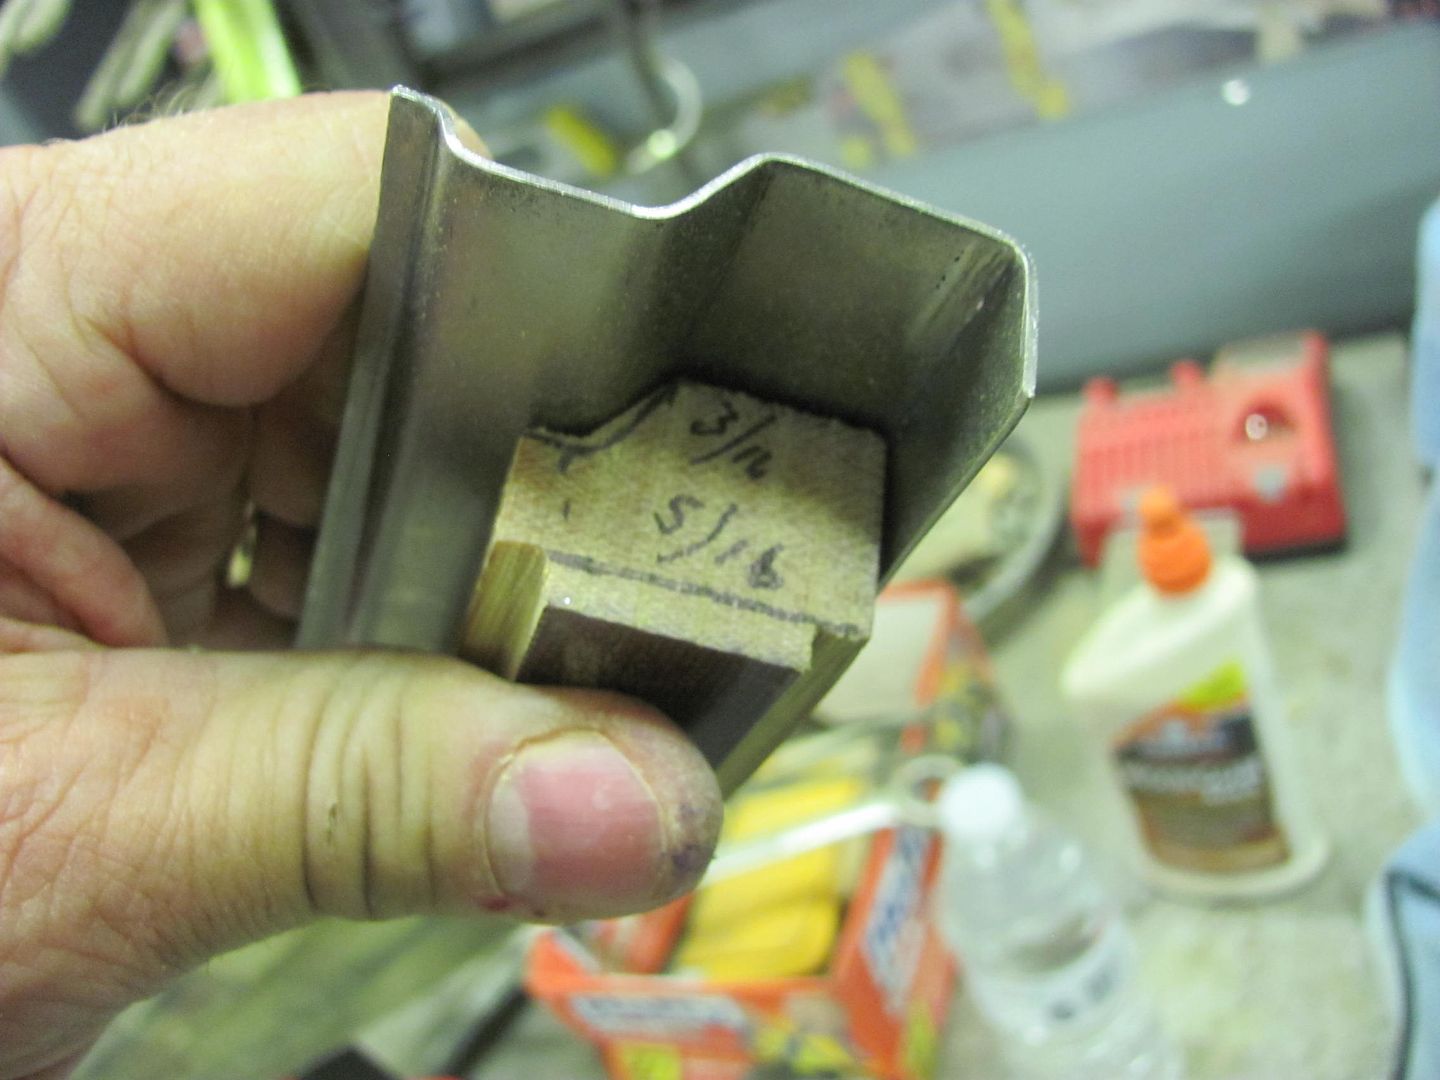
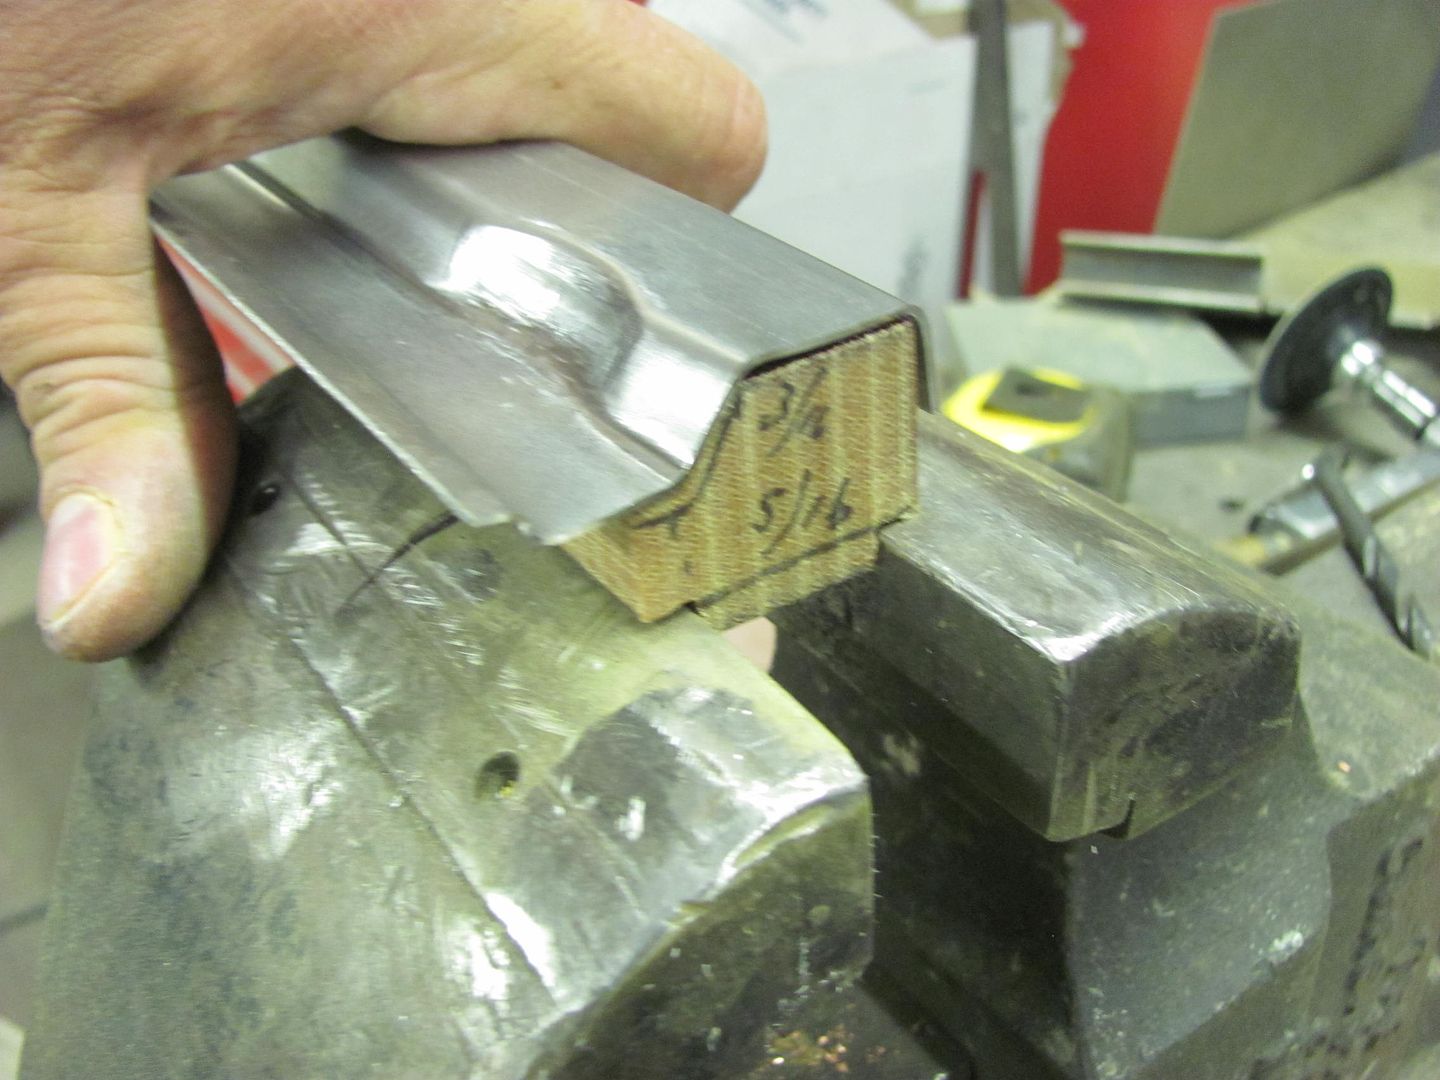
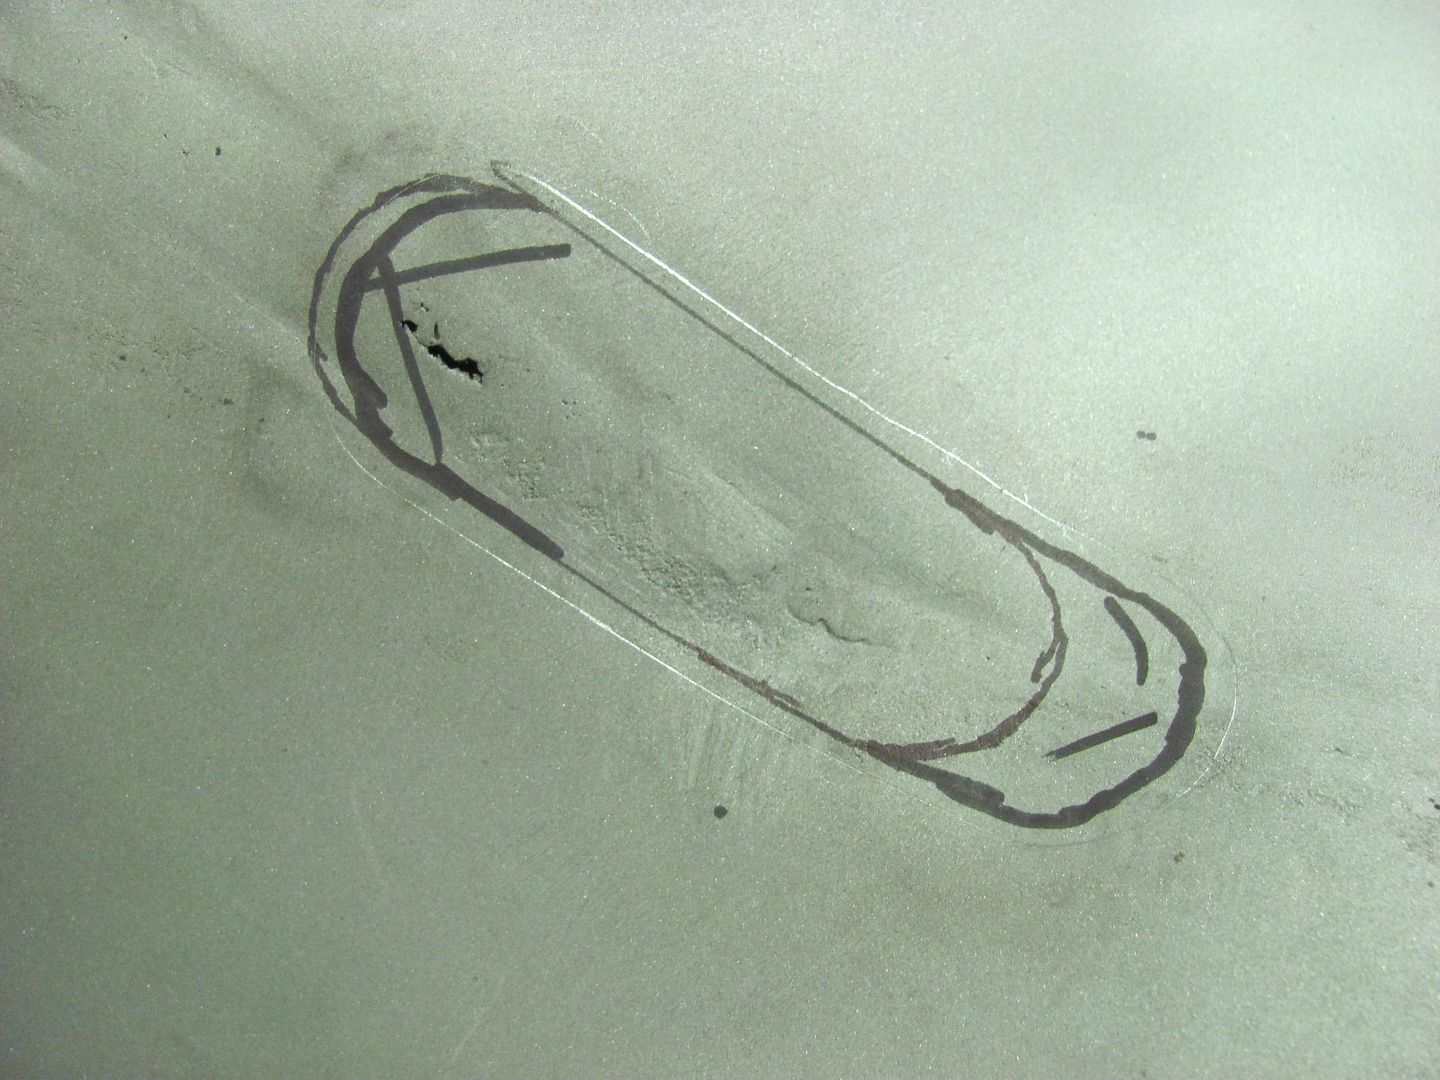
Next task on the list is to add the semi-circular relief areas into the new cowl repair panel..
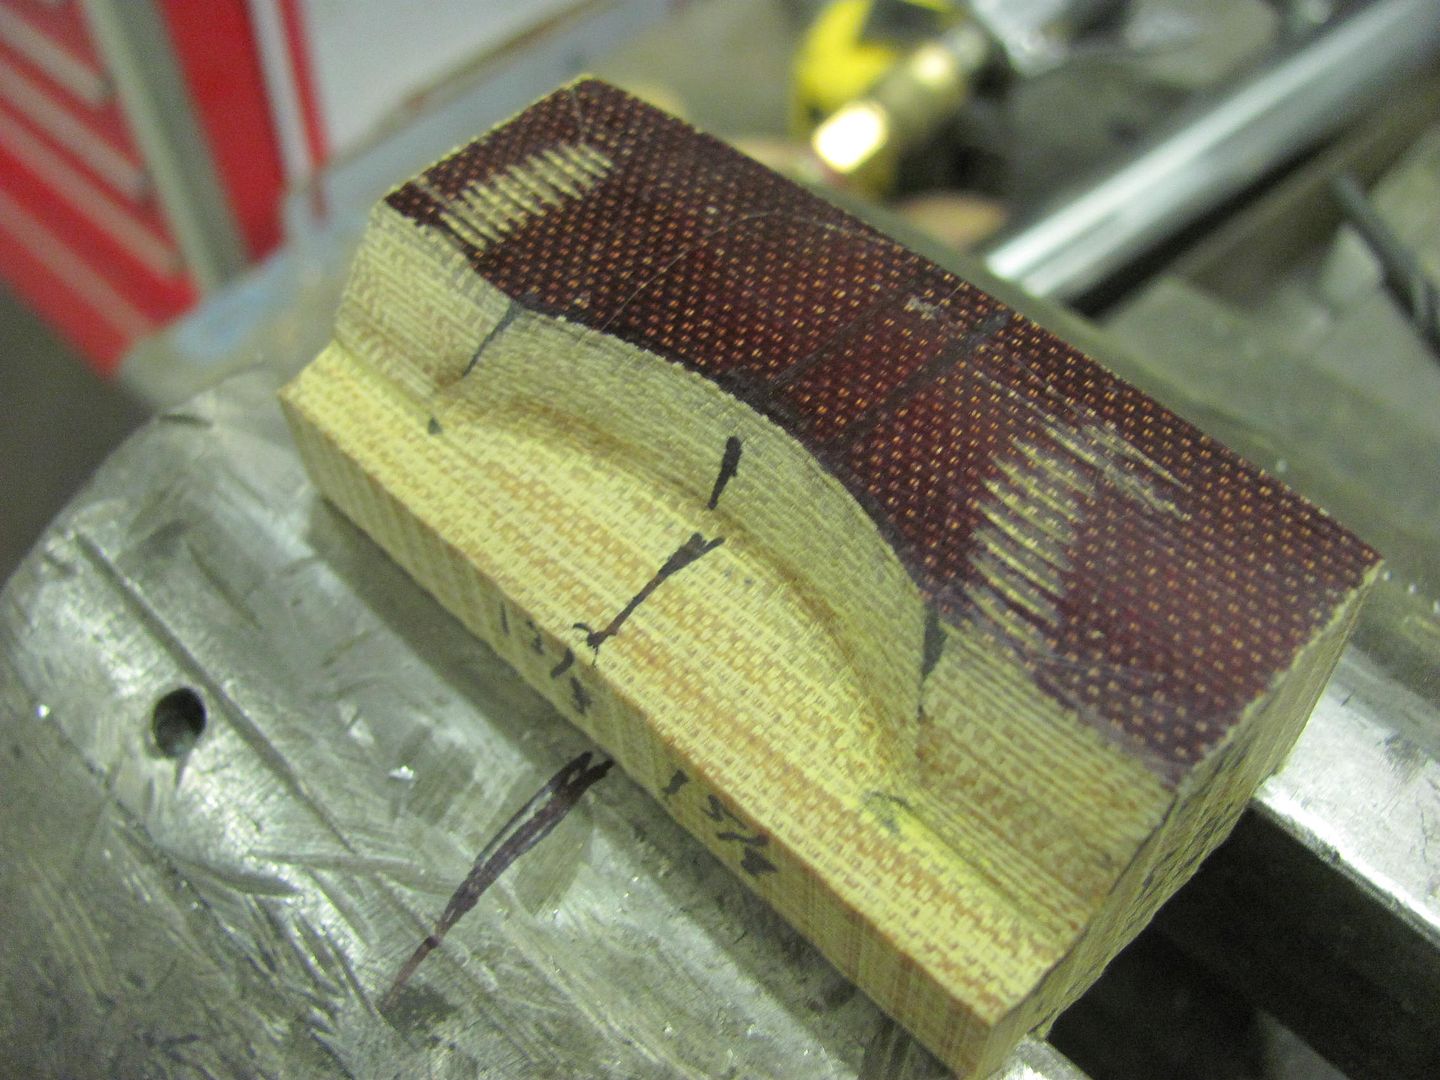
A suitable piece of Phenolic is cut out, notched at the bottom for "vise support", and used a roloc sander and drum sander to add the relief area in the "hammer form".
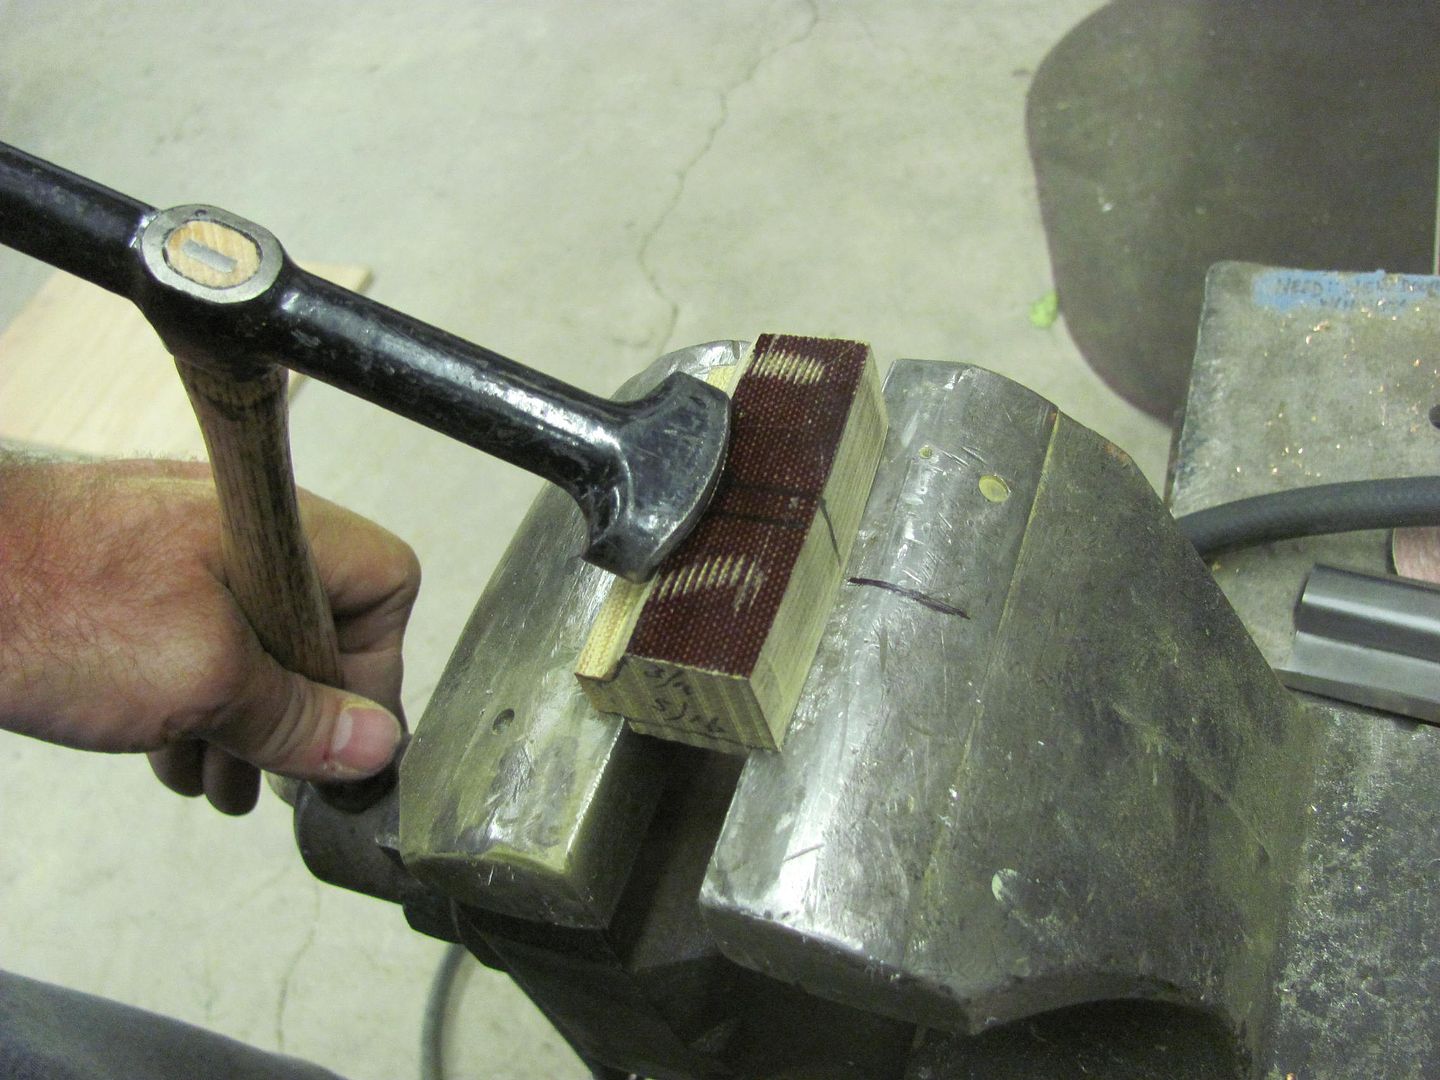
Here's the Vise support shown in action... should remain nice and stable through all the hammer action..
Centerline of the hammerform marked, as well as on the vise, to better align our new cowl..
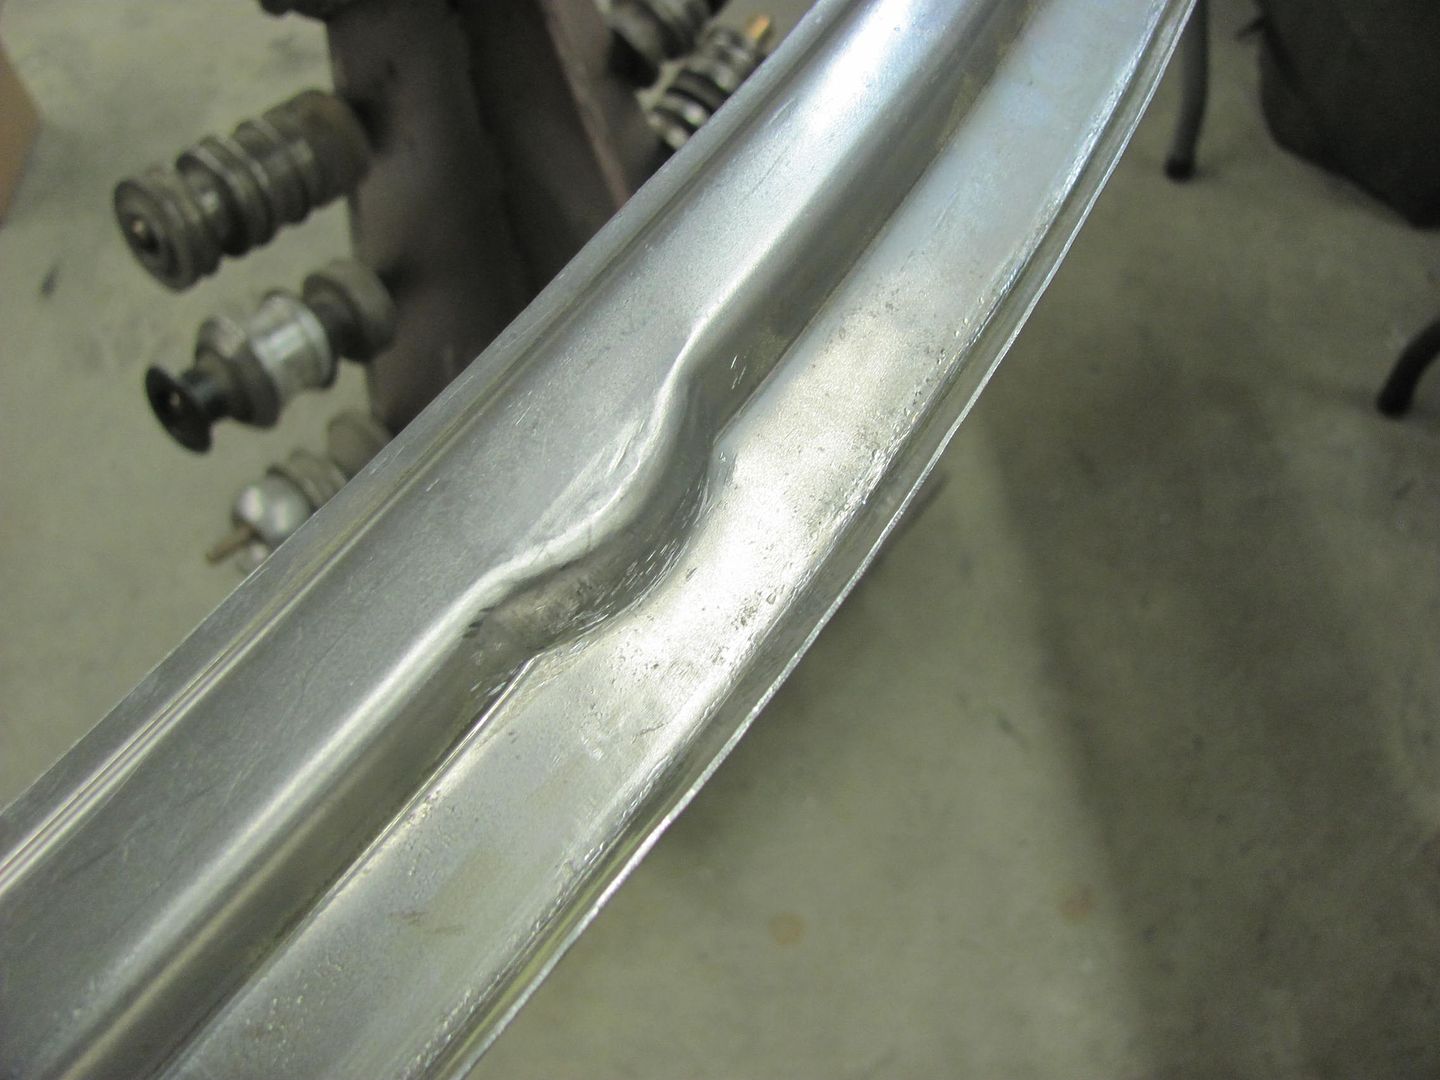
Door skin hammer will be used here to provide the radius, this one was touched up as the factory radius was a bit too large.
Tried it on one of our scrap pieces first..
Back side..
Front side and comparison to the factory version
Action video showing the process:


That's quite some "woodpecker" action there!!!
56 Nomad, Ramjet 502, Viper 6-speed T56, C4 Corvette front and rear suspension
Other vehicles:
56 Chevy 2-door BelAir sedan
56 Chevy 210 4-door sedan
57 Chevy 210 4-door sedan
1962 327/340HP Corvette
1961 Willys CJ3B Jeep
2001 Porsche Boxster S
2003 Chevy Silverado 2500 HD Duramax
2019 GMC Sierra Denali Duramax
Trying to make up for lost time..
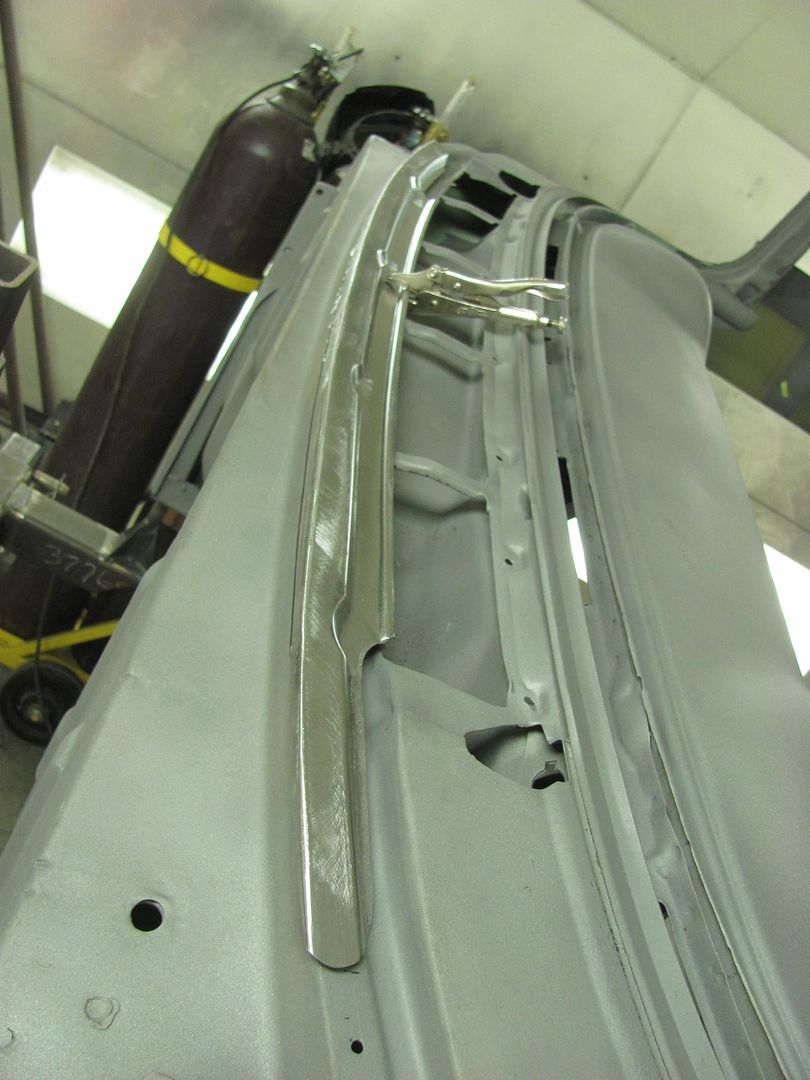
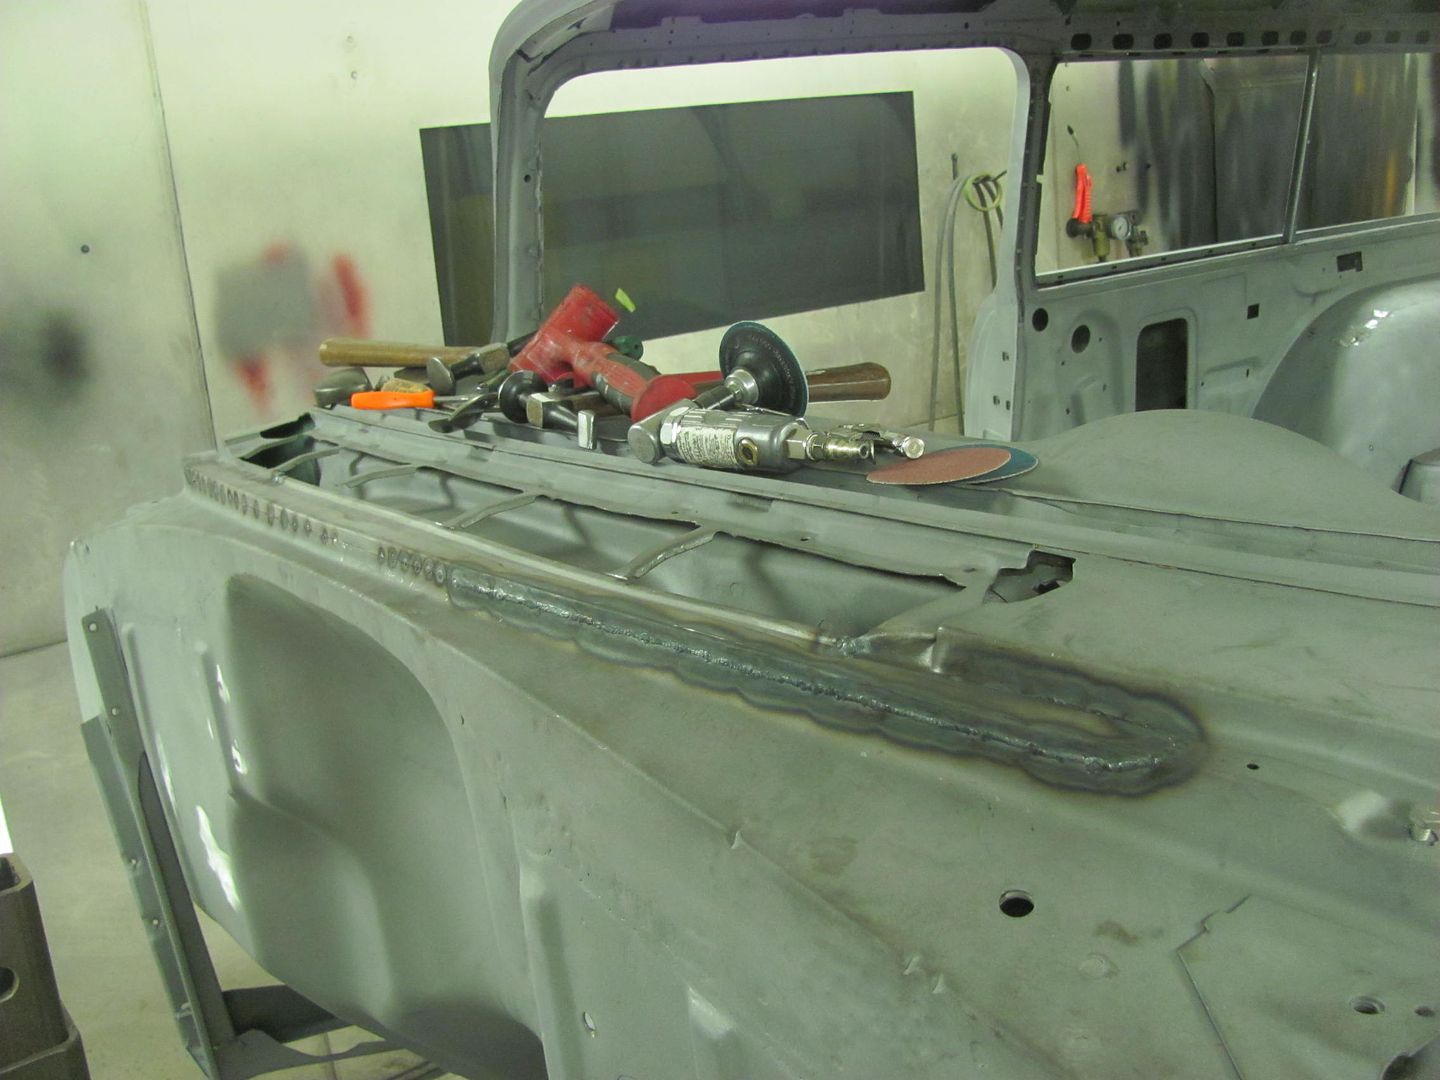
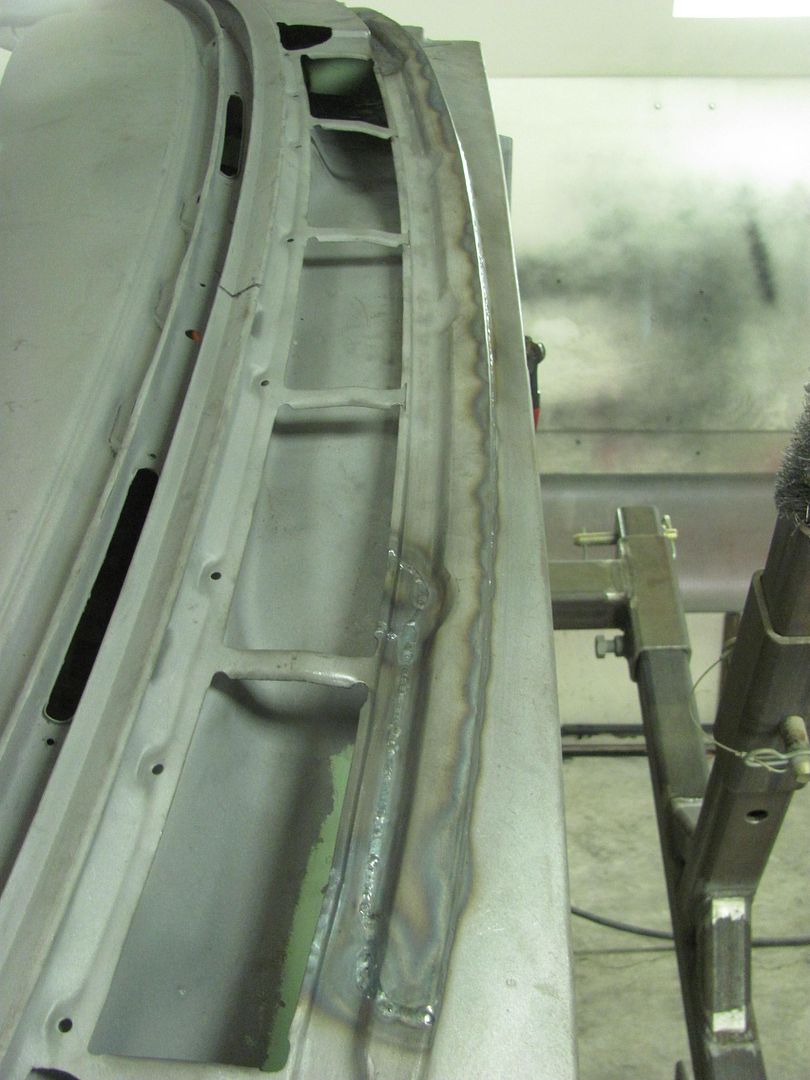
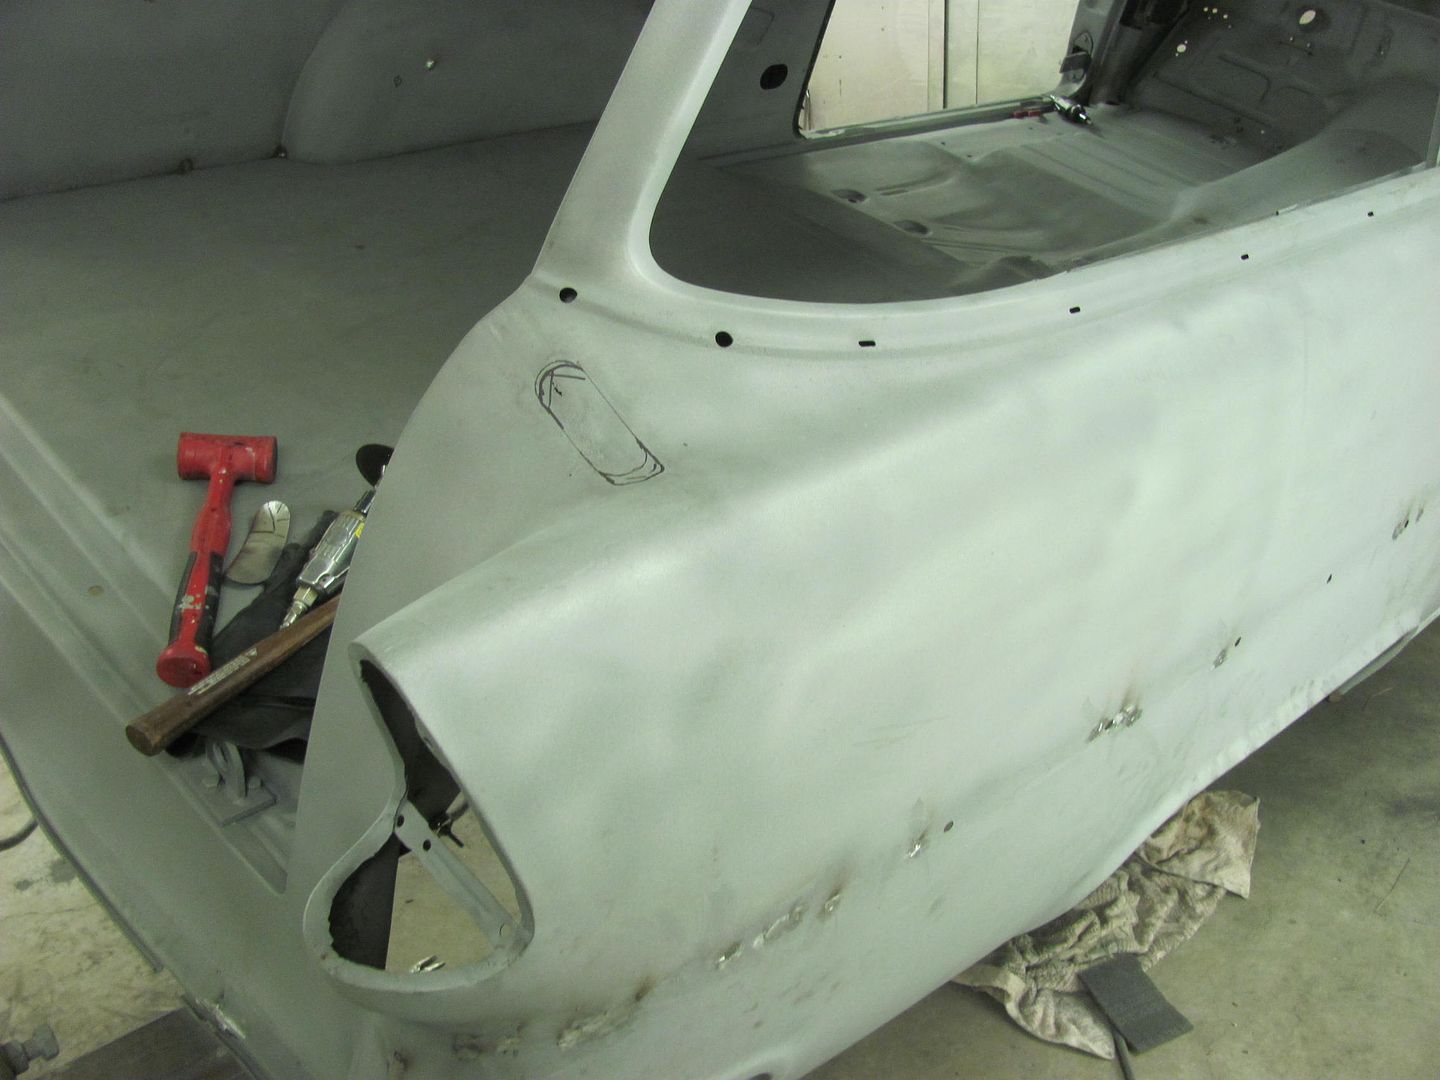
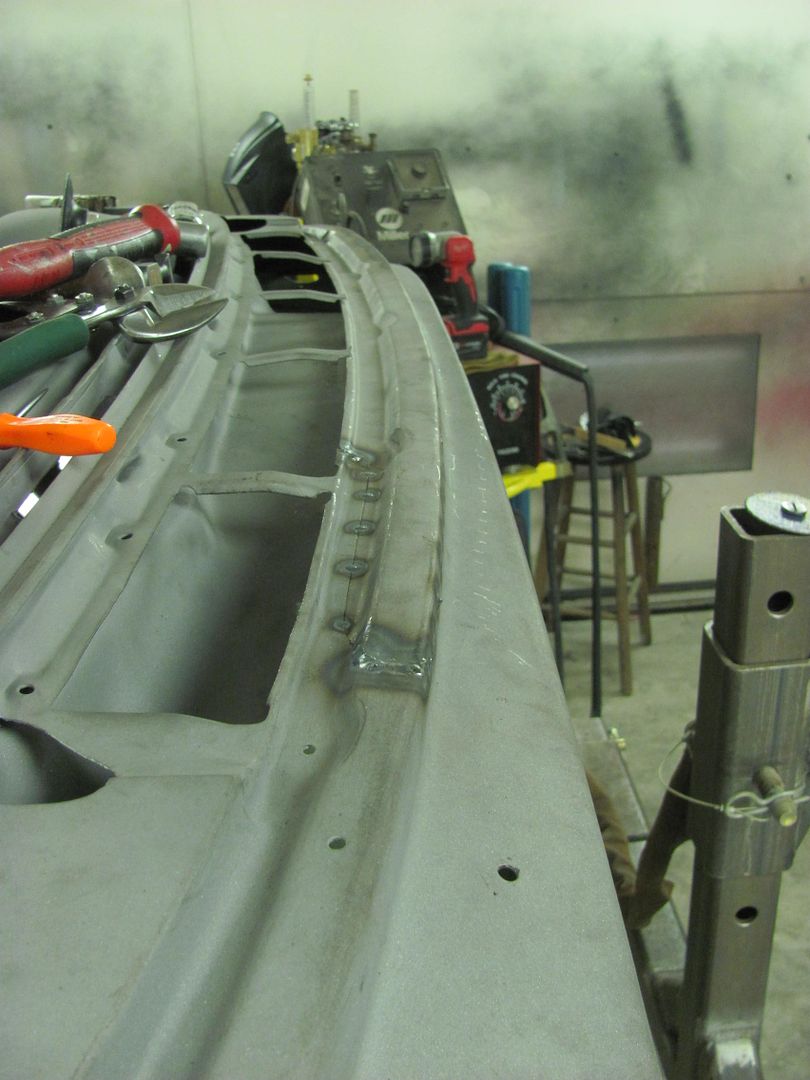
A bit further along on the cowl repair.. Repair patch trimmed to size...
....and then scribed to the cowl area, which gets rough cut using the 4-1/2" cut off wheel. About 1/4" excess is left for final trimming using the snips..
That should flow some air...
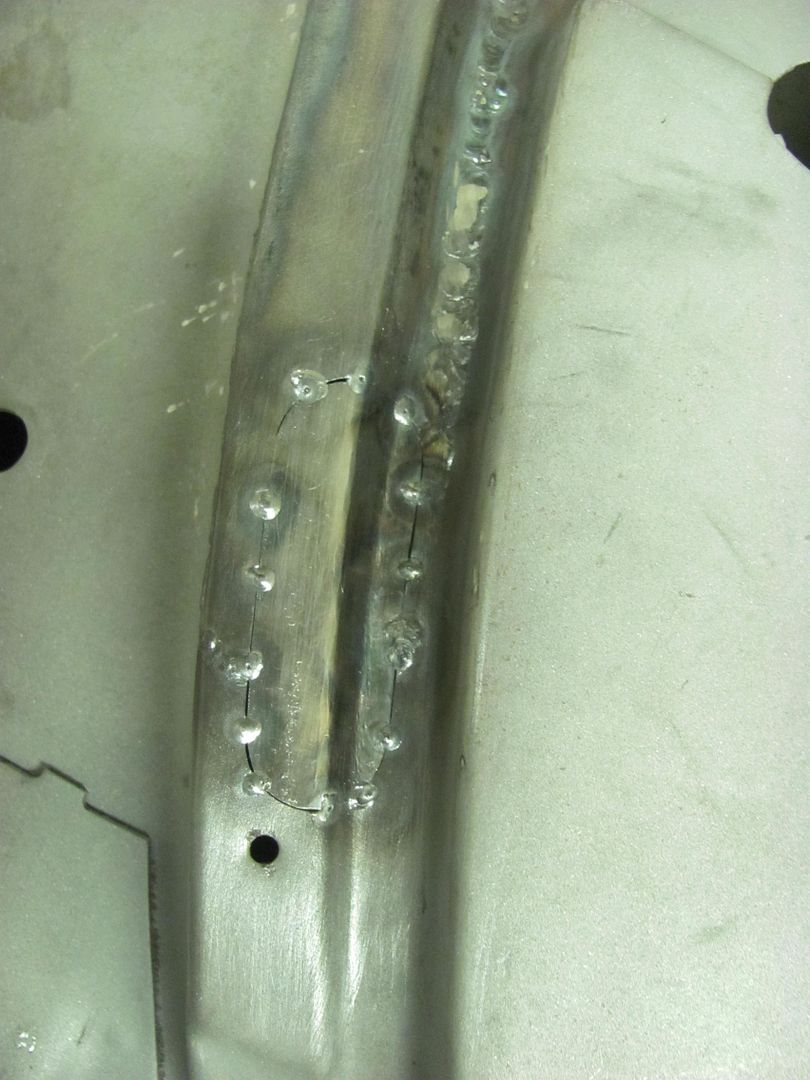
Tacked in place..
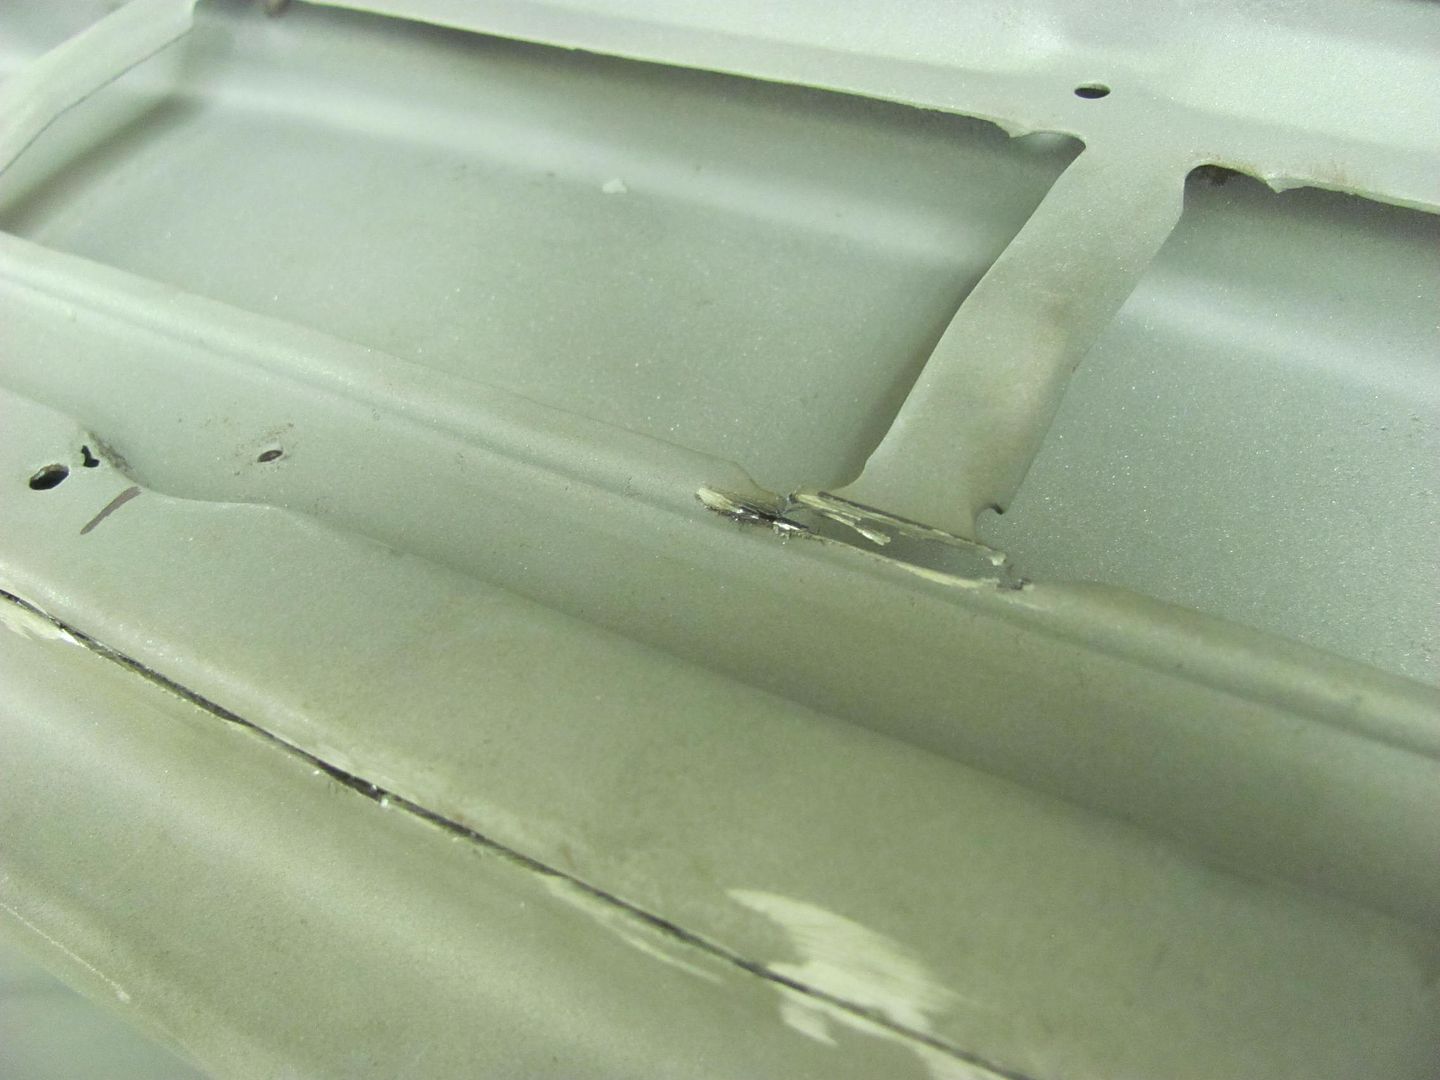
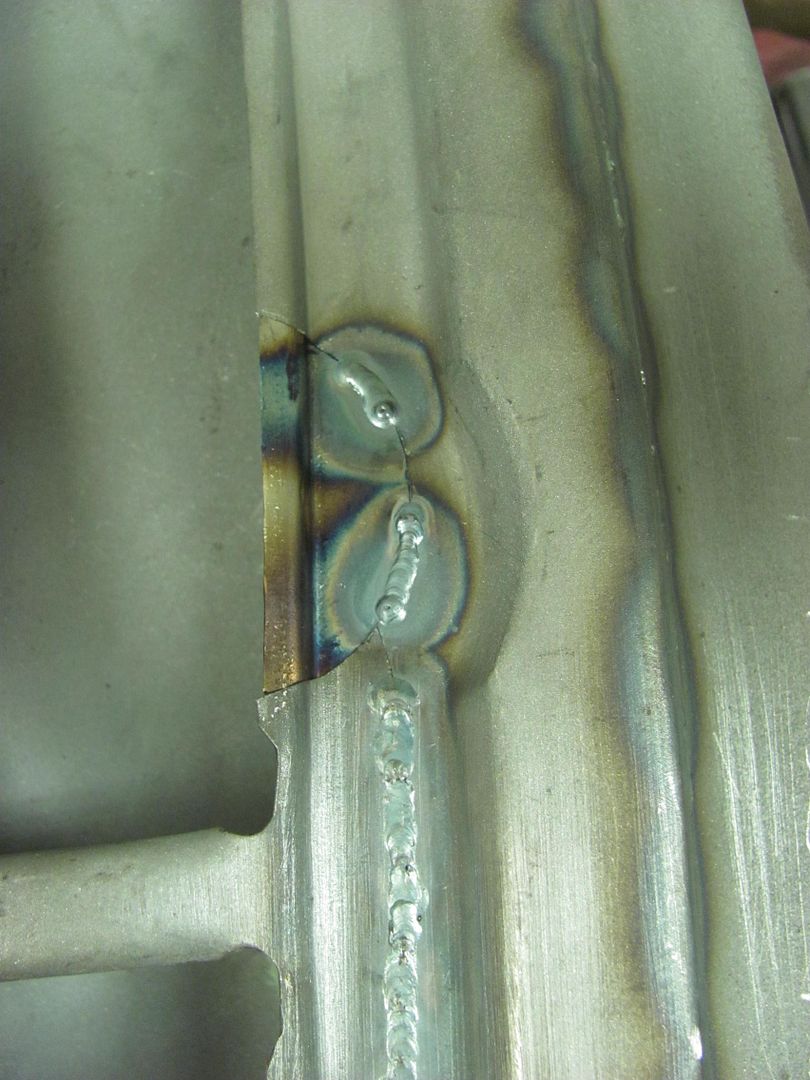
OK, it's been a while since I've TIG welded, and got a little too much heat
near the edge. Blew a nice hole, so used one of the practice pieces to cut out
a patch..
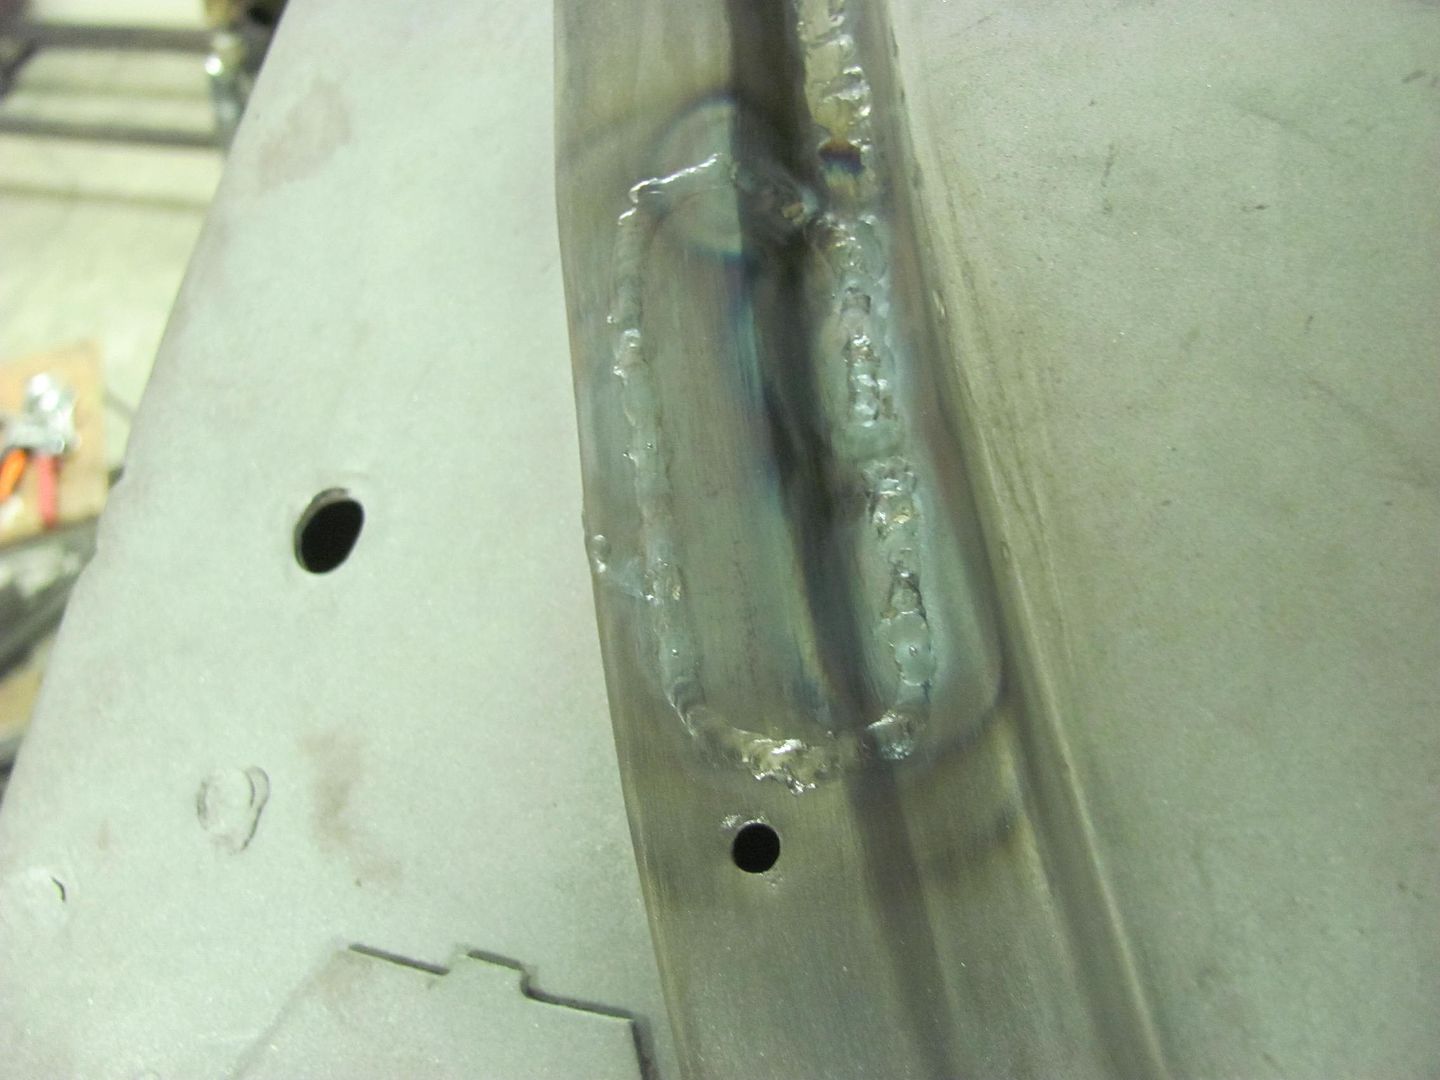
.....and I got a little heavy footed on the other end as well...
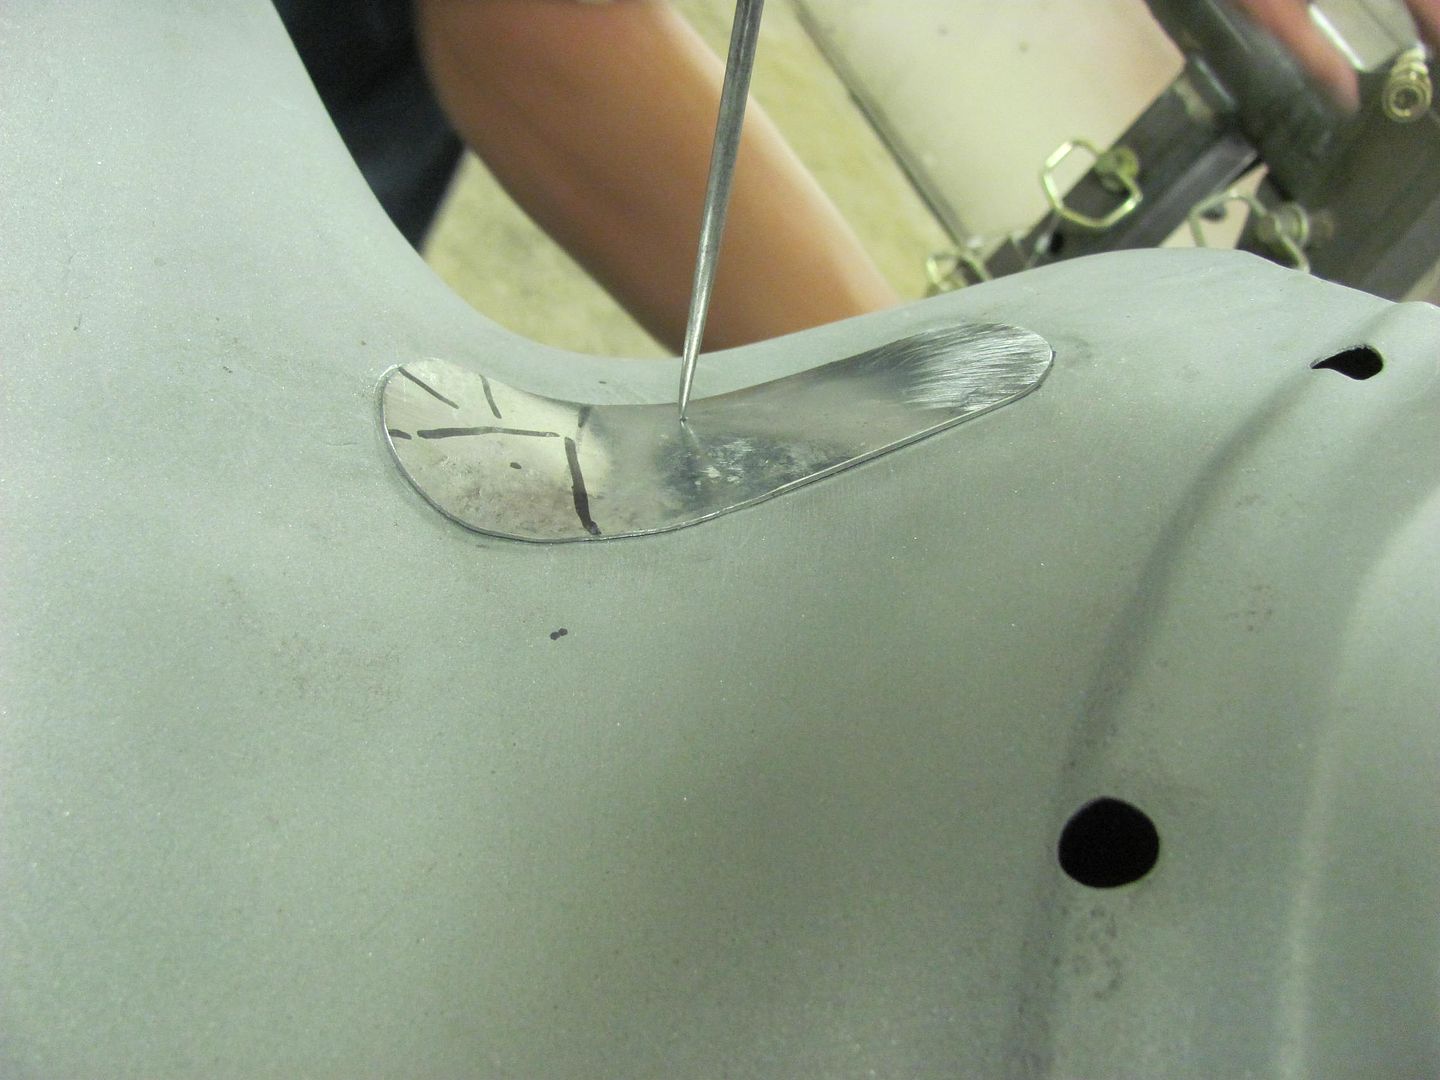
Trimming for the patch's patch.
The final pieces to weld...
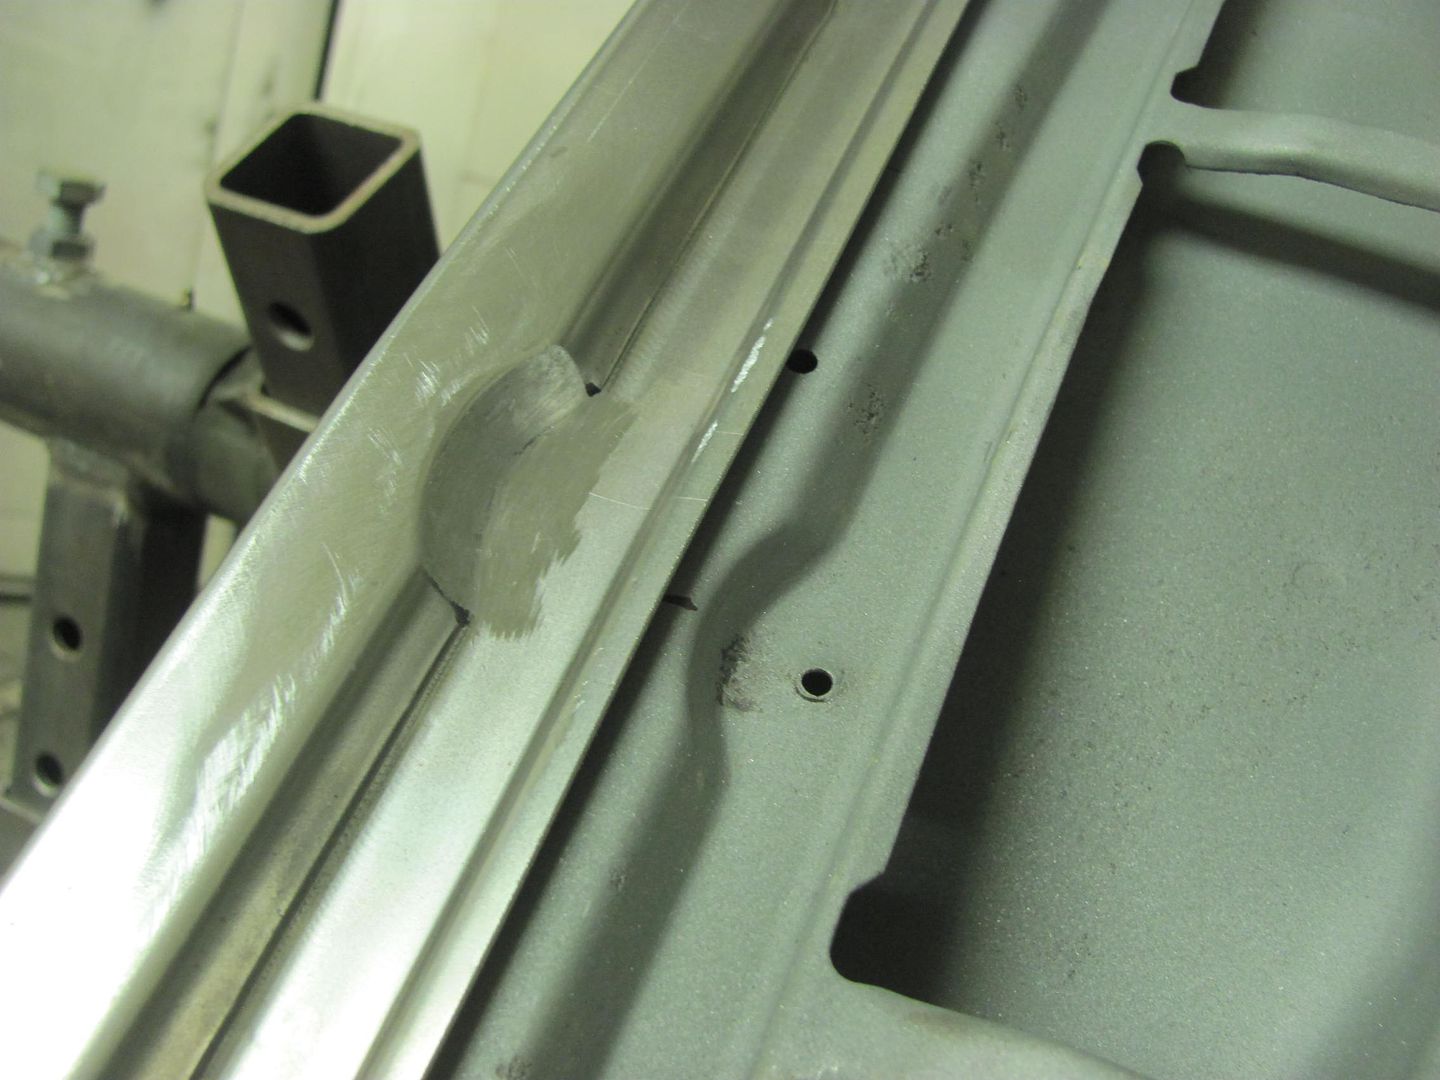
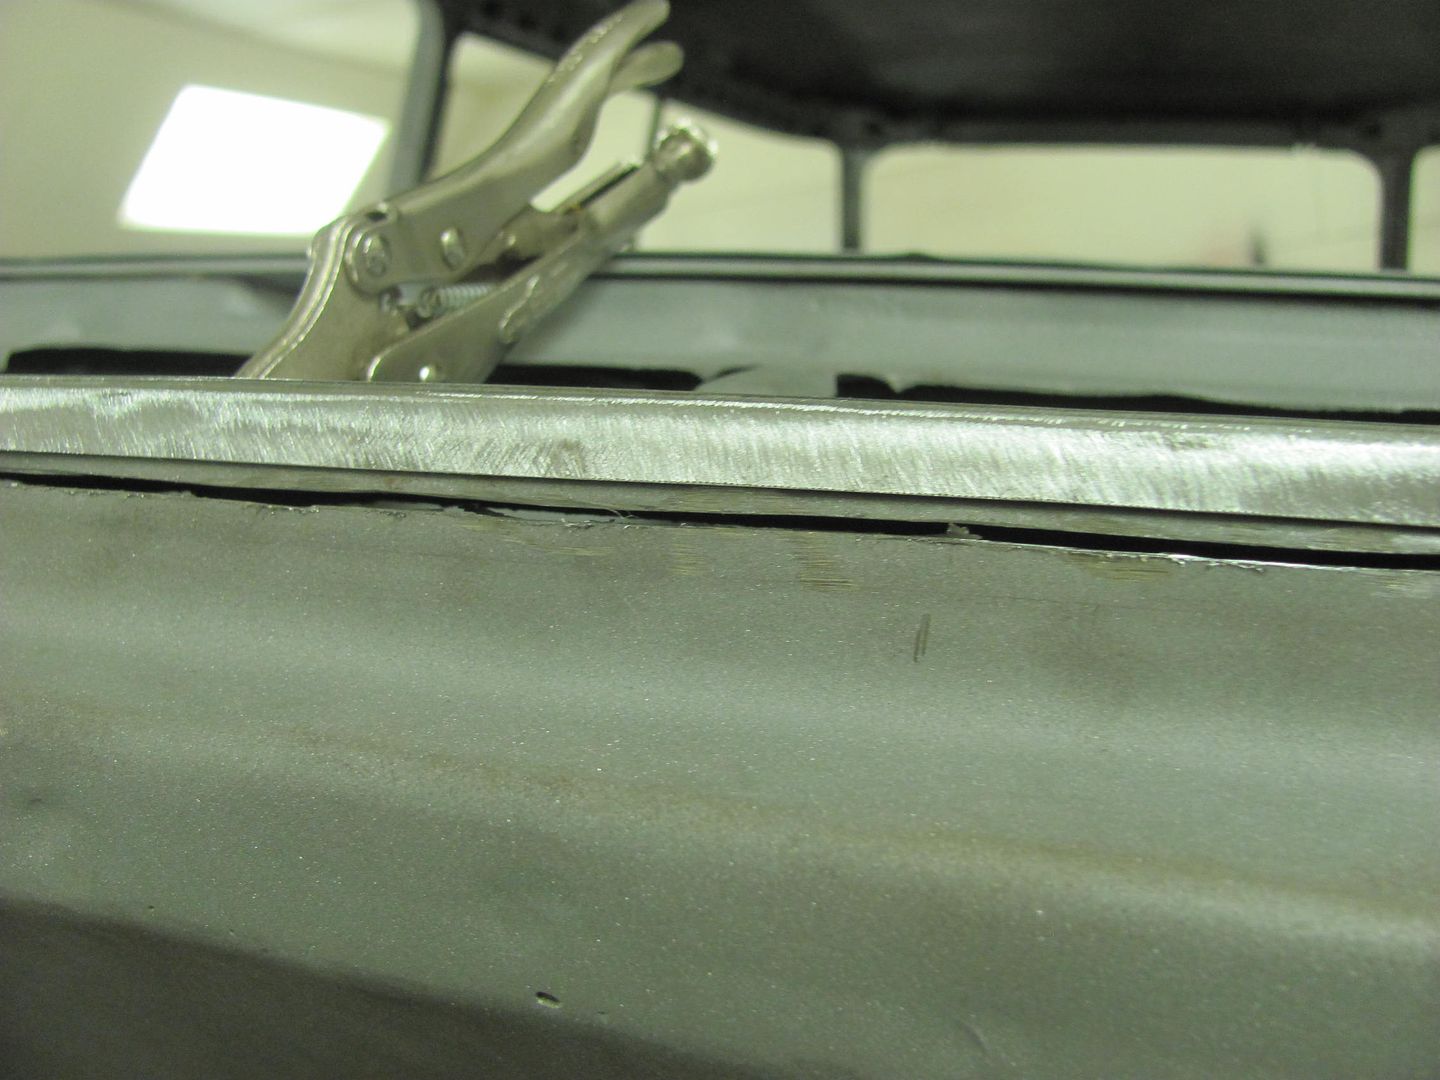
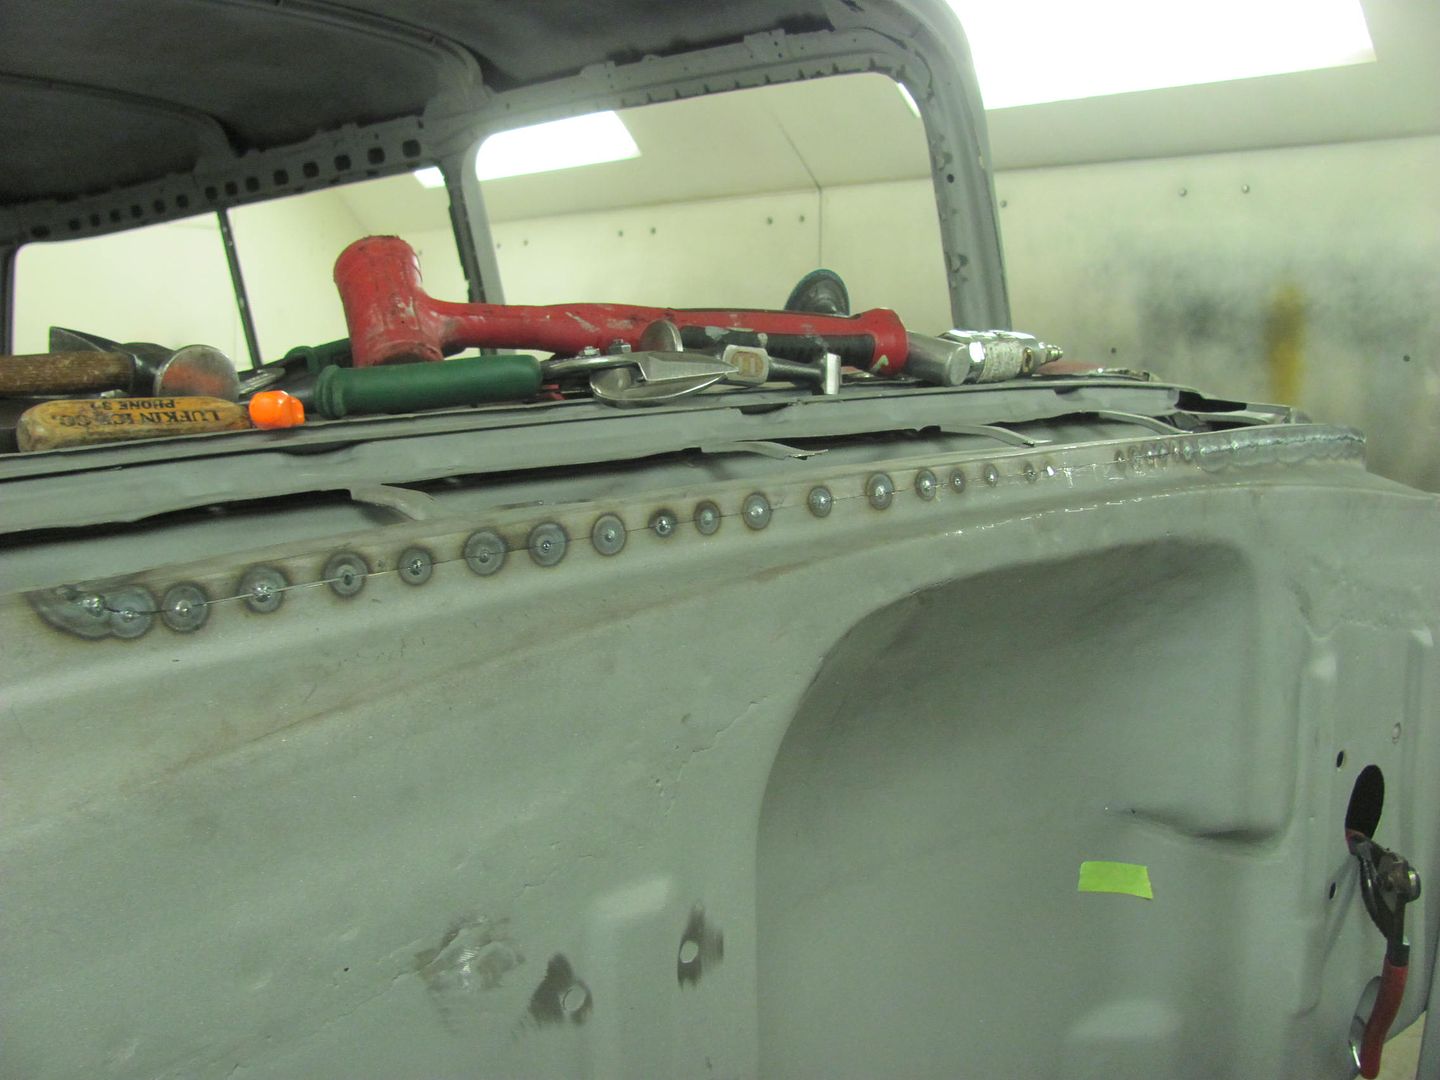
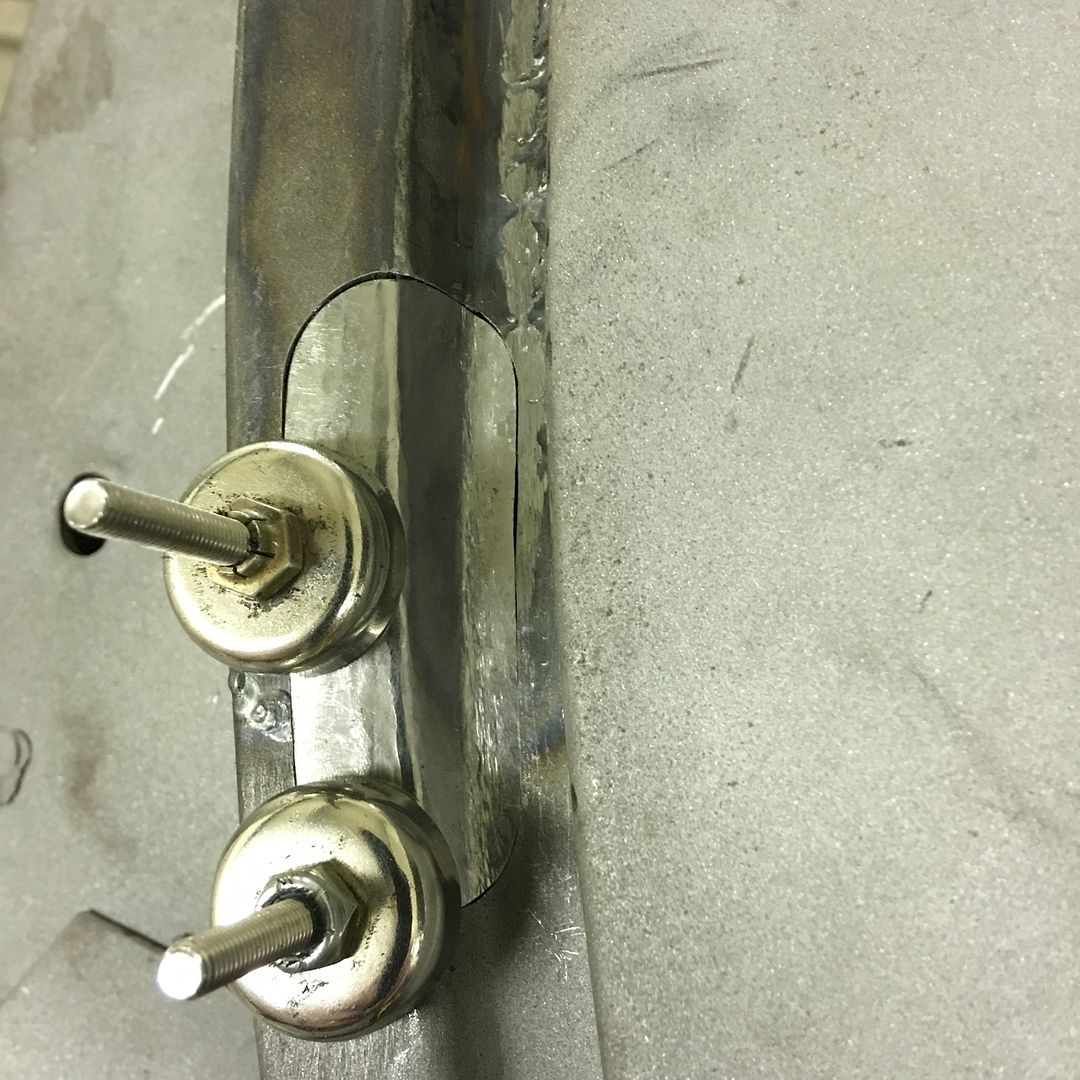
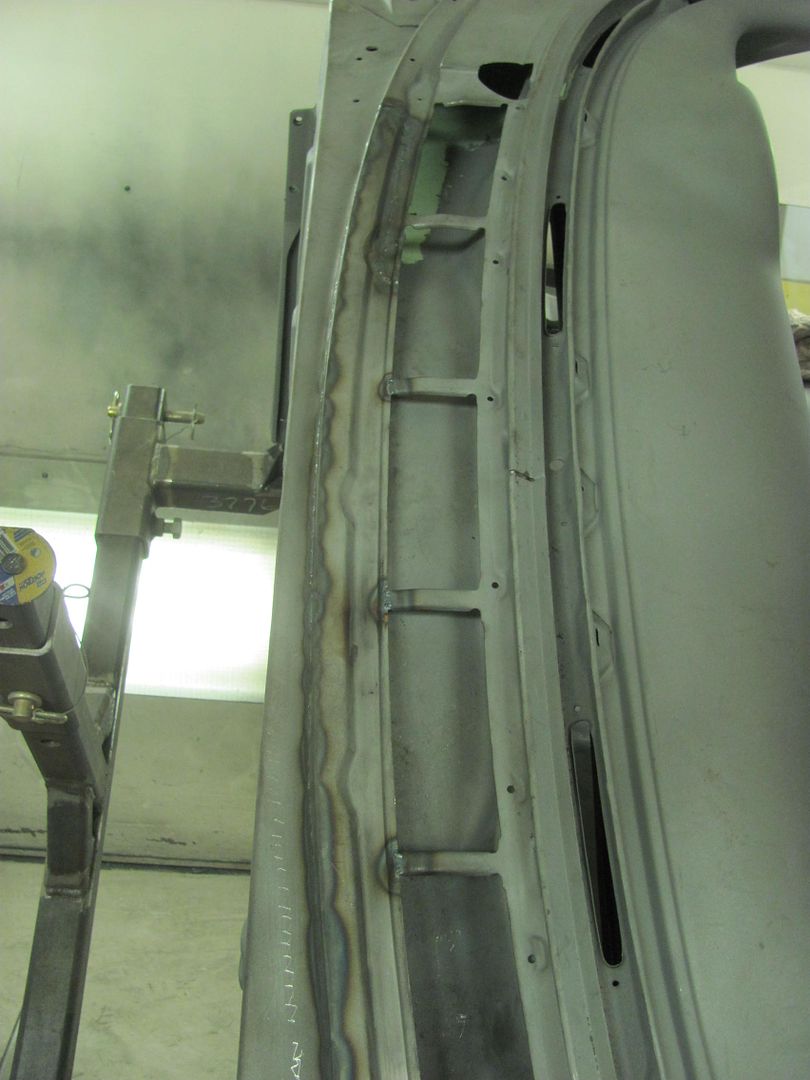
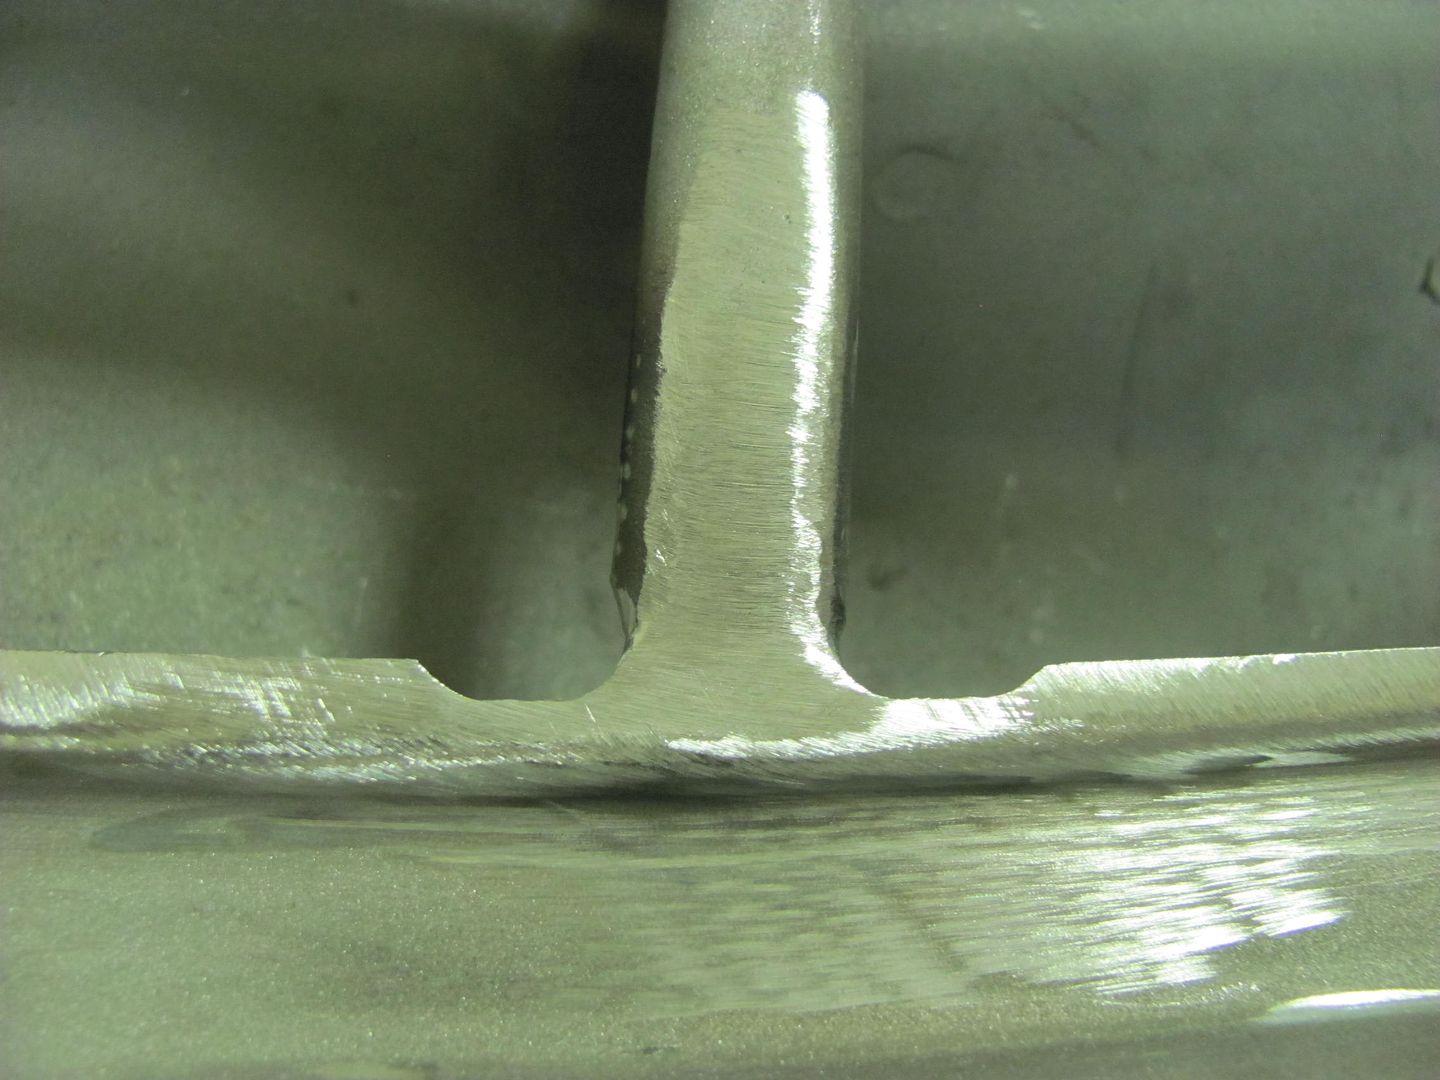
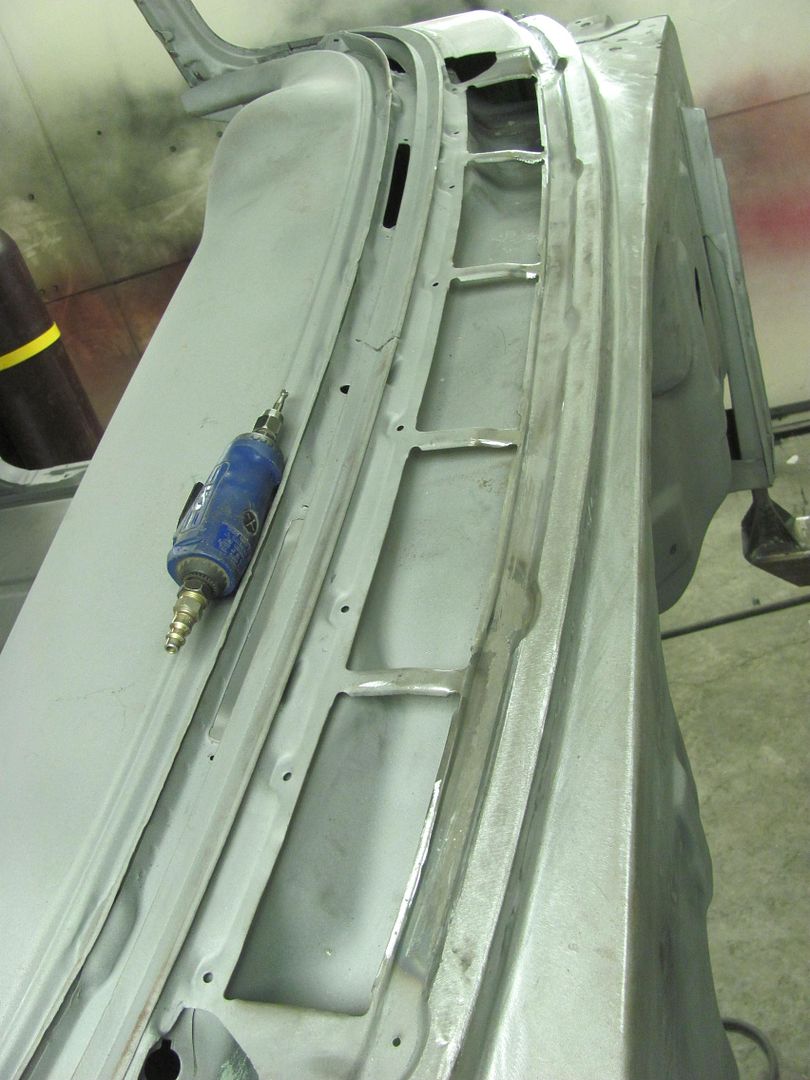
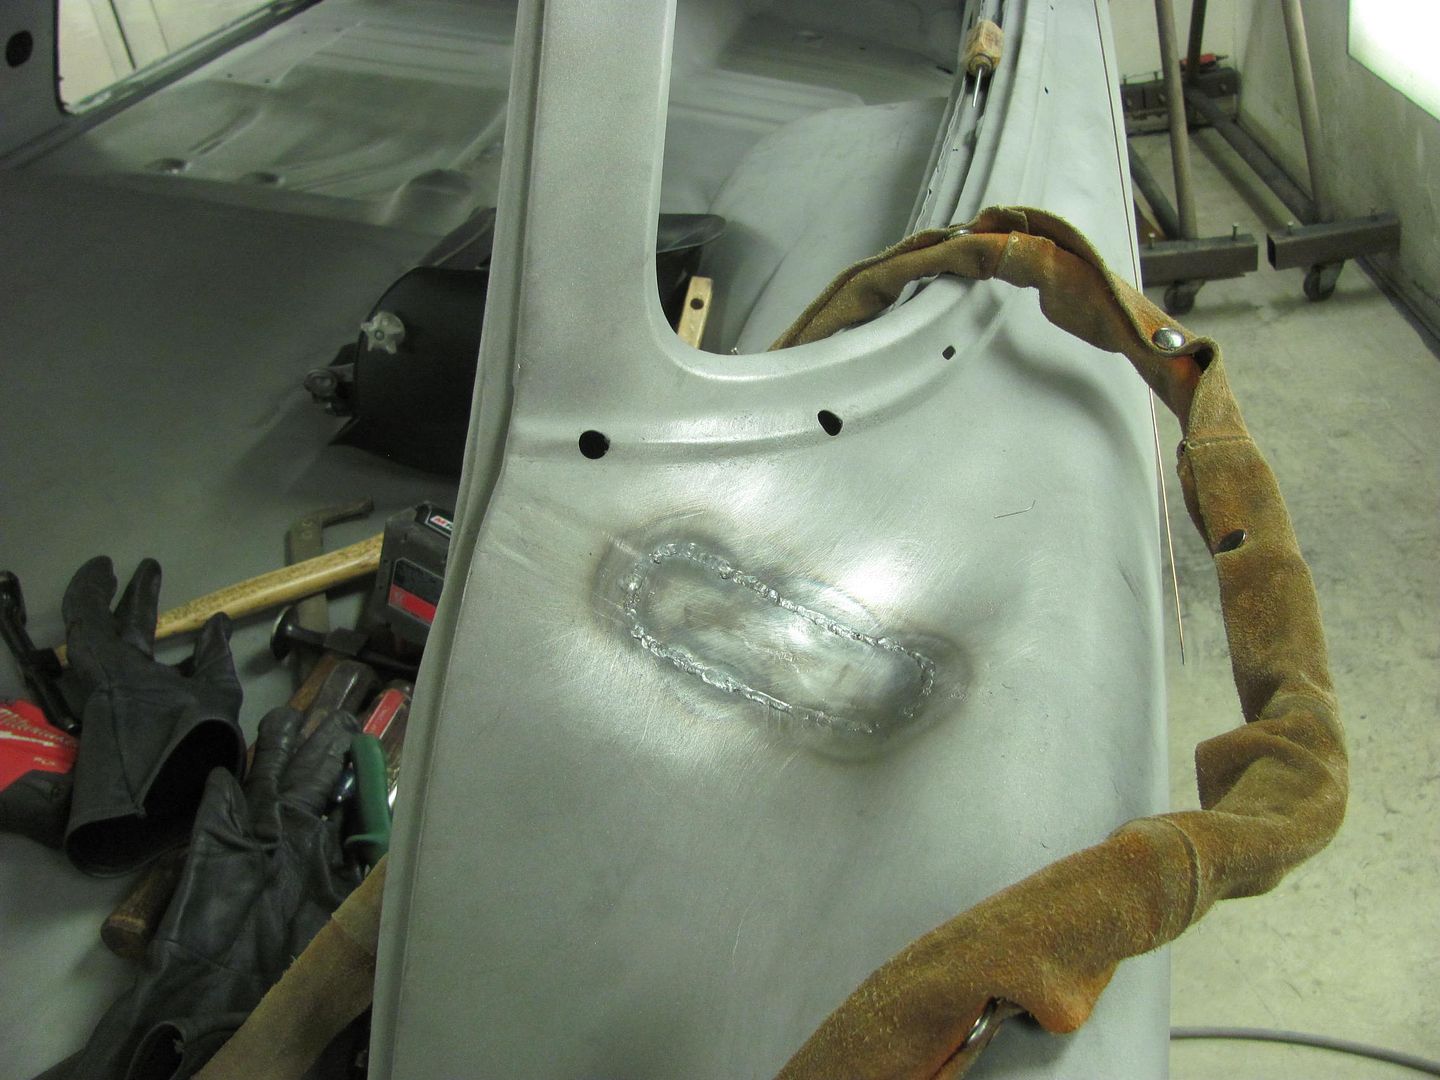
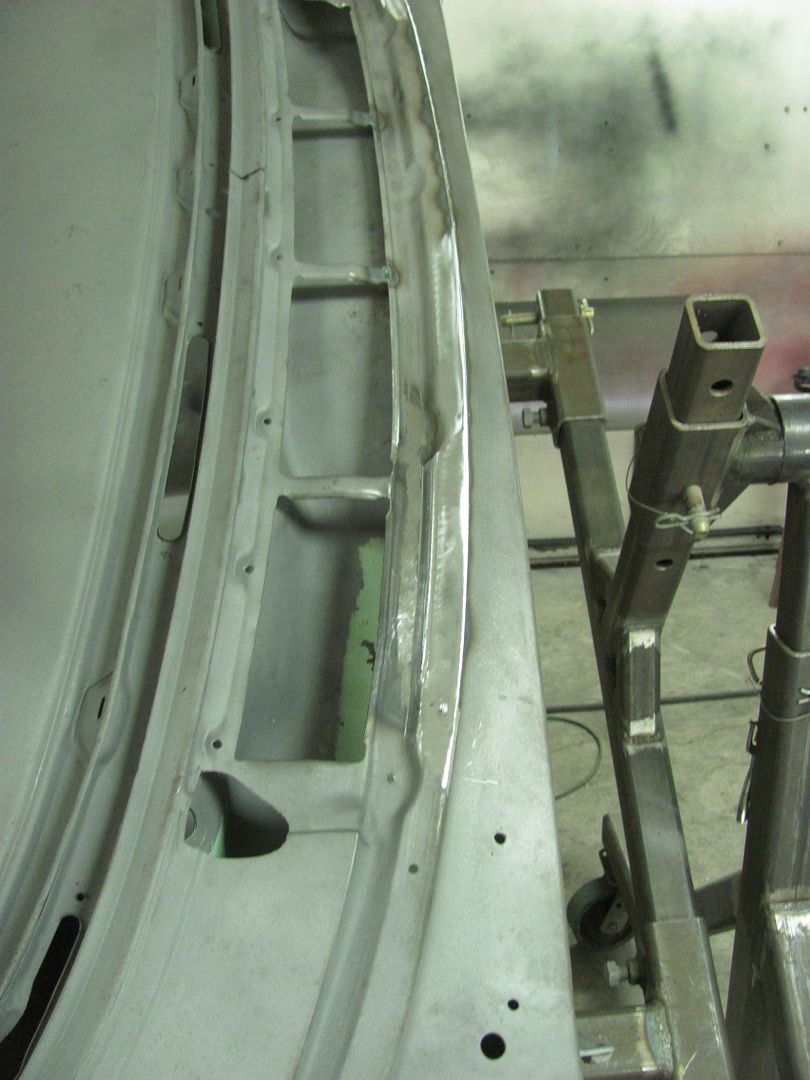
Weld dressed and factory relief added...
A few more welds to dress and this will be done...
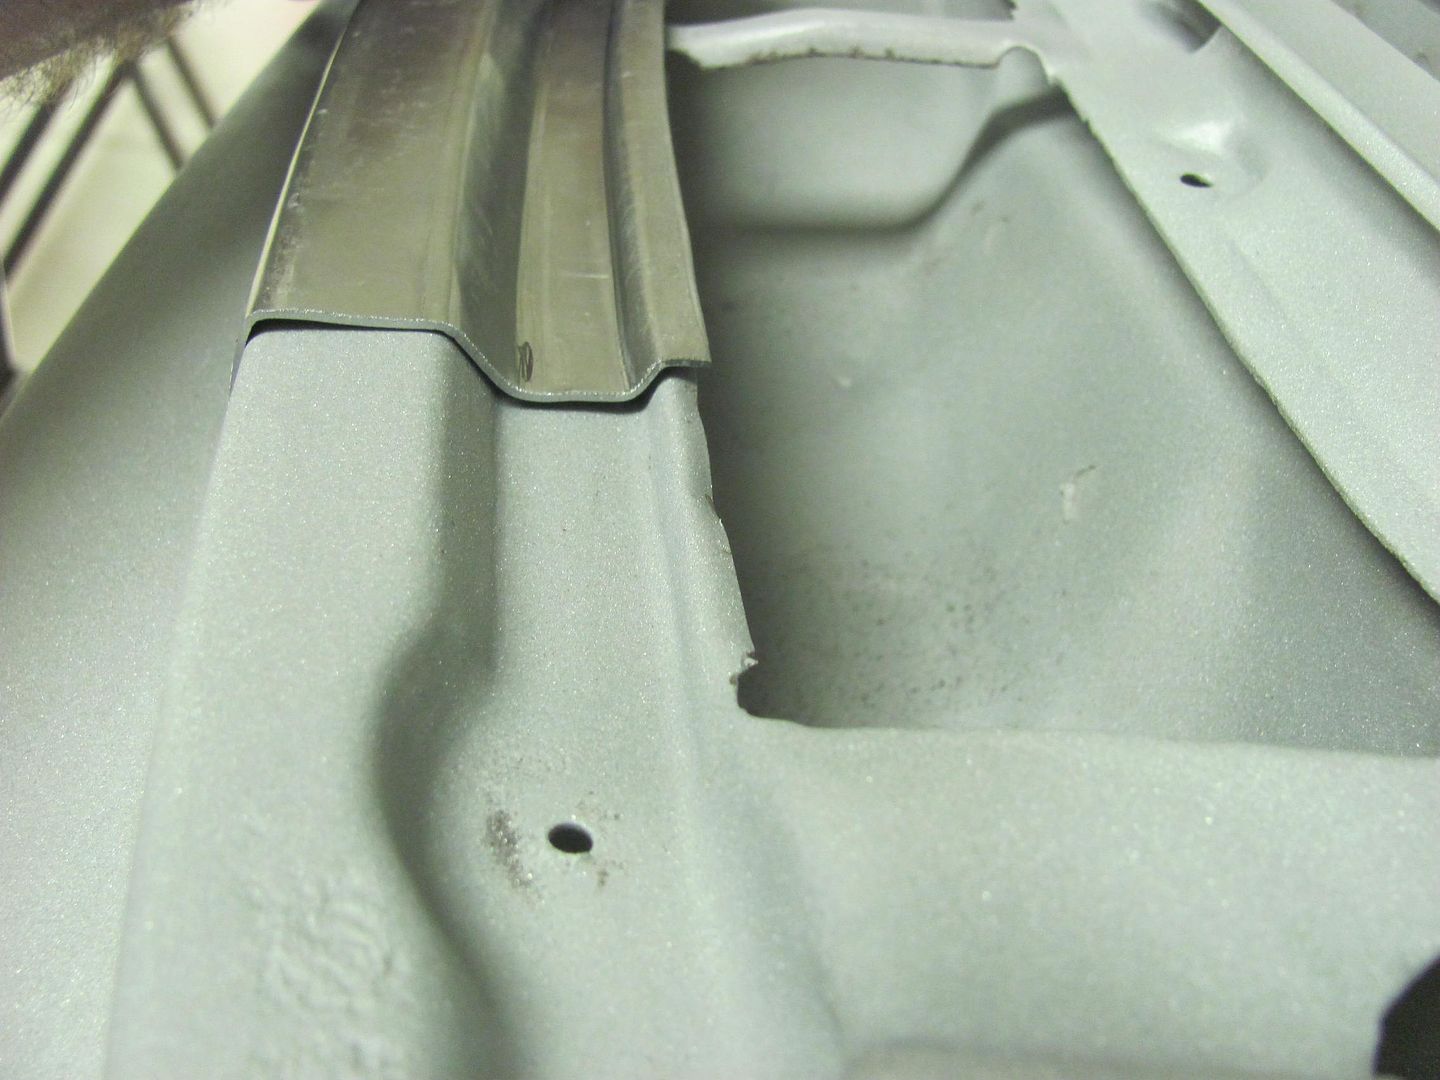
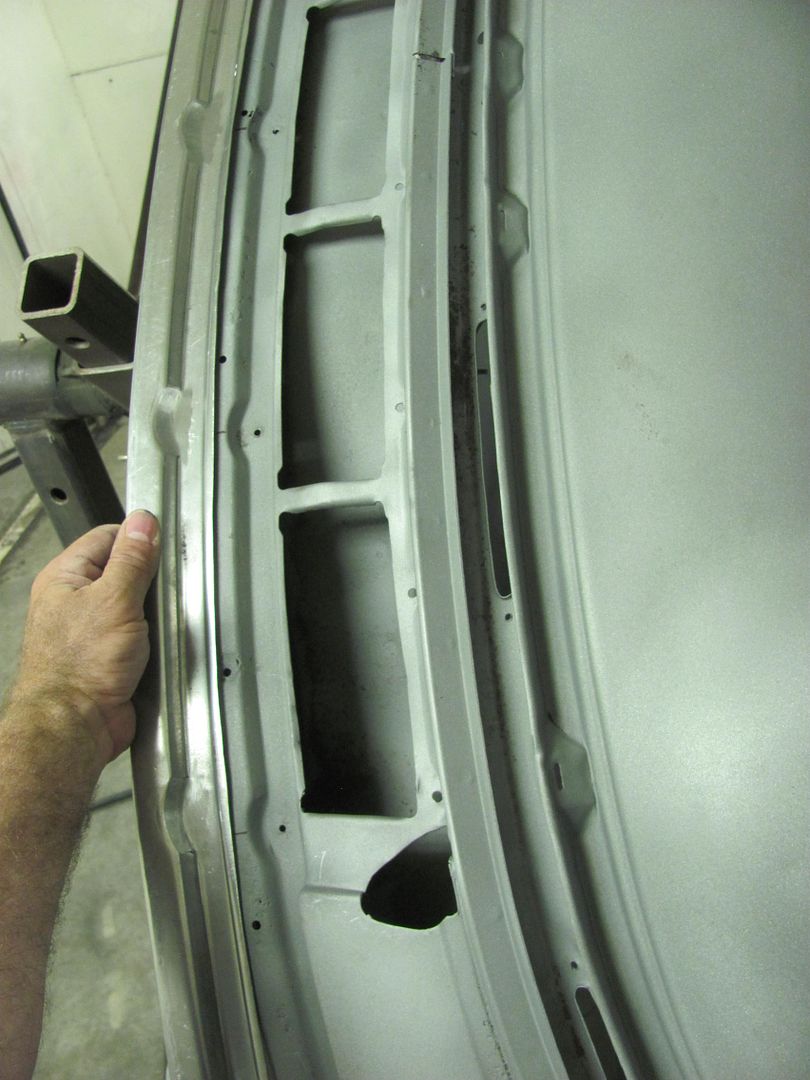
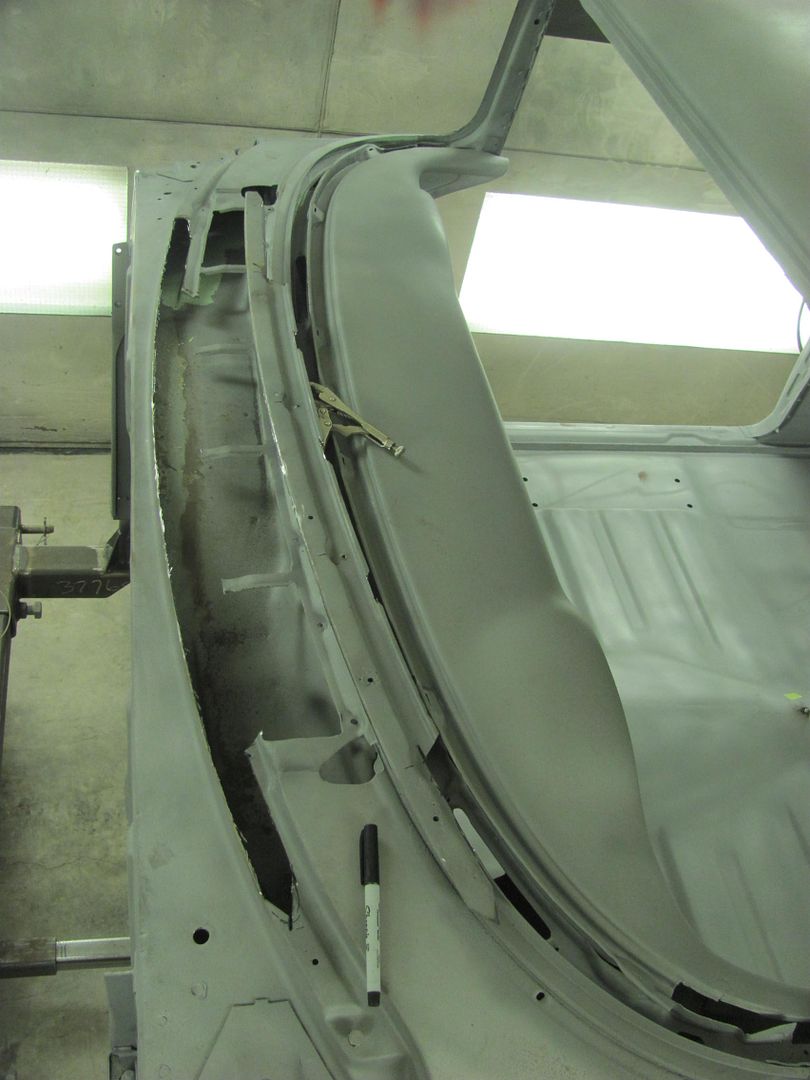
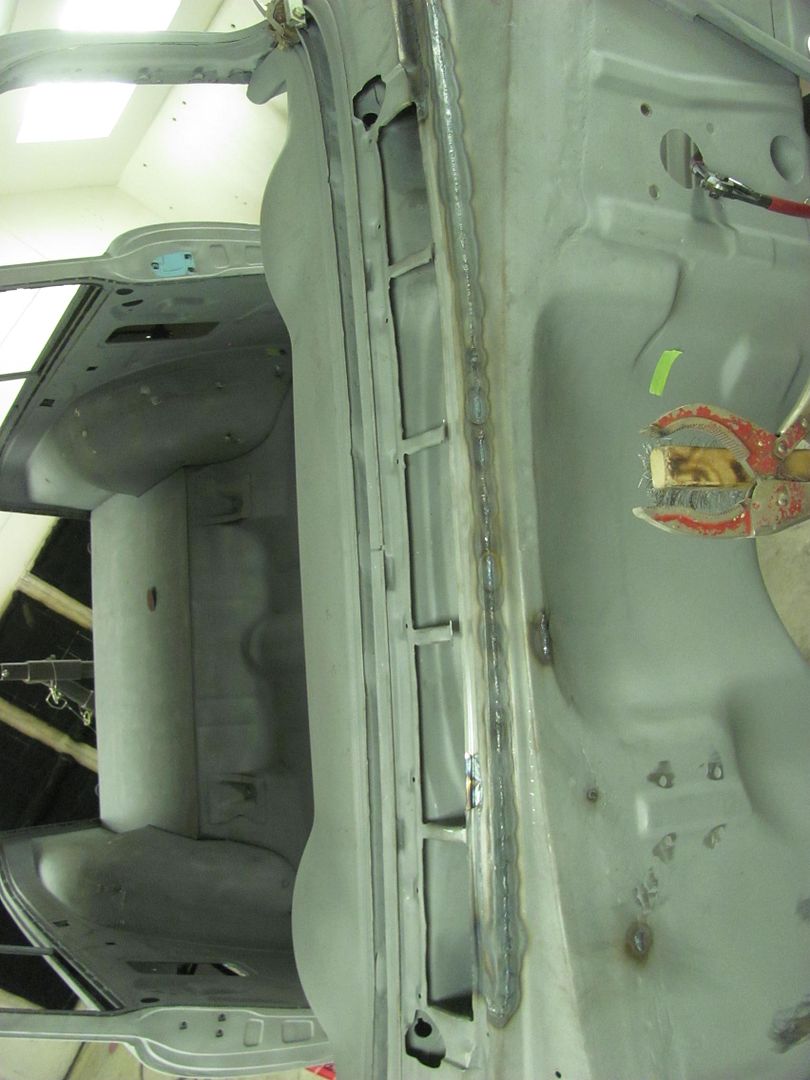
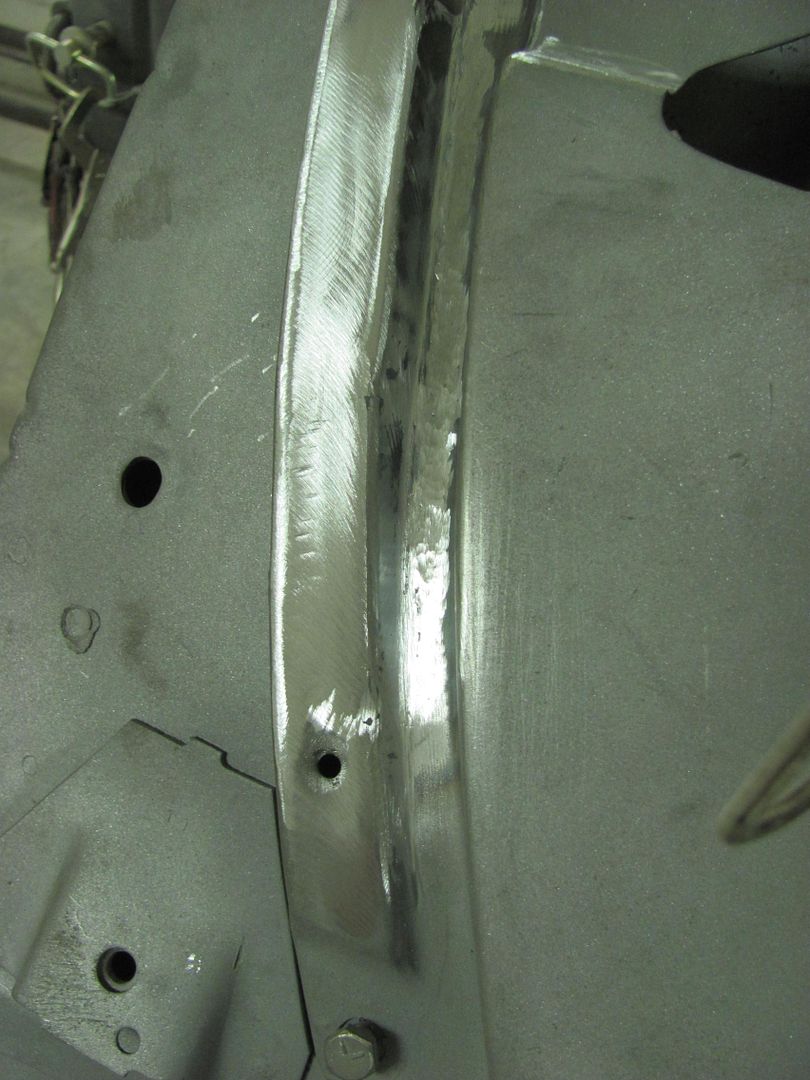
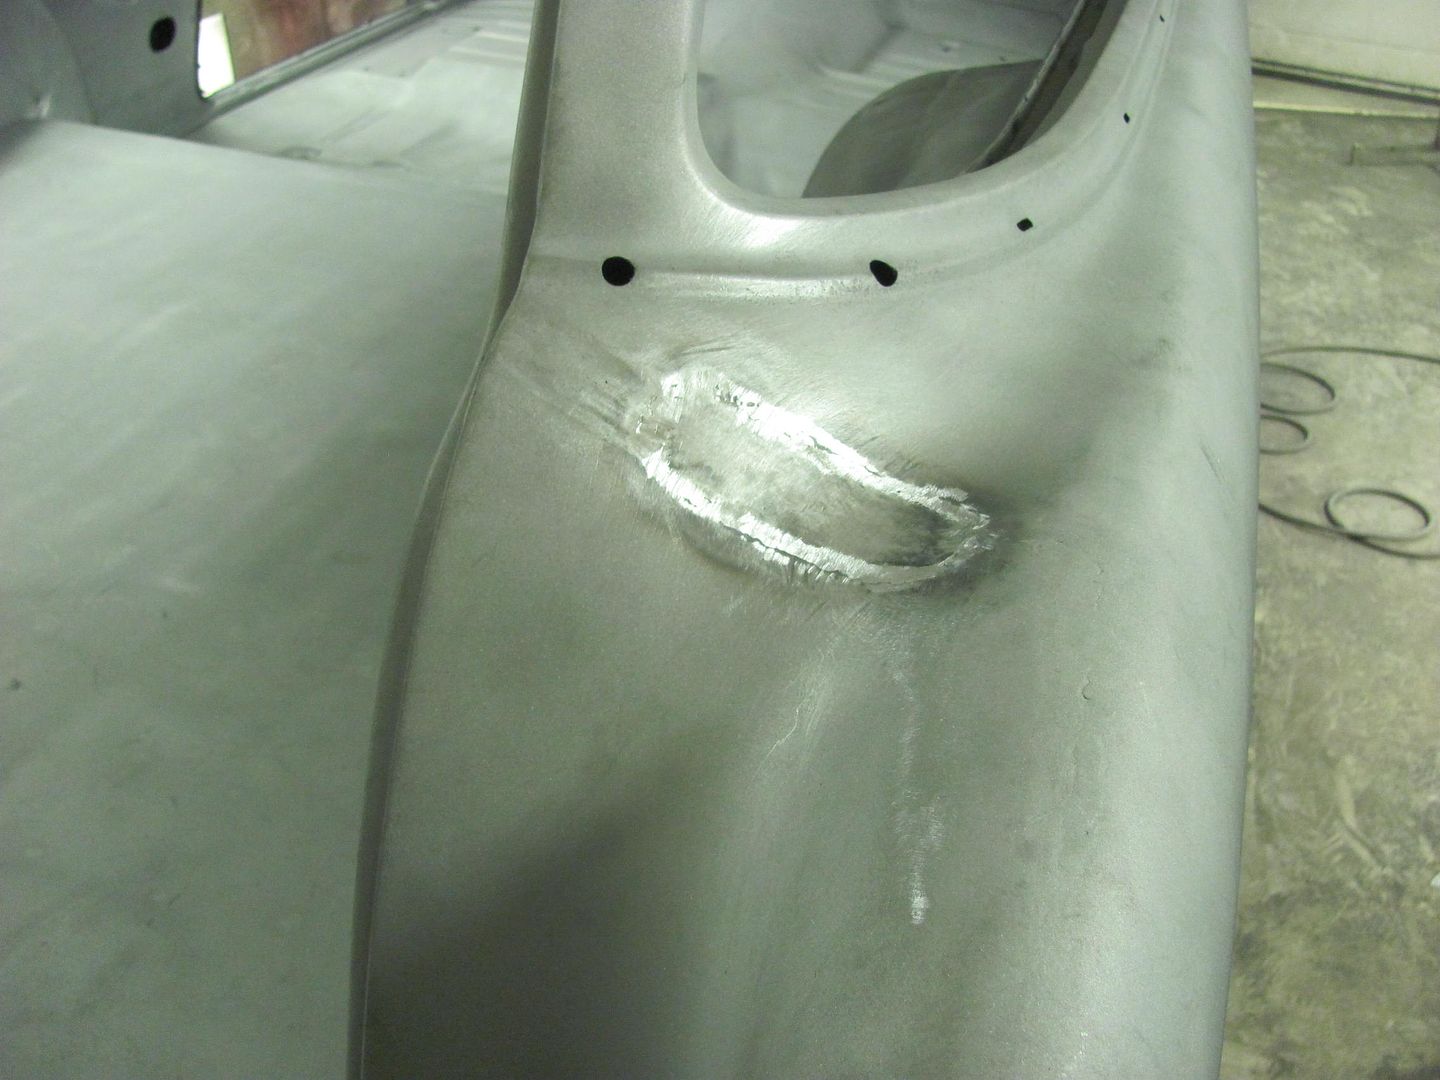
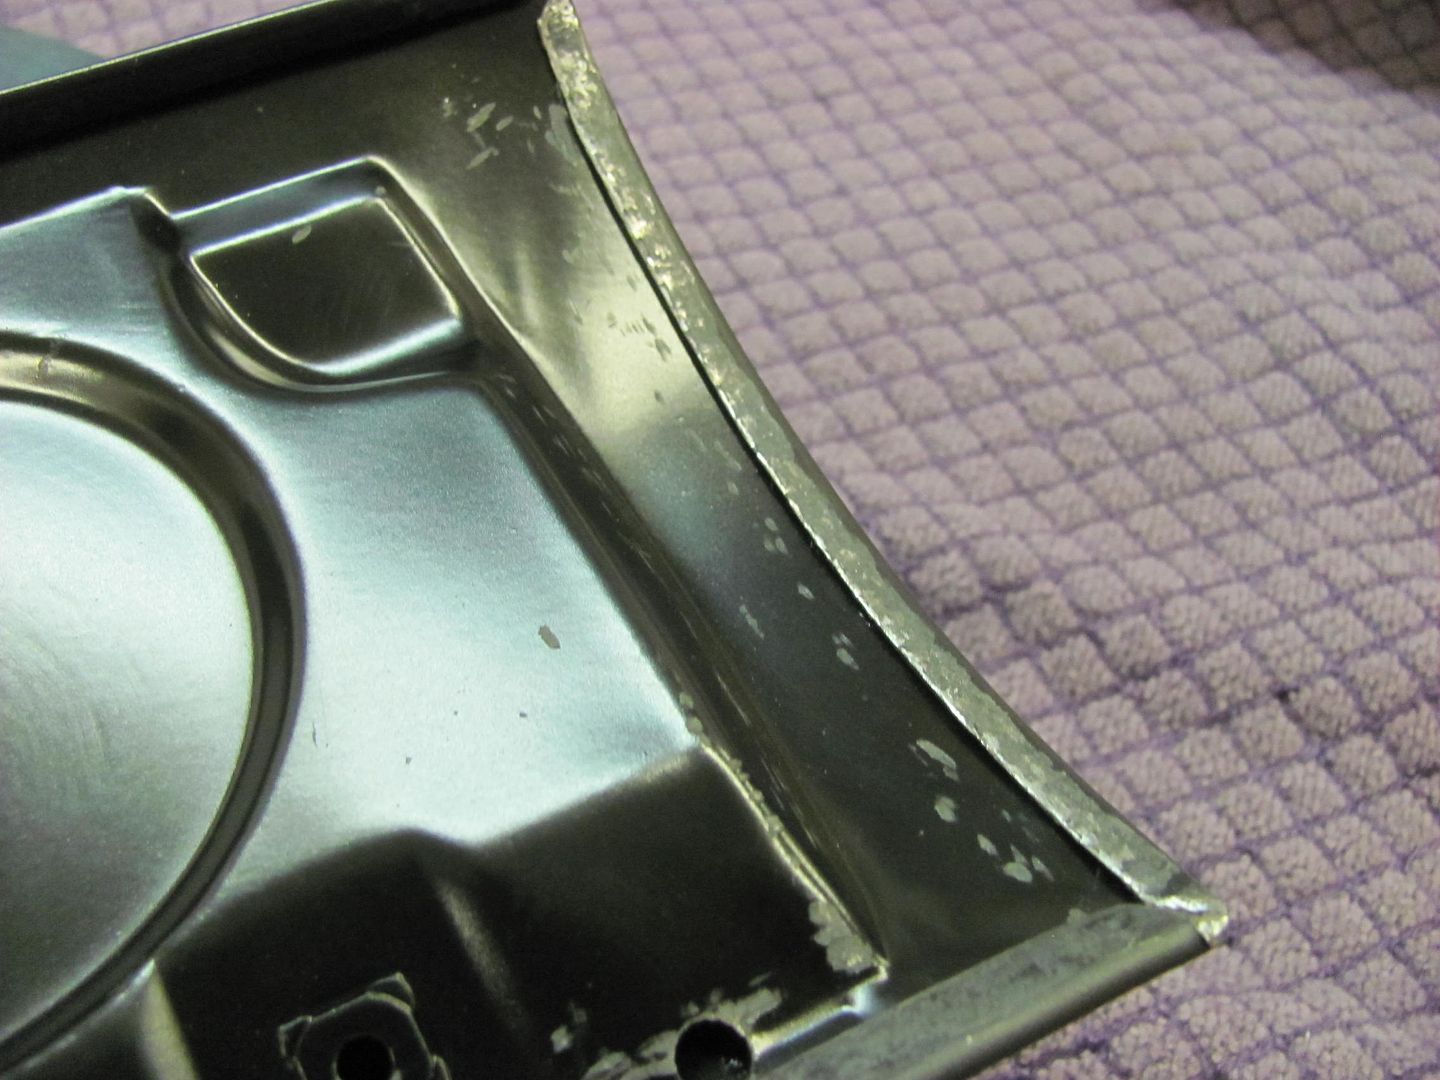
Cowl repair all complete...
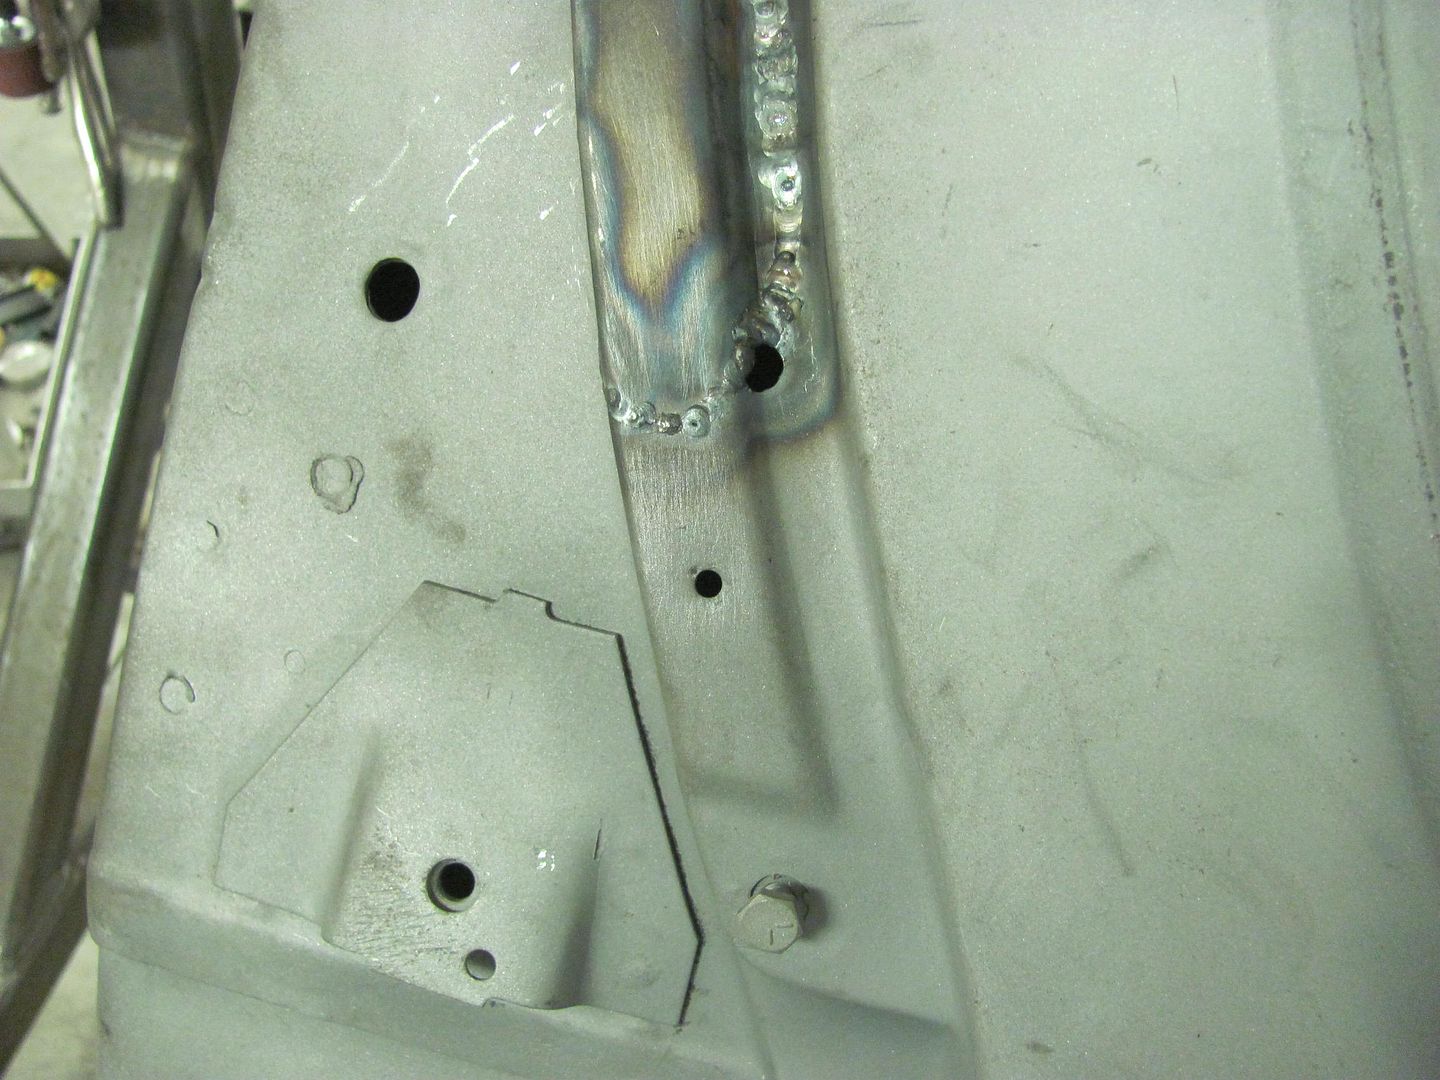
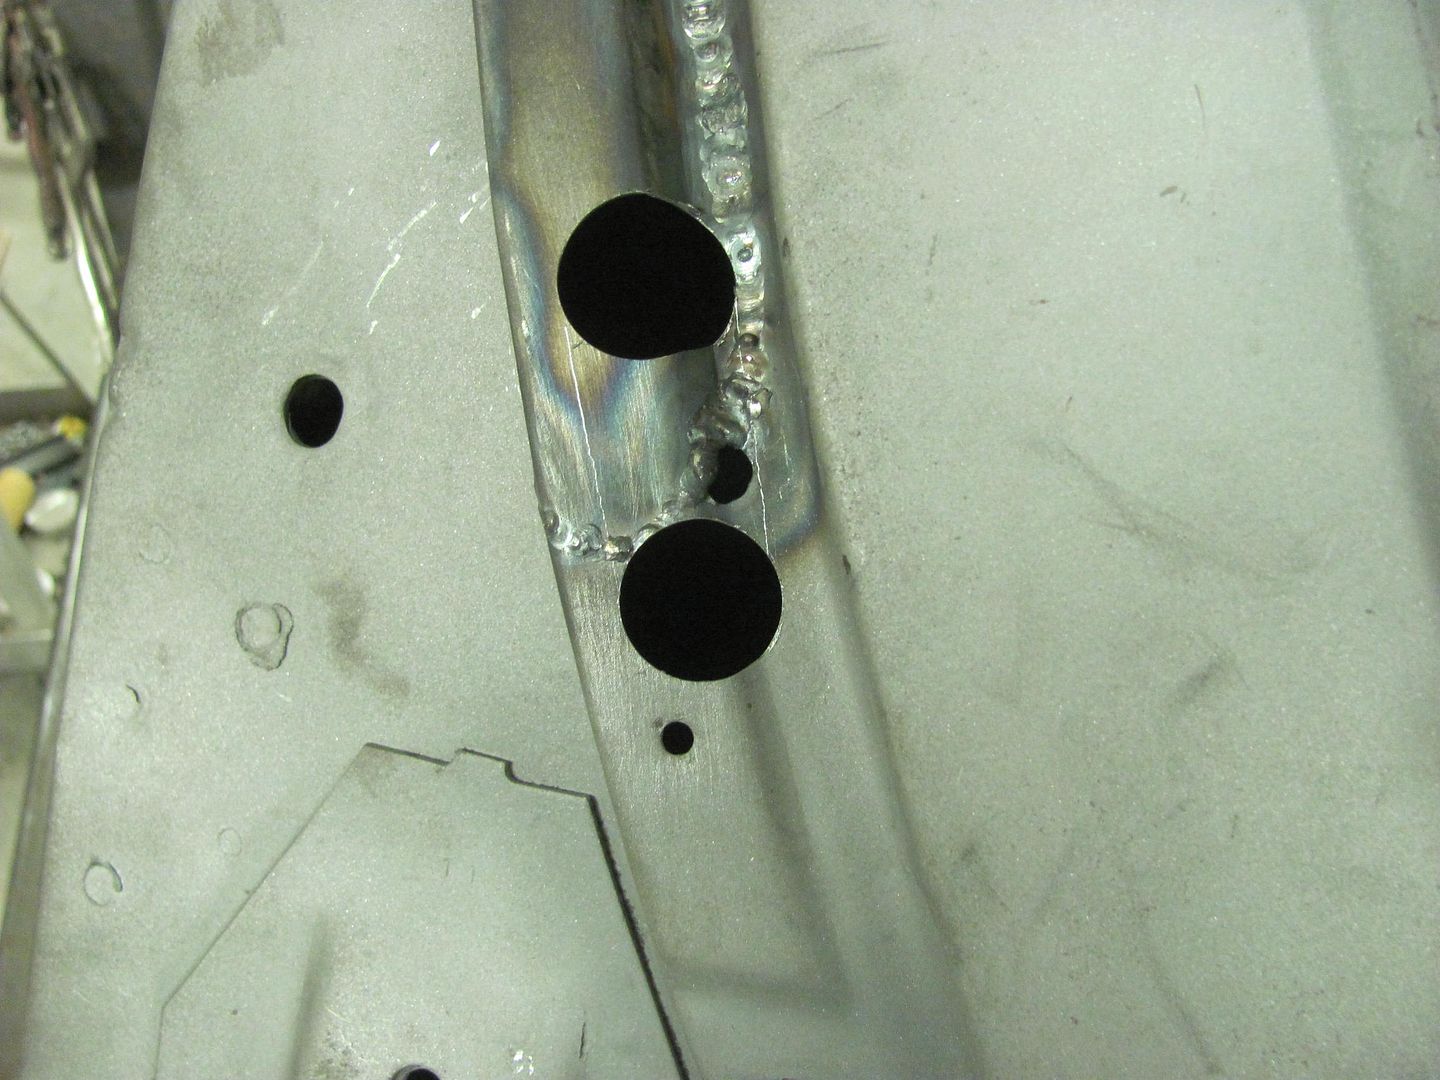
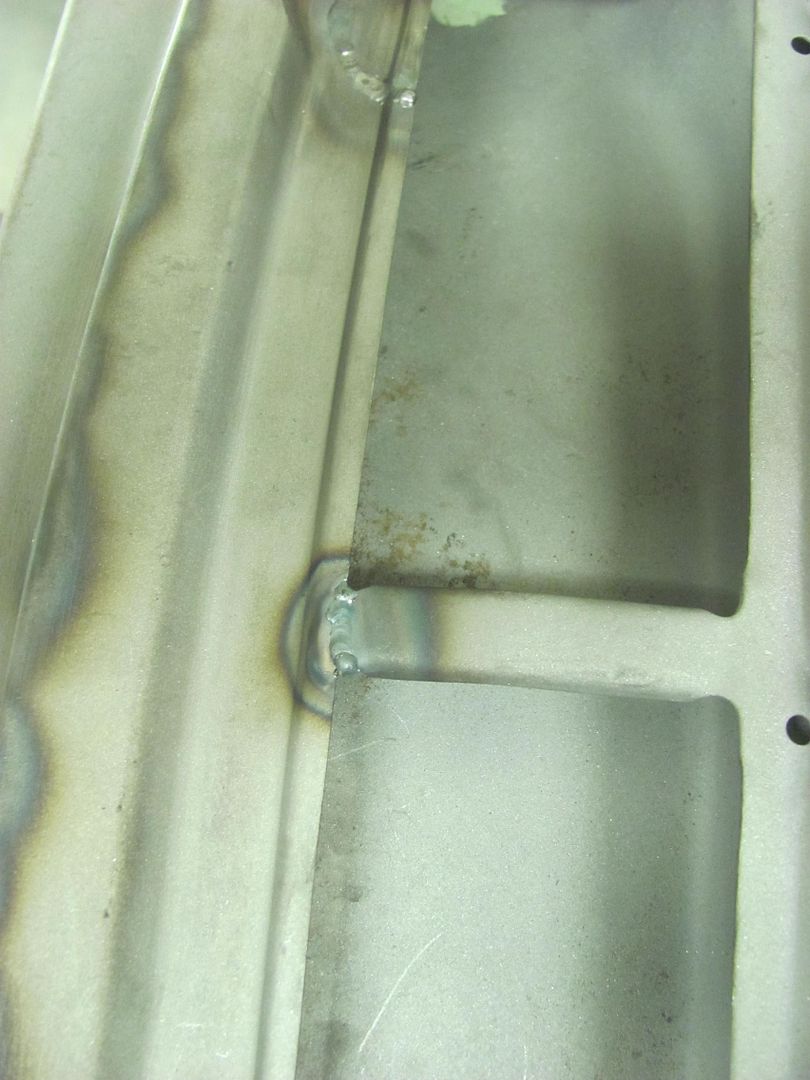
One more thin spot from the media blasting where we had removed the leaded
seam...
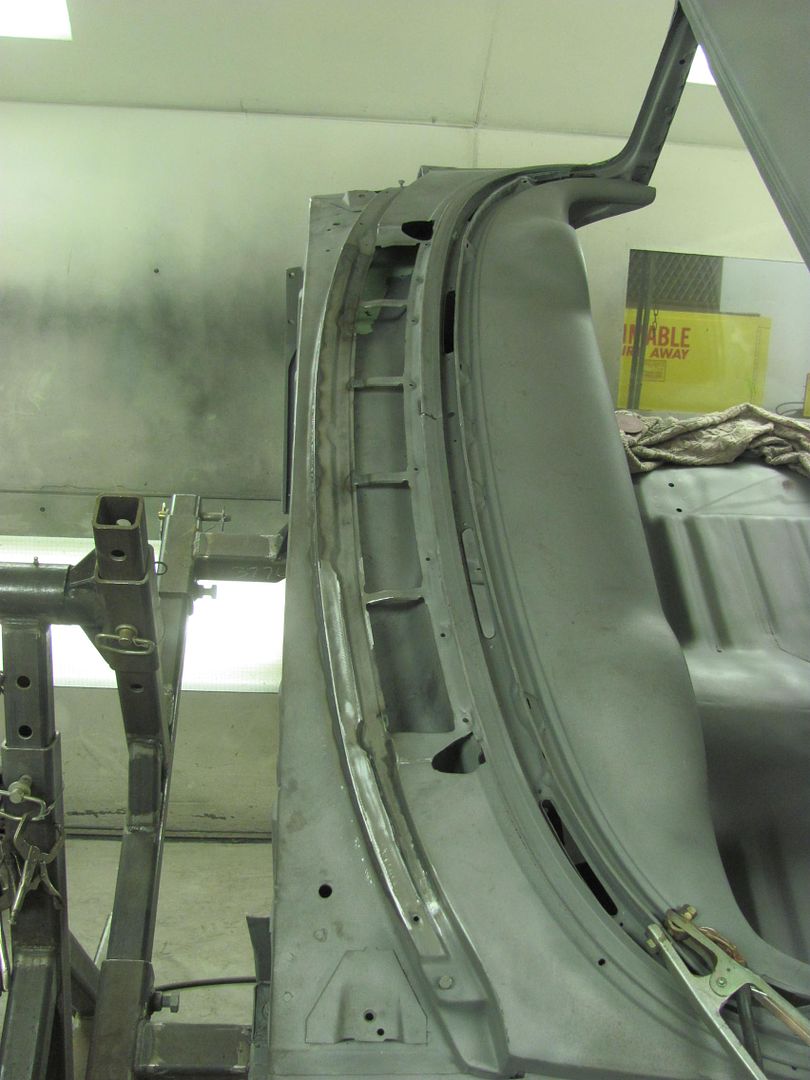
Test fitting the patch for proper contour..
TIG welded in place...
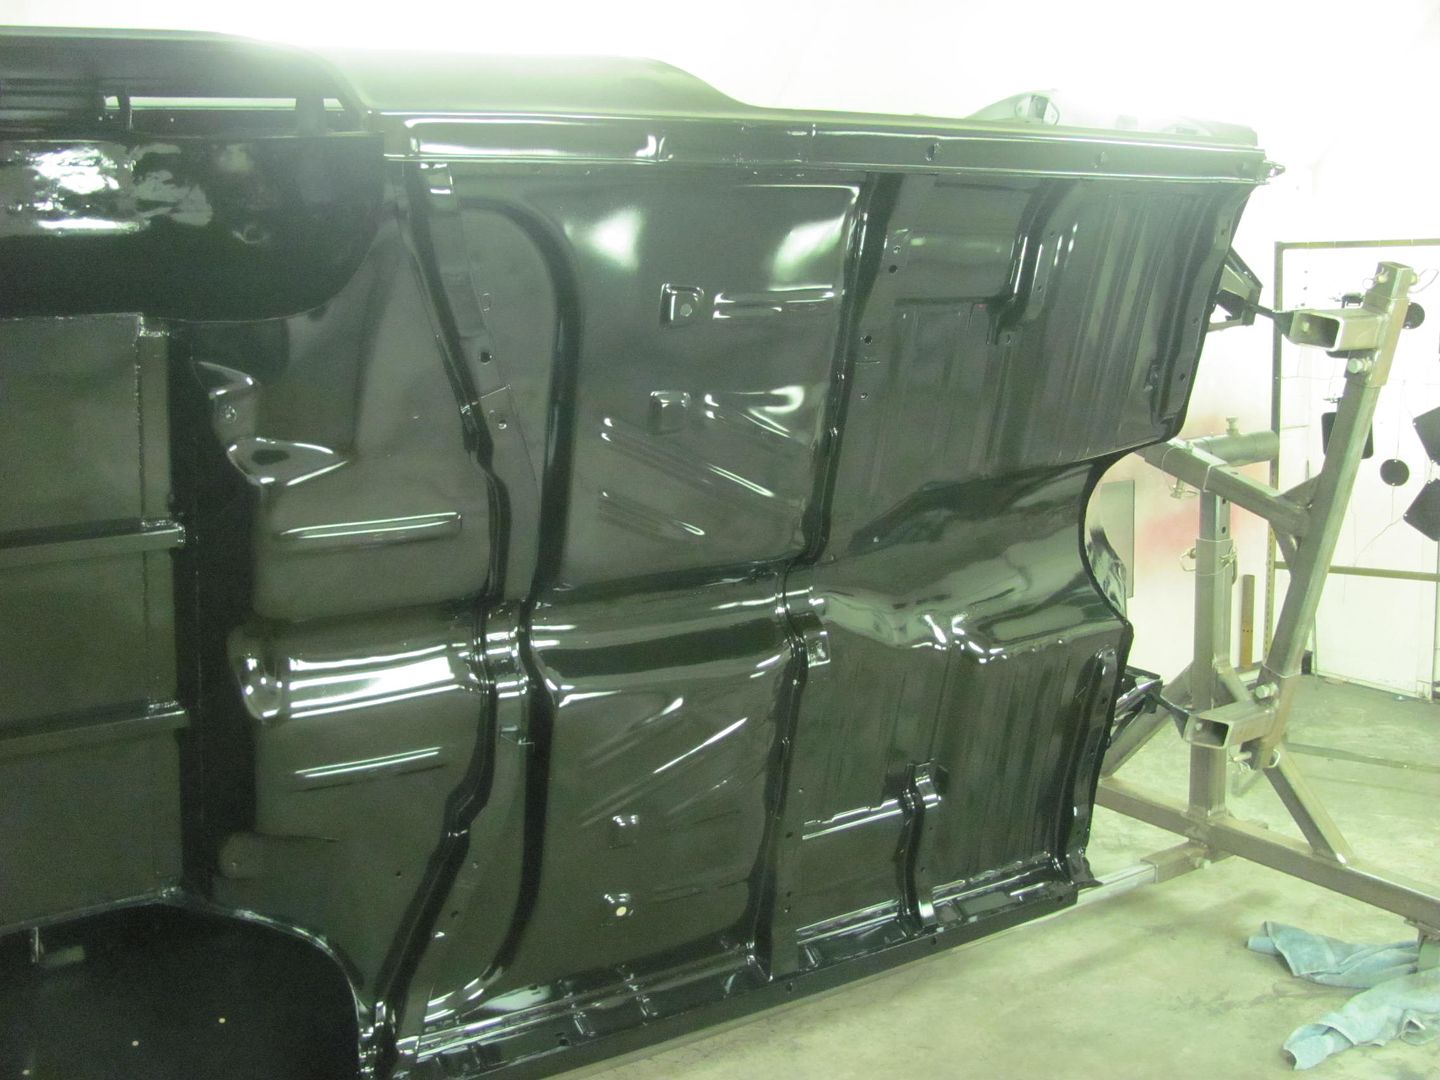
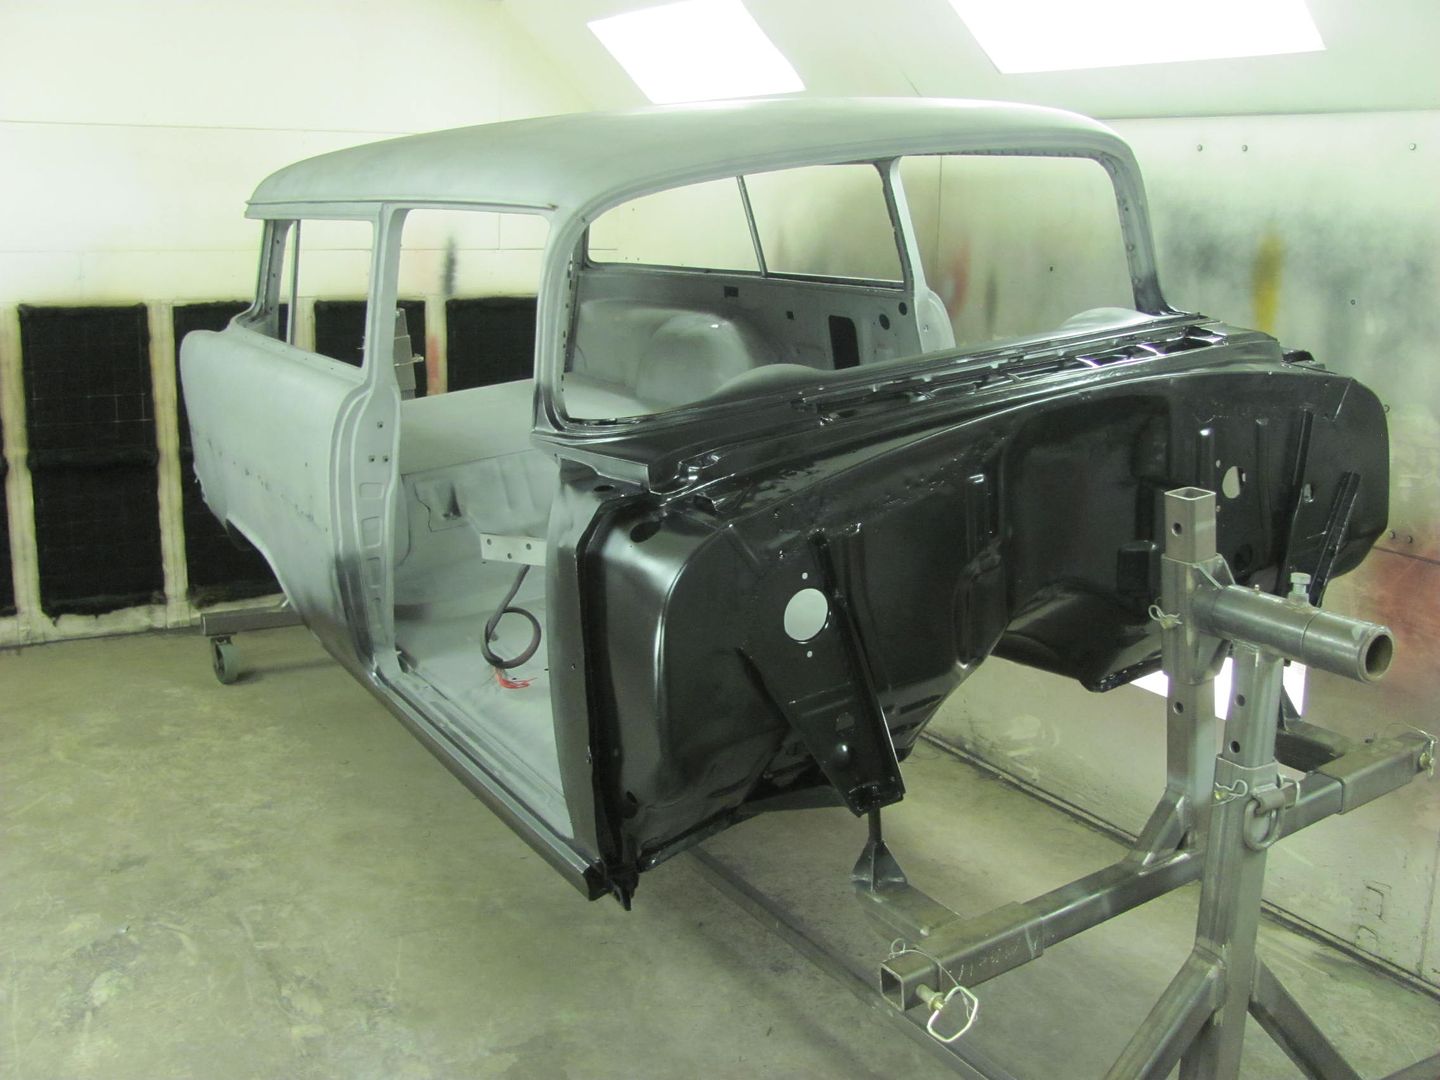
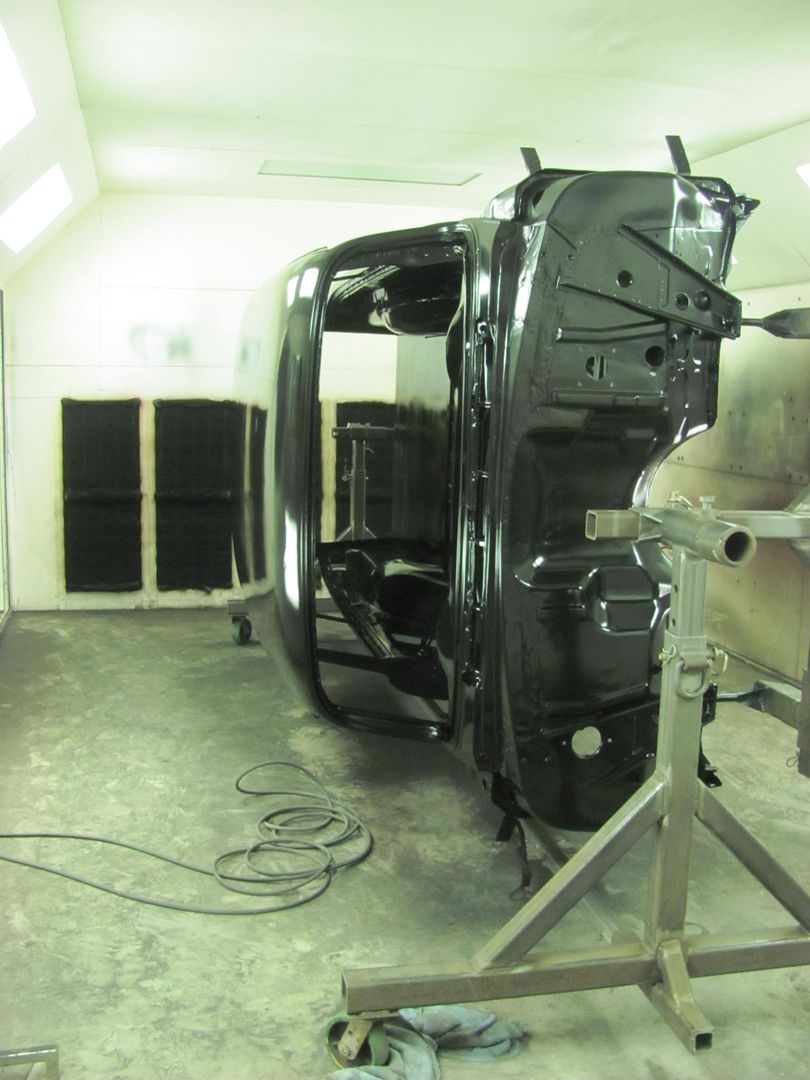
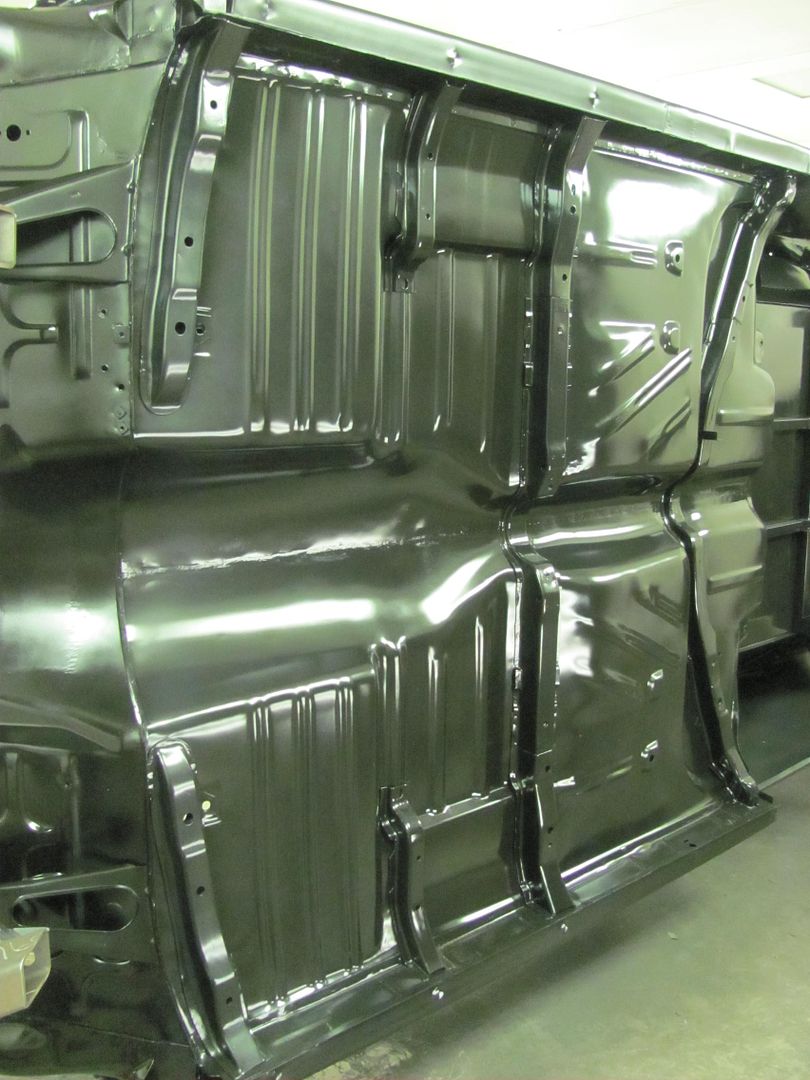
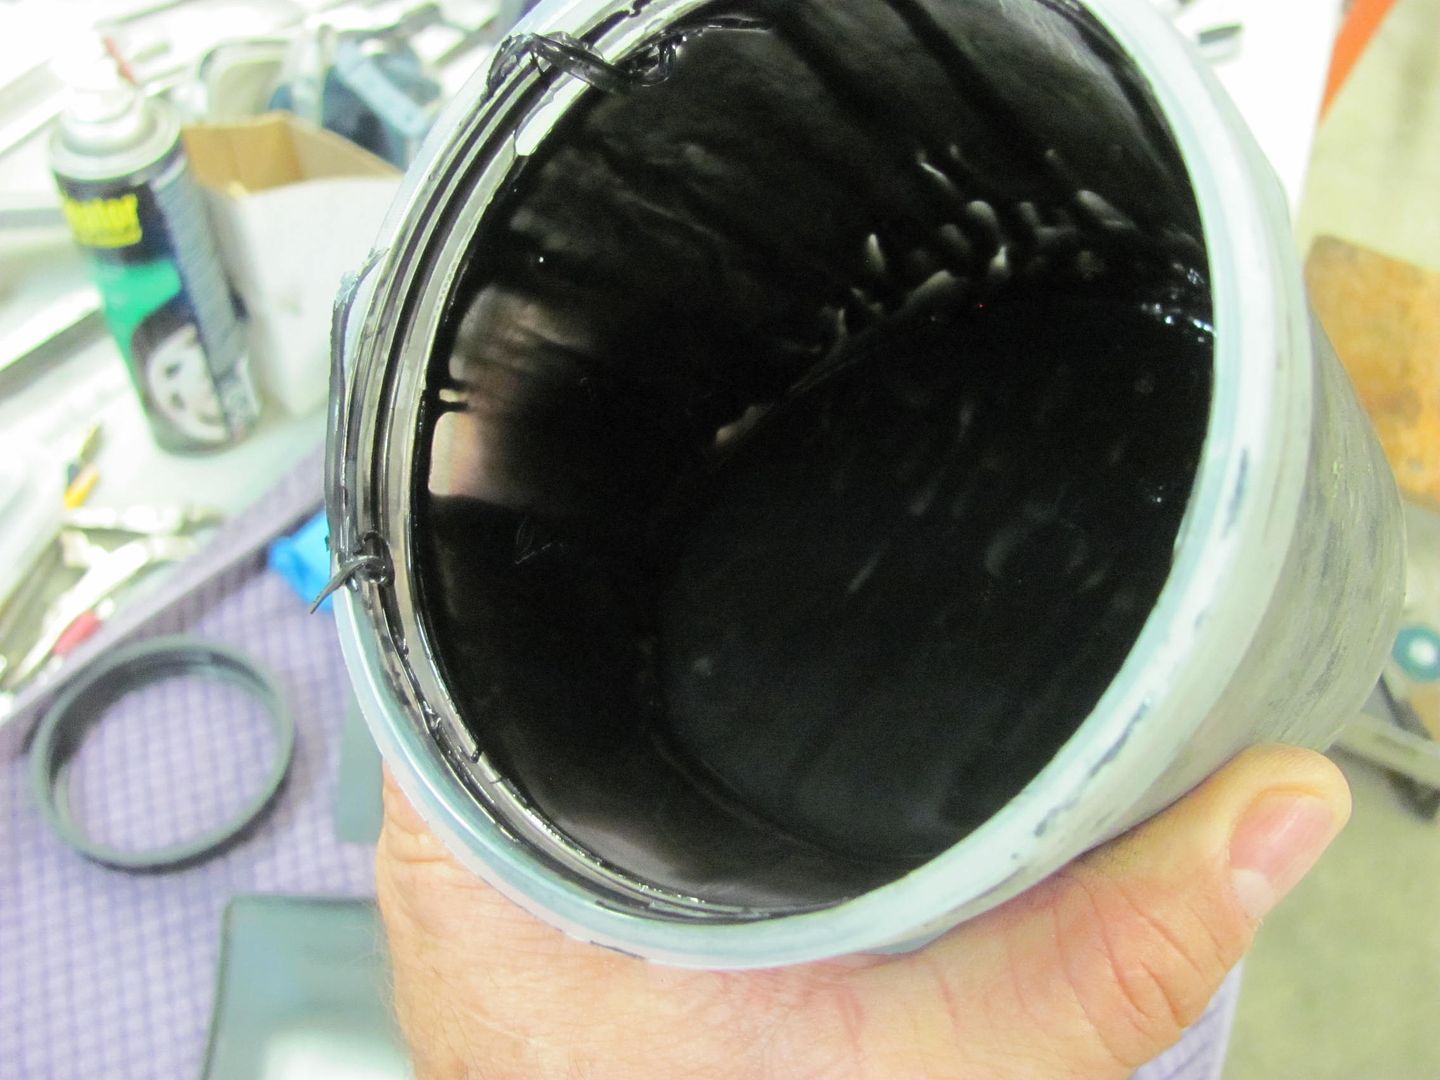
Started off with some SPI epoxy on the underside...
....and then the firewall
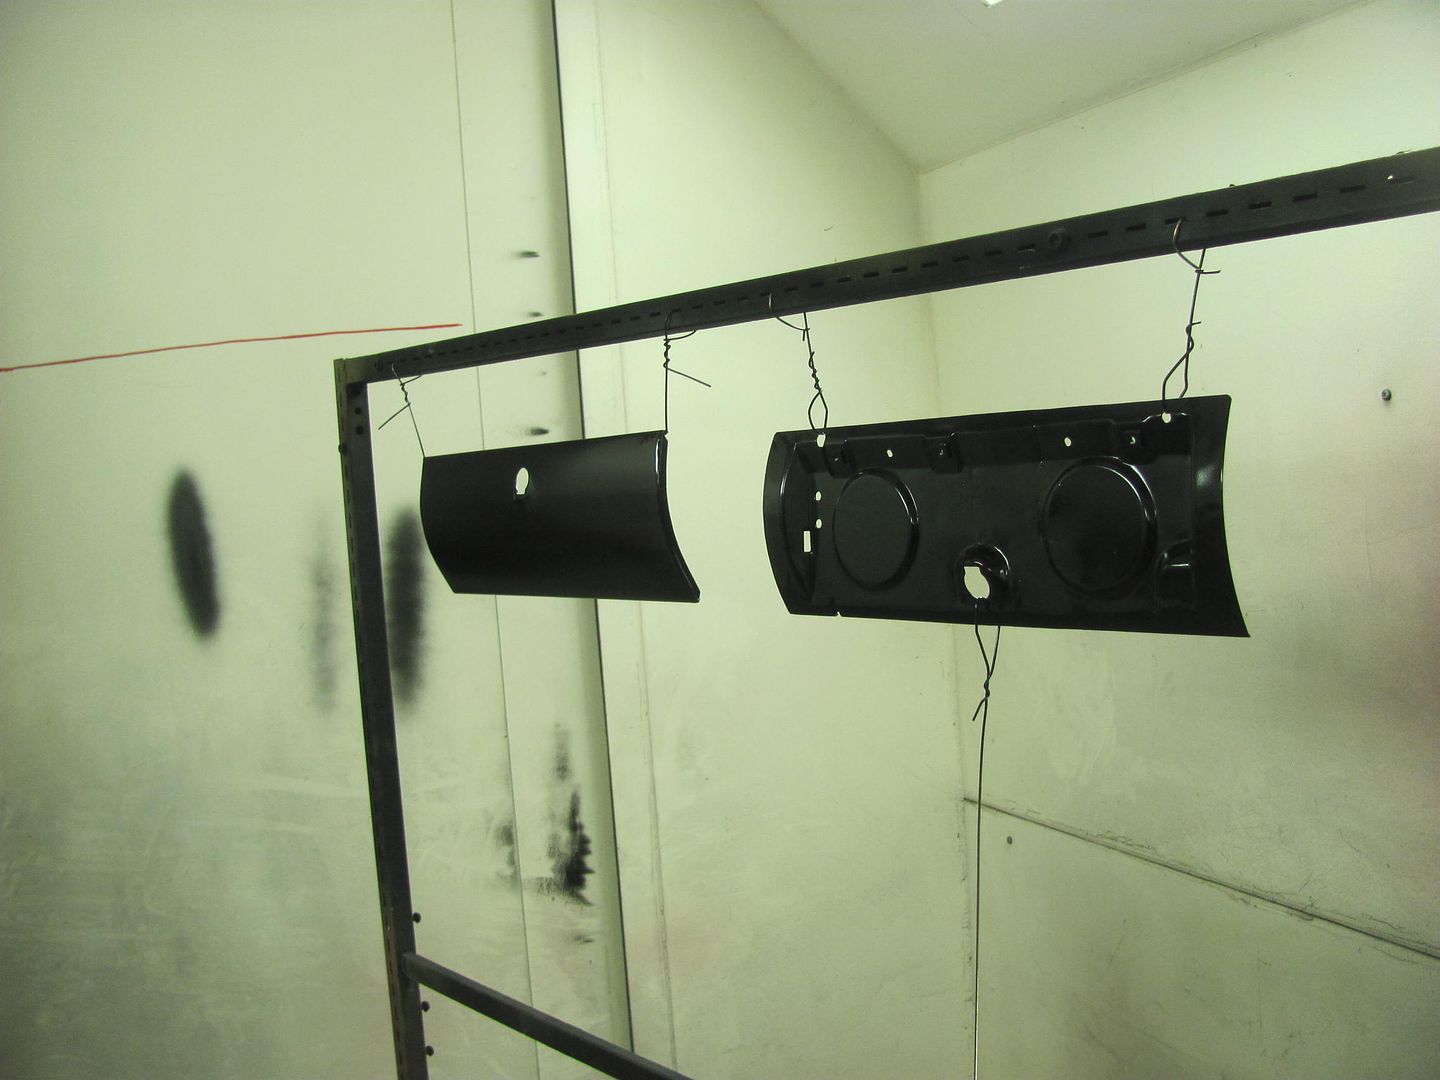
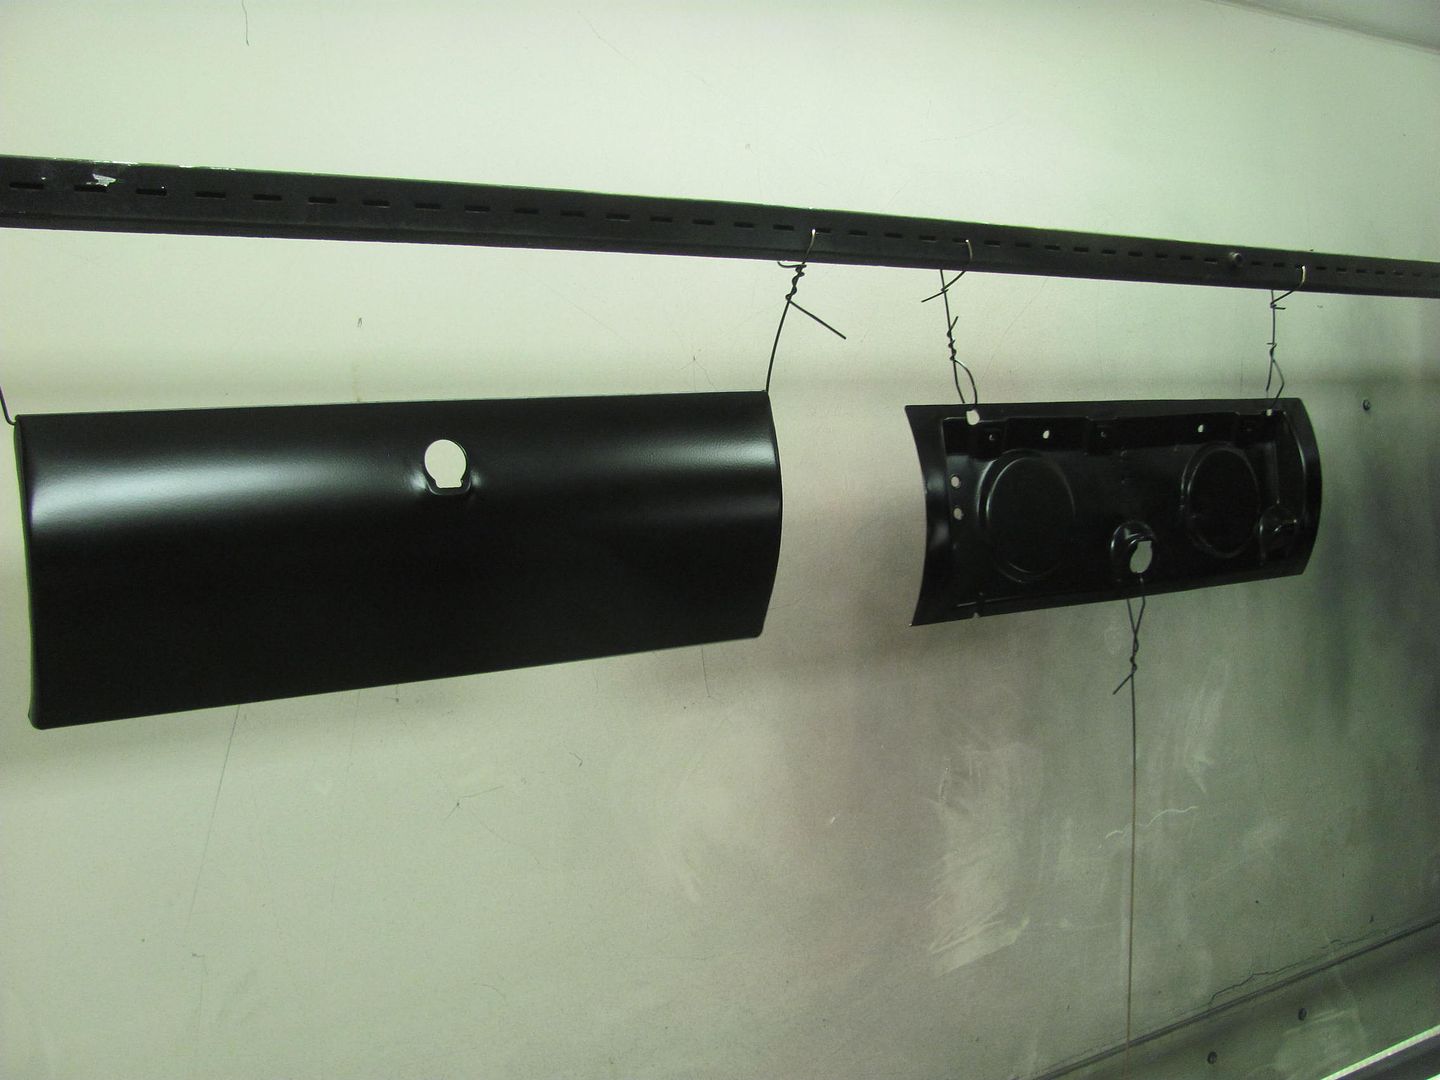
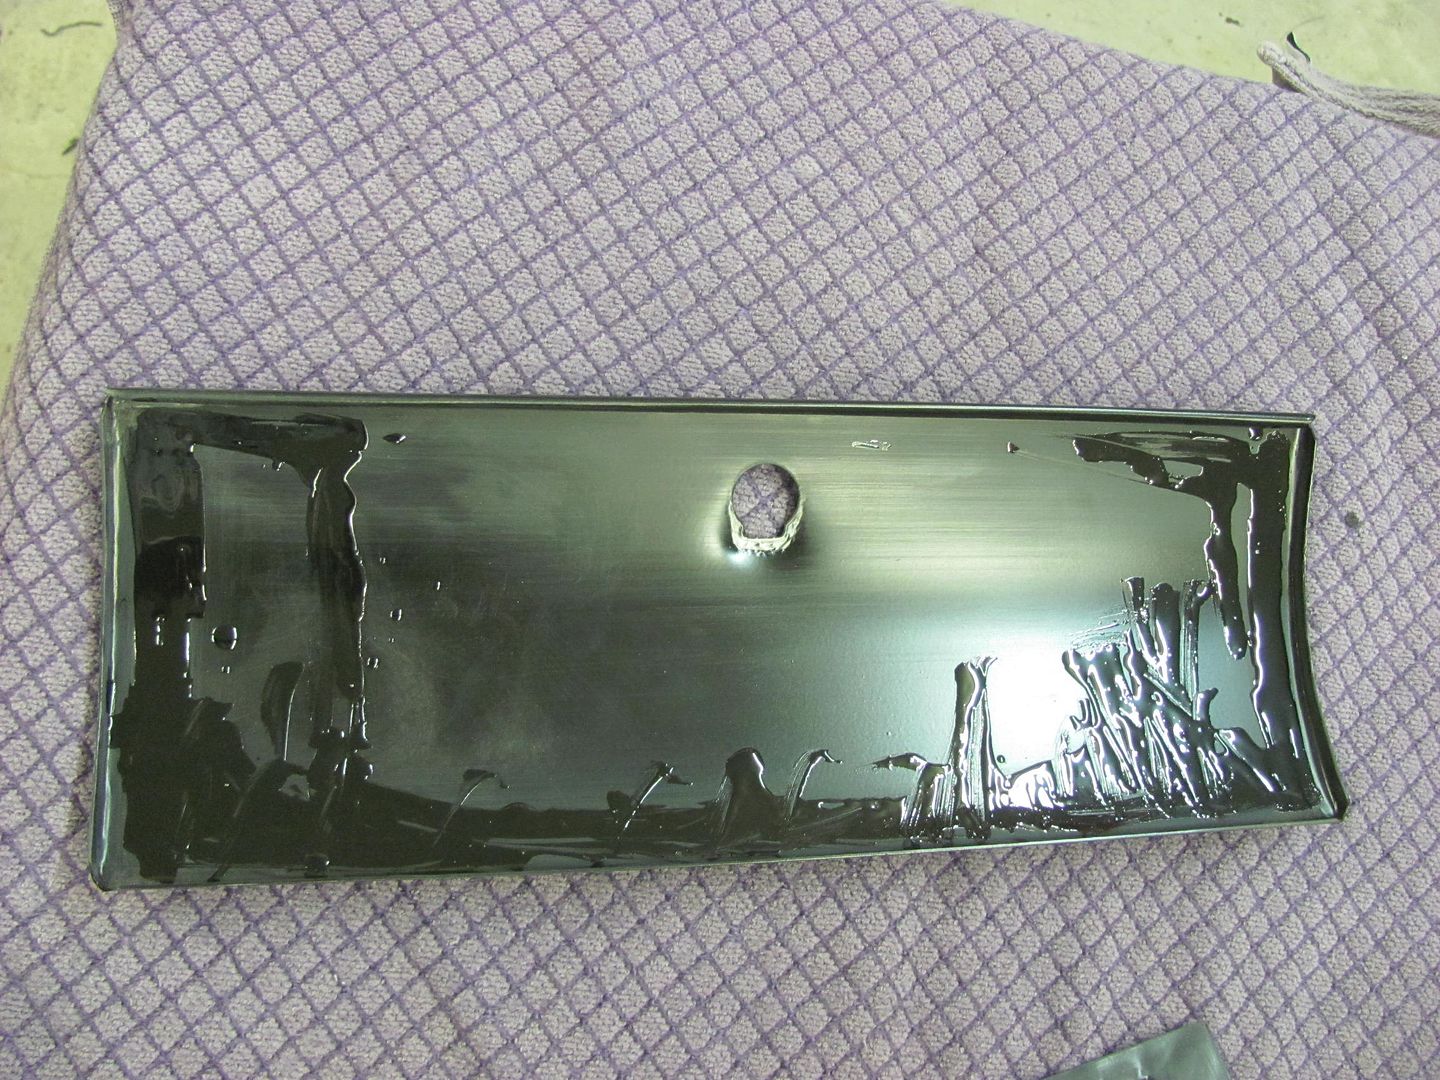
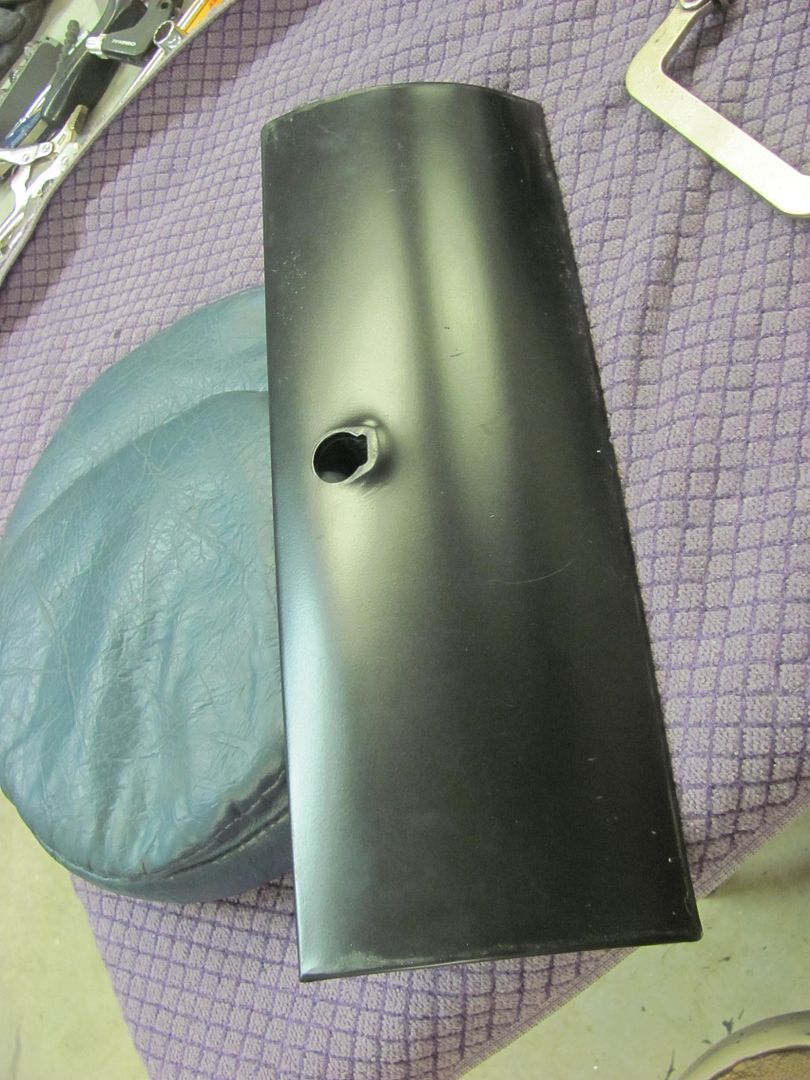
.....as well as the new glove box door skin...
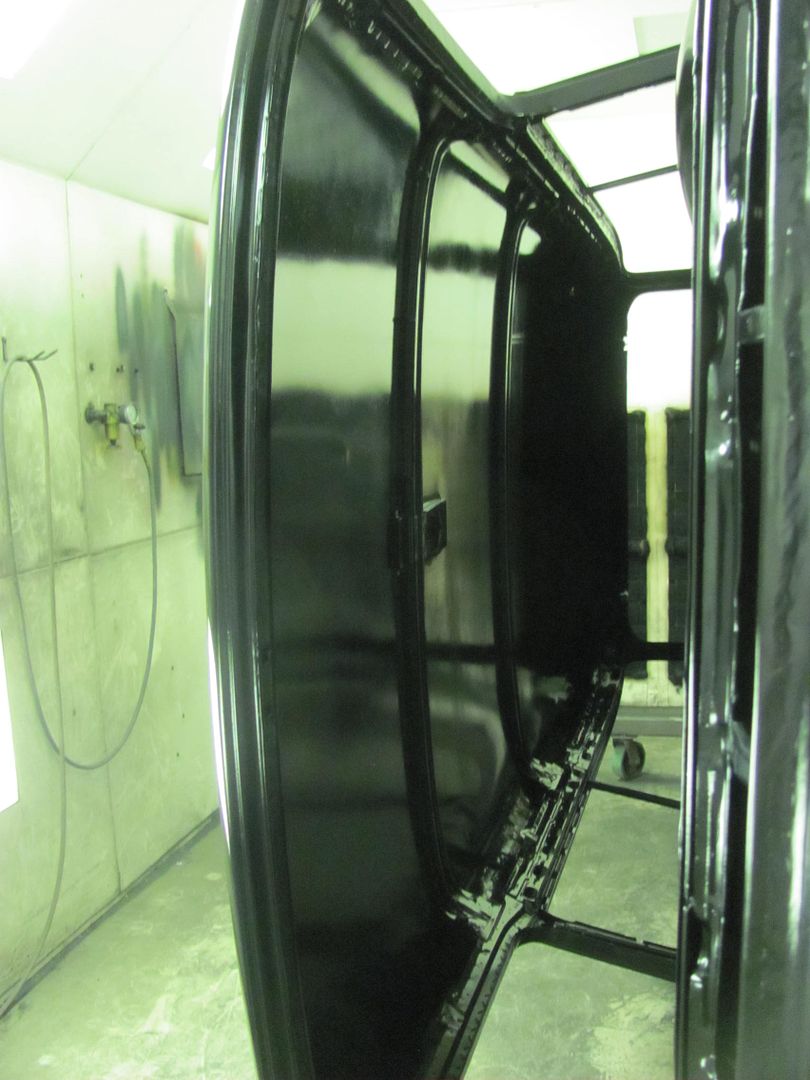
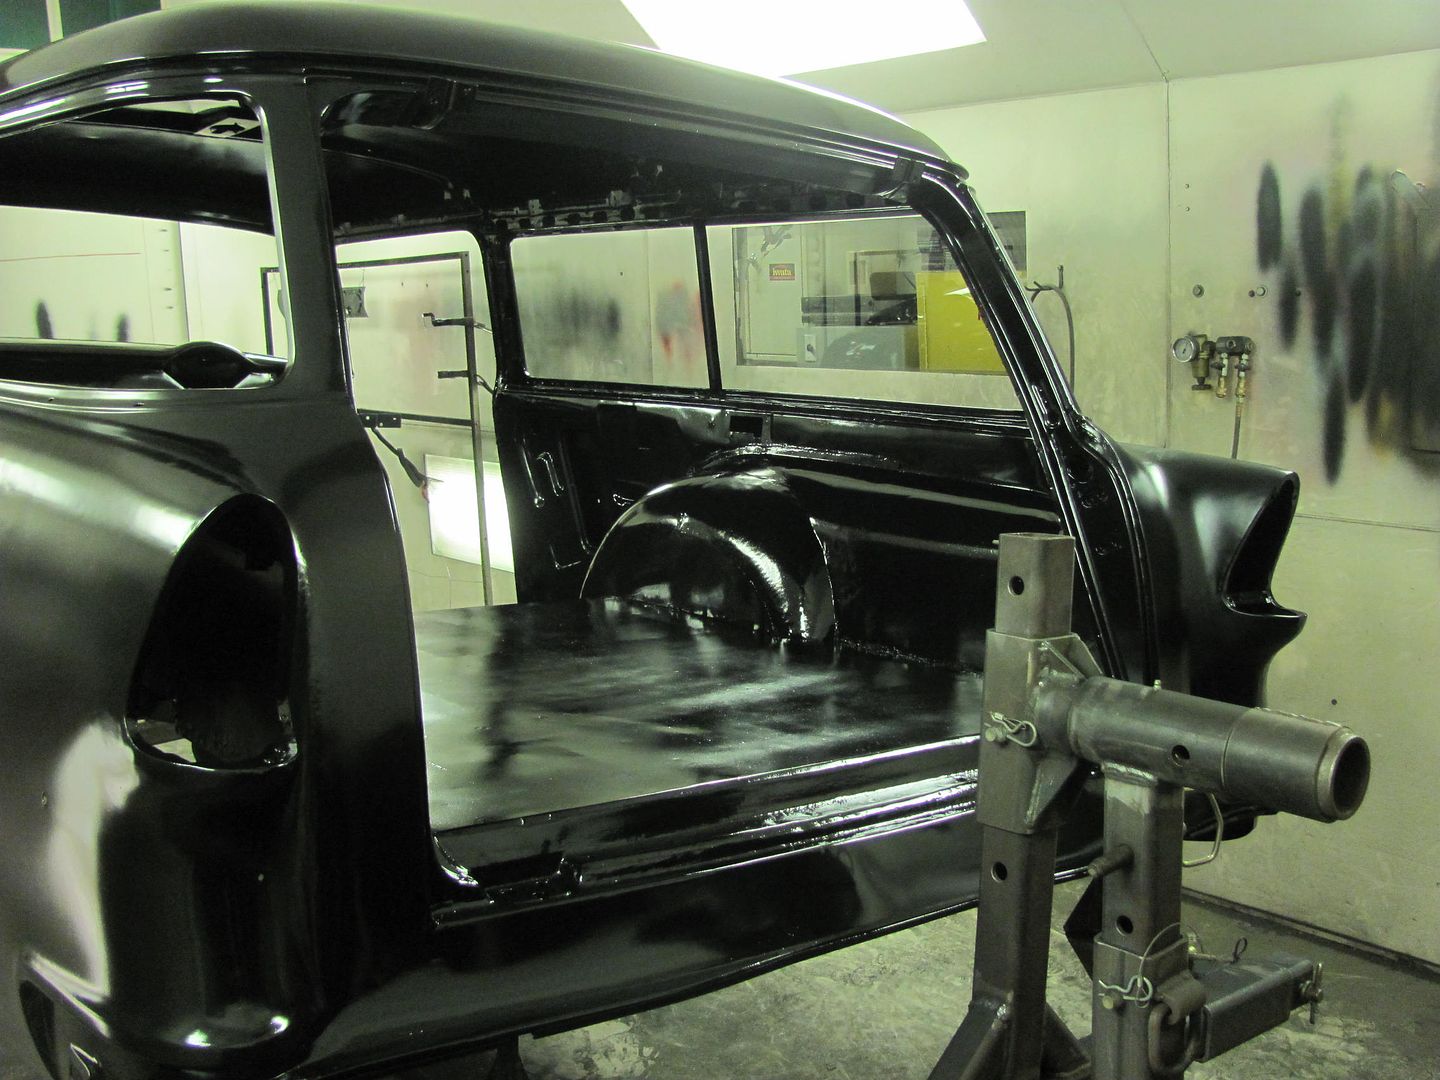
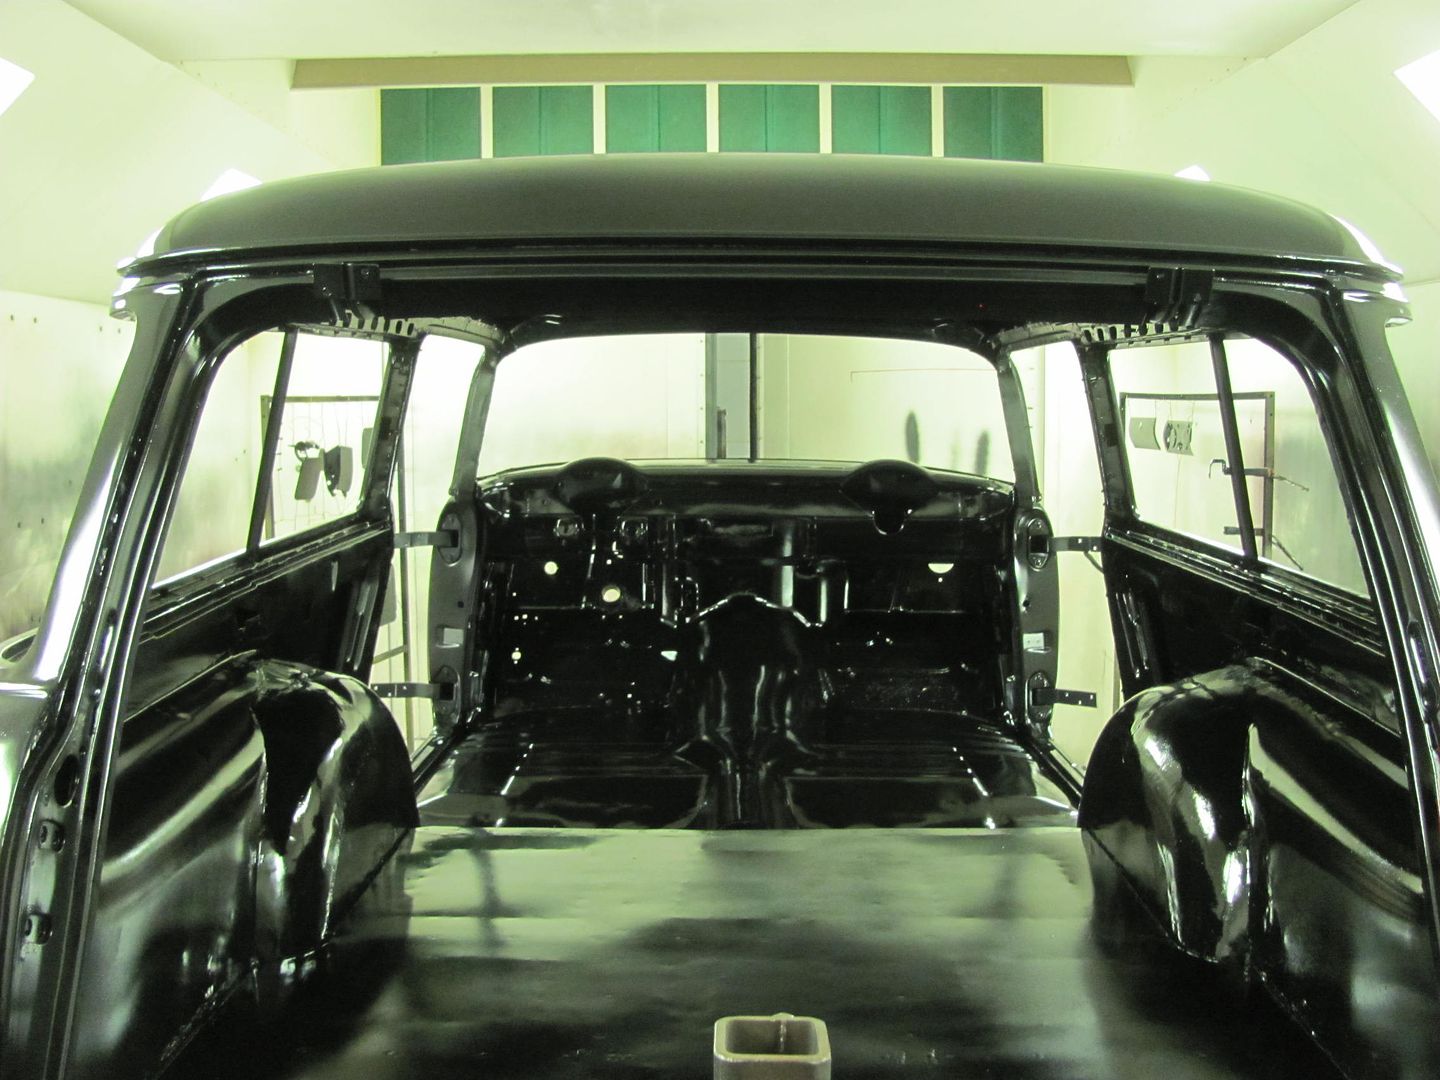
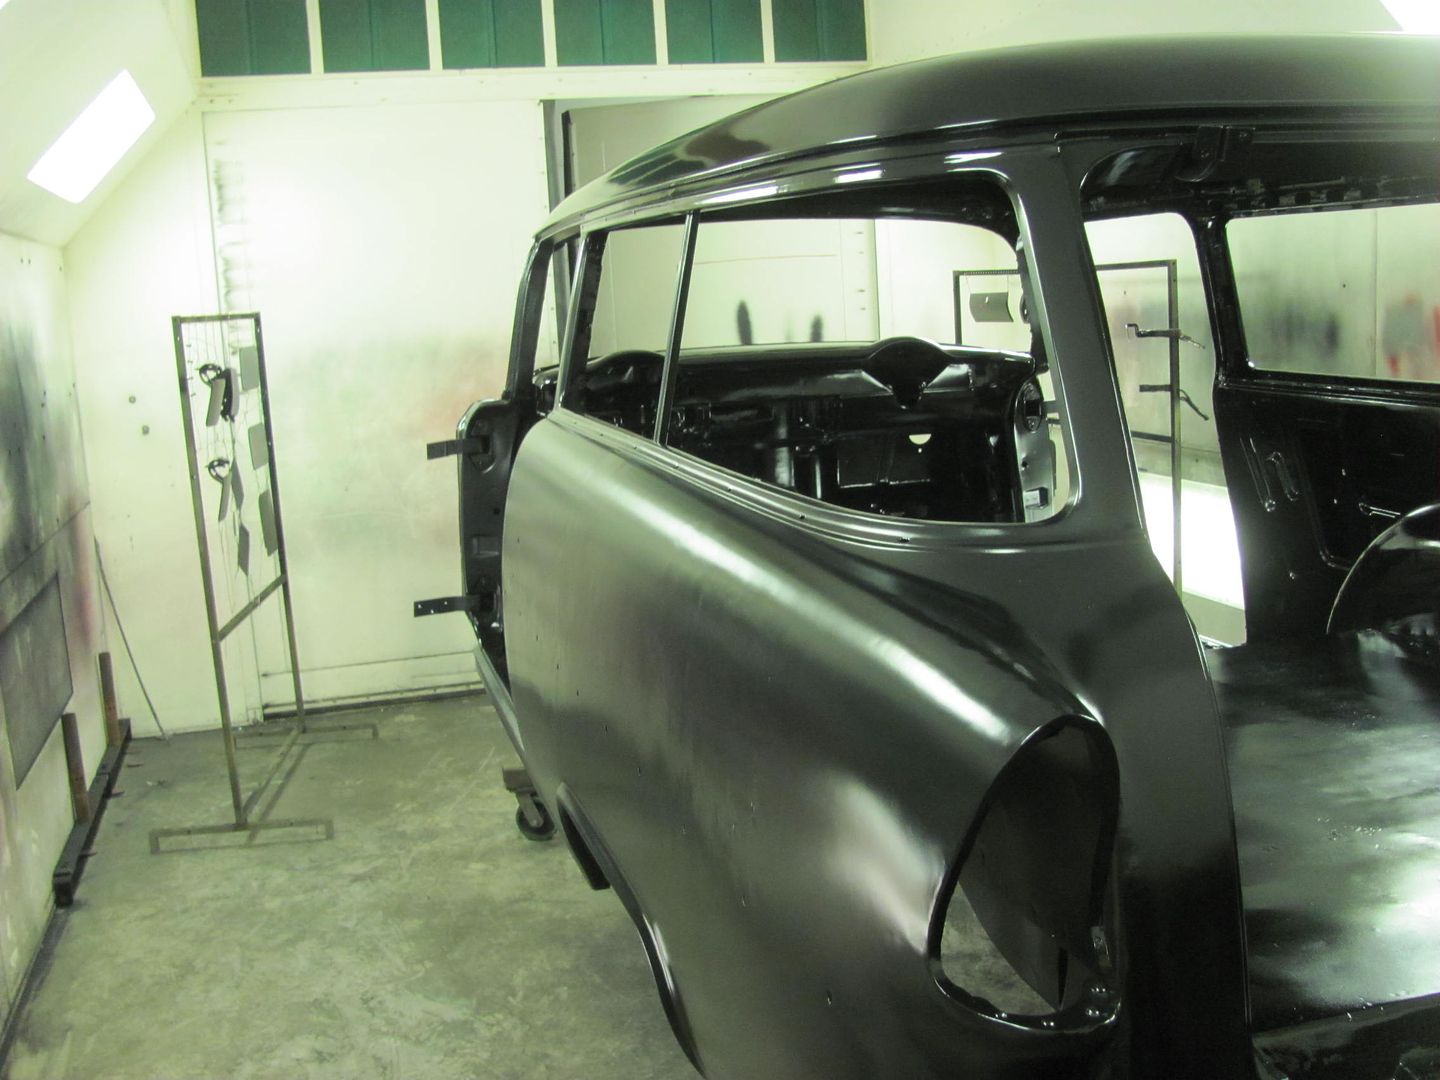
The entire interior was primed by standing through the window openings...
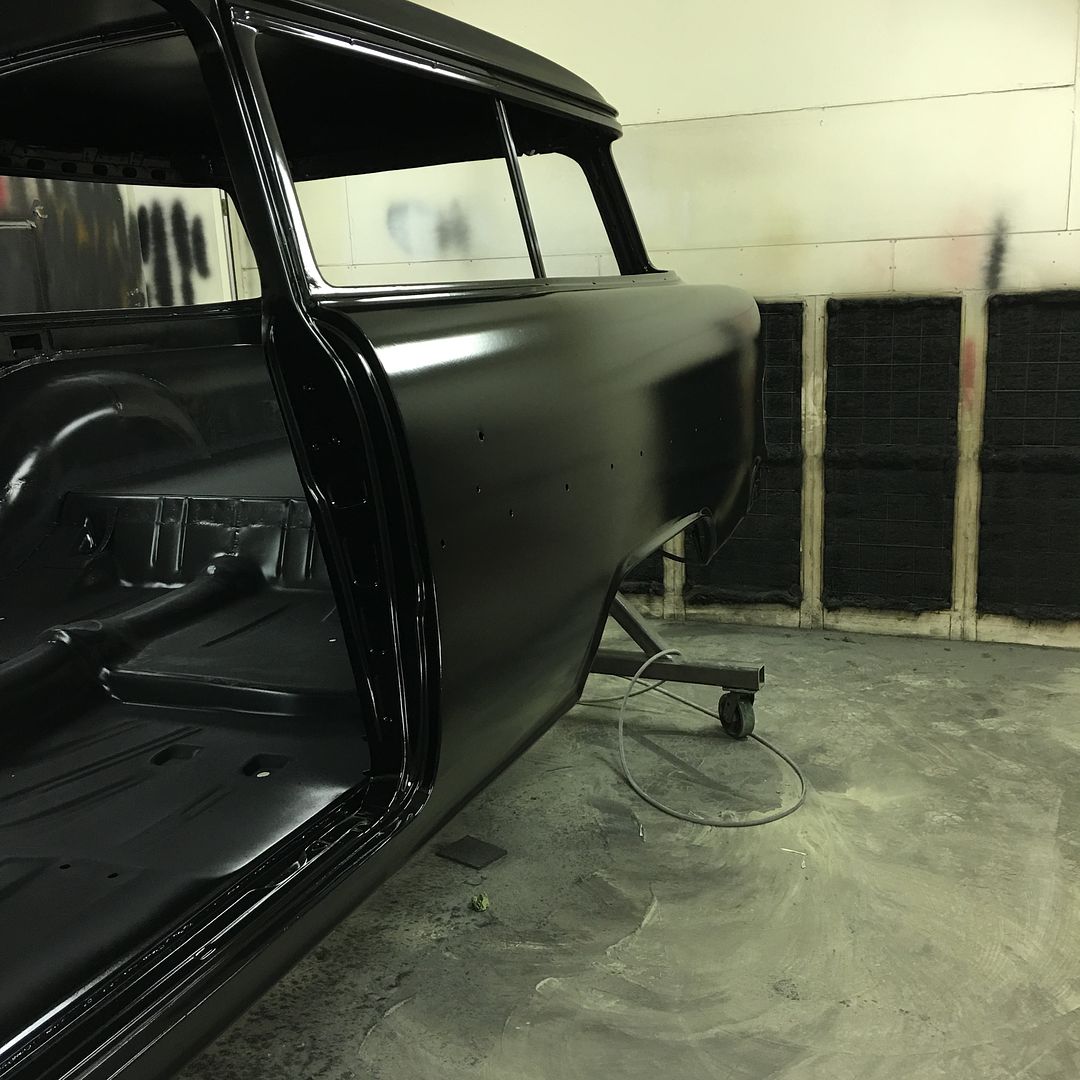
Then the outside was tackled...
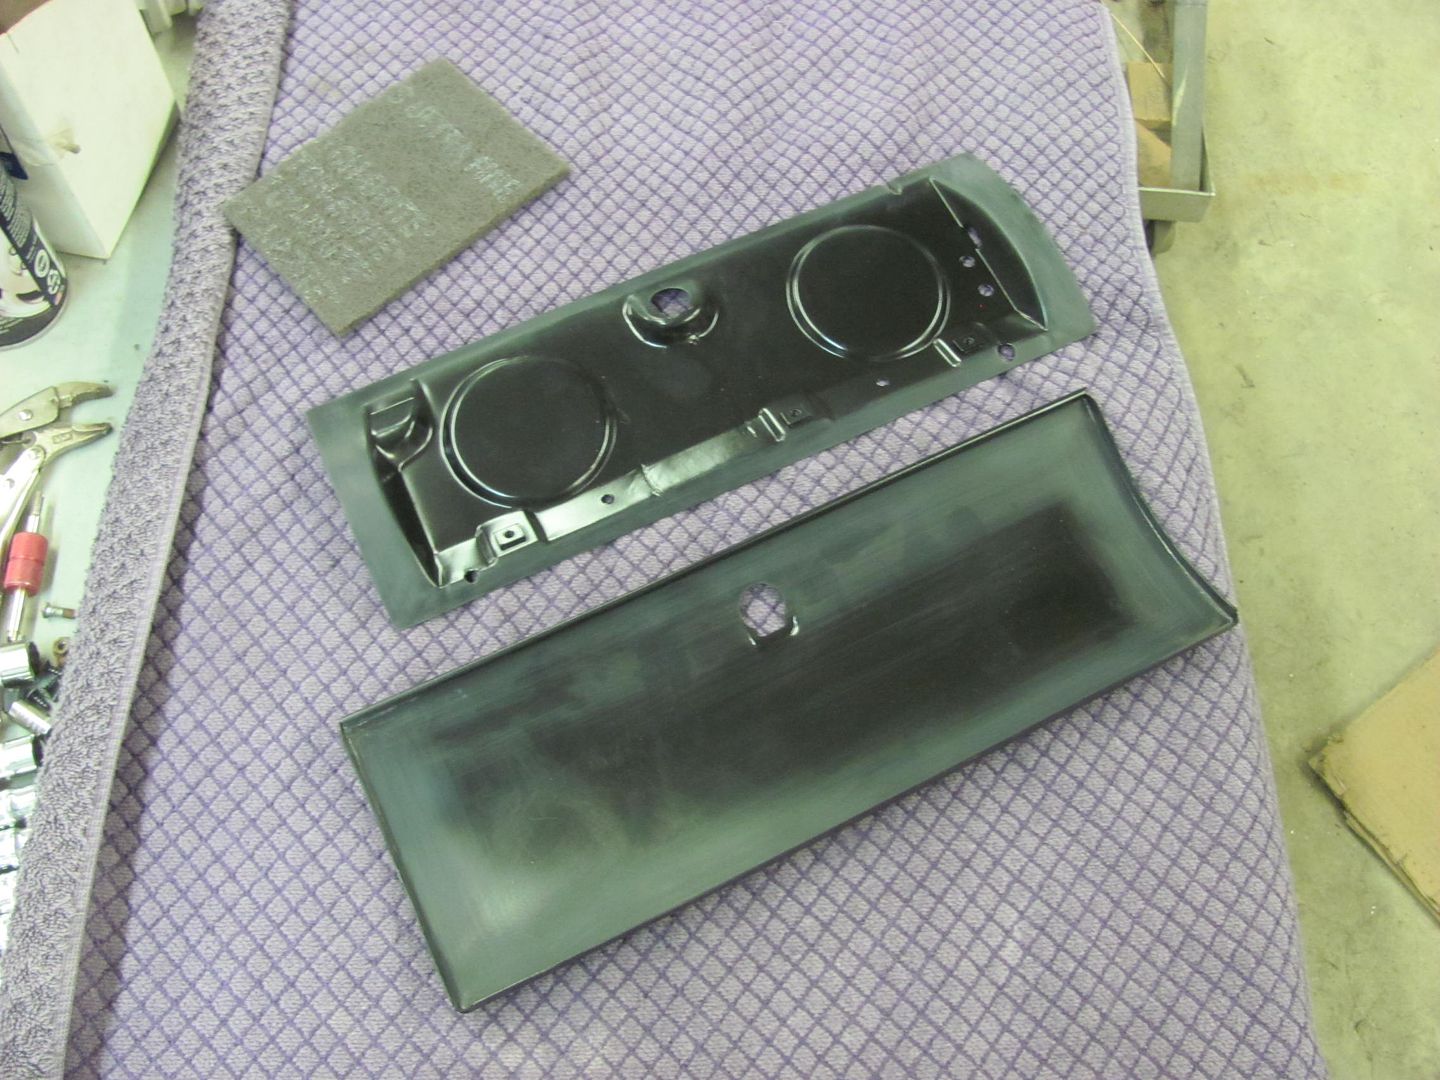
Well the epoxy has cured for about three days, time to put the glove box back together... The adjacent areas are scuffed for some official door skin adhesive..
....in the form of some leftover primer from this weekend..
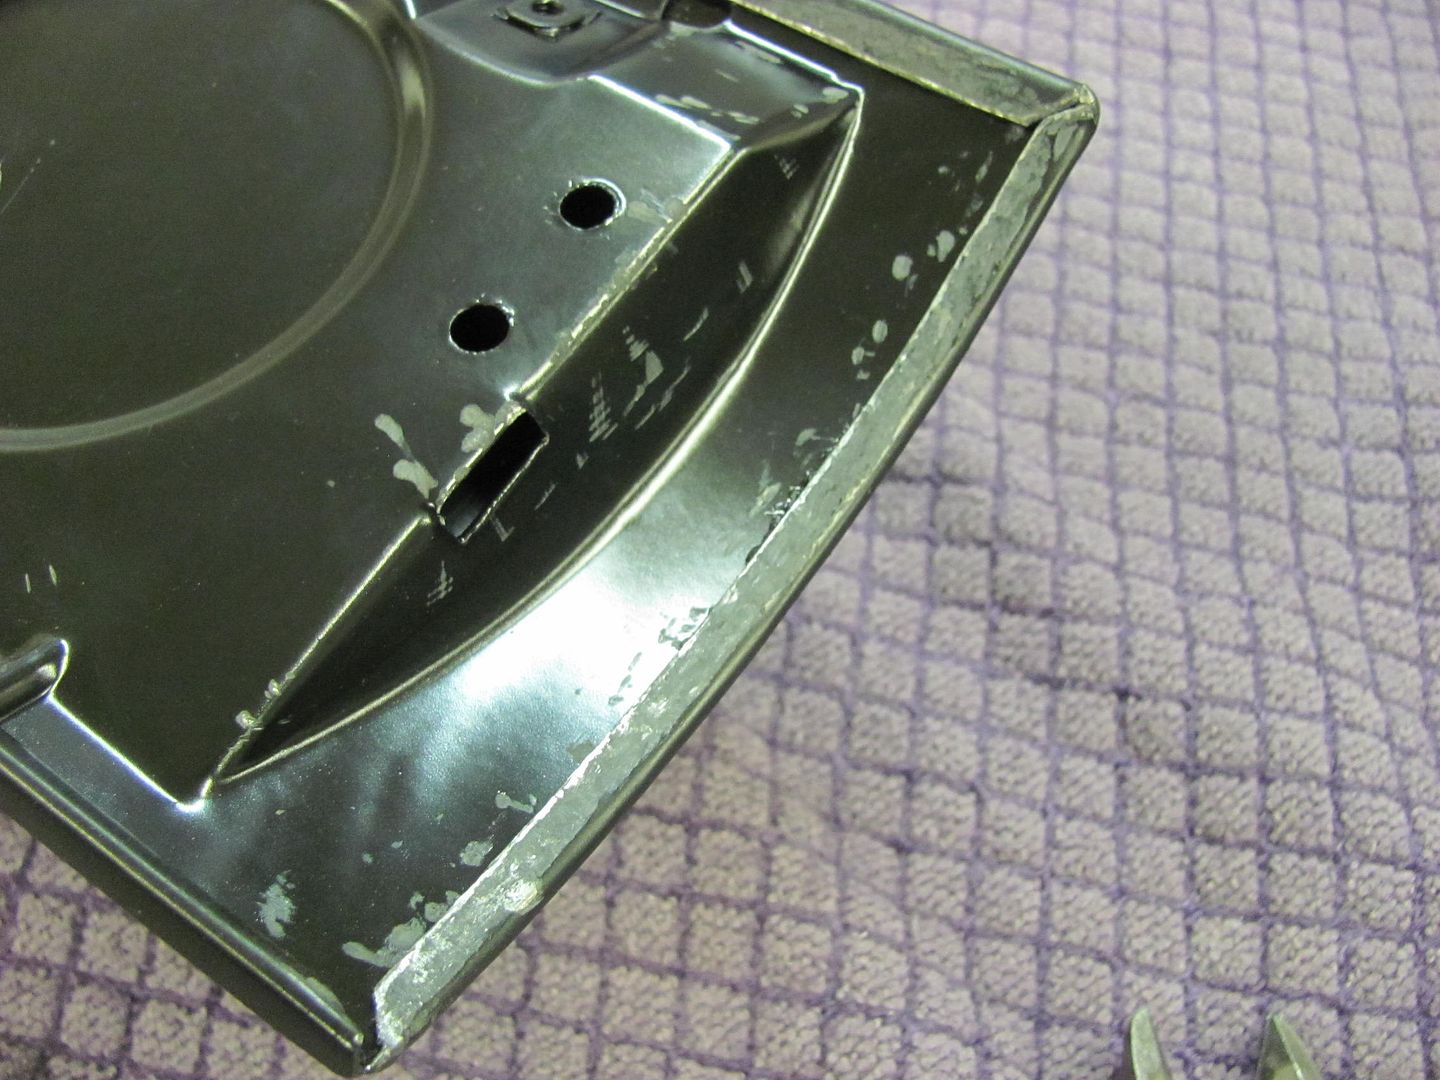
Good thing this gets covered up...
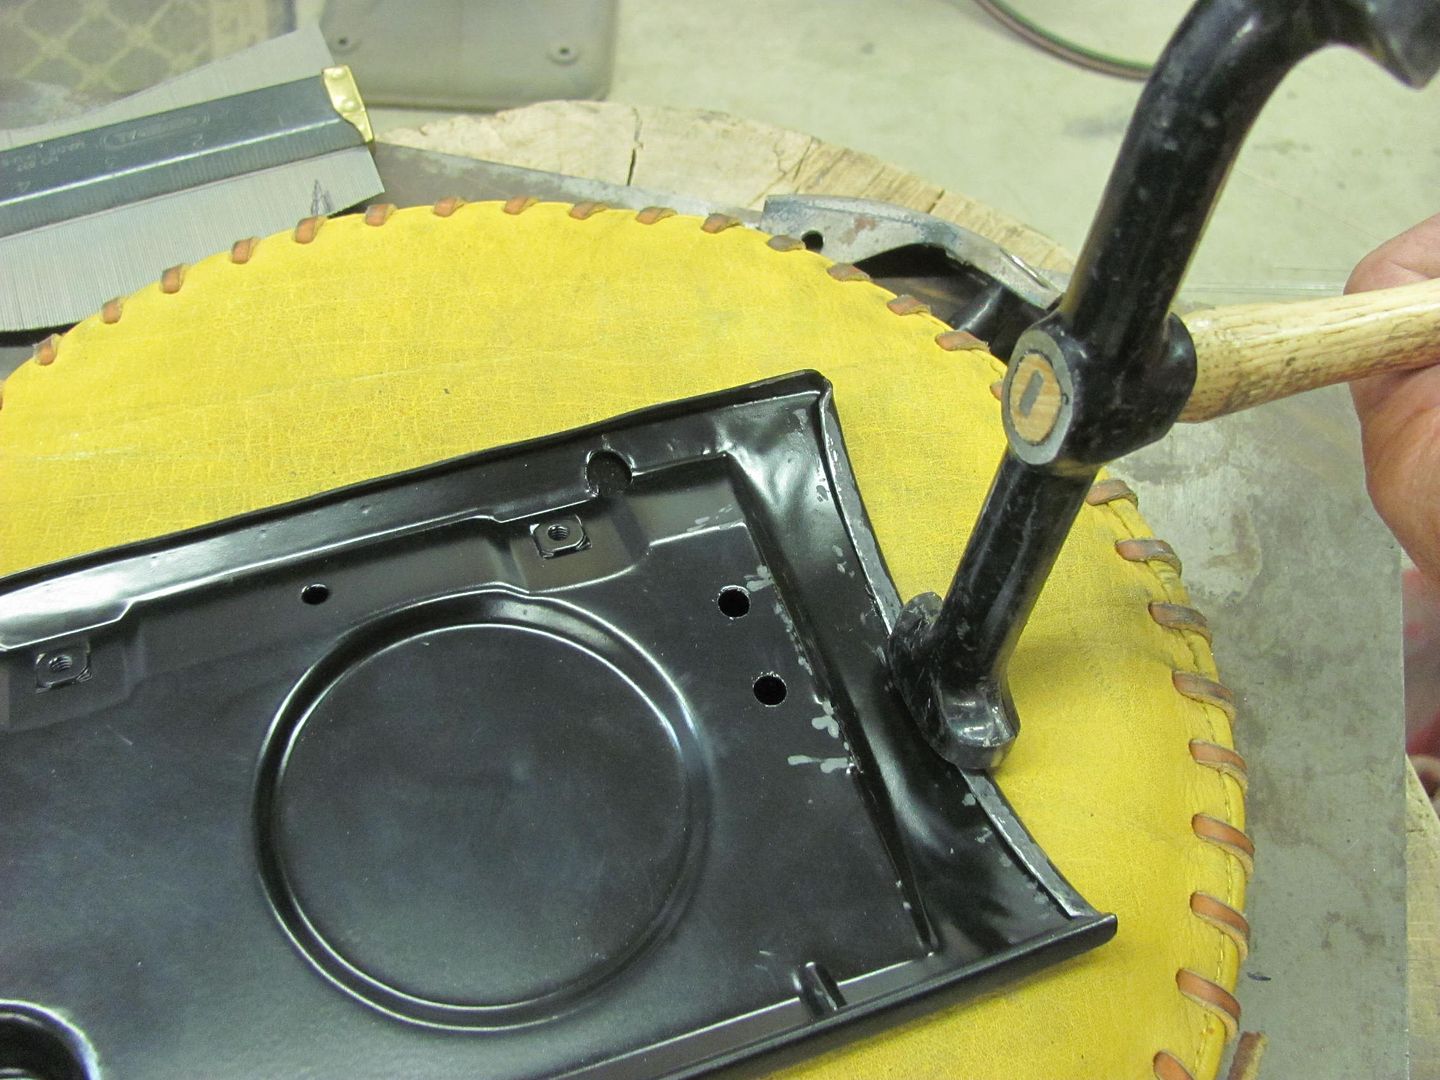
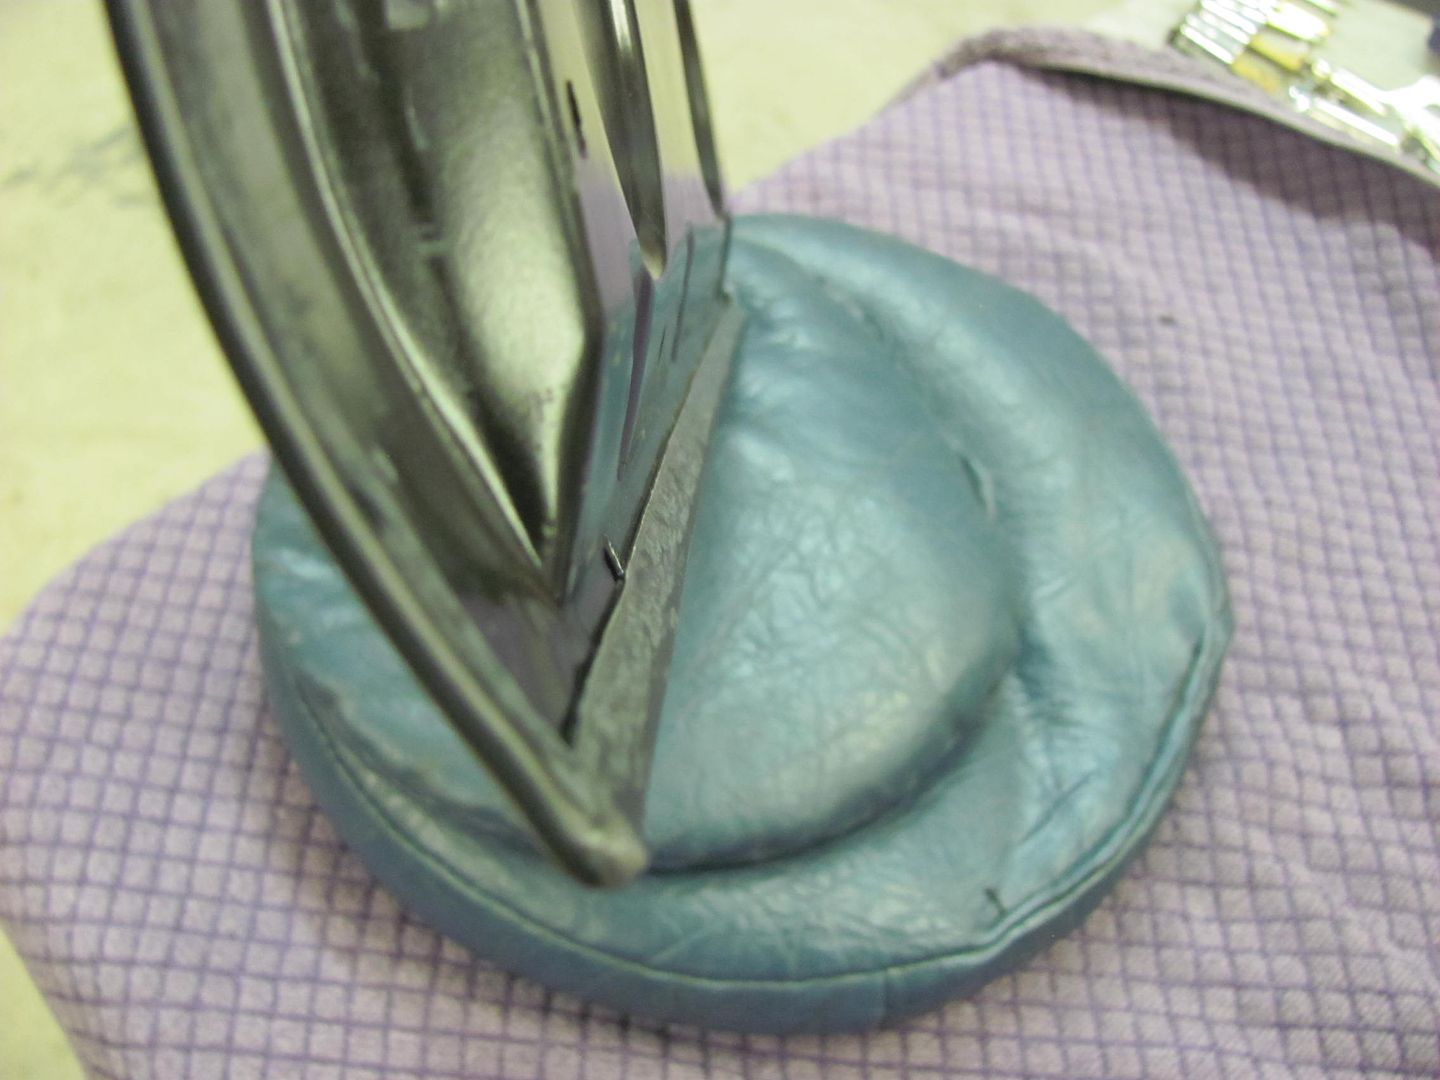
Using the door skin hammer on the leather shot bag, the ends are folded first...
and then the bottom flange...
All together...

ok Robert your slacking, it's been a month since an update, I'm going through withdraws, jk. looks good so far and amazing fab work.
Been working on the 35's hood louver panels and on the 55's body. Block, metal bump, apply filler, repeat.. Not much to show but a dirty floor.
Last edited by MP&C; 08-05-2016 at 05:47 AM.
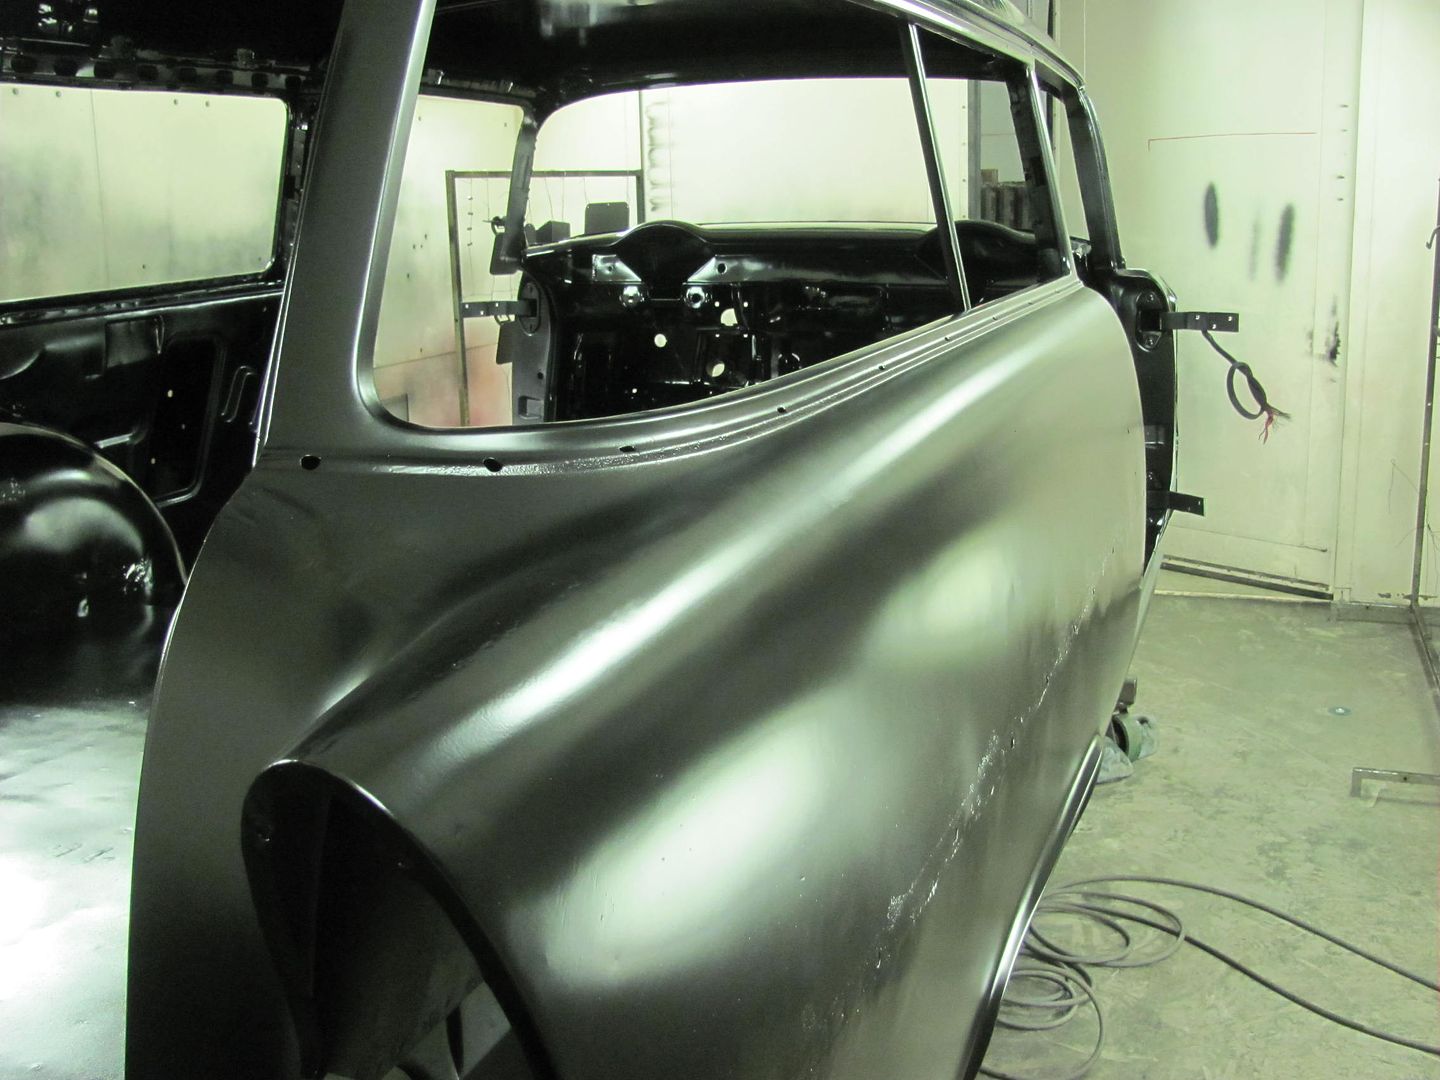
Sorry I've been lax on wagon pics. When you get to the bodywork stage it doesn't show progress well. We did get another dose of SPI epoxy sprayed on the quarters today so we can better see how we're coming along..
 Posting Permissions

 Reply With Quote