-
56 Nomad, Ramjet 502, Viper 6-speed T56, C4 Corvette front and rear suspension
Other vehicles:
56 Chevy 2-door BelAir sedan
56 Chevy 210 4-door sedan
57 Chevy 210 4-door sedan
1962 327/340HP Corvette
1961 Willys CJ3B Jeep
2001 Porsche Boxster S
2003 Chevy Silverado 2500 HD Duramax
2019 GMC Sierra Denali Duramax -
Not at home today, but I'll post up some measurements on mine when I return.Comment
-
Working on the inner part of the door's un-chopping today..
Tacked...
Then I got on a roll, here's the welded and finished product...
Much better fit..

Comment
-
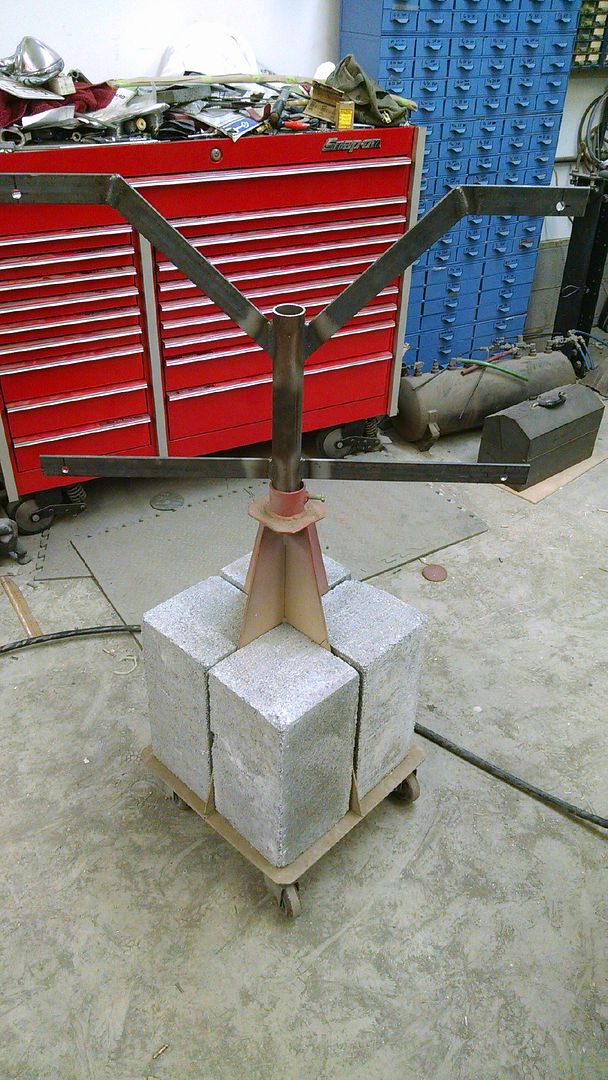
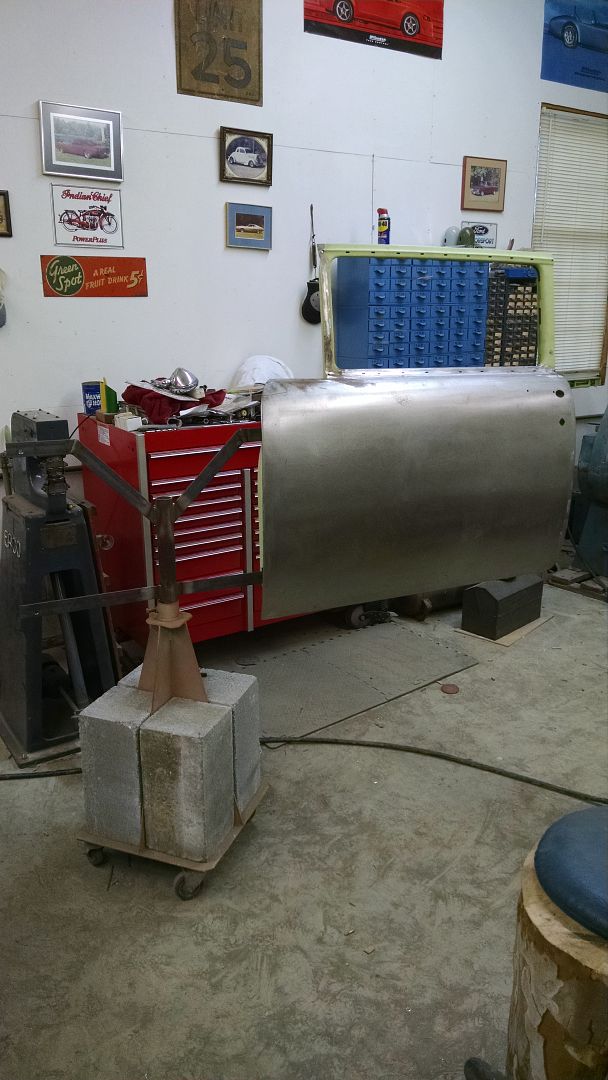
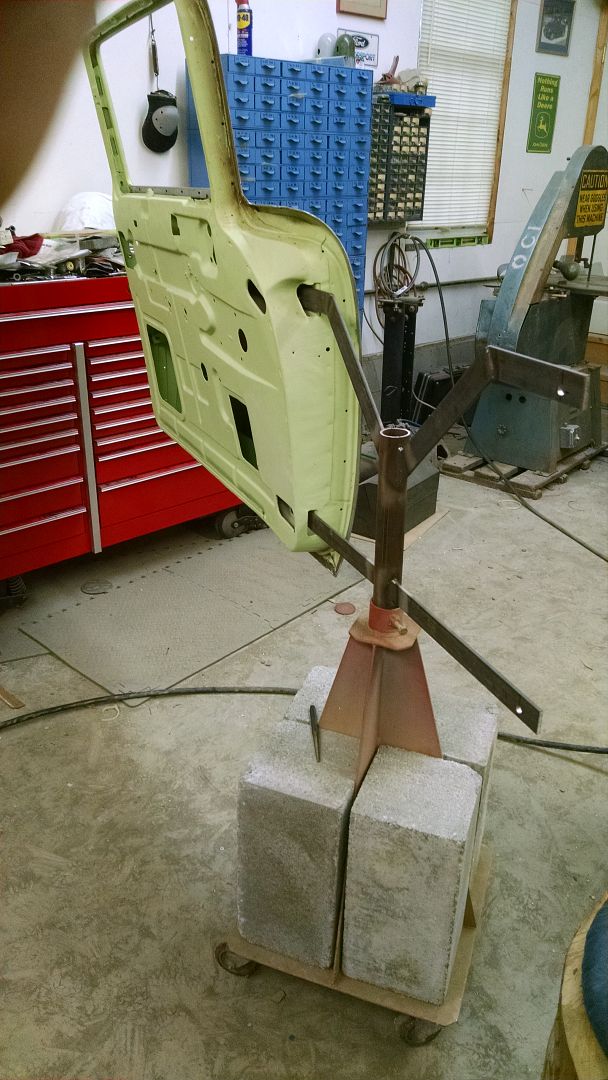
Took delivery on the ballast material today for the door paint stand. Without this it didn't care for the one door added at a time, and wanted to do a nose dive. This should work well!
Comment
-
Here's some measurements on my 55 Bel Air 2 door post.
Door opening - drip rail to top crest 1-1/8 L 1-1/16 R
- drip rail to lower crest 15-15/16 L 15-15/16 R
- drip rail to quarter 16-1/16 L 16-1/16 R
- crest to crest 14-13/16 L 14-13/16 R
- top crest to qtr 14-15/16 L 15 R
Doors height of window frame Left door front 15-5/8" rear 15-3/4"
Right door front 15-3/4" rear 15-7/8"
The big thing I see is that the measurements agree almost exactly with Cnut's sedan. Also Robert's drip rail to quarter is the longest of the three, which is significant to the problem.
The crown on the top of the door frame is about 1/8", peaking about 2/3 back.
Also Robert, your doors appear to be Bel Air doors, which means that they are both from a sedan.Comment
-
Good observation on the sedan doors, I hadn't thought of that. So that proves the doors aren't the original ones to the car. However, the driver's side fits well, so it looks like this may be a wagon drip rail/roof issue more than a door issue. It is interesting that your door height seems to be 1/8" higher on the passenger side.56 Nomad, Ramjet 502, Viper 6-speed T56, C4 Corvette front and rear suspension
Other vehicles:
56 Chevy 2-door BelAir sedan
56 Chevy 210 4-door sedan
57 Chevy 210 4-door sedan
1962 327/340HP Corvette
1961 Willys CJ3B Jeep
2001 Porsche Boxster S
2003 Chevy Silverado 2500 HD Duramax
2019 GMC Sierra Denali DuramaxComment
-
What makes them BelAir doors? Based on original paint finishes removed, all sheet metal parts including doors appear to be original to this vehicle. If you're referring to the trim holes at the top of the doors, the 210 wagon does have stainless trim at the top of the doors/windows/liftgate..Comment
-
Okay, I retract my statement about the doors. I had forgotten about the 210 trim up there on top of the doors, and thought only the BelAirs had any trim there. In fact, wouldn't a BelAir door have holes for the long fender spears?
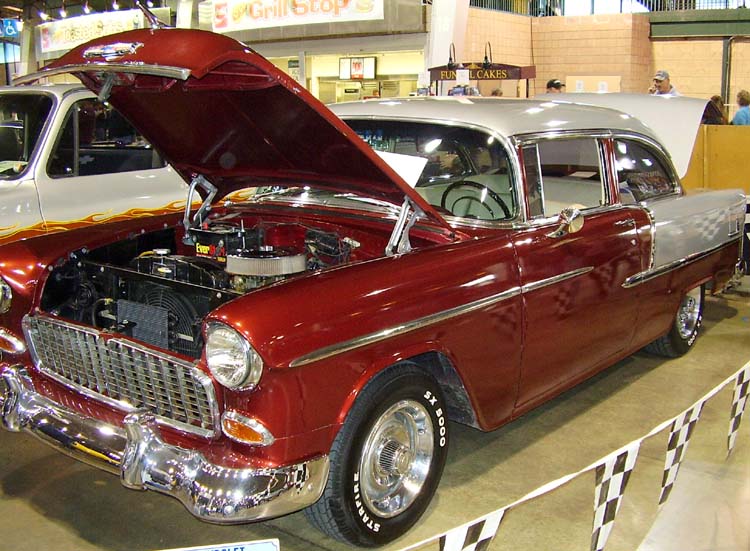
Here's a 210 wagon:
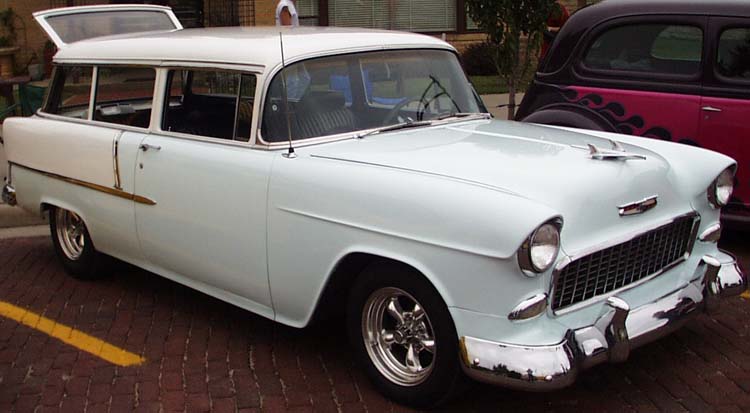 Last edited by chevynut; 01-03-2015, 09:02 AM.56 Nomad, Ramjet 502, Viper 6-speed T56, C4 Corvette front and rear suspension
Other vehicles:
56 Chevy 2-door BelAir sedan
56 Chevy 210 4-door sedan
57 Chevy 210 4-door sedan
1962 327/340HP Corvette
1961 Willys CJ3B Jeep
2001 Porsche Boxster S
2003 Chevy Silverado 2500 HD Duramax
2019 GMC Sierra Denali DuramaxComment
-
What threw me off is that a 210 sedan does not have any stainless trim at the top. Only the wagon. I learn something every day.Comment
-
Today Kyle worked on prepping the driver's door for epoxy primer...
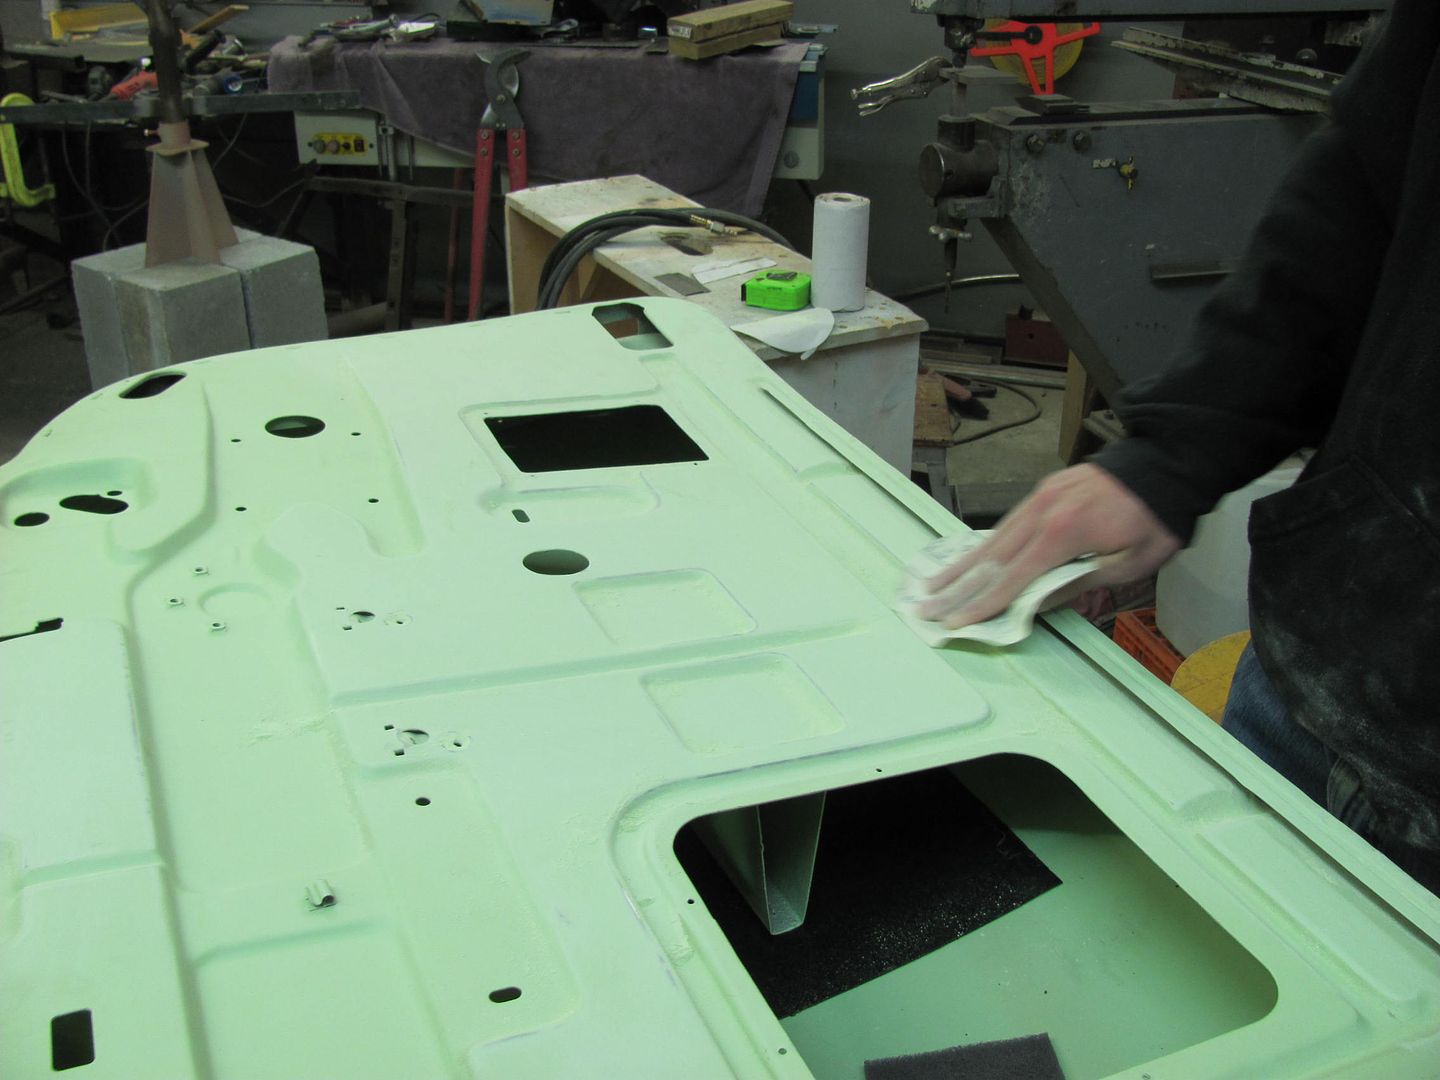
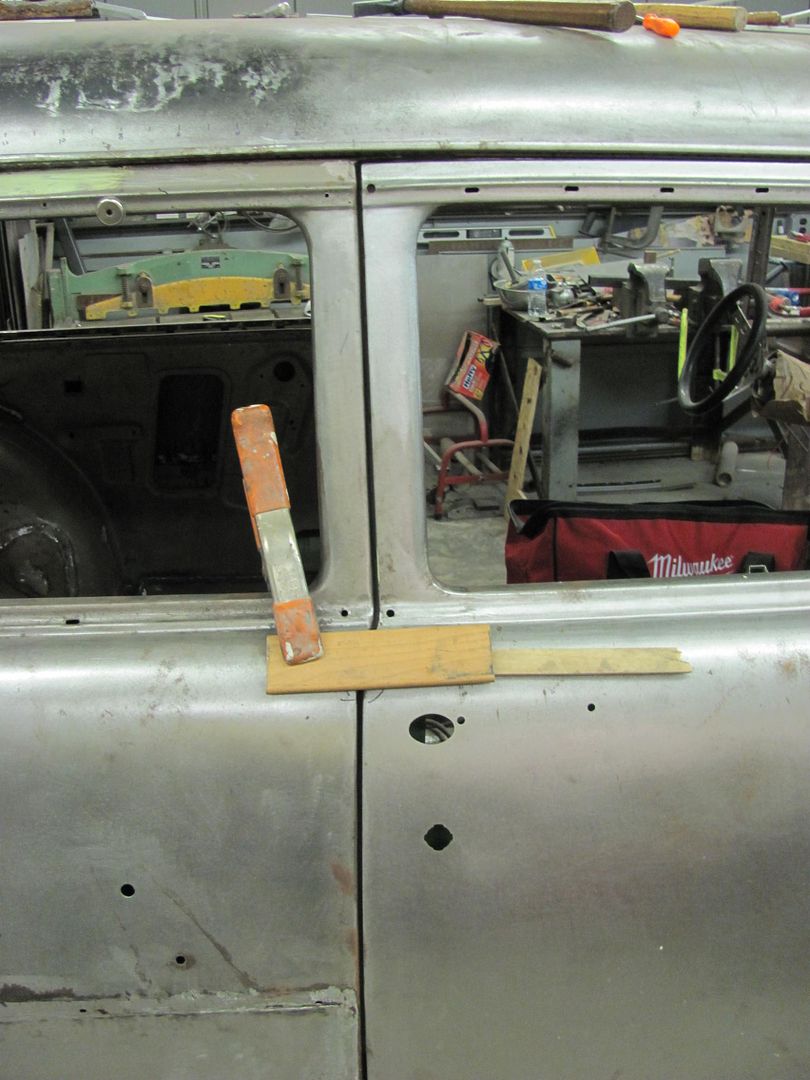
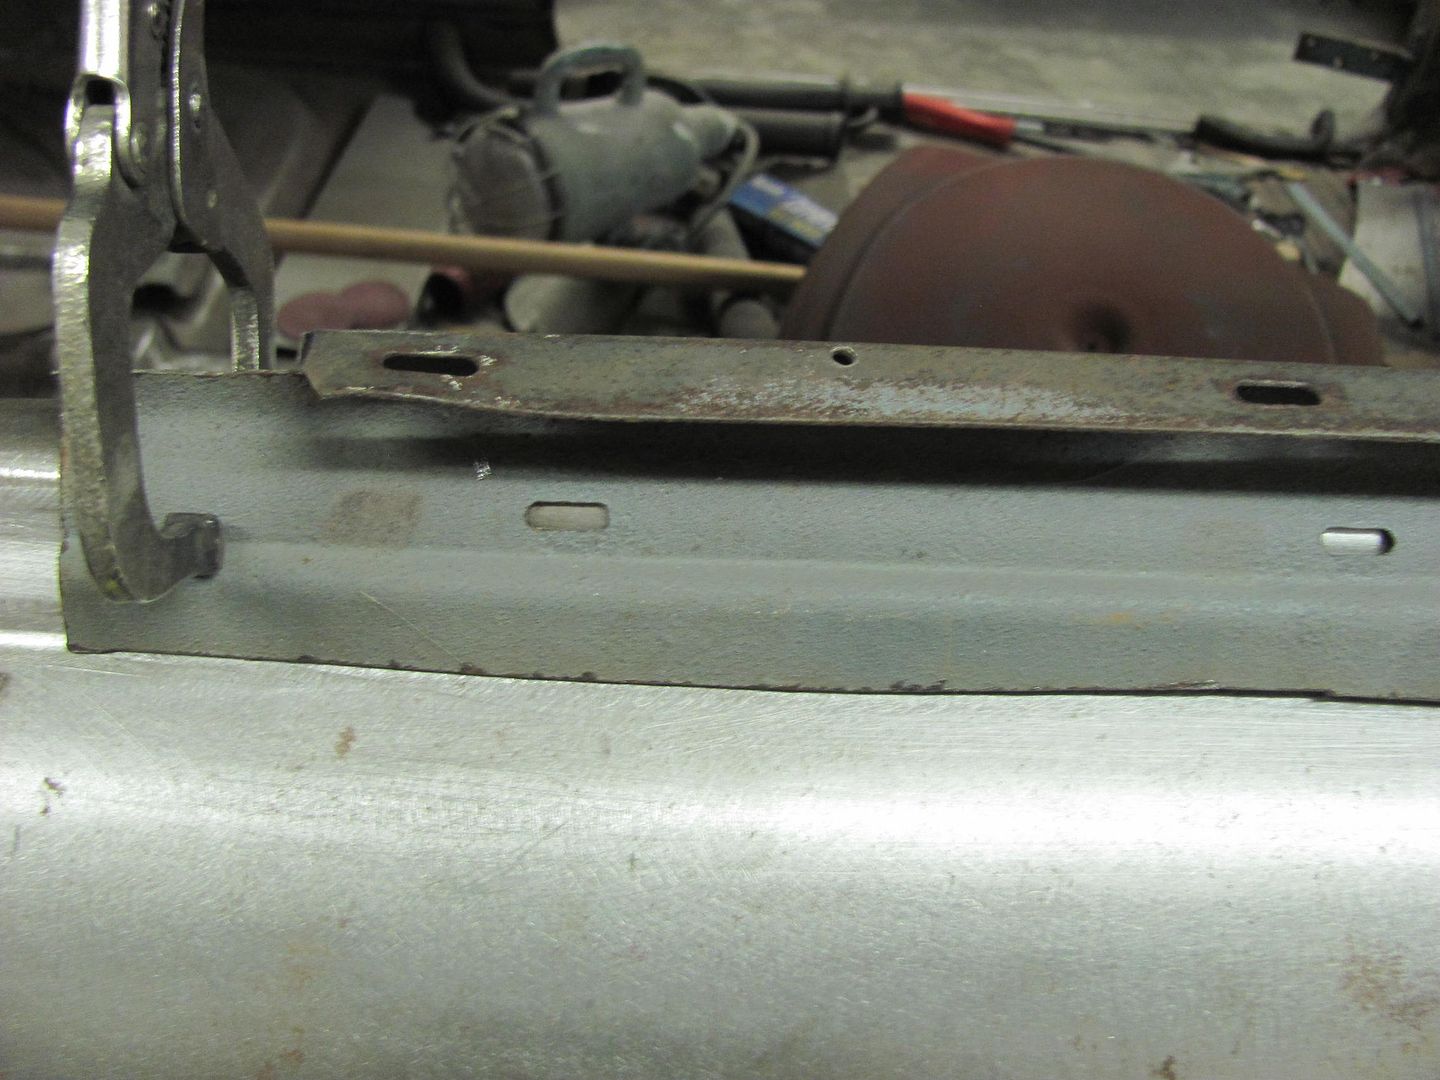
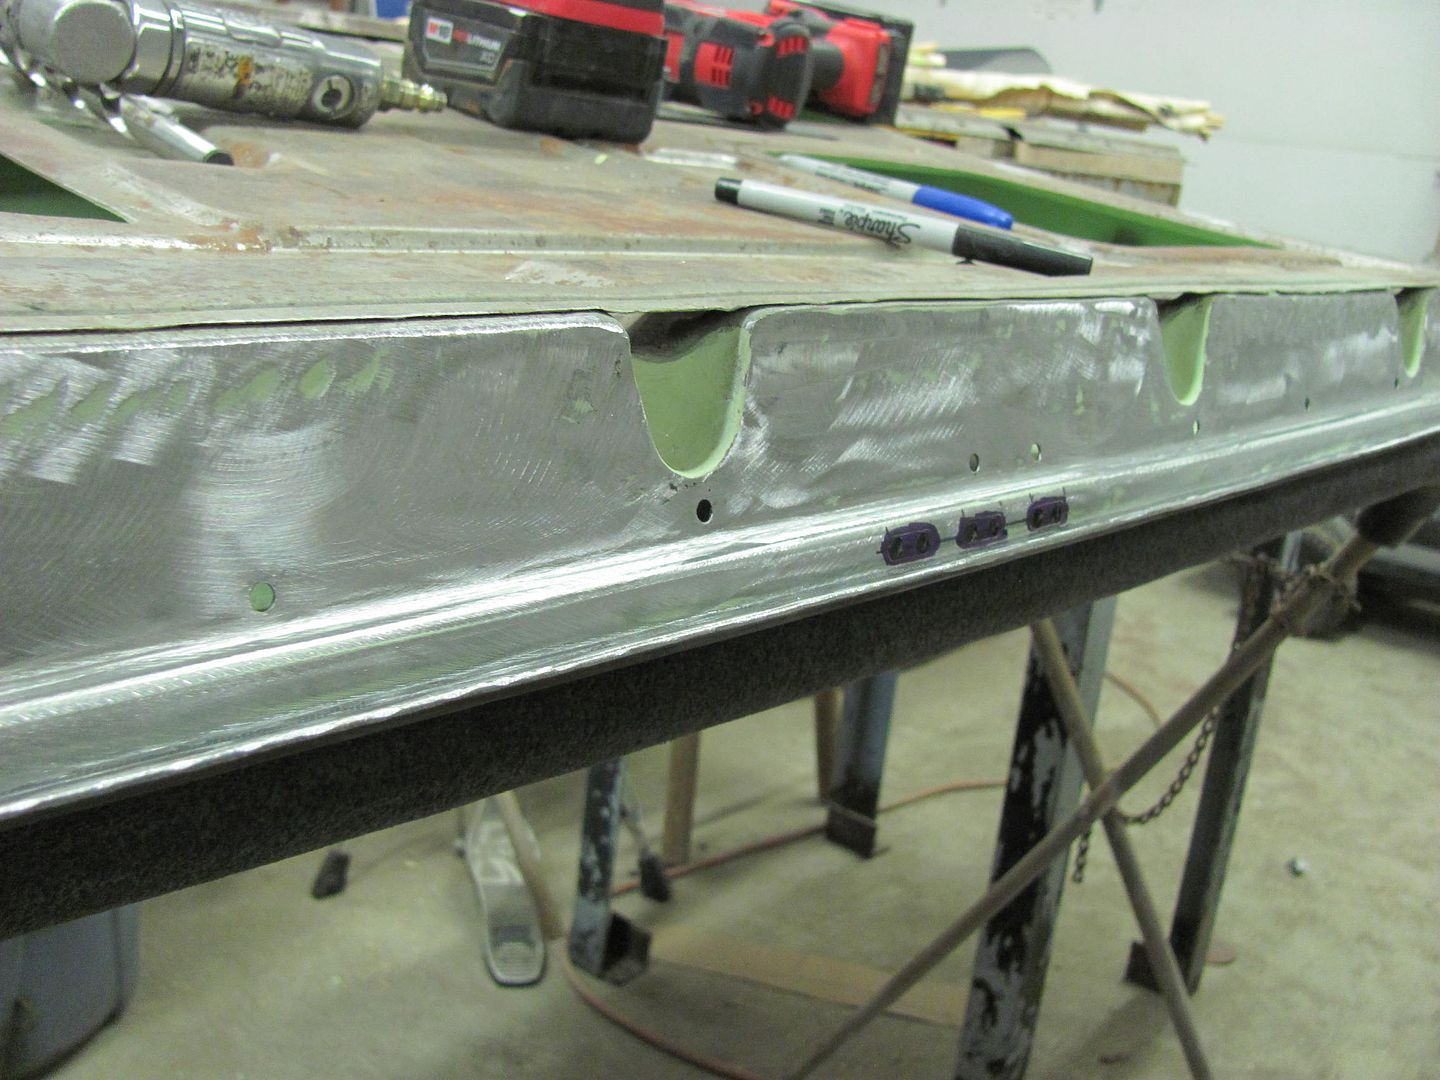
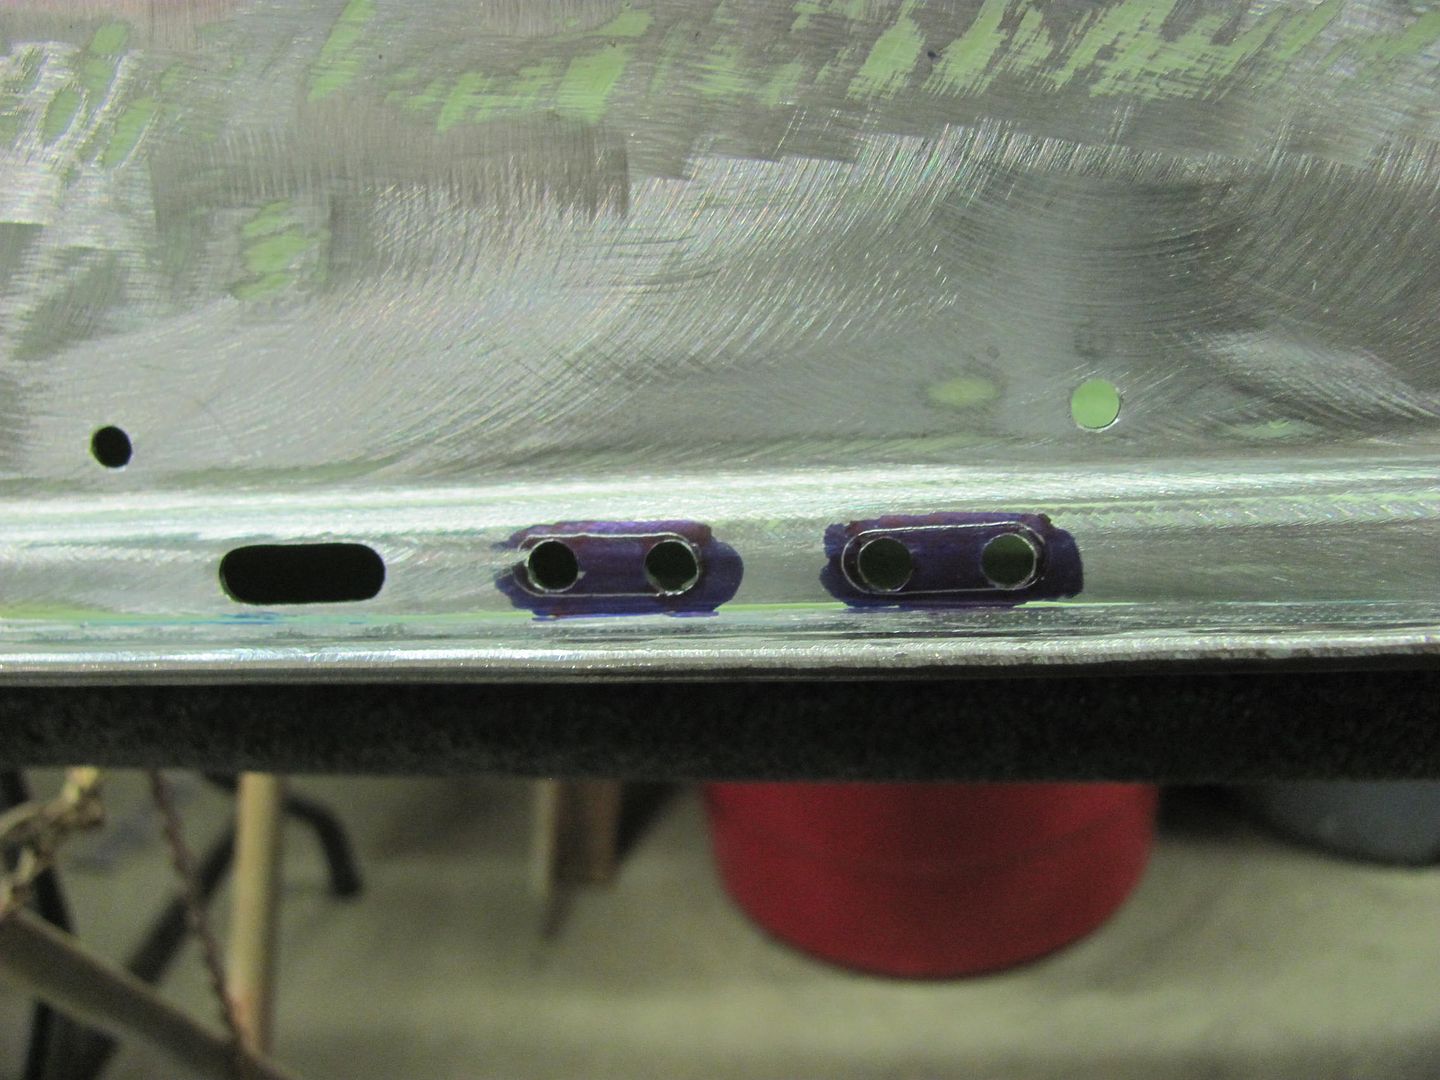
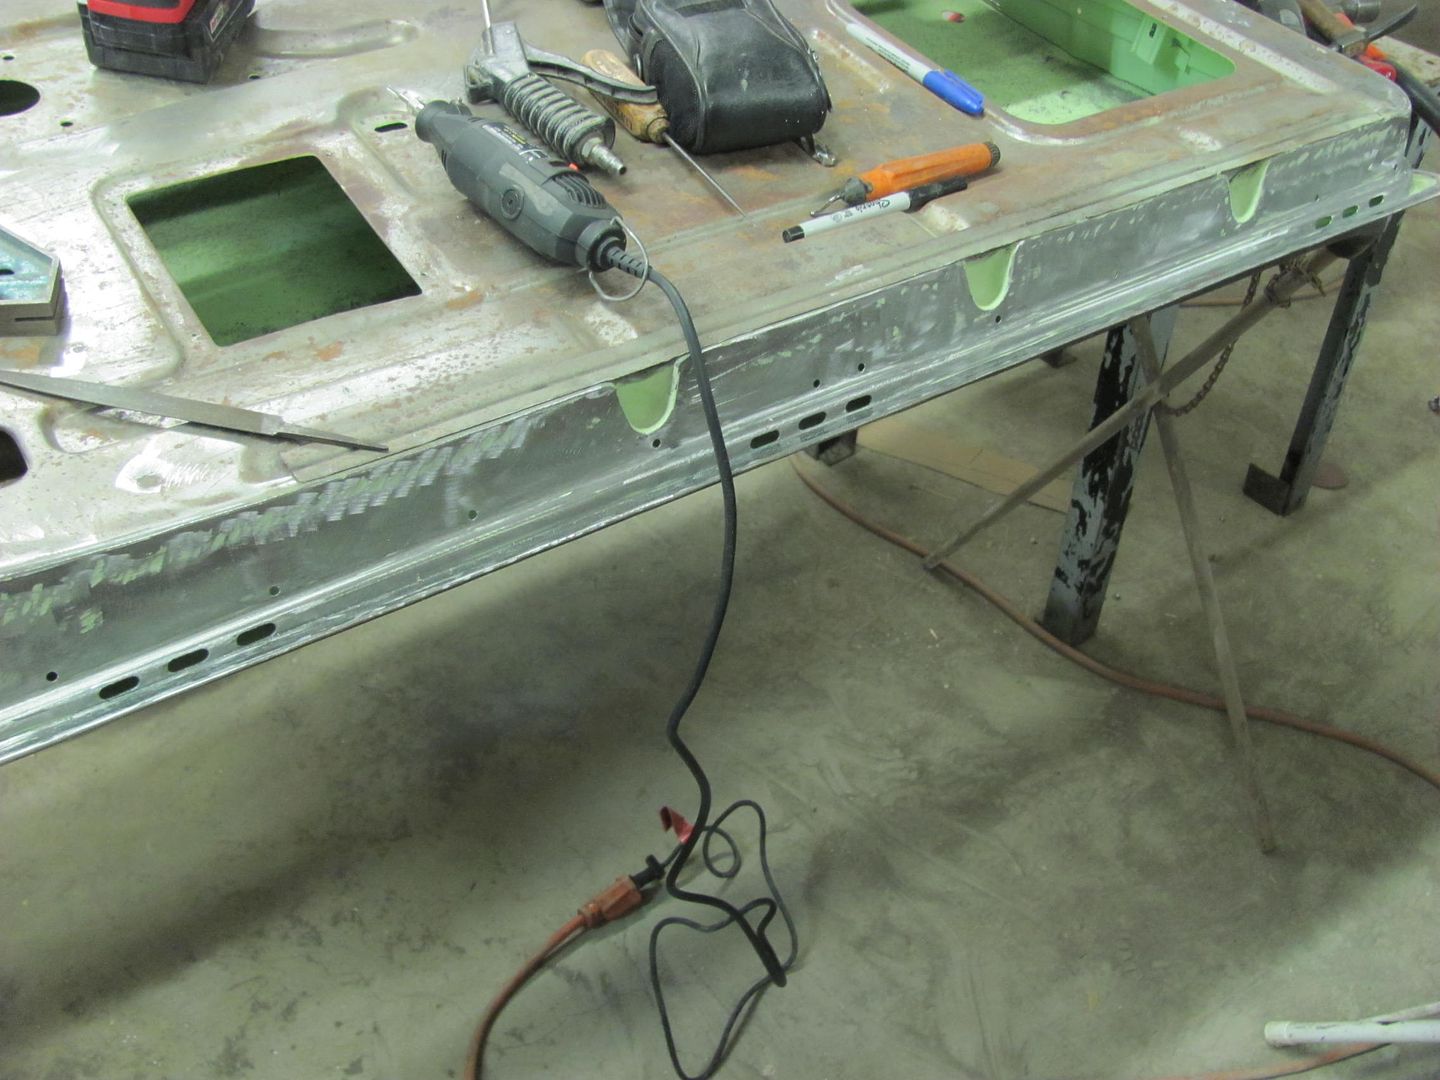
Meanwhile, with the passenger door unchopped, I turned my attention to the slots for mounting the stainless trim and drain holes.. The old door's "window sill" was aligned and clamped in place to mark the slots..
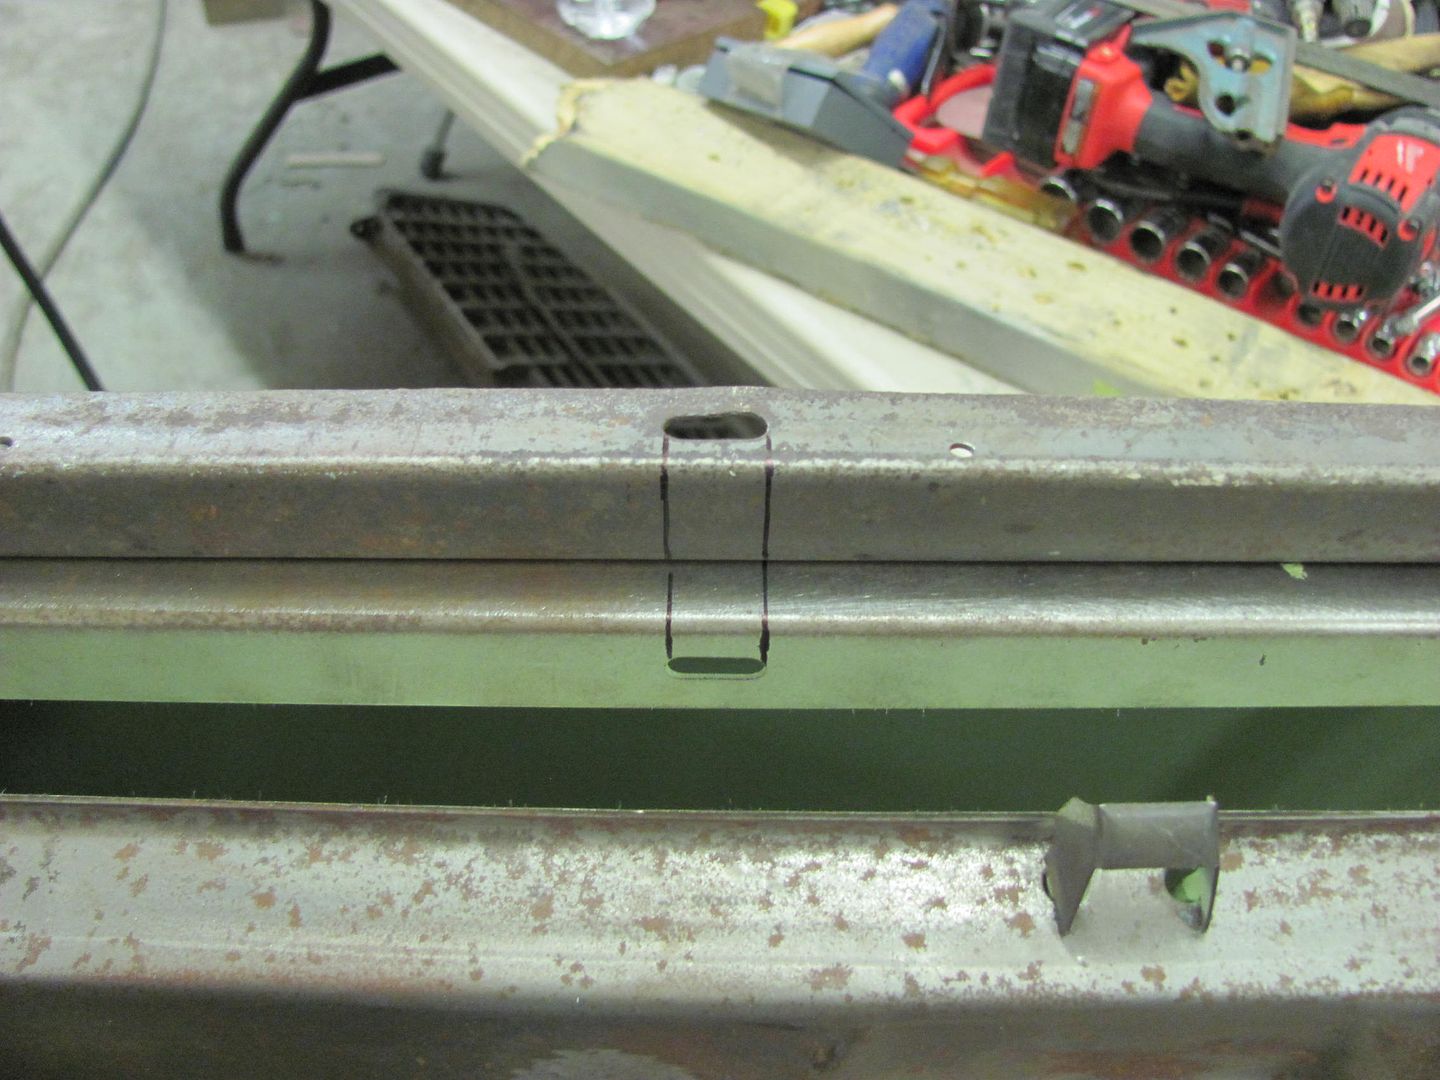
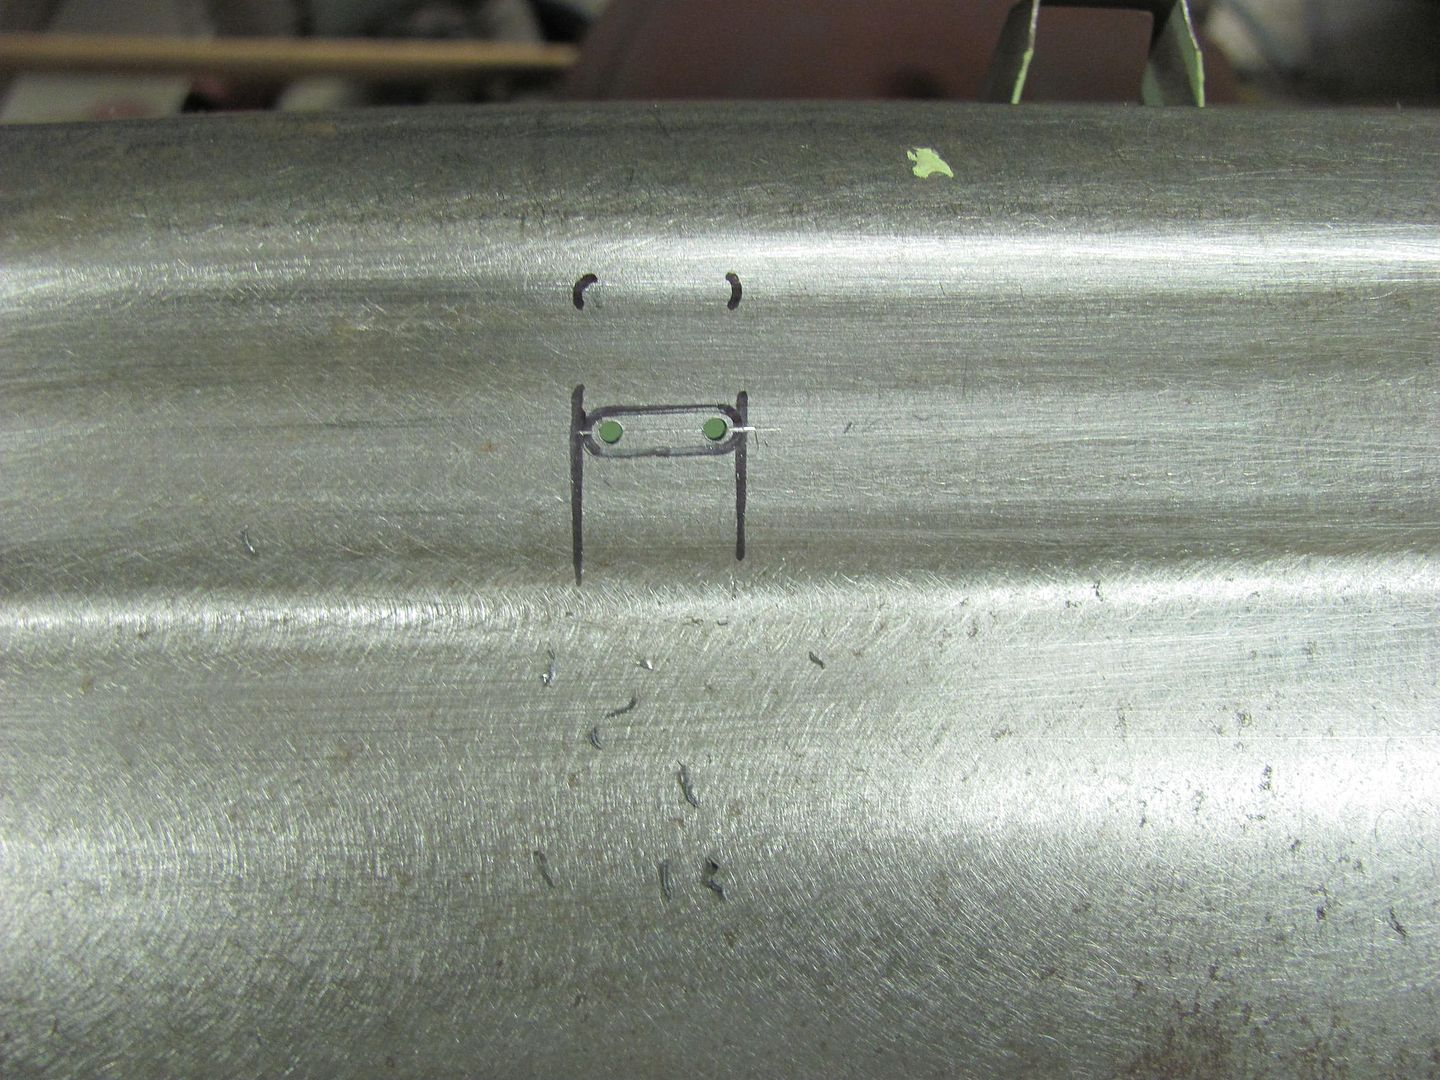
Then the slots are marked onto the new skin, and that location transposed down to the proper location..
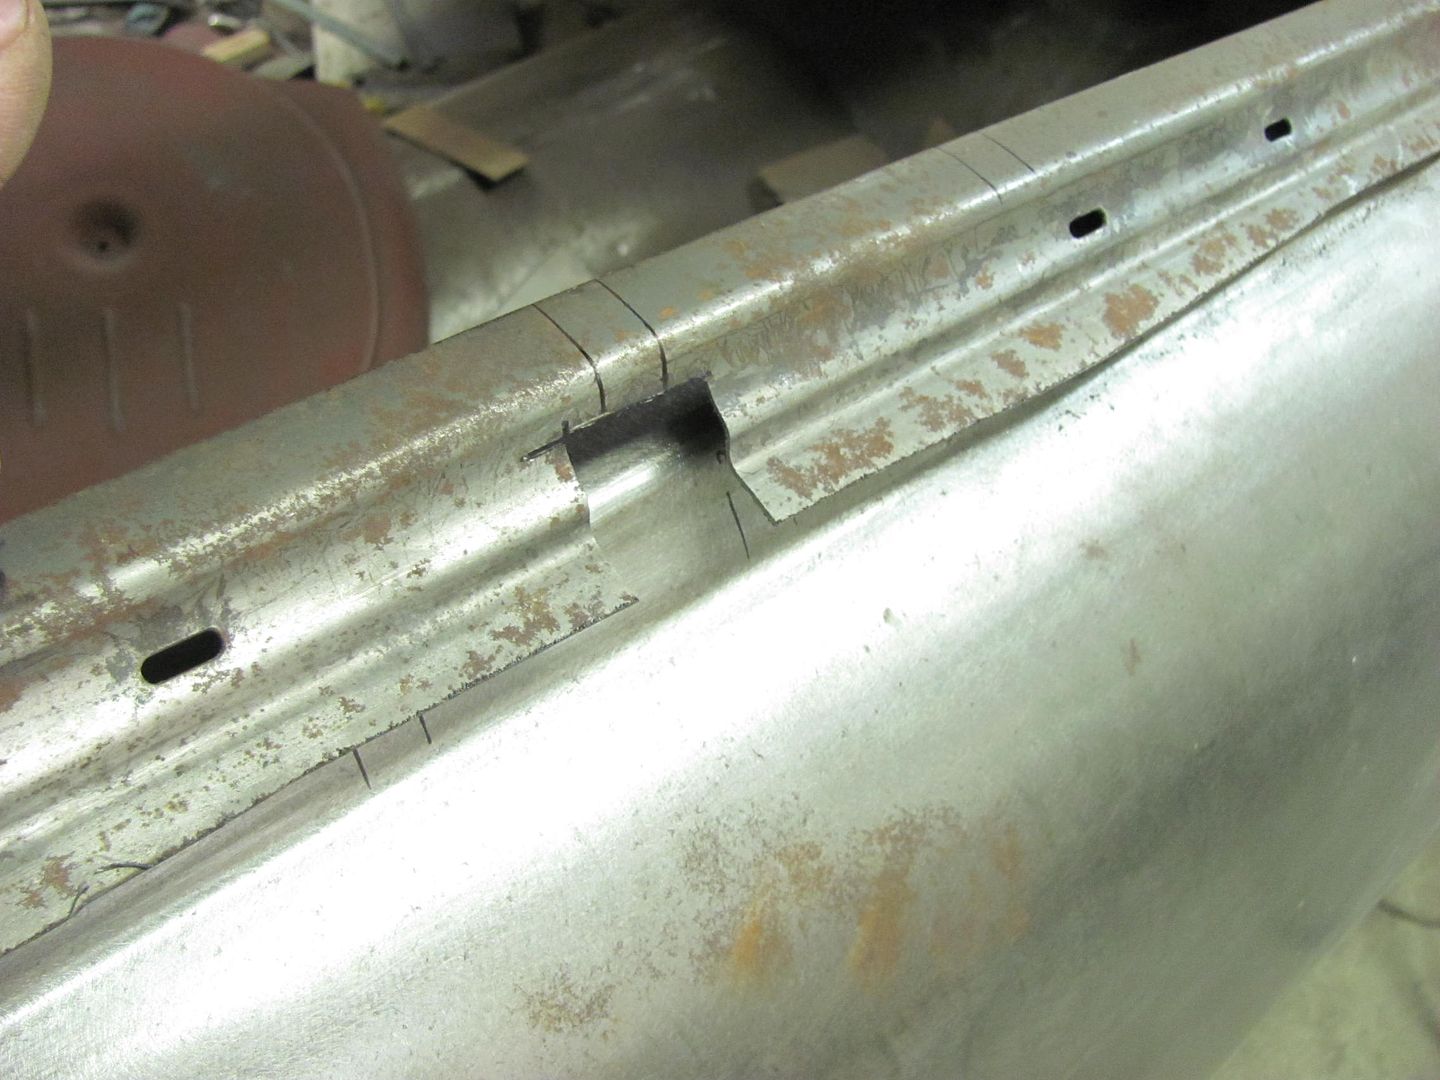
This is what happens when you pull the carbide cutter out too far while joining the holes...
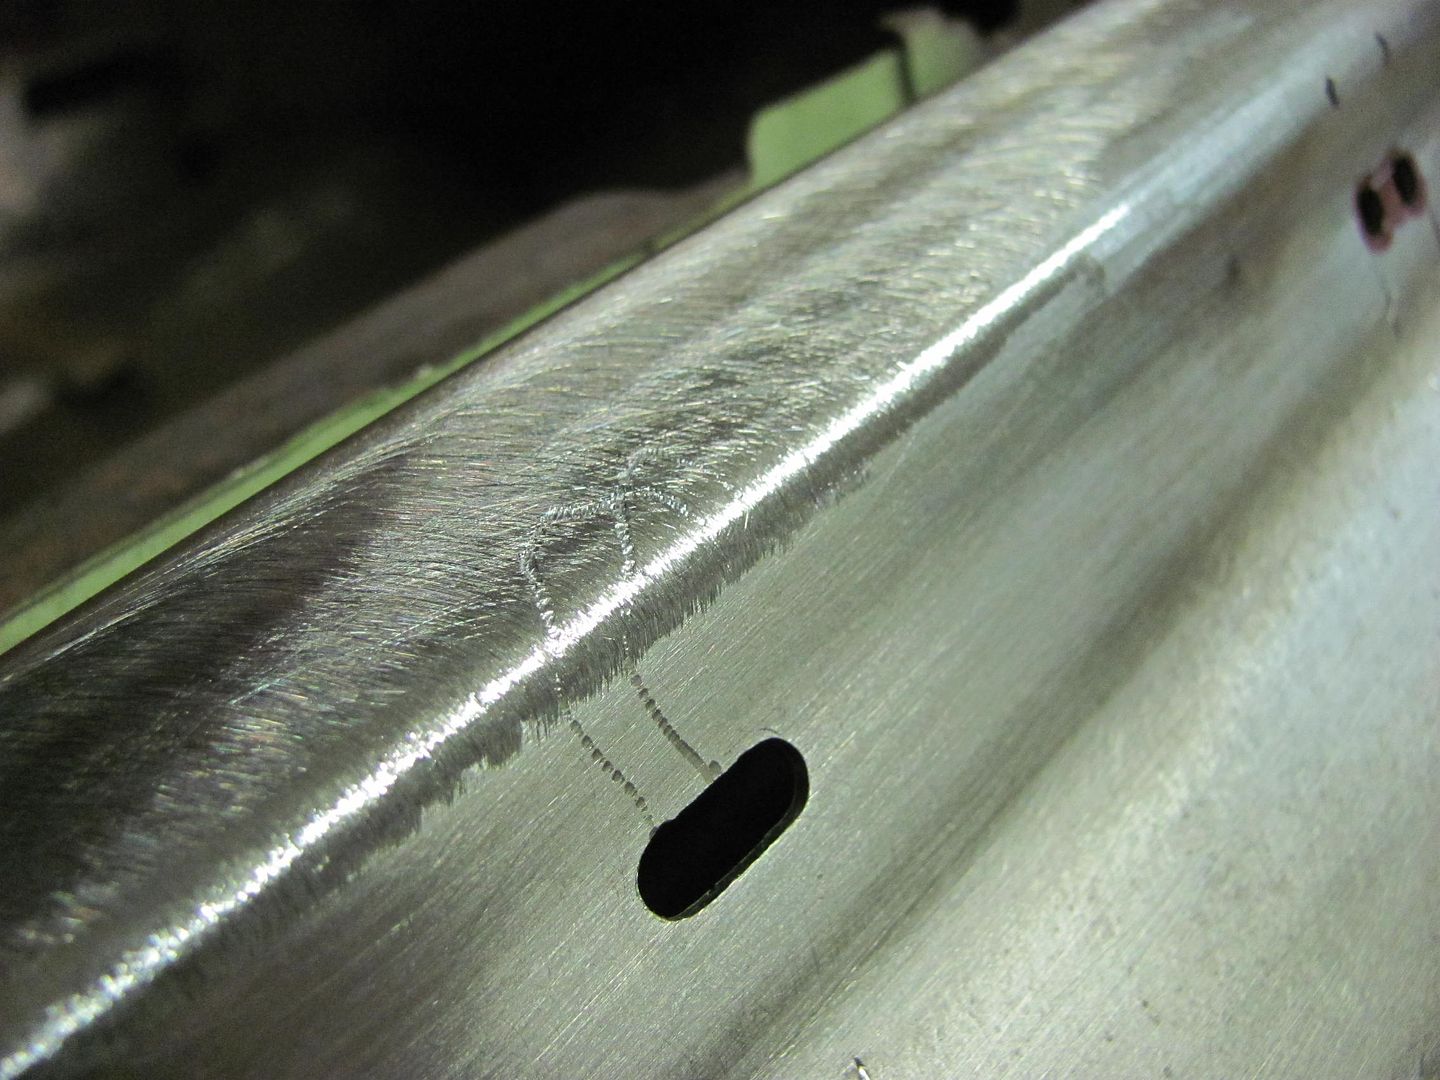
Weatherstrip holes drilled, drain holes laid out...
Kyle has the driver's door scuffed and ready to go, once the passenger door is finished we can spray some more epoxy..


Comment
-
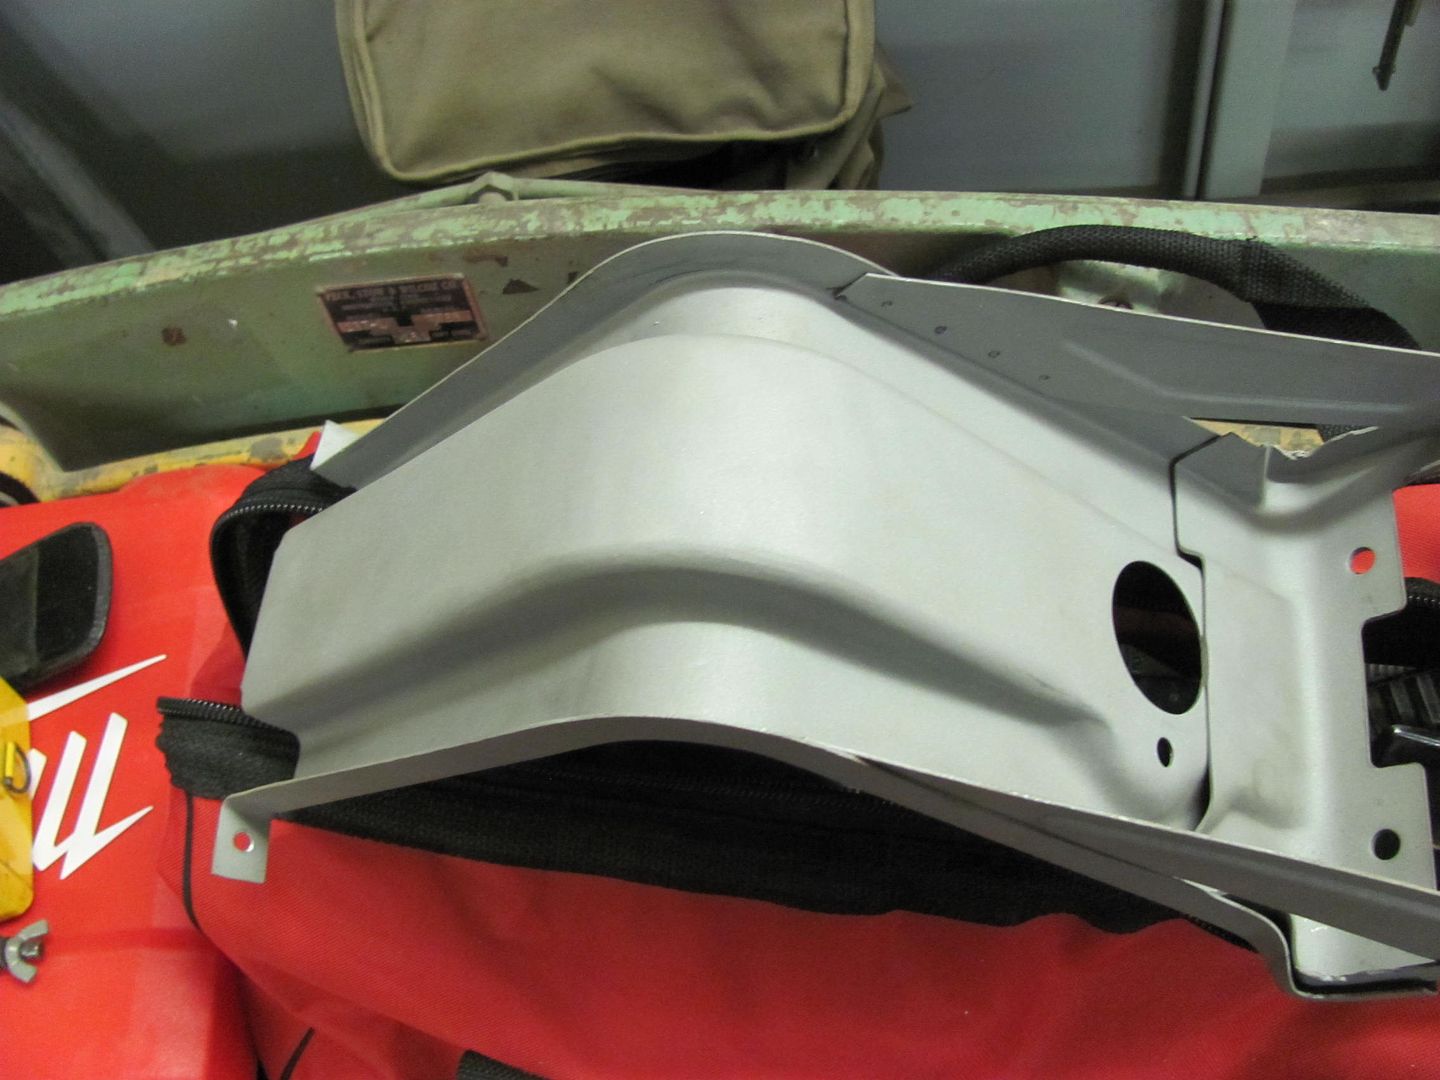
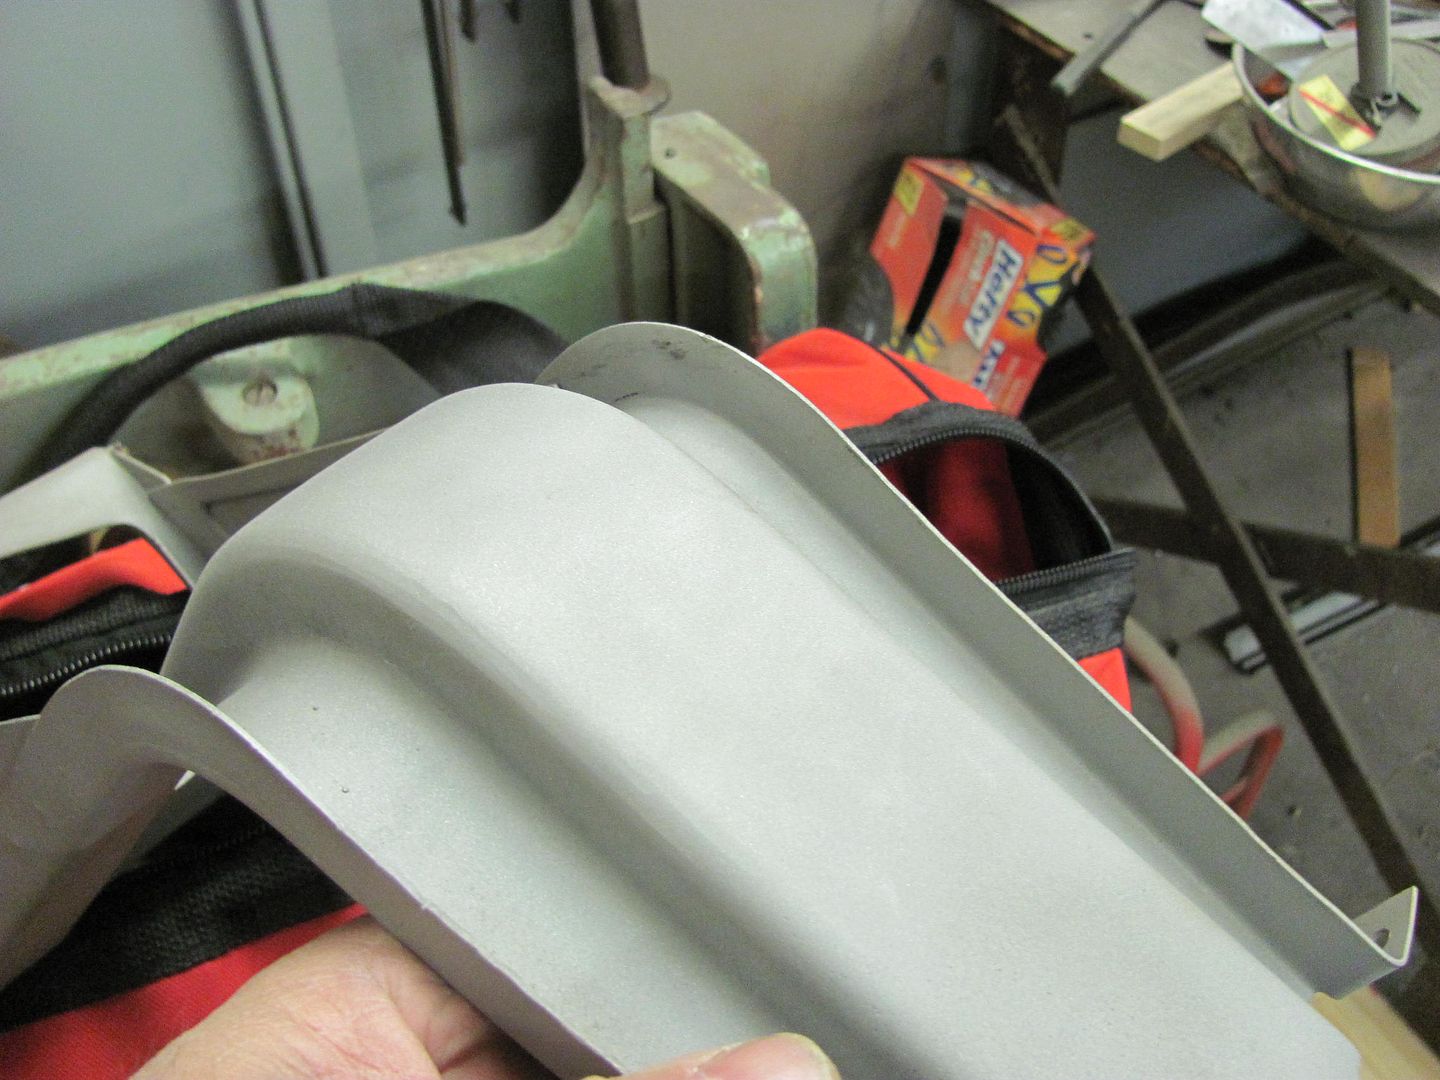
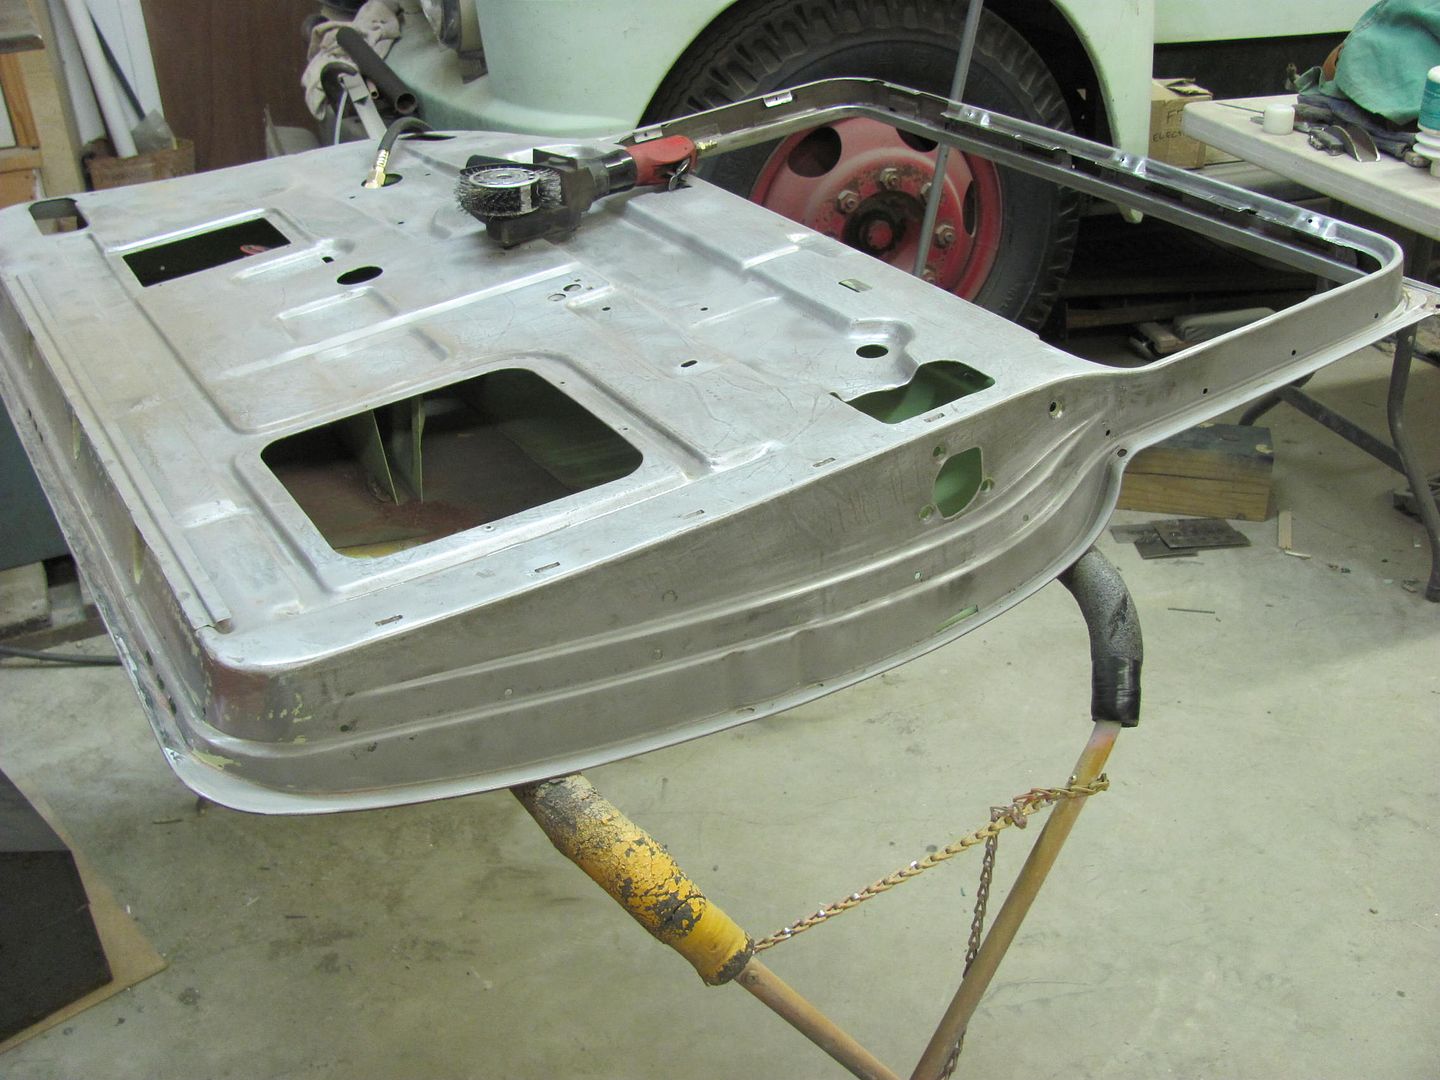
Sneak preview of the powder coating, here's one of the inner fenders...

Kyle working on more media blasting, we should have another batch for powder
coating this weekend....
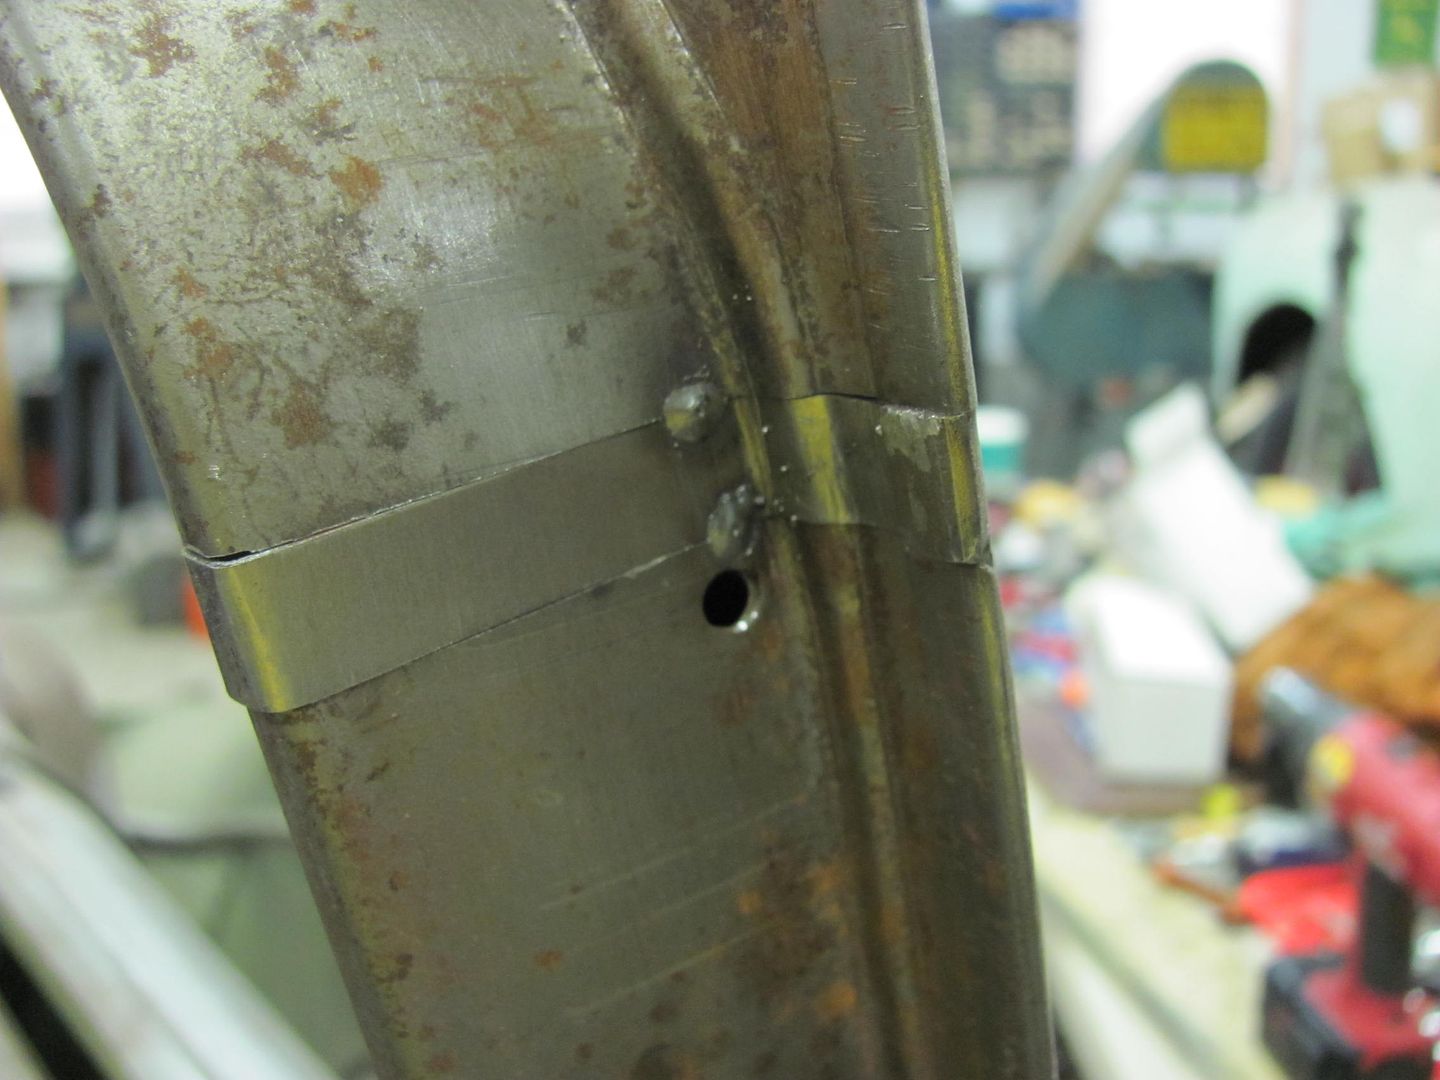
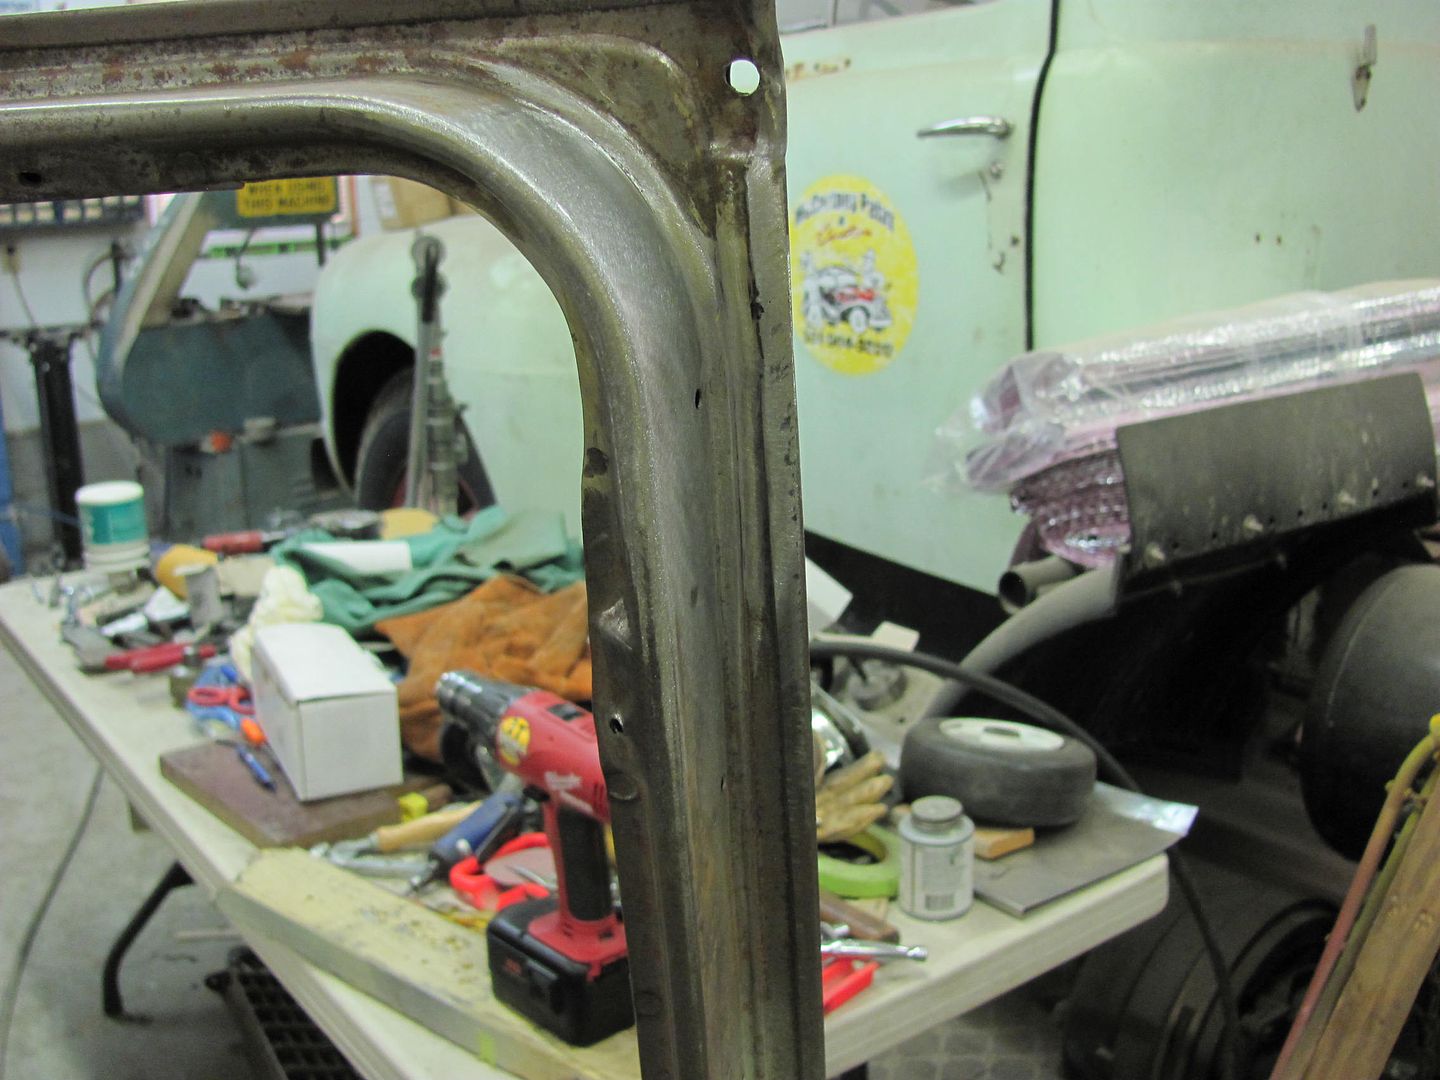
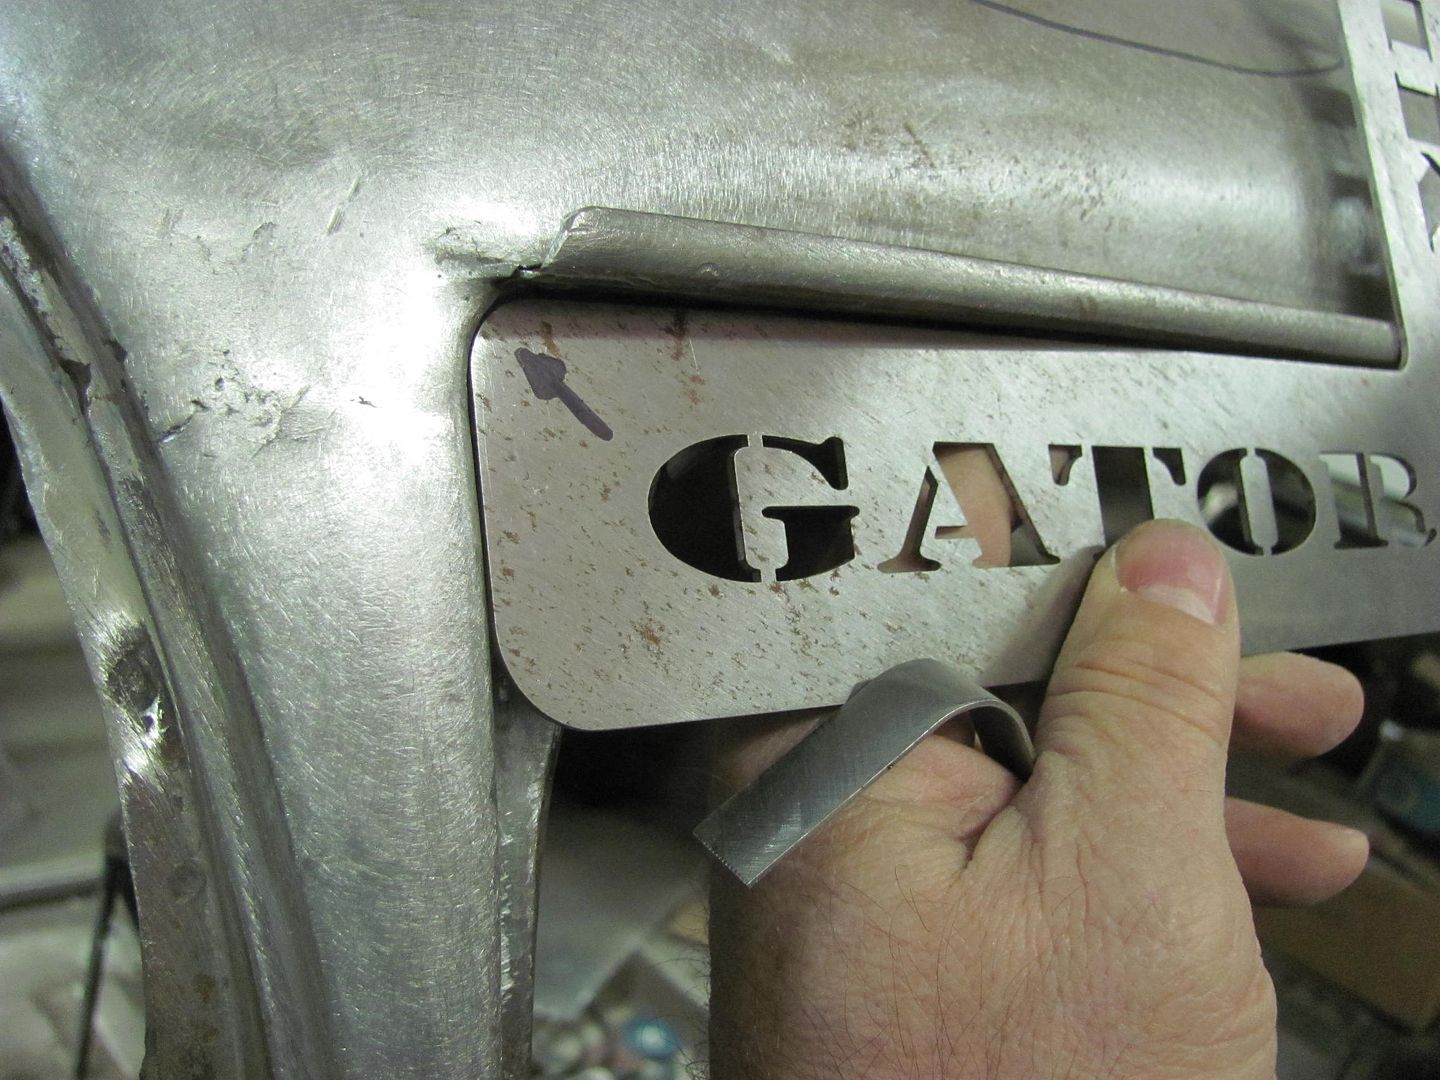
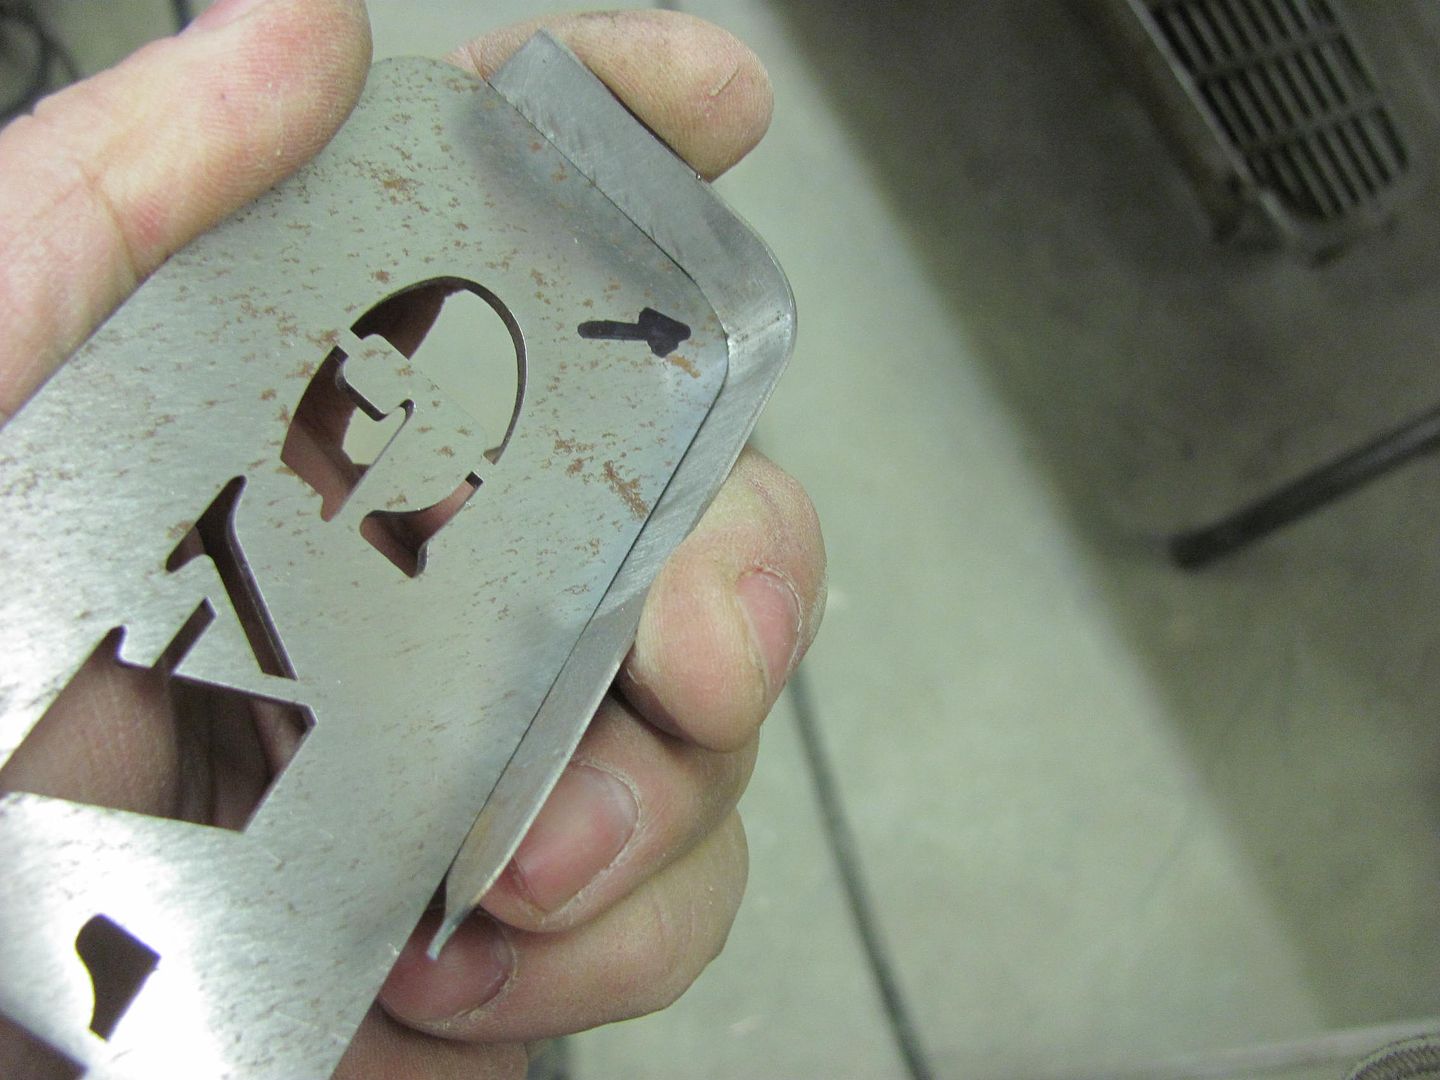
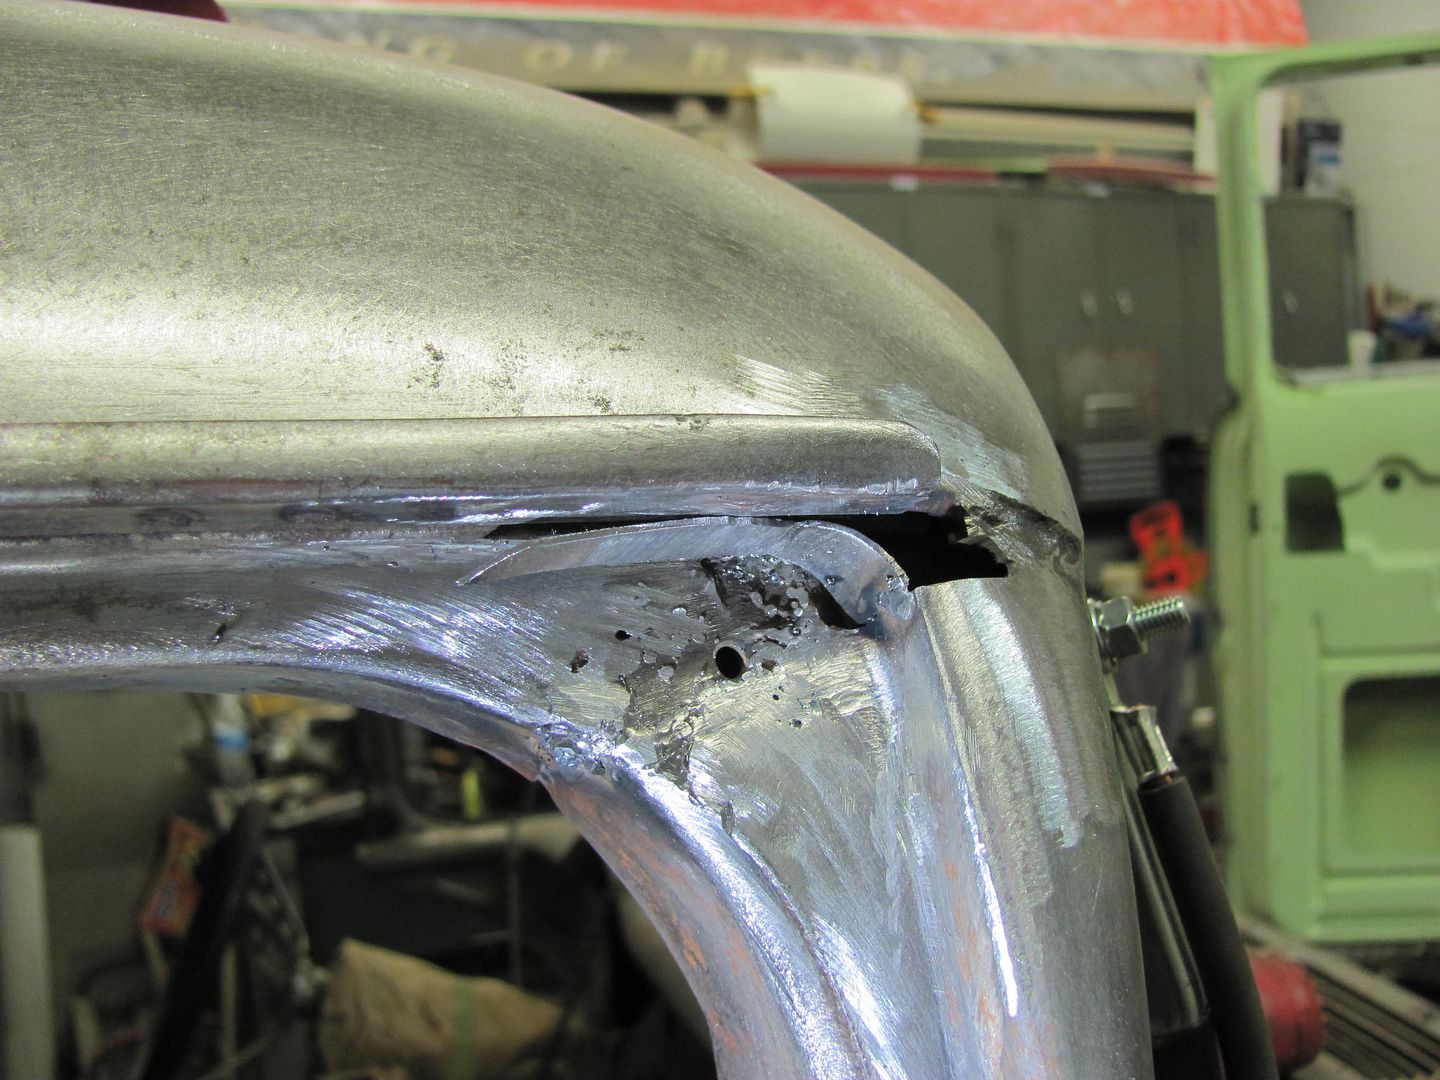
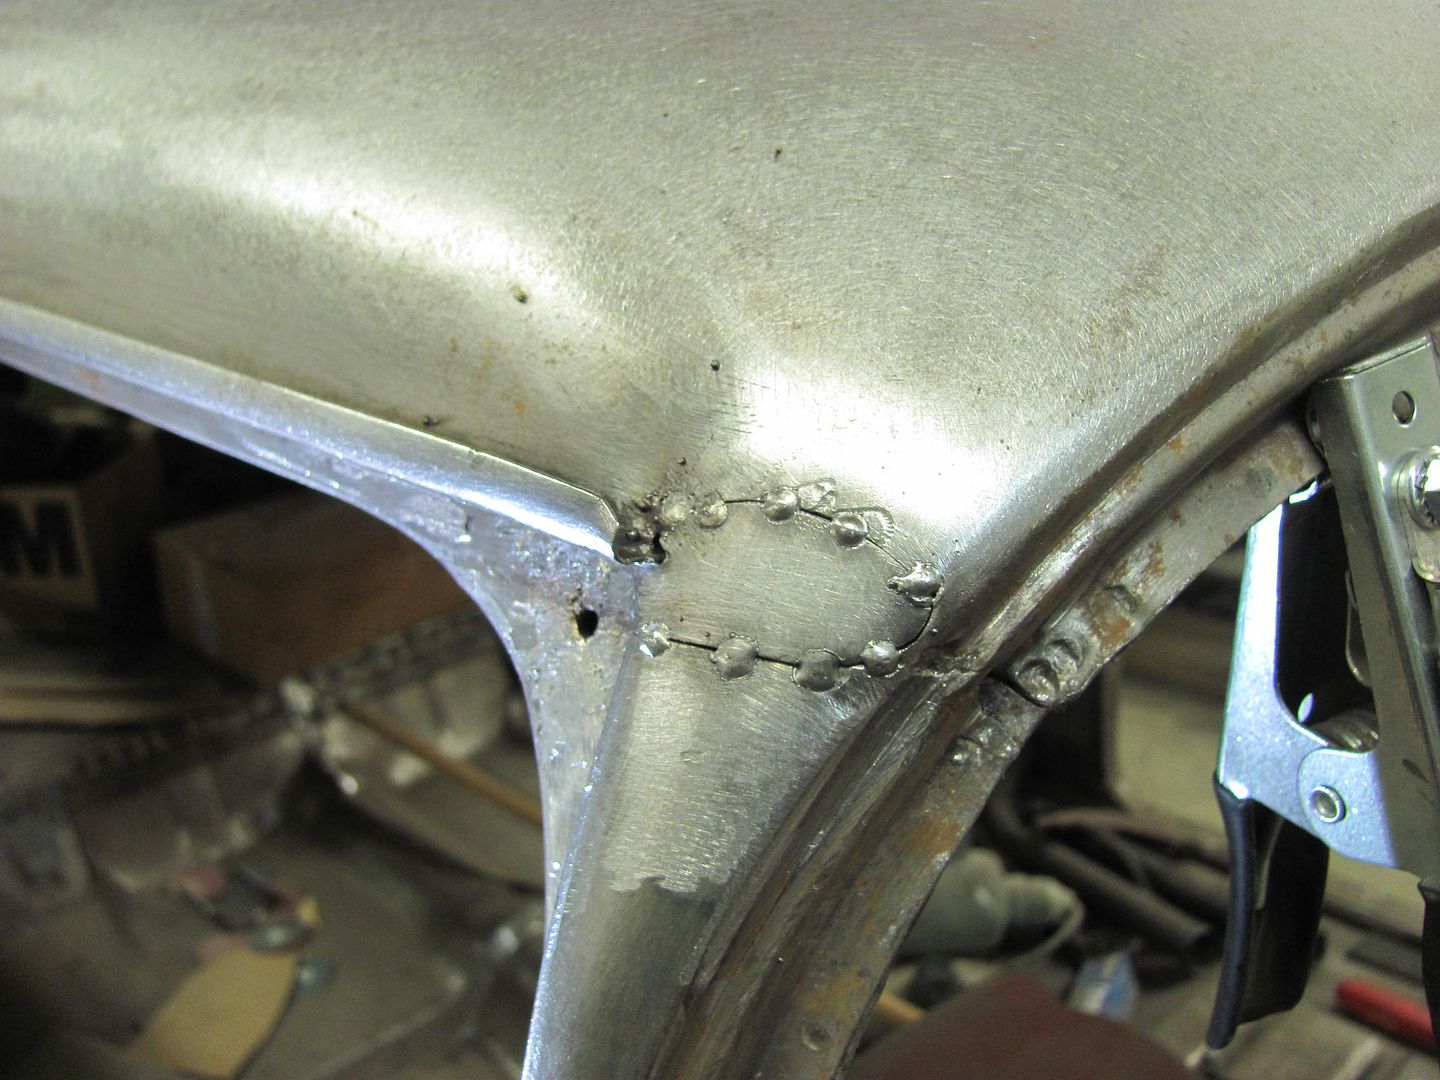
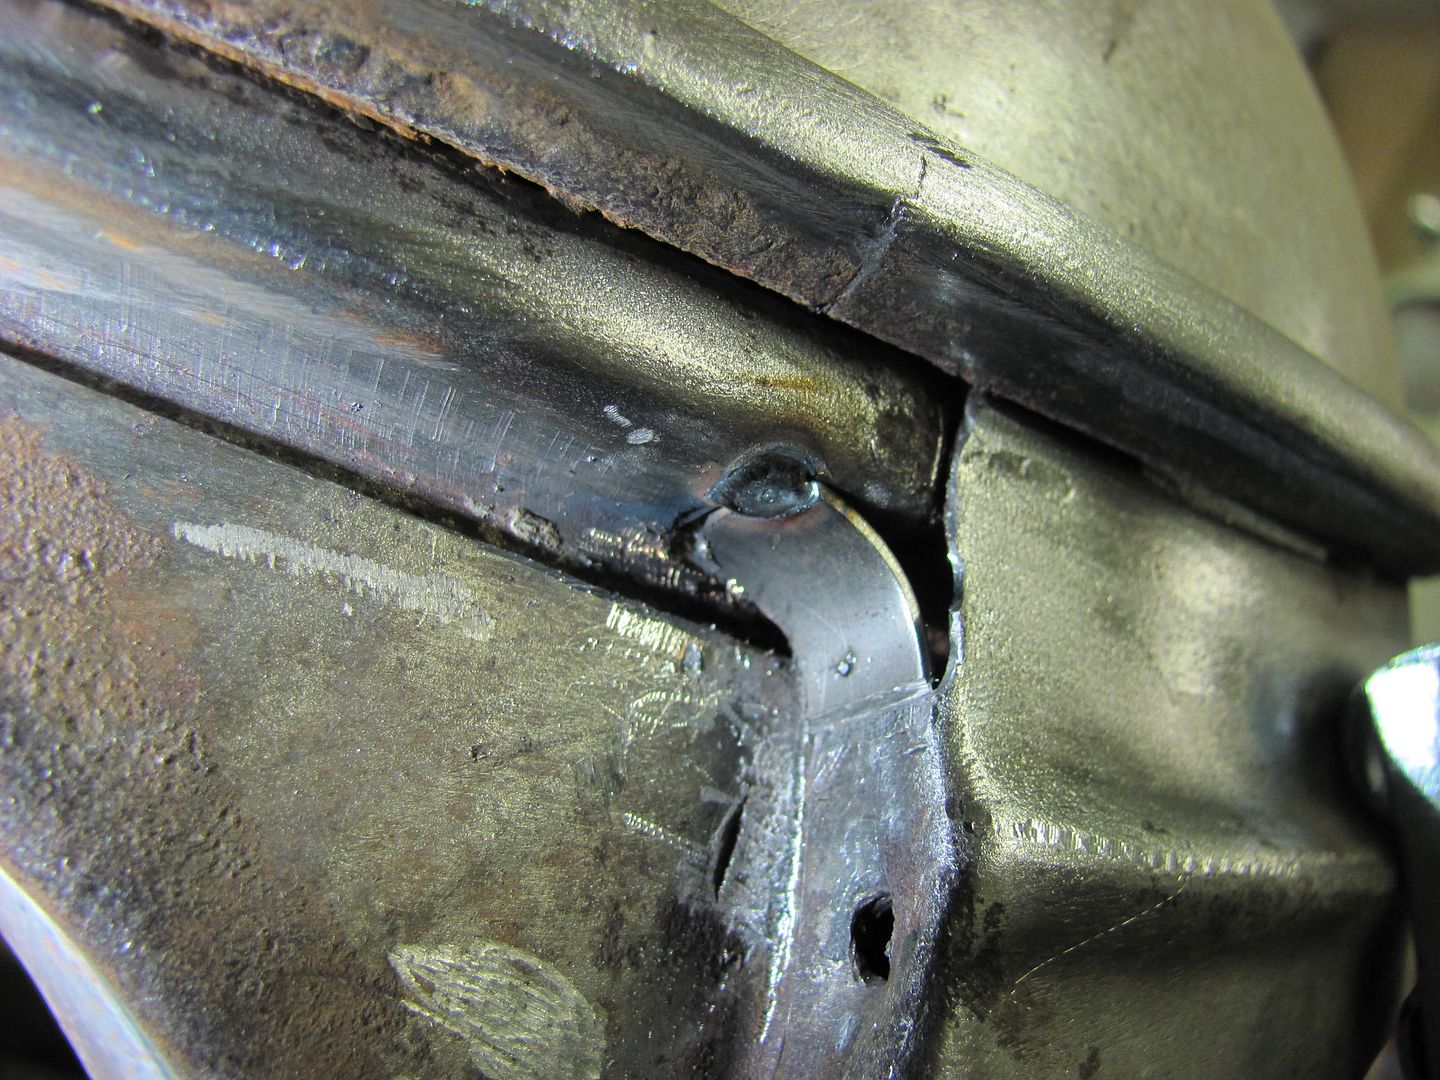
With the passenger door removed and out of the way, I worked on the
radius-ing and repairing of the lead gap seam. First to check the radius of the
completed driver's side with the Gatormeet radius gauge...
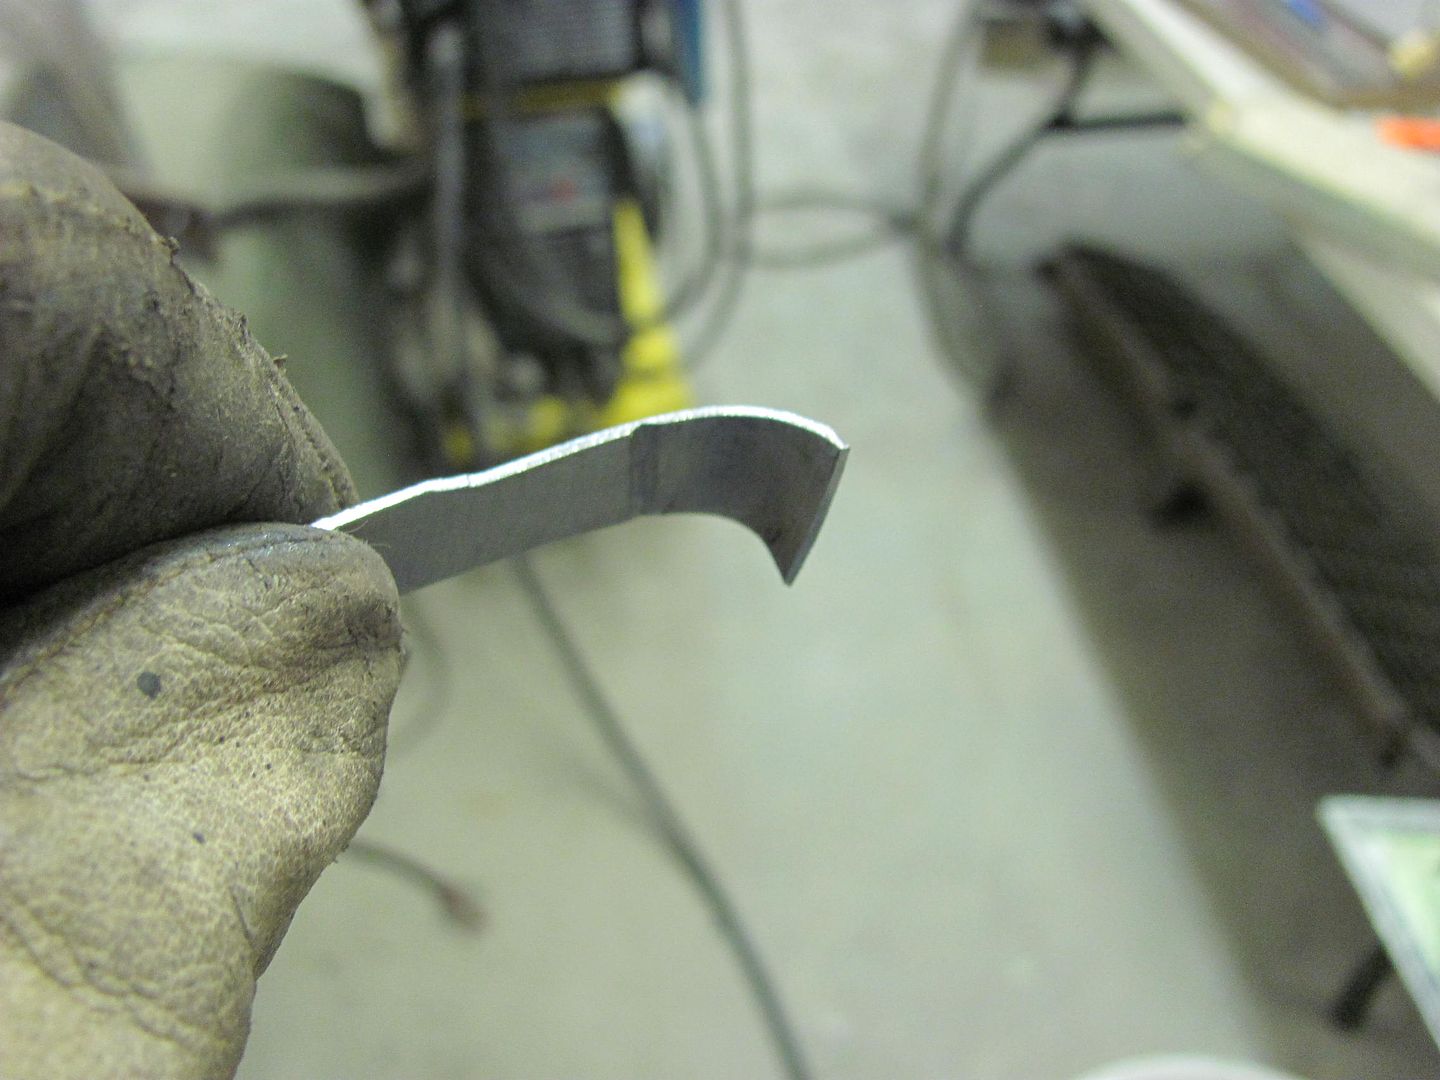
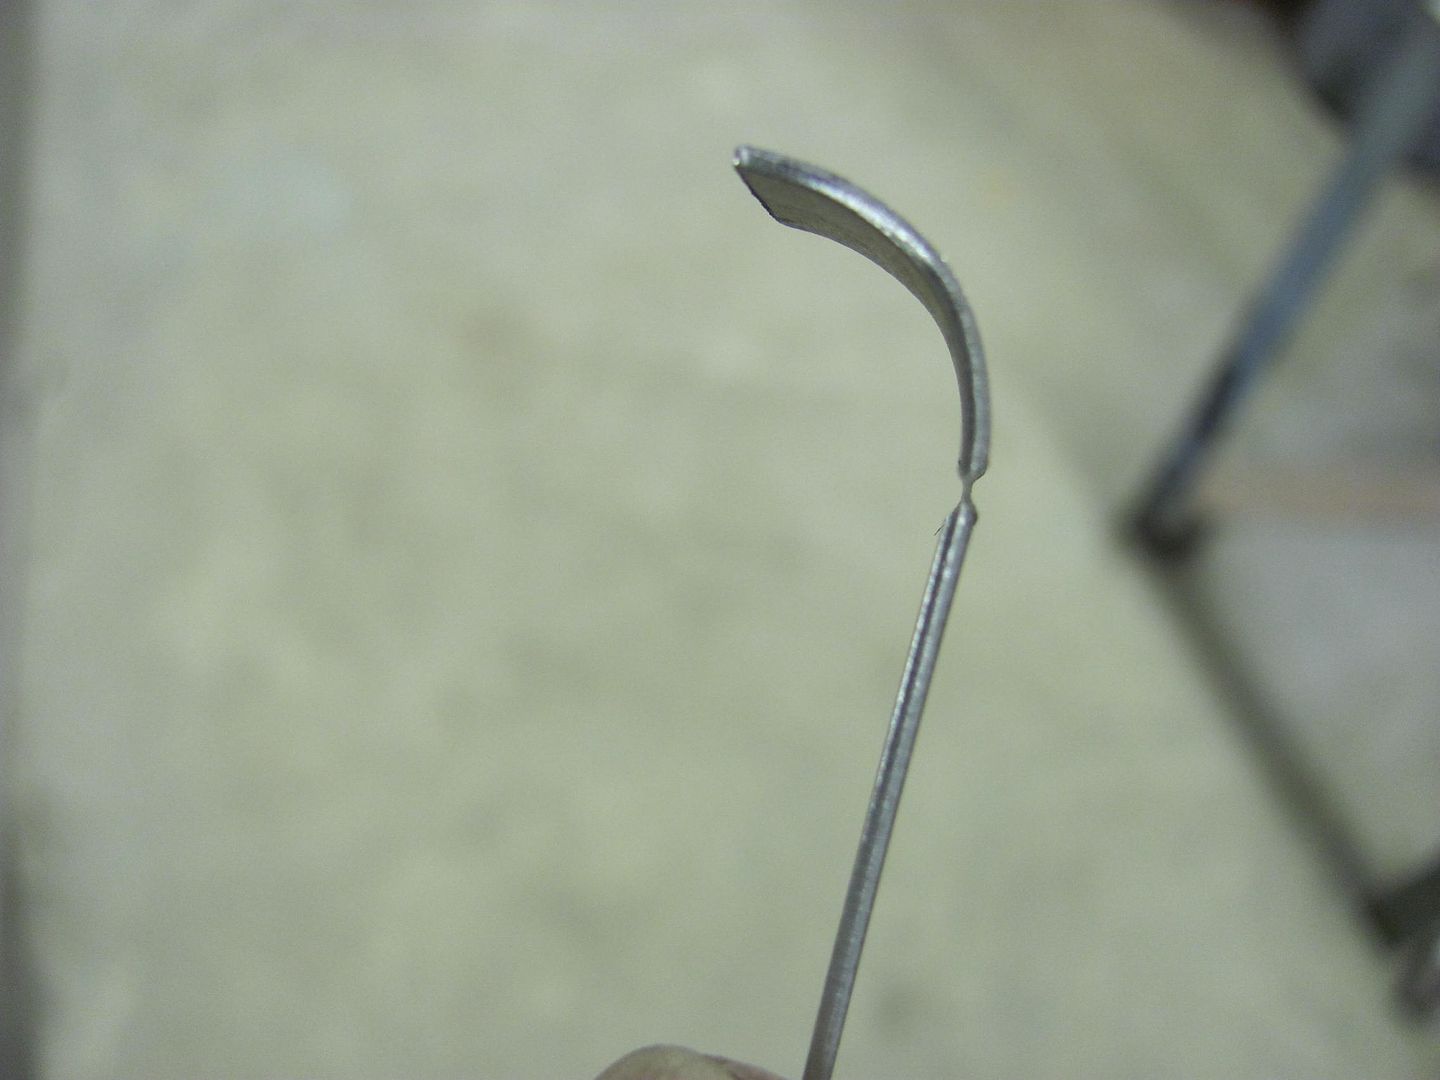
Radius patch is bent using roll former dies in the Diacro press brake and
checked to the radius gauge...
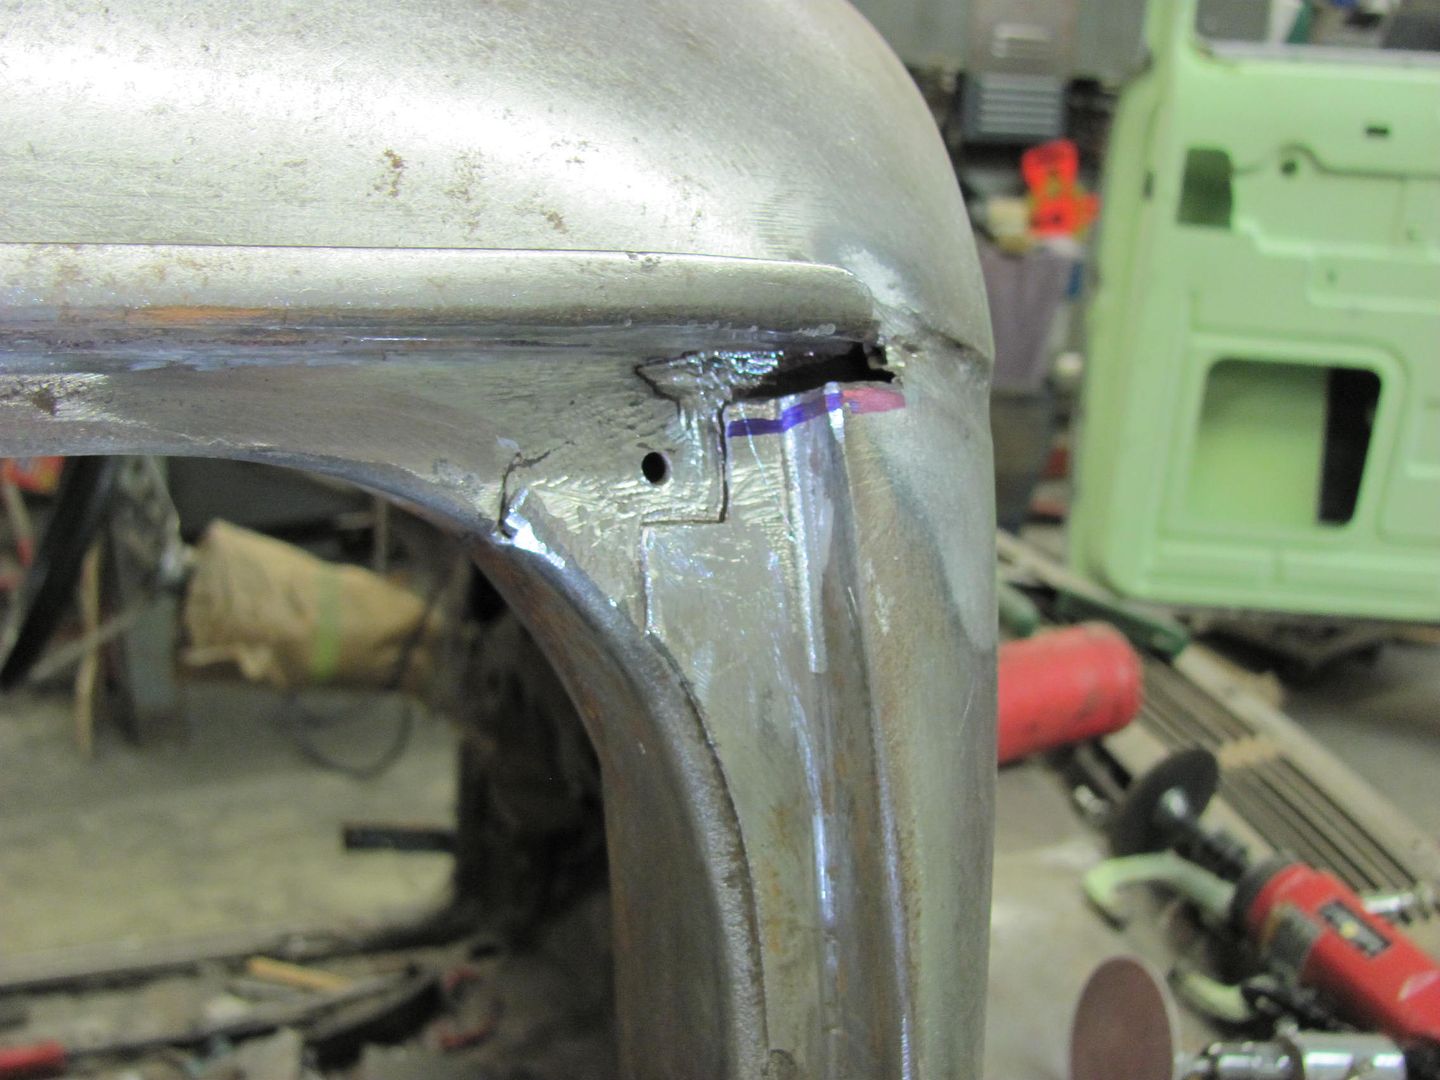
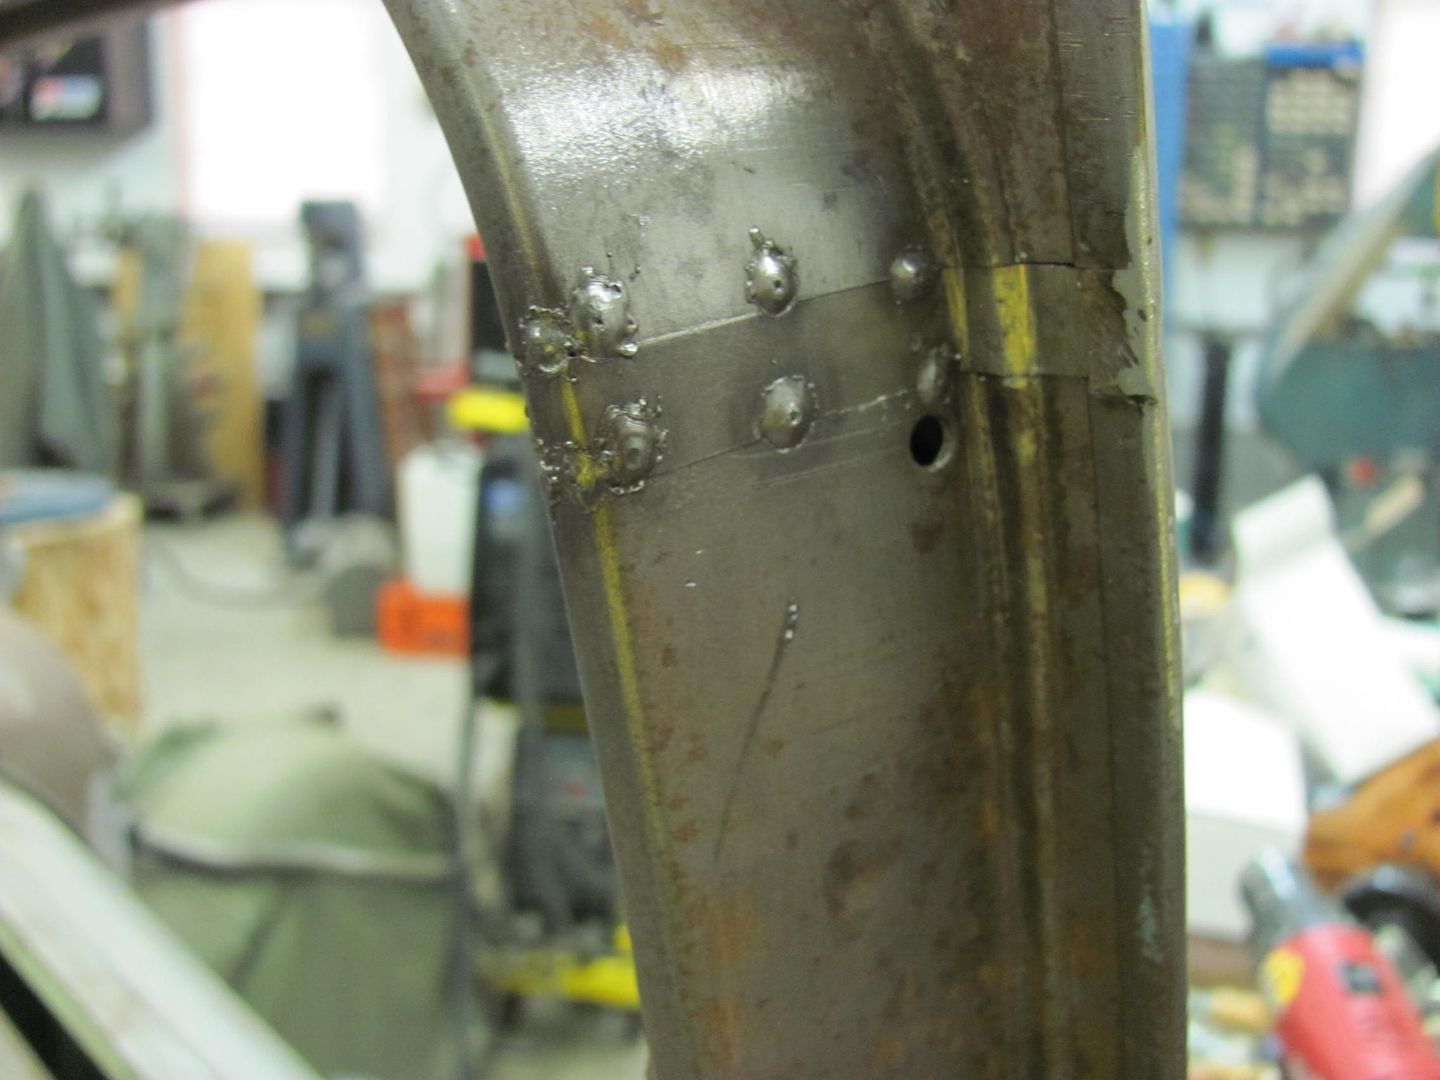
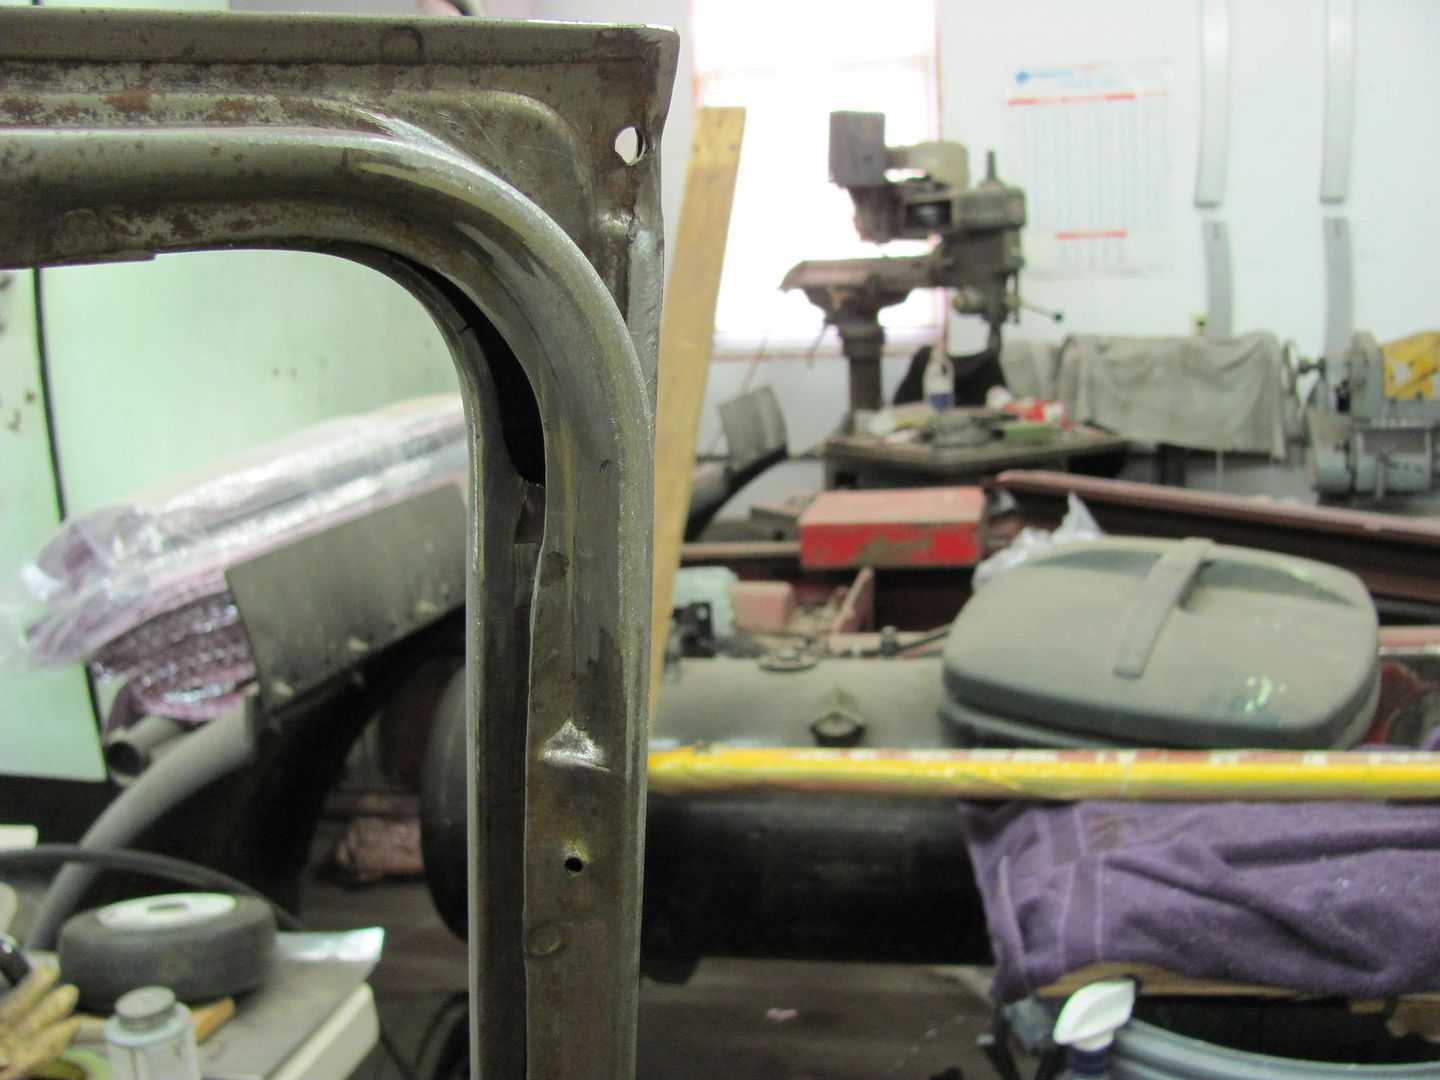
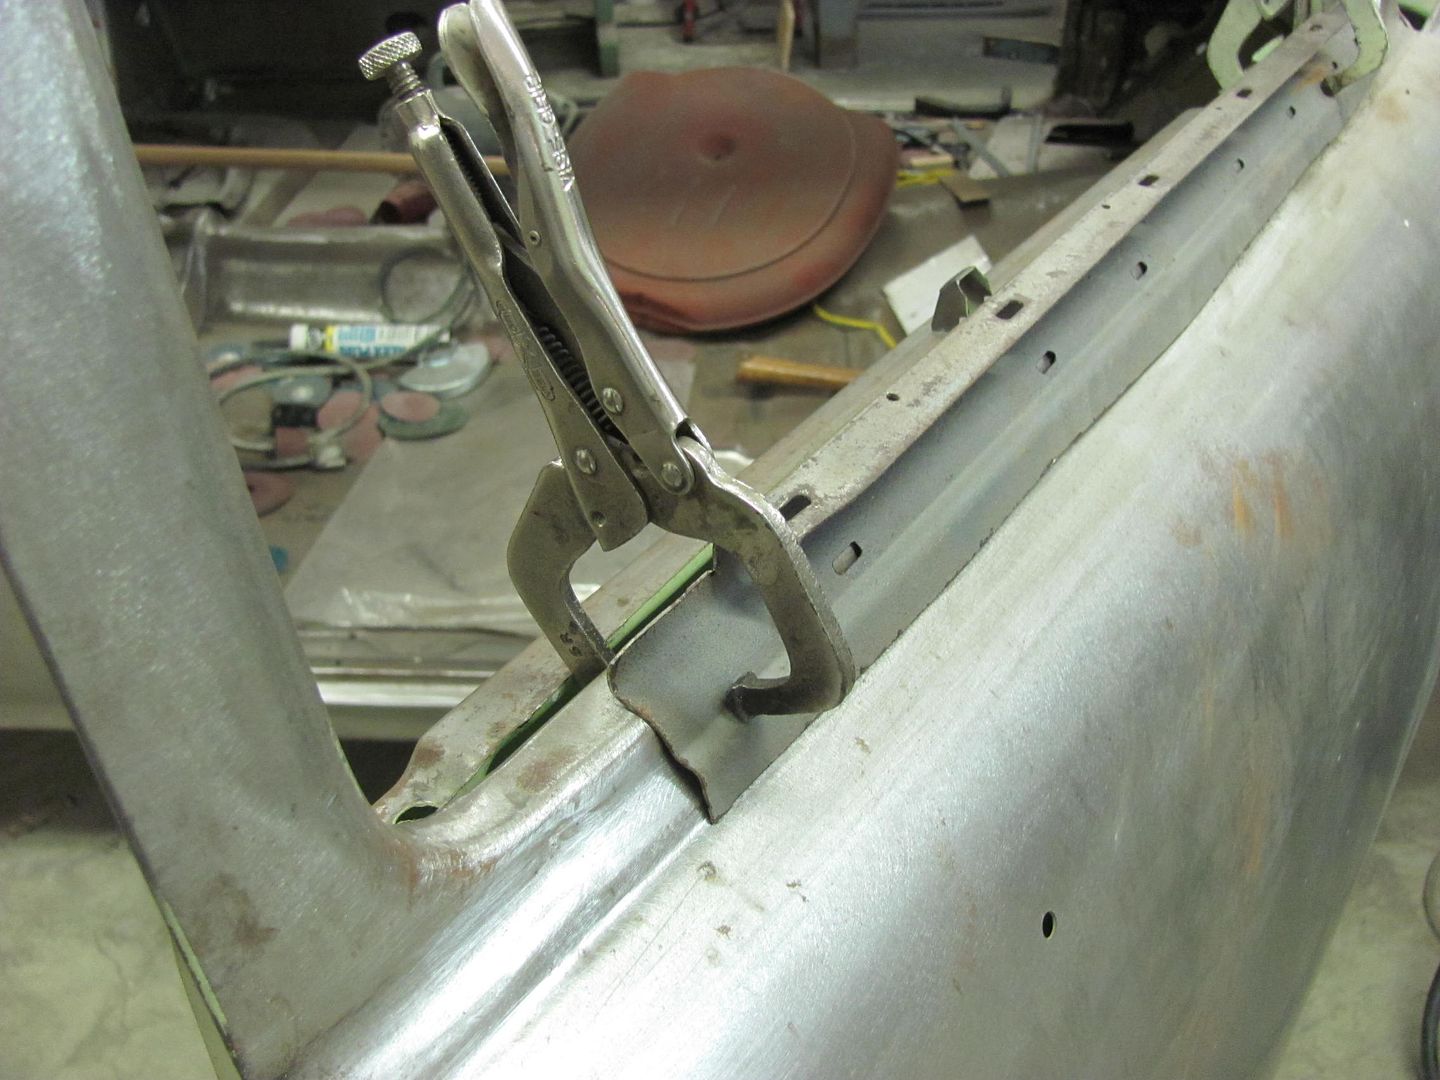
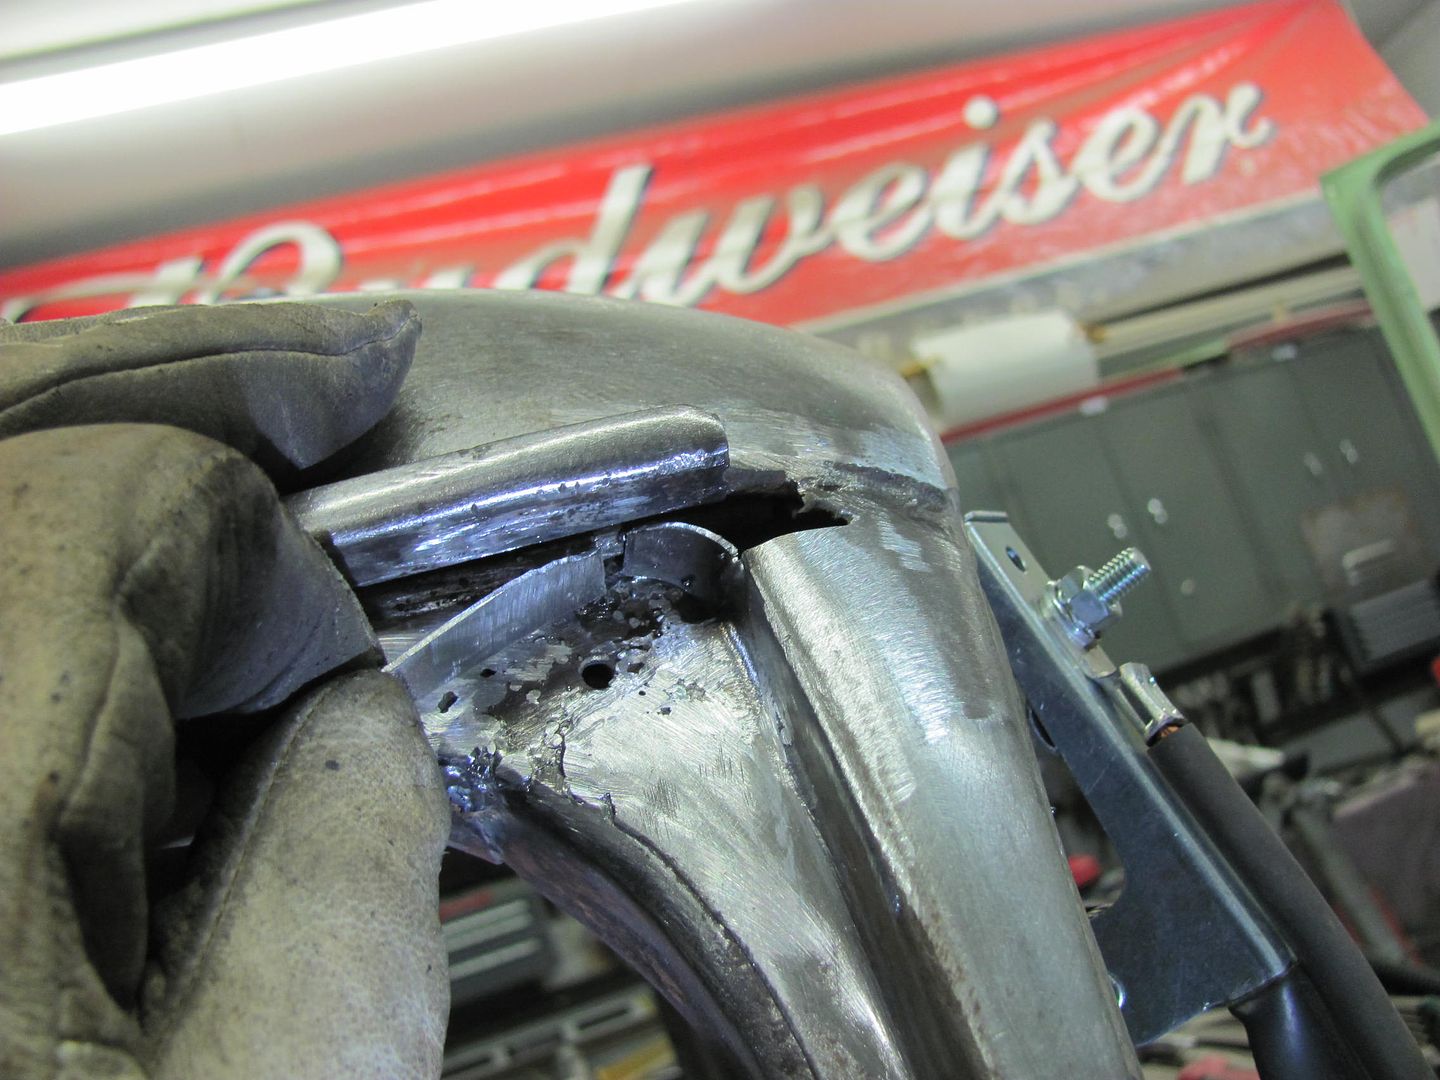
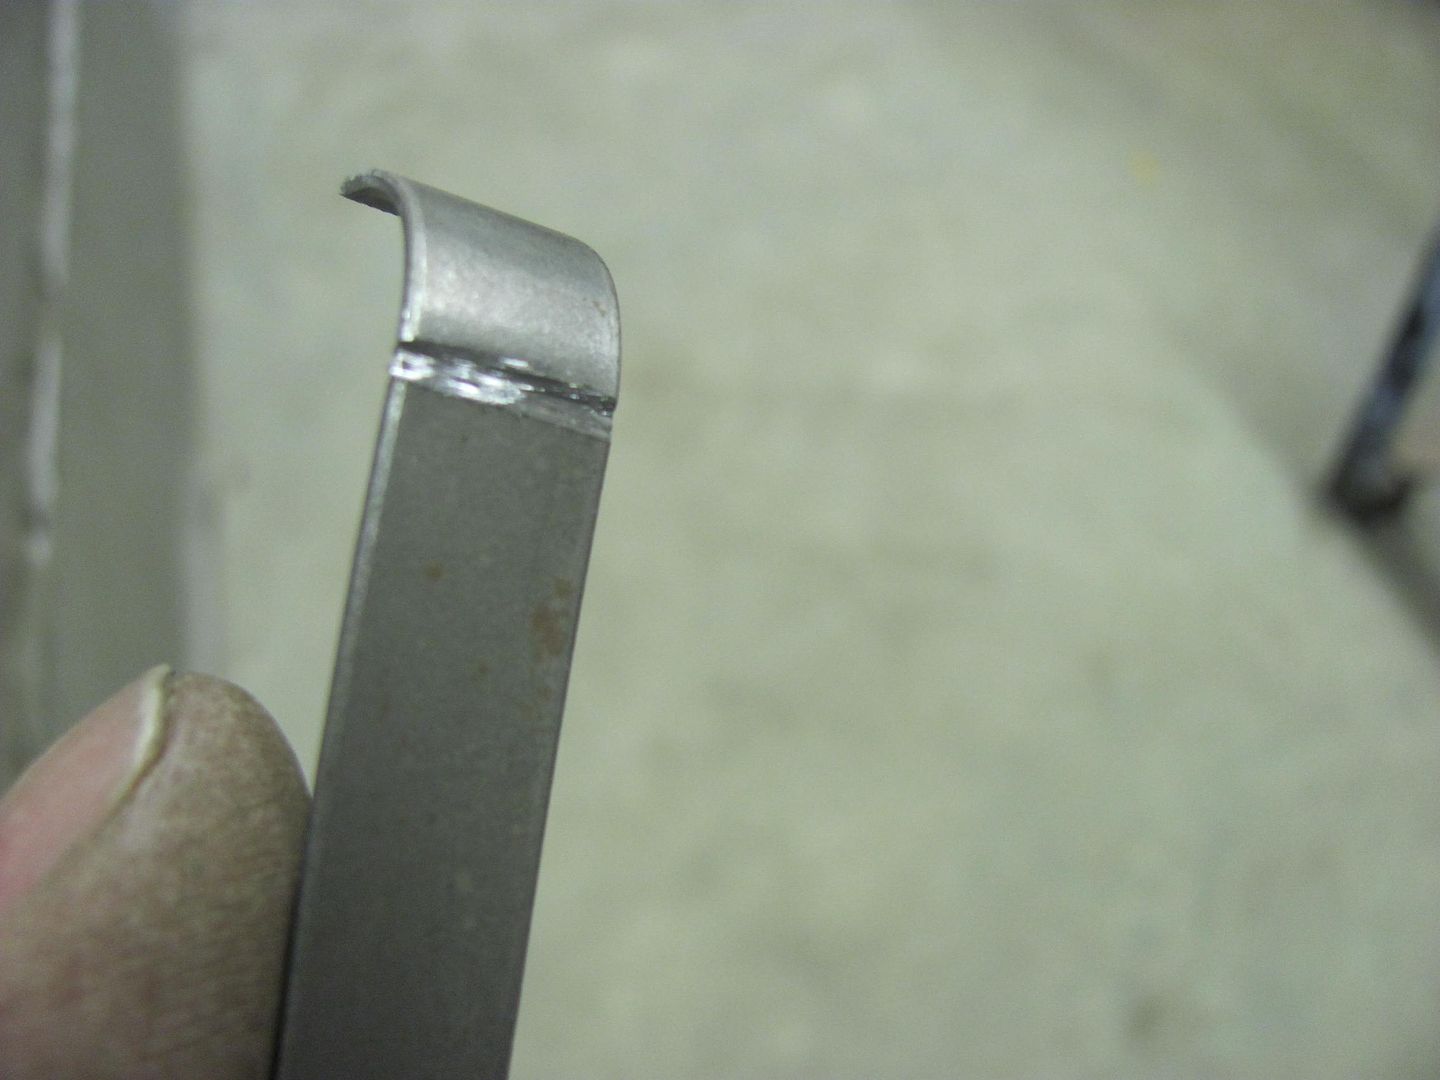
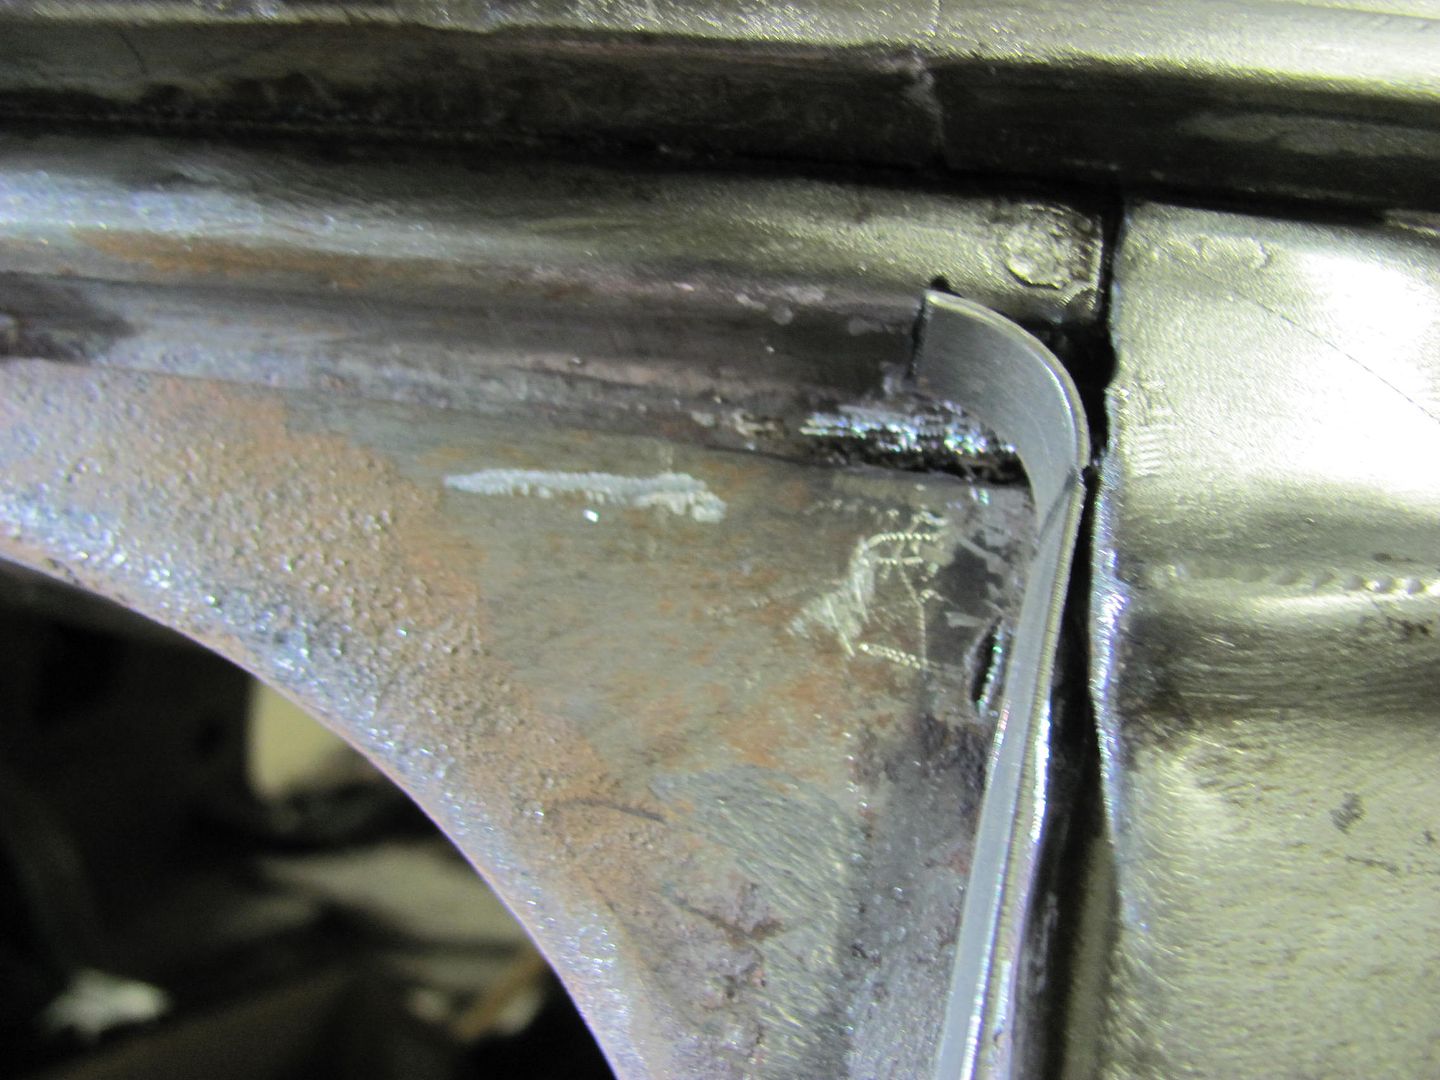
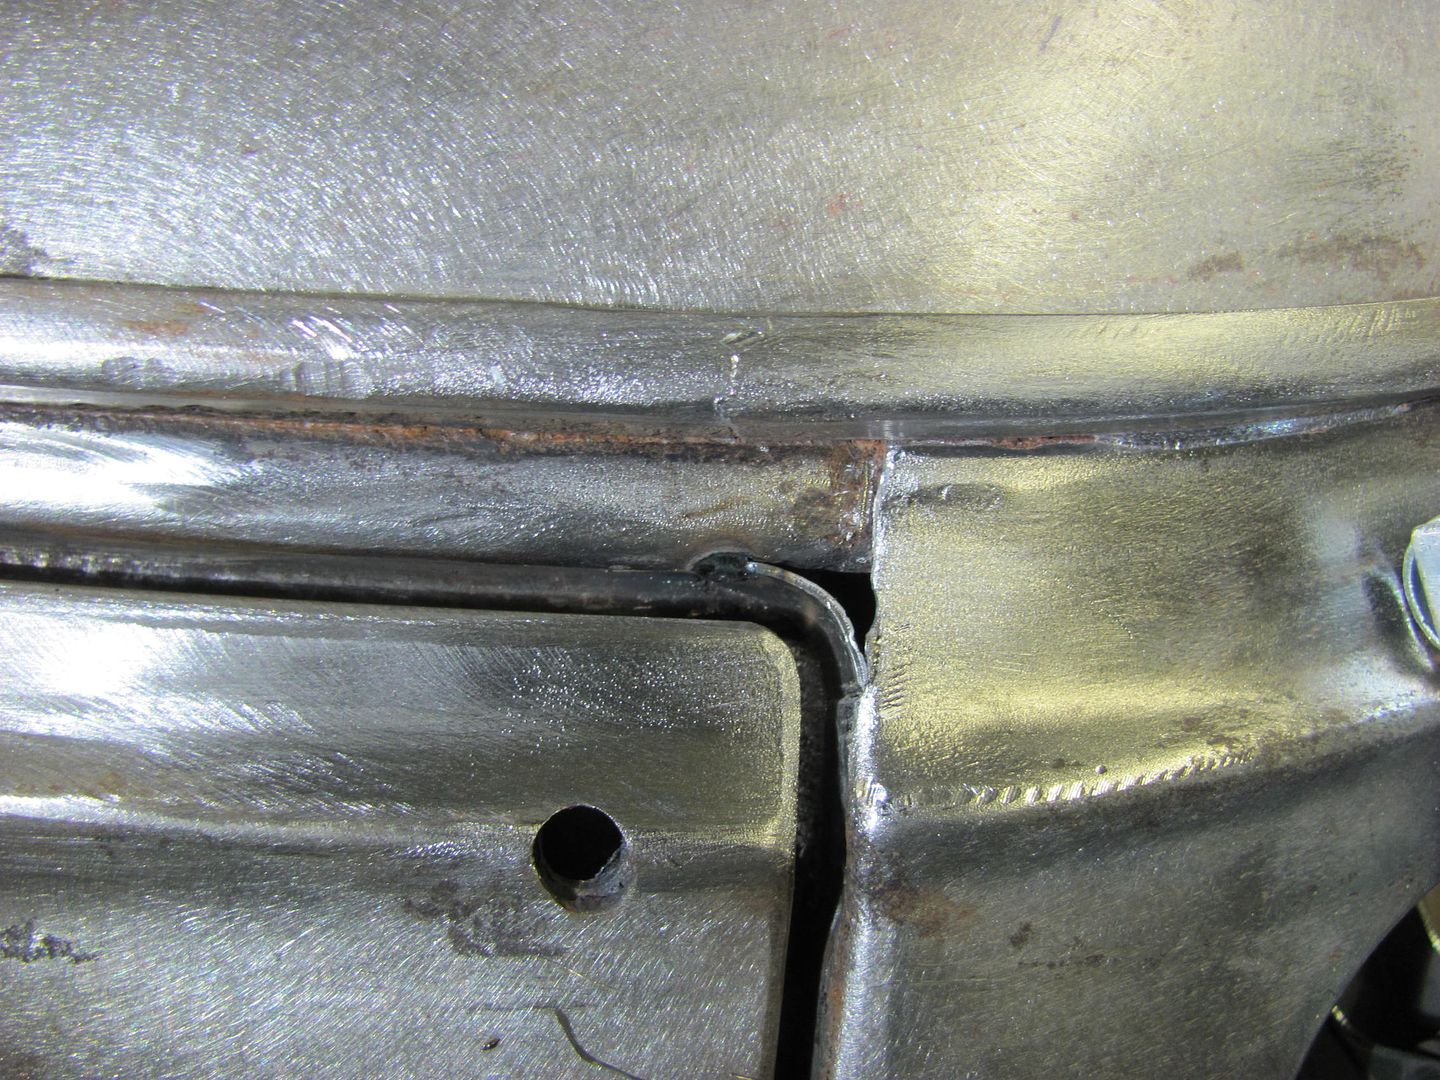
The patch is trimmed for the fit to the A-pillar, and a horizontal tail is
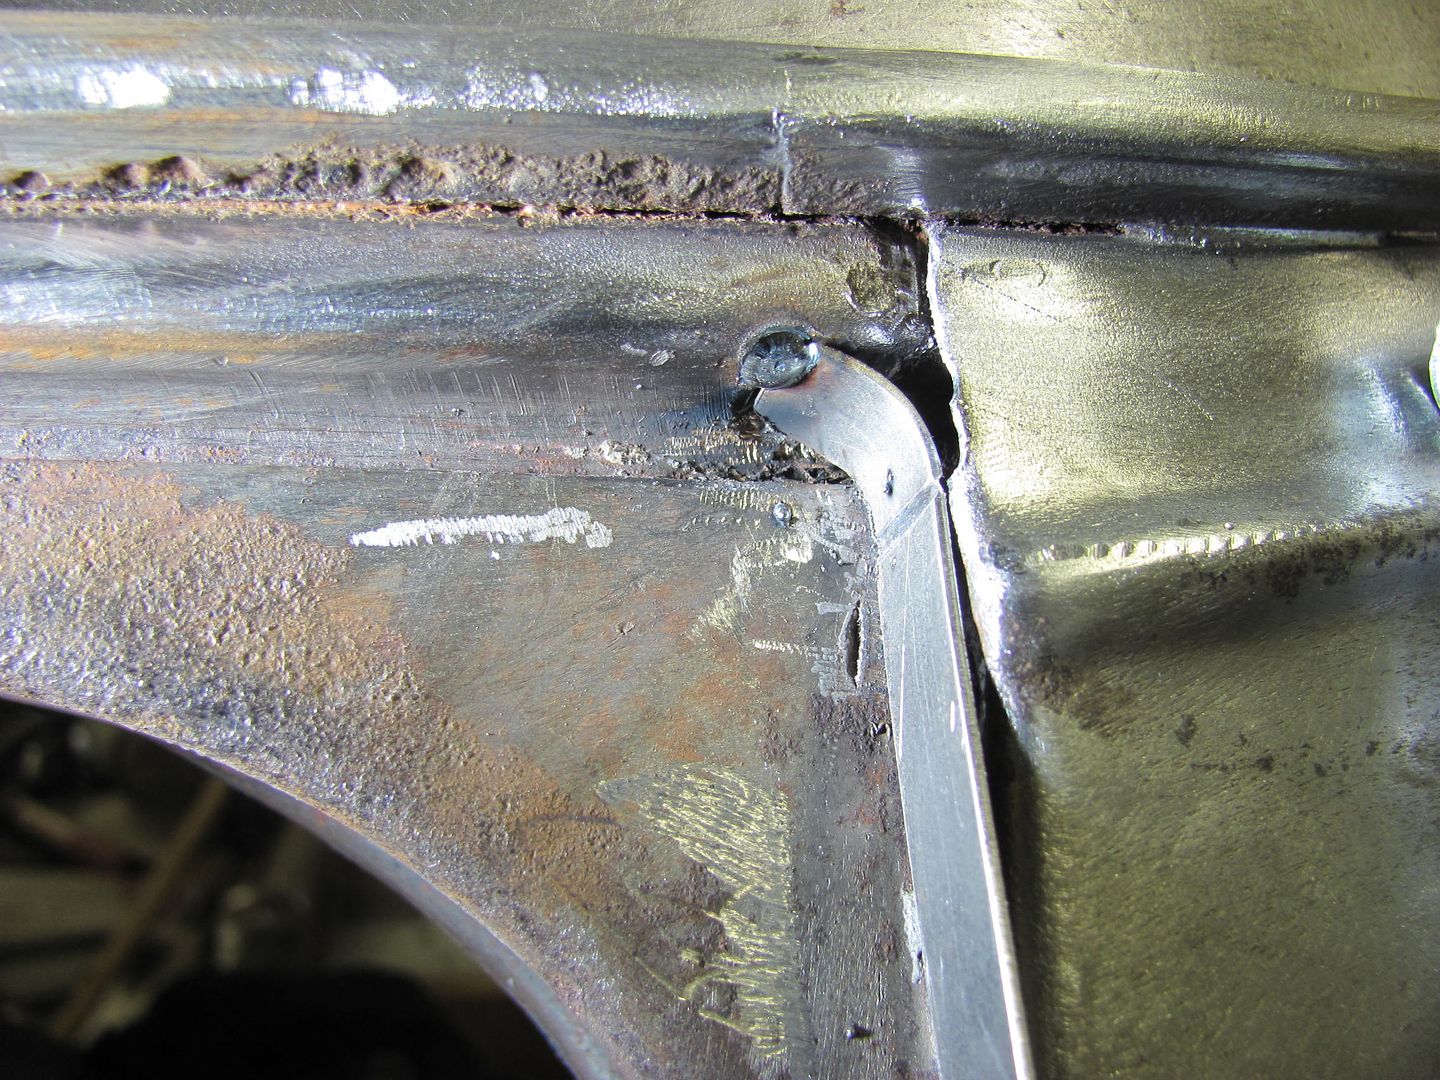
left to have something to hold on to while tacking in place. A score is added
using the cutoff wheel so the excess can be snapped off after tacking...

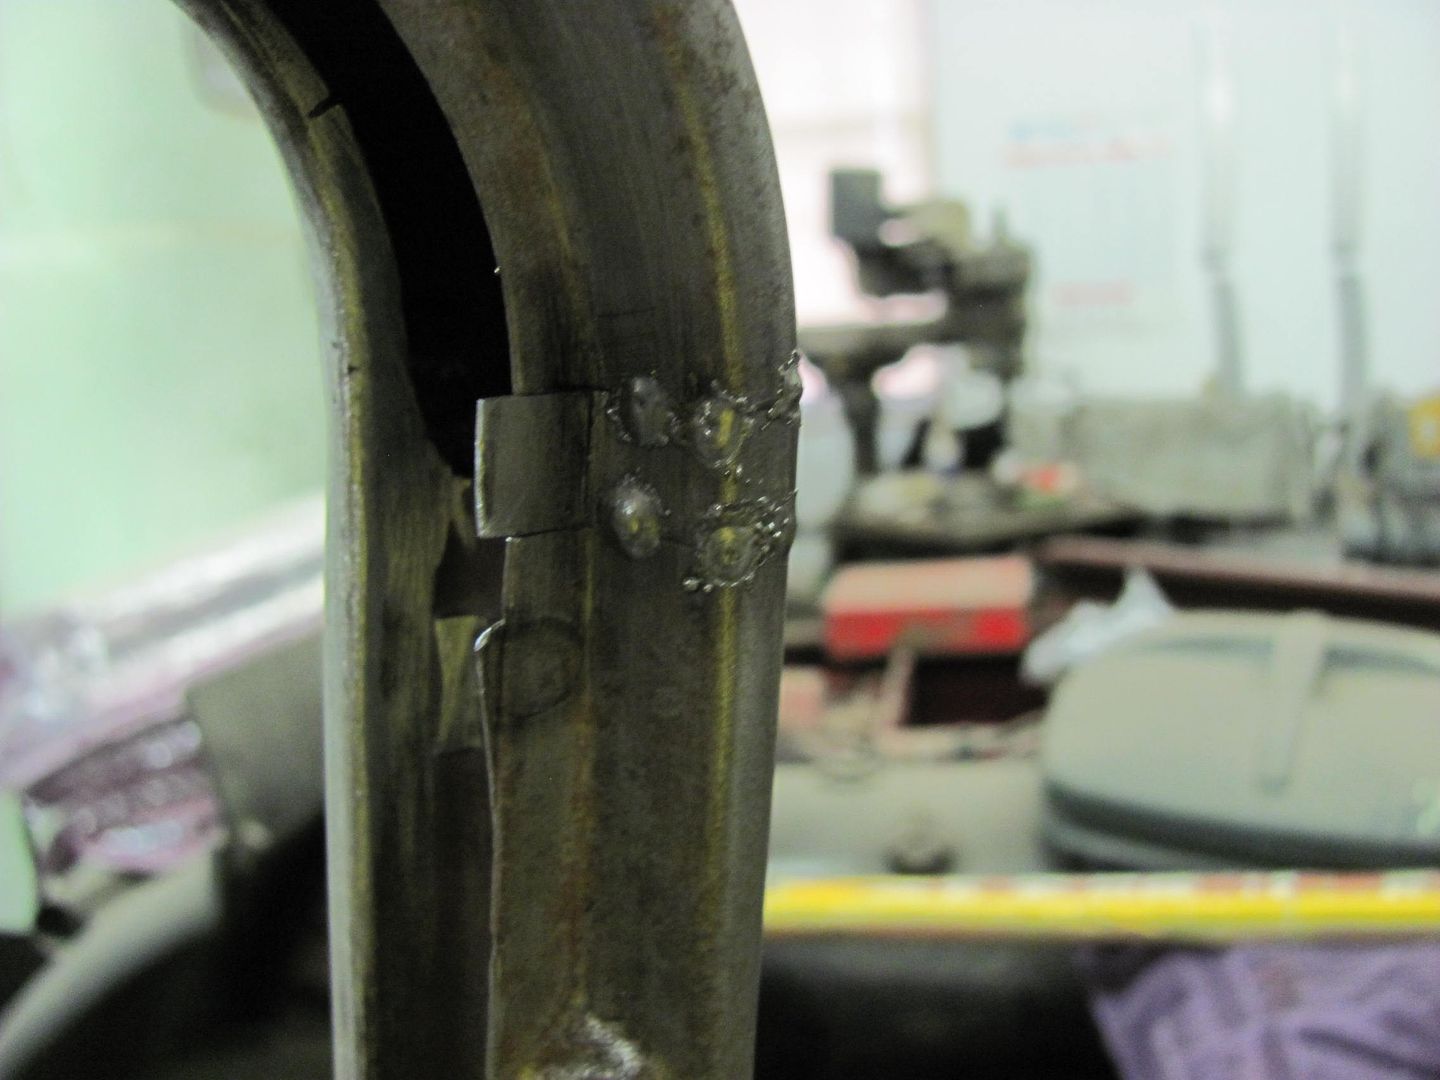
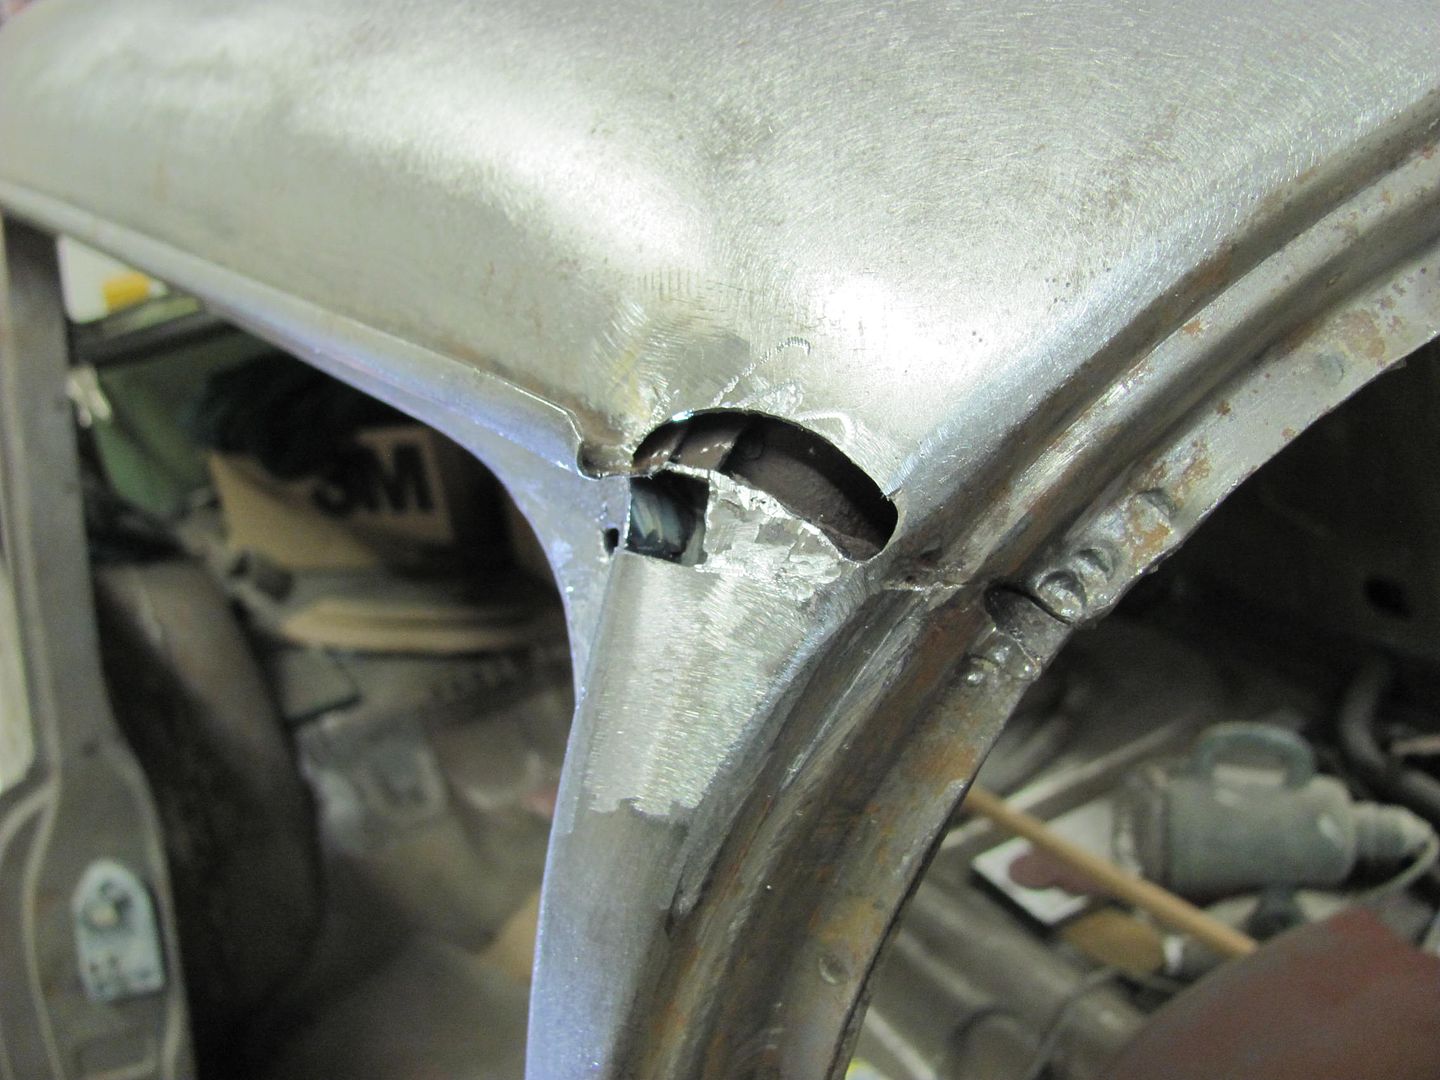
Welded and dressed..

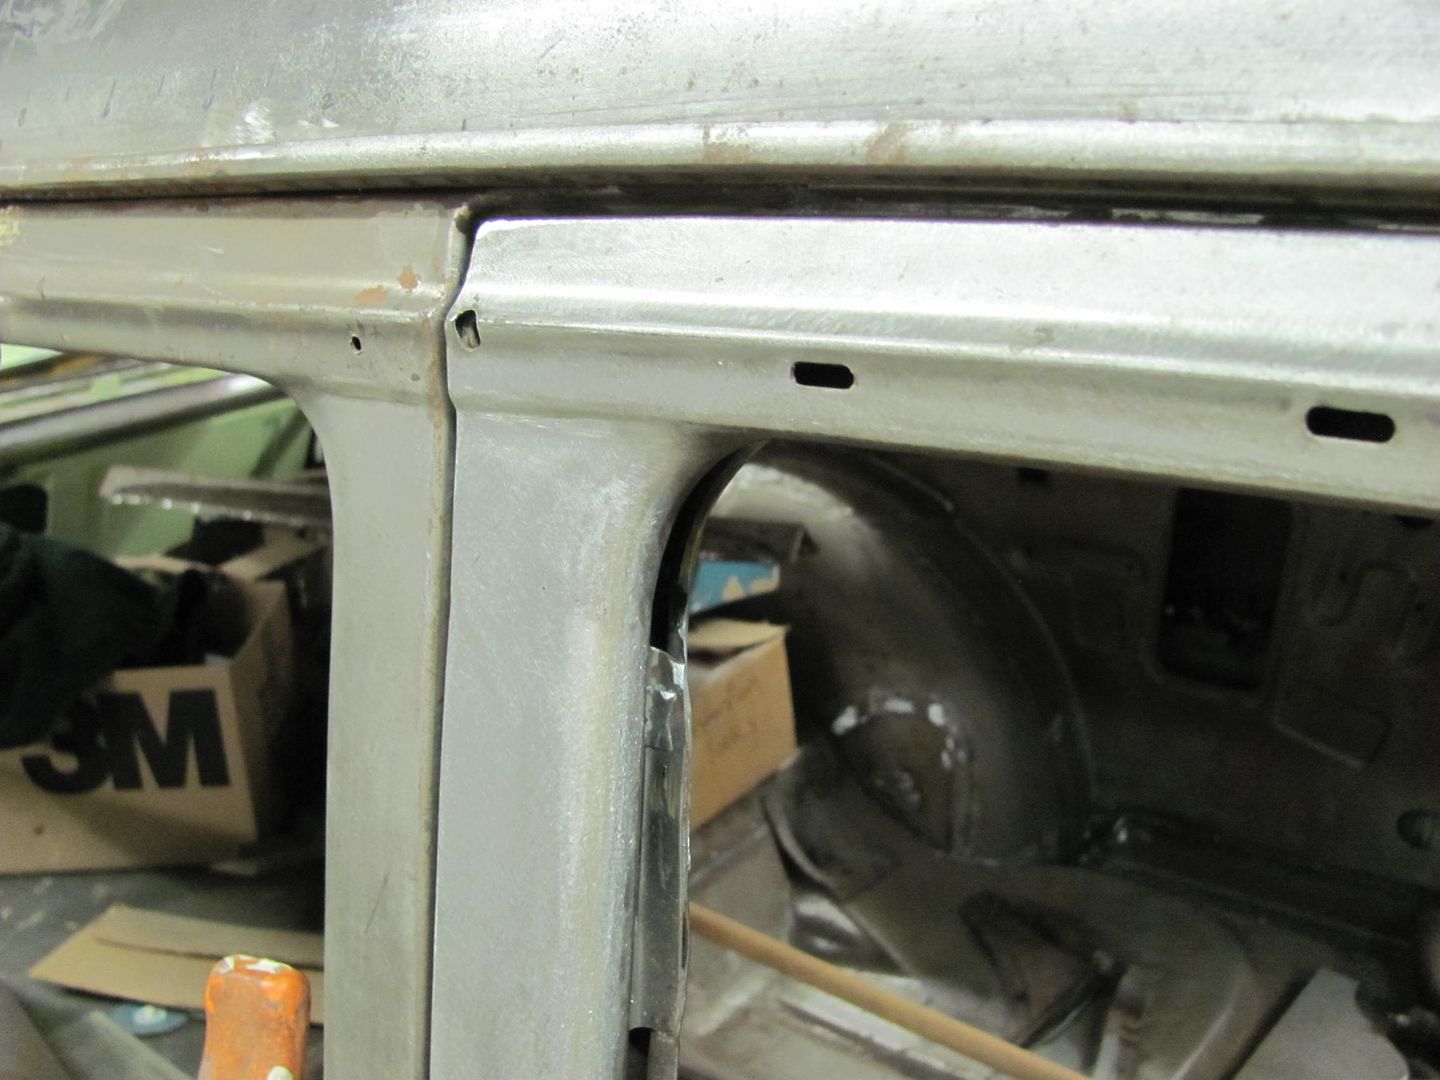
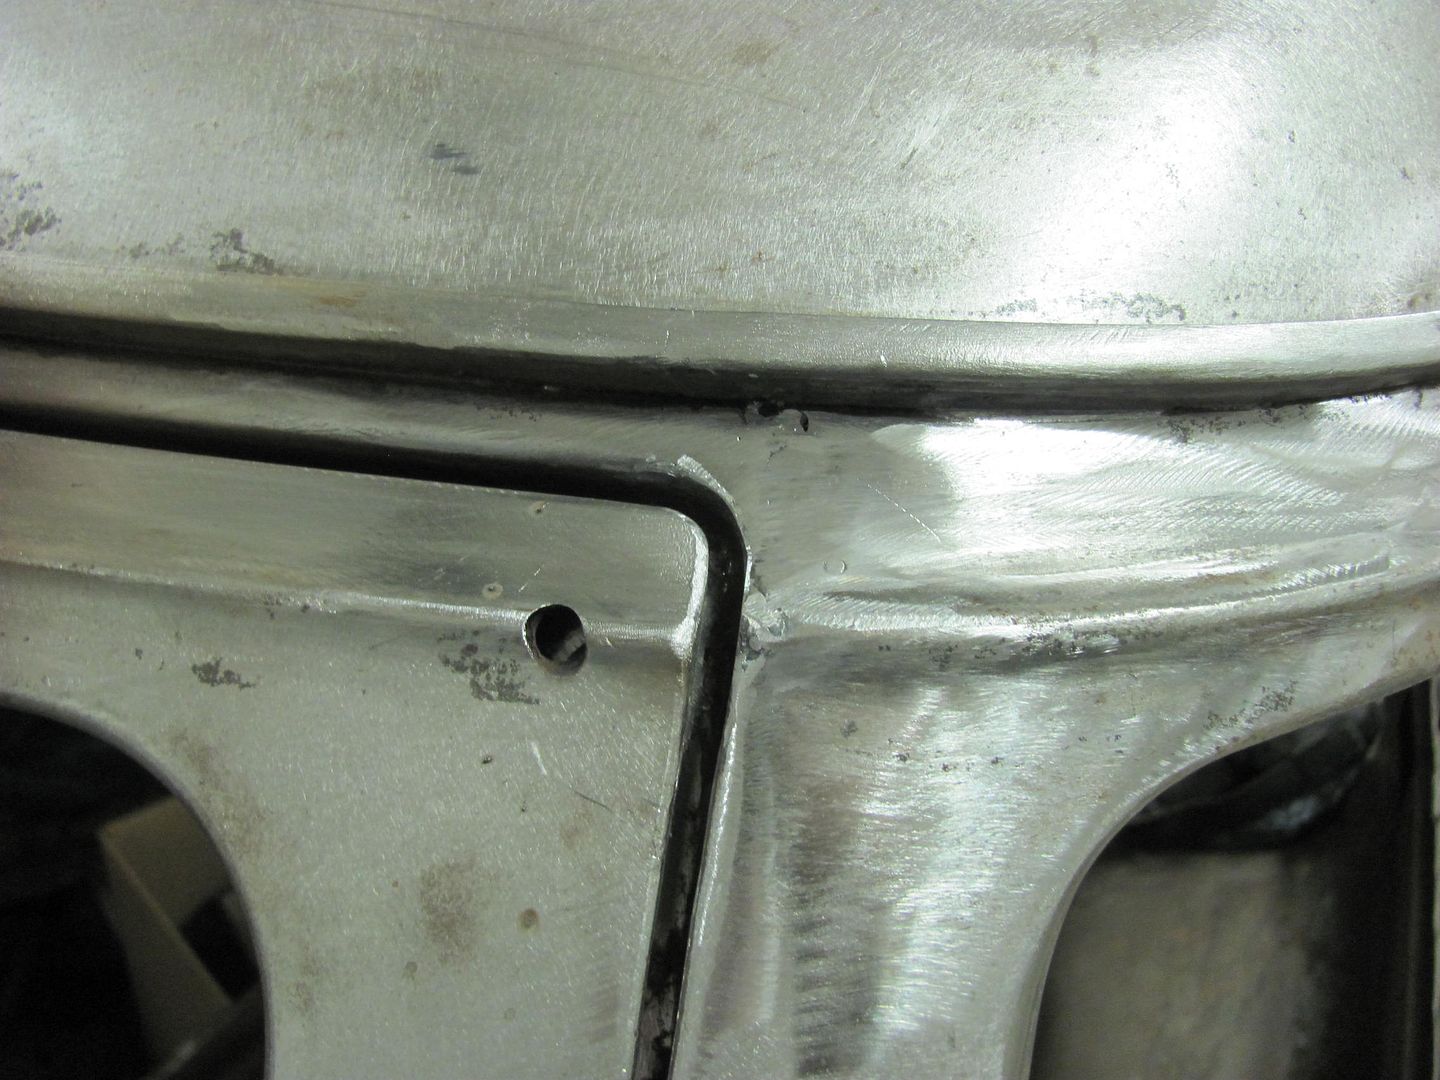
Roof skin patch trimmed and fitted...
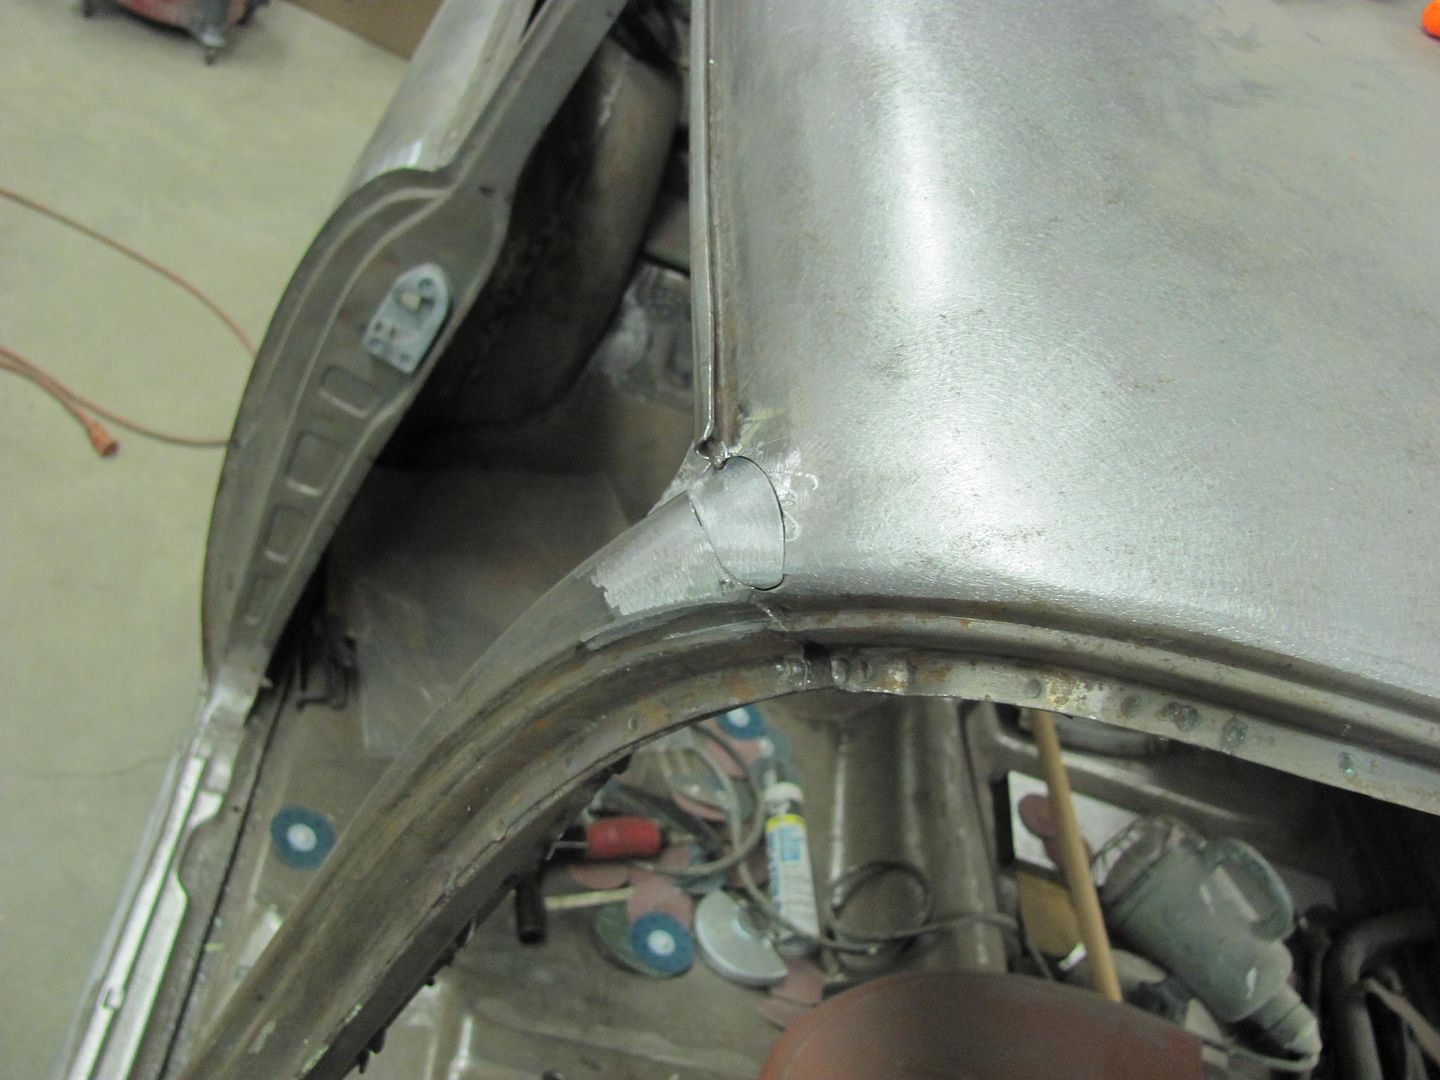
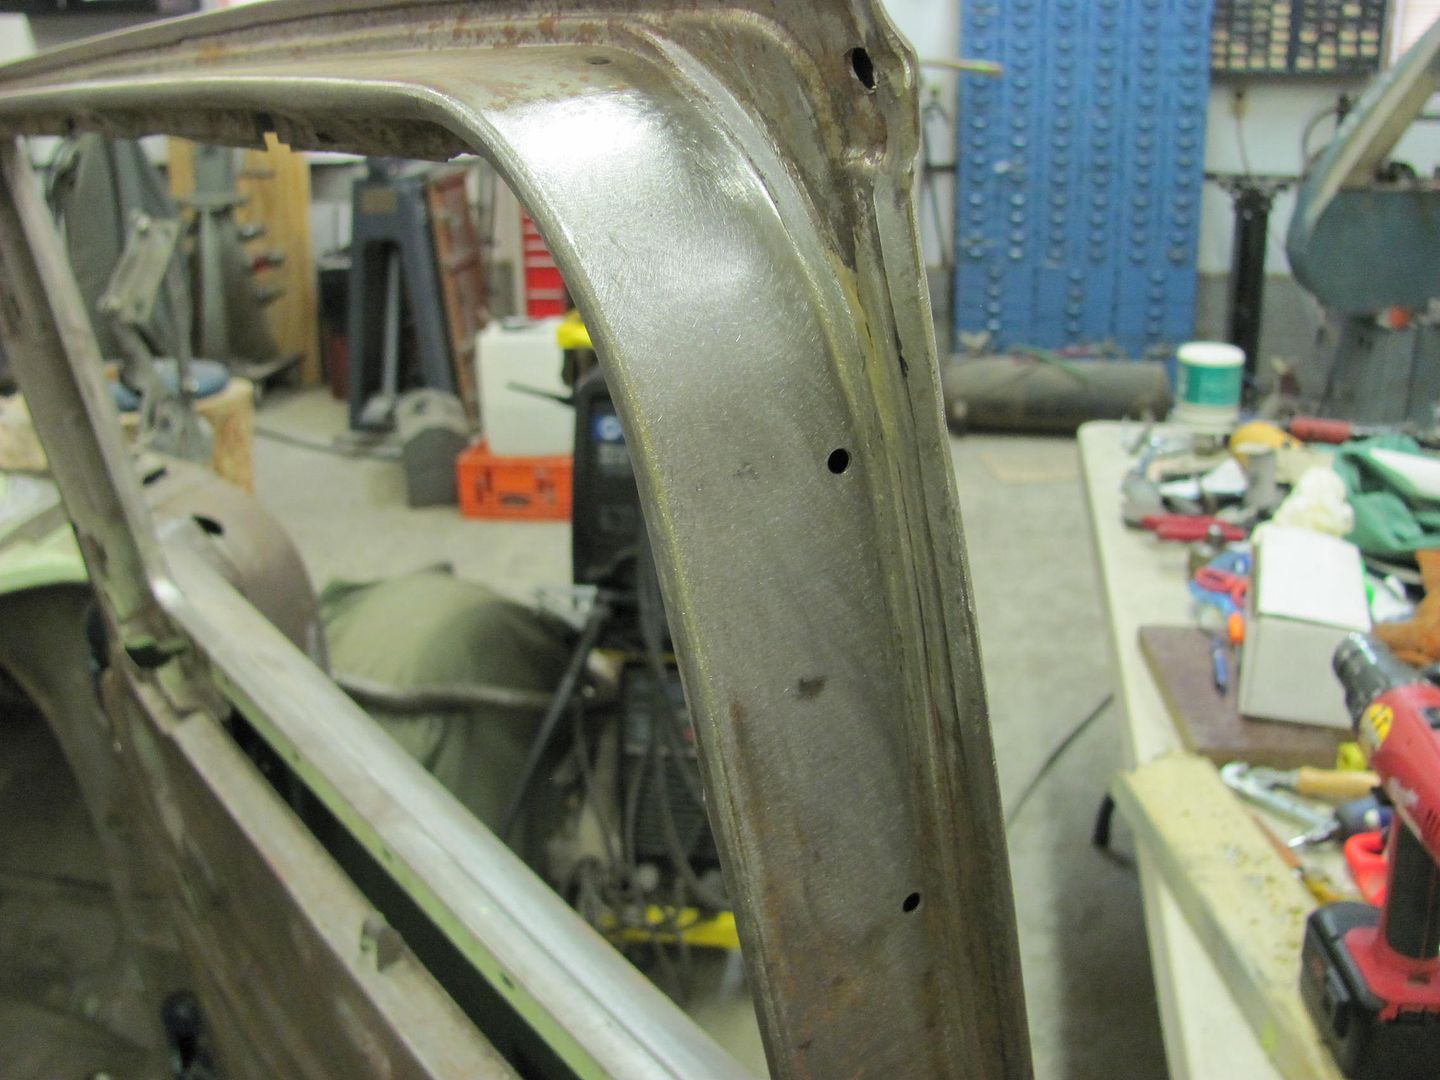
Welded...
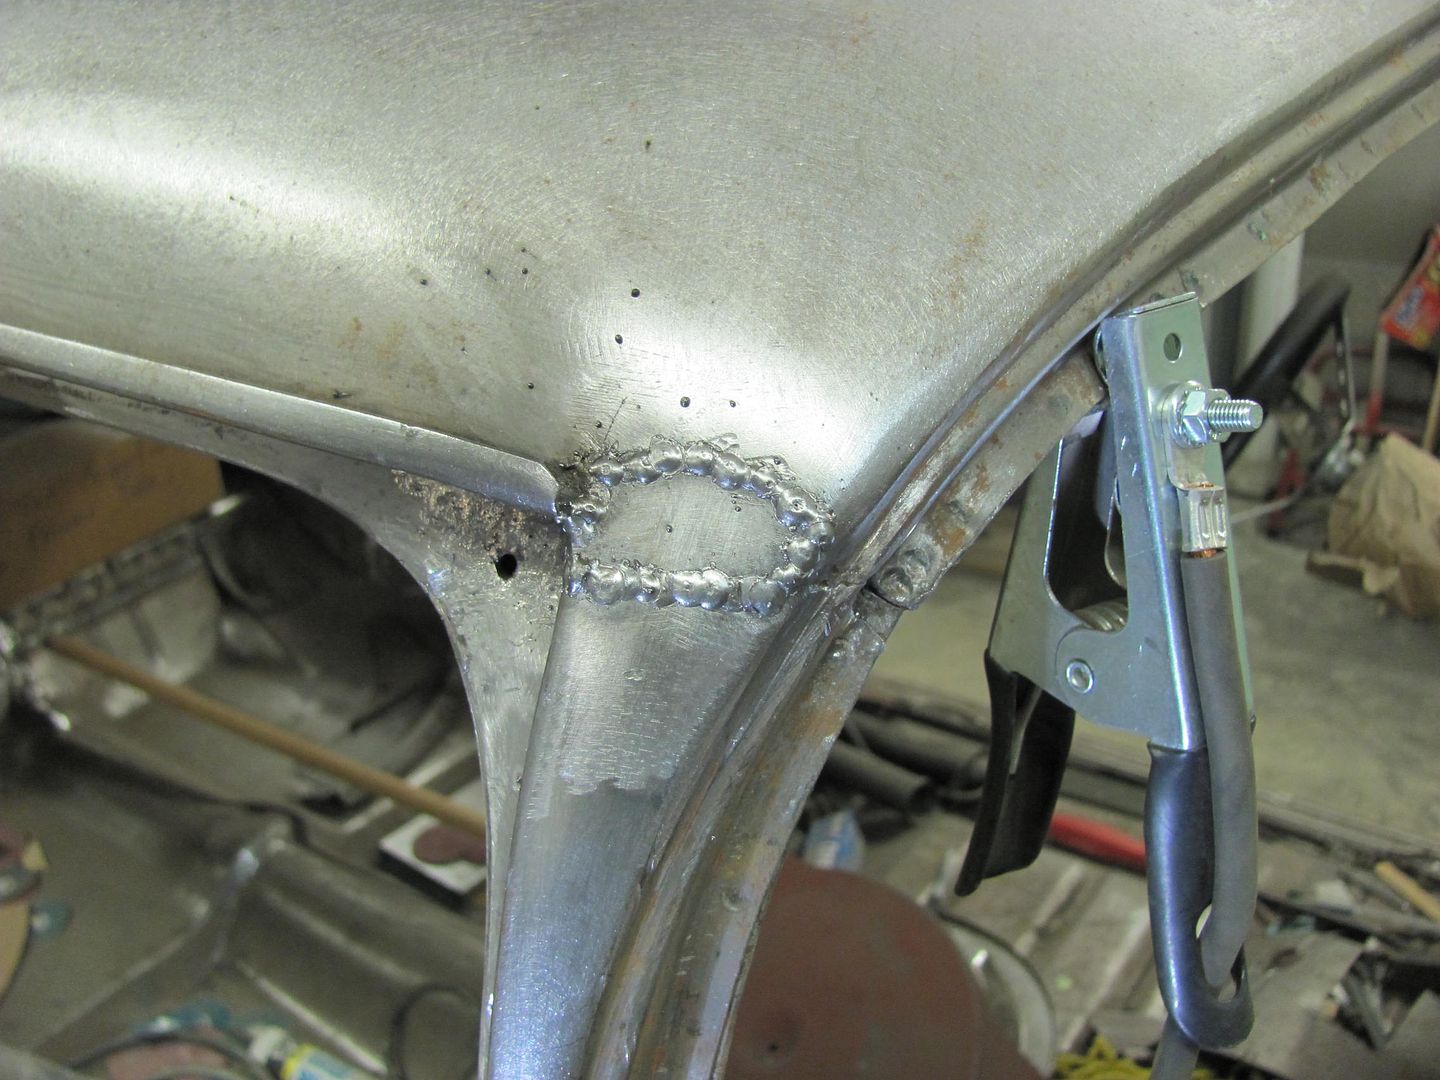
Welds dressed and radius checked...
Comment
-
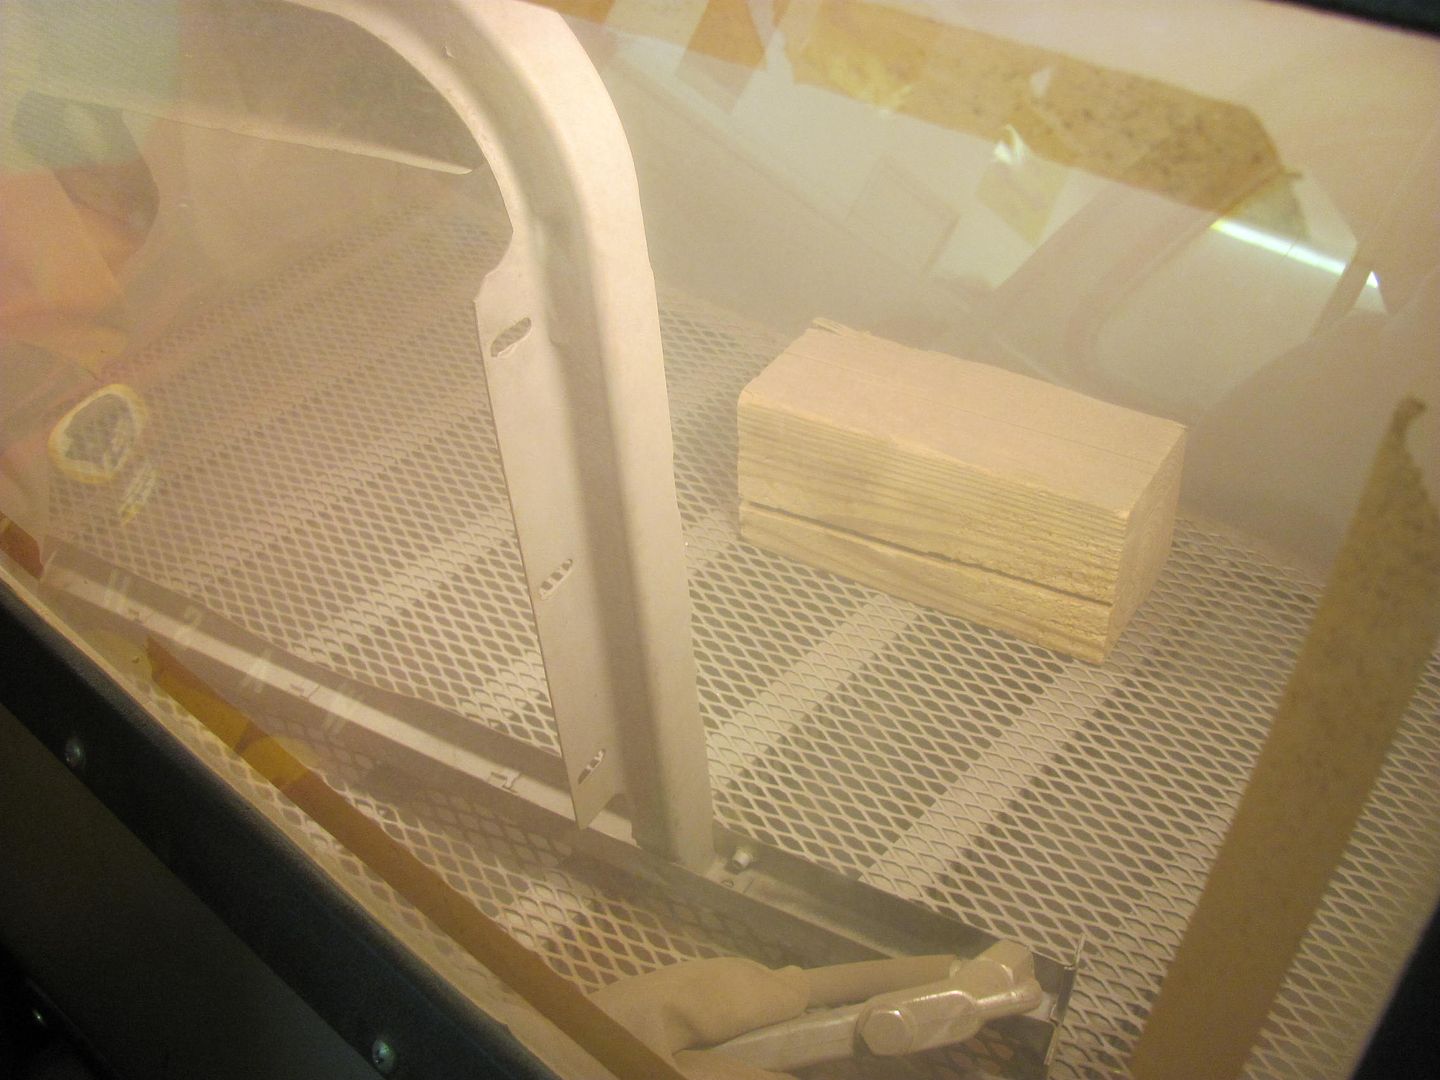
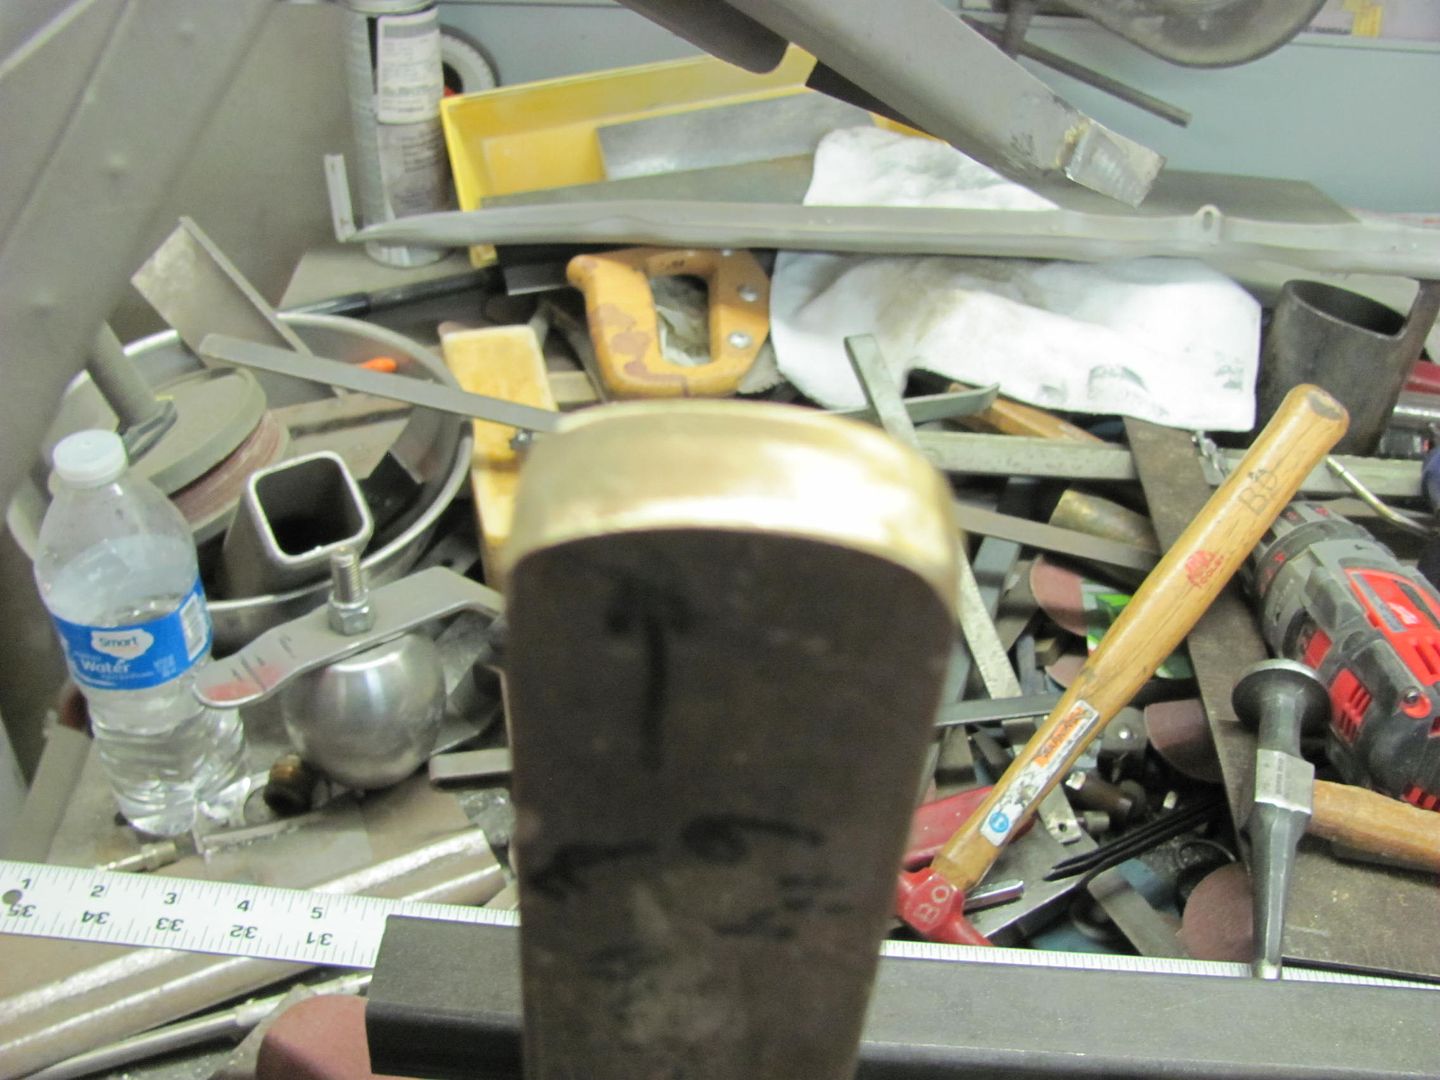
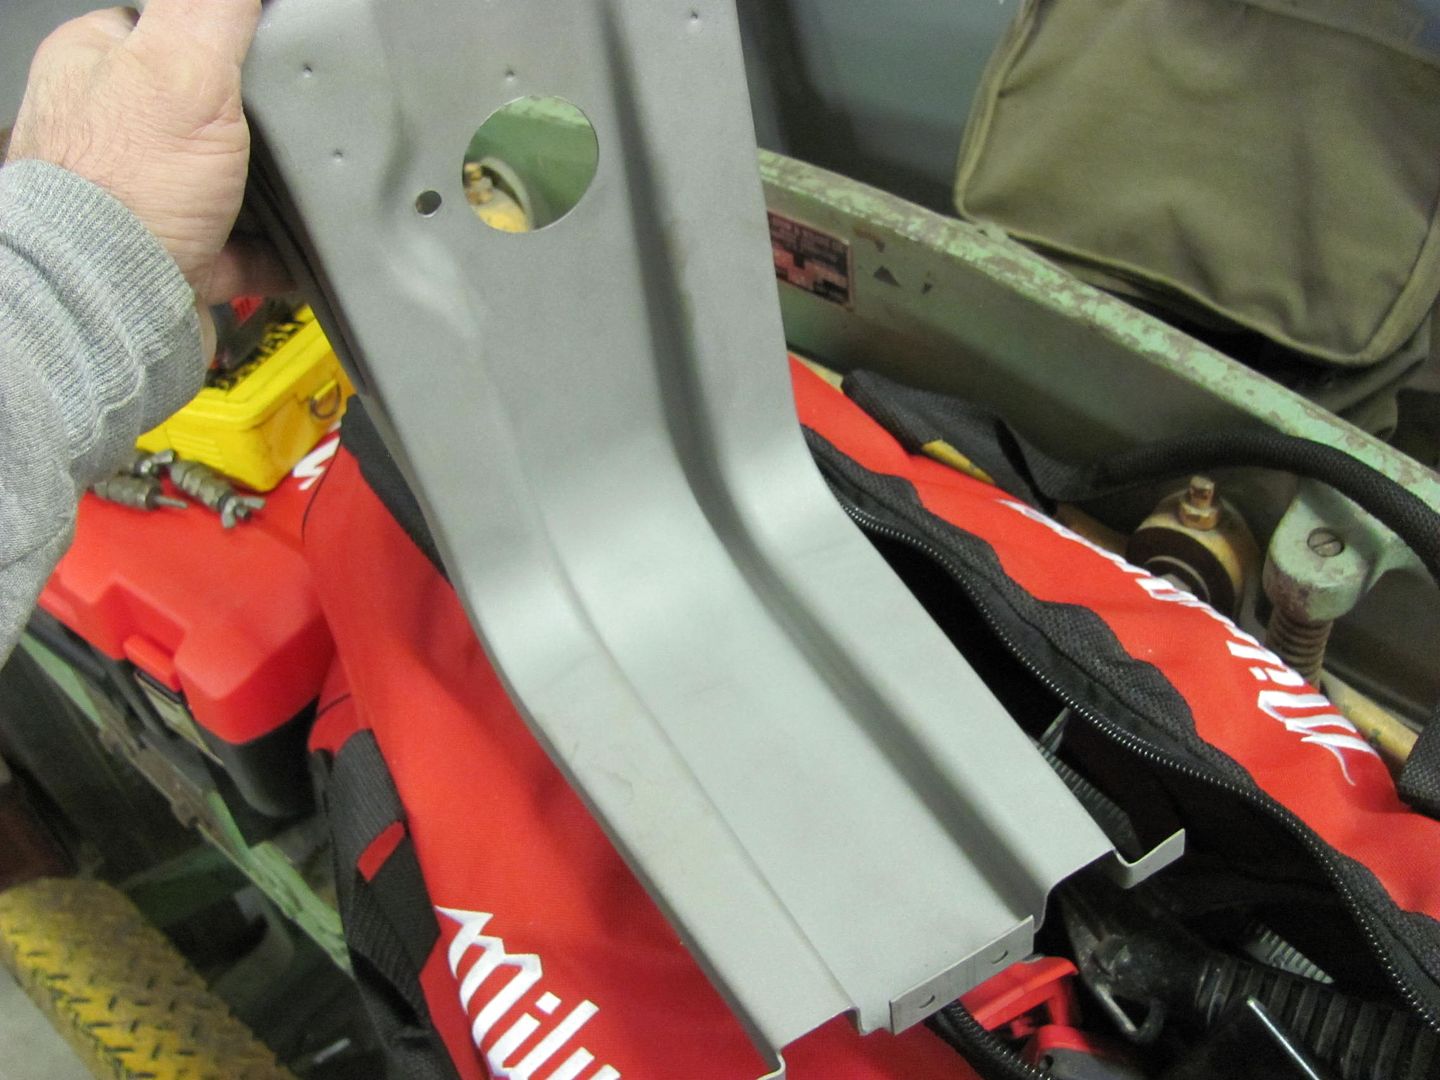
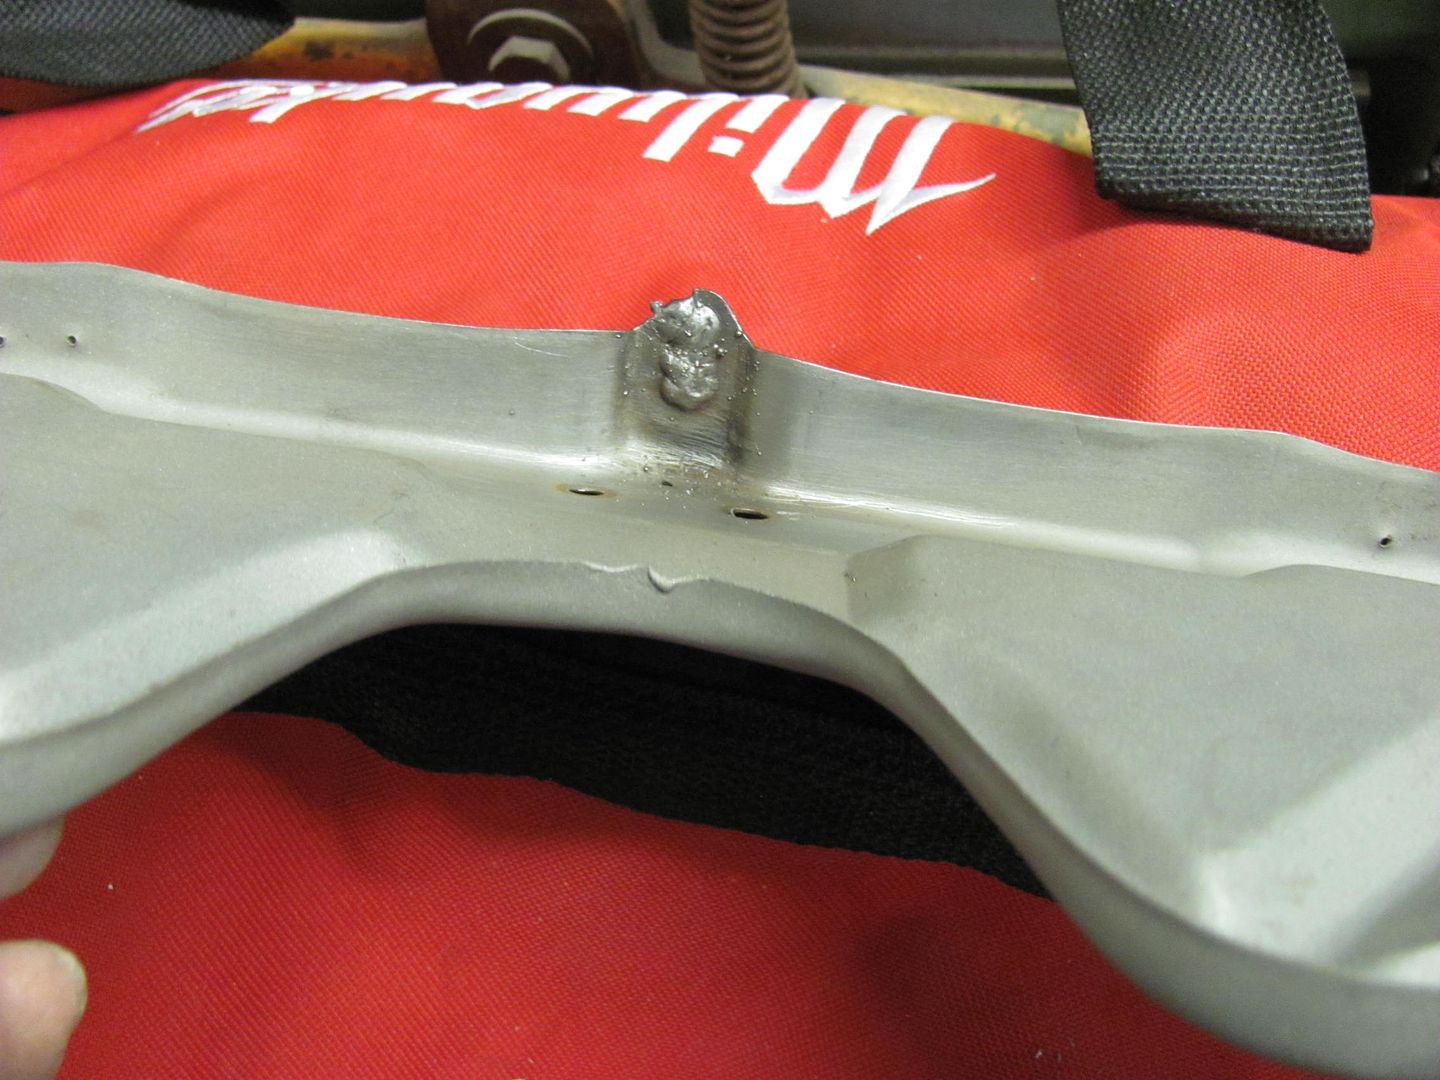
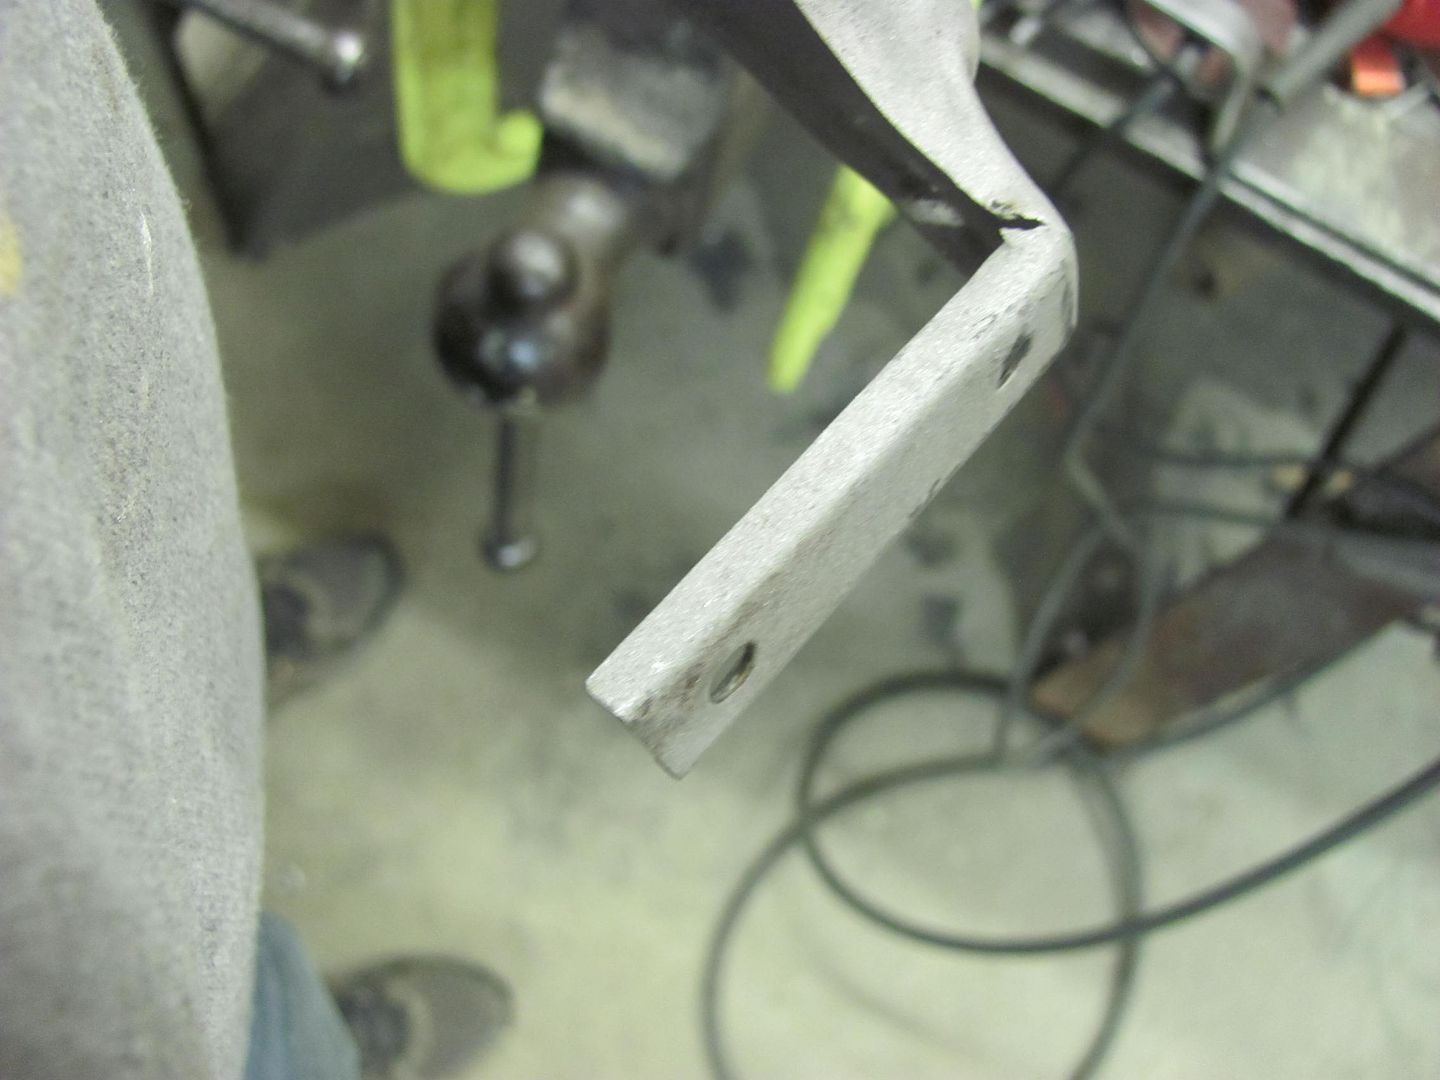
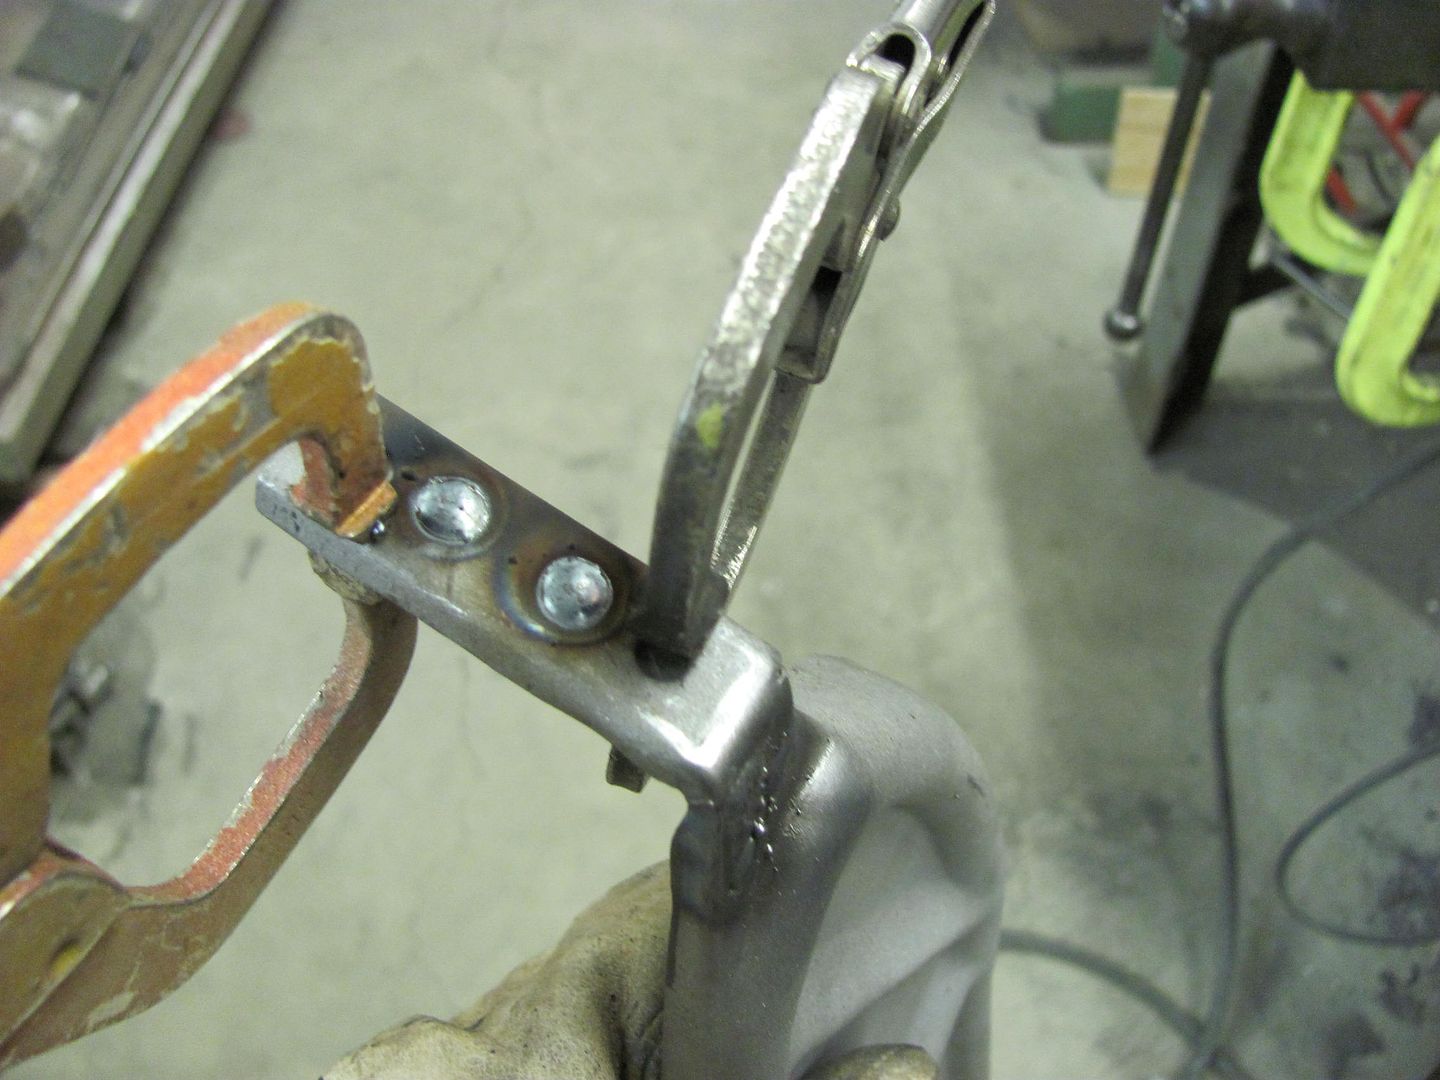
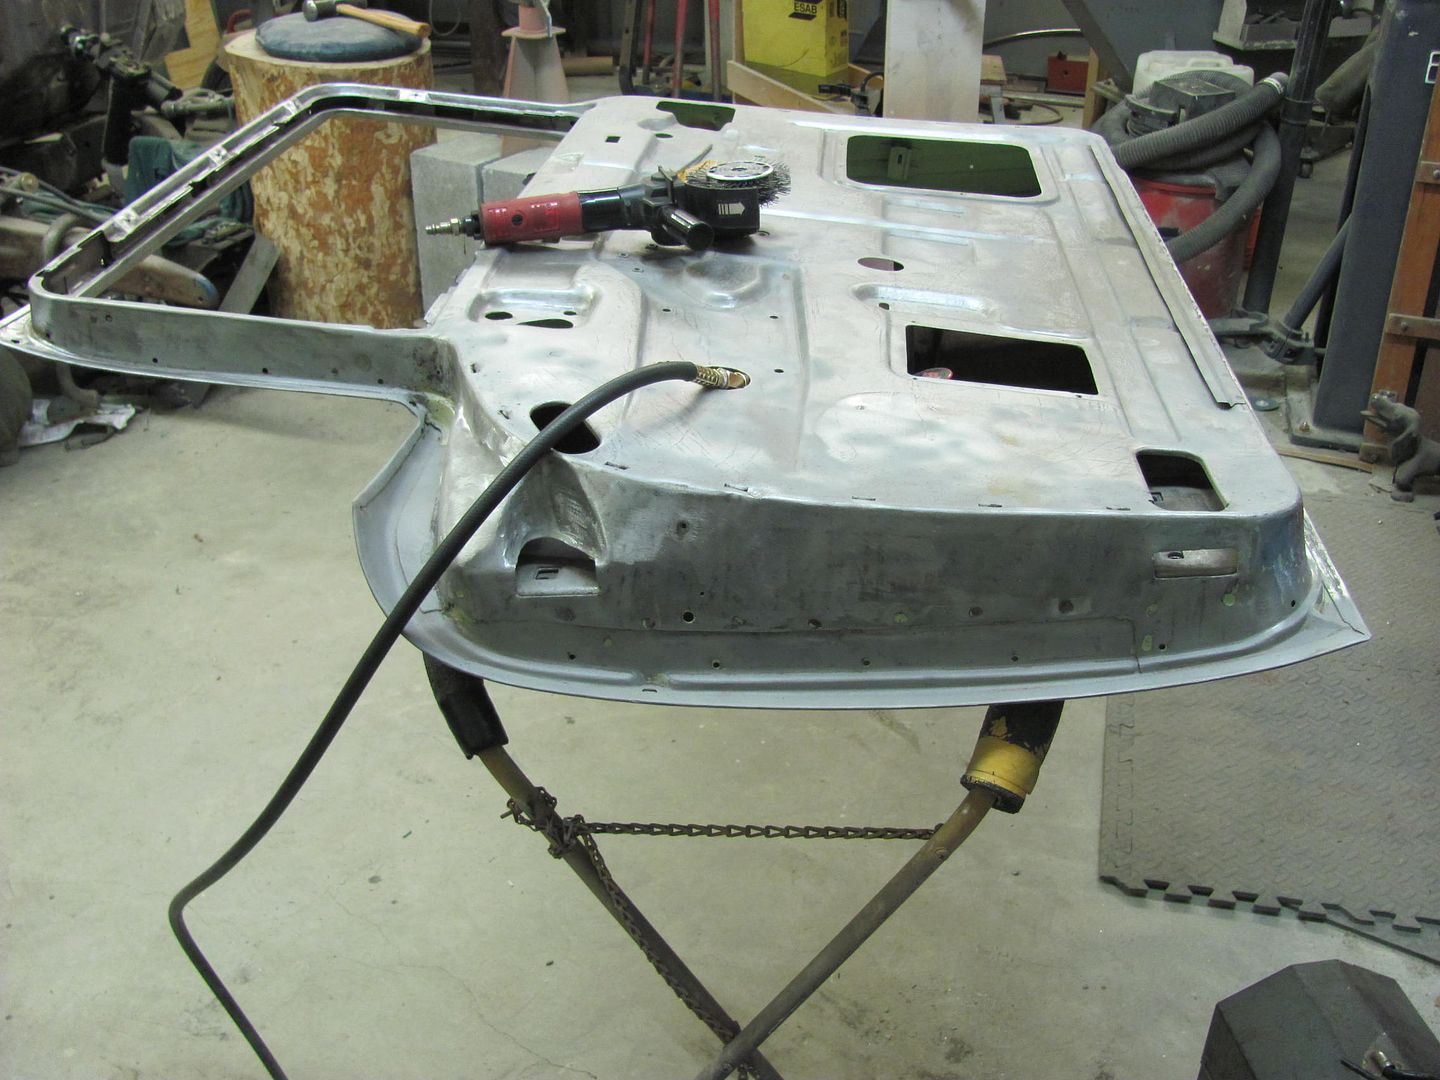
More progress on the wagon today. Kyle had finished the media blasting on the hood brace, so we had a few areas to address. As the hood ornament no longer exists, we didn't need the mounting holes going through the brace.
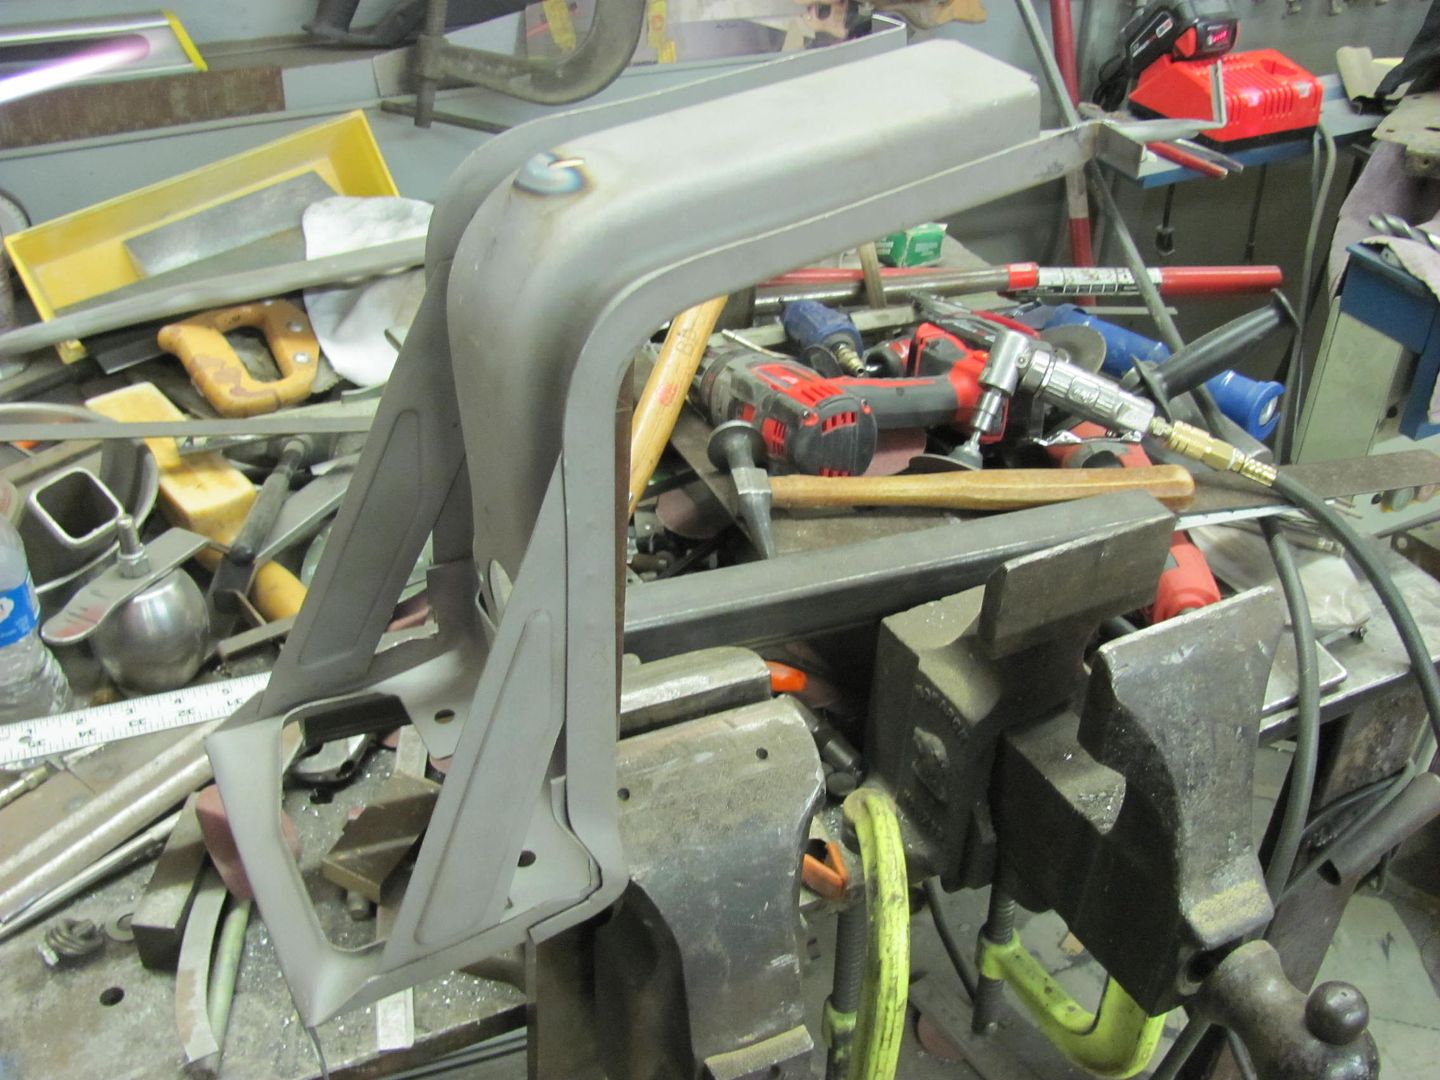
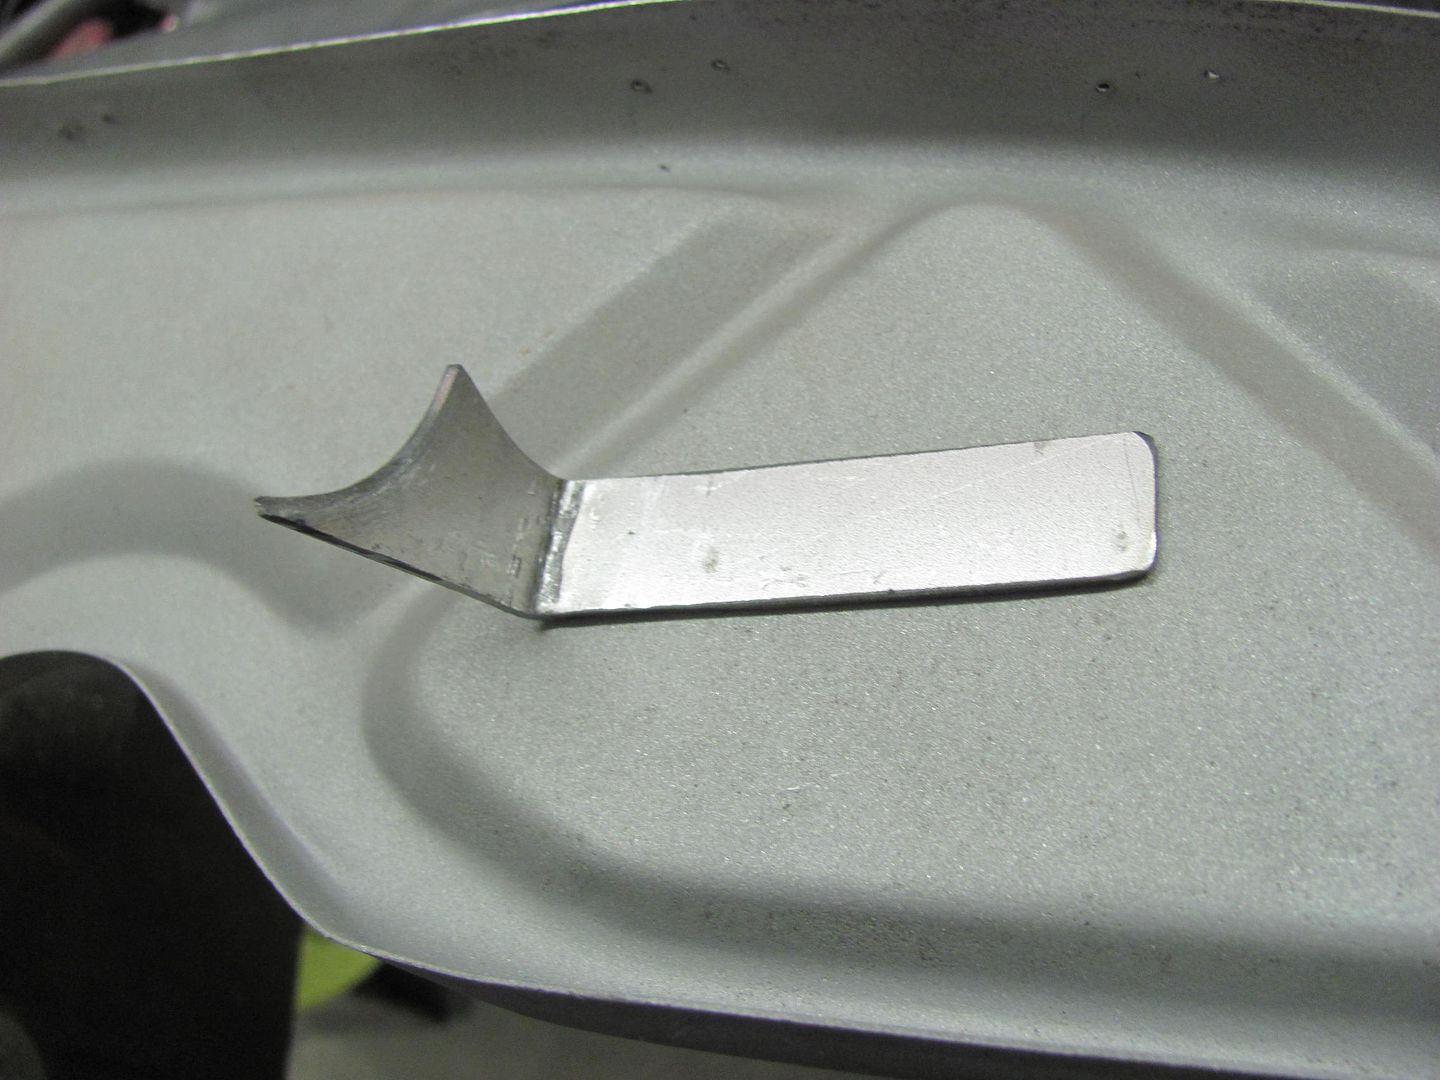
A piece of brass flat bar is radius-ed to make an anvil..
High spot is heated and tapped down with the hammer.. Then pick the next high spot and repeat....
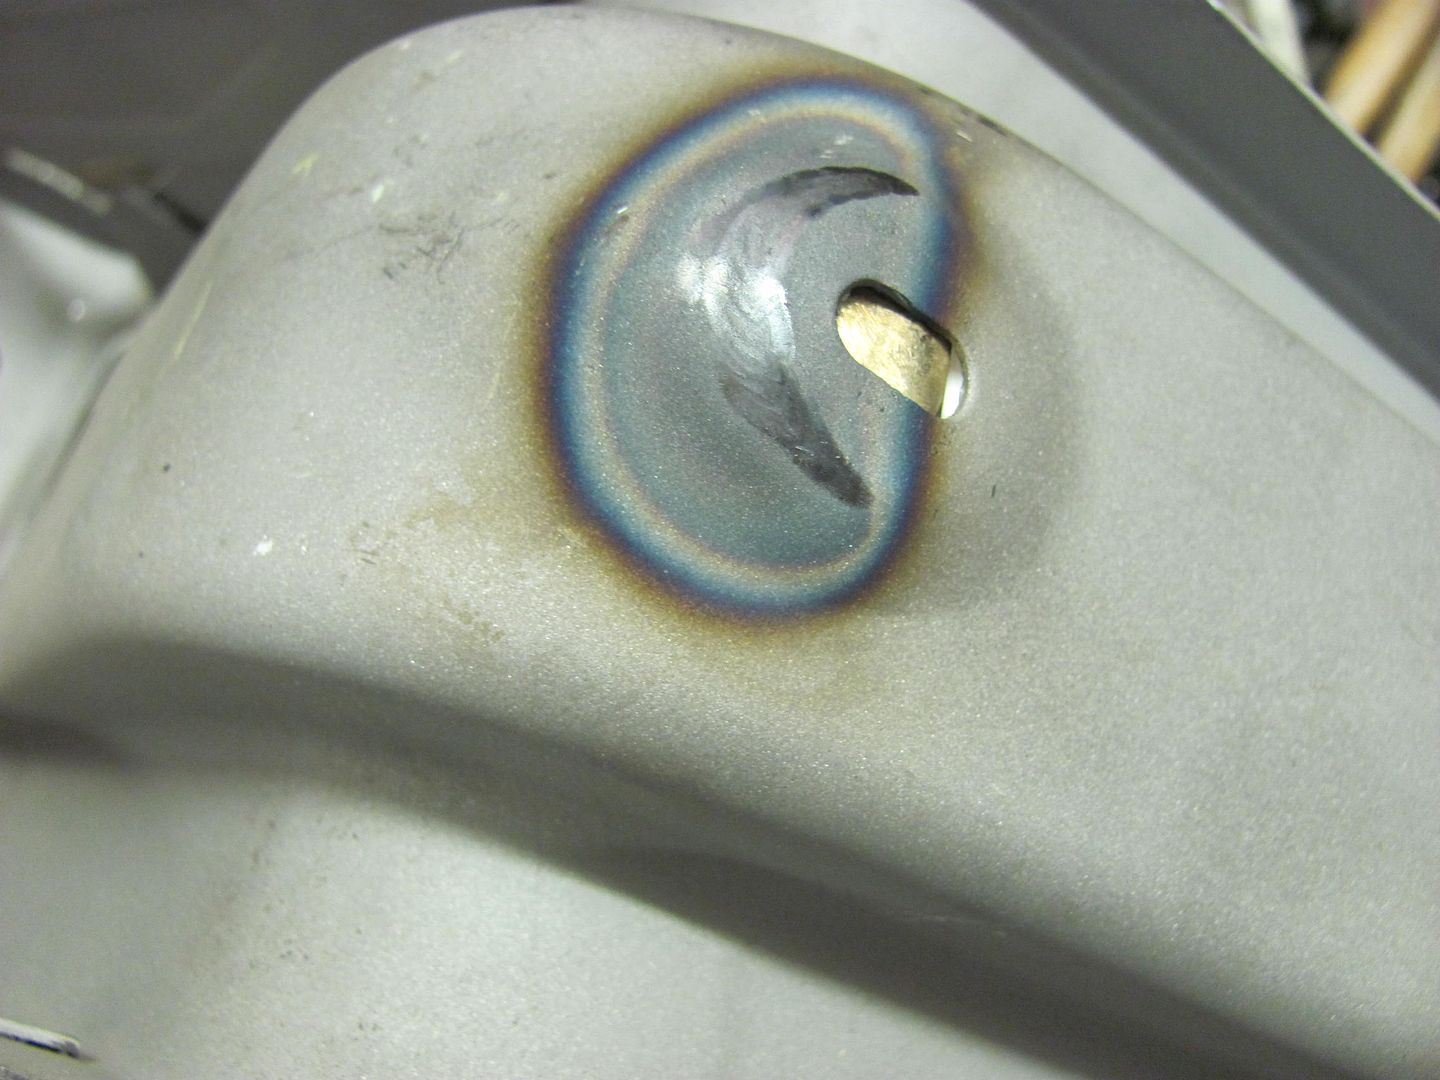
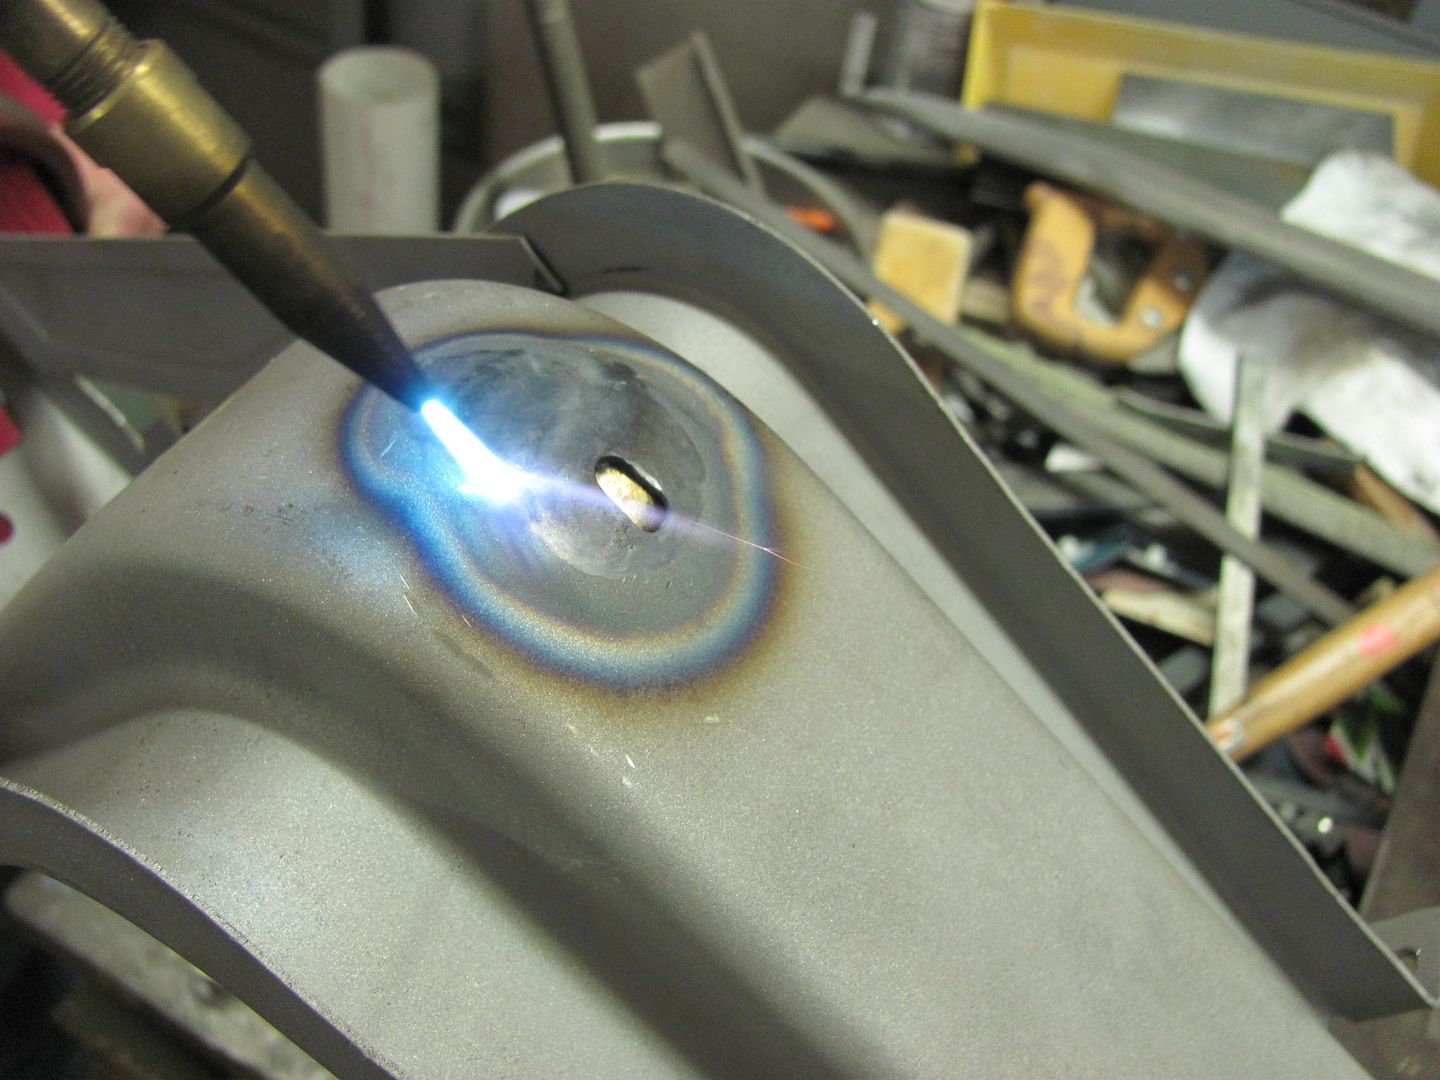
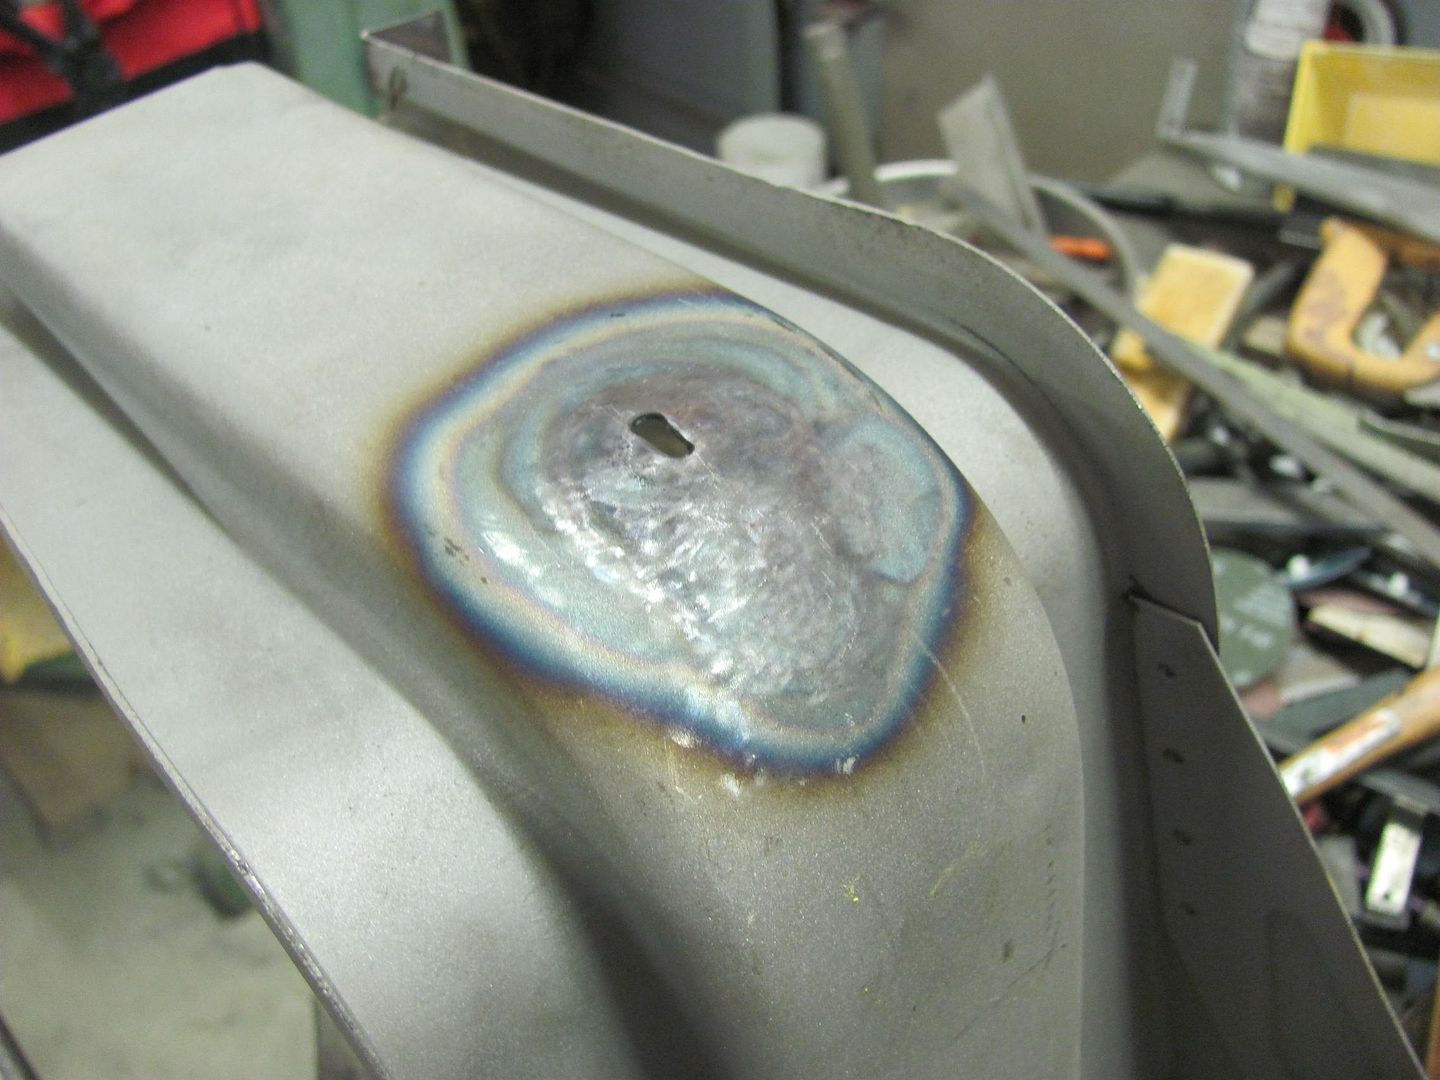
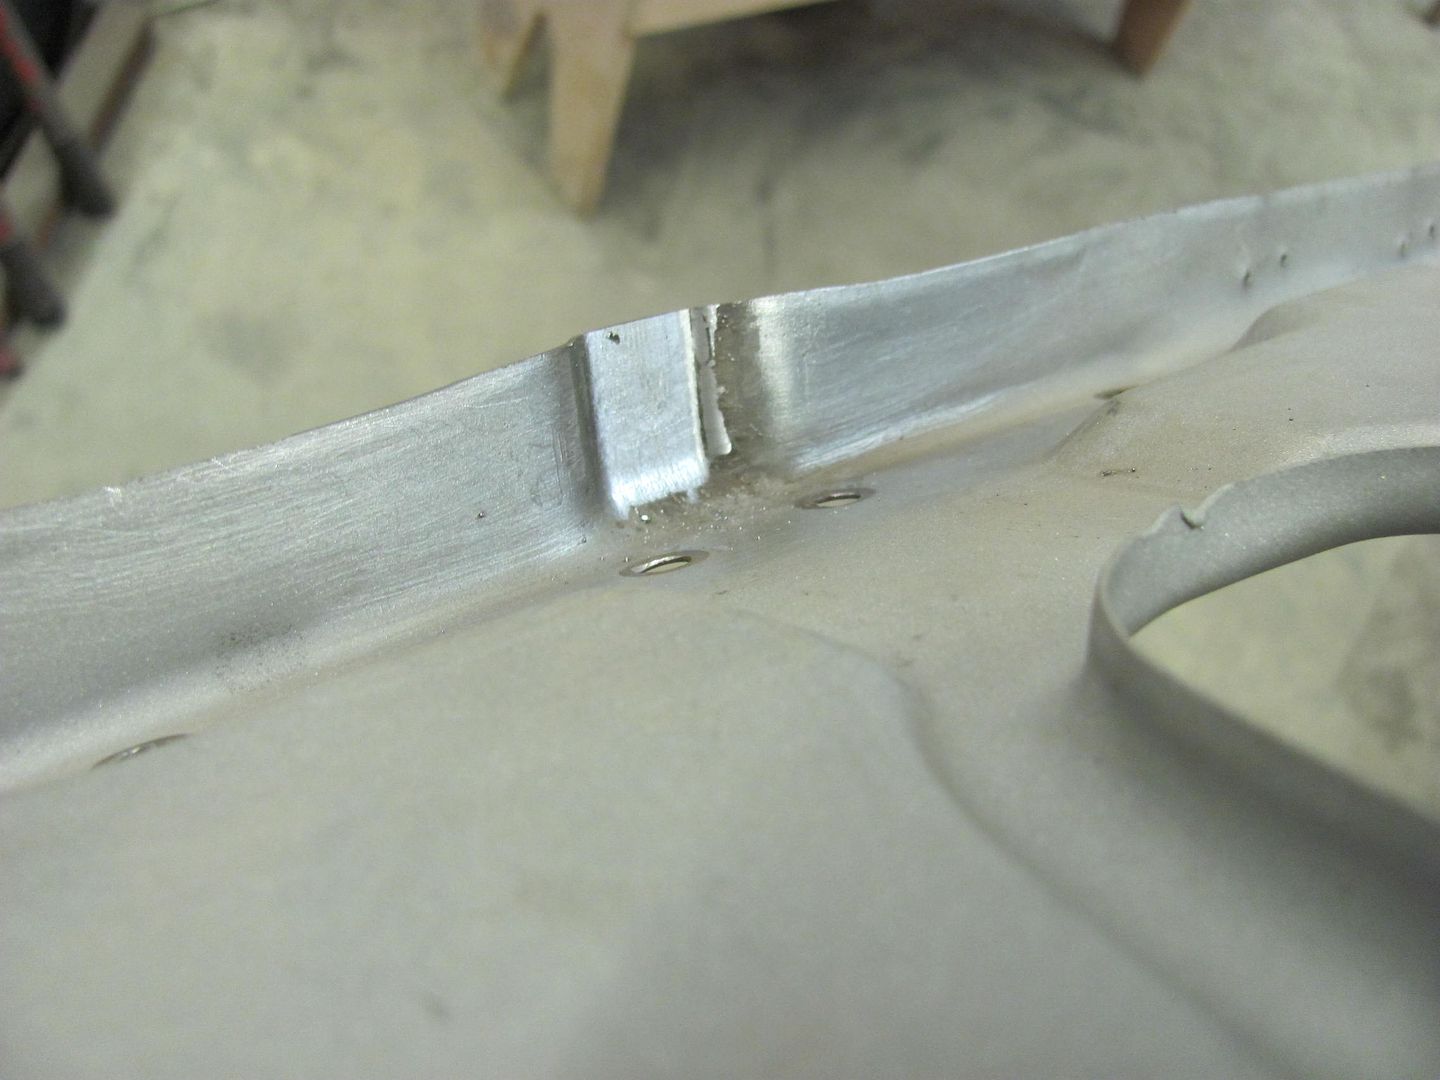
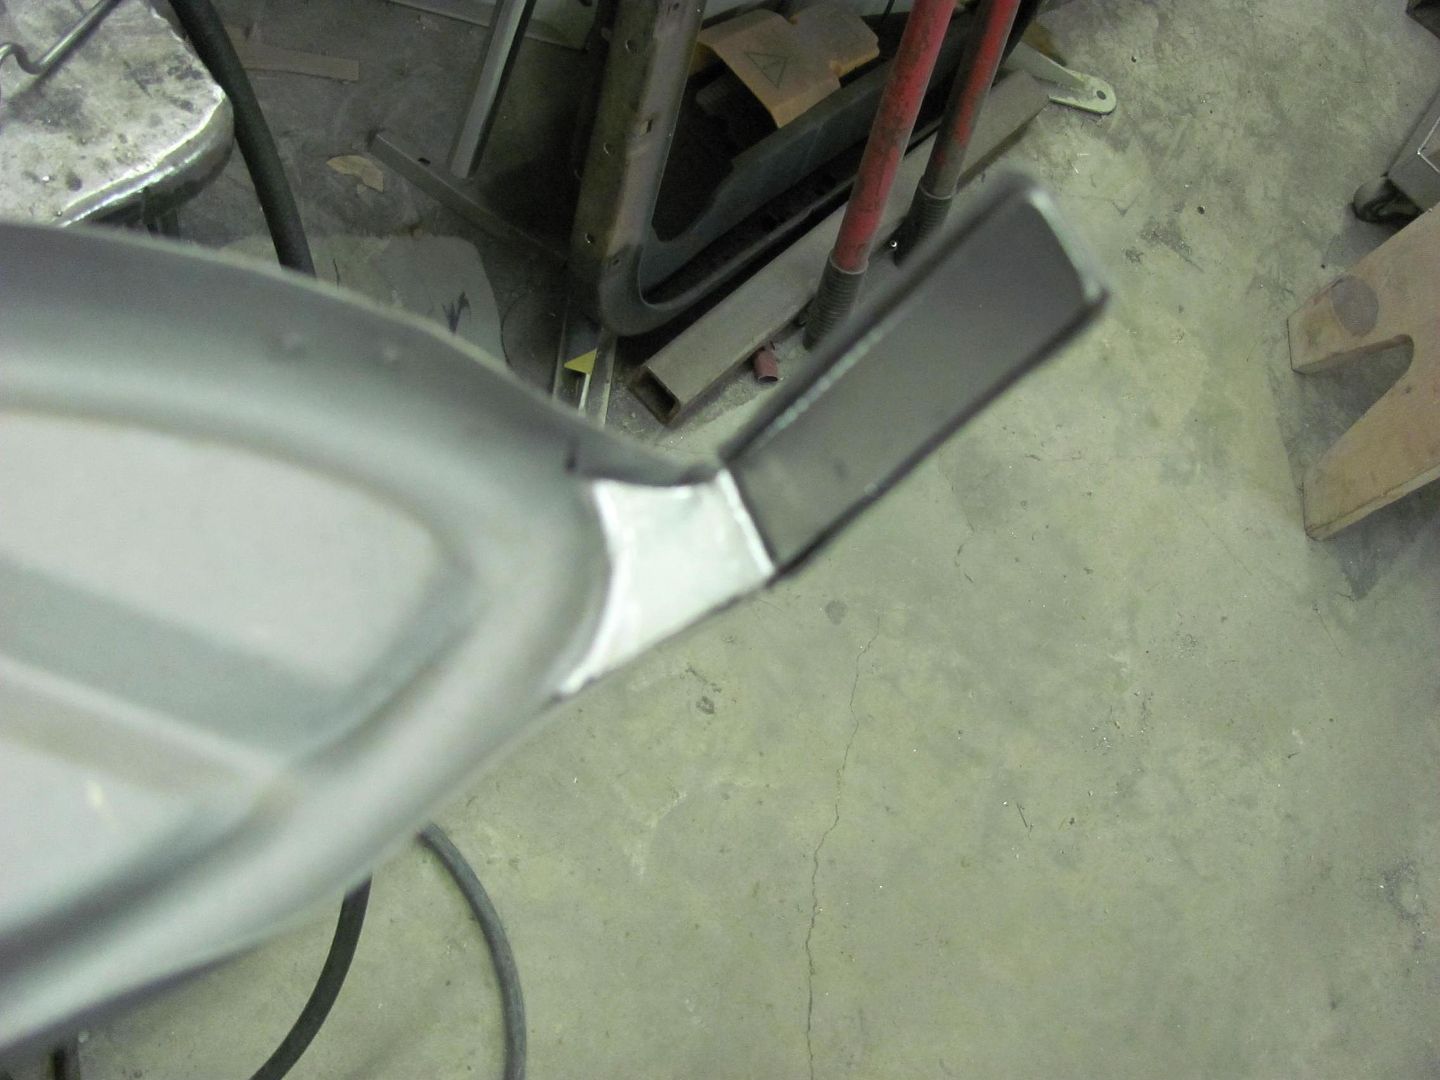
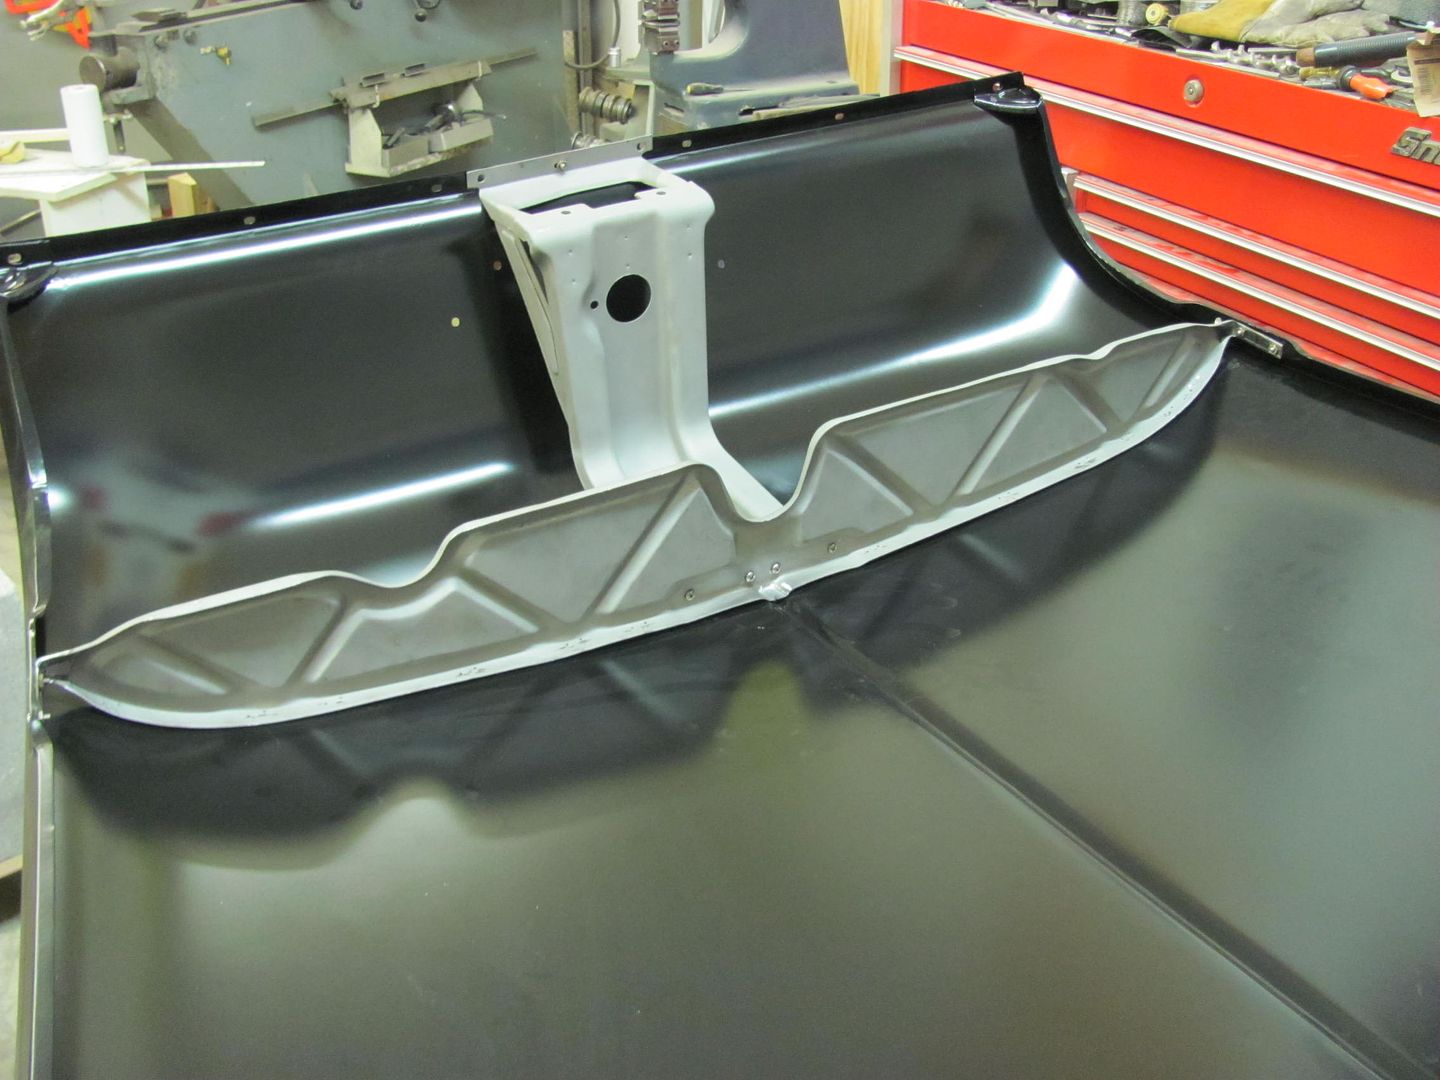
Slot is welded closed, welds dressed, area media blasted once again...
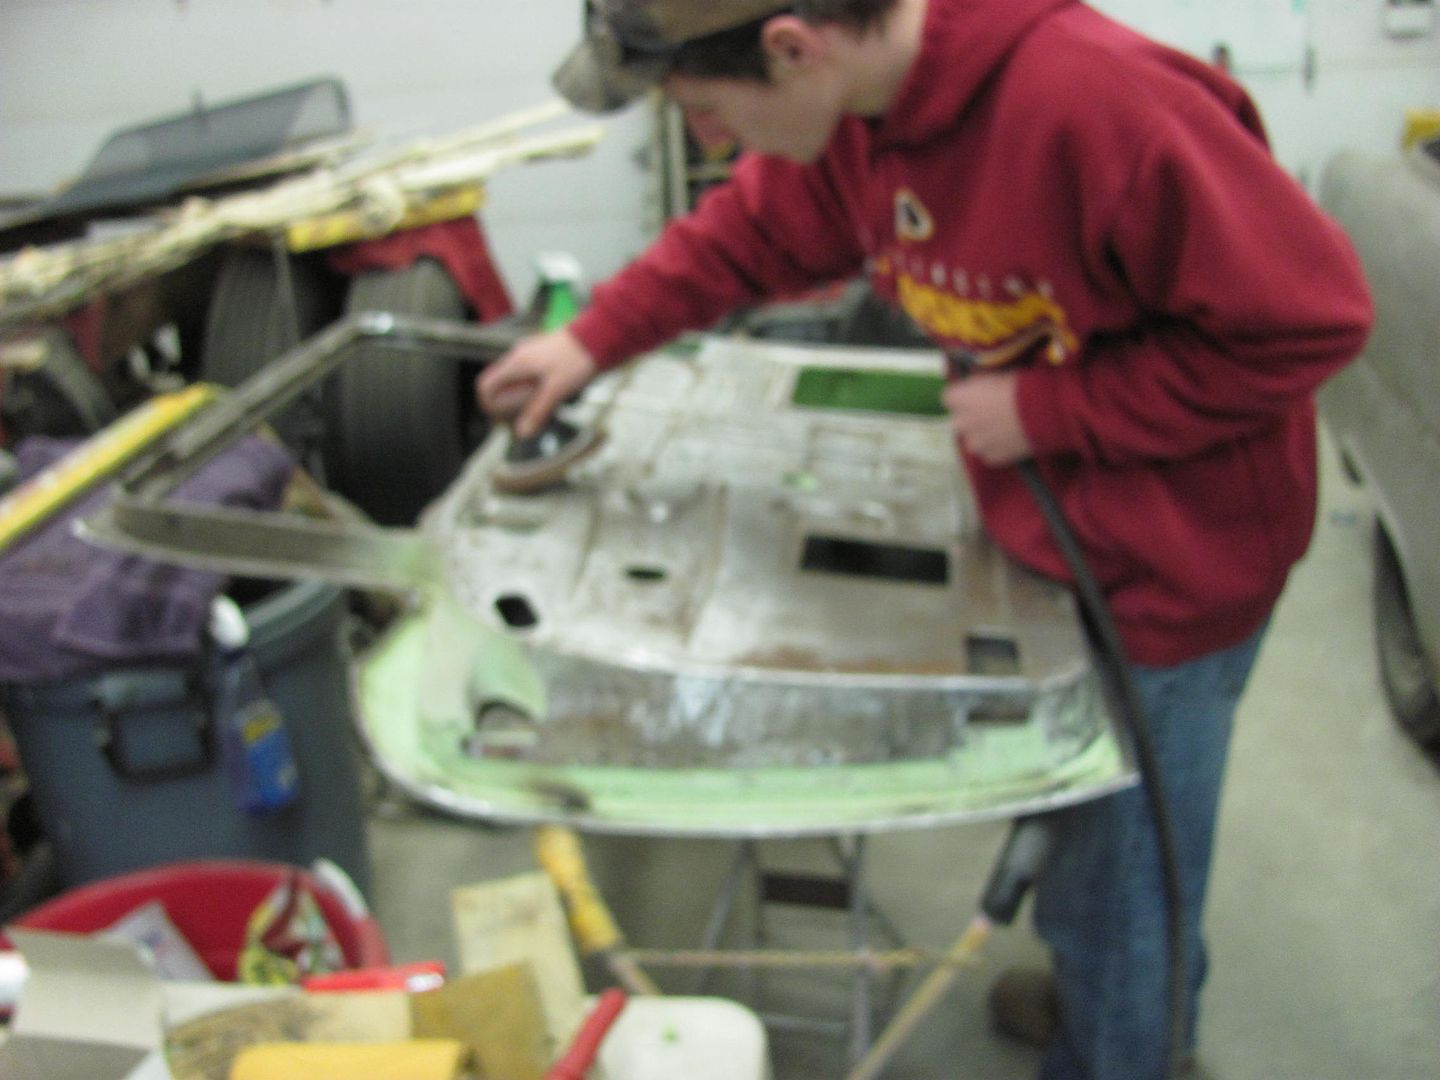
Kyle working on prepping the passenger door for primer... Sorry for the blurry picture, gonna have to fire the photographer!
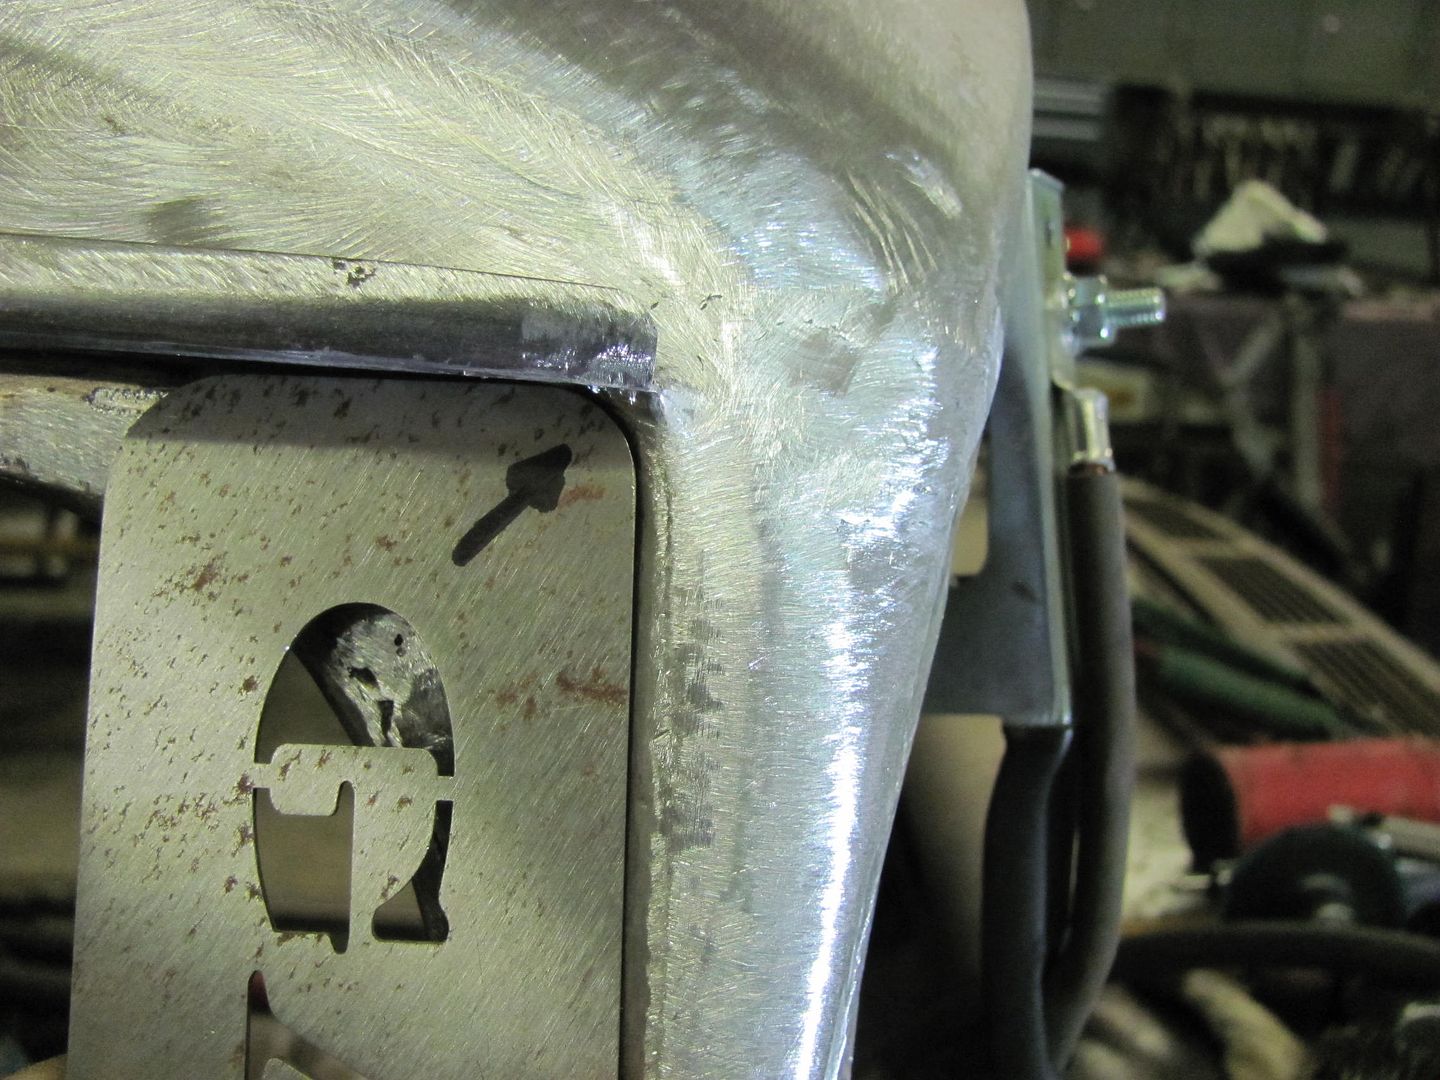
The hood ornament hole in the cross brace was also welded closed and dressed...
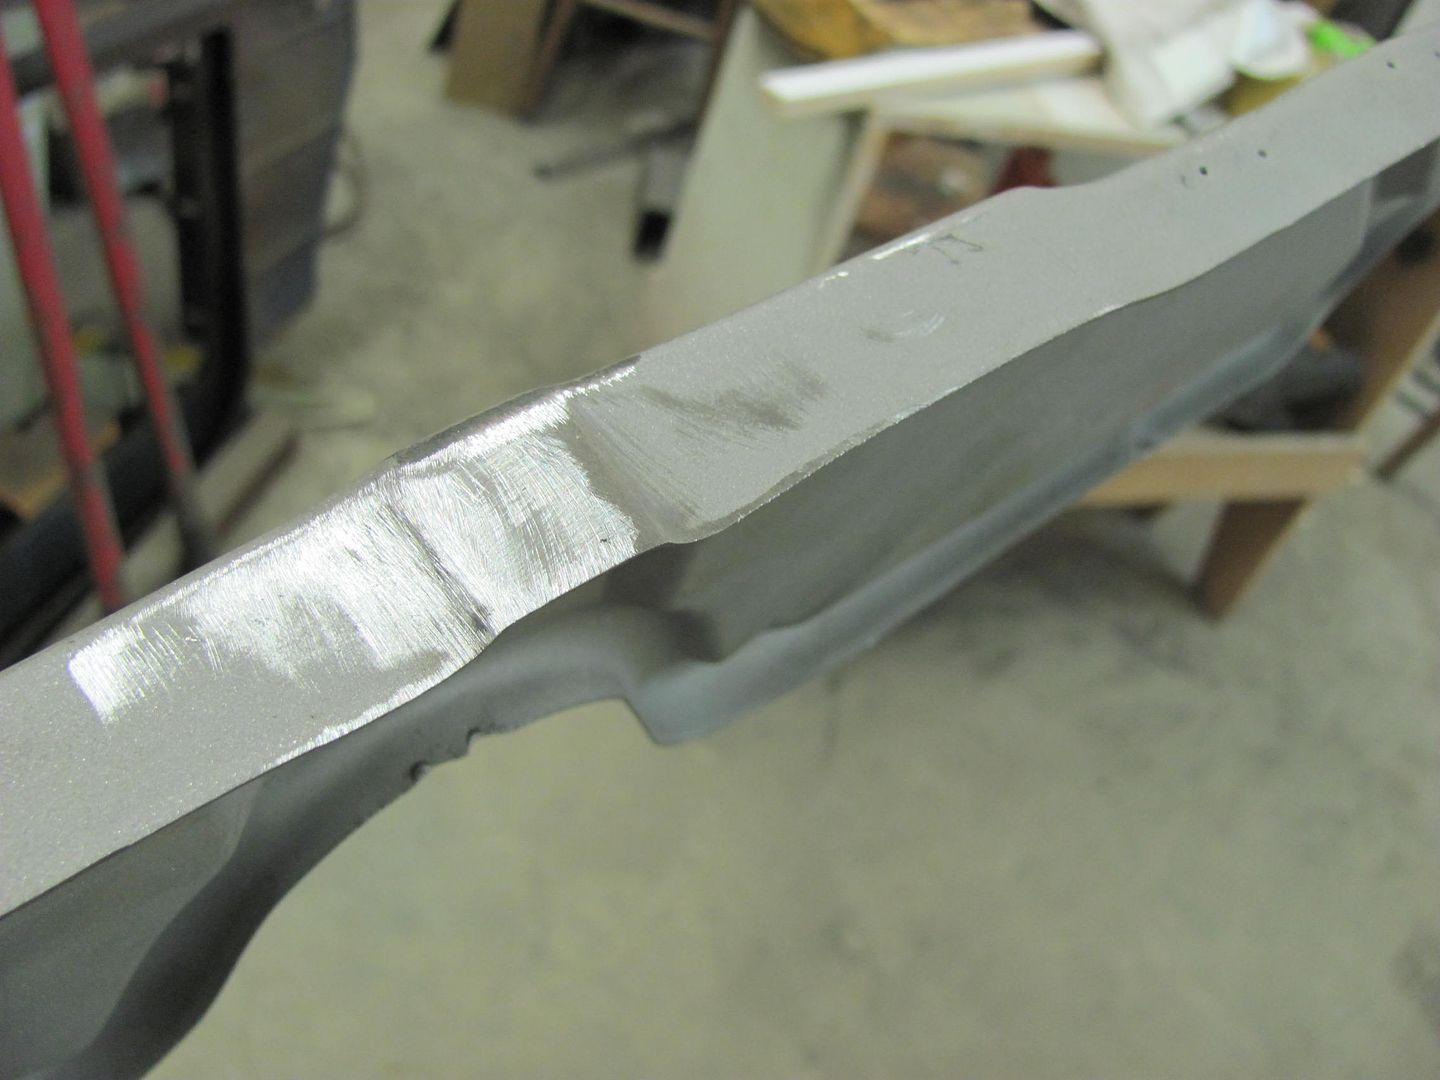
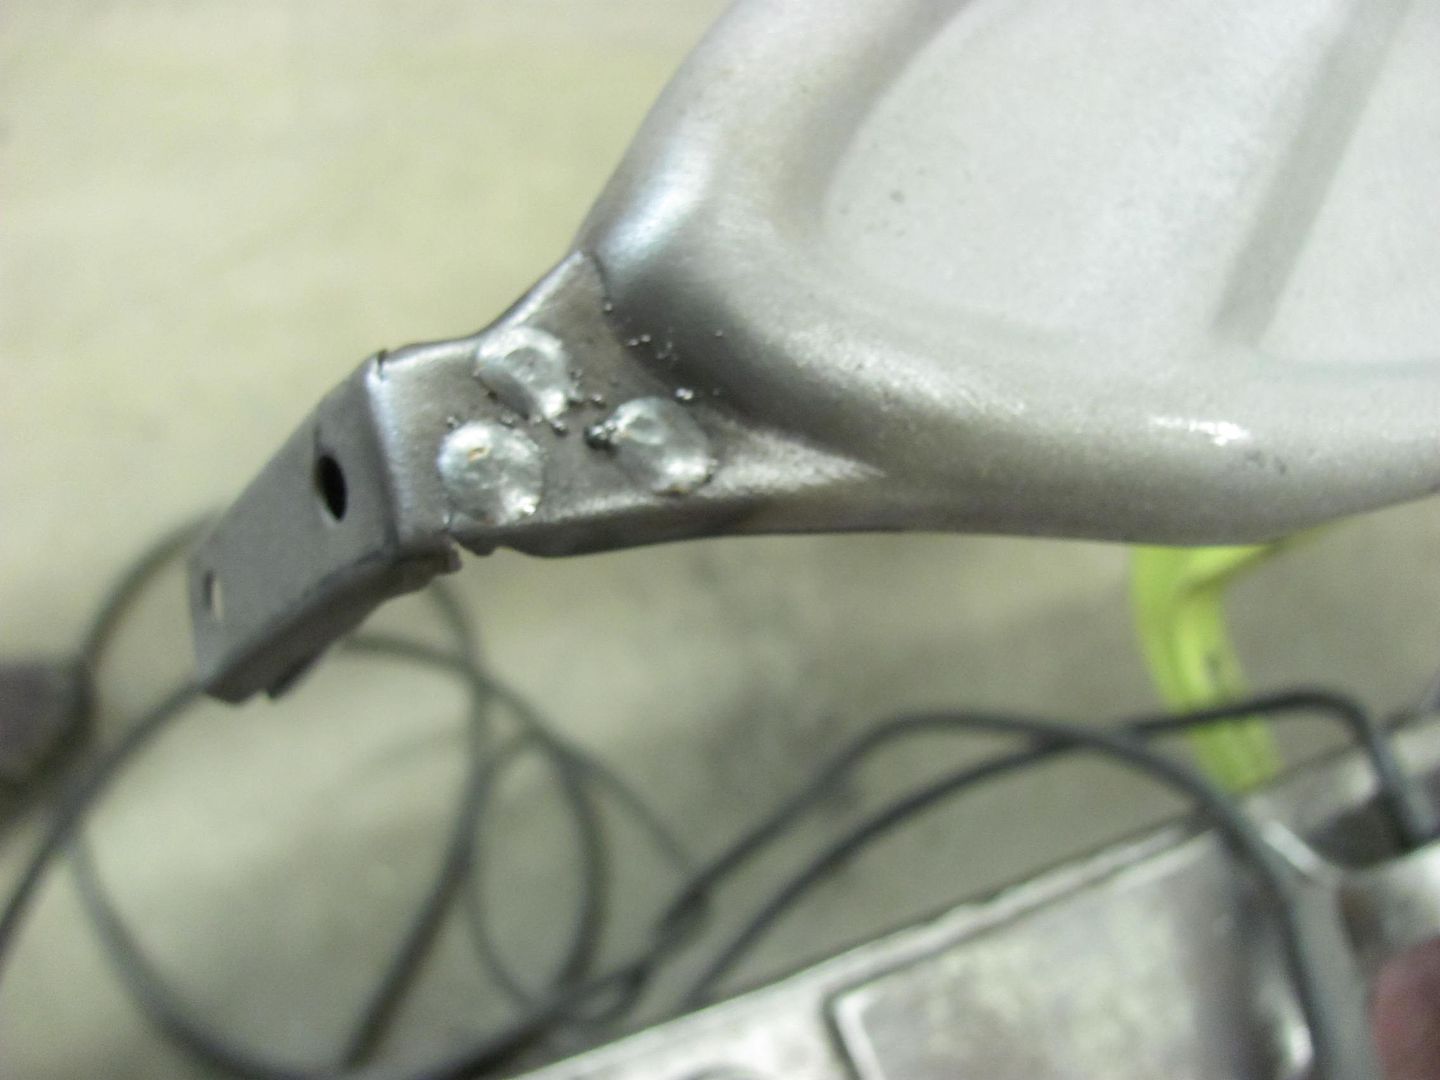
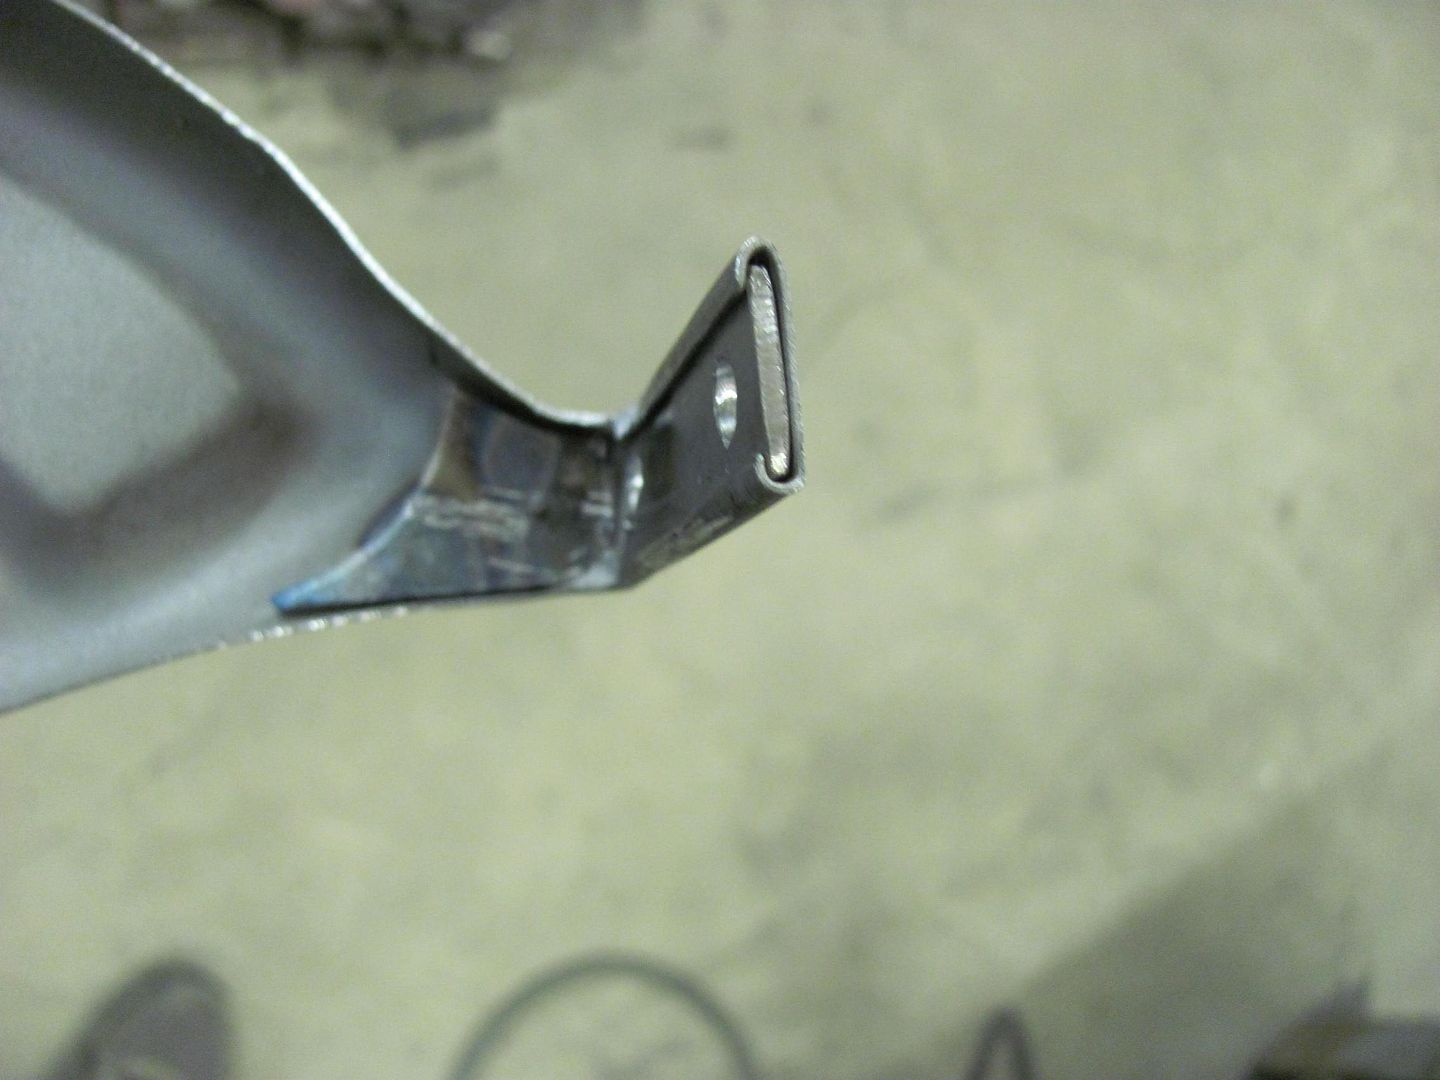
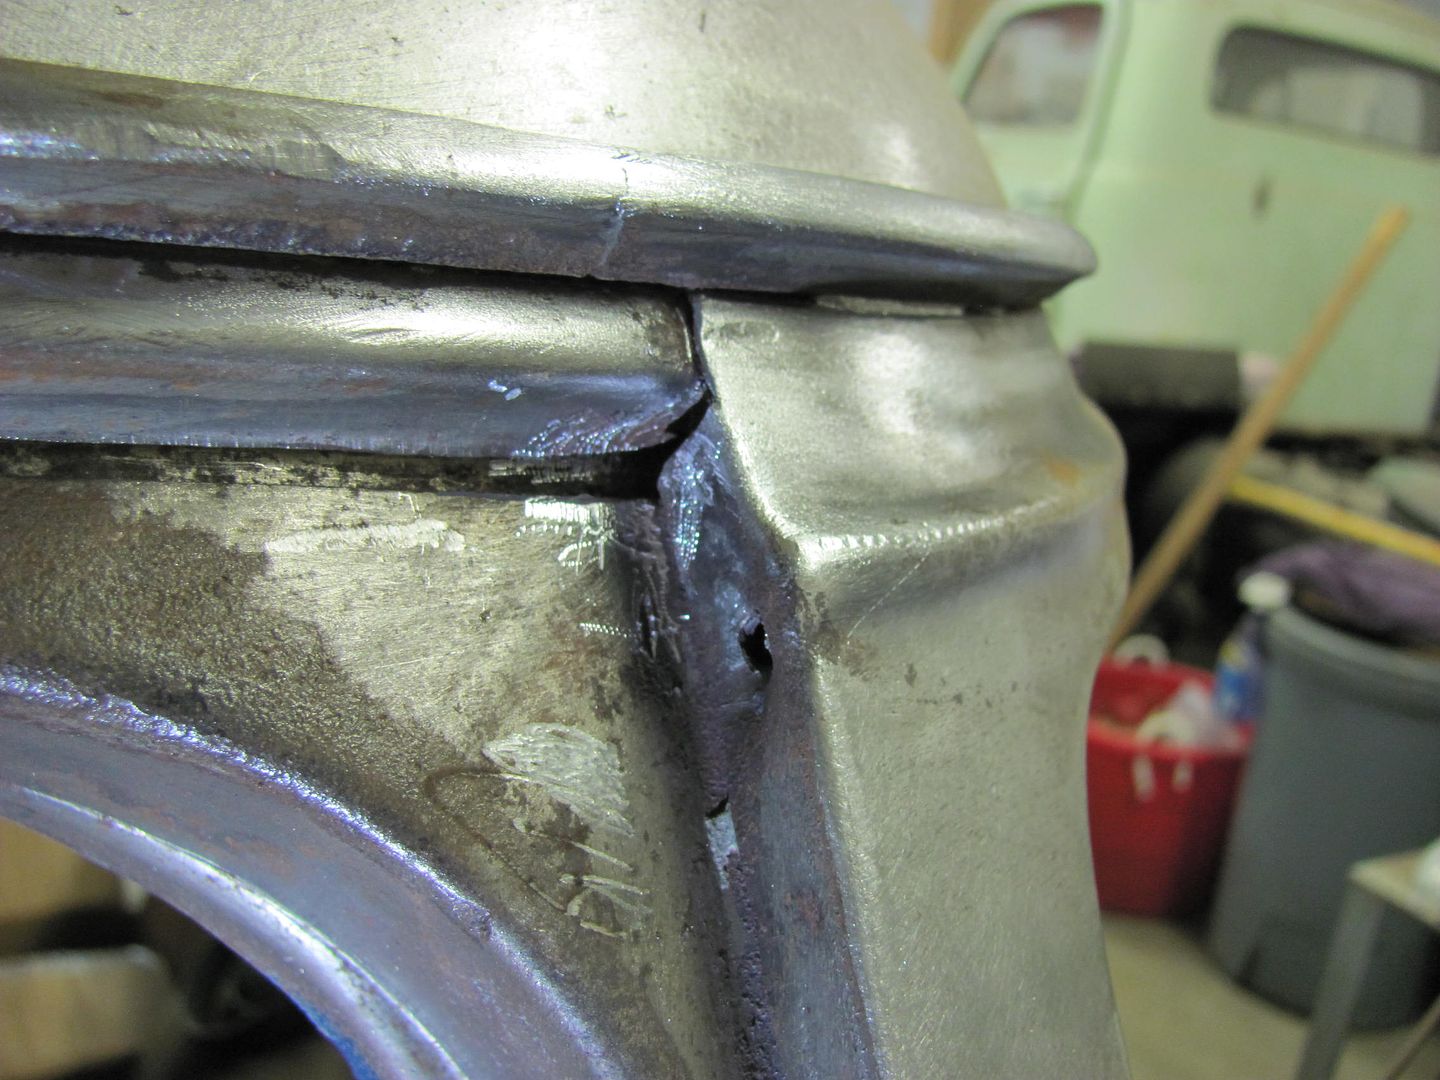
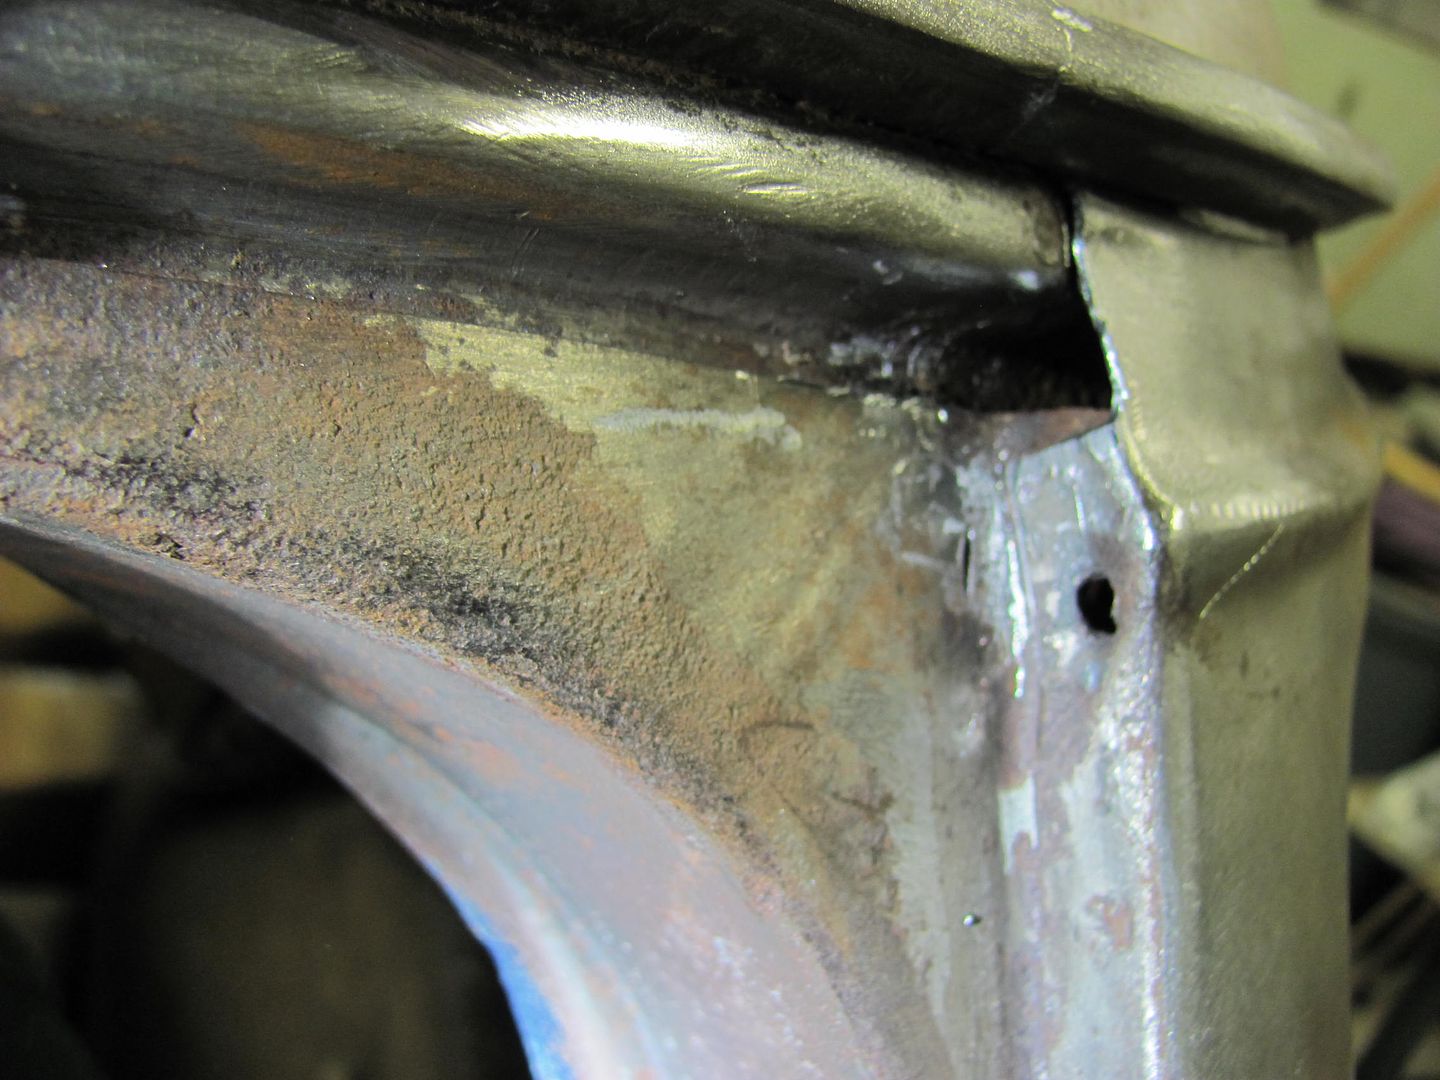
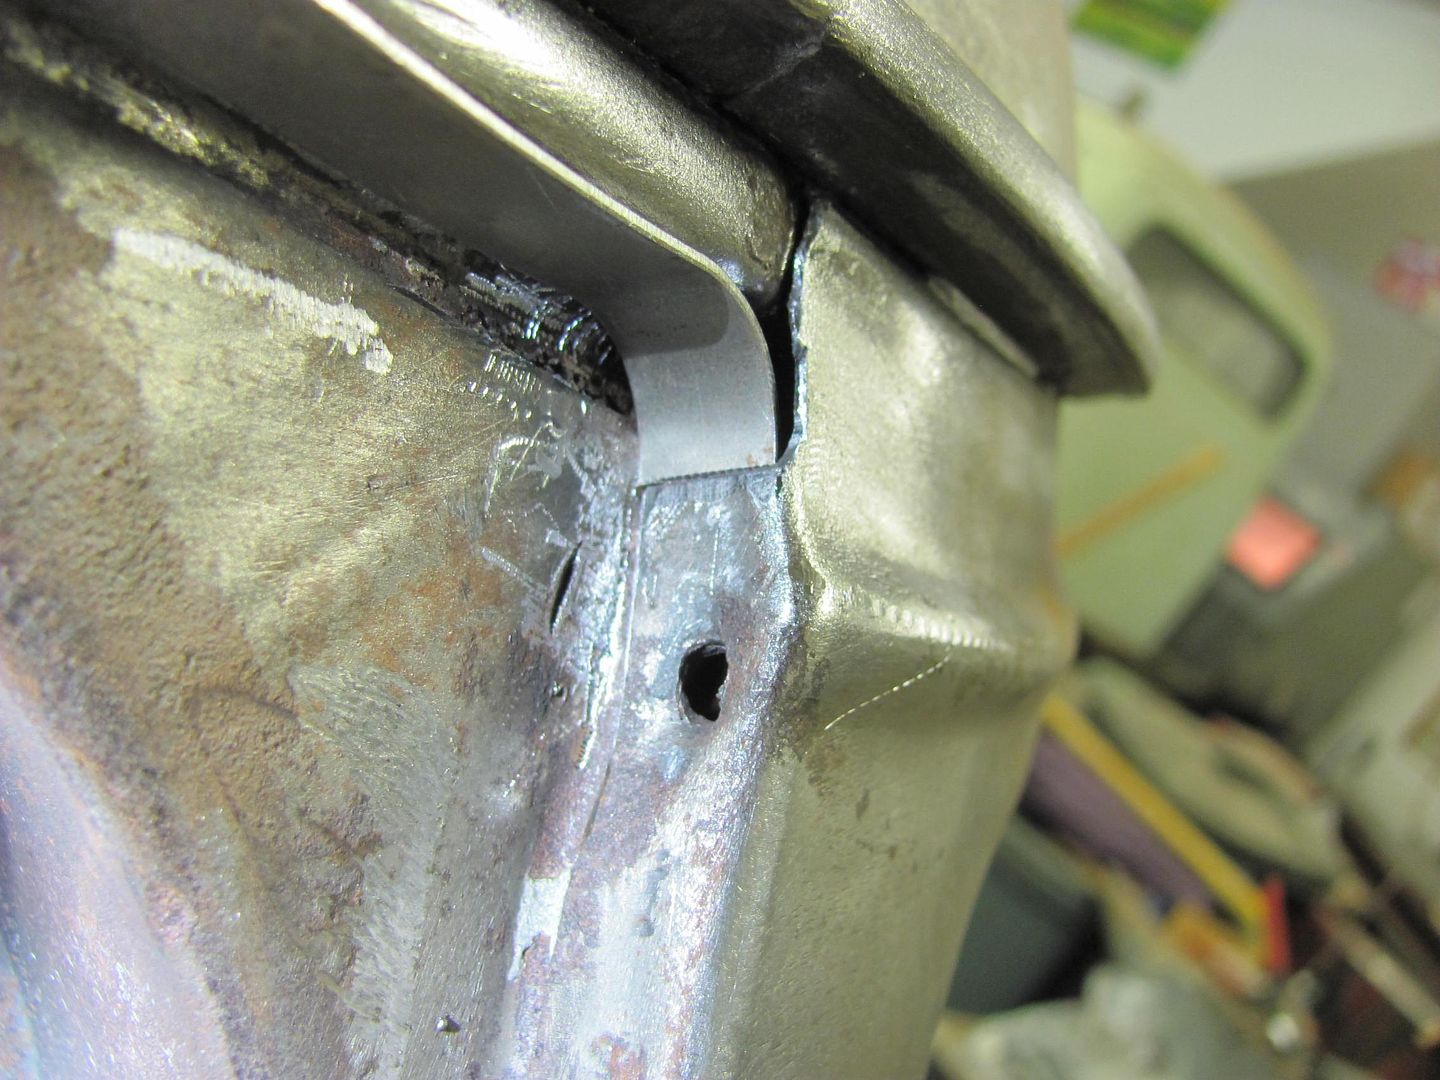
Next on the list were the stress cracks on the ends of the hood brace.
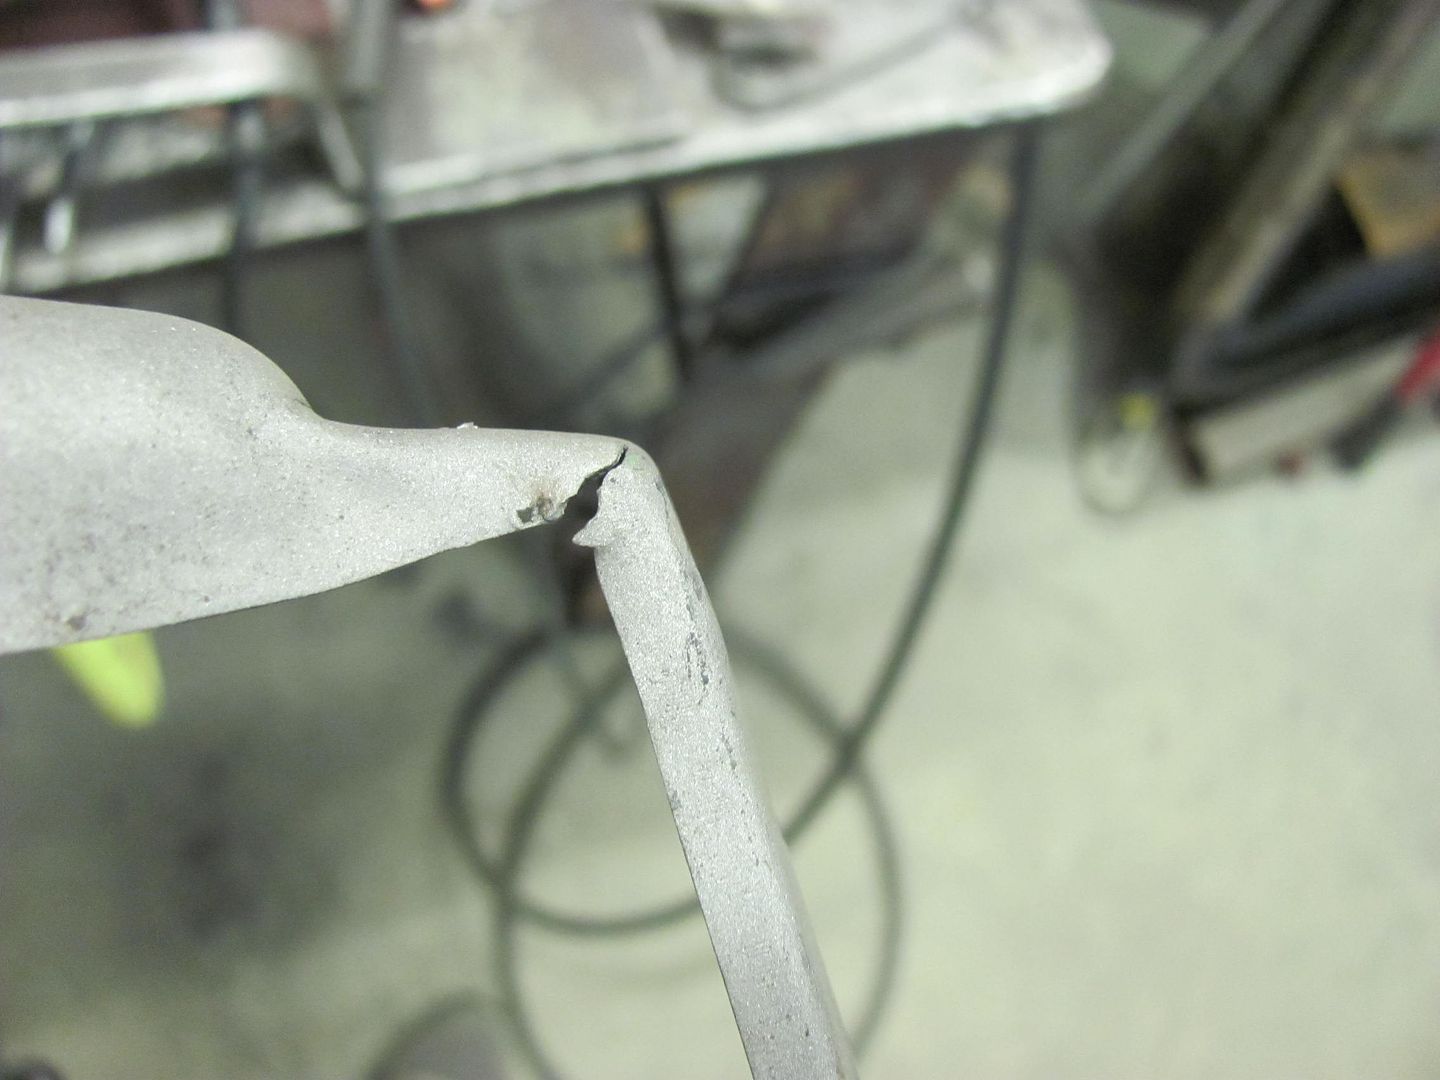
Some 16 gauge CRS was used to make some stiffeners inside the corners...
test fit..
Plug welded in place and the flanges wrapped around... cracks repaired...

Test fit to the hood...
Comment
-
-
Thanks! Looking forward to seeing some more green paint on that truck.. I'm sure you are as well!
Tonight Kyle was putting the finishing touches on prepping the passenger door for paint. Lots of nooks and crannies. We ended up moving the drill press so we could open the media blast cabinet door wide enough to put the door inside. It was a snug fit, but made easier work of cleaning the door on the ends... The rest will be done by hand...
After adding the radius to the doors, it only made sense that the lift gate needed the same modification. Sorry to bore you with more of the same, just wait until we get to wet sanding
Test fit the radius...
Scoring the second cut location, and tacking in place..
Snapped of the excess....
Checking the radius, and welded in and dressed...
They're calling for a heat wave this weekend (in high 40's on Sunday), so we should get some more primer sprayed....Comment
-
Robert, curious why you're powdercoating instead of painting the inner fenders.56 Nomad, Ramjet 502, Viper 6-speed T56, C4 Corvette front and rear suspension
Other vehicles:
56 Chevy 2-door BelAir sedan
56 Chevy 210 4-door sedan
57 Chevy 210 4-door sedan
1962 327/340HP Corvette
1961 Willys CJ3B Jeep
2001 Porsche Boxster S
2003 Chevy Silverado 2500 HD Duramax
2019 GMC Sierra Denali DuramaxComment

Comment