Just joined? Please introduce yourself.
Page 6 of 102 FirstFirst ... 456781656 ... LastLast
Results 51 to 60 of 1019

Thread: wagon progress

  1. #51
    Registered Member MP&C's Avatar
    Join Date
    Dec 2013

    Member #:2017
    Location
    Southern MD
    Posts
    1,293
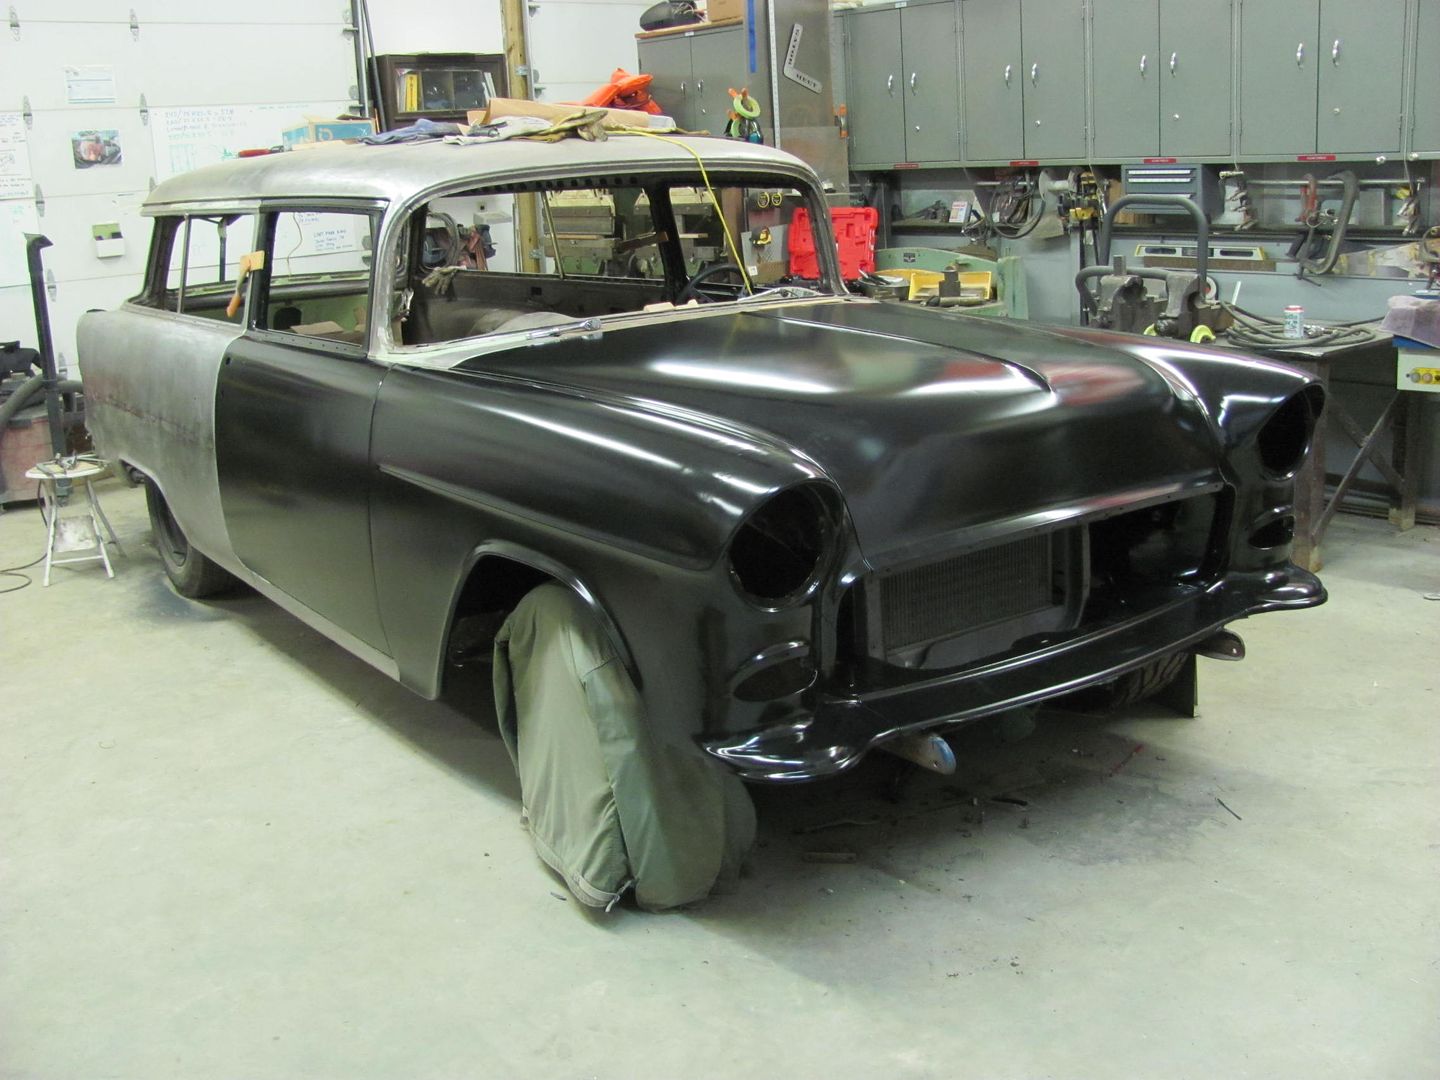
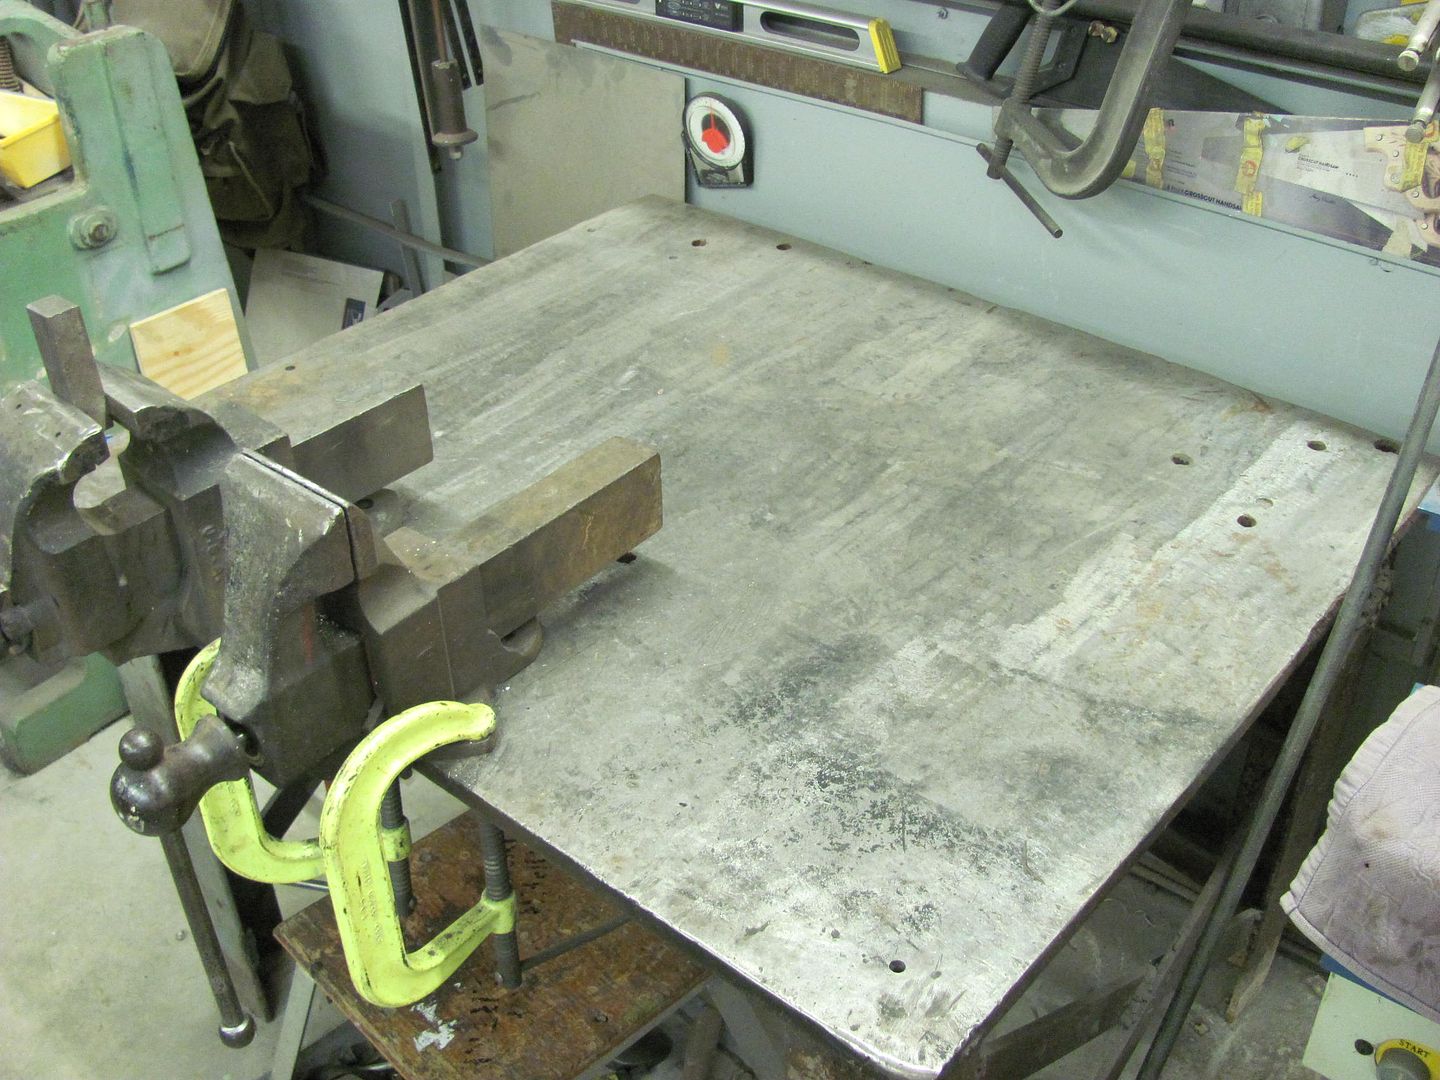
    This evening while we had painted parts still lounging in the booth, we took some time to clean up and put tools away..... hey, there's that welding table!


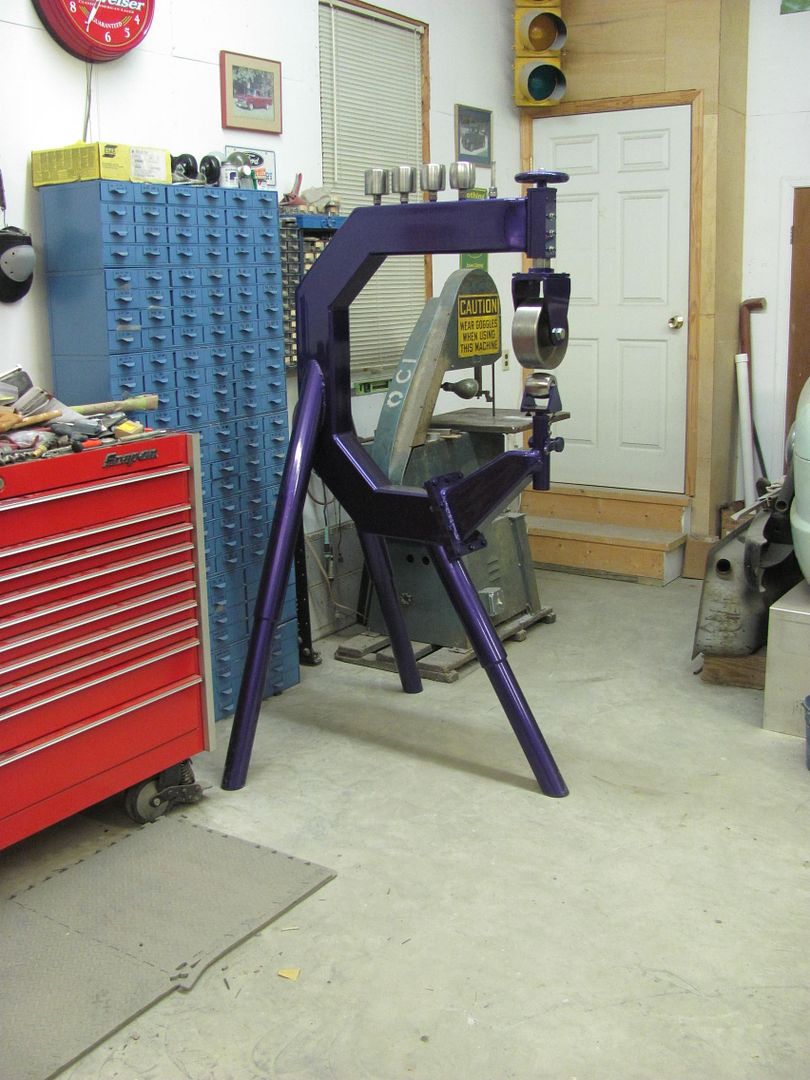
    And found a new location for the ewheel.. Still gives plenty of room for access to the parts bins and gets it out of the way elsewhere in the shop..


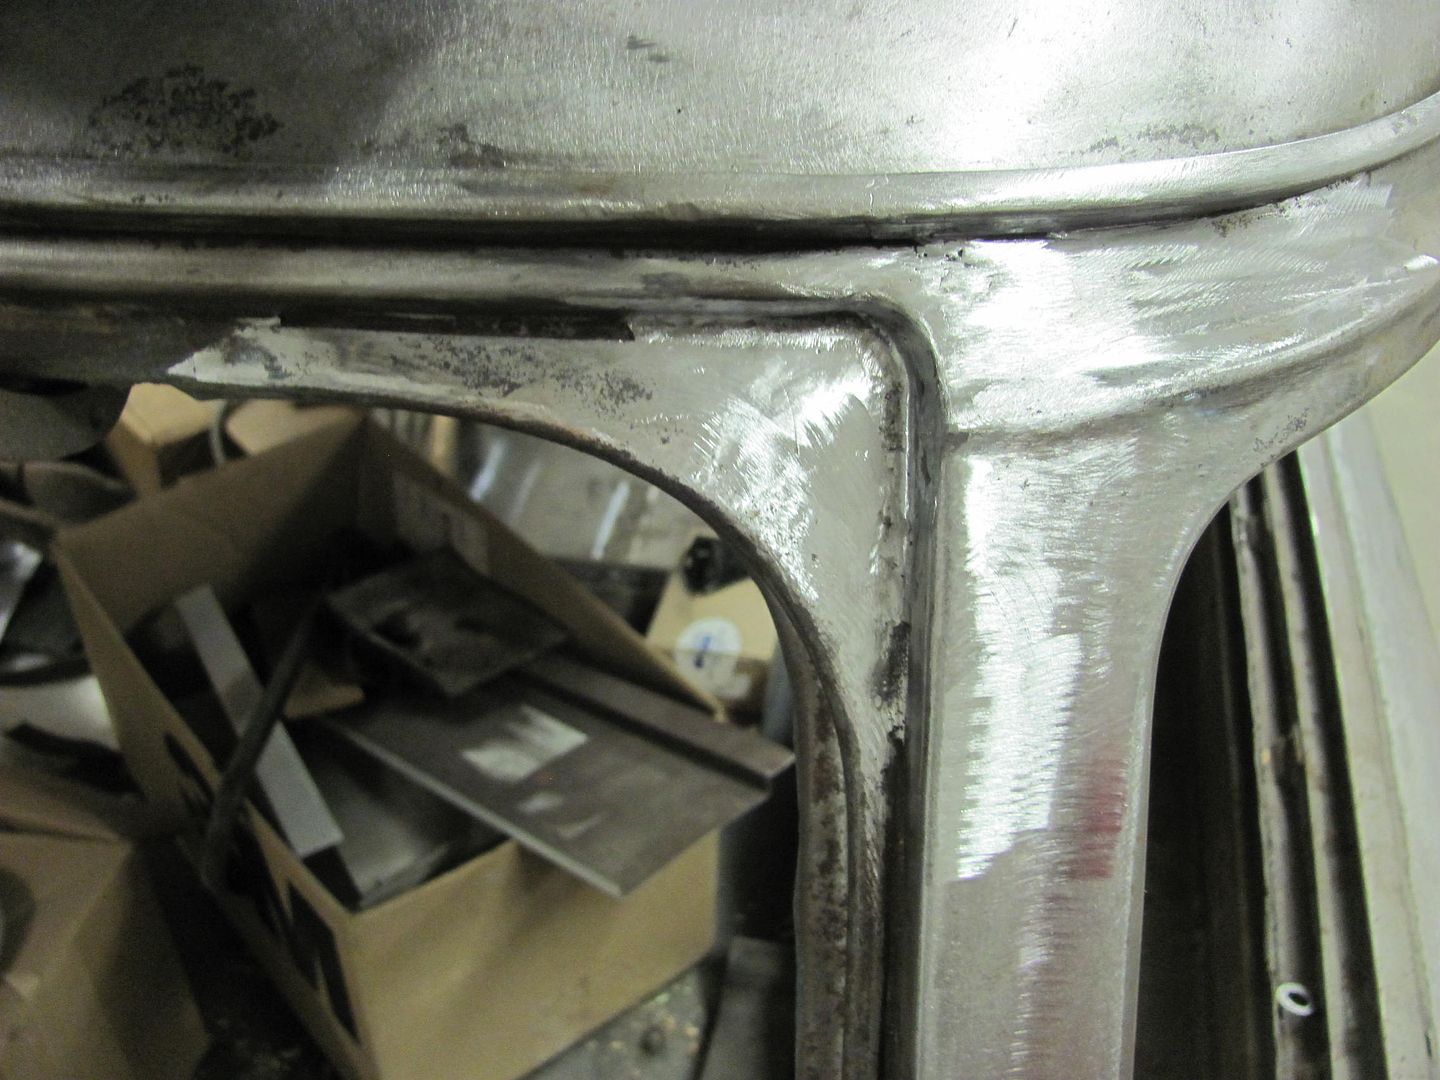
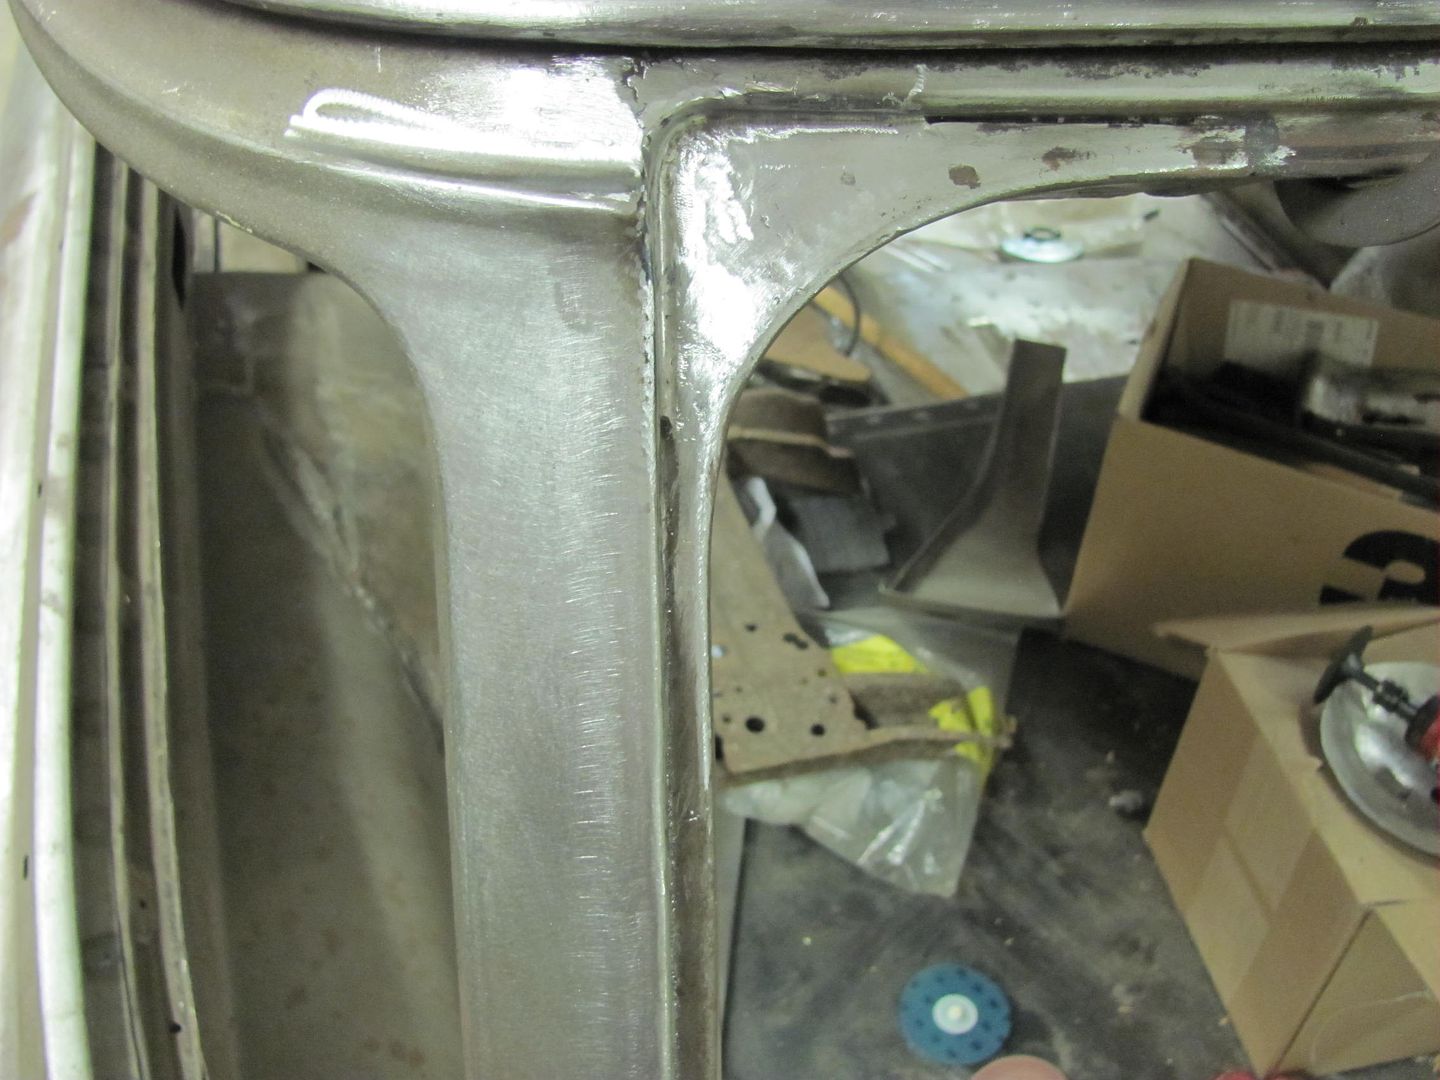
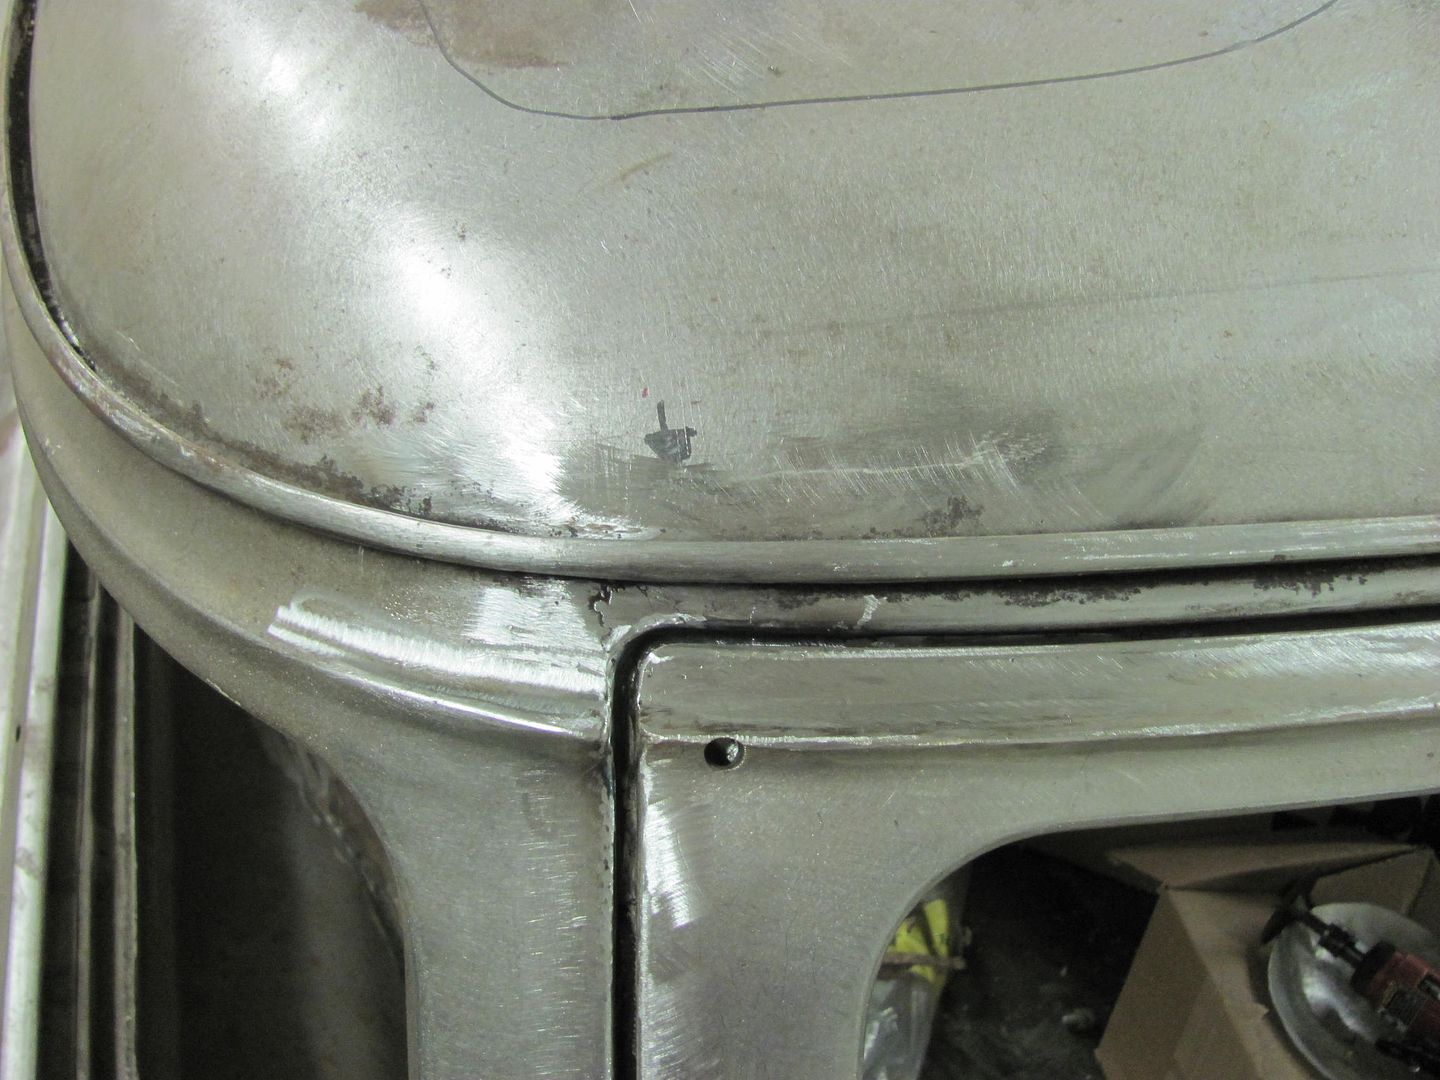
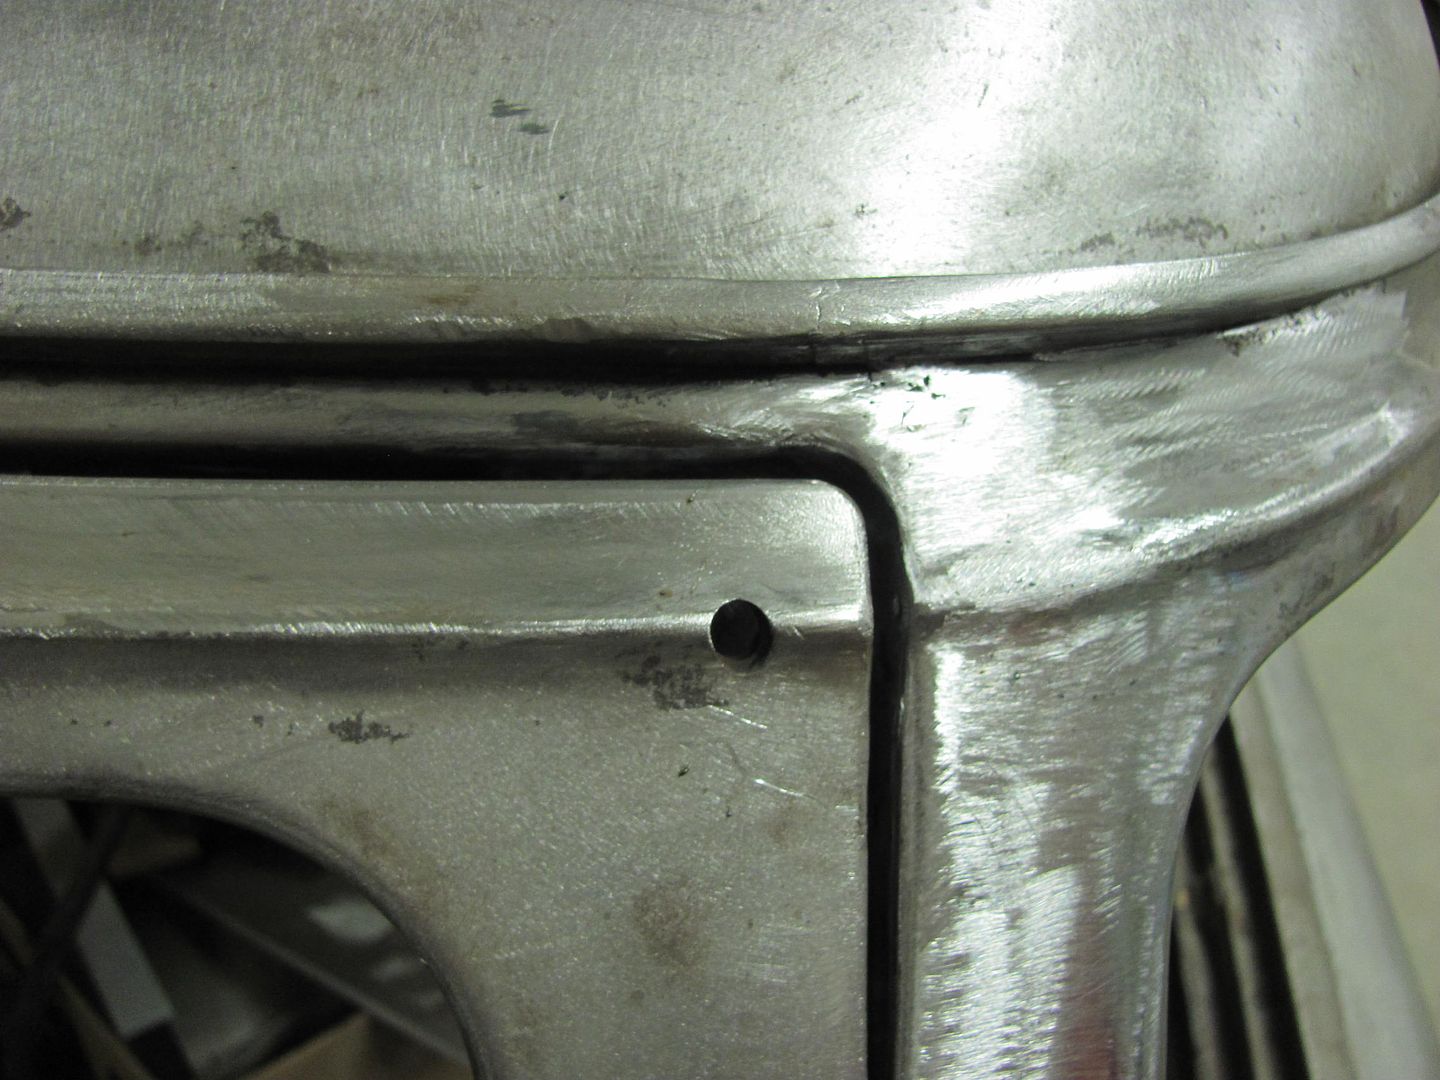
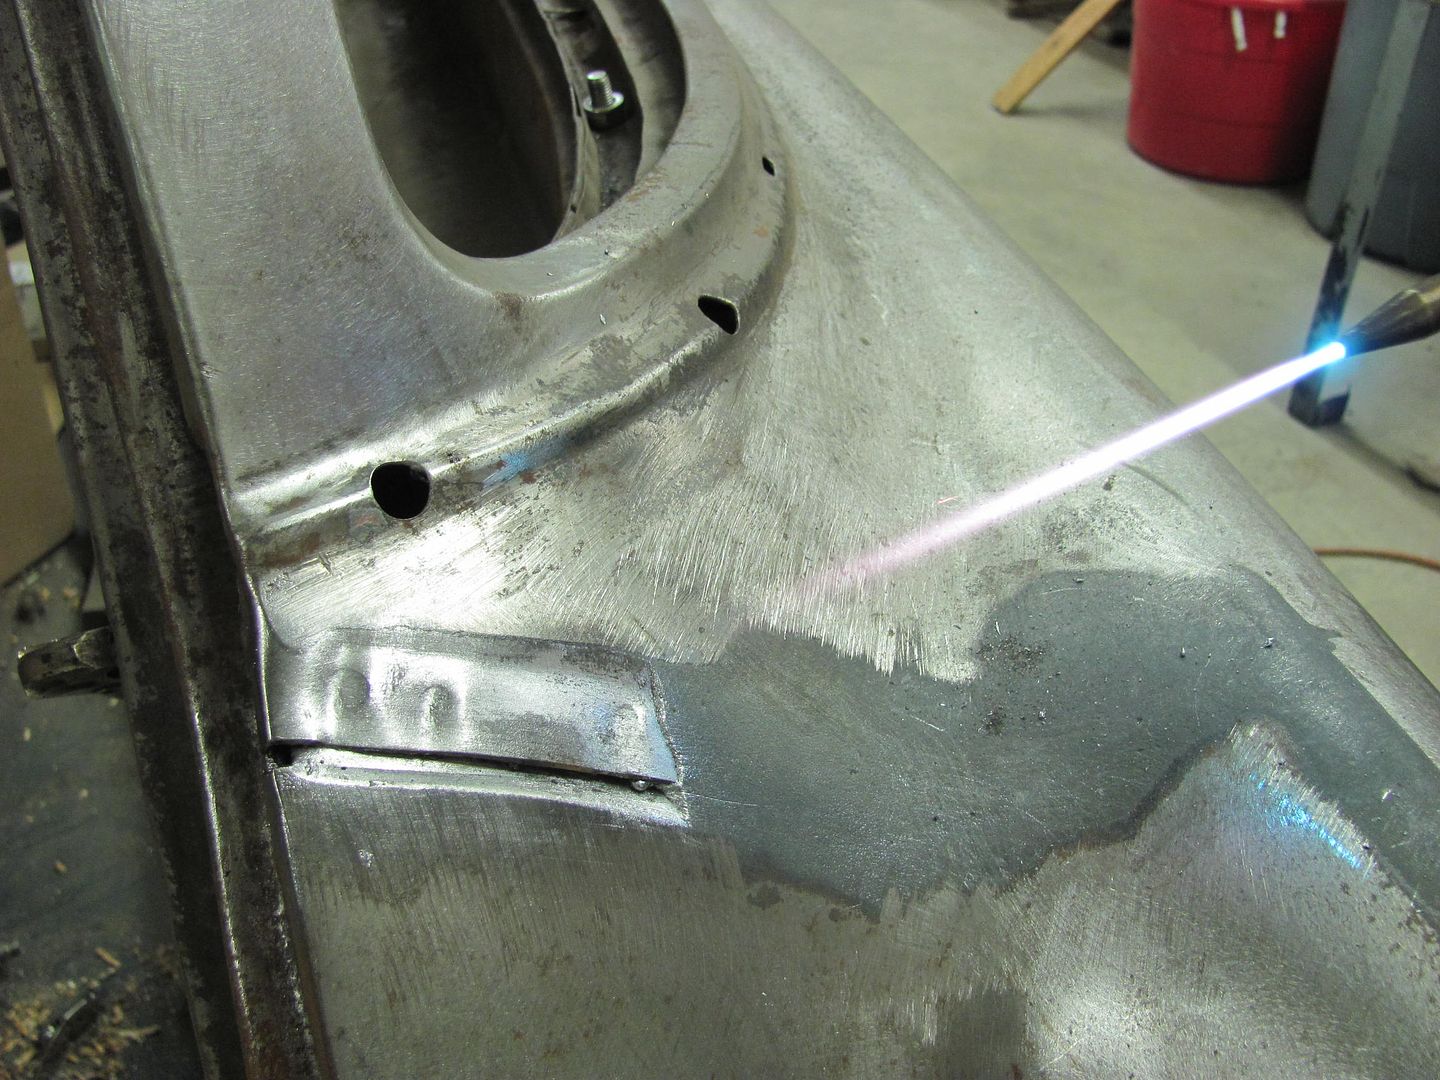
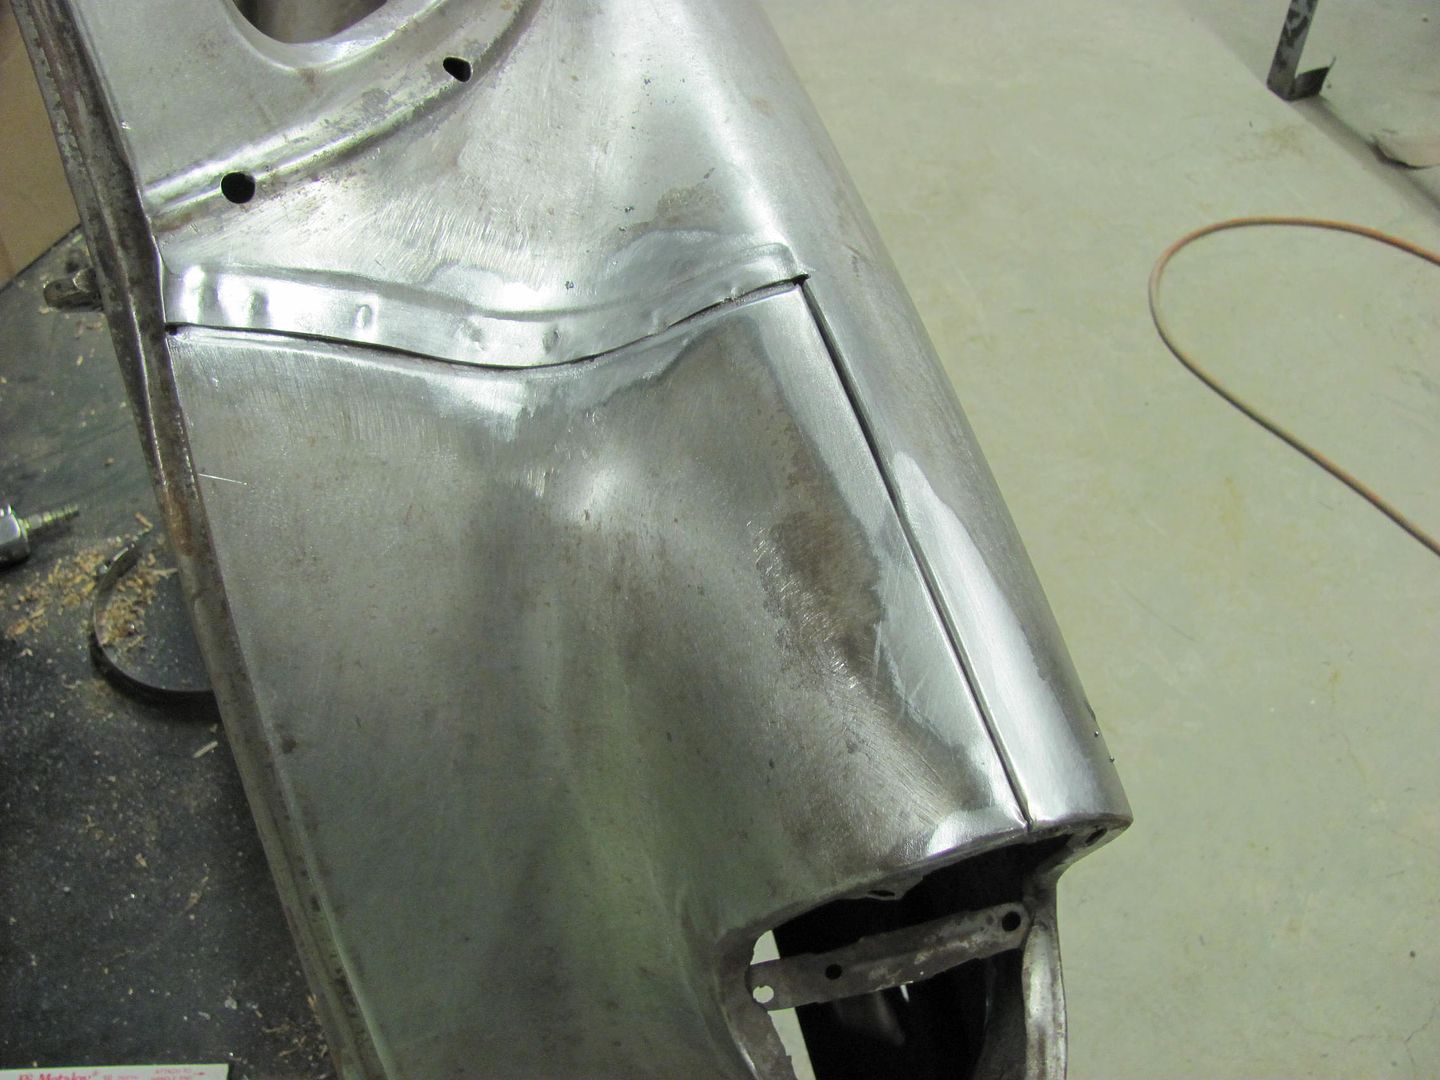
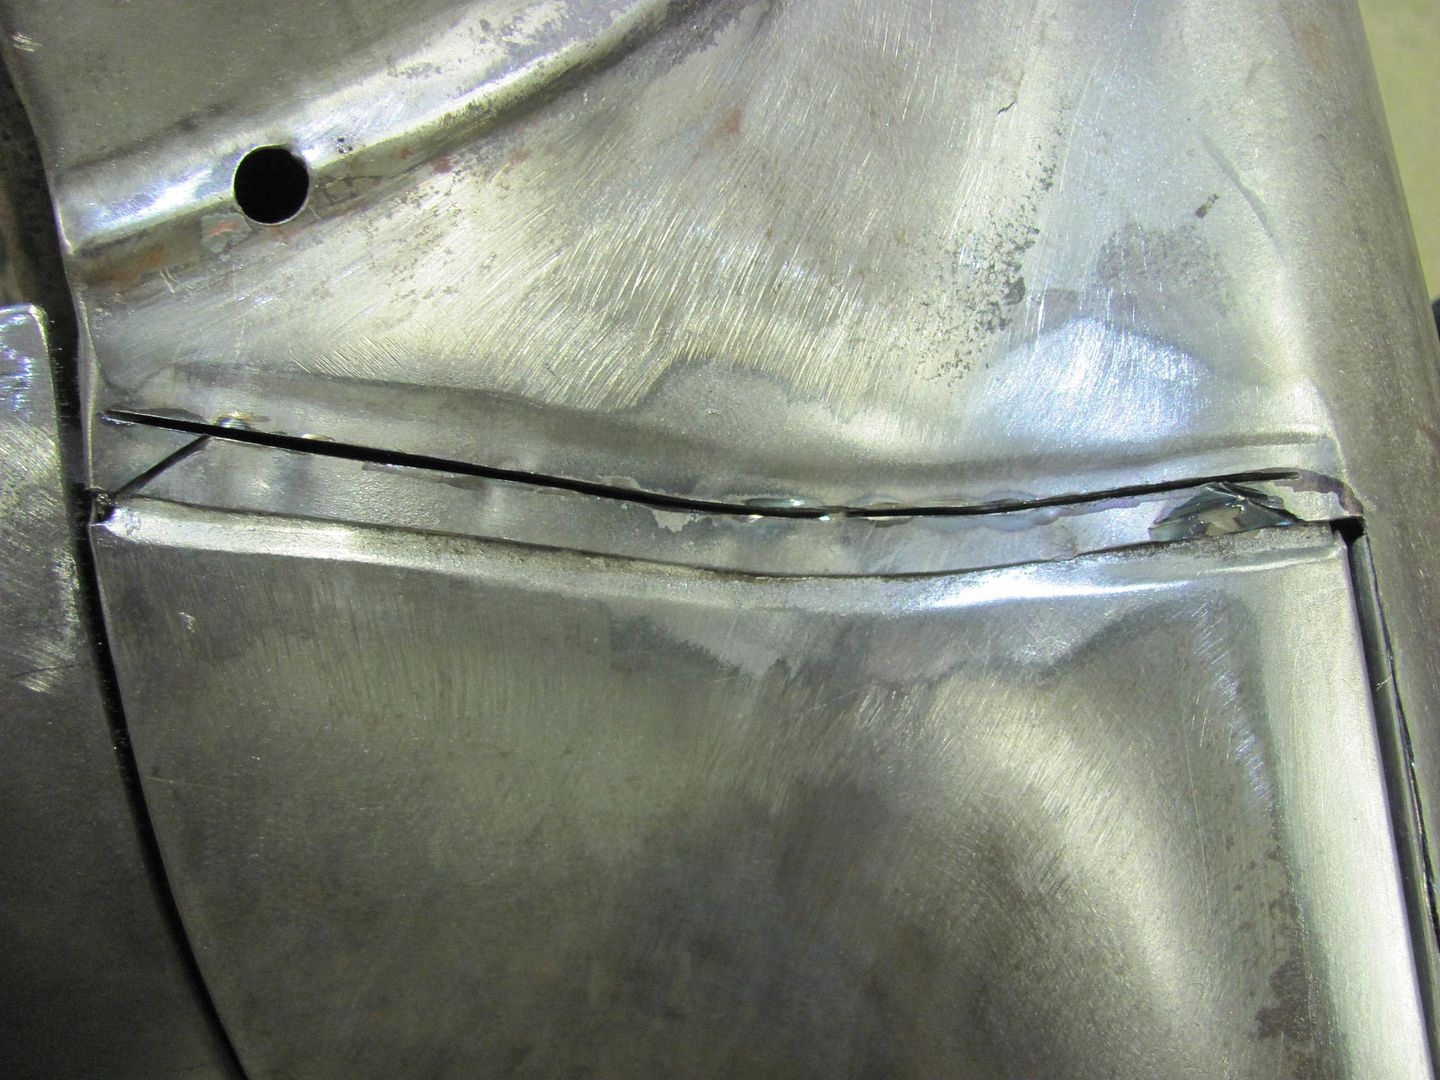
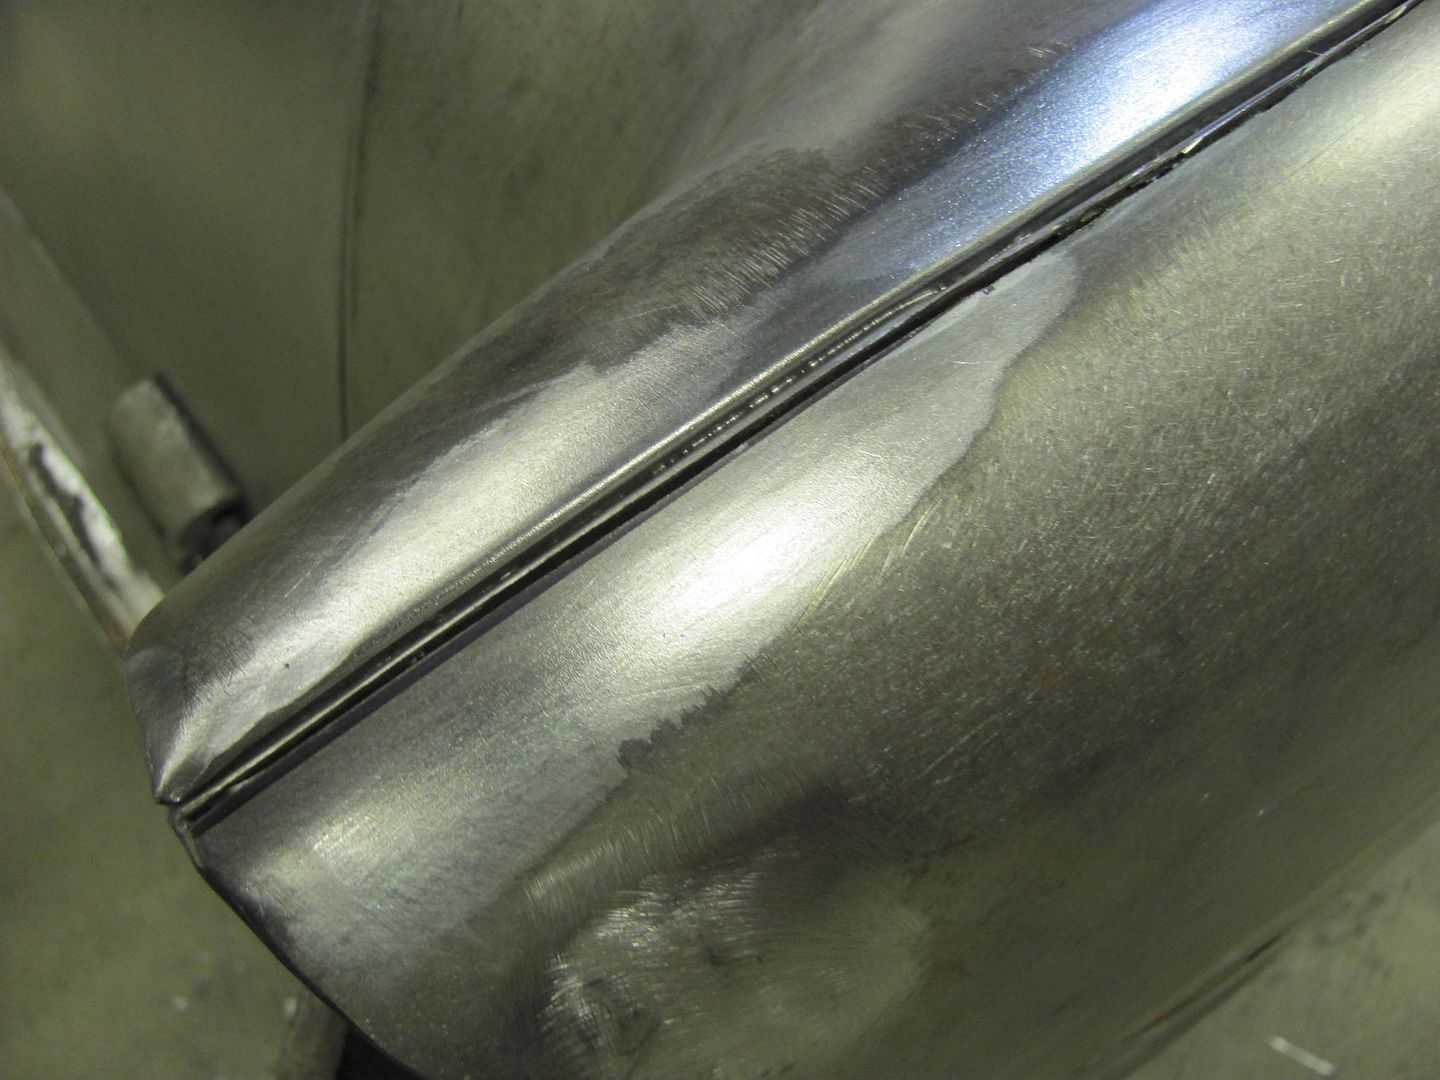
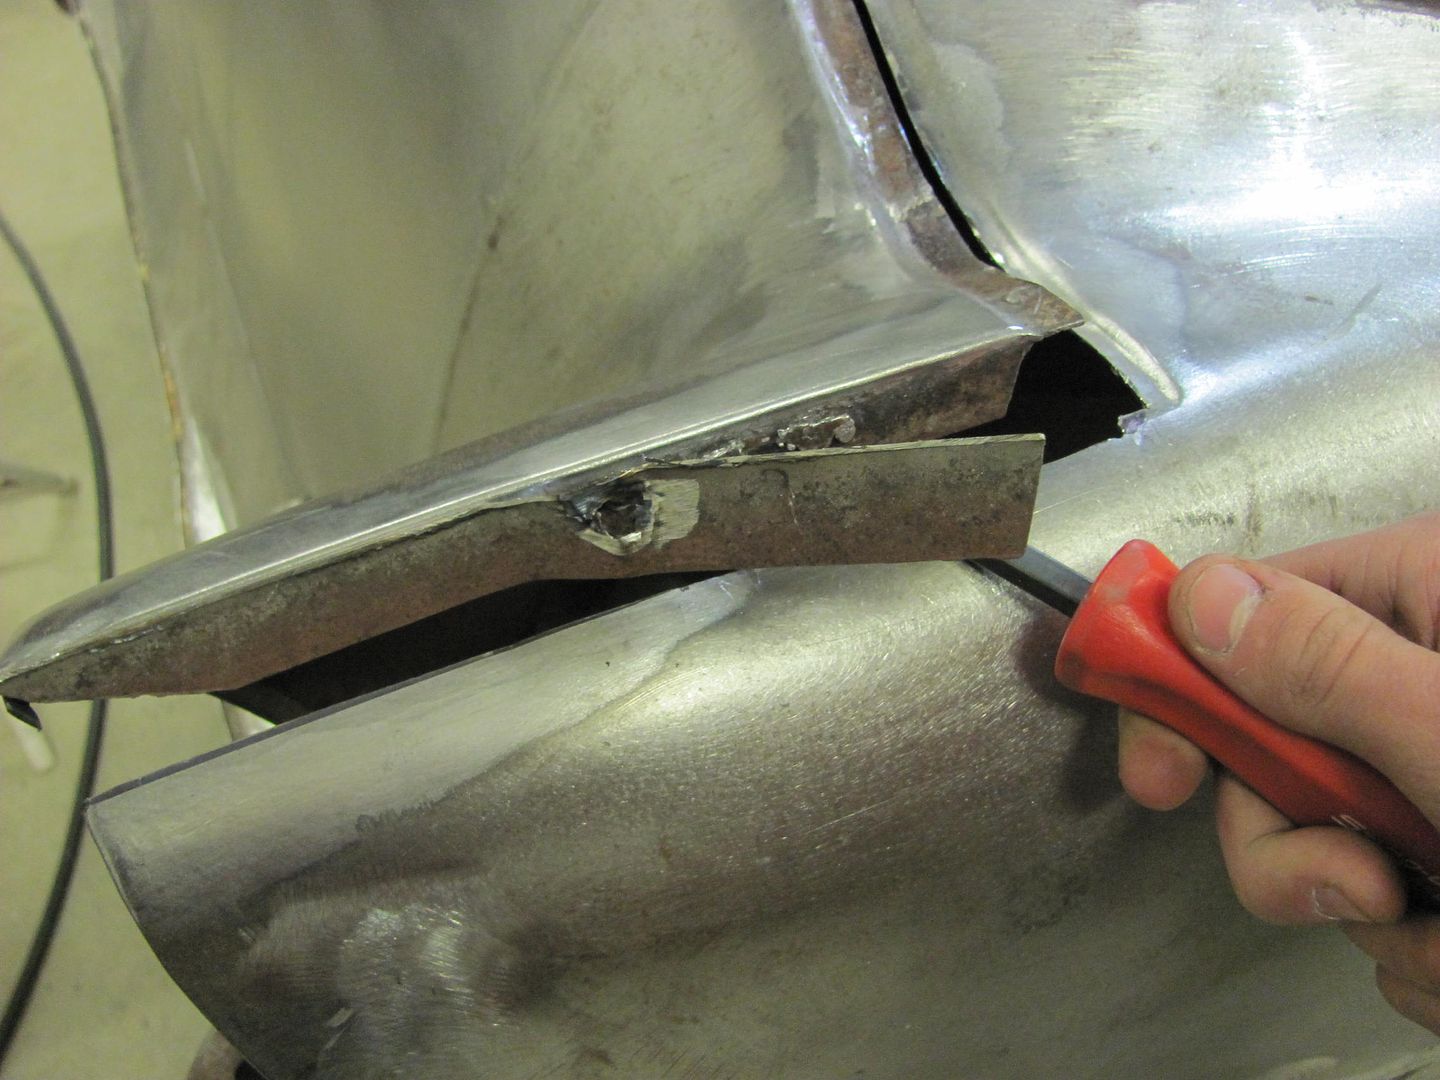
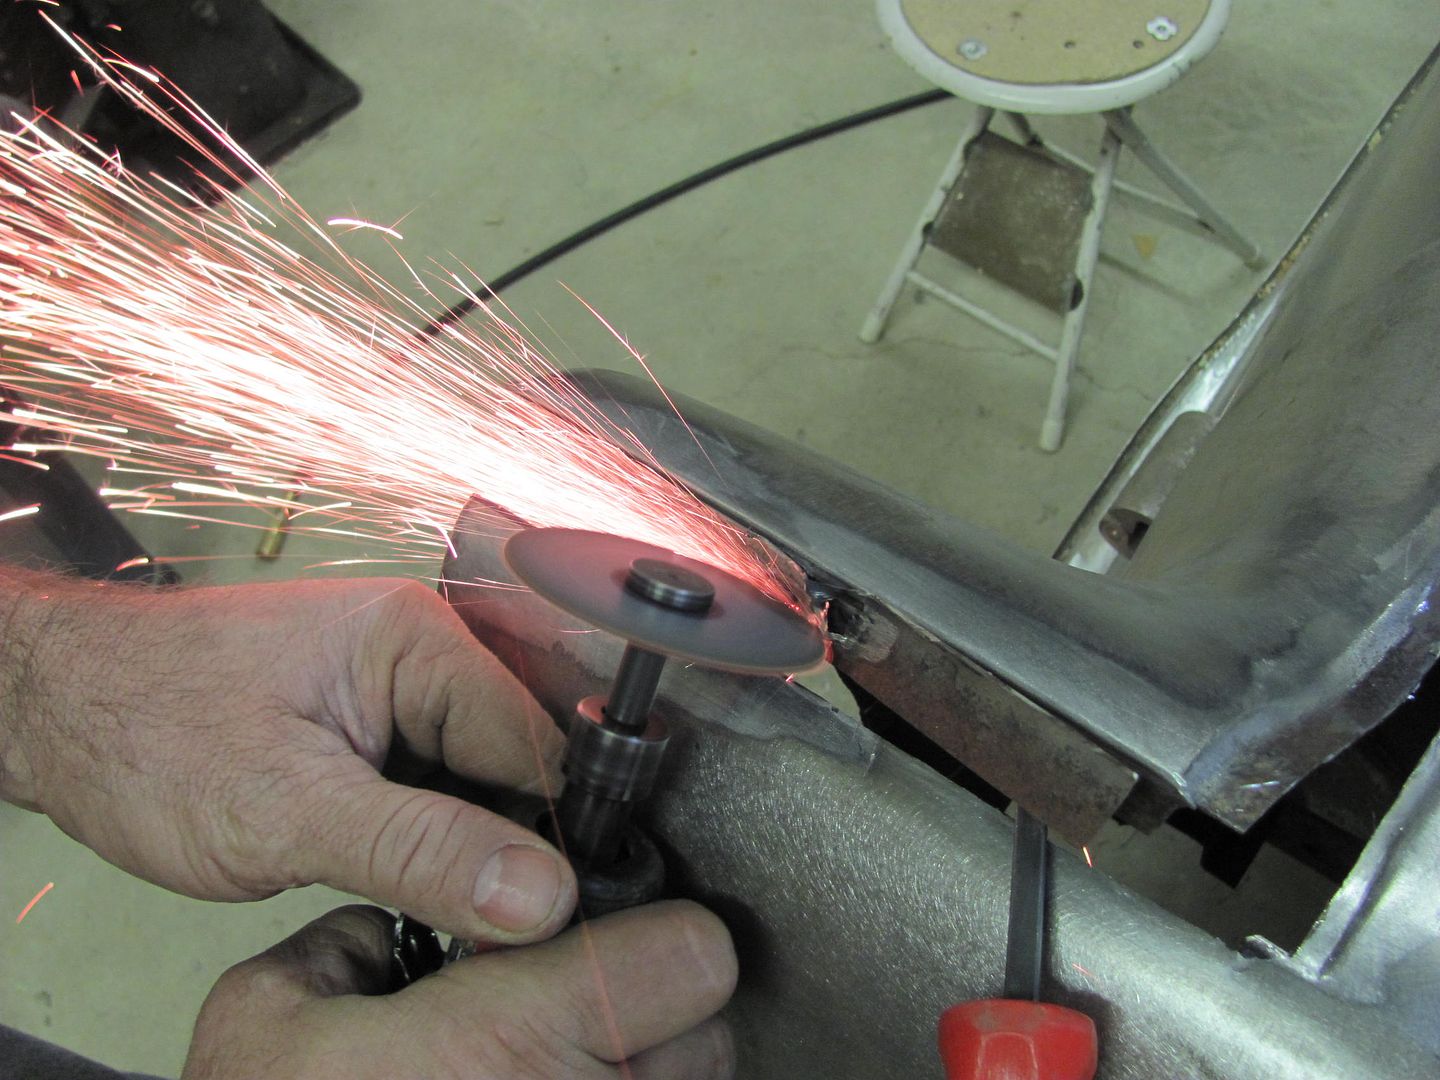
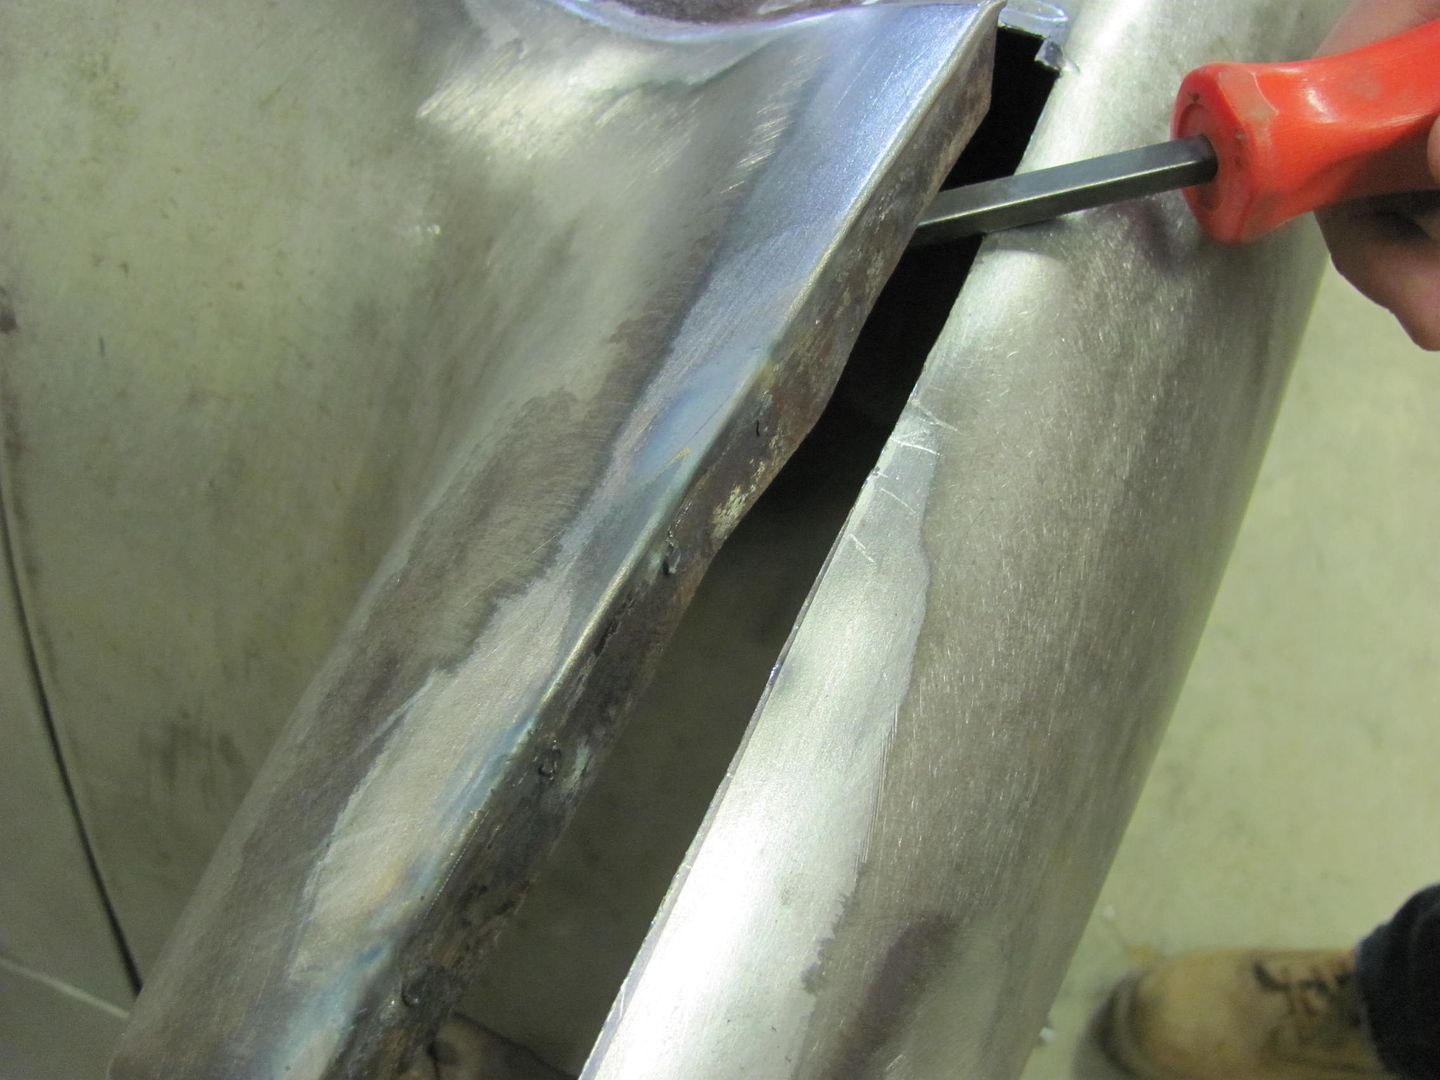
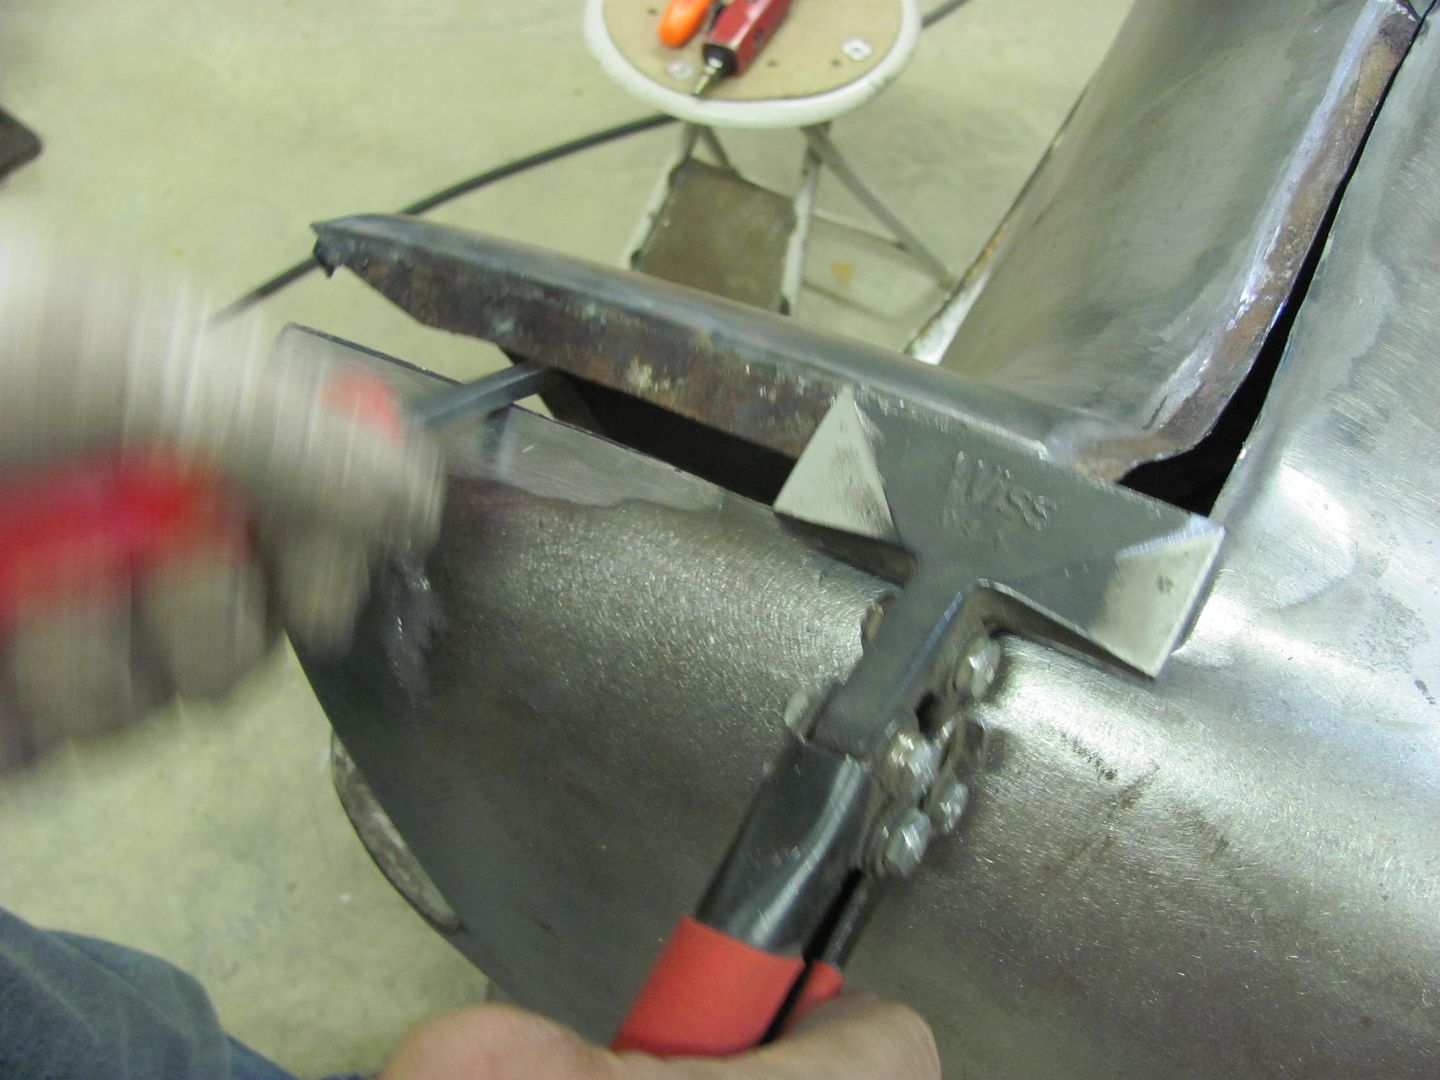
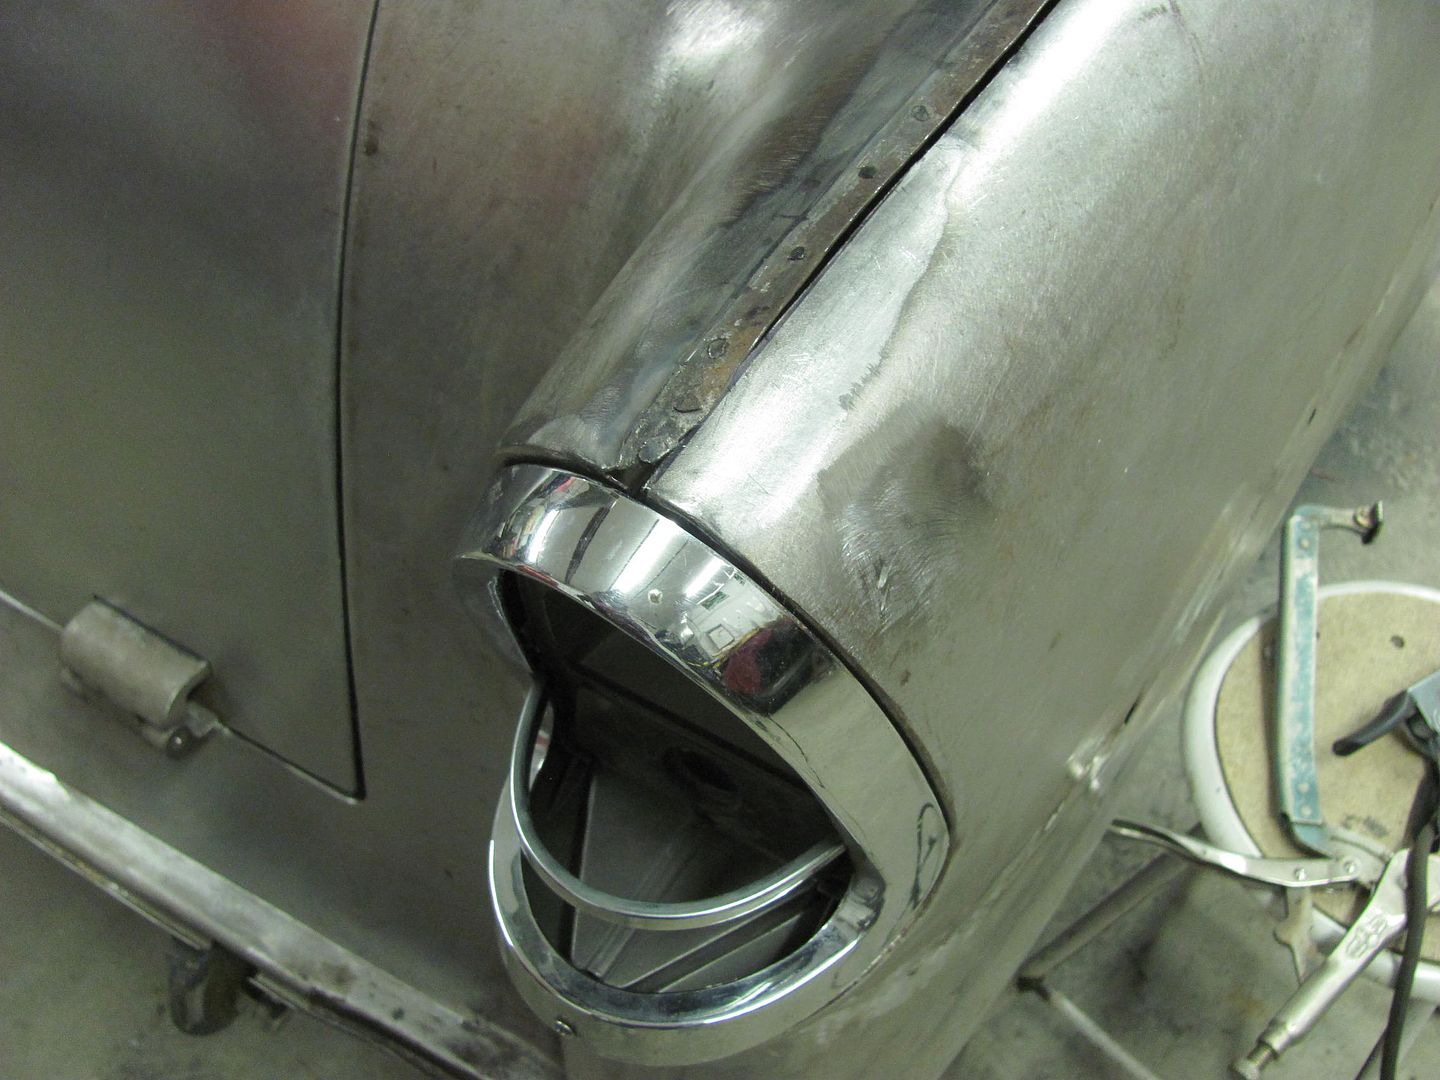
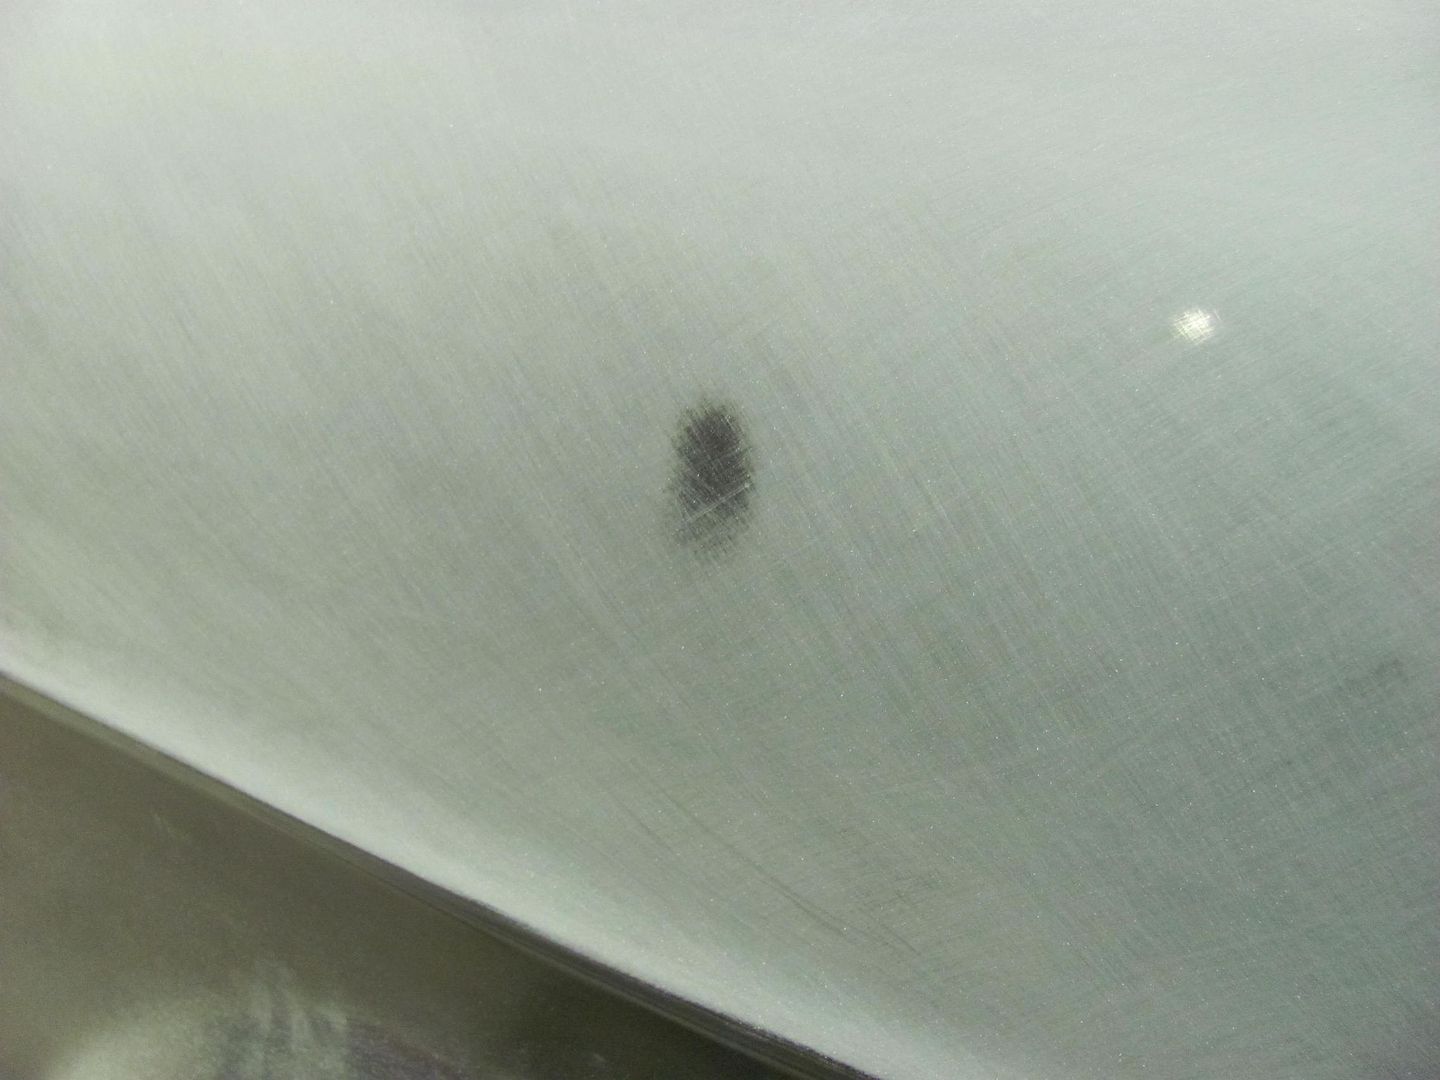
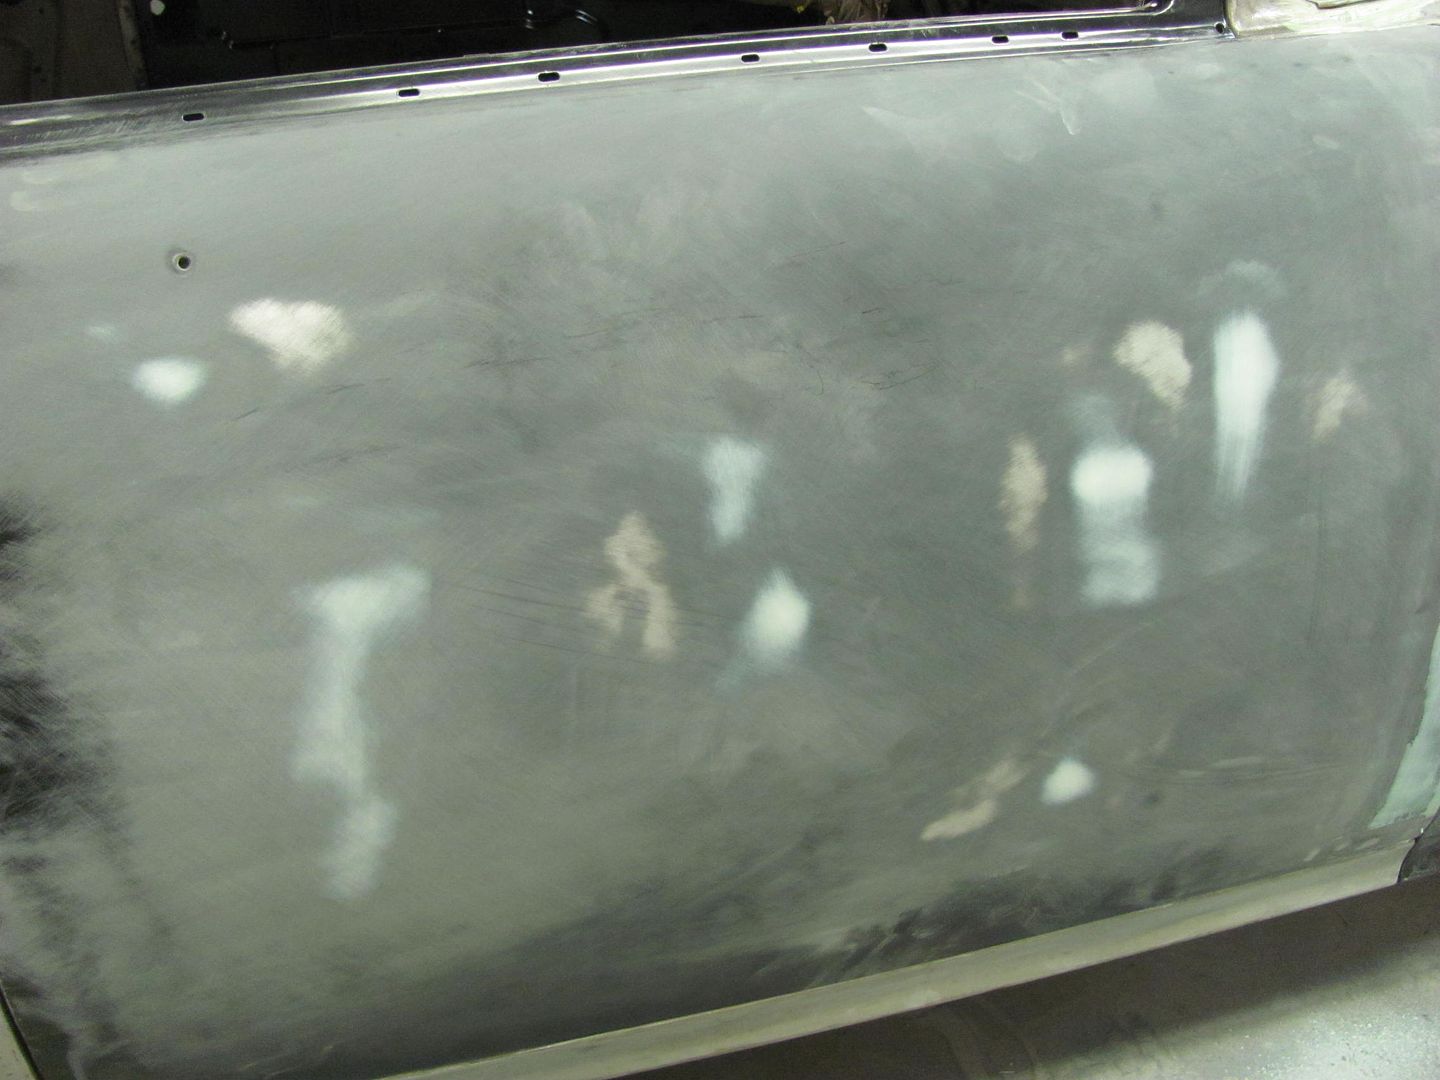
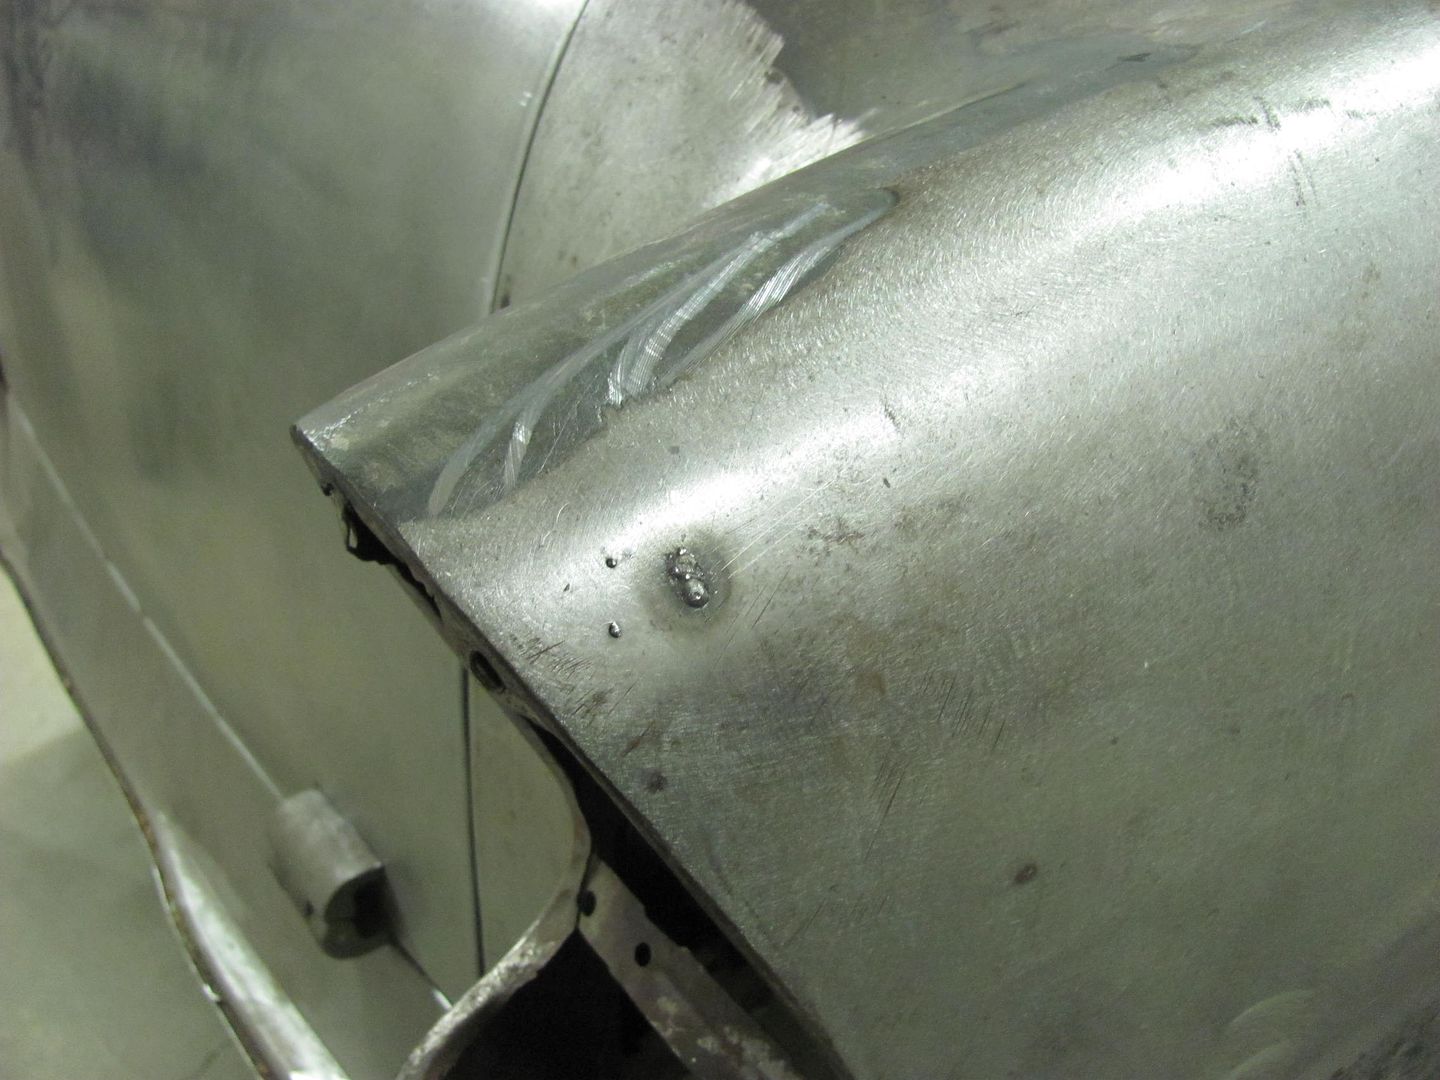
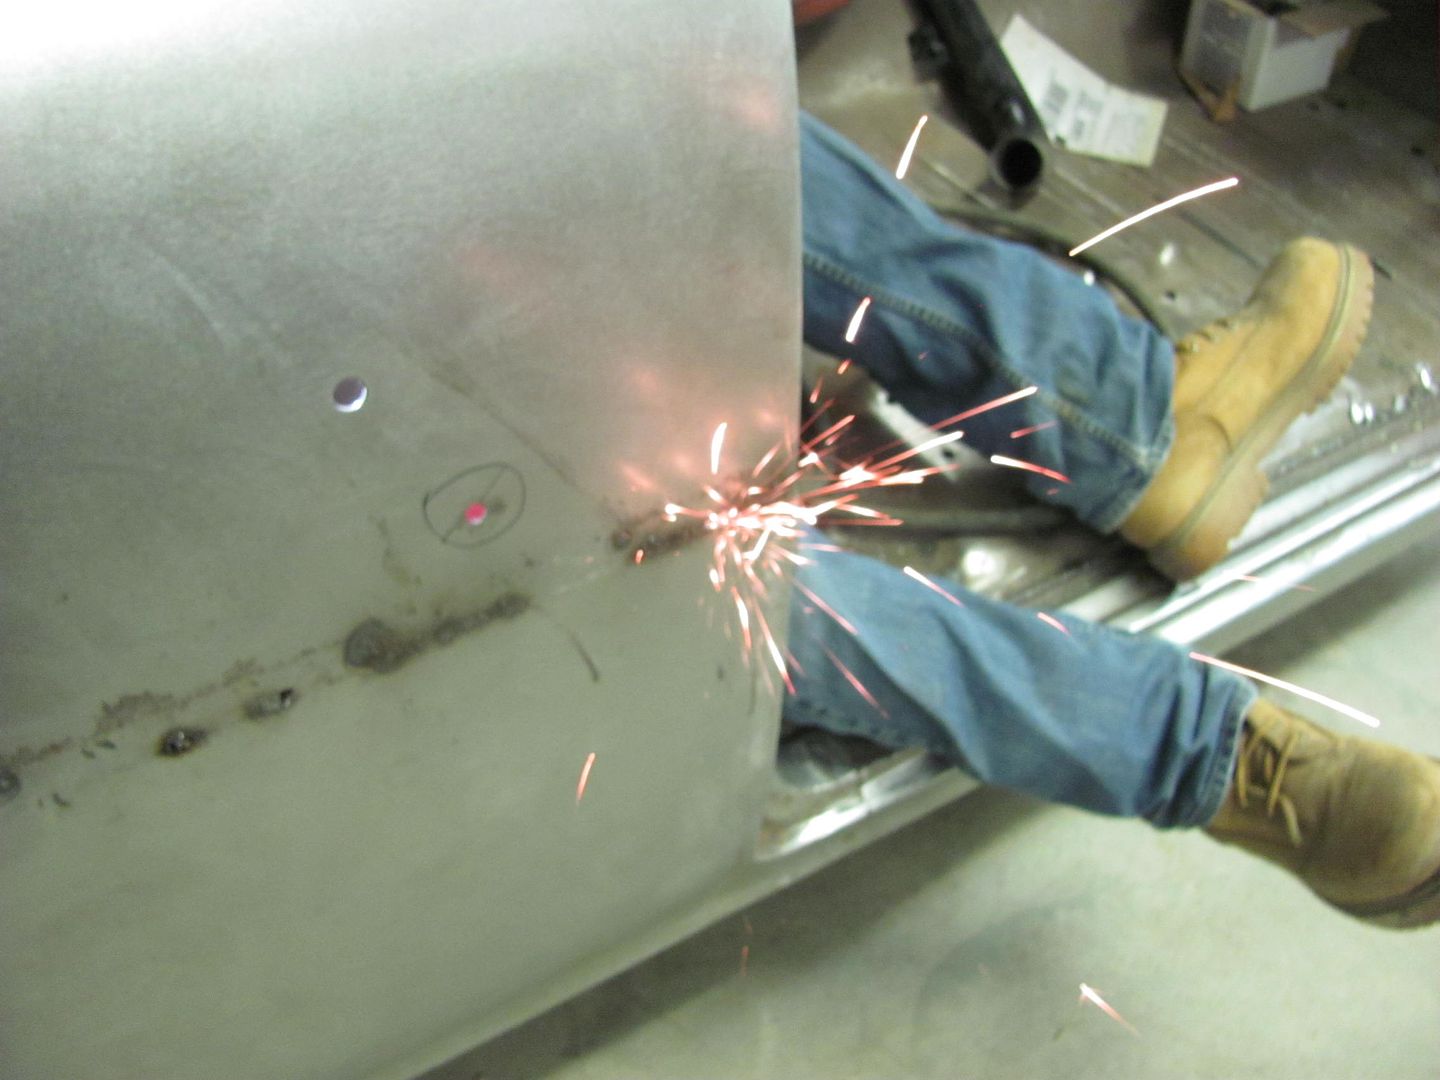
    After that we worked to fix some pin holes along the passenger quarter's weld.. using a light from the back side to show the pin holes...


    ....and this one was a pit from the back side, more of the dreaded dirt thrown from the rear tire causing rust....

    Robert


    MP&C Shop Projects-Metalshaping Tutorials


    Instagram @ mccartney_paint_and_custom


    .

  2. #52
    Registered Member MP&C's Avatar
    Join Date
    Dec 2013

    Member #:2017
    Location
    Southern MD
    Posts
    1,293
    Tonight we finished up radius-ing the liftgate opening...


    Next, we moved on to de-leading and shaving the last pinch weld seam at the back of the car. We've eliminated all of these to get rid of all the dirt/rust traps that we can...


    Removing the excess....


    Getting some gap filler.....


    Flattening out the creases....


    Tacked in place, and test fitting a tail light before trimming our gap filler....


    ....and we'll get the rest of the de-leading finished on Saturday...
    Robert


    MP&C Shop Projects-Metalshaping Tutorials


    Instagram @ mccartney_paint_and_custom


    .

  3. #53
    Registered Member MP&C's Avatar
    Join Date
    Dec 2013

    Member #:2017
    Location
    Southern MD
    Posts
    1,293
    A bit late posting the progress from yesterday.. We were supposed to finish up the passenger rear quarter, but looks like some reproduction tail light bezels are on the way. So just to be on the safe side, we'll post pone that so any final fitment will be to those parts once they get here... In the meantime, we got the primed body parts re-assembled yesterday, here installing the doors.....


    The SPI epoxy does a good job of providing it's own "guide coat". I blocked this with 180 grit...


    Here's some of the low spots filled with some evercoat...


    While I was block sanding, Kyle started modifying the hold down bracket for the battery. The post cutouts were on catty corner and didn't match todays battery posts. We had test fit the bracket on a 24F series Interstate today at Big Ed's Tires. Here's the filler piece....


    Shown here is the new location...


    Filler welded in place, and the new relief cut out...


    One down, one to go...
    Robert


    MP&C Shop Projects-Metalshaping Tutorials


    Instagram @ mccartney_paint_and_custom


    .

  4. #54
    Registered Member MP&C's Avatar
    Join Date
    Dec 2013

    Member #:2017
    Location
    Southern MD
    Posts
    1,293
    I've had guys ask what primer I was using and then why the switch to SPI, here's a home-brewed video (not mine) of a torture test on some panels sprayed with SPI... Pretty tough stuff...

    https://www.youtube.com/watch?v=-yA8q4K-_Bo


    .
    Robert


    MP&C Shop Projects-Metalshaping Tutorials


    Instagram @ mccartney_paint_and_custom


    .

  5. #55
    Registered Member MP&C's Avatar
    Join Date
    Dec 2013

    Member #:2017
    Location
    Southern MD
    Posts
    1,293
    Tonight's update. We took delivery on some nice used core support side panels from Jay Hammond's Chevy Parts. The others were quite mangled, so this will save quite a bit of time in making a set.


    Kyle finishing up the battery hold down modification...


    We also mocked up an MT24F battery...


    The factory version of this battery location for an air conditioned car also calls for a "zee" bracket to the back side of the core support.


    So with dimensions taken, a practice piece was cut out of poster board...


    Laid out on some 16 GA CRS...


    And got a bit more blocking done across the door gaps..


    Robert


    MP&C Shop Projects-Metalshaping Tutorials


    Instagram @ mccartney_paint_and_custom


    .

  6. #56
    Registered Member chevynut's Avatar
    Join Date
    Nov 2011

    Member #:115
    Location
    Fort Collins, CO
    Posts
    10,853
    That SPI epoxy looks like some pretty good stuff. I would be hesitant to mix brands of epoxy and urethane primer, though. How are you going to deal with that issue? I guess I did that when I used Evercoat Slick Sand over my epoxy (polyester) followed by PPG K36 urethane primer.
    56 Nomad, Ramjet 502, Viper 6-speed T56, C4 Corvette front and rear suspension


    Other vehicles:

    56 Chevy 2-door BelAir sedan
    56 Chevy 210 4-door sedan
    57 Chevy 210 4-door sedan
    1962 327/340HP Corvette
    1961 Willys CJ3B Jeep
    2001 Porsche Boxster S
    2003 Chevy Silverado 2500 HD Duramax
    2019 GMC Sierra Denali Duramax

  7. #57
    Registered Member MP&C's Avatar
    Join Date
    Dec 2013

    Member #:2017
    Location
    Southern MD
    Posts
    1,293
    Shouldn't be an issue. The epoxy will make a good sealer after something like slick sand.
    Robert


    MP&C Shop Projects-Metalshaping Tutorials


    Instagram @ mccartney_paint_and_custom


    .

  8. #58
    Registered Member chevynut's Avatar
    Join Date
    Nov 2011

    Member #:115
    Location
    Fort Collins, CO
    Posts
    10,853
    Quote Originally Posted by MP&C View Post
    Shouldn't be an issue. The epoxy will make a good sealer after something like slick sand.
    So you plan to use SPI epoxy again over high-build primer? Are you using SPI topcoat too? I was warned long ago not to mix brands of paint materials, but I don't know how big of a deal that really is.
    56 Nomad, Ramjet 502, Viper 6-speed T56, C4 Corvette front and rear suspension


    Other vehicles:

    56 Chevy 2-door BelAir sedan
    56 Chevy 210 4-door sedan
    57 Chevy 210 4-door sedan
    1962 327/340HP Corvette
    1961 Willys CJ3B Jeep
    2001 Porsche Boxster S
    2003 Chevy Silverado 2500 HD Duramax
    2019 GMC Sierra Denali Duramax

  9. #59
    Registered Member
    Join Date
    Apr 2012

    Member #:571
    Posts
    4,672
    I have seen similar tests on PPG DP epoxy primer on other sites. I have no hesitation using the PPG product. I see no functional advantage to SPI over PPG except for the sandabiility of the SPI. But since I do my block sanding with other materials that's not an issue for me.

    I also don't see a problem with mixing material suppliers when it's quality primers. After all they are supposed to be a barrier. Look at the list of things that PPG DP is compatible with. Just about everything PPG makes. Why wouldn't it be compatible with other brands?

    Also, lots of painters use different brands of clear relative to the basecoat.

    Not saying there might not be a surprise out there.

  10. #60
    Registered Member MP&C's Avatar
    Join Date
    Dec 2013

    Member #:2017
    Location
    Southern MD
    Posts
    1,293
    Yes, work on the lows and epoxy over it again. It provides a more stable base for what goes on top over a 2K high build.. It does sand extremely well, even better than the H/K I was used to...
    Last edited by MP&C; 01-29-2015 at 09:02 AM.
    Robert


    MP&C Shop Projects-Metalshaping Tutorials


    Instagram @ mccartney_paint_and_custom


    .

Page 6 of 102 FirstFirst ... 456781656 ... LastLast

Posting Permissions

  • You may not post new threads
  • You may not post replies
  • You may not post attachments
  • You may not edit your posts
  •