Just joined? Please introduce yourself.
Page 14 of 102 FirstFirst ... 412131415162464 ... LastLast
Results 131 to 140 of 1019

Thread: wagon progress

  1. #131
    Registered Member chevynut's Avatar
    Join Date
    Nov 2011

    Member #:115
    Location
    Fort Collins, CO
    Posts
    10,847
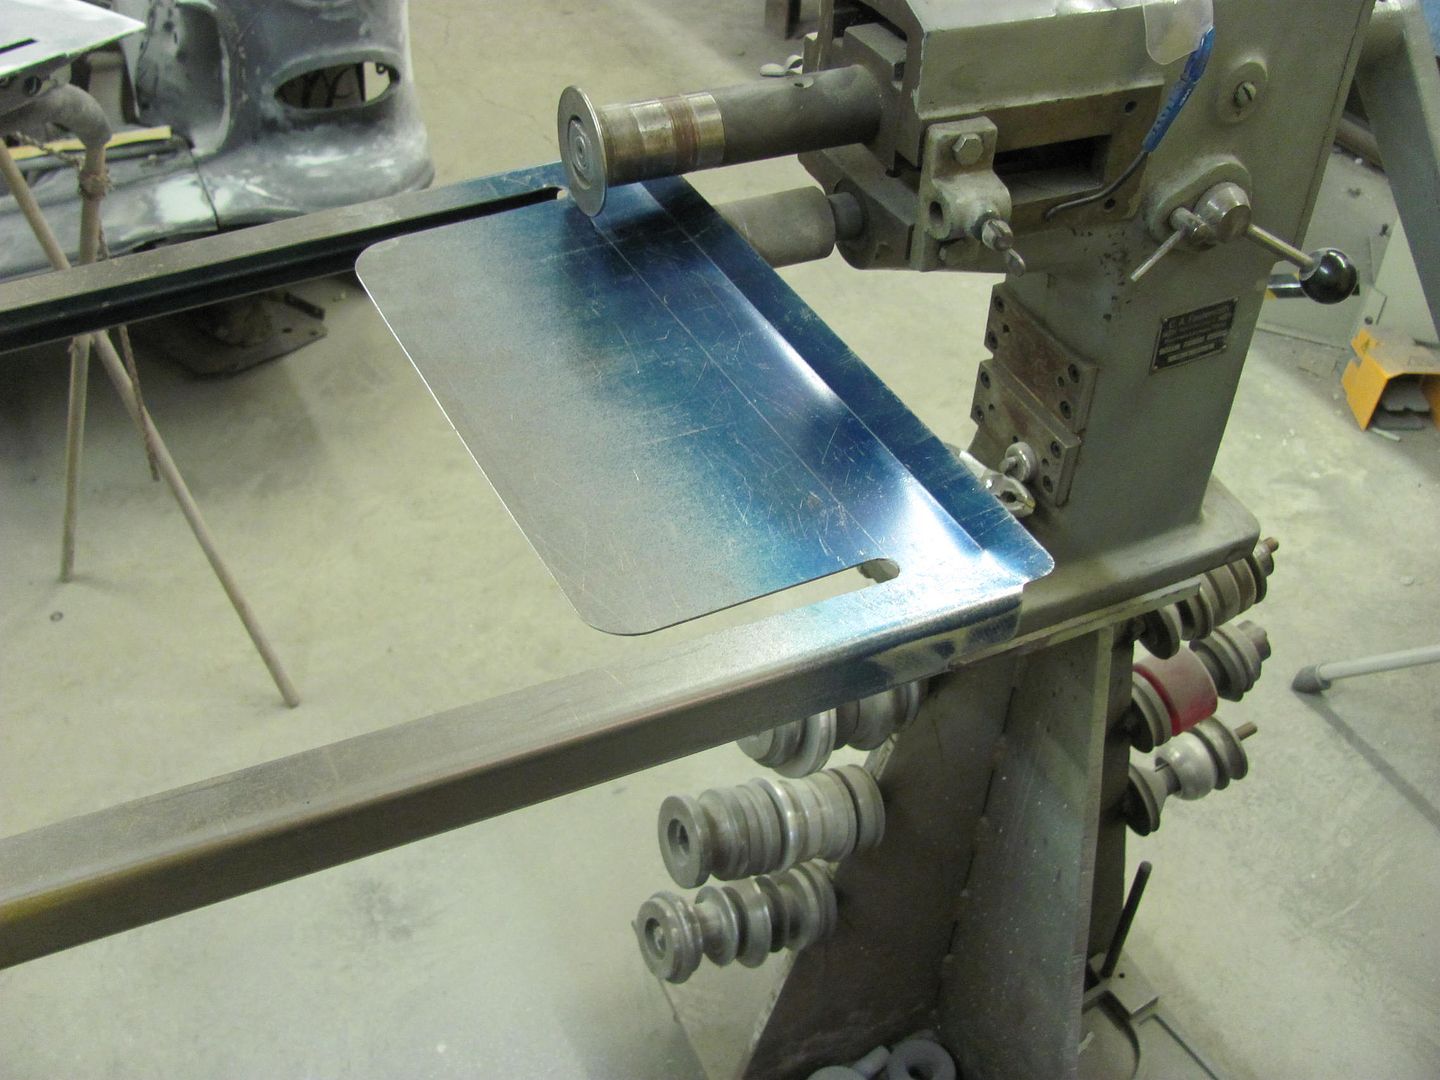
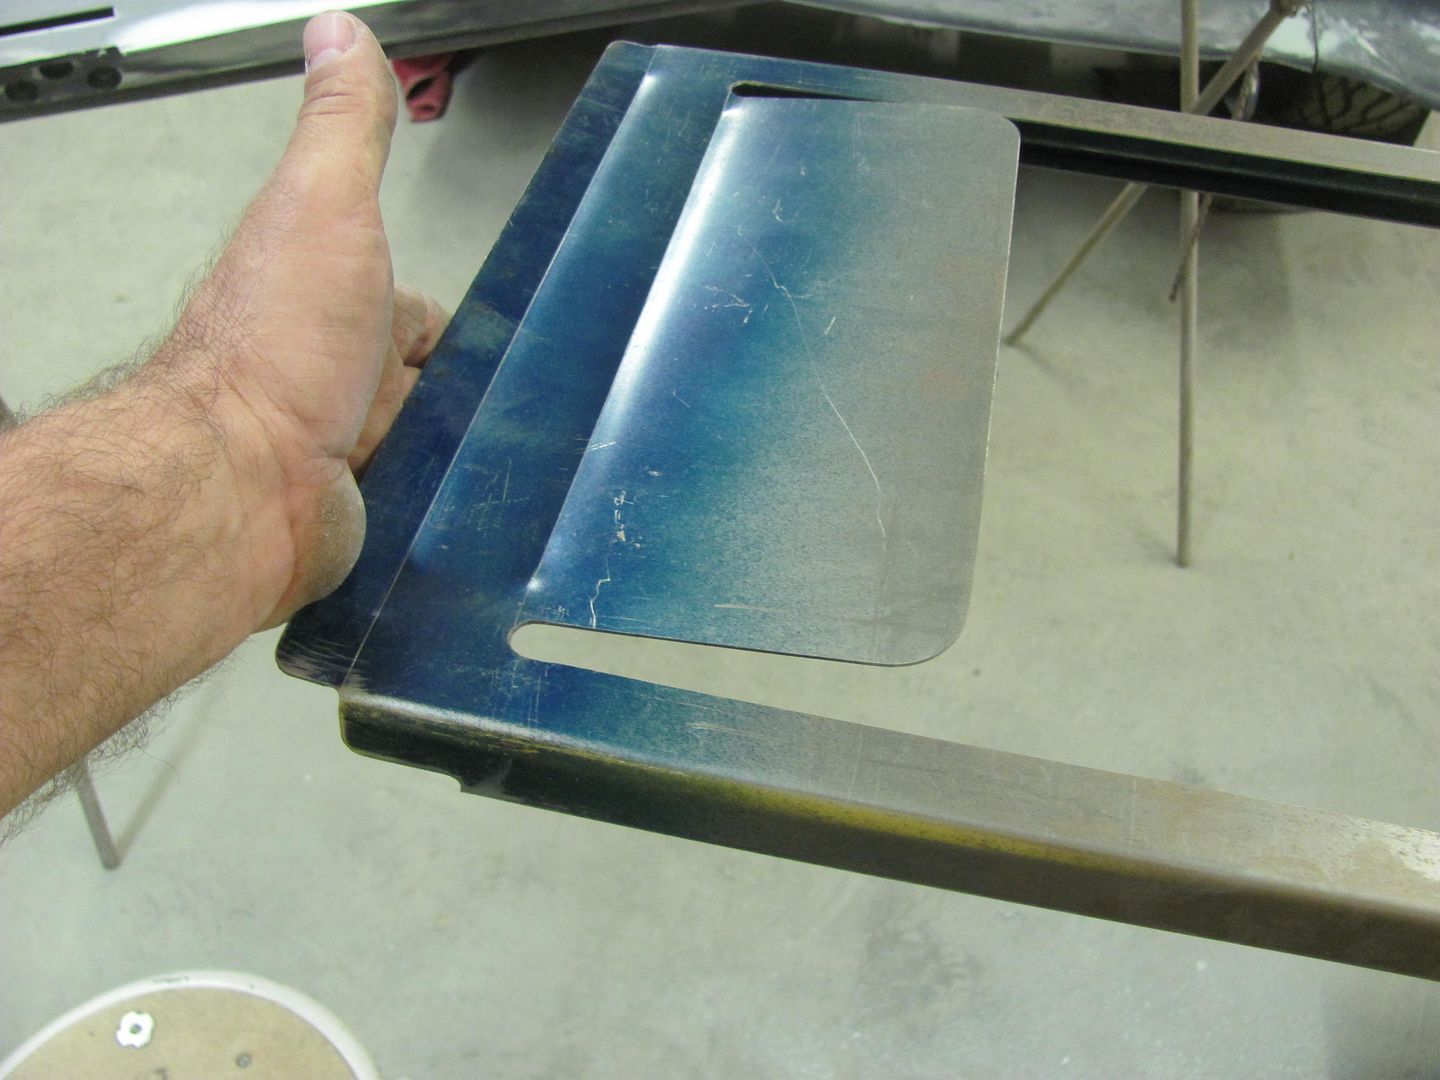
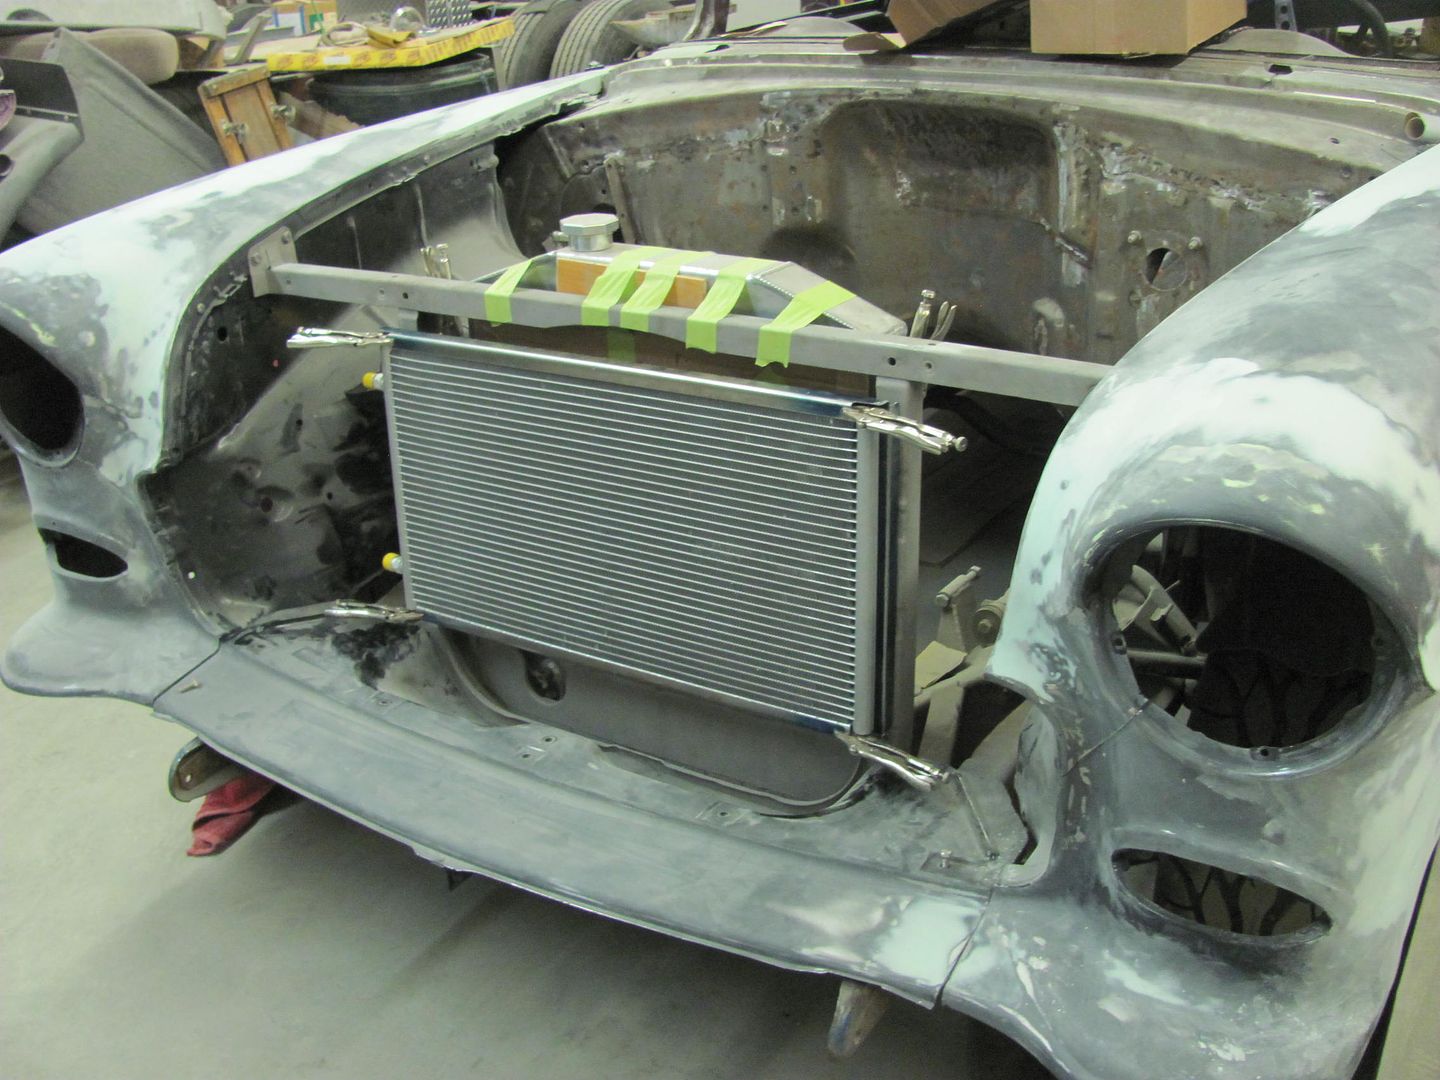
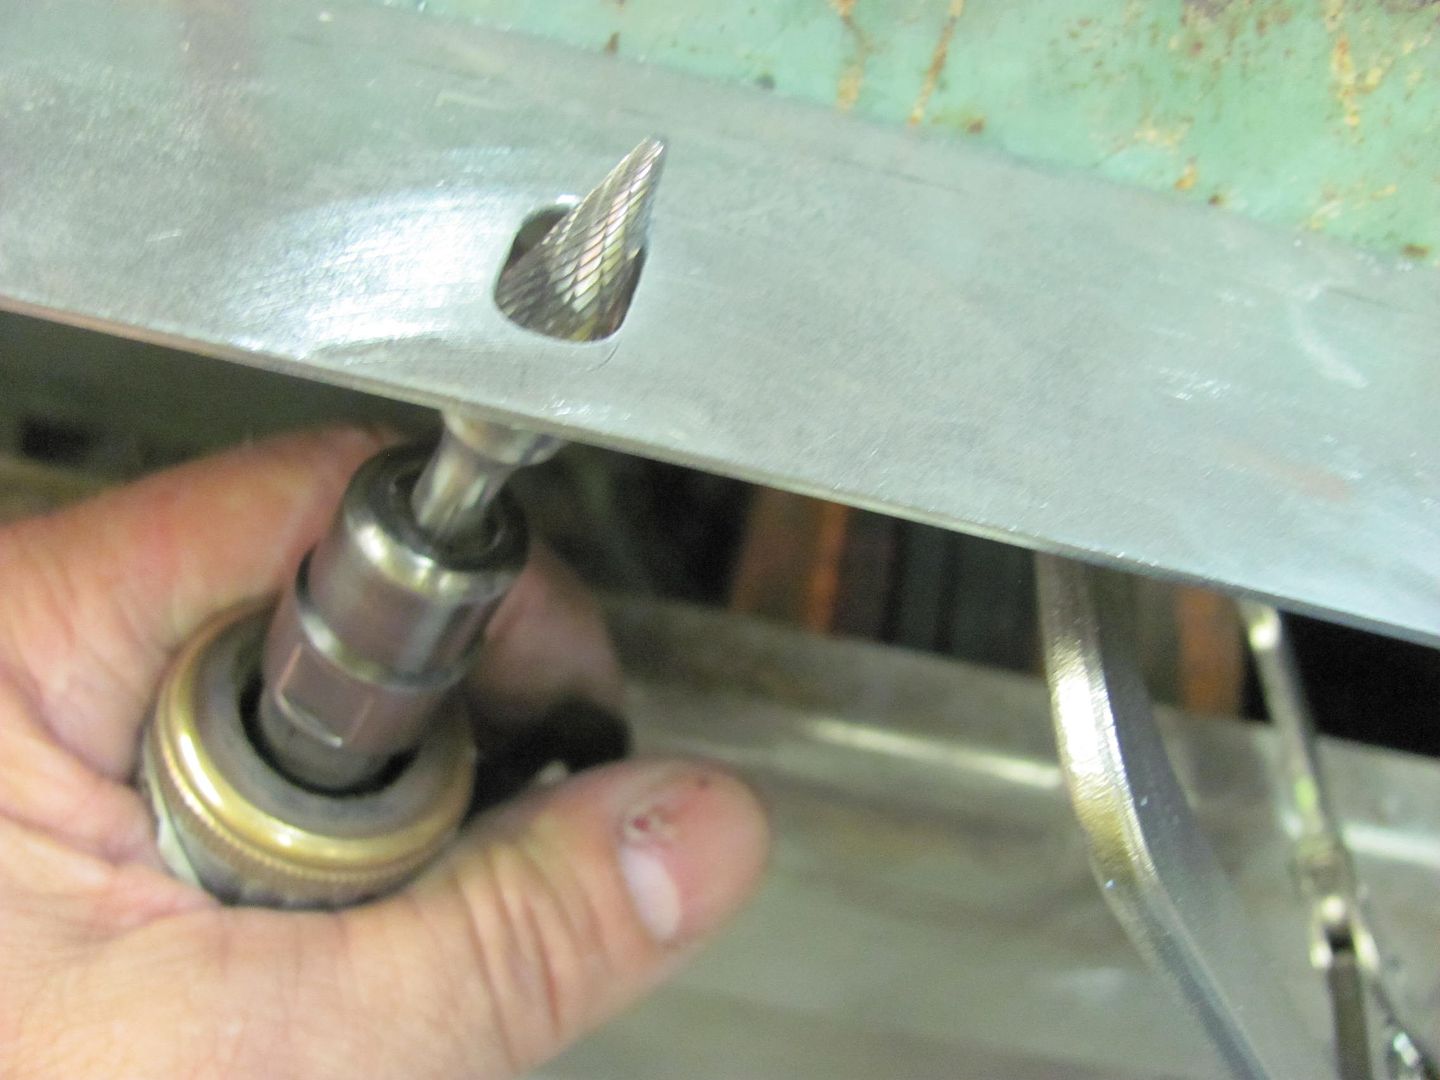
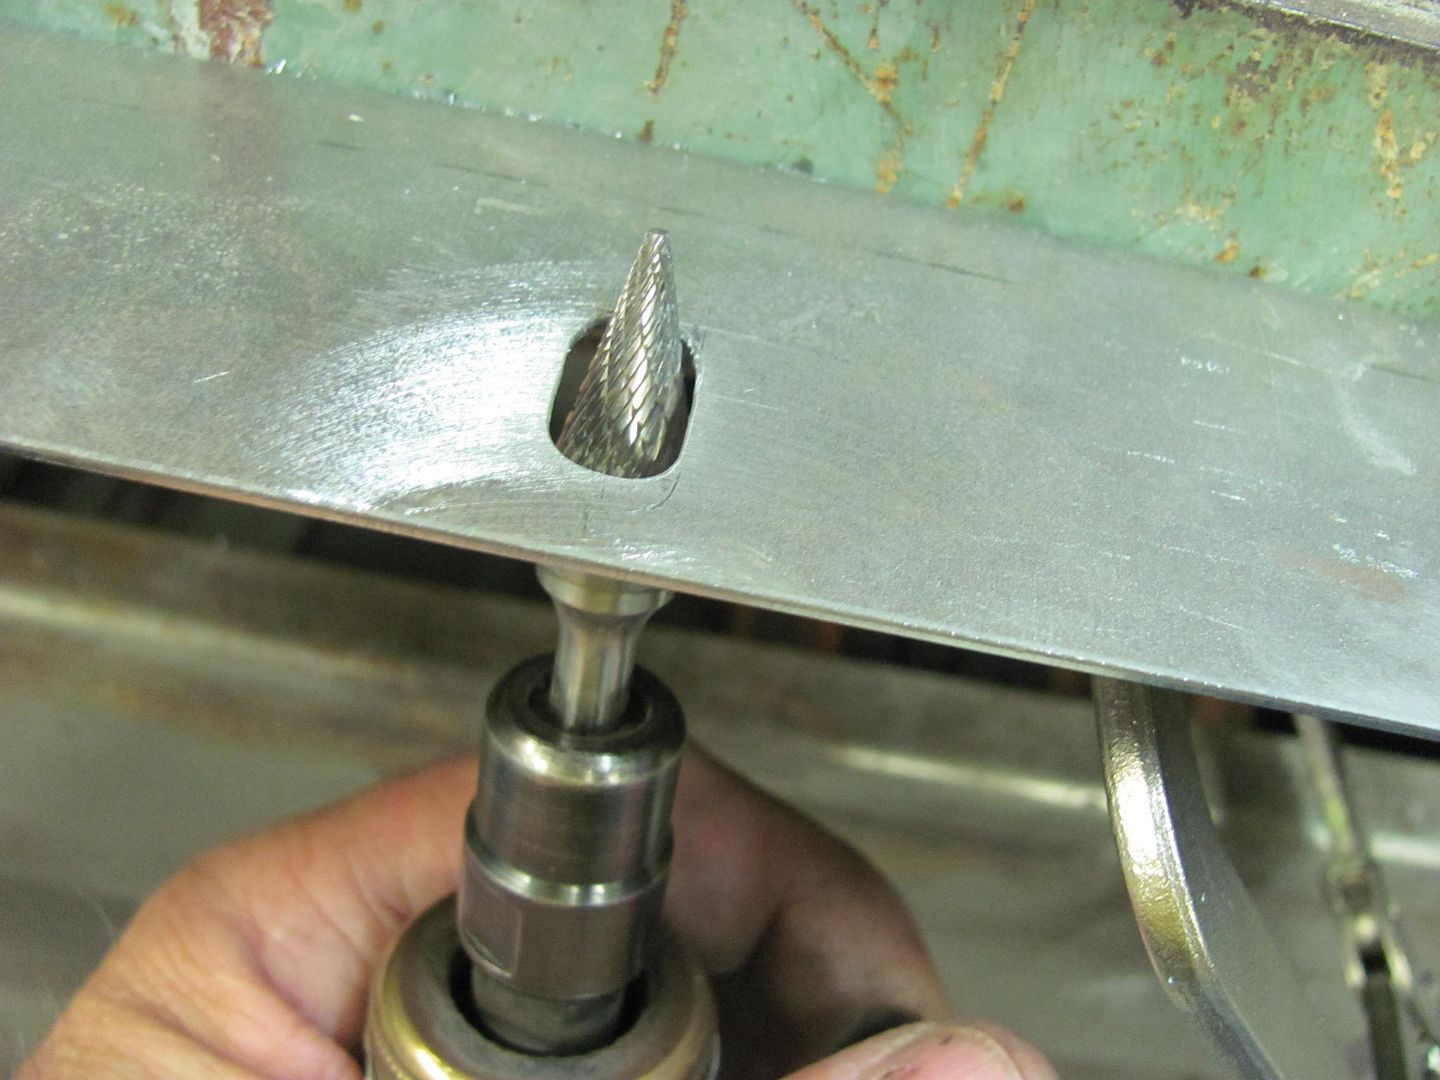
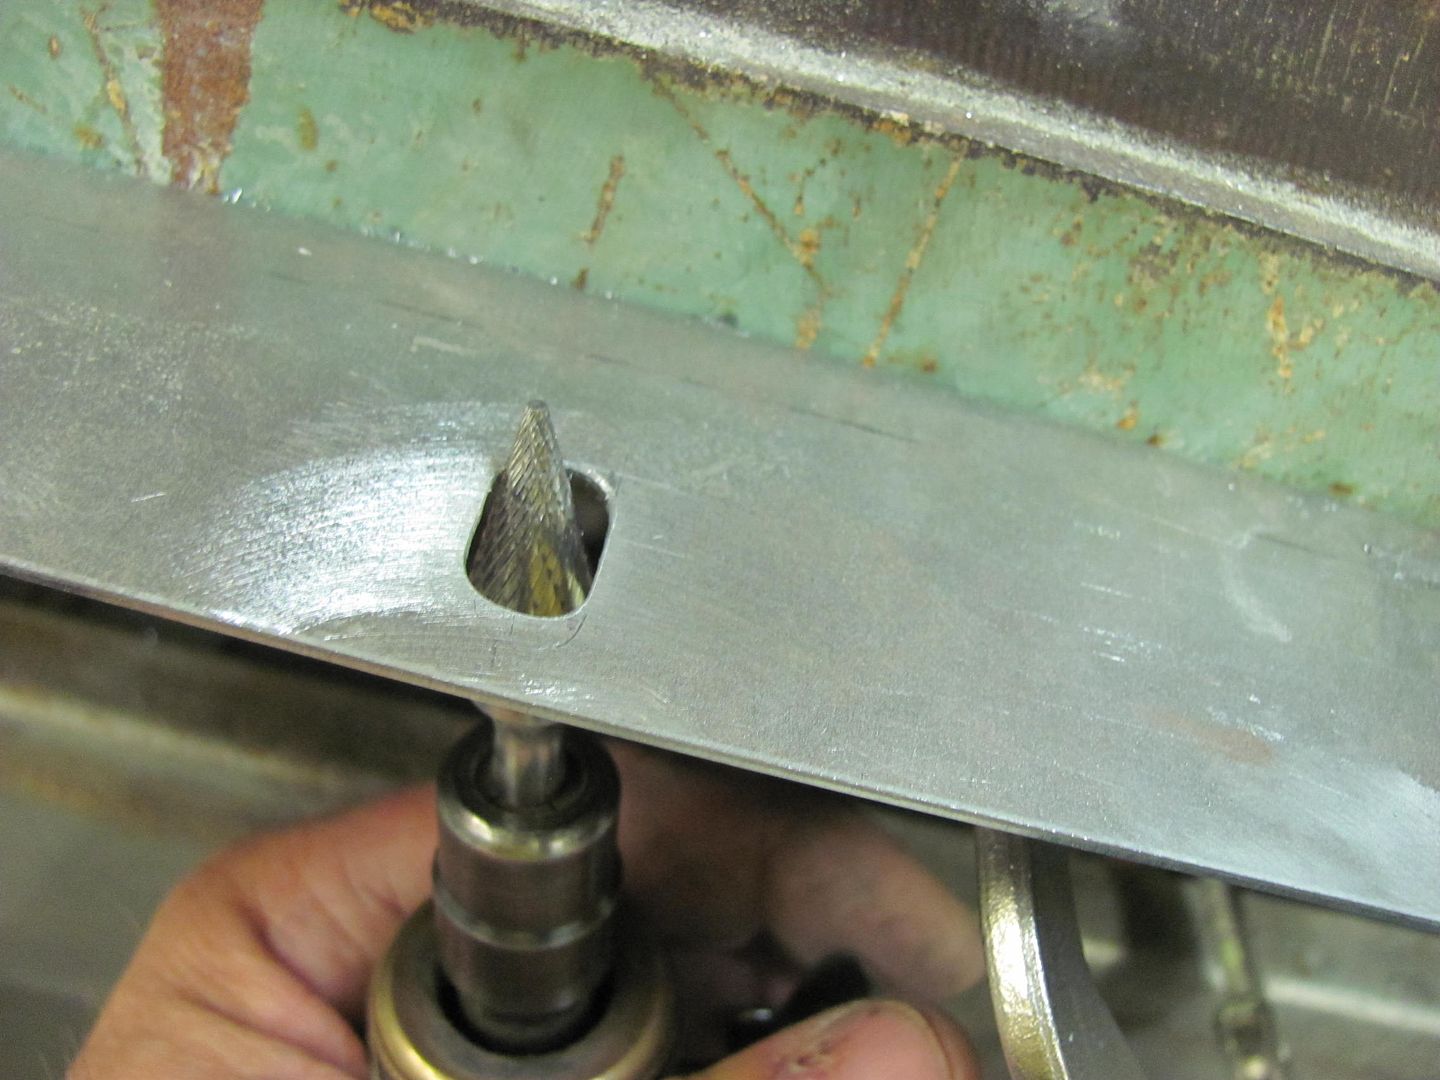
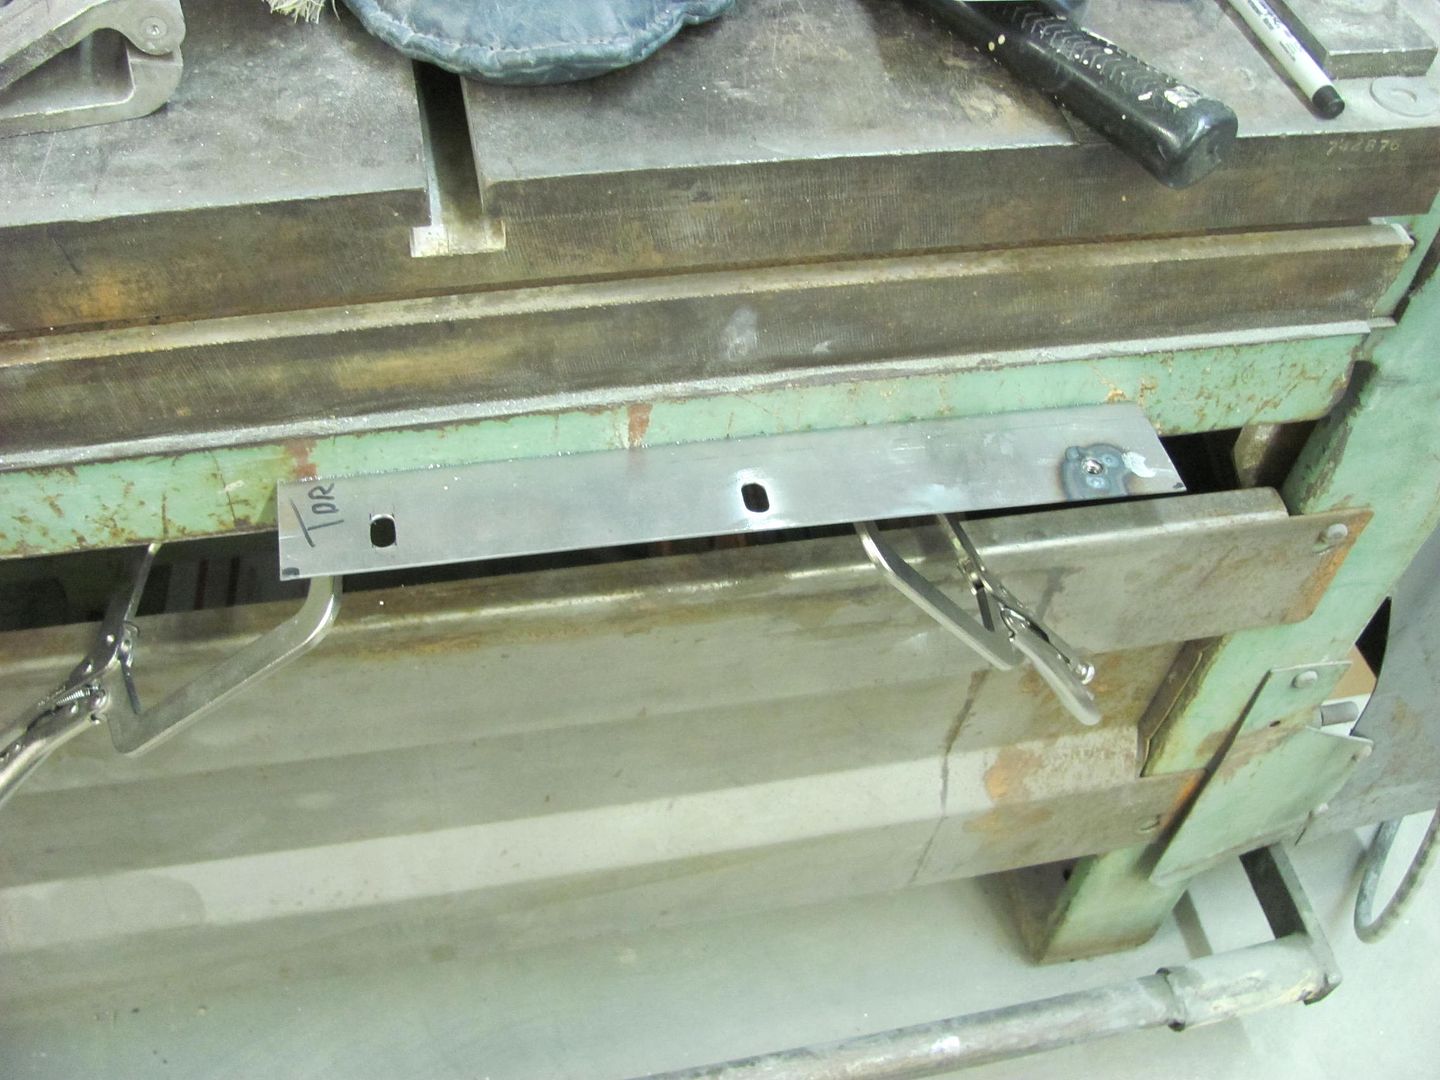
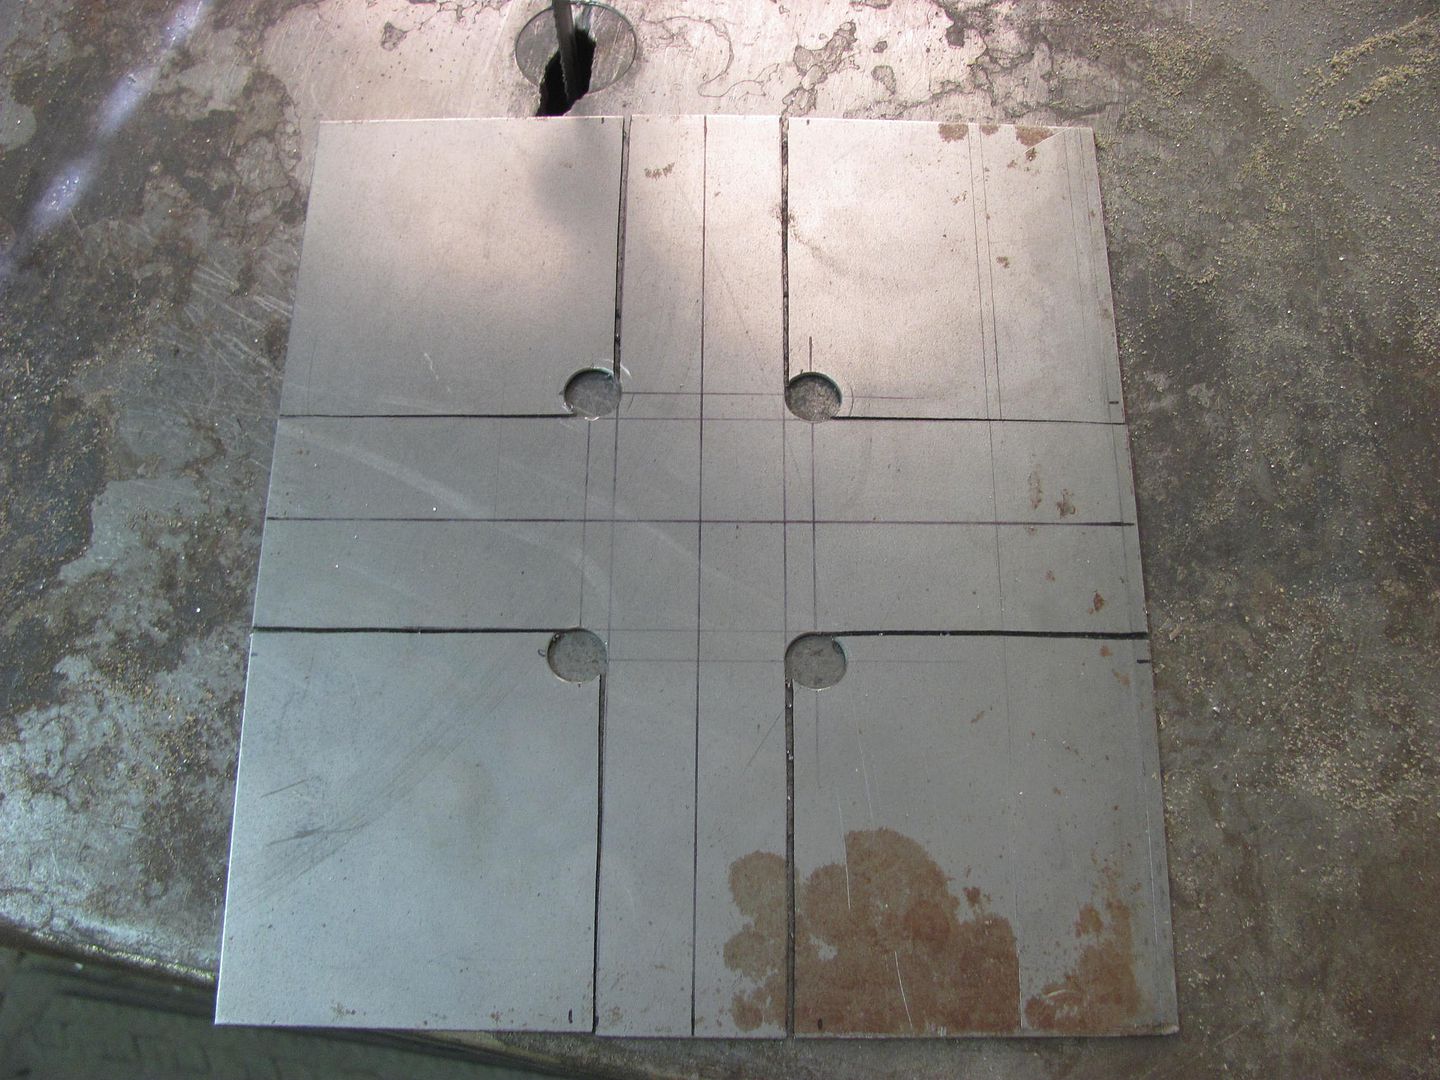
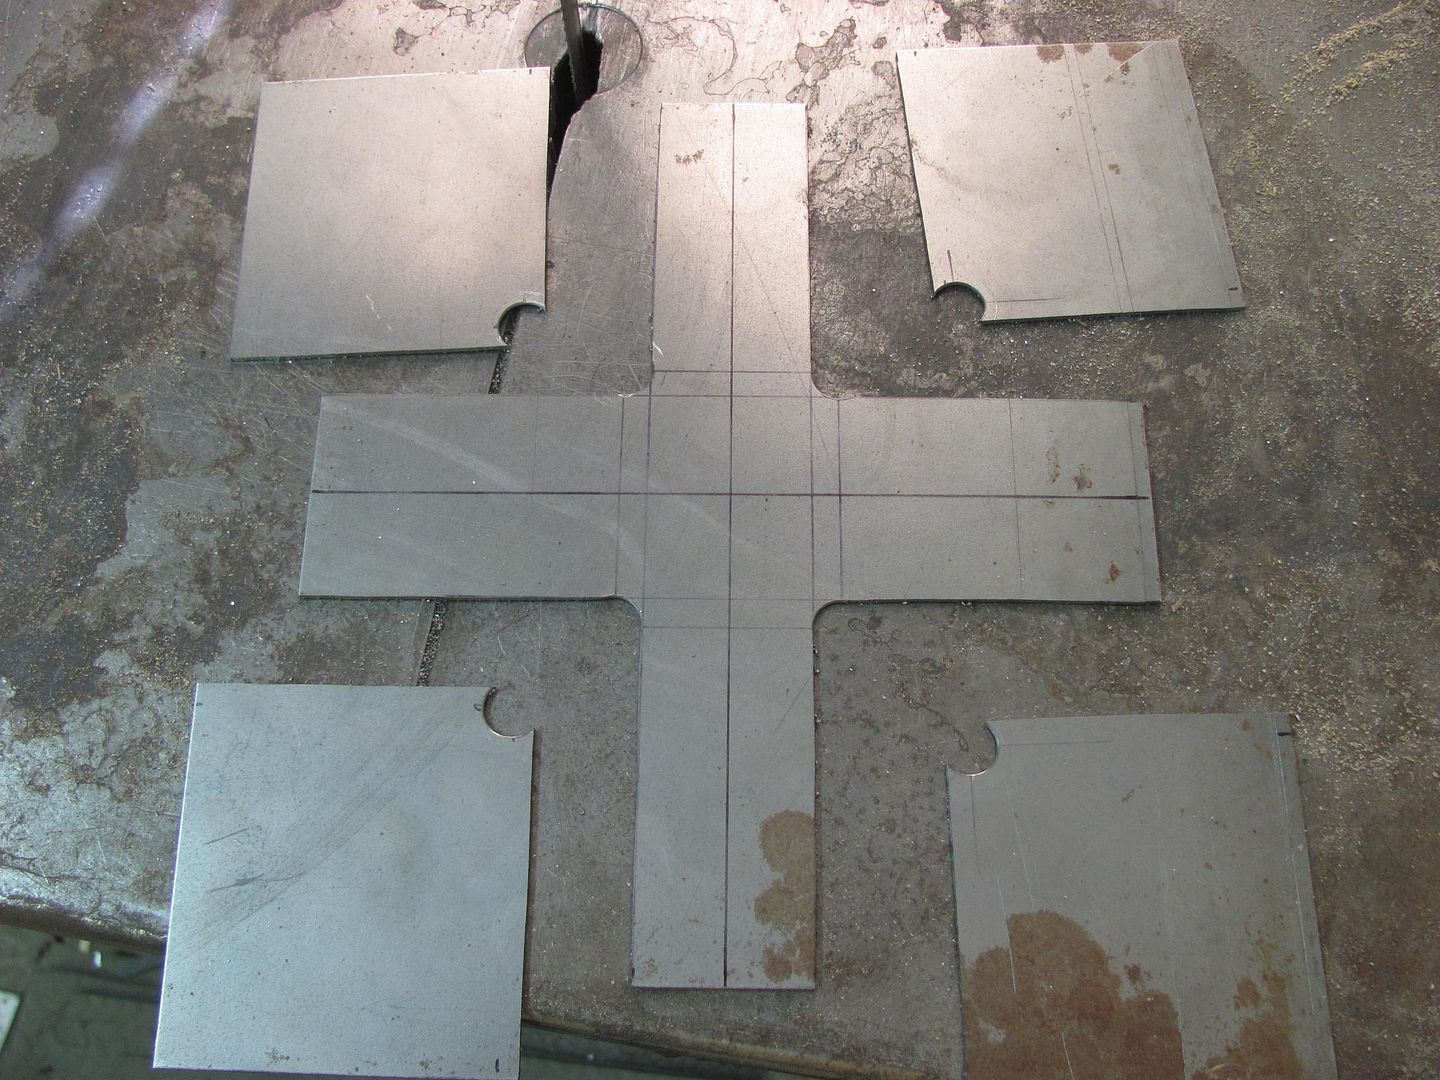
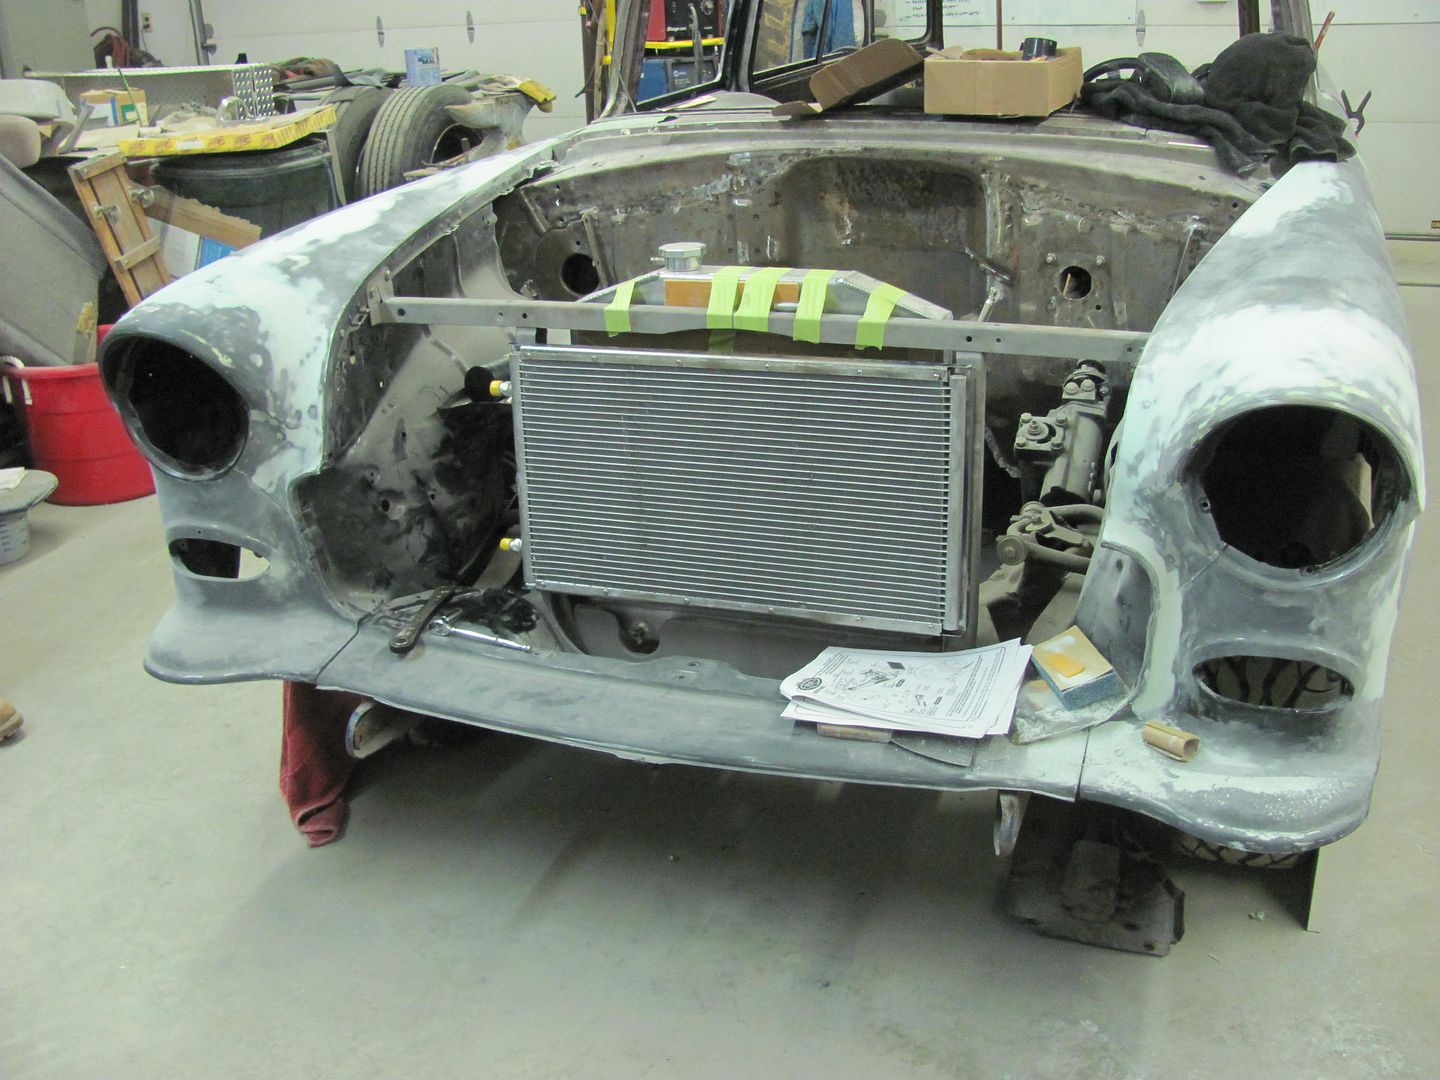
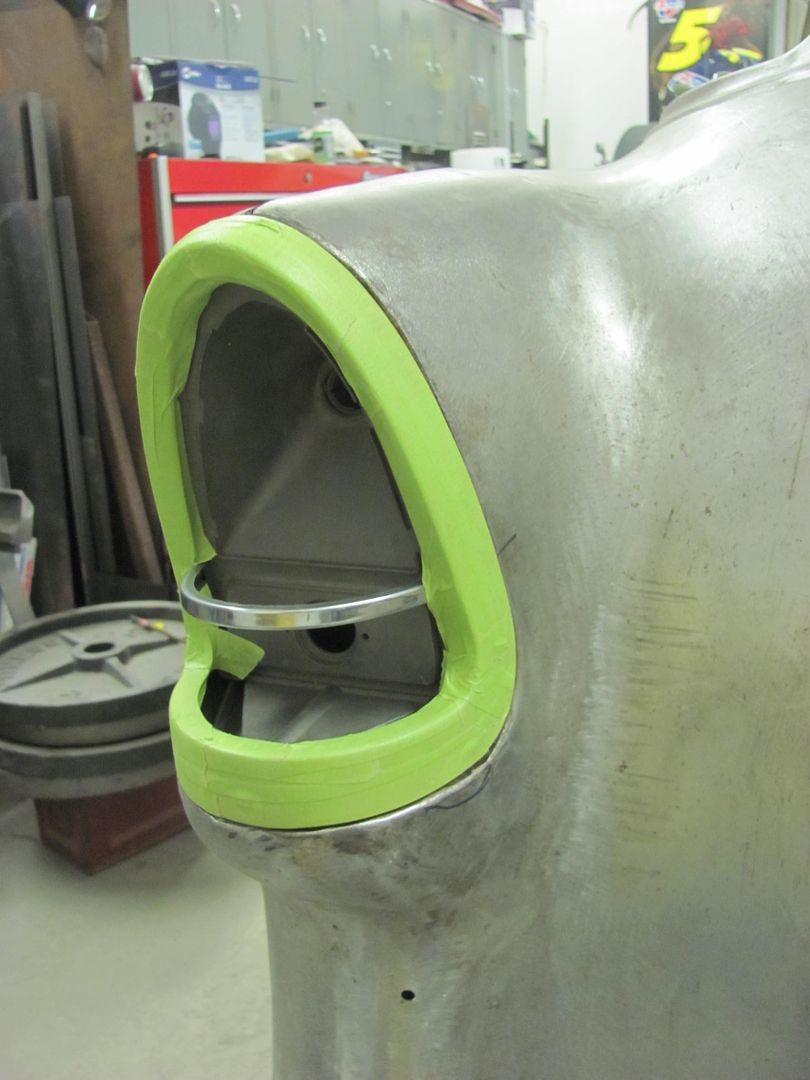
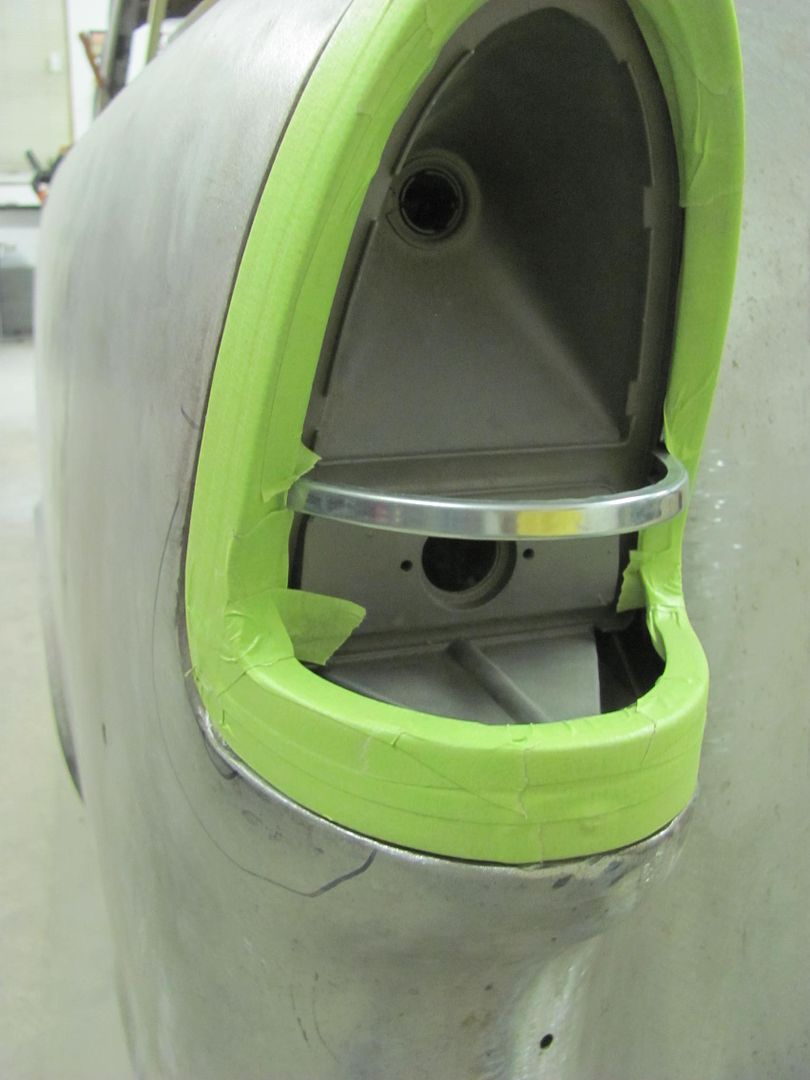
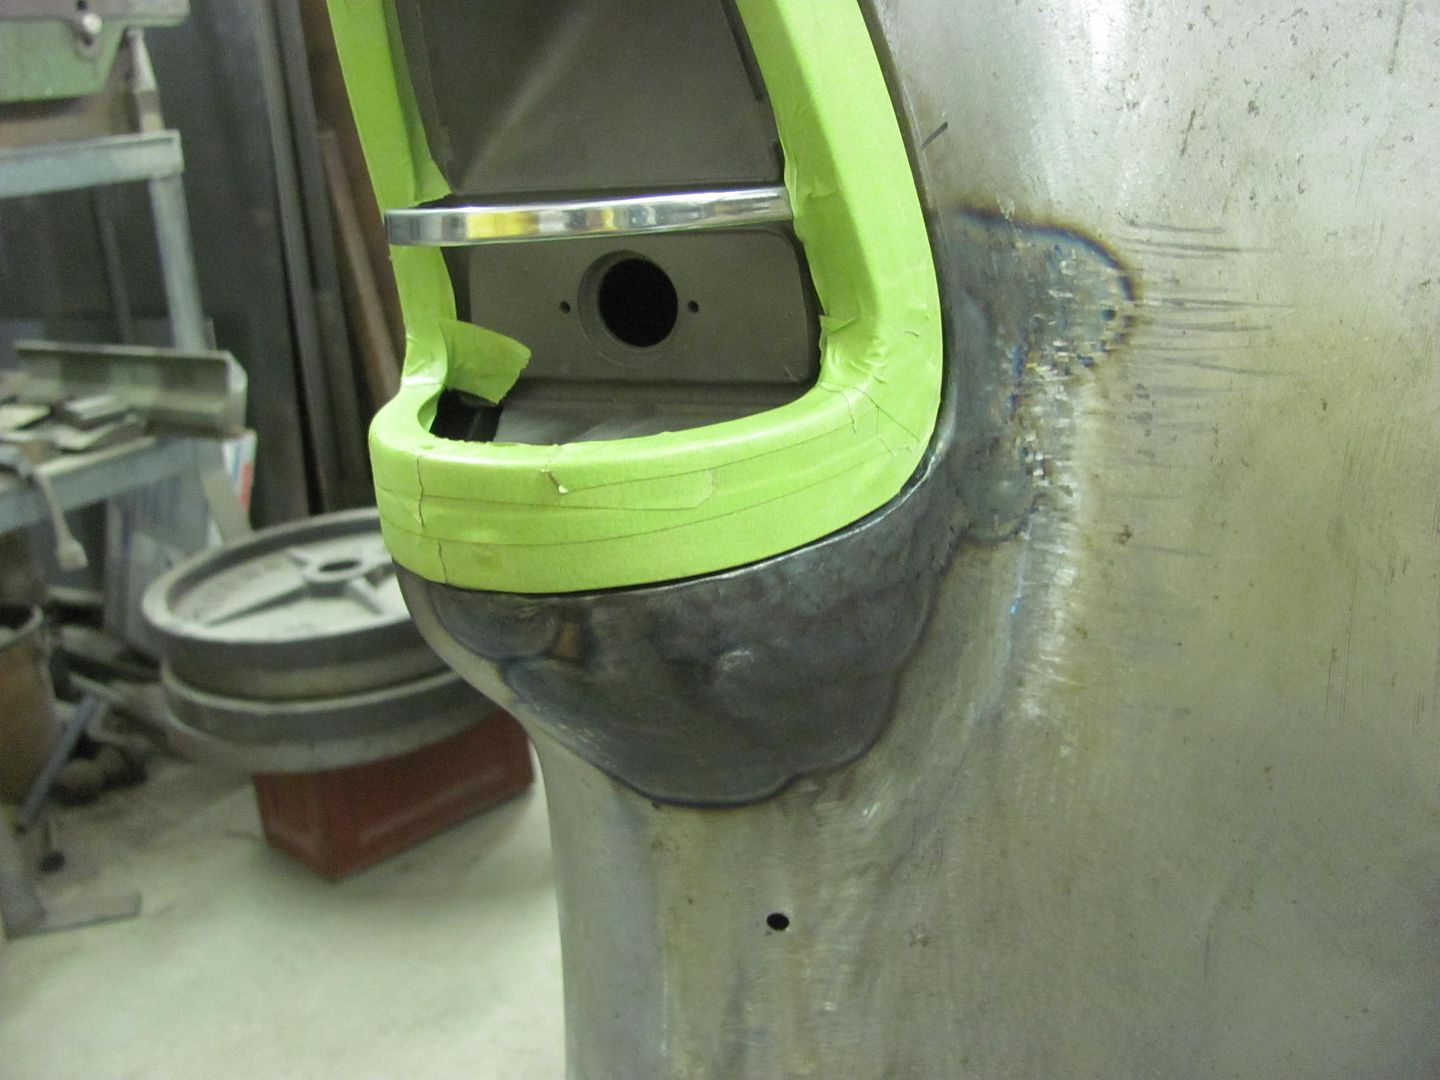
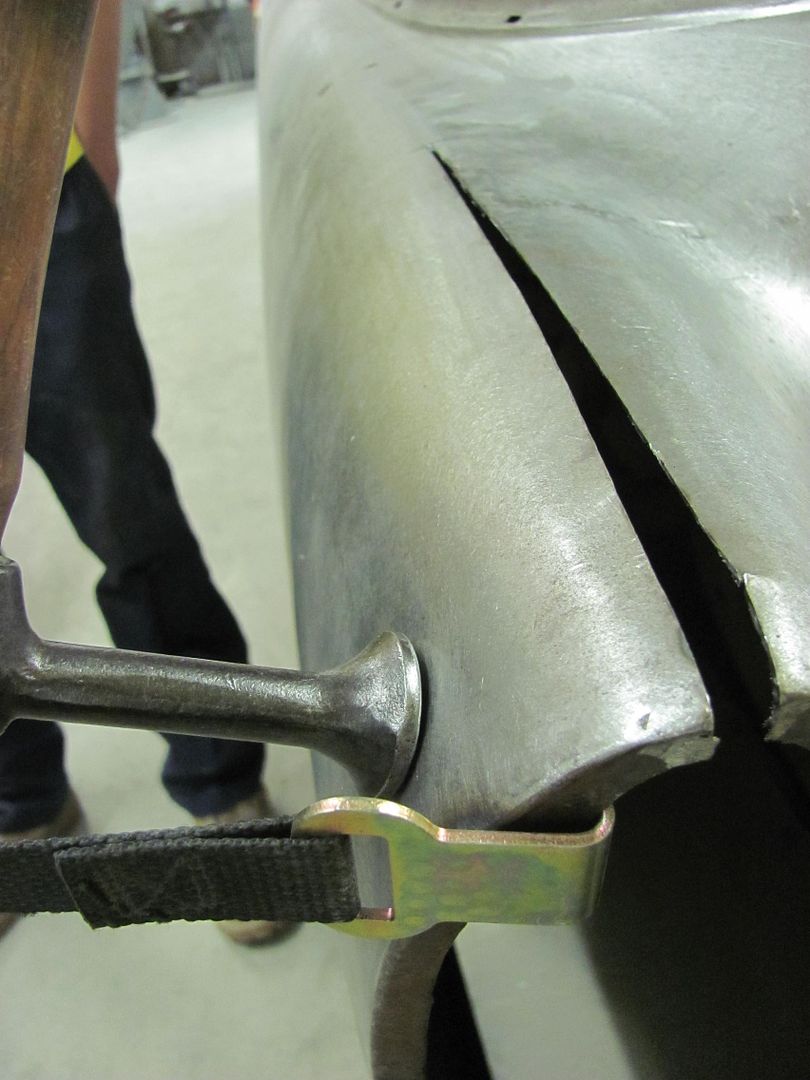
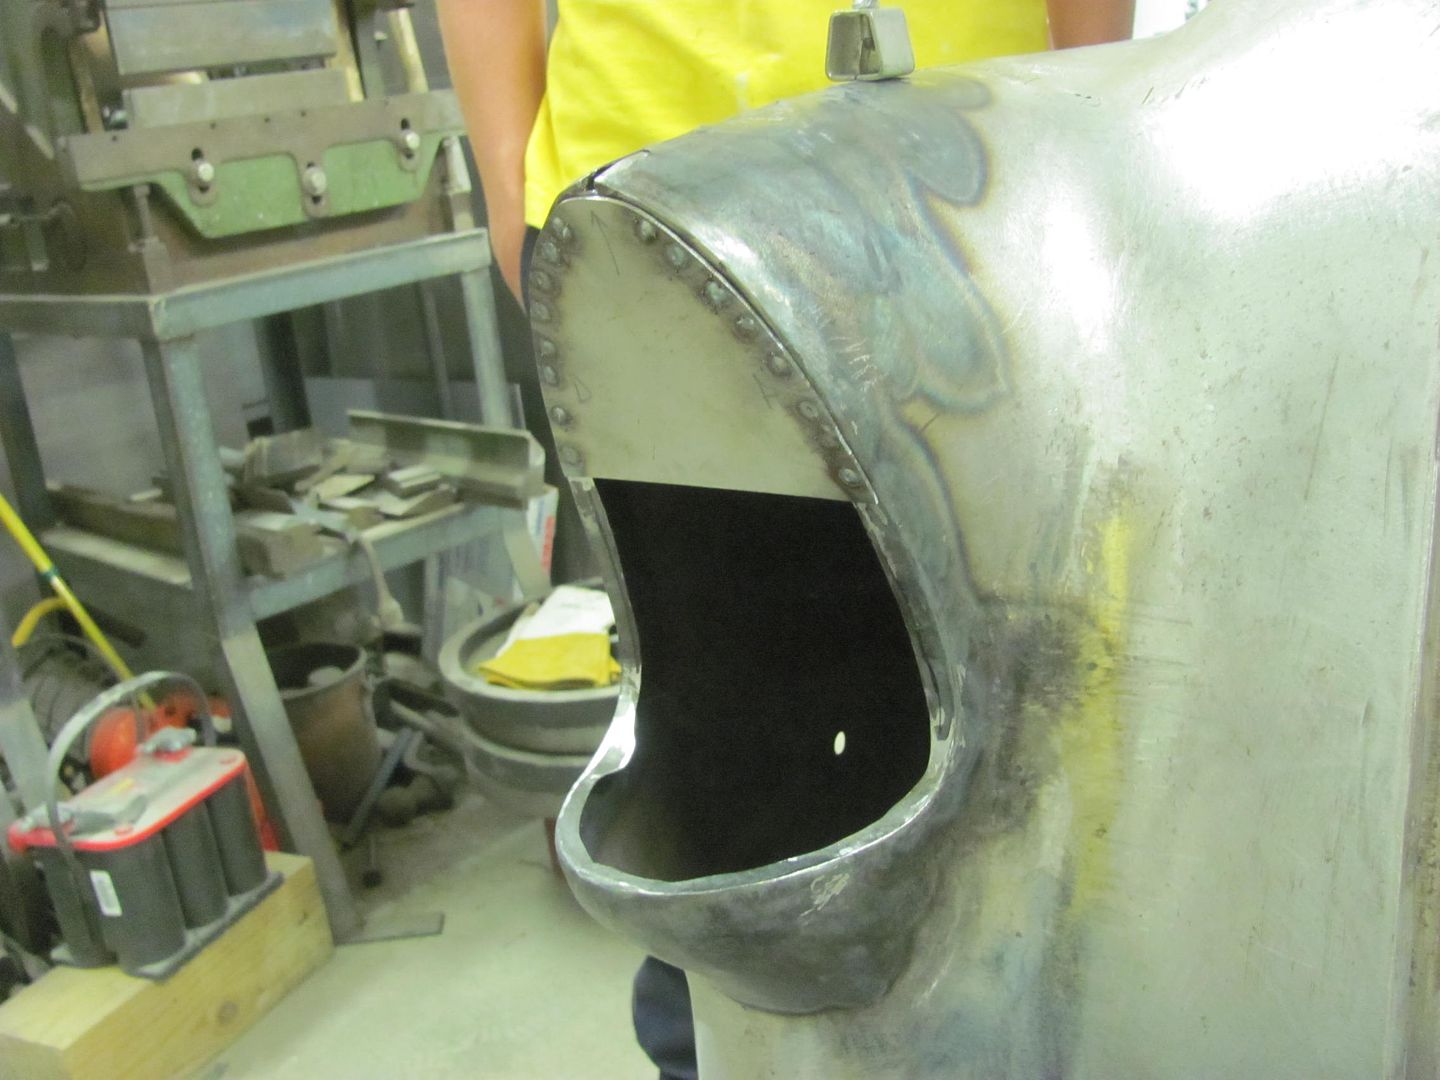
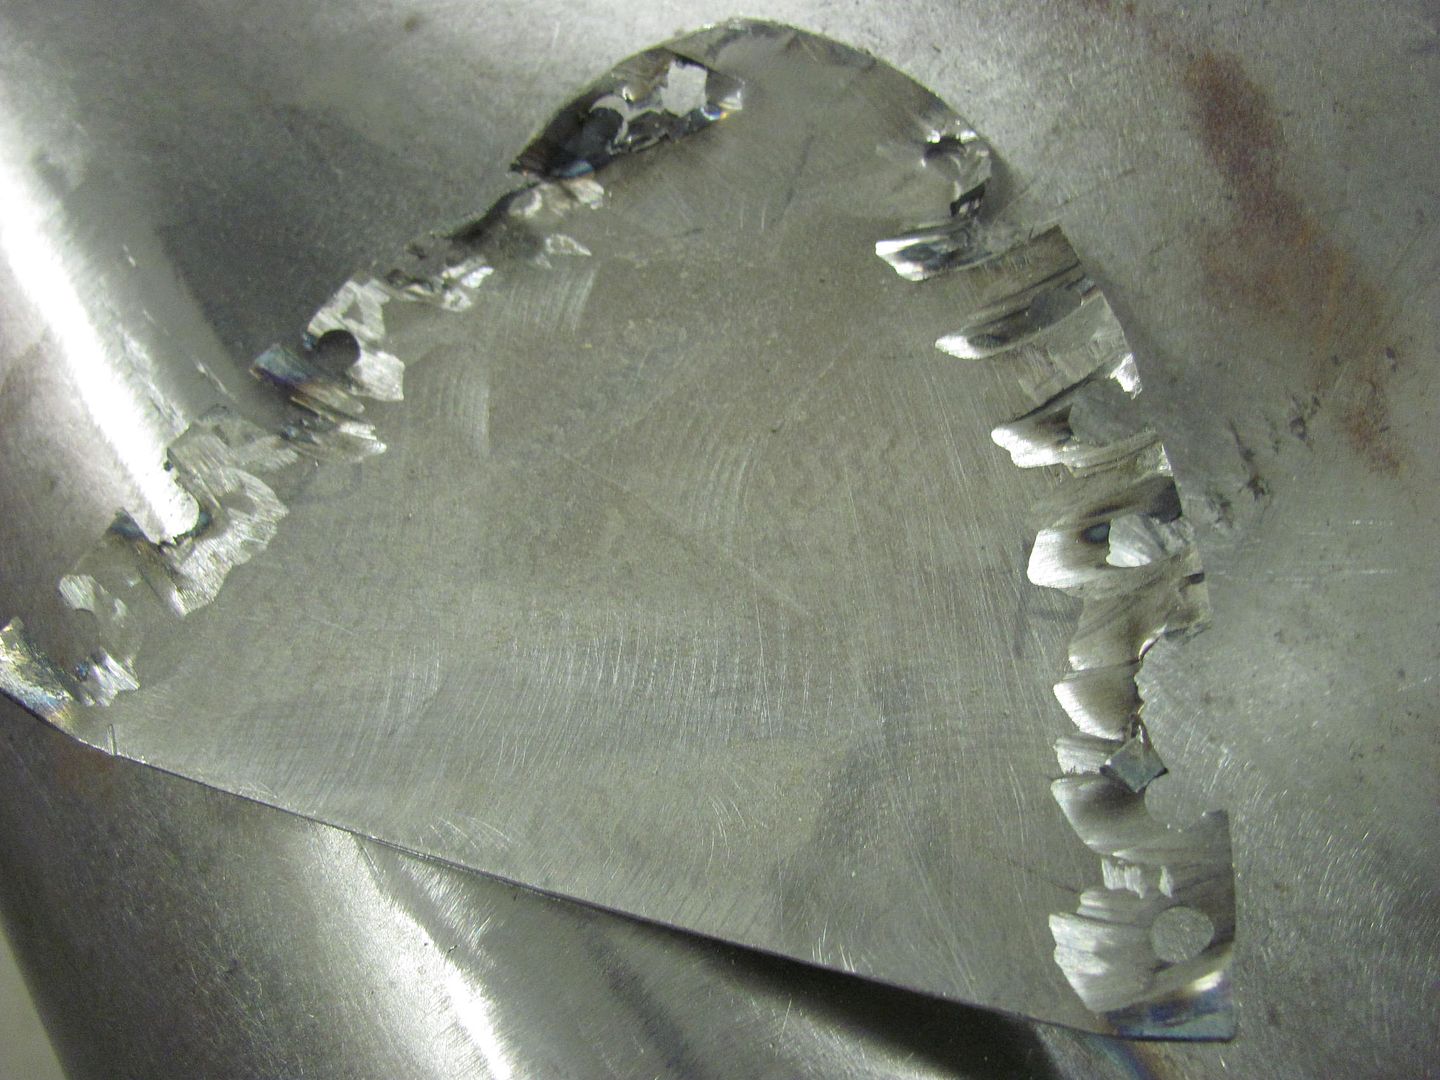
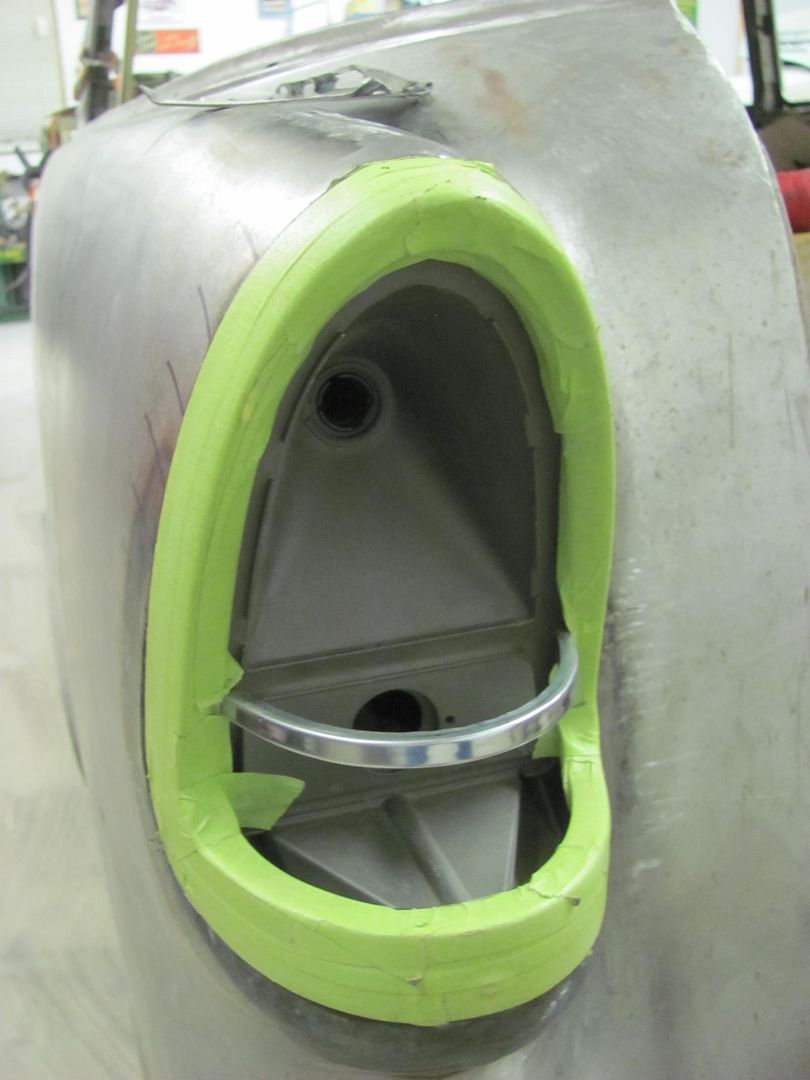
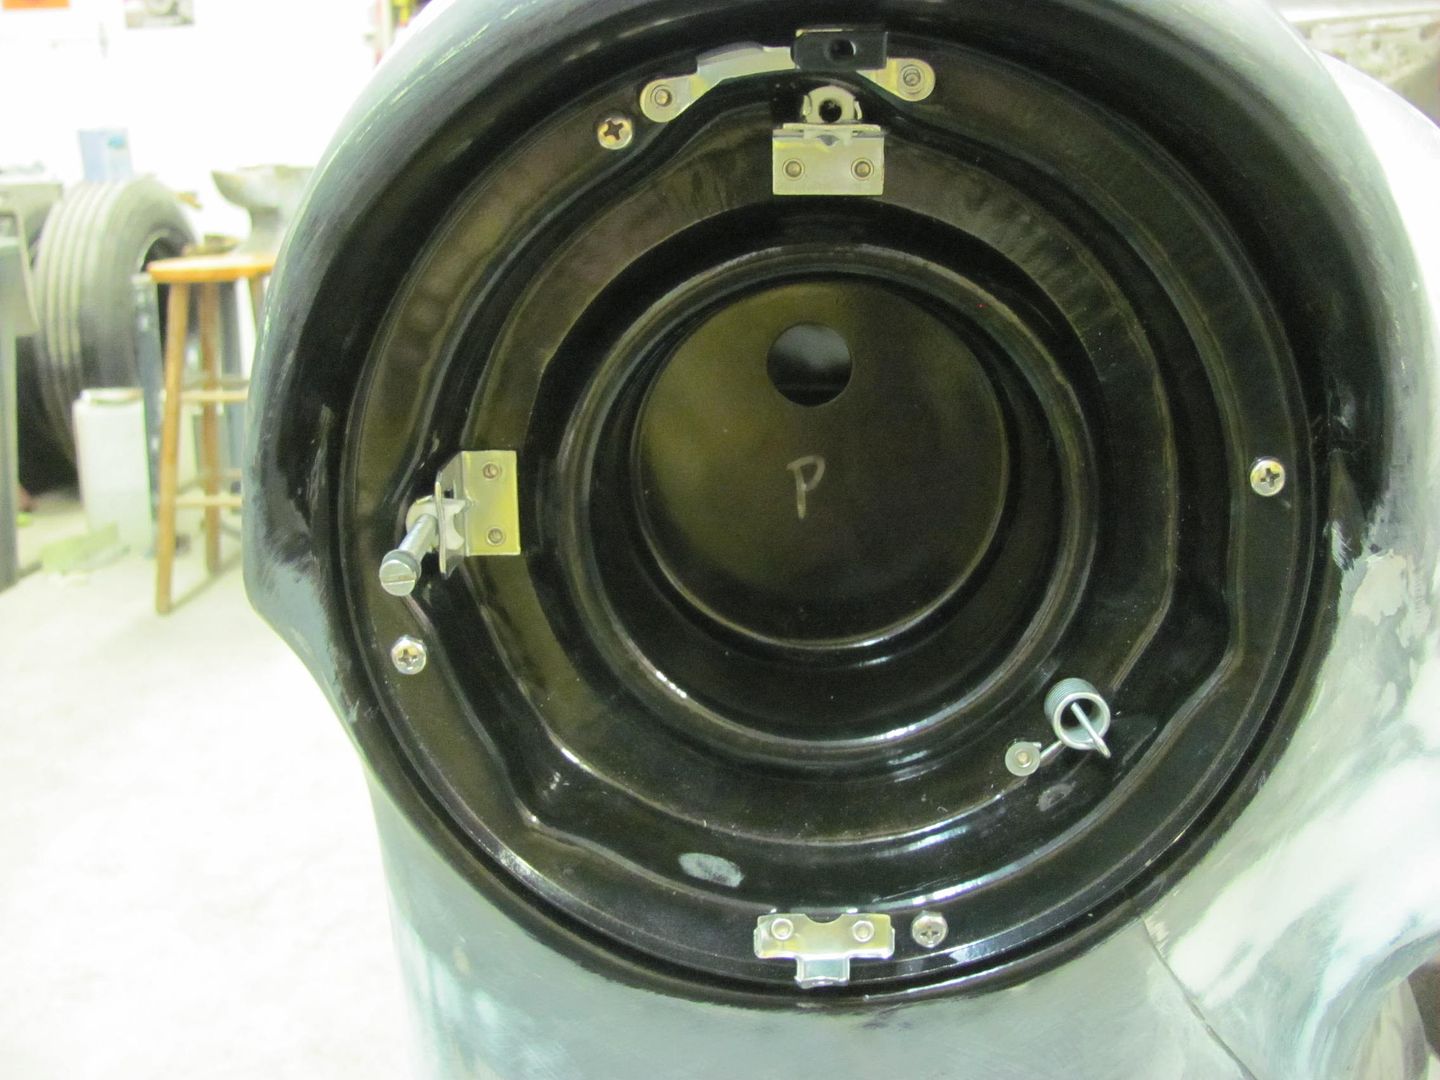
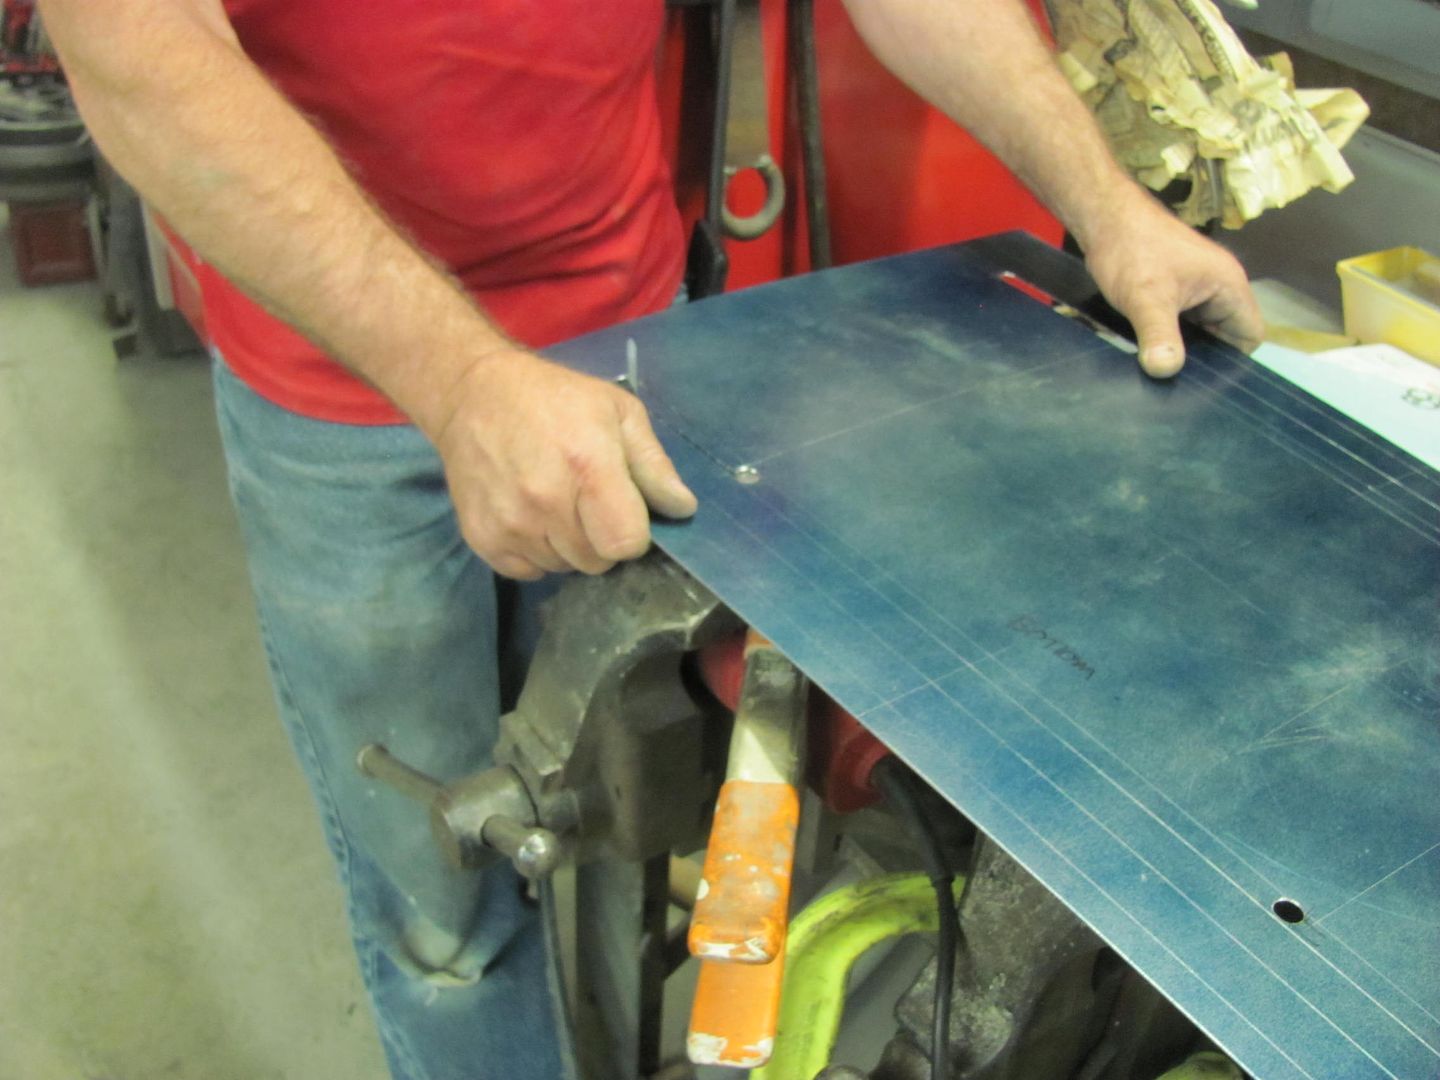
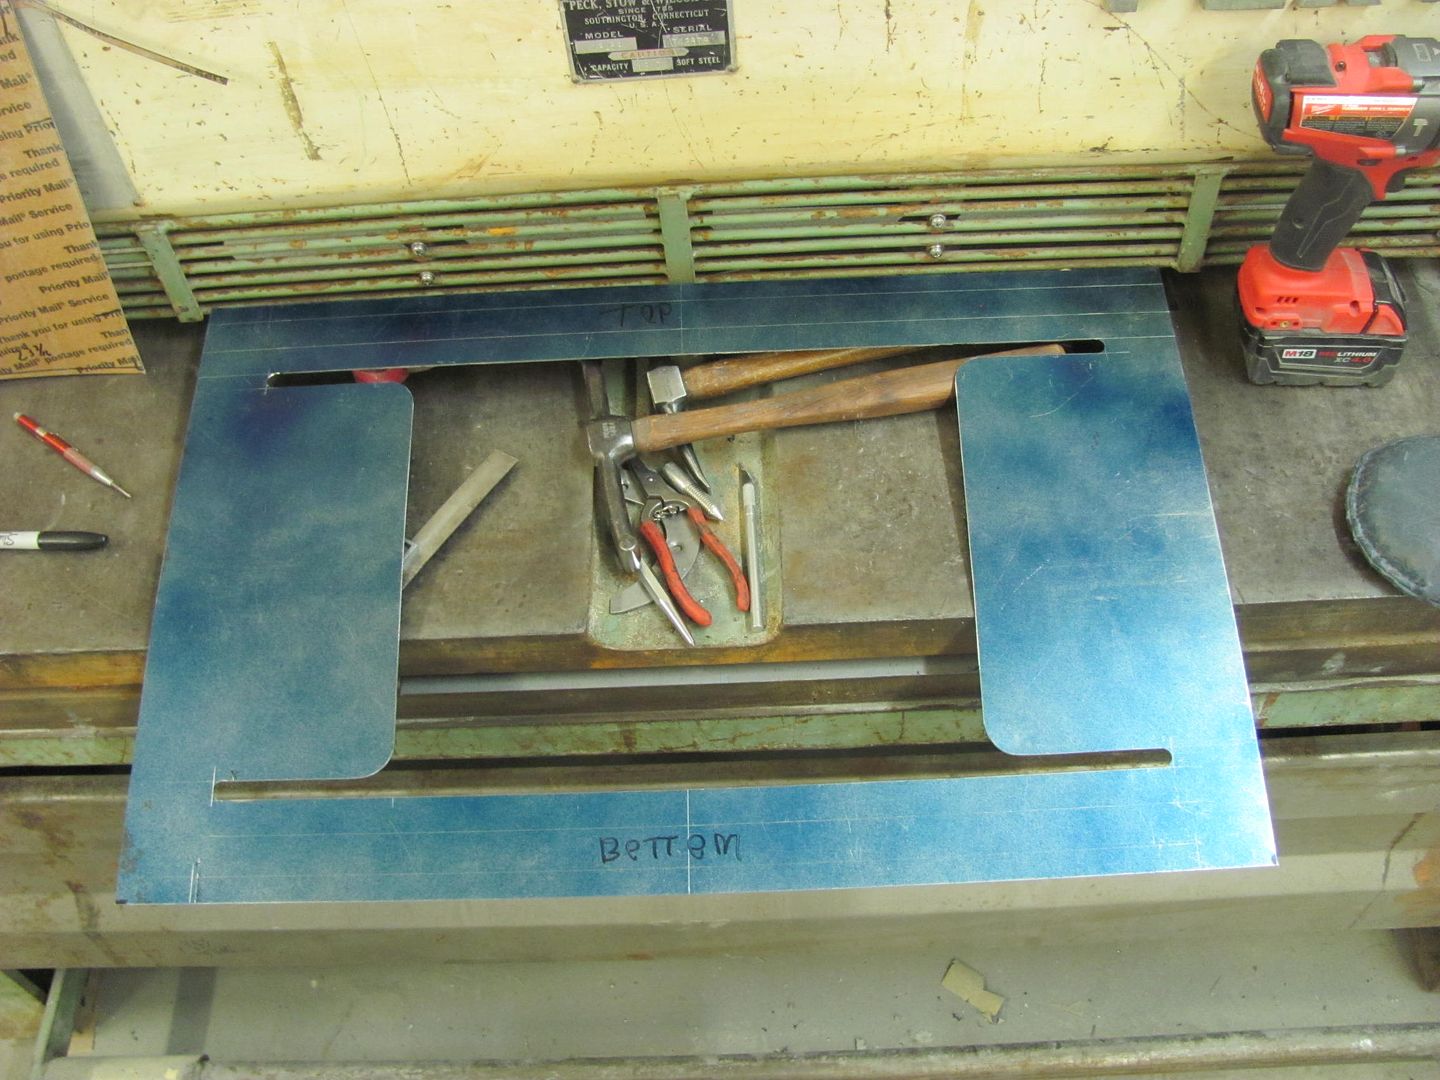
    Robert, that looks good with the 3 round openings.

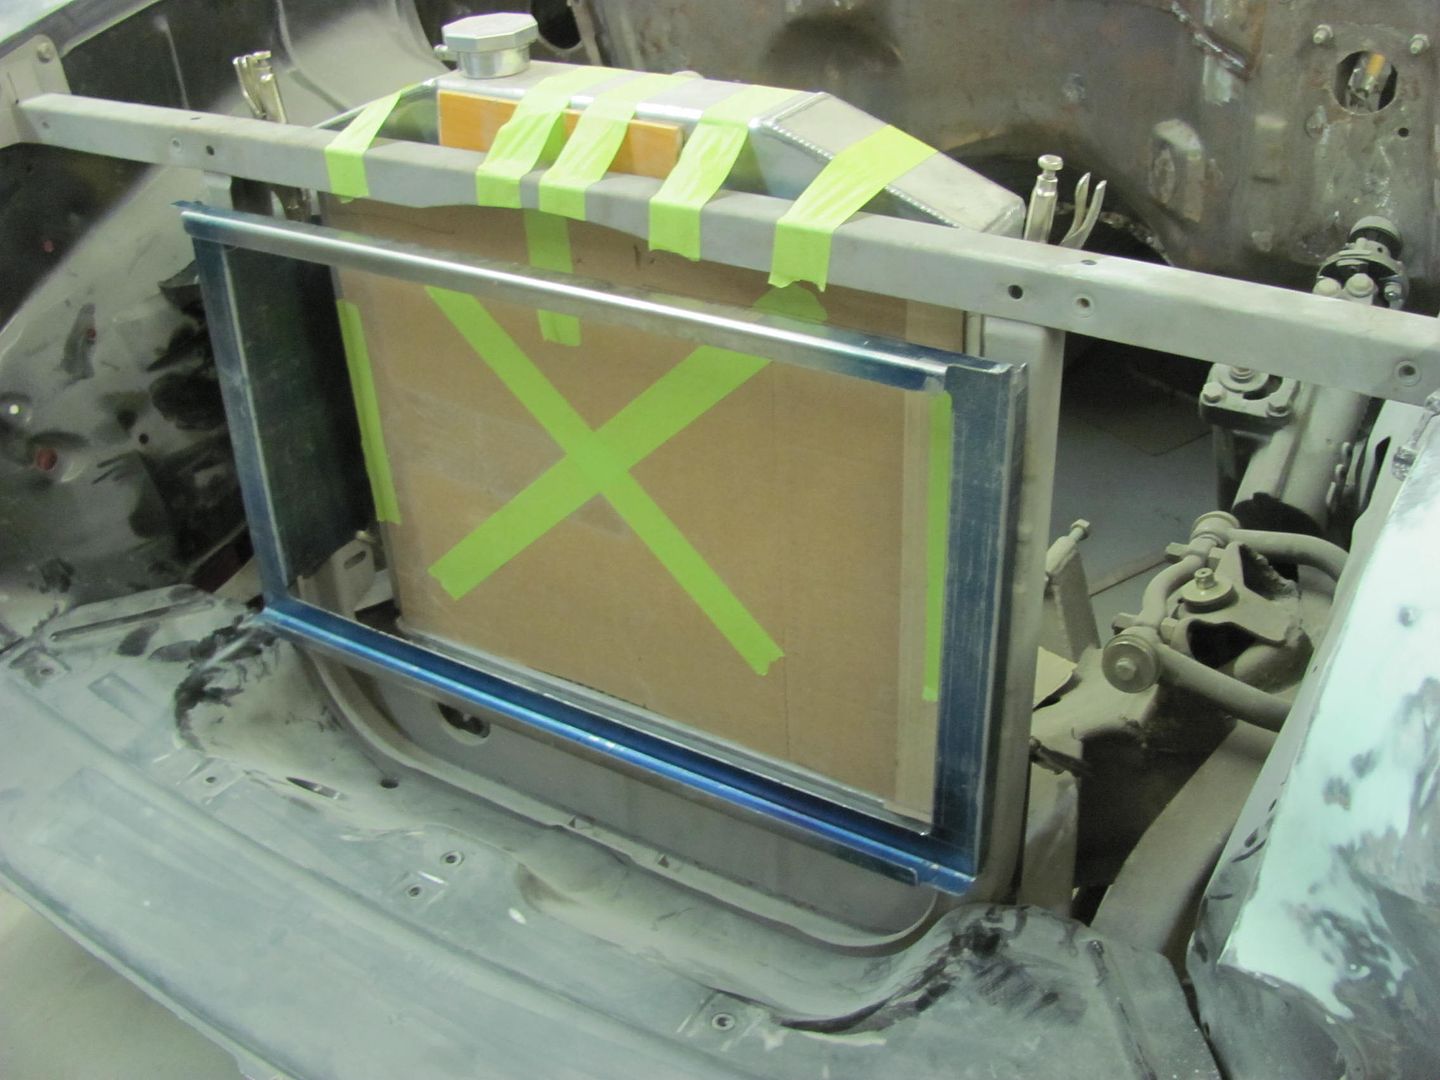
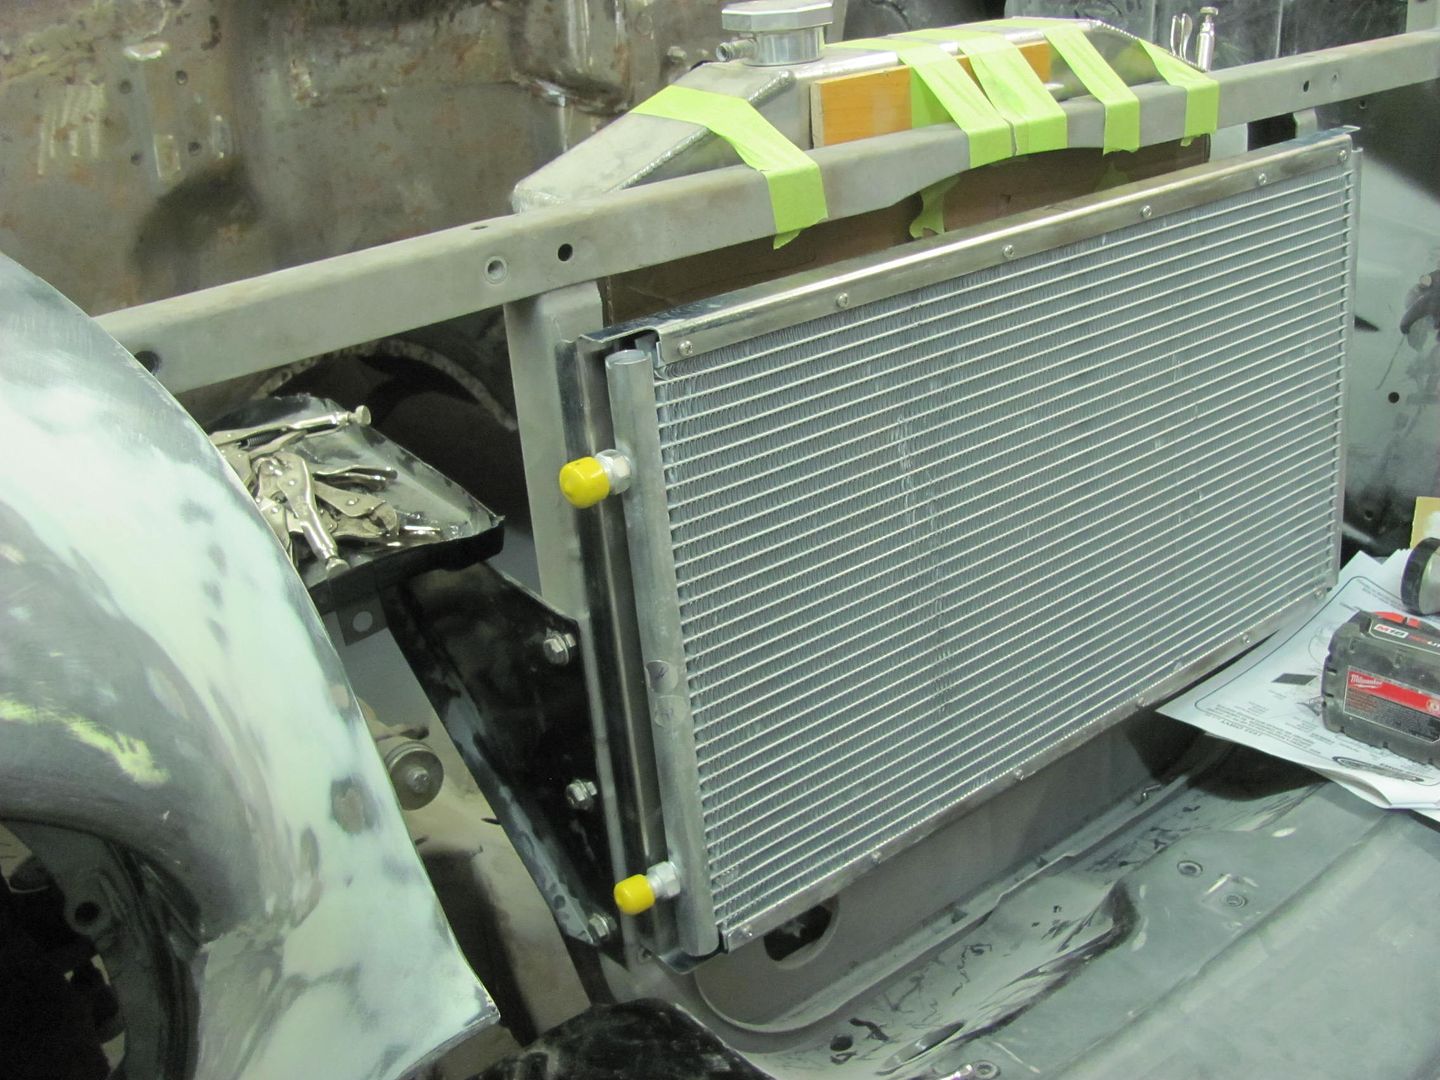
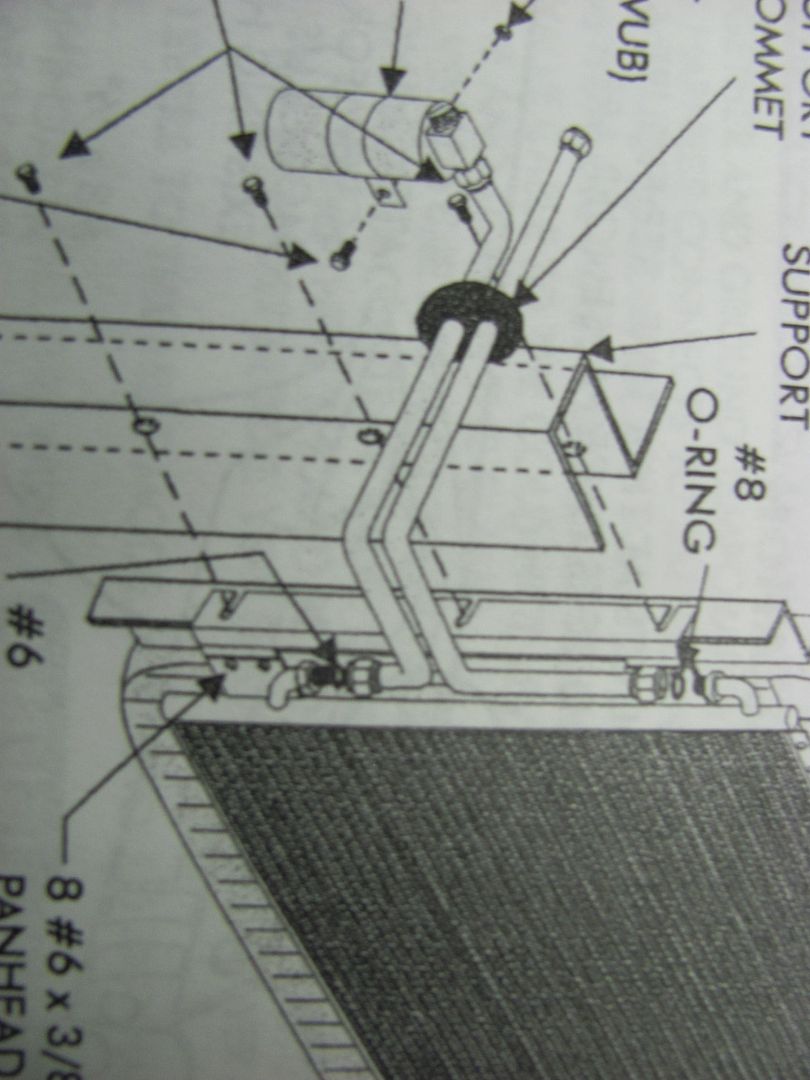
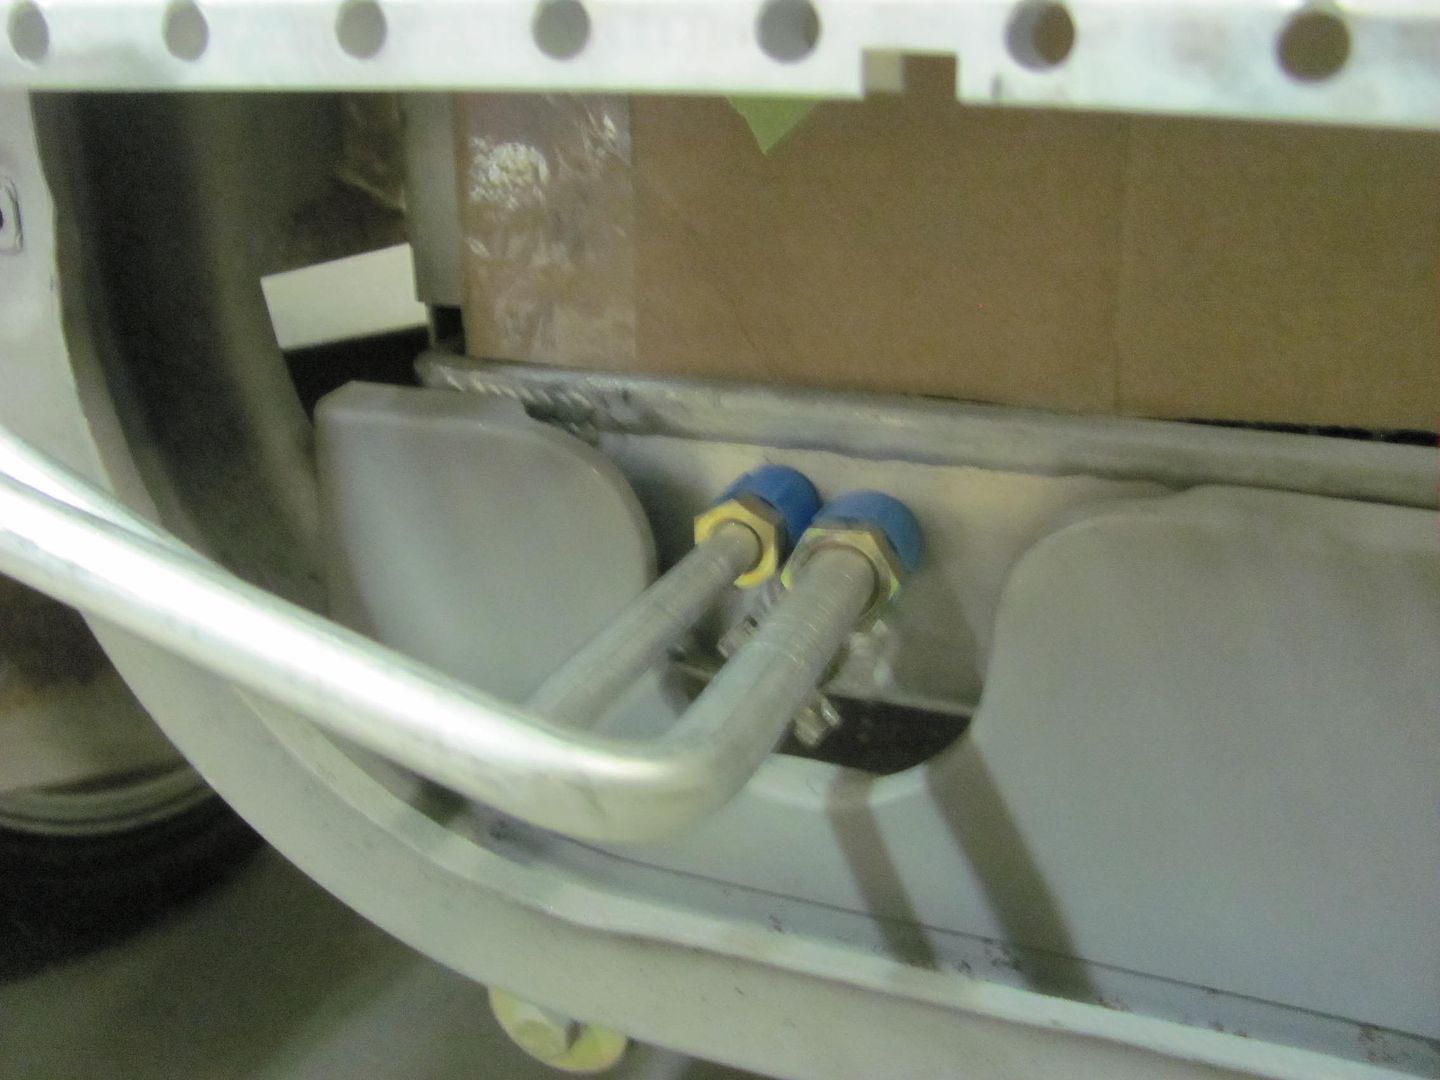
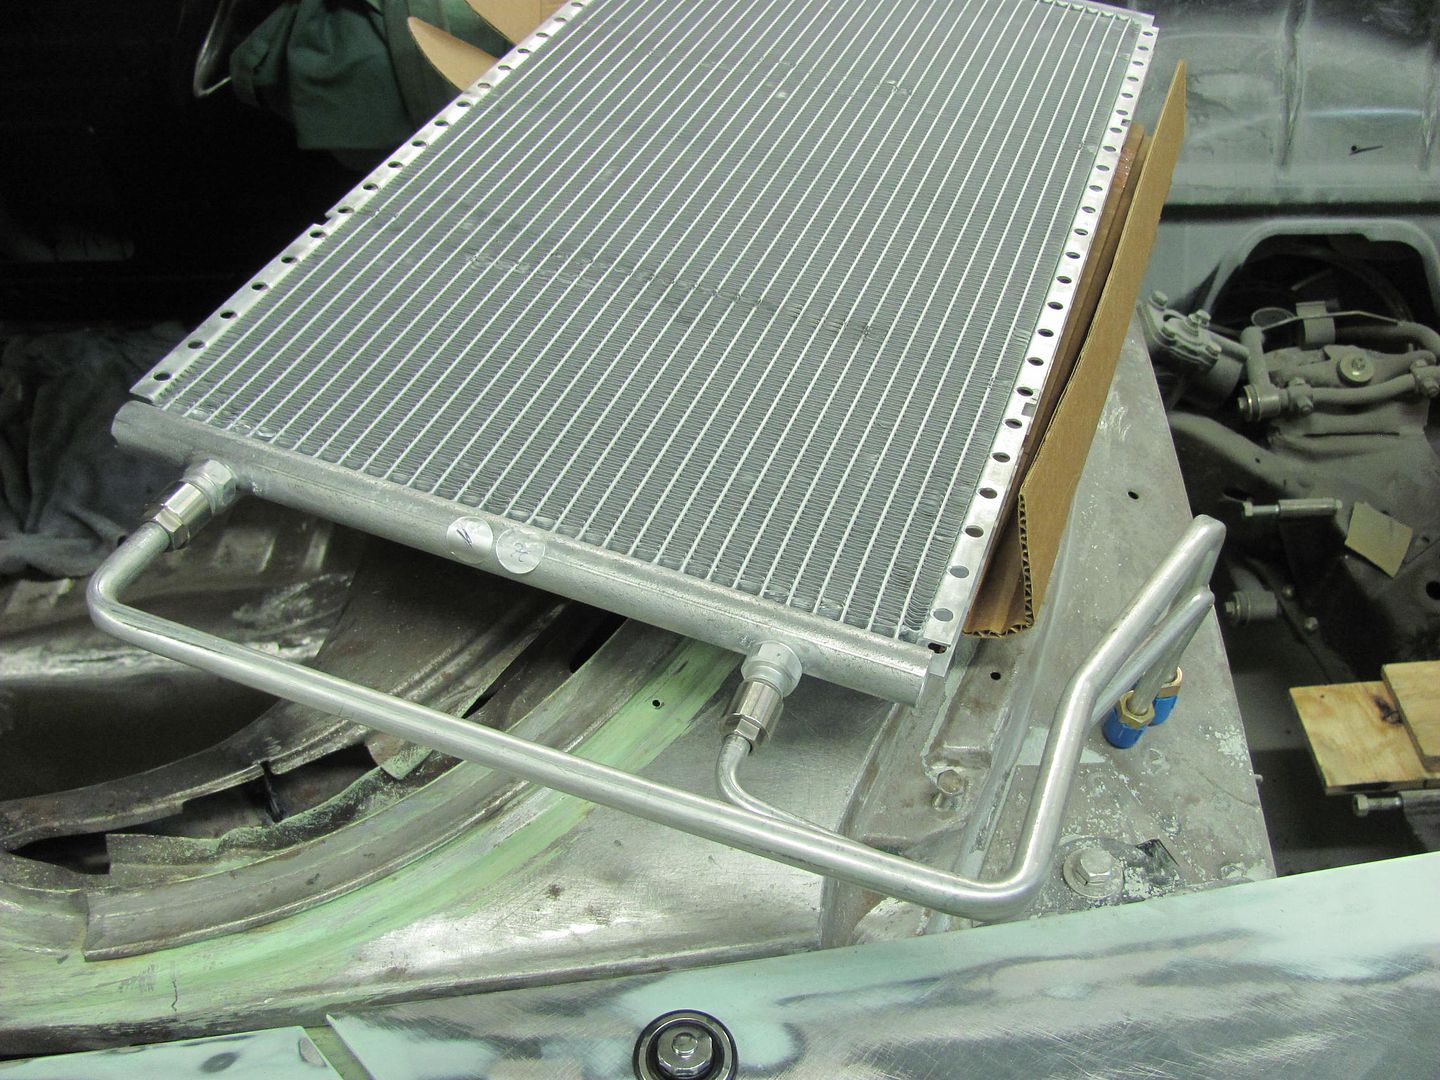
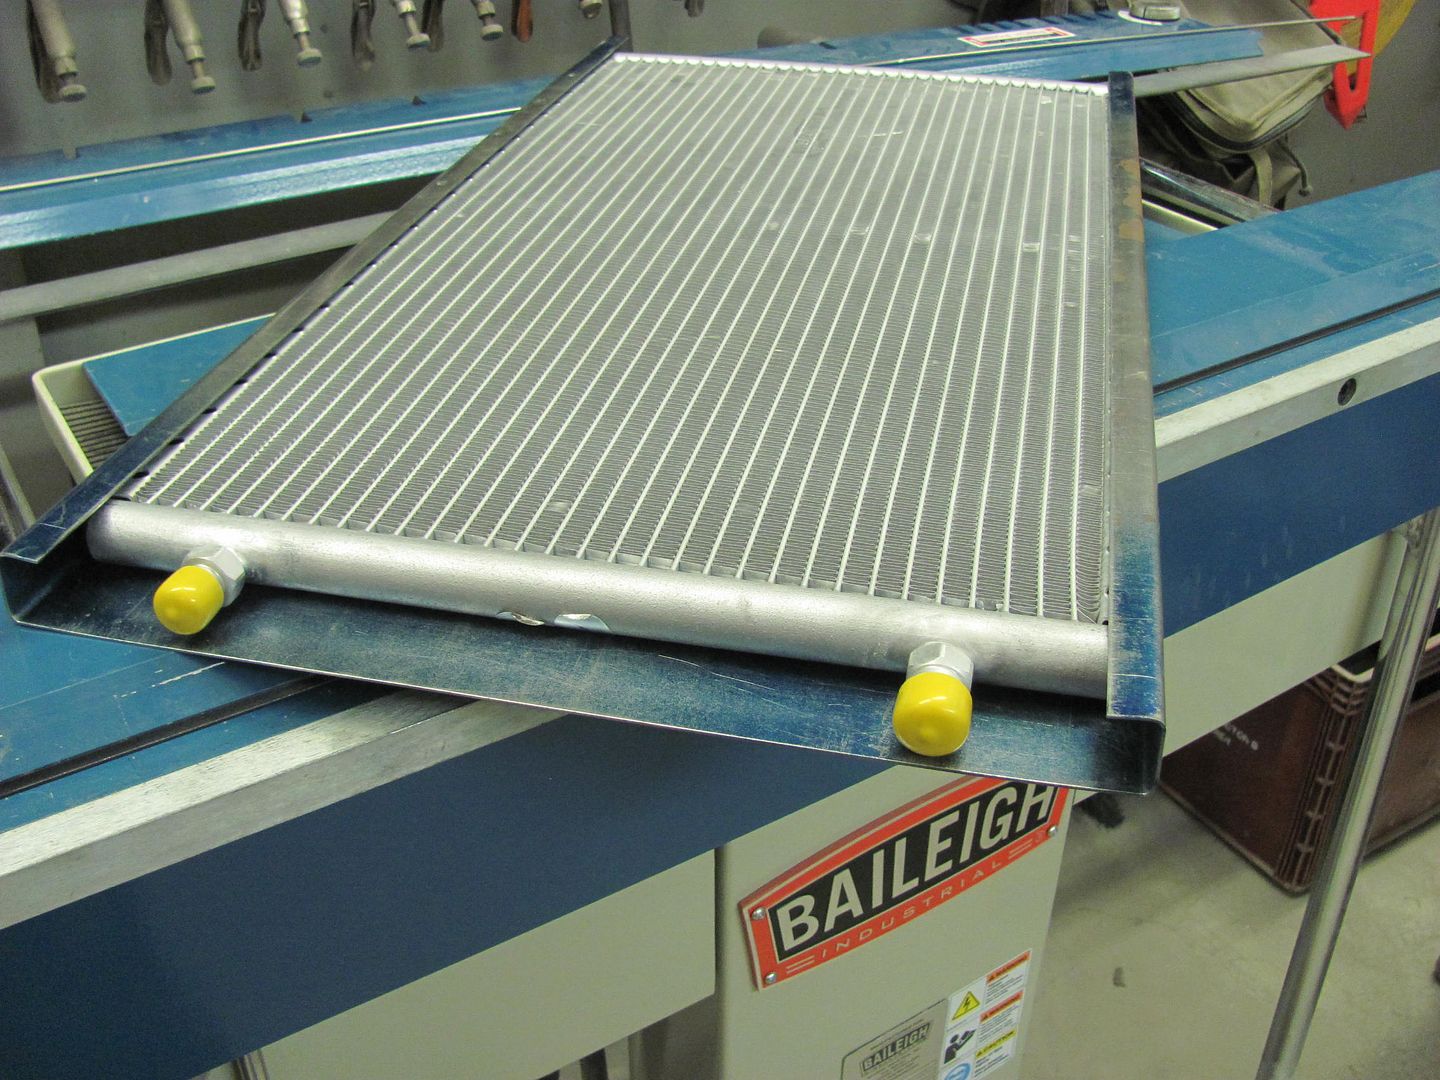
    I'm curious how you're going to route the hoses. My VA unit has two outlets facing up (defrosters) one to the left, one to the right, and one pointing straight down to an under-dash opening with deflectors attached.
    56 Nomad, Ramjet 502, Viper 6-speed T56, C4 Corvette front and rear suspension


    Other vehicles:

    56 Chevy 2-door BelAir sedan
    56 Chevy 210 4-door sedan
    57 Chevy 210 4-door sedan
    1962 327/340HP Corvette
    1961 Willys CJ3B Jeep
    2001 Porsche Boxster S
    2003 Chevy Silverado 2500 HD Duramax
    2019 GMC Sierra Denali Duramax

  2. #132
    Registered Member MP&C's Avatar
    Join Date
    Dec 2013

    Member #:2017
    Location
    Southern MD
    Posts
    1,293
    Likely the box will be modified slightly to make use of the under dash plenum.


    Well, the past couple of shop nights we've had some detours and some back up and punts. Where to start..

    Started with a test fit of the power antenna the owner had bought, installed somewhat easily and even clears the door hinge when closed by 1/4". But this trim ring on top is just......obnoxious. Anyone use a power antenna that is a bit easier to hide?


    Next, lets get the VA unit under the dash to see how much room we have to work with on a radio..


    Doh! We had planned on a single DIN chassis, so it appears the radio will need to be 4" deep, or go back into the dash, or go in a console. She did buy a console with the bucket seats, they all came out of a late model Monte Carlo. Let's give that a go.


    Not much room for installing a single DIN chassis, but even worse the console tapers in at the bottom where the trans tunnel is spreading outward. So it looks like its teeter tottering. Doesn't match the car at all. So this looks like something else to add to the list, perhaps a custom made console is in order..
    Since we're not doing too well inside the car, let's shift gears and move to the outside. We had a couple more parts to add to the pile awaiting powder coat. The side baffles of the core support had some hole alignment issues, must be off a 57 or something.... so we'll fill those in and get them re-drilled correctly. Next, we need mounting brackets for the radiator. These were made from some 16 gauge cold rolled steel..


    We do now have much better clearance around the radiator petcock with the new improved version of the lower baffle..


    Kyle had learned some Tig welding this past weekend at GatorMeet, from Gator's boy Dakota. Dakota is quite accomplished for his youth, having won the state competition for welding. Here Kyle runs a couple of practice samples to get the machine dialed in... Seems he forgot his long sleeve welding shirt this evening.


    I had shown him how to tack without using filler, and gave him more aspiration by showing him a no-filler fusion weld. All in due time..

    Practice aside, here is the hole filling effort in the baffle panels...


    While Kyle worked on filling the holes, I had directed attention to the condenser and the holes we would need to add to the passenger side baffle prior to powder coat... just as shown in the book..


    ....only Murphy had other plans, it appears our condenser was intended for a cross flow radiator...


    Hmm..... don't think this is going to work. So to back up and punt, the plan is to make a mounting bracket that will hold this universal condenser to a top flow radiator all while hiding those ugly holes that scream "I'm a universal fit". Then we'll have to get some new hard lines made up that fit correctly.


    Layout of the mounting bracket...


    Don't try this at home, it was done on a closed test track...


    The ears inside will be folded inward to use the same bolts on the side of the radiator.. Here we are making the top and bottom folds in the magnetic brake, this design will help to hide all those holes..


    ....and we'll finish the mounting flanges next time..
    Robert


    MP&C Shop Projects-Metalshaping Tutorials


    Instagram @ mccartney_paint_and_custom


    .

  3. #133
    Registered Member chevynut's Avatar
    Join Date
    Nov 2011

    Member #:115
    Location
    Fort Collins, CO
    Posts
    10,847
    Robert, nice work. That magnabrake sure seems like a nice piece of equipment. I've run into some bends that I can't do on my 4 foot finger brake and I wonder if it could do them. Imagine a long piece of sheetmetal with the edges bent up, but with the end bent down. I had to do the down bend on my workbench with angle iron because I couldn't do it on my brake. Could the magnabrake do it? What's the shortest "joggle" it can do? I often need to make smaller joggles than my brake will allow me to do, which is about 1/2".

    Looks like Kyle is learning quickly. He'll be stacking dimes in no time. 
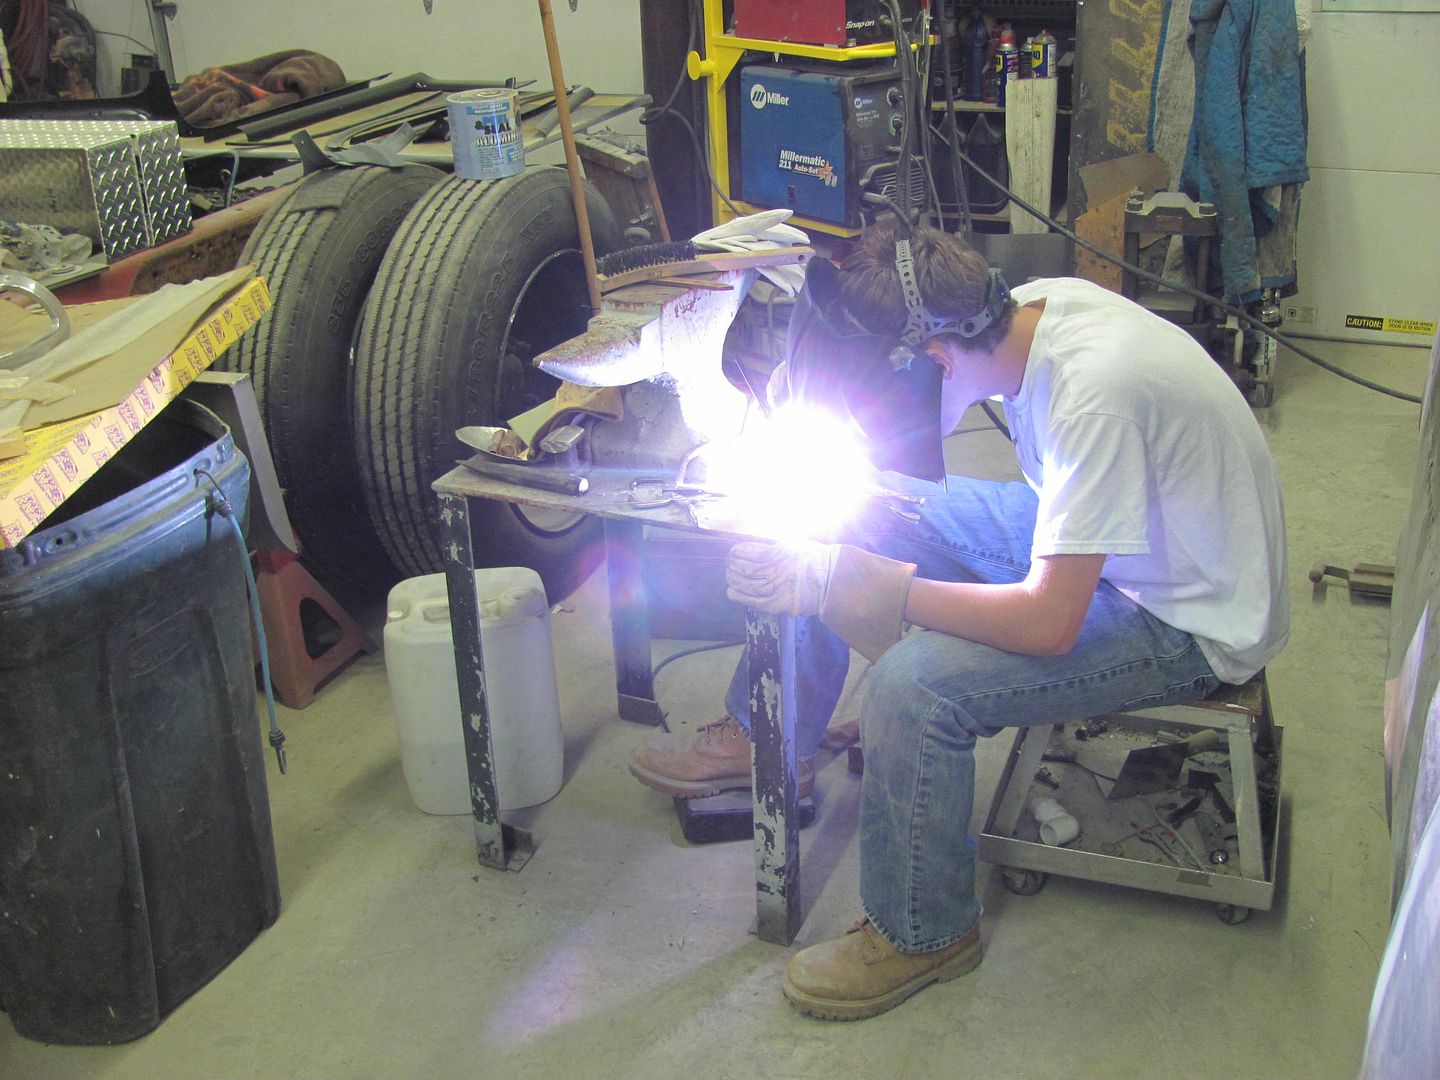
How old is he and is he related to you? I'm sure you said once, but I don't remember.
    56 Nomad, Ramjet 502, Viper 6-speed T56, C4 Corvette front and rear suspension


    Other vehicles:

    56 Chevy 2-door BelAir sedan
    56 Chevy 210 4-door sedan
    57 Chevy 210 4-door sedan
    1962 327/340HP Corvette
    1961 Willys CJ3B Jeep
    2001 Porsche Boxster S
    2003 Chevy Silverado 2500 HD Duramax
    2019 GMC Sierra Denali Duramax

  4. #134
    Registered Member MP&C's Avatar
    Join Date
    Dec 2013

    Member #:2017
    Location
    Southern MD
    Posts
    1,293
    Laszlo, I think it would make those bends you describe, have you got a picture of the piece you are making? The magnabend works well but is doesn't do everything. The inside flanges on the condenser mount we did this evening are an example, we had to do this on the press brake. Kyle is 17, he's the son of a guy I went to school with, and he plans to rebuild the 57 Ford p/u his dad drove in high school. He's a good kid, and enjoys this type of work.


    More progress on the condenser mount... The flange fold marks are run through the tipping wheel to better show the bend location. I've found that when using the press brakes this helps to "feel" when the upper die is located properly, less guesswork with the eyeballs where it's harder to see in the press brake dies..


    Clamped in place for a test fit..


    The side folds add some stiffening as well as hide the bolt heads for the core support baffle plates.


    Test fit of the condenser...


    Radiator brackets got a nut welded in the bottom hole, the condenser mount will get nuts welded in place for the top 2 sets of holes, so everything will bolt in from the outside in..


    Making the slots for the radiator brackets, used a cone shaped burr....


    Found that this cutter had less chatter when the cutting edge was perpendicular to the hole opening...


    Last edited by MP&C; 05-14-2015 at 08:13 PM.
    Robert


    MP&C Shop Projects-Metalshaping Tutorials


    Instagram @ mccartney_paint_and_custom


    .

  5. #135
    Registered Member MP&C's Avatar
    Join Date
    Dec 2013

    Member #:2017
    Location
    Southern MD
    Posts
    1,293
    Some more details to iron out on the condenser mount, the corners seemed to "roll" a bit, so some corner braces are in order..
    Using 16 gauge cold rolled, holes drilled to provide an inside radius to help prevent stress cracking..


    Plug welds to hold things together..


    Bob Heine over on GJ suggested using a Corvette antenna as they use an escutcheon with a flush fit, so I had a Corvette part delivery over the weekend, size of the business end is rather larger than the aftermarket one we had. As this fit in the void behind the A pillar (see in background between cowl vent and A pillar) and also needs to dodge the hinges closing, this did cause some interference. Dan thought this was from a late 80's/early 90's..


    The biggest issue with the universal power antenna we have is that the top of the fender is considerably rounded, and the antenna escutcheon is designed for flat. So we are also looking at the factory piece, to see if we could adapt (drill hole larger) to use with the power antenna.

    Robert


    MP&C Shop Projects-Metalshaping Tutorials


    Instagram @ mccartney_paint_and_custom


    .

  6. #136
    Registered Member chevynut's Avatar
    Join Date
    Nov 2011

    Member #:115
    Location
    Fort Collins, CO
    Posts
    10,847
    Robert, I have a couple of power antennas and I was trying to figure out how to make them work with the stock base. I set the project aside months ago to do something else, so I hope you figure it out. I have to get this done before paint.
    56 Nomad, Ramjet 502, Viper 6-speed T56, C4 Corvette front and rear suspension


    Other vehicles:

    56 Chevy 2-door BelAir sedan
    56 Chevy 210 4-door sedan
    57 Chevy 210 4-door sedan
    1962 327/340HP Corvette
    1961 Willys CJ3B Jeep
    2001 Porsche Boxster S
    2003 Chevy Silverado 2500 HD Duramax
    2019 GMC Sierra Denali Duramax

  7. #137
    Registered Member MP&C's Avatar
    Join Date
    Dec 2013

    Member #:2017
    Location
    Southern MD
    Posts
    1,293
    Looks like we'll end up using the teardrop escutcheon before all is said and done. Waiting for one to show up for fitment...


    More progress on the condenser, used some machine screws to attach to the bracket, and some AVK style rivet-nuts in the frame of the condenser to act as a captive nut.


    Bolted in place...


    Meanwhile Kyle ties up some loose ends, finishing the weld across the remaining "shaved" lead seam on the passenger quarter.. It does need some grinding on the underside of the weld still but we'll wait for the car to be on the rotisserie for easier access.


    Fitment of the Driver's side tail light... this was even worse than the passenger side in fitment, and we did need to make a relief cut at the top, but after some massaging, it's getting close. A few more tweaks to get this done and then the headache of installing the motorized tail light pivot for fuel fill access..


    Robert


    MP&C Shop Projects-Metalshaping Tutorials


    Instagram @ mccartney_paint_and_custom


    .

  8. #138
    Registered Member MP&C's Avatar
    Join Date
    Dec 2013

    Member #:2017
    Location
    Southern MD
    Posts
    1,293
    Sorry for the slight hiatus, been in UK and just got back this past weekend. Time to catch up on what we had done before I left and what Kyle did while I was gone to take up my slack..

    Part of our fitment issue with the passenger tail light was that we are installing the "hidden fuel fill" which required the removal of the brace welded in the opening. Next, when the old quarter was cut off and the new one installed, without the brace in place both pieces tended to wrap to the right, which can sort of be seen in the following picture, where its flush above the inside corner and rotates to the right upwards of that. The outer quarter was rotated in a similar fashion. We weren't having much luck in resolving the issue with the top weld seam remaining, so a relief cut was added, a restraint device employed to make use of some off dolly bumping to eliminate some of the right rotation. I didn't get a good picture of it, but you can see where the inner quarter comes in considerably upwards of the tail light right corner..


    Anchor


    Off-dolly bumping...


    Then some shrinking was used to pull in the inner quarter, and a 16 ga plate used to hold things in place while the top seam was re-welded.


    Kyle got the seam welded closed...


    And temporary brace removed...


    Much better, almost ready to tackle the "fuel door" pivot...

    Robert


    MP&C Shop Projects-Metalshaping Tutorials


    Instagram @ mccartney_paint_and_custom


    .

  9. #139
    Registered Member MP&C's Avatar
    Join Date
    Dec 2013

    Member #:2017
    Location
    Southern MD
    Posts
    1,293
    Got another care package in the mail... The new escutcheon for the antenna
    looks like it will work, the hole size matches the nut on the antenna and we'll
    just need to get rid of the flat spot/keyway in the hole. Only I don't think
    we'll be using this one. Between a recess under the chrome and visible
    scratches in it, this one's going back.


    On to the next new pieces, hopefully these fit better, Reproduction
    headlight buckets..... wanted to test fit all the headlight and turn signal
    pieces before re-priming the fenders..


    Decided to use some AVK rivet nuts over the u-clips..


    Parts fitted..


    Robert


    MP&C Shop Projects-Metalshaping Tutorials


    Instagram @ mccartney_paint_and_custom


    .

  10. #140
    Registered Member NickP's Avatar
    Join Date
    Mar 2012

    Member #:1653
    Location
    De Queen, AR
    Posts
    4,157
    Are the pics broke? I'm on a proxy server and this last posts pics show to be broke.

Page 14 of 102 FirstFirst ... 412131415162464 ... LastLast

Posting Permissions

  • You may not post new threads
  • You may not post replies
  • You may not post attachments
  • You may not edit your posts
  •