Just joined? Please introduce yourself.
Page 31 of 102 FirstFirst ... 2129303132334181 ... LastLast
Results 301 to 310 of 1019

Thread: wagon progress

  1. #301
    Registered Member MP&C's Avatar
    Join Date
    Dec 2013

    Member #:2017
    Location
    Southern MD
    Posts
    1,293
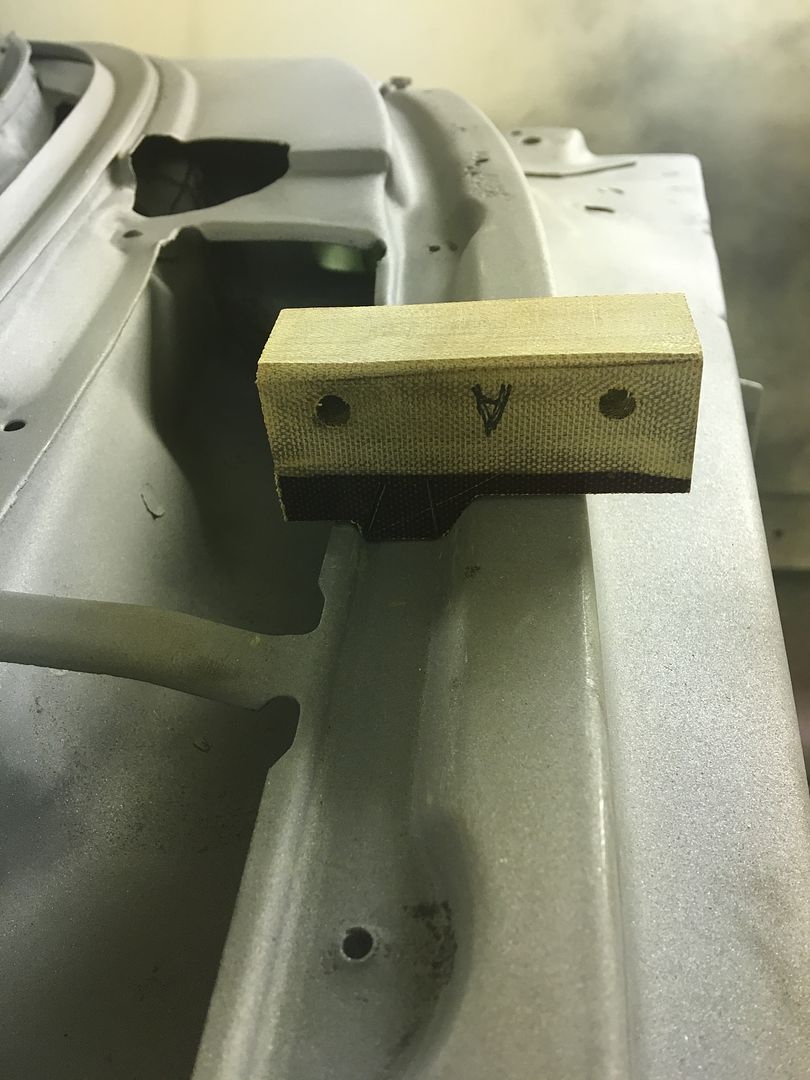
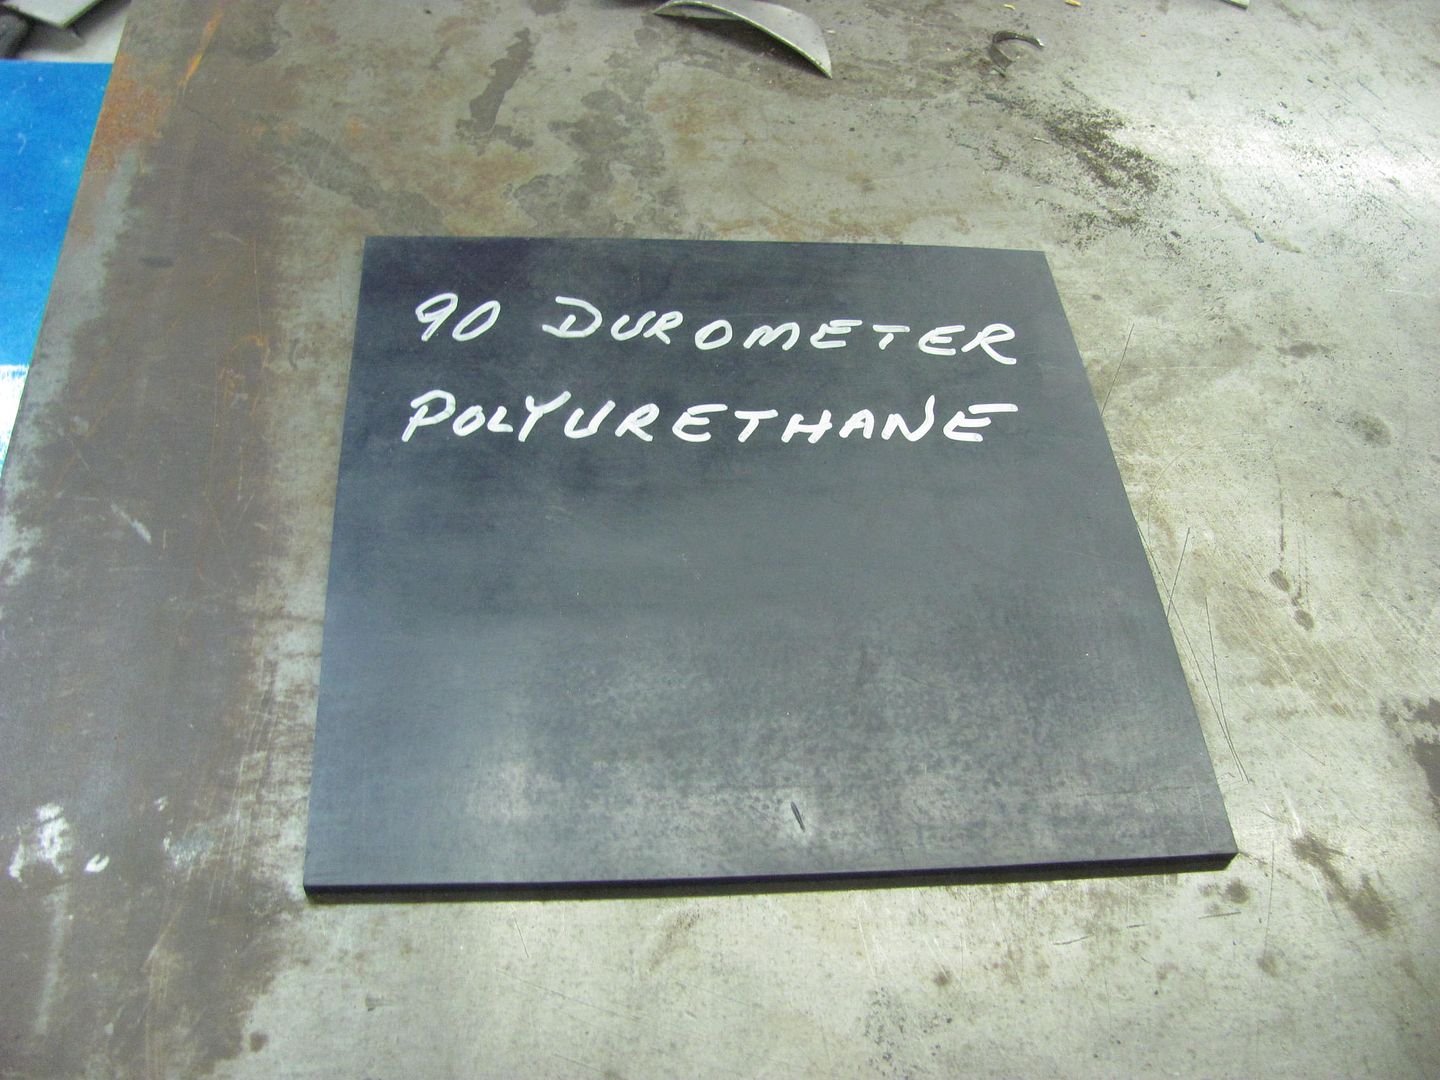
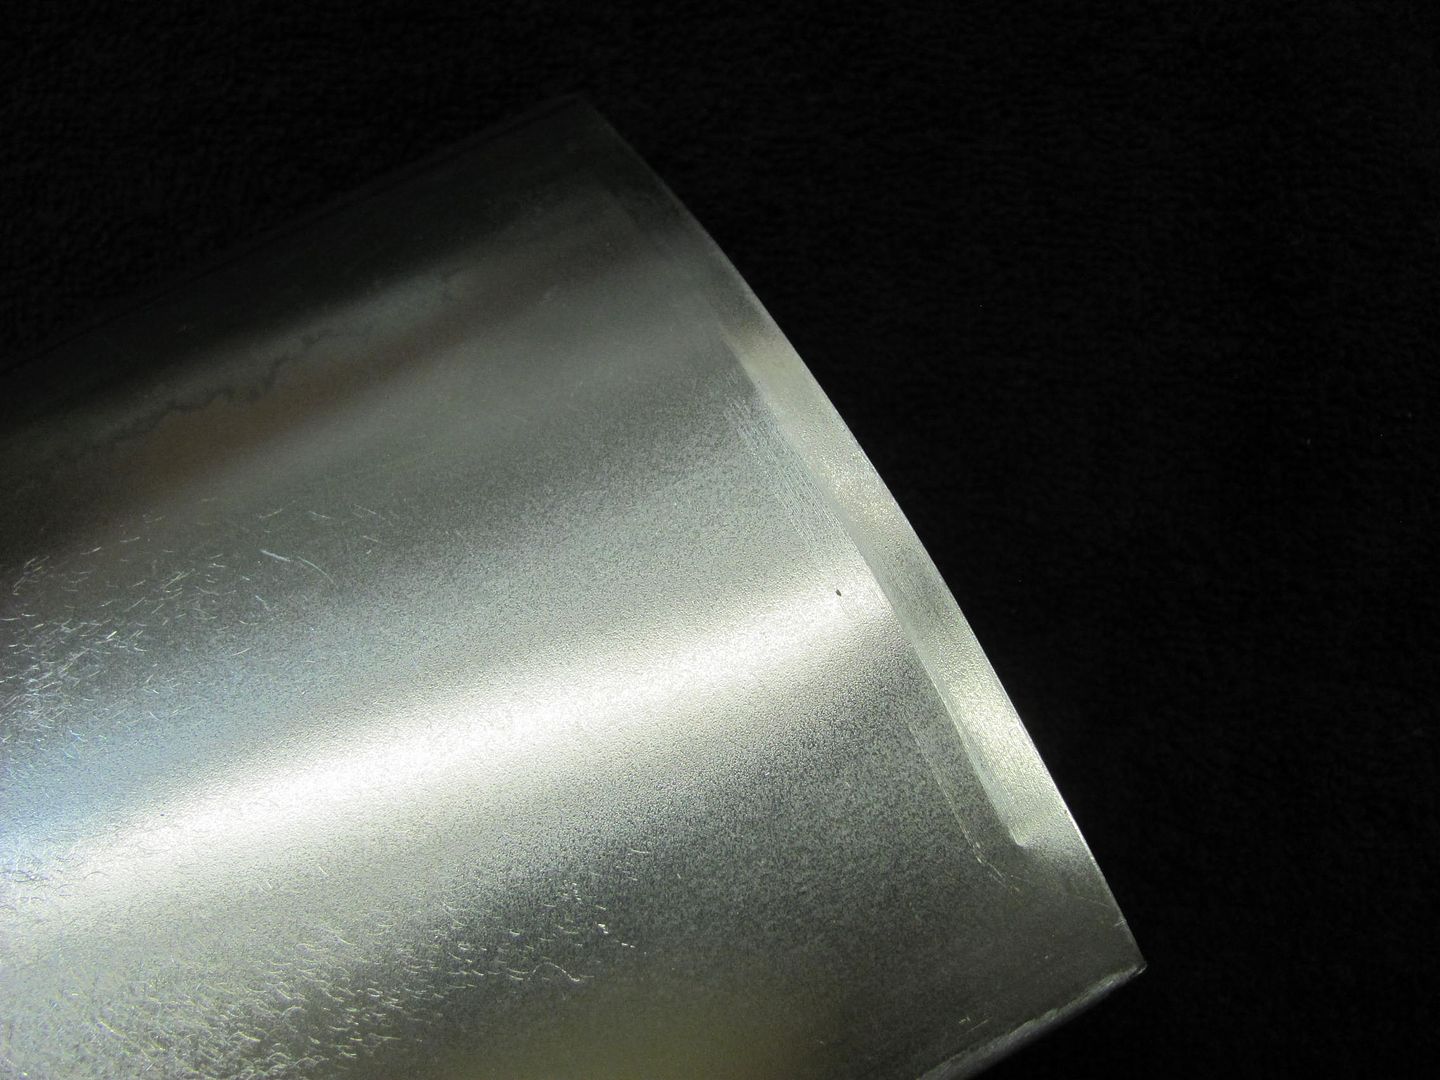
    Well with a nice radius on the face of the glove box door skin, we now need a flat area for the lock cylinder. Since I had a piece of Polyurethane here from the care package Rich B had sent me, it seemed the right tool for the job.


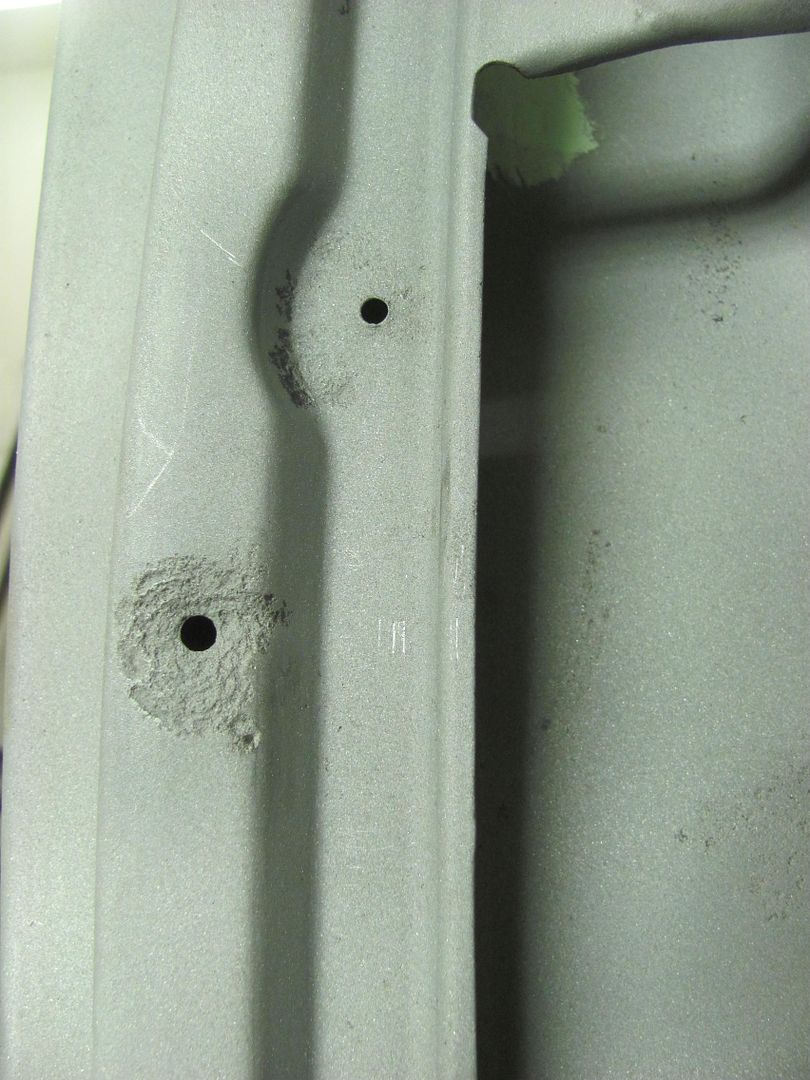
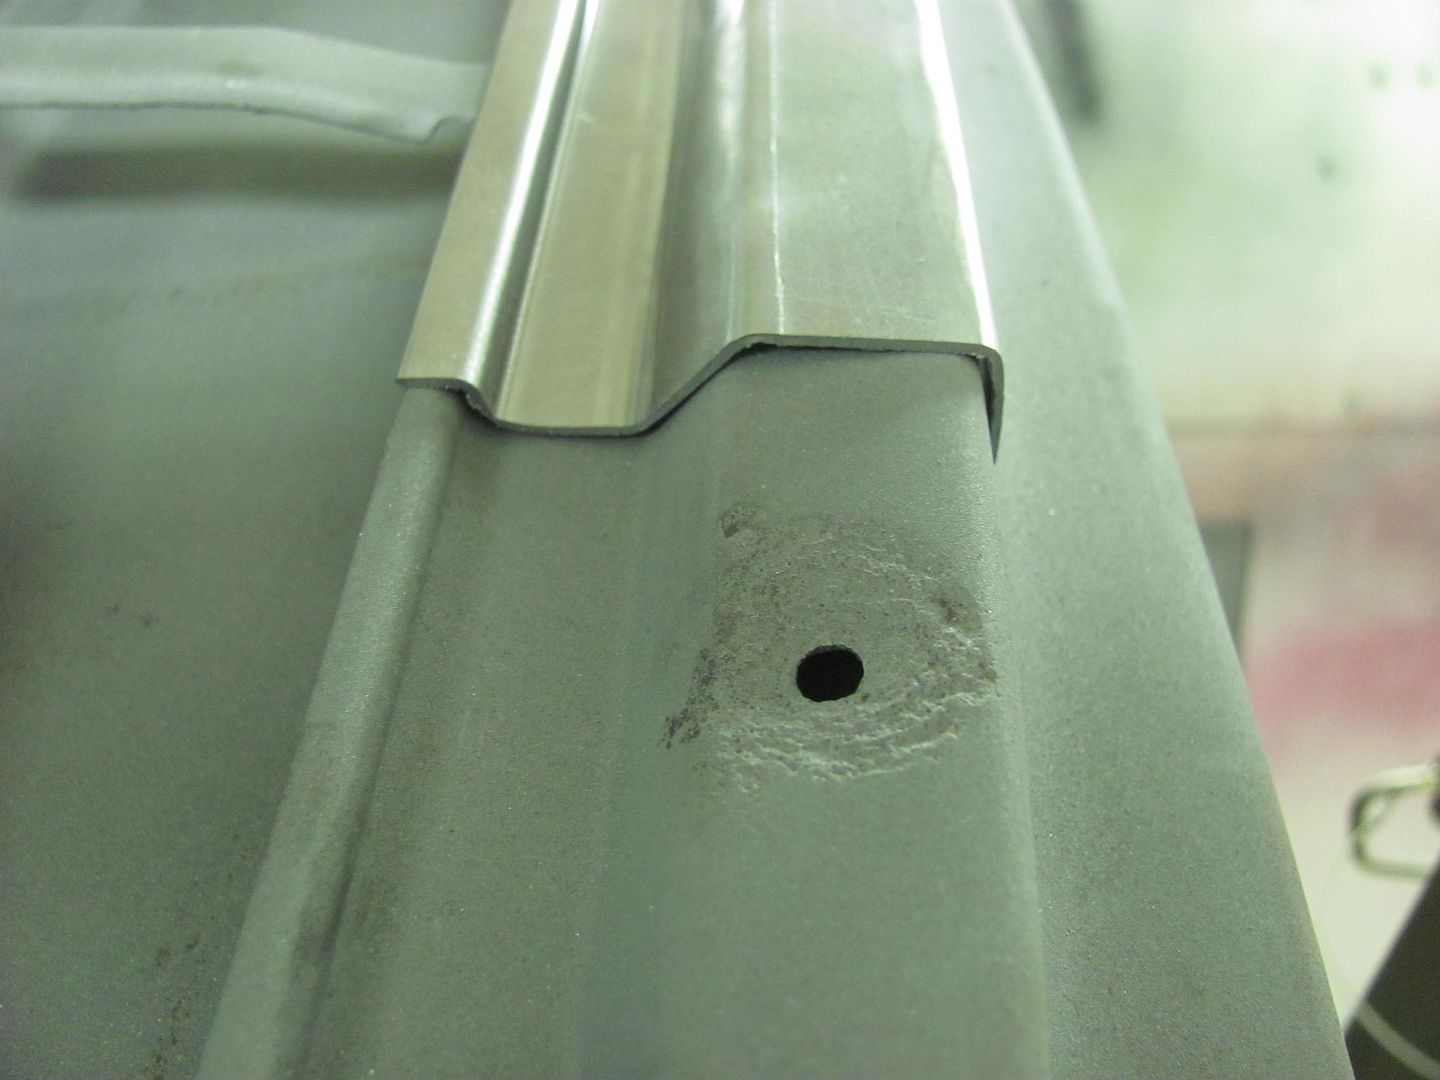
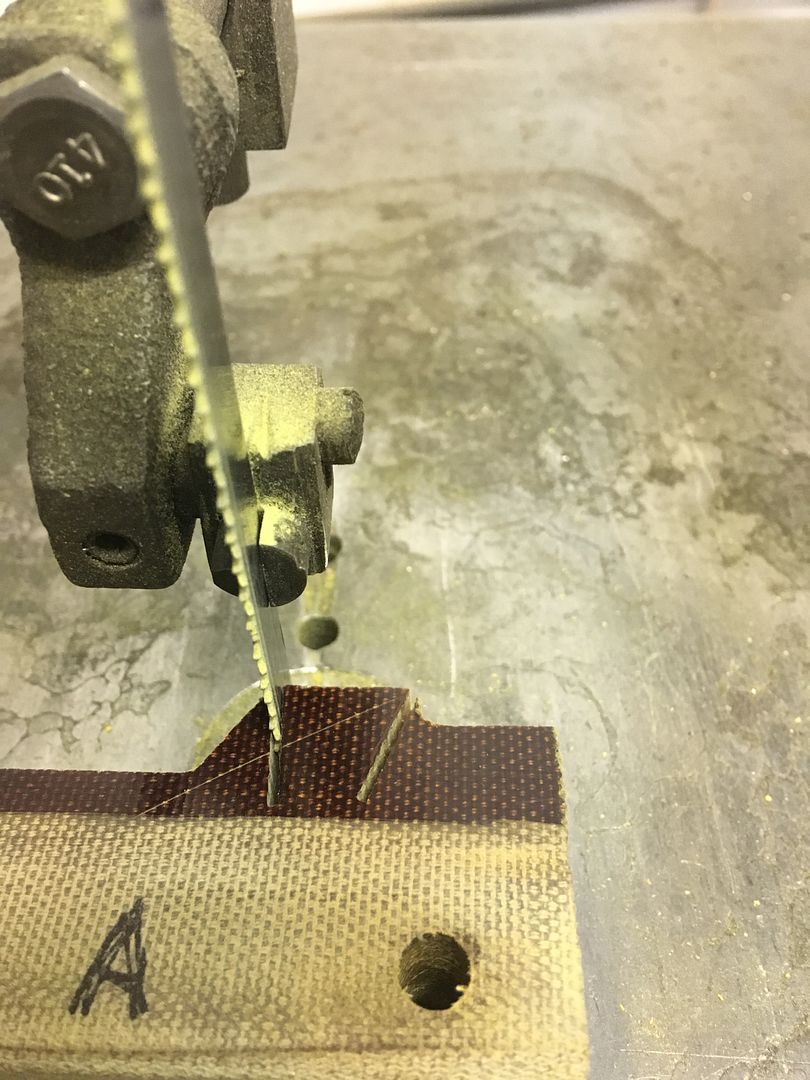
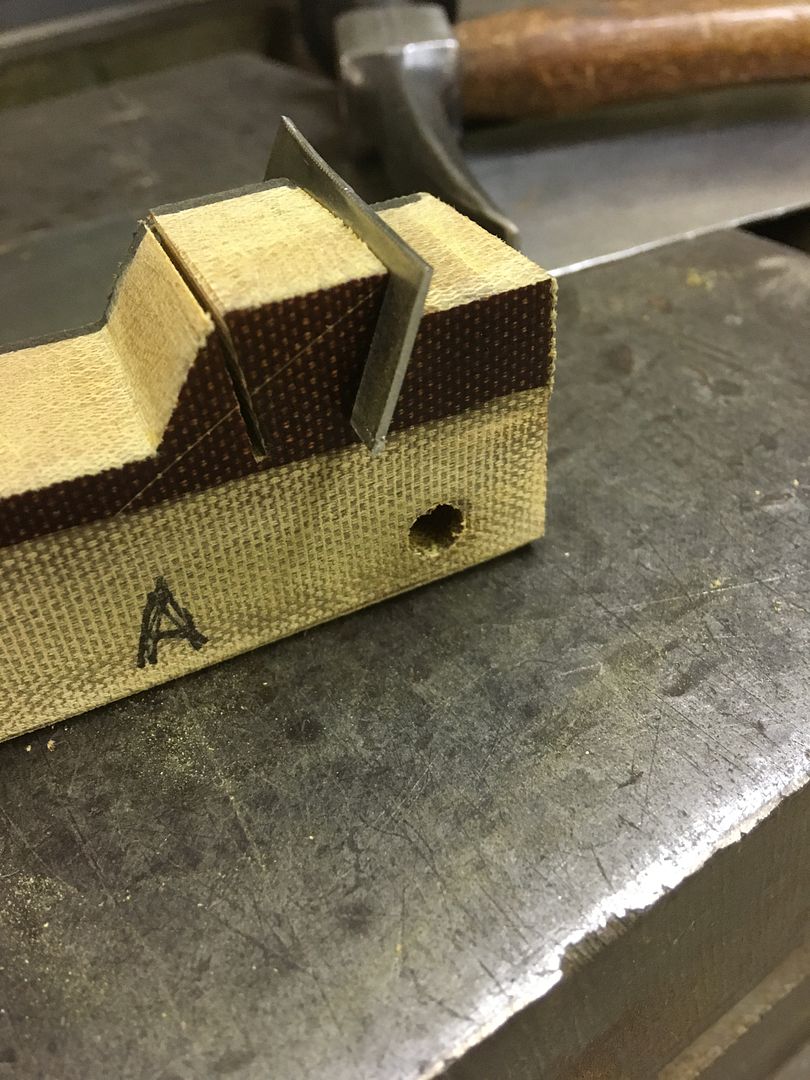
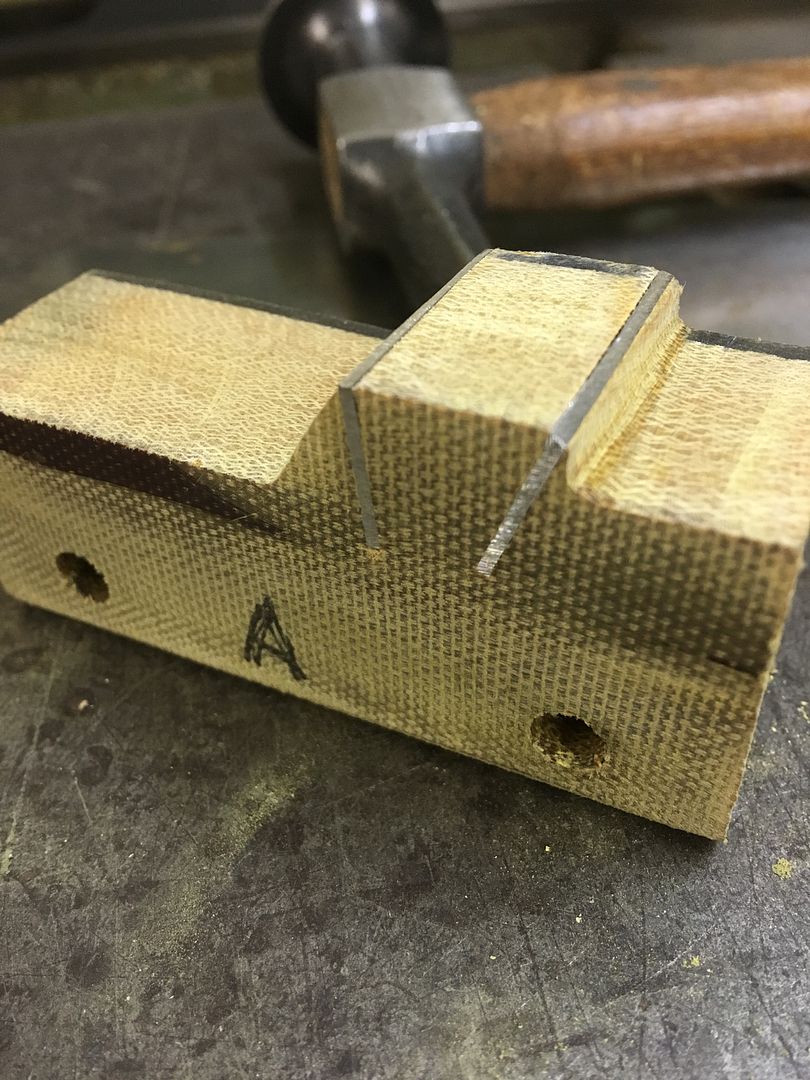
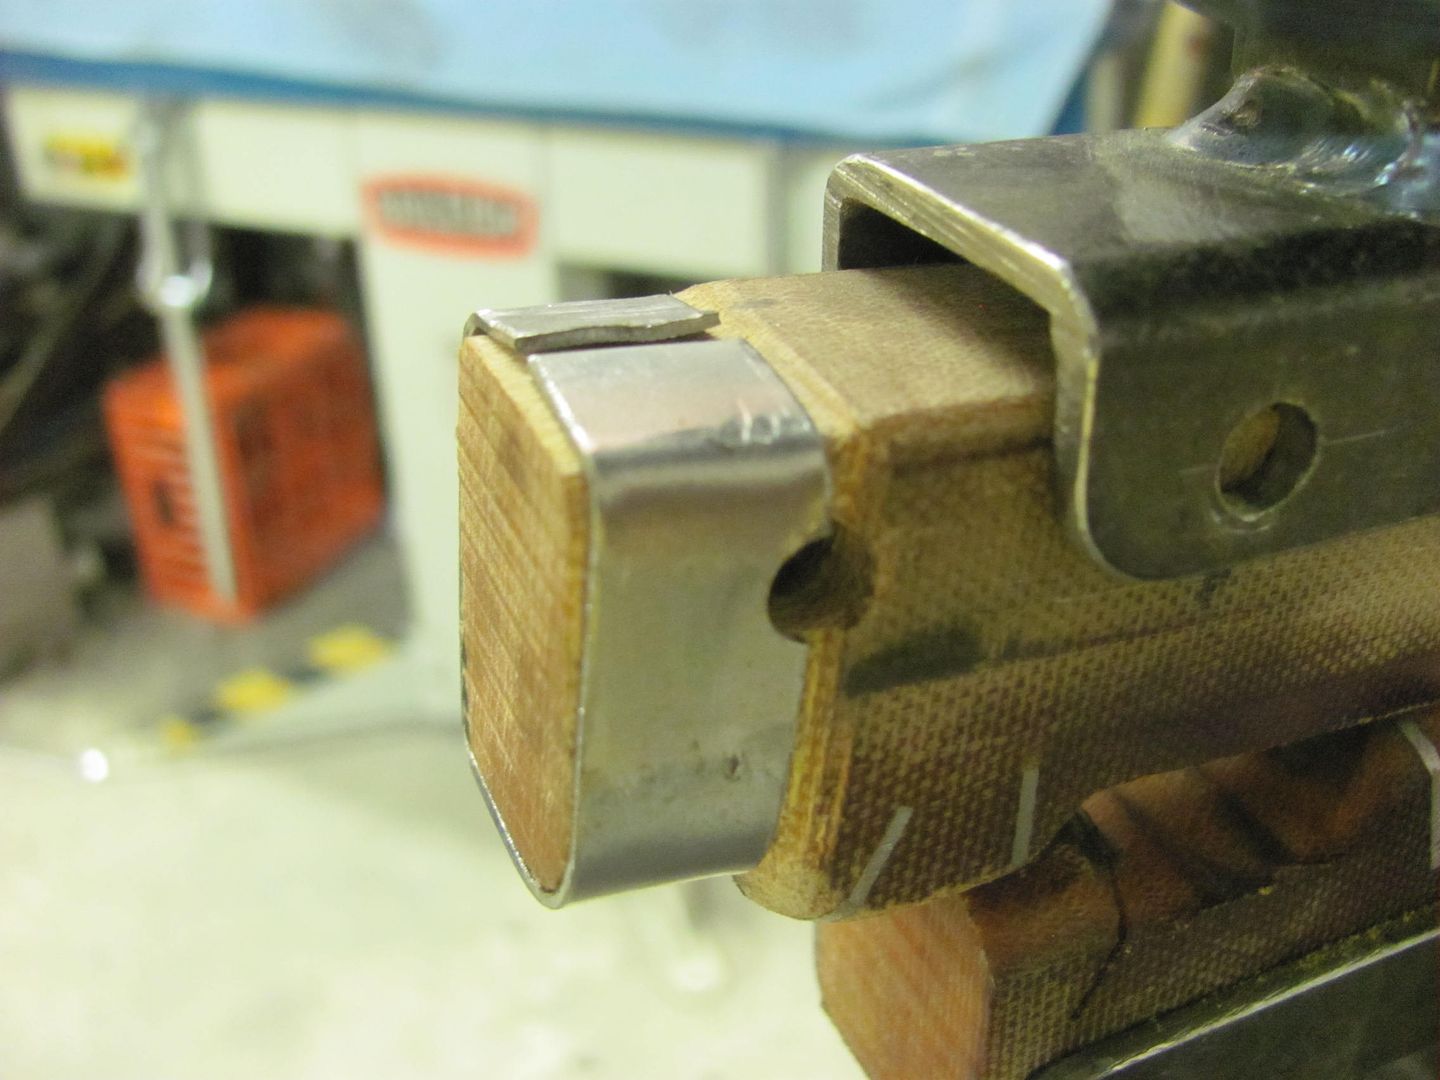
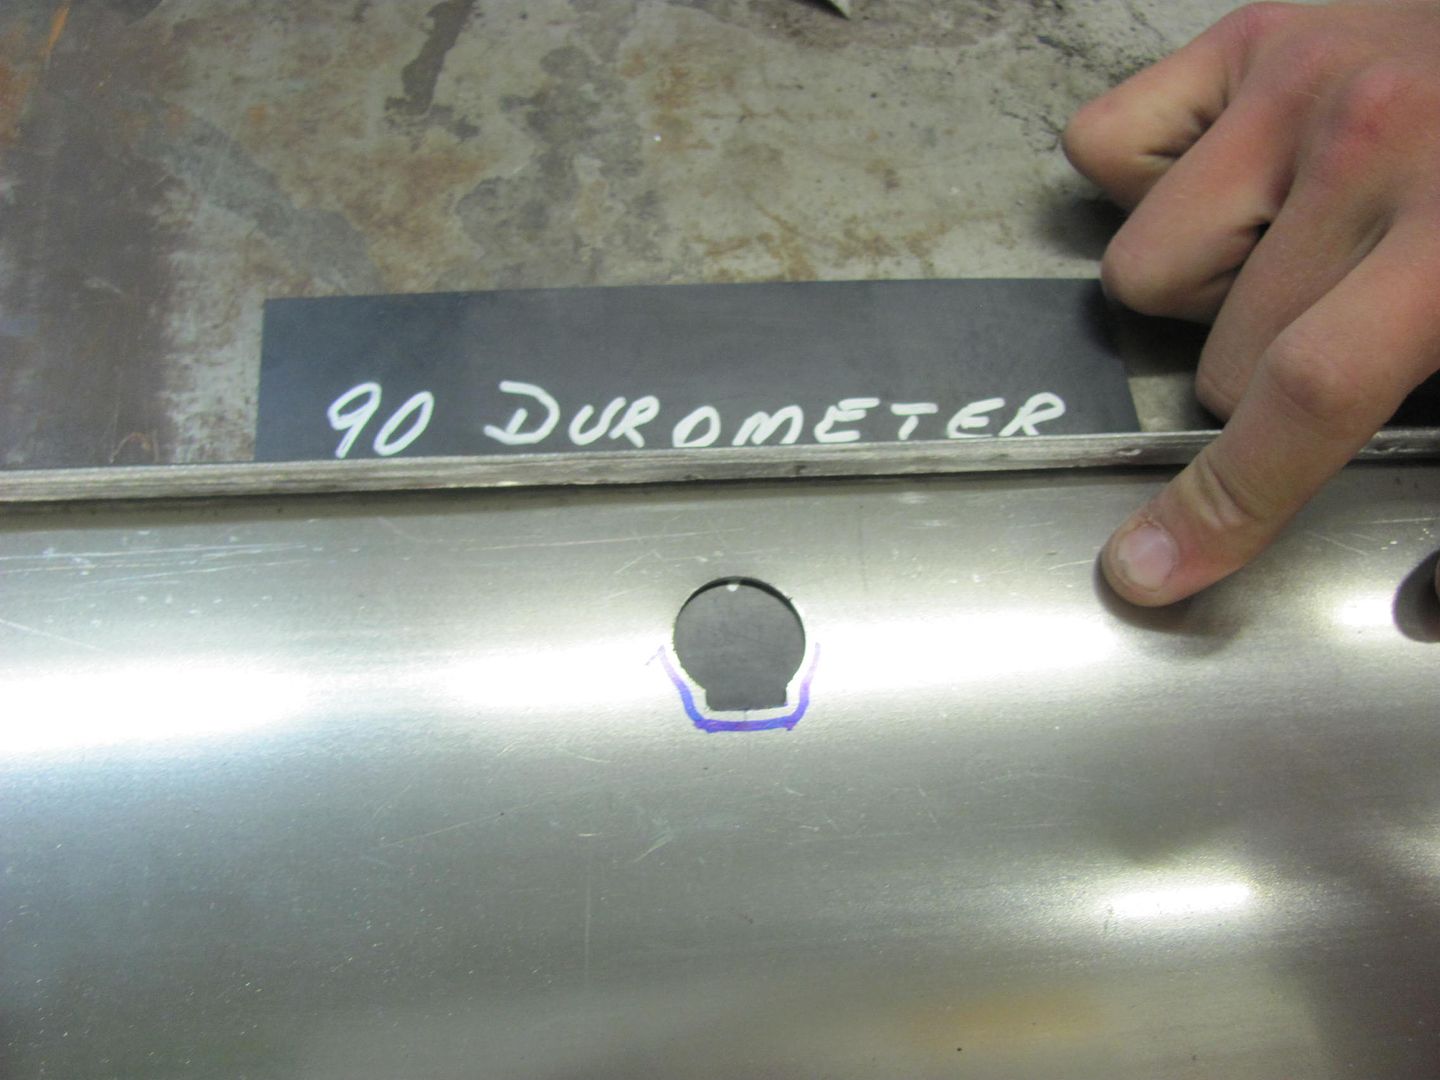
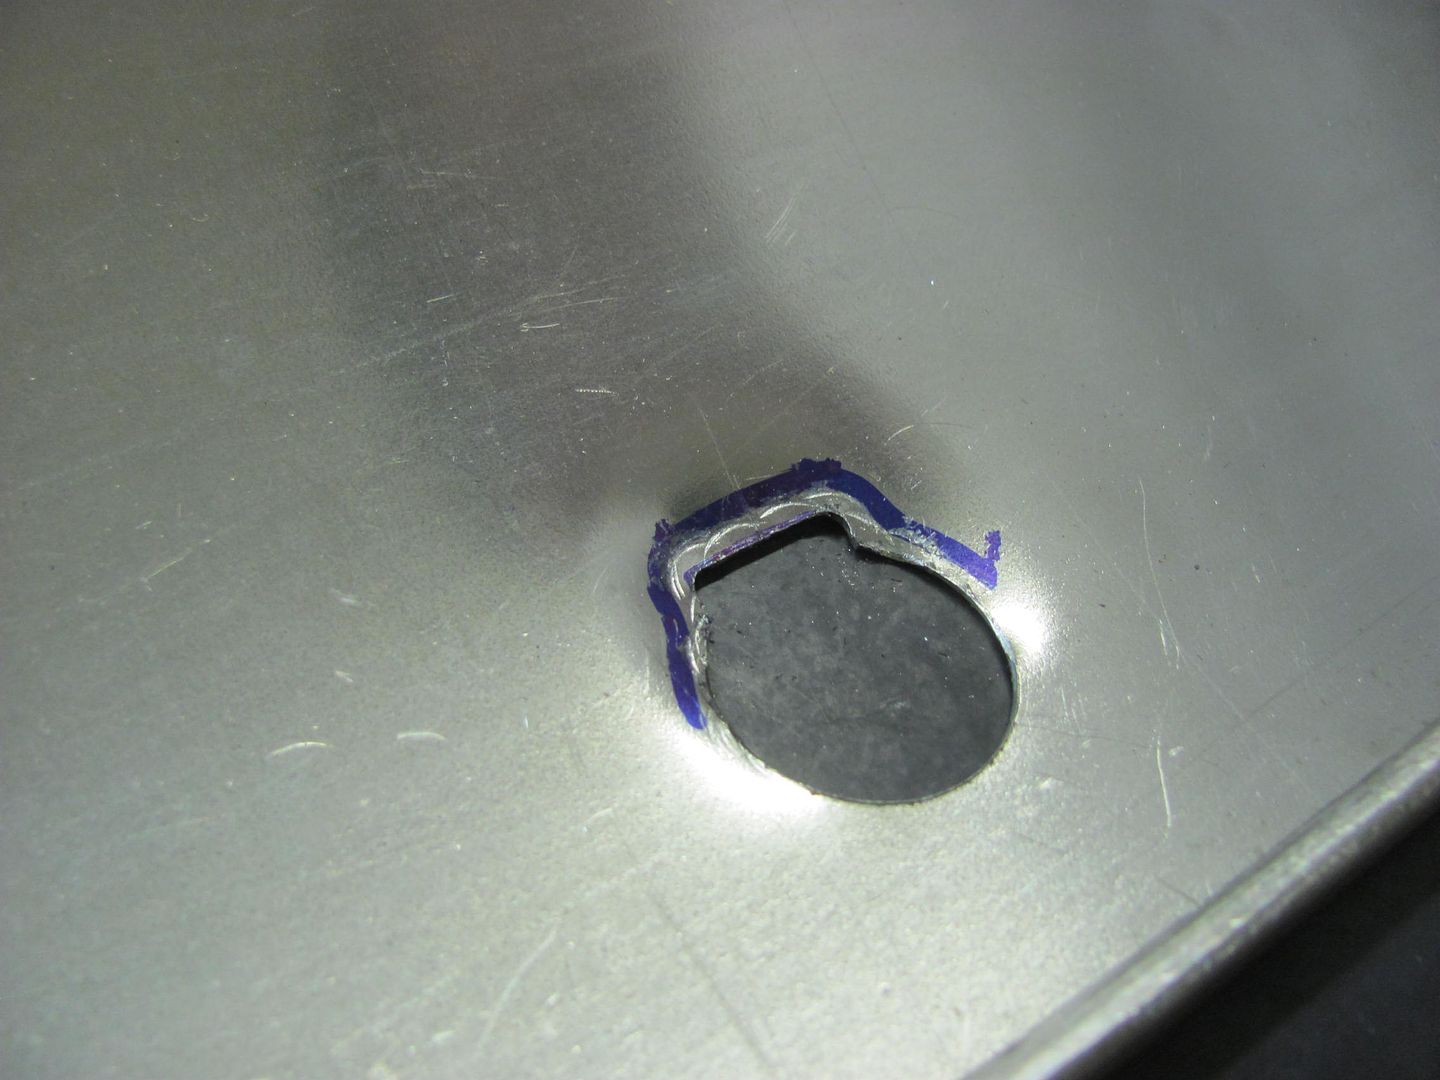
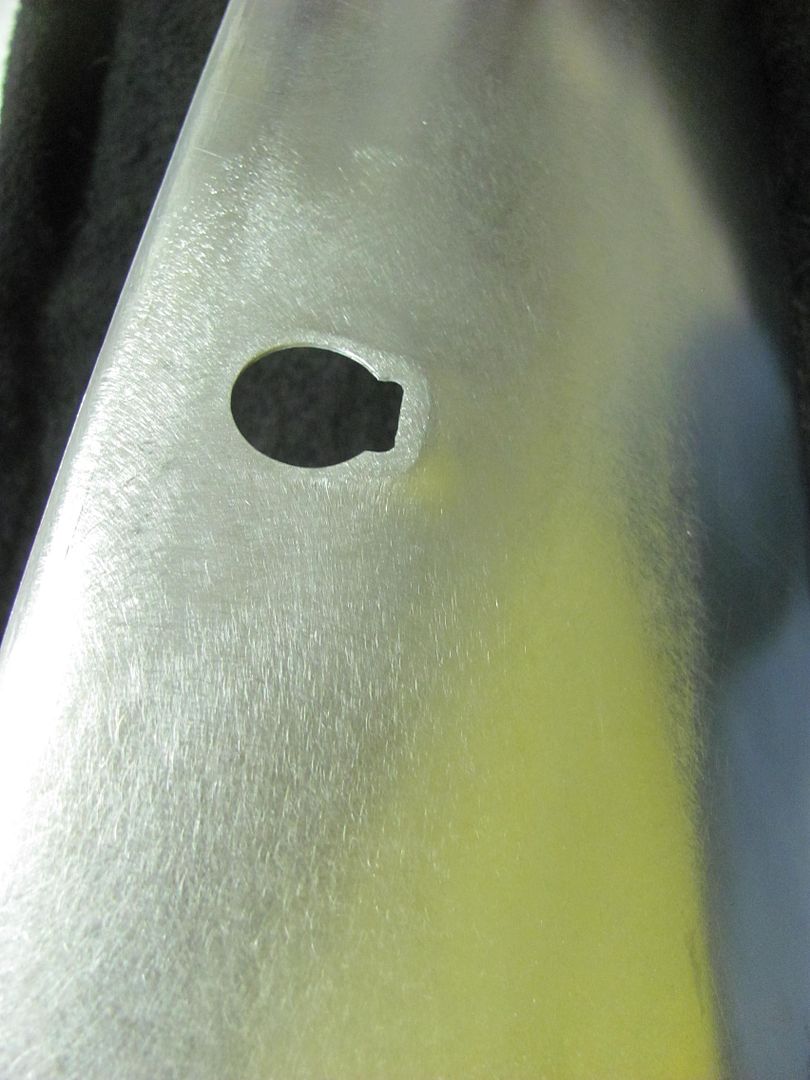
    The lock cylinder hole was added using a step drill for the hole and a die grinder for the notch.


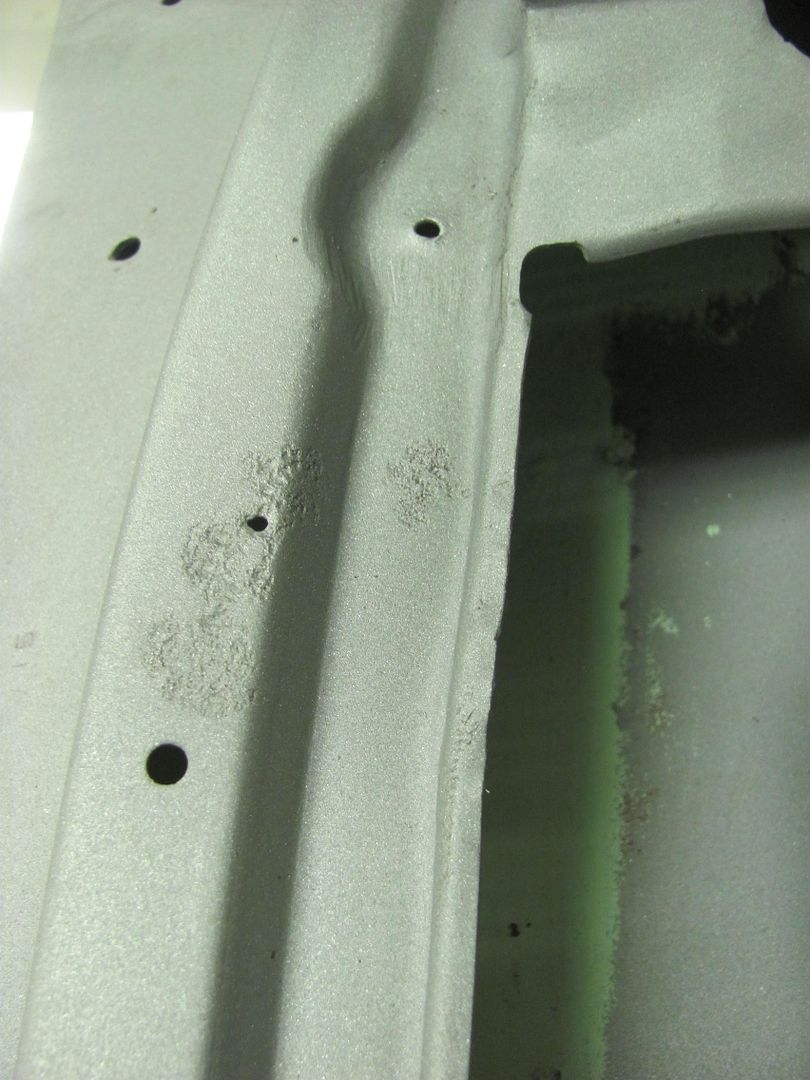
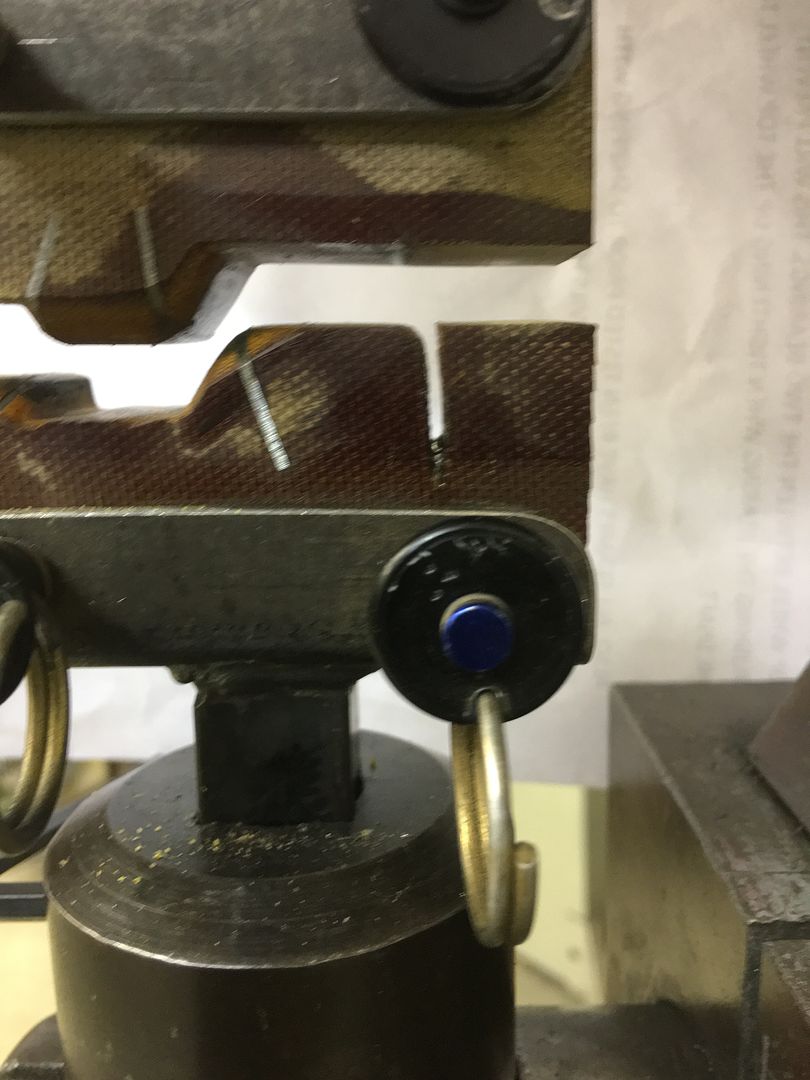
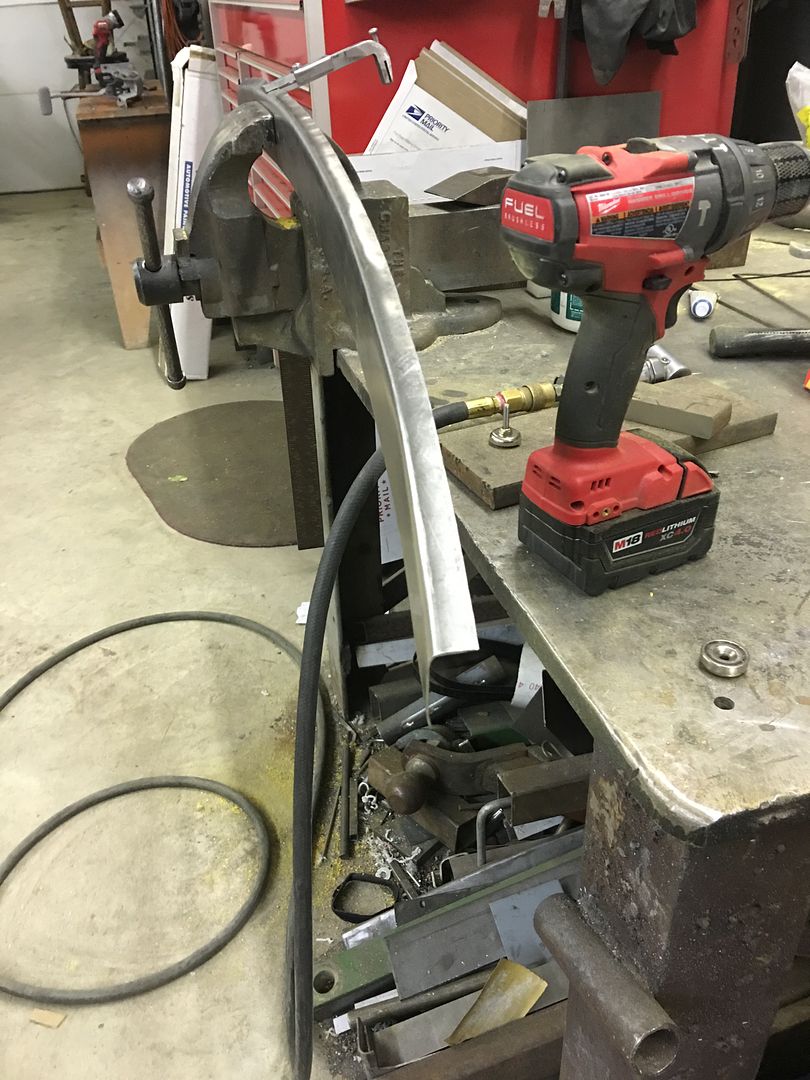
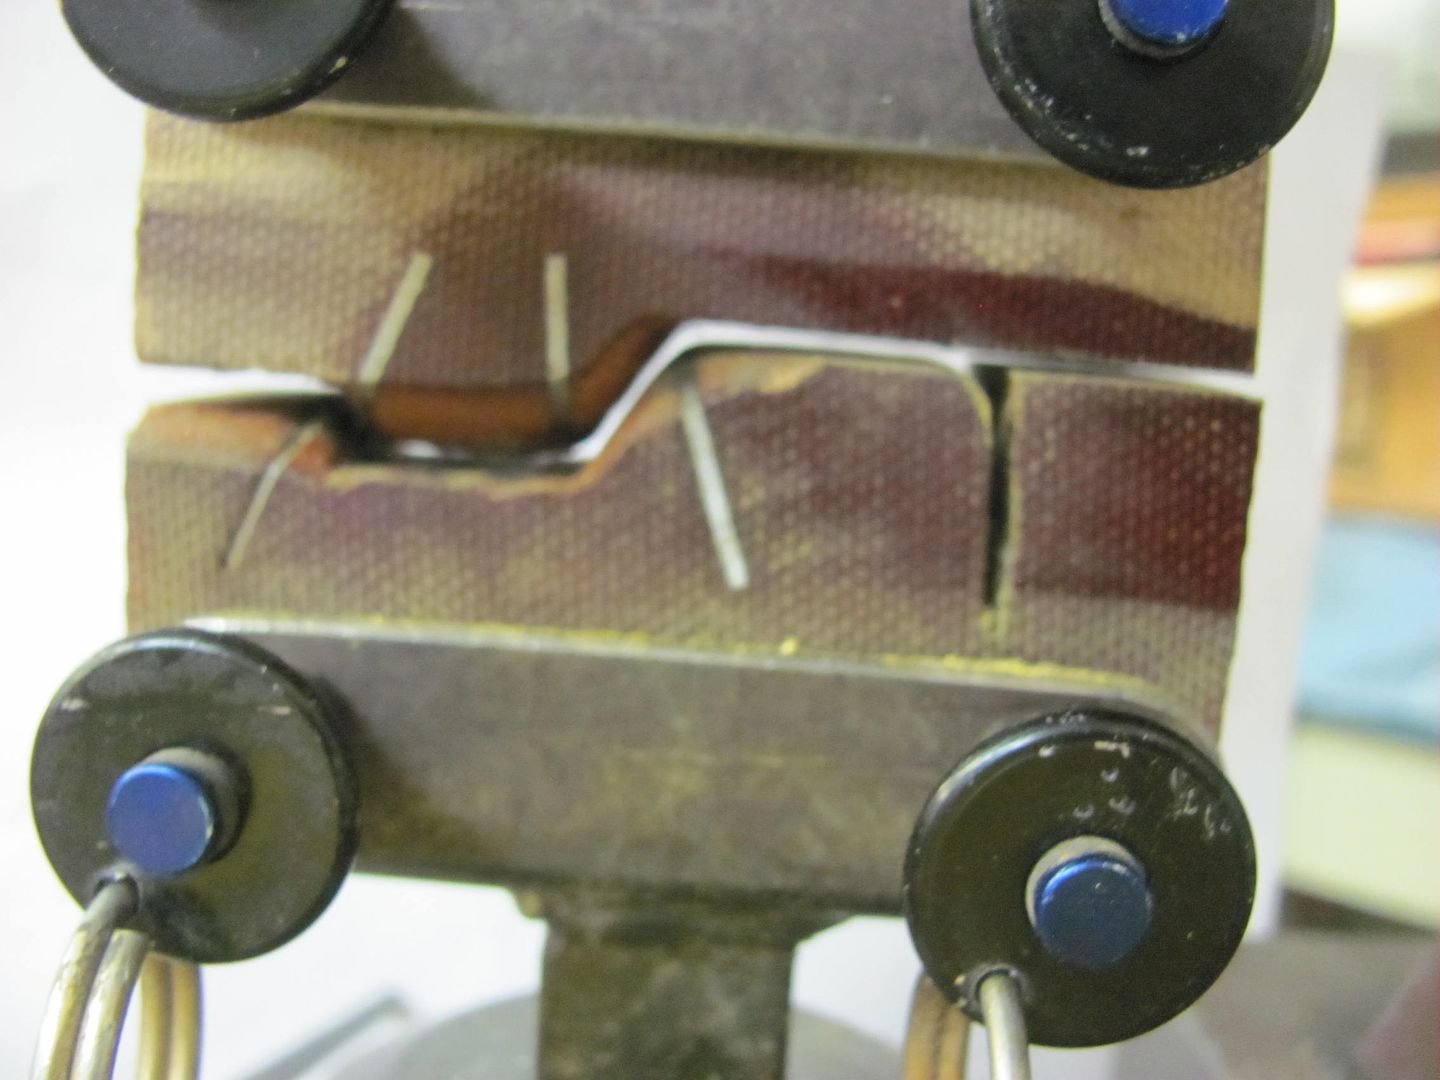
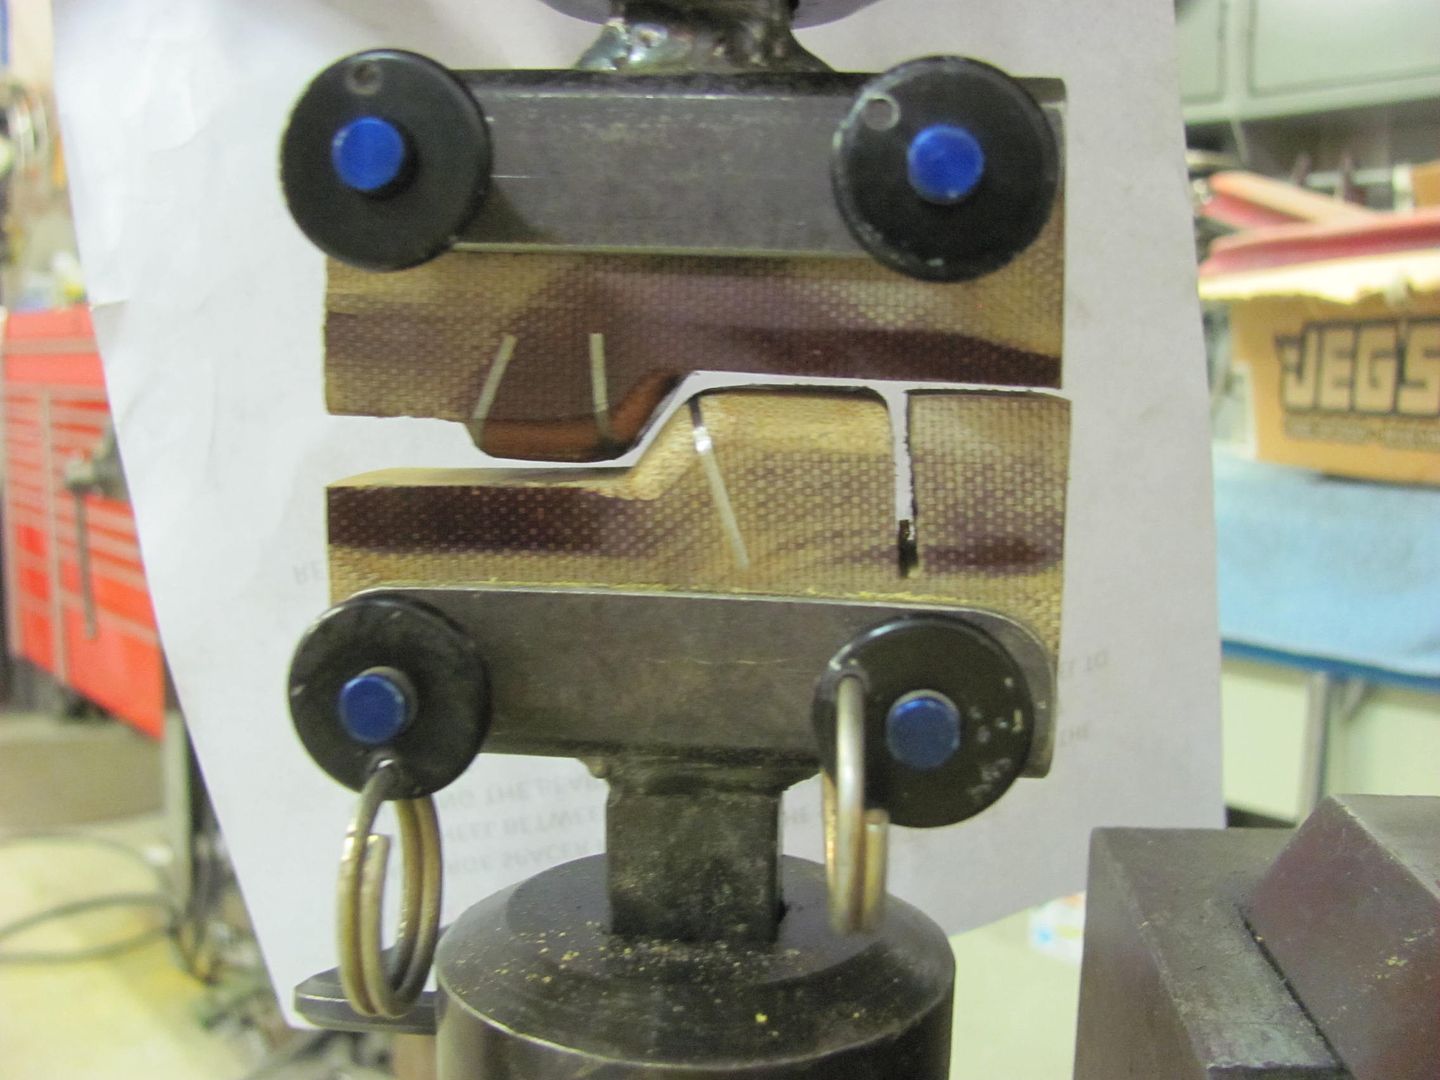
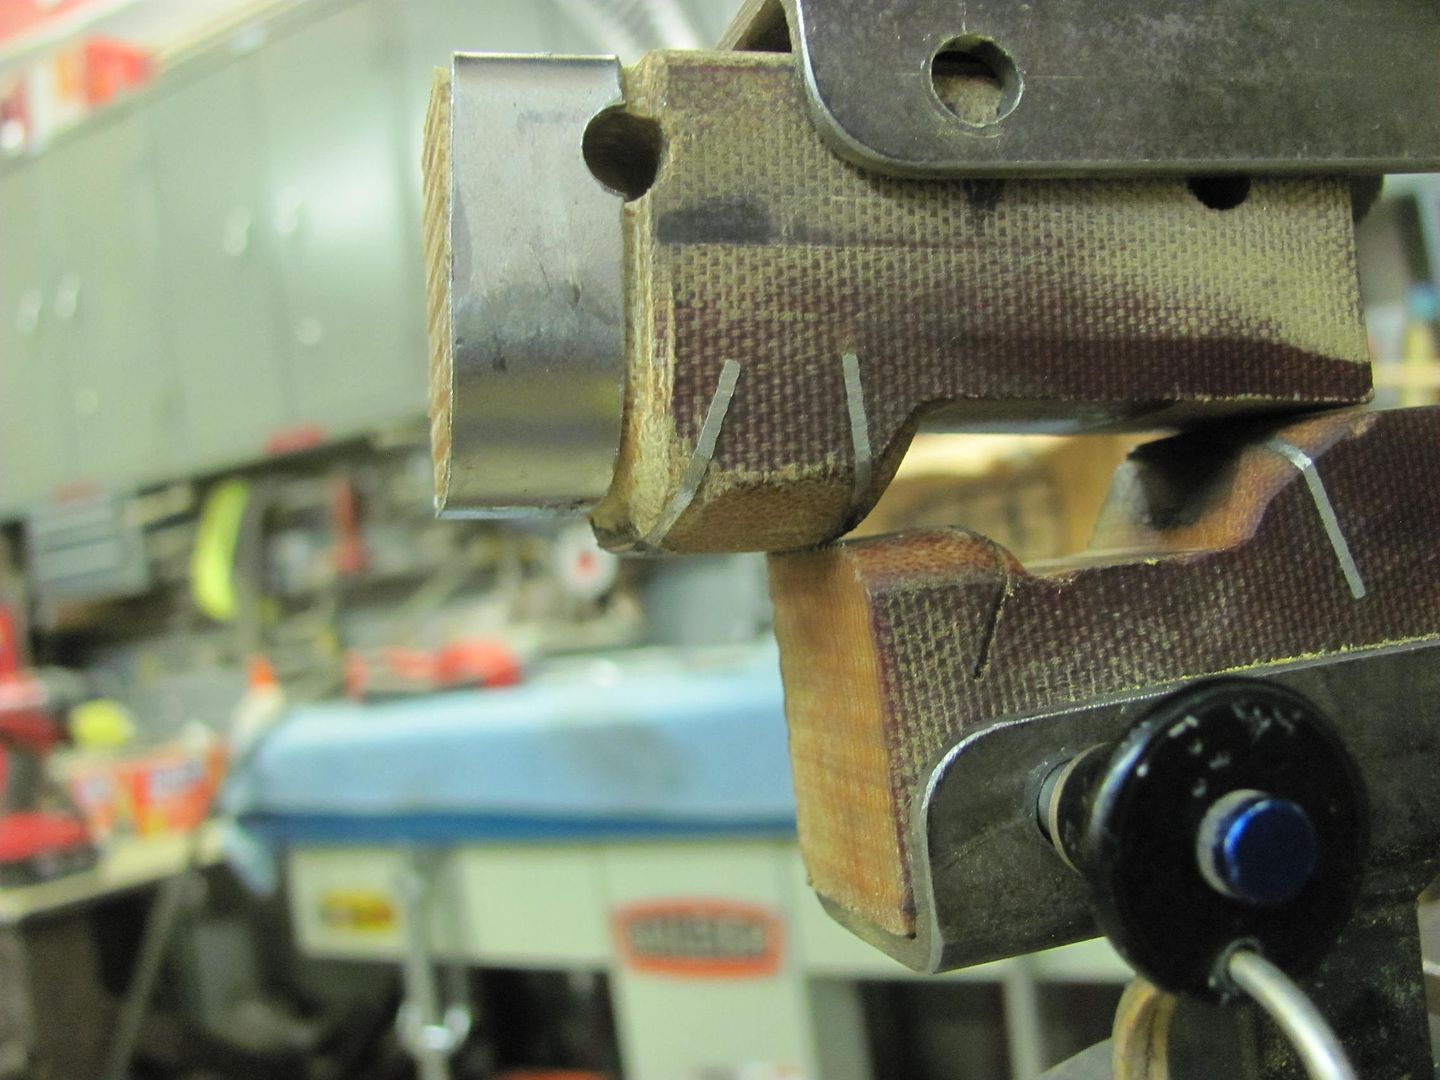
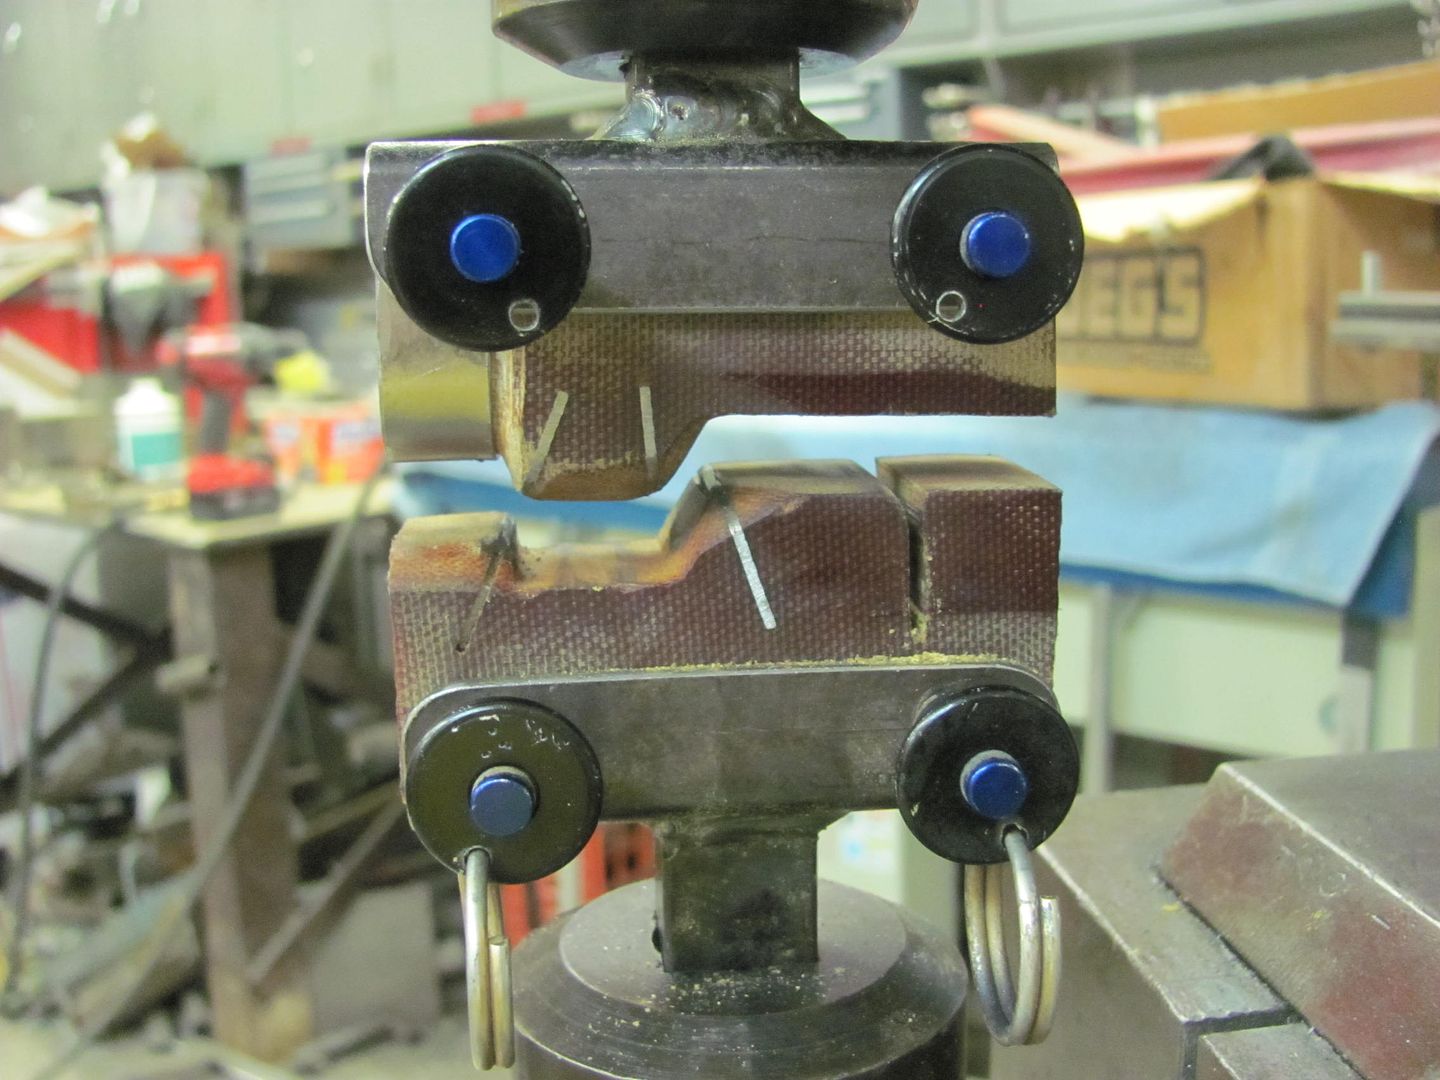
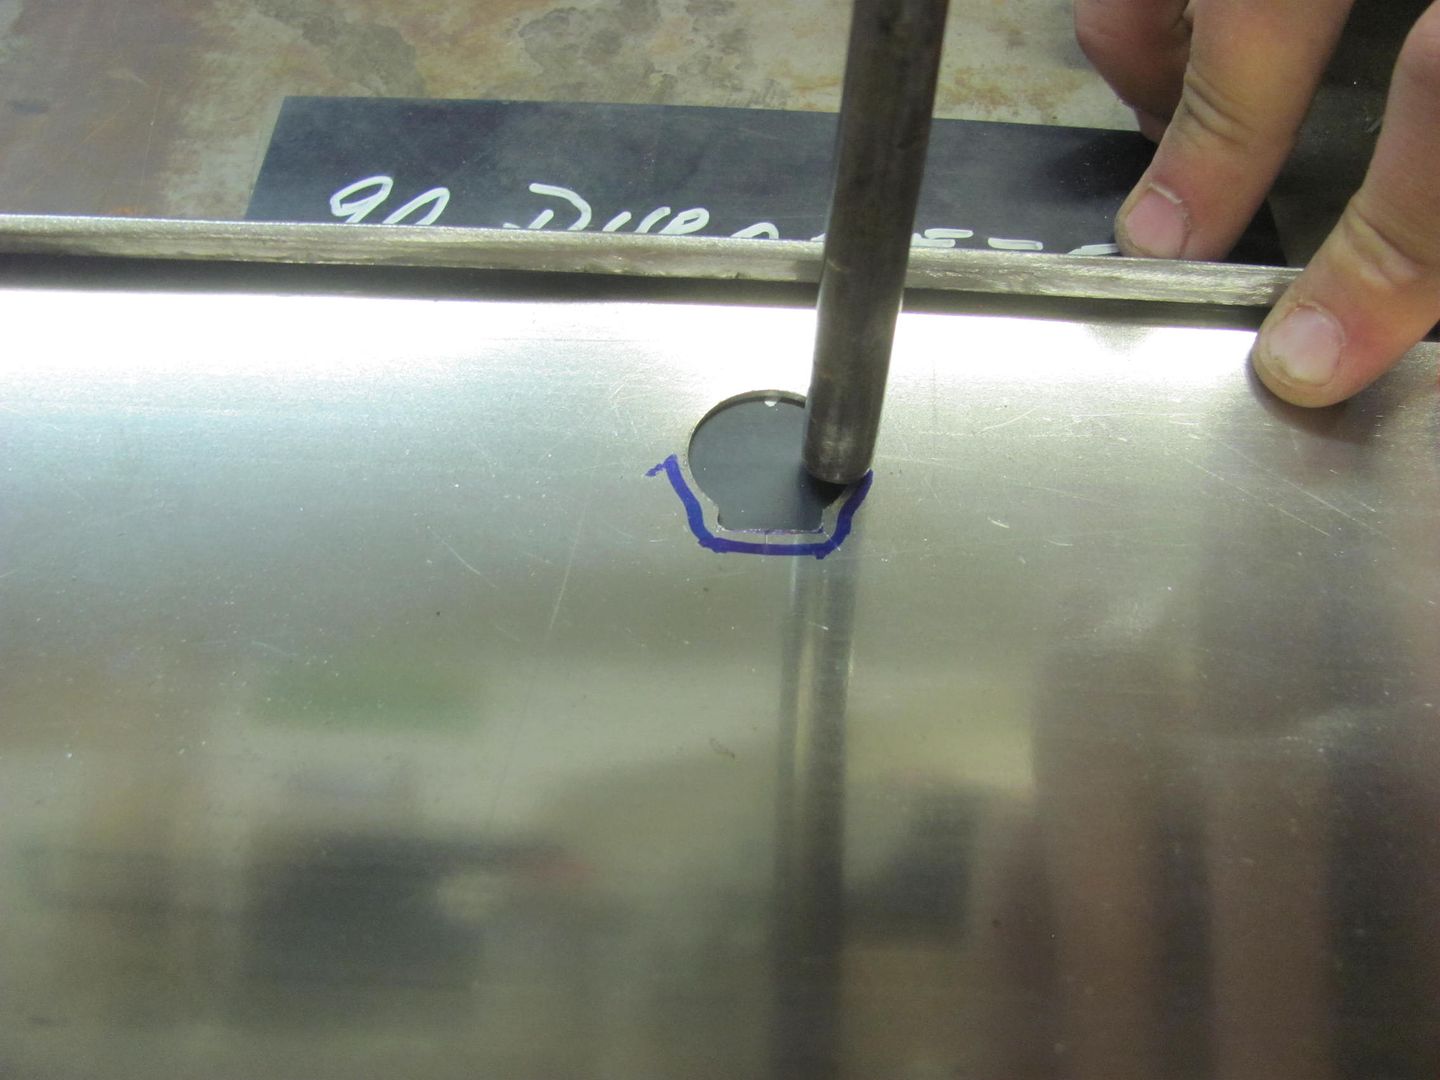
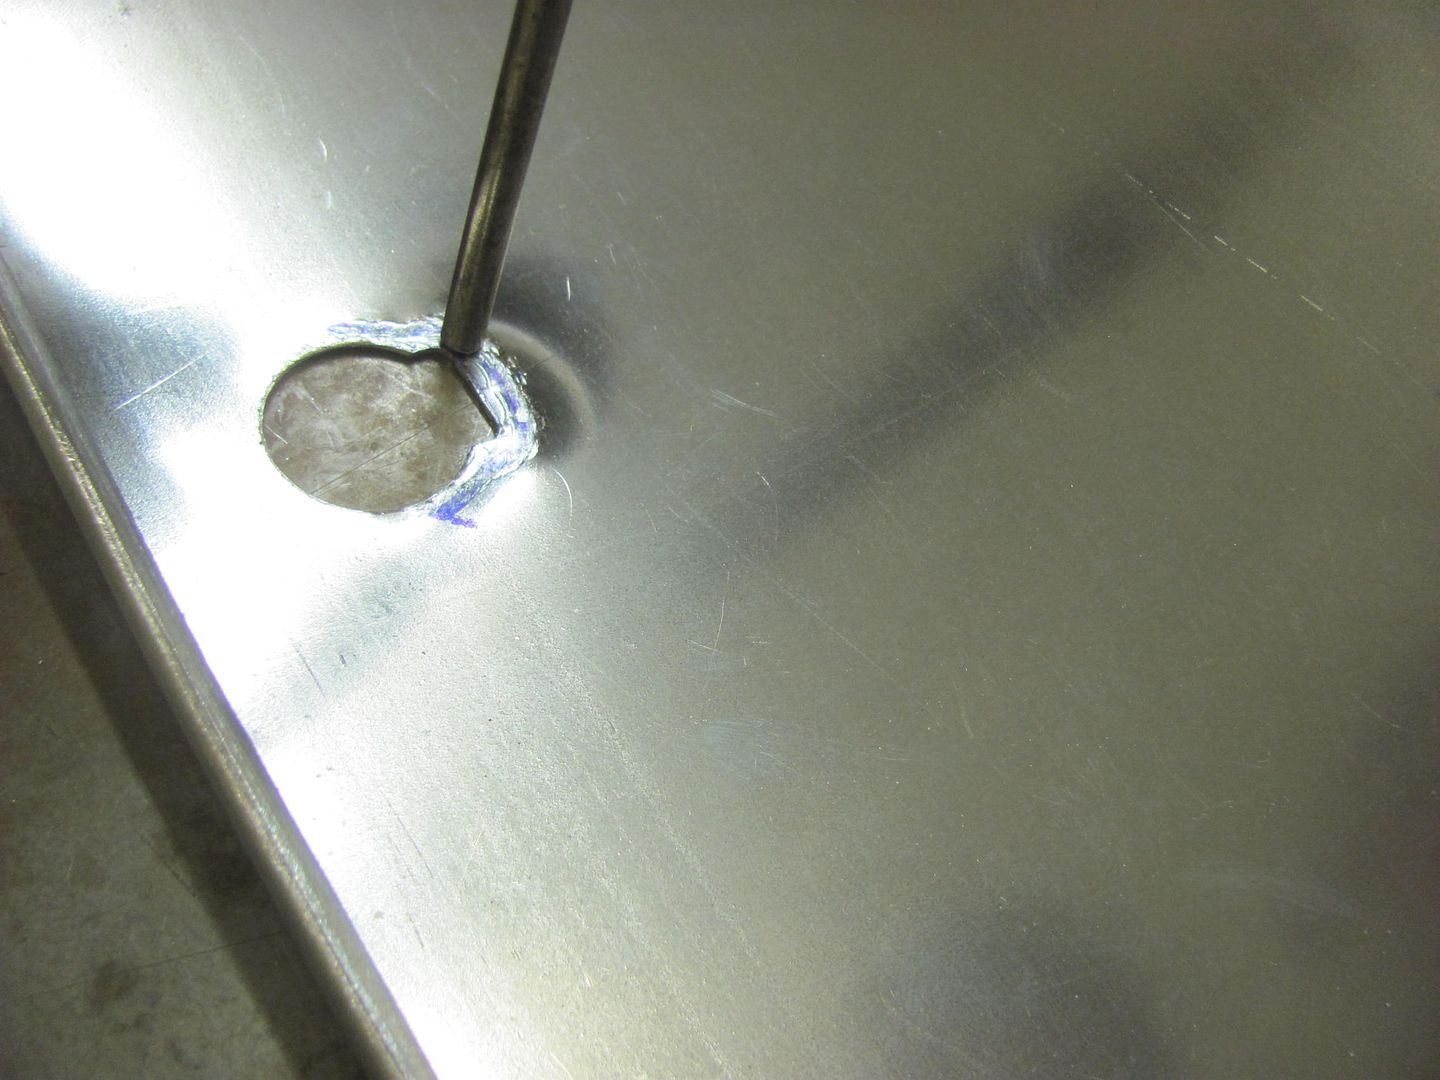
    A punch is used to add the needed stretch to provide the flat area..


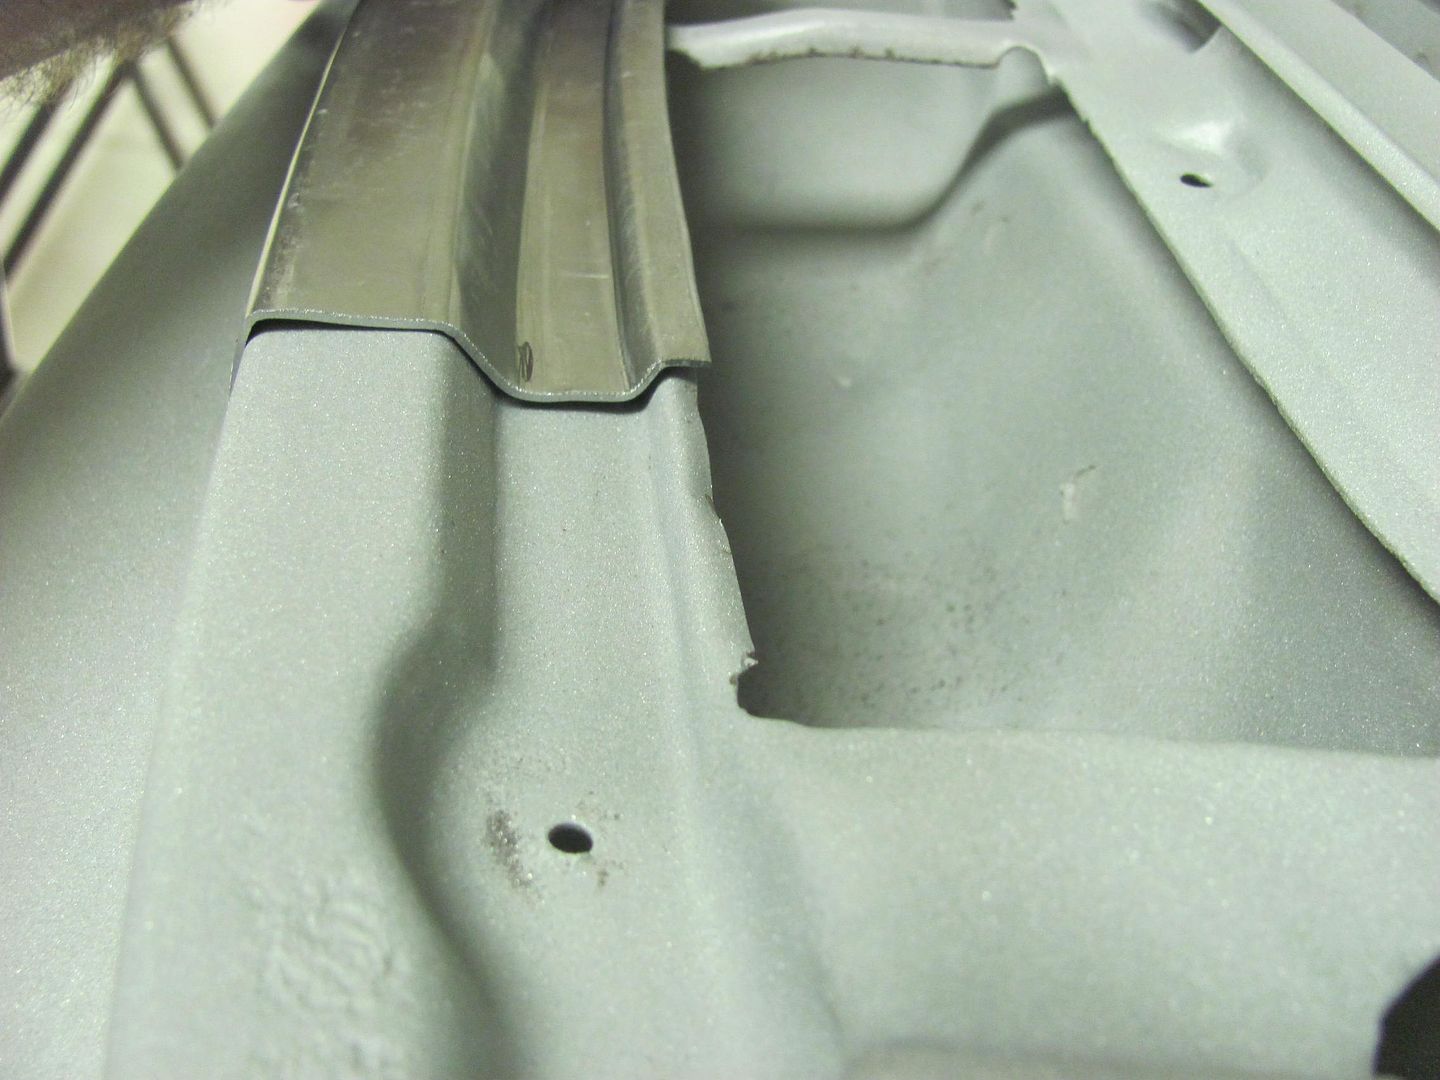
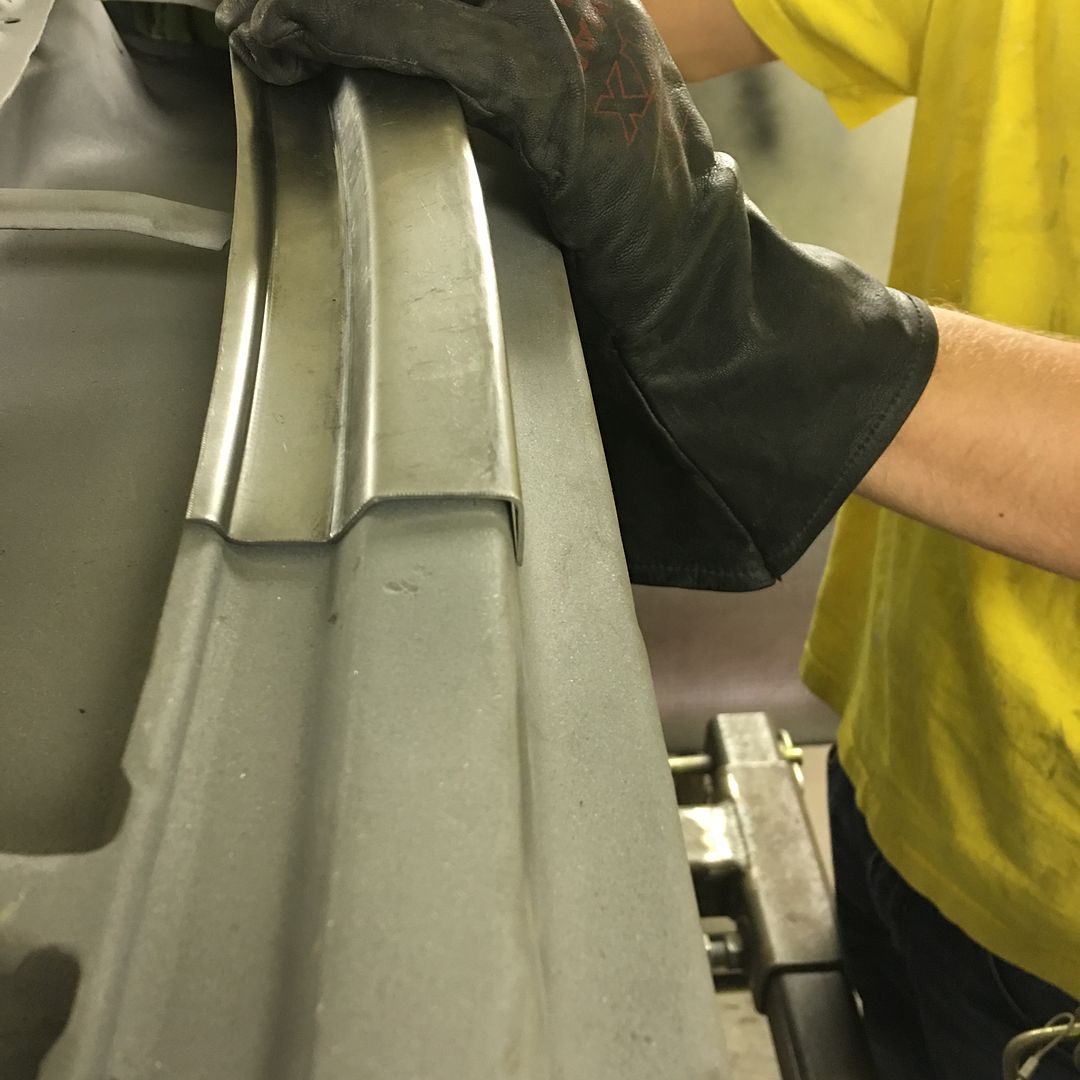
    Starting to take shape..


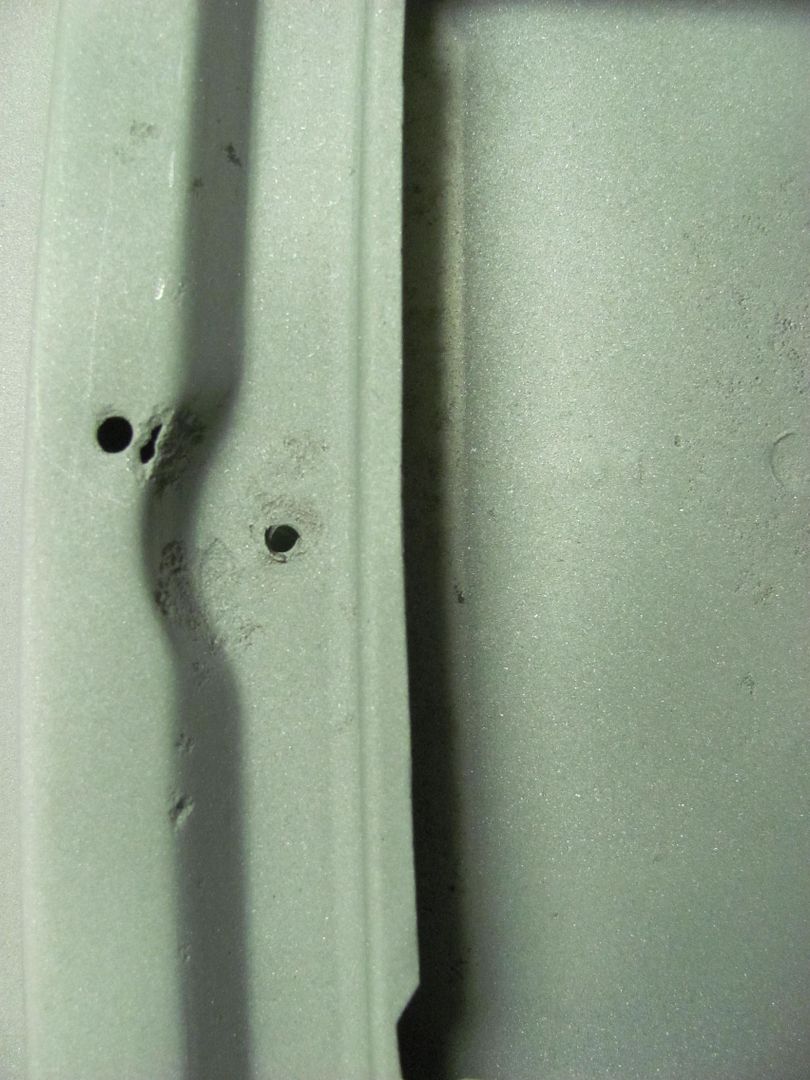
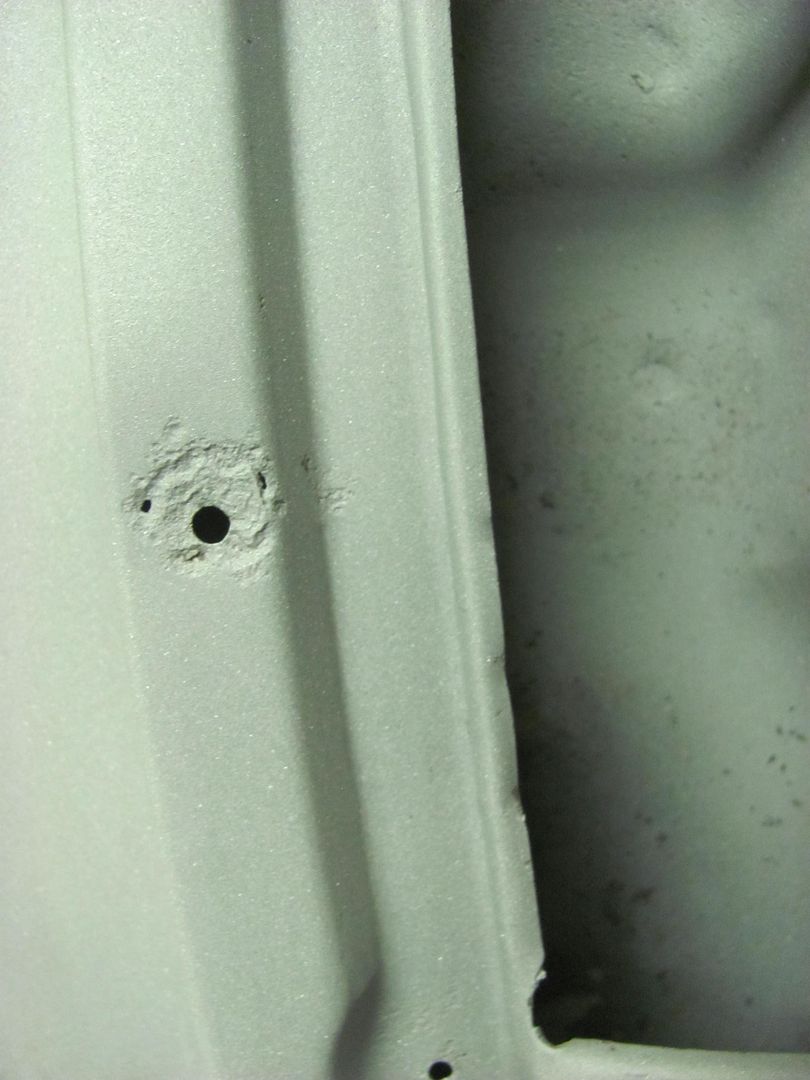
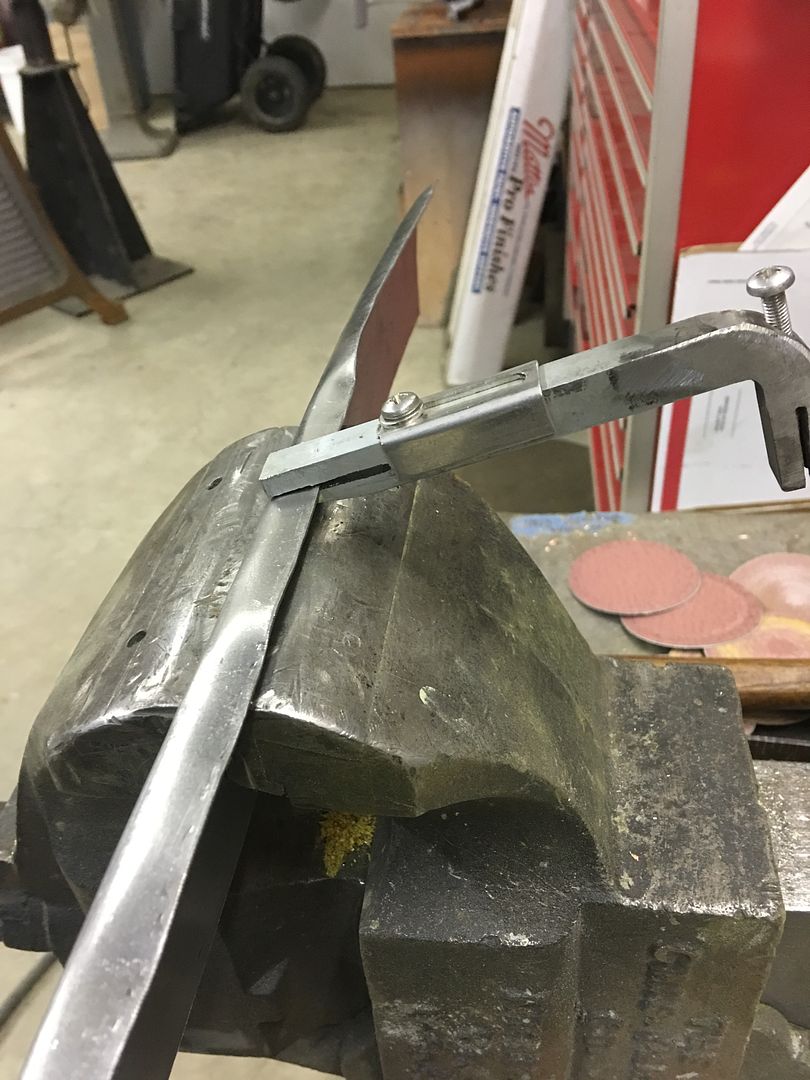
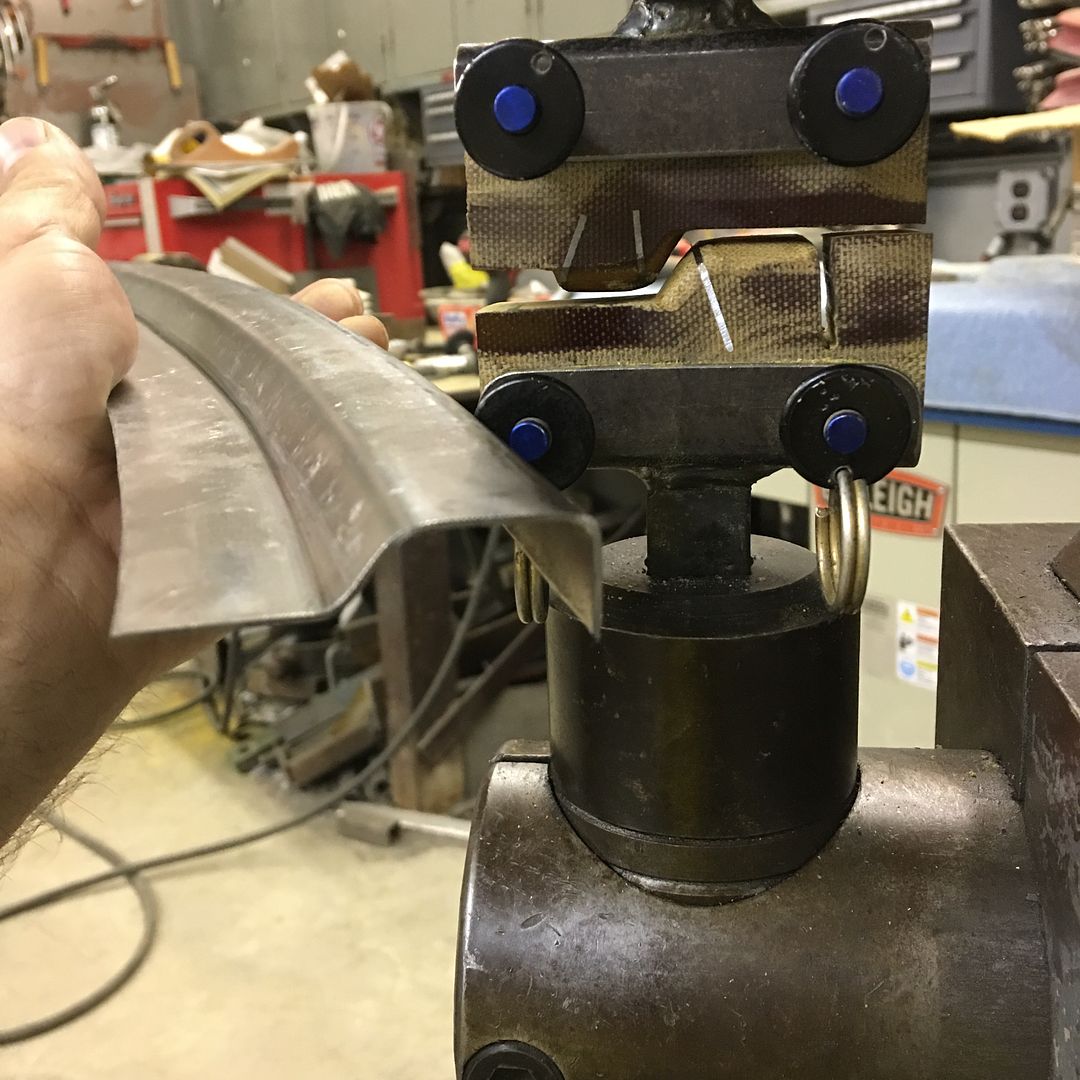
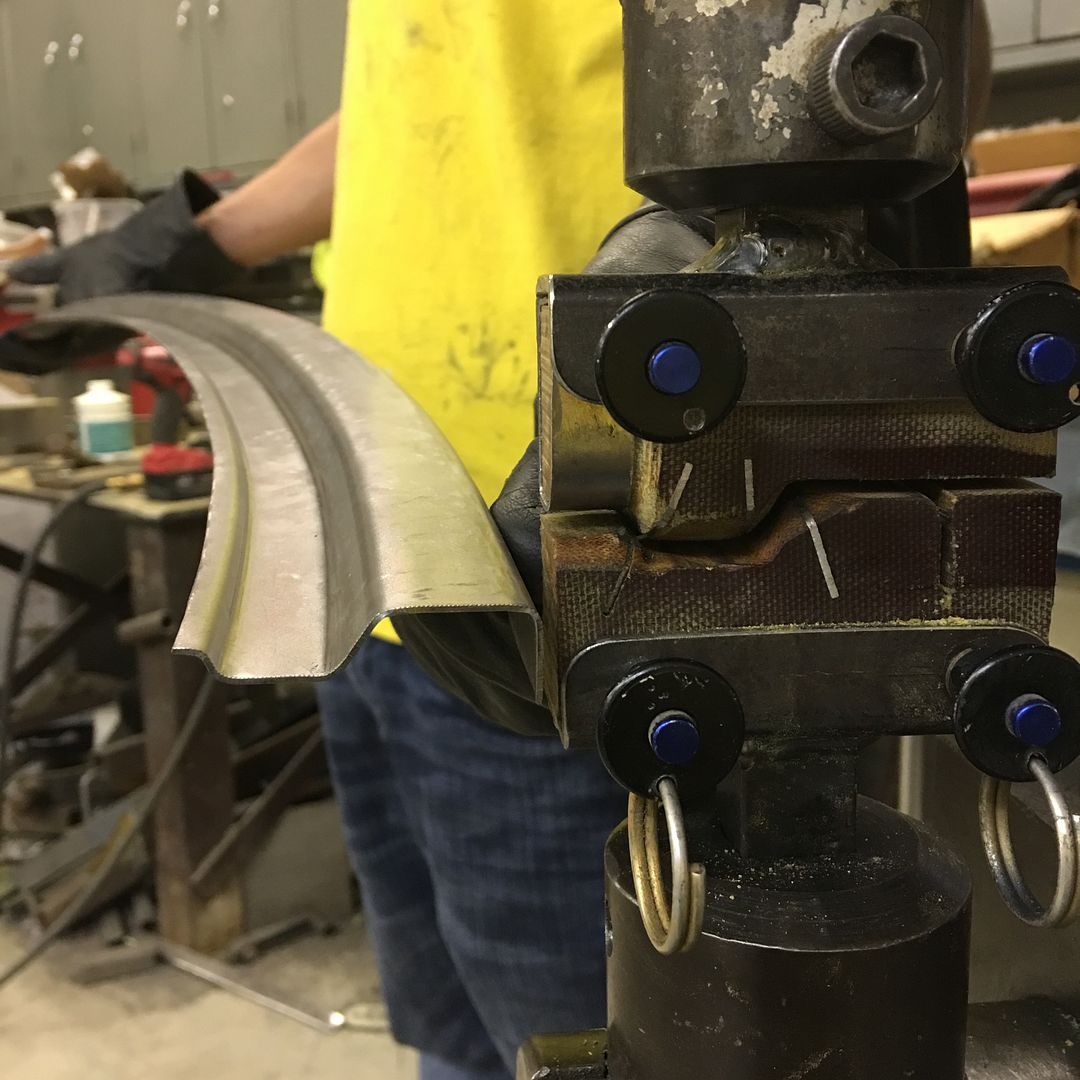
    Some fine tuning of the detail...


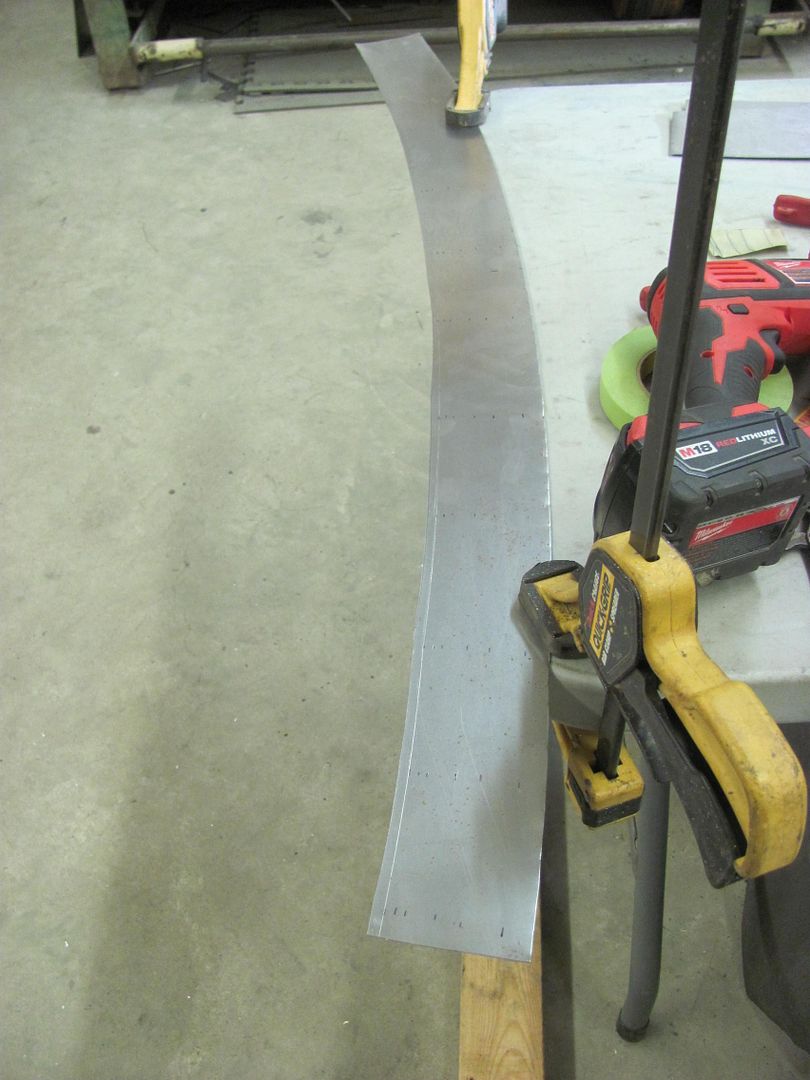
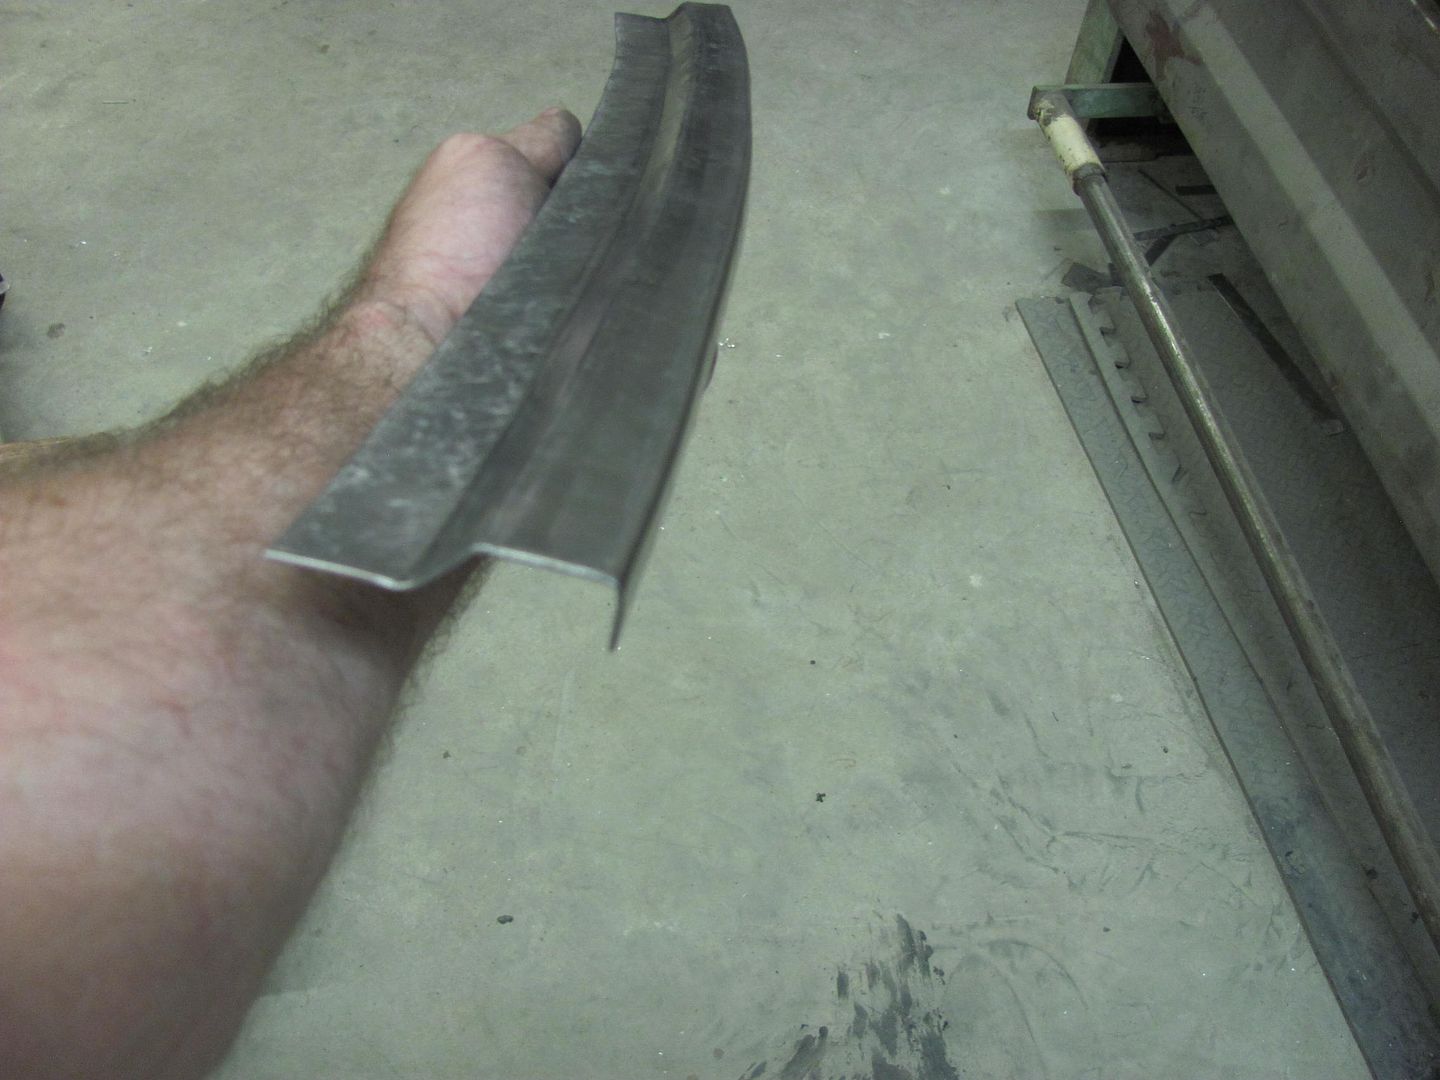
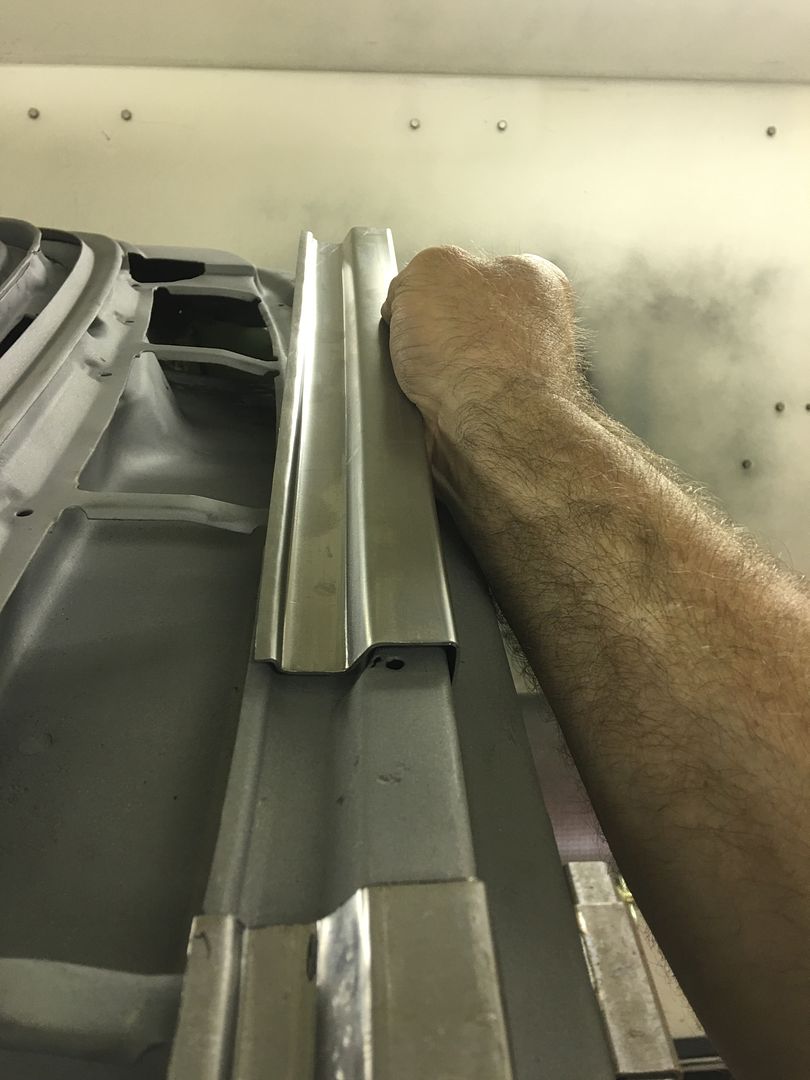
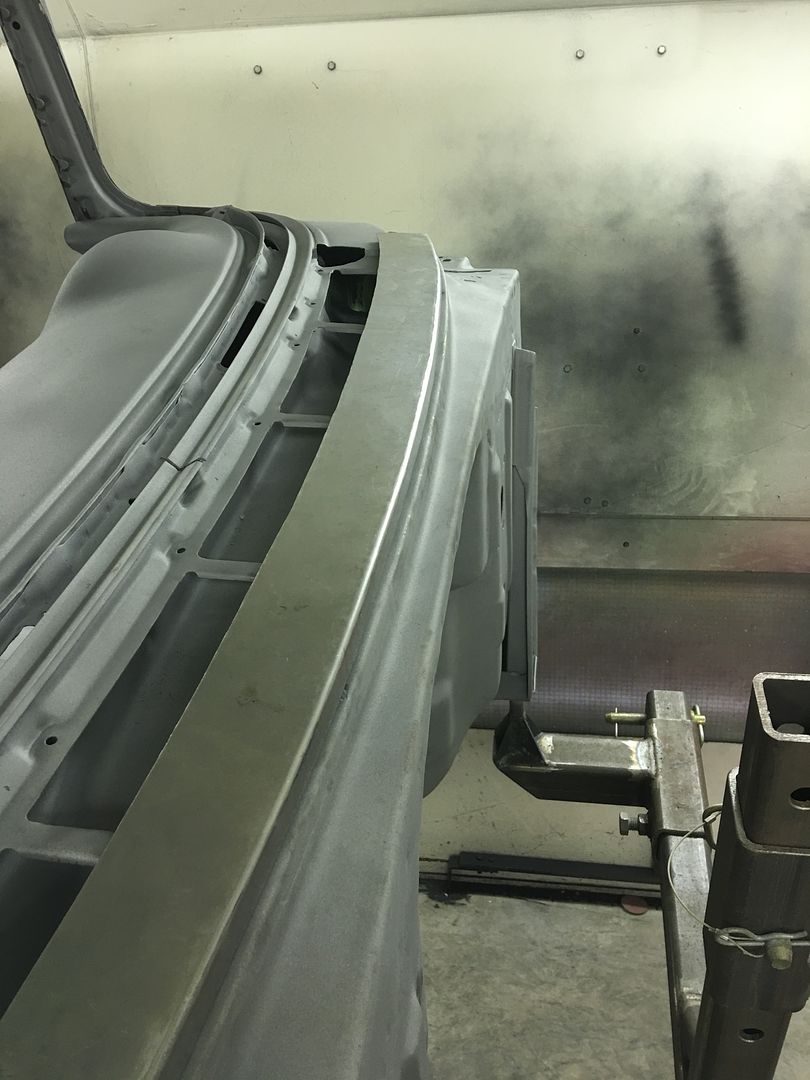
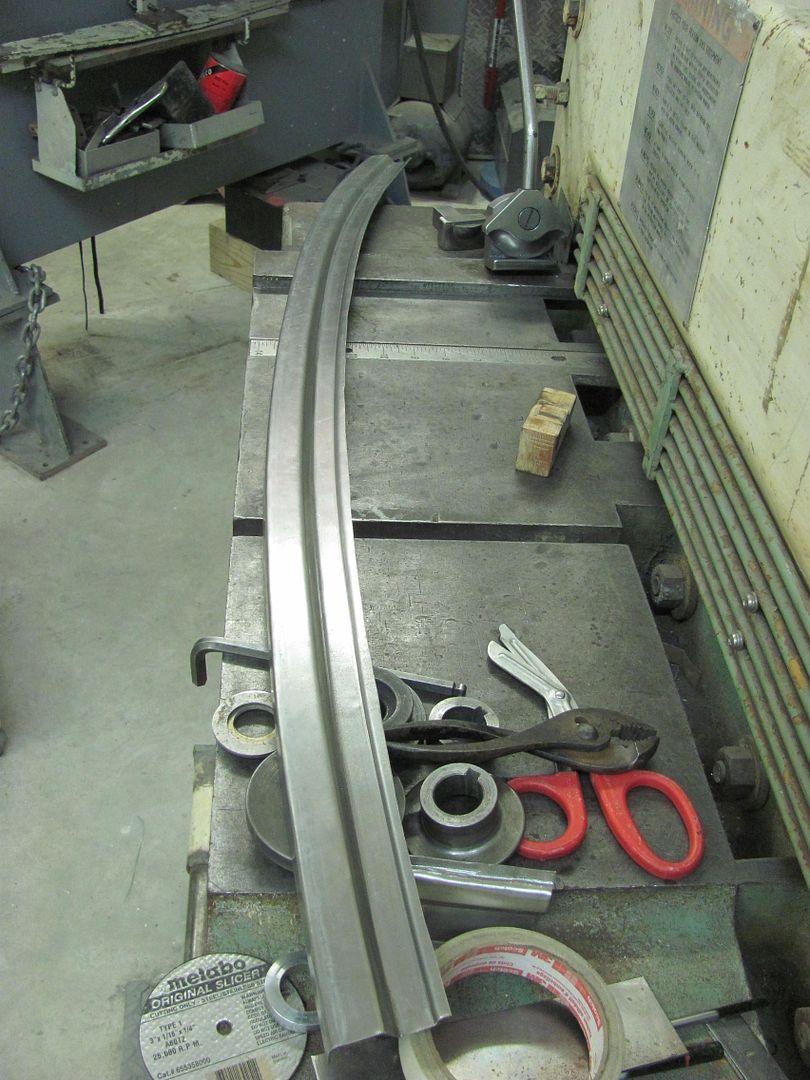
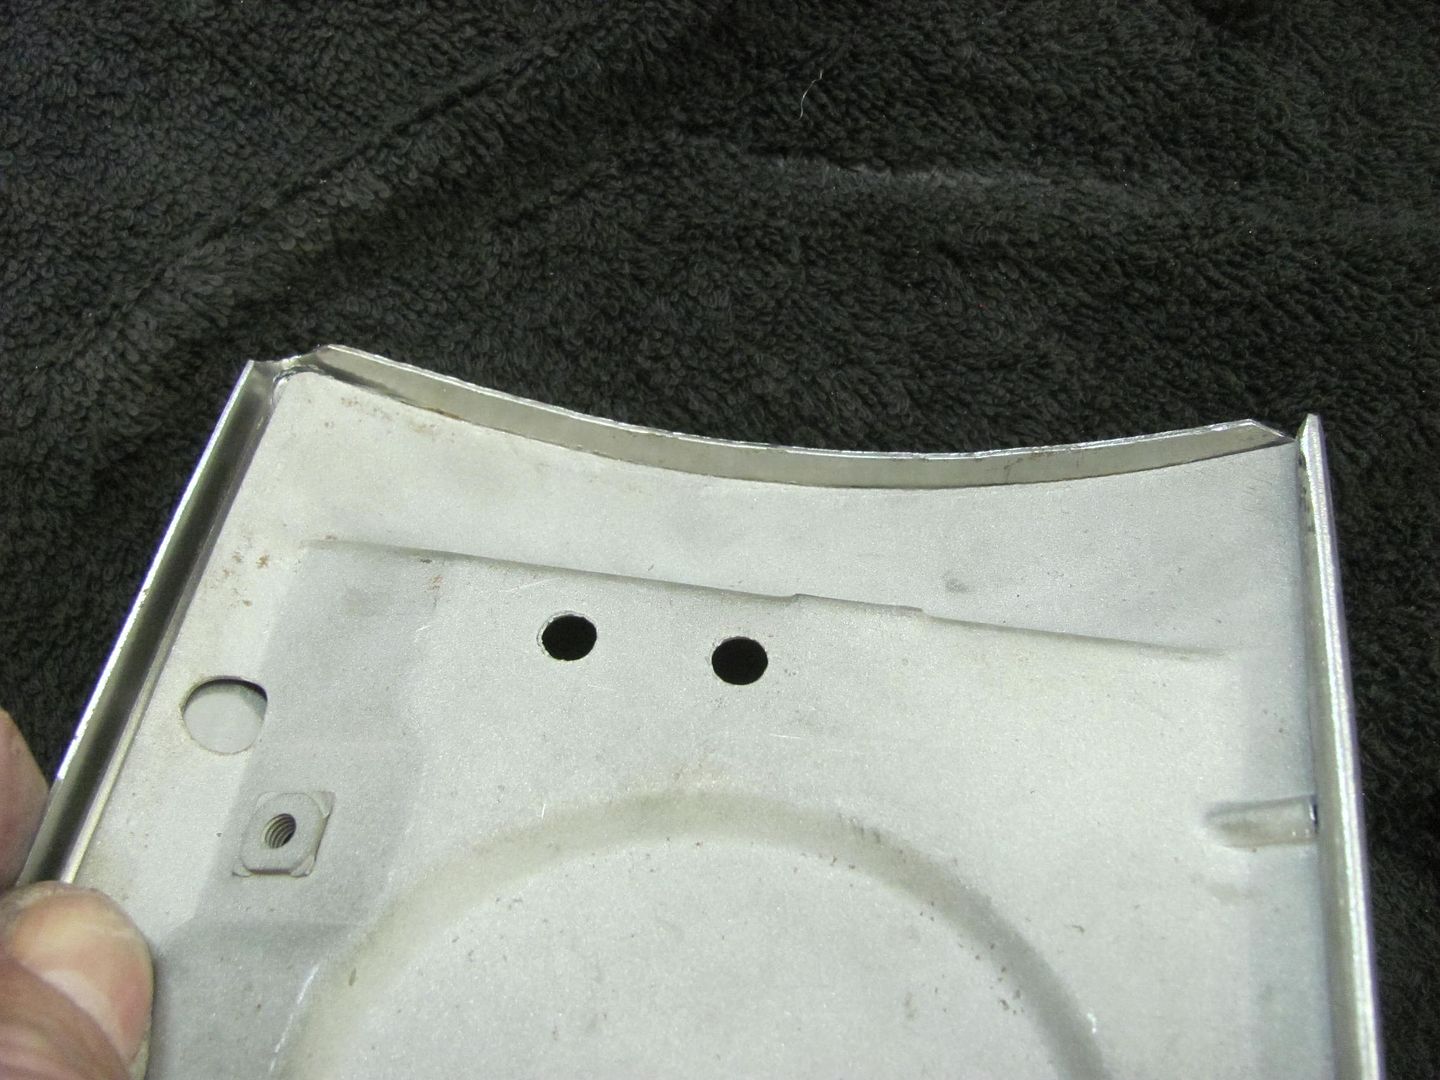
    The bottom flange was measured, trimmed, and folded in the Diacro press brake


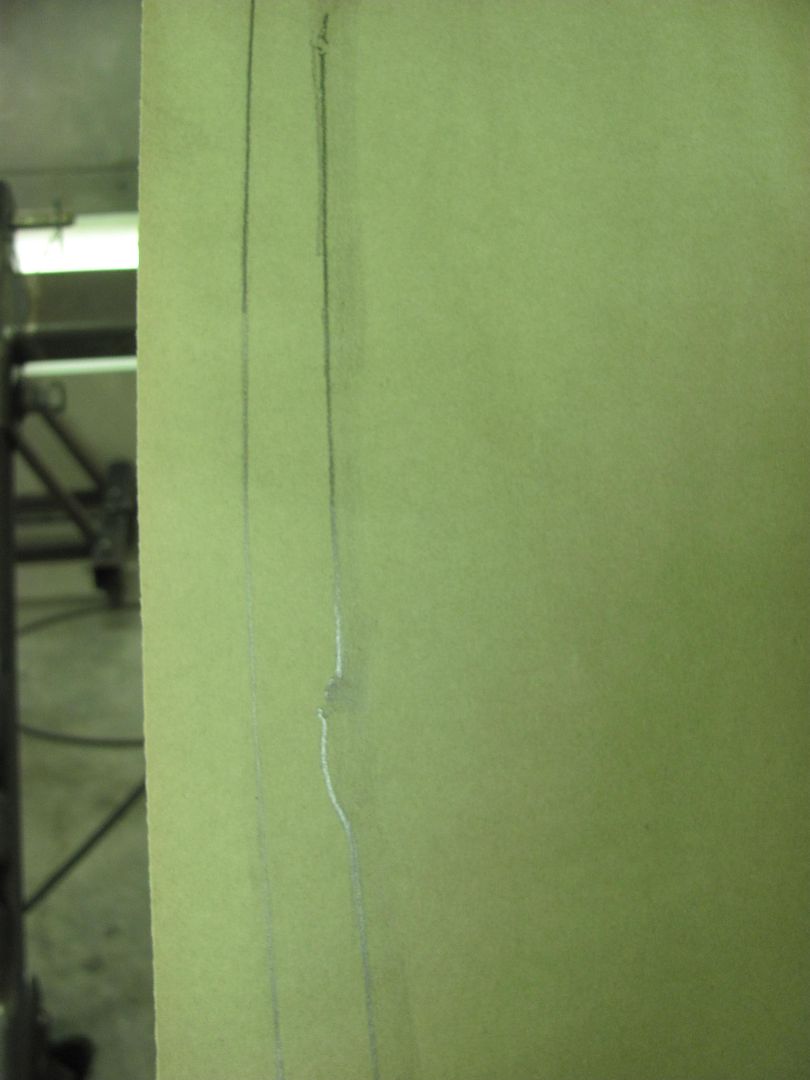
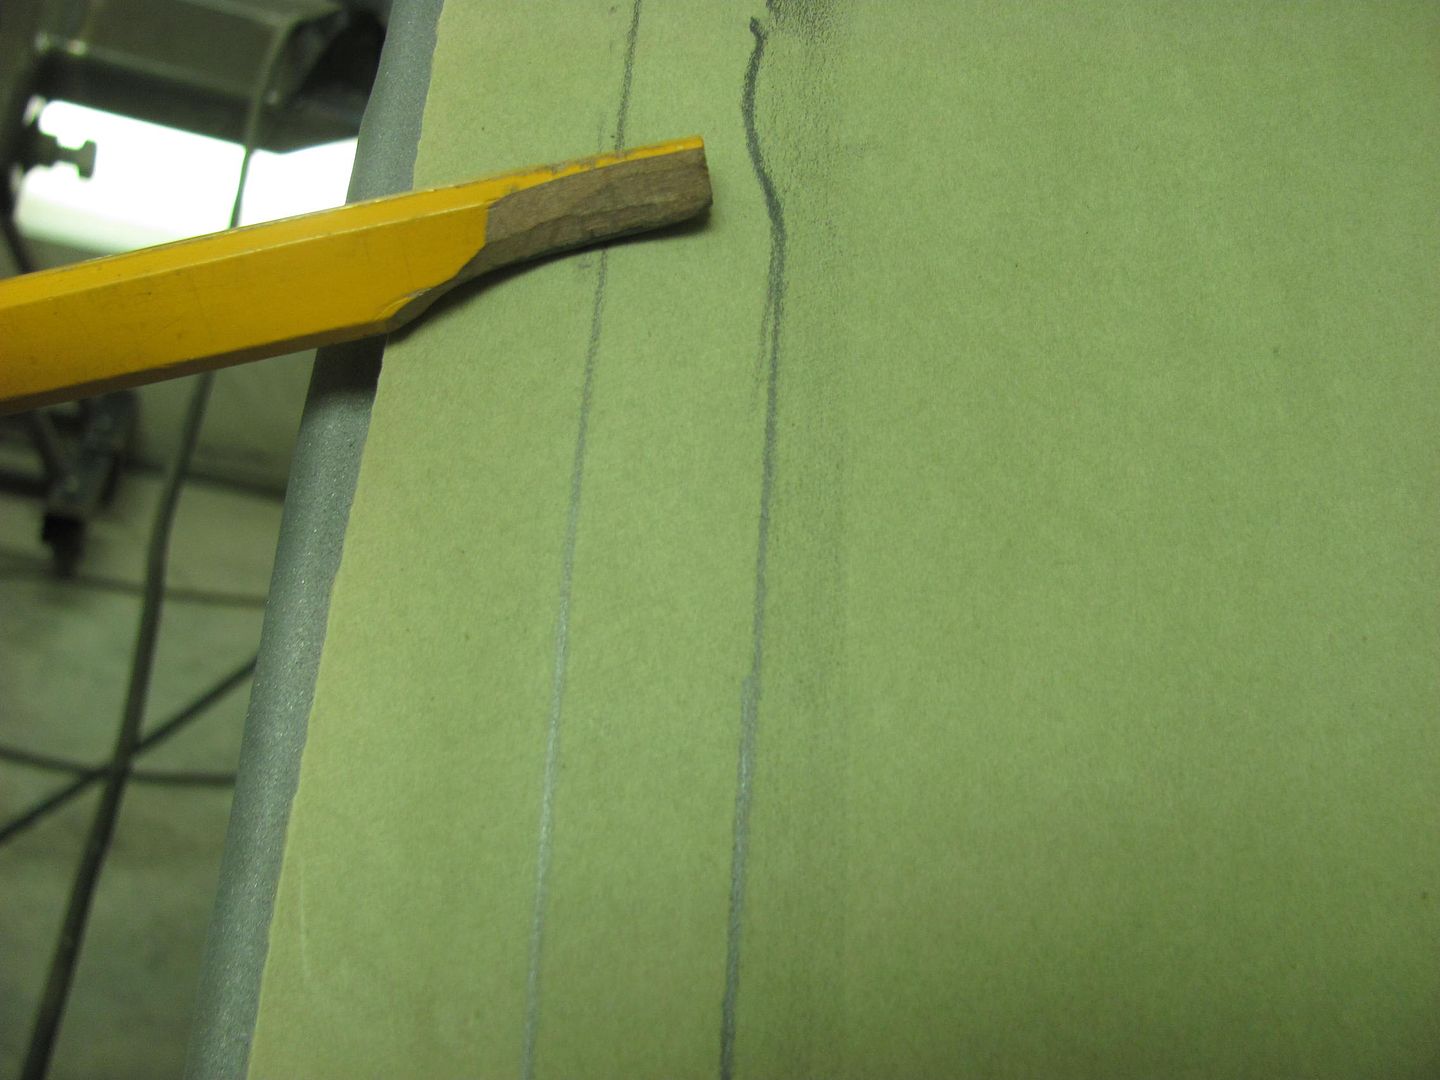
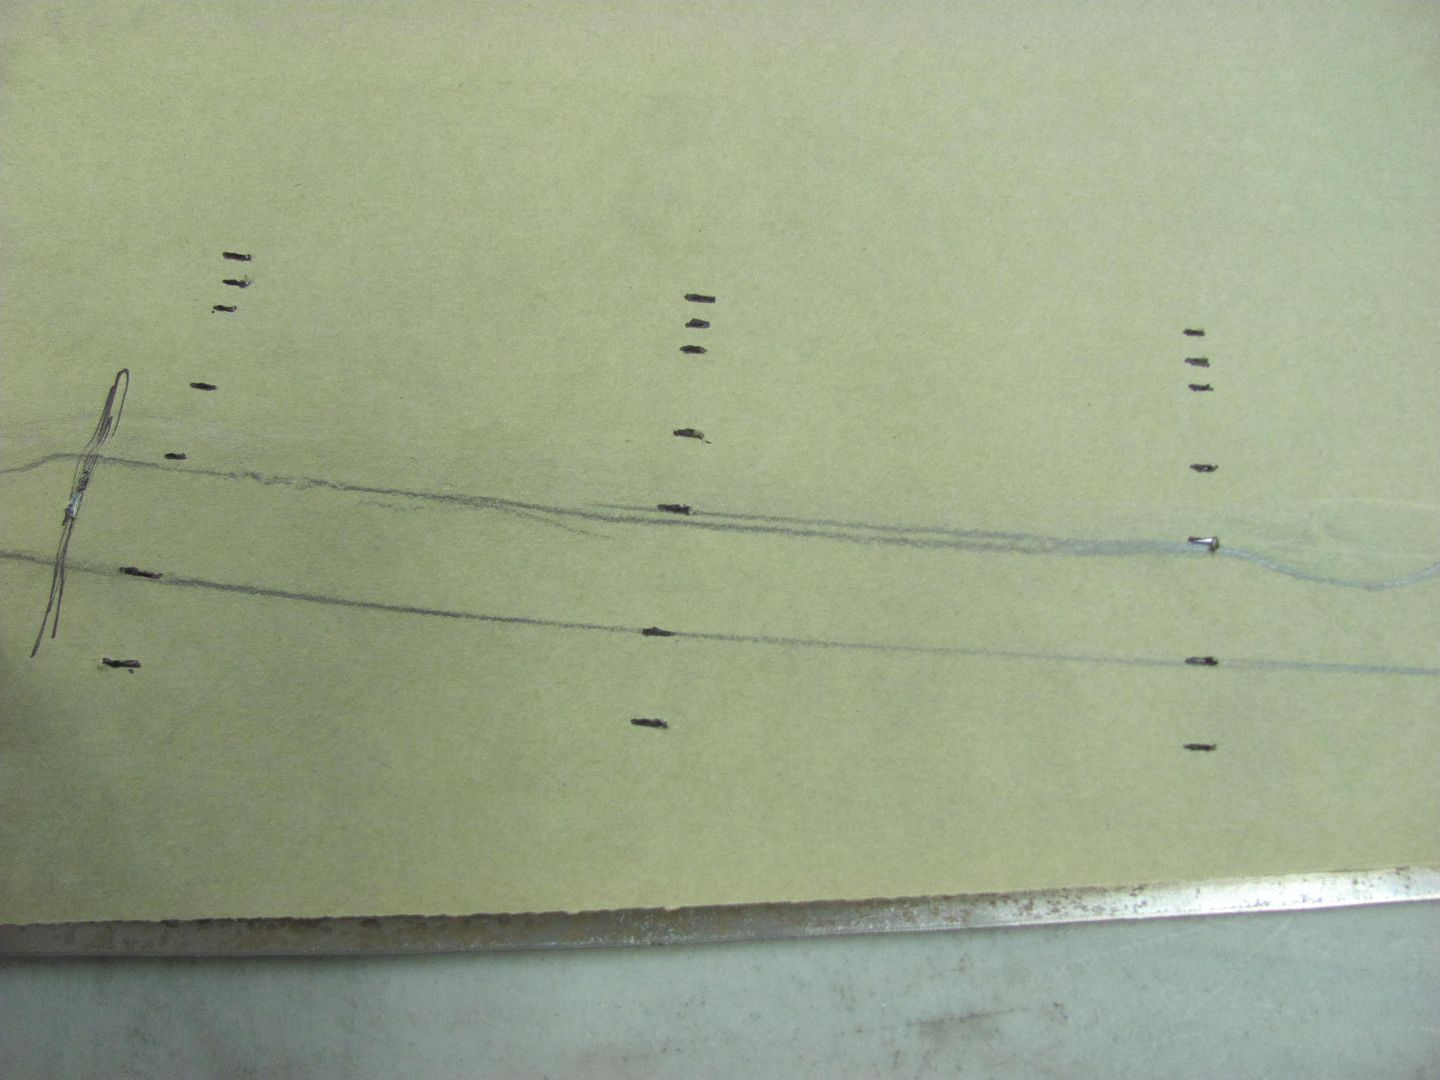
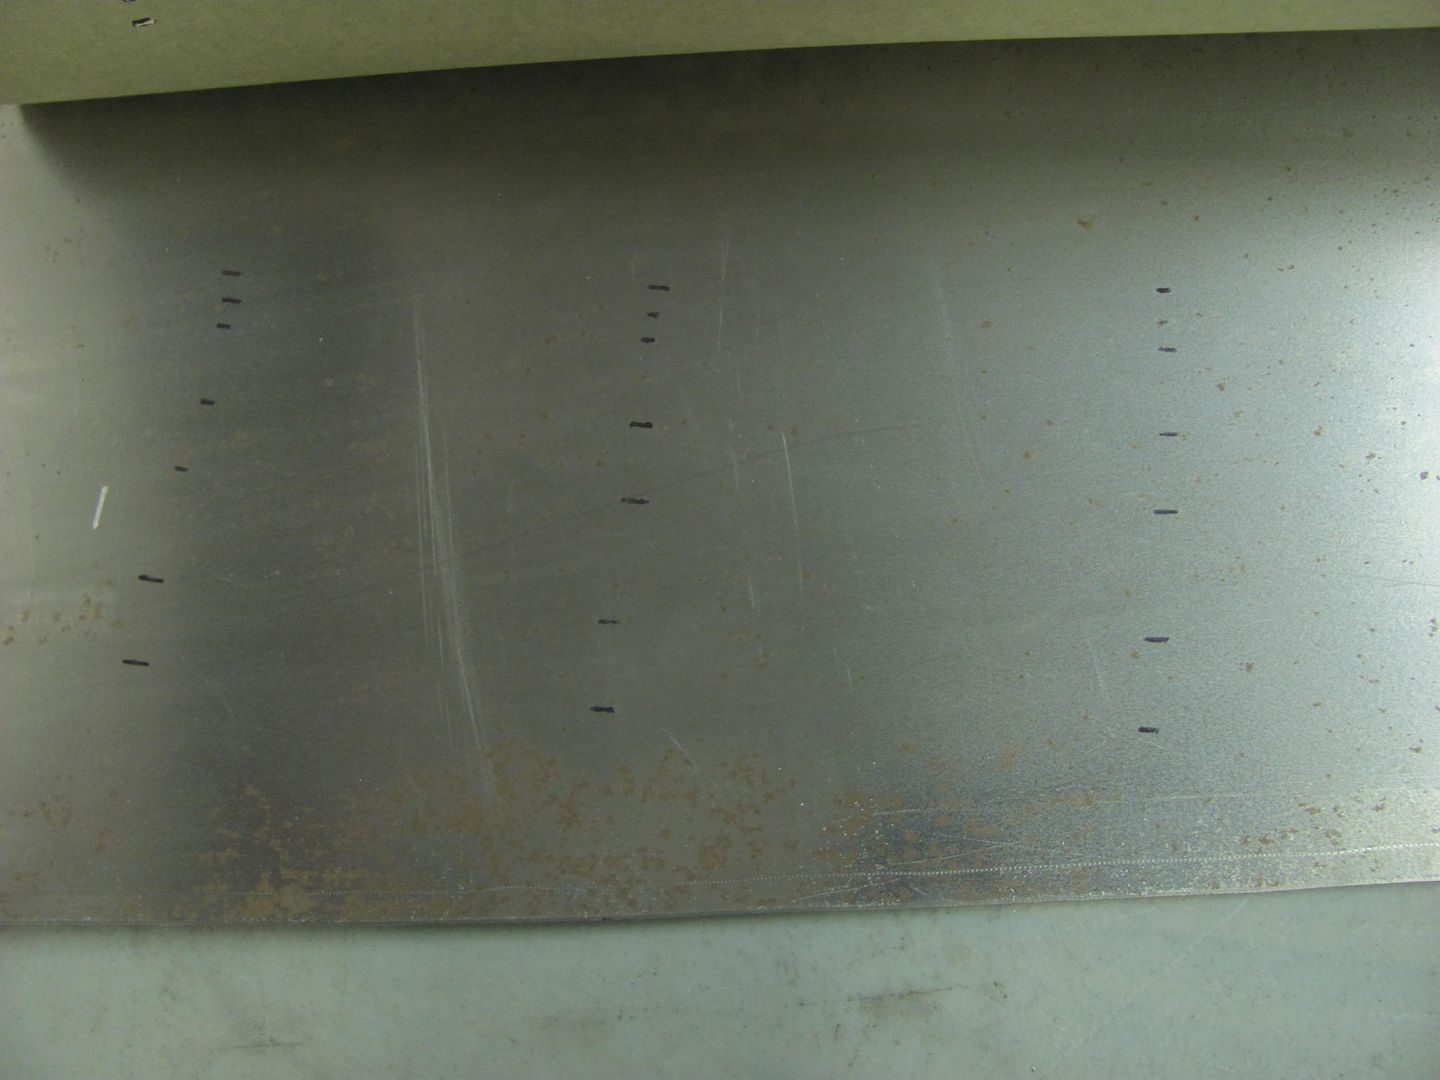
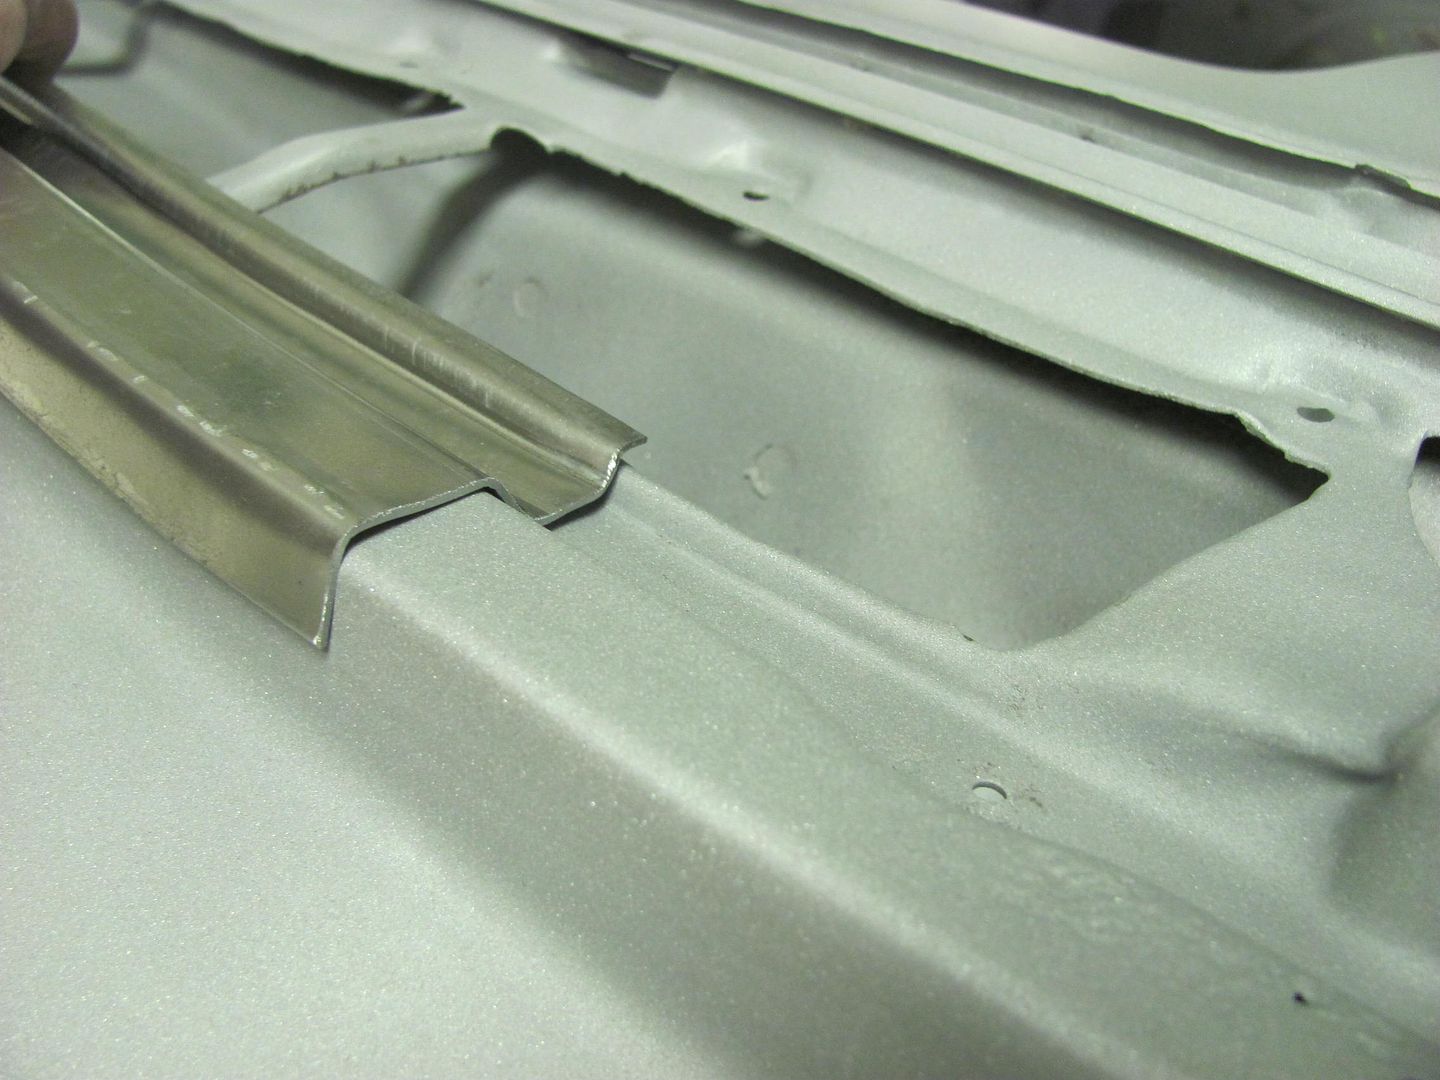
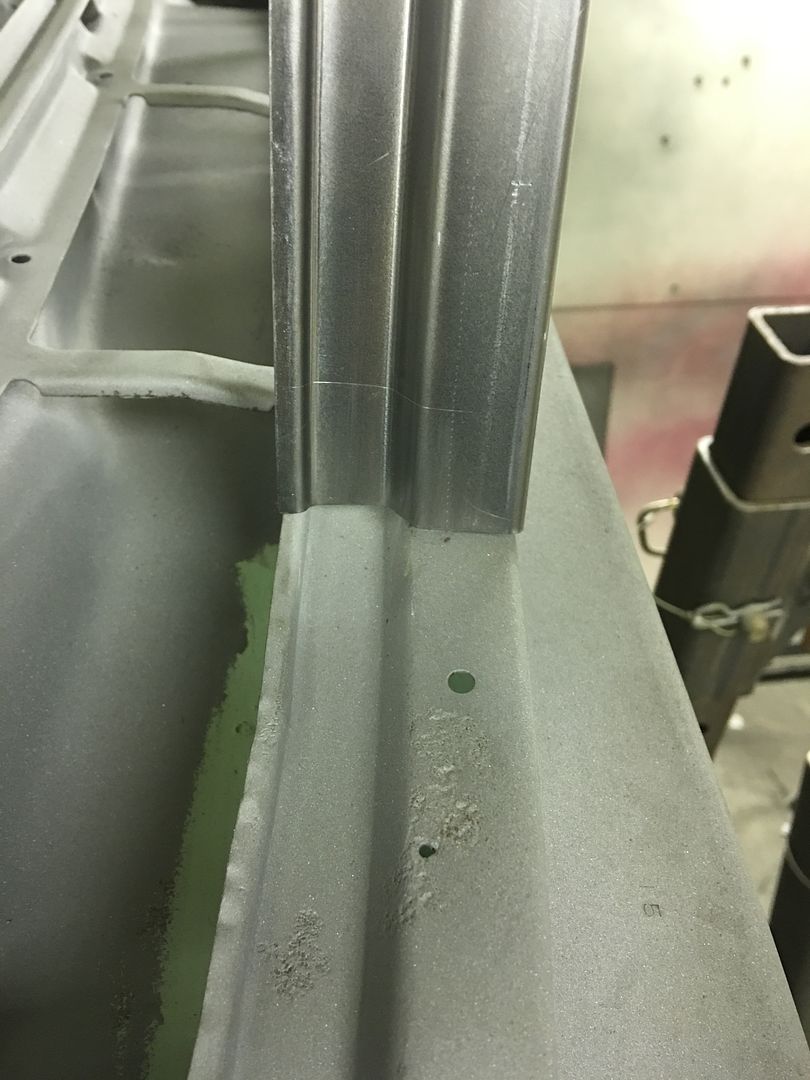
    The side flanges were tipped slightly in the Bead Roller.. This also gives us a nice mark to show the fold line..


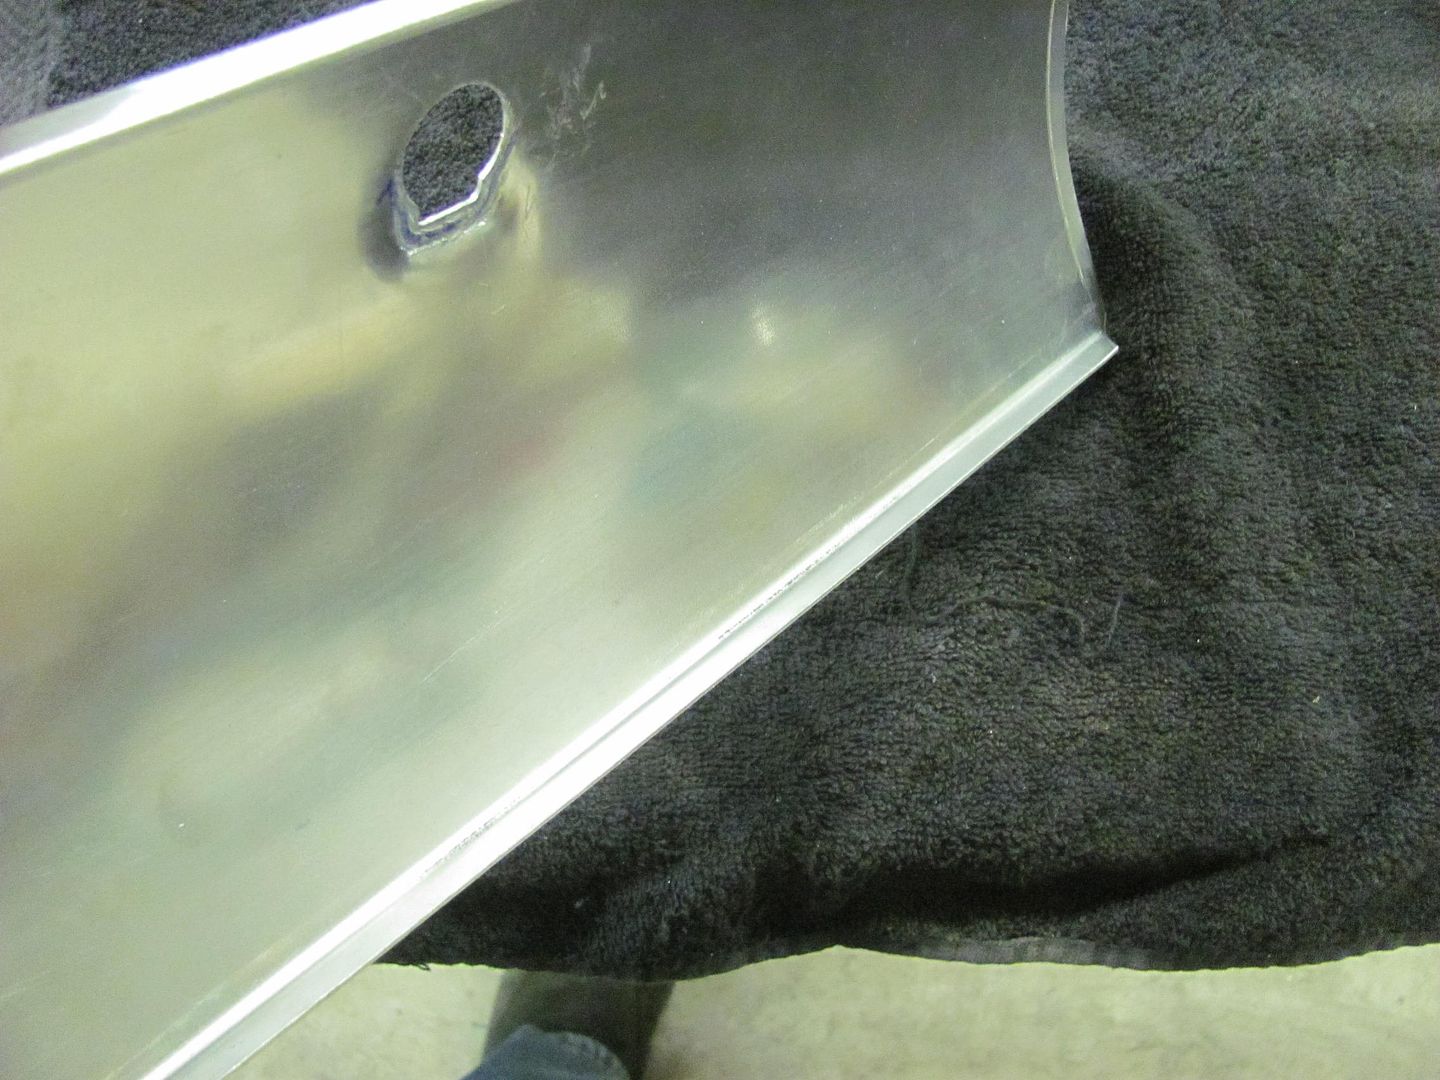
    Touched up with the DA


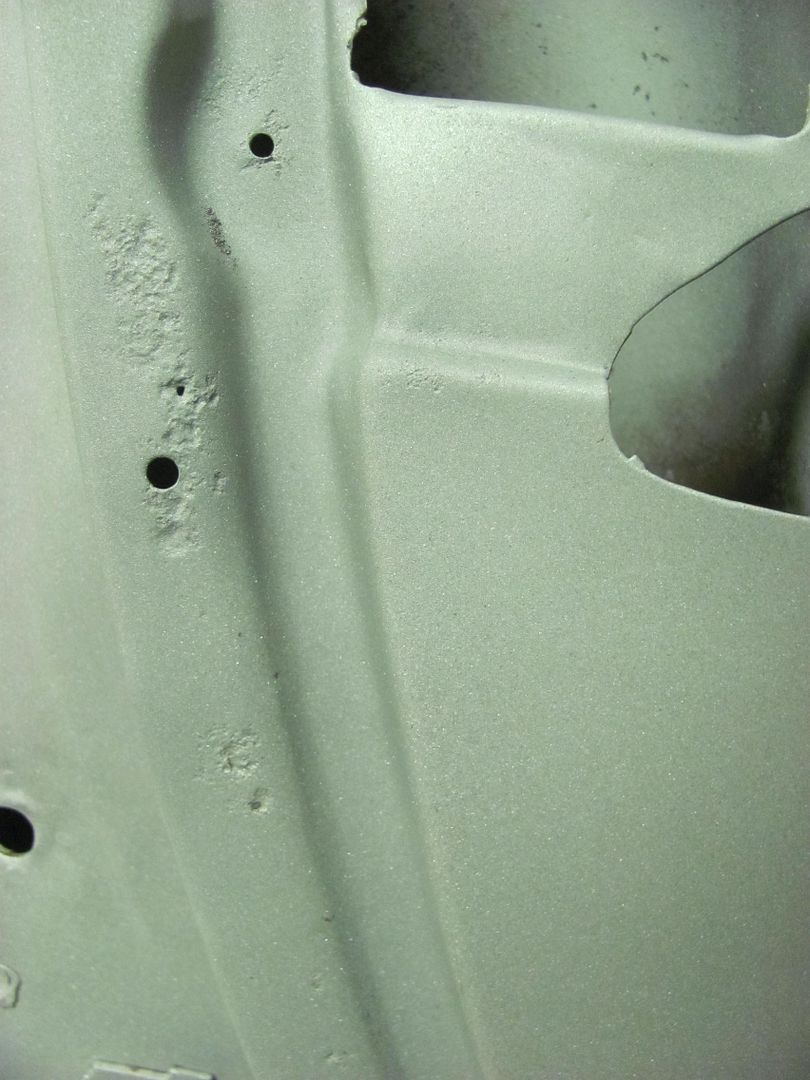
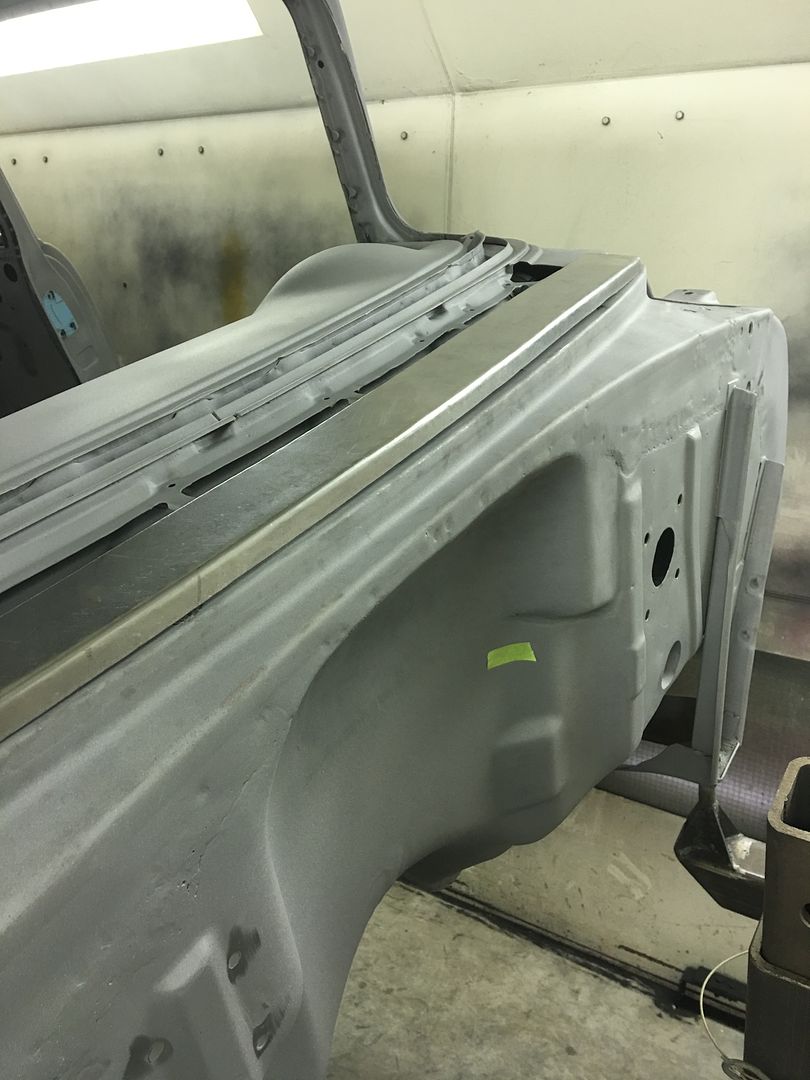
    With the three flanges folded to a 90, now we'll media blast and epoxy before assembling the two halves.


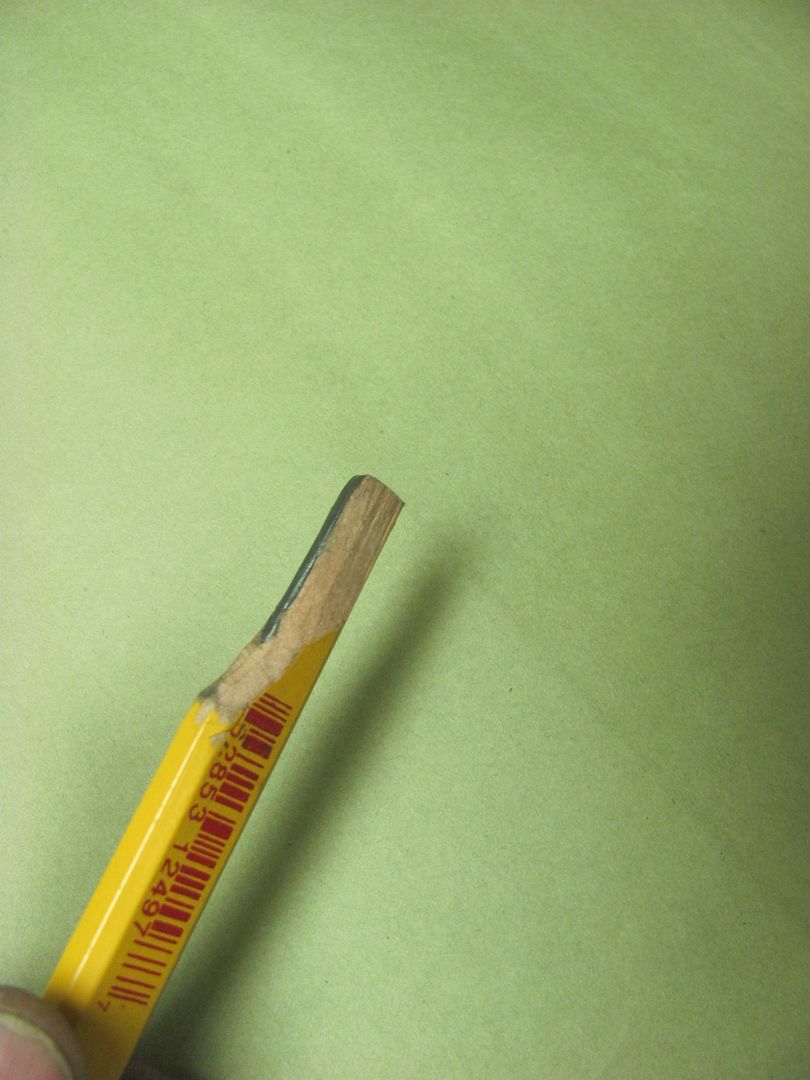
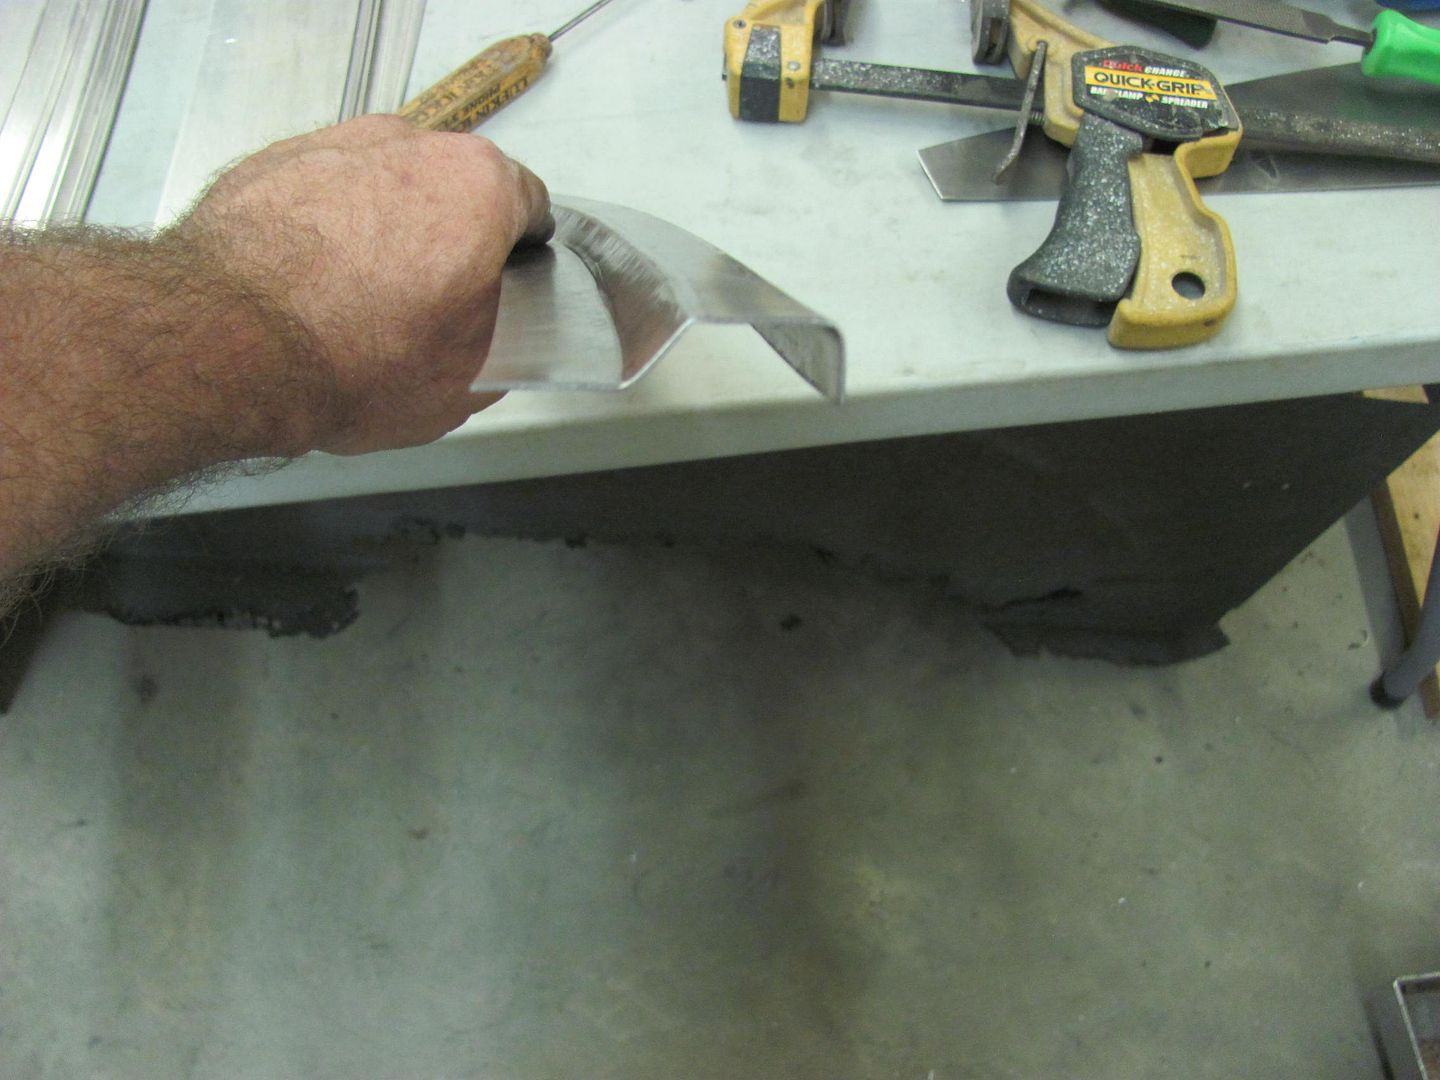
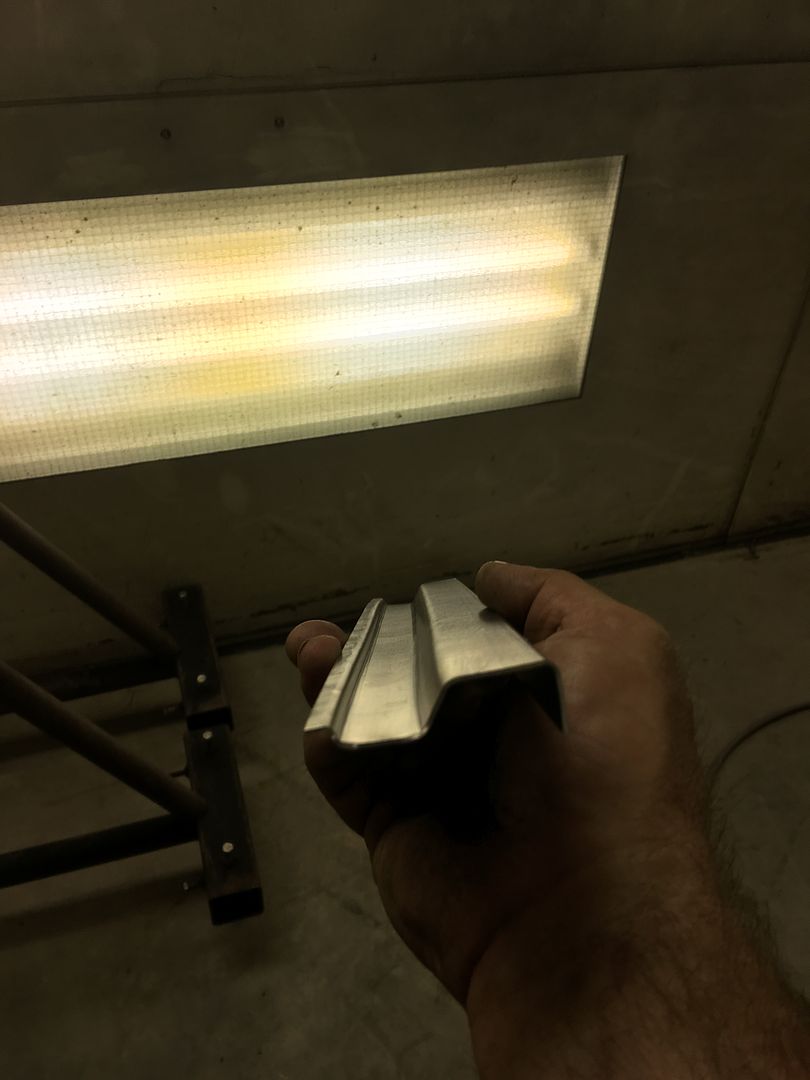
    This shows the tipping tool used on the side flanges.


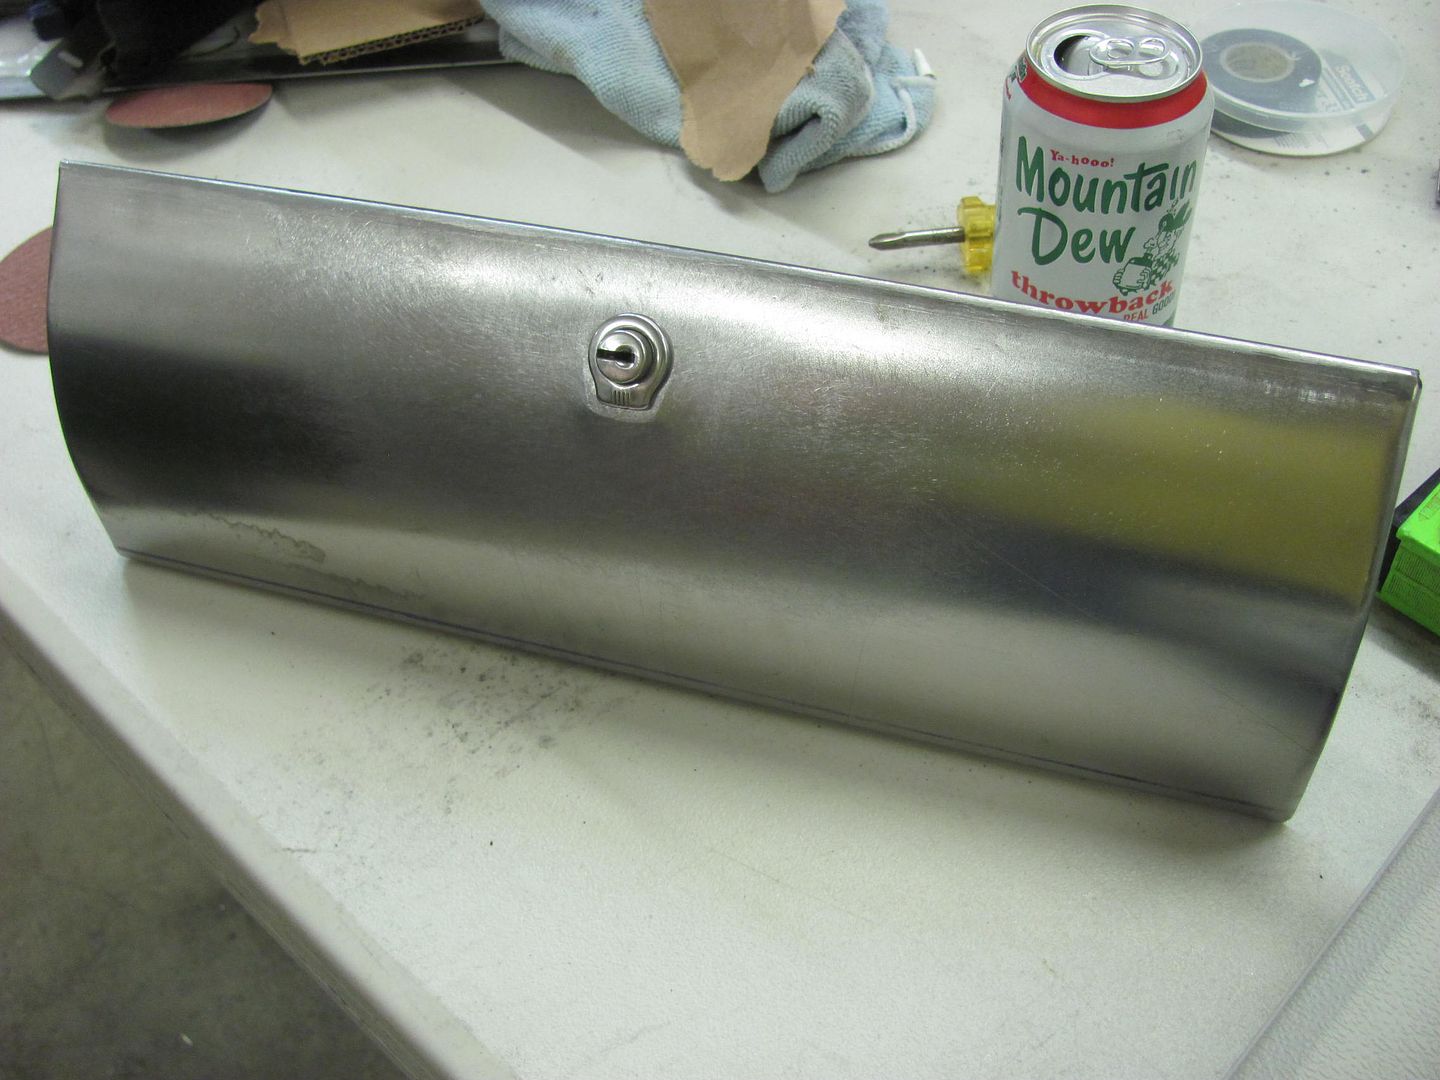
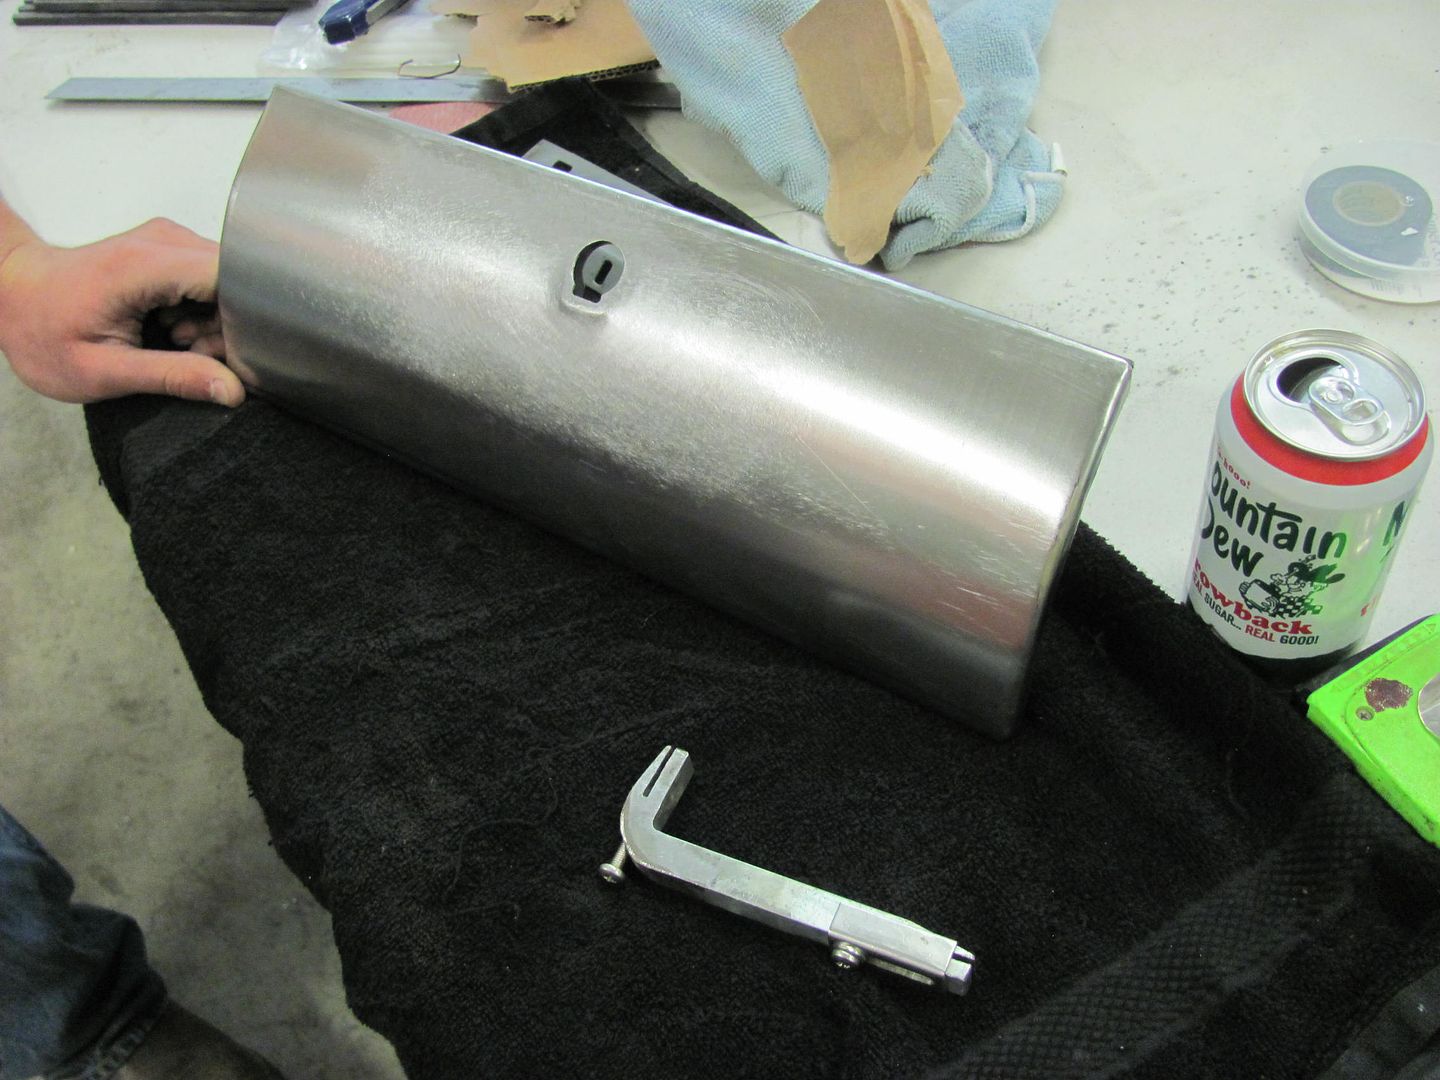
    With lock cylinder. Looks almost factory...


    Robert


    MP&C Shop Projects-Metalshaping Tutorials


    Instagram @ mccartney_paint_and_custom


    .

  2. #302
    Registered Member
    Join Date
    Feb 2015

    Member #:2437
    Posts
    26
    Be VERY careful Robert......Before you know it you will have a long list of guys wanting you to build them one too. BTW Nice work!

    Mikey

  3. #303
    Registered Member MP&C's Avatar
    Join Date
    Dec 2013

    Member #:2017
    Location
    Southern MD
    Posts
    1,293
    You got that right, Mikey..
    Robert


    MP&C Shop Projects-Metalshaping Tutorials


    Instagram @ mccartney_paint_and_custom


    .

  4. #304
    Registered Member MP&C's Avatar
    Join Date
    Dec 2013

    Member #:2017
    Location
    Southern MD
    Posts
    1,293
    Well last night's efforts saw us media blasting, hanging the next batch of small parts for epoxy primer, and general cleanup.......which has been sorely needed. So we don't have much of interest to show, so let's turn it over to Dana (the owner) who got these parts powder coated yesterday for us...


    Robert


    MP&C Shop Projects-Metalshaping Tutorials


    Instagram @ mccartney_paint_and_custom


    .

  5. #305
    Registered Member MP&C's Avatar
    Join Date
    Dec 2013

    Member #:2017
    Location
    Southern MD
    Posts
    1,293
    Well the two weeks plus of non stop rain has finally subsided where the media blasting could commence. Got a phone call today that the car was ready to pick up.. Here it is before we loaded it up..


    This is the part where you wish you had a tilt bed trailer so any media residue would be persuaded on out on the return trip home... But alas, we found a combination of using the air hose and a shop vac best to evacuate most of the media. That and about 50 or so revolutions on the rotisserie.....


    Real pleased with how well it turned out... here moved into the booth and the dehumidifier energized.


    We do have some pin holes that are more apparent now, so we'll get those fixed Saturday morning and see how the weather looks for priming in the afternoon..
    Robert


    MP&C Shop Projects-Metalshaping Tutorials


    Instagram @ mccartney_paint_and_custom


    .

  6. #306
    Registered Member WagonCrazy's Avatar
    Join Date
    Mar 2012

    Member #:530
    Location
    Santa Clarita, CA
    Posts
    1,797
    It's been amazing to watch how you've brought this old wagon back to life. Thank you (again) for documenting your work for all of us to see, learn from and enjoy. Happy Memorial Day weekend!
    1957 Nomad- LS1/T56 on C4 chassis
    1959 Fleetside Apache 1/2 ton, shortbed, big window, 327ci.

  7. #307
    Registered Member MP&C's Avatar
    Join Date
    Dec 2013

    Member #:2017
    Location
    Southern MD
    Posts
    1,293
    Thanks, Well, no primer just yet, while Kyle was taking care of some pin holes that
    became more obvious after media blasting...


    I ran across this...


    With so much widespread "issues", let's see if we can come close to
    duplicating this.. Taking a paper pattern..


    Here laid out on some 19 gauge AKDQ...


    Trimming...


    But I always prefer a test sample first... this done on the tipping
    wheel


    Step dies on the Lennox add the final detail...


    Need to fine tune the dimensions, but this looks close. I think I'll make up
    some dies for the Lennox for better consistency on the good piece..


    Should be priming soon... once the dominos stop falling.
    Robert


    MP&C Shop Projects-Metalshaping Tutorials


    Instagram @ mccartney_paint_and_custom


    .

  8. #308
    Registered Member MP&C's Avatar
    Join Date
    Dec 2013

    Member #:2017
    Location
    Southern MD
    Posts
    1,293
    Time to make some dies for the Lennox, here fine tuning the fit..


    The outside corners will get some steel added for a sharper detail in the
    bends..


    The 19 ga steel is a good snug fit for the band saw cuts...


    The front edge of the panel will be tipped prior to running it through the
    Lennox, the tipped flange will act as a guide in the slot in the lower die..


    Another test run using a straight piece of scrap


    Dimensions looking much better.


    Enough practice, starting to tip the flange on the good piece.. The tipping
    wheel on the bead roller bends about 30 degrees and the remaining is done
    manually with the hand tipping tool..


    Flange tipped, some kick shrinking to get the right contour, and we're about
    ready for the Lennox.. As Kyle was off tonight we'll wait until he returns so
    we can have two people feeding this long piece through the machine..


    Robert


    MP&C Shop Projects-Metalshaping Tutorials


    Instagram @ mccartney_paint_and_custom


    .

  9. #309
    Registered Member MP&C's Avatar
    Join Date
    Dec 2013

    Member #:2017
    Location
    Southern MD
    Posts
    1,293
    As we found with some of the practice pieces, when you try to shove metal too
    much into a hole it tends to pull in from the edges.


    So to fix that we'll make up a new bottom die to form the ramp fold fully,
    then change back to the above die to form the step..


    The down side to using phenolic is that it gives a bit where it
    doesn't make sharp creases well or short reverse folds either. The initial
    practice pieces wouldn't fold the step down flat, so a wrap of steel was added
    to the top die to better persuade the step flat...


    The upper die holder helps keep the
    wrapped steel in place.


    That did the trick, step is laying
    down nice and flat..


    The front flange hangs over just a
    bit too much, some hammer action will bring it back in place. Real pleased with
    how well this turned out..


    Some of the practice
    scraps..


    Robert


    MP&C Shop Projects-Metalshaping Tutorials


    Instagram @ mccartney_paint_and_custom


    .

  10. #310
    Registered Member chevynut's Avatar
    Join Date
    Nov 2011

    Member #:115
    Location
    Fort Collins, CO
    Posts
    10,846
    Pretty amazing work, Robert. You must love doing this stuff because it seems like it would have been easy to make a couple of small patches or get pieces off of a donor car and be done with it.
    56 Nomad, Ramjet 502, Viper 6-speed T56, C4 Corvette front and rear suspension


    Other vehicles:

    56 Chevy 2-door BelAir sedan
    56 Chevy 210 4-door sedan
    57 Chevy 210 4-door sedan
    1962 327/340HP Corvette
    1961 Willys CJ3B Jeep
    2001 Porsche Boxster S
    2003 Chevy Silverado 2500 HD Duramax
    2019 GMC Sierra Denali Duramax

Page 31 of 102 FirstFirst ... 2129303132334181 ... LastLast

Posting Permissions

  • You may not post new threads
  • You may not post replies
  • You may not post attachments
  • You may not edit your posts
  •