Is that to pull your ice chest full of suds around at the swap meets?
It looks so nice you won't want to use it for fear of scratching it up.
Great job Robert!


Is that to pull your ice chest full of suds around at the swap meets?
It looks so nice you won't want to use it for fear of scratching it up.
Great job Robert!
1957 Nomad- LS1/T56 on C4 chassis
1959 Fleetside Apache 1/2 ton, shortbed, big window, 327ci.


Wife's cousin (does high end upholstery work in SC) built it for his niece and nephew. I had plenty of leftover paint in the paint locker, hence the candy finish. My job was to paint and clean up some things. Now he can add the upholstery, then the kids can load it up with gravel and SC clay. Given the ground clearance and drag we experienced in the grass at the car show, it may be a fair-weather wagon that stays on the sidewalk.
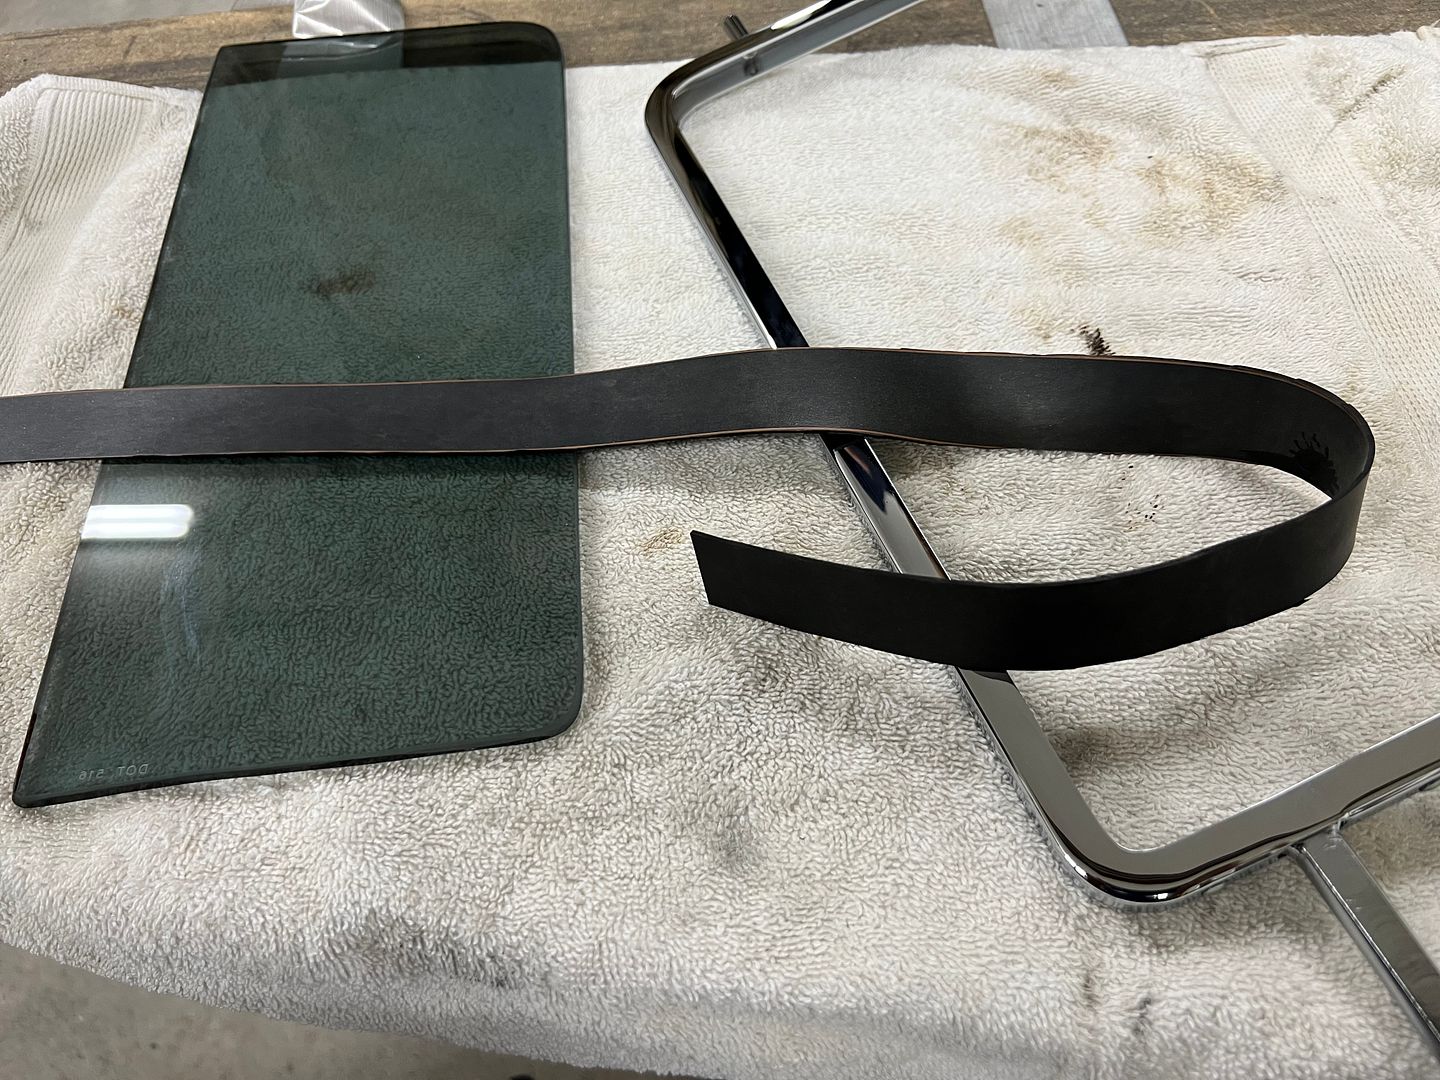
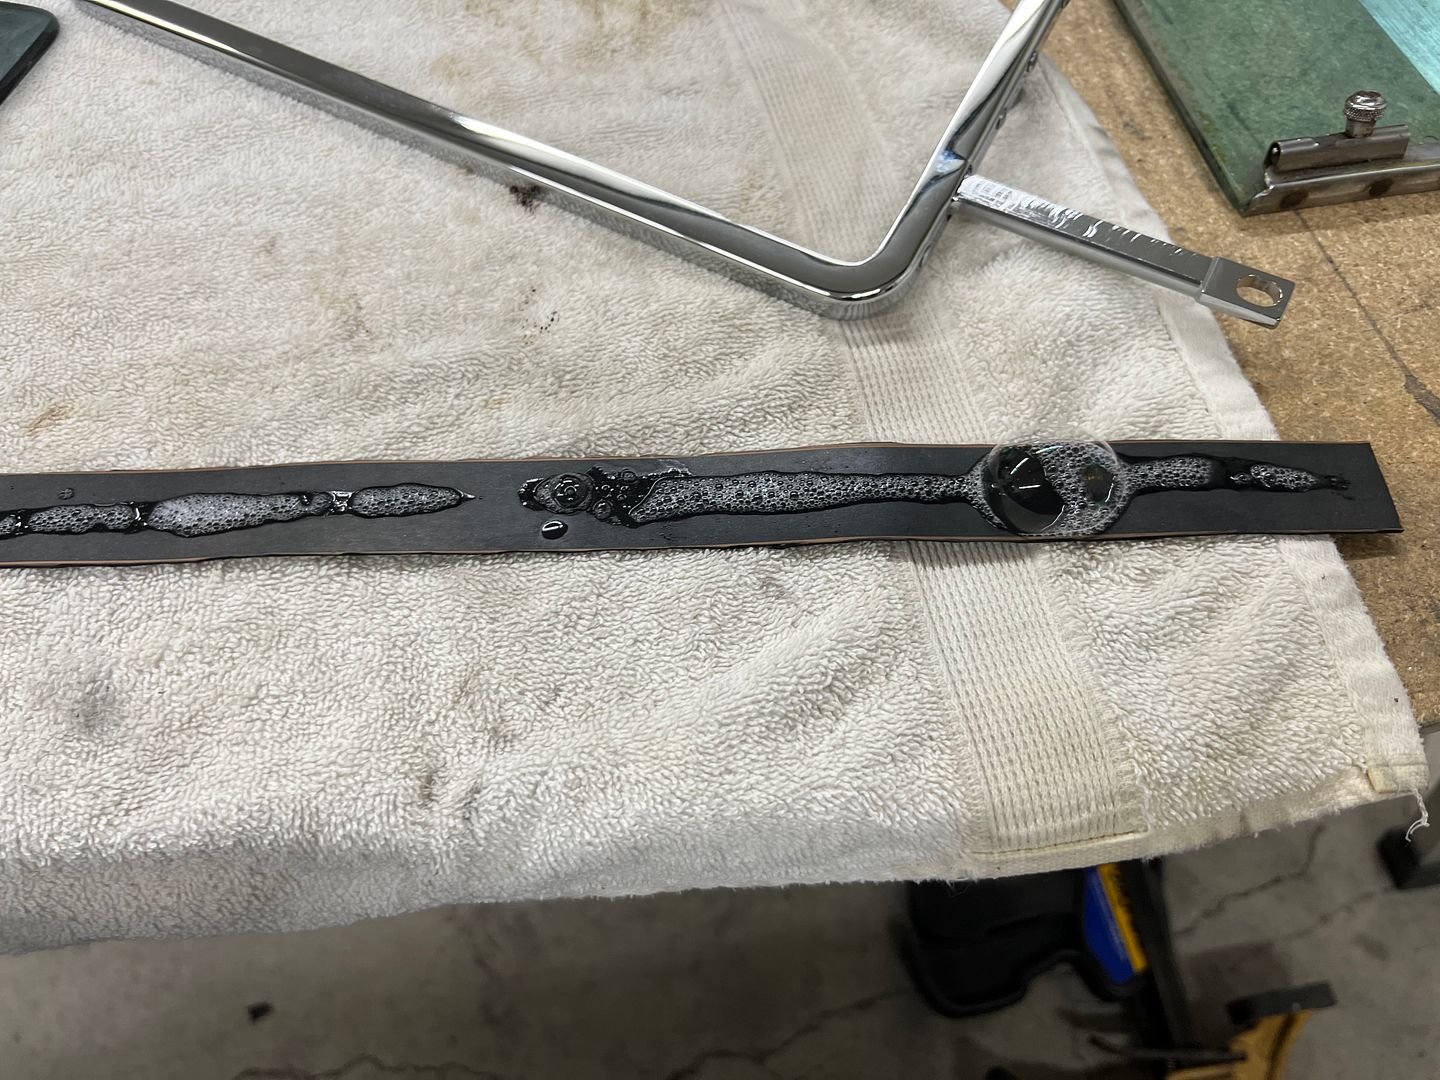
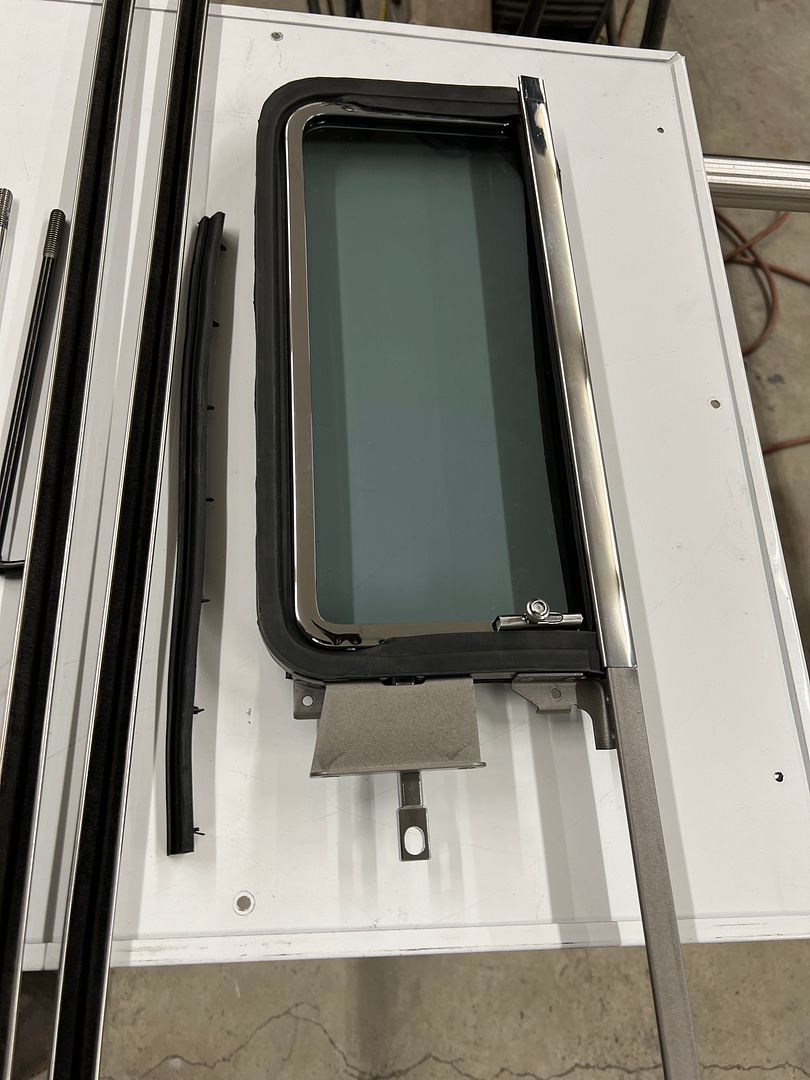
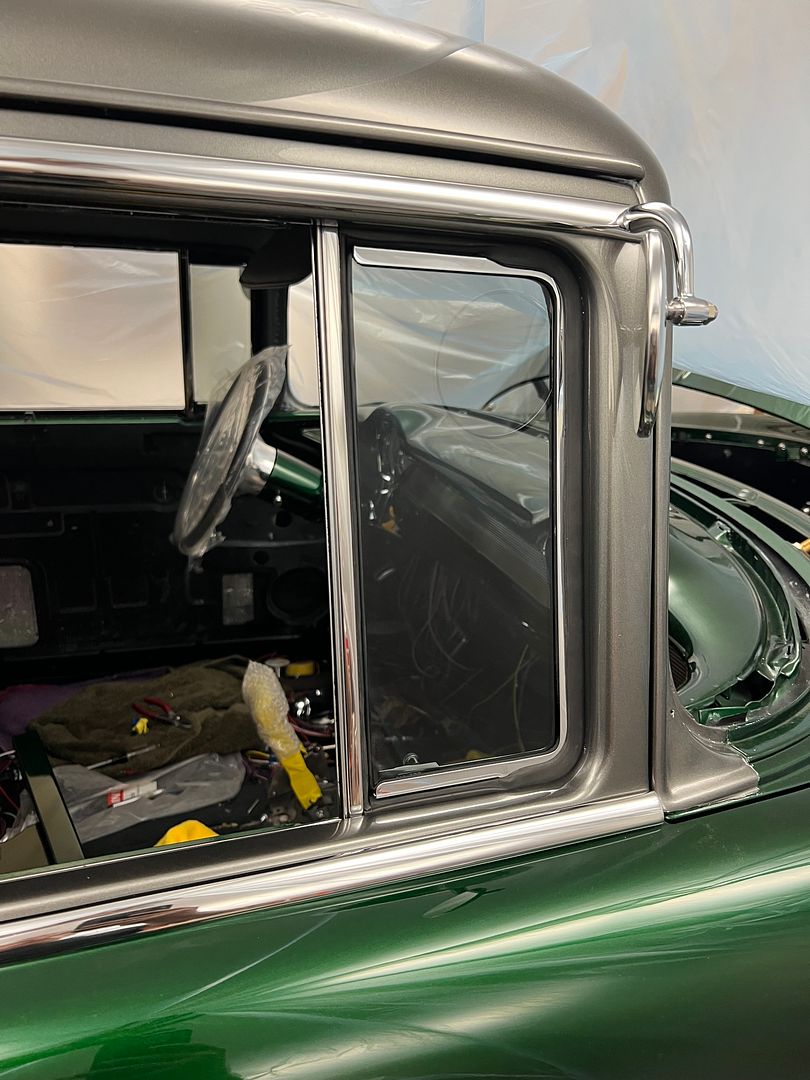
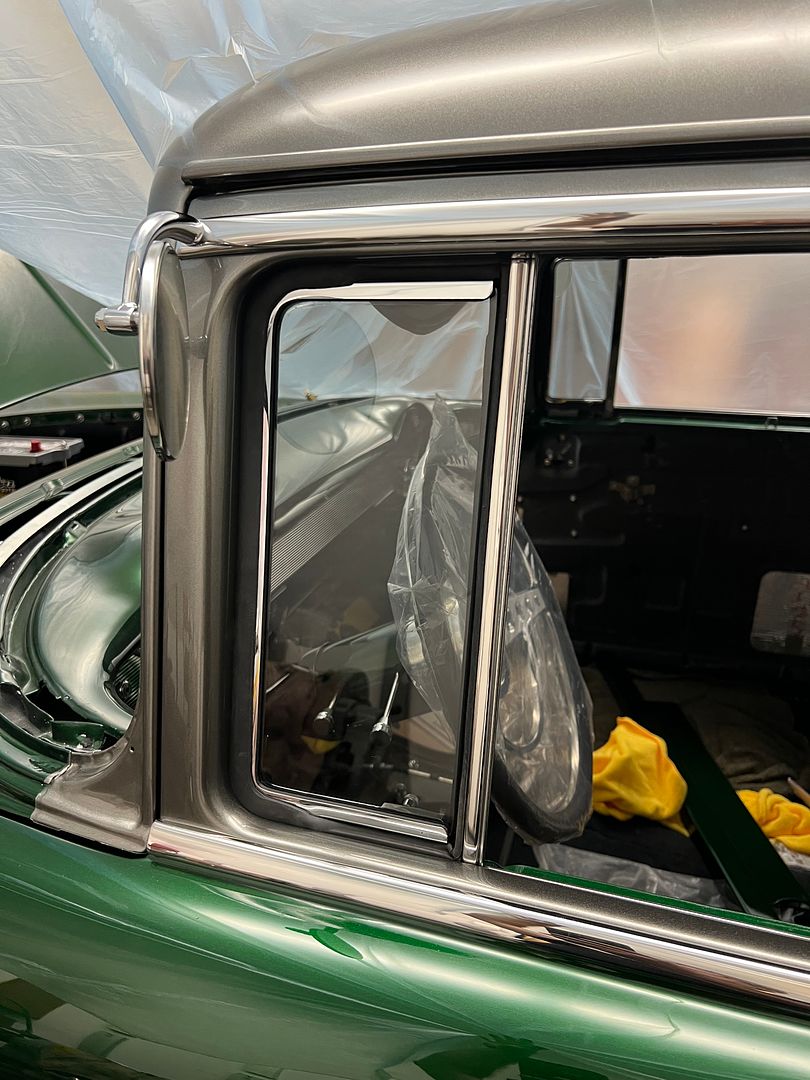
More progress on the wagon, working on the parts so we can assemble and install the vent windows. For our glass installation, we did things twice as the 1/16 rubber did not give a snug enough fit. So here is our second round using 3/32 thick rubber. One inch wide strips were cut out of the sheet and lubricated with an Ivory/water mix.
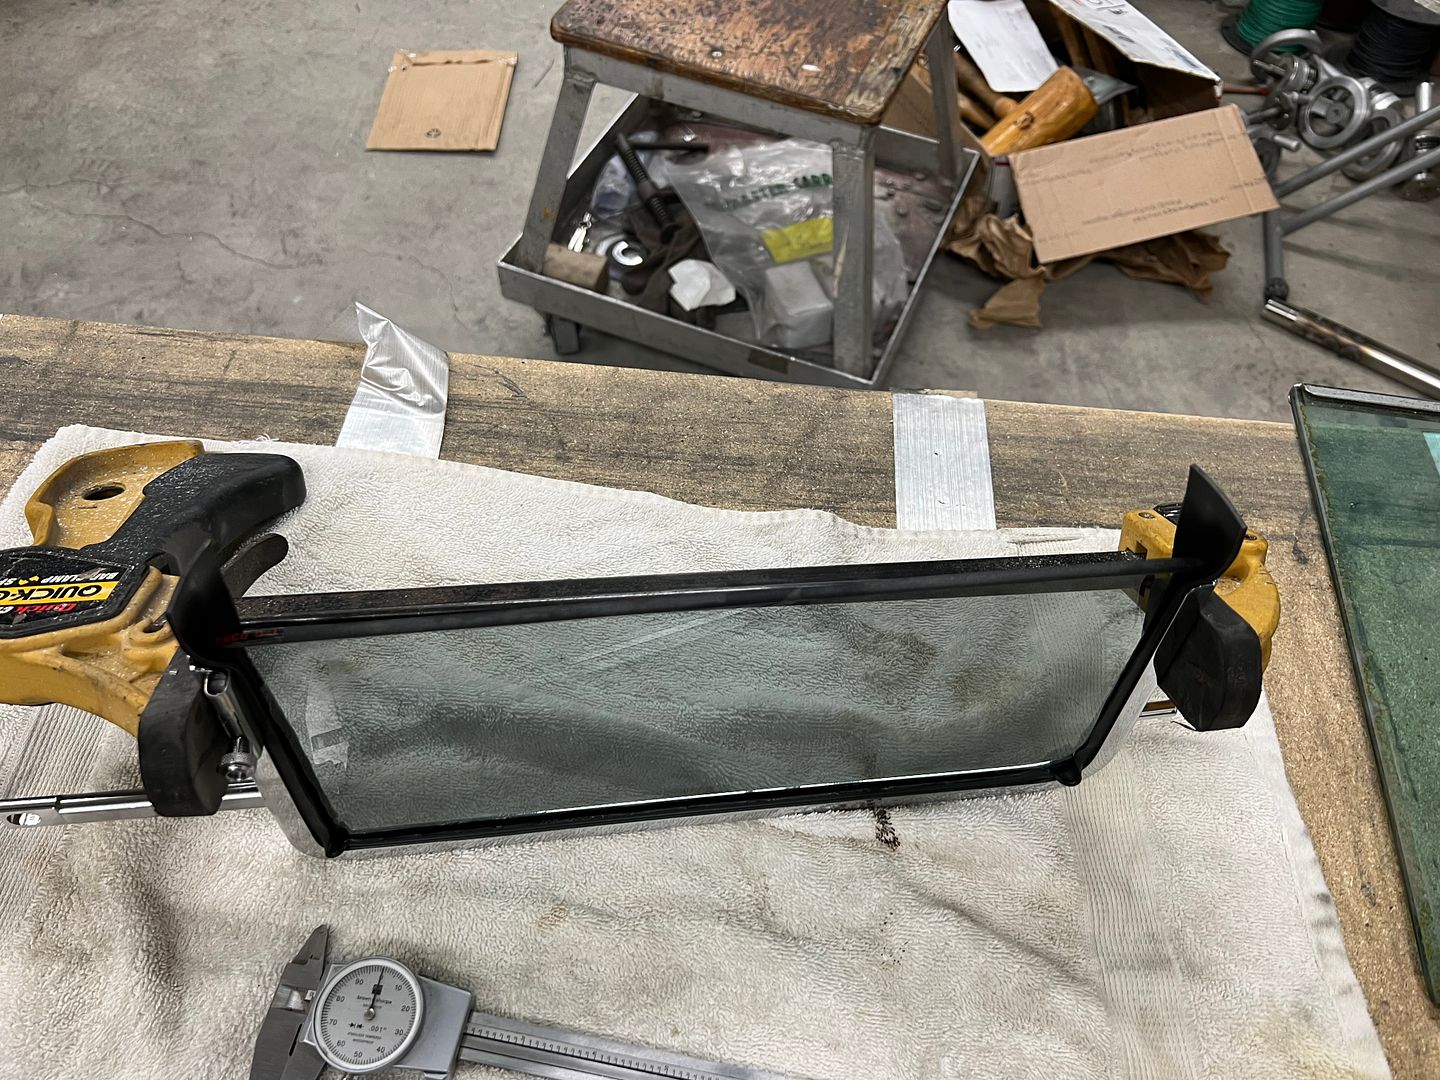
The rubber was wrapped around the glass and it was pressed down inside the frame by hand. Then a "slight" squeeze of the frame to ensure it wasn't sprung open from the installation process.
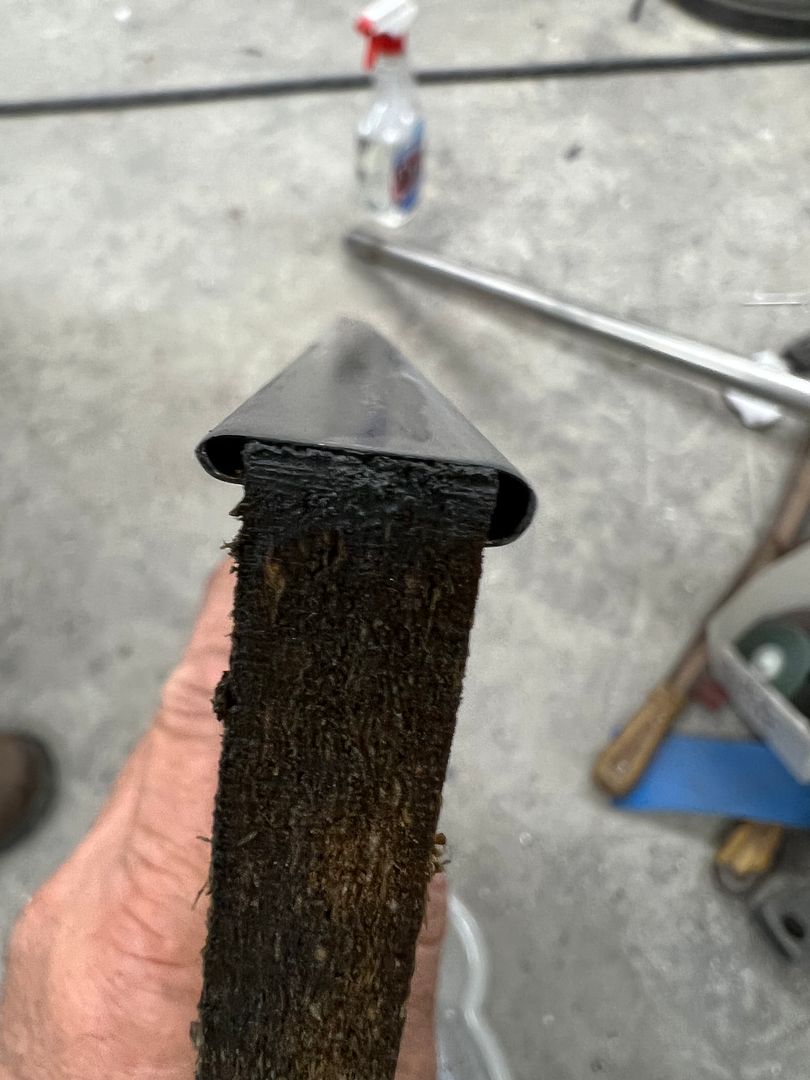
These got moved to the attic for a good heat baking (drying the soapy solution) and we'll trim the rubber flush with the chrome vent frame in a couple of days.
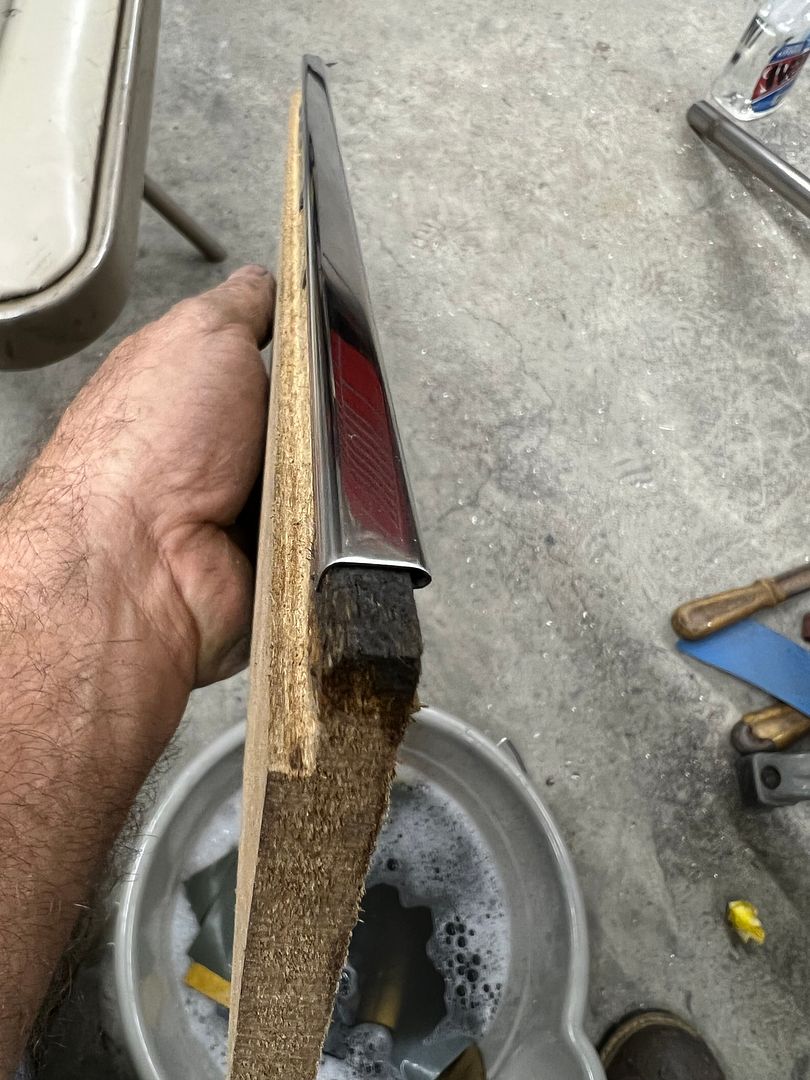
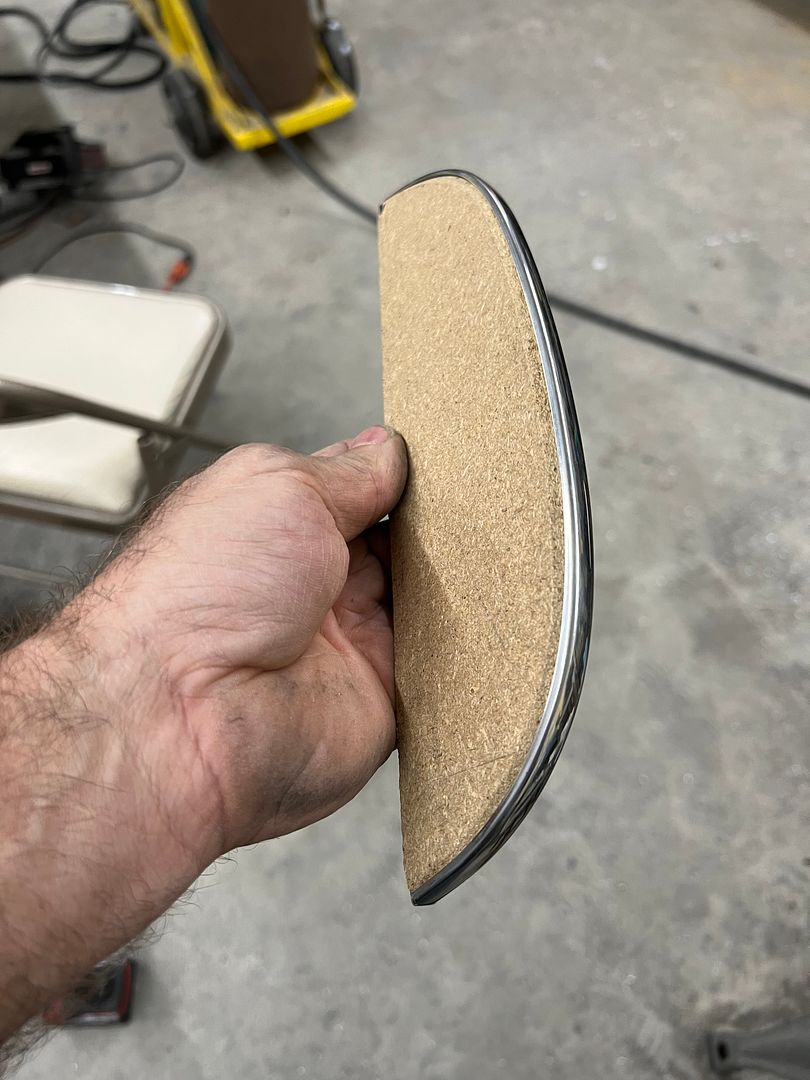
Next, onto prepping the stainless trim for the vent windows for buffing, refining the scratches. Detail work like this is more difficult with parts flopping around in your hand, so some MDF was found the correct size (width) to hold the wide portion of the trim, and another piece of MDF was shaved to fit the narrow piece of trim. We should have these done this weekend.
https://youtube.com/shorts/aXjasXvwN...3weASGnXwPDeuK
https://youtube.com/shorts/KaRW2OMmo...aHI9eAk13uNpS6
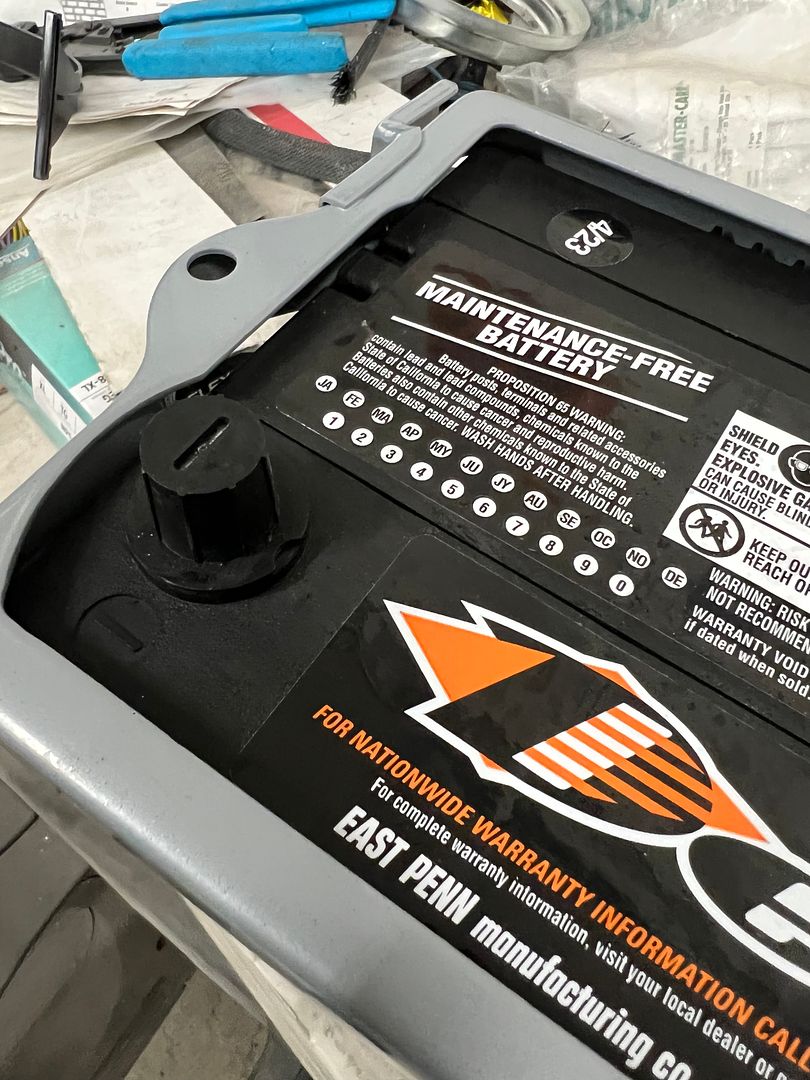
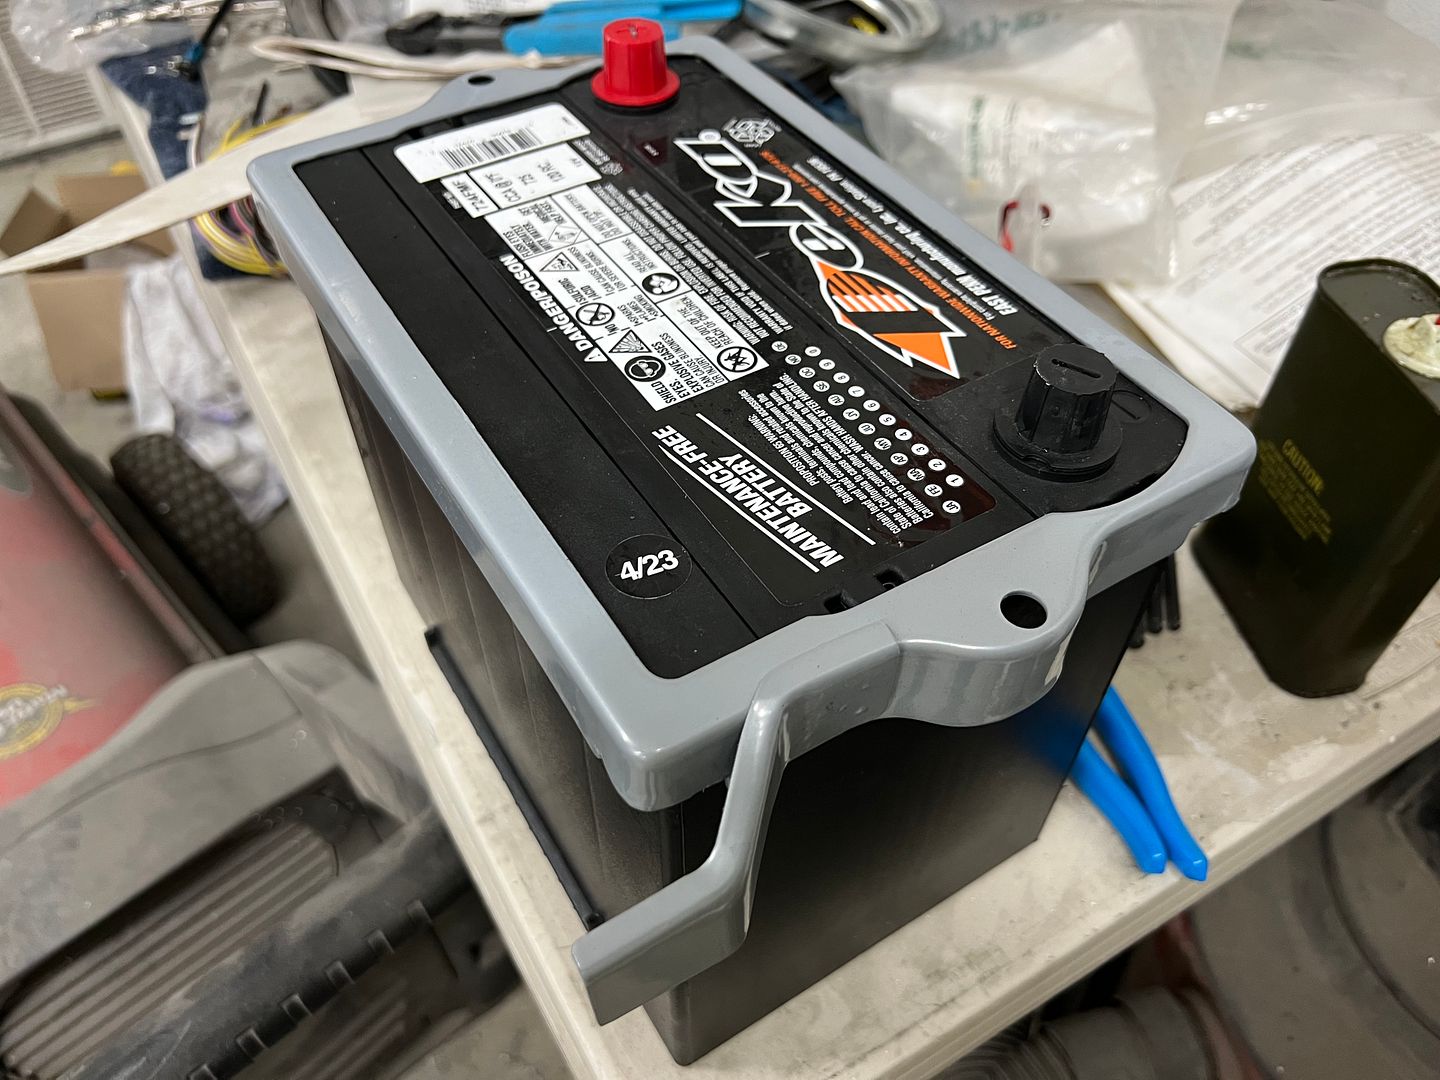
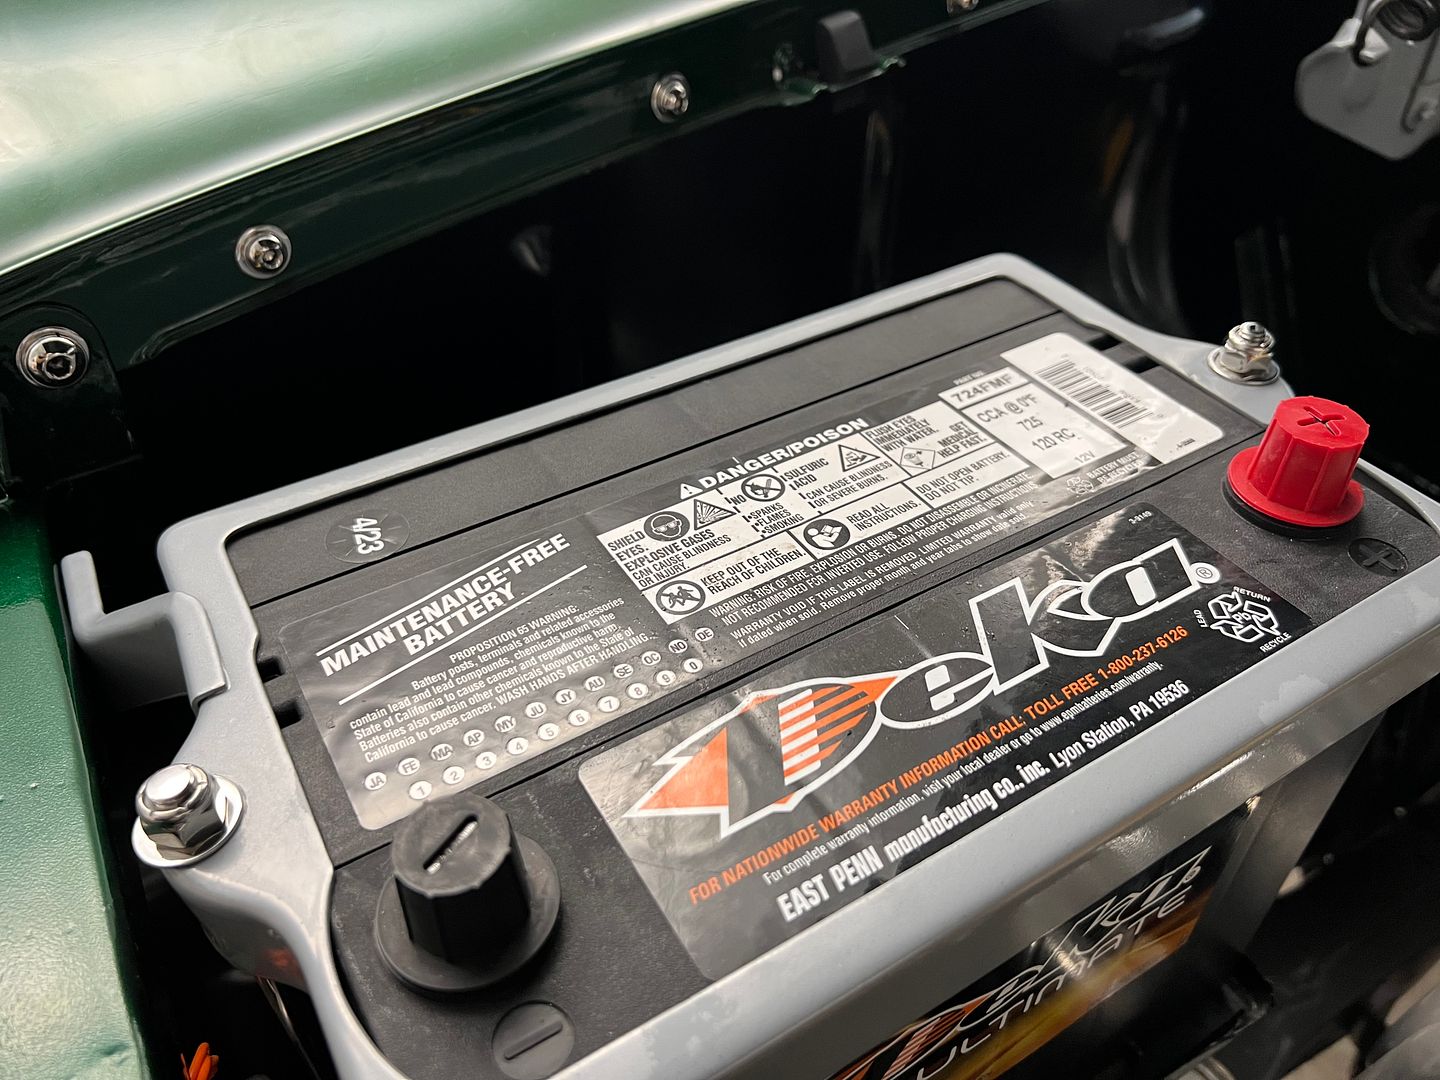
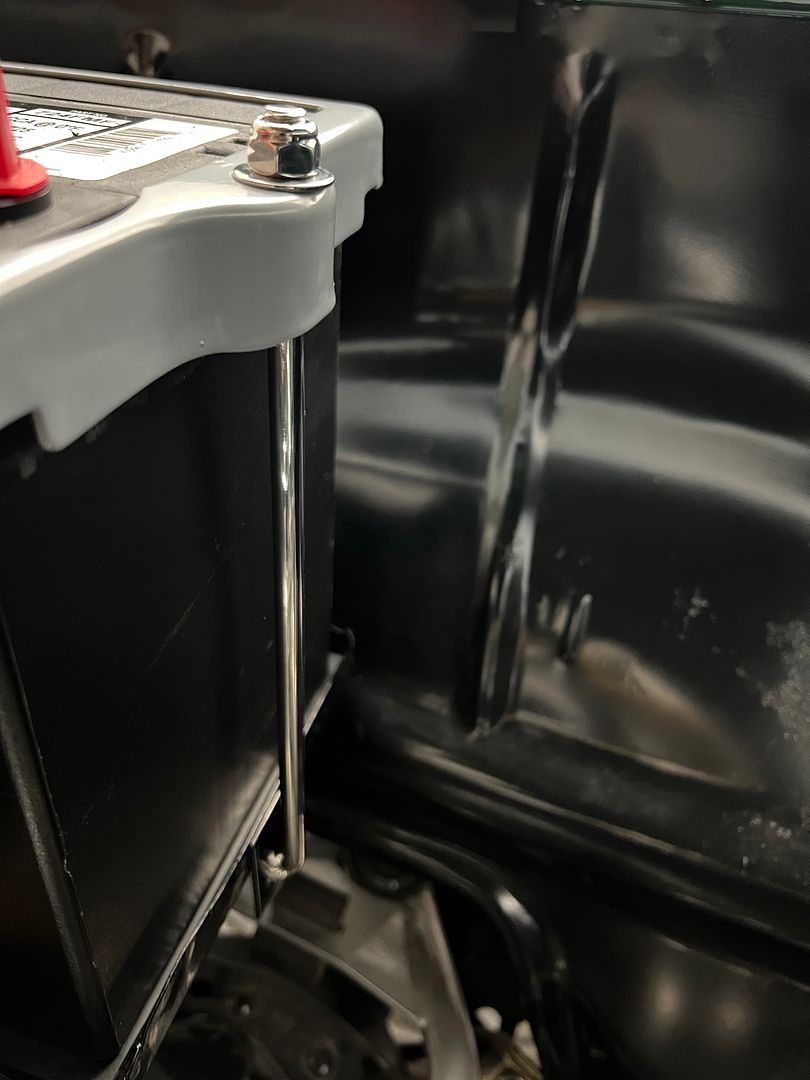
Next, we picked up our battery, but the lifting handle bosses on the ends of the battery interfered with our OEM hold down.
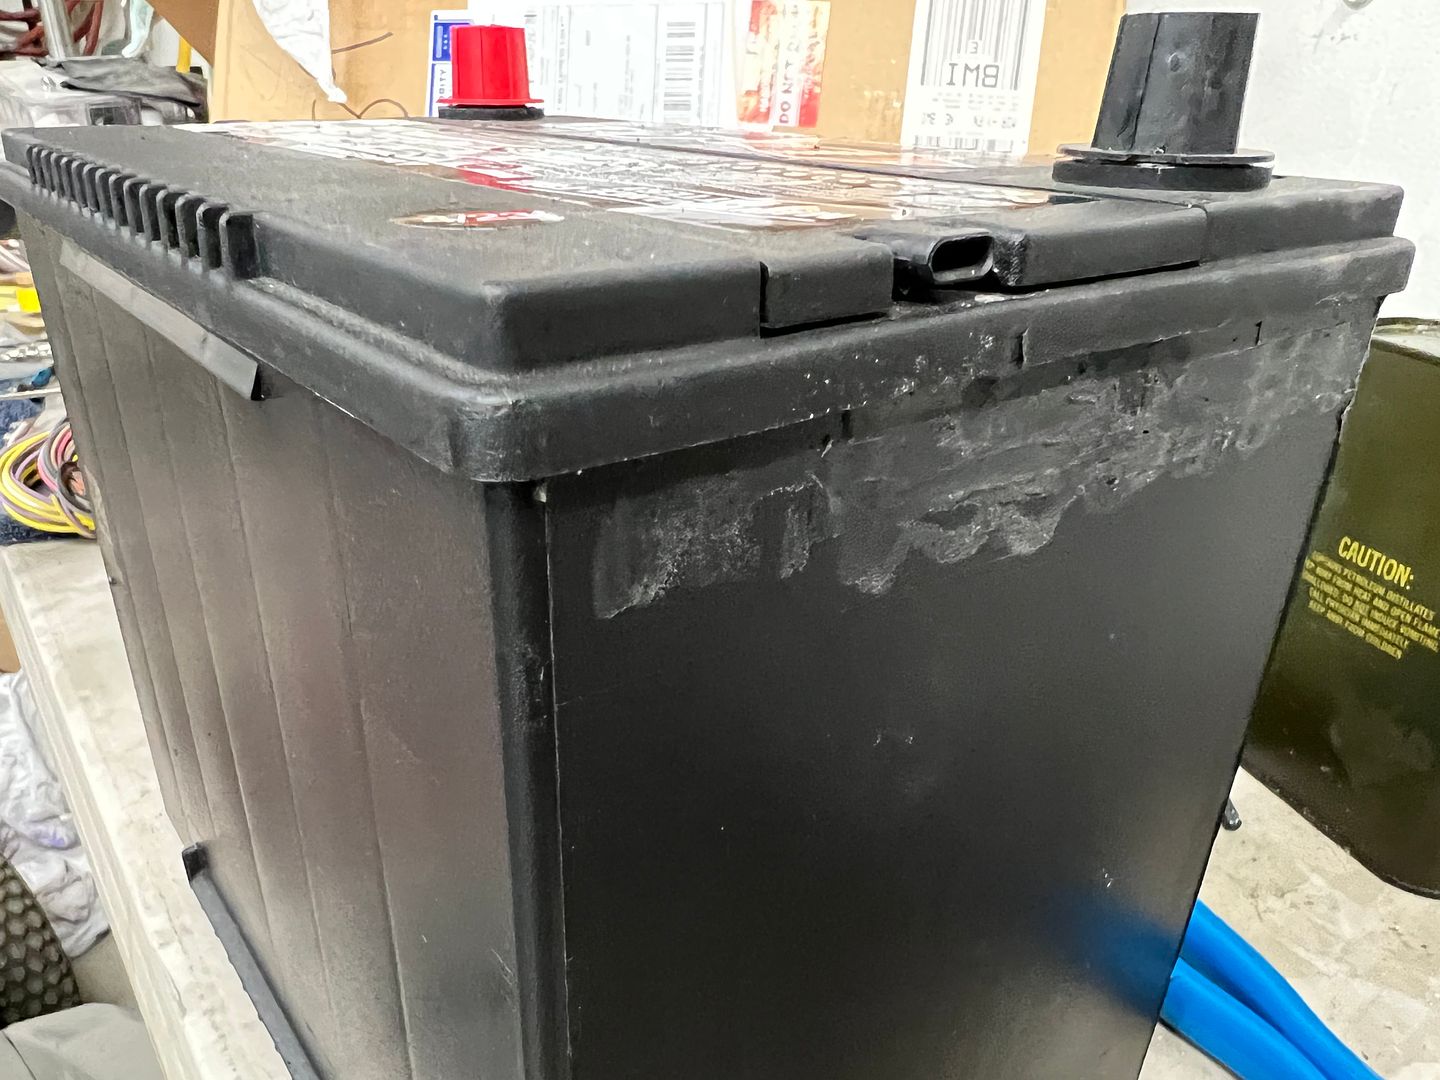
Not to be dissuaded, the belt file made short work of a shave.
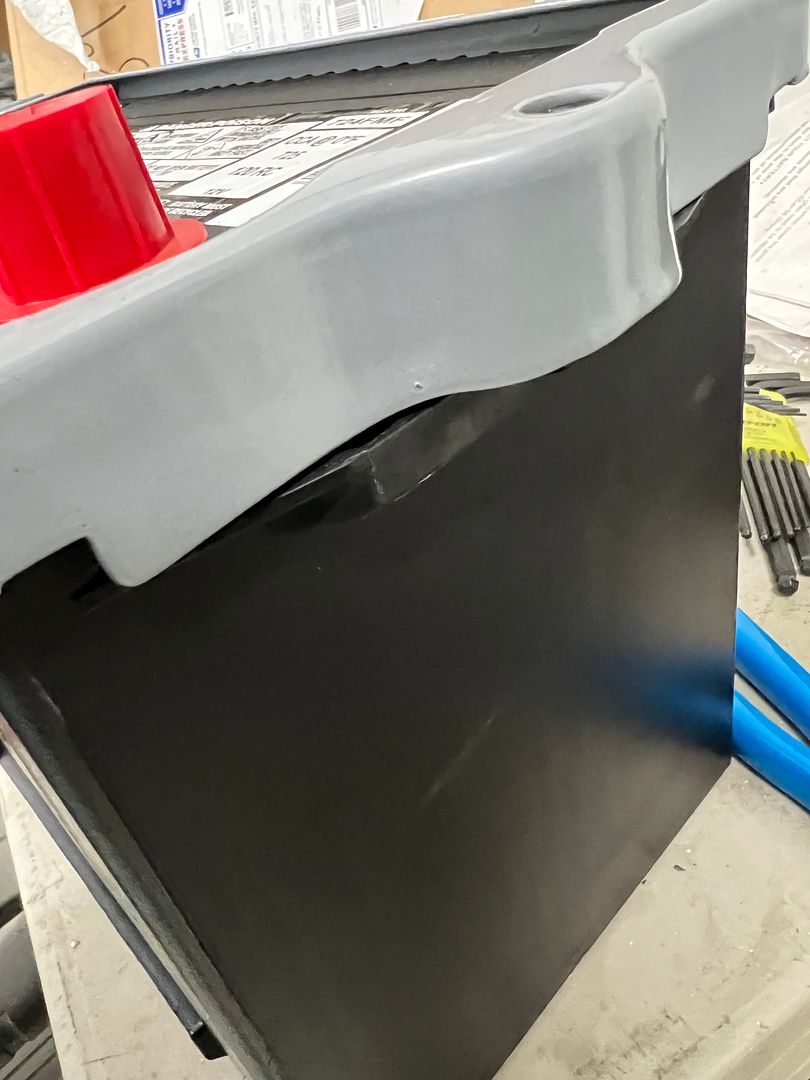
Luckily the mount hides our sanding marks. Much better down where it belongs...
Like it's made to go there...
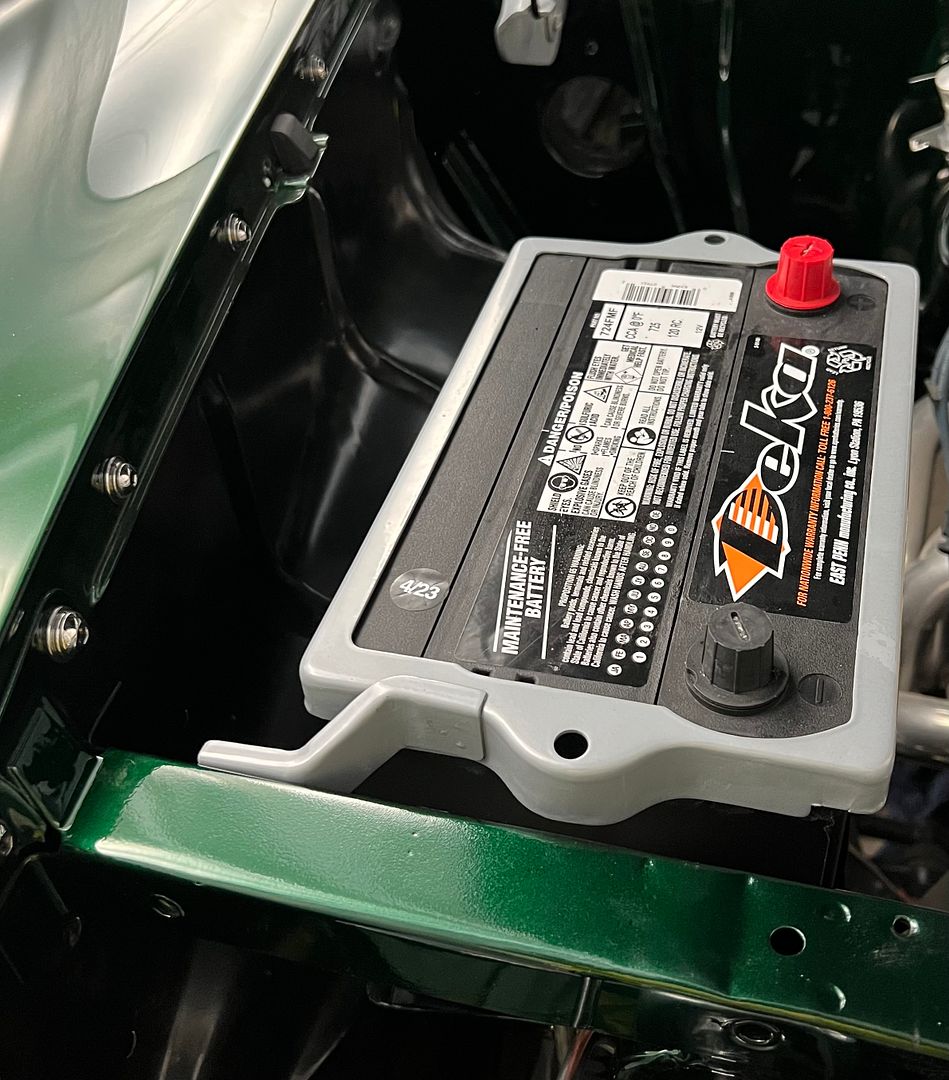
Looks clean. You gonna paint that gray holddown another color?
1957 Nomad- LS1/T56 on C4 chassis
1959 Fleetside Apache 1/2 ton, shortbed, big window, 327ci.
Silver powder coat that matches the hinges. Trying to break up some of the green.
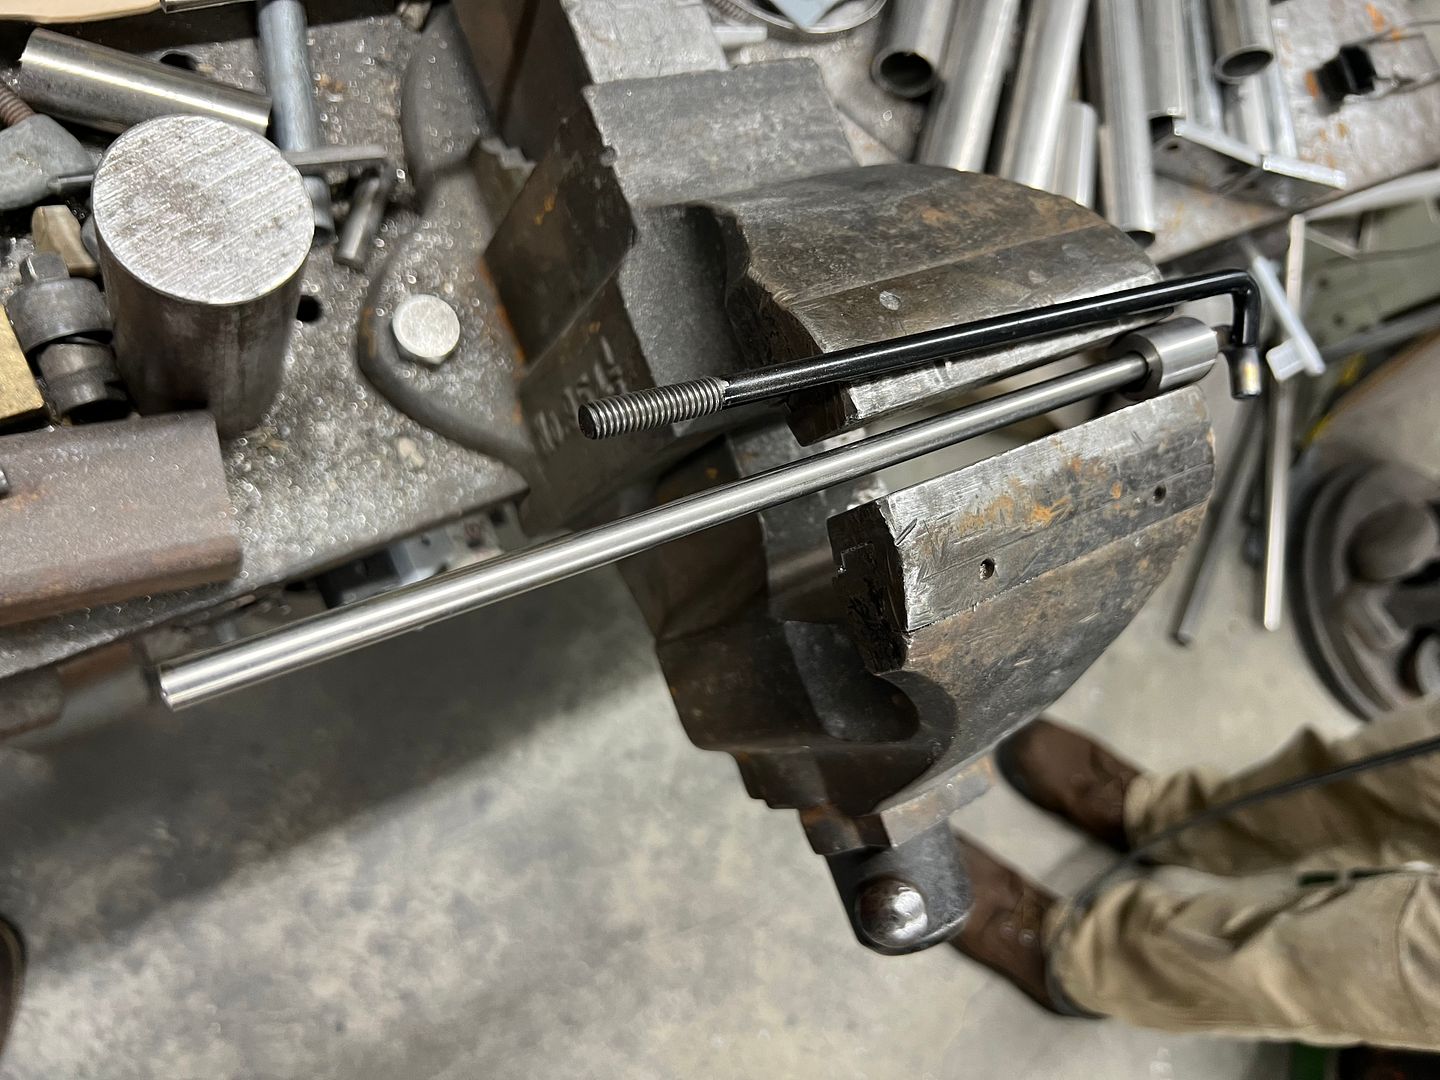
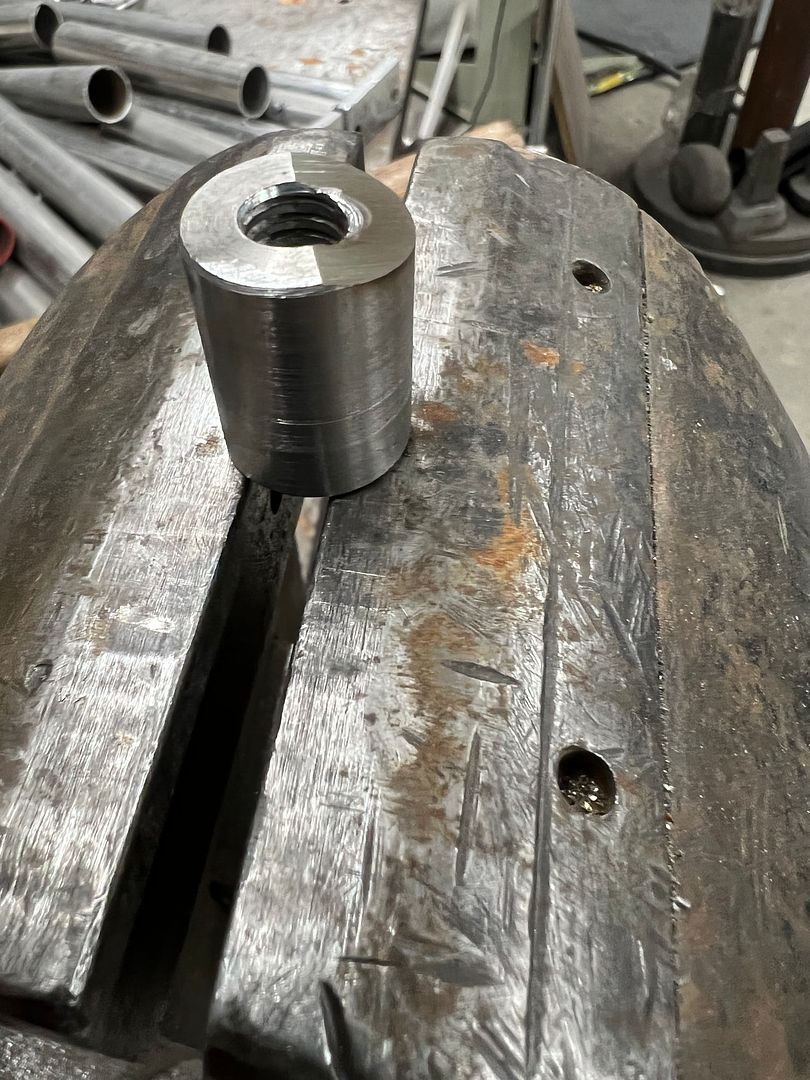
Well in our typical back up and punt fashion, the original battery hold downs that we had already powder coated did not fit the battery, too short. So we ordered some round stock in stainless to fabricate some new ones.
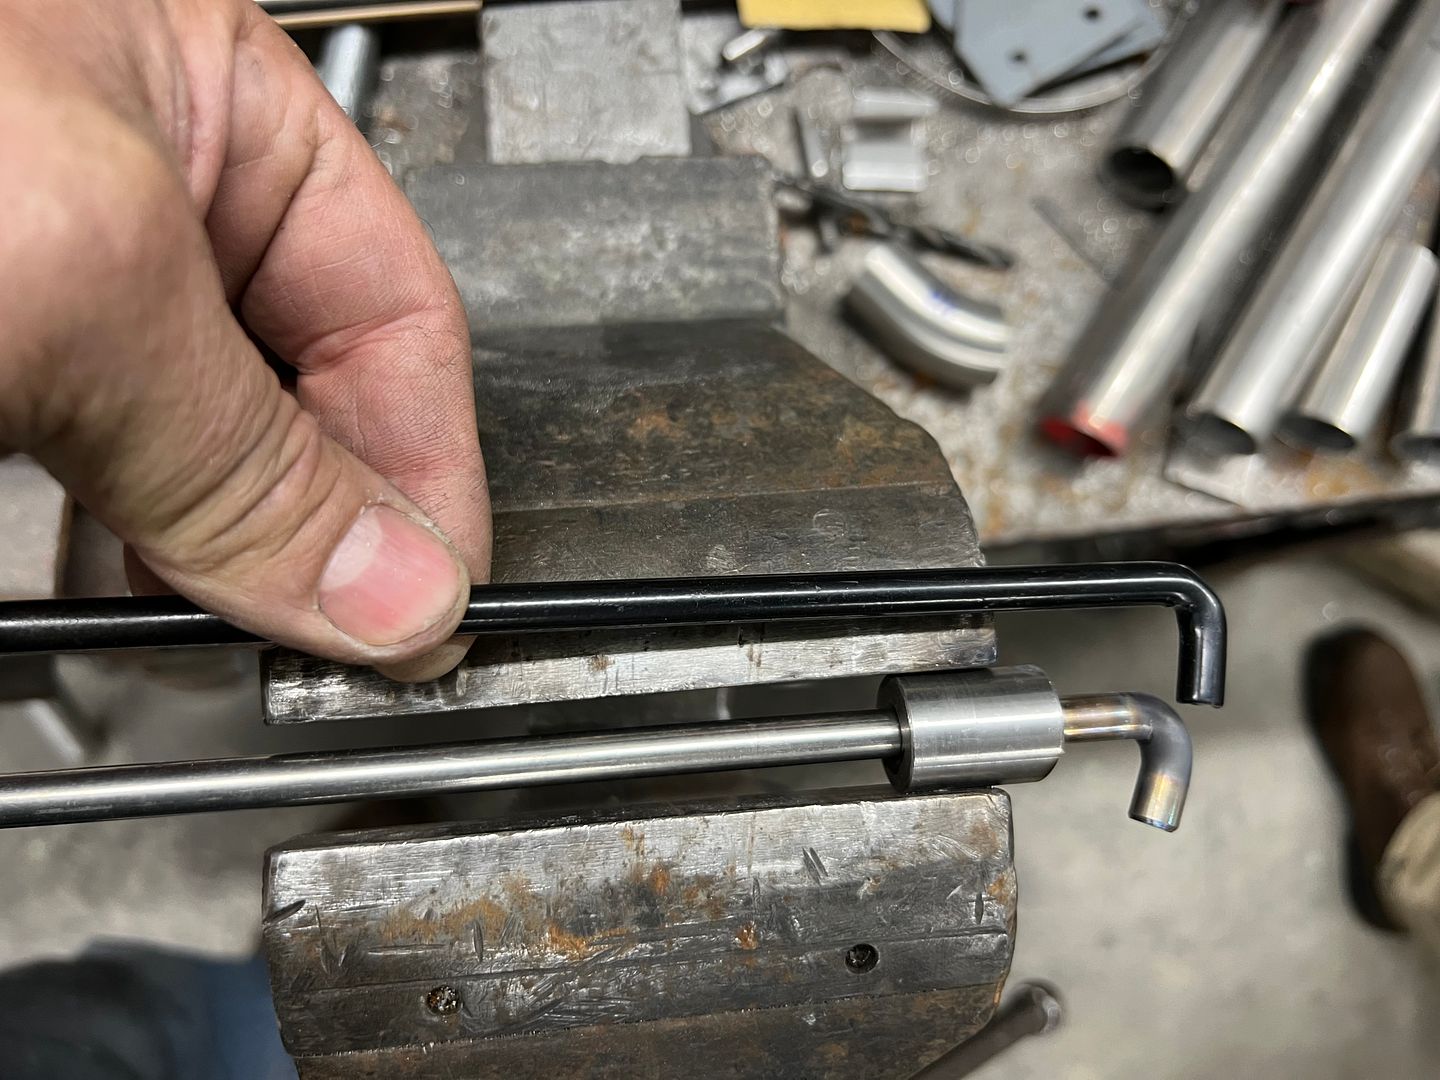
A threaded standoff was modified to provide an angled surface for using as a hammer form to get the bottom "hooks" consistent...
All polished up...
Installed, and no polish job is complete without addressing the ends of the rods..
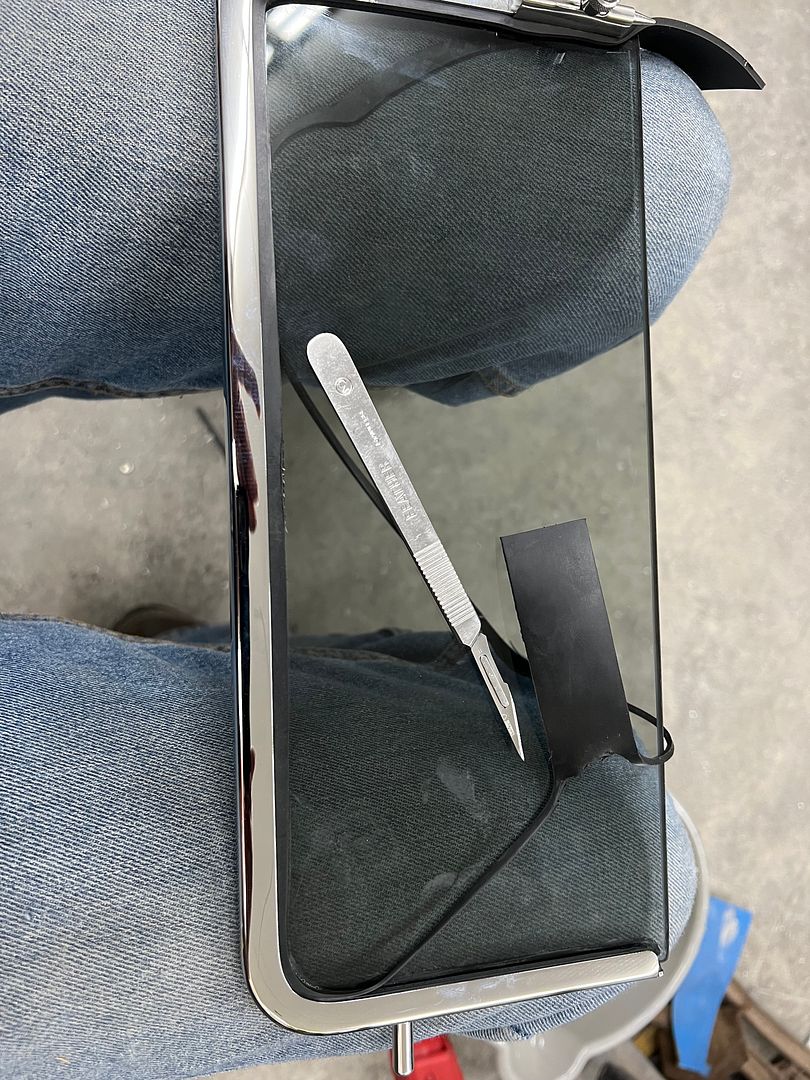
Assembling our vent windows, the excess rubber is trimmed using a No. 11 scalpel blade for a nice and tidy fit
All the bits assembled
installed...
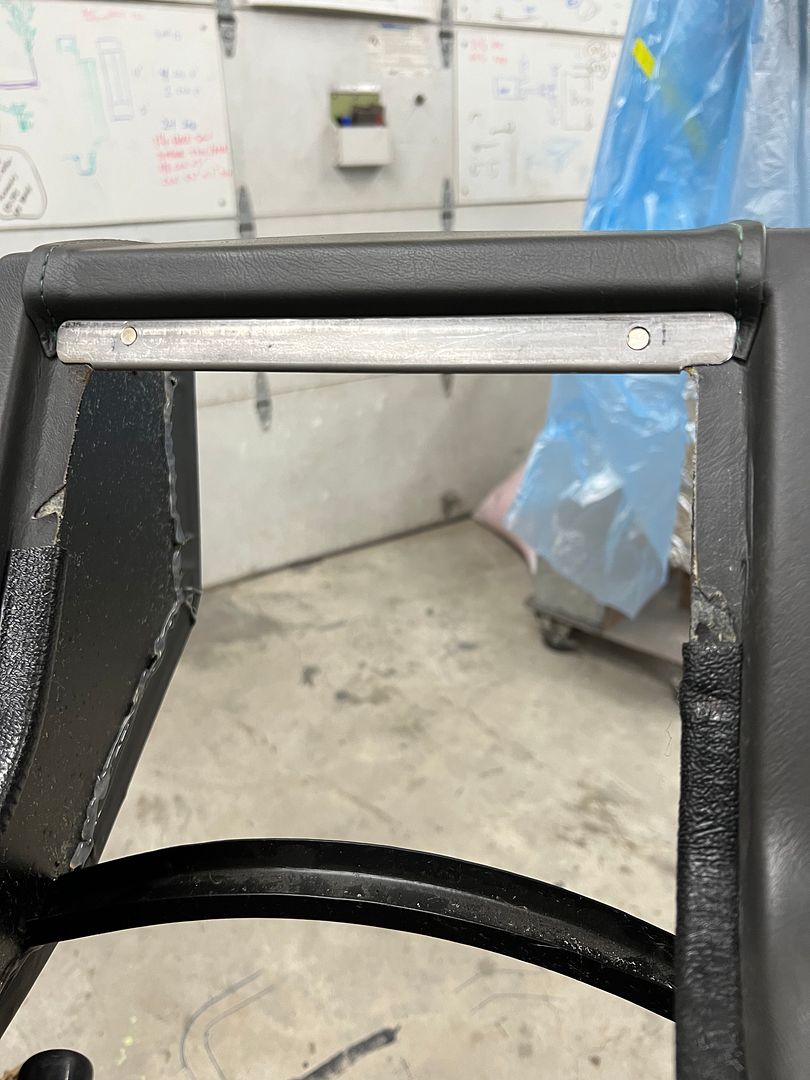
And more stainless we missed, the parting bands for the front arm rests, complete with a form-fitted sanding/polishing fixture
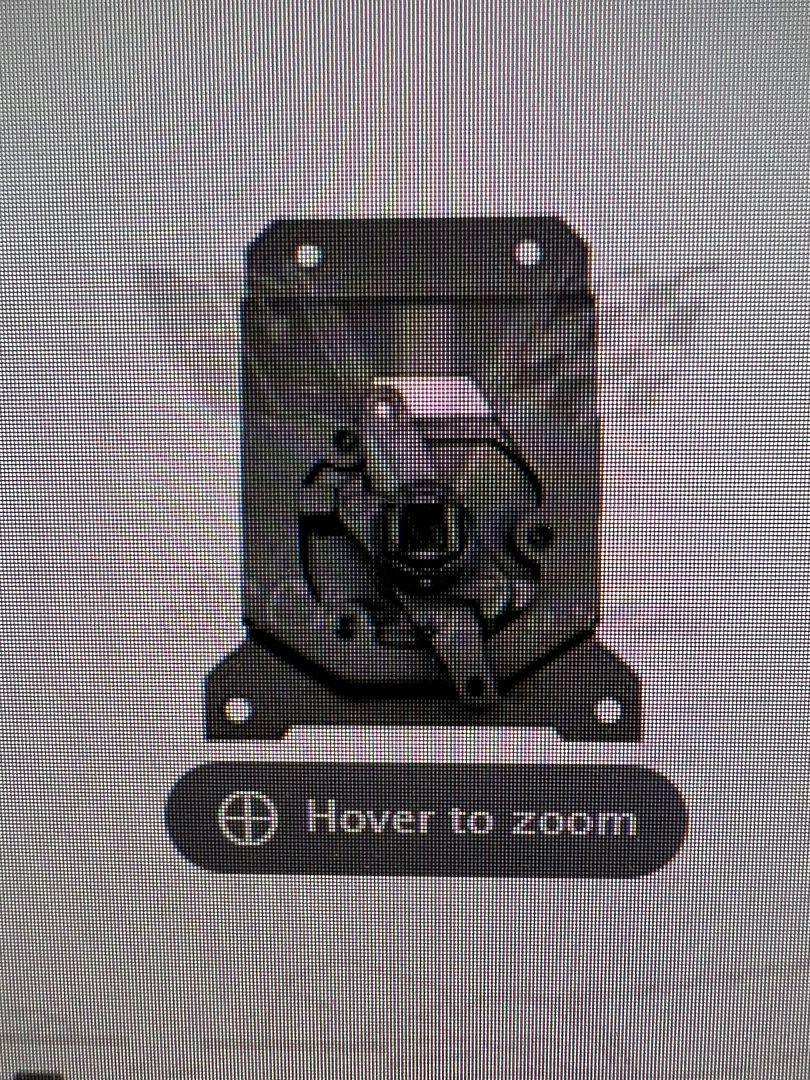
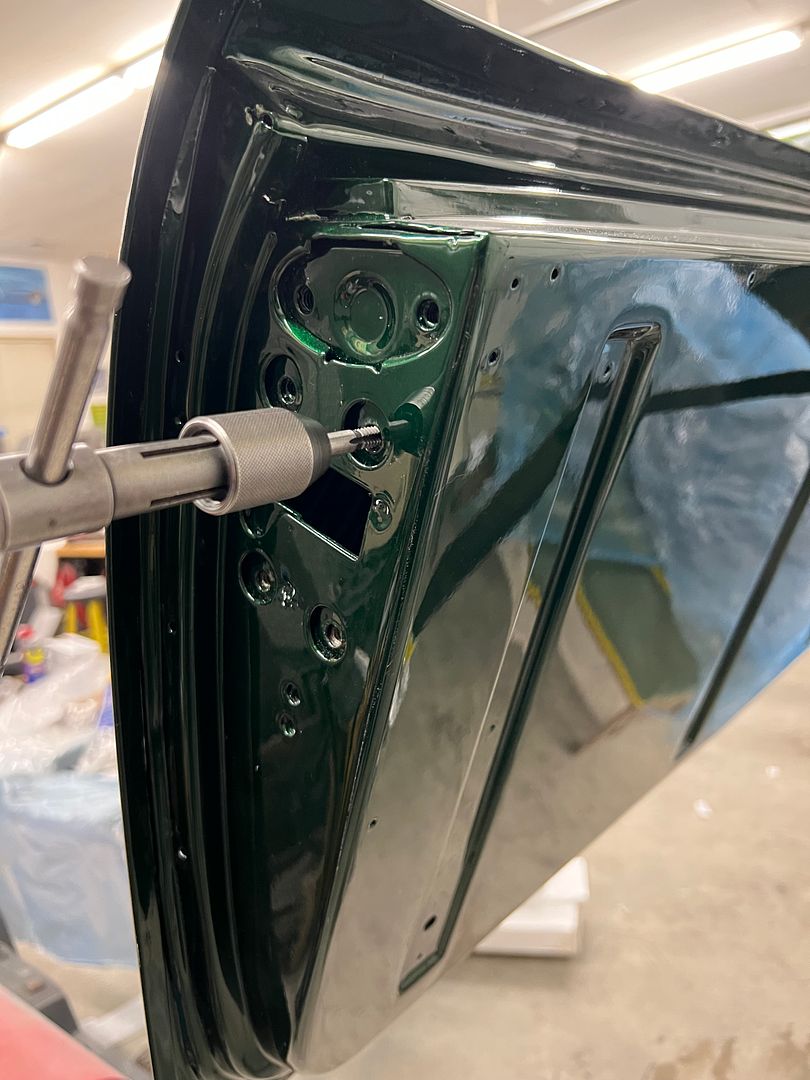
Trying to assemble the tailgate so we can put it on, but our latch actuator is absolutely worn out in the square hole, the handle just about rotates inside of it. They don't make repop's (that I'm aware of) and someone just offered a rebuilding service at over $300. So I reached out to my go to used parts outlet and a good used one is on the way, mailed the same day.. Reference photo:
So while we're waiting on parts to load up the rest of the bits on the tailgate, lets chase the threaded holes....
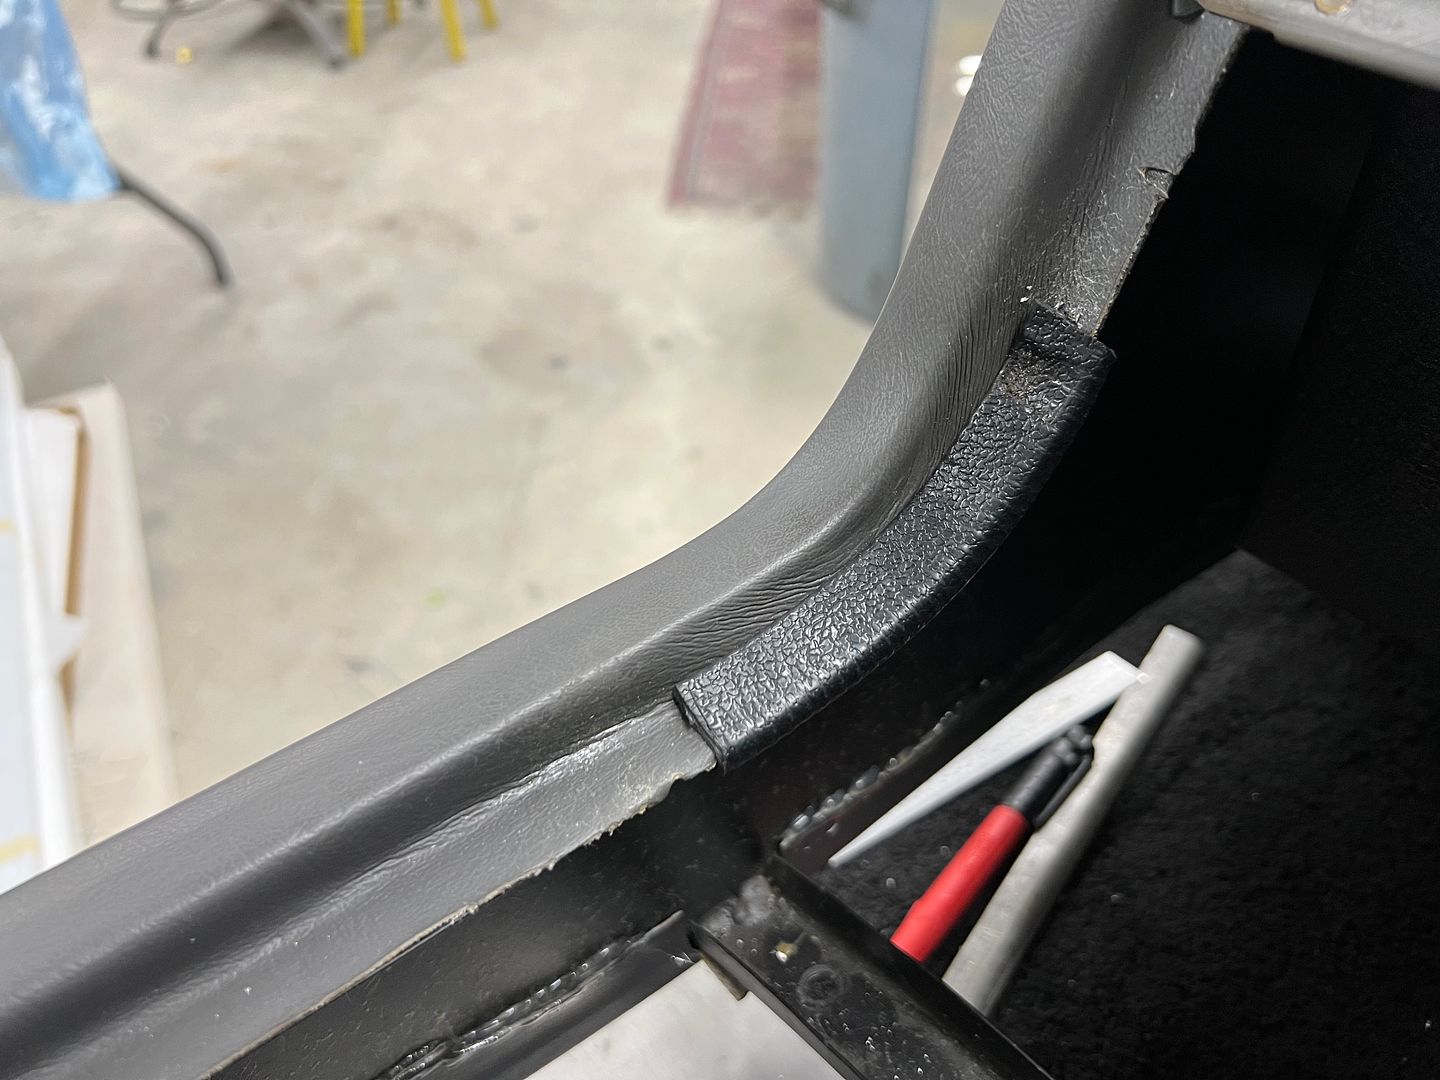
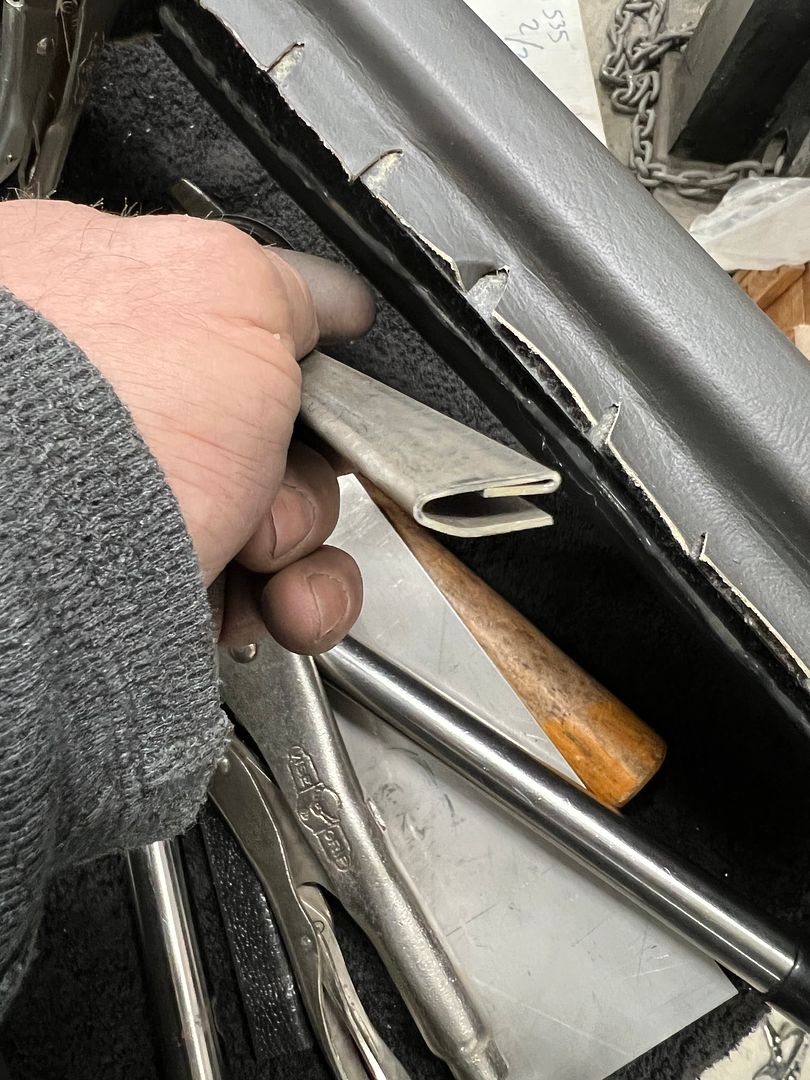
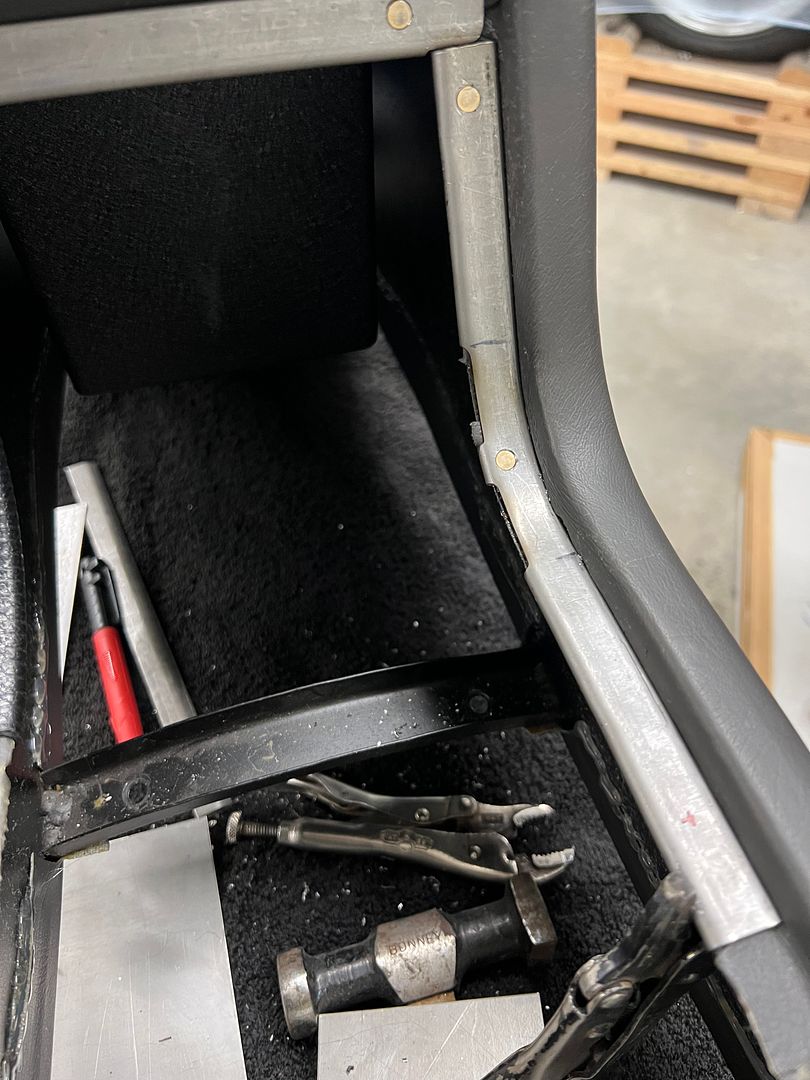
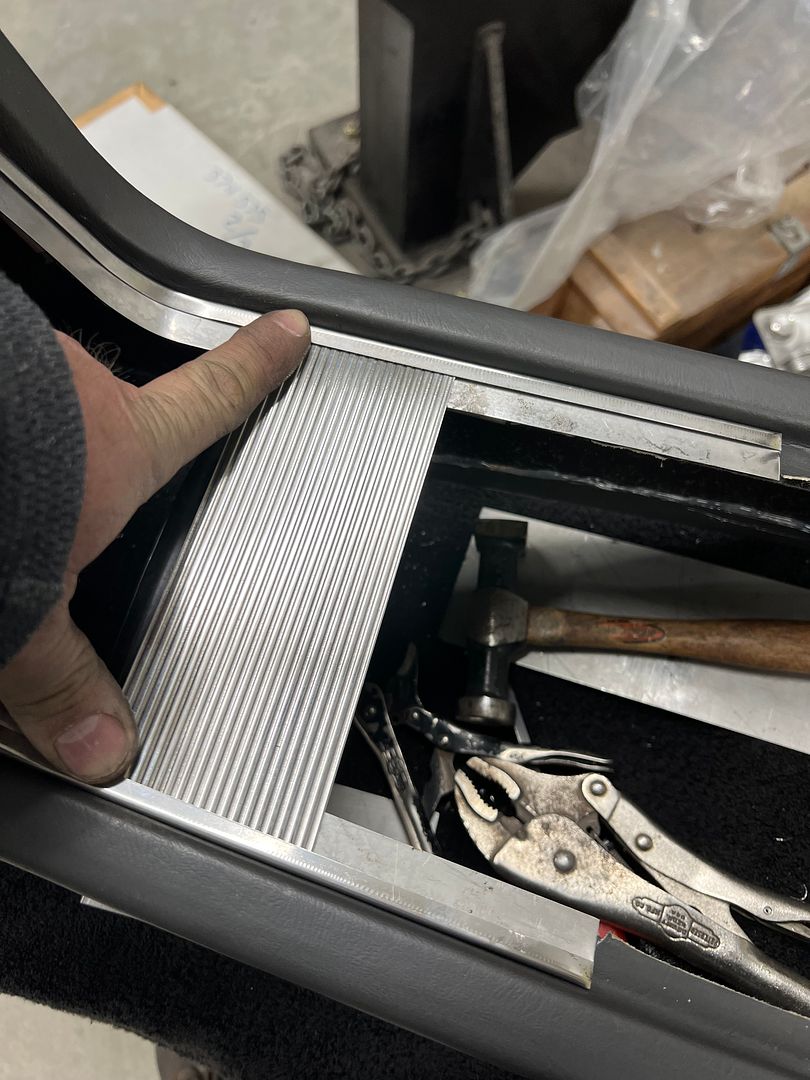
The console just got dropped off, we had some material in the corners that was pulling due to all the stretching that had taken place. In order to keep things more permanent, I came up with some 19 gauge stainless "trim lock". A hemmed edge helps keep from cutting into the upholstery. It gets clipped in place, shoved into the corner snugly, and through drilled for installing solid rivets.
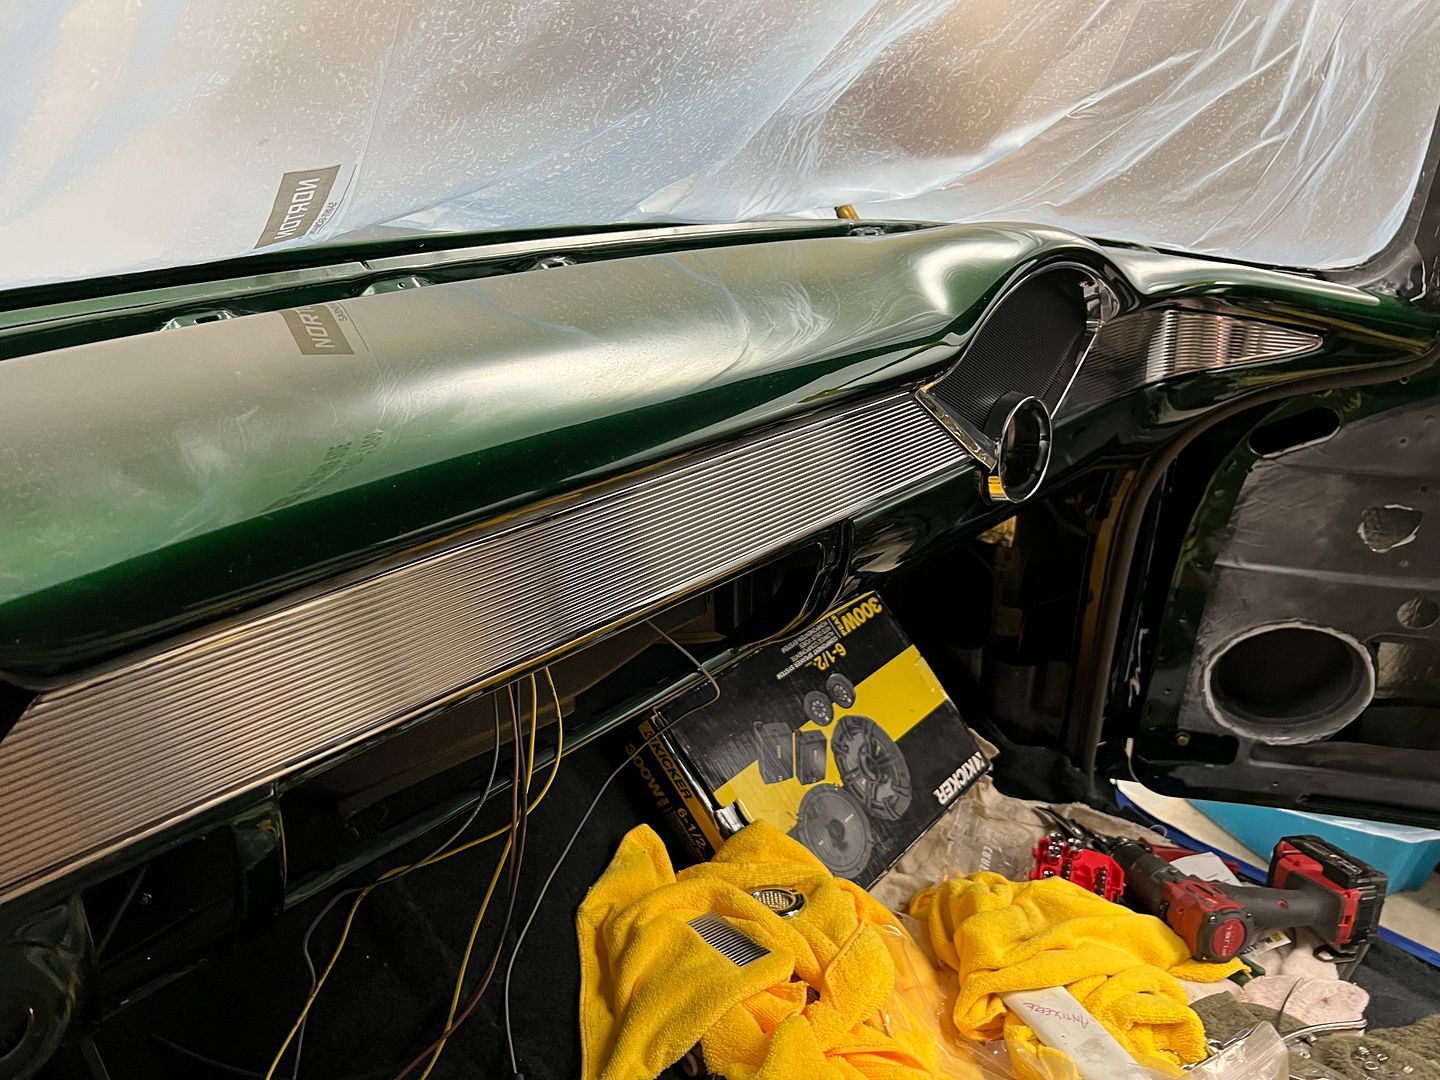
In order to match our dash insert, the console insert will also be oriented horizontally (lines left to right)
We also got some of the stainless added to the front end. What an alignment pita. Still have some tweaks to do..
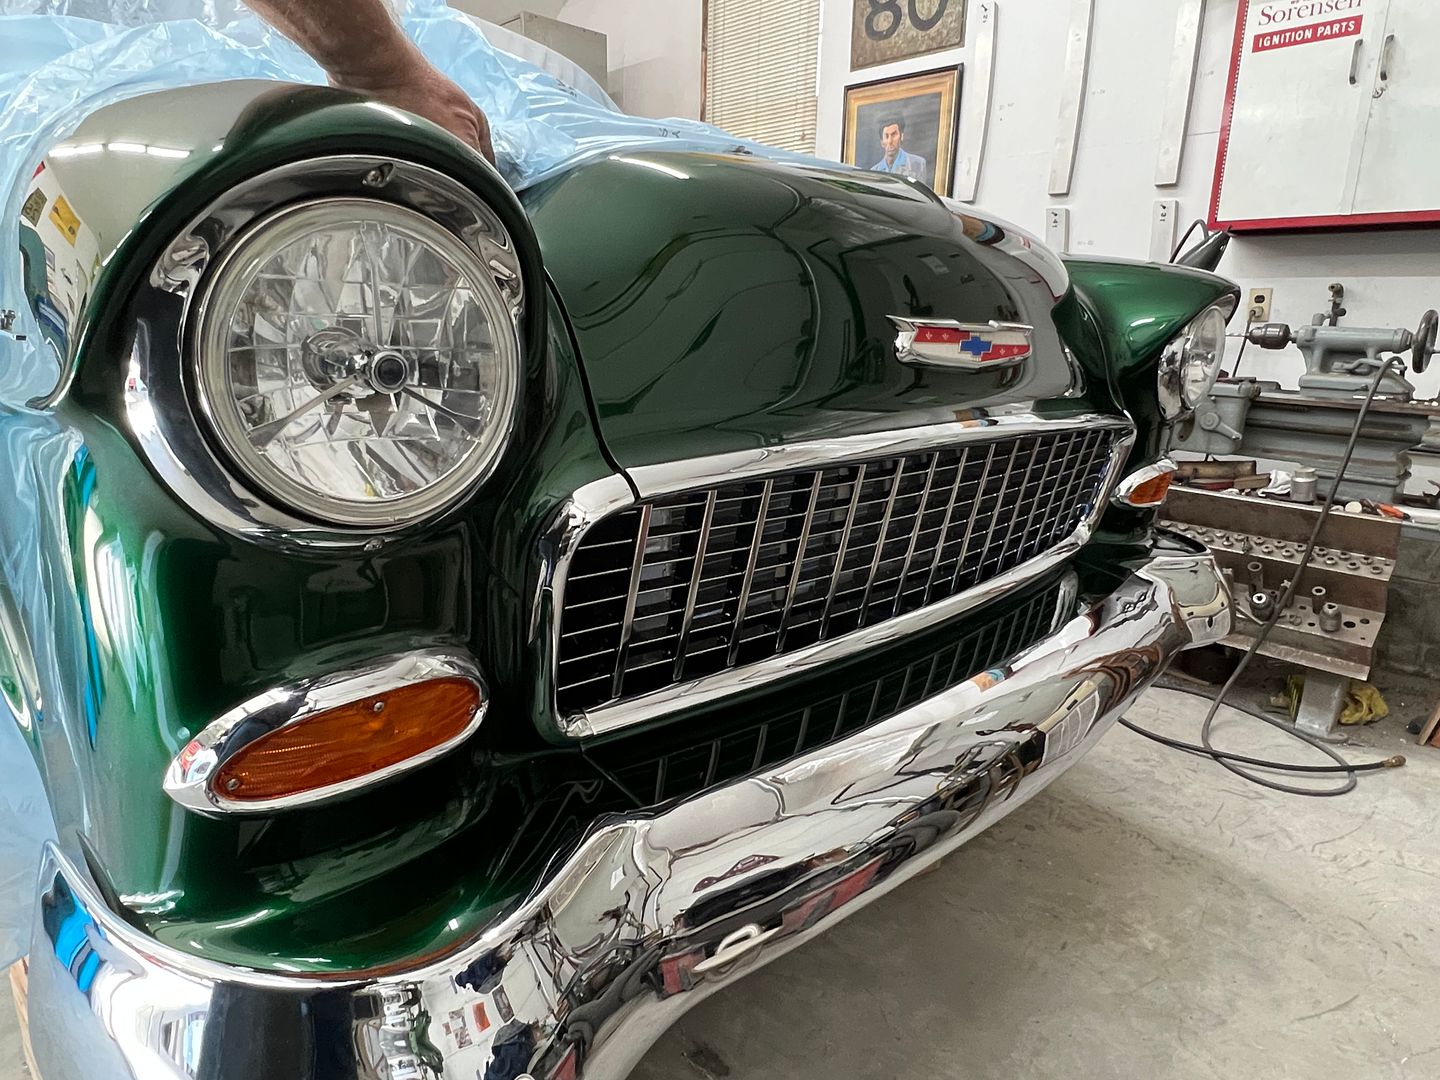

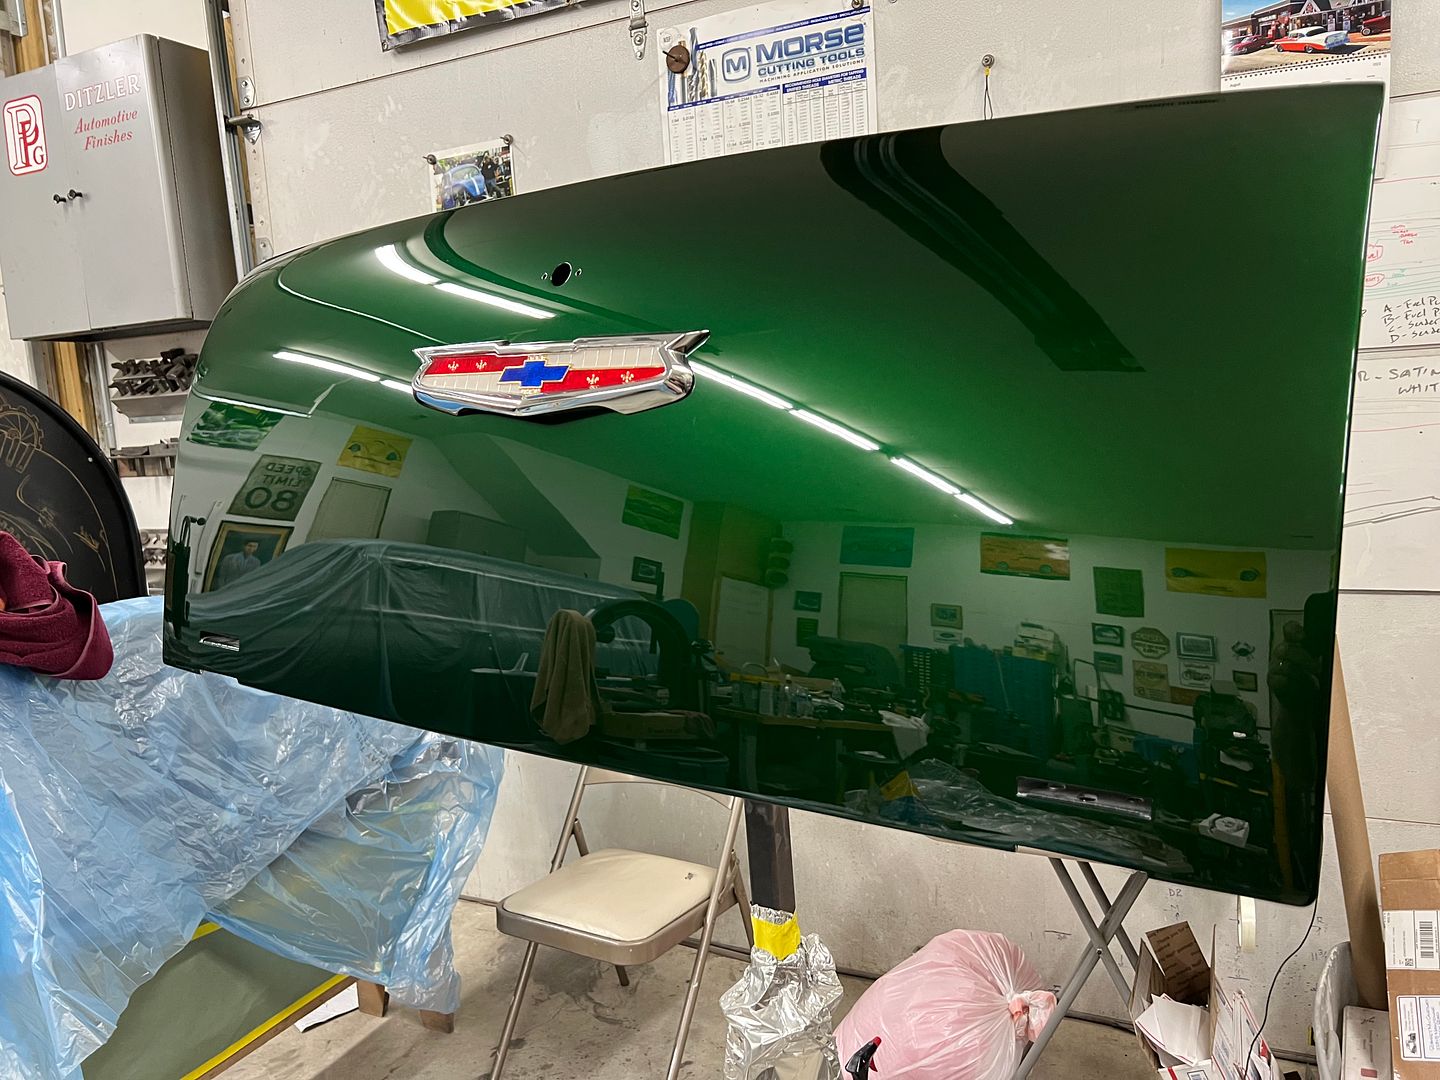
Looking great Robert! That's one helluva nice paint job on the tailgate!
56 Nomad, Ramjet 502, Viper 6-speed T56, C4 Corvette front and rear suspension
Other vehicles:
56 Chevy 2-door BelAir sedan
56 Chevy 210 4-door sedan
57 Chevy 210 4-door sedan
1962 327/340HP Corvette
1961 Willys CJ3B Jeep
2001 Porsche Boxster S
2003 Chevy Silverado 2500 HD Duramax
2019 GMC Sierra Denali Duramax

I agree with CN... the paint job looks terrific... and I love the color too.... emerald green??

Looks great!
 Posting Permissions

 Reply With Quote