Originally Posted by BamaNomad

House of Kolor Organic Green Kandy basecoat


House of Kolor Organic Green Kandy basecoat

Looking great!
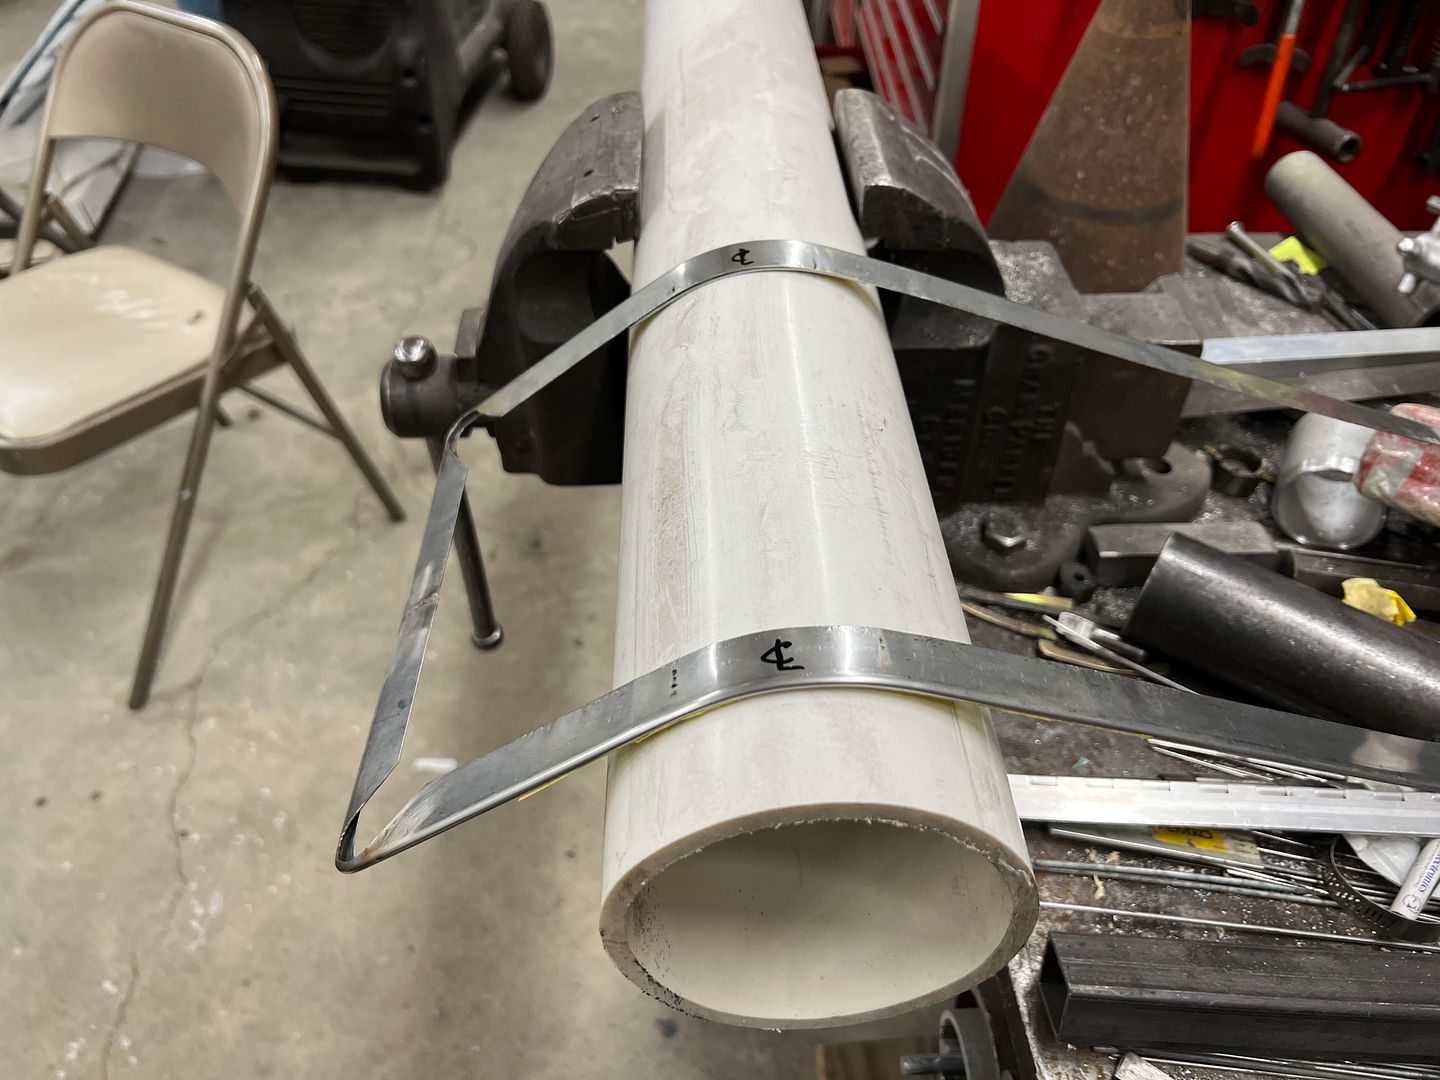
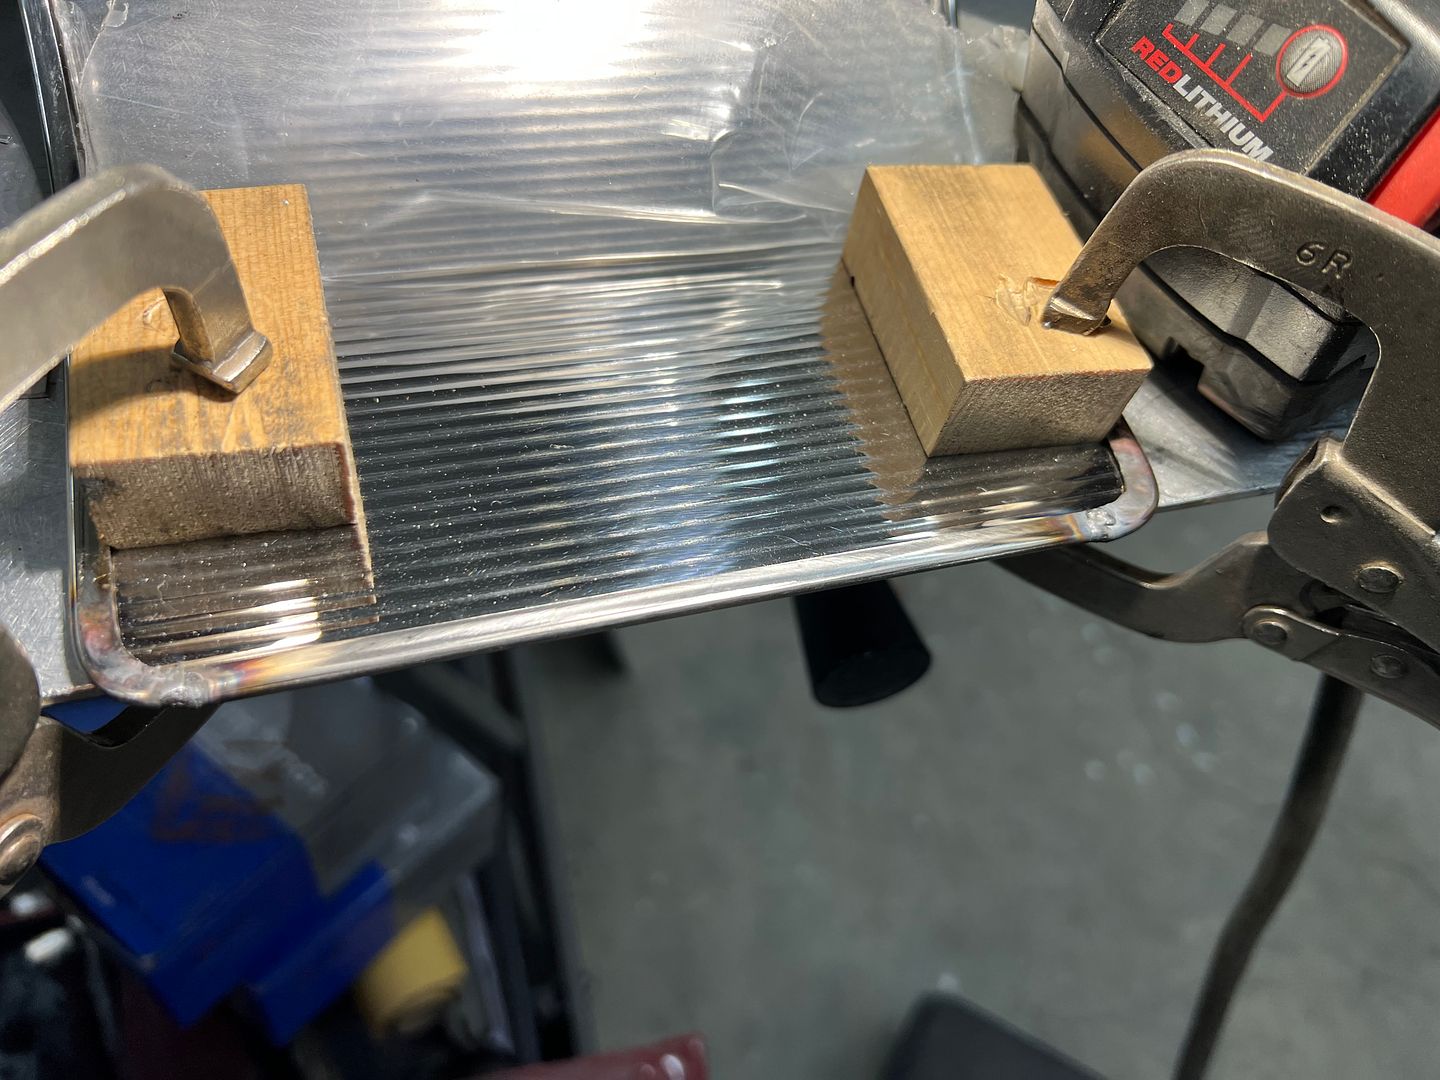
Also, the last pic before these latest progress pics showed the fixture you built for polishing the thin trim. I missed it when you first posted - great idea you had to keep the trim from becoming a mangled mess during polishing - thanks for sharing!
Thanks, Doug

I love the color and I normally don't like green, anxious to see finished car.

Hey Robert , I love that Green .
thanks for taking the time to post your work on this site .
Thanks Sid

1955 2 DR Post
1937 Chevy Coupe
2023 Ford Super Duty F350 TREMOR
2019 Corvette Z06
1955 Chevy Nomad
1935 Ford 2dr Slant back I have 4
Thanks for the comments guys!
More console work, time to fabricate the hemmed surround for the insert. In order for the surround to be seamless, we need to do some welding.
For our corners we relieve the flange and trim the back side to about half the hem width. This gives us less material in the tucks for shrinking in the corners.
We cut a fake insert out of 18 gauge CRS with rounded corners to use as a hammer form, gives us something to hammer against when we heat up the corners.
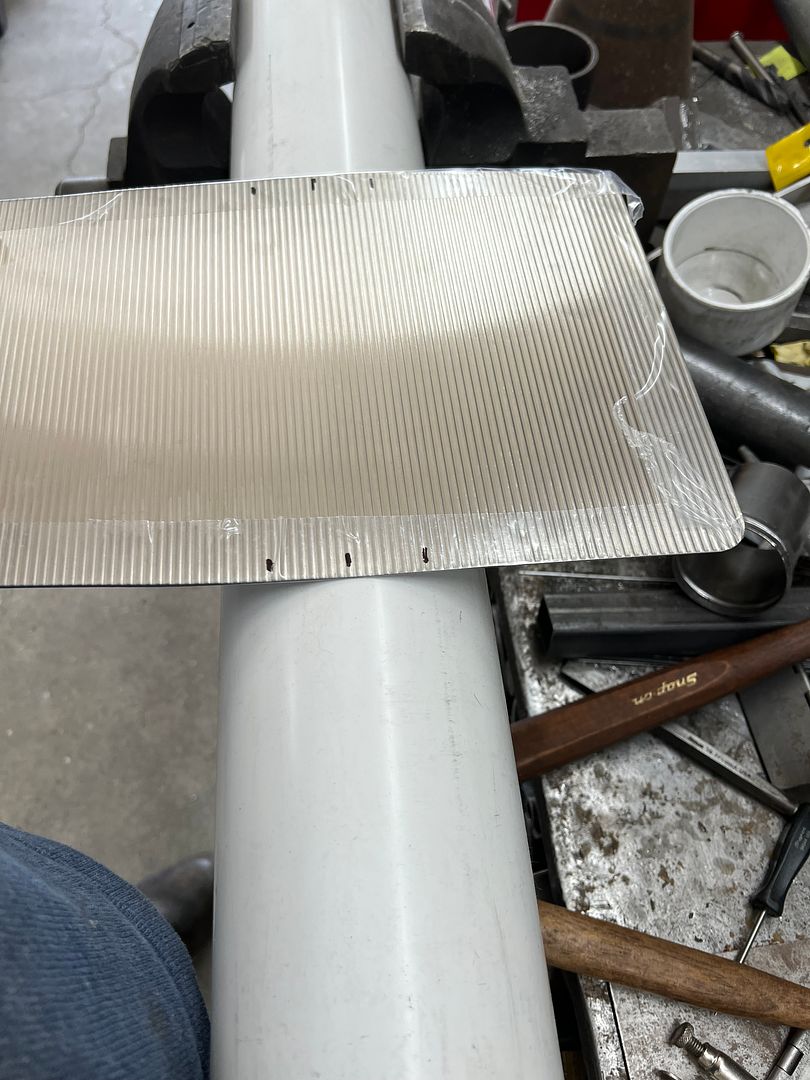
Everything's a tool, and when the PVC pipe is the only thing in the shop that matches our needed radius, it's what we use for a radius bender.
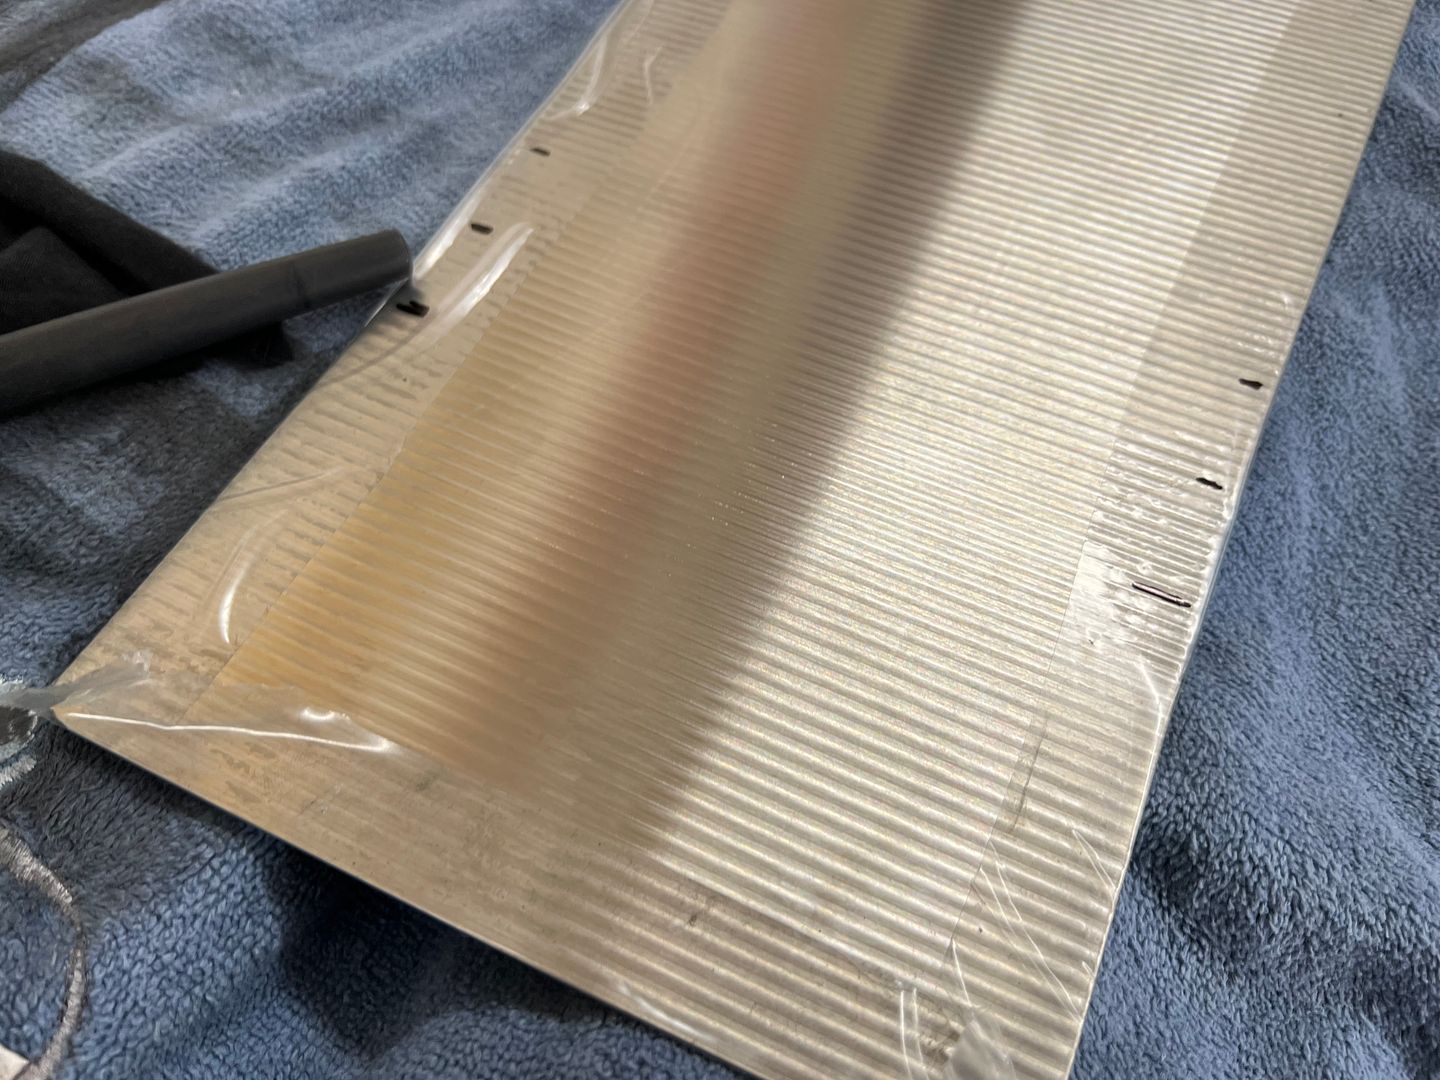
To prevent our hem from closing during the radius forming, some 18 gauge strips were placed in the hem.
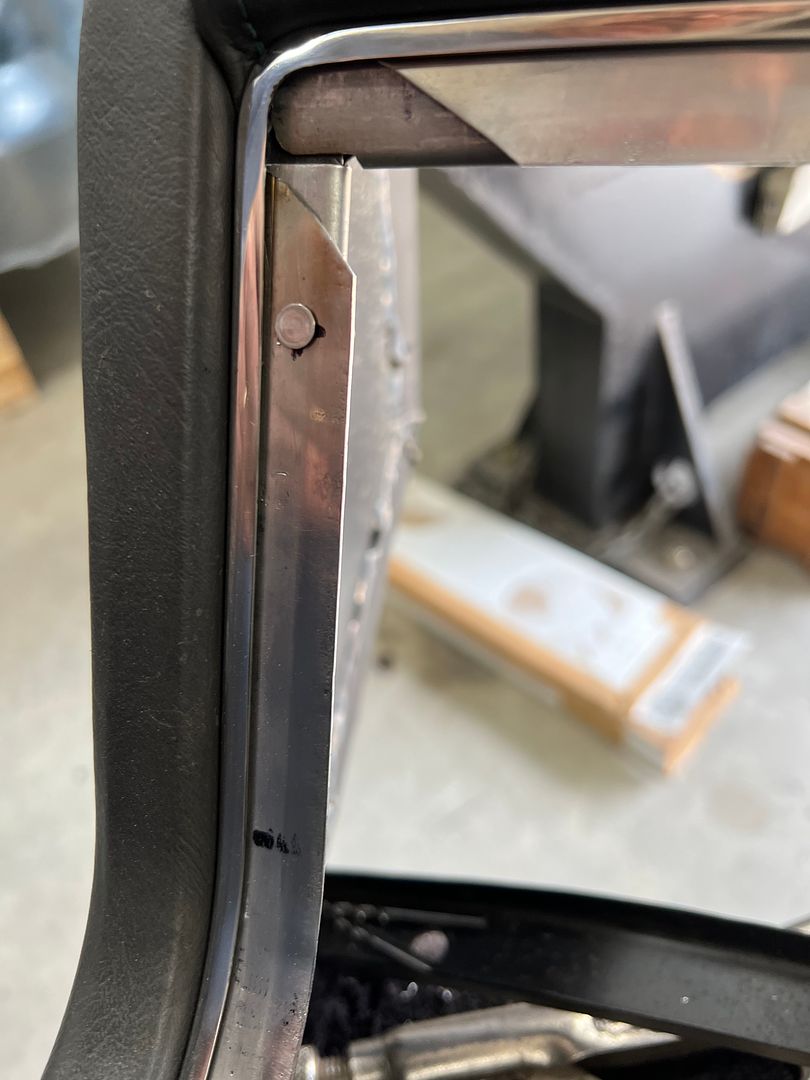
Press studs used to attach to the console and will be hidden underneath the center panel.
Insert cut out to match our poster board sample, then it gets 800 grit, then 1000 through 5000 foam pads, then buffed..
https://youtube.com/shorts/Wlbrs908h...H0gssNlu9xhBkm
Then we cover it with frisk film to protect our buffed surface.
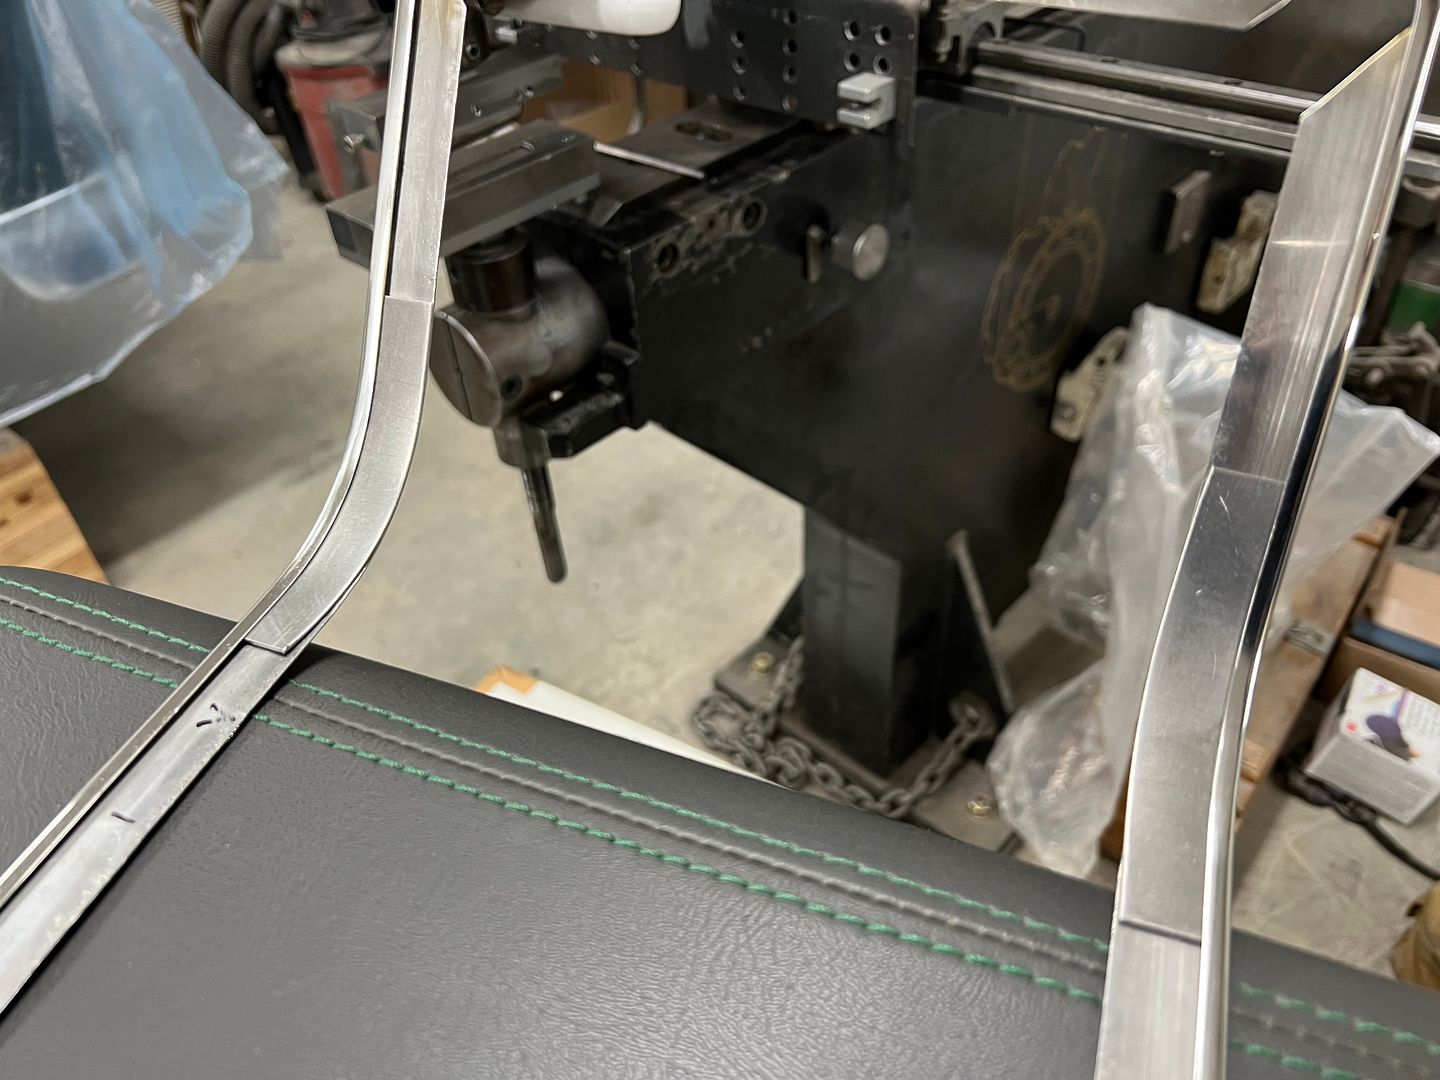
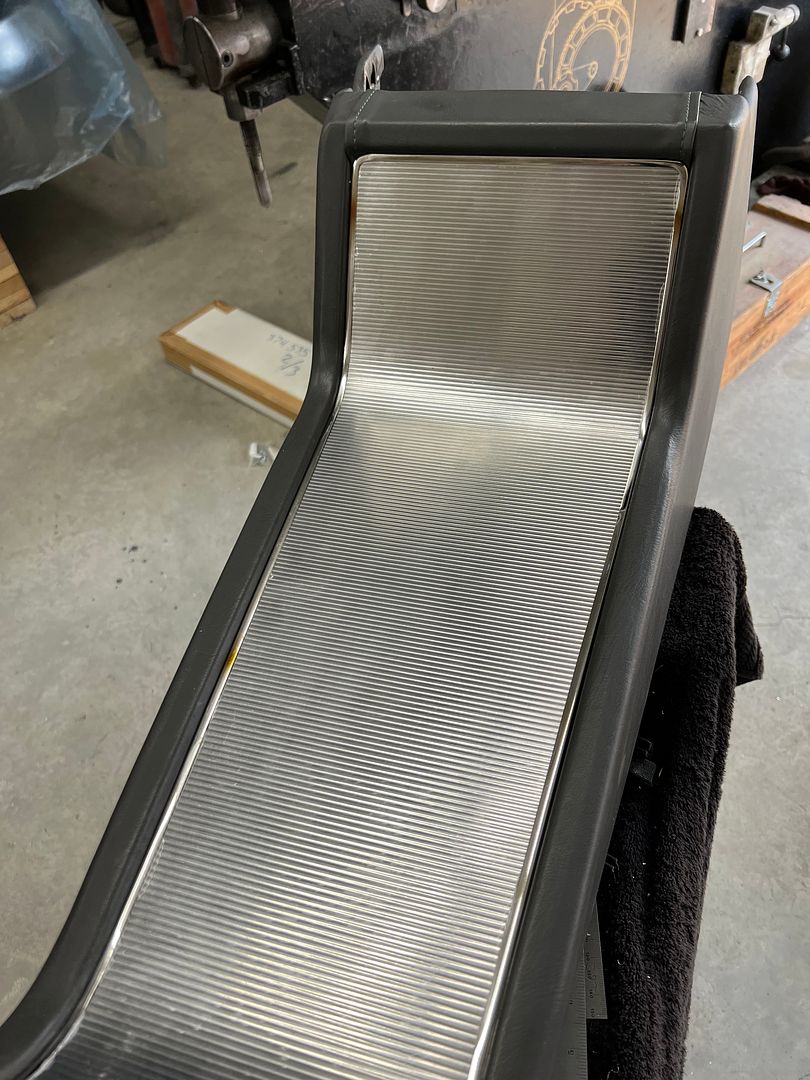
Test fit...
Installing the surround to the filler panel
Still have to touch up some areas with the buffer (heat from tacking the press studs) but here's the test fit.
https://youtube.com/shorts/0FhzILNBY...Pzr-q_-0oYgu6S
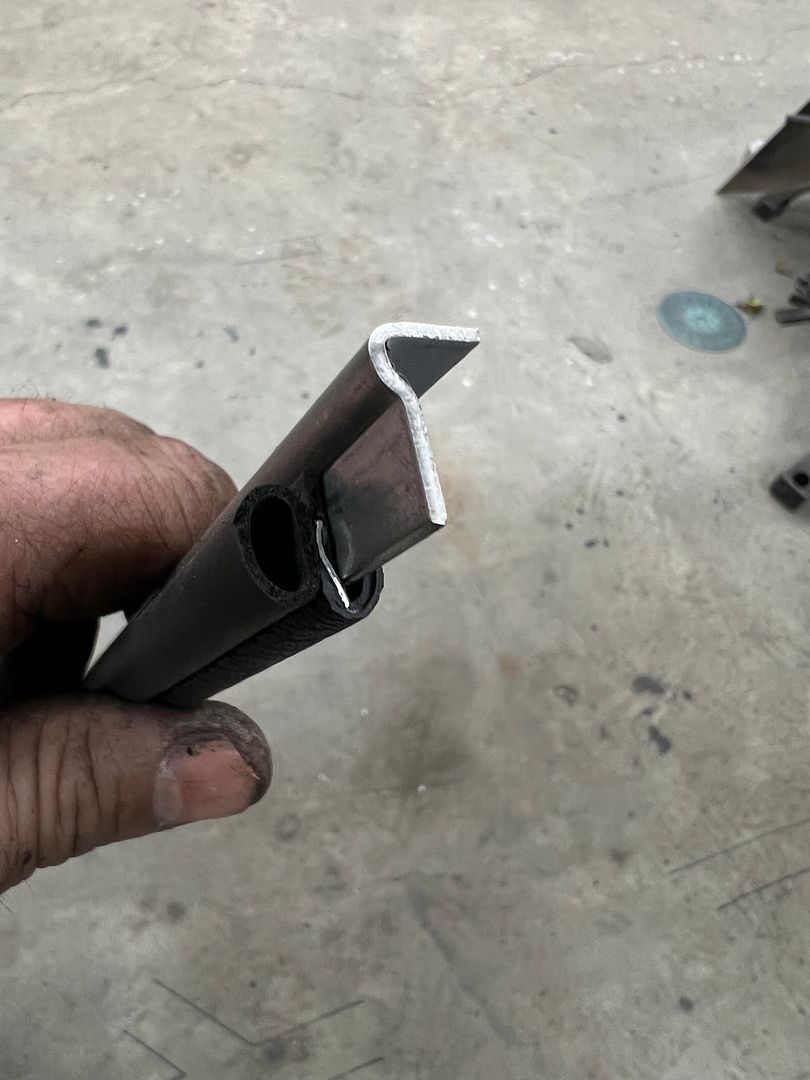
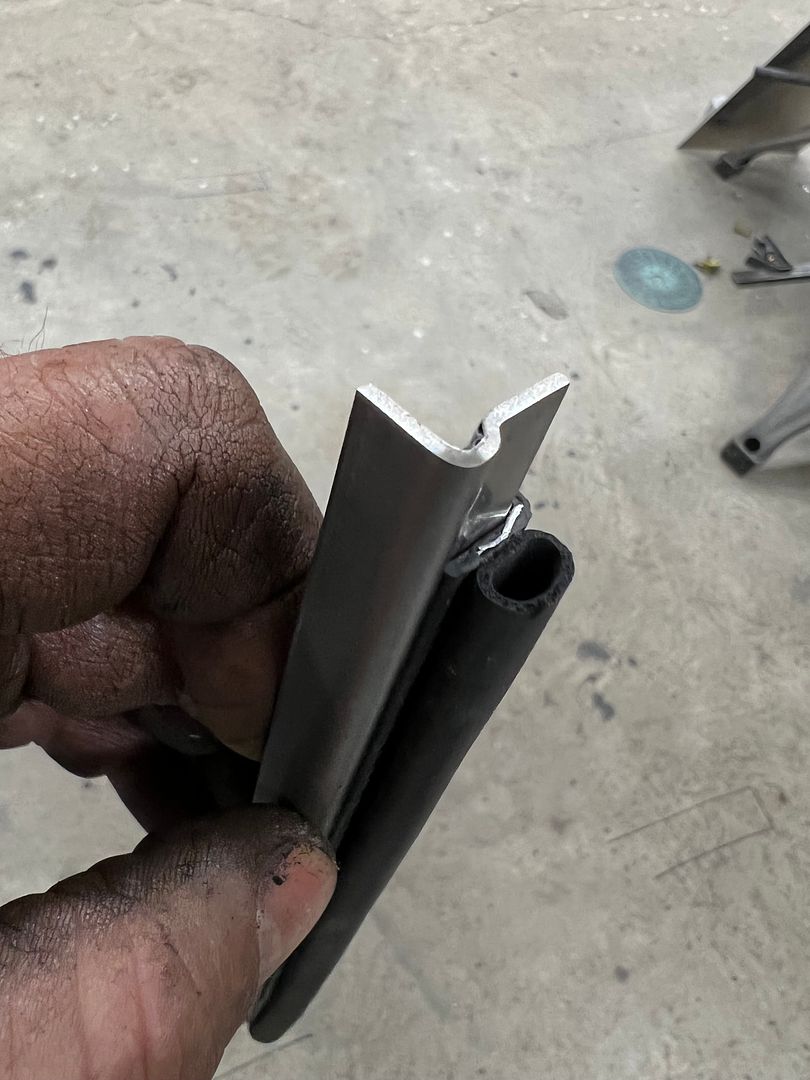
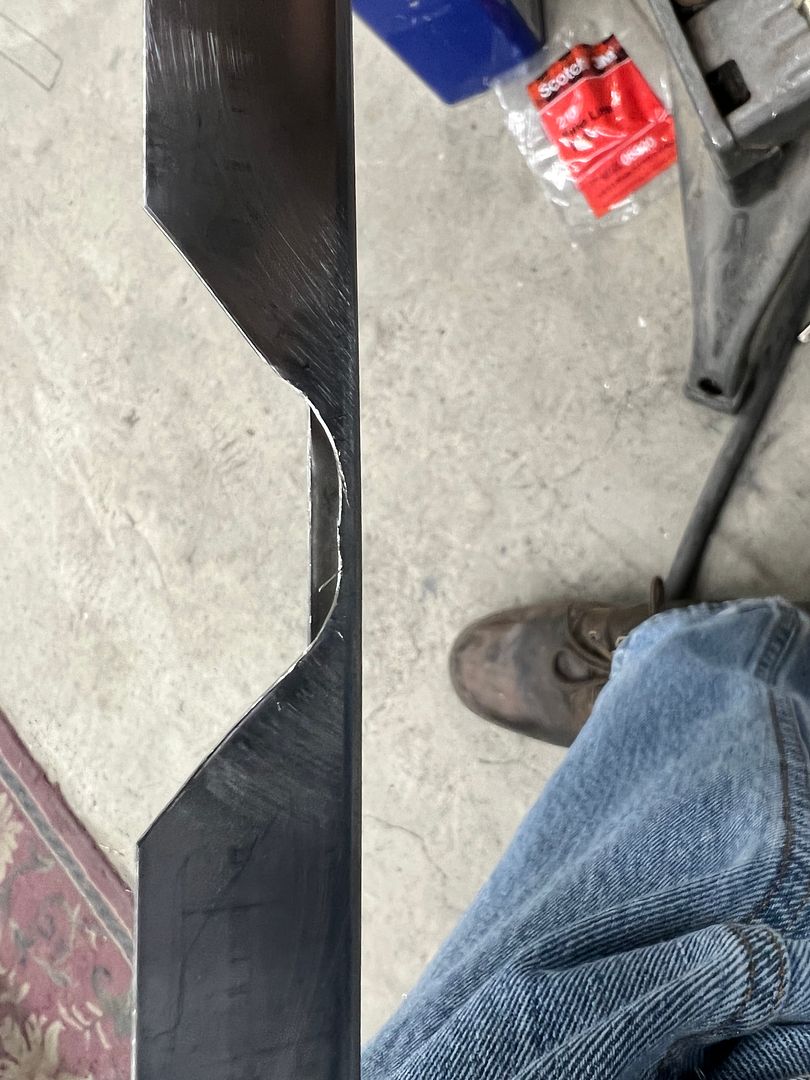
Next step for the console, we need to cut some holes for the shifter. Using the Chevelle style horseshoe shifter, we don't have the factory style brush seals or trim bezel for the center plexi indicator. So lets see what we can come up with first to seal the shifters side arms. I didn't have any brush stock left over from the splice trailer, and window felt wasn't thick enough. But I did have some bulb seal that looked promising. To make a surround to hold the bulb seal, we used a folded piece of 16 gauge stainless, and put an offset to hide as much of the edge trim that holds the seal as possible.
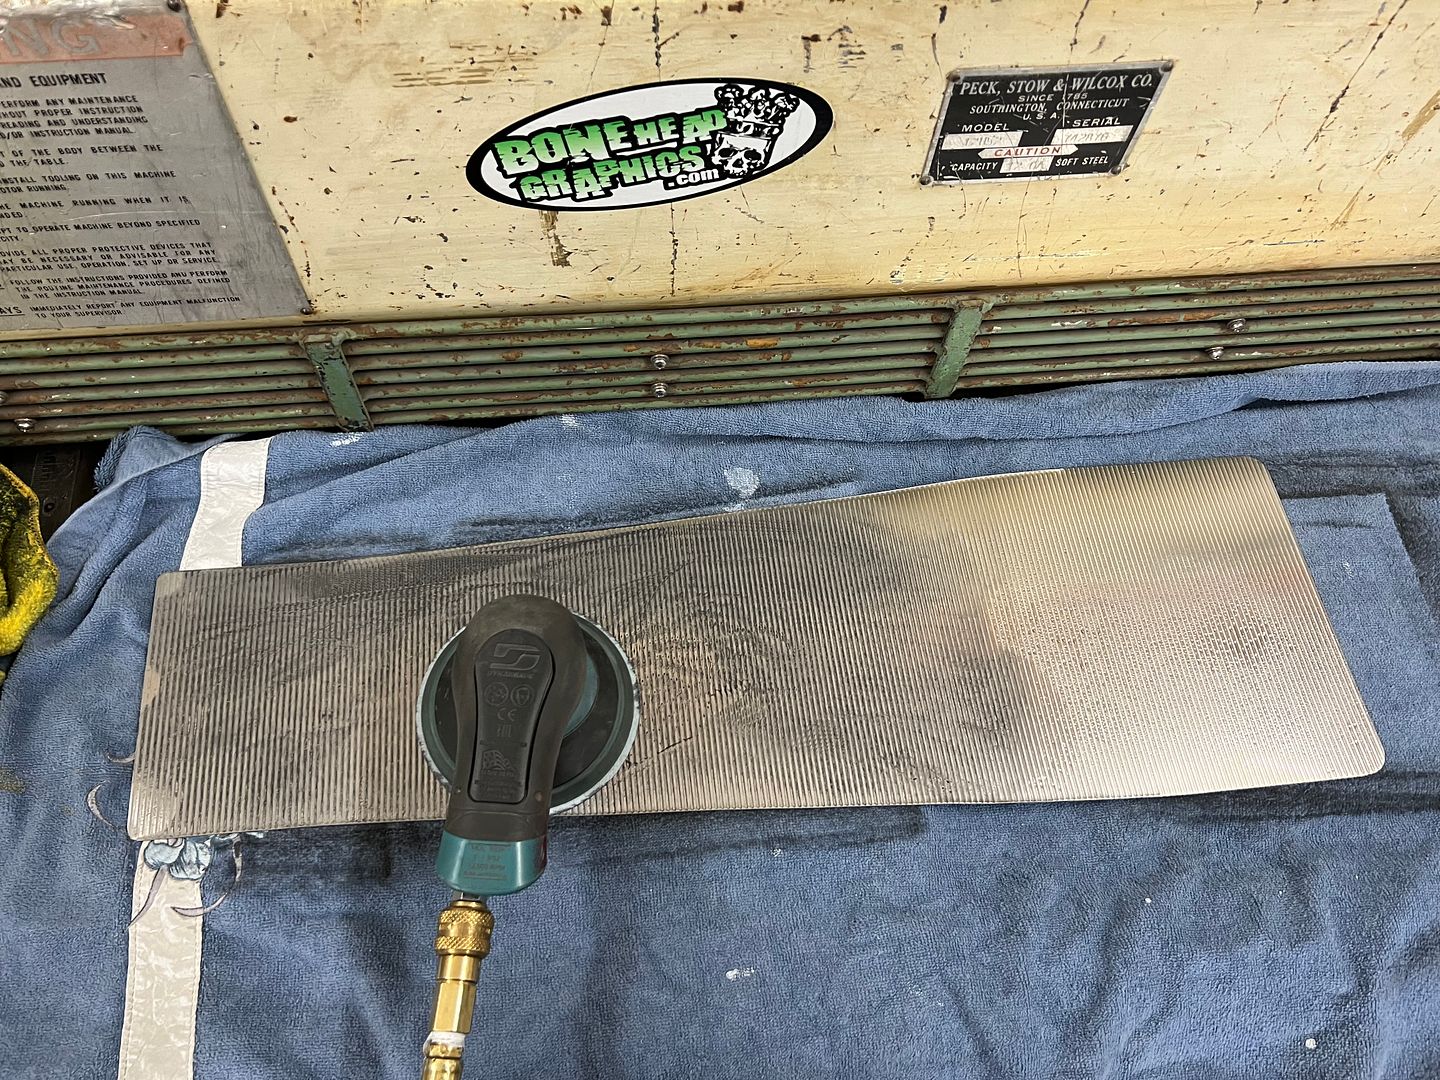
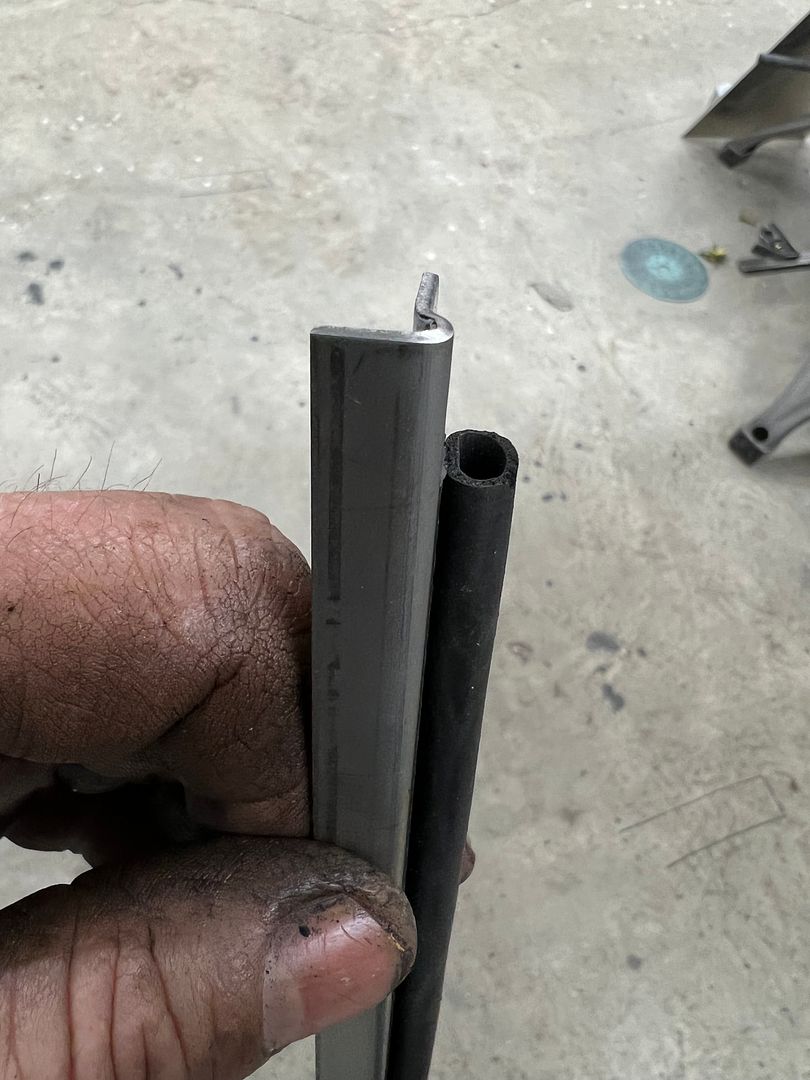
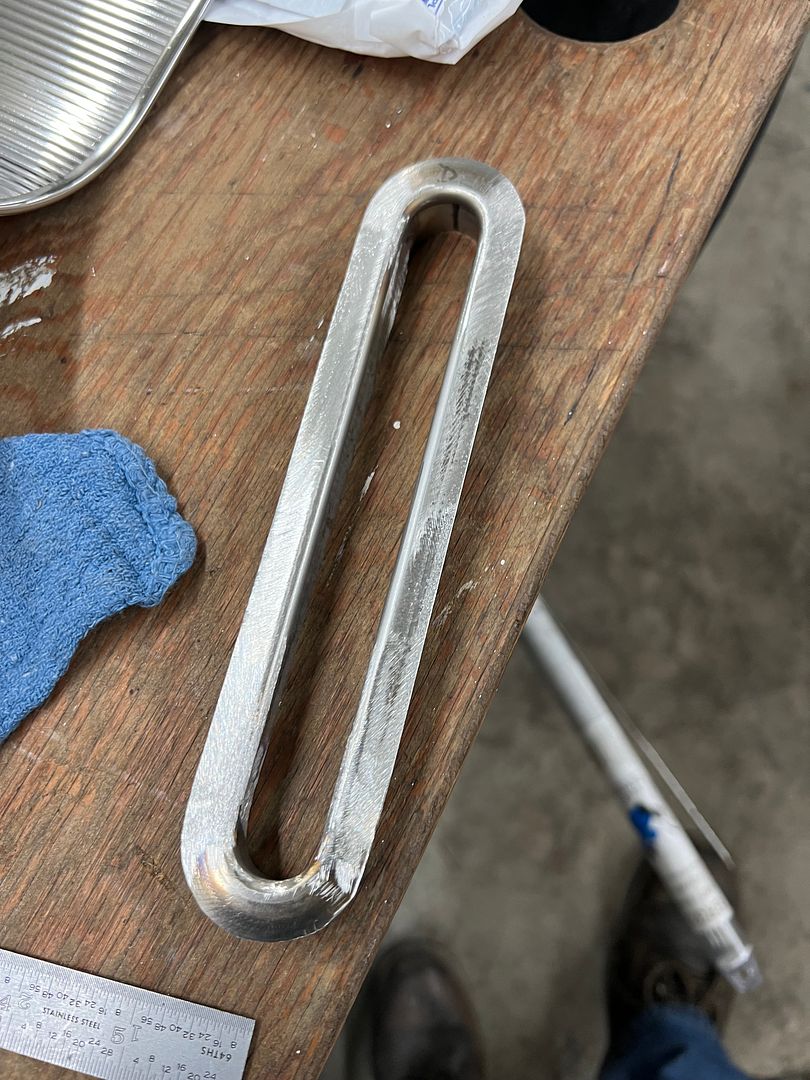
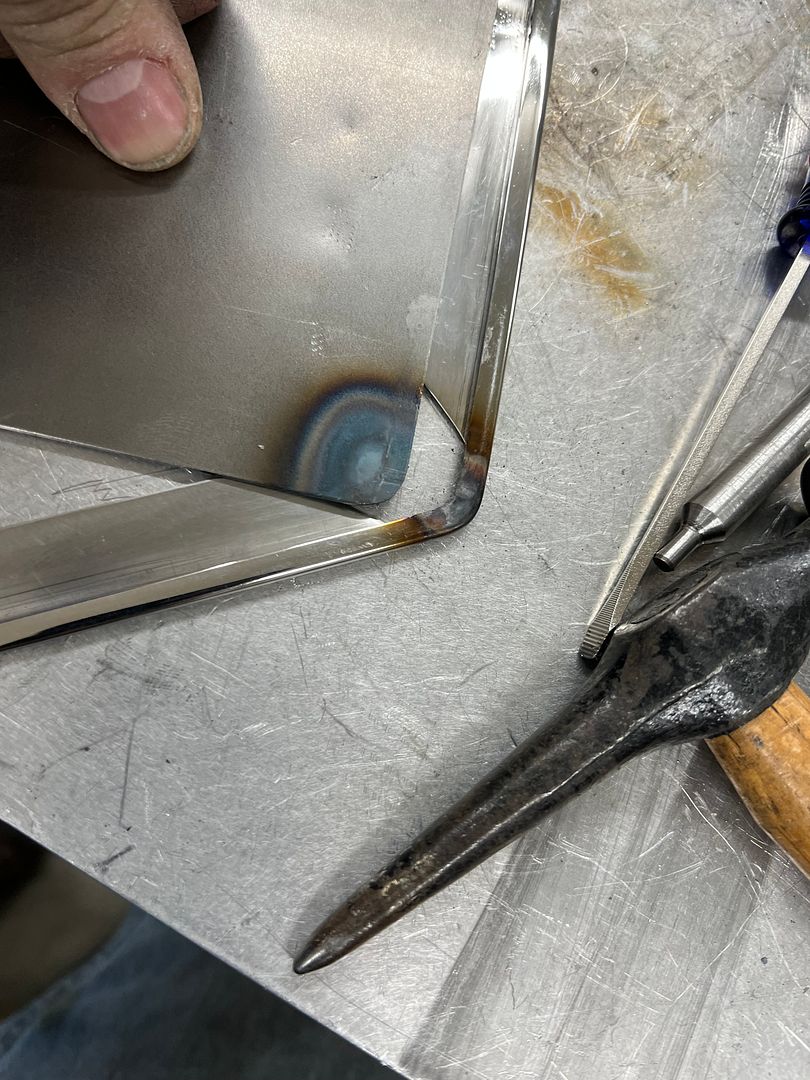
To close off the ends, we used the linear stretch dies in the Lennox...
https://youtube.com/shorts/cD1TrEwah...kBU5isw7LFb_dK
https://youtube.com/shorts/--rTDf9M2...5Dk3opzAYzdQtD
After welding the one end in place, the console was mocked up to get the overall length needed on the shifter seal.
https://youtube.com/shorts/N9mJWH6Rj...w6PBdNXo32kGPq
The top flanges will be trimmed to the same width as our polished stainless edge trim surround on the console insert. This one will be used for the passenger side arm, the drivers side will have a wider flange toward the driver to accommodate the shift selector position marking.
Cant wait to see this one finished looking good like the old truck did.
Wow! Nicely formed - that is looking great!
Regards, Doug
Thanks guys! The stretching on the ends took the 16 gauge (.059) down to .031 thick.
 Posting Permissions

 Reply With Quote
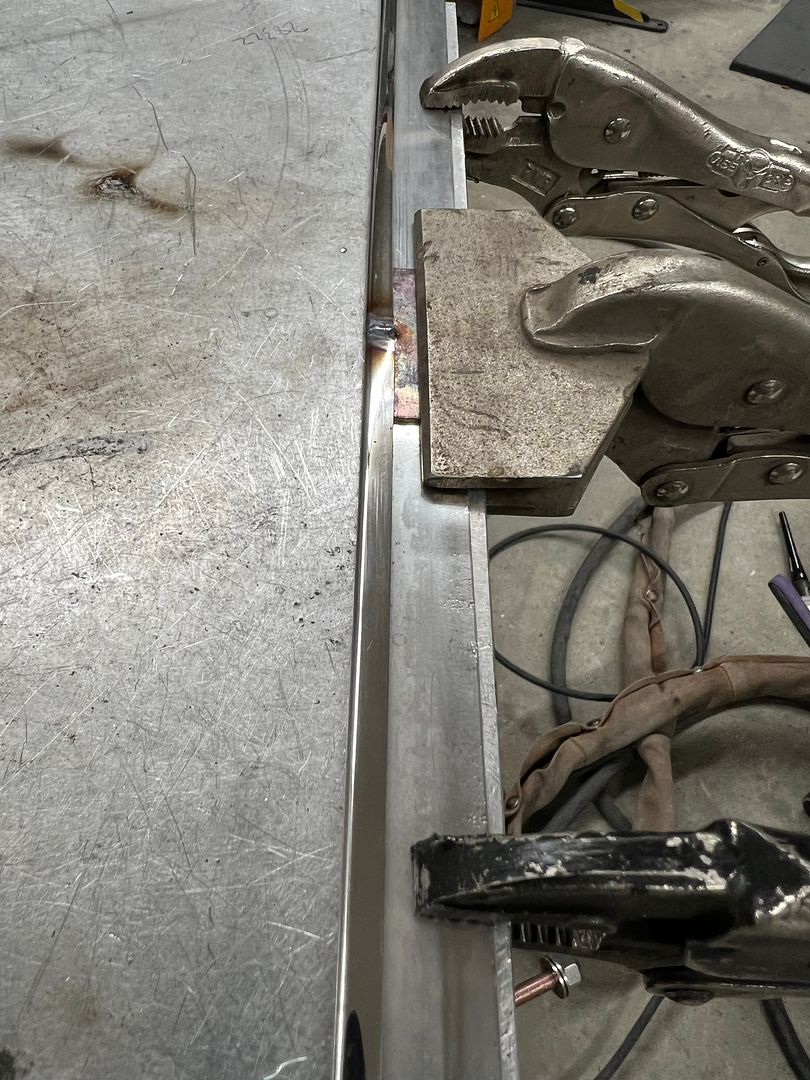

_IMG_8985.png)