My arsenal also includes Zip ties.Originally Posted by Belair-o


My arsenal also includes Zip ties.

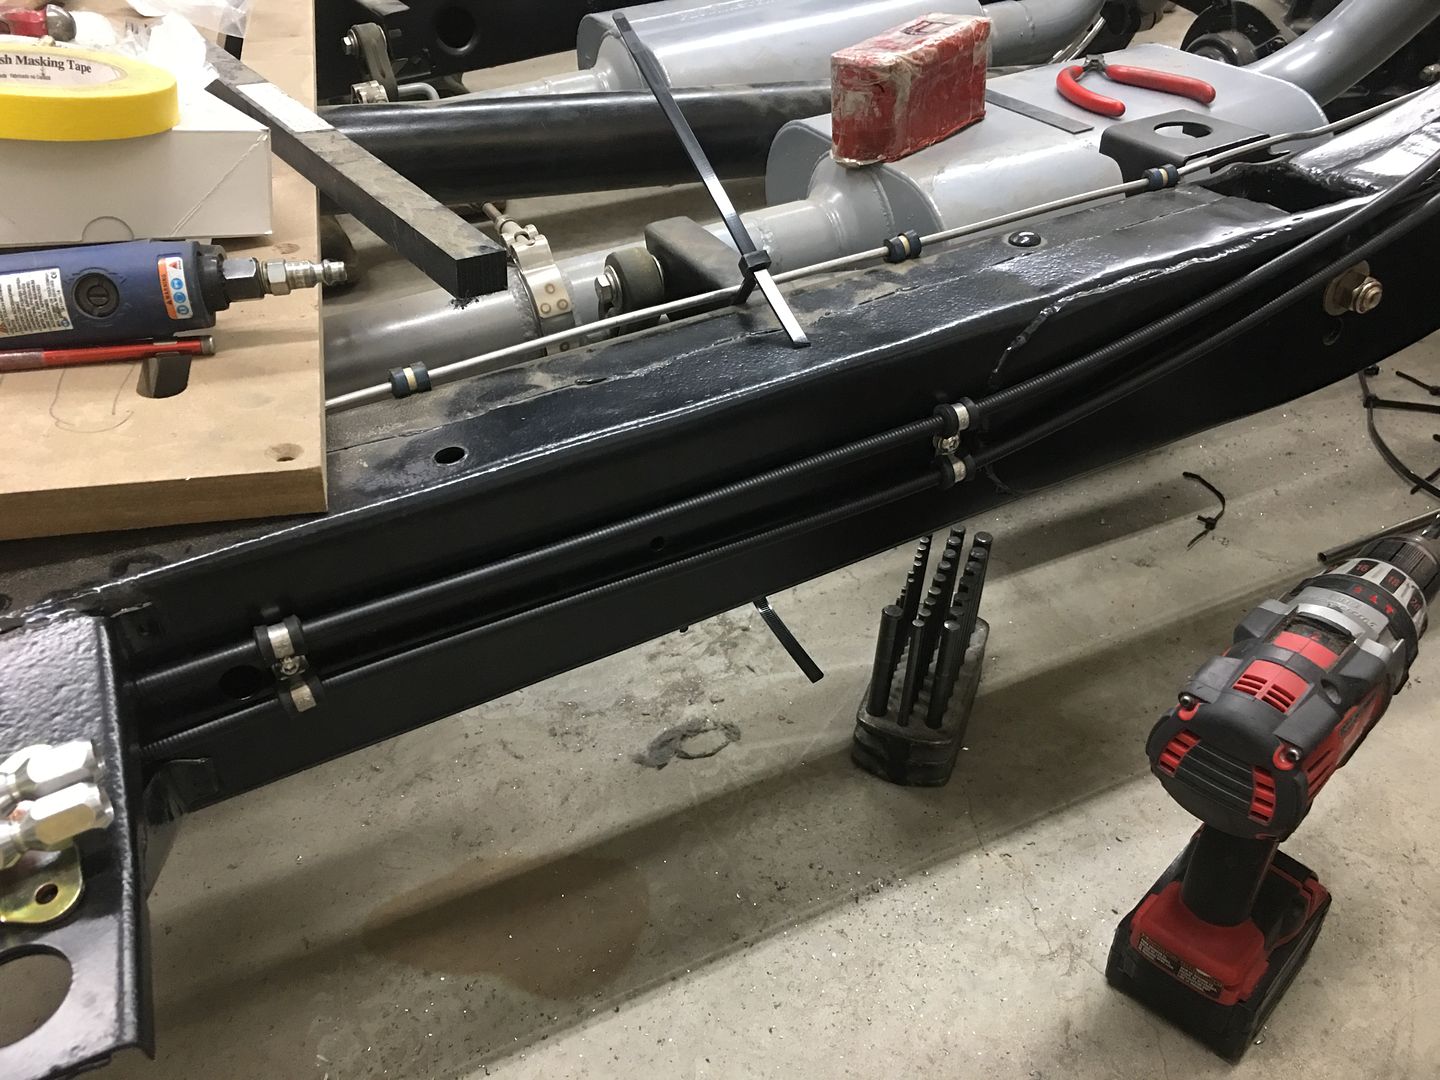
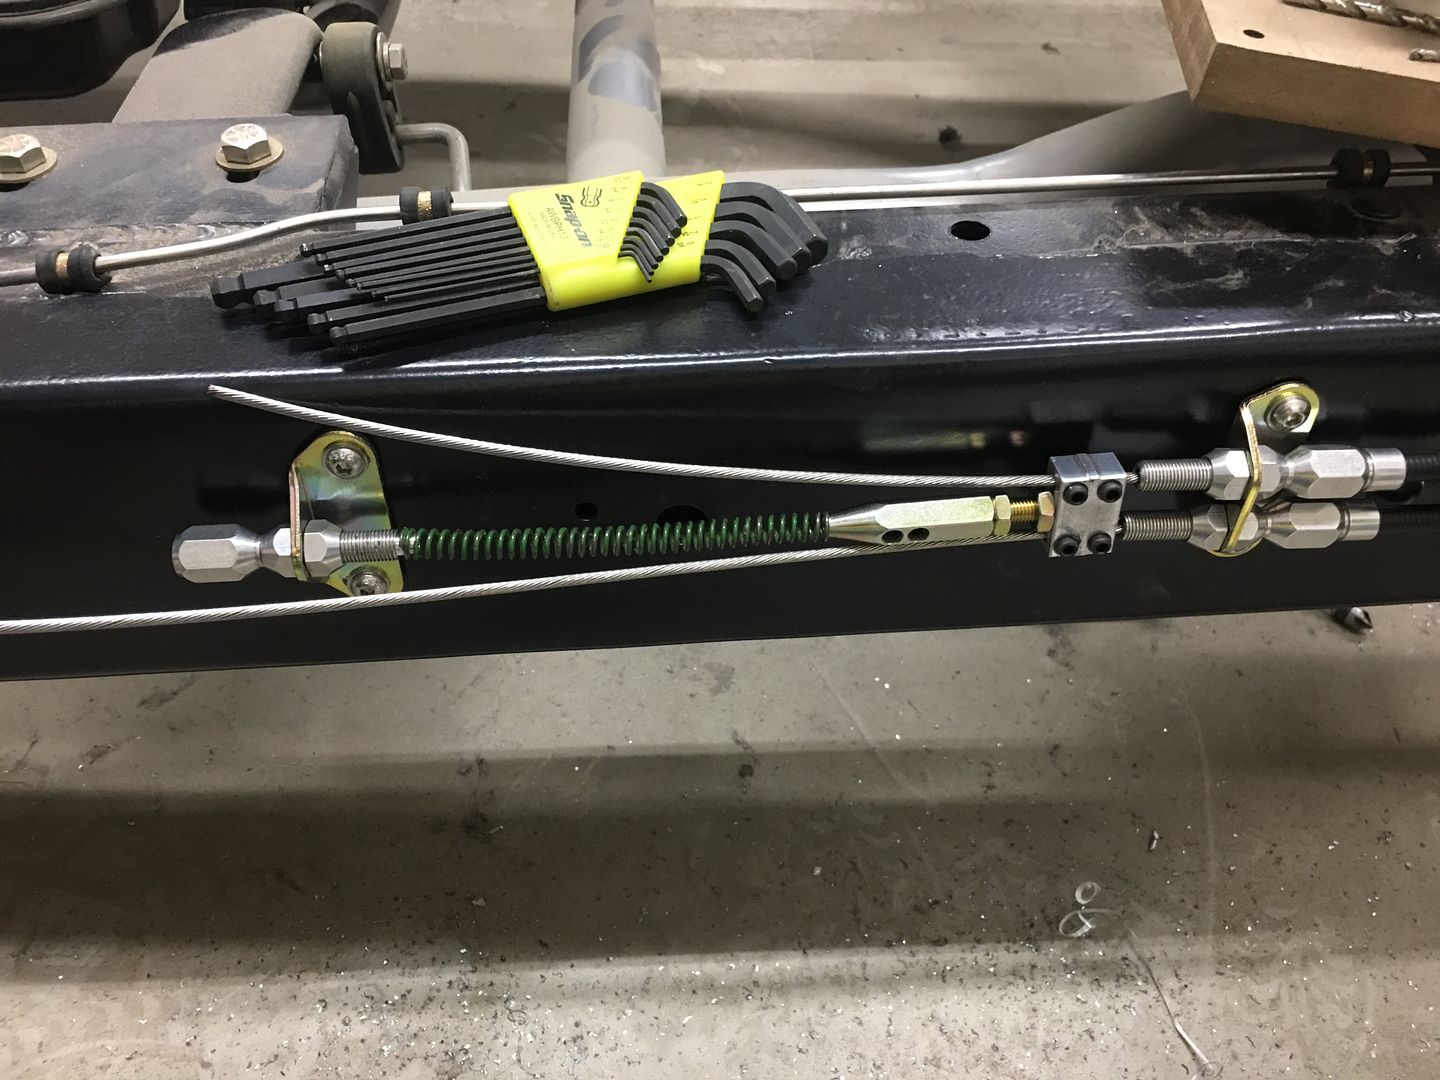
With our adel clamps arrived, Mike and I worked on the brake cables while Vince was prepping things for paint...
I think he's having too much fun...
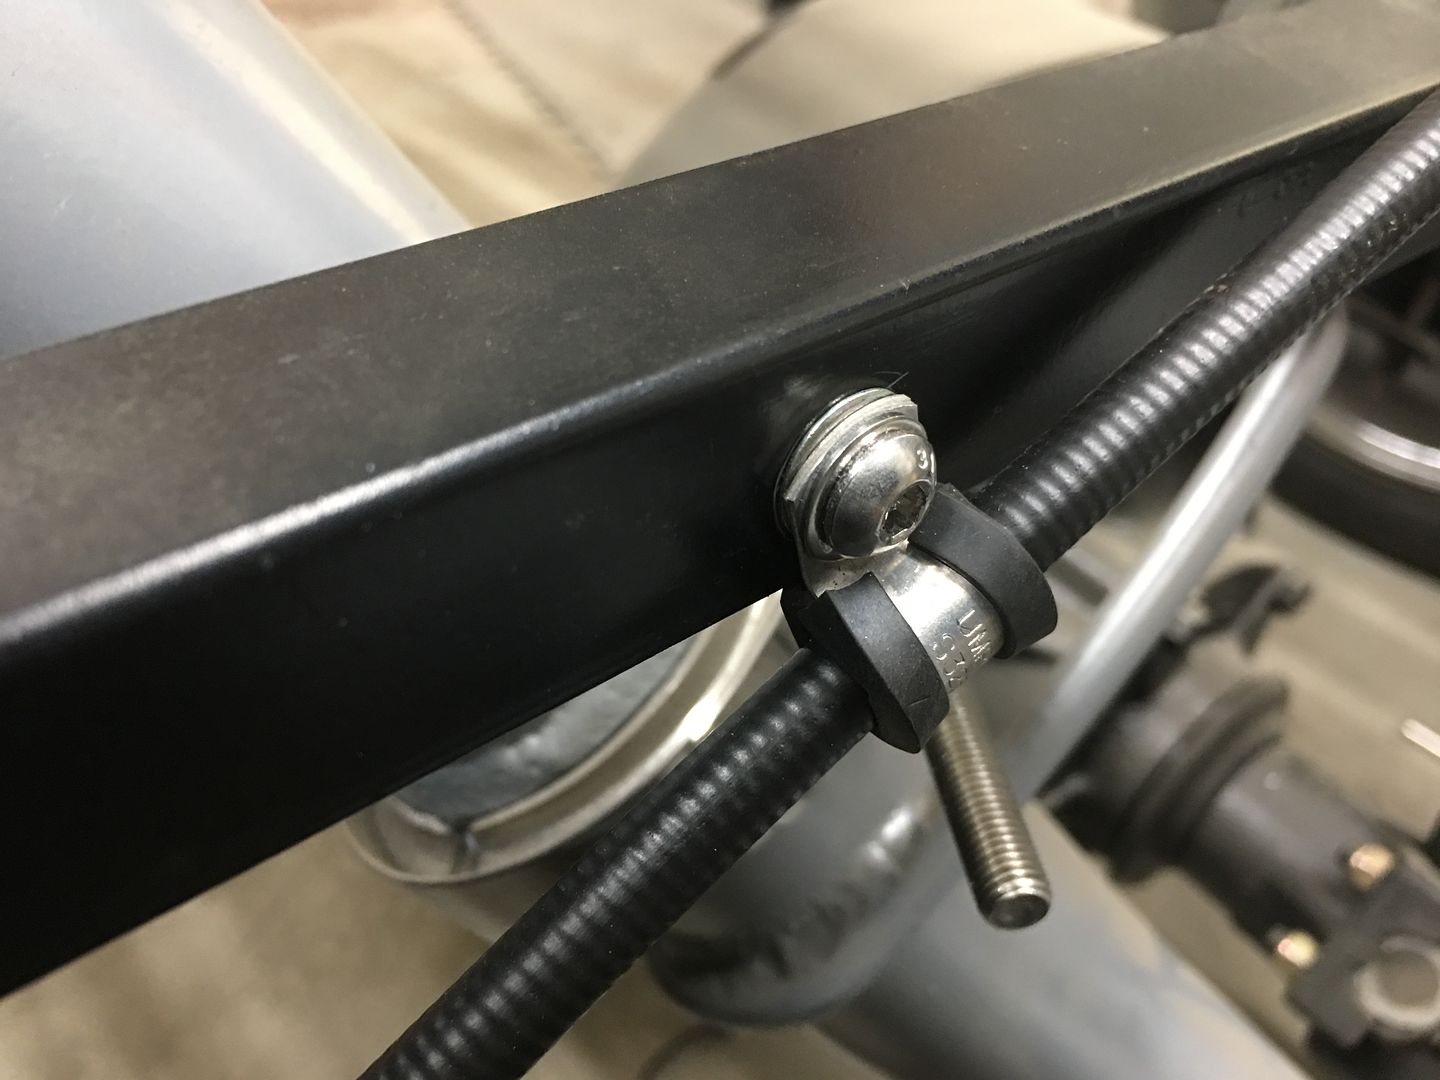
We had to wait for -5 clamps as these were snug enough to hold the cable from moving. This allows us to set the length to the backing plate such that it clears the frame during suspension travel..
The clamps were held in place using rivet nuts installed into the frame. Here is a video showing rivet nuts and the proper installation:
https://www.youtube.com/watch?v=3jrrf_VbTsc
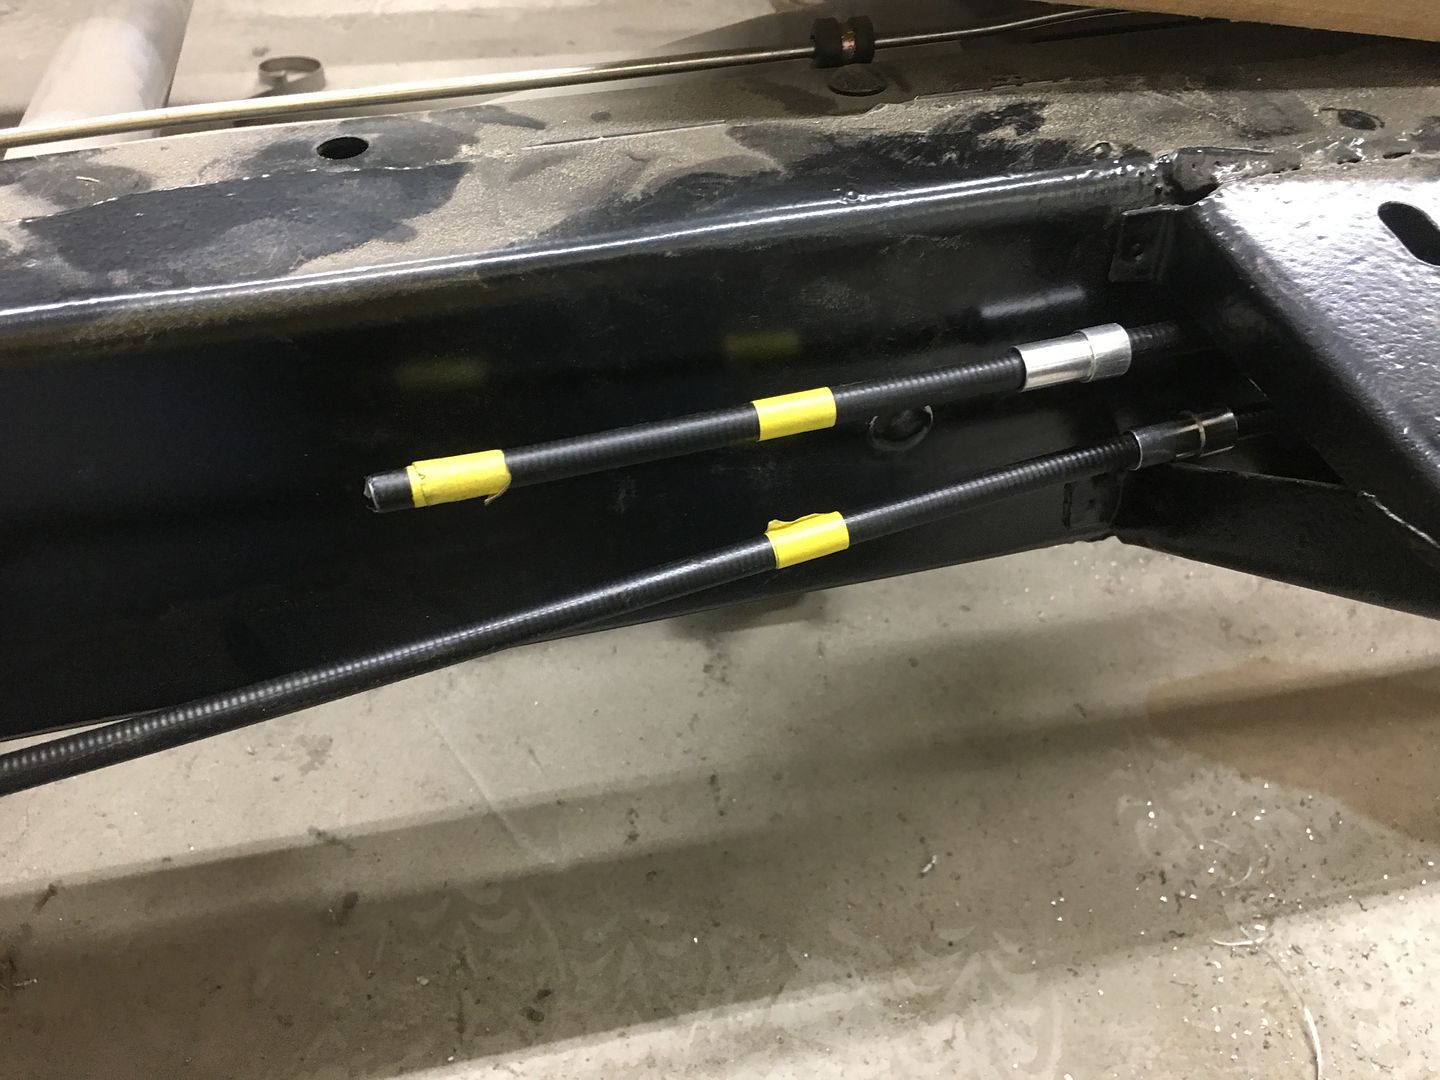
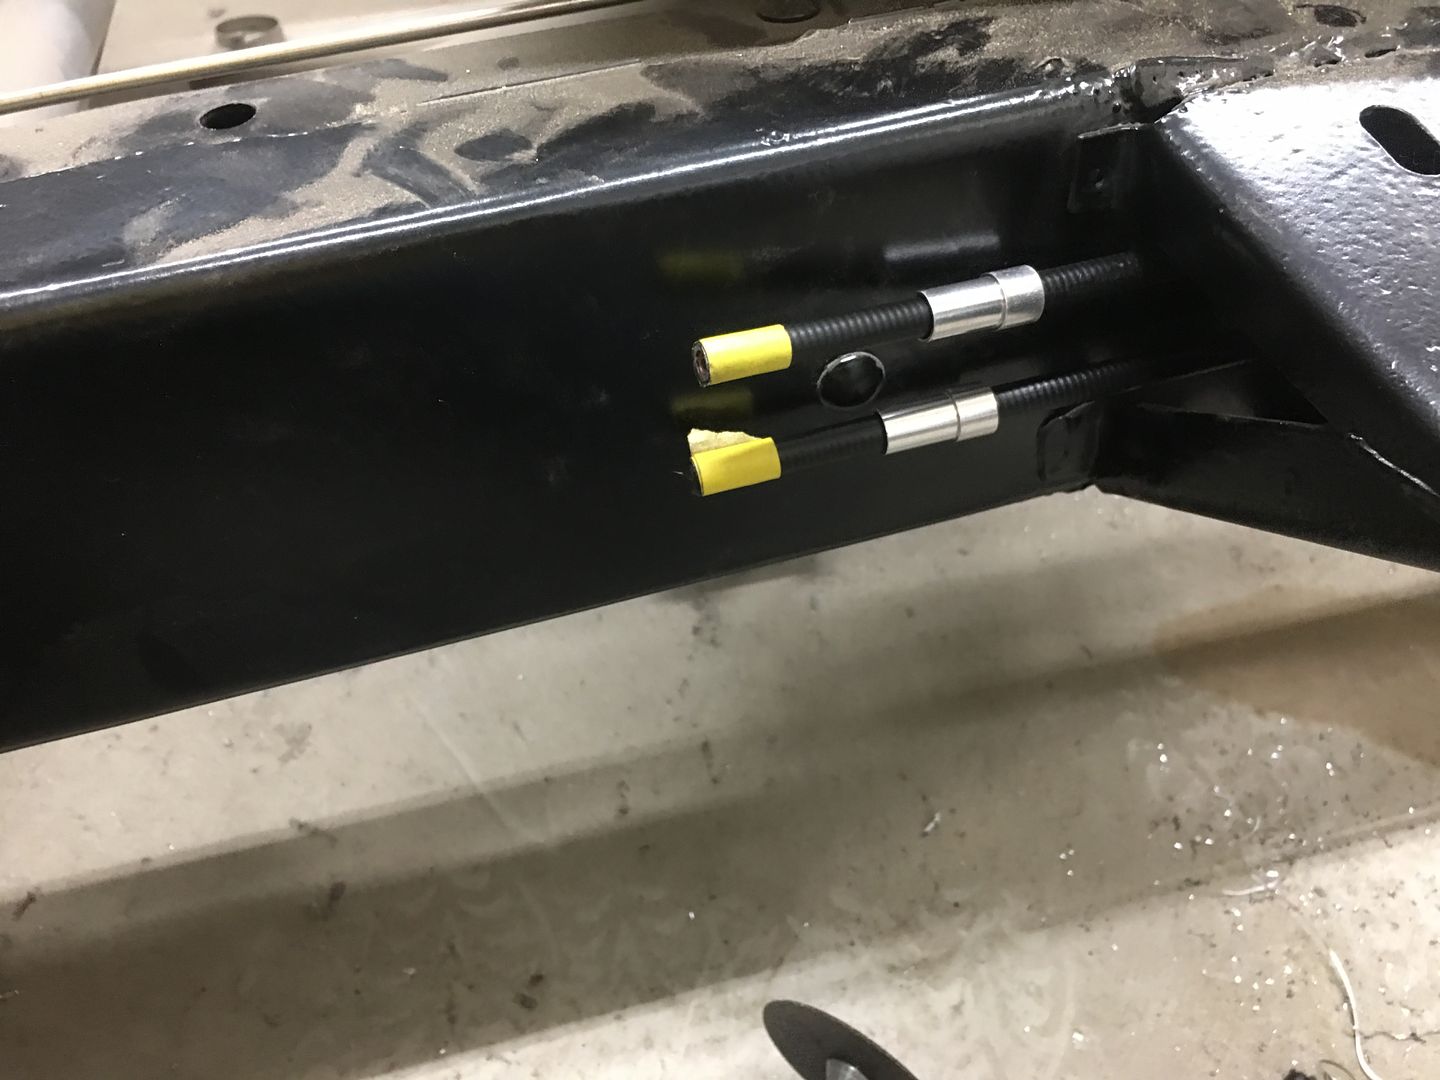
Outer sheaths are marked for trimming..
Be sure to pull cables out of the way prior to cutting...
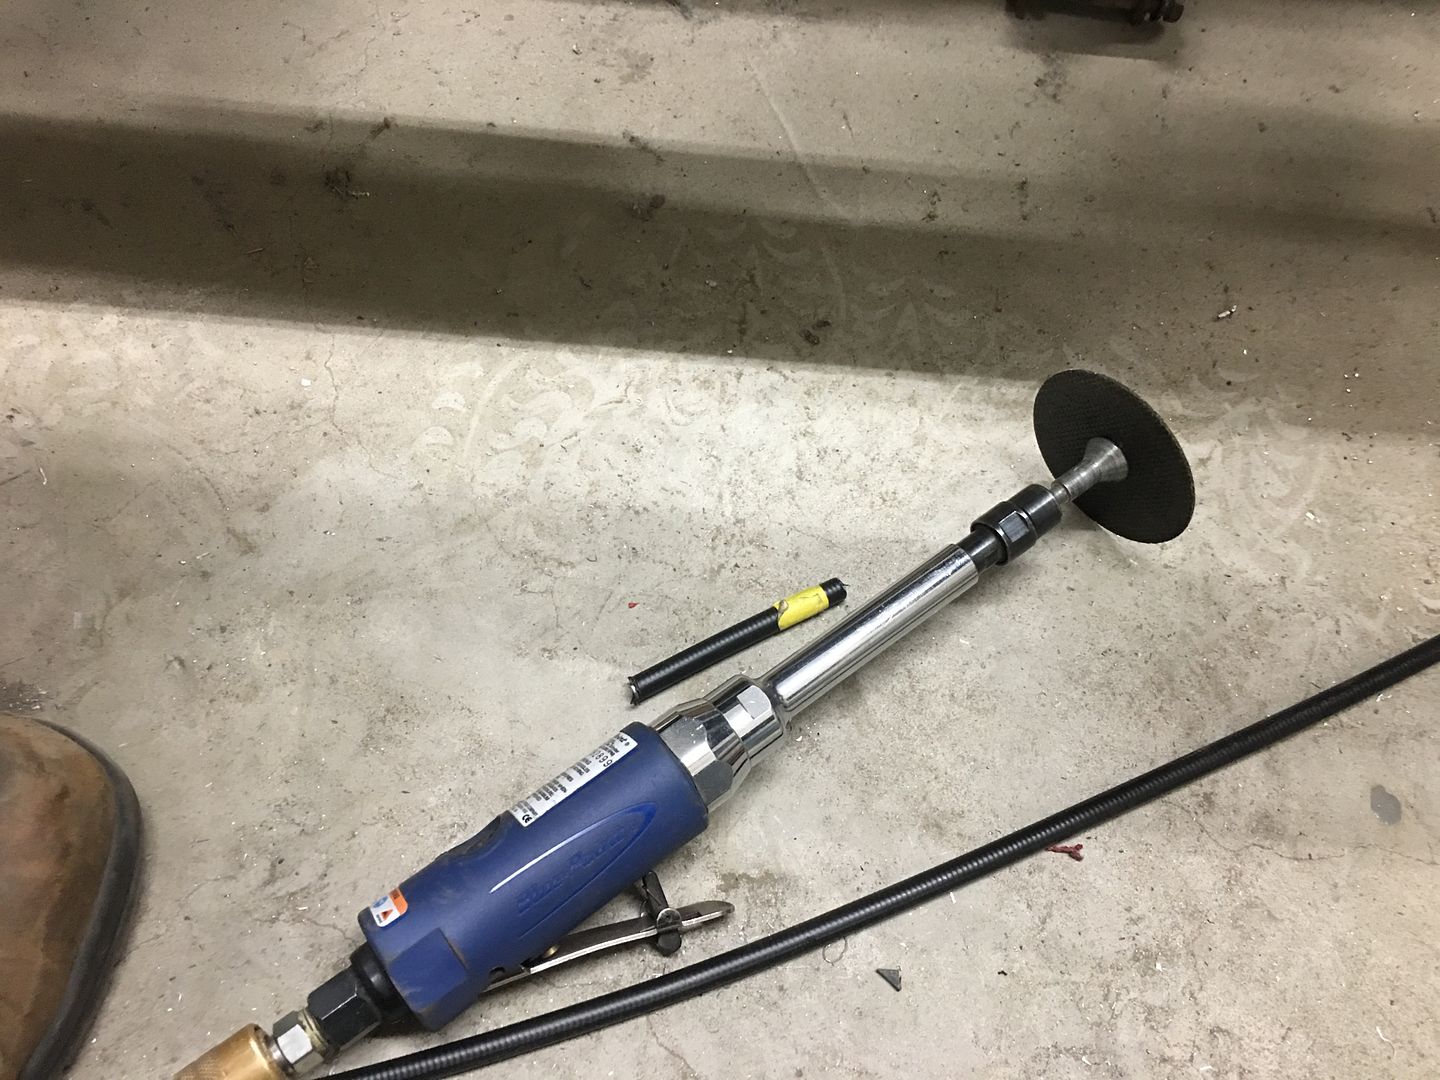
Our implement of destruction...
Using Gripple cutters to cut the cable... Also made by Knip-ex, both are designed for cutting steel wire rope..
https://www.youtube.com/watch?v=kWrpry0XgAU
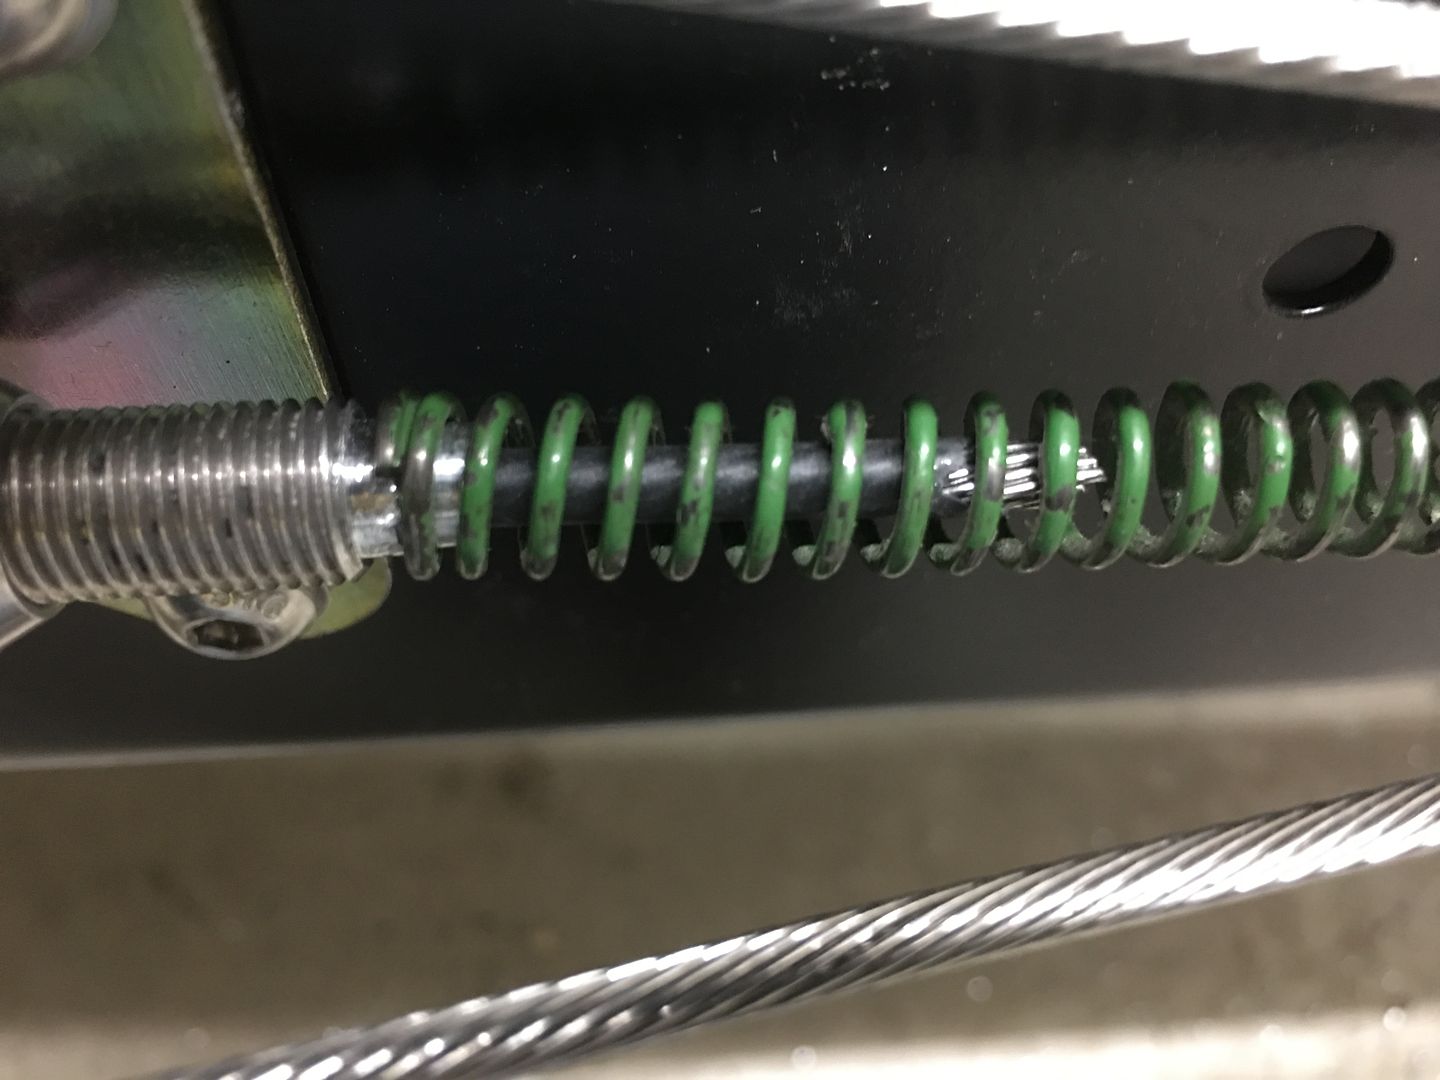
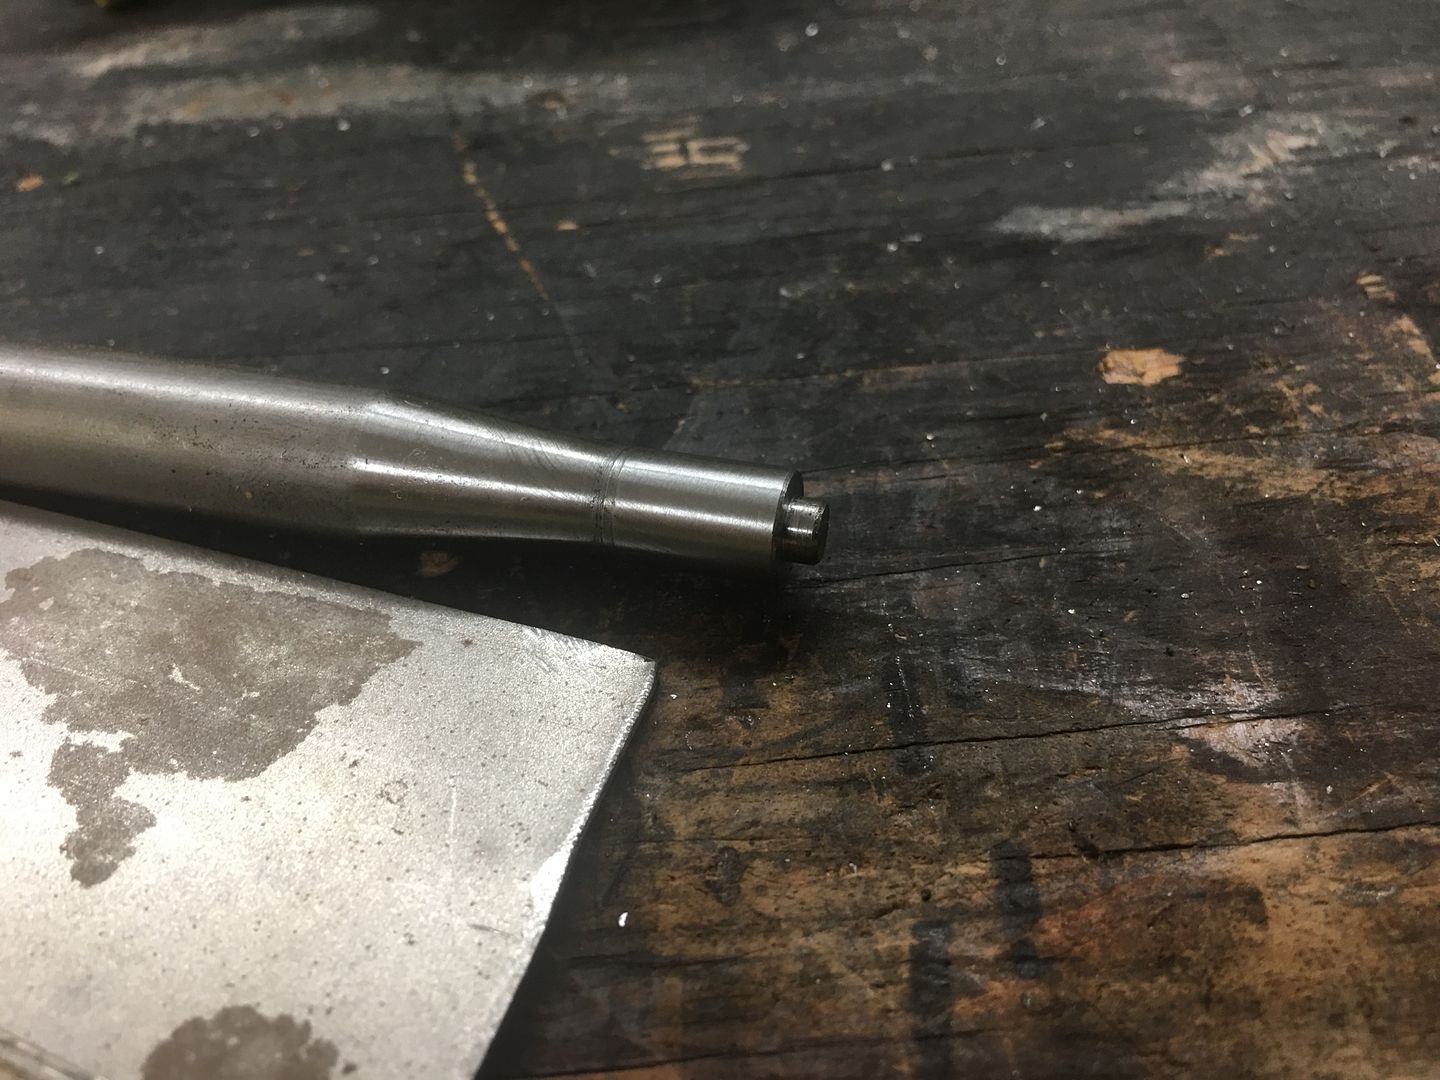
Our parking brake assembly used an integral "return spring" to pull the pedal back upwards when the brake is released, so that part is saved for this installation as well. To keep the end of the spring from rubbing against the cable in one spot, we machine a landing in the adjuster. We will also use some Teflon heat shrink over the cable to help prevent wear.
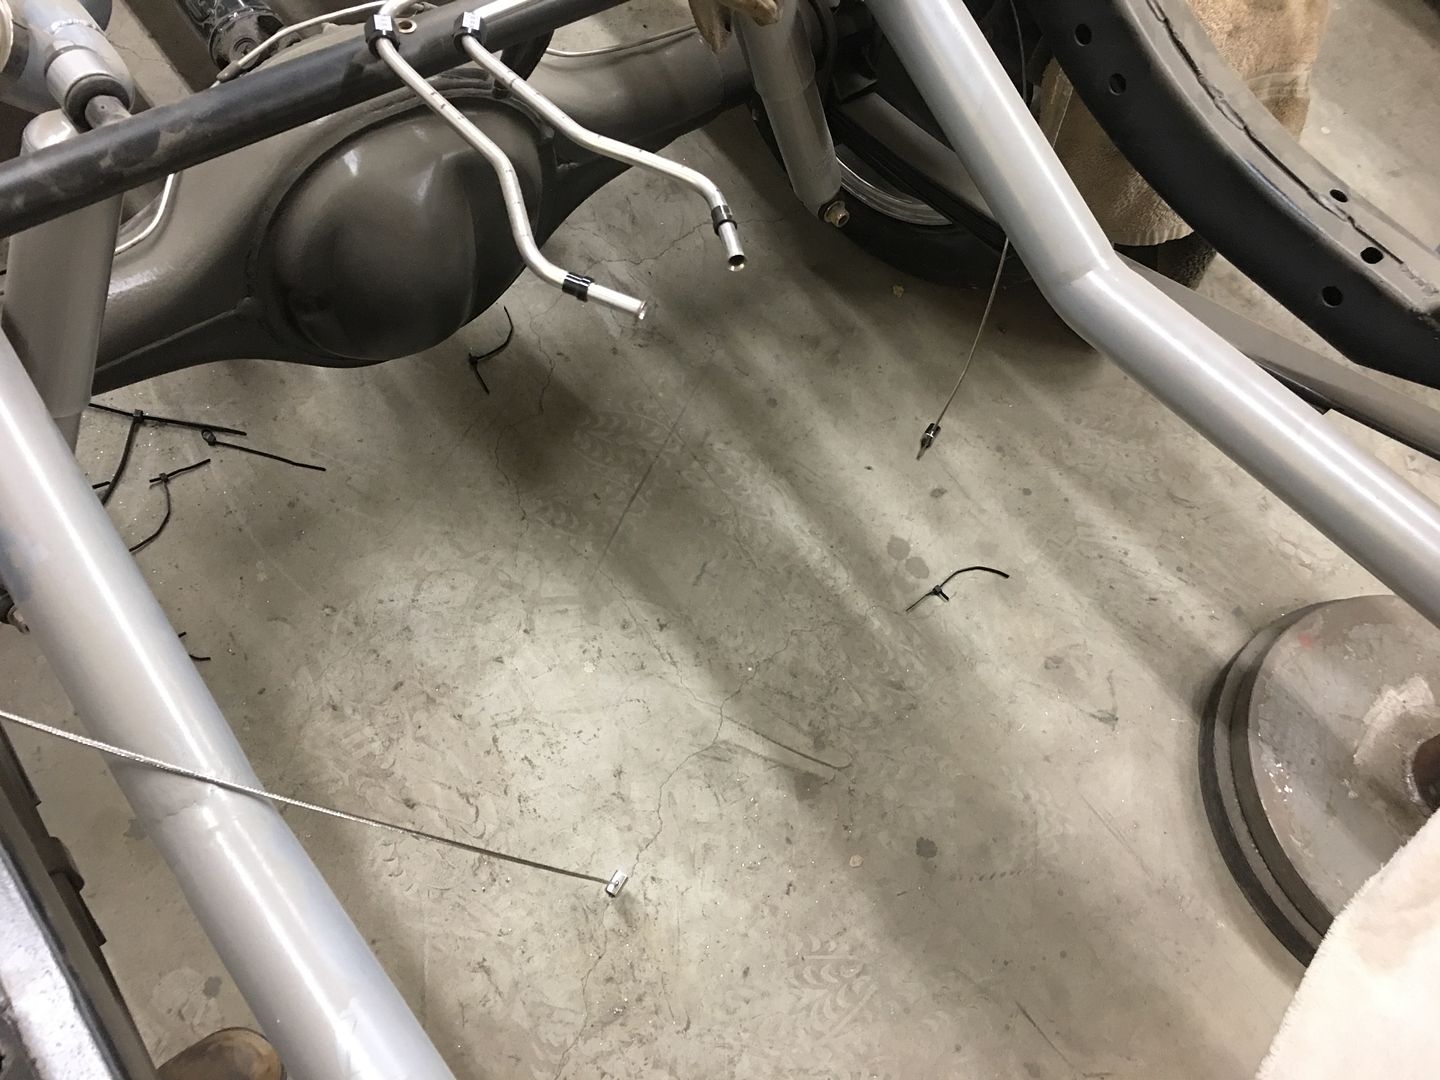
Final trim on the rear cables will come when we drop the body back on the frame for proper fitment to the brake pedal assembly.
.

Sure looks like an old milk container like my grandparents use to fill up (from milking the cow) and set out for the milk truck to pick up..
I also remember those from my grandparents farm, one of my uncles grove the milk truck.
Time to play catch up here..
Vince got two of the milk cans media blasted and worked on the third while I sprayed some SPI epoxy primer on the first two.
Also got some epoxy on the hood brace...
Ends are quite a bit better than before..
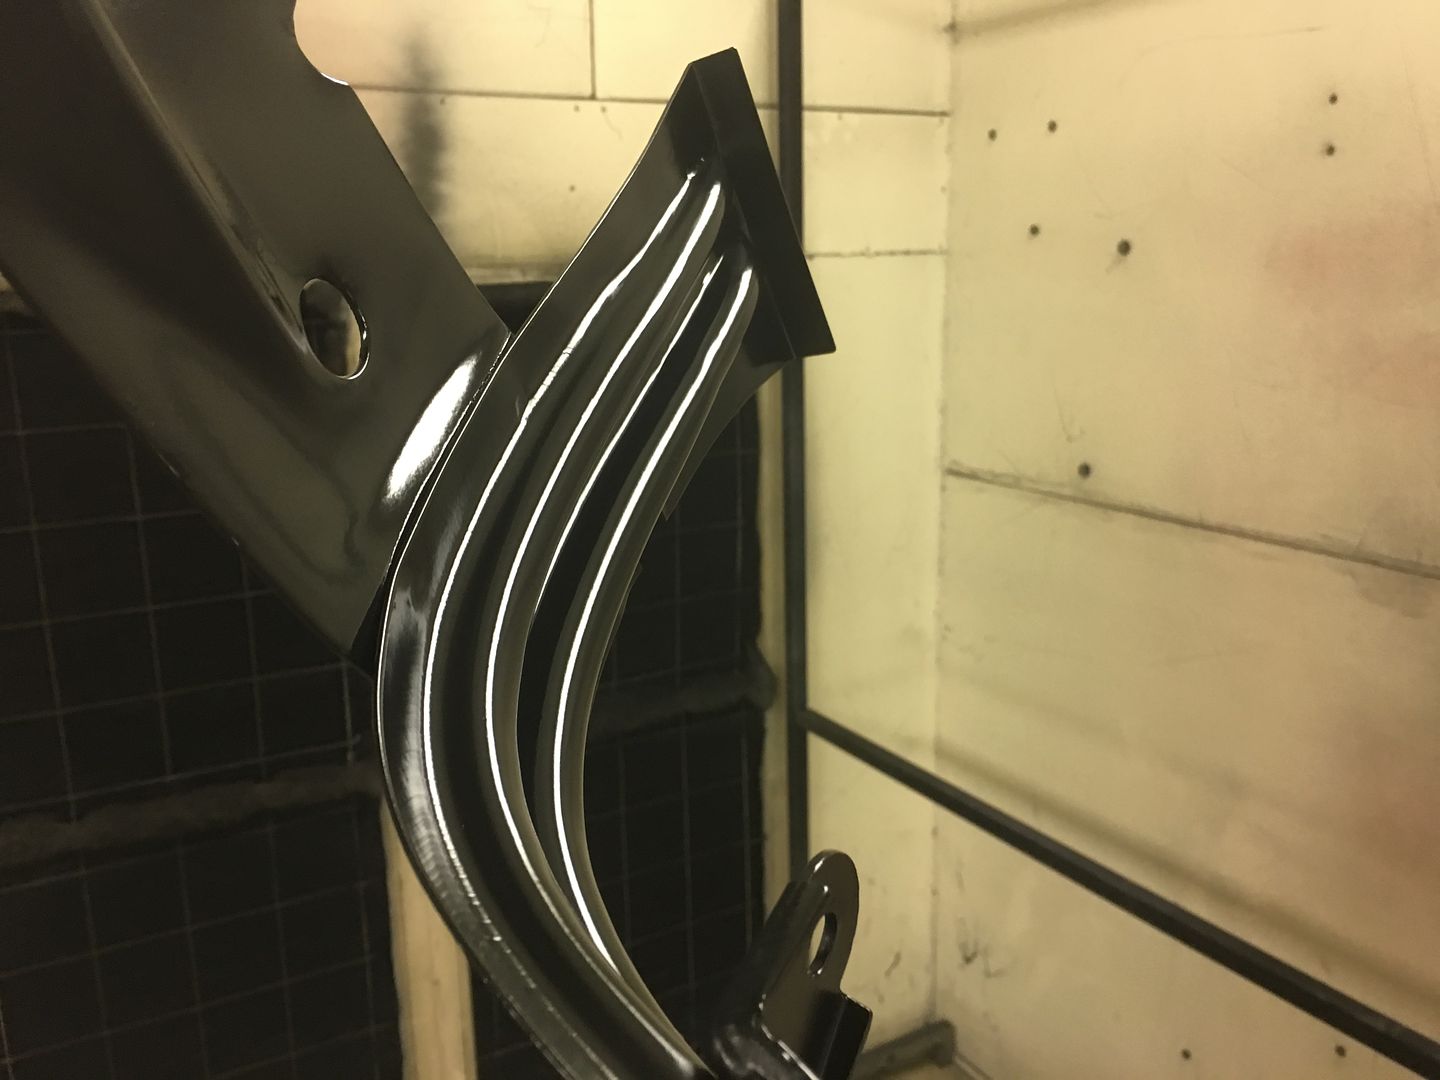
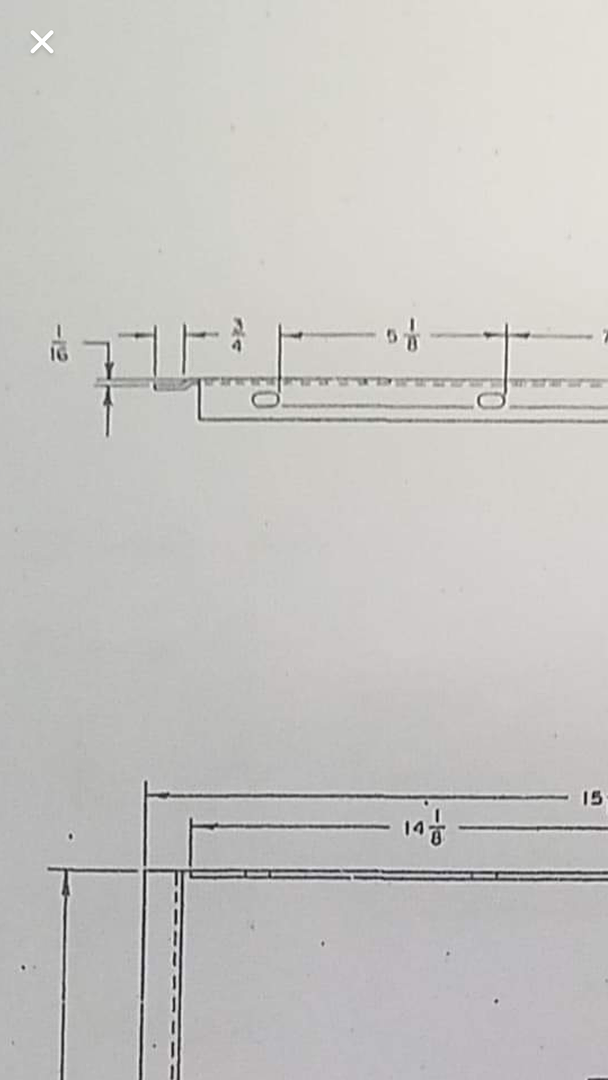
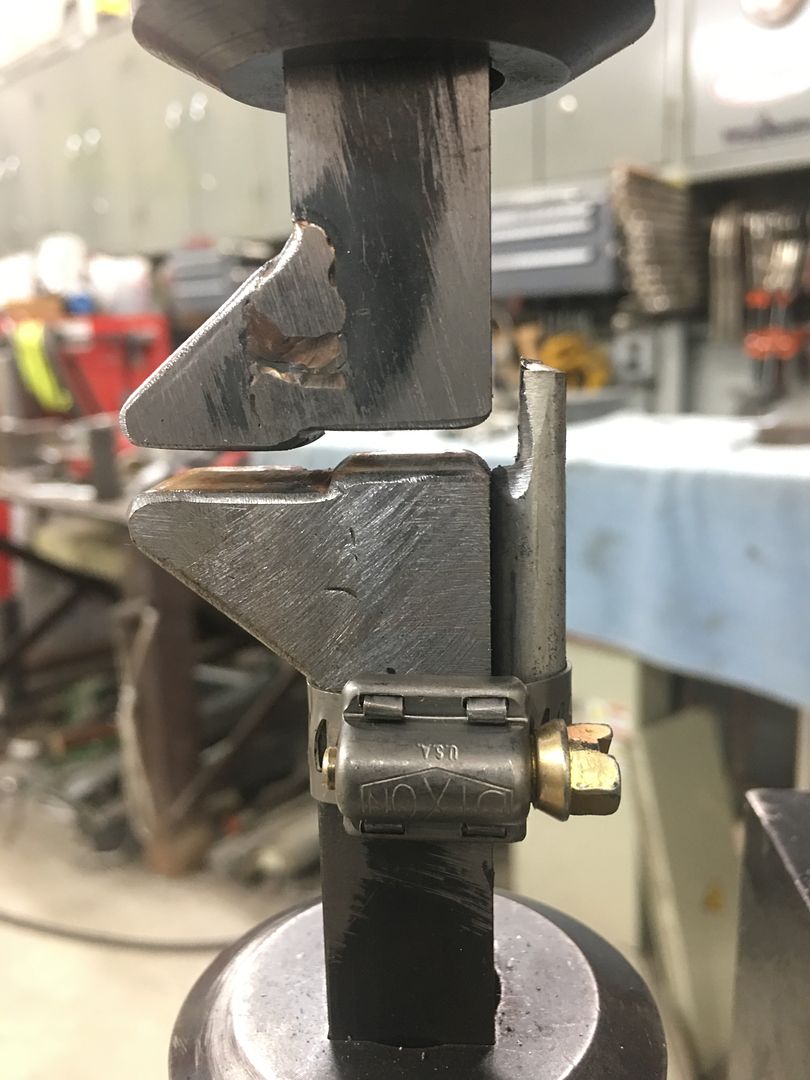
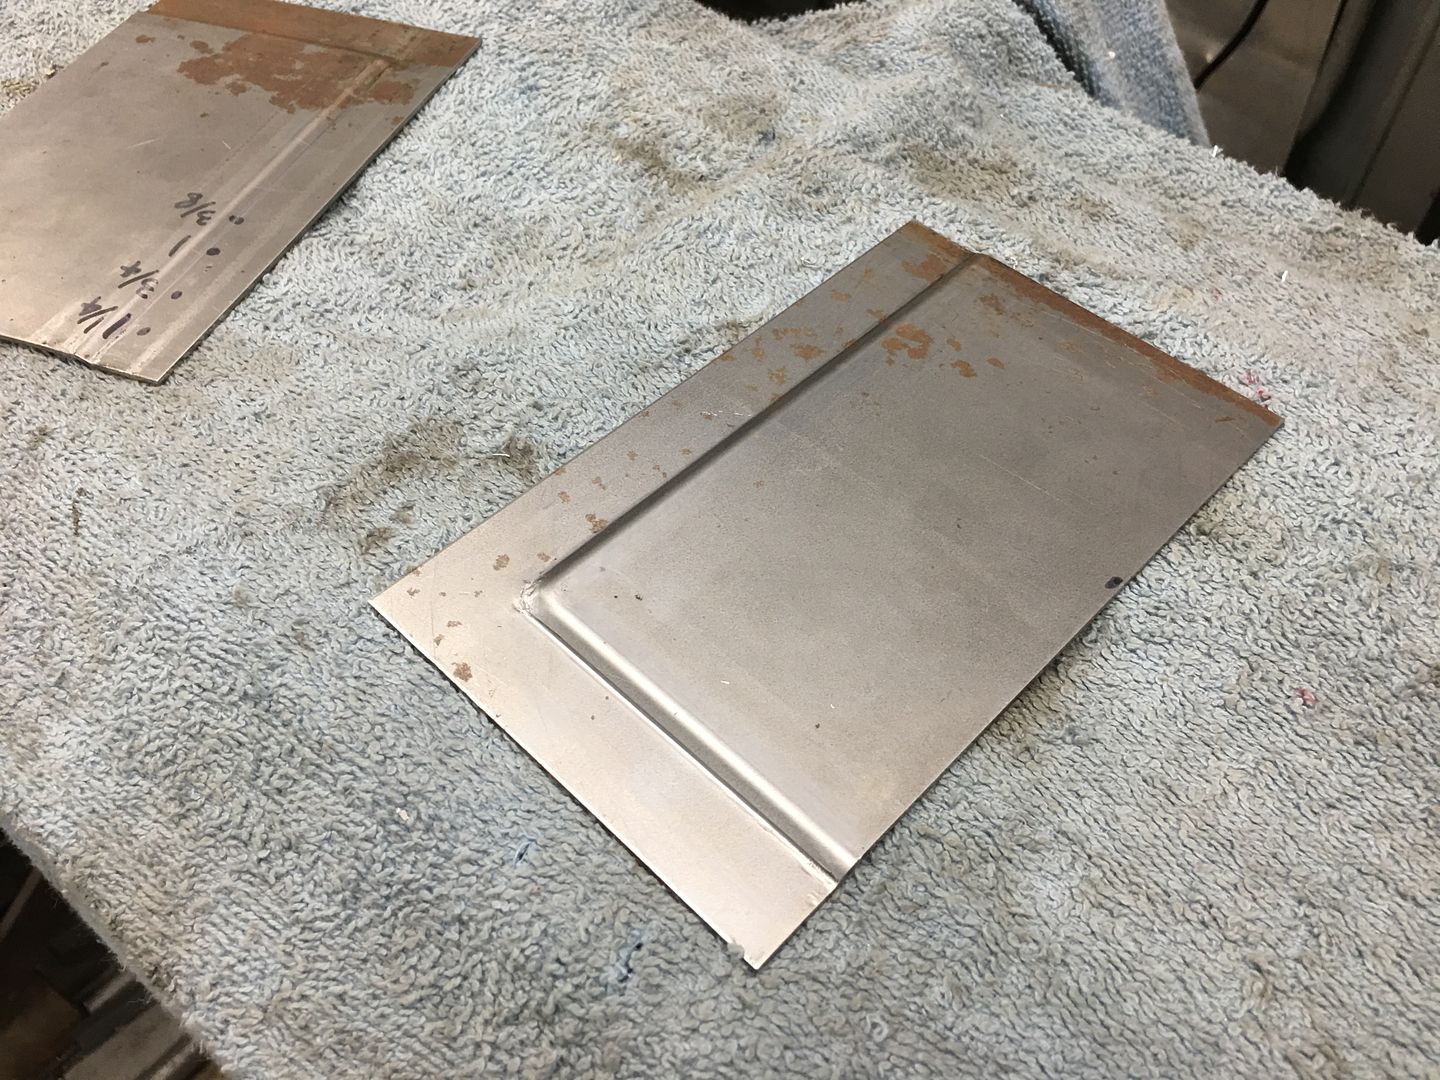
I received a state of the art drawing the other day, and was asked if we could duplicate the 1/16 offset shown...
Of course this meant we needed some new tooling..
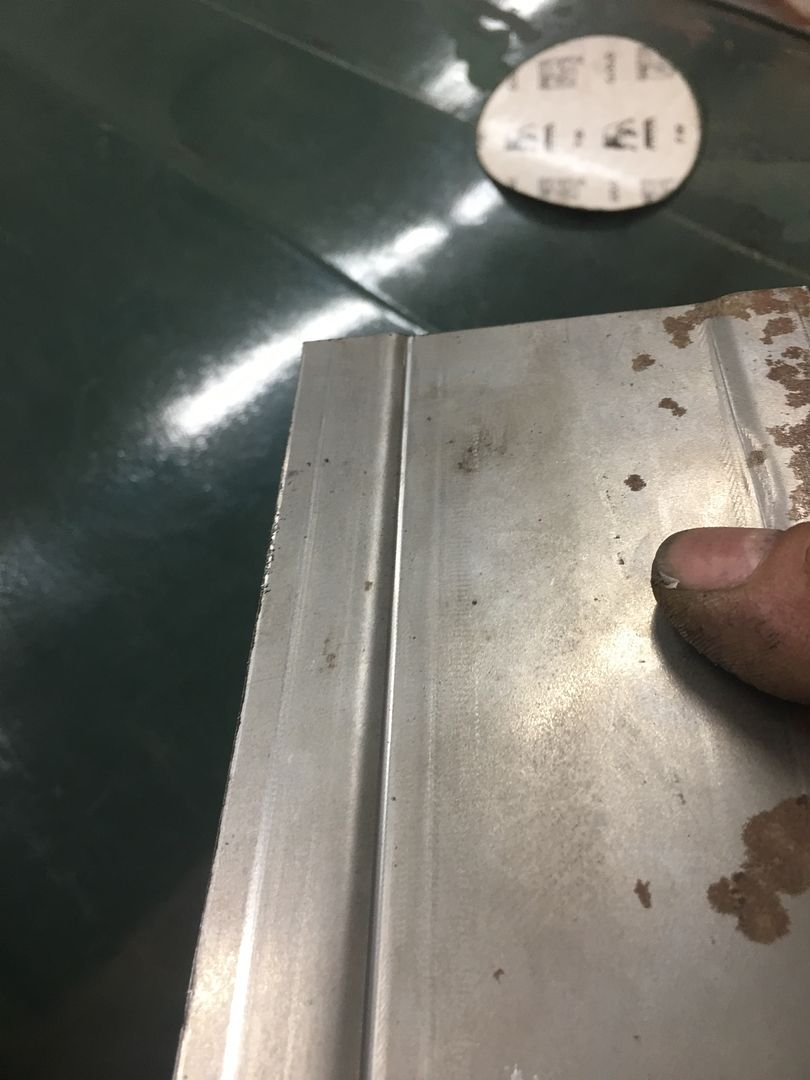
Our first sample, with the proper 3/4 flange...
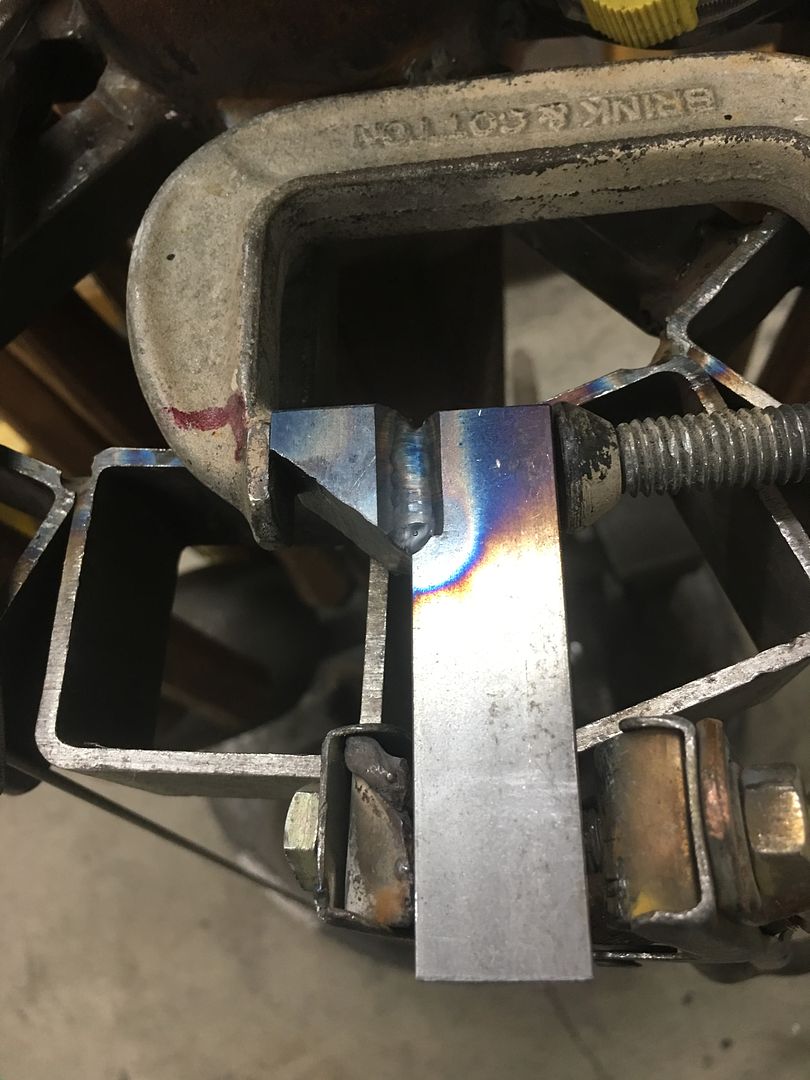
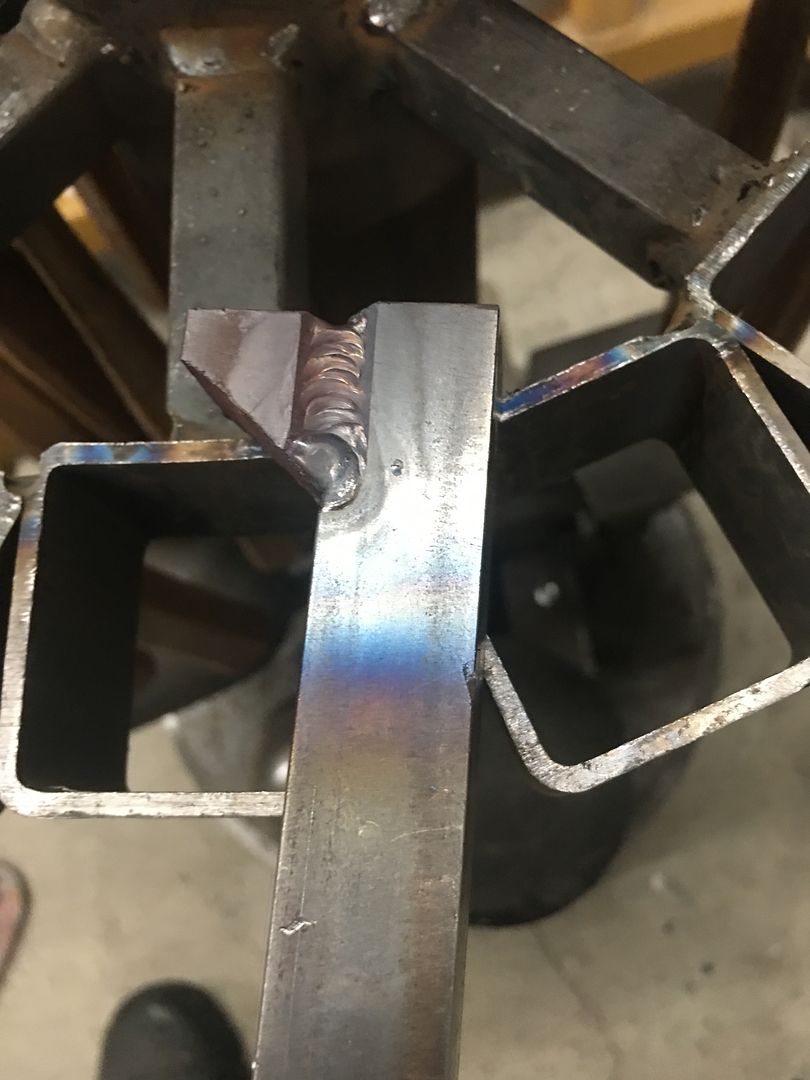
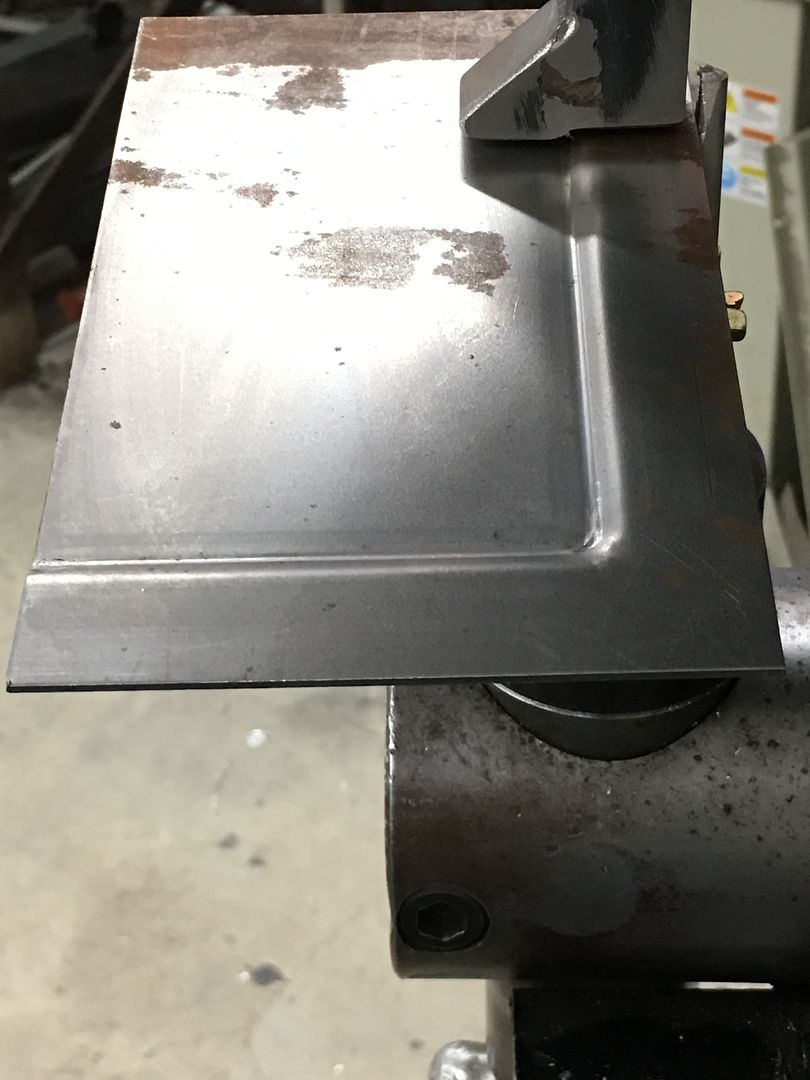
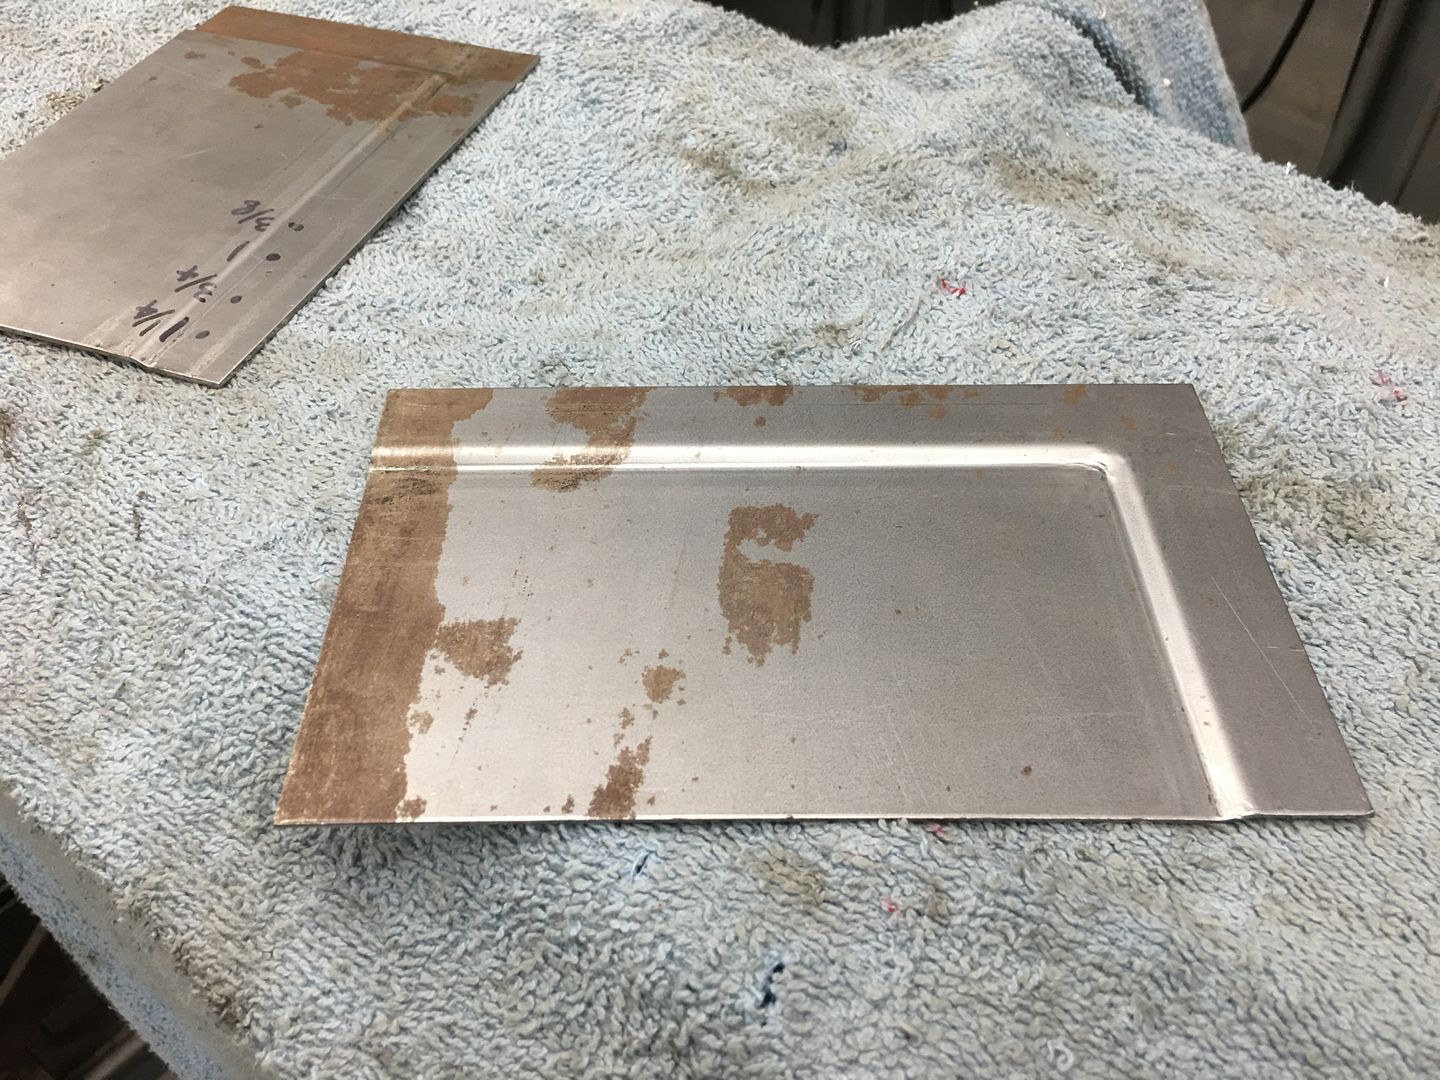
We had another panel that would require the offset on two adjacent edges, so one more sample...
video action:
https://www.youtube.com/watch?v=oxhk_O1FJTM
That'll do pig, that'll do.
Some of the upholstery parts have been trickling in... so let's add some bling factor....
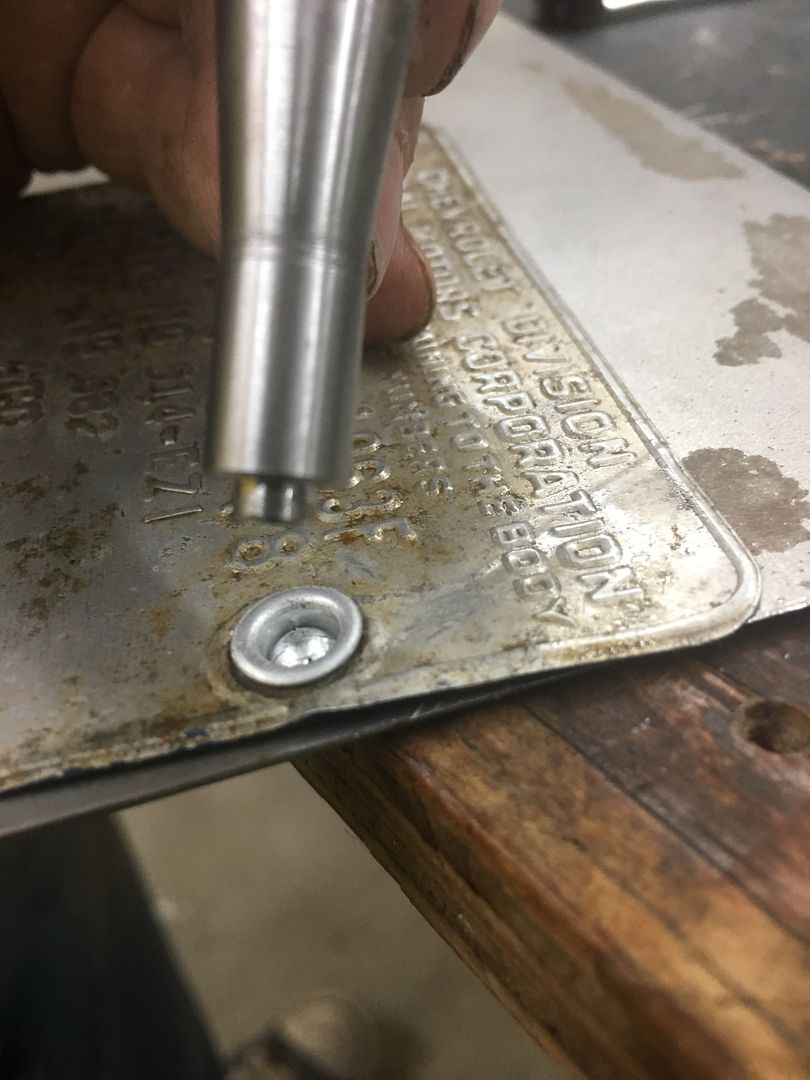
….and we made a hand punch for setting the trim tag rivets on the cowl...
video version:
https://www.youtube.com/watch?v=gUl3K5uN5h0
And finally, we also had some 3/8 stainless fuel line to straighten out of it's coil for a big block mopar… Video parts 1, 2, and 3:
https://www.youtube.com/watch?v=H7eDRdQ-hco
https://www.youtube.com/watch?v=np4Lae3FTC8
https://www.youtube.com/watch?v=8NsOkSsVxZ8
.


movin' right along! Nice videos of the fuel line straightening process.
1957 Nomad- LS1/T56 on C4 chassis
1959 Fleetside Apache 1/2 ton, shortbed, big window, 327ci.

Robert,
The two adjacent edge forming on the panel seems like a pretty complex form, came out well even in the corner between the edges! The rivet setting punch was a great idea - you always have/build the right tool - great how you don't stop with the tool that is at hand, but build the one that does the job well!
Thanks! Doug

I love your work Robert!! With regard to the rivet punch, what are you going to use as a backer on the inside of the cowl? Also what or where are the rivets from? Thanks!!
Thanks for the comments guys! Troy, the initial "set" will likely be with a piece of steel on the underside using a clearance hole to help support the cowl, and then using a "flat" to tighten things up.. Most Tri-five parts places will have them..
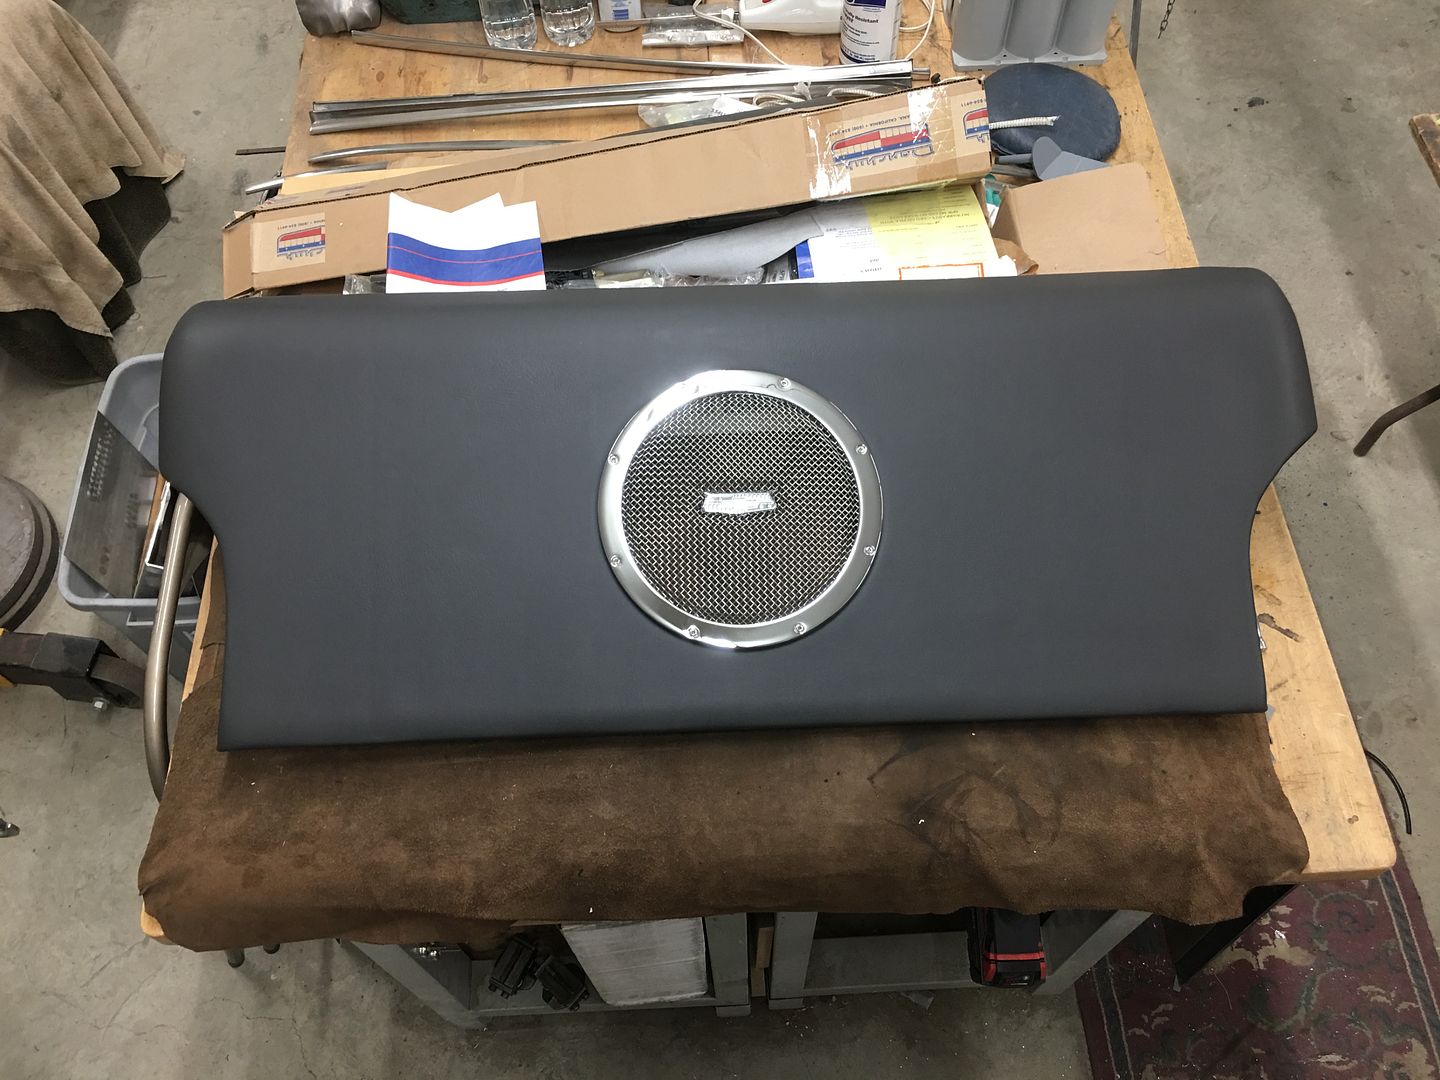
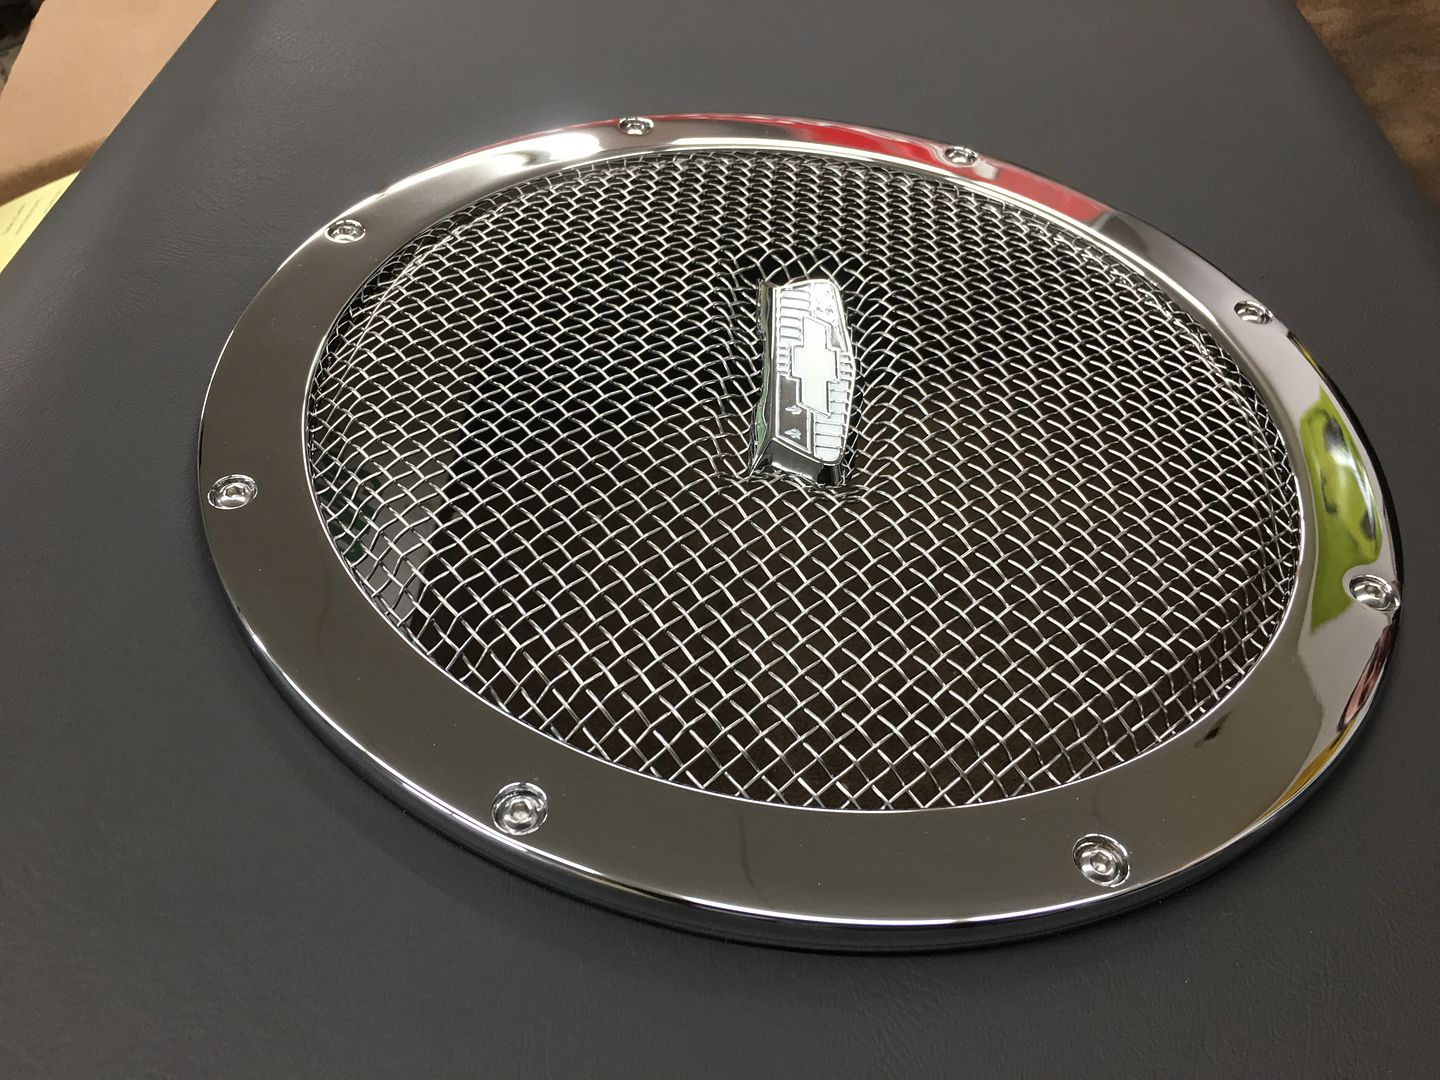
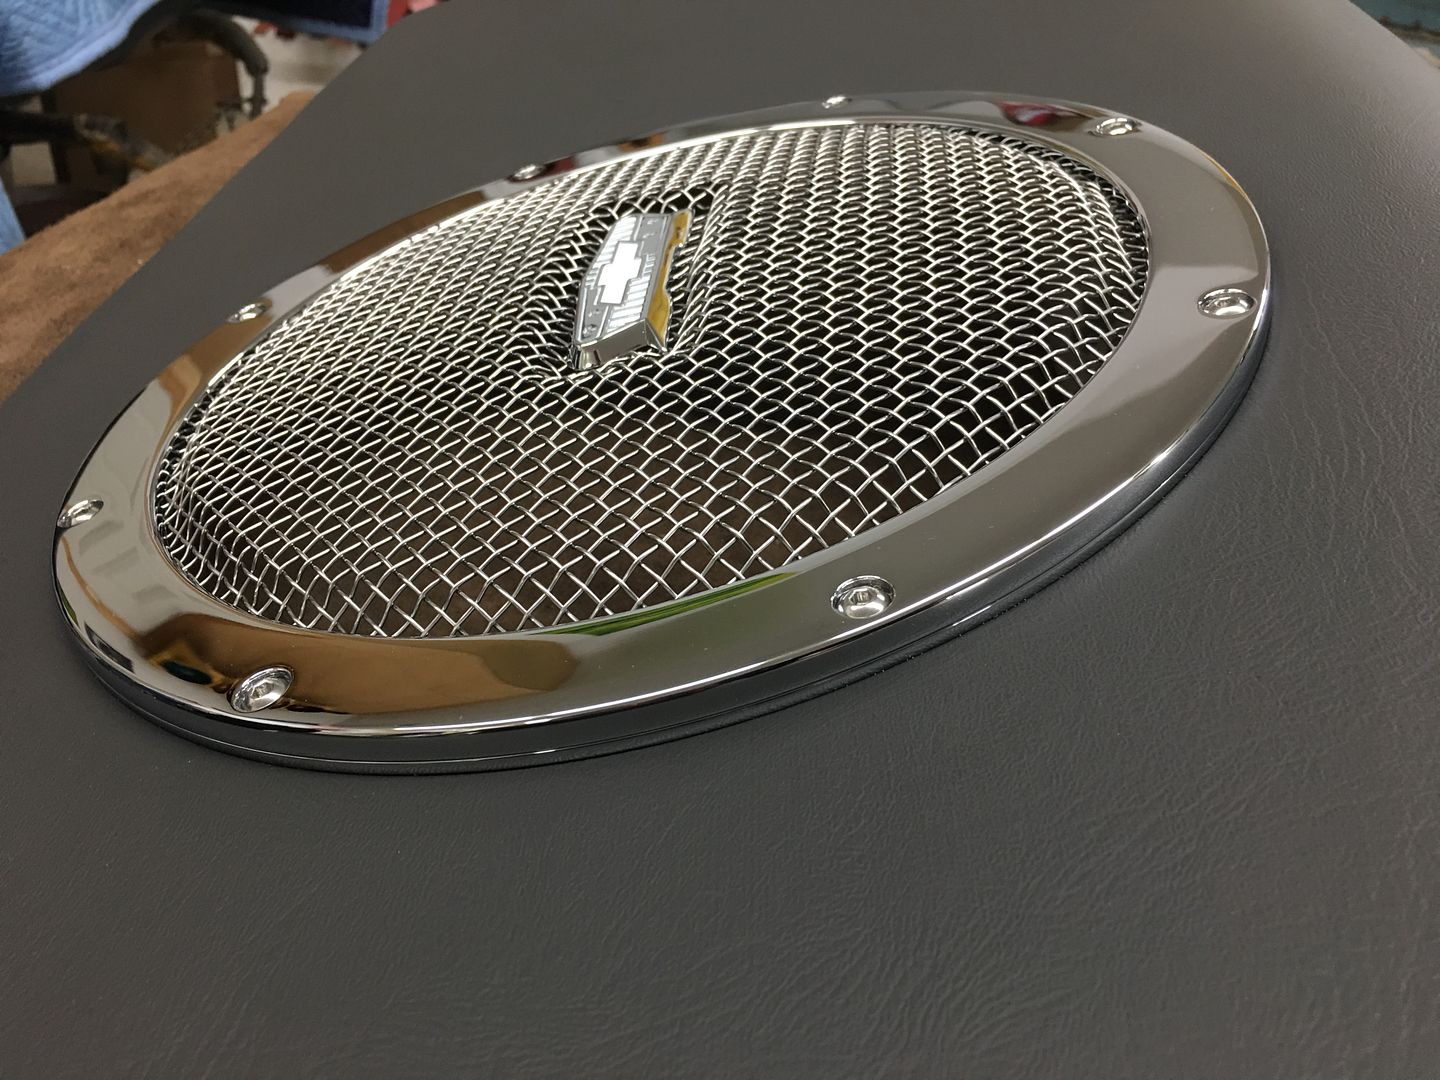
More progress in the shop, another upholstered piece getting assembled... this one the driver's side rear kick panel. Our polished stainless seat belt escutcheons are installed, one in the front for the lap belt and up top for the shoulder belt.
Midrange and tweeter installed....
https://www.youtube.com/watch?v=k5egWQaN1MY
And we got a new "radius" fixture for the Tommasini wheeling machine, allows you to use it to form radius on flat bar and other shapes..
action shot....
https://www.youtube.com/watch?v=r9e822YCYIE
 Posting Permissions

 Reply With Quote
.JPG)
.JPG)


.JPG)
.JPG)
.JPG)
.JPG)
.JPG)
.JPG)
.JPG)