Just joined? Please introduce yourself.
Page 1 of 101 1231151 ... LastLast
Results 1 to 10 of 1006

Thread: wagon progress

  1. #1
    Registered Member MP&C's Avatar
    Join Date
    Dec 2013

    Member #:2017
    Location
    Southern MD
    Posts
    1,288

    wagon progress

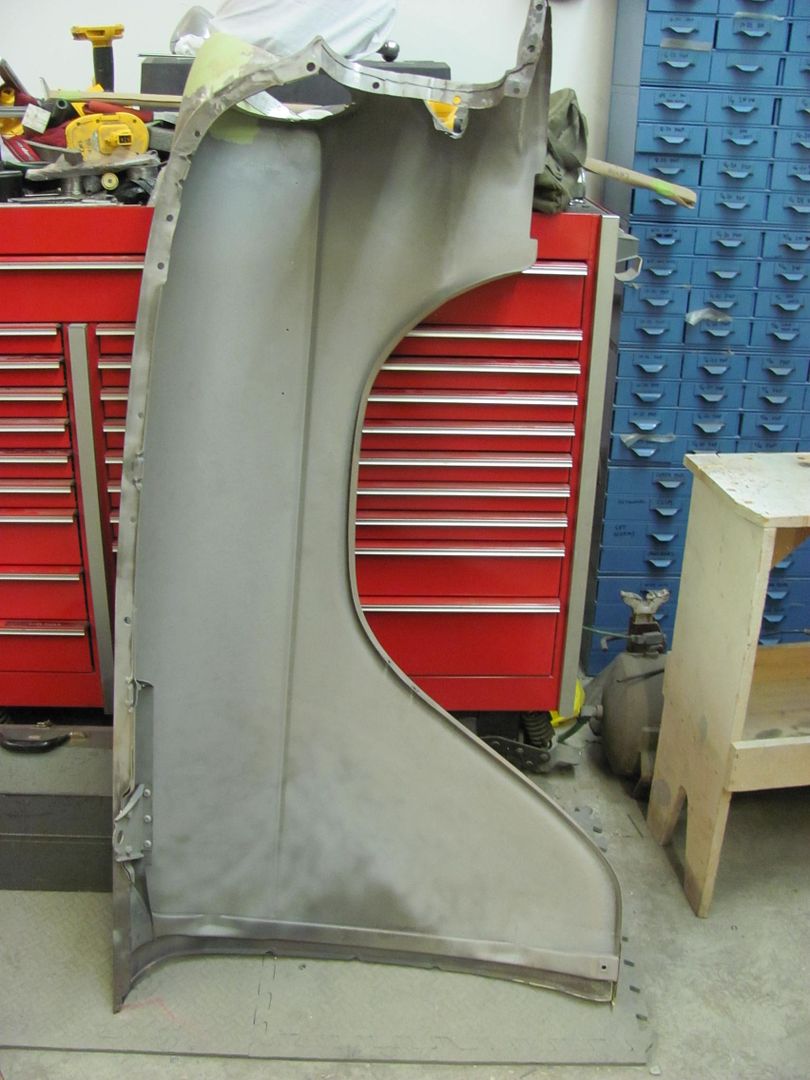
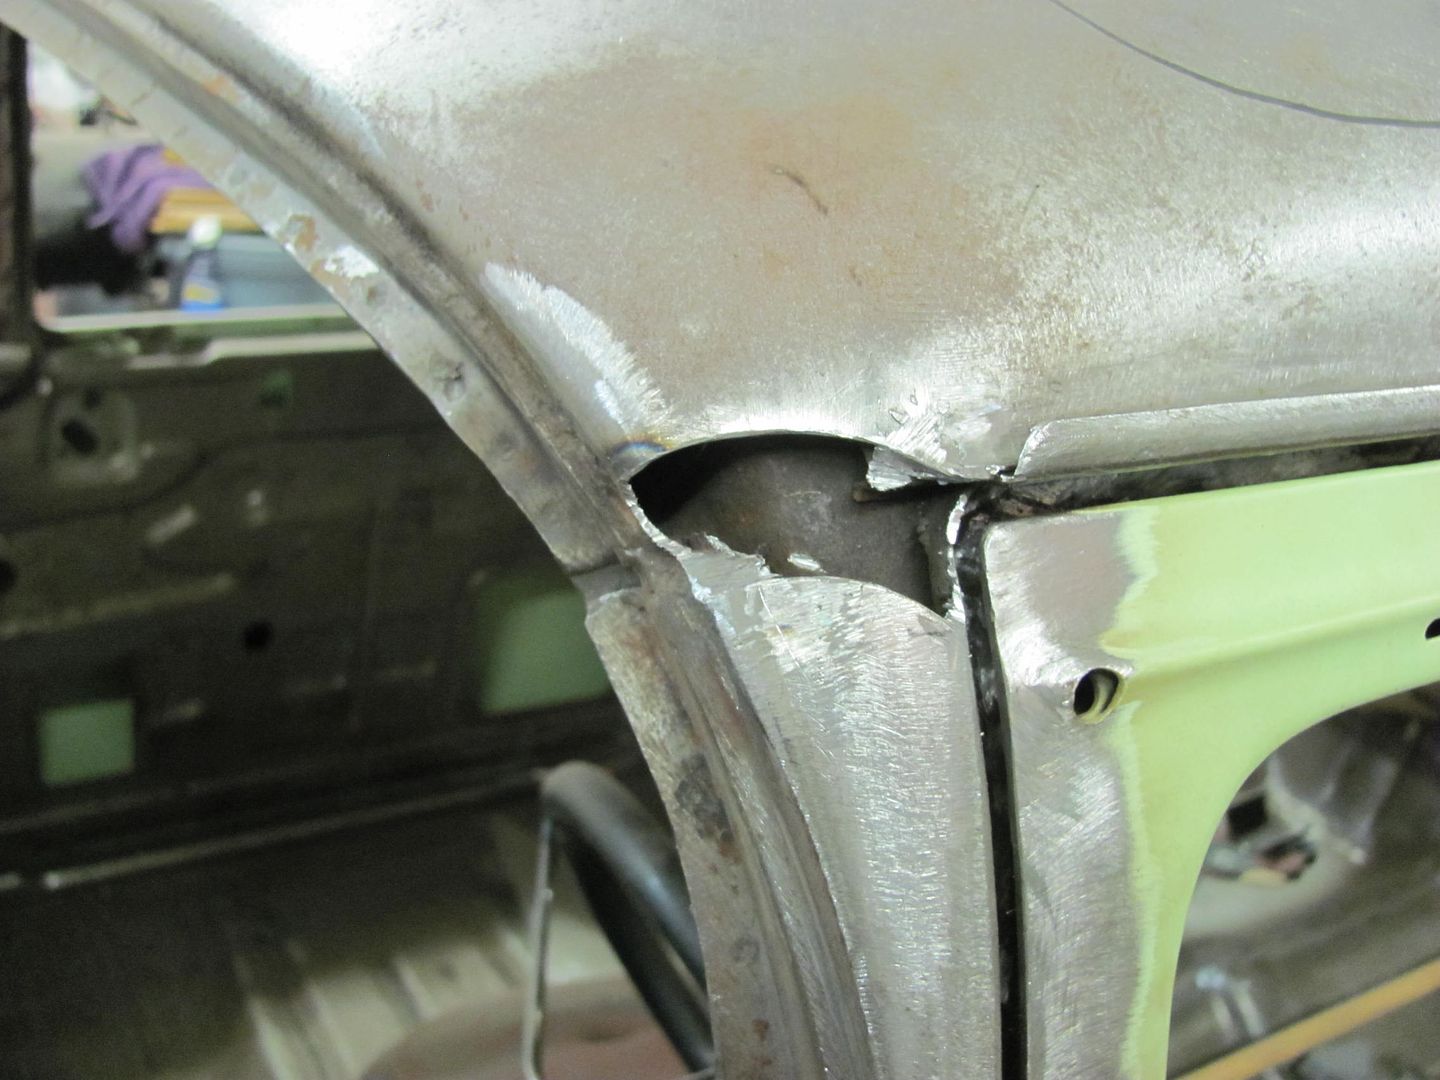
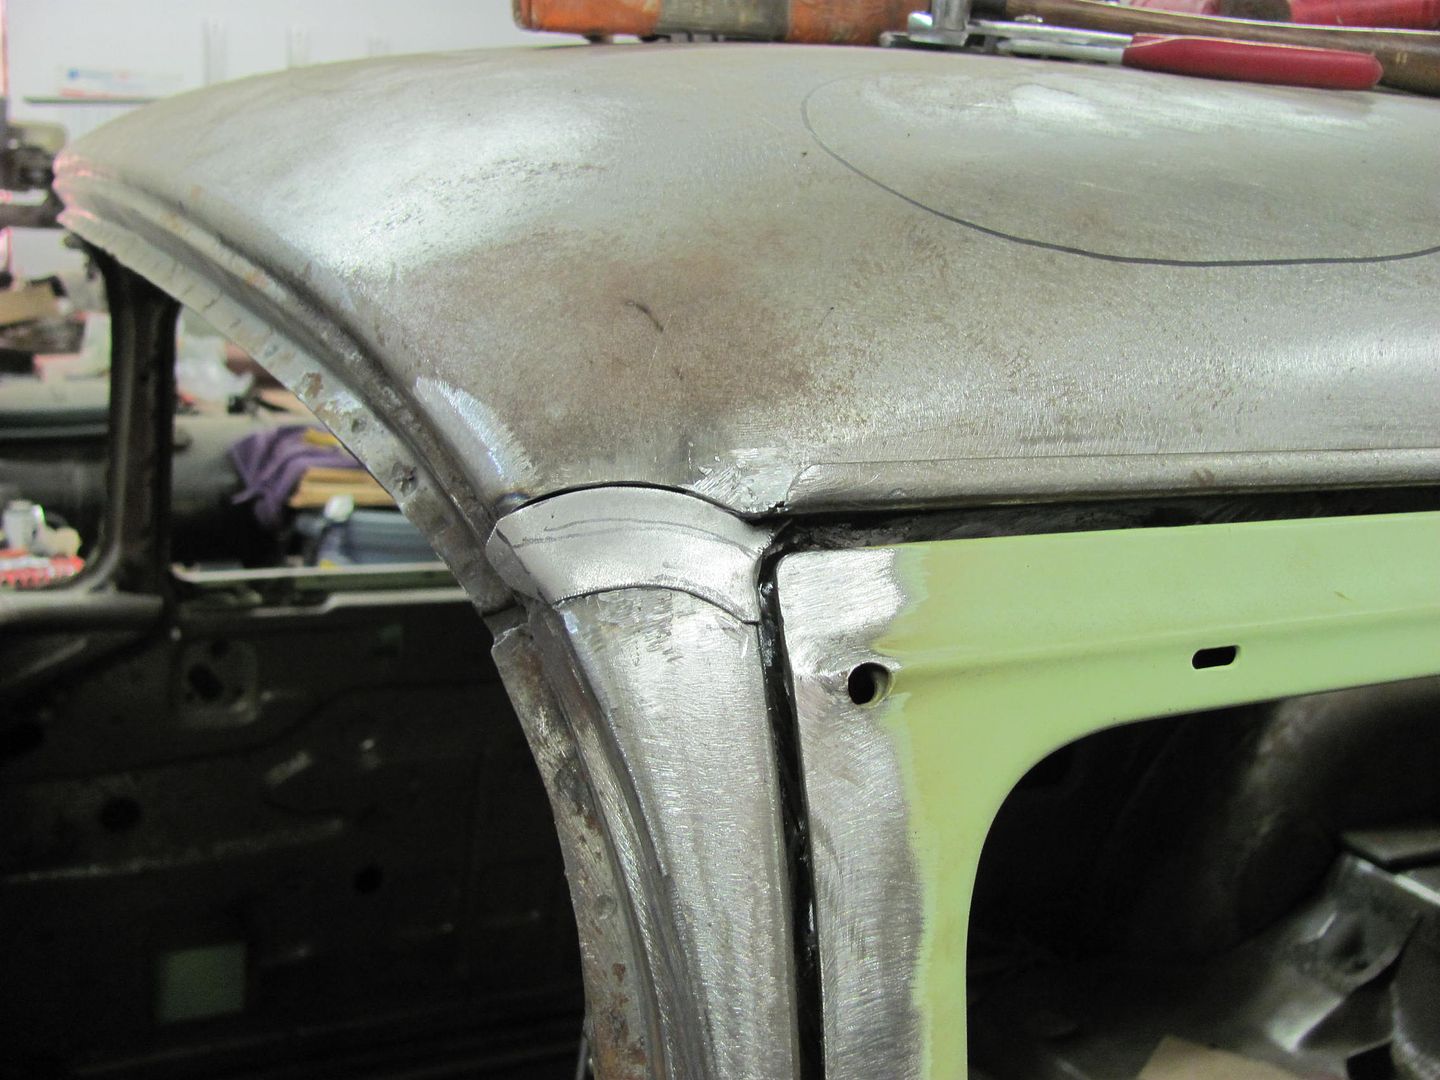
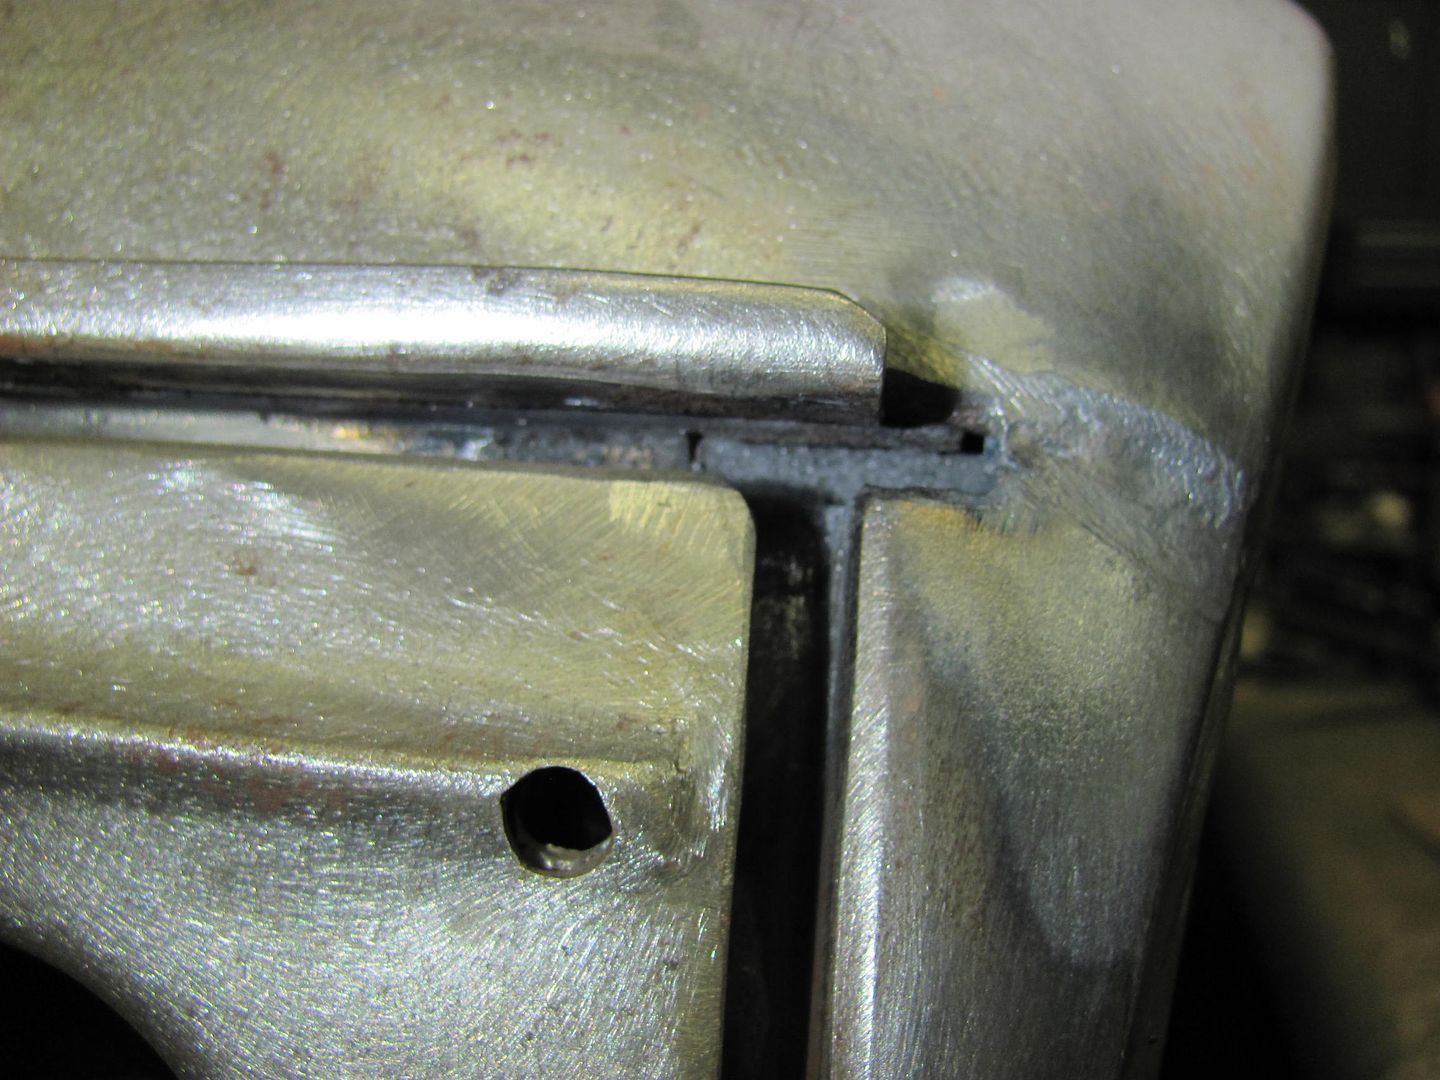
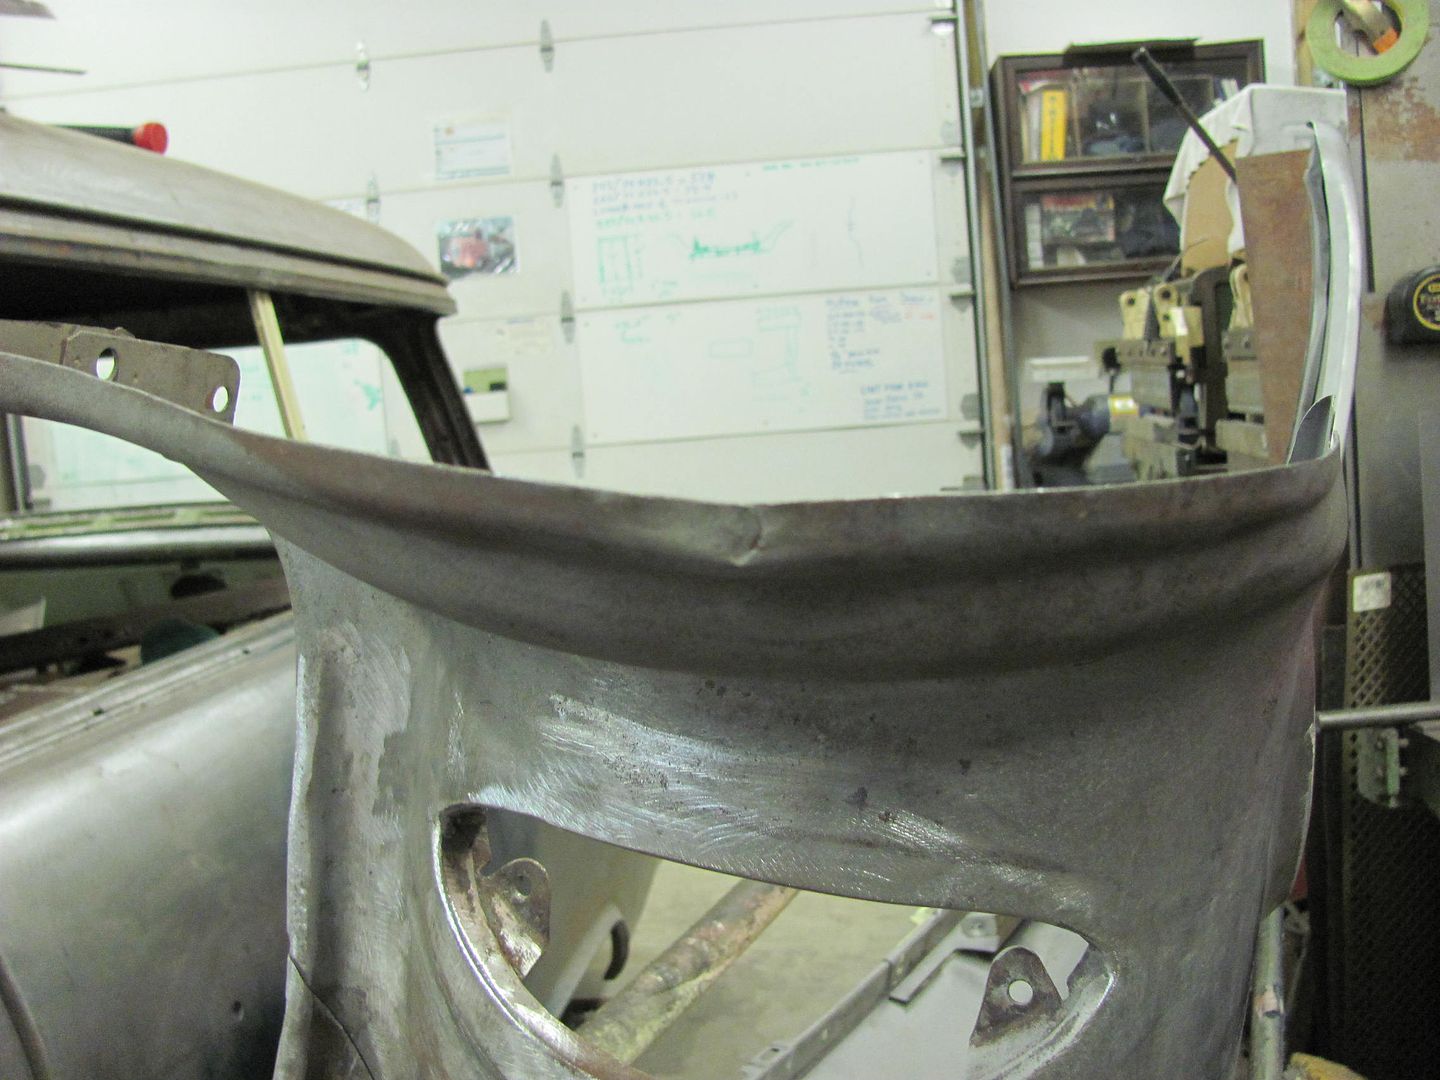
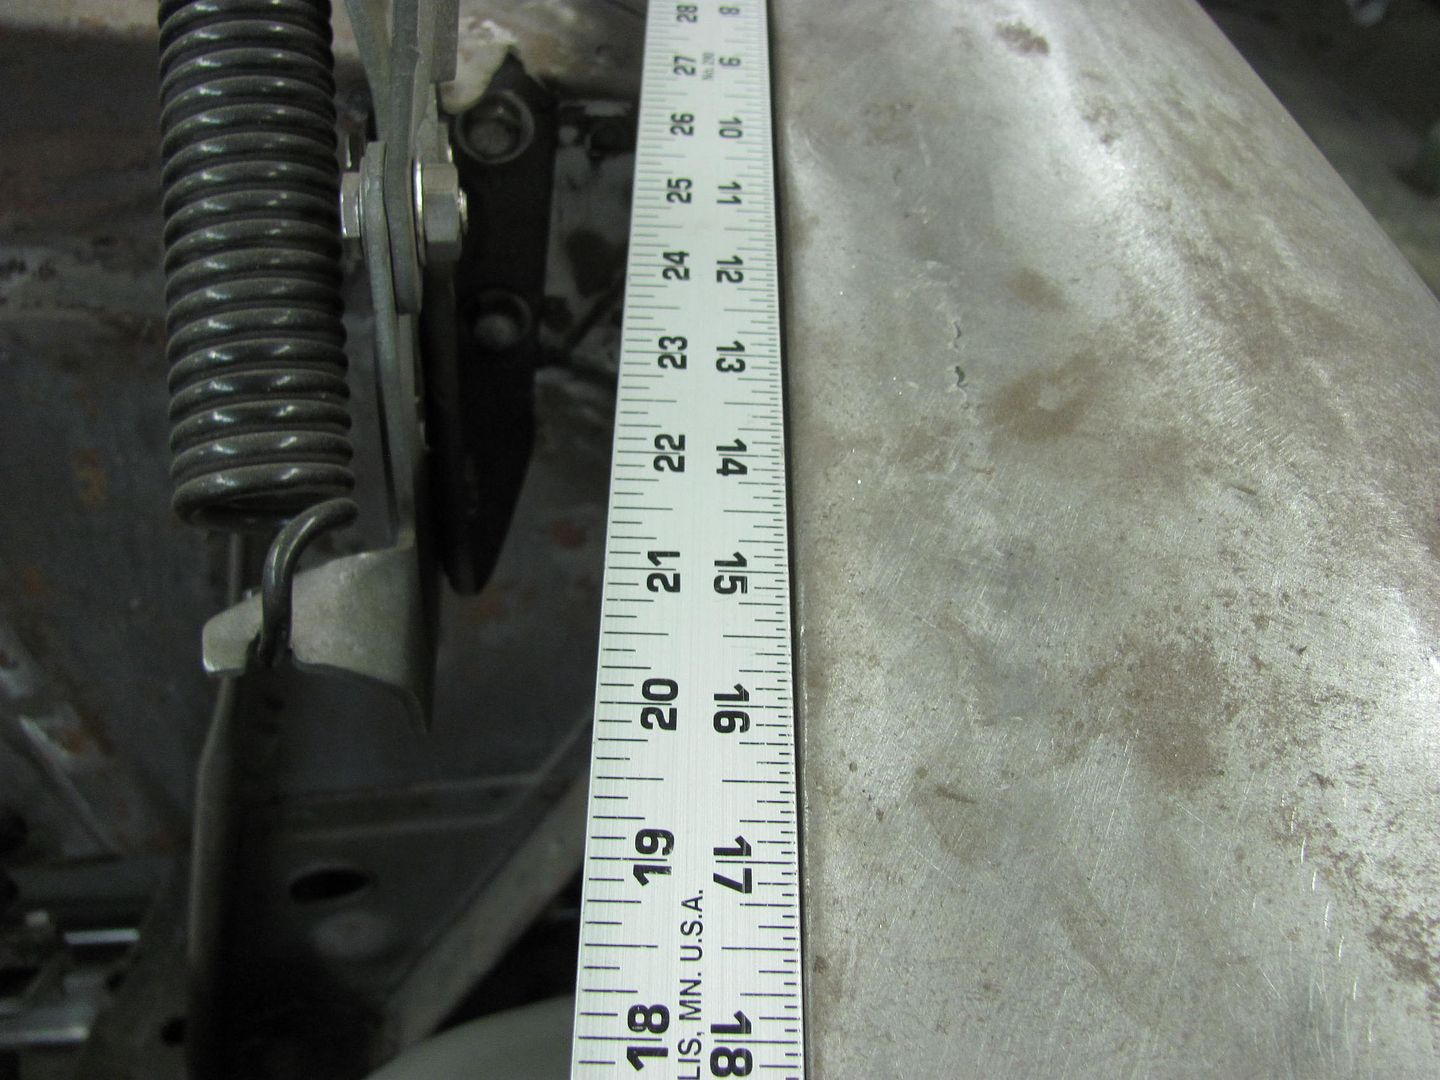
    Tonight we worked on getting the front fenders ready for epoxy primer, just a few more items to cross off the list. An earlier repair to resolve some rust on the top of the fenders.........


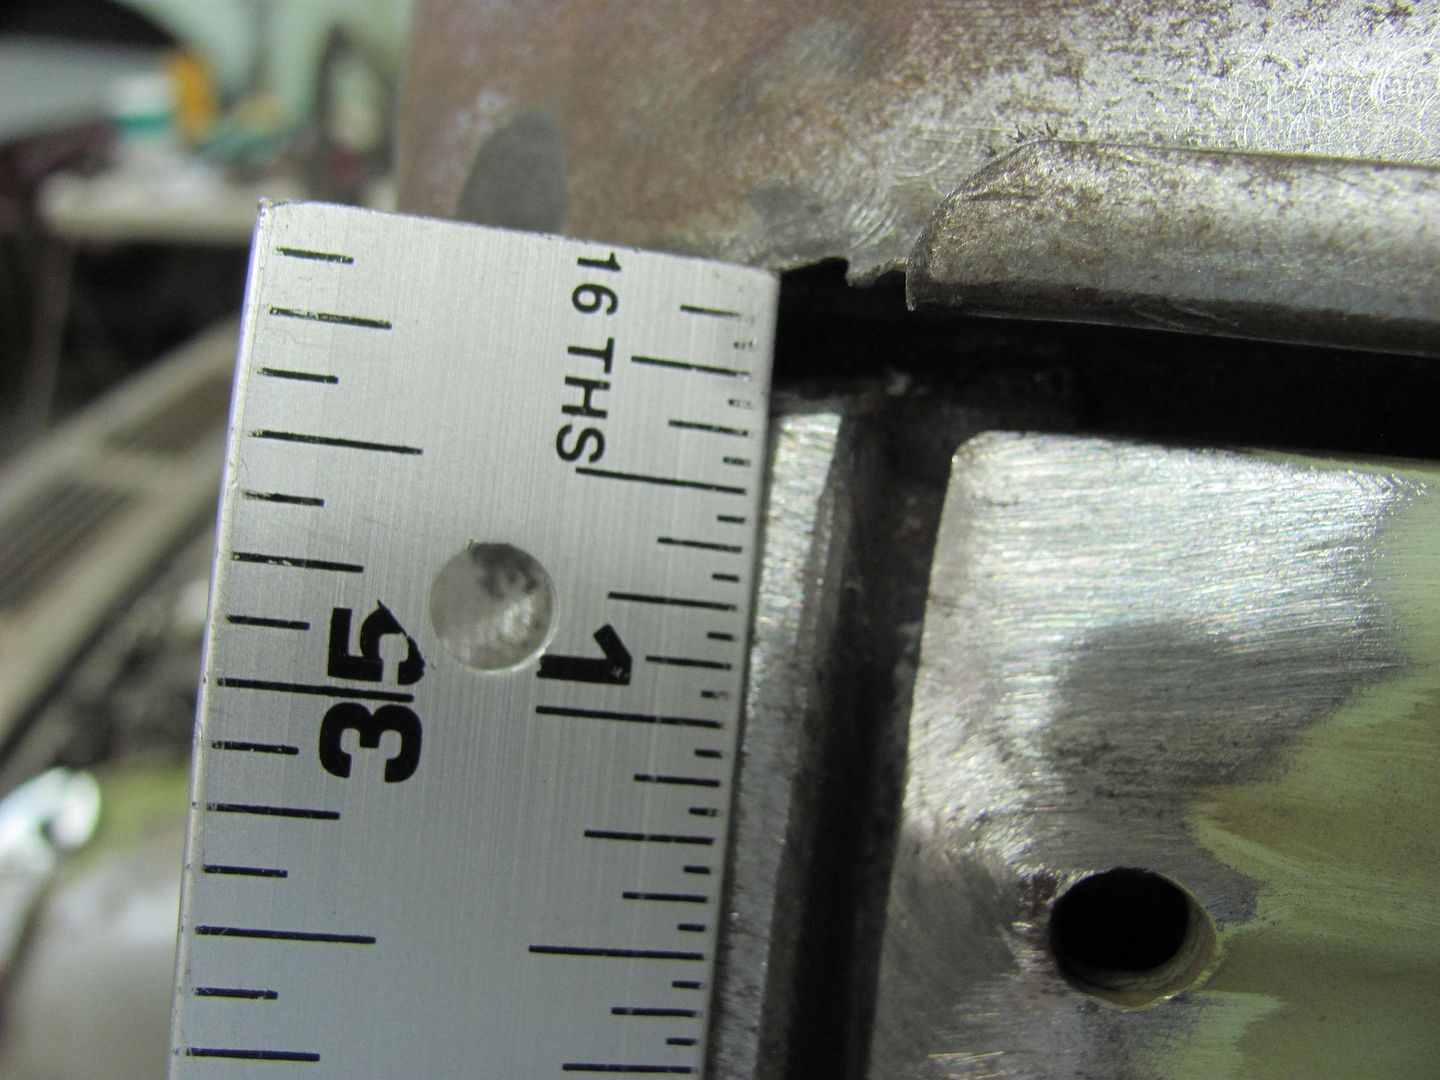
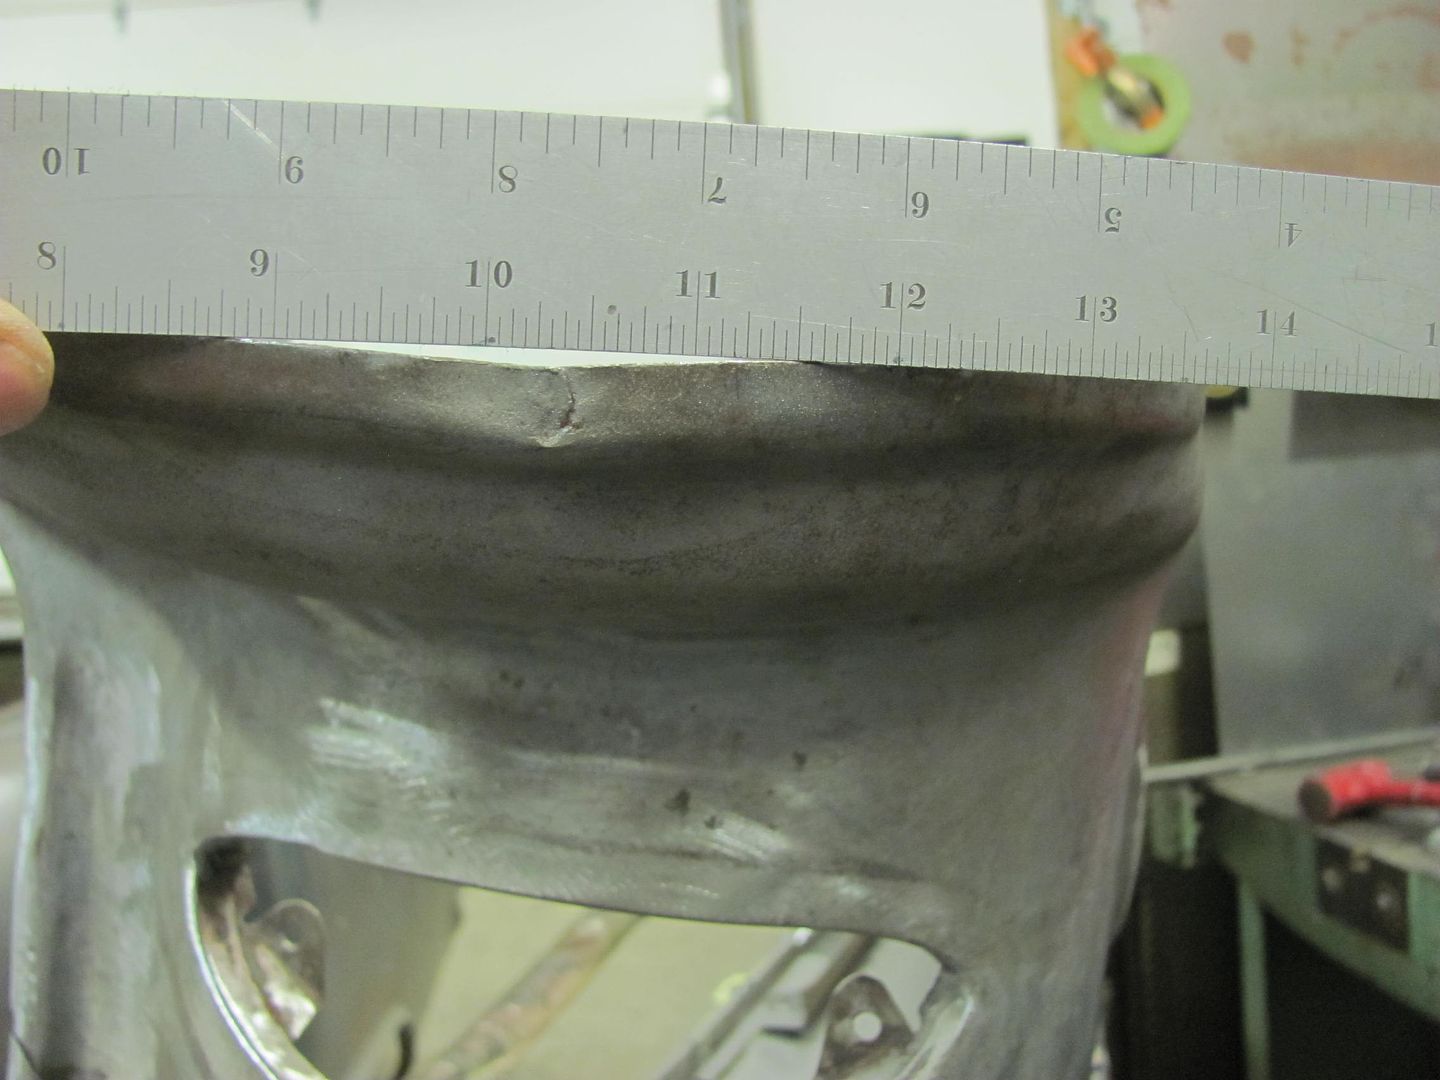
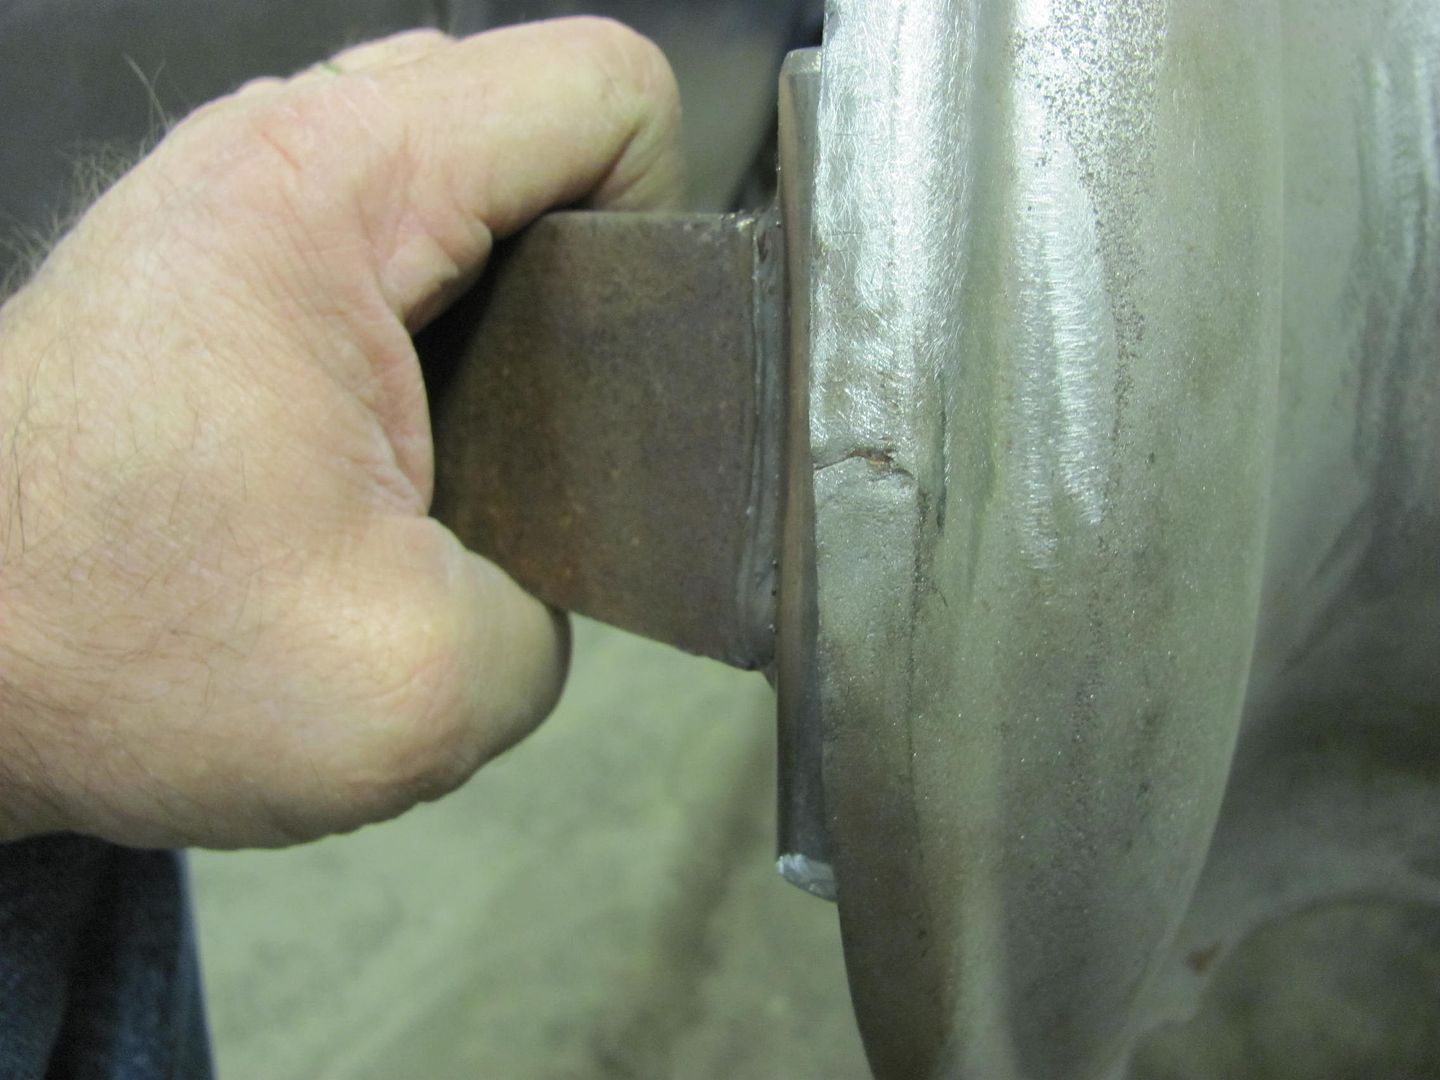
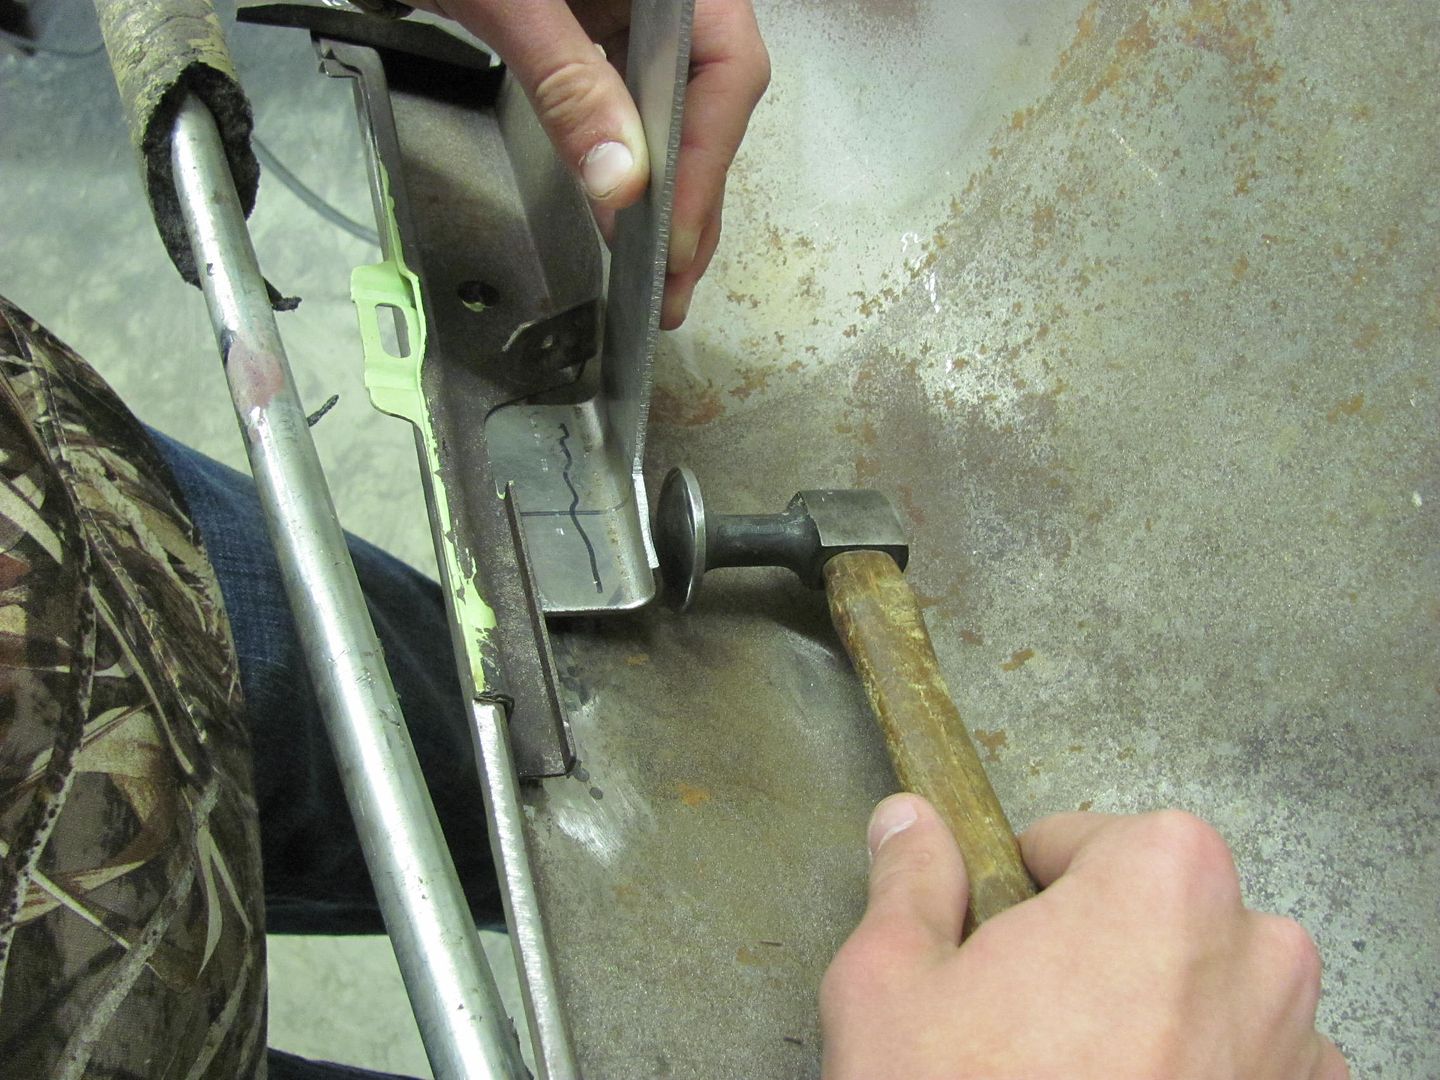
    .........when checking the gap to the hood recently we noticed it was slightly wide at these spots where the weld had pulled. Shown here with the straight edge....


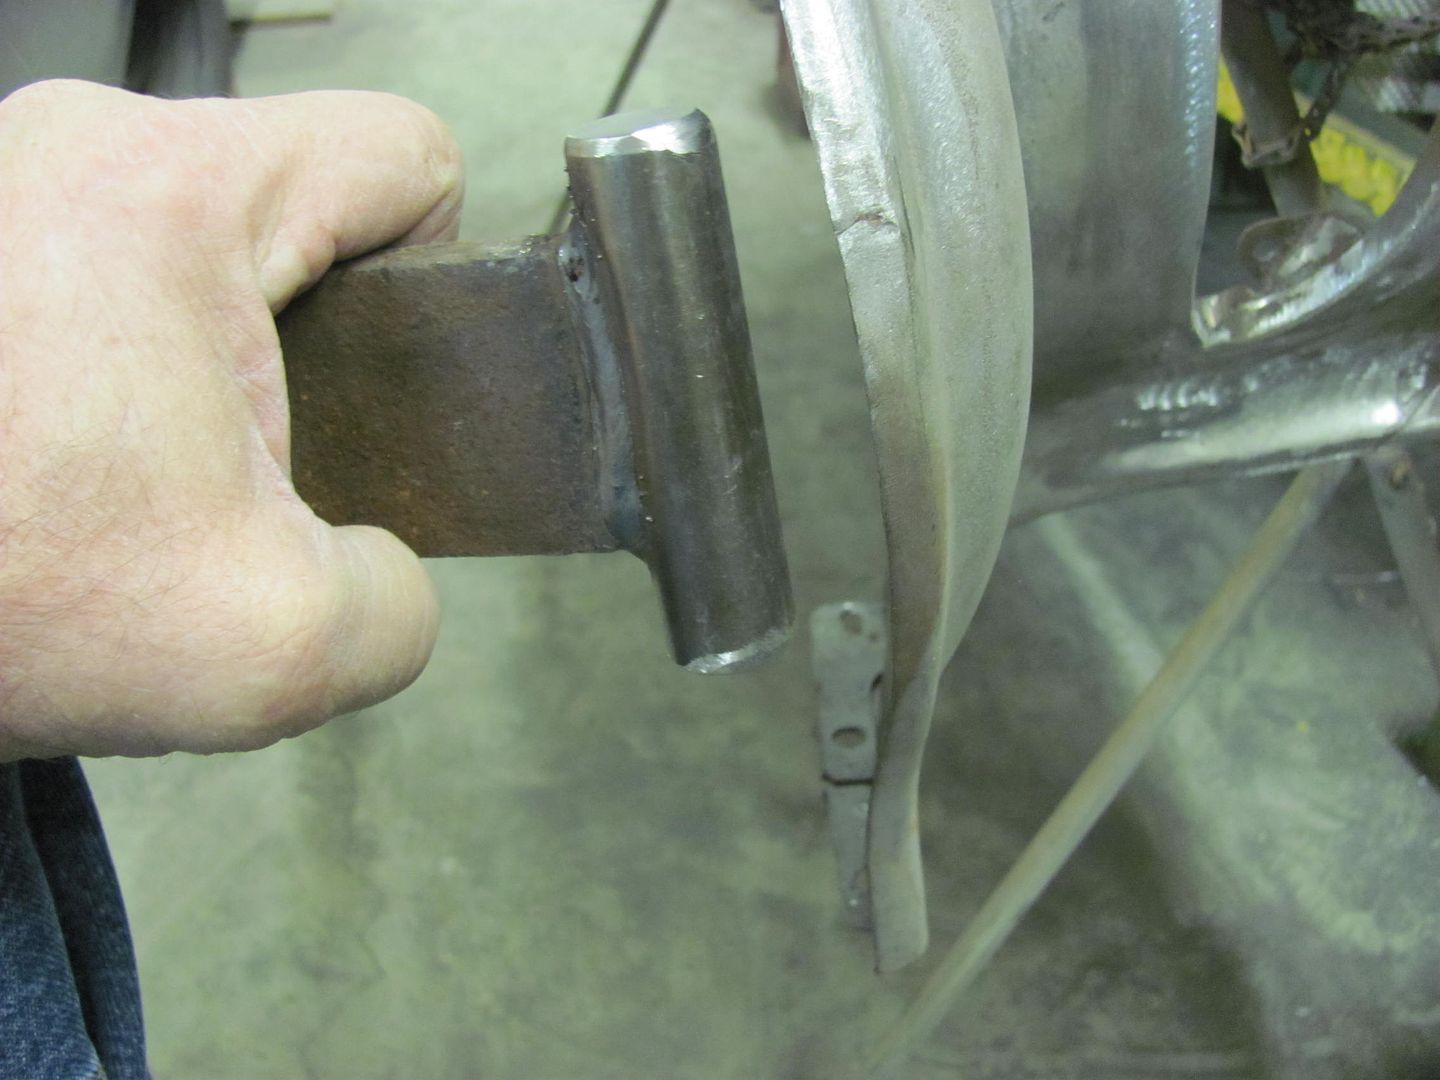
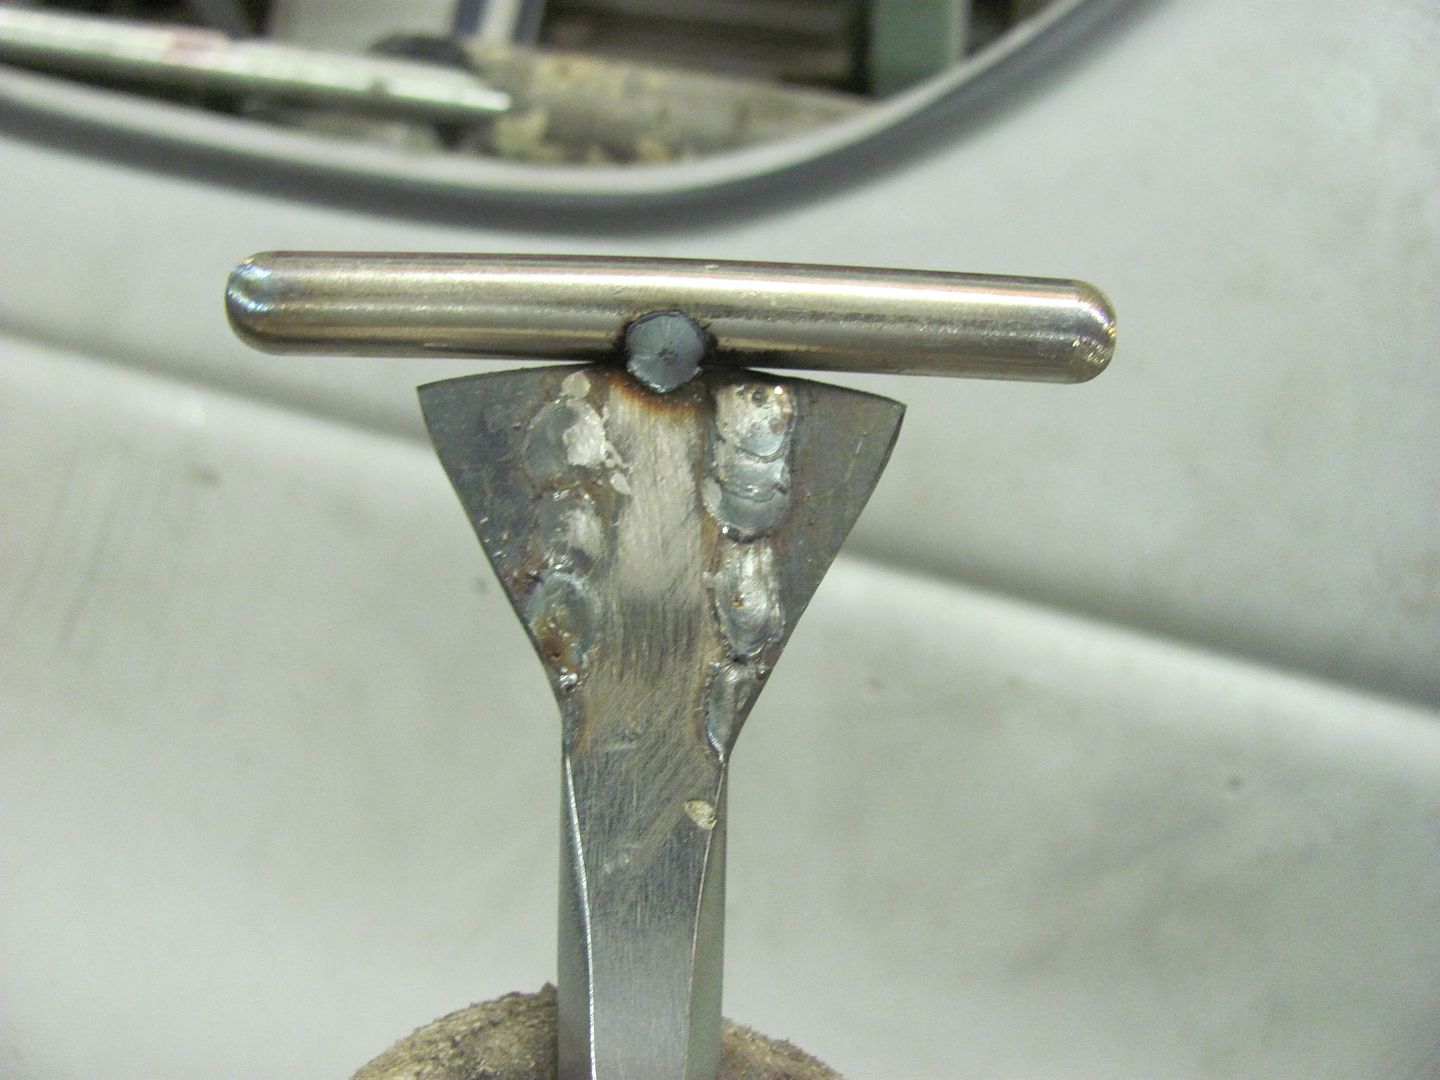
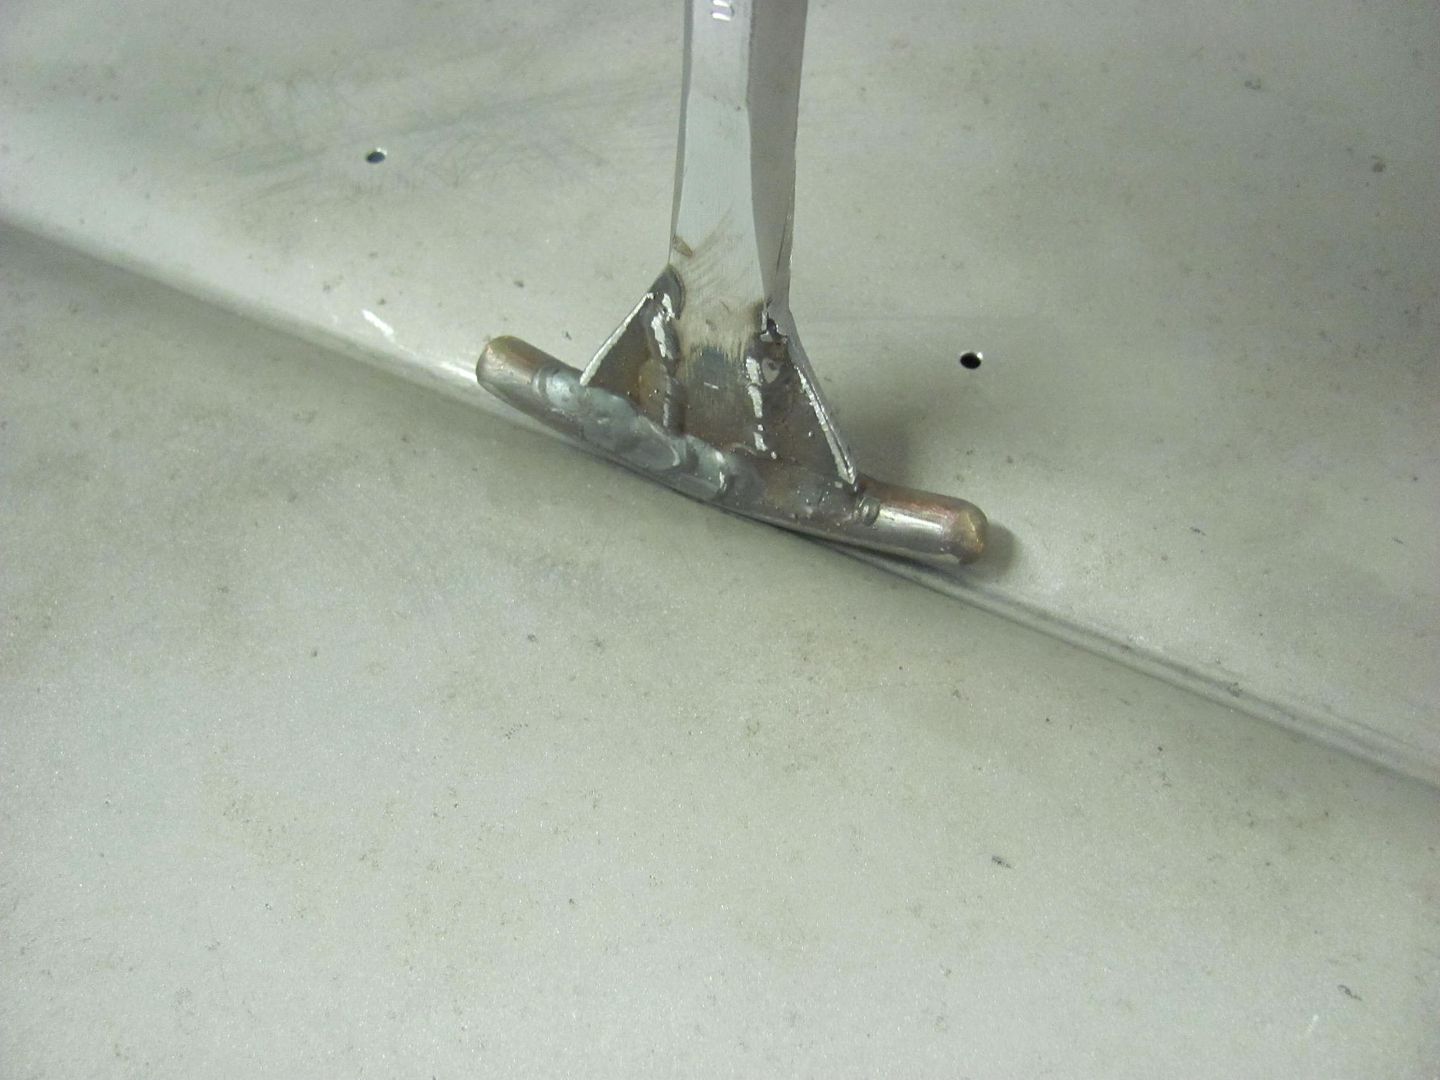
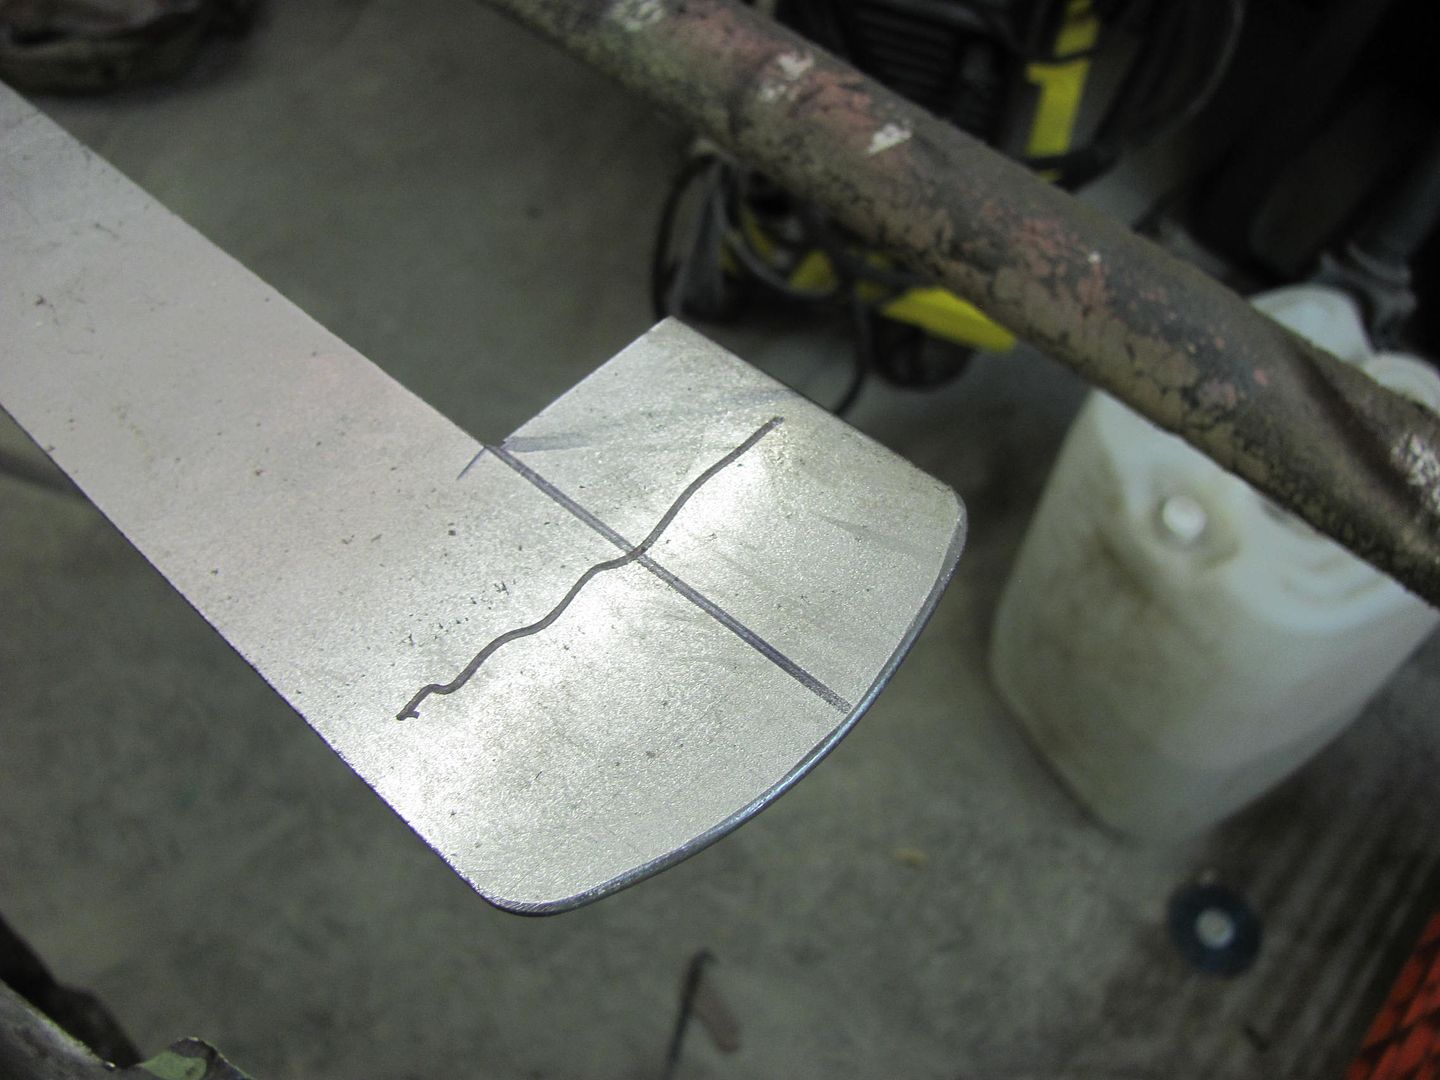
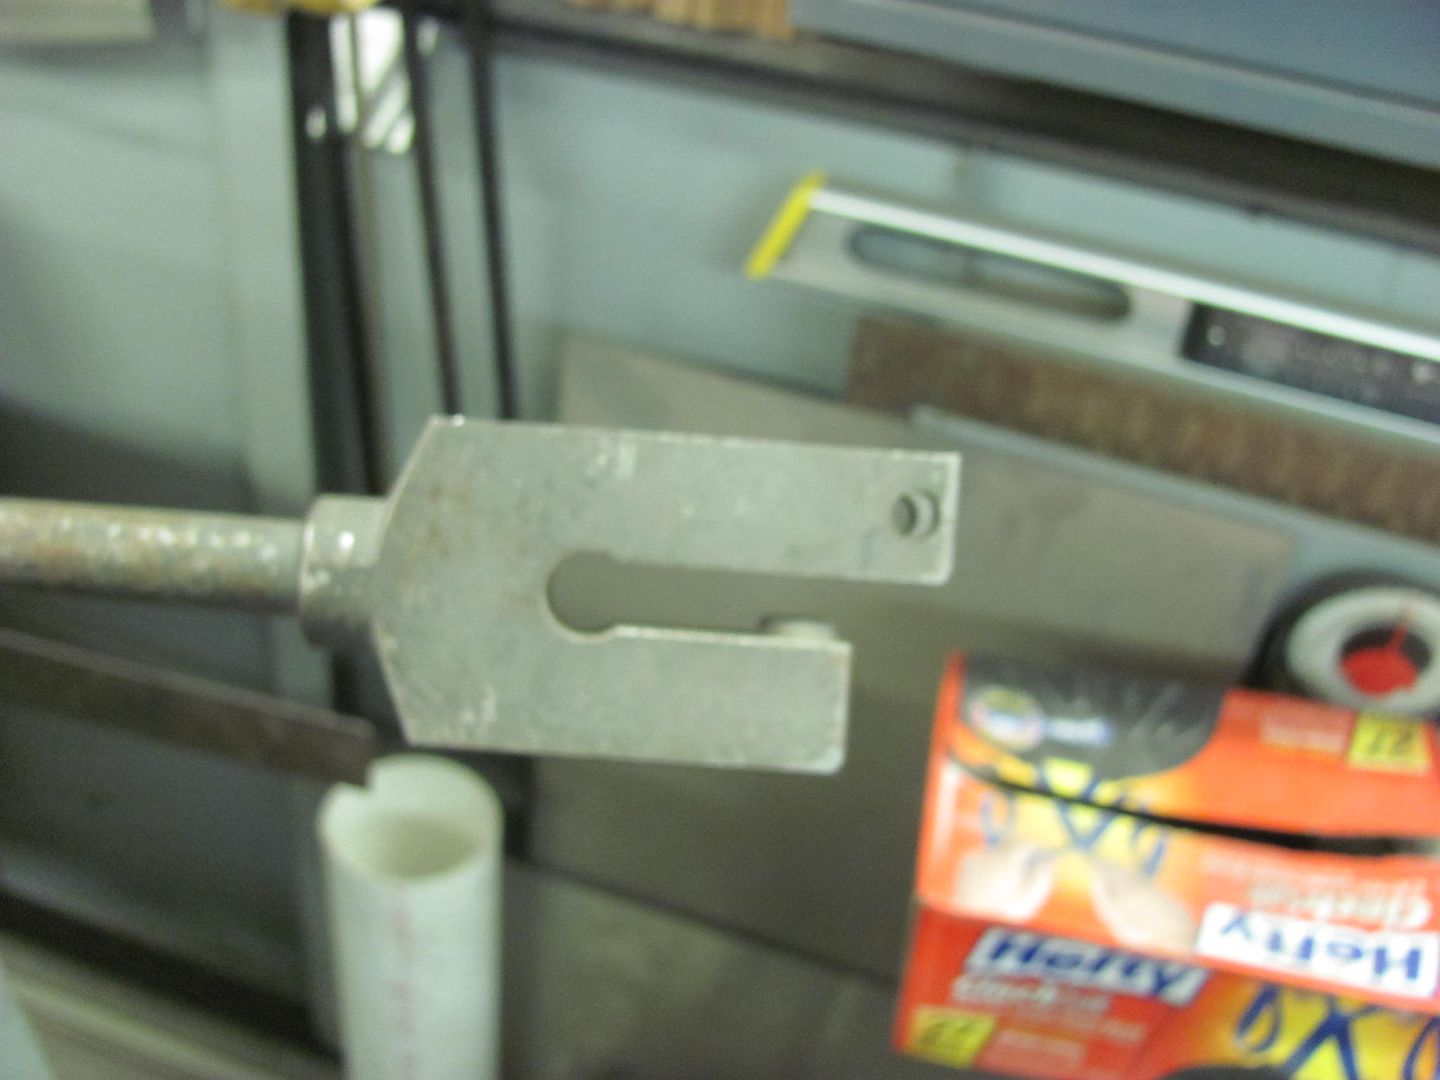
    Time to make a tool that will reach between the inner fender brace for a bit of bumping...


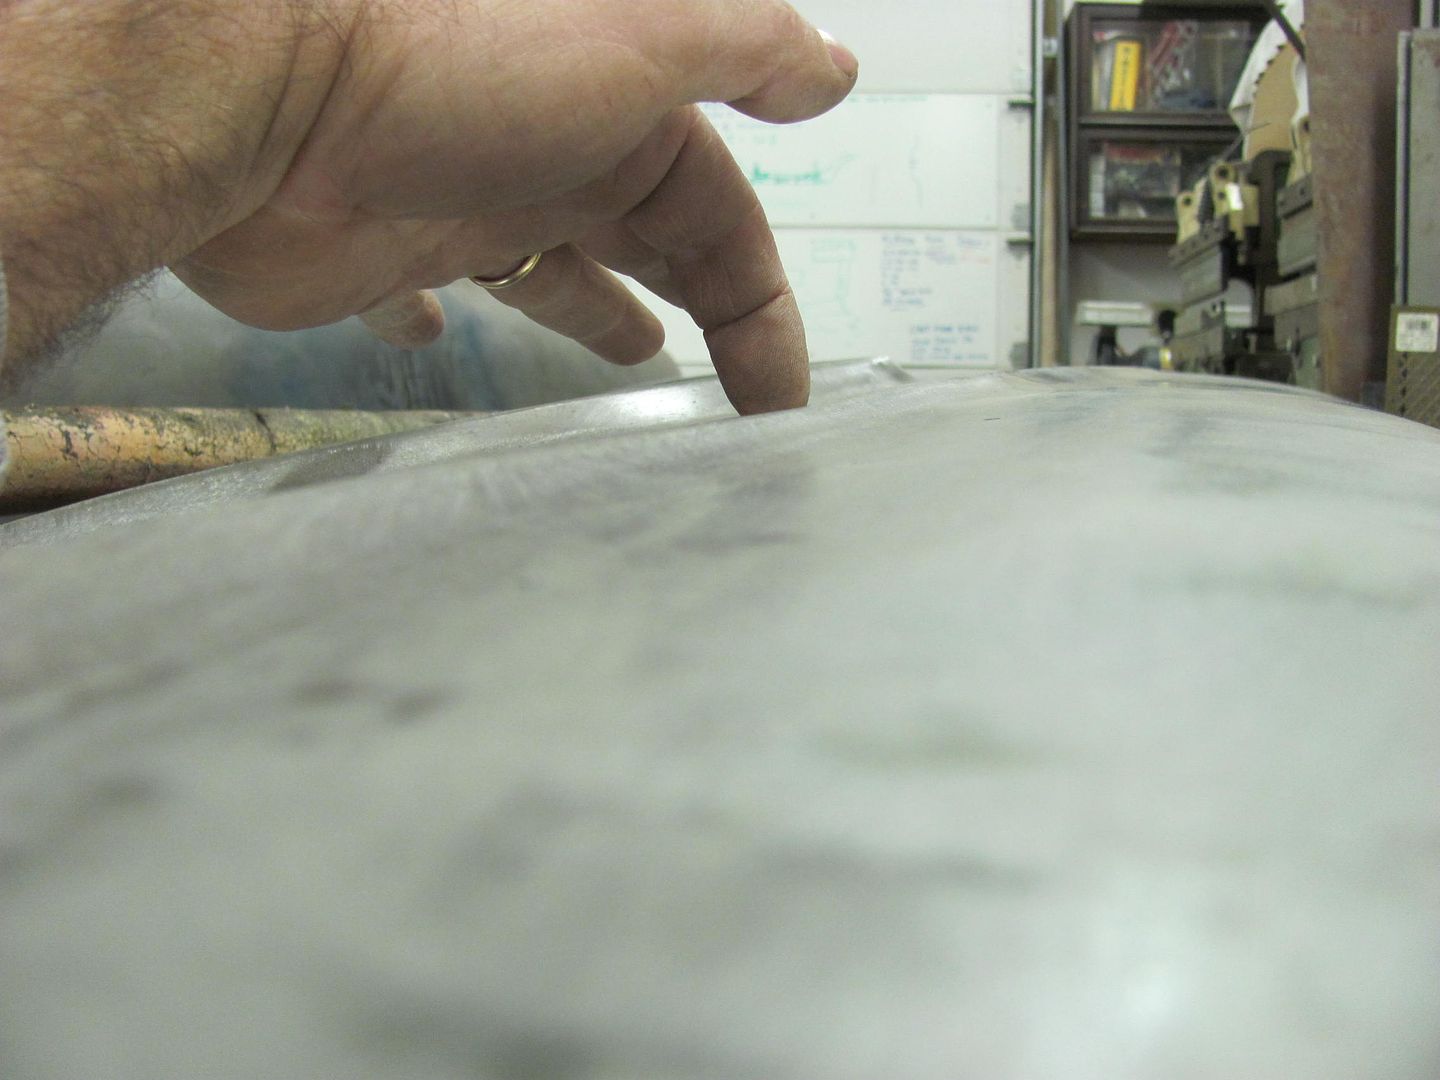
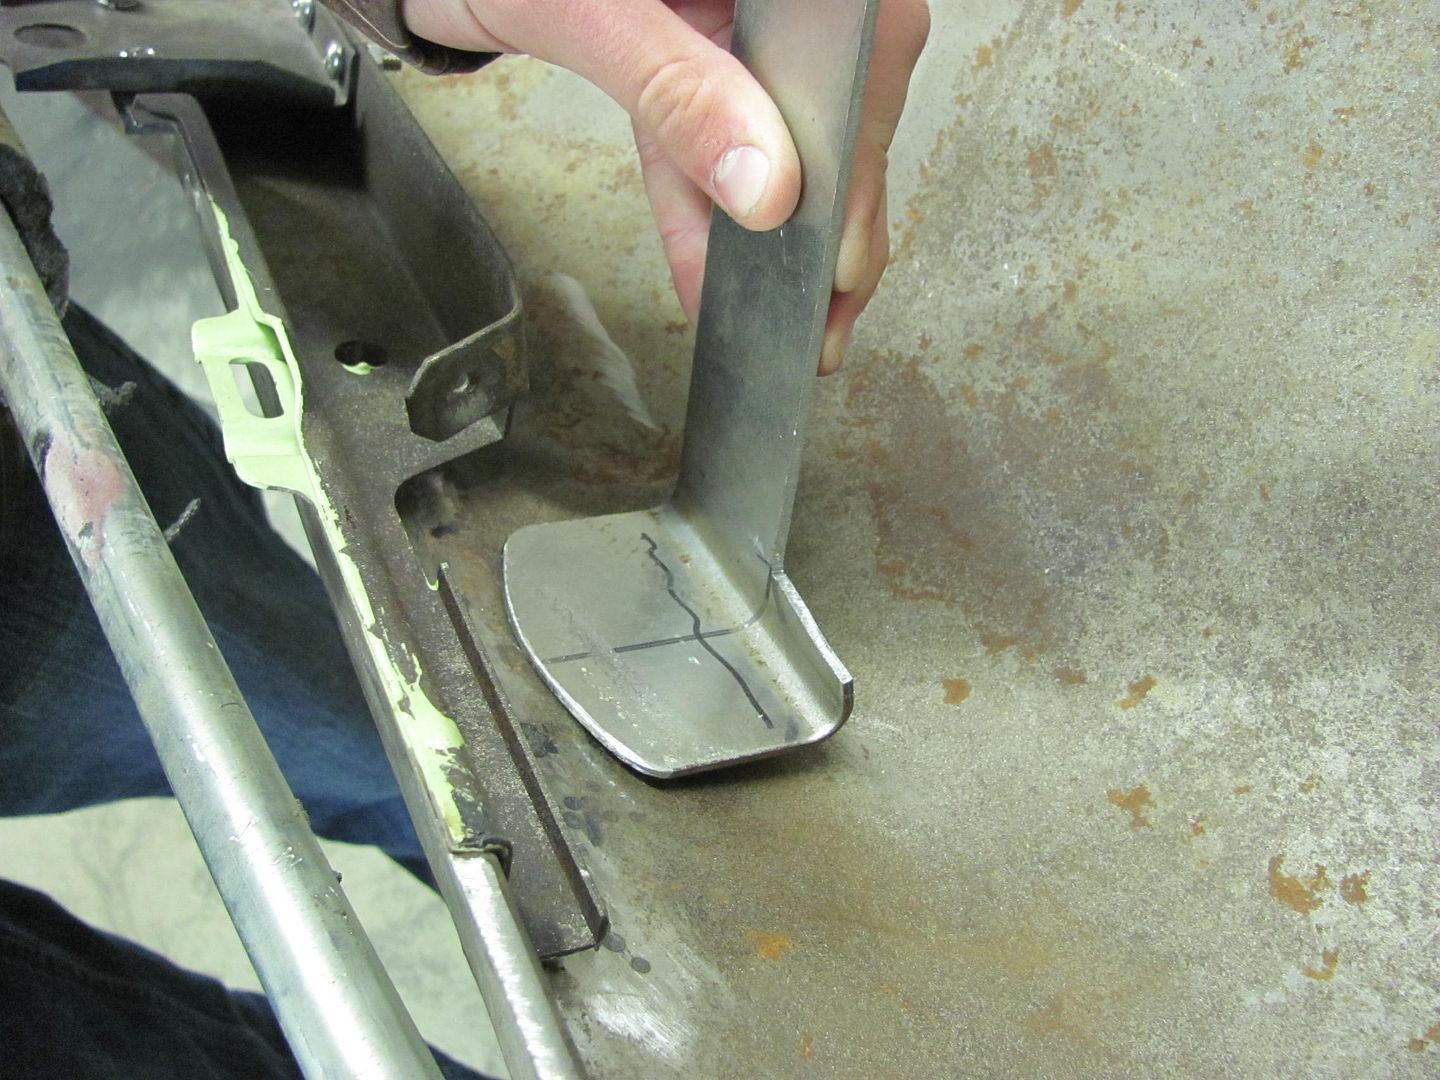
    The shortened hammer comes in handy again...


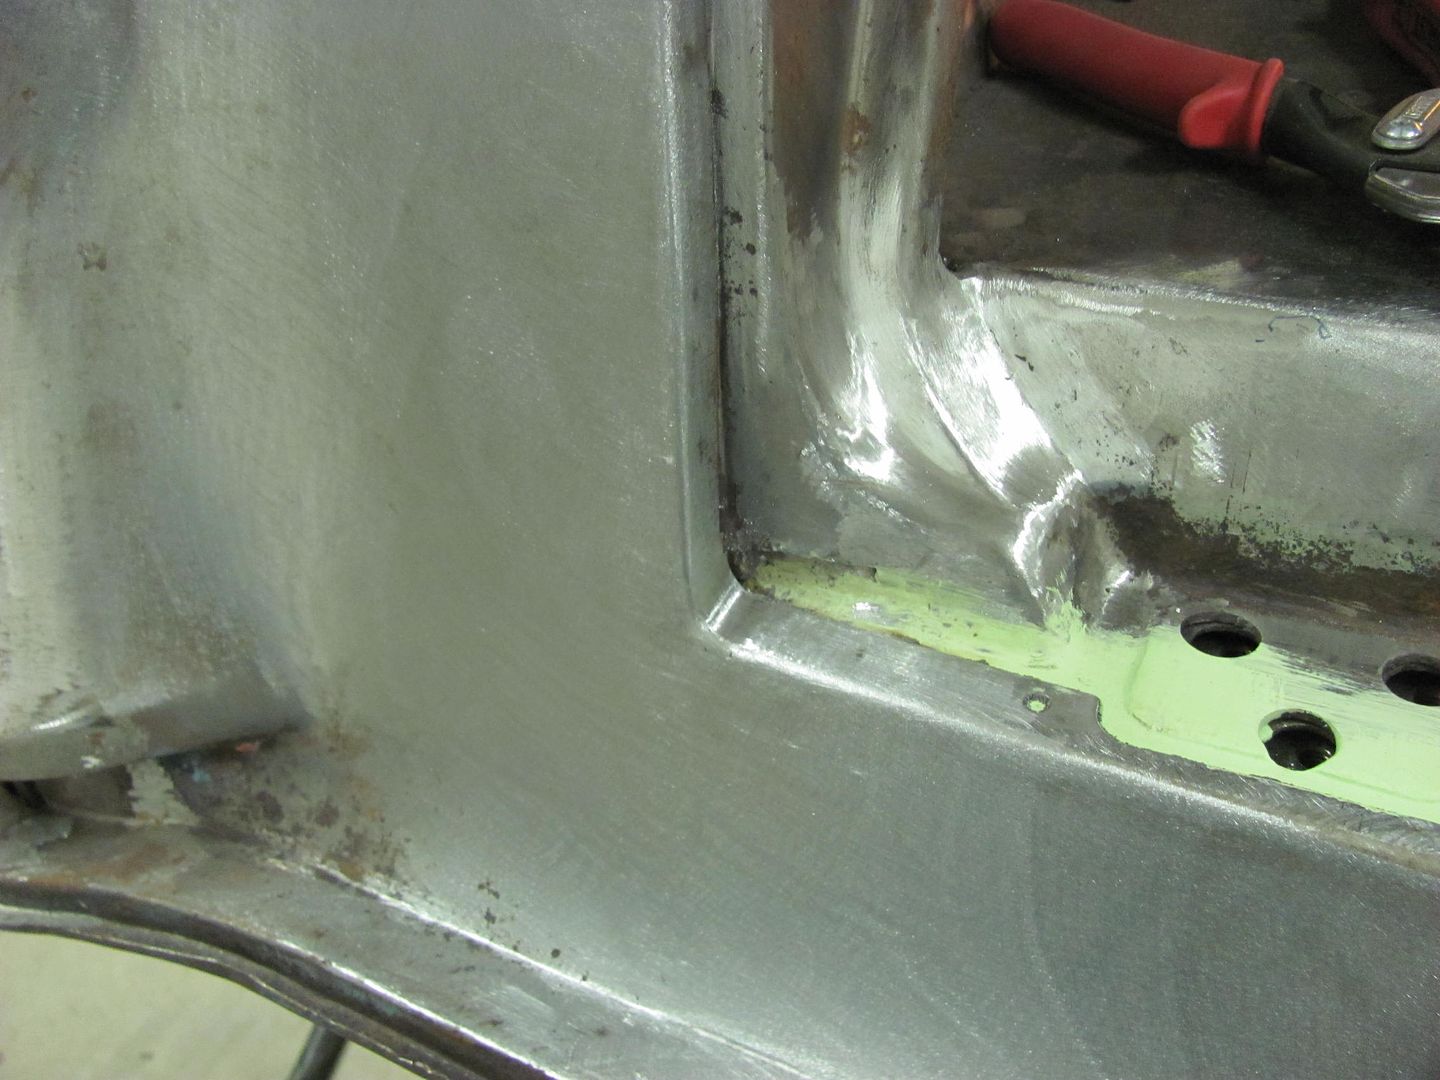
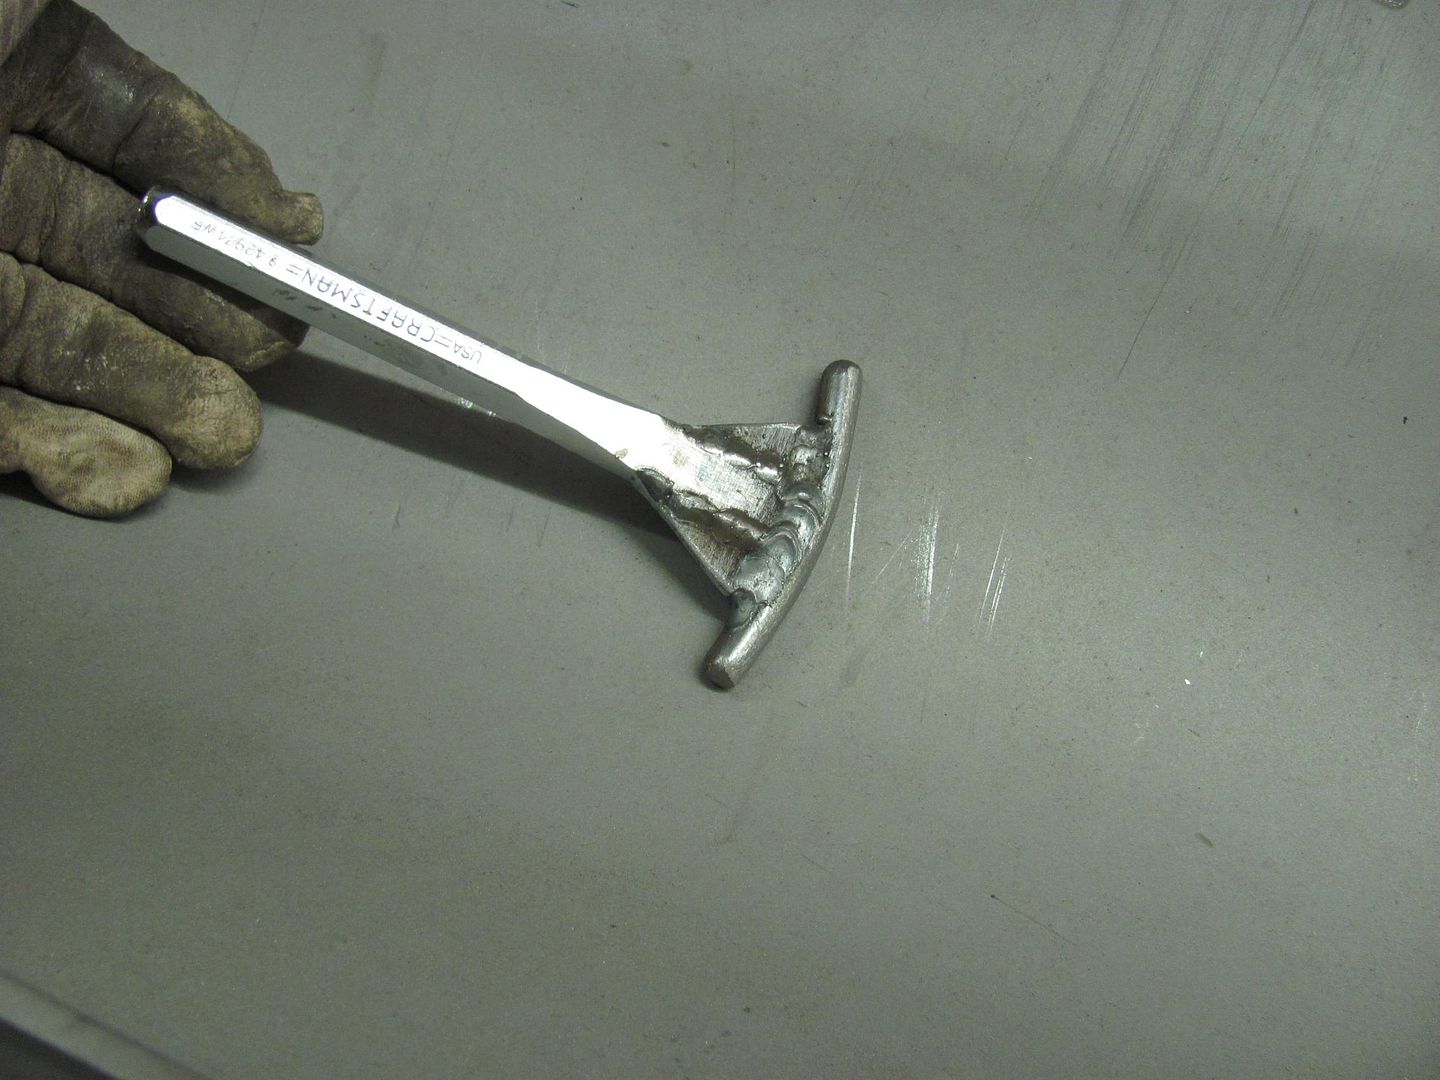
    A few good raps along the area brought it out nicely.

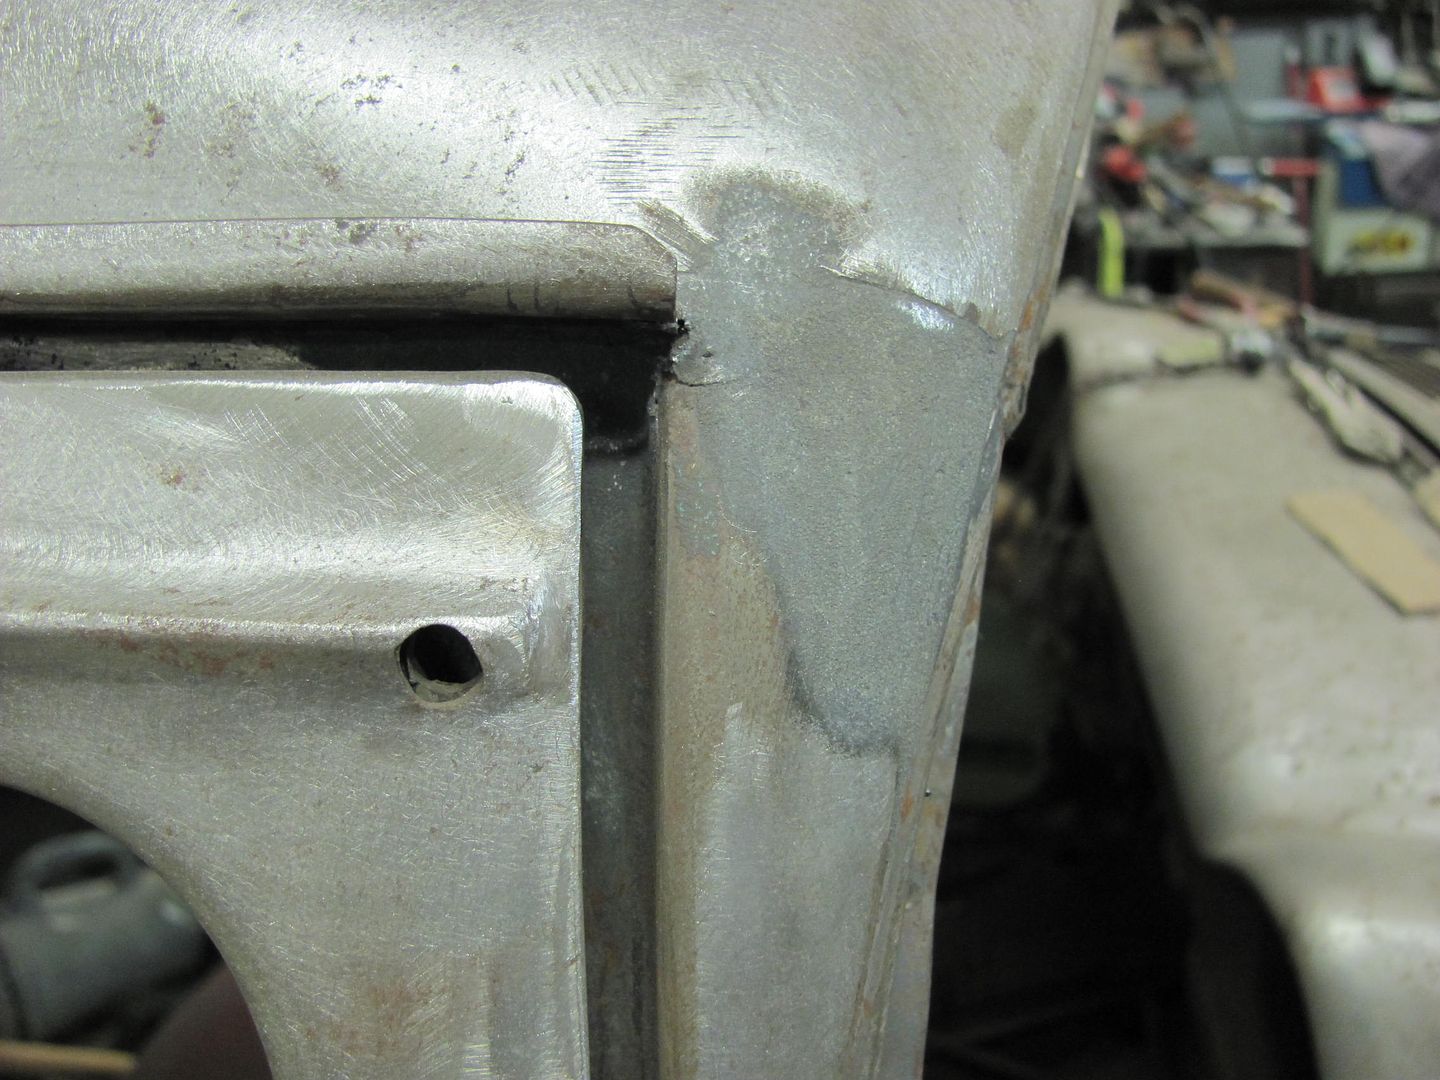
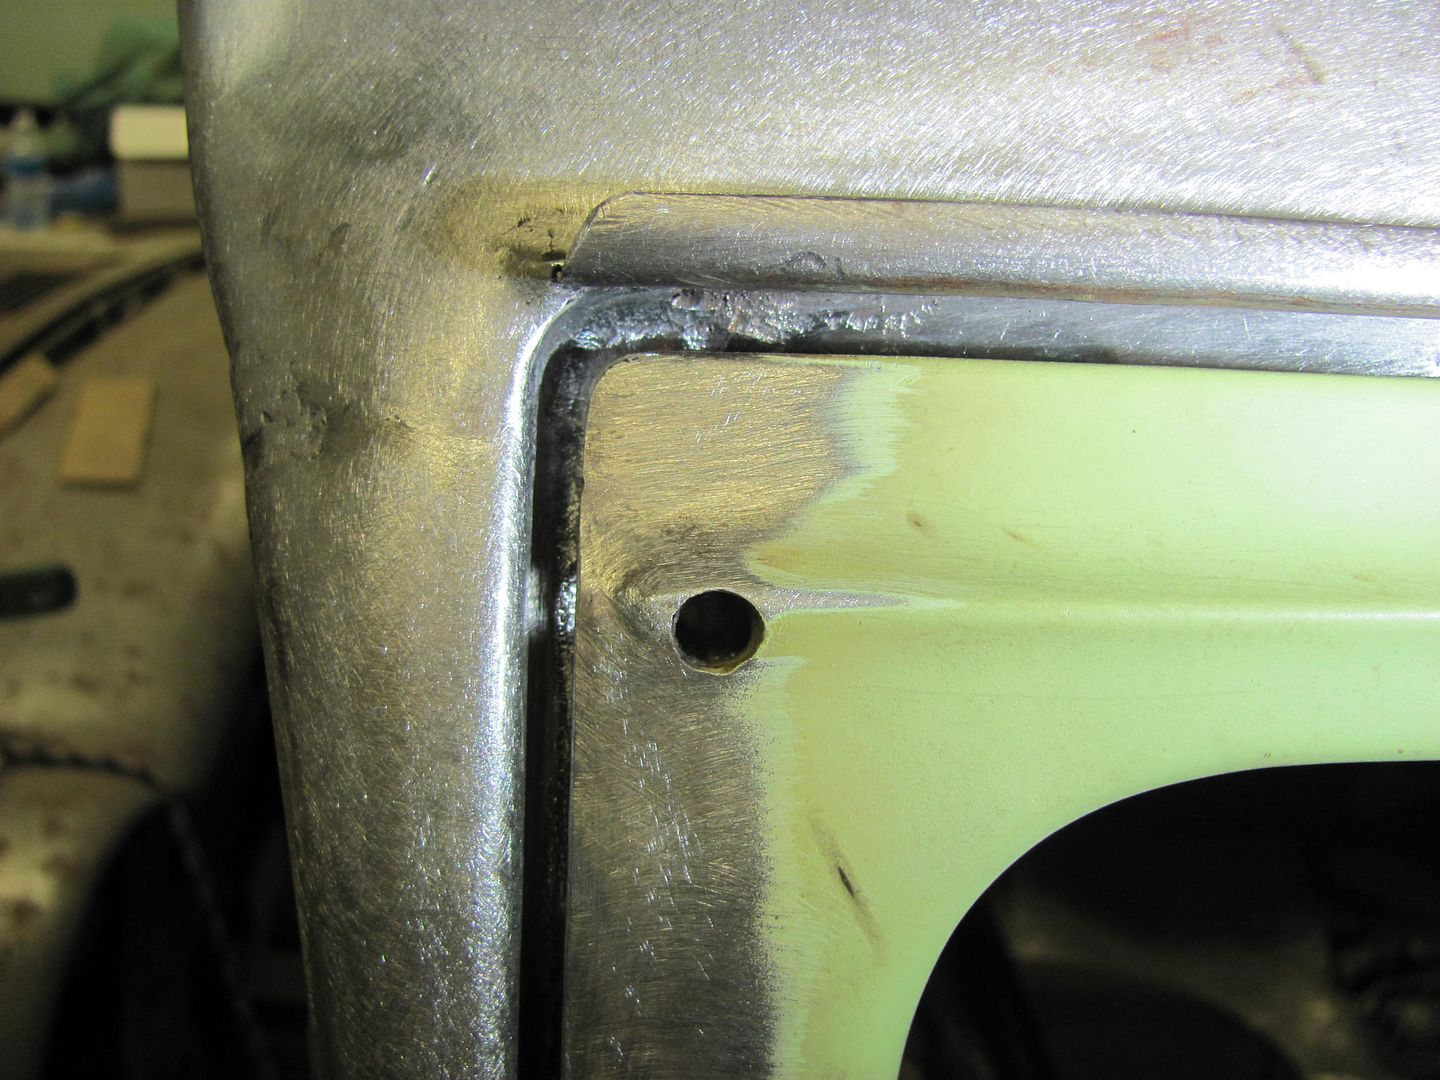
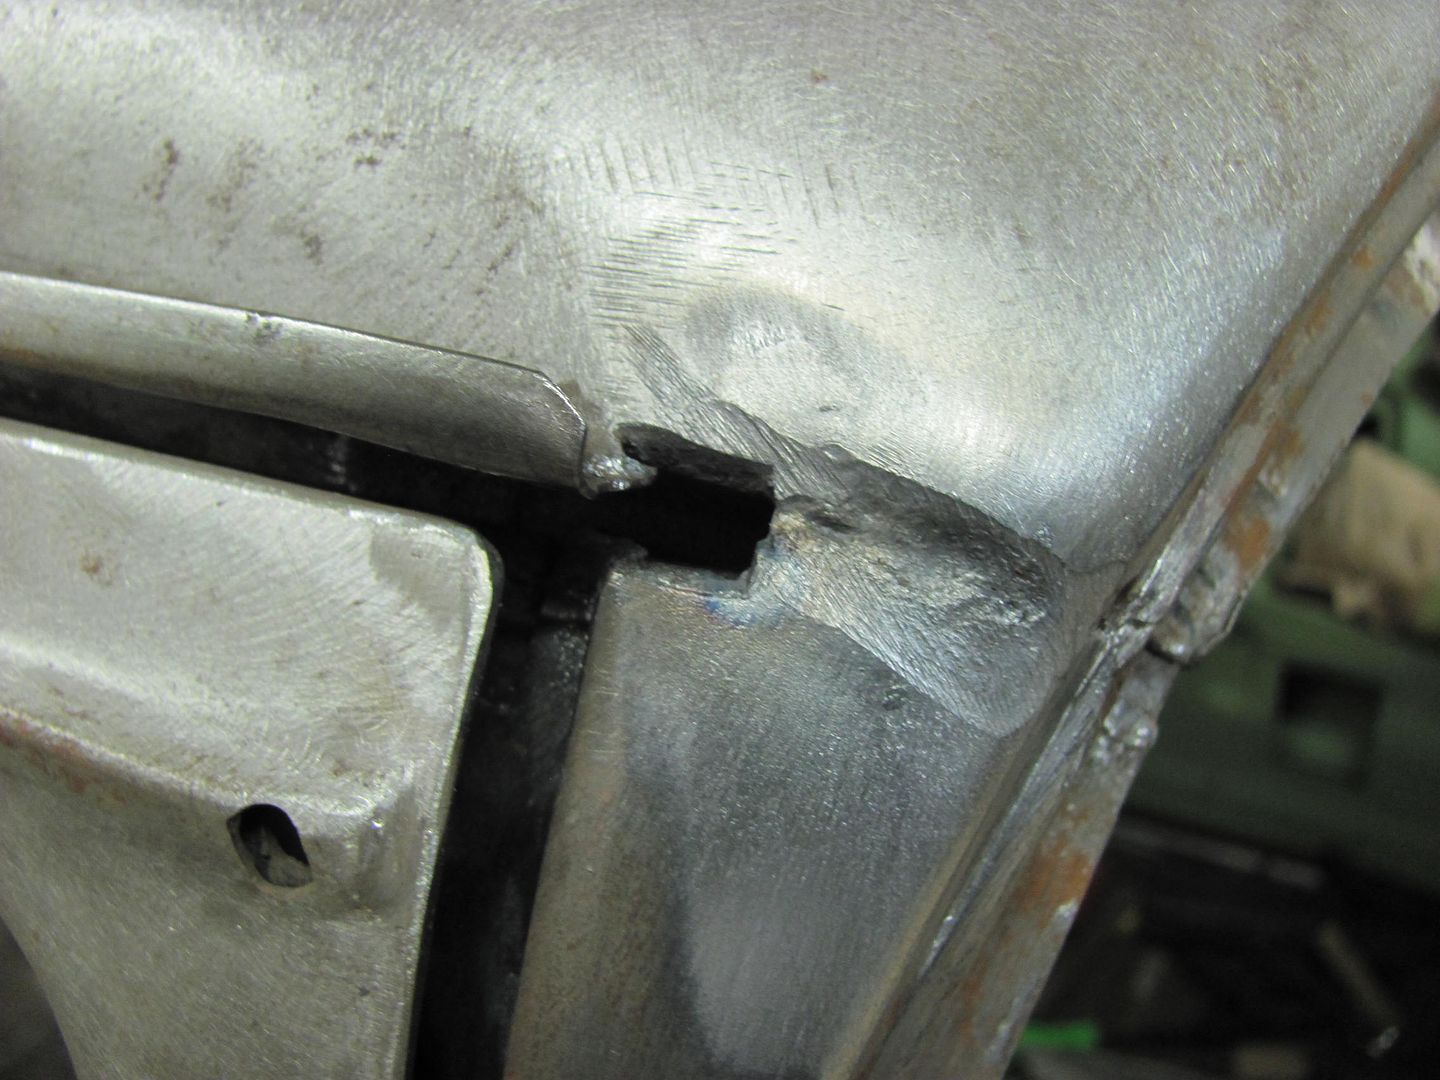
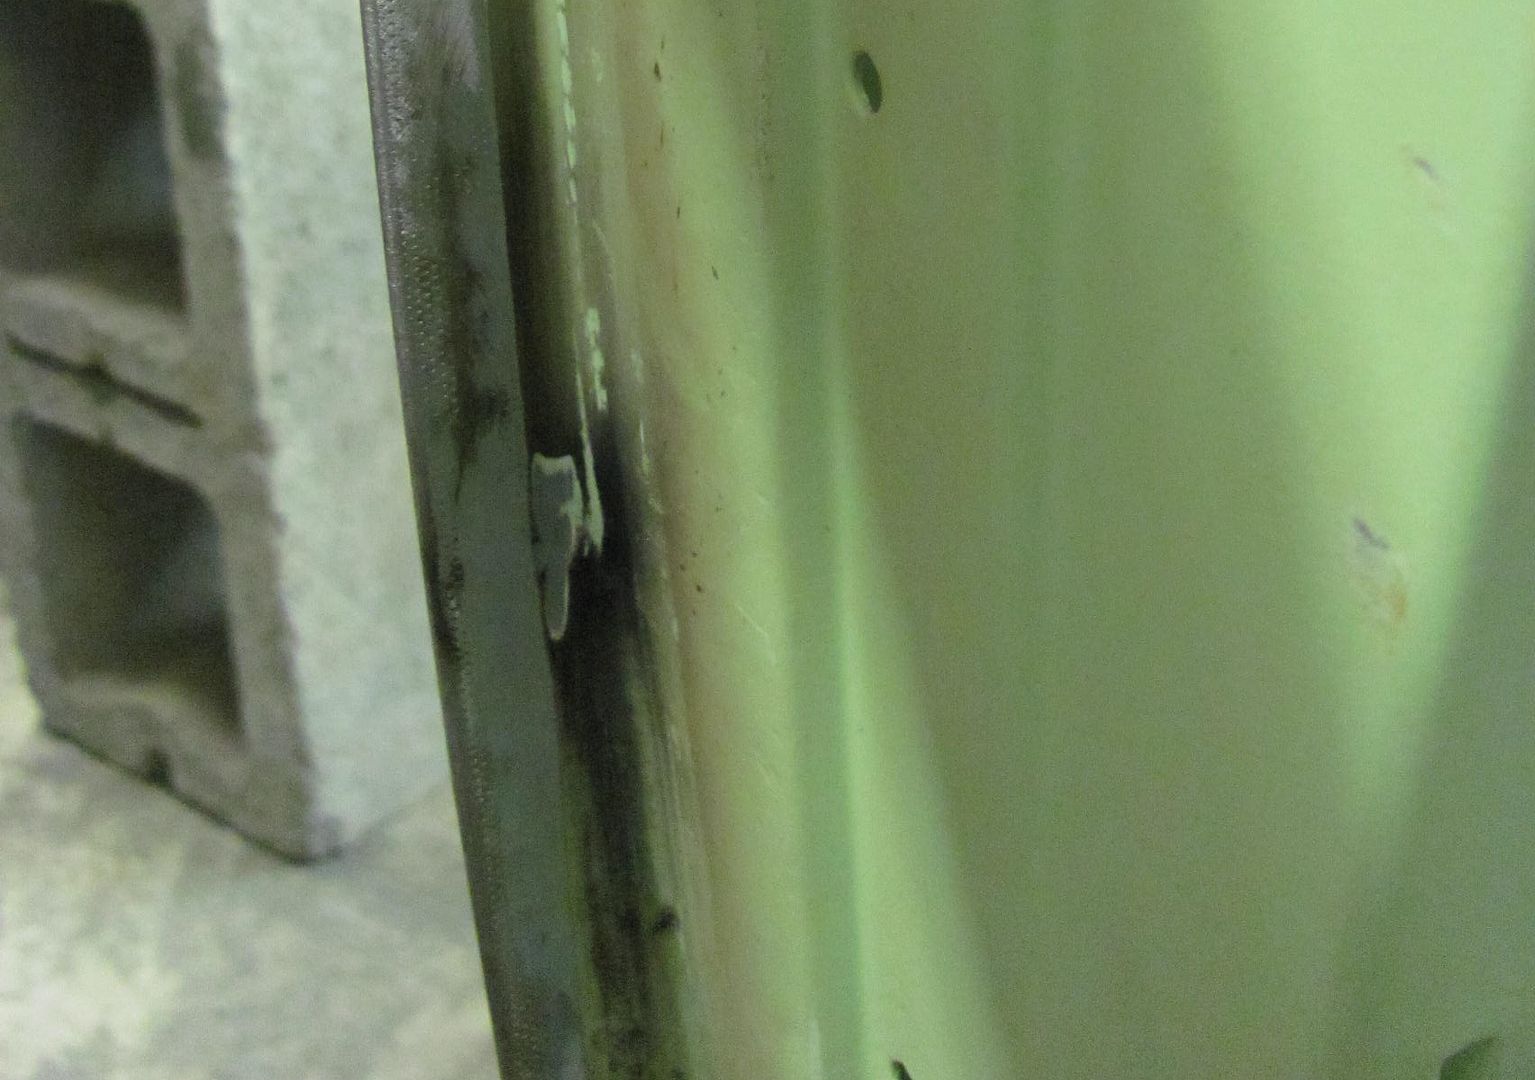
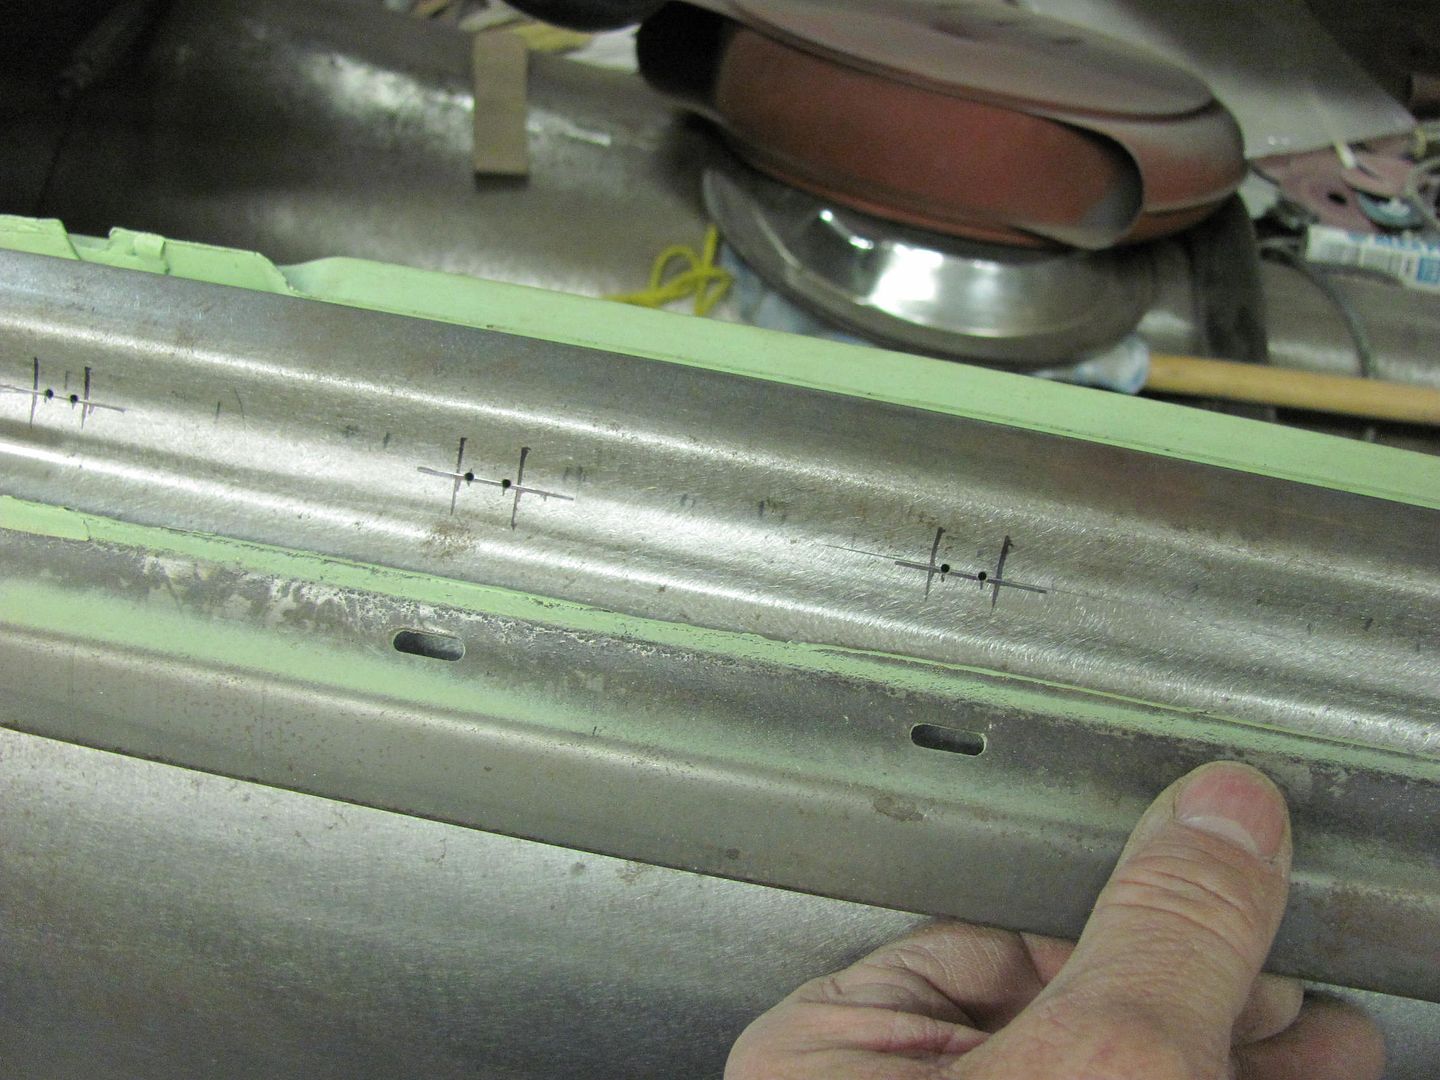
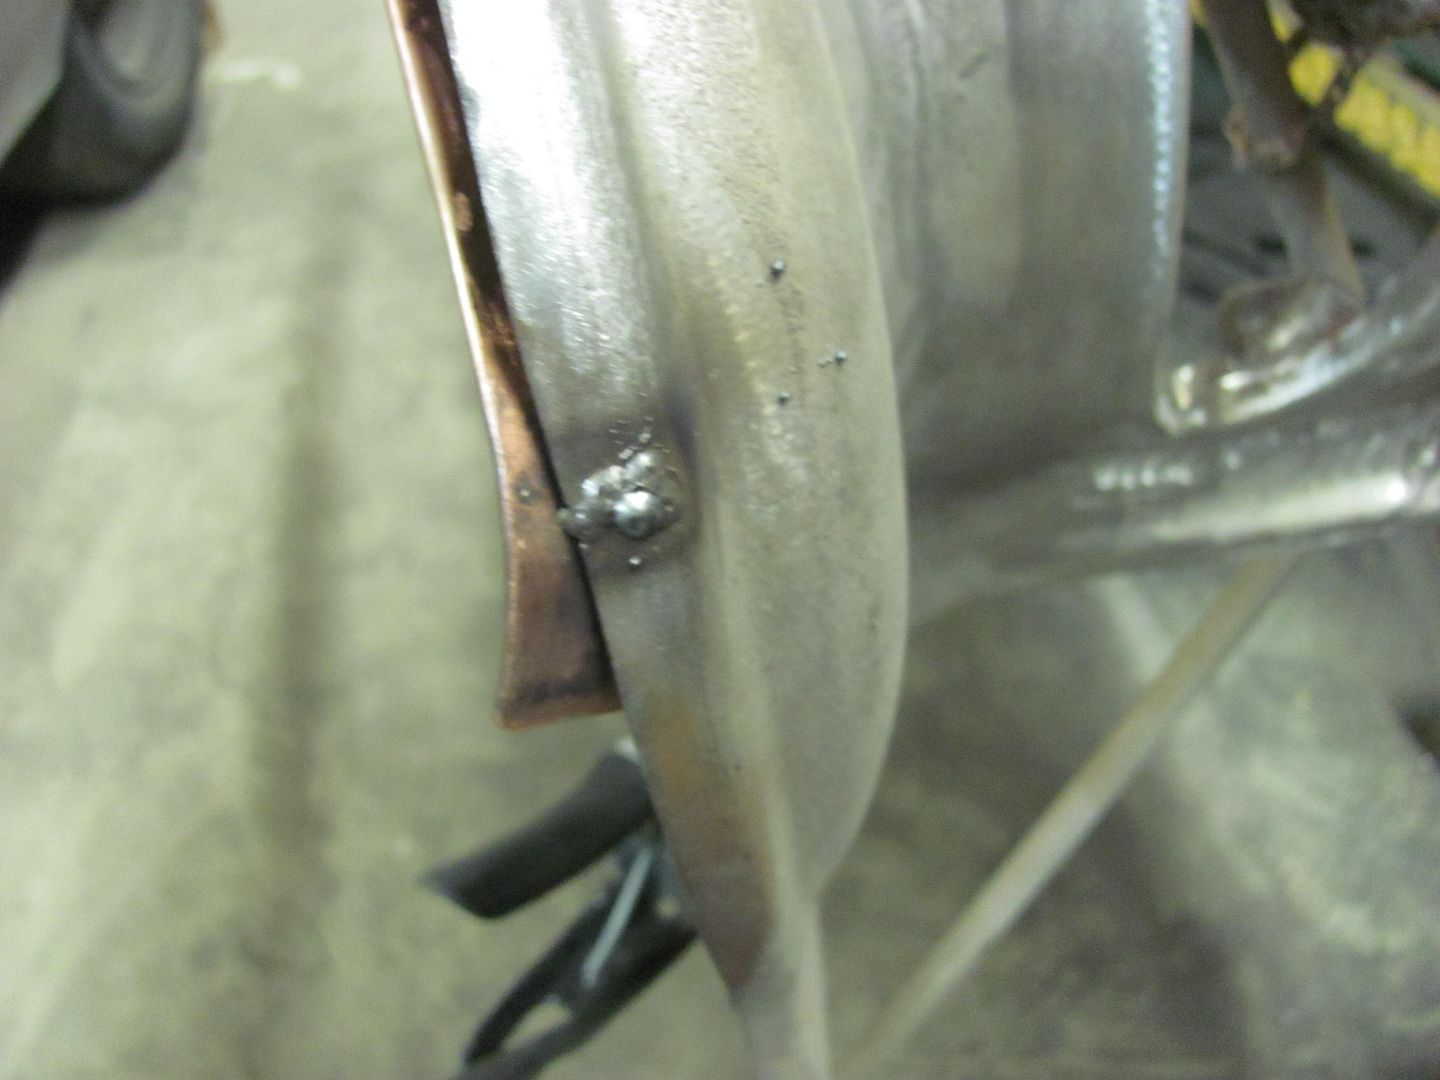
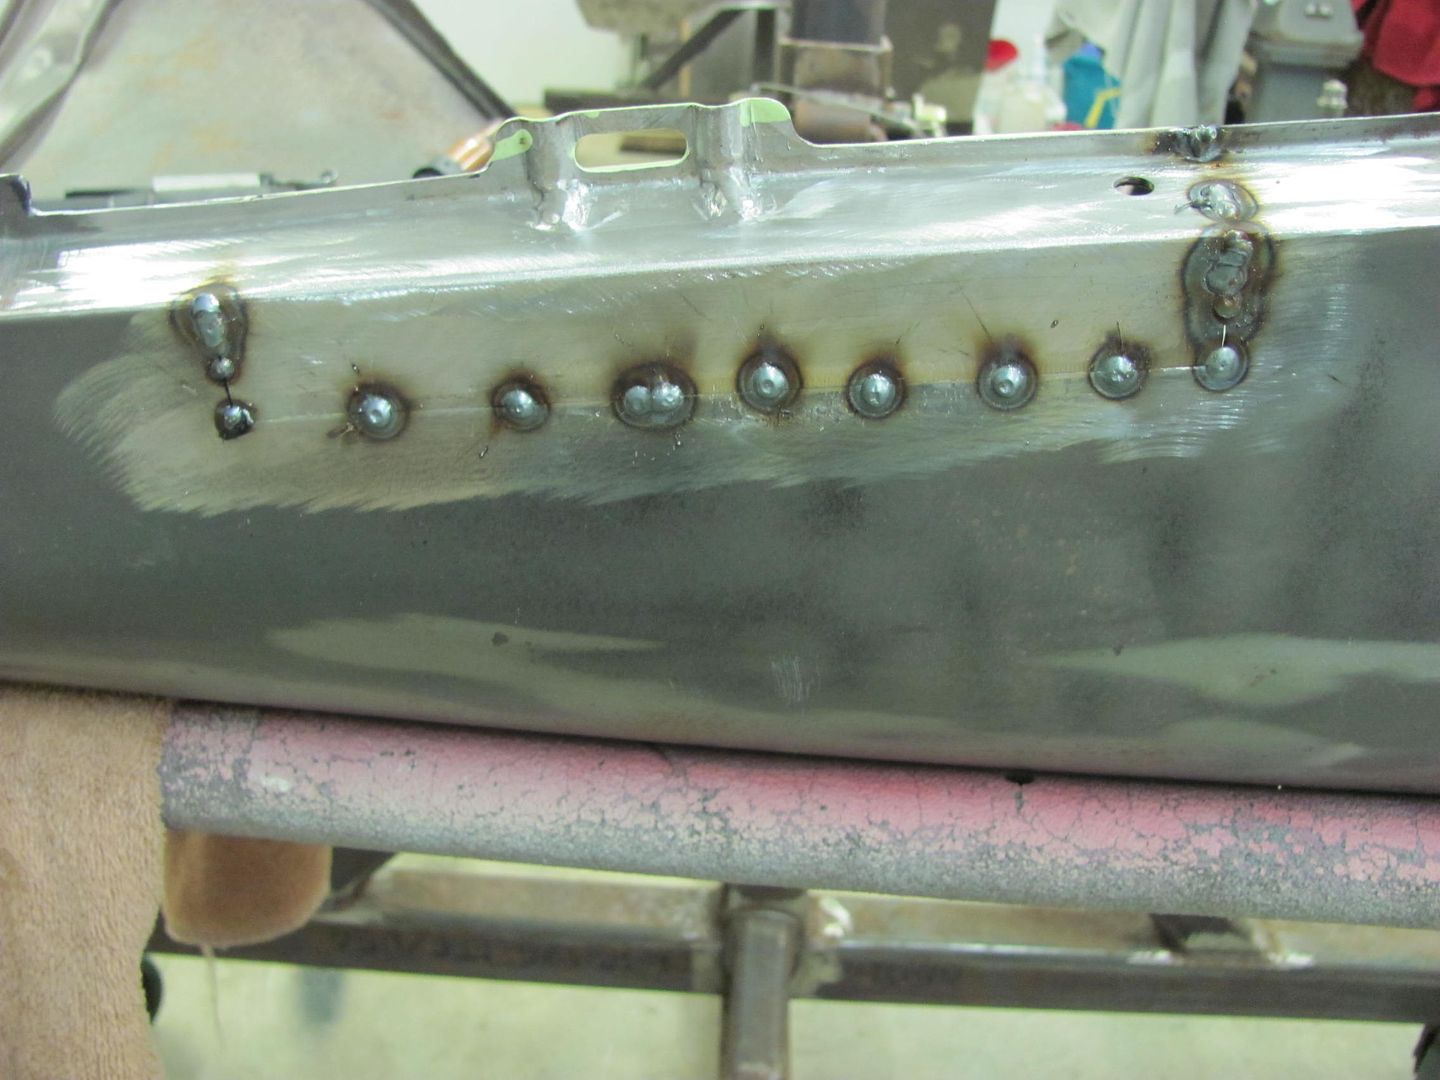
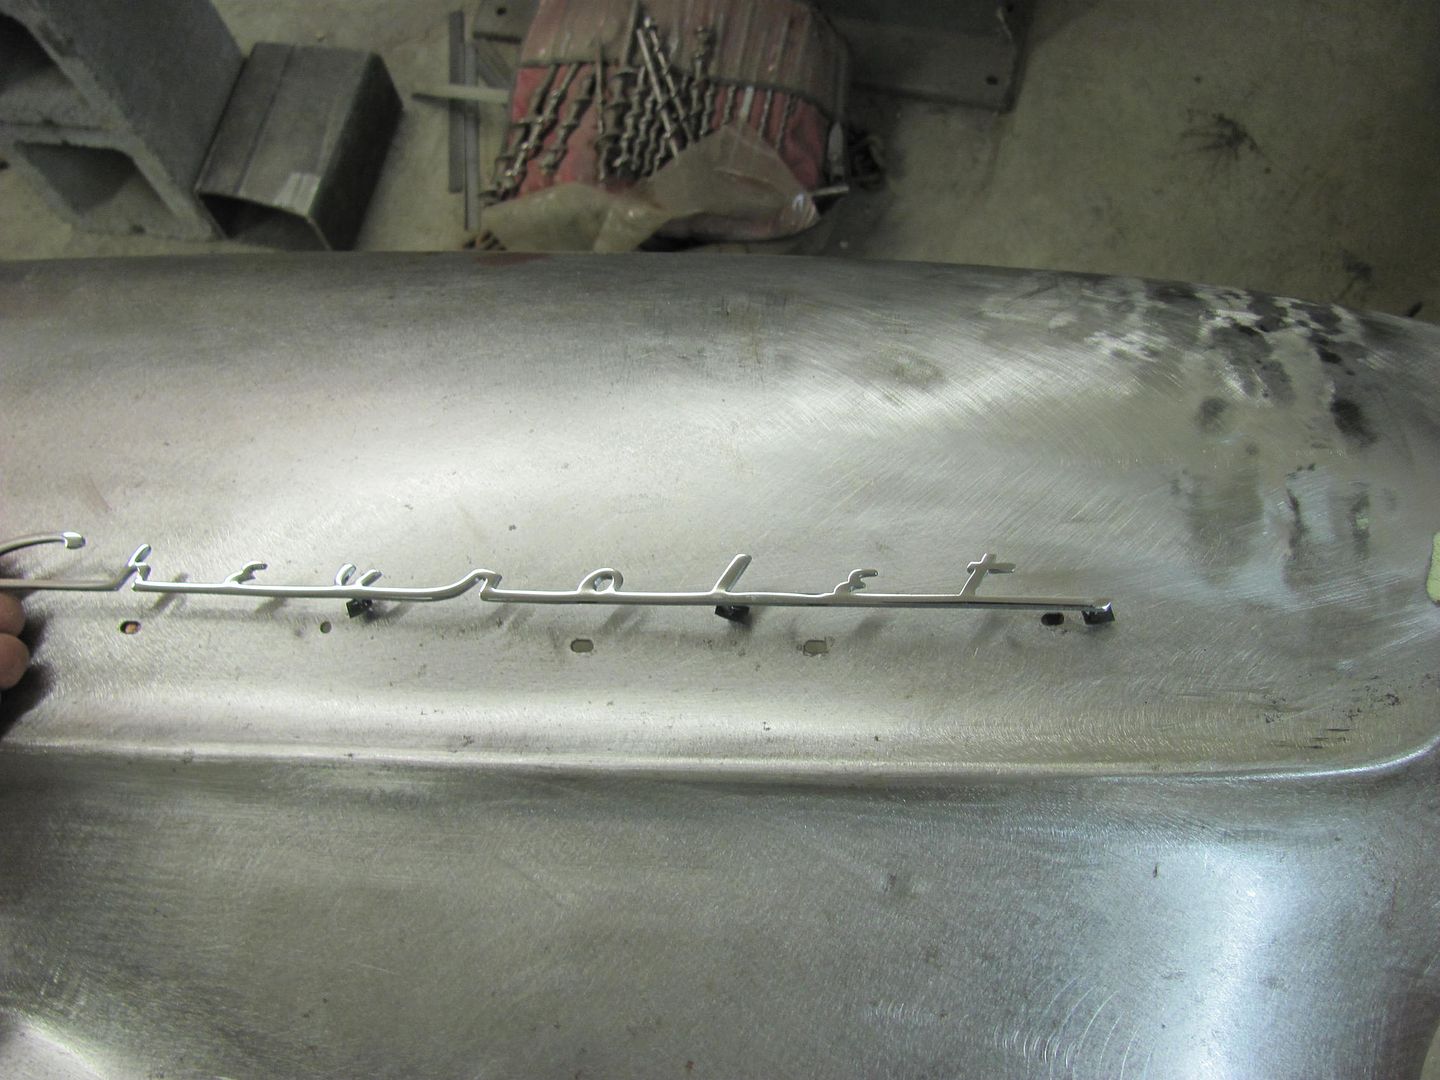
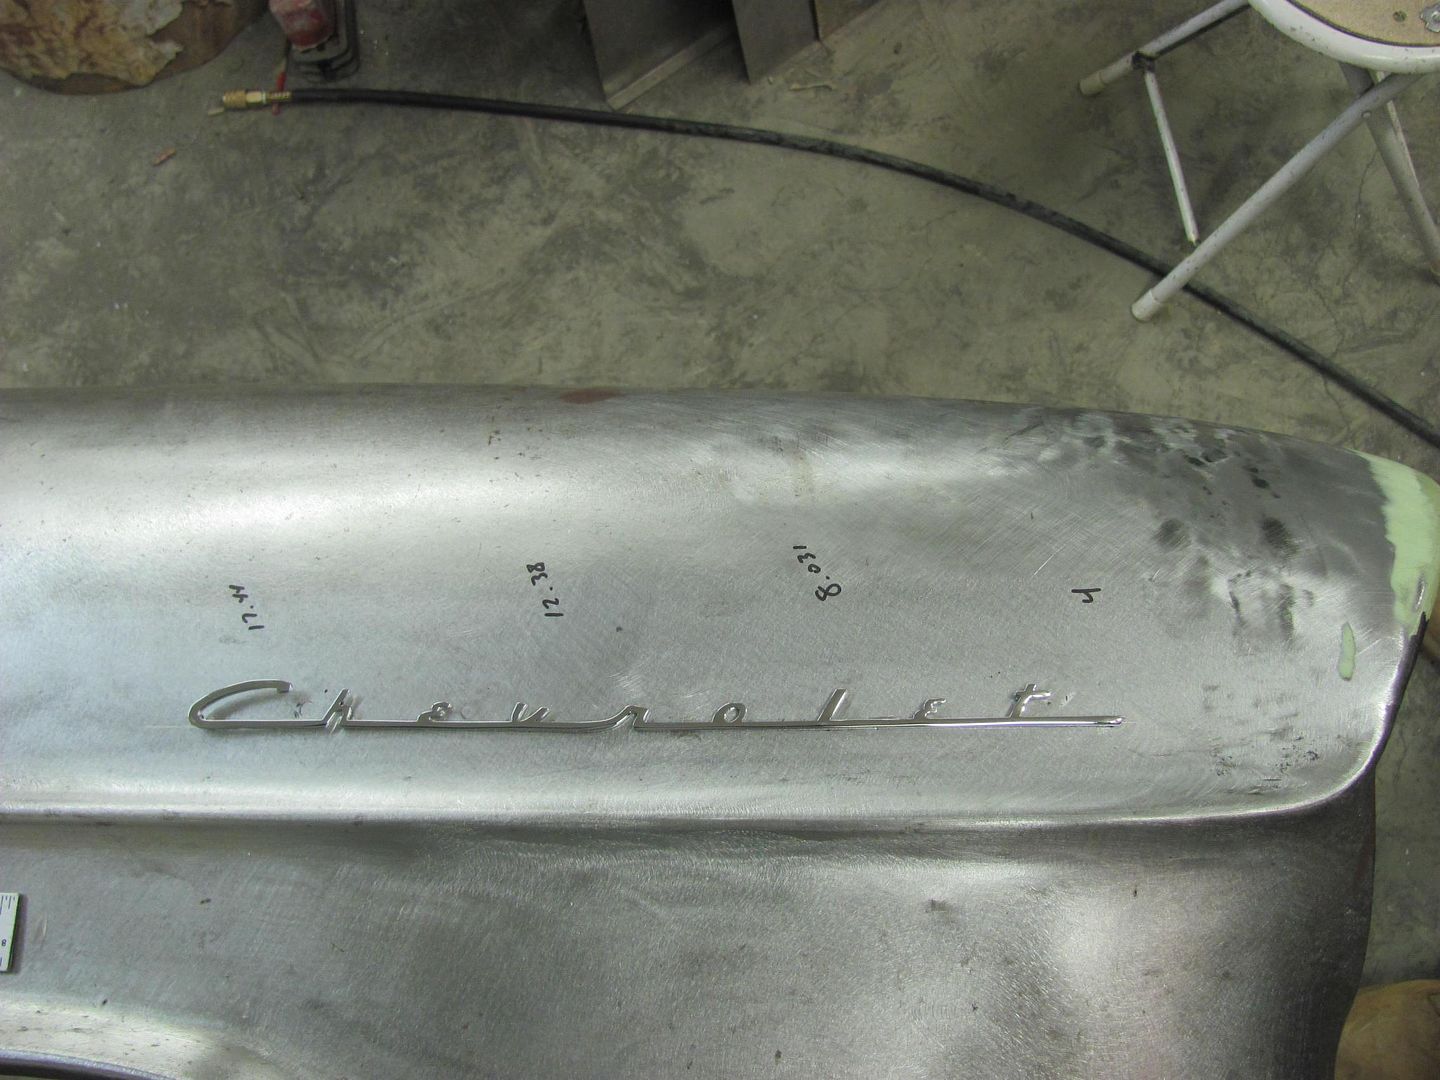
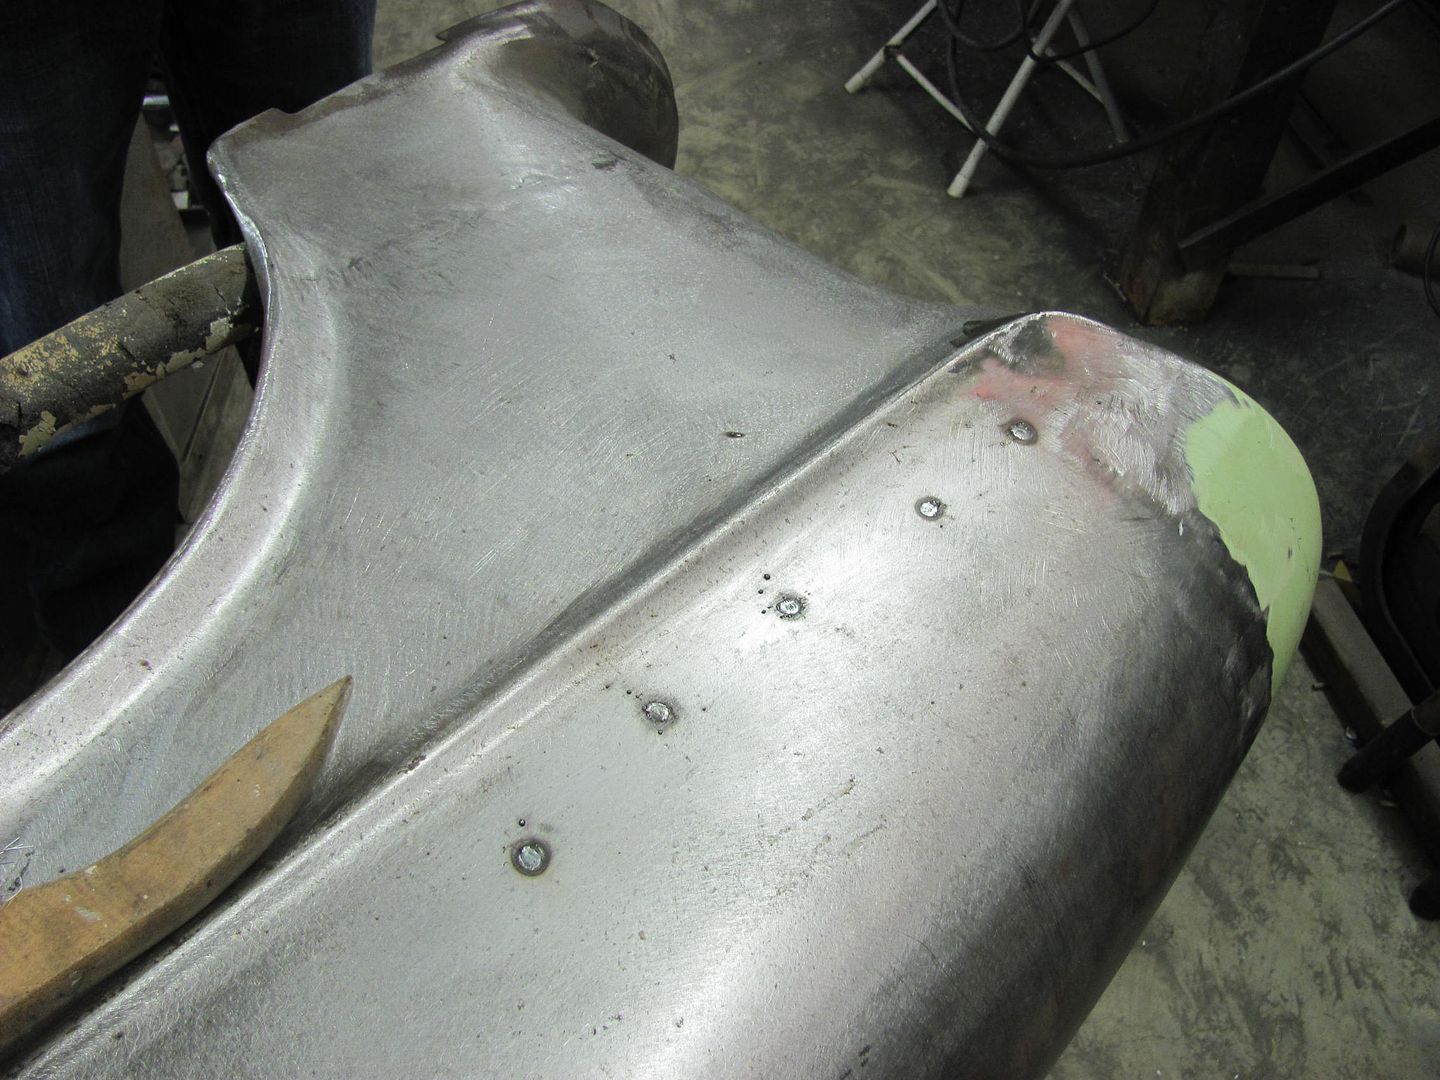
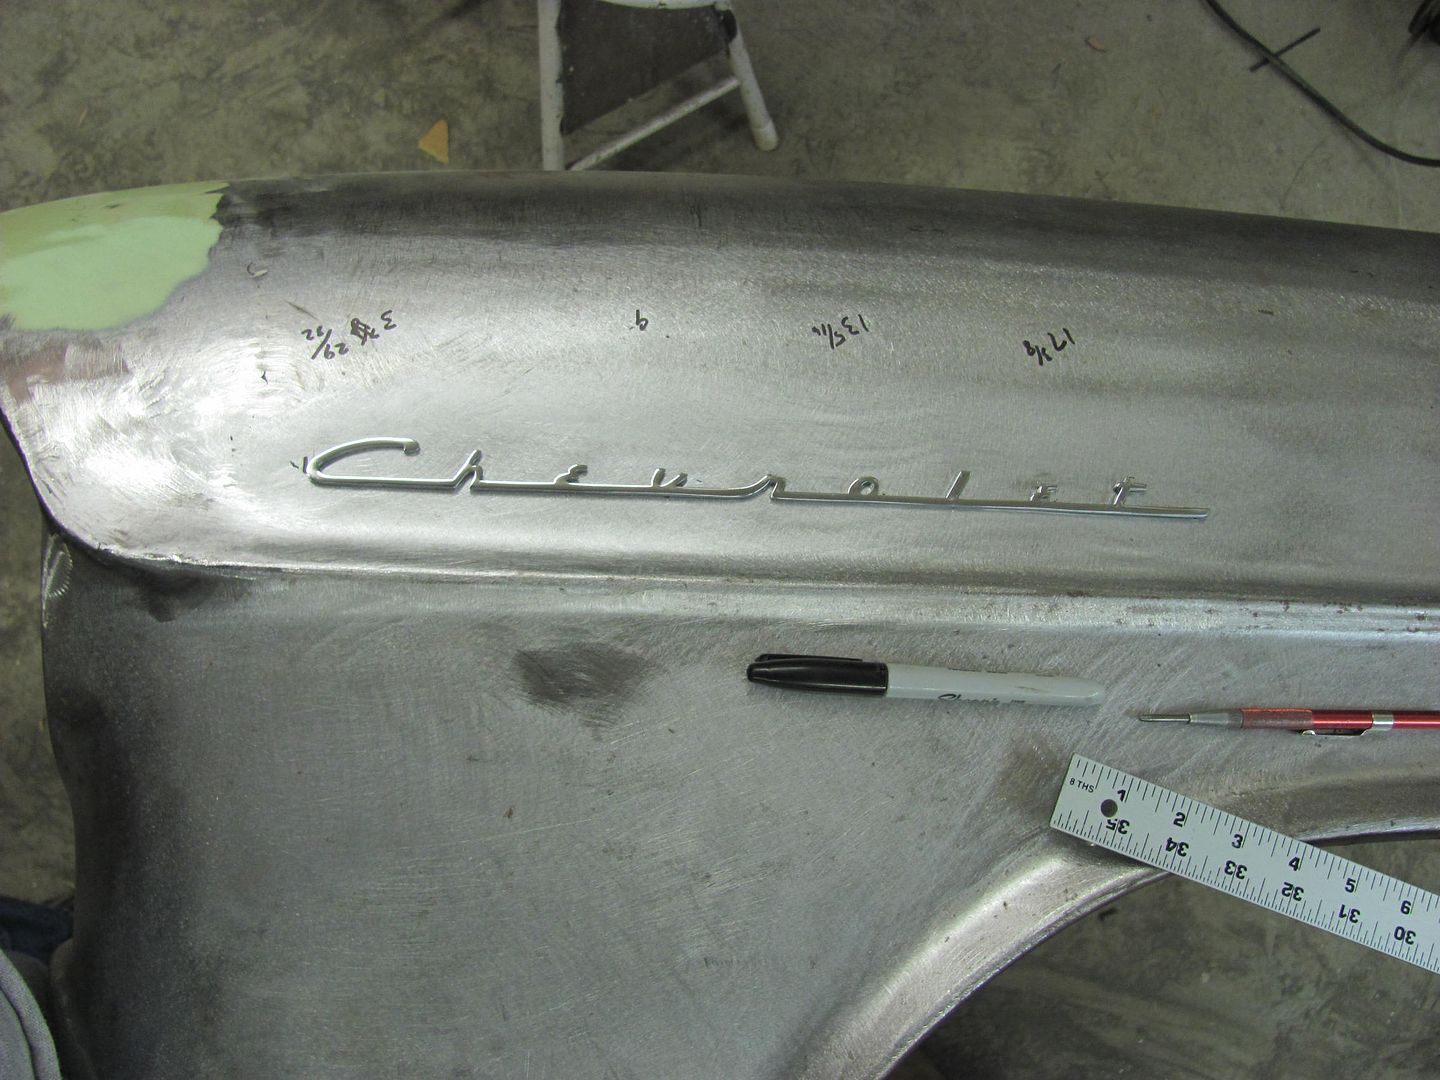
    Next, we have some early model fender emblems to install on the front fenders, so we needed to fill the old holes...


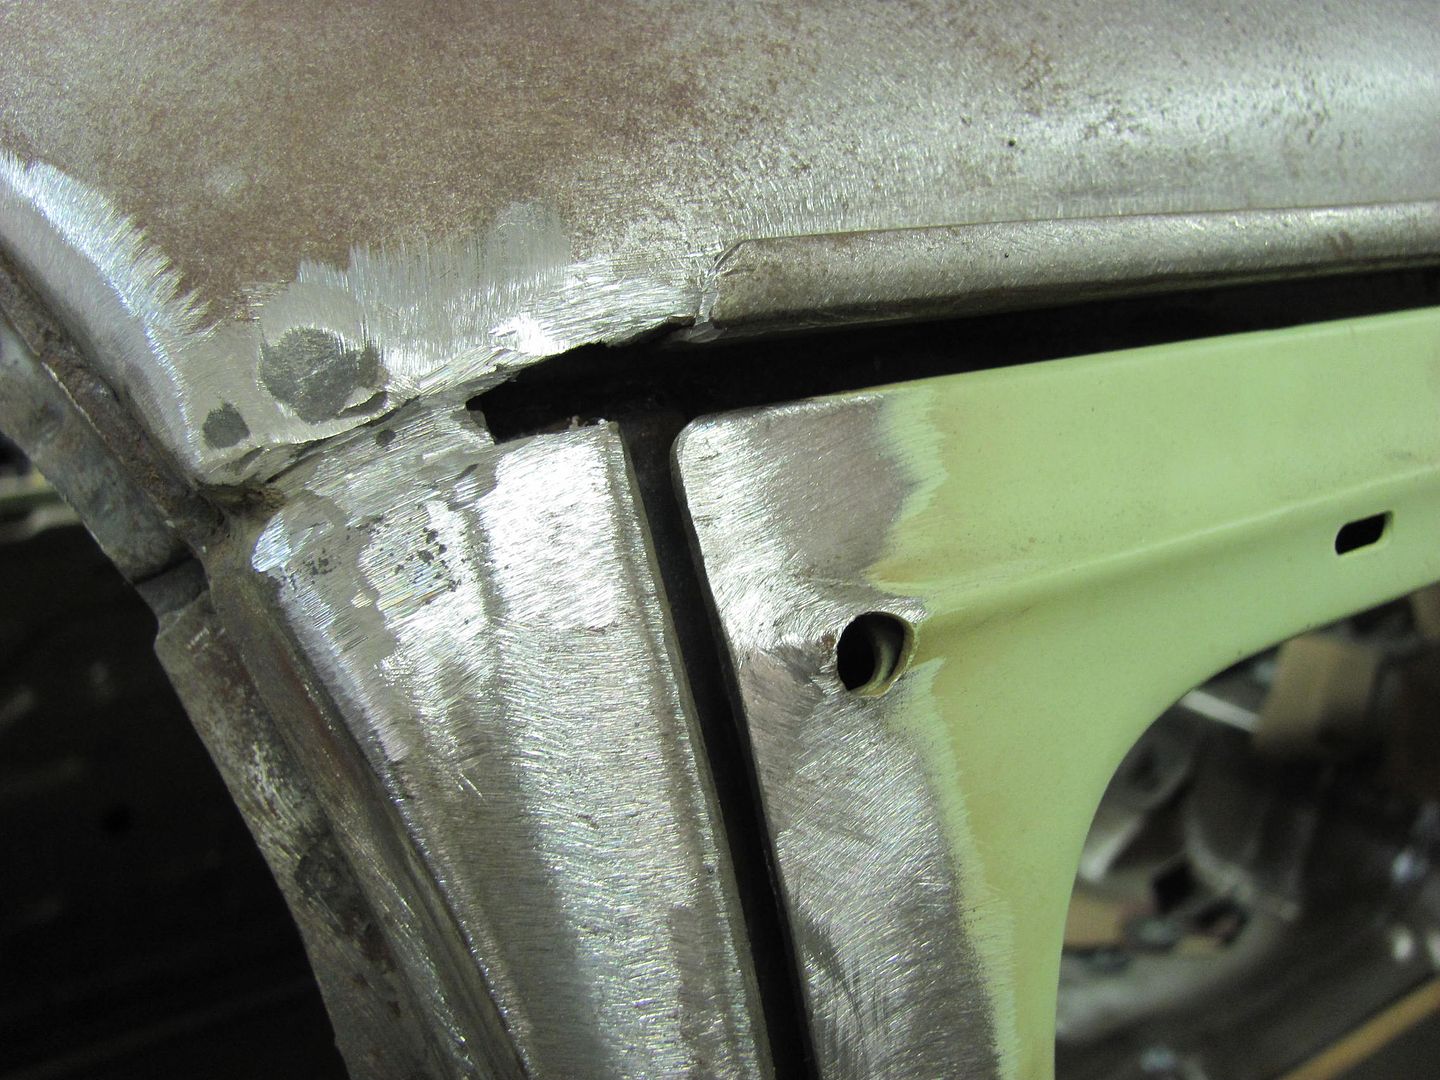
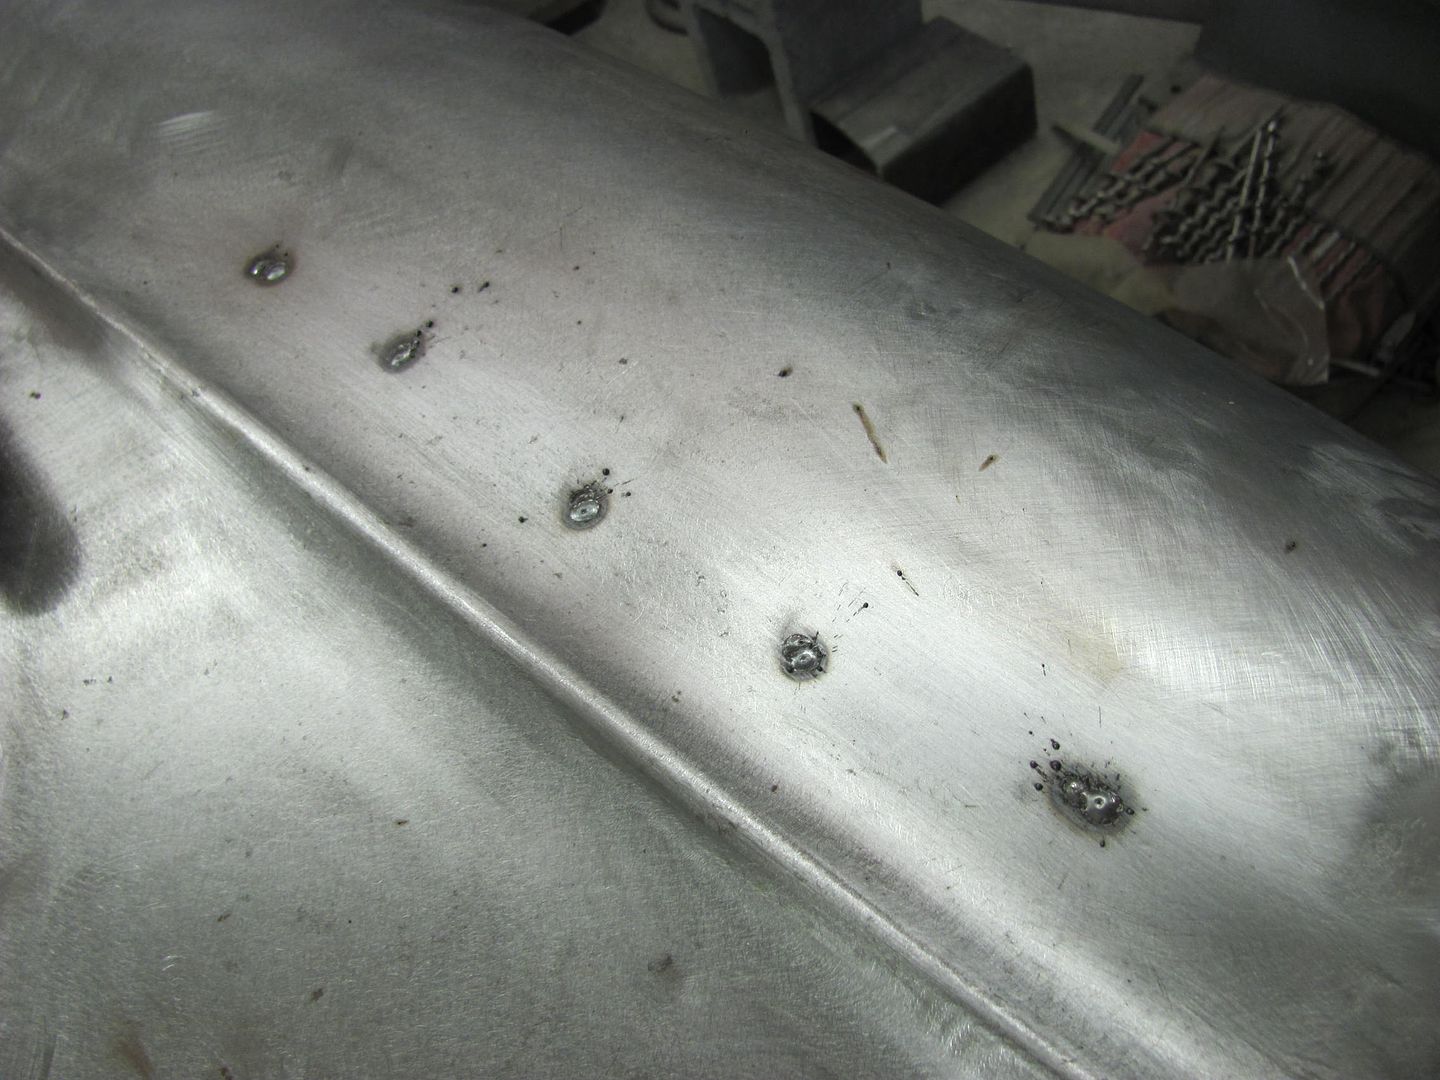
    Three separate quick zaps were used (about a minute in between) to minimize the heat introduced into the panel for filling the slotted holes. Note minimal HAZ..


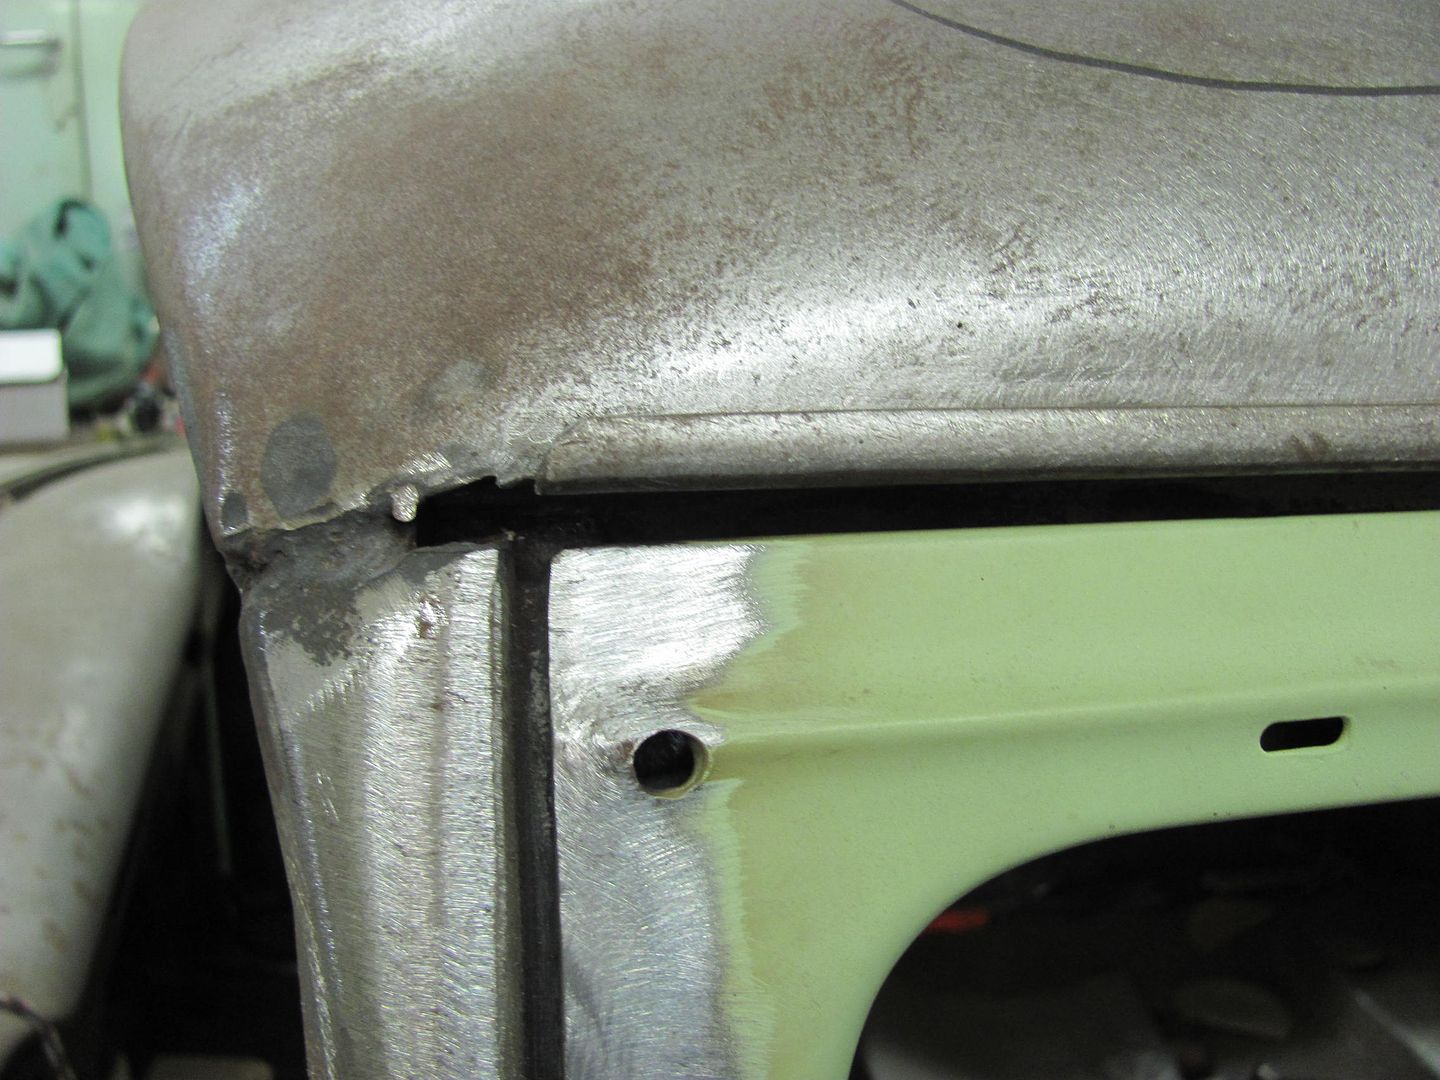
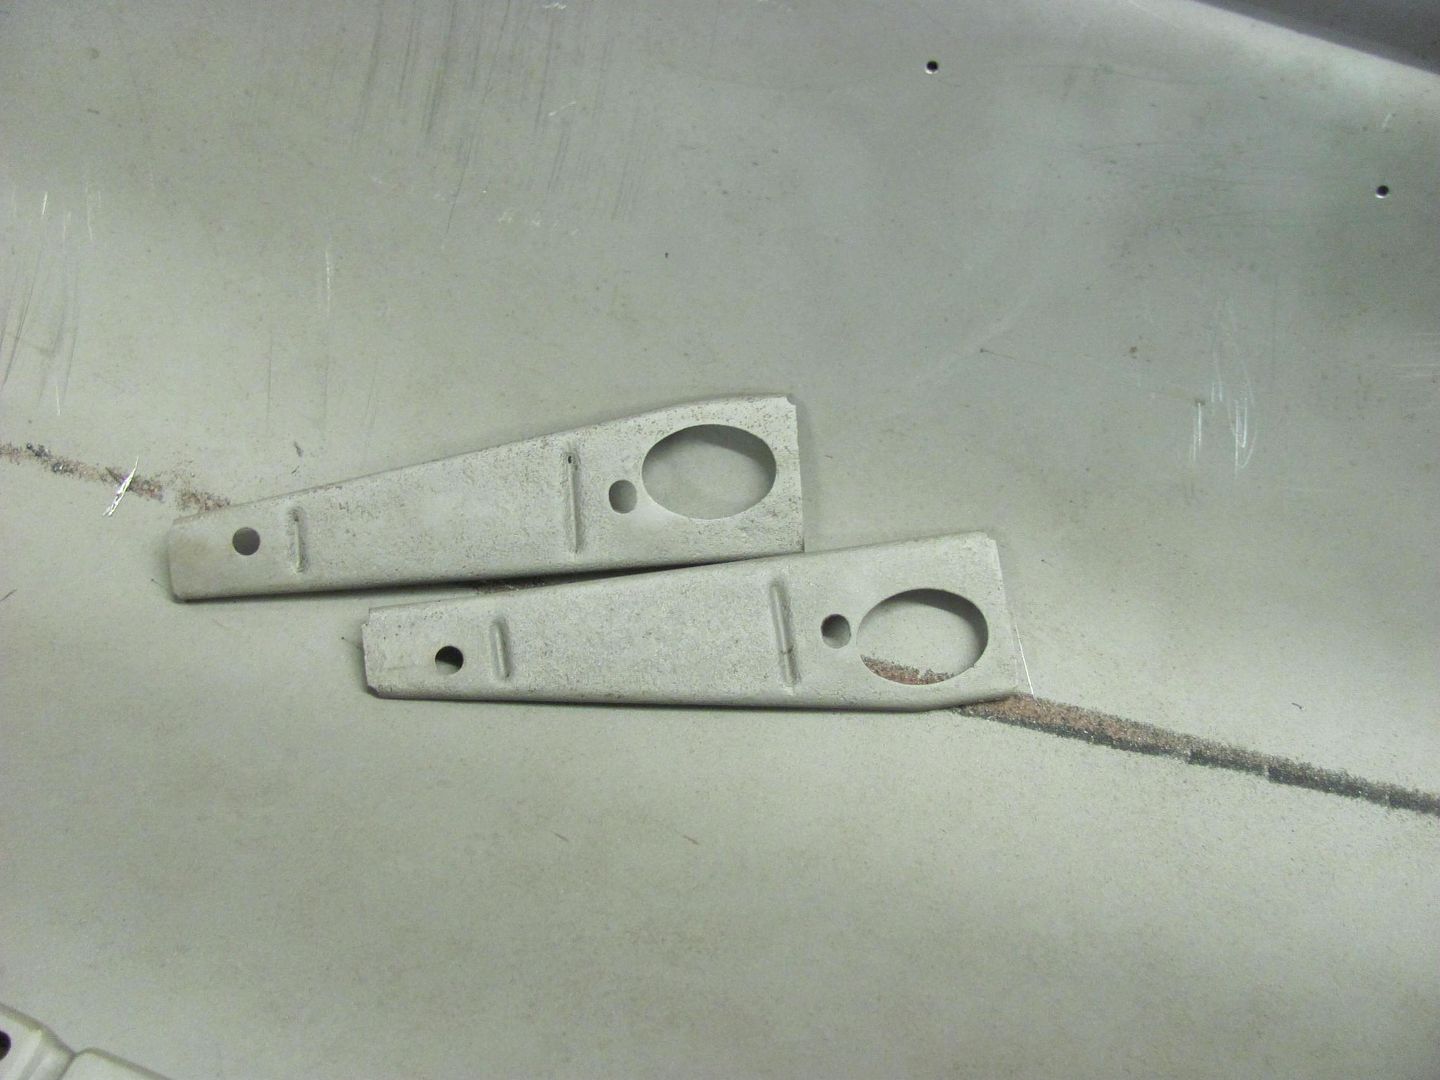
    Holes laid out and drilled for the new emblem...
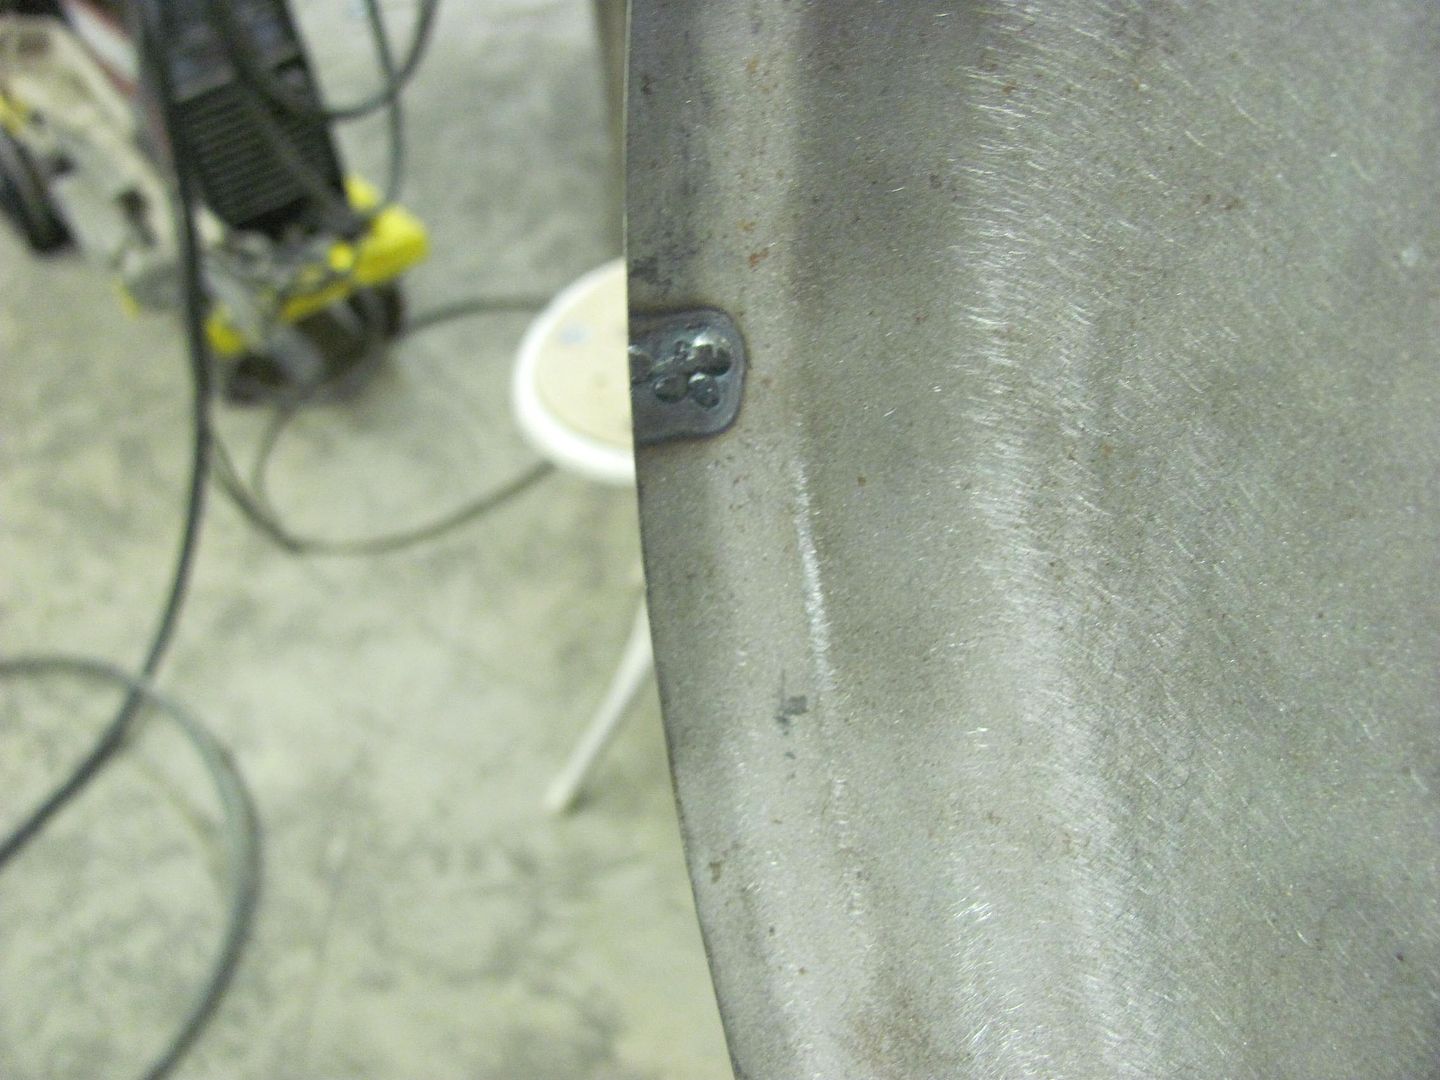


    Other fender...


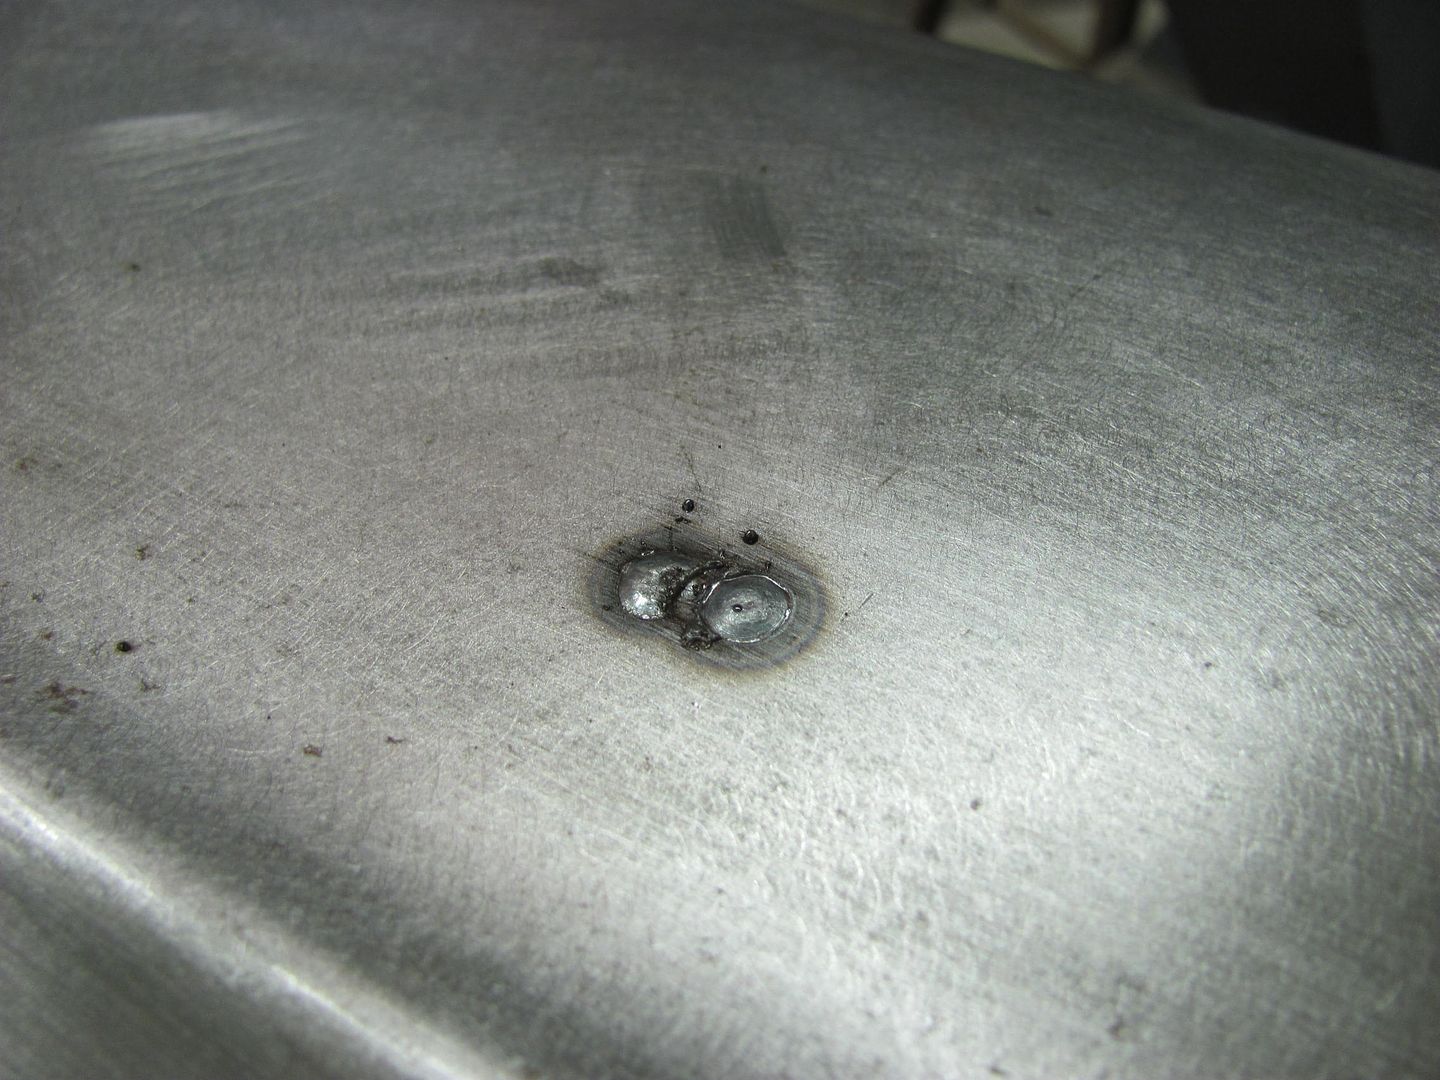
    Note minimal weld bead height using EZ Grind..


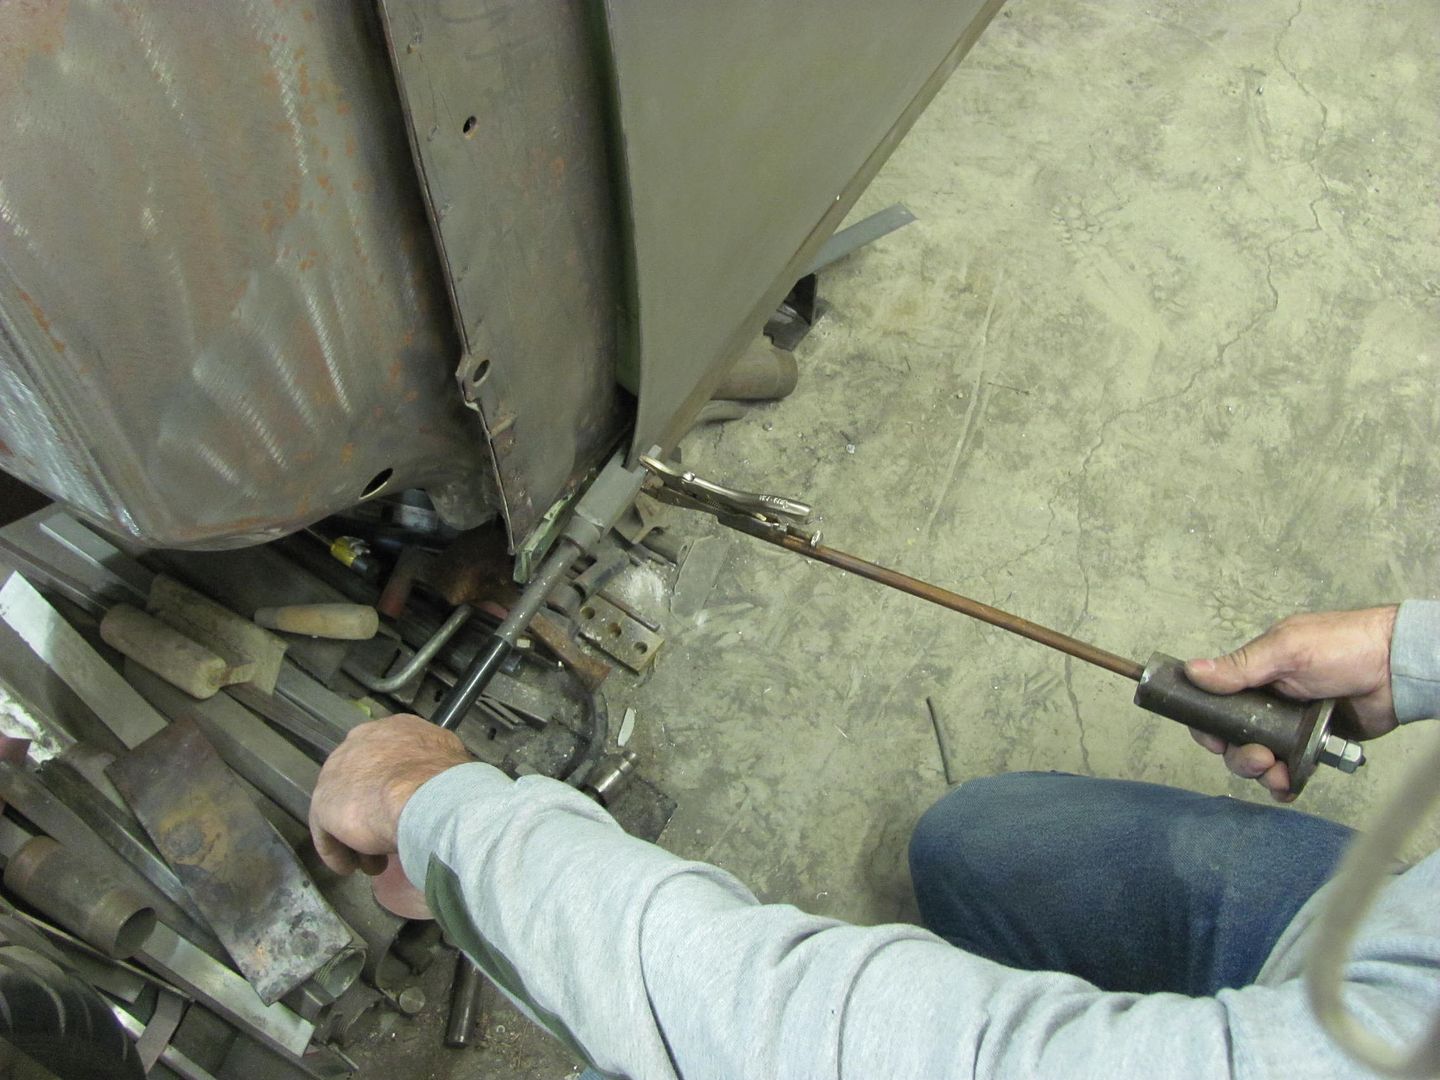
    Next, we had one more minor adjustment to do to the driver door lower corner. It was tweaked inward slightly and needed some adjustment. I recently noticed one of my hole punches was broken, and it looks like it will work for what we need, in conjunction with the vise grip dent puller...


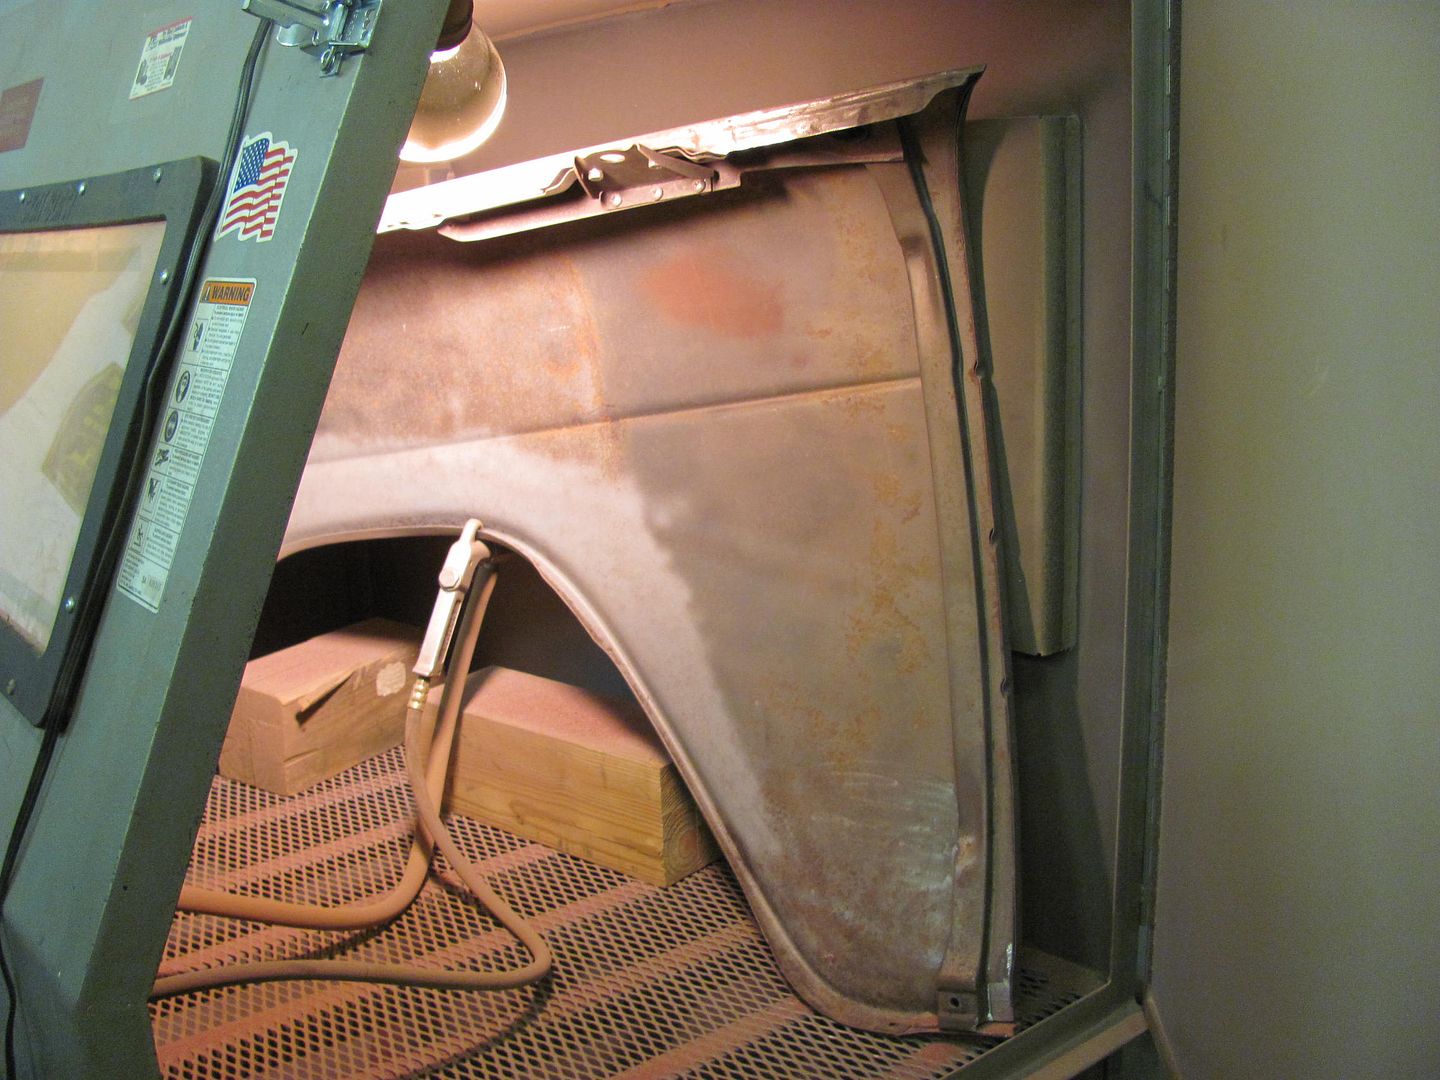
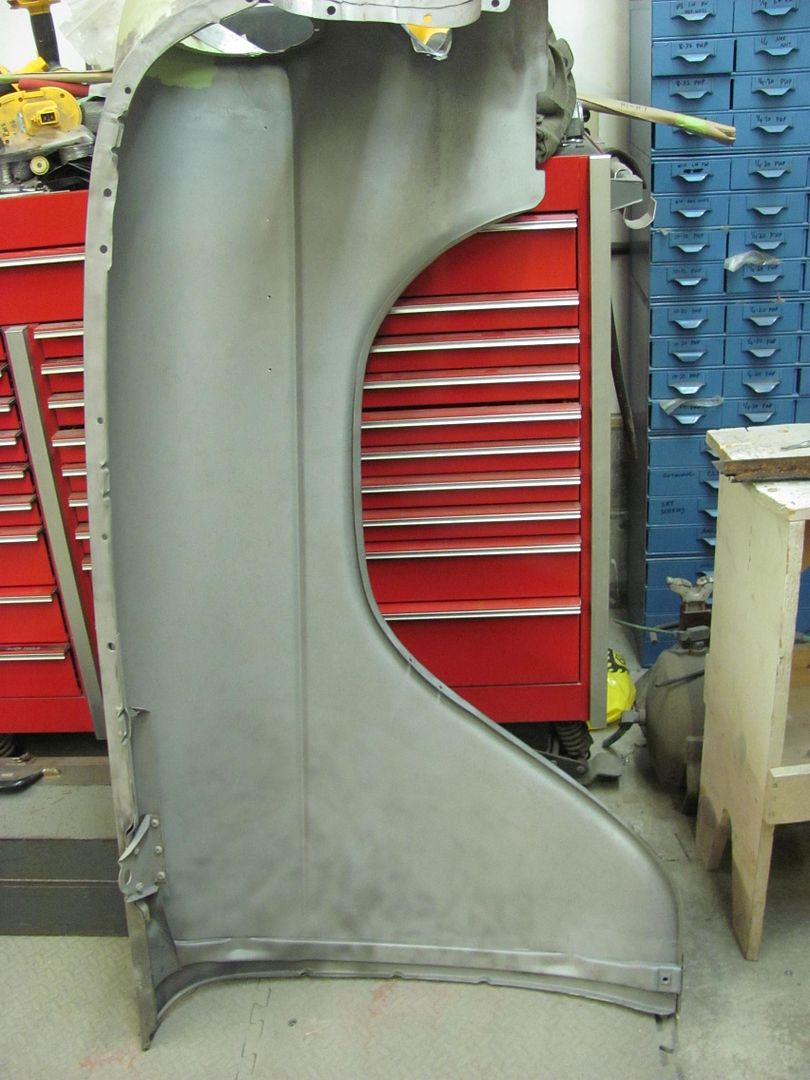
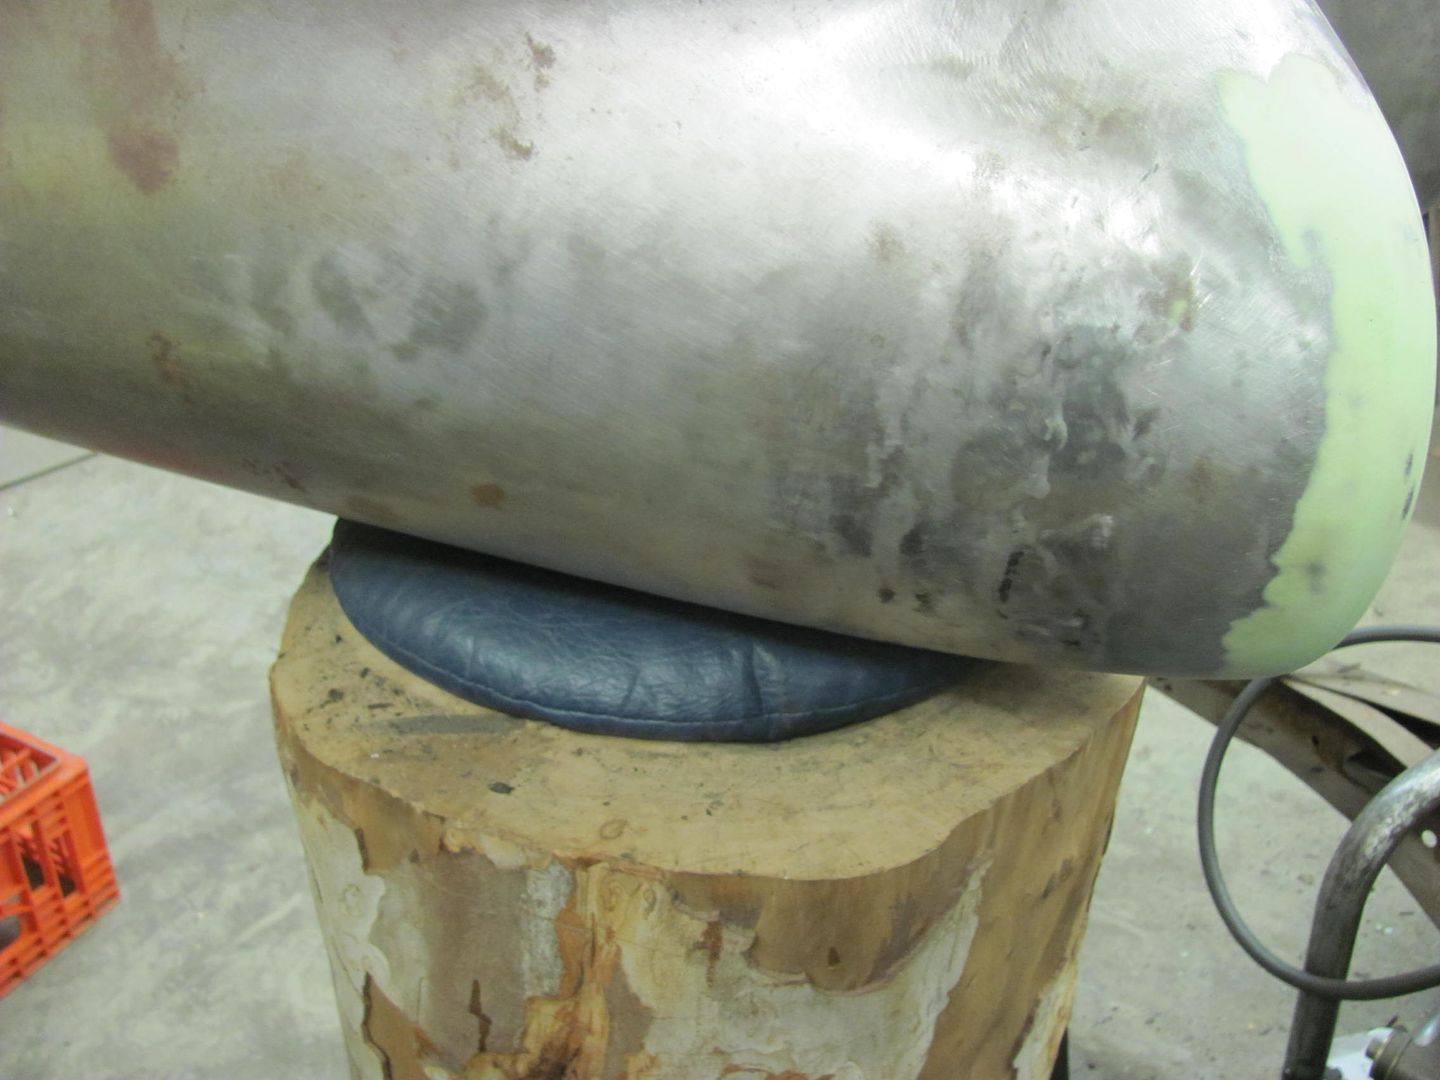
    Kyle started media blasting the inside of the driver's fender.... A bit of a squeeze in a 58" wide blast cabinet..


    Rather tight to the door!


    Until next time.....
    Robert


    MP&C Shop Projects-Metalshaping Tutorials


    Instagram @ mccartney_paint_and_custom


    .

  2. #2
    Registered Member carls 56 (RIP 11/24/2021)'s Avatar
    Join Date
    Jan 2011

    Member #:33
    Location
    Culpeper, Va.
    Posts
    1,857
    nice work, thanks for sharing Robert.
    ARMY NAM VET, very proud!

    56 210 4dr

    drive and enjoy them while you work on them, life is to short.

  3. #3
    Registered Member JT56's Avatar
    Join Date
    Mar 2013

    Member #:1608
    Location
    DFW Texas
    Posts
    1,209
    Great work indeed!

  4. #4
    Registered Member MP&C's Avatar
    Join Date
    Dec 2013

    Member #:2017
    Location
    Southern MD
    Posts
    1,288
    Thanks guys!

    While I was doing the family thing today at an FLL robotics competition, Kyle worked some more on prepping the front fenders for priming..
    One down......


    One to go....


    Another issue that plagues most of the trifive Chevrolets is cracking at the leaded joint at the top of the A pillar.


    A look at the other side shows a gap that is quite a stretch to expect a good permanent repair regardless of the filler used..


    At over 1/4" wide, something we will need to address...


    So we'll attempt a repair similar to the radius-ing that was done on the rear tailgate, using STEEL..


    Until next time....
    Robert


    MP&C Shop Projects-Metalshaping Tutorials


    Instagram @ mccartney_paint_and_custom


    .

  5. #5
    Registered Member MP&C's Avatar
    Join Date
    Dec 2013

    Member #:2017
    Location
    Southern MD
    Posts
    1,288
    While Kyle continued media blasting fenders, I worked on closed up a gaping hole....


    A couple weak spots dictated a bigger hole. Here the radius was added from the A pillar to beneath the drip rail..


    Test fit


    Welded in place.....


    Used a torch and wire brush to clean off the other side, looks like this gap was a factory deal, and we have another radius to install..


    Robert


    MP&C Shop Projects-Metalshaping Tutorials


    Instagram @ mccartney_paint_and_custom


    .

  6. #6
    Registered Member chevynut's Avatar
    Join Date
    Nov 2011

    Member #:115
    Location
    Fort Collins, CO
    Posts
    10,826
    Wow, those gaps on the a-pillar are pretty big. I may have to re-address mine to see if I risk cracking there. On a Belair I think that area is pretty much covered up by trim.
    56 Nomad, Ramjet 502, Viper 6-speed T56, C4 Corvette front and rear suspension


    Other vehicles:

    56 Chevy 2-door BelAir sedan
    56 Chevy 210 4-door sedan
    57 Chevy 210 4-door sedan
    1962 327/340HP Corvette
    1961 Willys CJ3B Jeep
    2001 Porsche Boxster S
    2003 Chevy Silverado 2500 HD Duramax
    2019 GMC Sierra Denali Duramax

  7. #7
    Administrator 567chevys's Avatar
    Join Date
    Oct 2010

    Member #:3
    Location
    Woodland Washington
    Posts
    2,407
    Robert ,


    Great stuff for all to enjoy and learn from . Thanks for taking the time to post for all of us !!


    Sid

    1955 2 DR Post
    1937 Chevy Coupe
    2023 Ford Super Duty F350 TREMOR
    2019 Corvette Z06
    1955 Chevy Nomad
    1935 Ford 2dr Slant back I have 4

  8. #8
    Registered Member MP&C's Avatar
    Join Date
    Dec 2013

    Member #:2017
    Location
    Southern MD
    Posts
    1,288
    More progress, although it doesn't appear like much, progress just the same...

    Door skins had been left "loose" on the inner door to allow twisting/tweaking for fitment within the door opening. Drilled some 3/16 holes from flange into inner door and plug welded. I've had many people ask how well the epoxy primer holds up to the heat of plug welds, here is a good indicator. It shows discoloration at the surface, but note the nice green primer underneath where the grinding wheel went through the paint..


    Parts ready for epoxy primer..


    These are the stiffeners for inside the door skin that go behind the door handle. The inside of the door will be sprayed, as well as these parts, and allowed to flash. Then another application on both and they'll get bolted in place, letting the epoxy primer act as an adhesive to hold in place and seal to the door skin. Once door handles are bolted on they will be there for good..


    This car has belt line trim that goes around the perimeter at the bottom of the windows, which needed to be added to the new door skins. I had saved a piece from the old door skins to get the locations correct. Here's the layout of the slots for the stainless attaching hardware, we'll get that finished next time..

    Robert


    MP&C Shop Projects-Metalshaping Tutorials


    Instagram @ mccartney_paint_and_custom


    .

  9. #9
    Registered Member MP&C's Avatar
    Join Date
    Dec 2013

    Member #:2017
    Location
    Southern MD
    Posts
    1,288
    Why is it when you're getting ready to mix primer you find other issues to fix?? More minor tweaks so that hopefully we can spray this afternoon...
    A crack that looks to be from some previous body damage.


    A post dolly is used to provide an off dolly effect, and the body hammer is struck on the "high" spot.


    Used a copper backing since we're so close to the edge and the metal has been fatigued. Filled the crack and dressed the weld...


    Then I noticed a low spot on the fender's bodyline crease...


    Time to lose another Craftsman chisel to become a body tool...


    ....the rod was heated and bent around, then finished welding.


    Placed the fender on the large shot bag and used the dead blow hammer to apply the persuasive force...


    Much better with a more consistent crown across the fender..

    Robert


    MP&C Shop Projects-Metalshaping Tutorials


    Instagram @ mccartney_paint_and_custom


    .

  10. #10
    Registered Member MP&C's Avatar
    Join Date
    Dec 2013

    Member #:2017
    Location
    Southern MD
    Posts
    1,288
    We have primer! Sprayed the SPI epoxy tonight, later this week we'll spray the doors and outside of the fenders and hood. Then we can assemble the front end and block across the adjacent panels..


    Robert


    MP&C Shop Projects-Metalshaping Tutorials


    Instagram @ mccartney_paint_and_custom


    .

Page 1 of 101 1231151 ... LastLast

Posting Permissions

  • You may not post new threads
  • You may not post replies
  • You may not post attachments
  • You may not edit your posts
  •