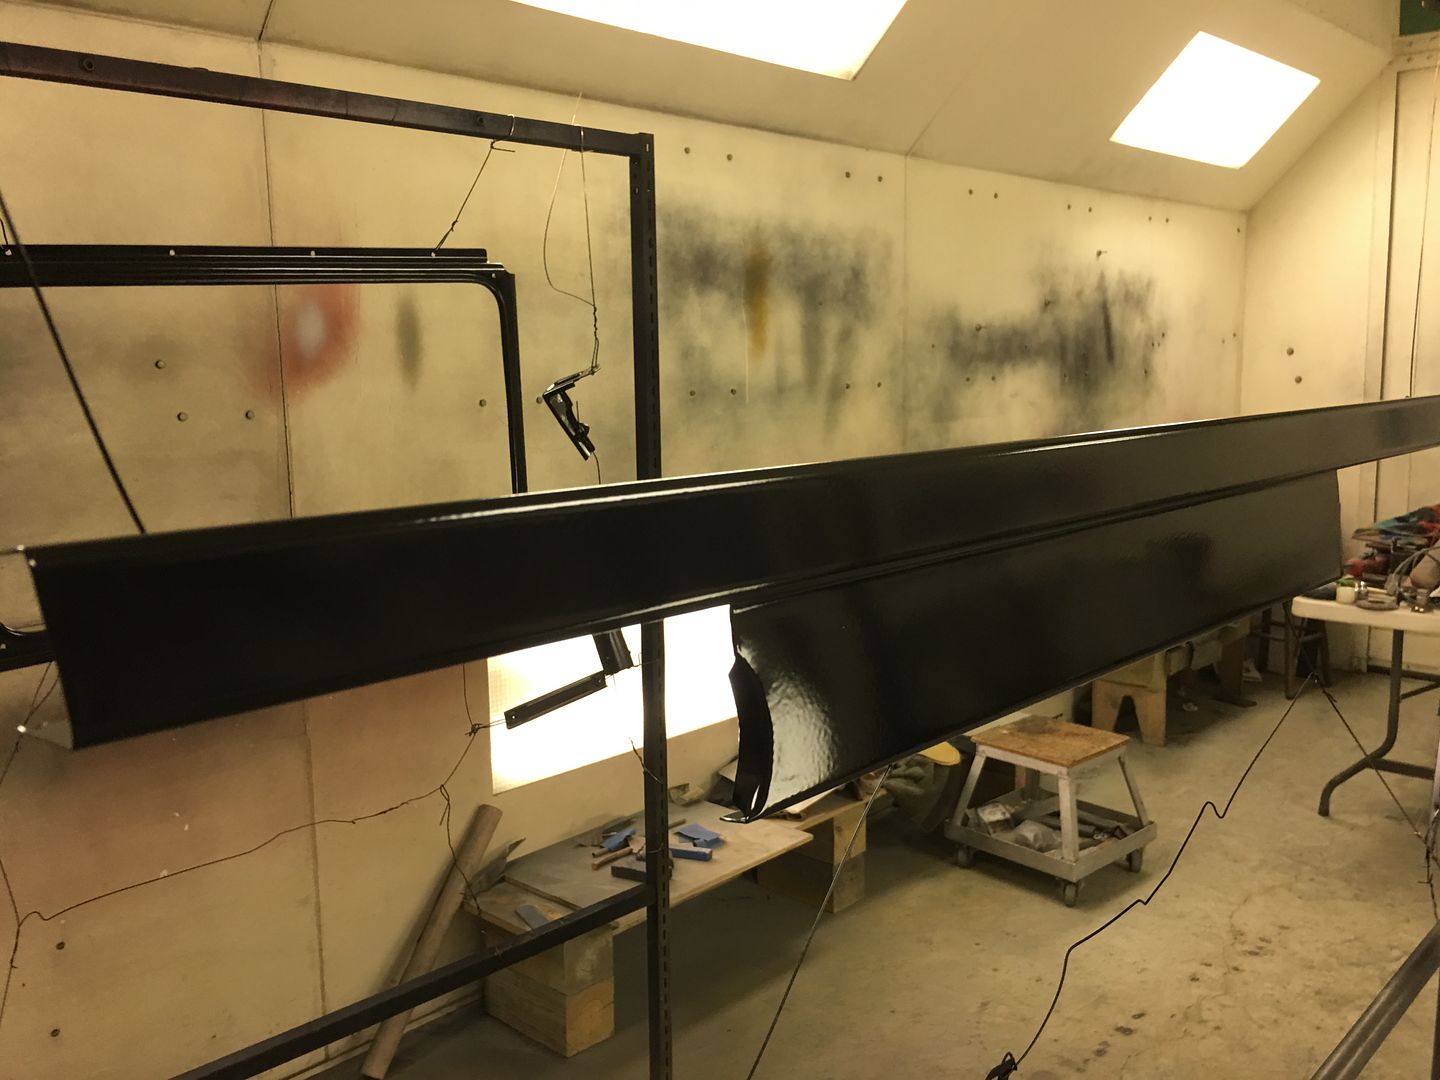
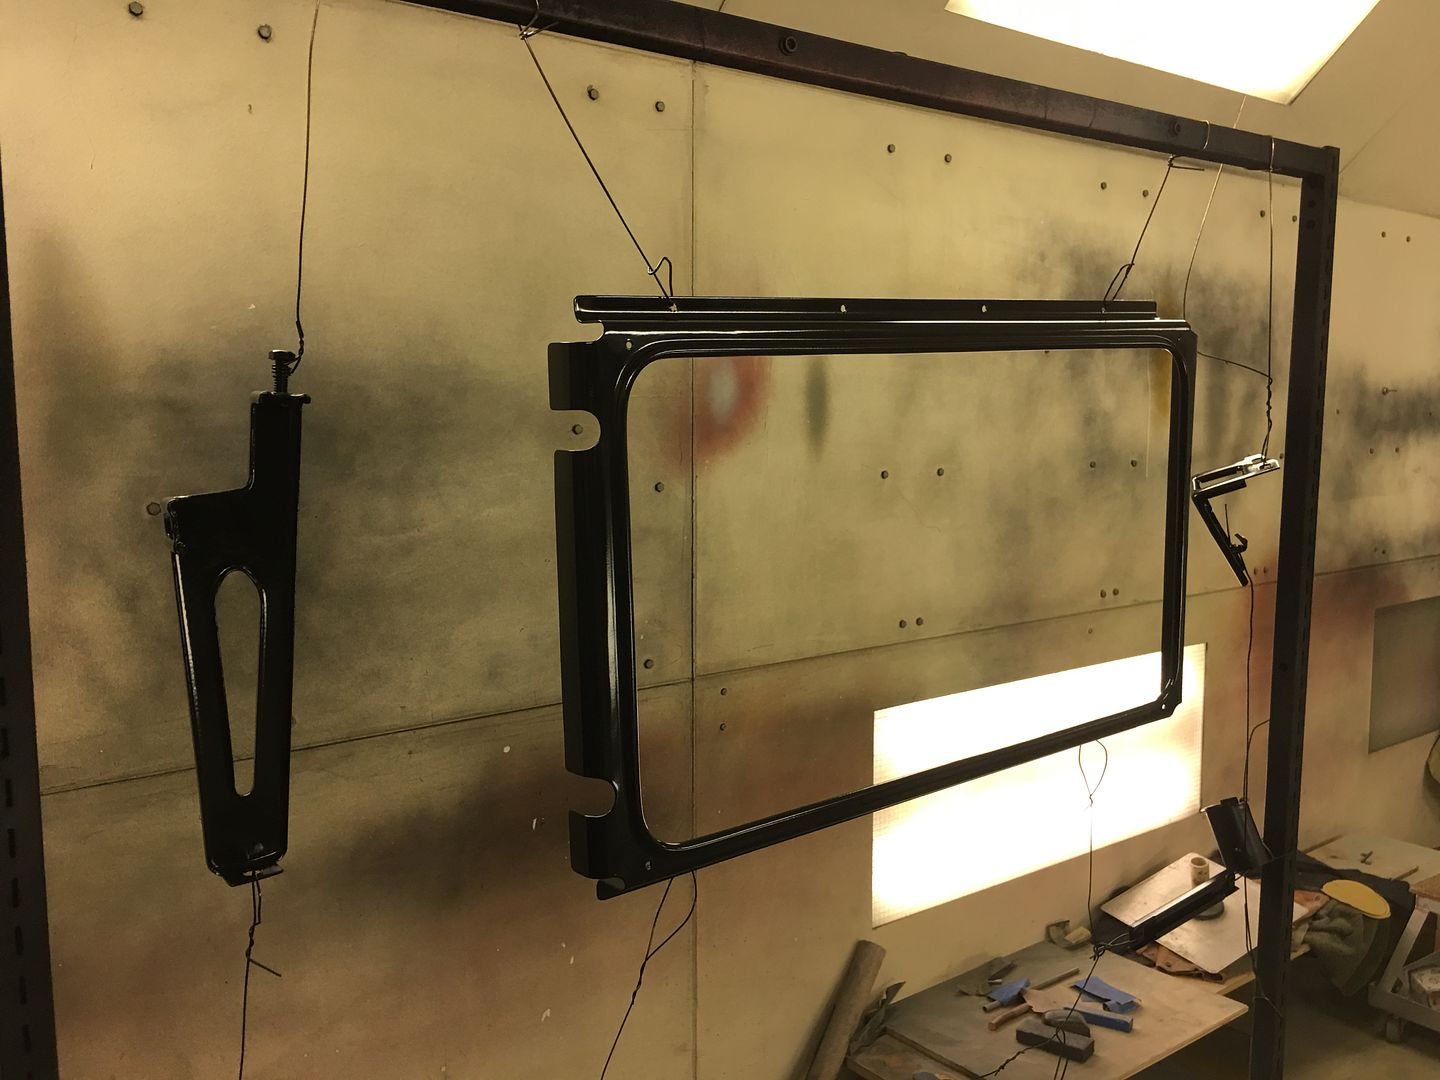
We got some more epoxy sprayed on the core support parts and hood latch...
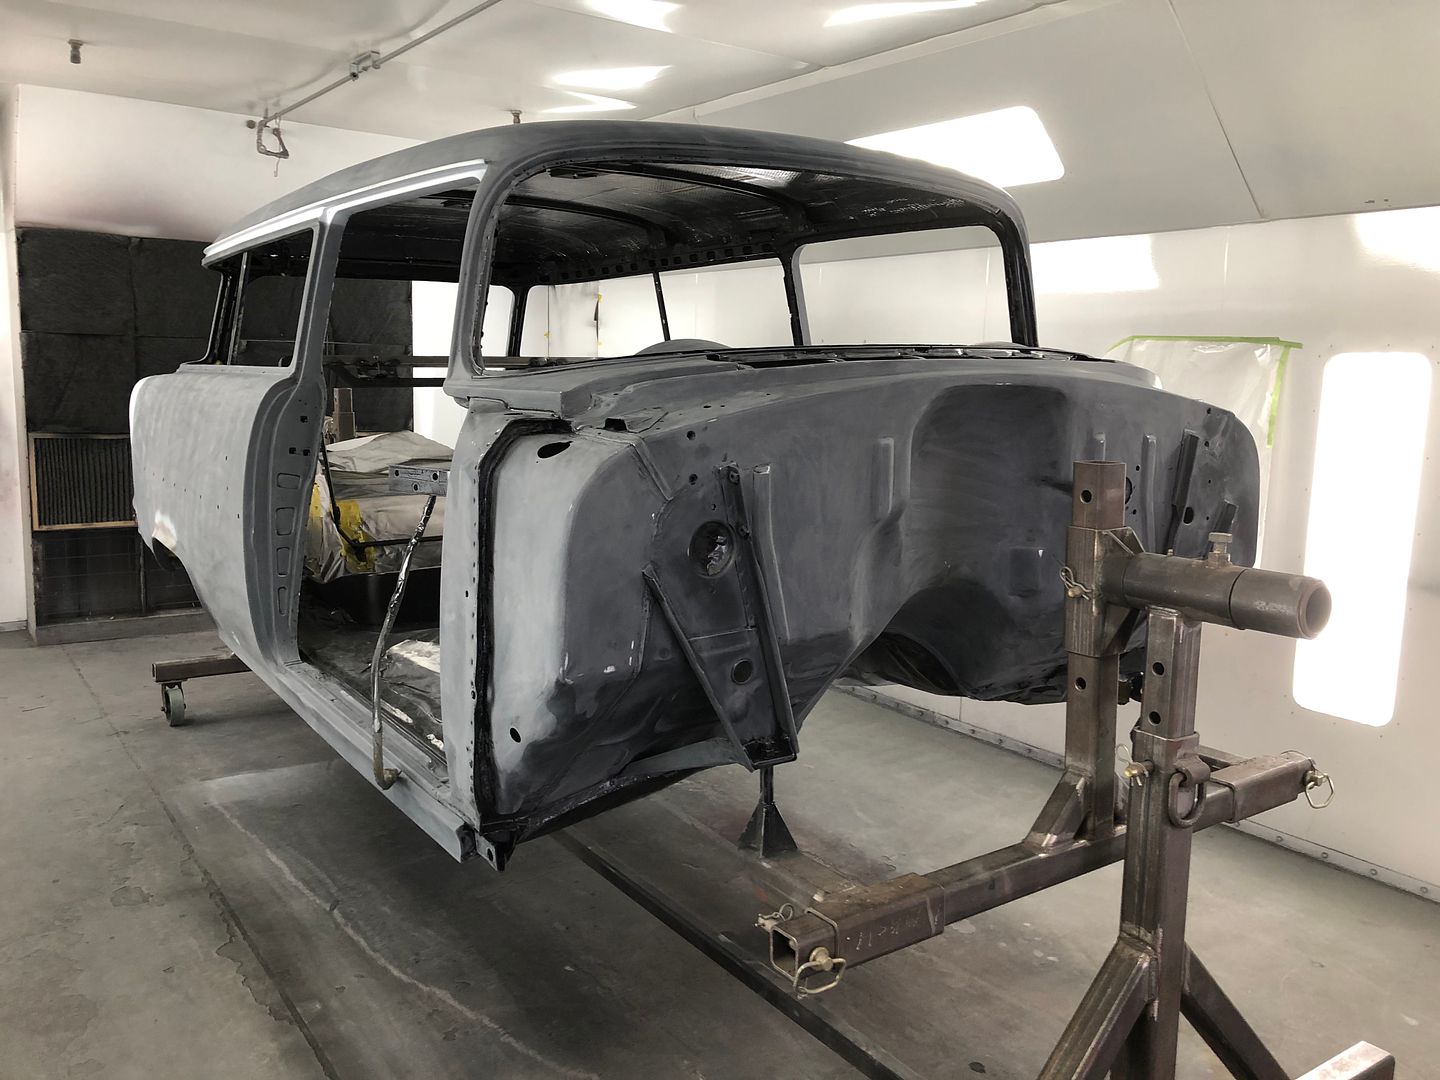
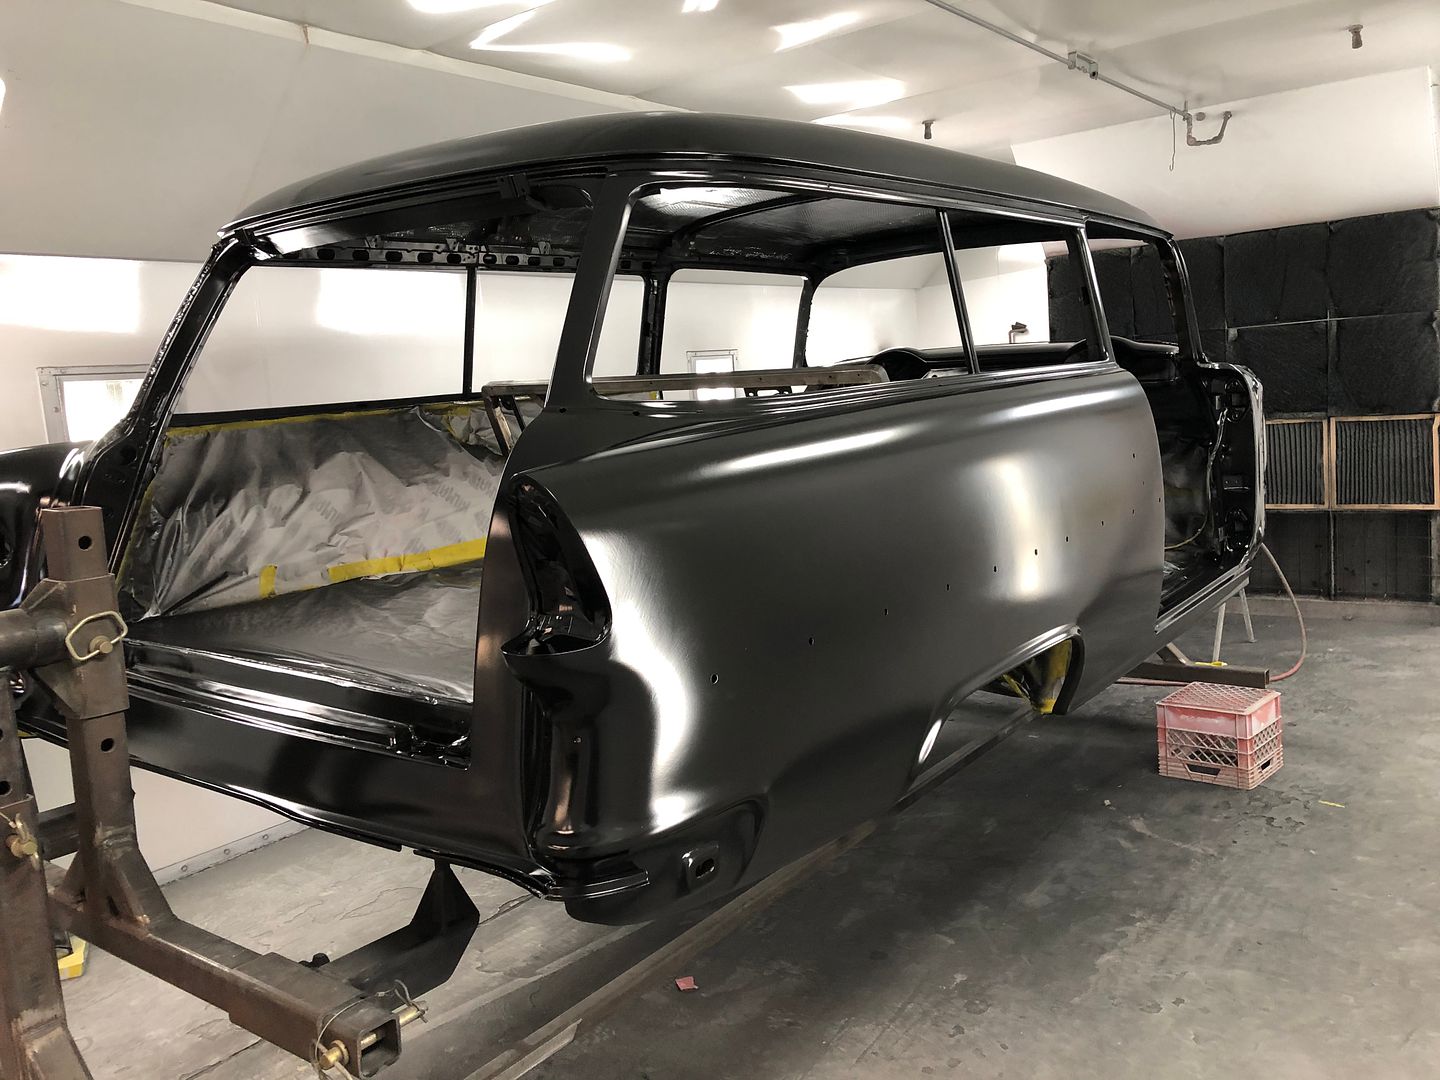
And Brandon sent some pictures of the wagon in final primer..
A little bit closer....


We got some more epoxy sprayed on the core support parts and hood latch...
And Brandon sent some pictures of the wagon in final primer..
A little bit closer....
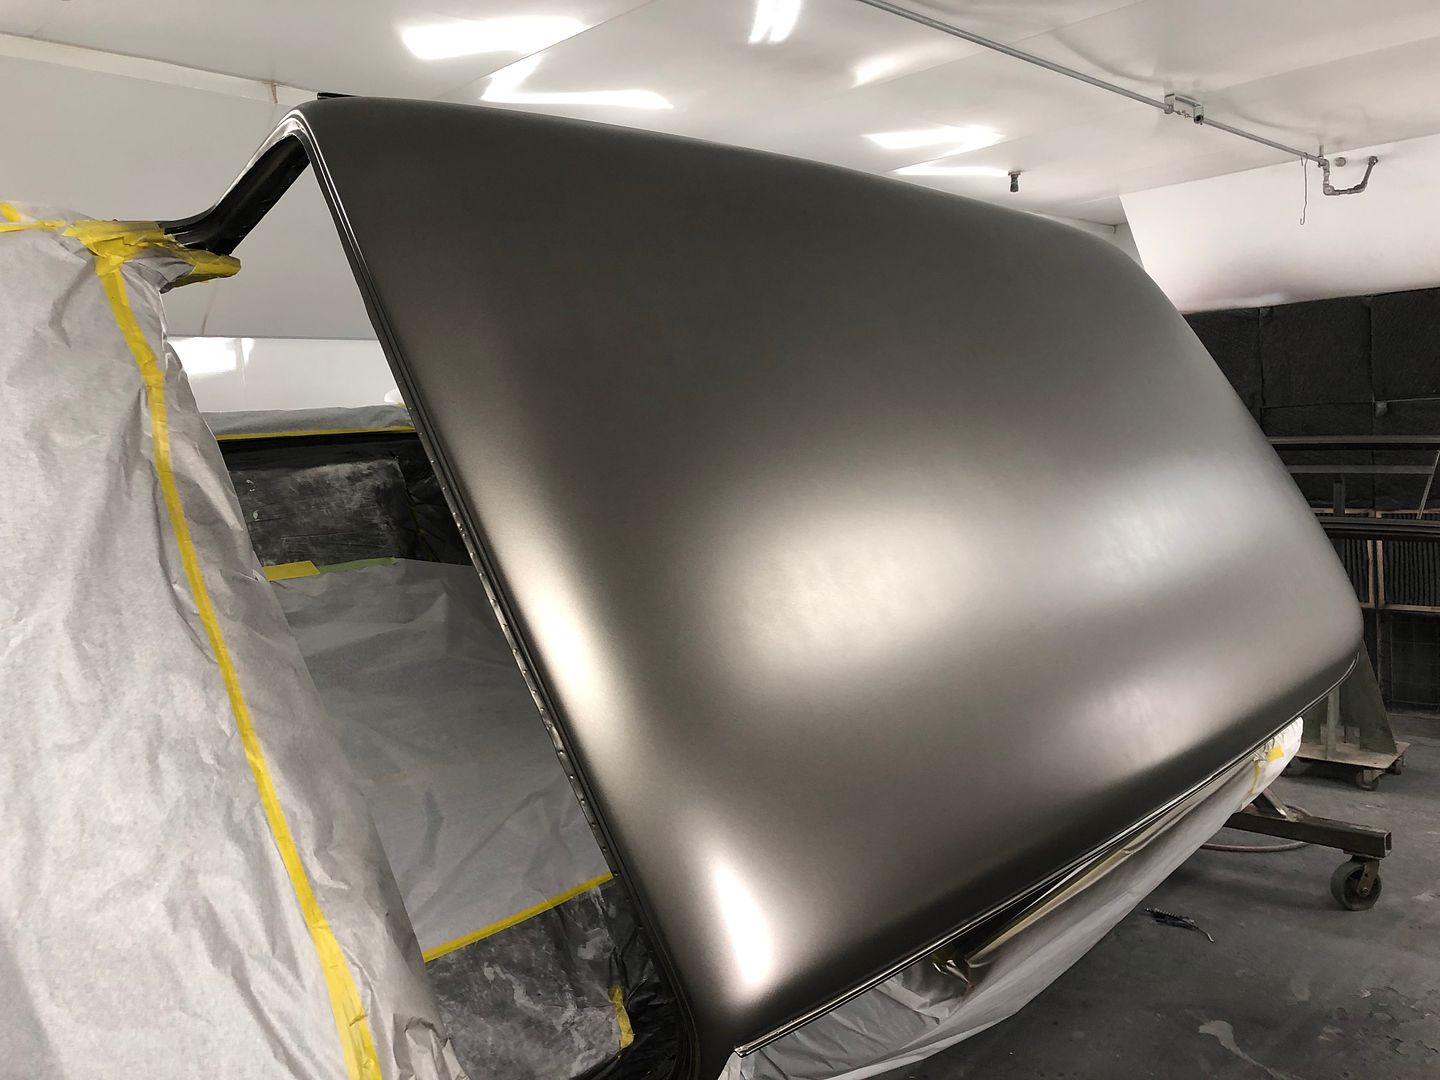
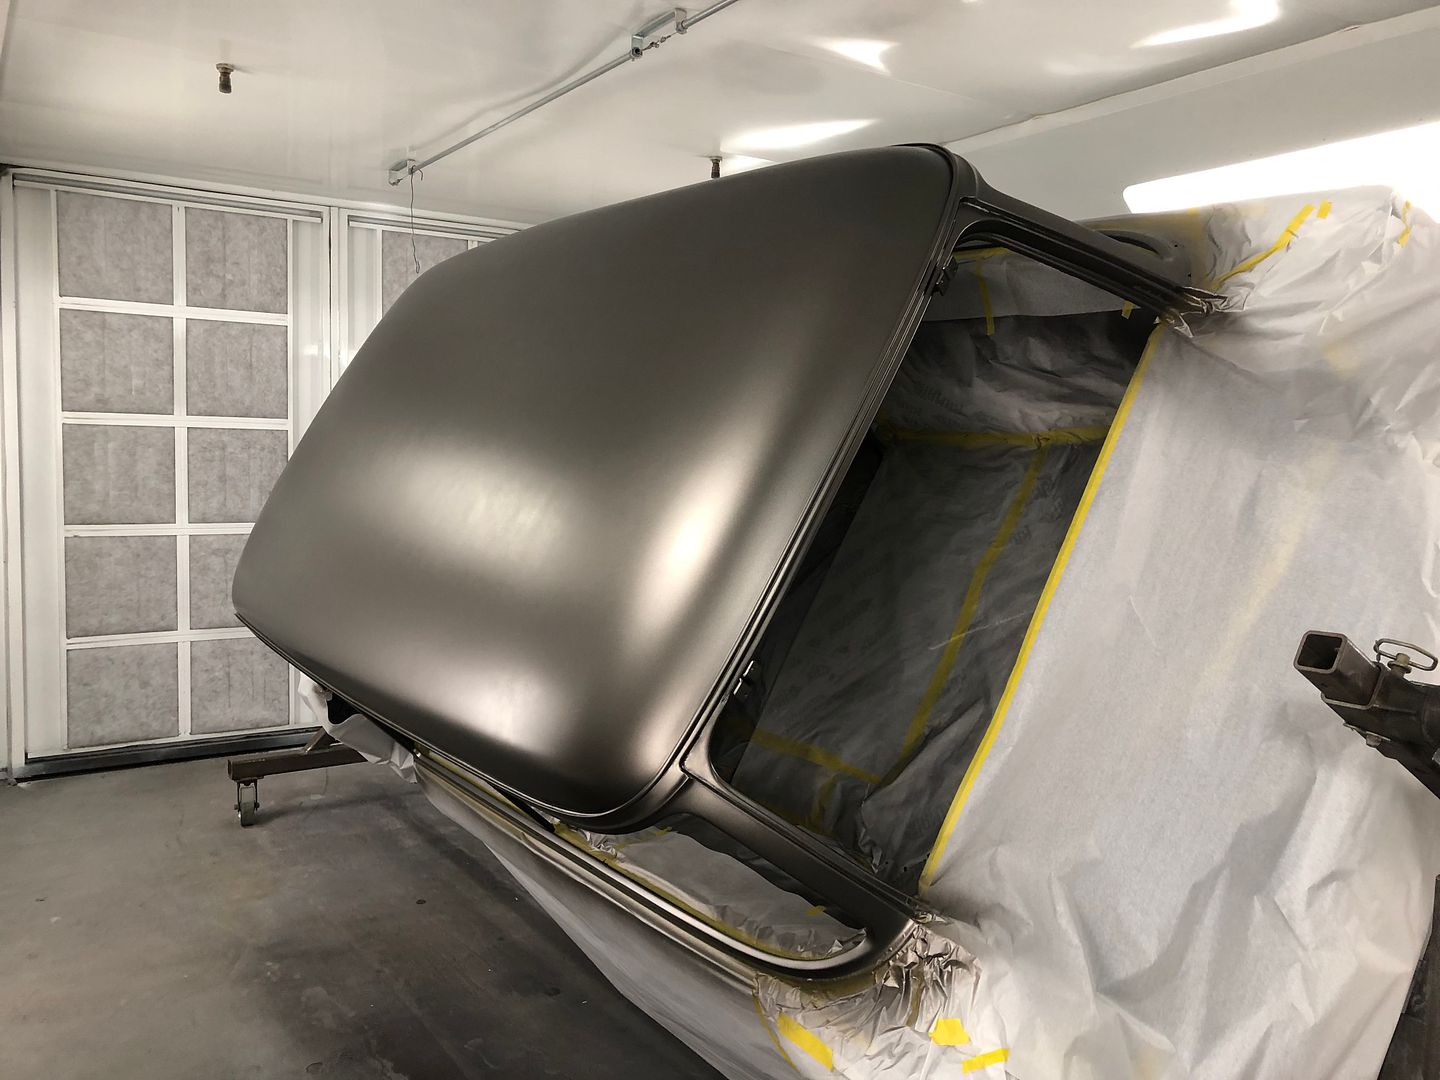
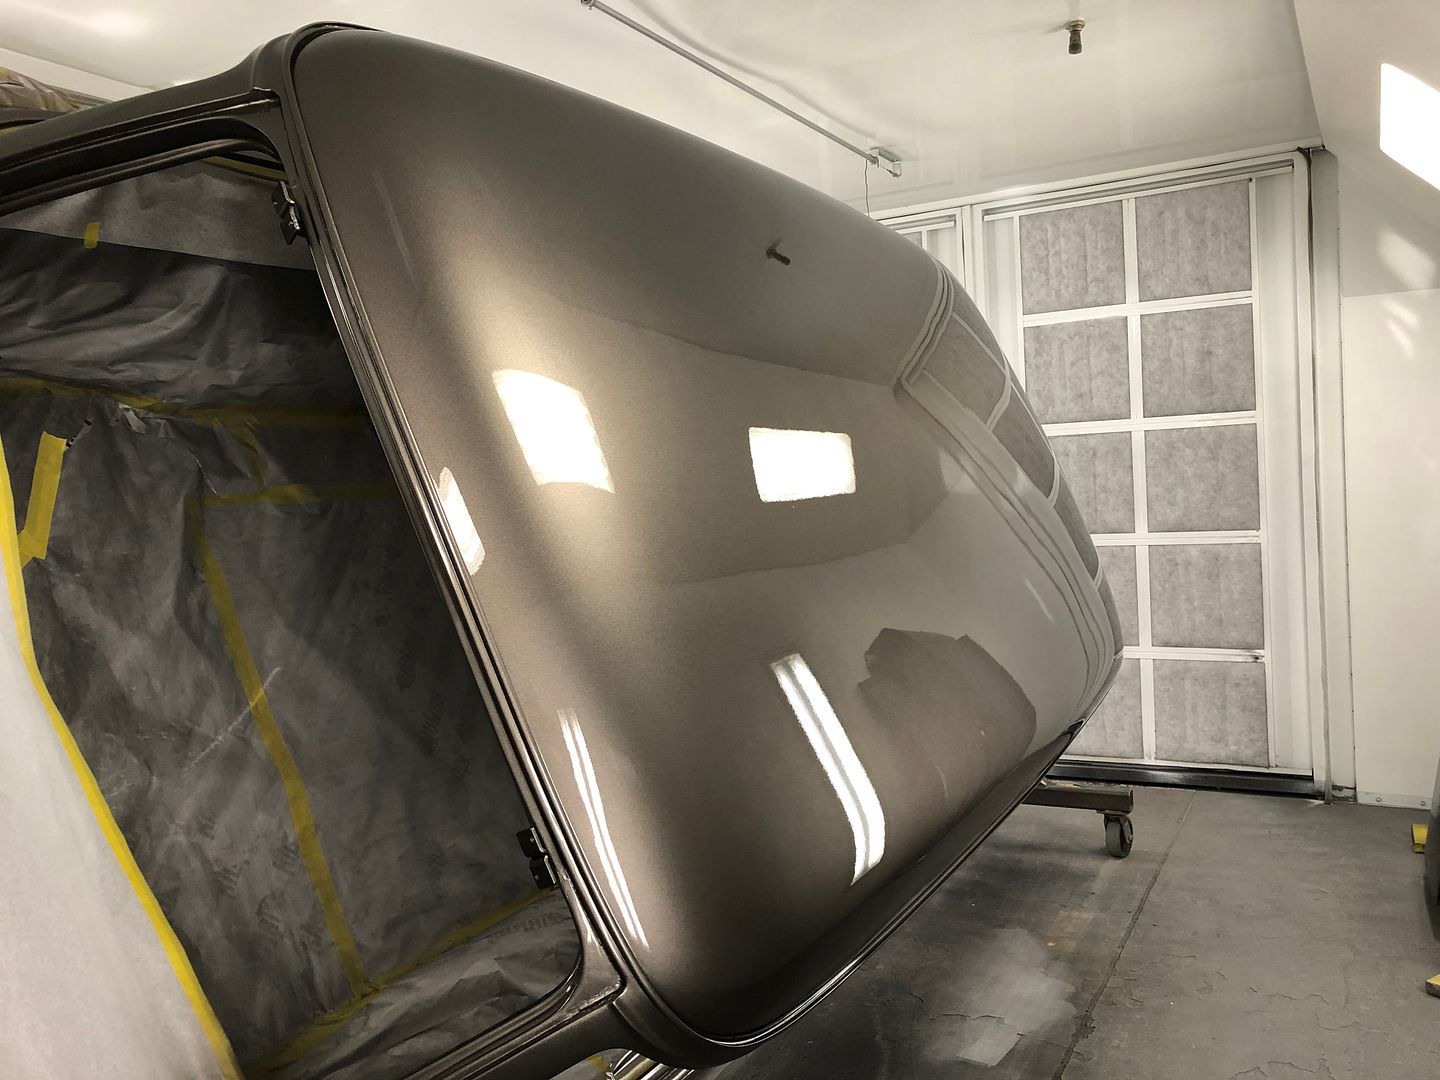
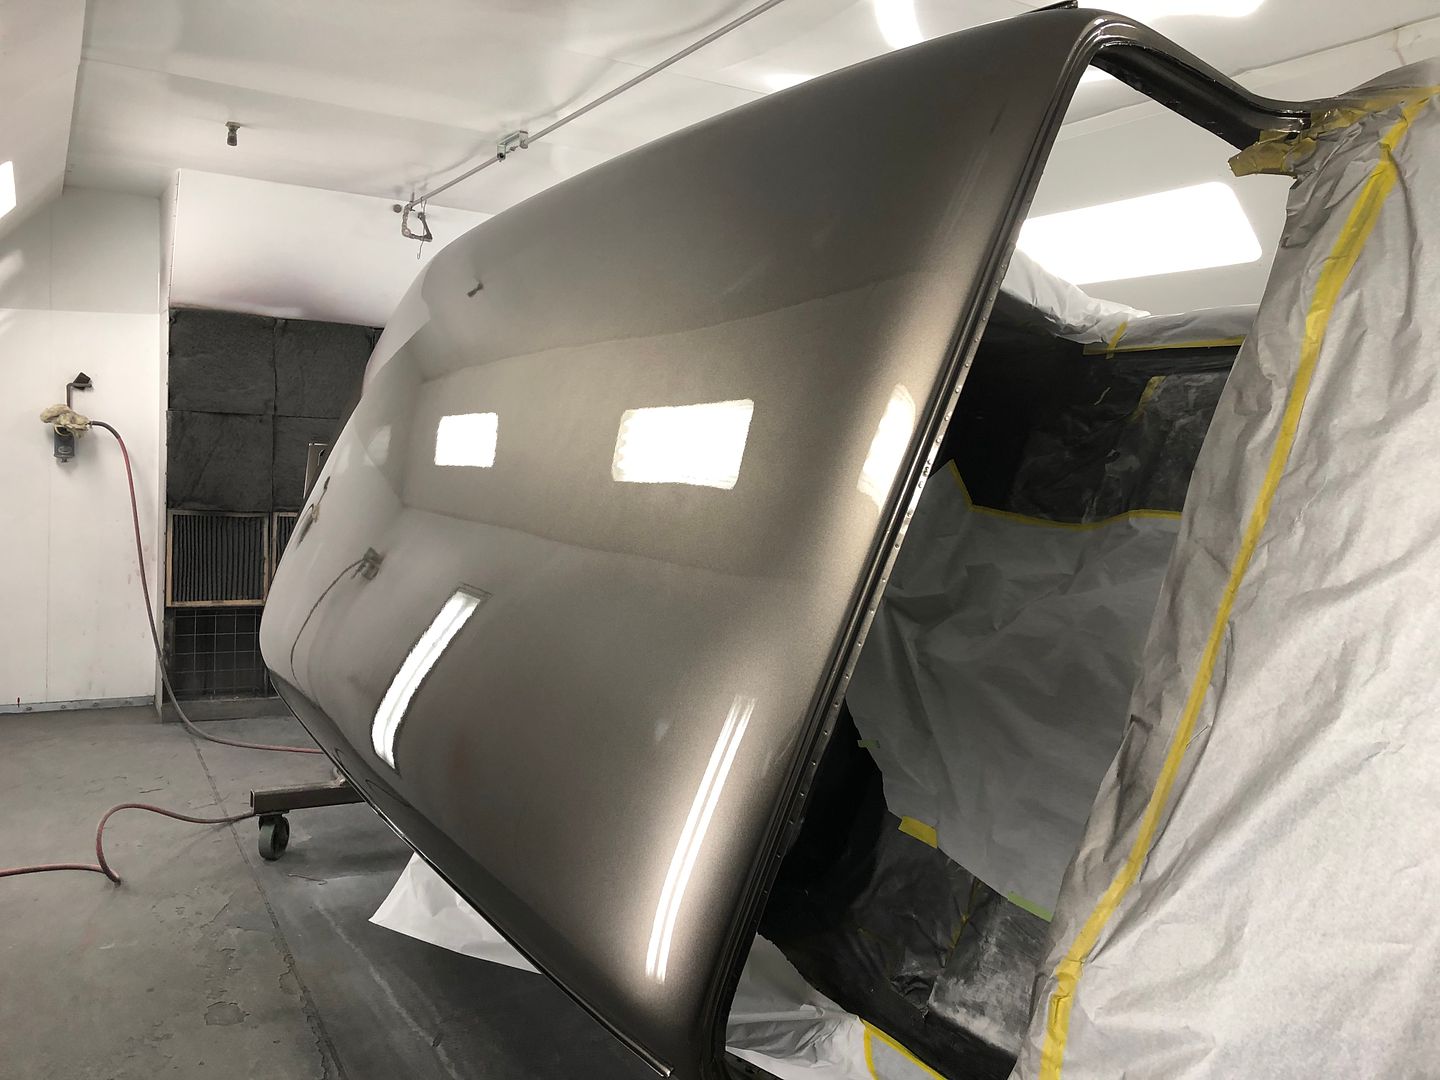
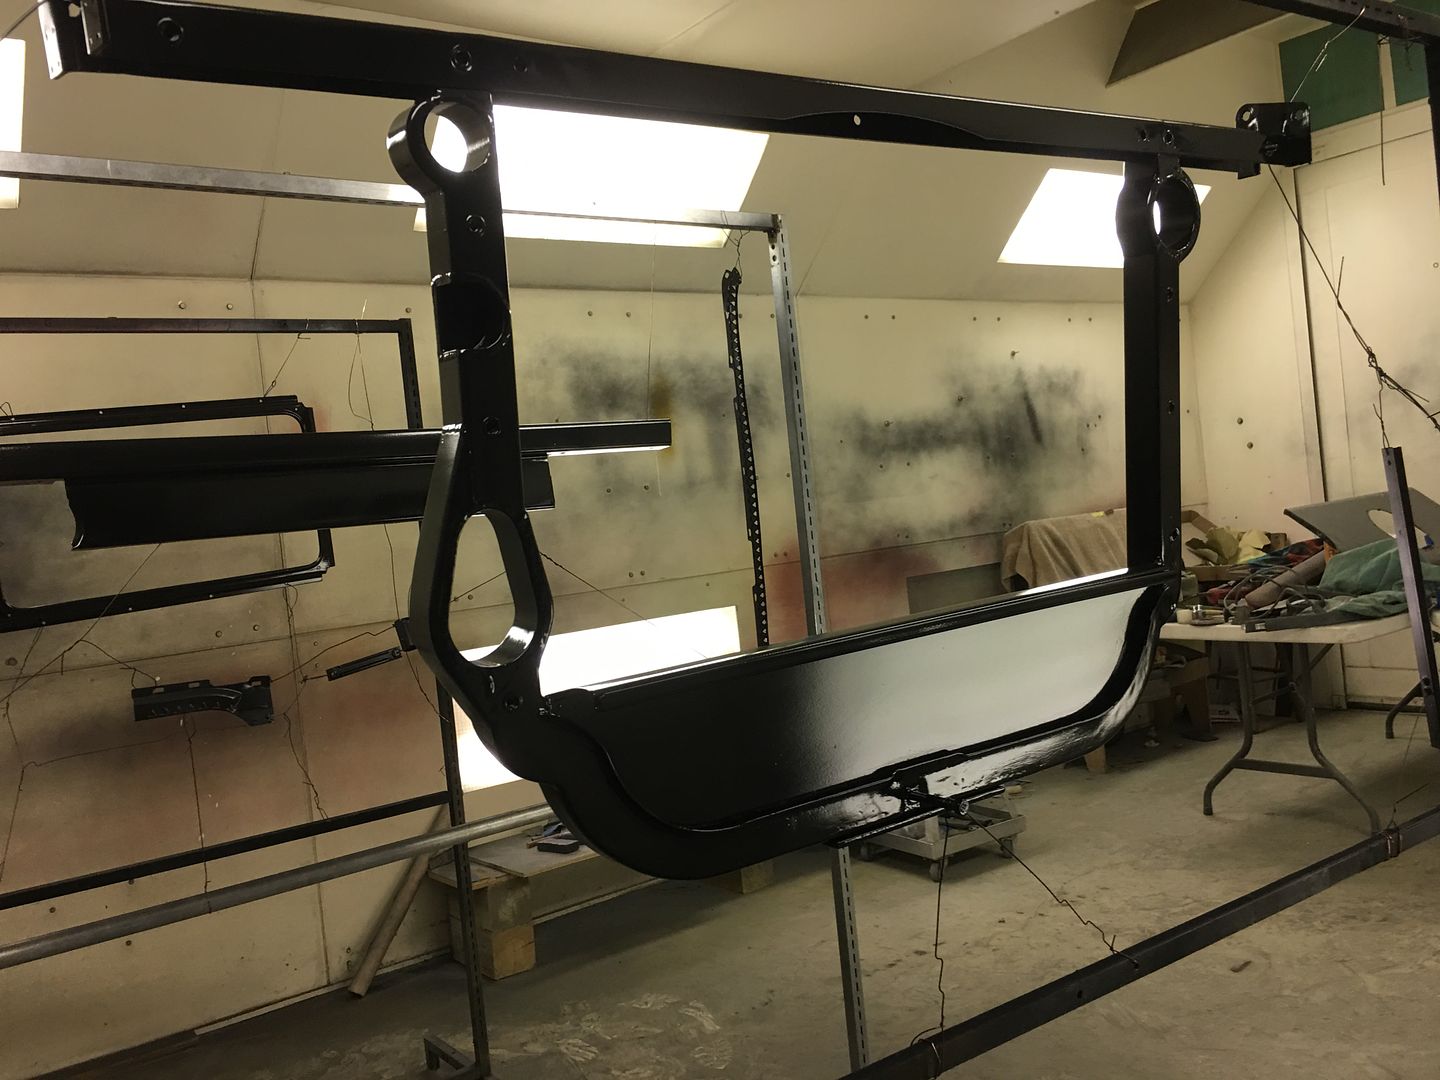
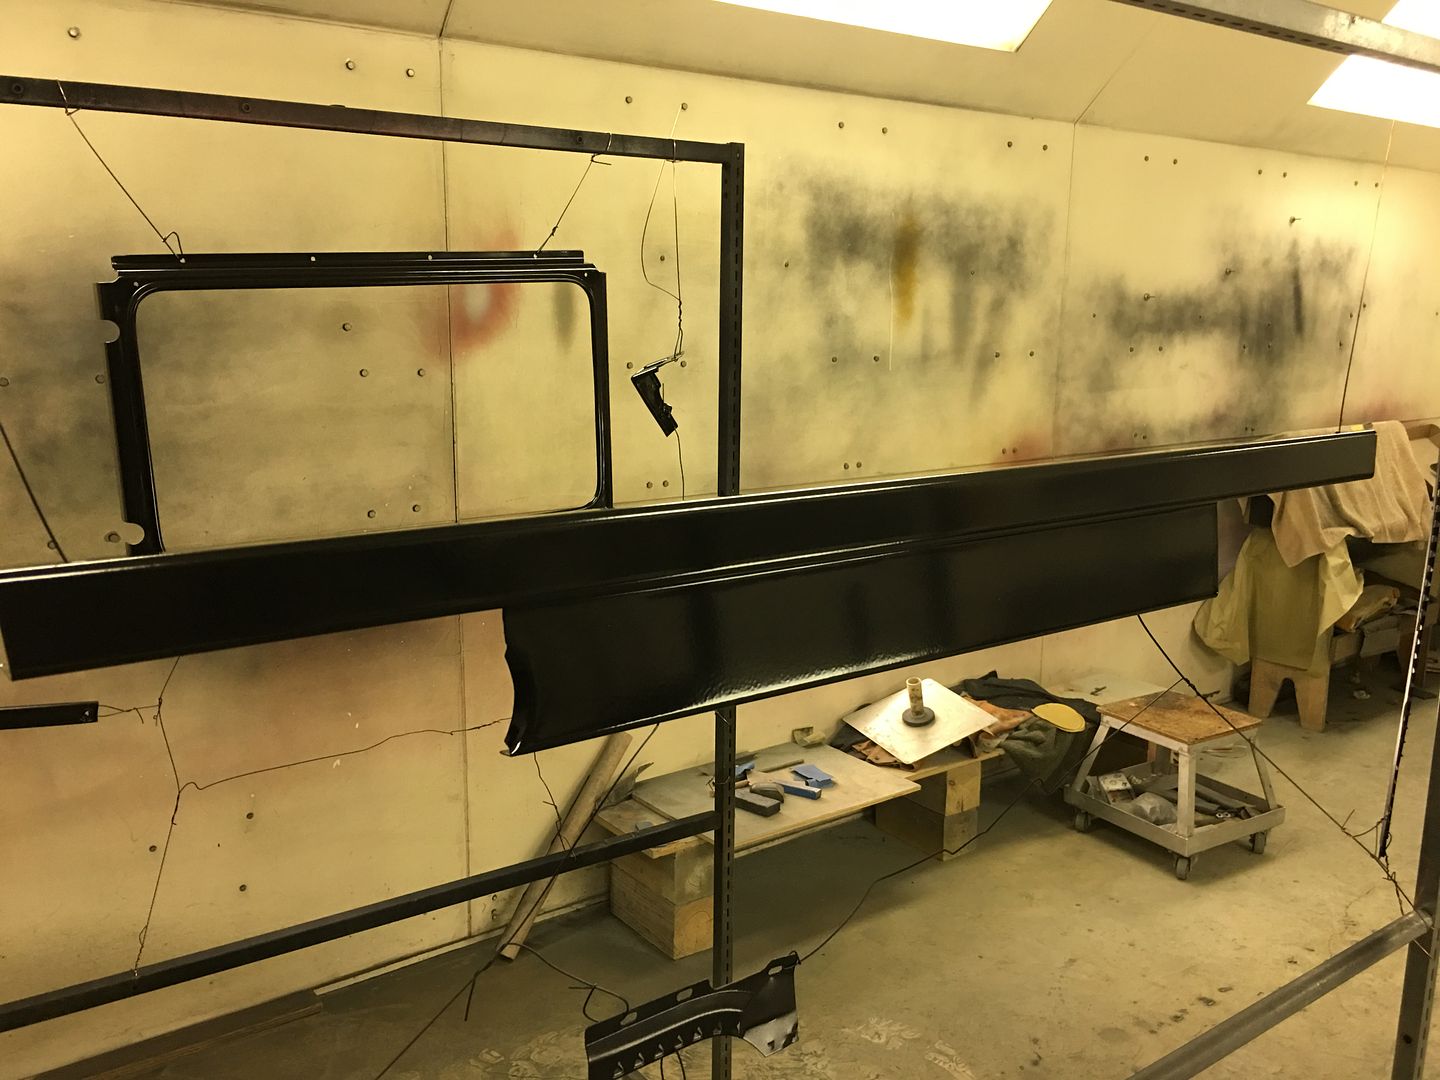
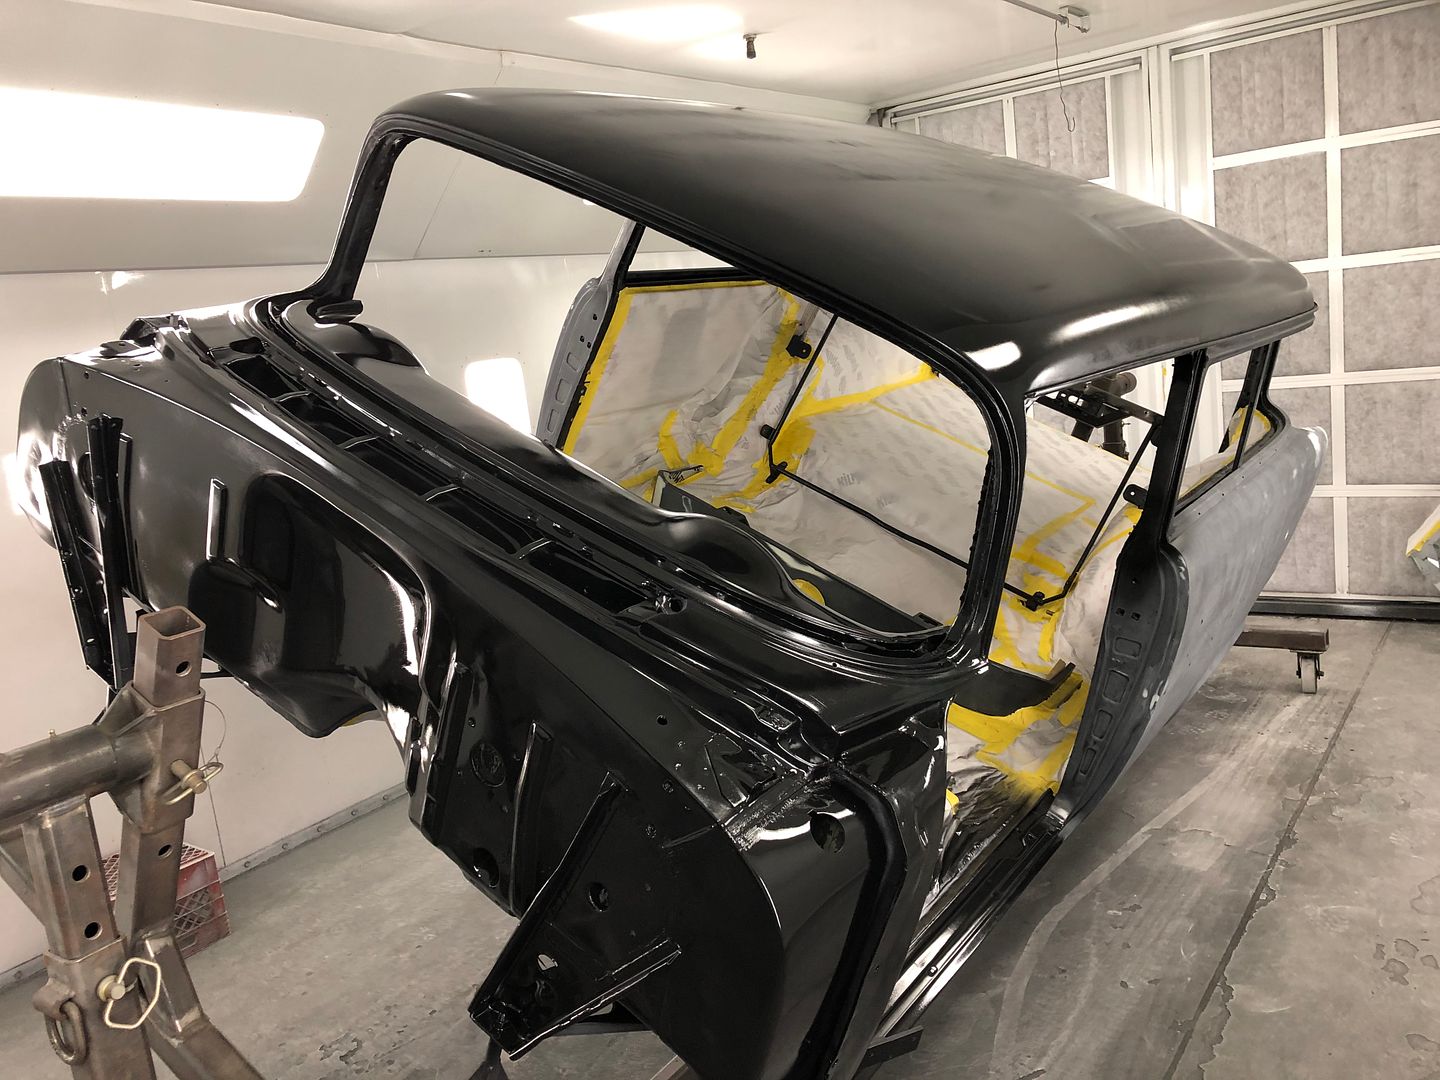
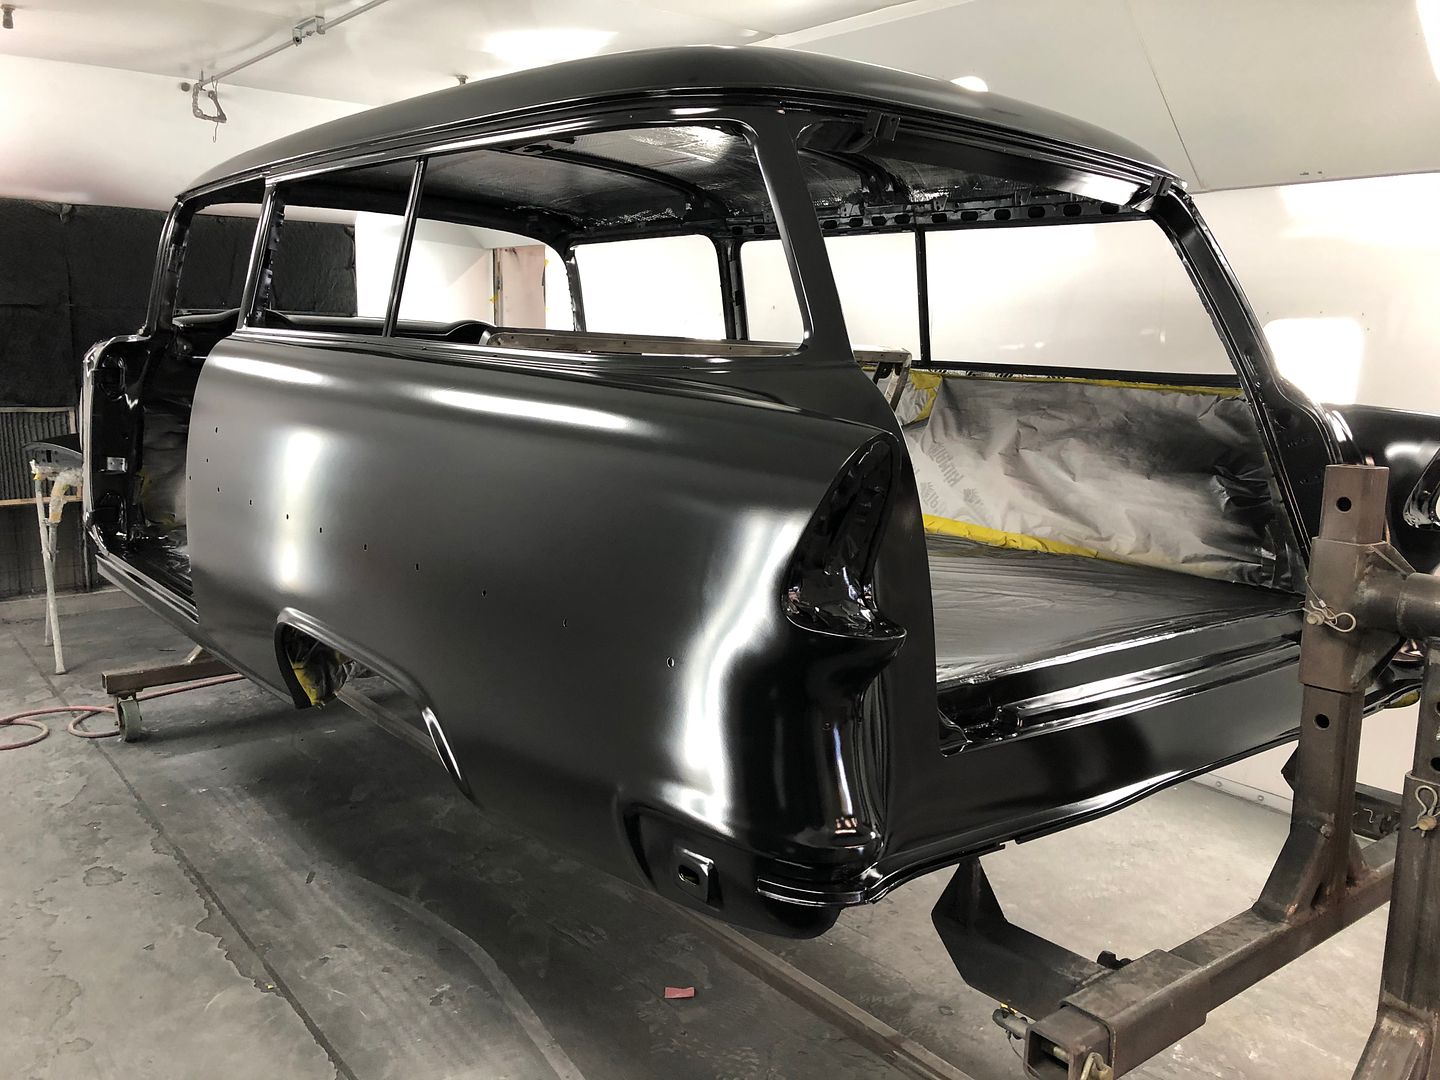
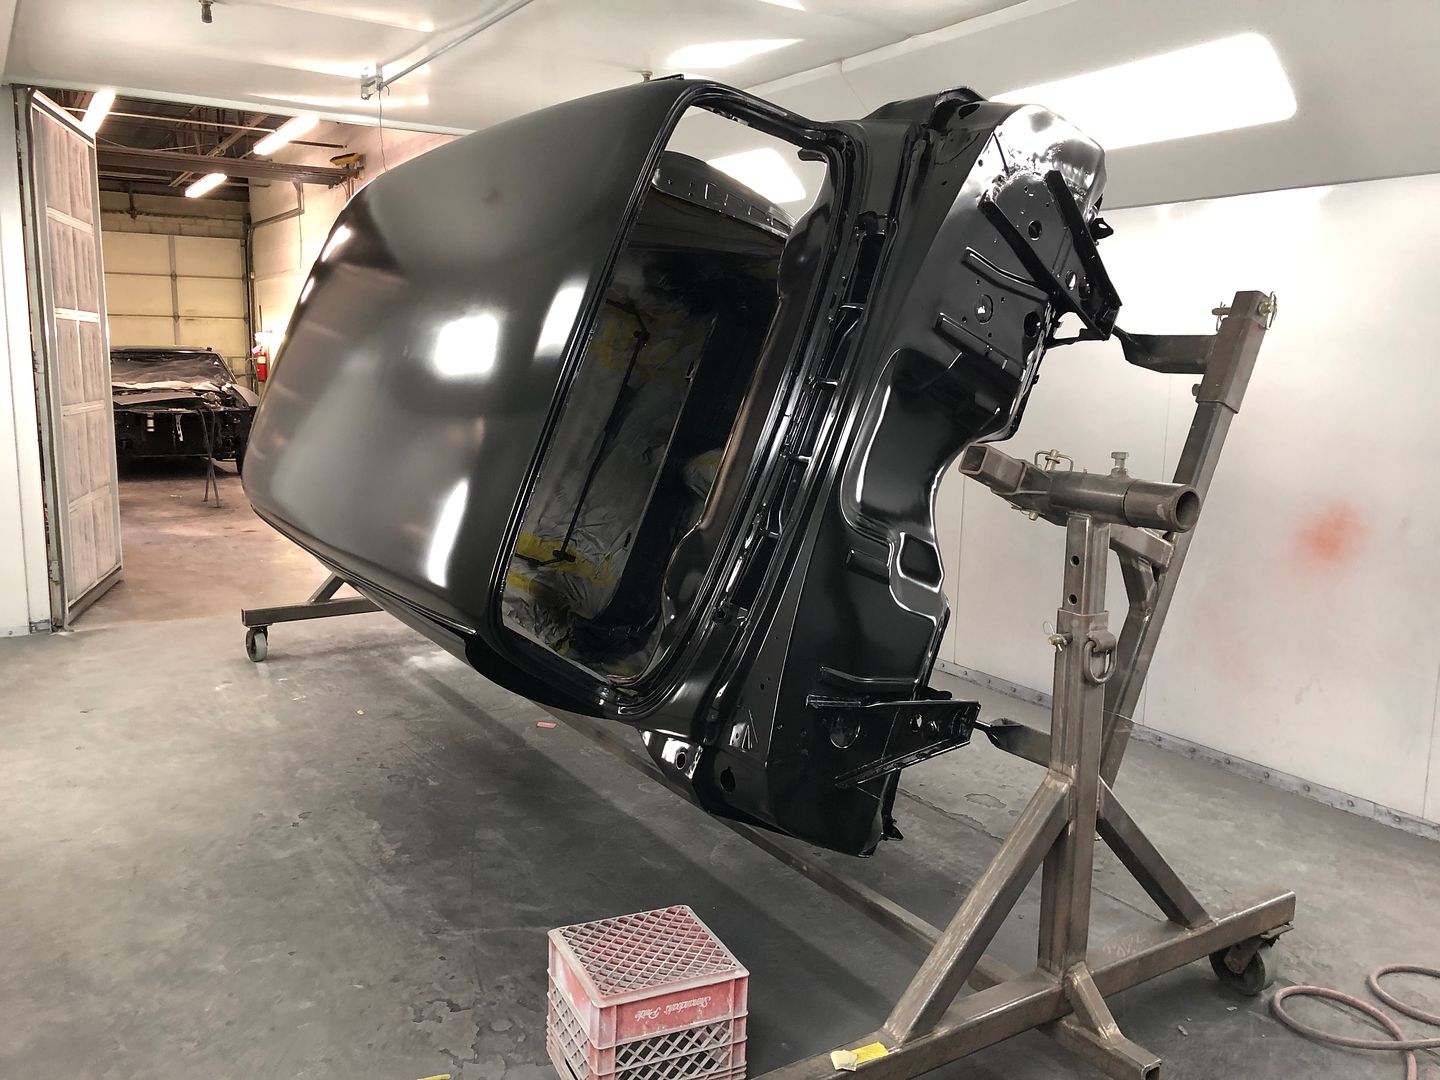
Today I was block sanding some core support parts for one more spray. Making black powder out of black epoxy primer. Not all that exciting, so I didn't take any pictures.. But wait... it gets better! Brandon and Richard have been sanding as well, only they put some color on the roof today:
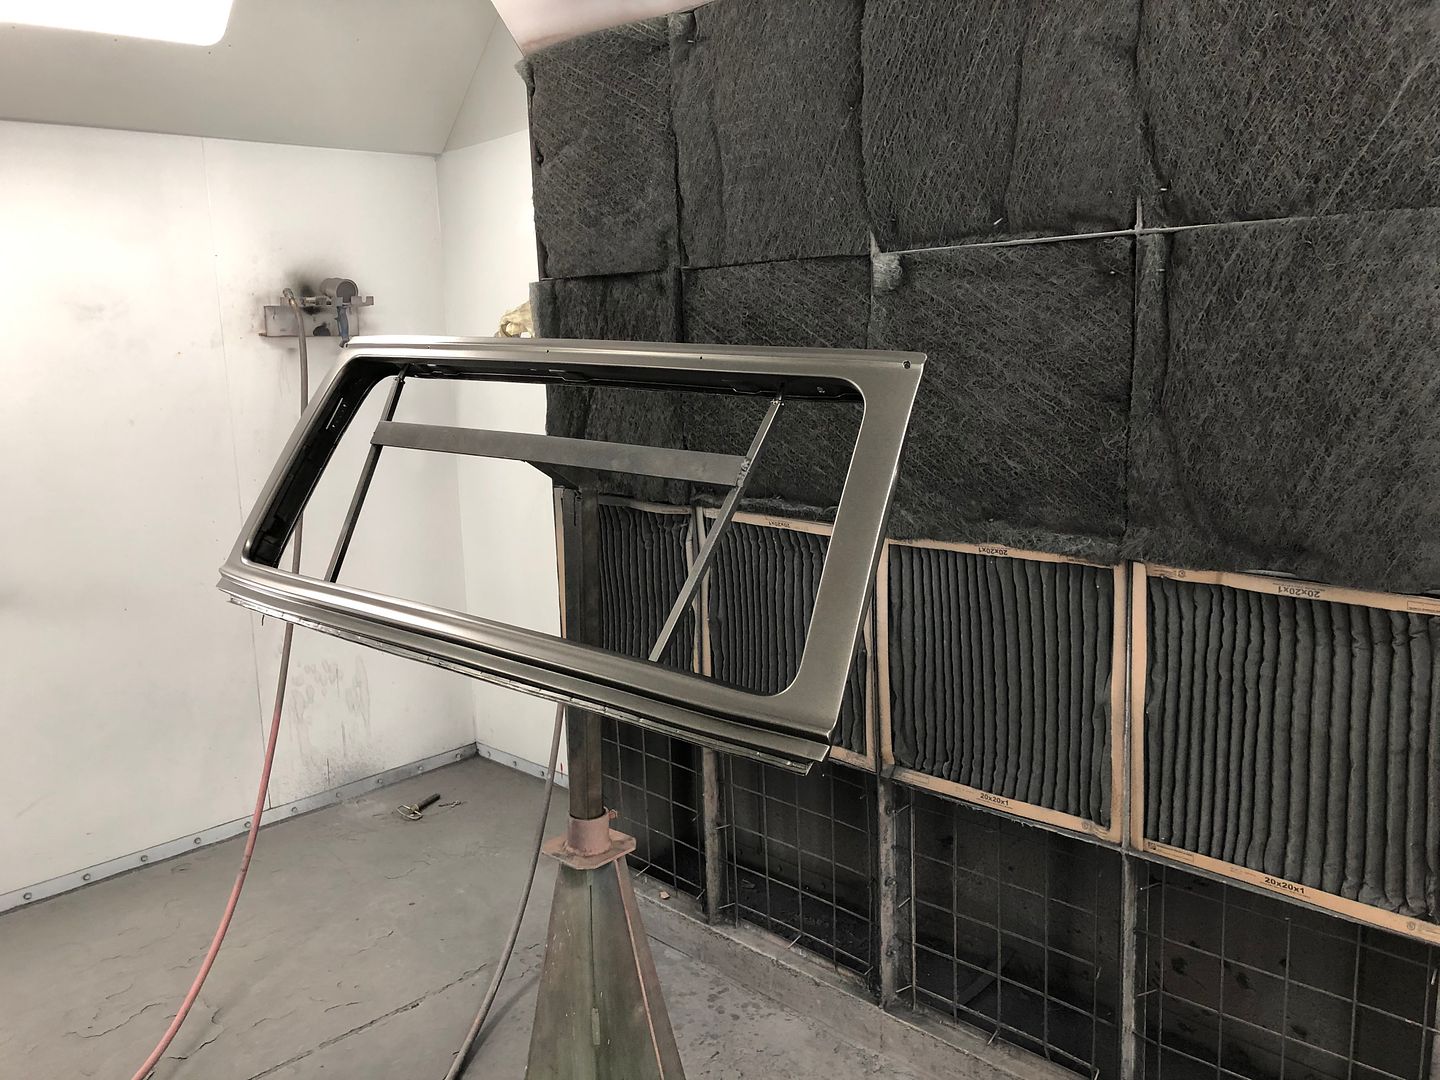
Clear:
Can't wait for the green and some sunlight....
.
Shiny finally = good.
Thanks Rick, I can't wait to see the green in the sunlight!

Whoa! That is looking real good!

lookin' good Robert. All that time on bodywork and roof repair-smoothing looks fantastic. Onto the green!
1957 Nomad- LS1/T56 on C4 chassis
1959 Fleetside Apache 1/2 ton, shortbed, big window, 327ci.

Really good stuff Robert , Looks Killer !!!!!!!!!!!!!!!!
Thanks for taking time to post all this Great stuff on this site , It helps many .
Thanks Sid

1955 2 DR Post
1937 Chevy Coupe
2023 Ford Super Duty F350 TREMOR
2019 Corvette Z06
1955 Chevy Nomad
1935 Ford 2dr Slant back I have 4
Thanks everyone for the comments!
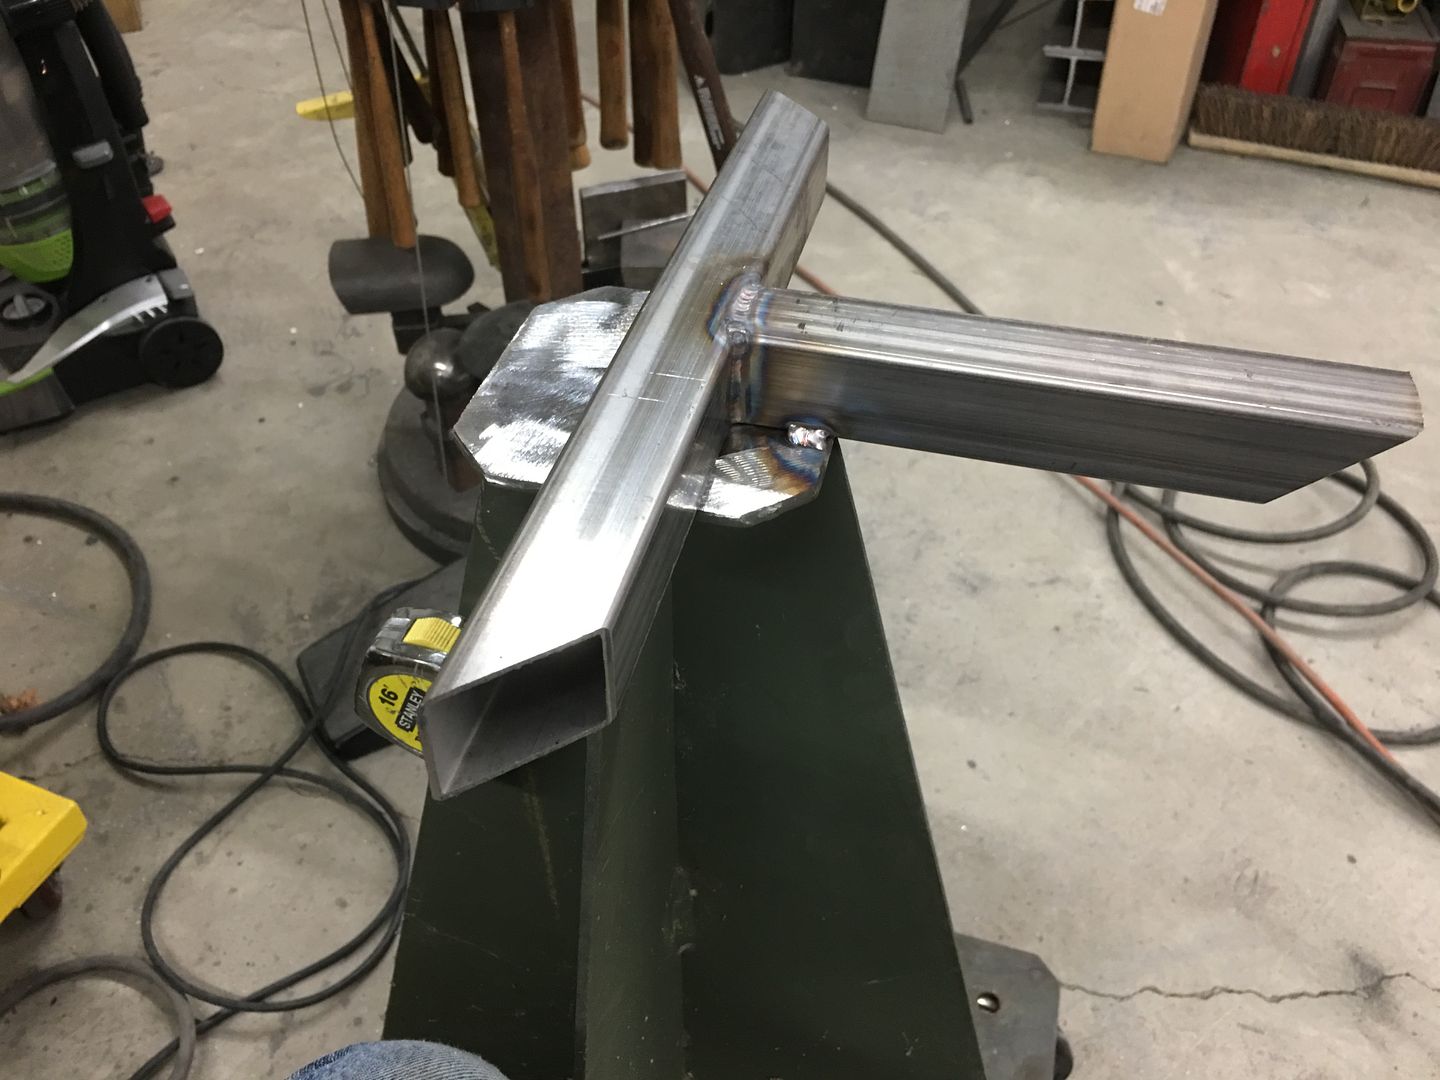
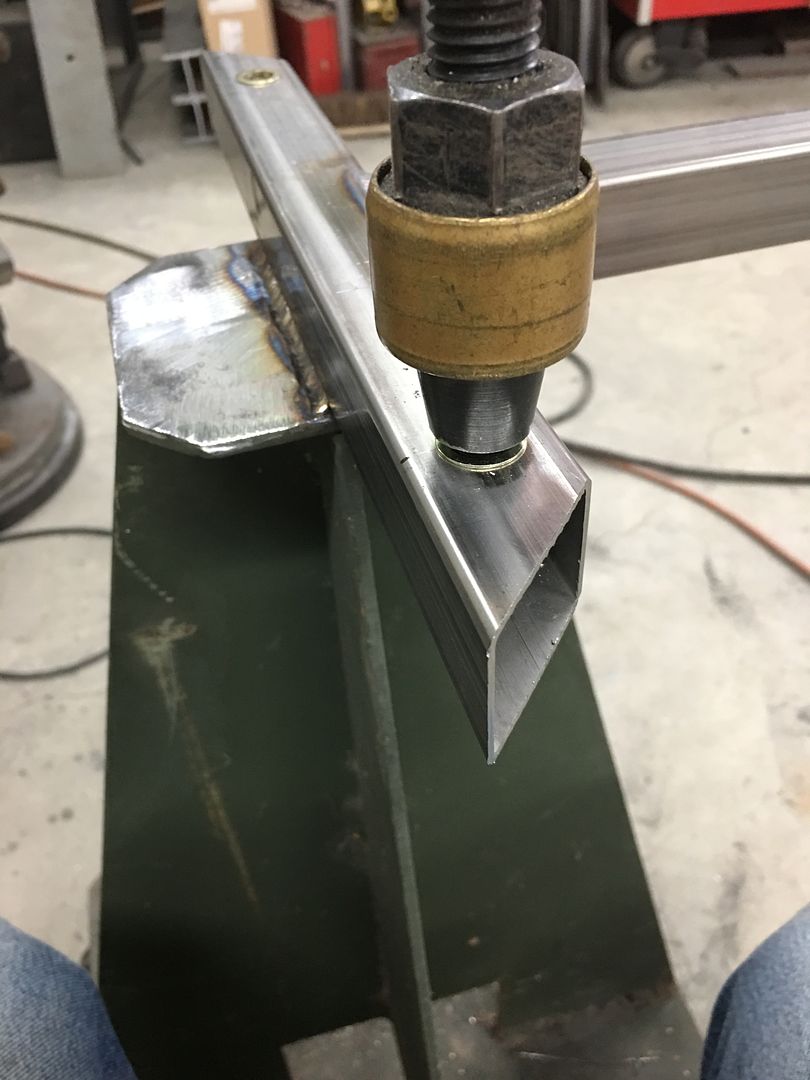
Some spring cleaning.... Picked up a 12" disc sander quite a few months back, and Mike has been using this on the floor.. So I decided to help the guy out and put it at a more useable height... Added a "bolting framework" to the top of one of the paint tripods, already set up with casters so you can push it in the corner....
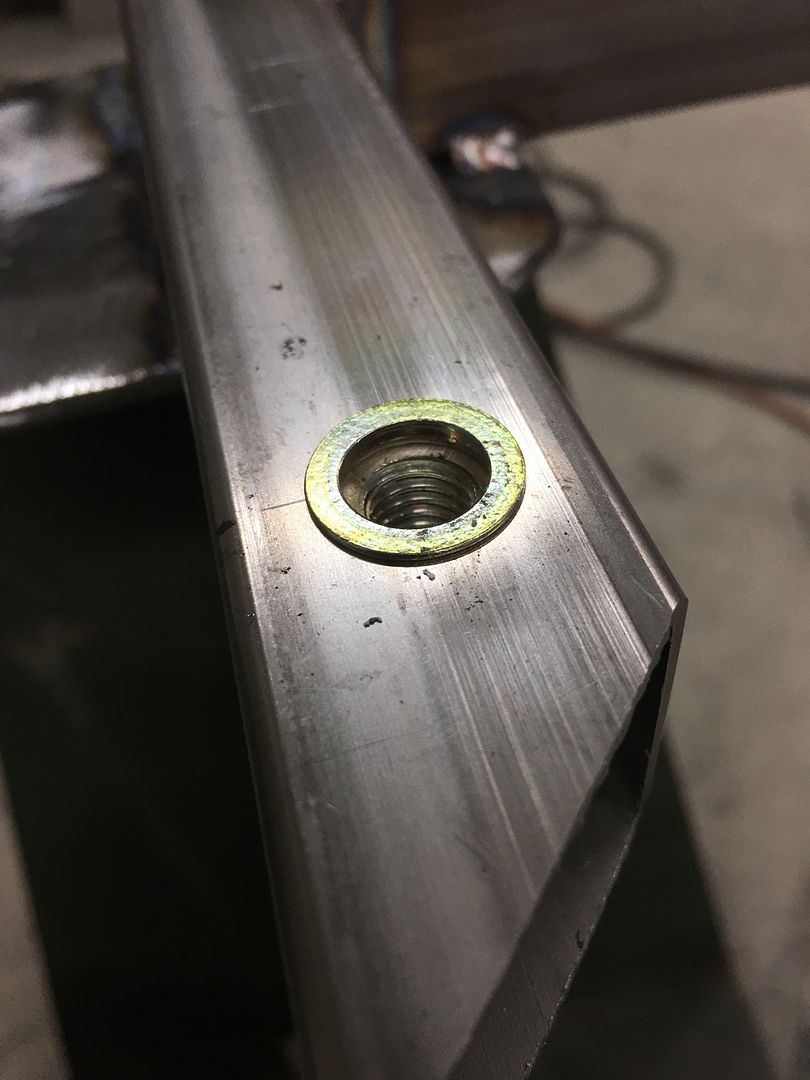
Rivnuts installed since I didn't have bolts in stock long enough to go all the way through..
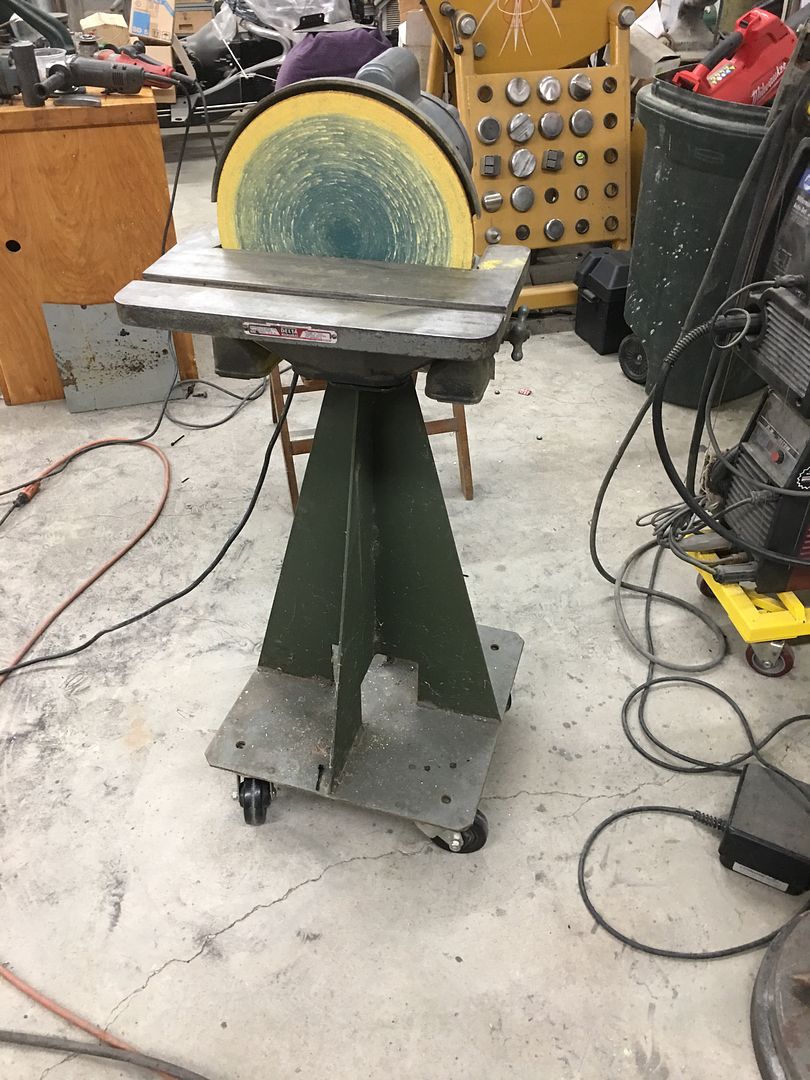
Ready for some sanding...
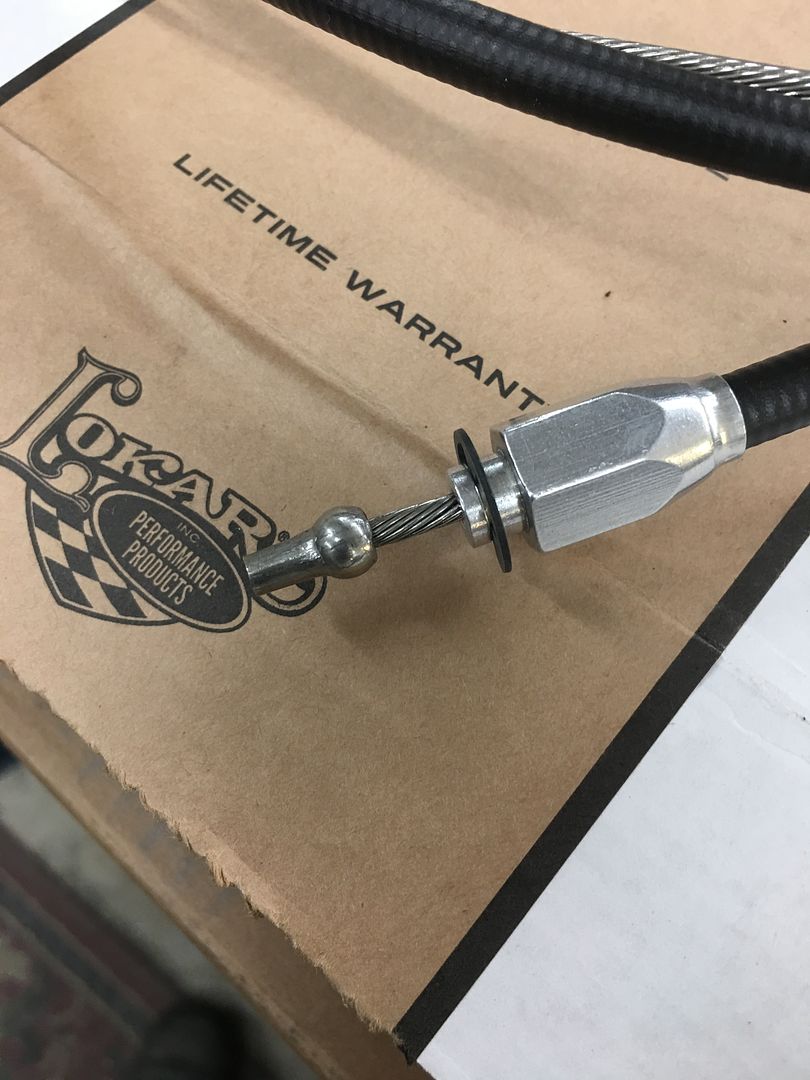
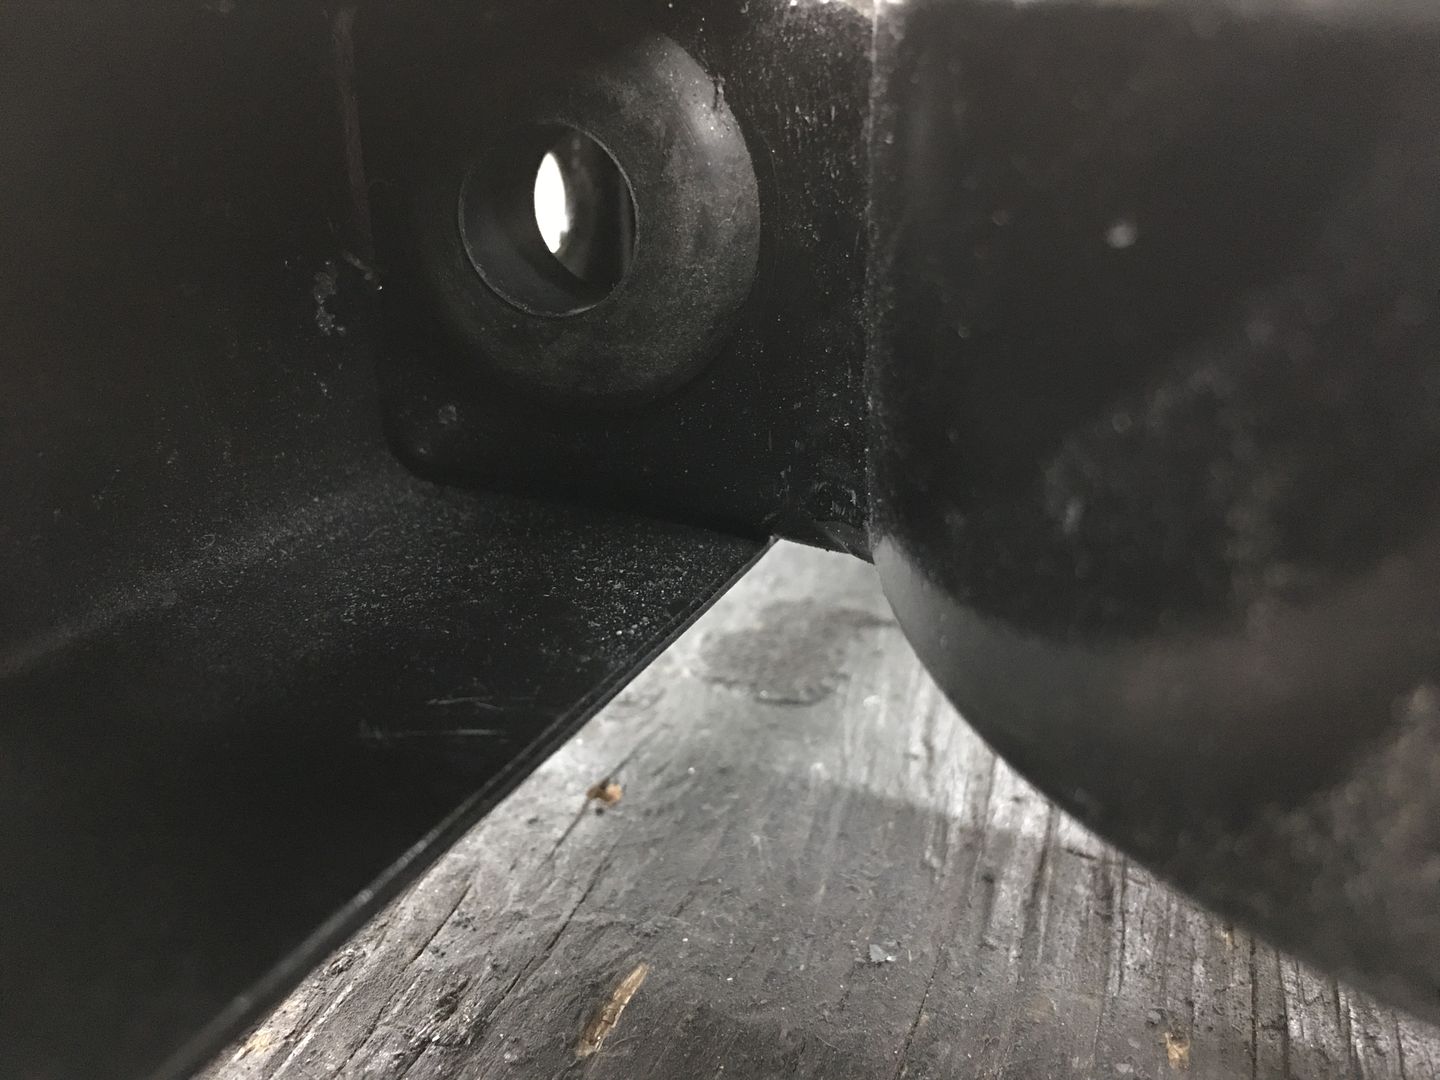
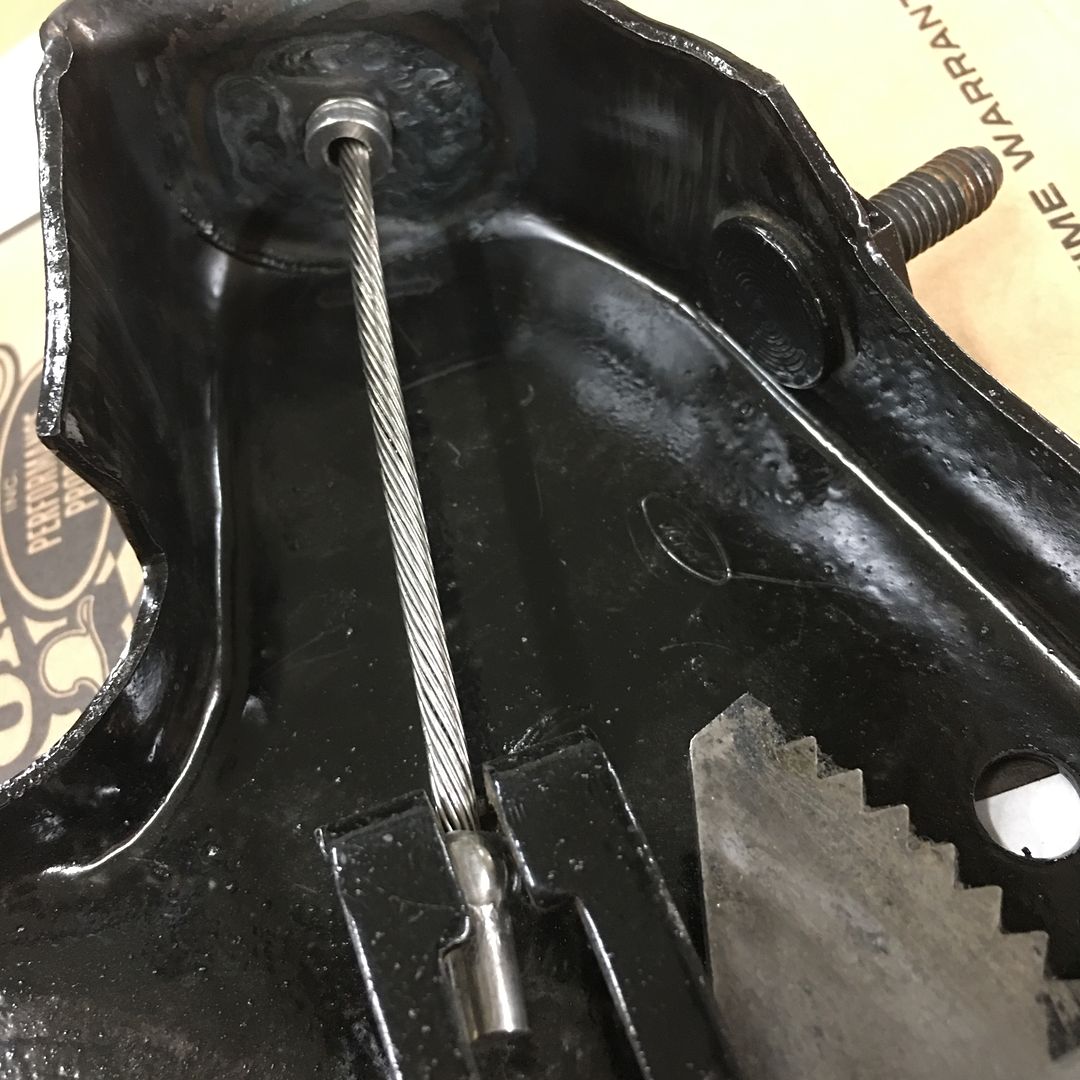
Dana dropped off the new brake cables for the wagon the other day. The single cable that attaches to the pedal has a shouldered ferrule that sits in the bottom of the parking brake bracket. Only this shoulder was much too small for the factory hole, the Hex portion almost pulled through the hole.
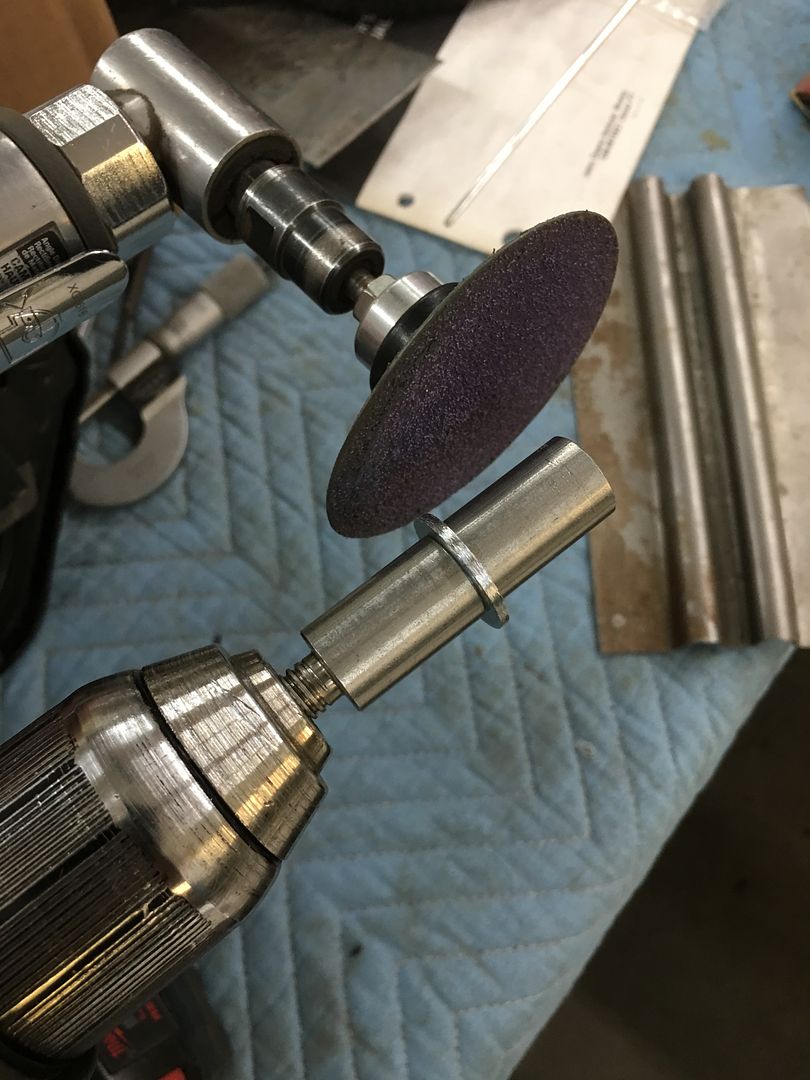
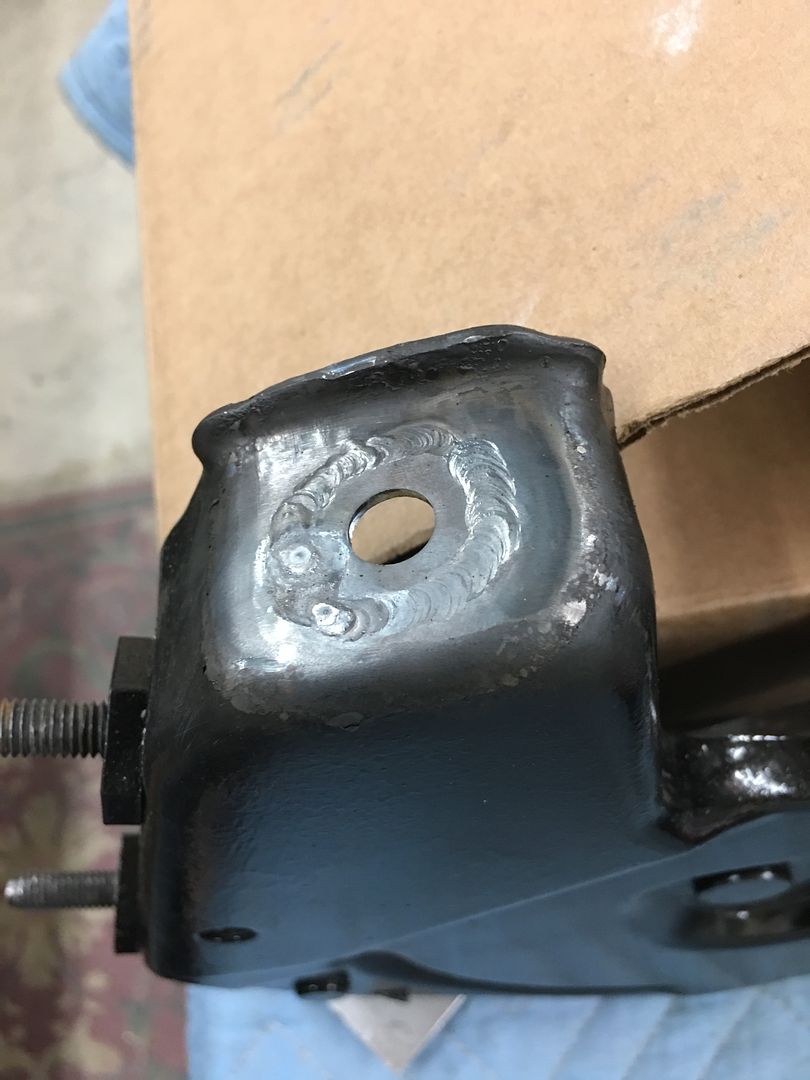
I considered making an adapter sleeve on the lathe, but the figured resizing the hole would be quicker. Found a nice thick 3/8 flat washer in stock that fit the ferrule shoulder perfectly and matched the thickness of the parking brake bracket. In order to get the weld heat farther from the 3/8 hole, the bracket opening was oversized up to 7/8" (largest step drill that I could find) and the washer slightly downsized to fit.. Some 3/8 standoffs made a quick arbor for the drill, and the die grinder does the rest. we had our correct size in about a minute..
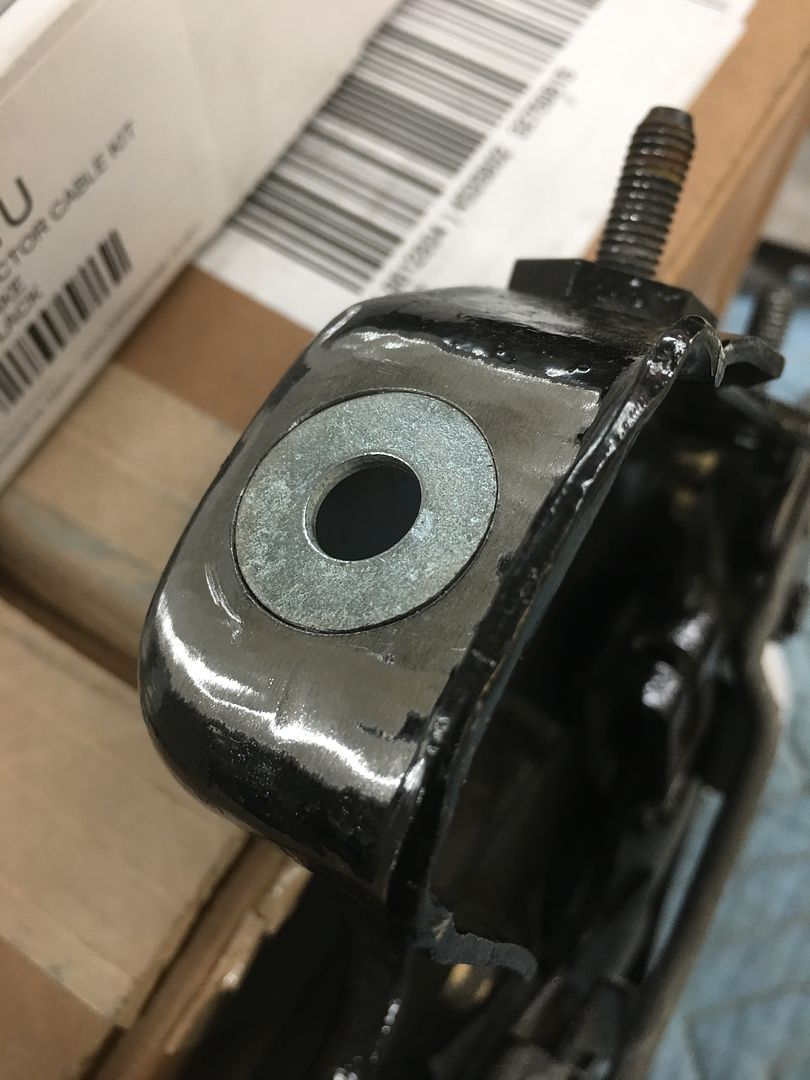
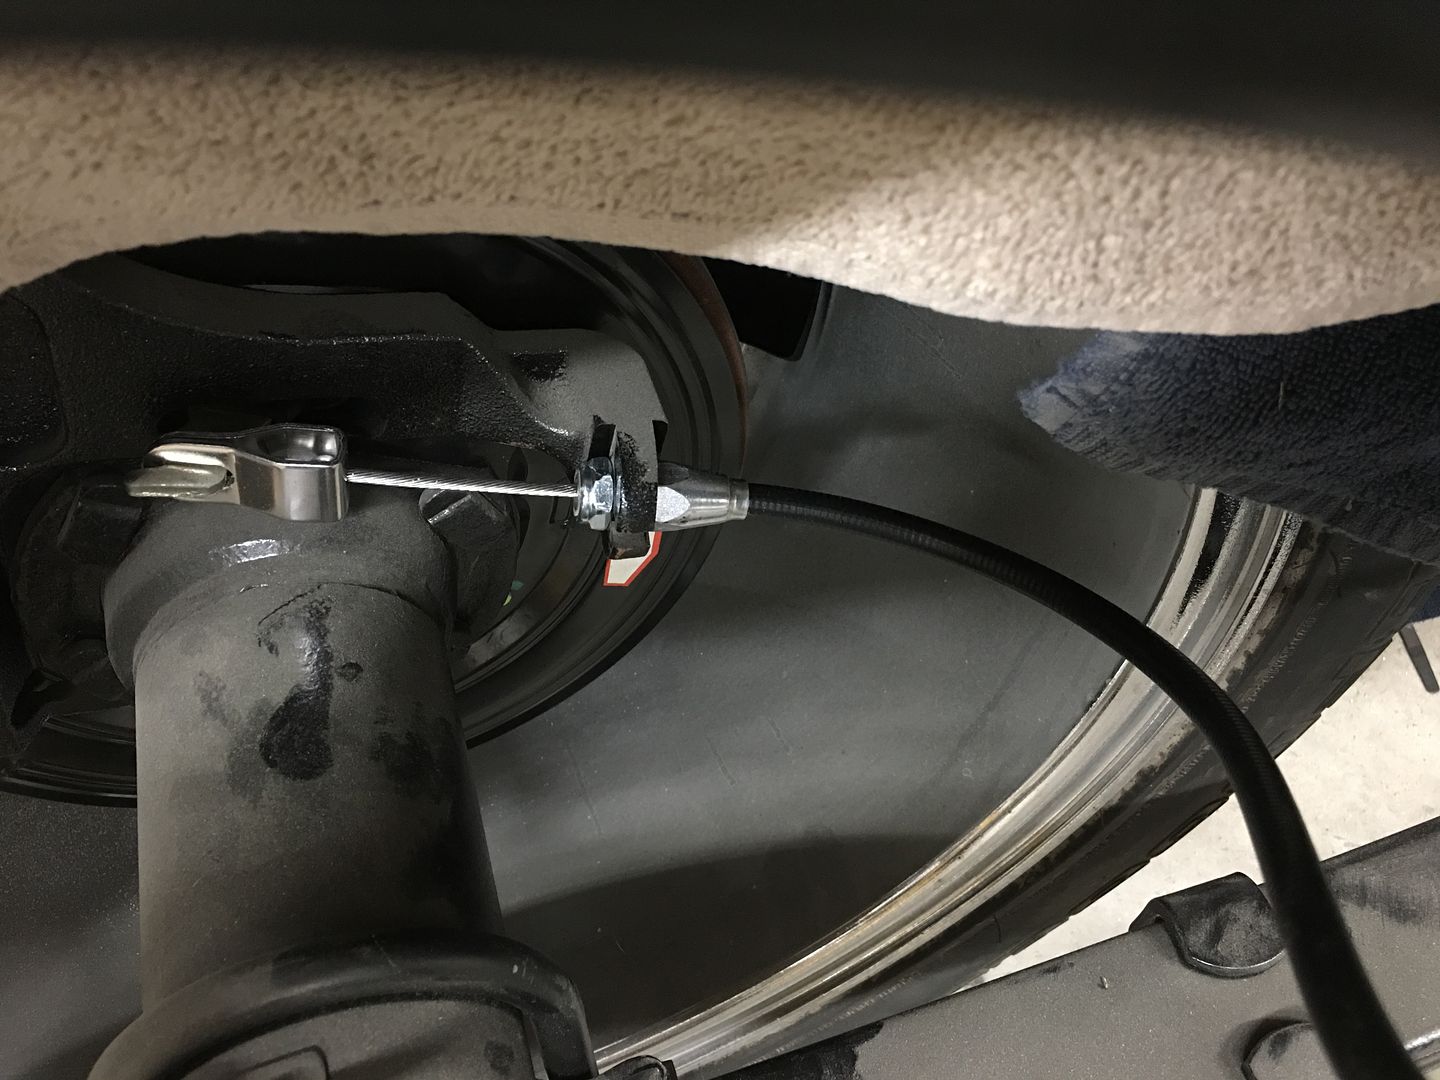
Installed, much better fit... Now Vince needs to do some touch up on the paint!
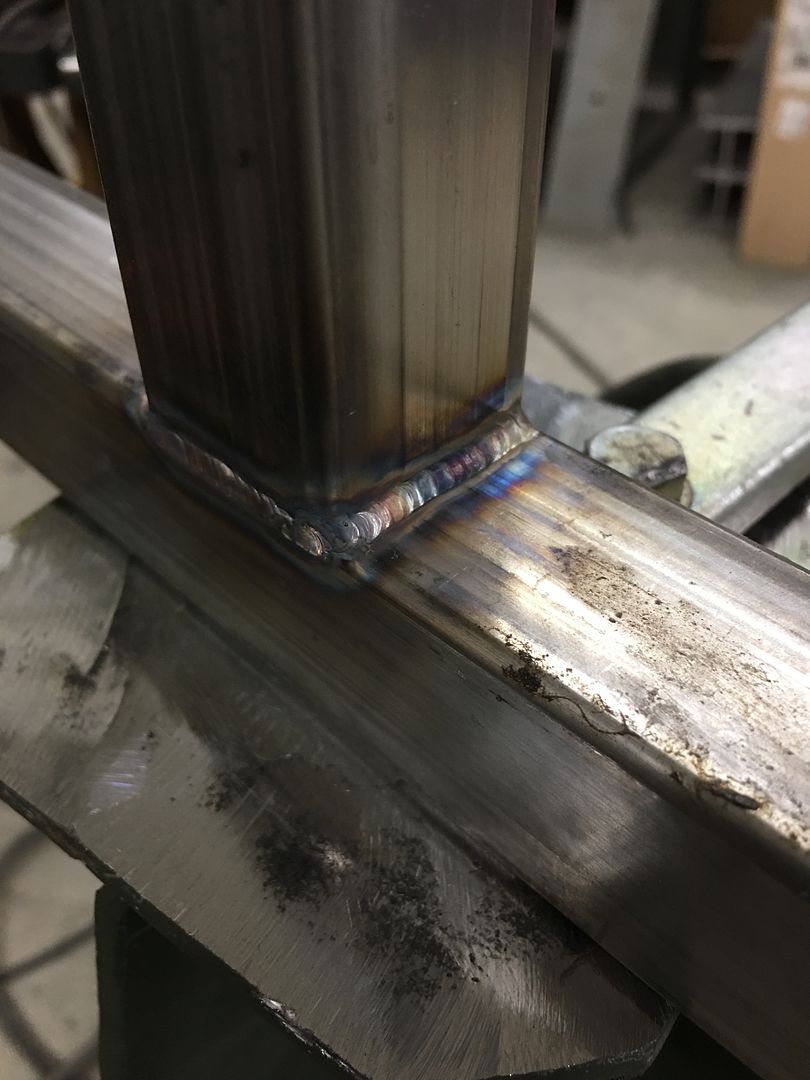
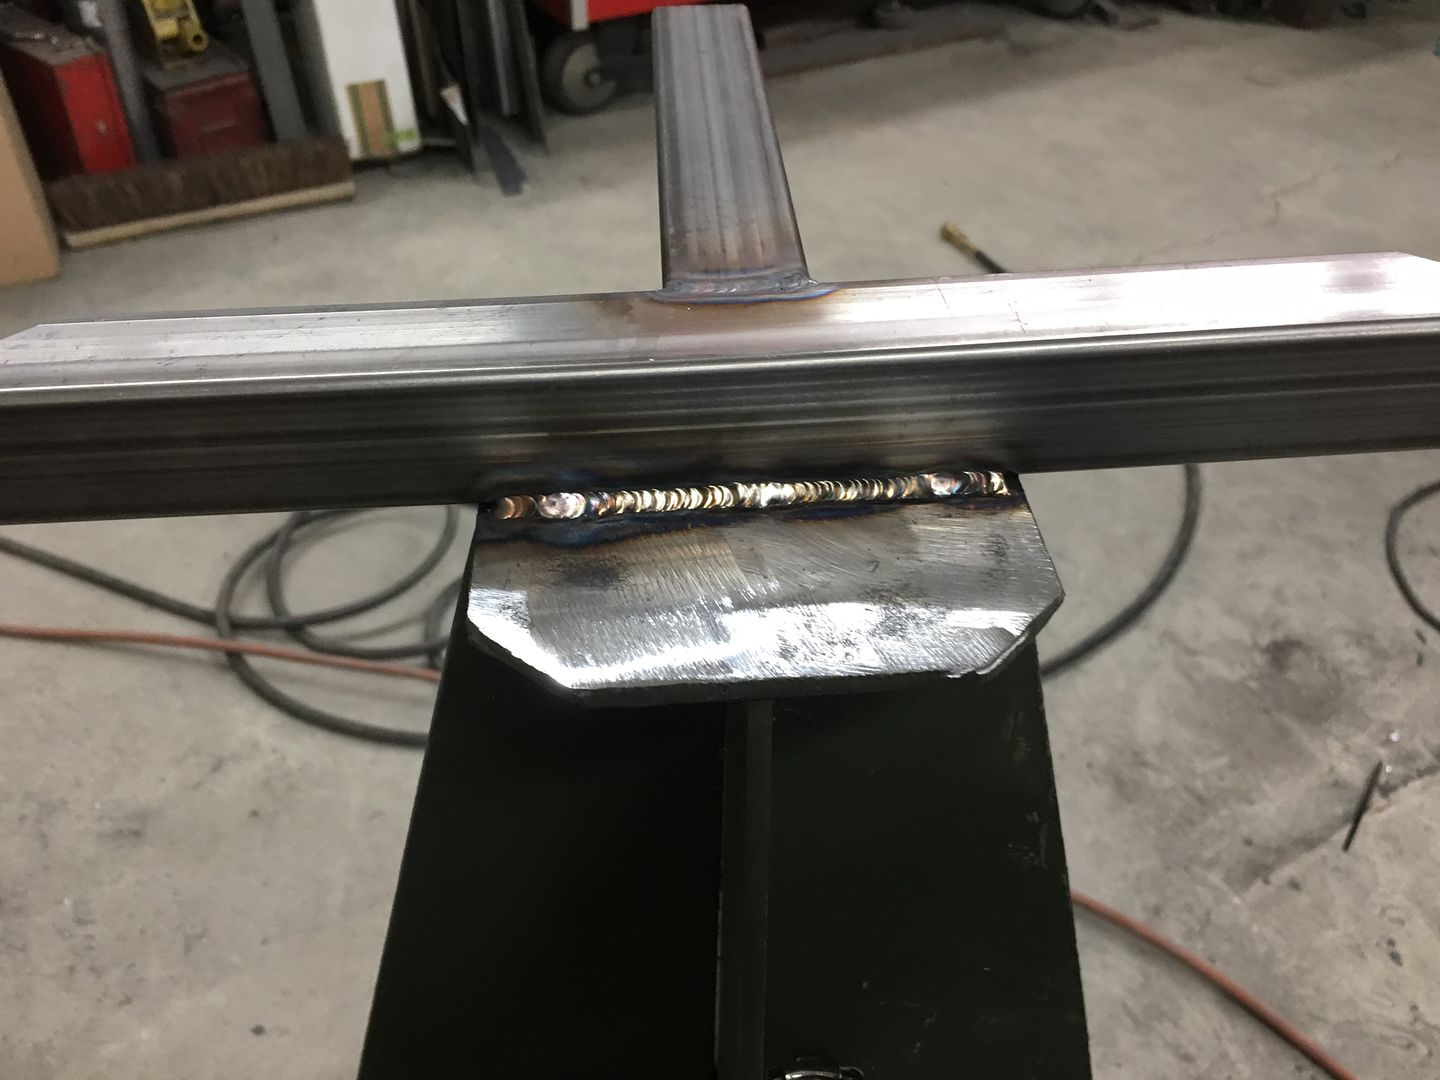
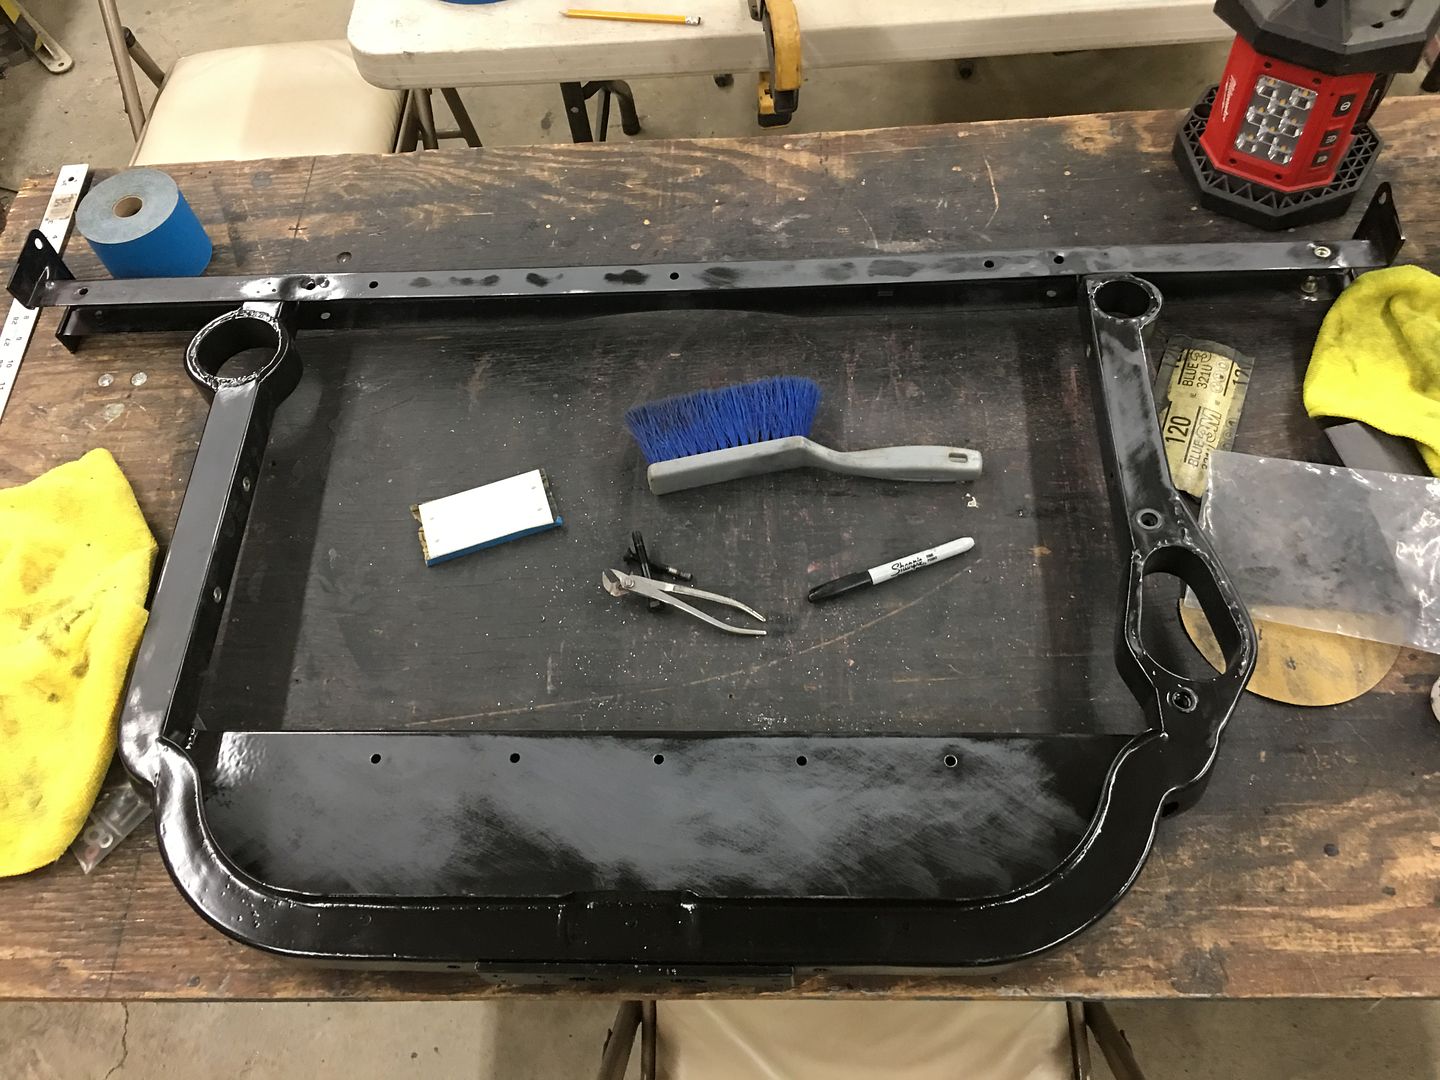
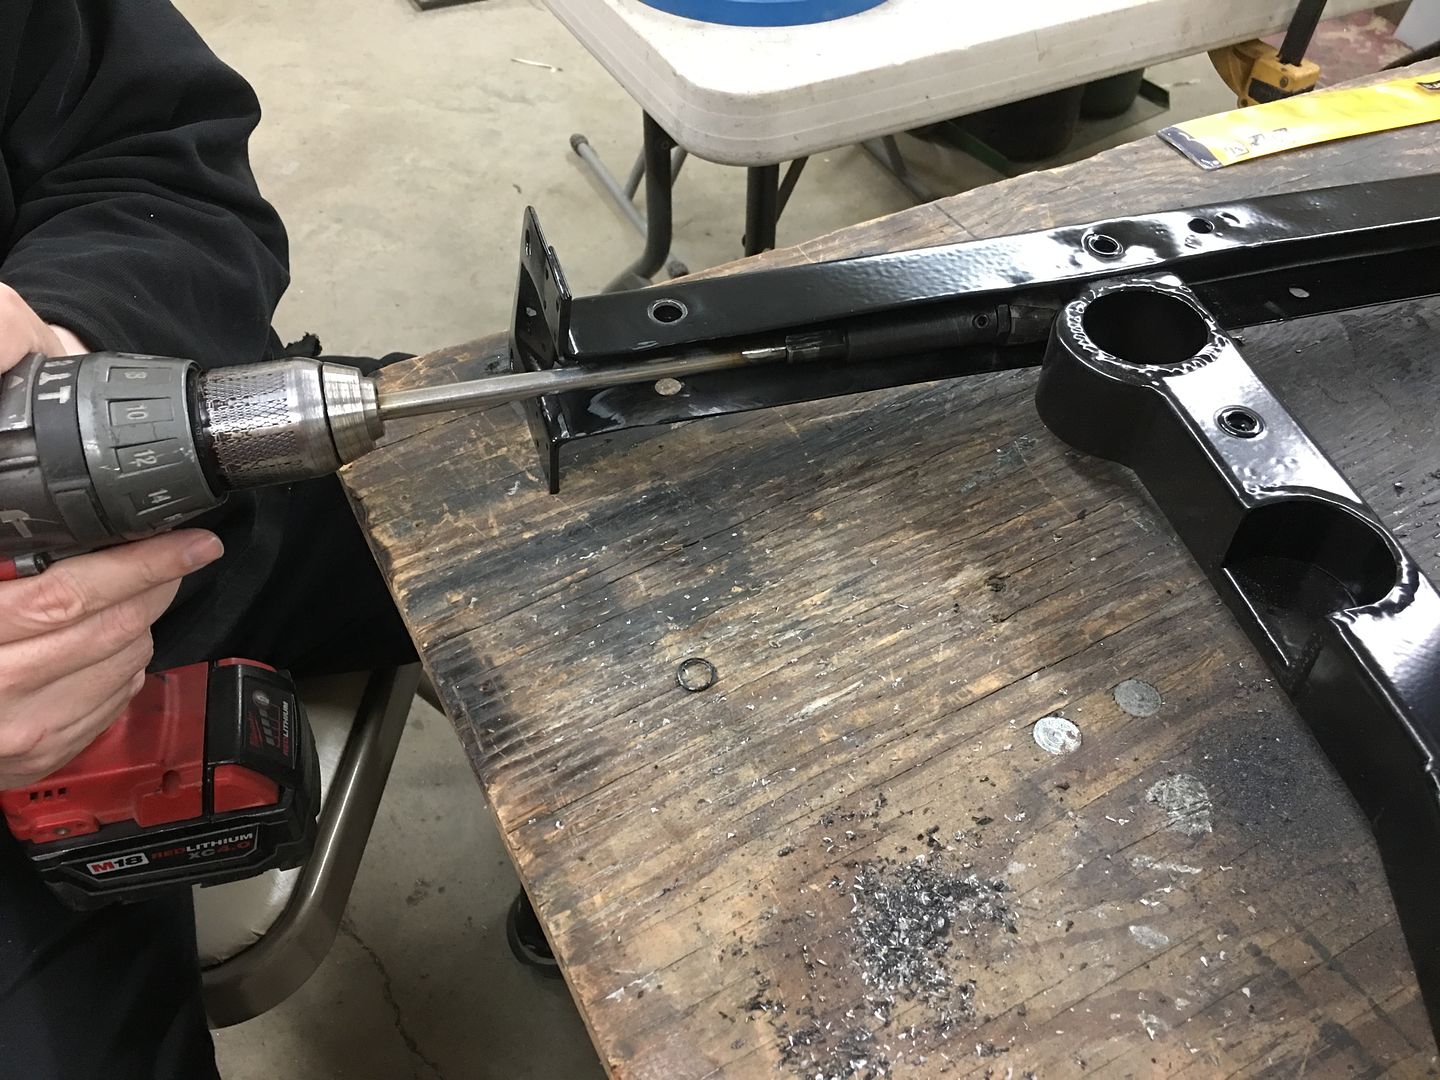
We're in the middle of blocking paint today on the core support and happened to notice someone forgot to add the holes in the new vertical uprights for the light wires to go across above the radiator.
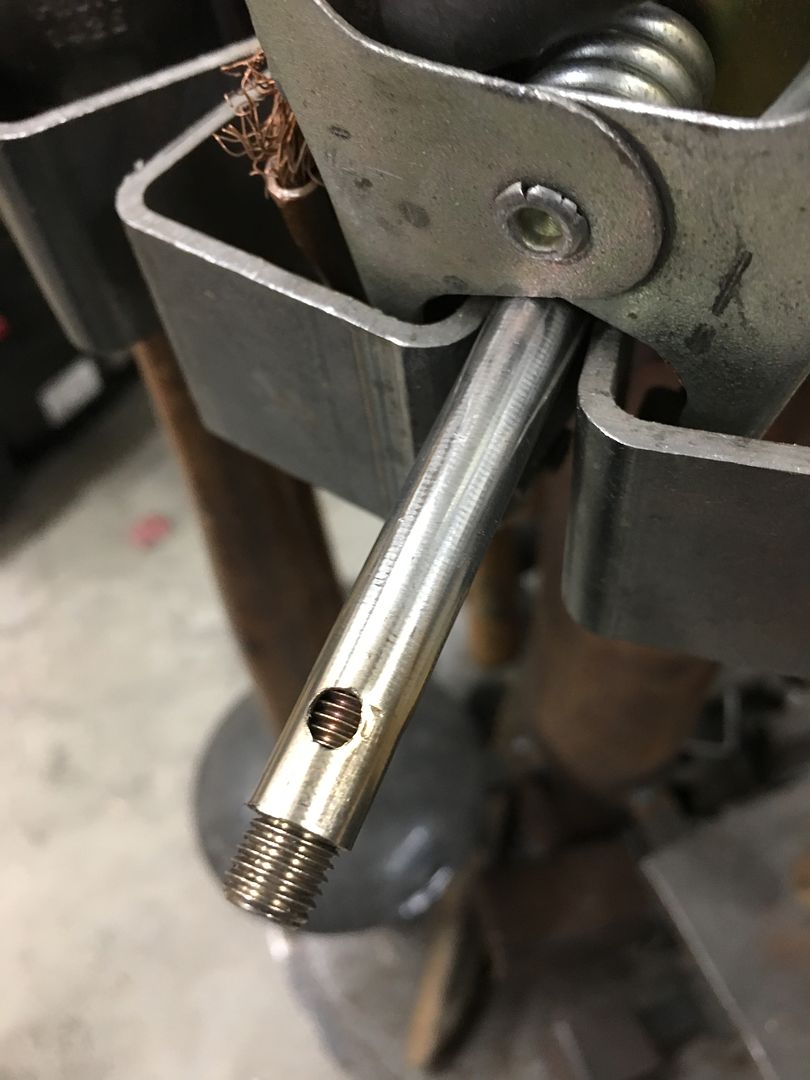
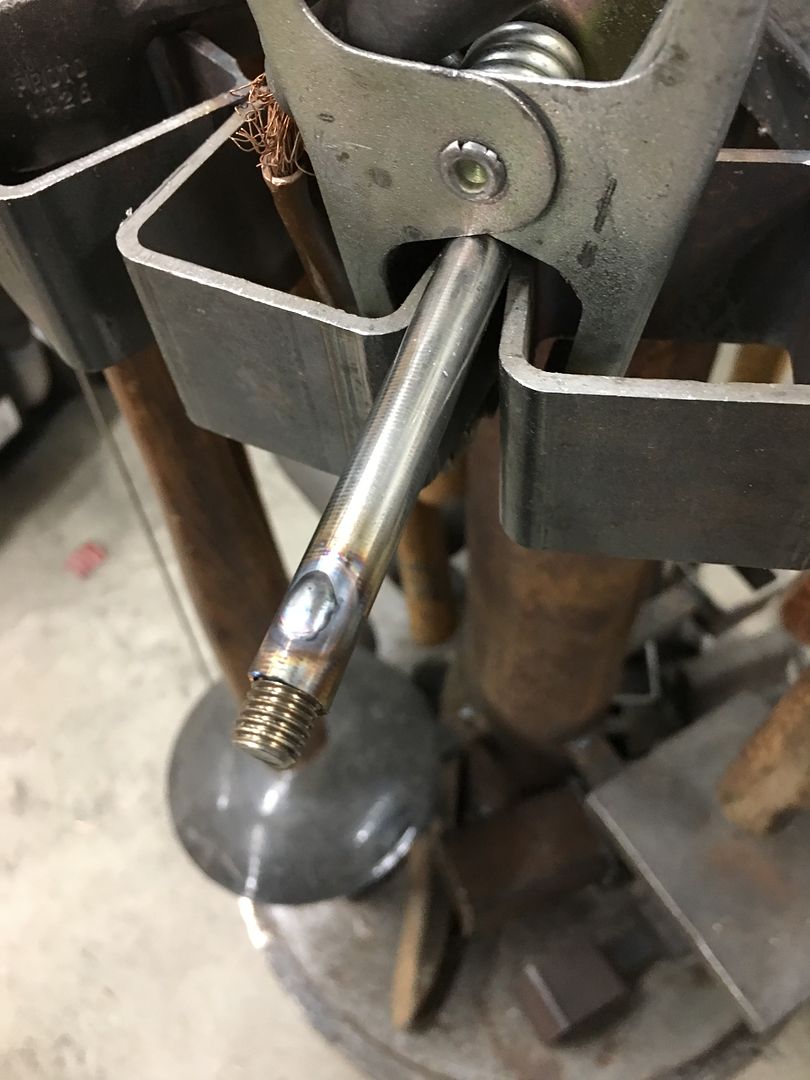
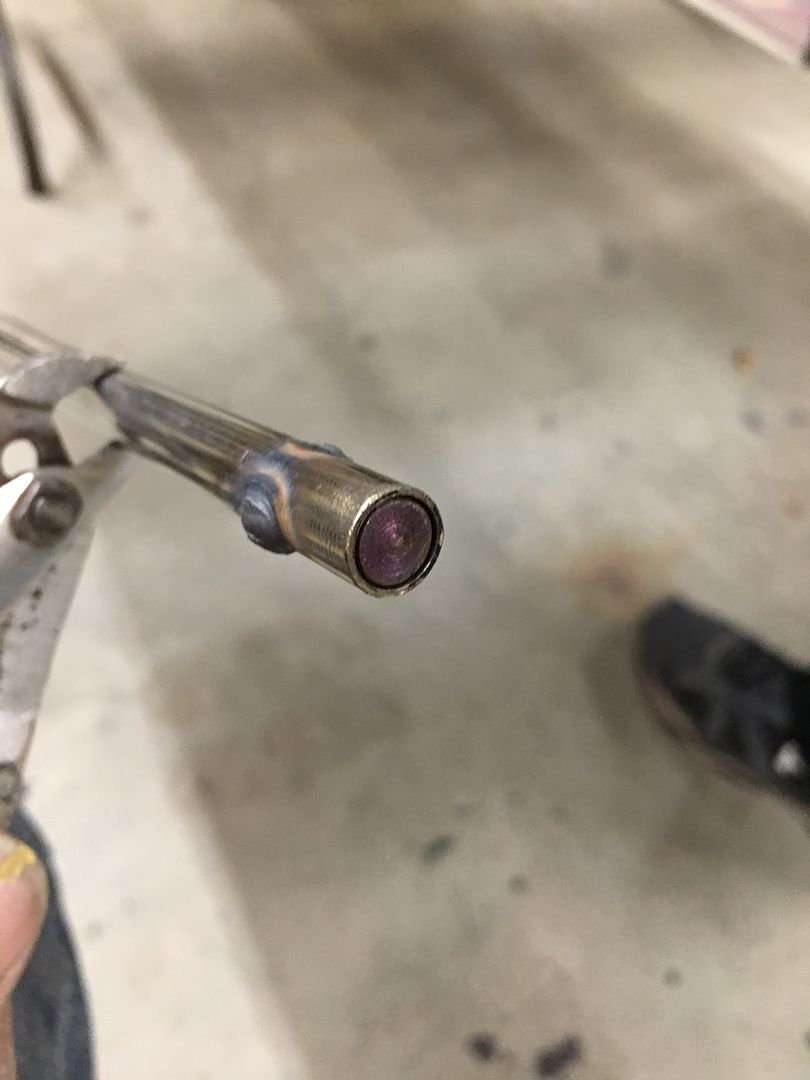
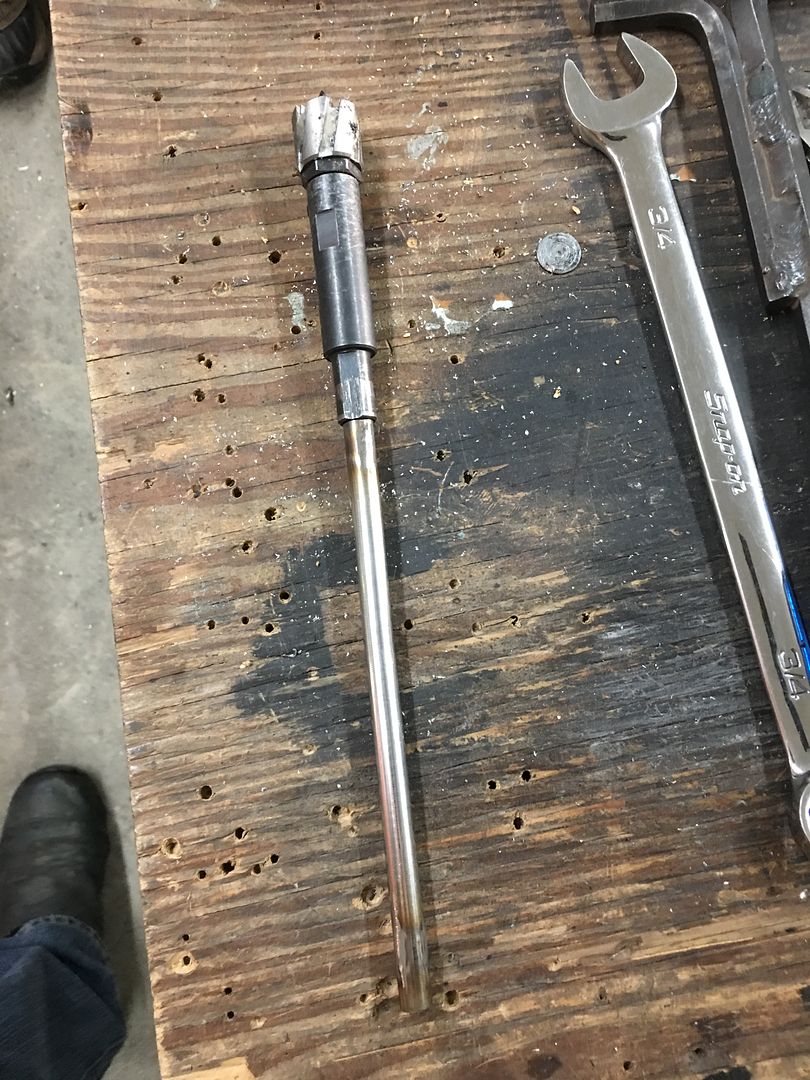
We have some rotary cutters that would do the trick but they are a bit short to reach from the outside (to keep things perpendicular) so lets make an extension. The set screw for the spring loaded center point is a 5/16-24 and we happened to have some in stock. So we used a piece of stainless fuel line and plug welded a stud in one end and a plug in the other for tightening in the drill chuck..
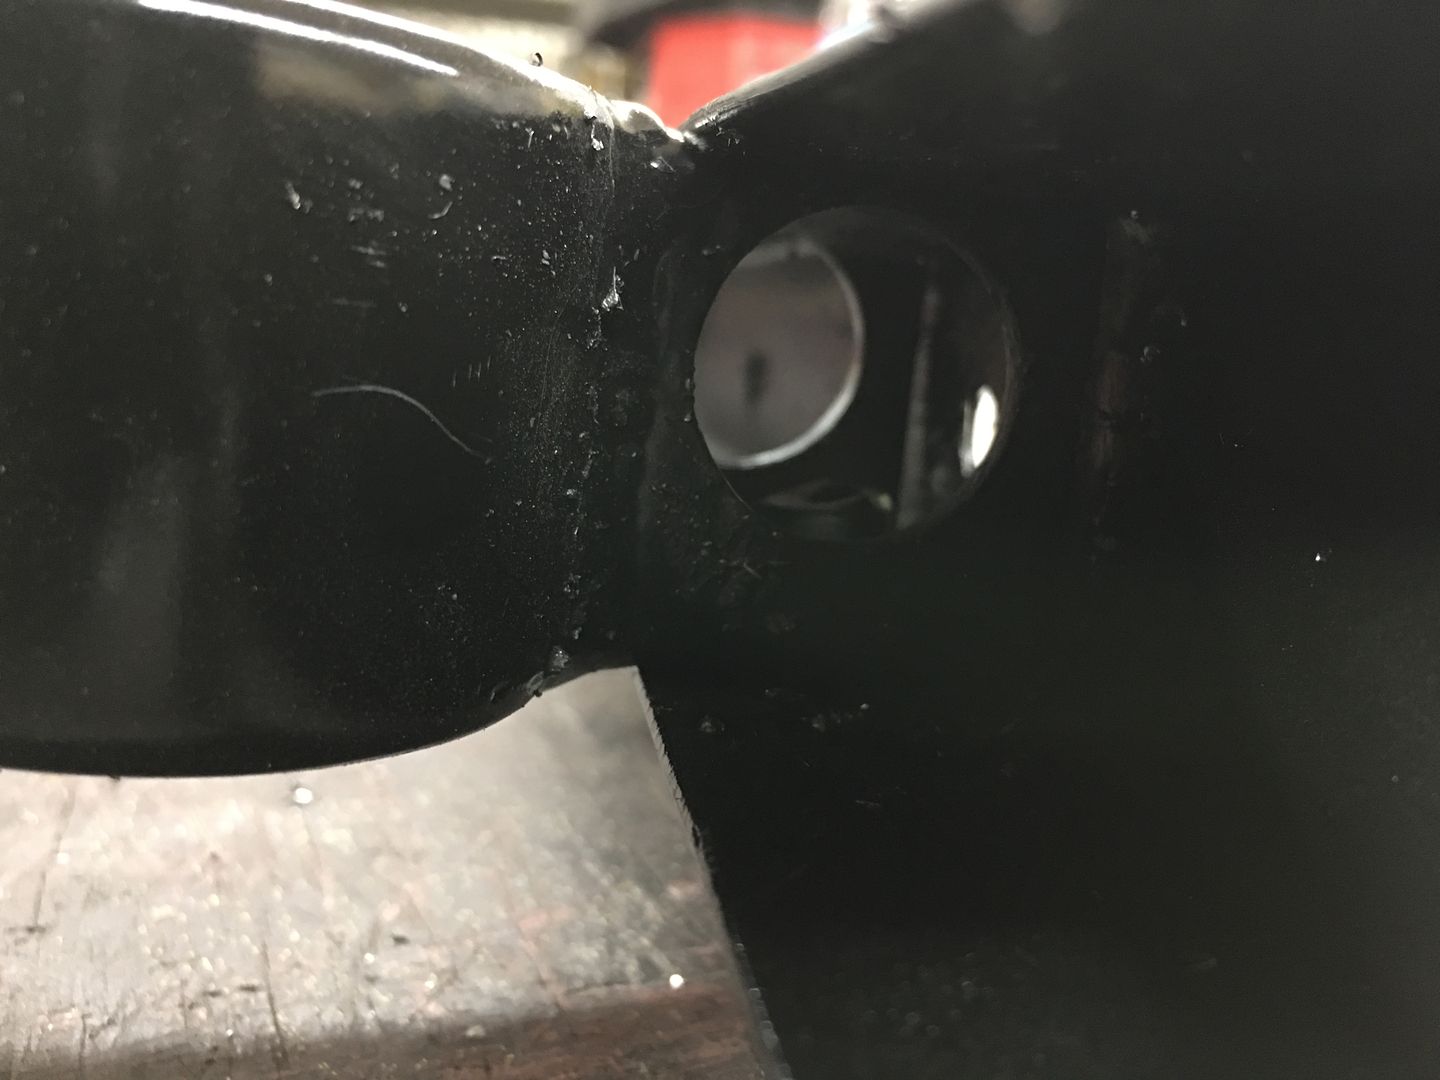
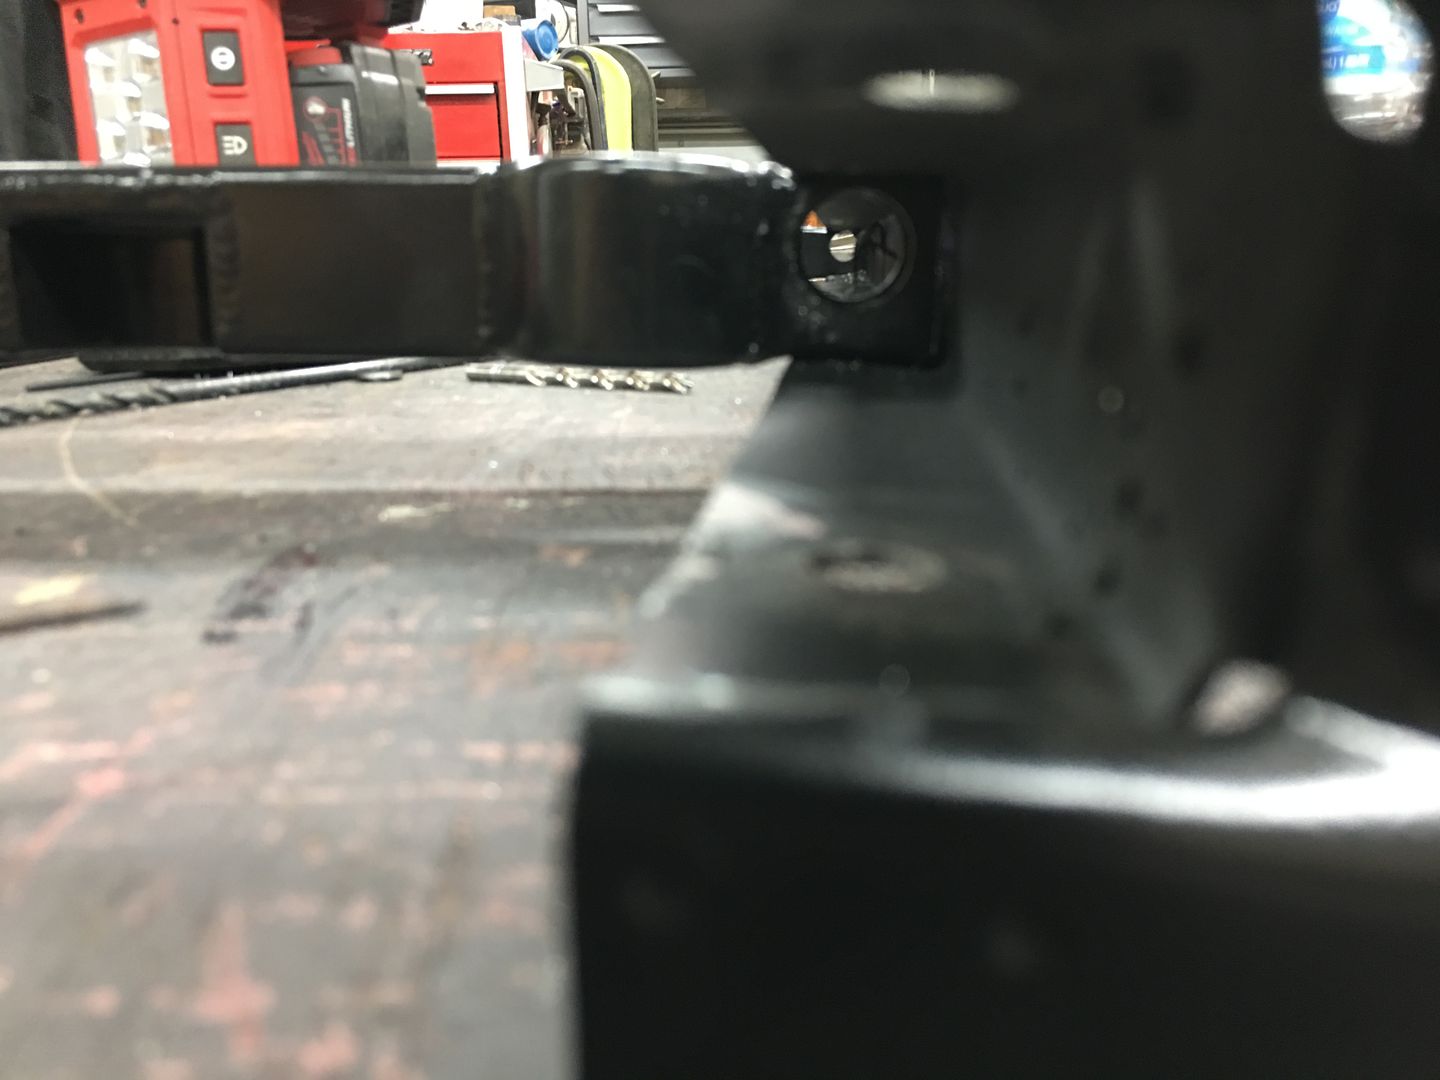
Holes drilled, deburred, and grommet test fitted..
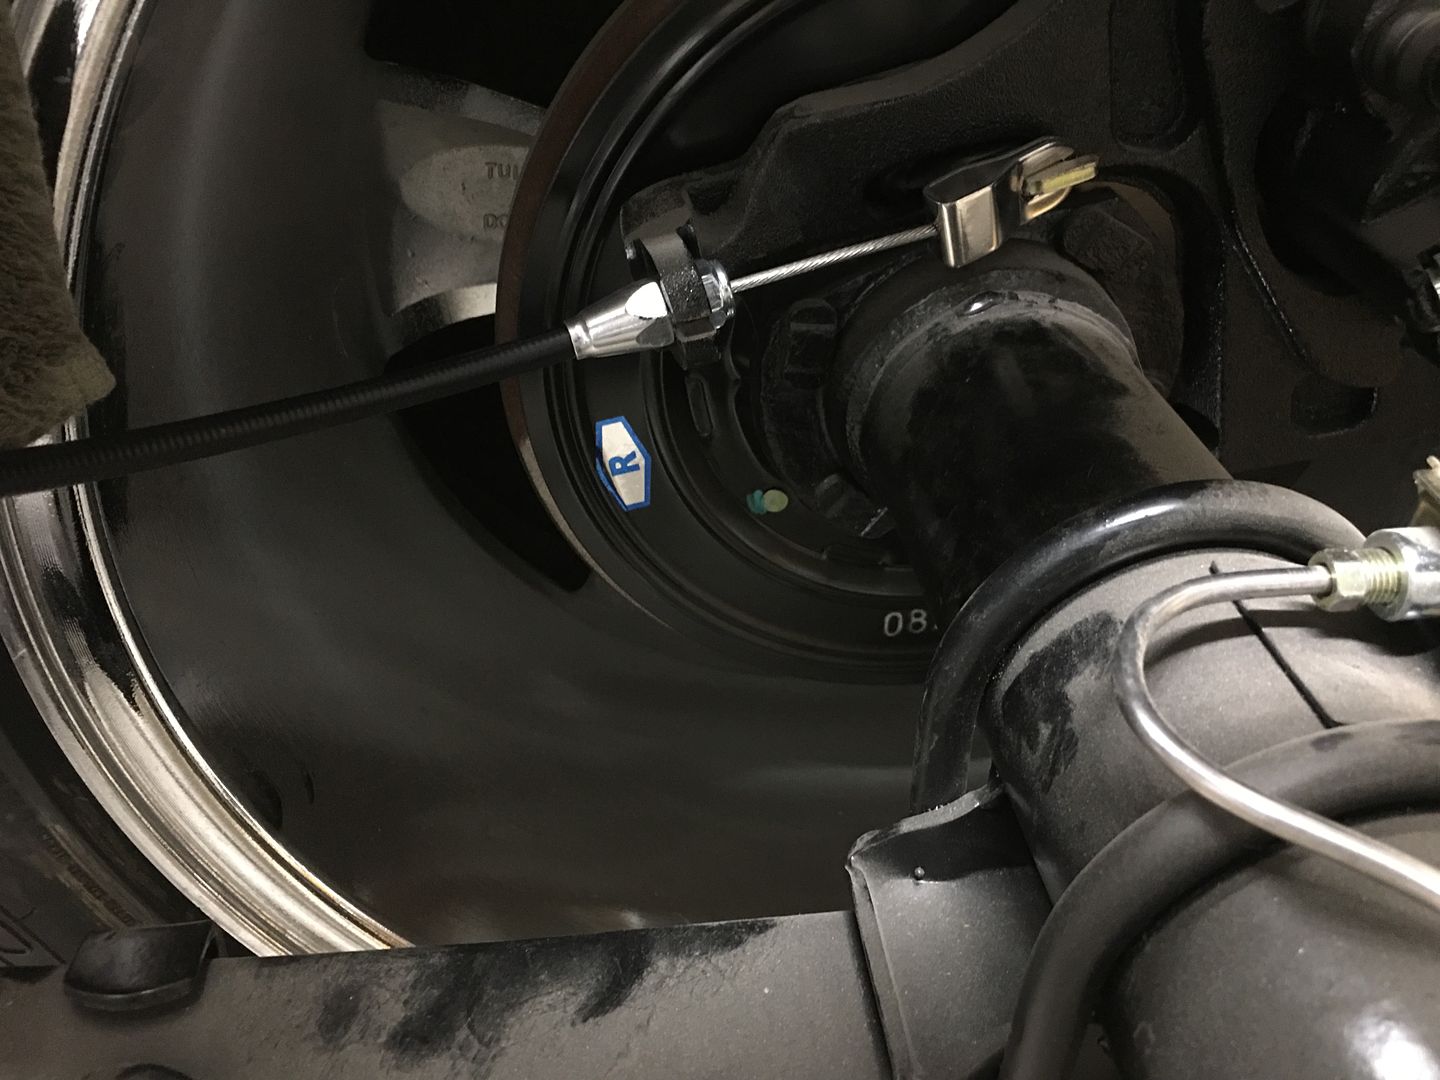
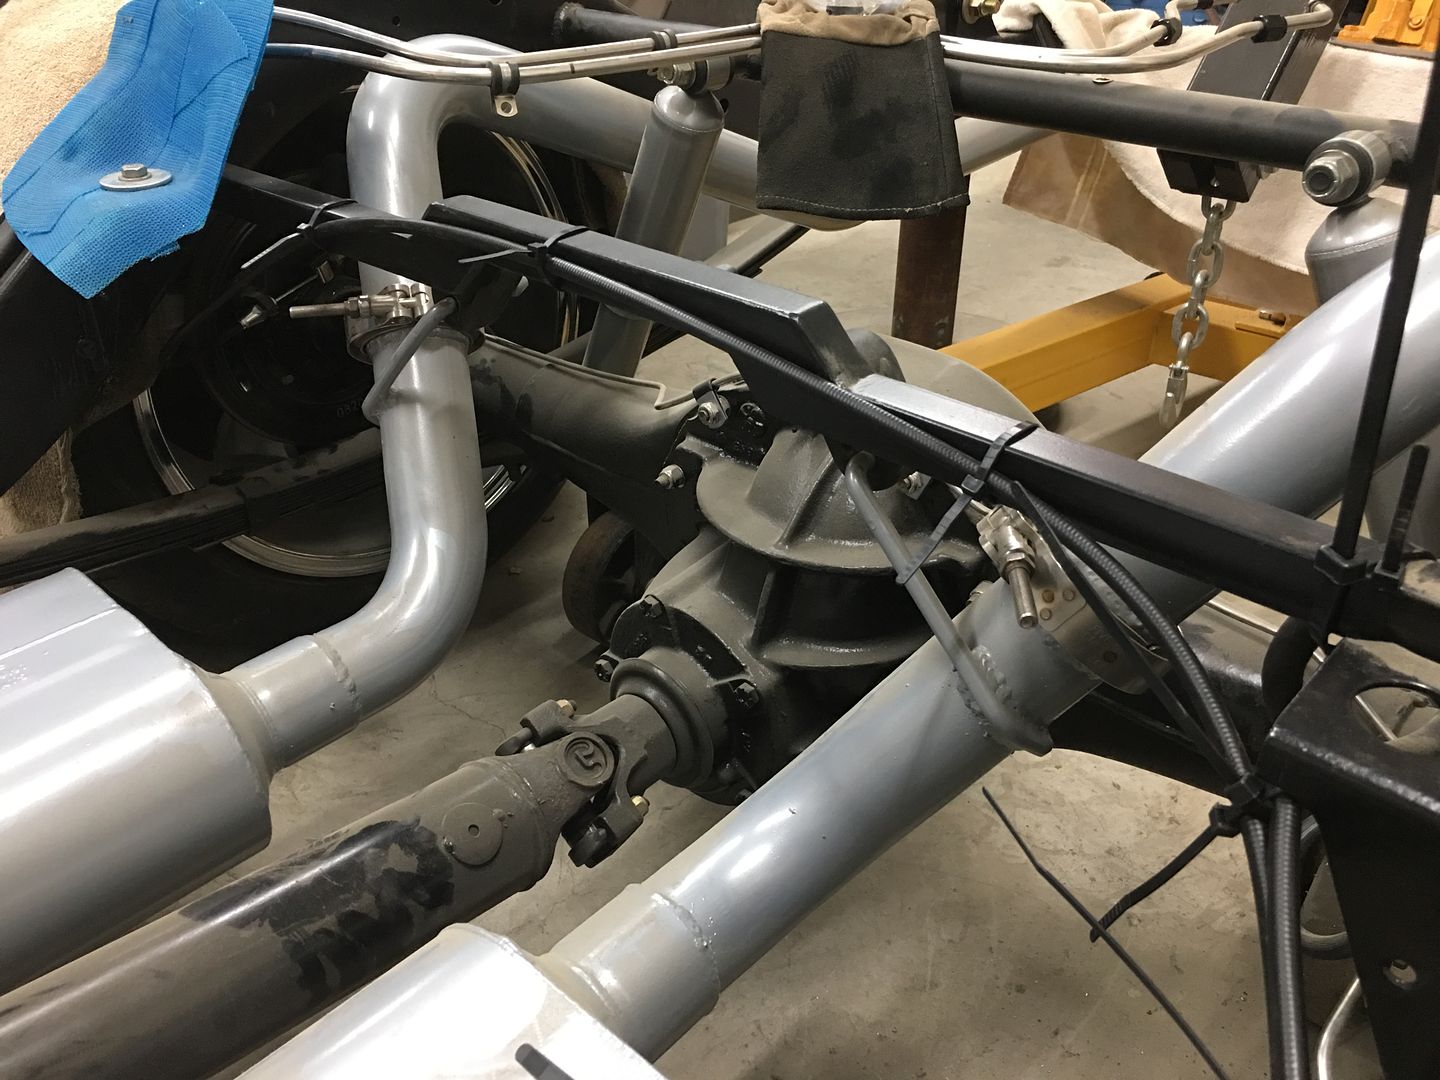
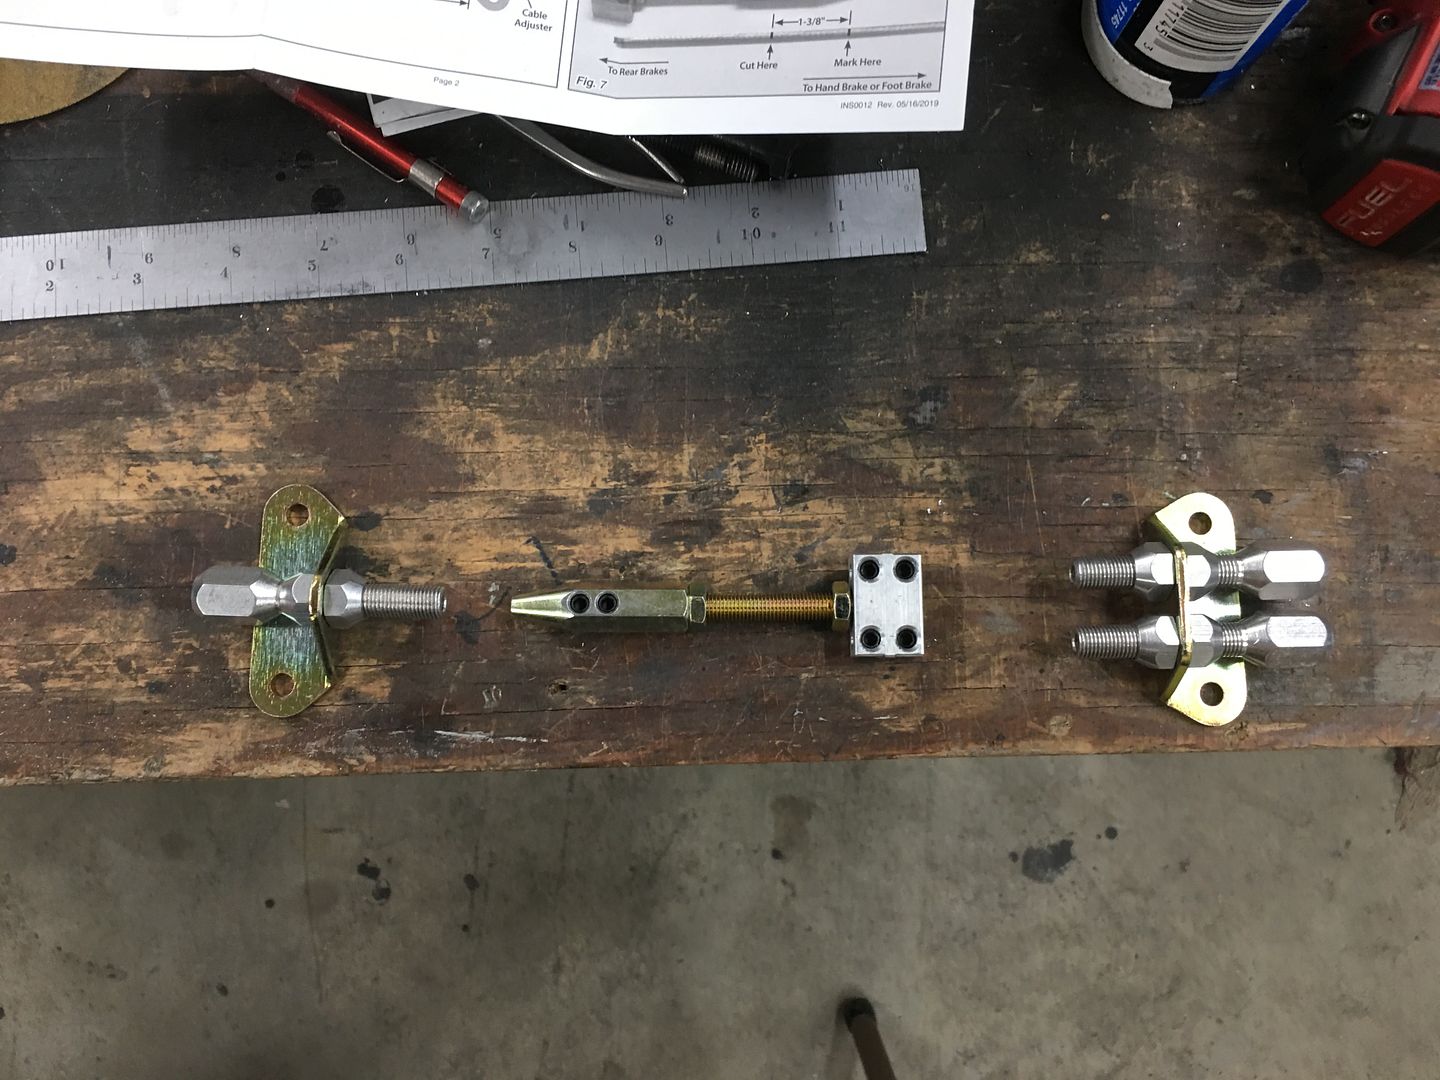
Now for a test fit of our Parking brake lines to mock up the routing prior to adding rivet nuts and adel clamps...
And here's our one cable to two part layout..
Hi Robert.
As always, I enjoy & try to learn from seeing how you get things done, and you never use my go-to repair items: bailing wire, duct tape, or JB Weld!
Thanks! Doug
 Posting Permissions


 Reply With Quote