Robert, it looks like you're going to catch up with me in no time.


Robert, it looks like you're going to catch up with me in no time.
56 Nomad, Ramjet 502, Viper 6-speed T56, C4 Corvette front and rear suspension
Other vehicles:
56 Chevy 2-door BelAir sedan
56 Chevy 210 4-door sedan
57 Chevy 210 4-door sedan
1962 327/340HP Corvette
1961 Willys CJ3B Jeep
2001 Porsche Boxster S
2003 Chevy Silverado 2500 HD Duramax
2019 GMC Sierra Denali Duramax


Hi Robert, you do amazing work! I started in the forum a few months ago. I'm into a project on my 55 2 dr 210 swapping an LT1 for my 283. It's been 35 years since its been painted and I may try to fix some troubled areas at the same time? My rear quarter panels where they meet my trunk lid are too close (I guess pushed inward or wrecked way back before I got it?). I was thinking about trimming the metal out with a circular wiss wheel and welding a new surface in on the quarter panel where it meets the trunk lid. I have access to a mig. Would this work Ok for this section? I guess what I'm saying is what kind of welder did you use to fix the doors and pillars? ... It's funny how your passenger door met, mine dropped down the same way...we loosened the hinge and put a floor jack under it with a block of wood and jacked it up until it fit better but my rocker panel was ate up so we had to fix that anyway... Thanks in advance for any help!

Do you have any pictures of the affected area? Is the "tight" area in one location or pretty much along the entire gap for a tight but still parallel opening? Got a real name or you just go by My55?
Hey Robert, this is DJ (My55). Thanks for responding!
Here's some pics of my trunk area, if u look close it's narrow or touching on both sides near the bottom but the gap opens up to normal on top. The door pic is what u, Cnut , and Rick-L were chatting about which I used a jack to get it close. Not worried about that as much but it's weird that we all had the same problem???...
DJ, looks to me that someone has installed a new tail pan and perhaps trunk floor without having the trunk in place to properly set the gaps. I would try a porta power between using blocks of wood to both protect and spread the load. Too much and you'll start to see buckling, so I wouldn't get carried away, but you shouldn't need much to show a dramatic improvement. Other than that, I would remove the spot welds holding the tail pan across the bottom of the trunk opening, spread apart using trunk as a gap guide, and re-weld.
Hey Robert, thanks for the info! Would u use a mig to tack then weld your pieces in or do u use something else?
DJ, for overlapped panels I use the Mig and plug welds..
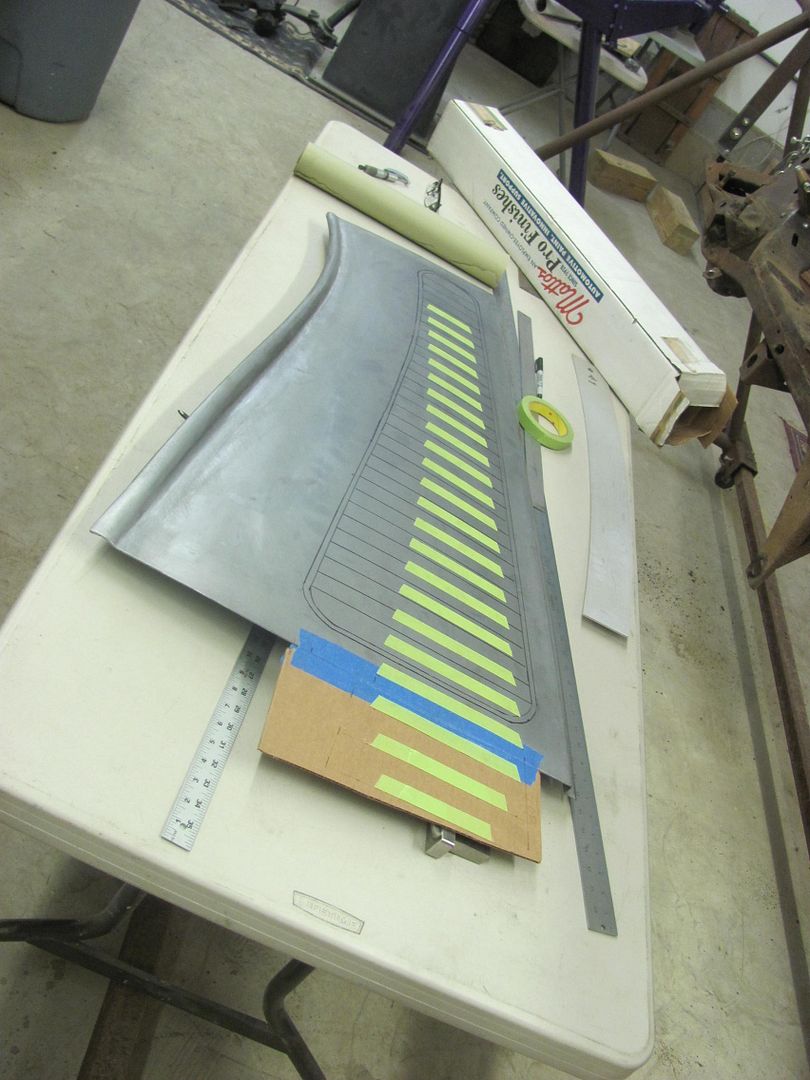
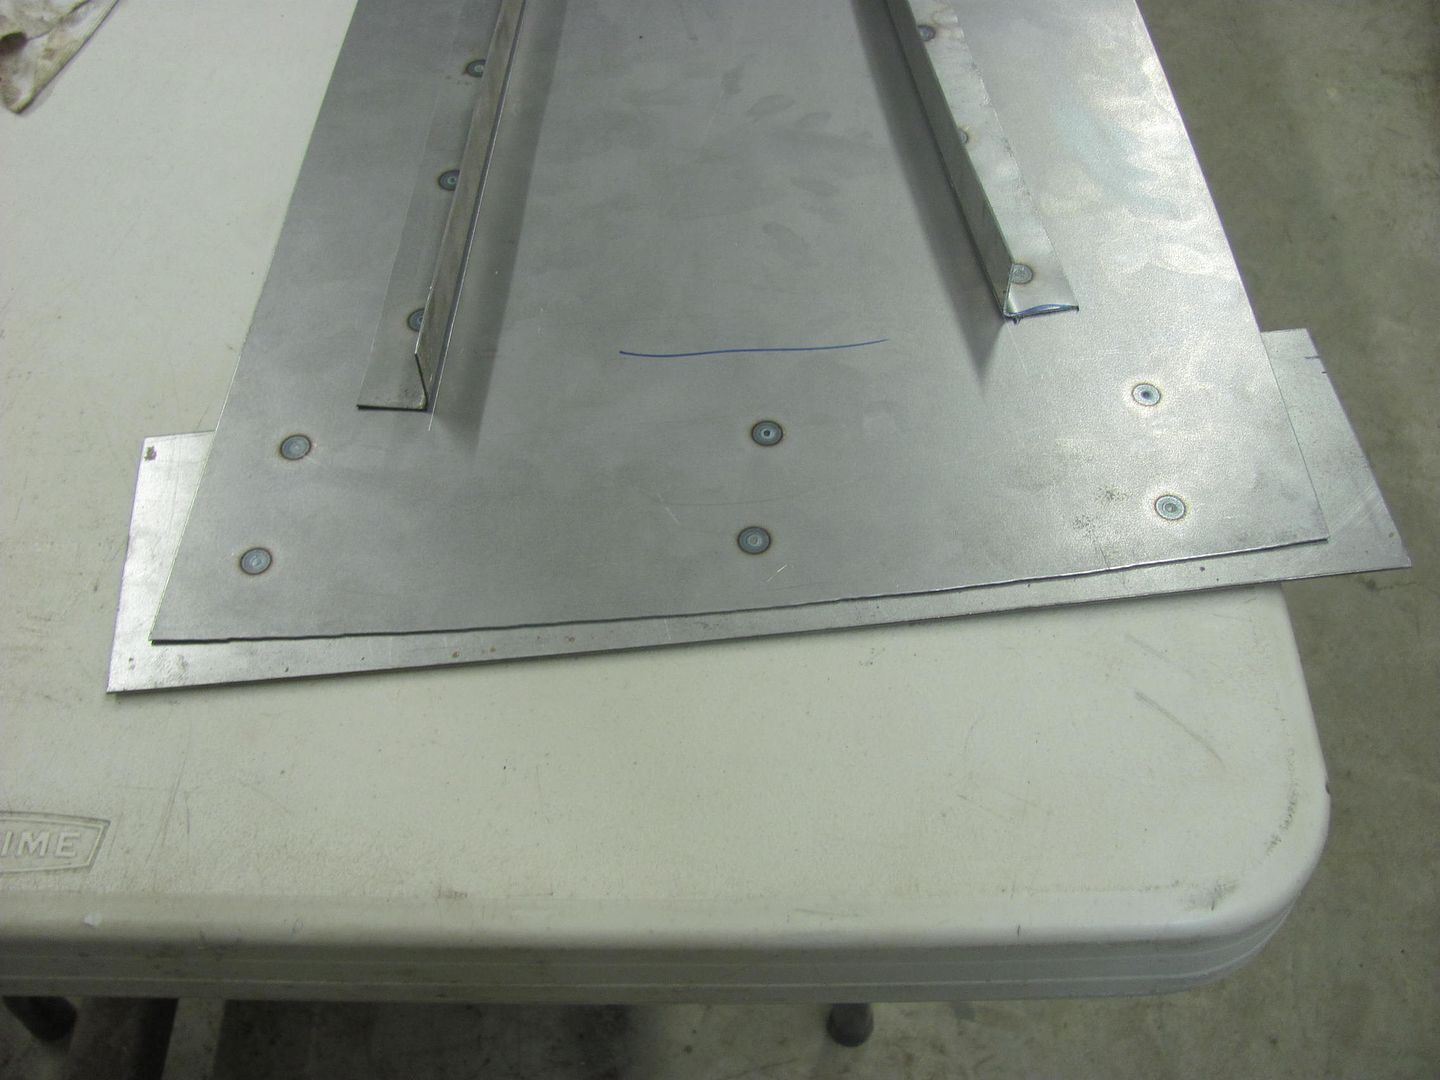
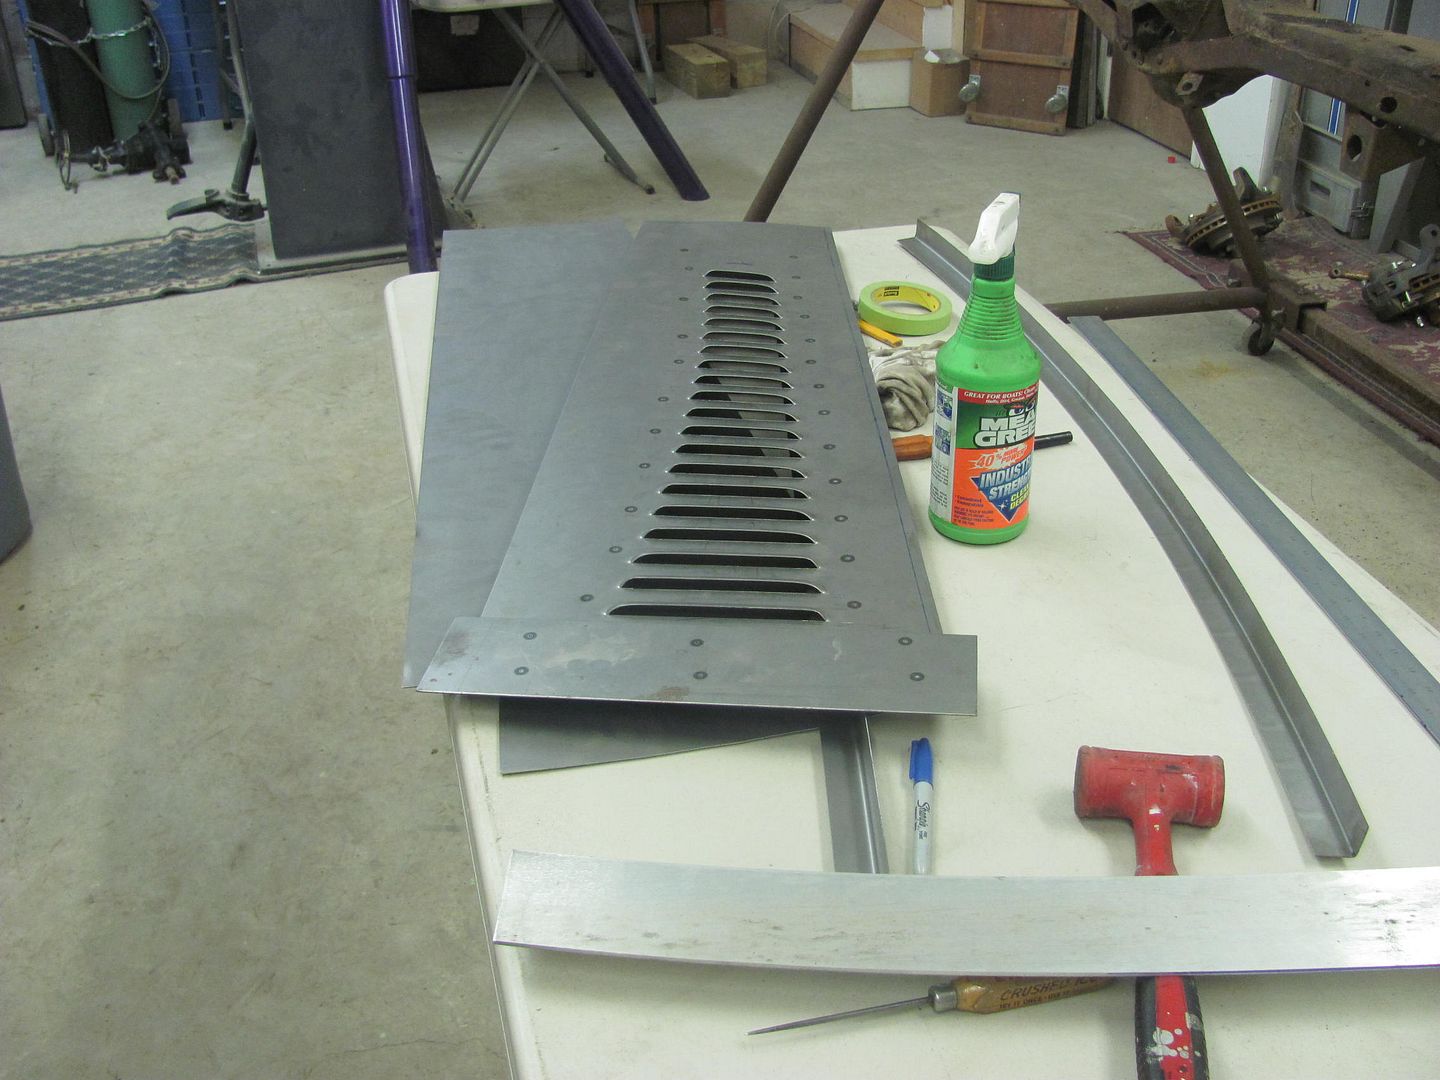
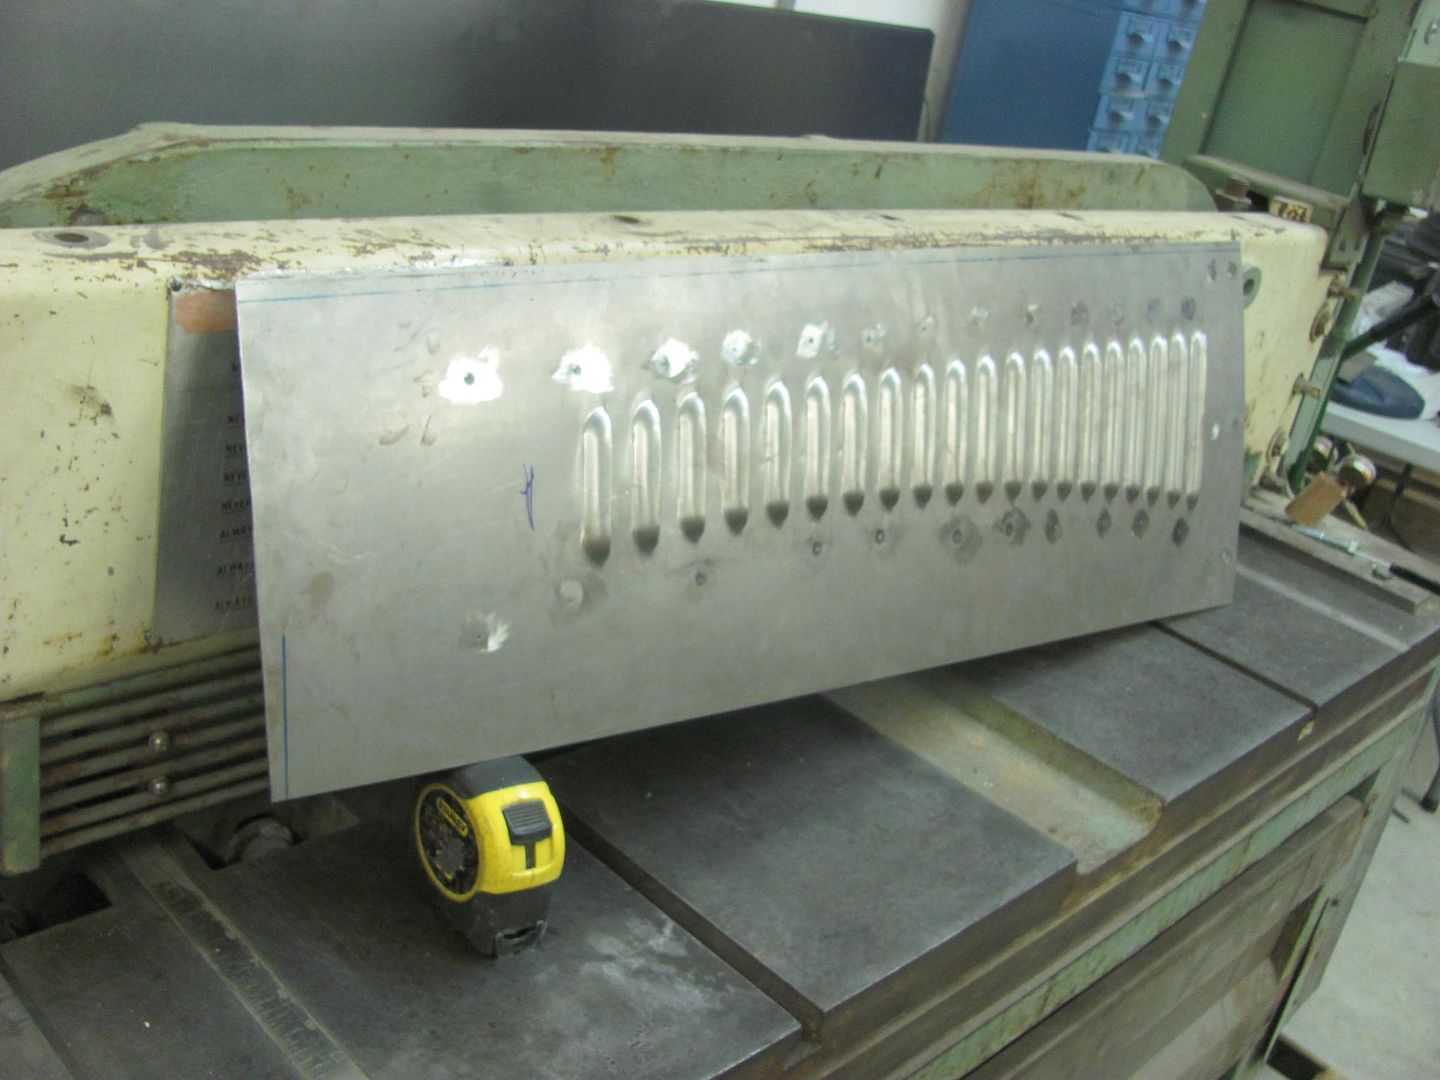
Had a early Chevy hood side show up at the shop tonight, the owner wanted a couple different versions of louver samples made up that he could hold against the hood on the car to better visualize. One style he was looking at lends from an early Alfa Romeo that extends the louvers onto the cowl, as shown in the green tape..
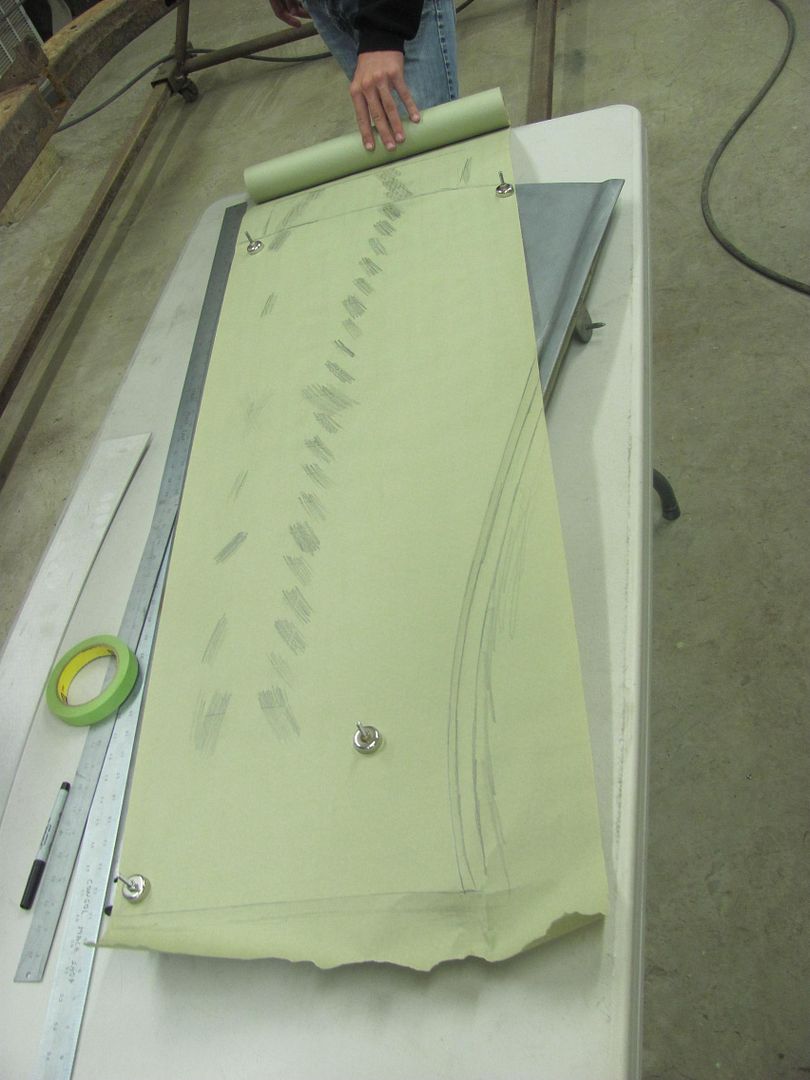
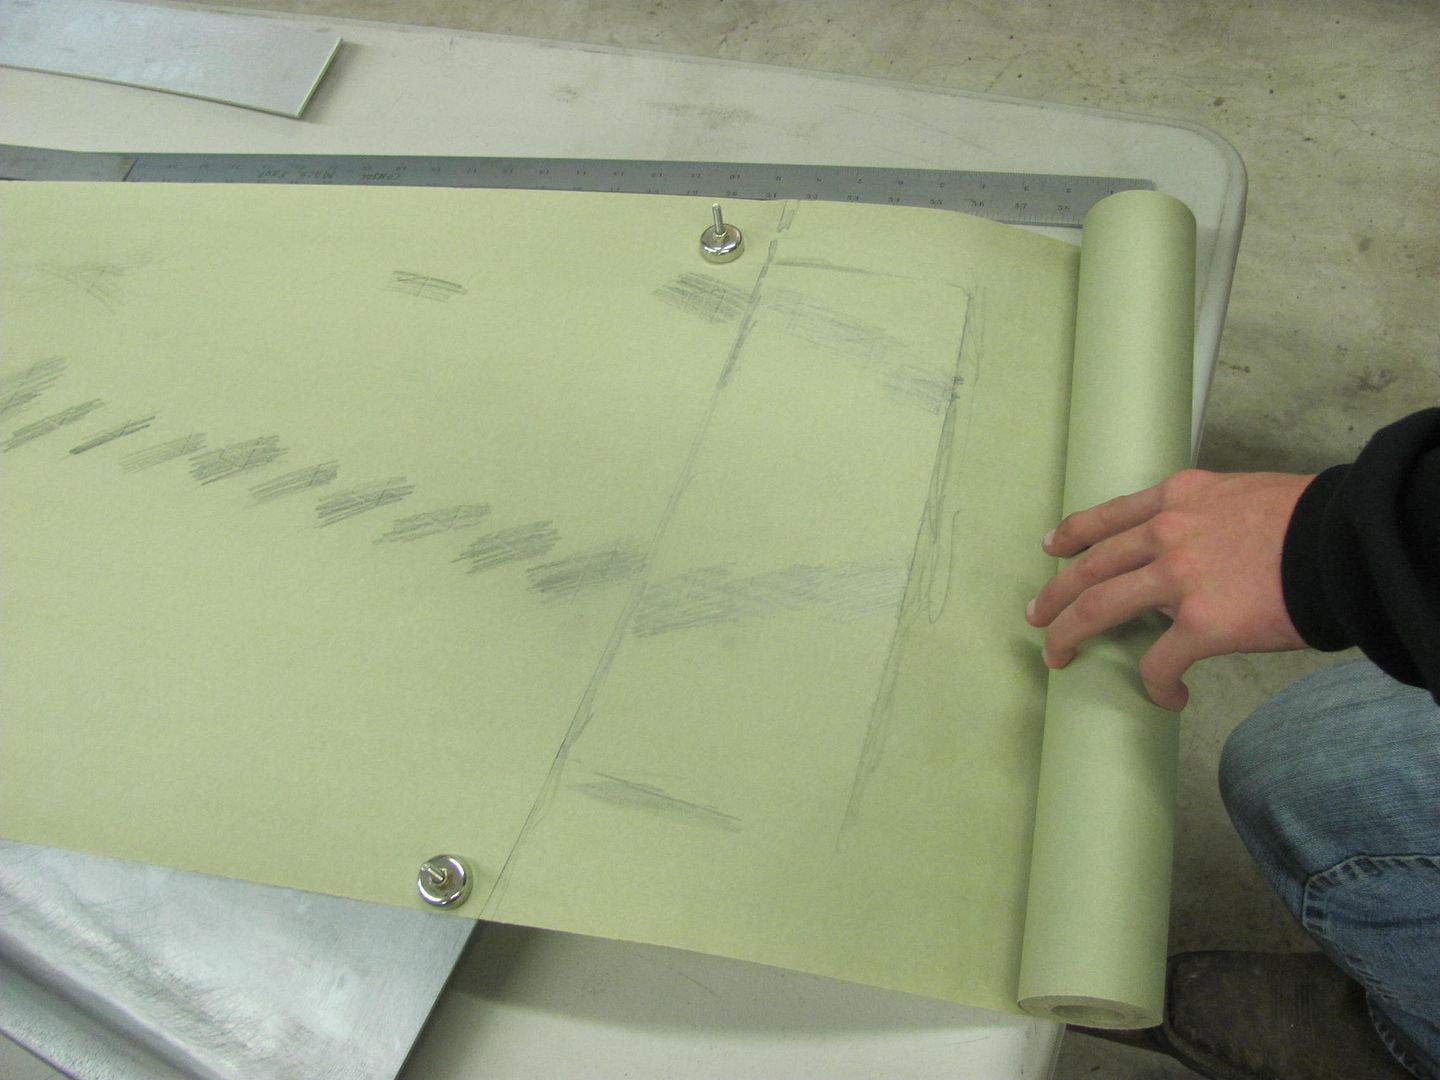
We took a paper pattern of the details so the hood side could go back with him to use as a pattern for the opposite side that still needs to be made.
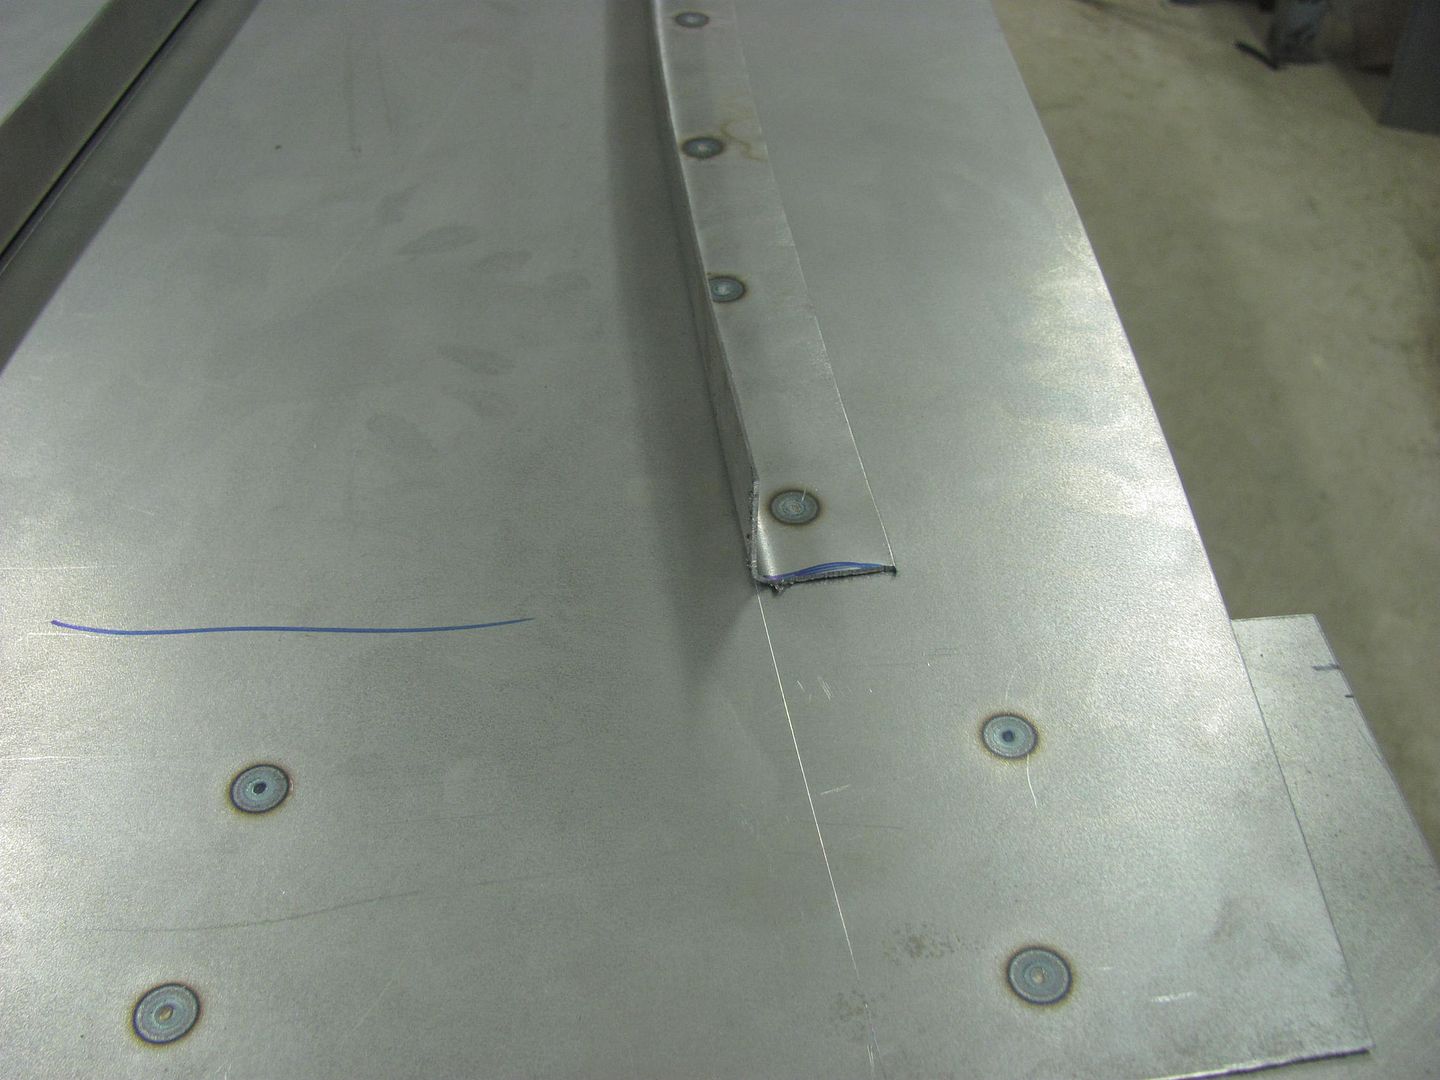
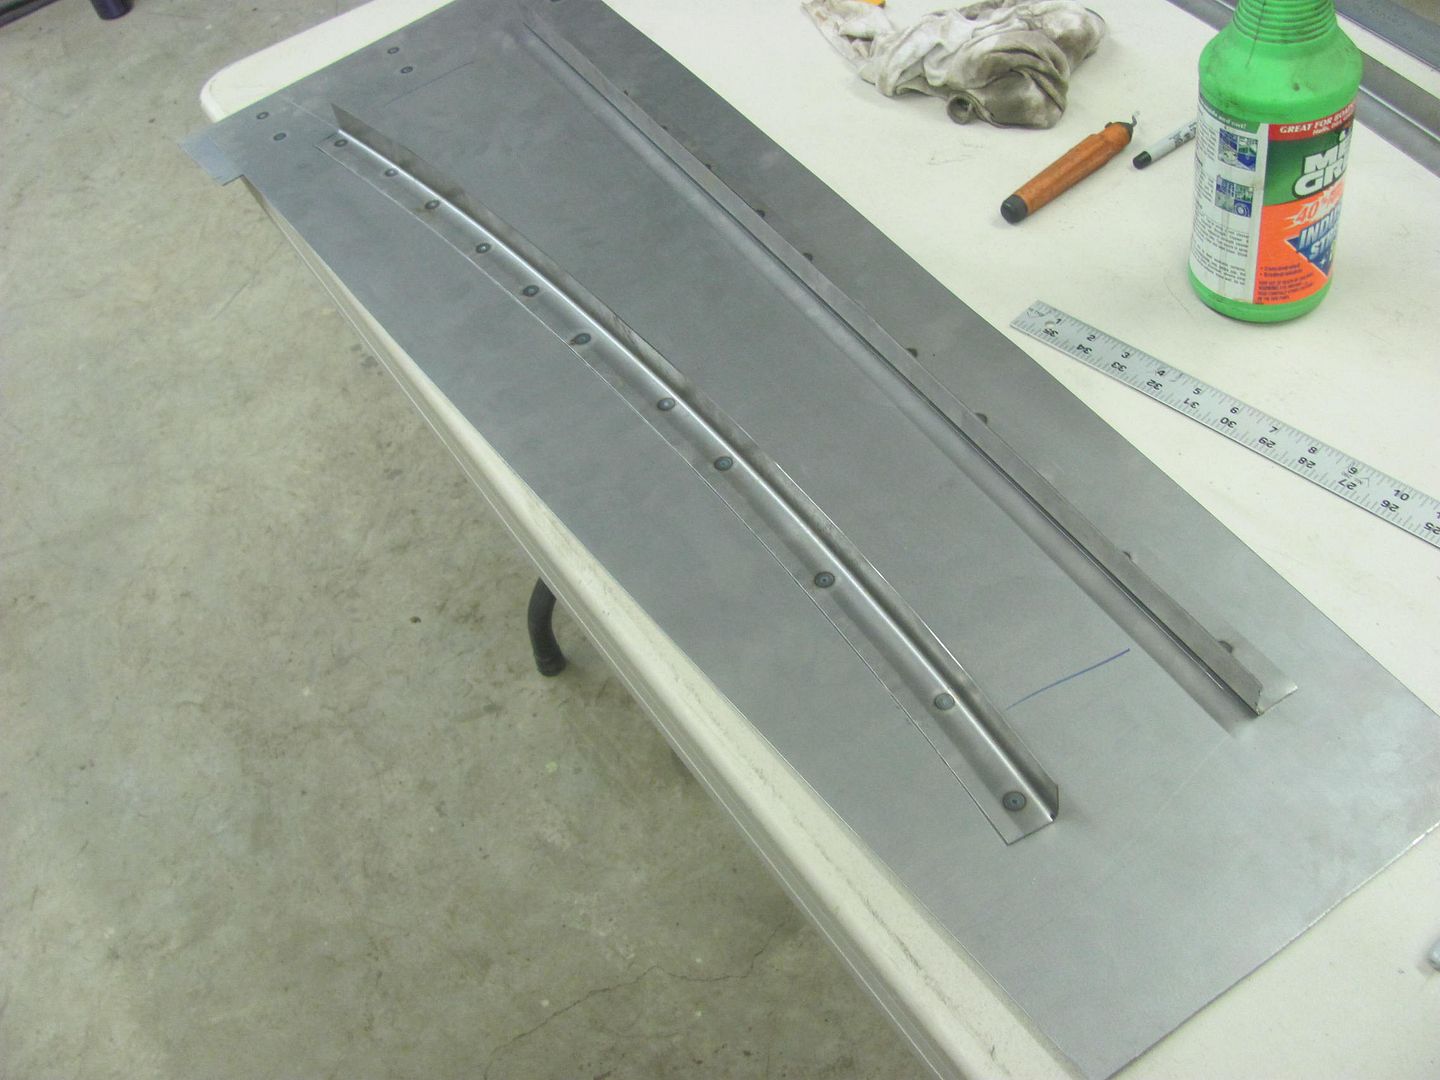
Spot welded on some "end stops" for the louver die.....
.....and a squared plate for the back gauge.
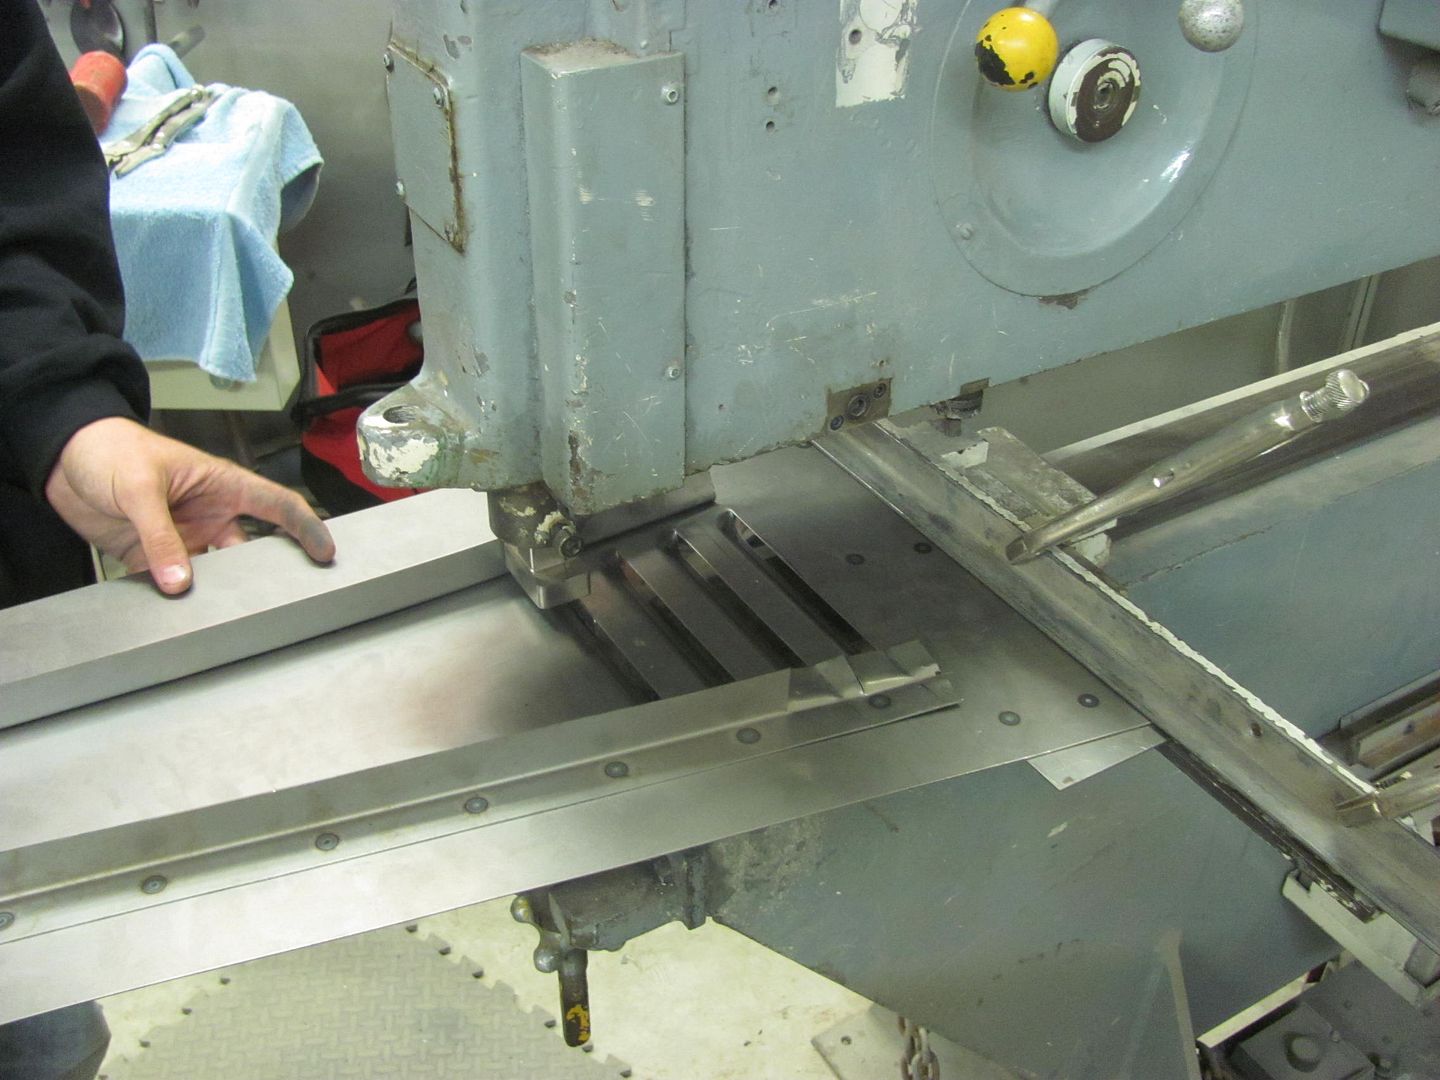
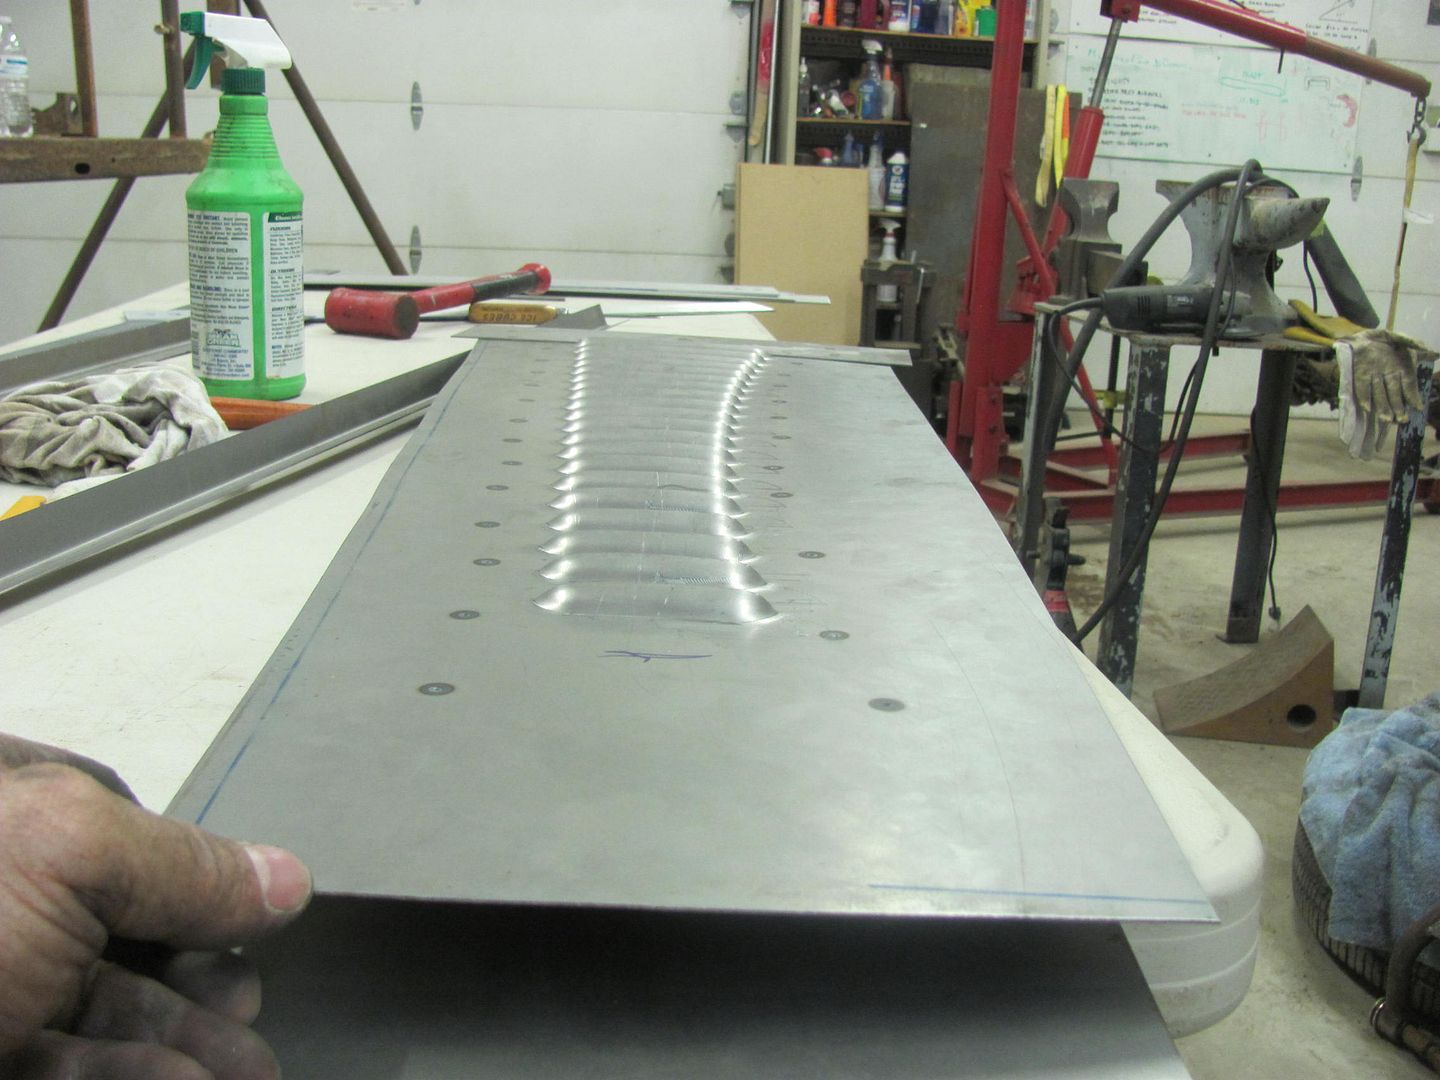
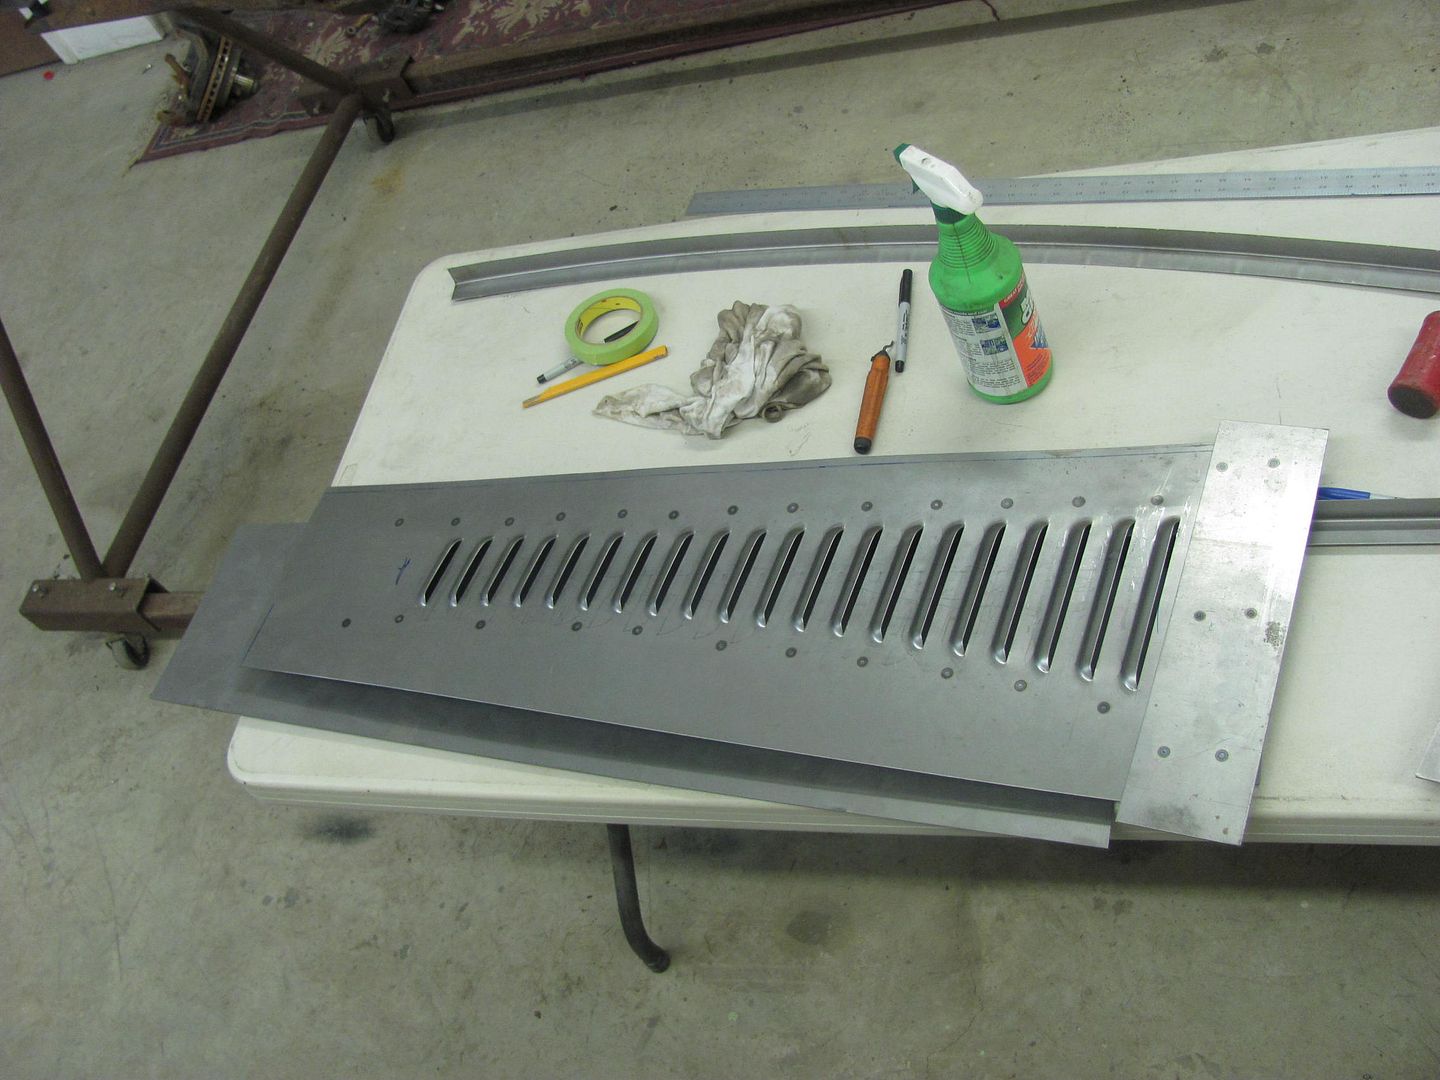
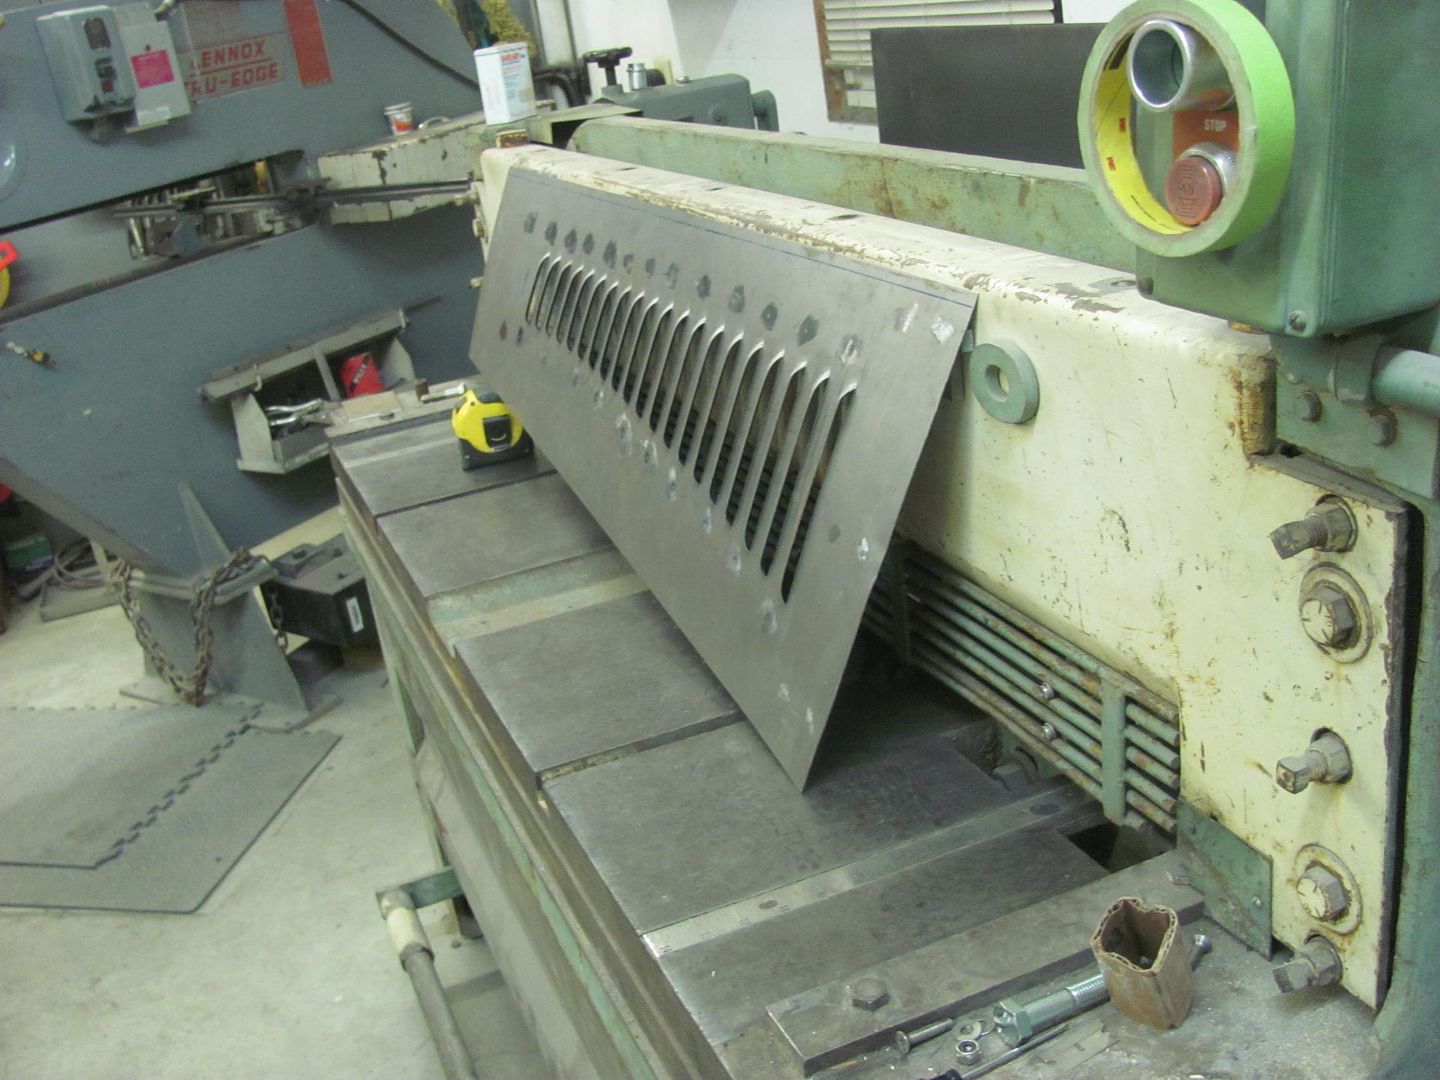
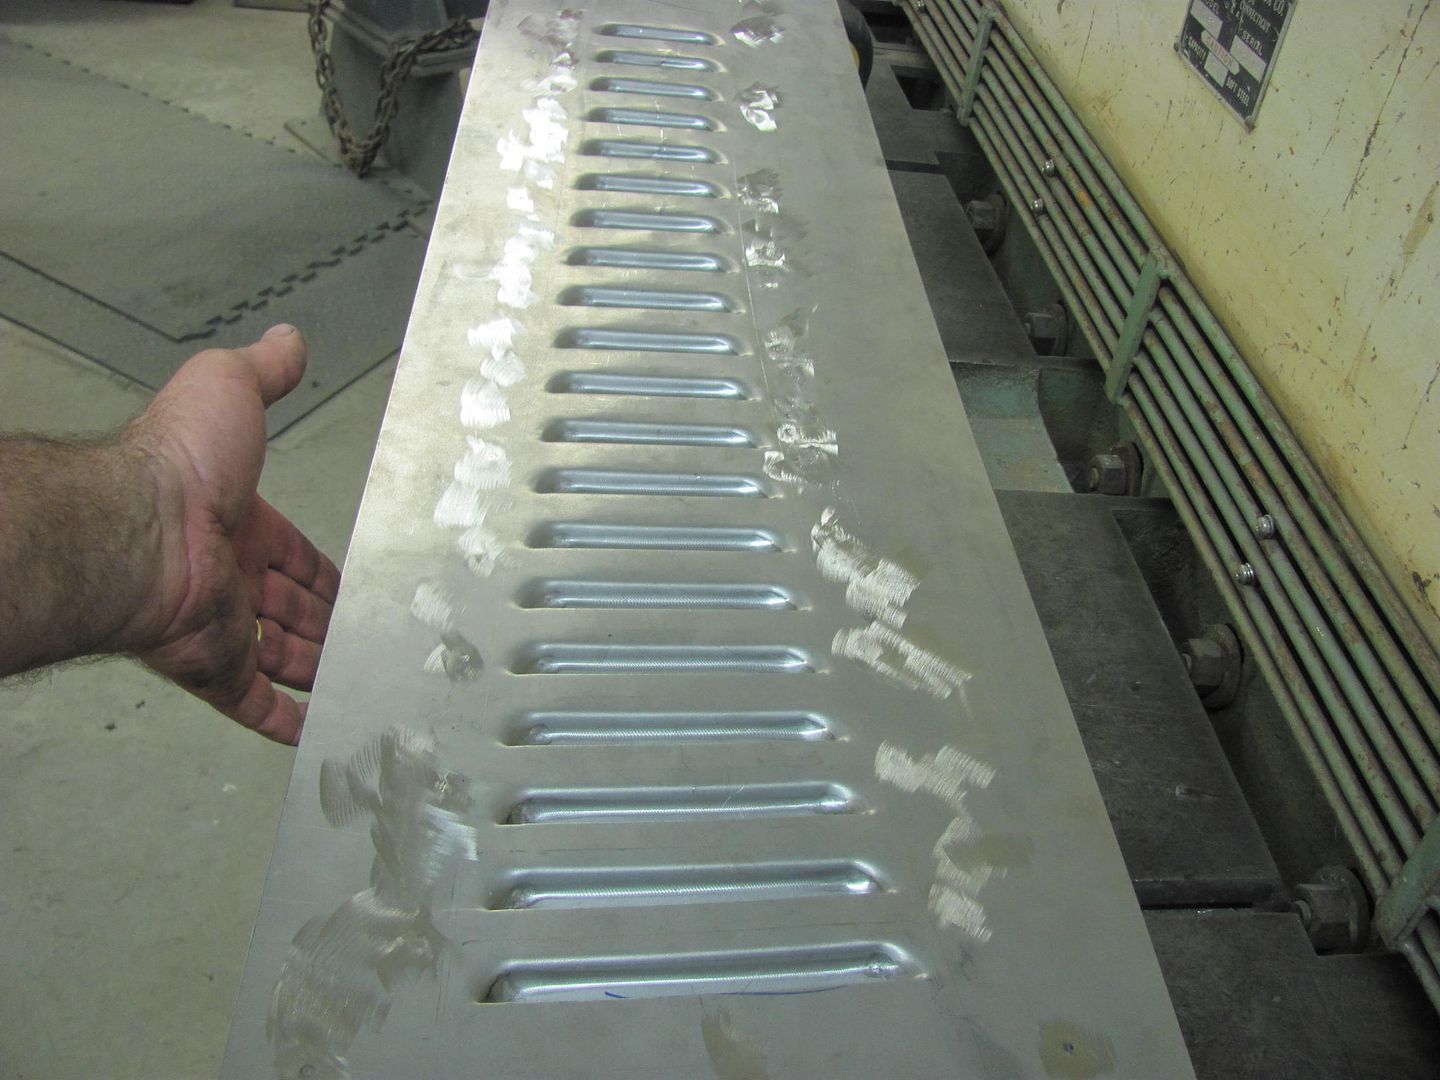
Louvers in the Lennox.....
One sample down, one to go..
Originally Posted by chevynut

My pace may have picked up a bit, but let's not get carried away here...
Those louvers came out awesome.
thanks Mike!
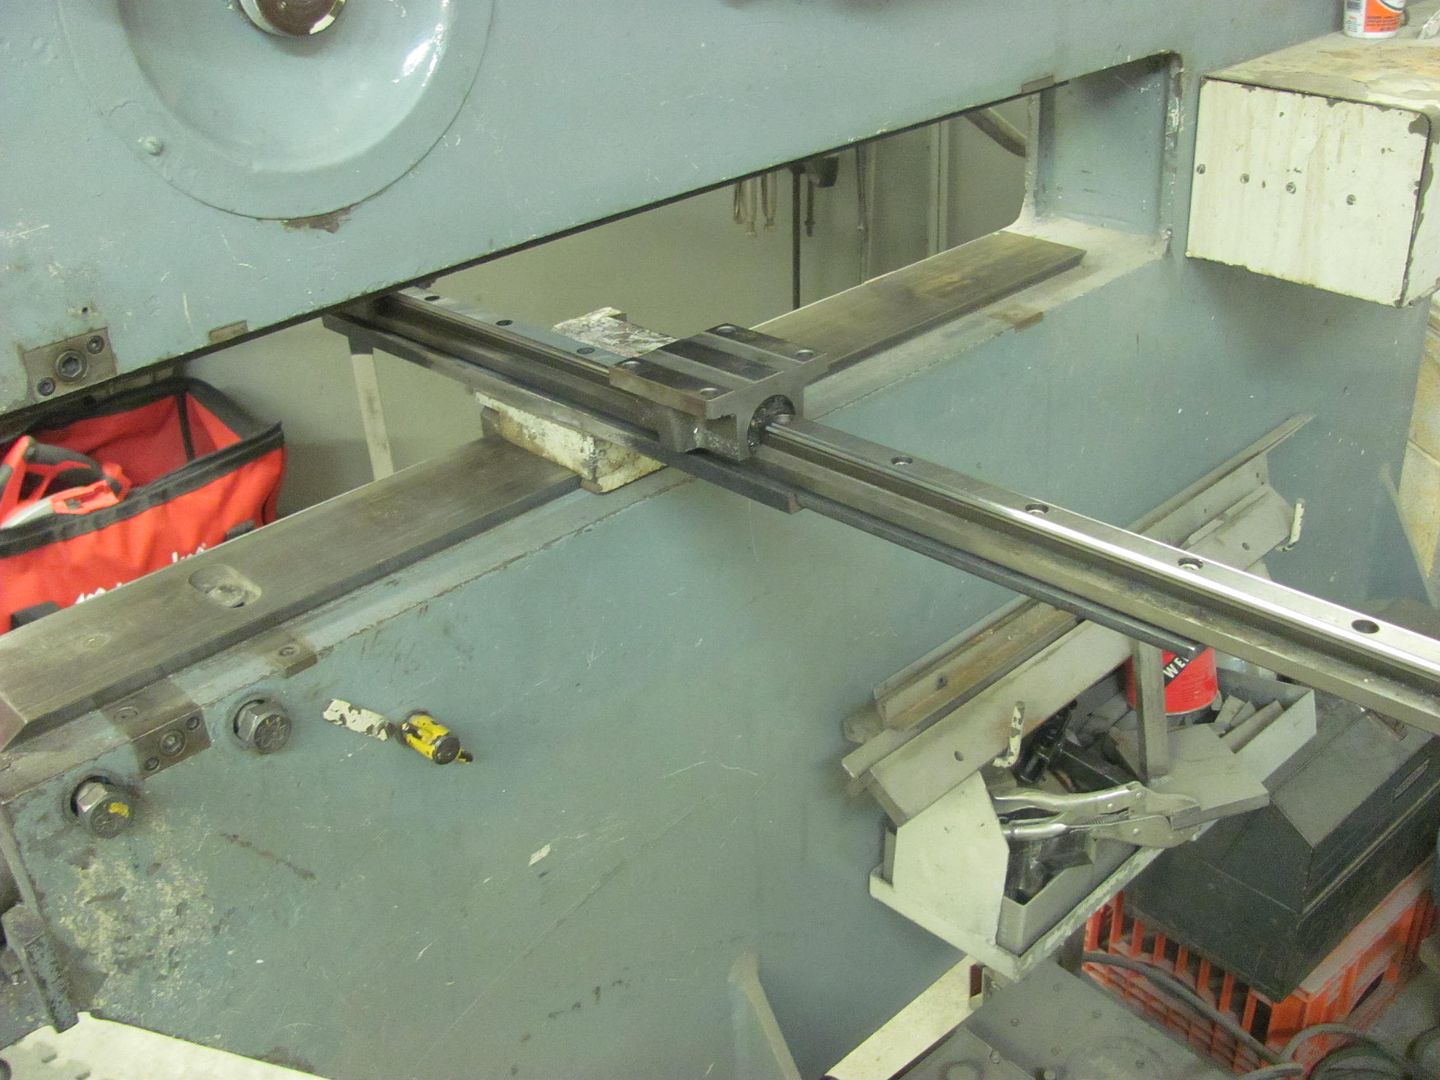
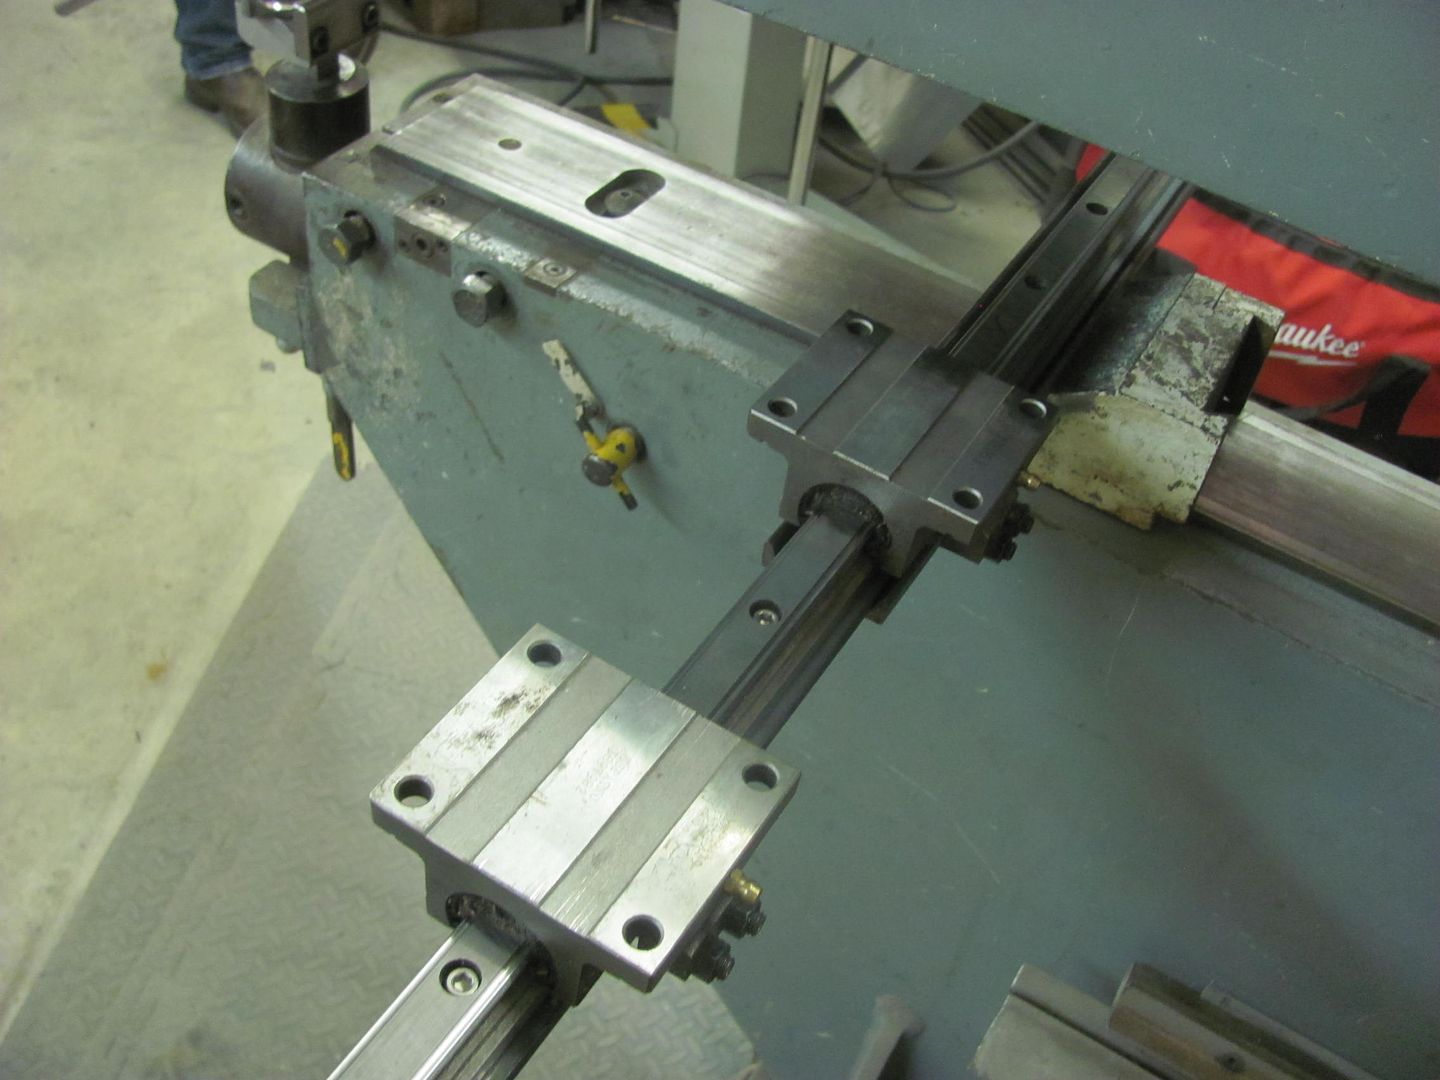
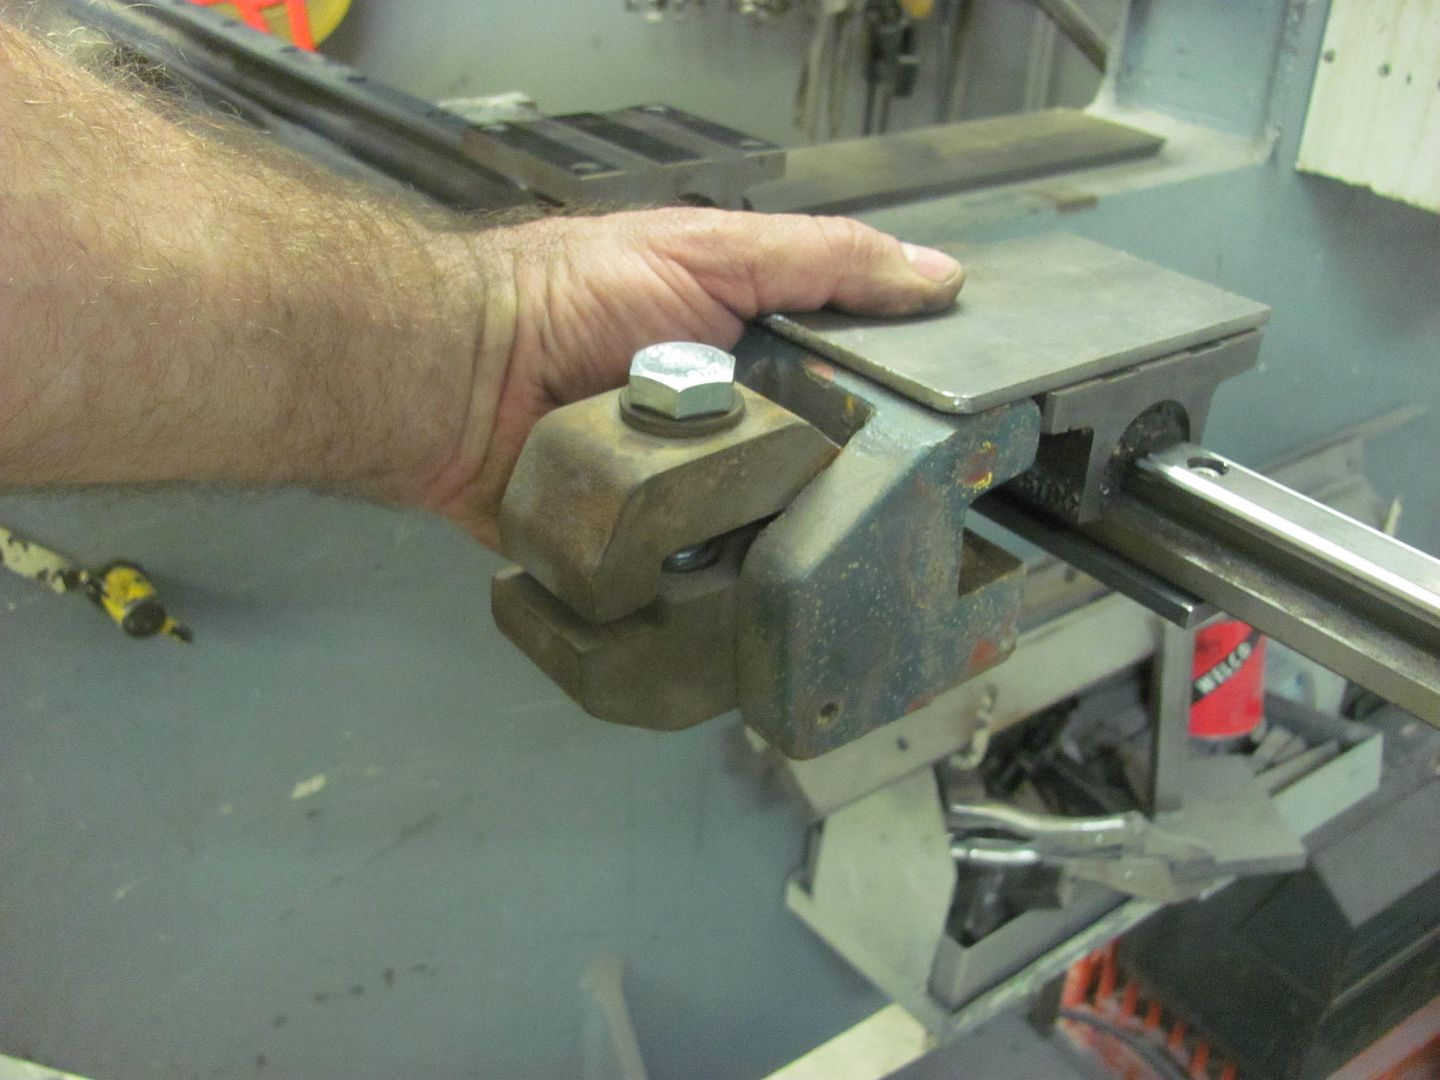
Well FedEx showed up today with a CL delivery, got a matched pair of 48" linear rails. The two bearing blocks will have a material clamp bolted to each block, and used on one rail. We'll get a chance to try it out on the second louver sample. Where we had been manually holding the workpiece against the back stop, this should work better with a simple glide back and forth once clamped in place..
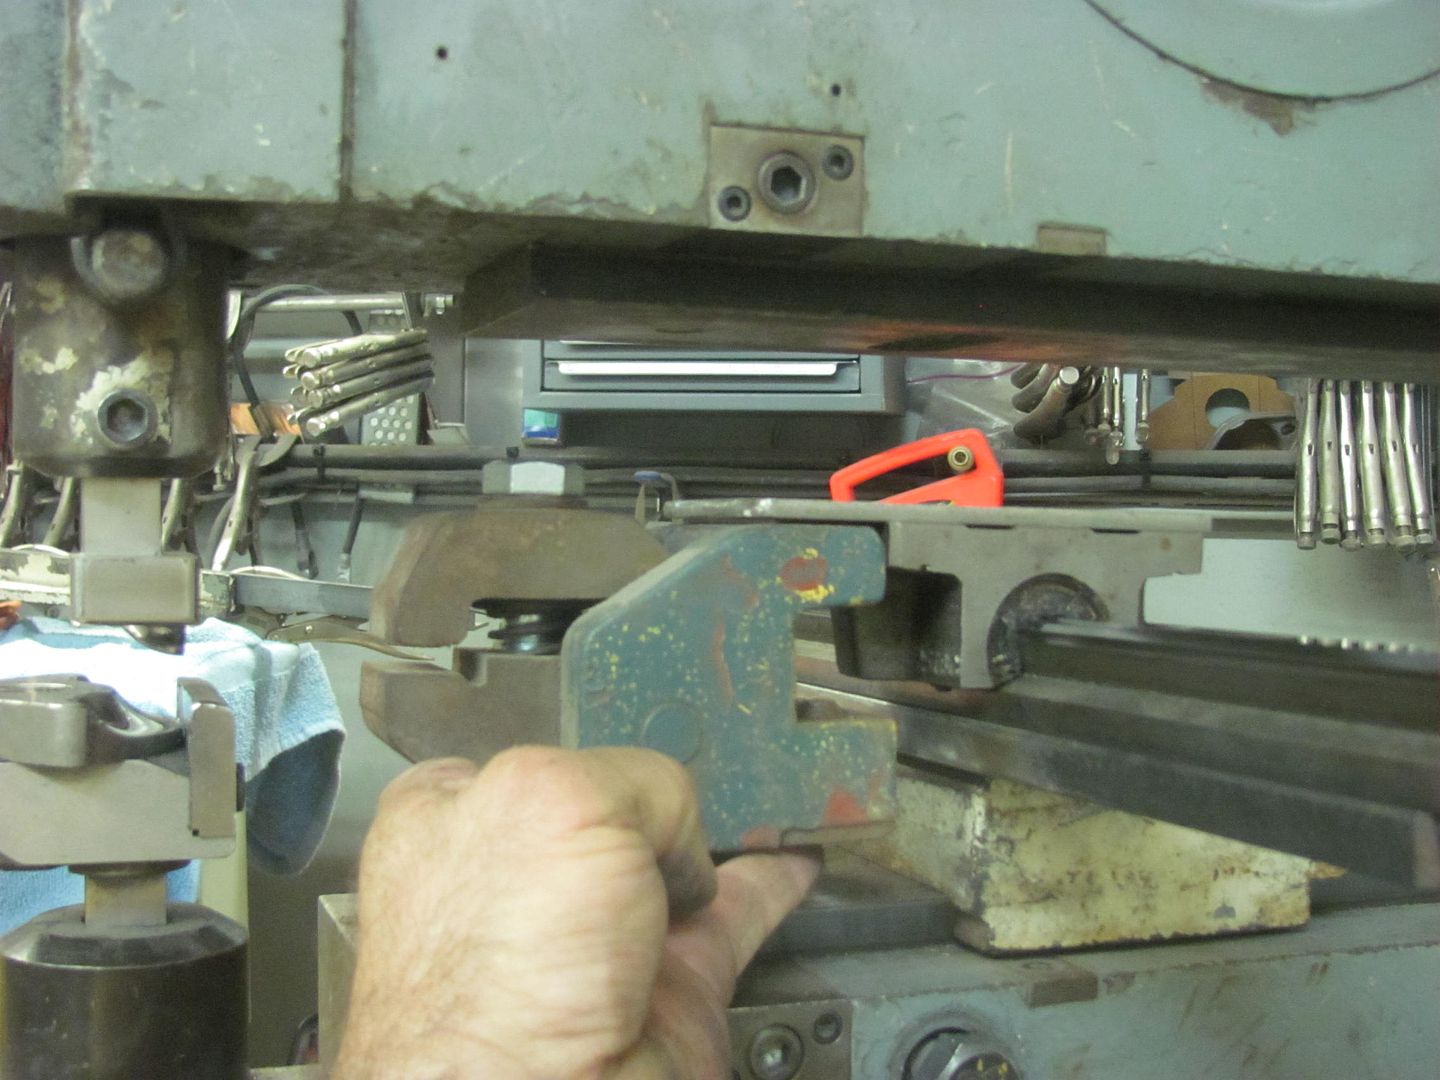
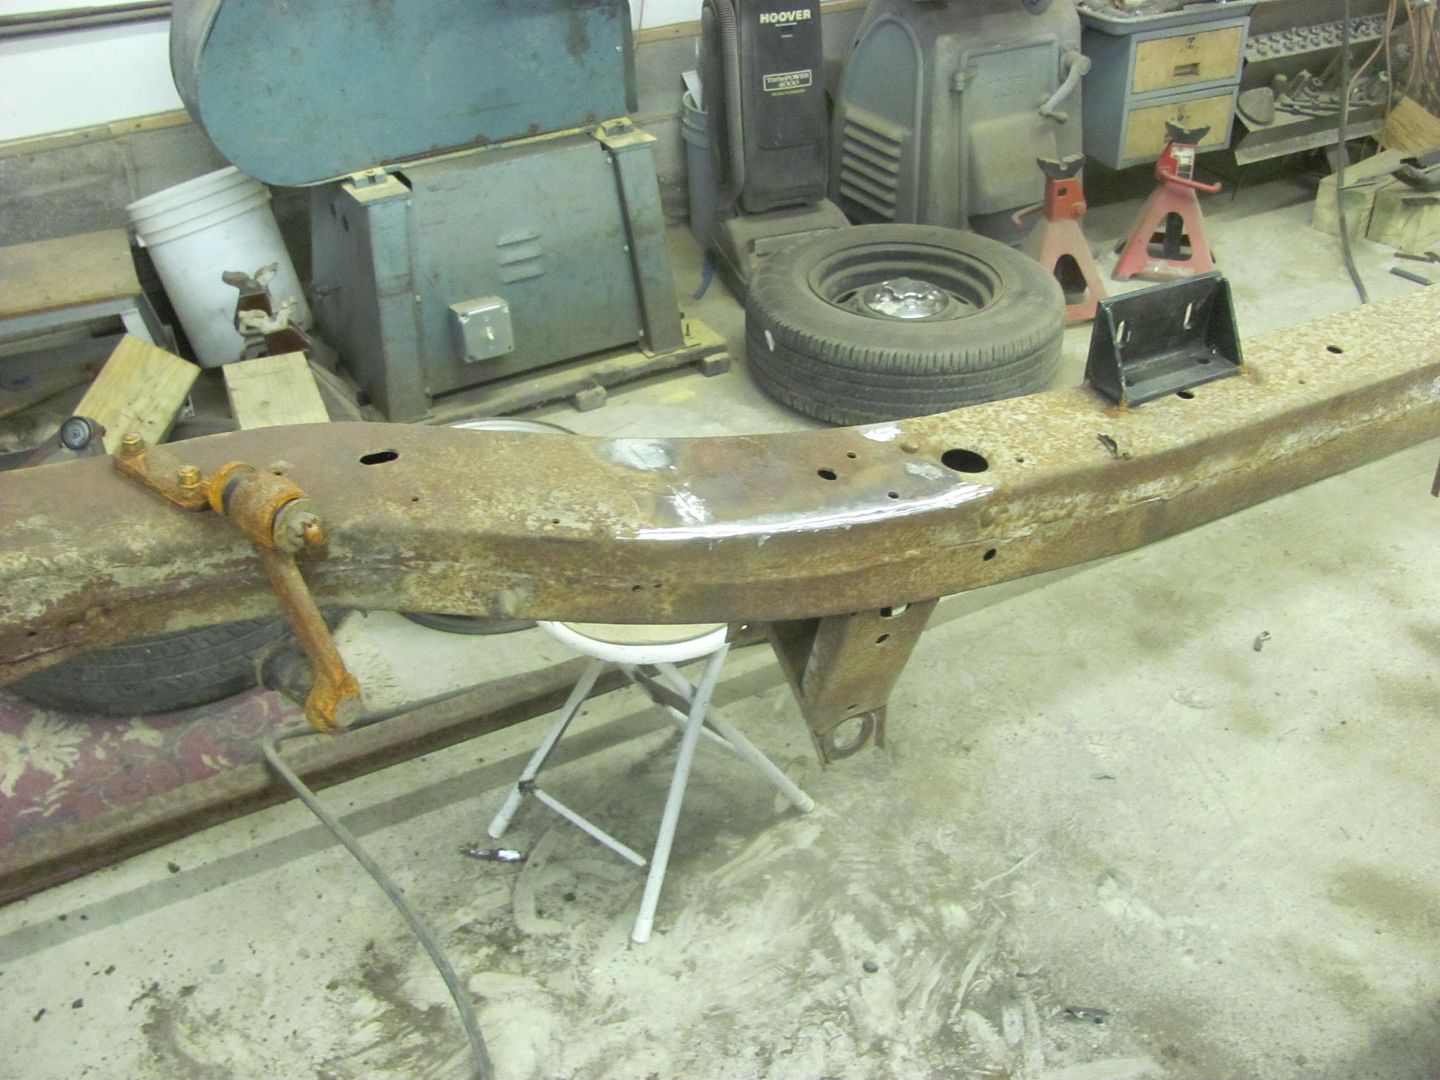
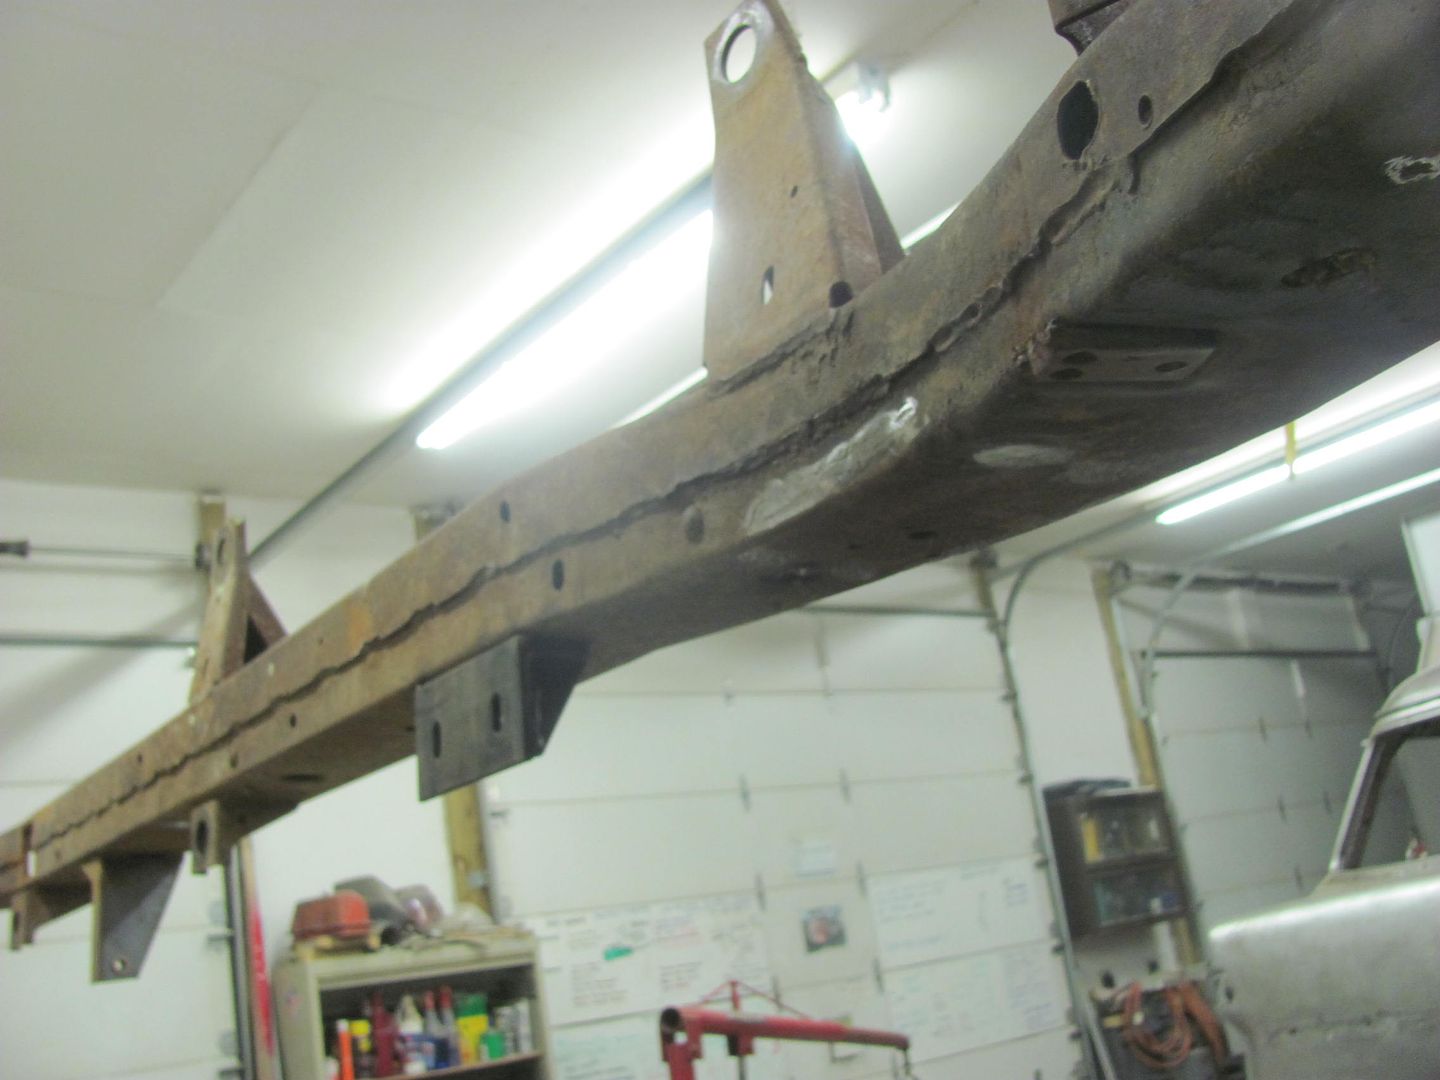
While I was getting that squared away, Kyle was removing some scraps that were left on the frame from the original trans crossmember.
He also removed the spot welded guides from the louver panel. The good part about samples is we can see what works well and what doesn't. Here we can see that we won't use spot welds next time as it's too much clean up. I think we'll give some stainless rivets a shot on version 2...
 Posting Permissions

 Reply With Quote