Just joined? Please introduce yourself.
Page 43 of 102 FirstFirst ... 3341424344455393 ... LastLast
Results 421 to 430 of 1019

Thread: wagon progress

  1. #421
    Registered Member MP&C's Avatar
    Join Date
    Dec 2013

    Member #:2017
    Location
    Southern MD
    Posts
    1,293
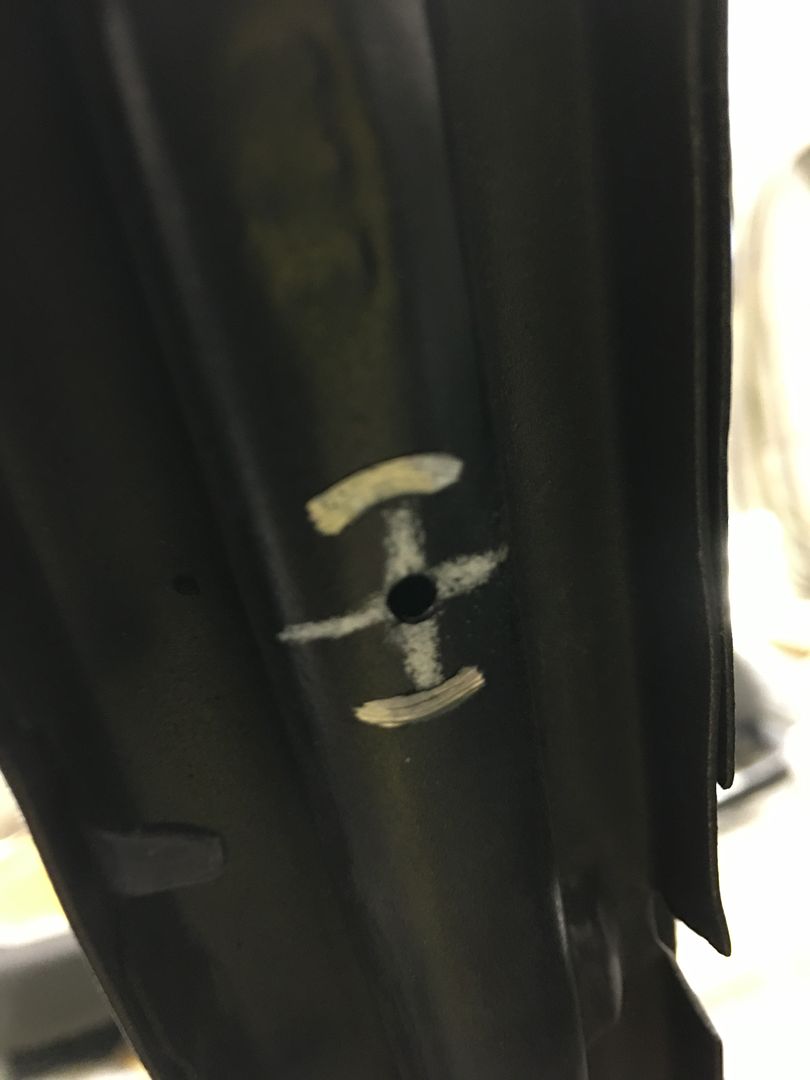
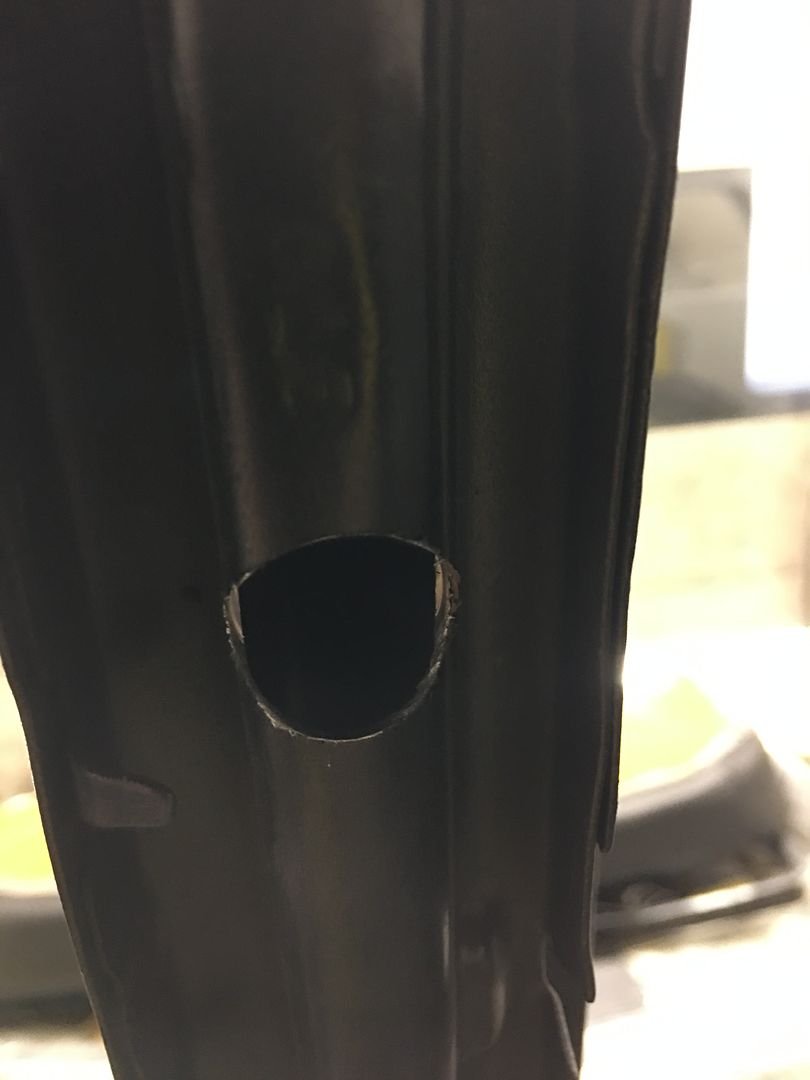
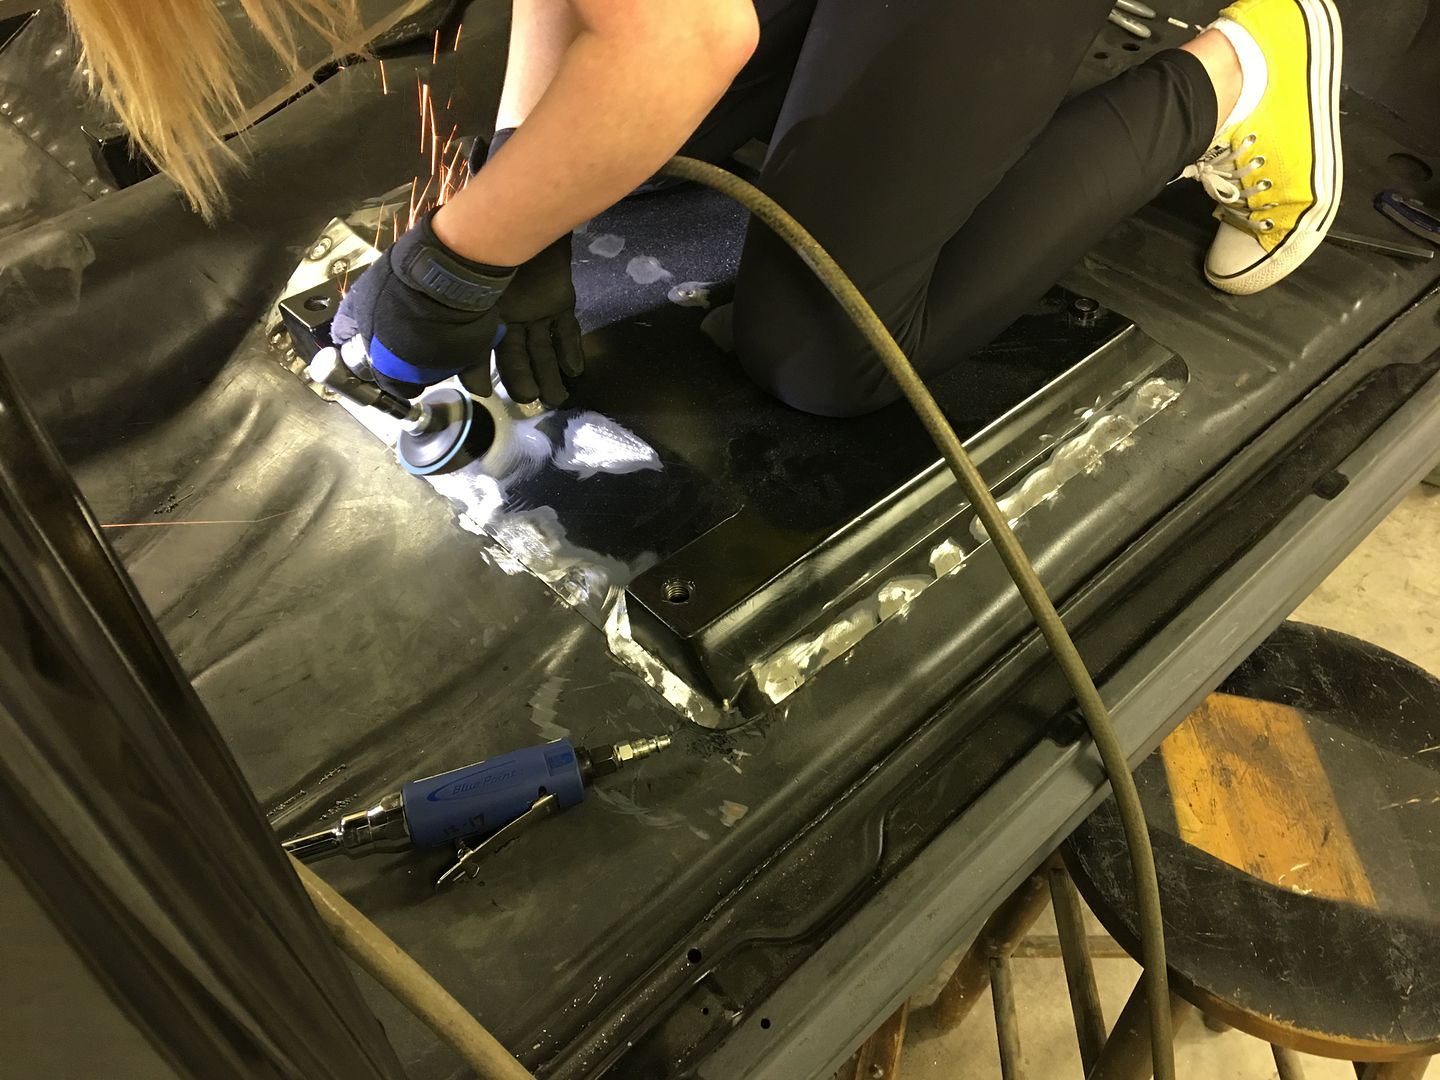
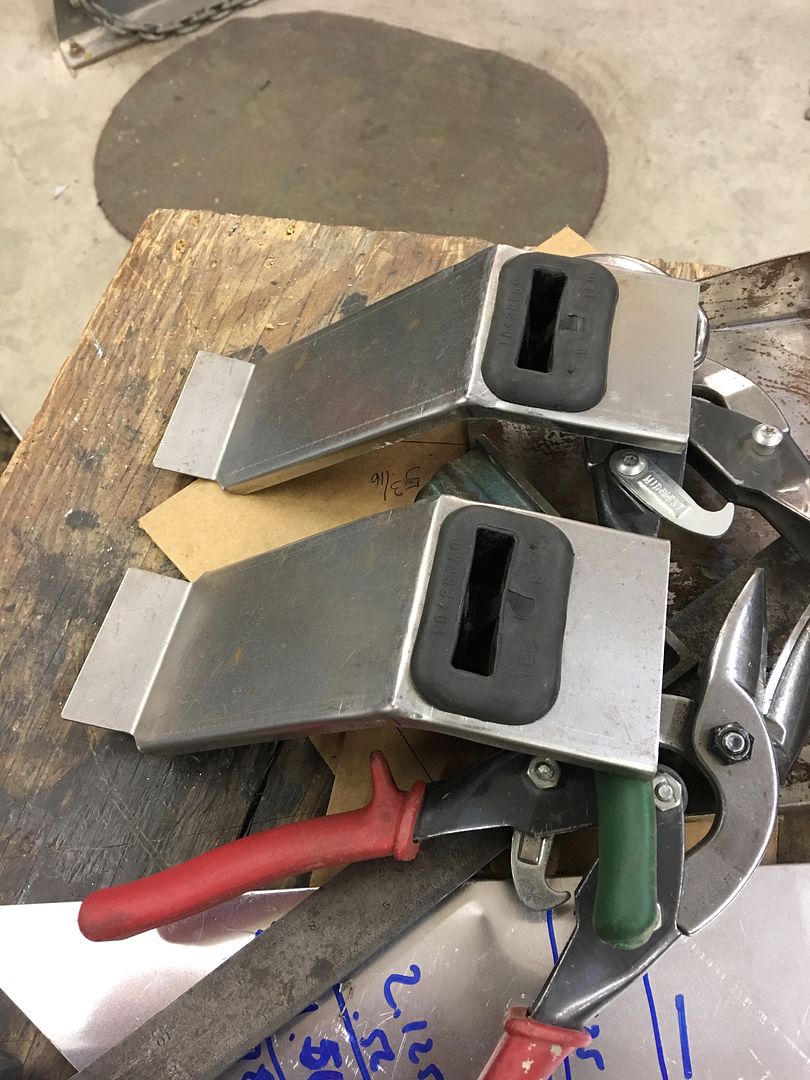
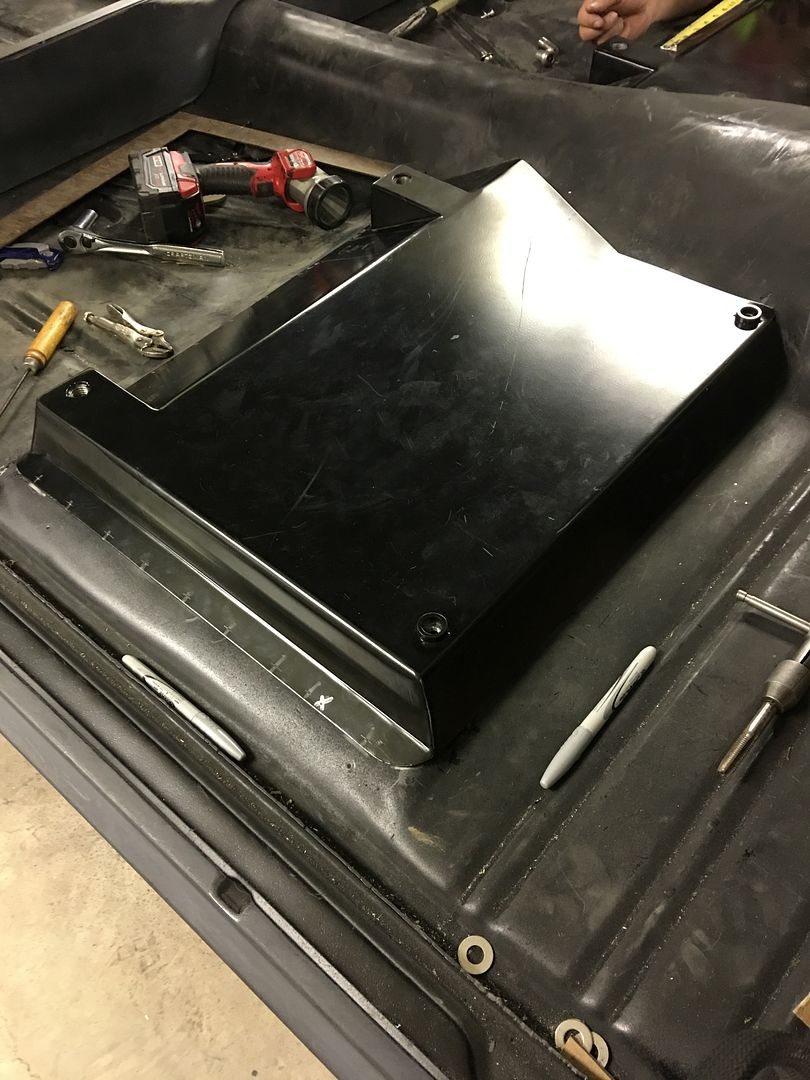
    Had our new apprentice started today, while I cut out the hole in the second seat bracket, Mike got started on punching and drilling holes for plug welding the passenger bucket seat bracket...


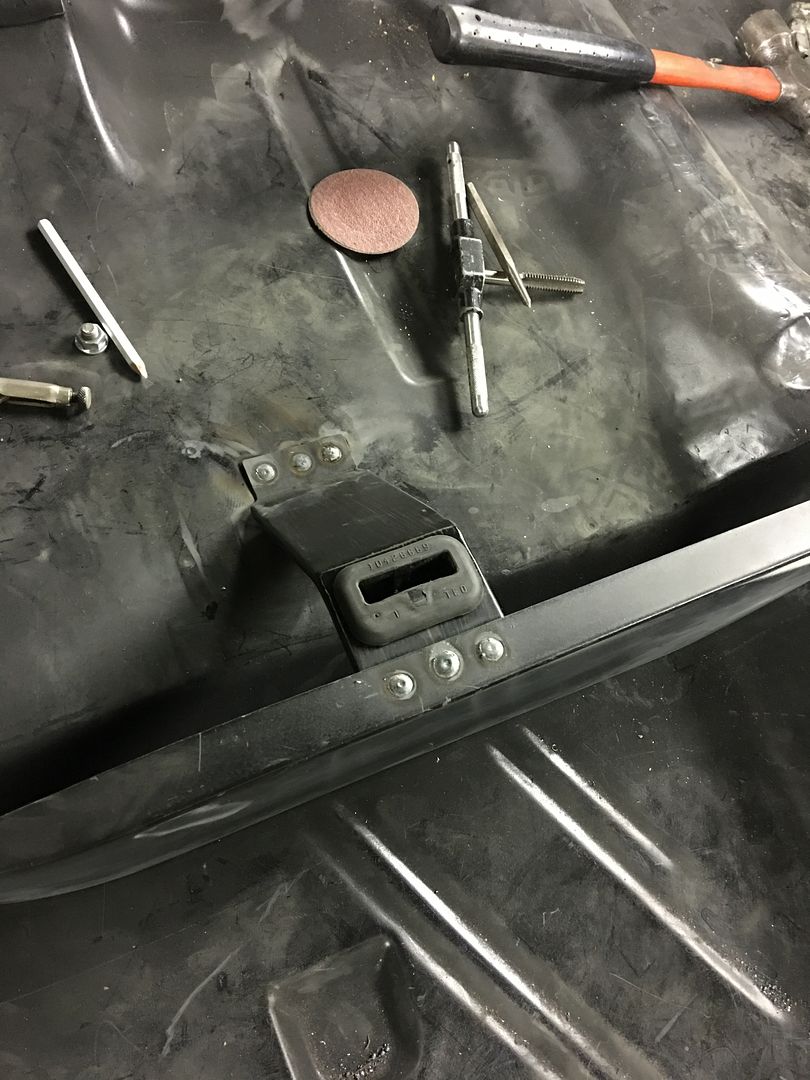
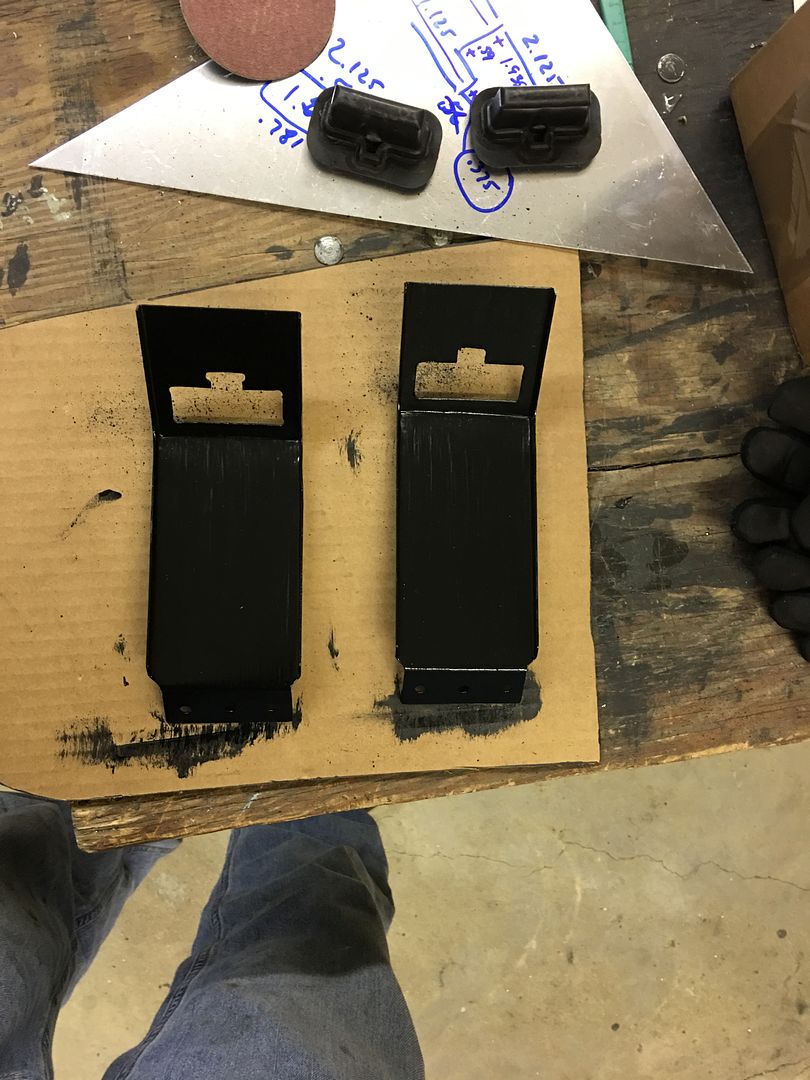
    After I got the bracket hole cut out, E media blasted the brackets and added some SPI epoxy using a brush. We mainly wanted to get the bottom side well covered as it will be inaccessible once welded in place..
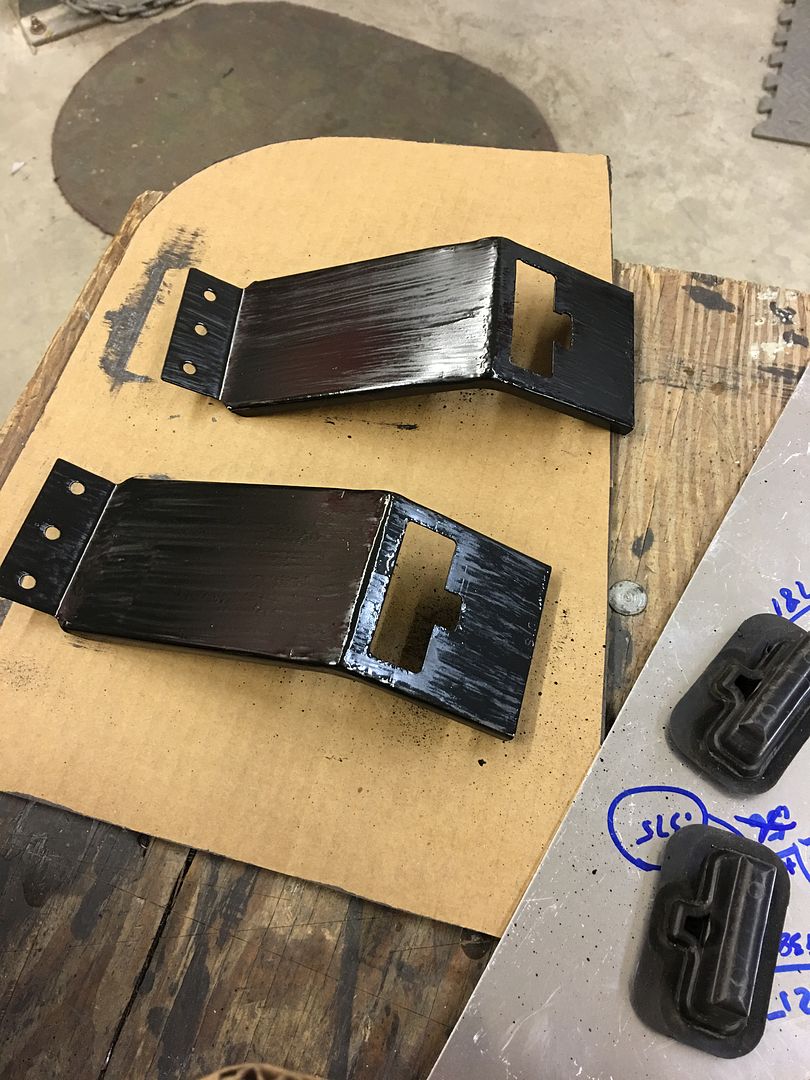


    First coat...


    Two coats, that should hold us for under a seat...


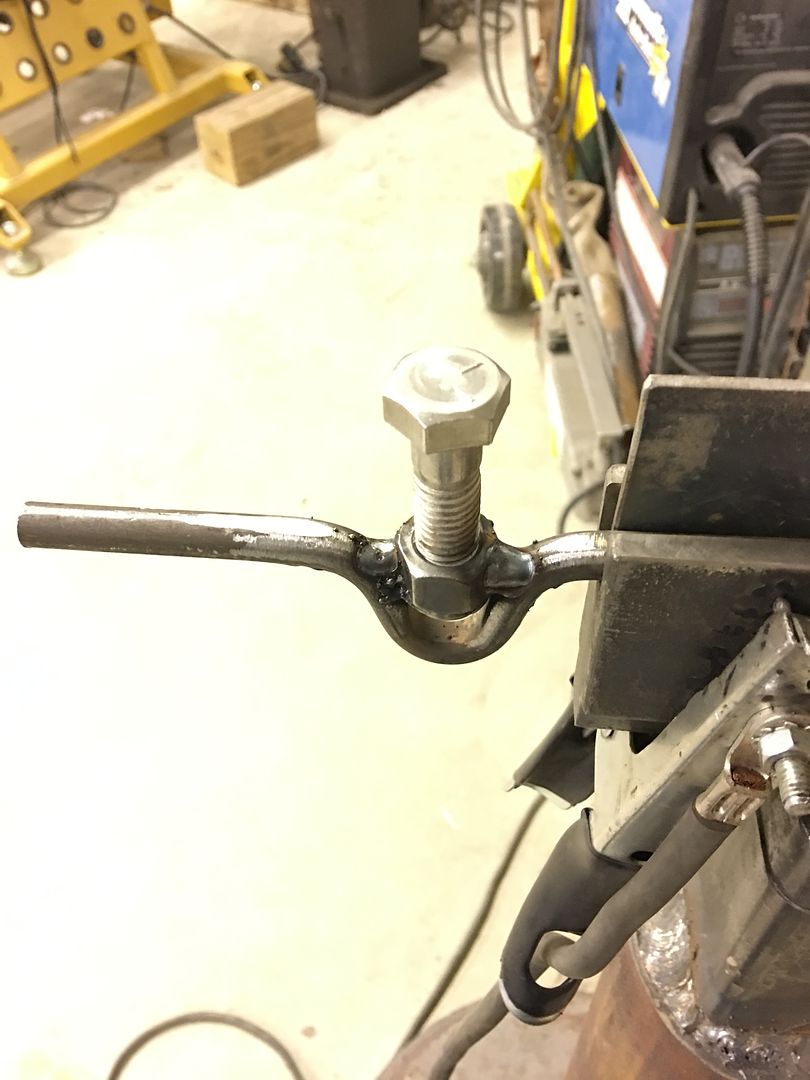
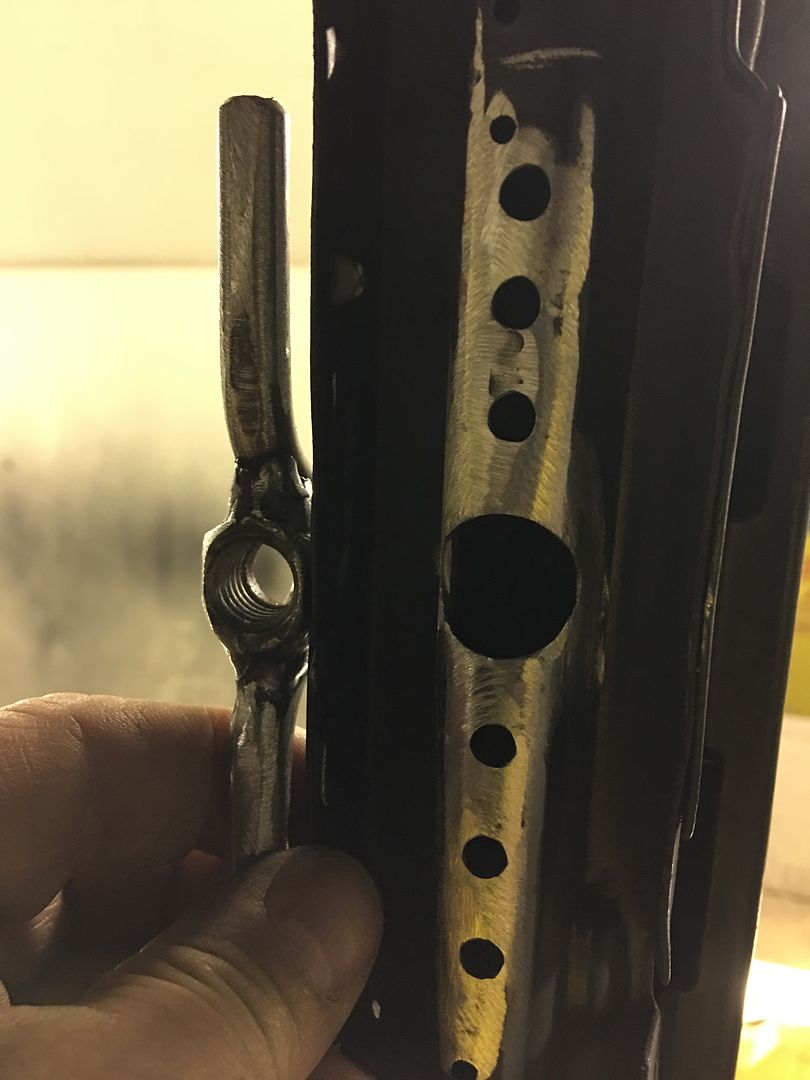
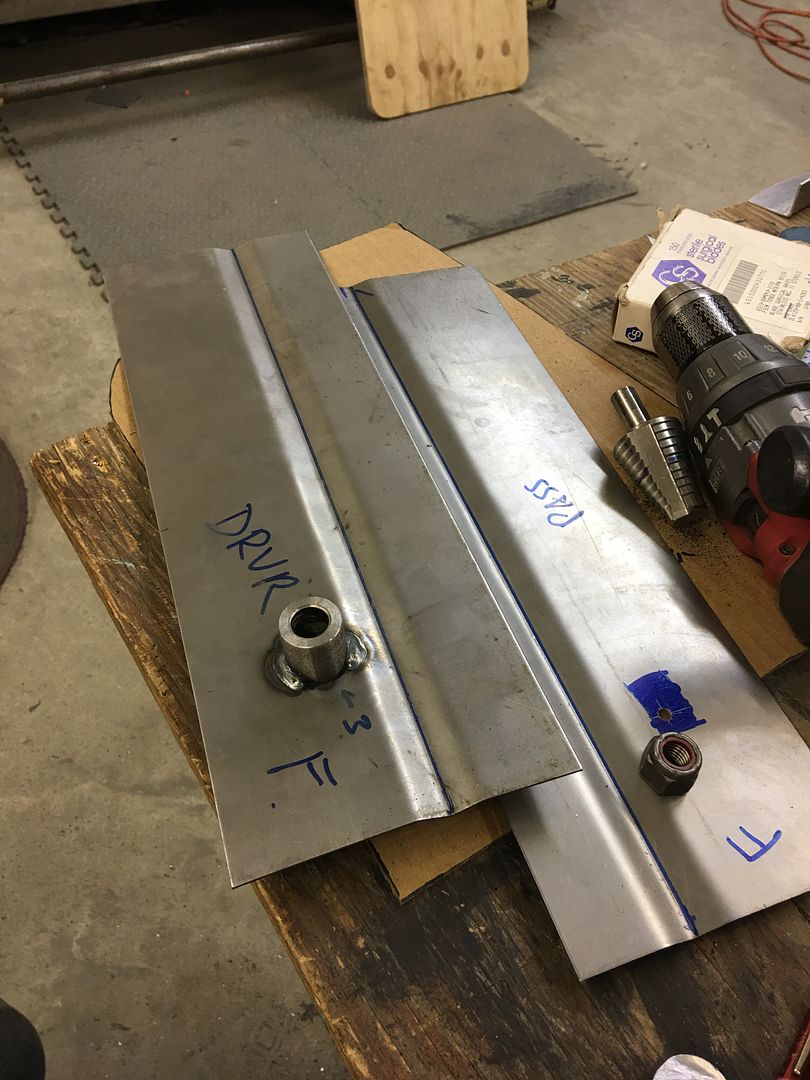
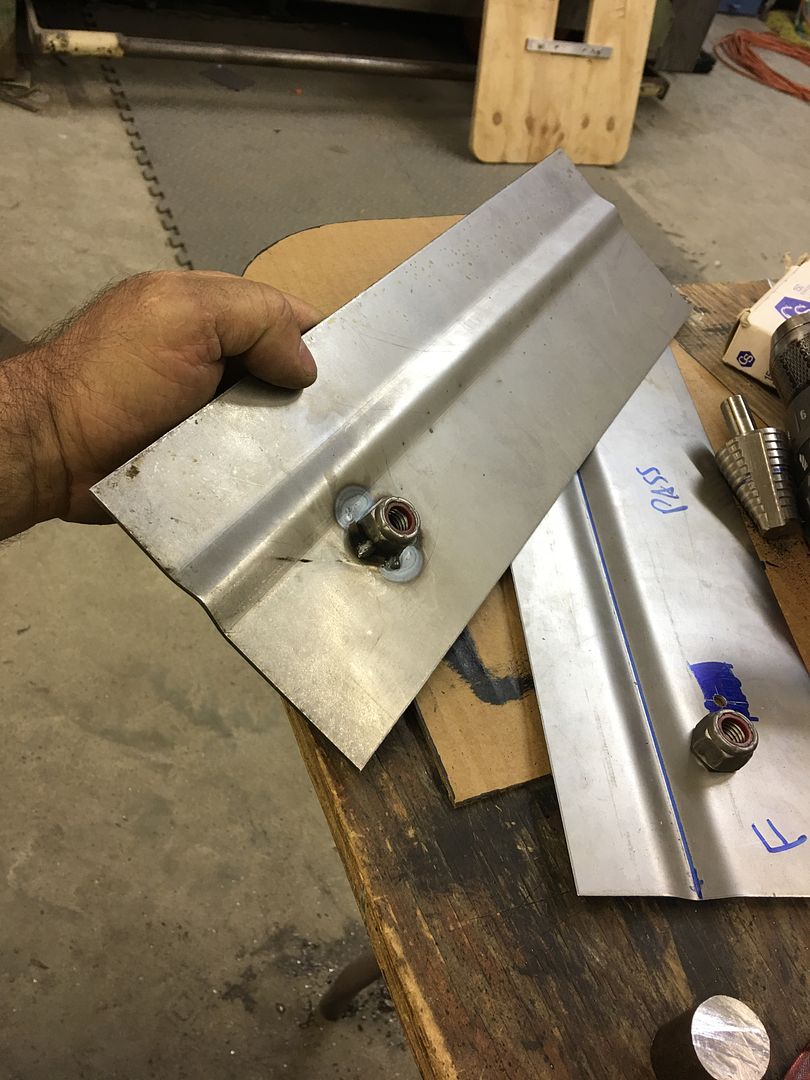
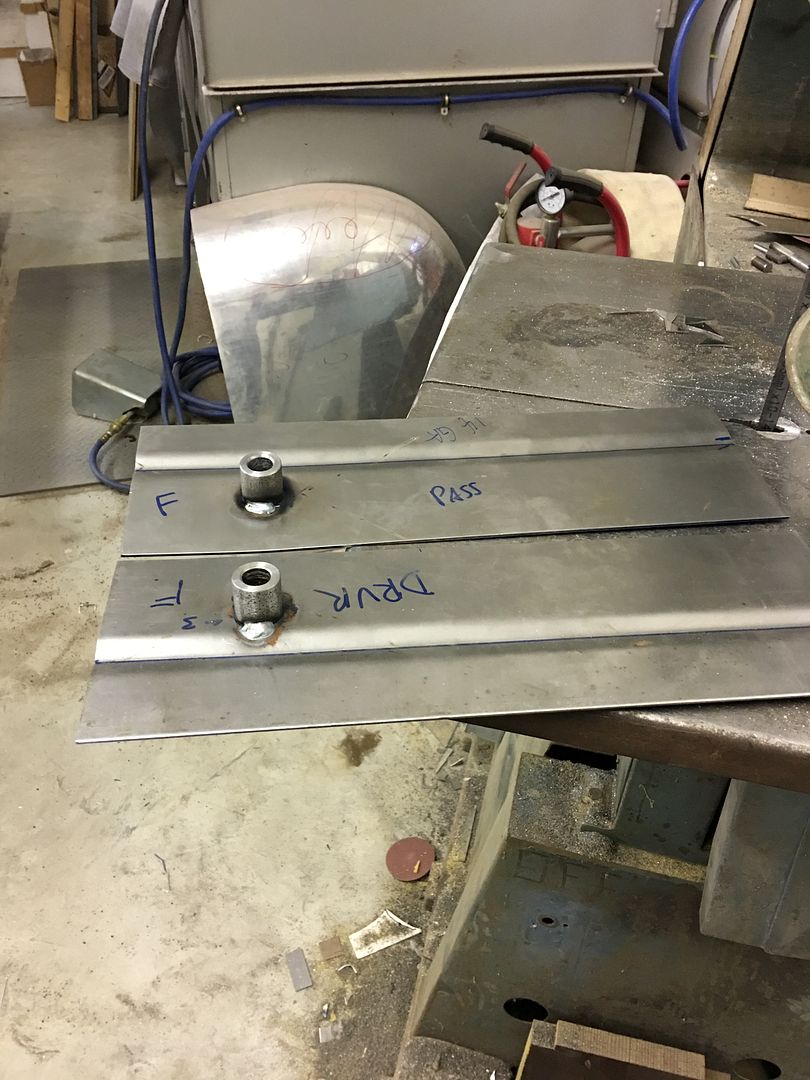
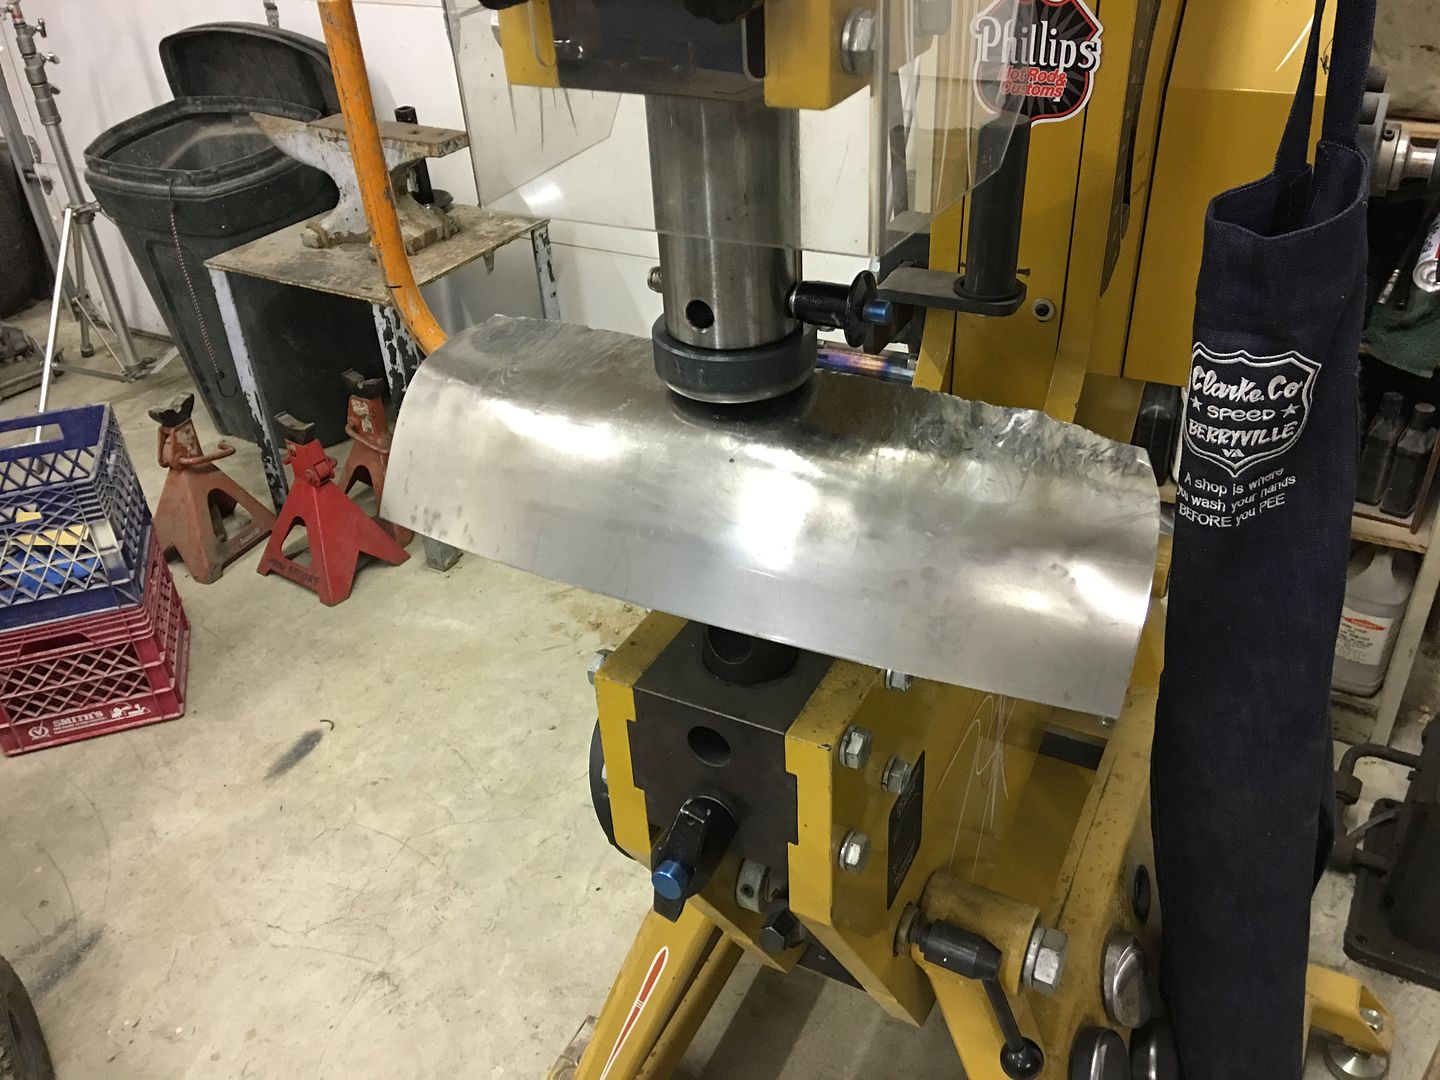
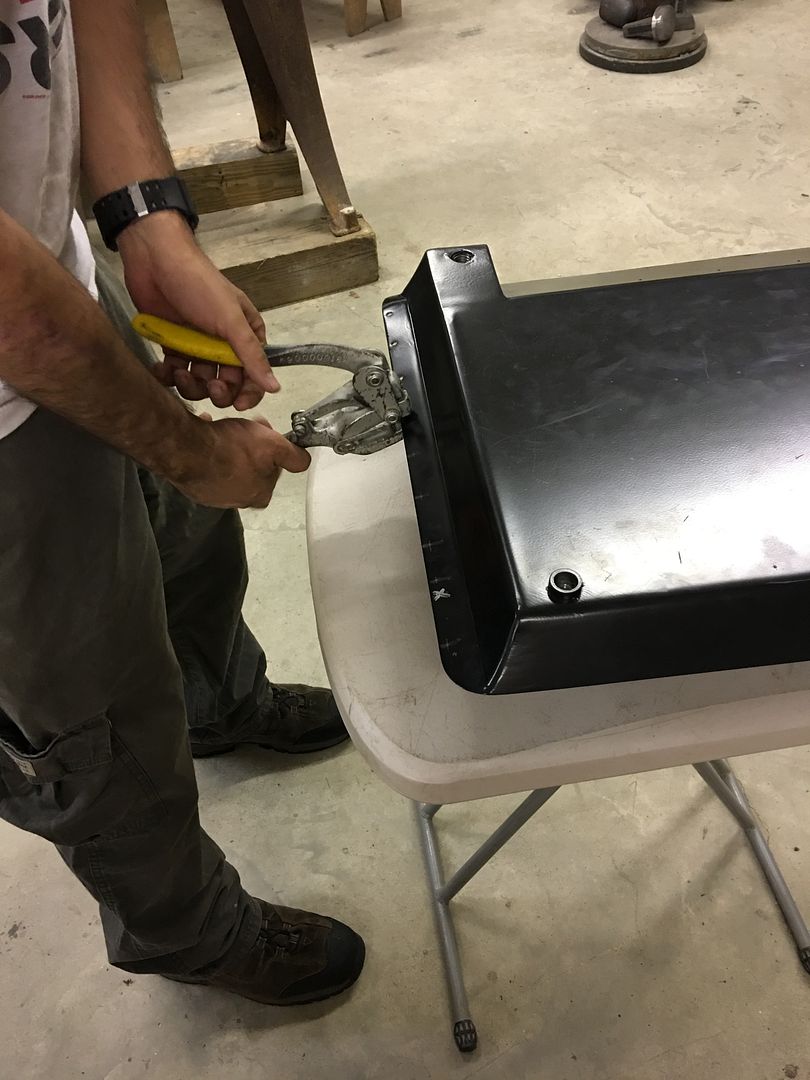
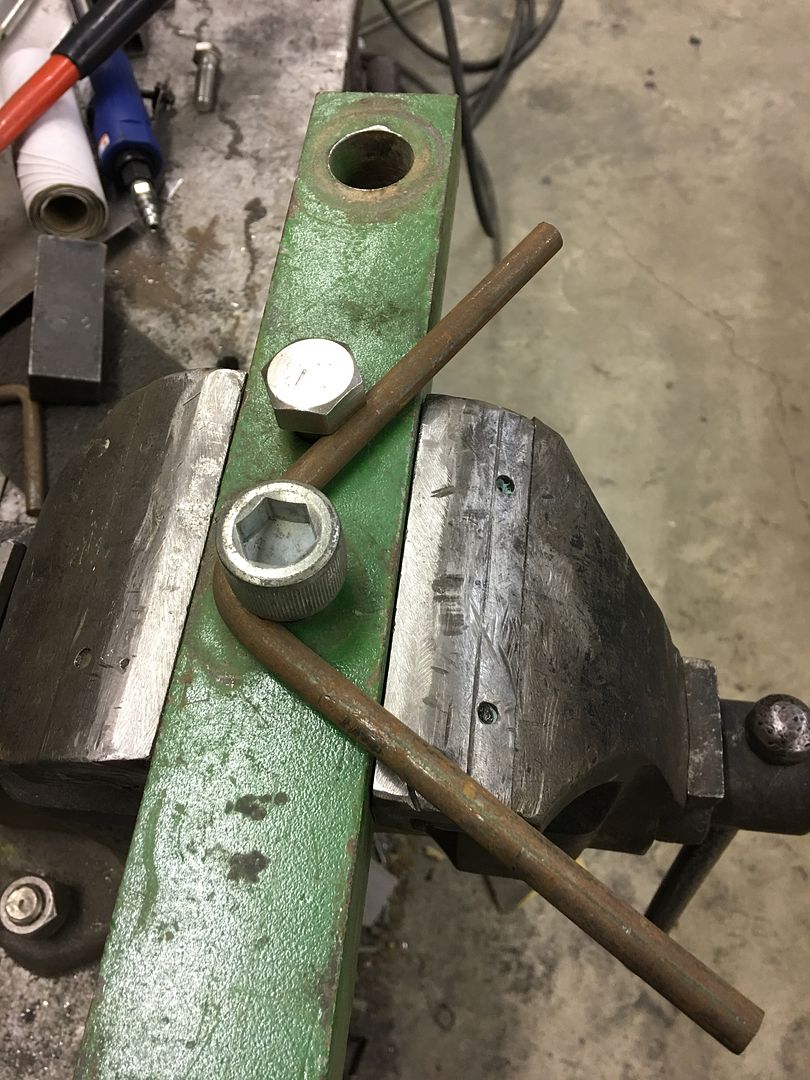
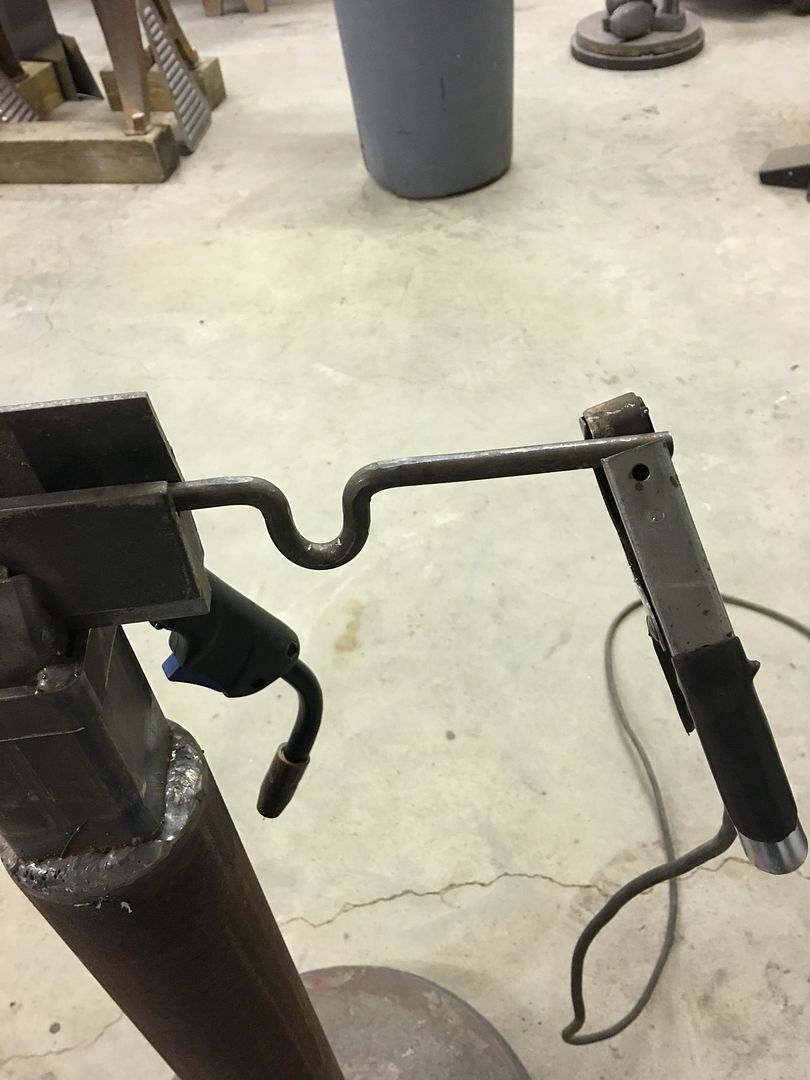
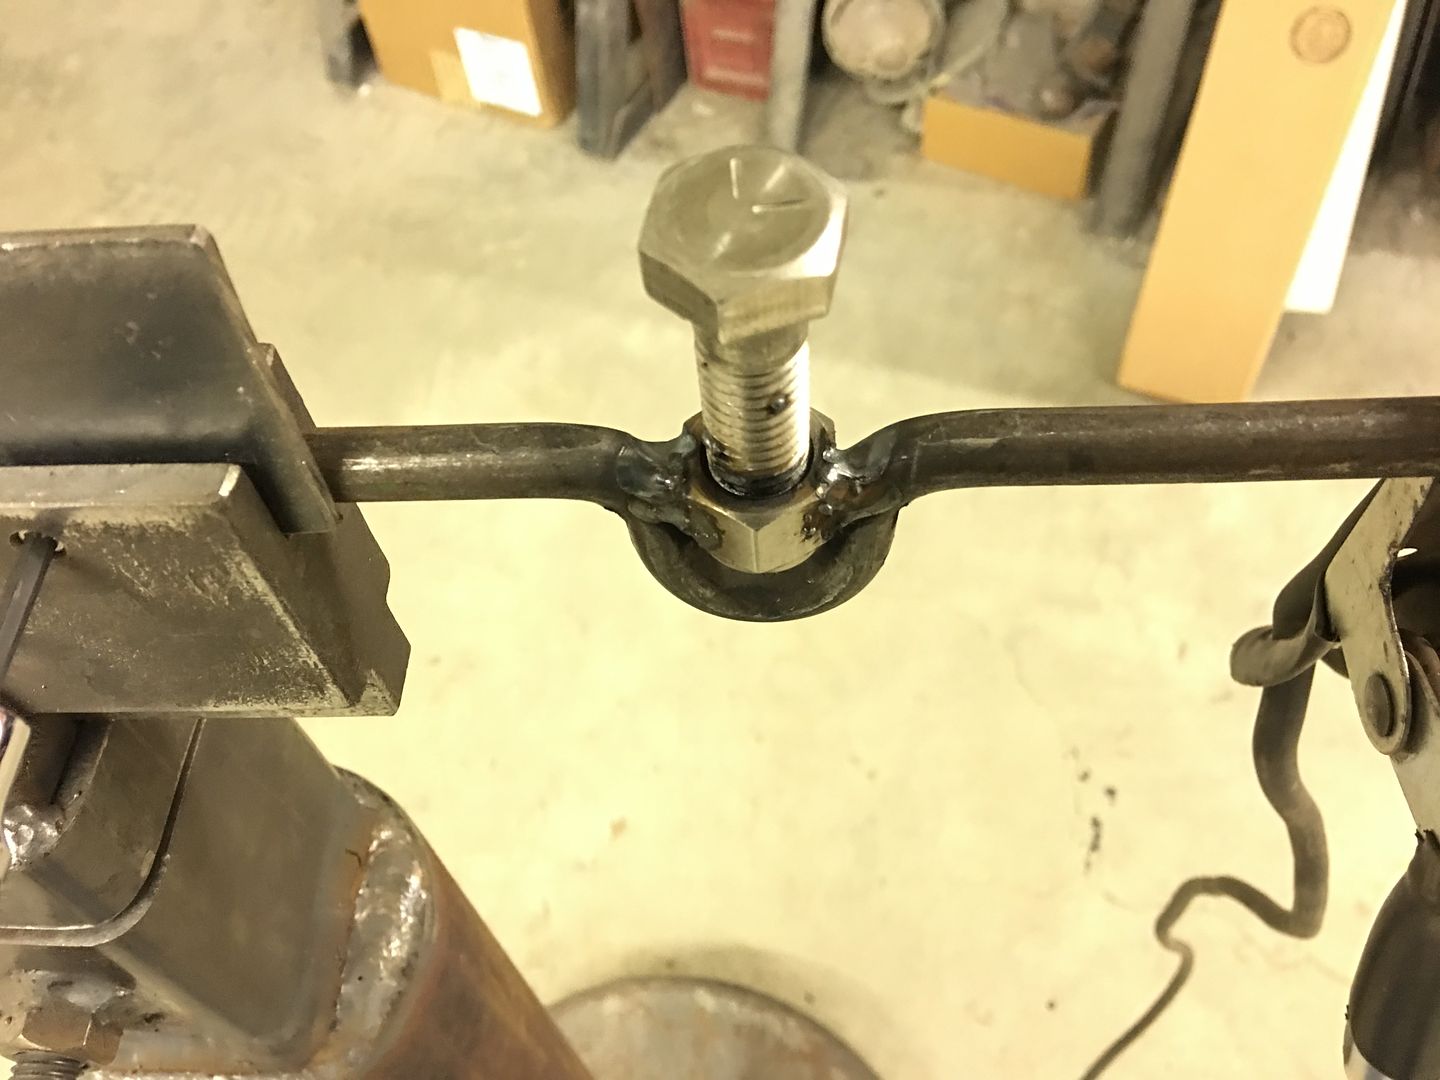
    Meanwhile I got out the John Deere rod bender to see if we could make up some anchors for the shoulder belt..


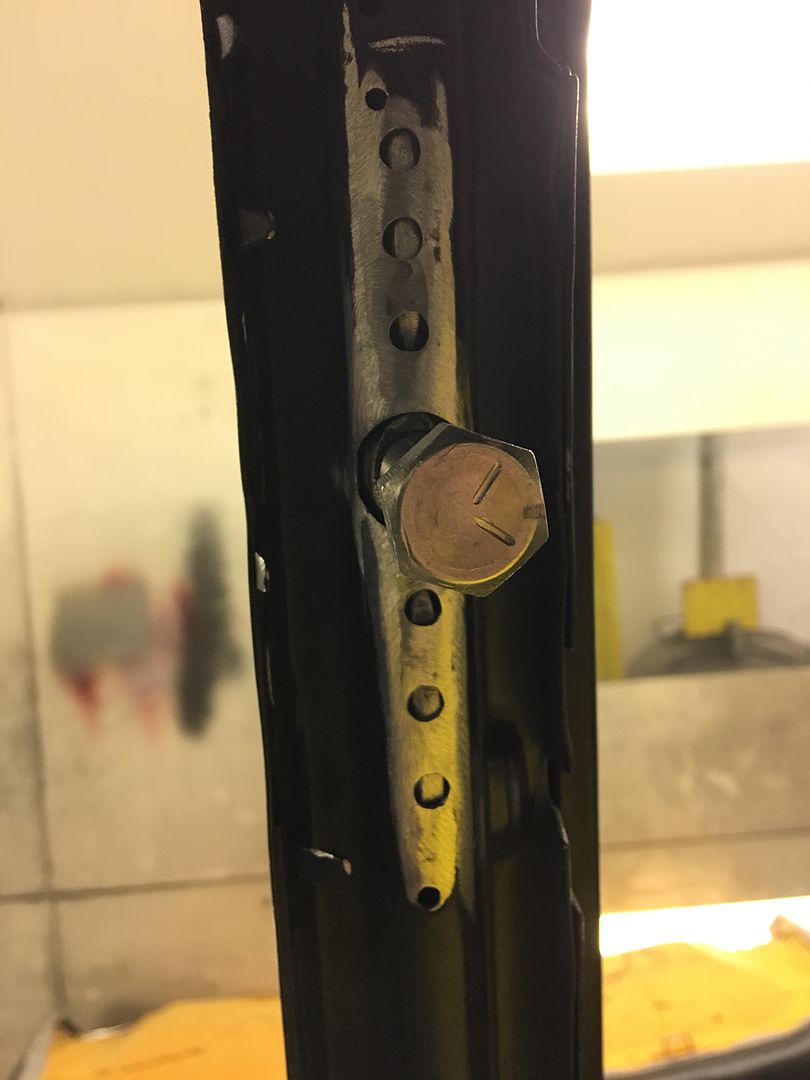
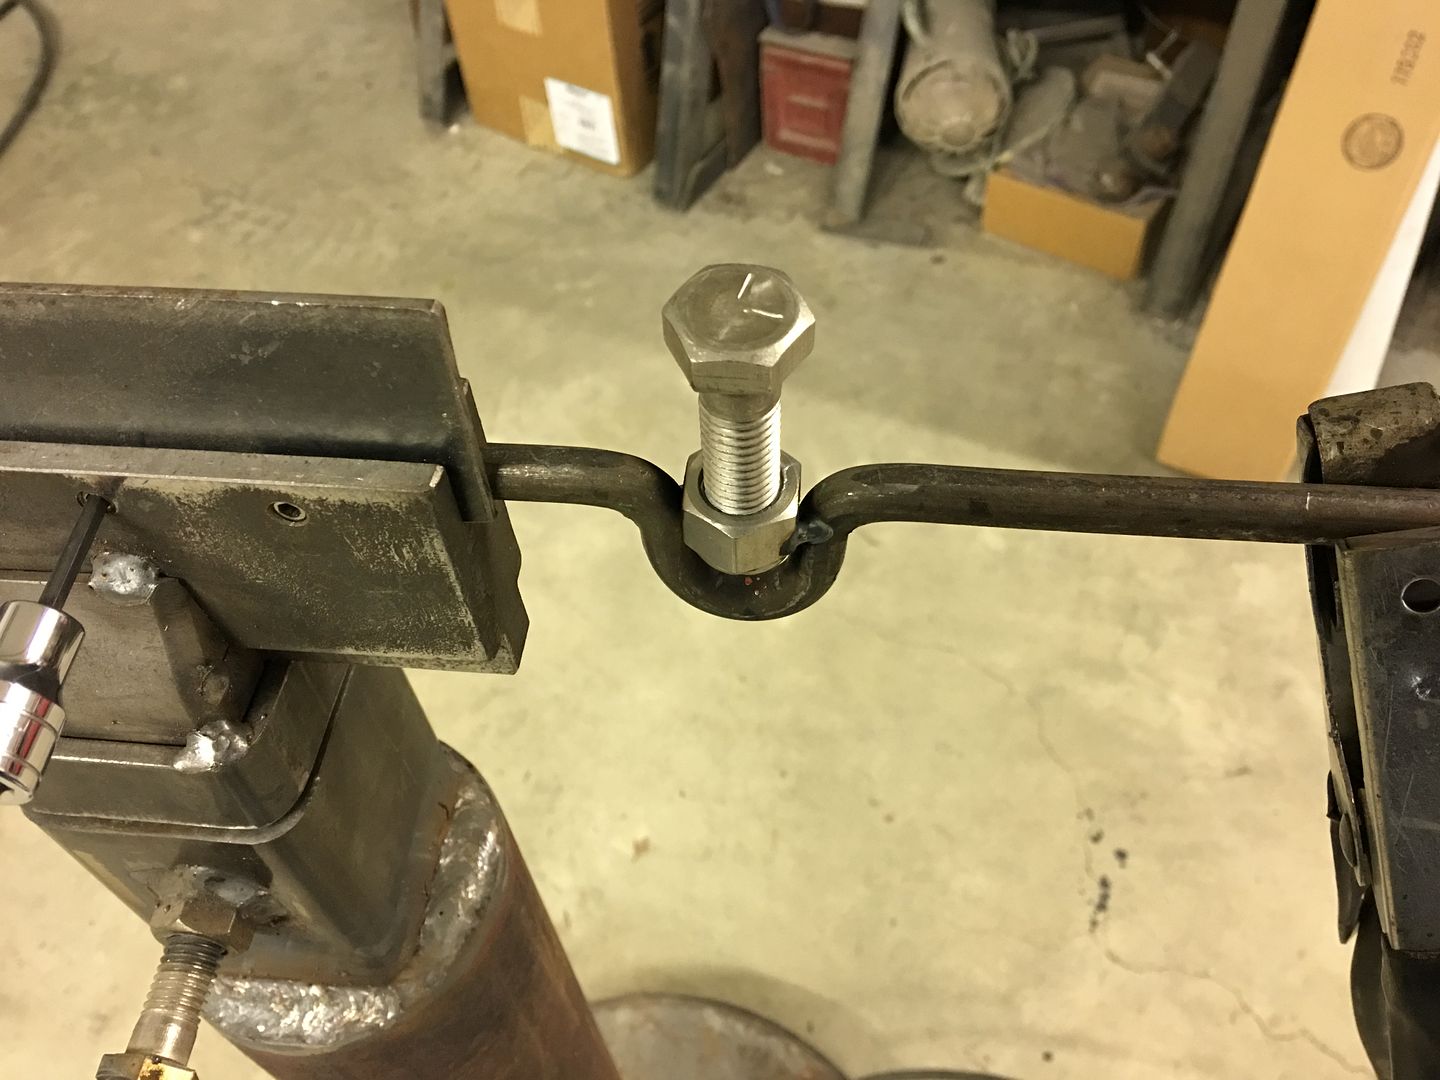
    Bent with relief for a 1/2-13 lock nut..


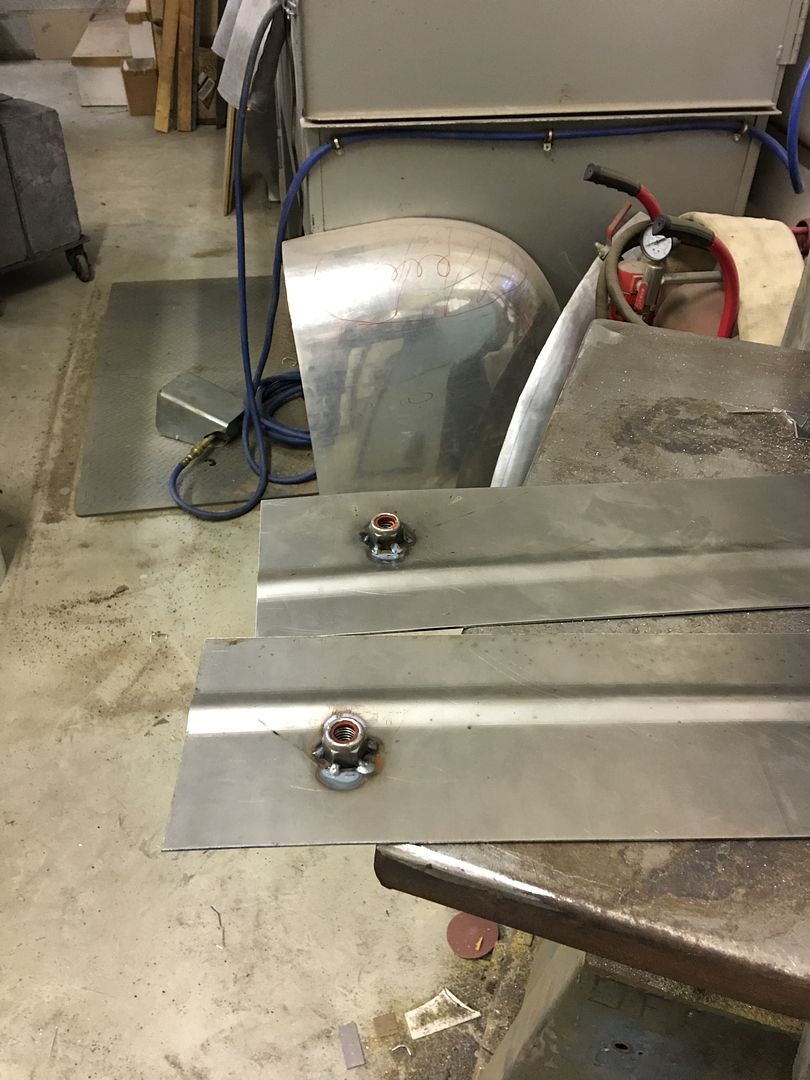
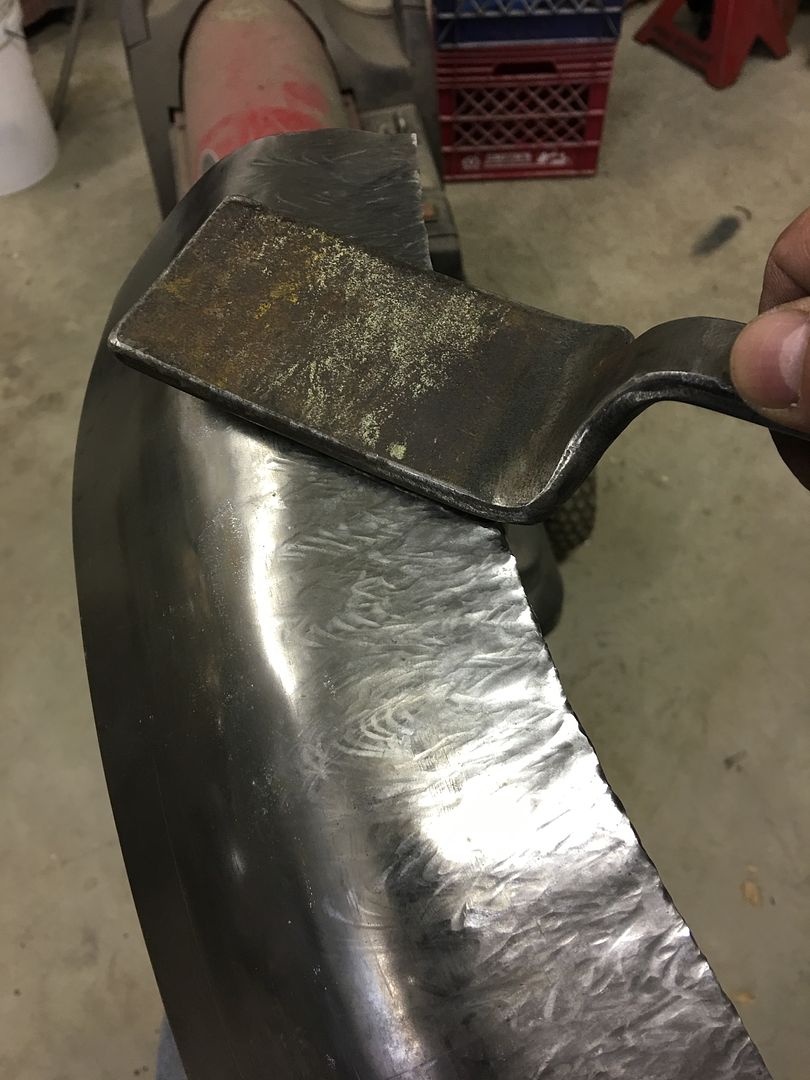
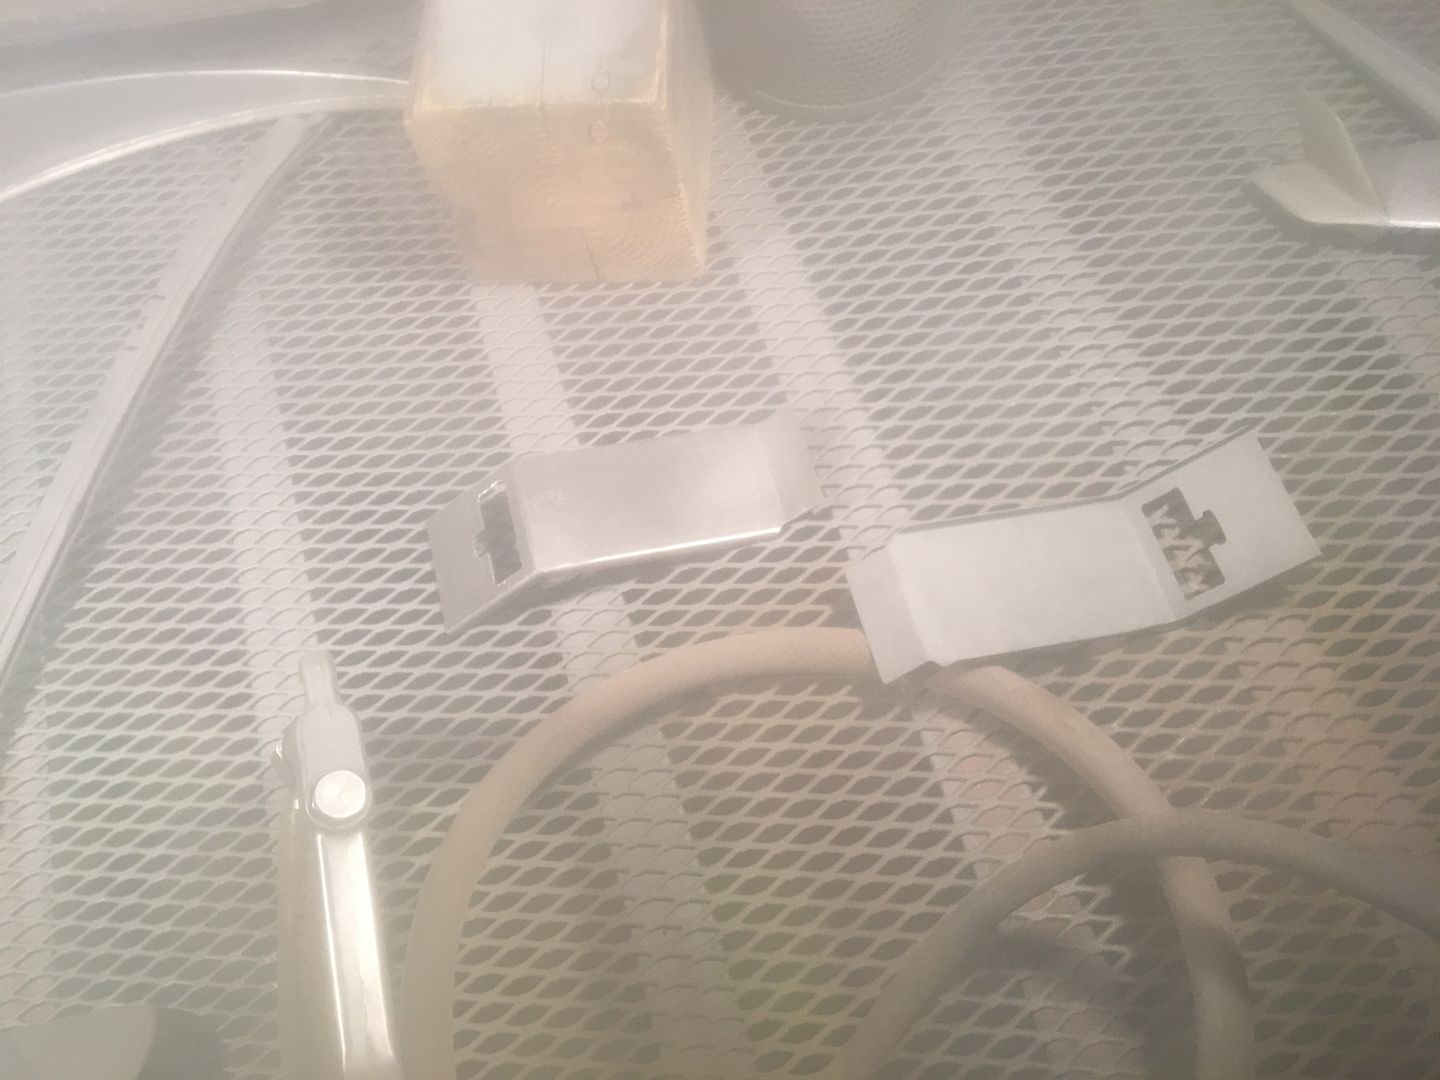
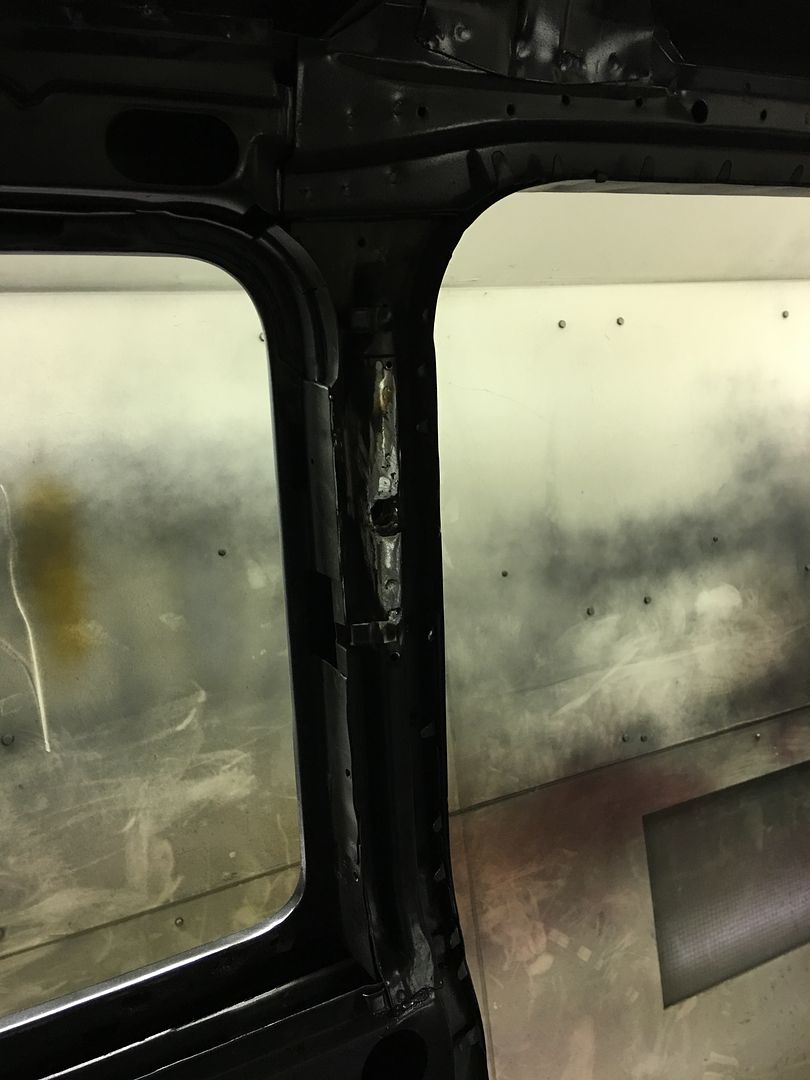
    Welded with short bursts and plenty of cooling between to keep the nylon lock intact..
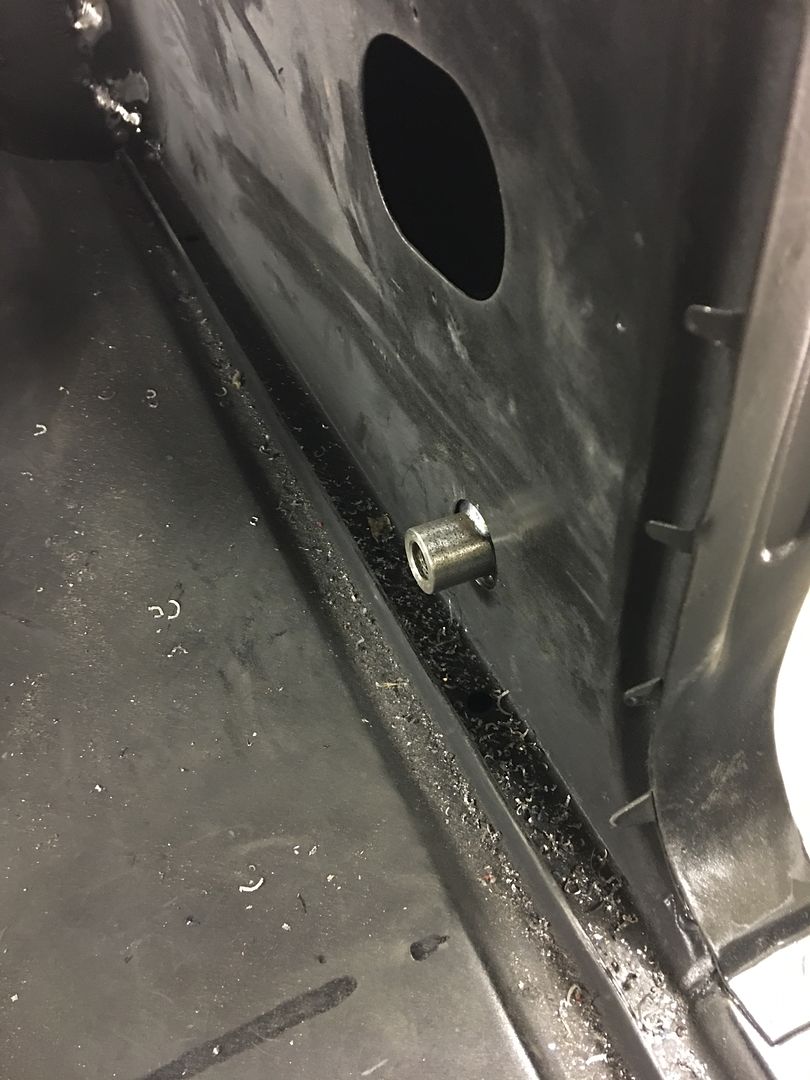
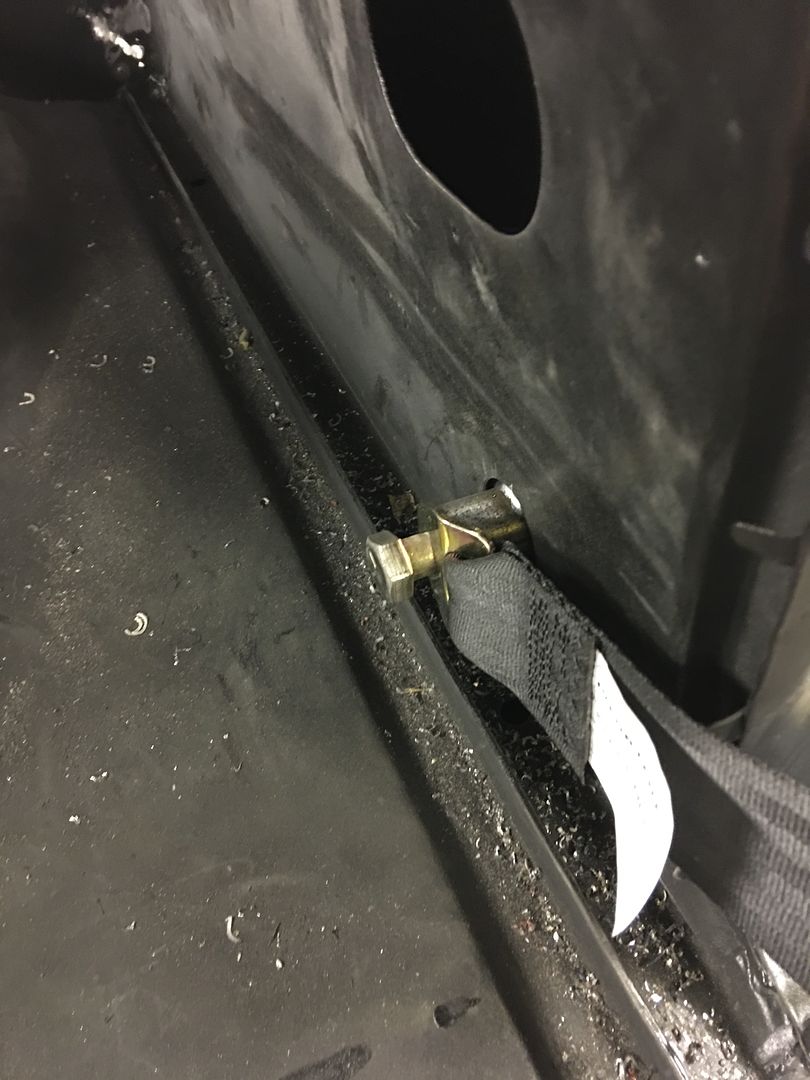
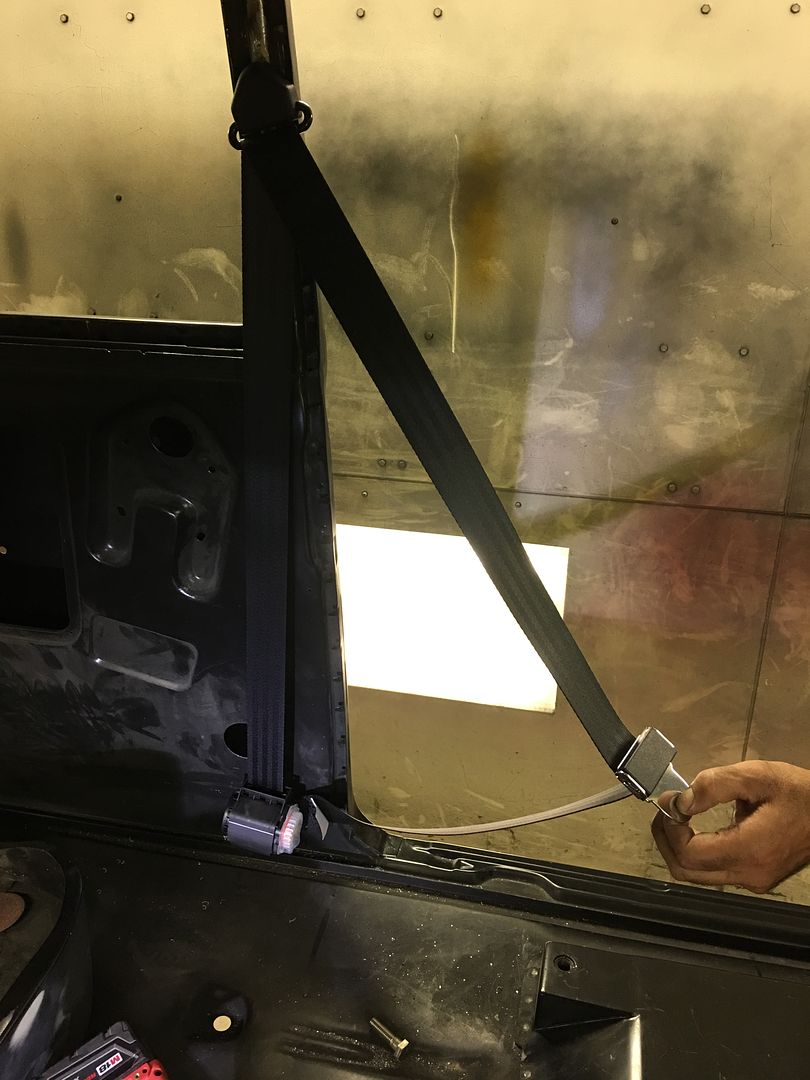
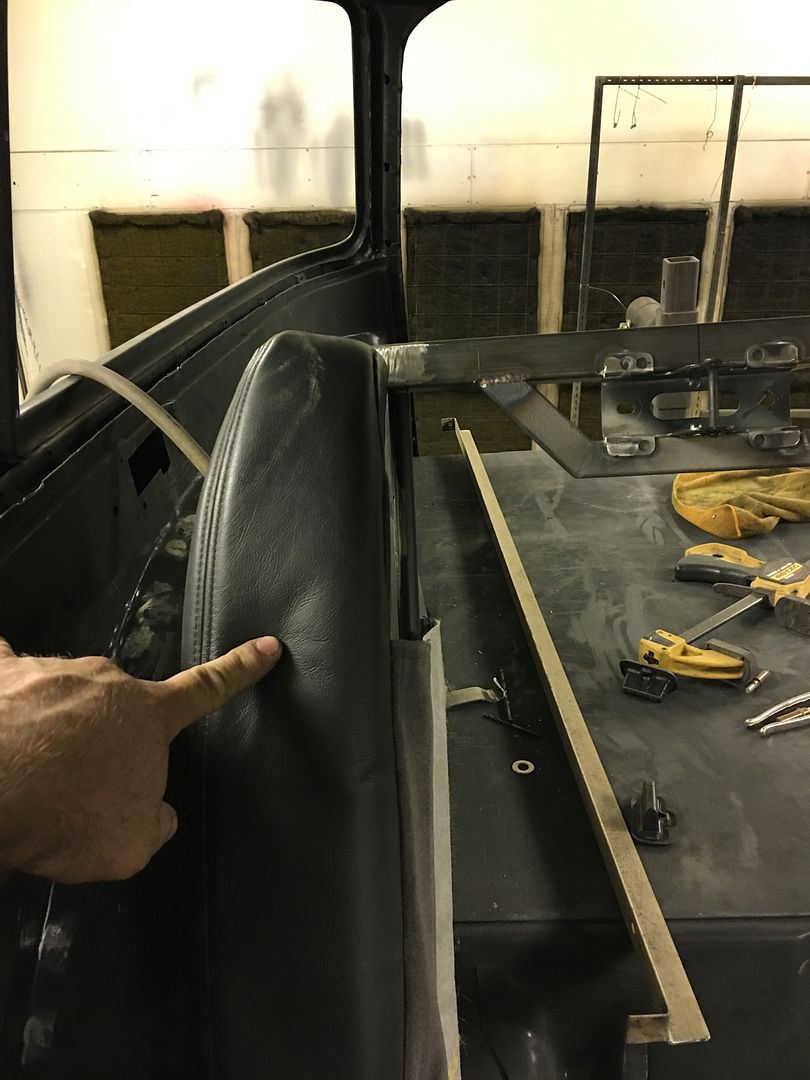
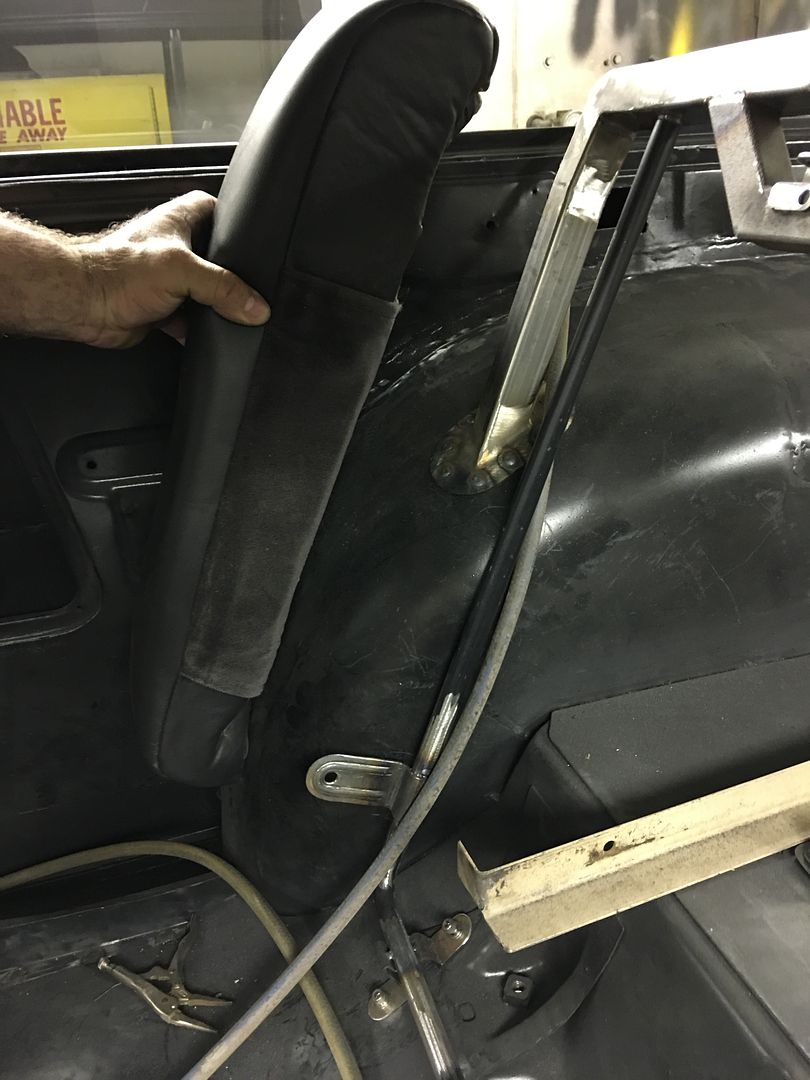
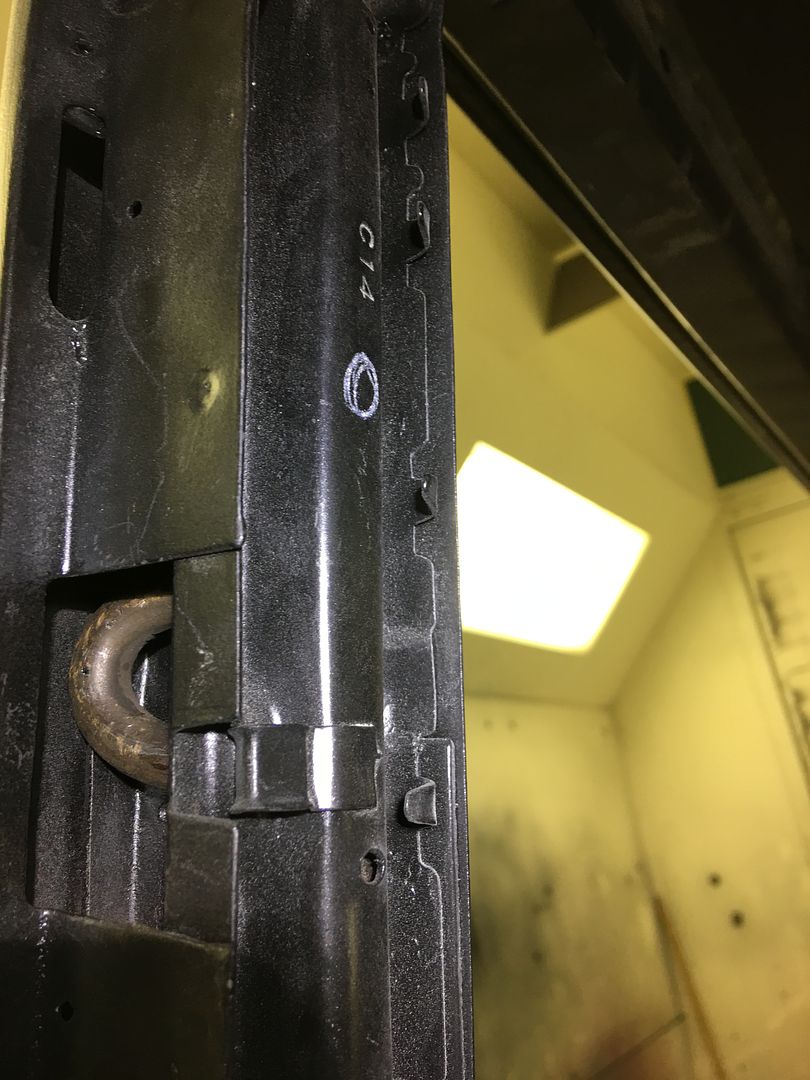
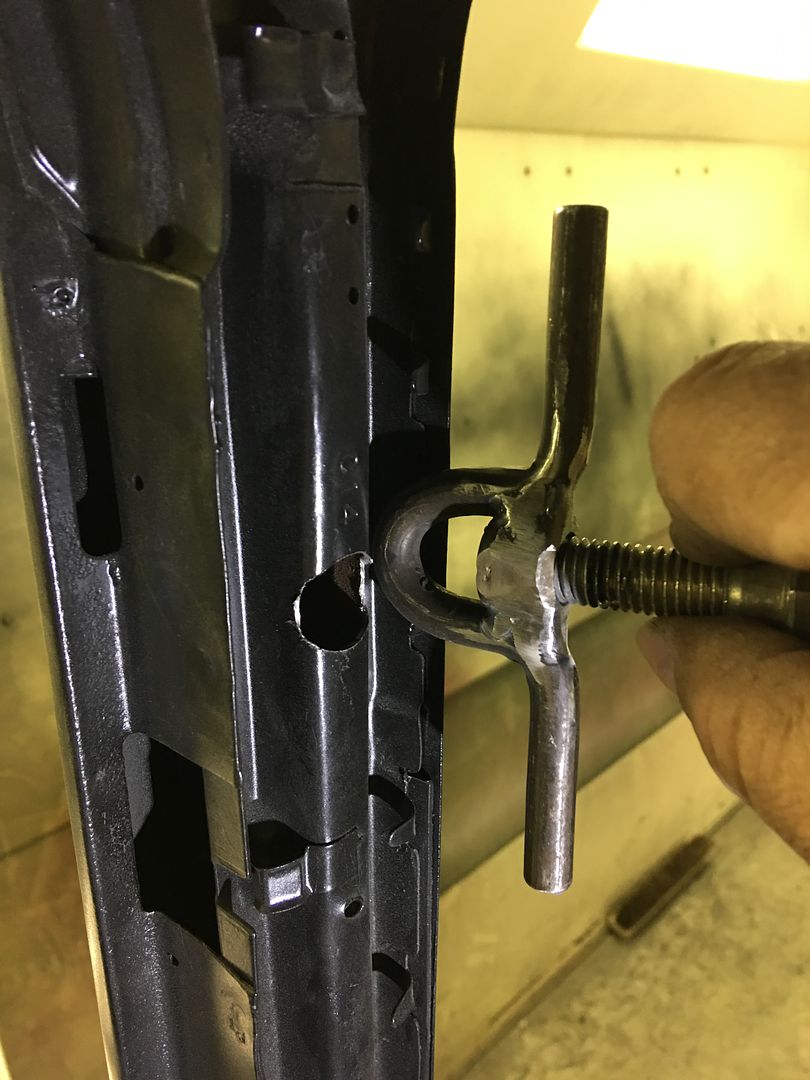


    test fit...


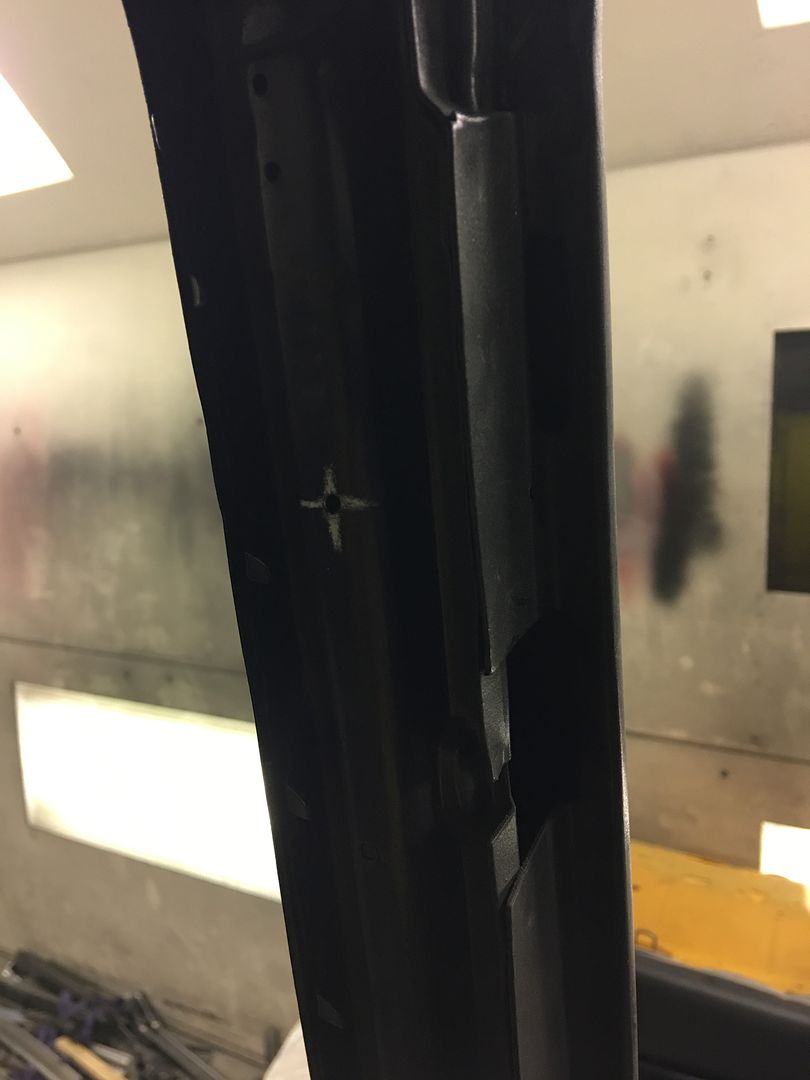
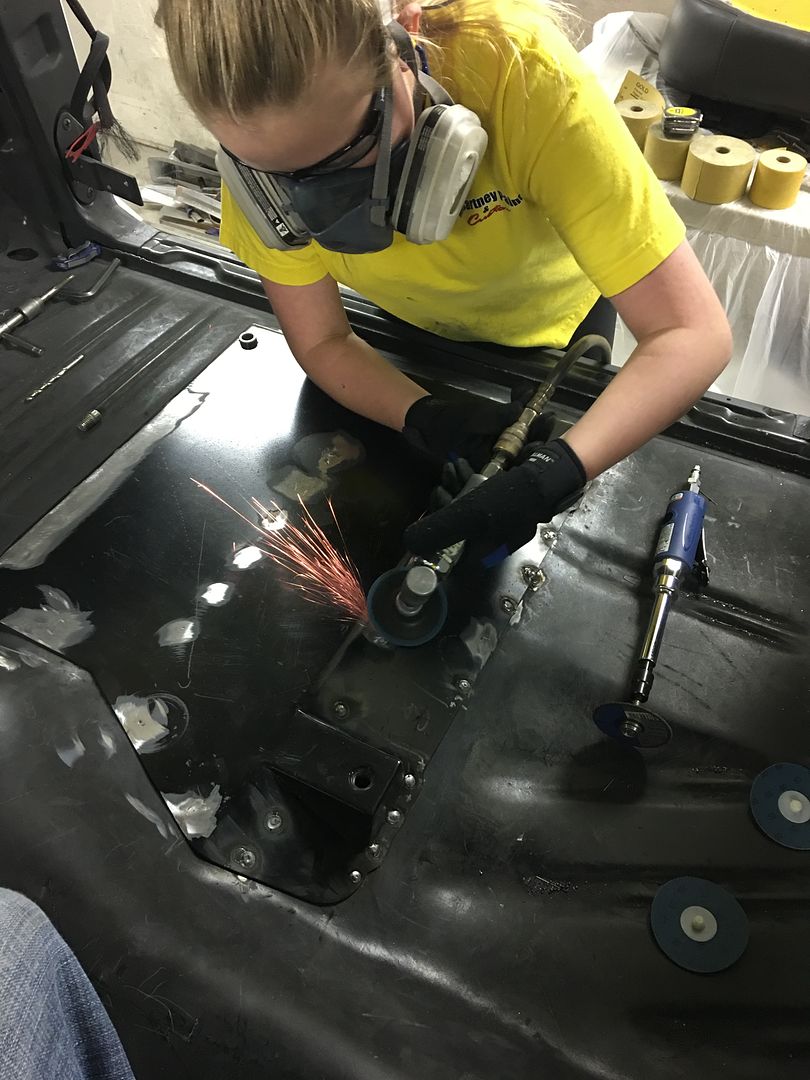
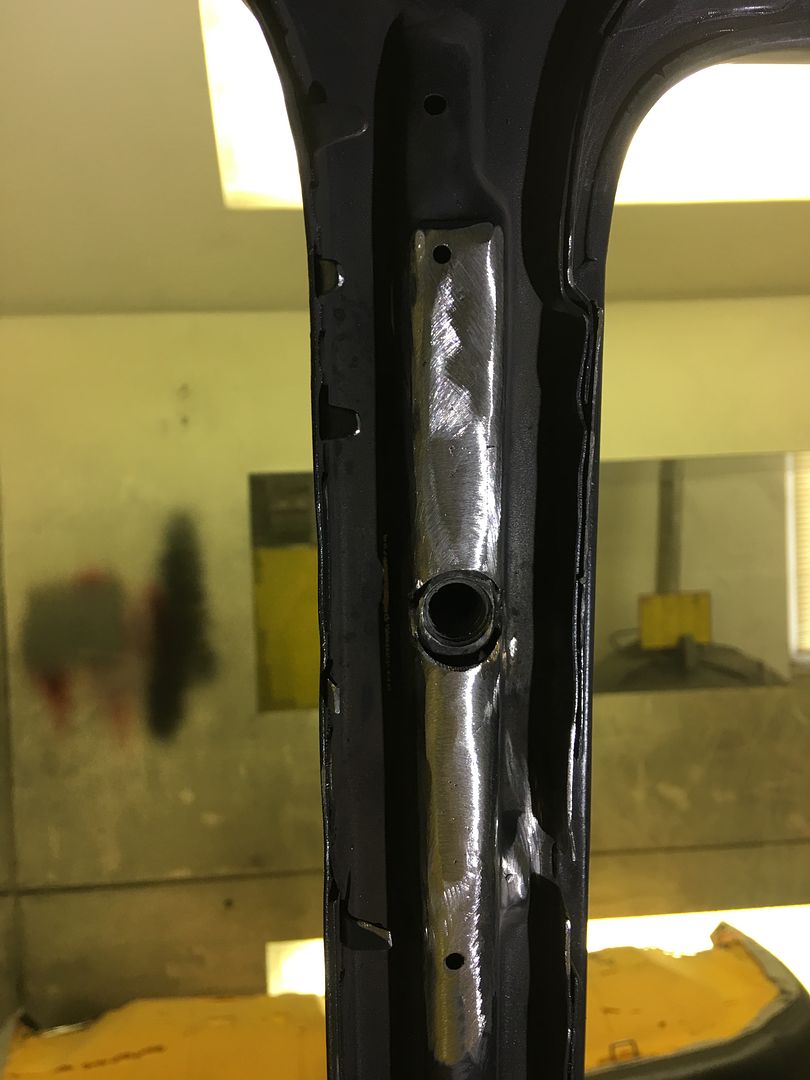
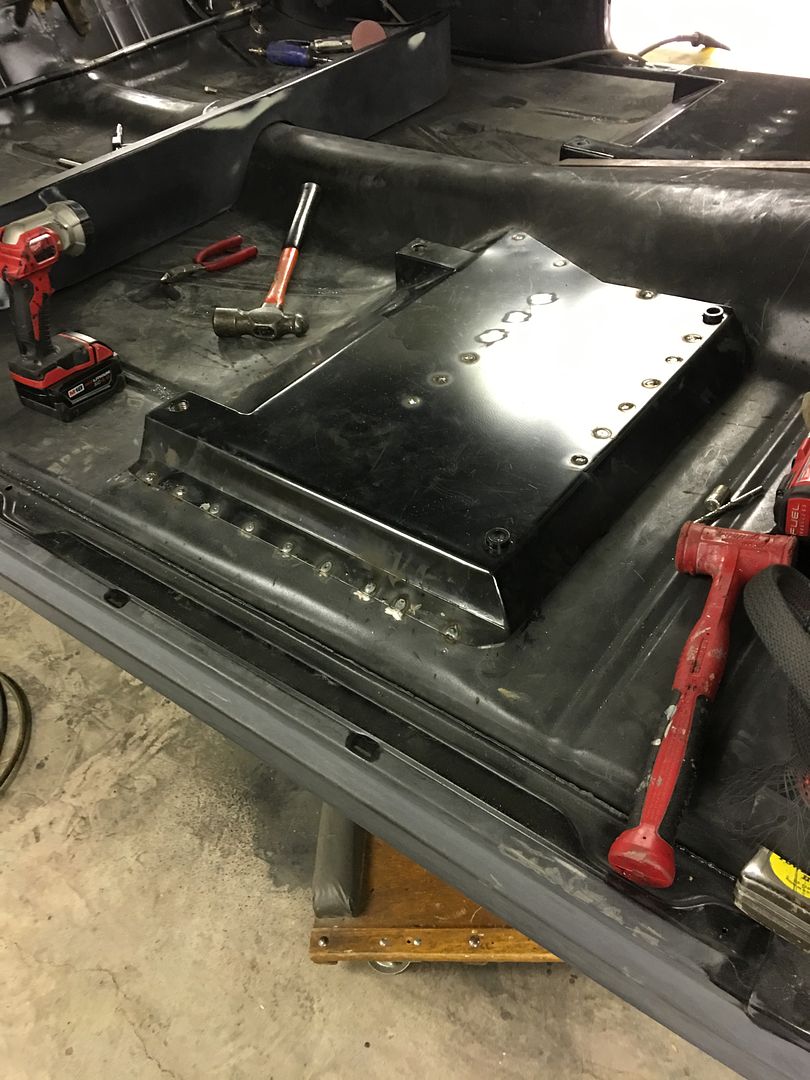
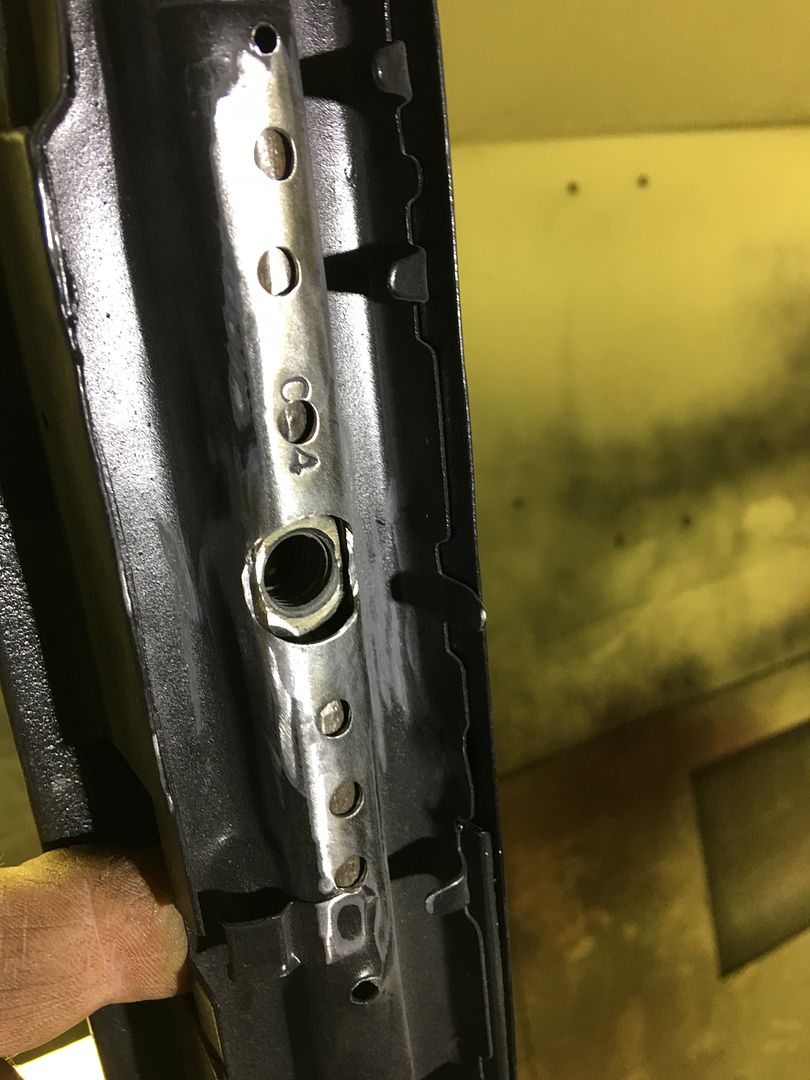
    plug weld holes drilled and welded in place....


    Mike finished up plug welding the seat bracket in place...

    Robert


    MP&C Shop Projects-Metalshaping Tutorials


    Instagram @ mccartney_paint_and_custom


    .

  2. #422
    Registered Member MP&C's Avatar
    Join Date
    Dec 2013

    Member #:2017
    Location
    Southern MD
    Posts
    1,293
    Had a late start in the shop tonight as I had to go look at a school bus. Yeah, week and a half to go until the end of school.
    Looks like something gave the spot mirror a nice push..


    The mirror mount looks like it's no longer straight....


    OK, so we found it hard to fathom something hitting the mirror that high in the air as the bus was driving into it, so the other possibility was something backed into this one.. A quick search of the buses parked close by revealed this one with some nice shiny metal showing...


    A quick test drive showed that the mirror didn't vibrate/move around that much so we're going to address this after school is out so this one can still be used for the next couple weeks..

    Back at the shop, time to weld in the seat retainer brackets...

    https://www.youtube.com/watch?v=o9Gj...ature=youtu.be


    ....and then started the next shoulder harness anchor bracket....

    Robert


    MP&C Shop Projects-Metalshaping Tutorials


    Instagram @ mccartney_paint_and_custom


    .

  3. #423
    Registered Member NickP's Avatar
    Join Date
    Mar 2012

    Member #:1653
    Location
    De Queen, AR
    Posts
    4,157
    Cool. At least someone is alive and kicking here.

  4. #424
    Registered Member chevynut's Avatar
    Join Date
    Nov 2011

    Member #:115
    Location
    Fort Collins, CO
    Posts
    10,846
    Quote Originally Posted by NCW View Post
    At least someone is alive and kicking here.
    Yeah, it seems when the rules changed and people can't attack and criticize others, some have nothing to say.

    Awesome work as usual, Robert. I don't know how you figured out how to do that. I love watching how you solve some of these problems and come up with great ideas.

    I've been working on my car a little with nothing significant to post, and have been mostly doing yard work and trying to get multiple C4 projects out the door before summer. Going to throttle it down some this year through the summer and fall.
    56 Nomad, Ramjet 502, Viper 6-speed T56, C4 Corvette front and rear suspension


    Other vehicles:

    56 Chevy 2-door BelAir sedan
    56 Chevy 210 4-door sedan
    57 Chevy 210 4-door sedan
    1962 327/340HP Corvette
    1961 Willys CJ3B Jeep
    2001 Porsche Boxster S
    2003 Chevy Silverado 2500 HD Duramax
    2019 GMC Sierra Denali Duramax

  5. #425
    Registered Member BamaNomad's Avatar
    Join Date
    Nov 2016

    Member #:3217
    Location
    Rocket City, USA (Huntsville, AL area)
    Posts
    3,777
    Well... I've been away at the Smokey Mountain Classic Chevy Roundup for 4 days- great time wtih around 200 beautiful TriFives in attendance and a decent swap meet also.. Since I've gotten back, I've a friend helping me with finishing up the rear end install and brakes in the '56, and also we've stripped down all the wiring harnesses/etc from the LS1 and are trial-fitting it in the CC chassis (need to drill the holes for the trans mount brackets once it's in place and before I set the body on it). I ordered Billy's Steering kit yesterday (IDIDIT chrome tilt column, with steering coupler linkage to the rack and steering wheel).

  6. #426
    Registered Member MP&C's Avatar
    Join Date
    Dec 2013

    Member #:2017
    Location
    Southern MD
    Posts
    1,293
    Pilot hole drilled for the passenger B-Pillar.....


    The center point is spring loaded, but they seem to locate better using a pilot hole vs. just a punch...


    The plug weld holes drilled for the anchor and paint cleaned off in prep for welding..


    Apprentice E worked on smoothing off the plug welds from last week..


    Welding in the anchor .....


    For the lower anchor point, which will hold both the retractor and the lap belt, we used some 14 ga that will be plug welded to the back side of the inner quarter panel just behind the B Pillar.. A 1/2" lock nut is welded to the back side, and a spacer added to the front side to keep the lap belt off the side wall.


    Or the motion picture version....

    https://www.youtube.com/watch?v=4na-...ature=youtu.be
    Robert


    MP&C Shop Projects-Metalshaping Tutorials


    Instagram @ mccartney_paint_and_custom


    .

  7. #427
    Registered Member WagonCrazy's Avatar
    Join Date
    Mar 2012

    Member #:530
    Location
    Santa Clarita, CA
    Posts
    1,796
    Nice work (as usual) Robert. Like the way you document this stuff, so we can see your thought process (and learn from you).

    How did you get the upper mount in that small hole? The mount looks like its 5 or 6 inches long, and the hole looks like it's 1/2 inch diameter. How'd you get that in there???
    1957 Nomad- LS1/T56 on C4 chassis
    1959 Fleetside Apache 1/2 ton, shortbed, big window, 327ci.

  8. #428
    Registered Member WagonCrazy's Avatar
    Join Date
    Mar 2012

    Member #:530
    Location
    Santa Clarita, CA
    Posts
    1,796
    (this website is acting weird with the "reply" function. Wants to post twice for some reason?)
    1957 Nomad- LS1/T56 on C4 chassis
    1959 Fleetside Apache 1/2 ton, shortbed, big window, 327ci.

  9. #429
    Registered Member MP&C's Avatar
    Join Date
    Dec 2013

    Member #:2017
    Location
    Southern MD
    Posts
    1,293
    Came up through the bottom of the B Pillar at the belt line. There's a flap of sheet metal covering the bottom opening, bent it down and out of the way.
    Robert


    MP&C Shop Projects-Metalshaping Tutorials


    Instagram @ mccartney_paint_and_custom


    .

  10. #430
    Registered Member MP&C's Avatar
    Join Date
    Dec 2013

    Member #:2017
    Location
    Southern MD
    Posts
    1,293
    Tonight we have both seat belt retractor anchor plates welded and waiting for apprentice E to media blast and epoxy prime..


    Next, we have the side filler panels to either side of the fold down rear seat that don't fit with those pesky wheel tubs in the way...


    So we plan to make new ones, with a relief to fit snugly to the wheel tubs at the bottom end.. We used the Baileigh MH19 hammer and the shrinking dies to shape a piece of 14 gauge cold rolled to fit the wheel tub. Glad I didn't have to do all that shrinking by hand.


    A flat piece from the top section will be welded to this piece, and then foam will be glued to the assembly and upholstered to match the seat..
    Robert


    MP&C Shop Projects-Metalshaping Tutorials


    Instagram @ mccartney_paint_and_custom


    .

Page 43 of 102 FirstFirst ... 3341424344455393 ... LastLast

Posting Permissions

  • You may not post new threads
  • You may not post replies
  • You may not post attachments
  • You may not edit your posts
  •