Just joined? Please introduce yourself.
Page 3 of 7 FirstFirst 12345 ... LastLast
Results 21 to 30 of 68

Thread: Lower rear qtr patch panels which ones to buy?

  1. #21
    Registered Member
    Join Date
    Apr 2012

    Member #:571
    Posts
    4,672
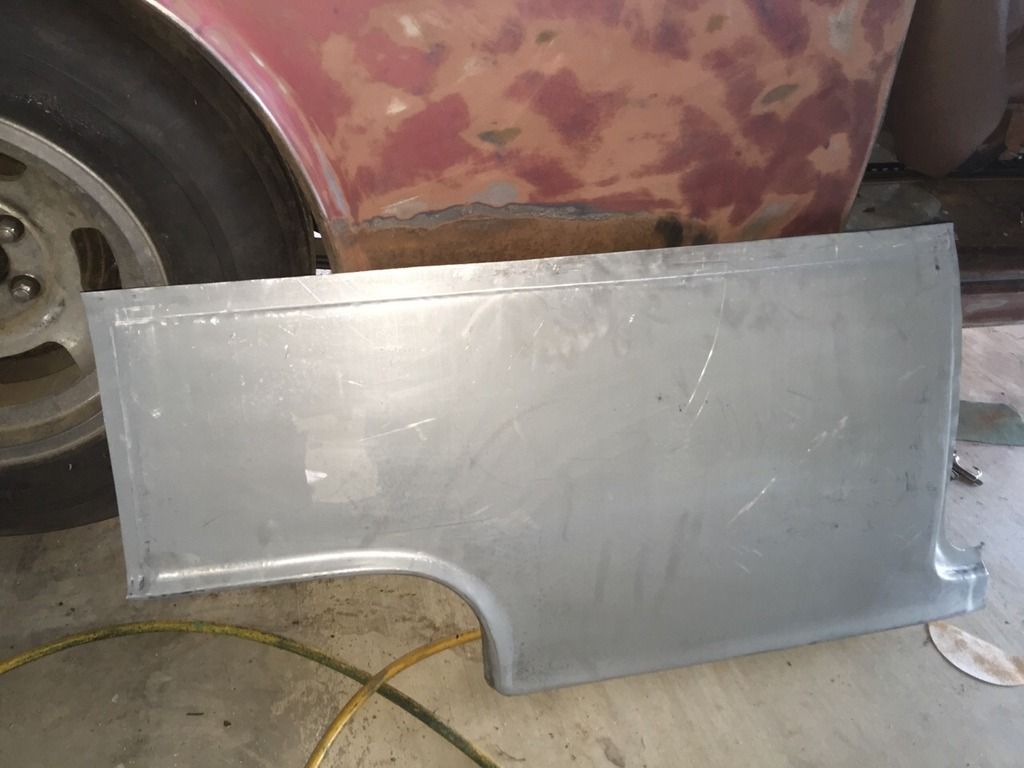
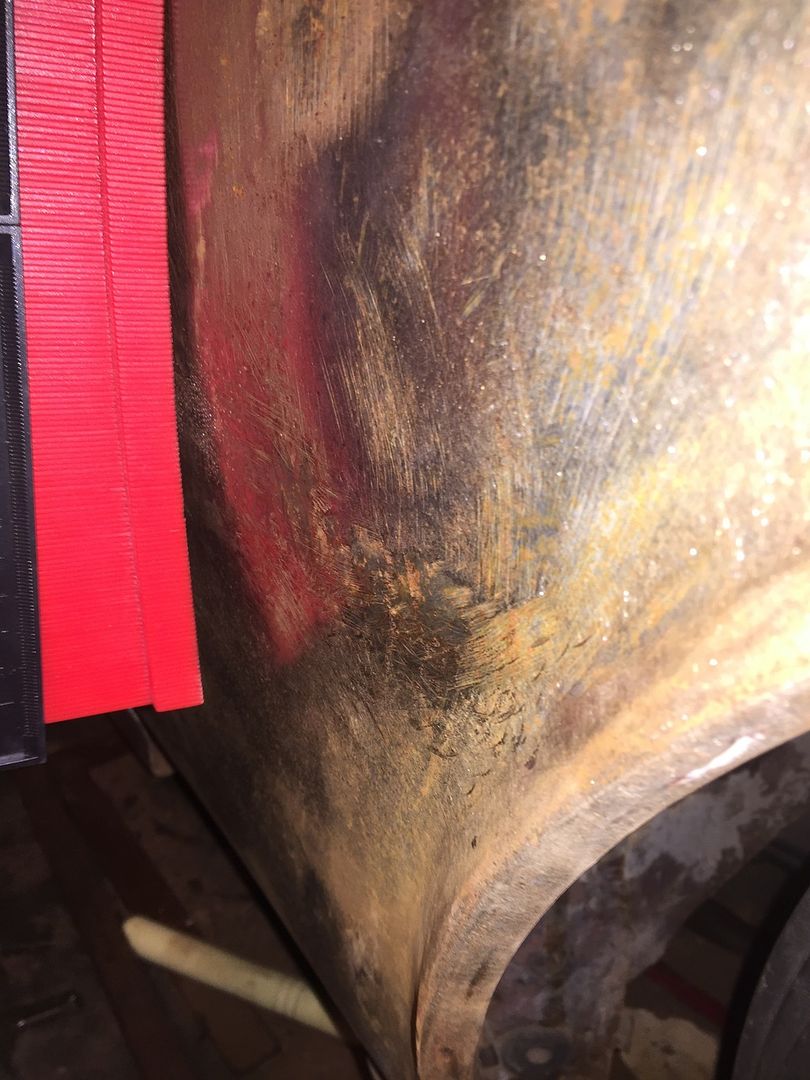
    The curve at the corner of the panel is the way to go. A square corner will end up like a knot in wood.

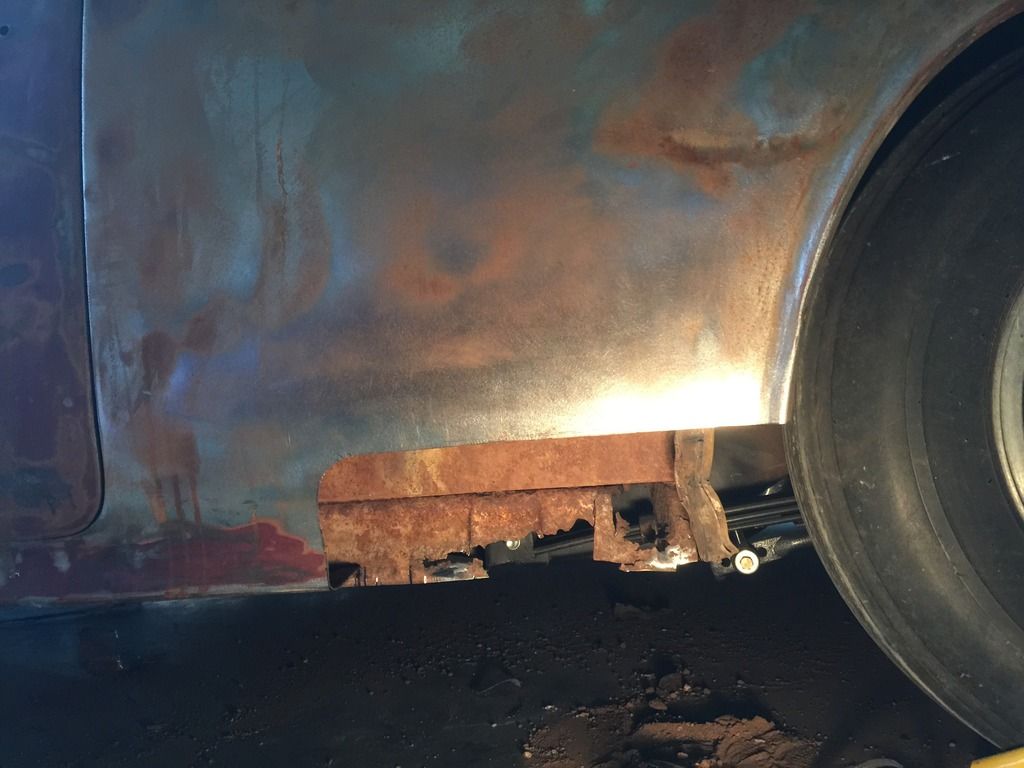
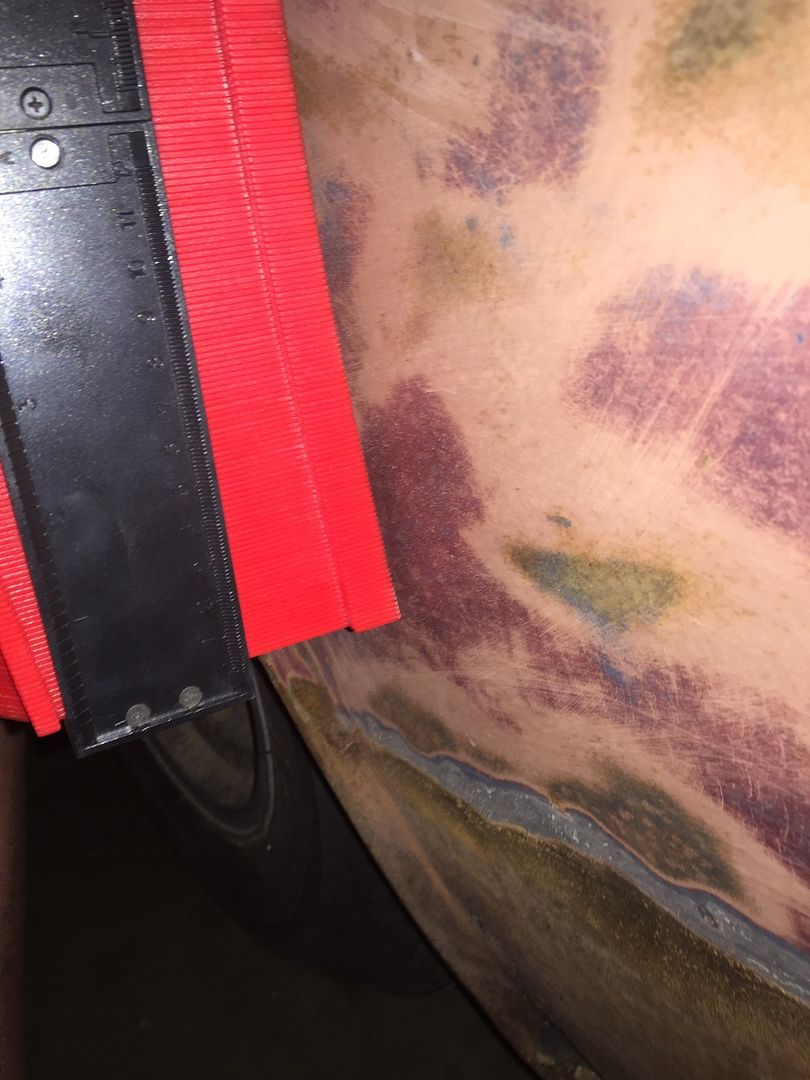
    Don't try to contour the patch at the wheel lip like in photo #2. Cutting and then welding at a diagonal across that formed edge will cause a nightmare. It will also accentuate any deviations in contour that the patch panel has compared to what it should be.

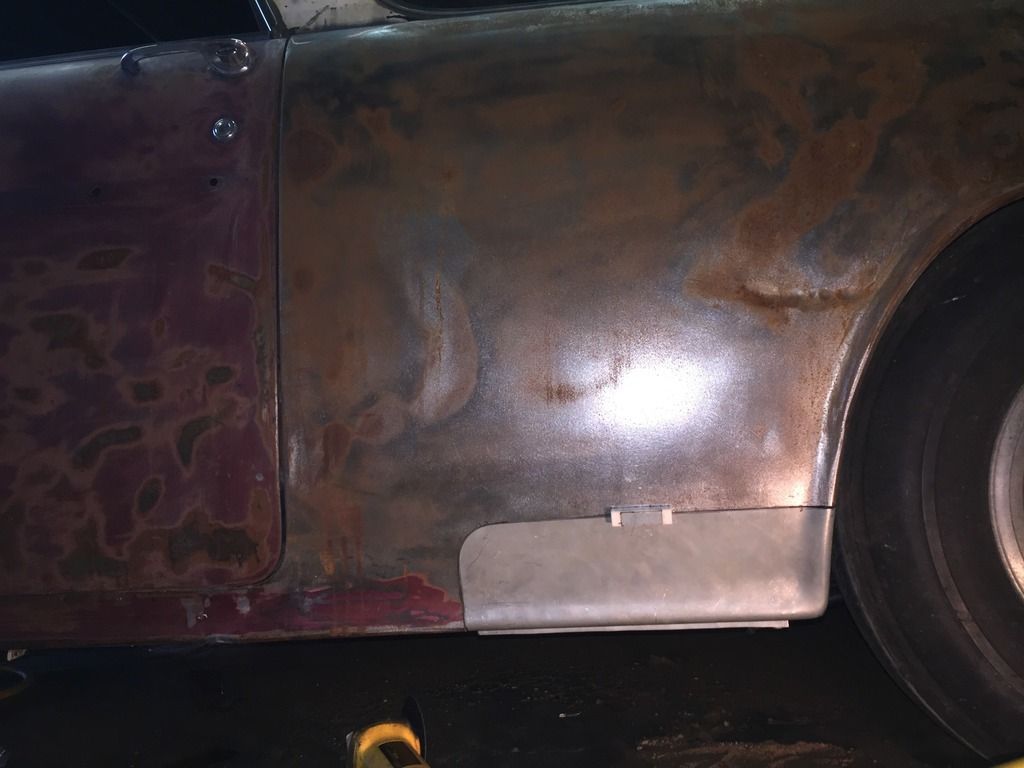
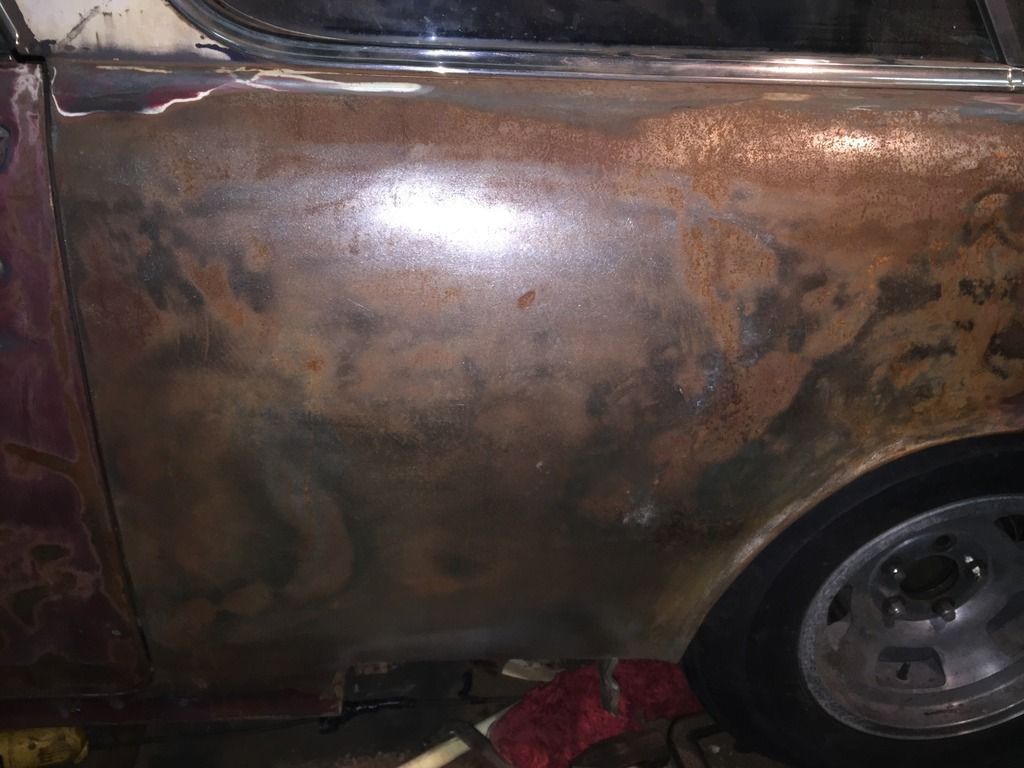
    Judging from what is already rusted all the way through in the photos, I think your patch will need to be at least as big as the area that's already had the paint removed.

  2. #22
    Registered Member rockytopper R.I.P 5-13-2017's Avatar
    Join Date
    Sep 2013

    Member #:1884
    Location
    Covington Texas
    Posts
    1,039
    I recieved the patch panels today. Pretty happy with them. They appear to fit pretty good in the area I plan to patch. As noted many times the door edge to wheel well opening on these patches are off by a 1/4 to 3/8 to long.
    I also purchased the slip over rocker and it appears to fit the small section area I need to patch.

    Last edited by rockytopper R.I.P 5-13-2017; 09-09-2015 at 06:04 PM.

  3. #23
    Registered Member
    Join Date
    Apr 2012

    Member #:571
    Posts
    4,672
    Forget the door jamb unless it's rusted, especially if the panel is too long. Cut all those flanges off and butt weld too.

    Here's what Cnut said earlier:
    You're doing it right by keeping the lines perpendicular to the rocker, and making large curves. If you try to angle it, it will be harder to fix, in my experience. So straight up from the rocker, large curve, and straight back to the fenderwell. Then I'd come down in front of the lip as far as you can.
    It's excellent advice.

    What's up with the "slip over" rocker? Why would you want to use that? It's the wrong thing to do. Send it back.

  4. #24
    Registered Member
    Join Date
    Aug 2013

    Member #:1806
    Posts
    415
    Have you looked at the area from inside the car? The rust on the bottom may go all the way to the baffle thats in the rocker panel. I find it easier to get close up pictures of the inside of doors and 1/4s and examine the pictures.

  5. #25
    Registered Member rockytopper R.I.P 5-13-2017's Avatar
    Join Date
    Sep 2013

    Member #:1884
    Location
    Covington Texas
    Posts
    1,039
    I have already cut open the passenger side inner rocker and hit it hard with a wire brush. From first look the rocker is appearing to be solid except for one area that is directly over a small brace or baffle inside the rocker that is near the rear connection to the qtr. I only plan to cut 2 inch long patch area out of the slip over piece. It was much cheaper than buying a complete rocker for the small area. Yes I could have just hand formed the patch but the time involved verses the cheap rocker to just cut much easier and much faster. When I get the floor cut out and the rockers completely open I will determine then if I need to just replace the entire rocker. Sense I am a rookie and have read that replacement rockers dont fit well out of the box I am going to try and avoid a full replacement if possible. The drivers side has no visible signs of rust on the outter side but will only know when I get the floors out. I plan to start the lower qtrs now before I cut the floor out.
    Rocky

  6. #26
    Registered Member
    Join Date
    Apr 2012

    Member #:571
    Posts
    4,672
    Good plan with the slip on rocker.

  7. #27
    Registered Member rockytopper R.I.P 5-13-2017's Avatar
    Join Date
    Sep 2013

    Member #:1884
    Location
    Covington Texas
    Posts
    1,039
    Finally got a chance to strart the qtr patch. I'm pretty happy with it so far. Its not perfect but it looks pretty close. The curve contour doesn't match the factory rocker it needs to be a little tighter radius. Similar to what Robert showed on his wagon with a aftermarket rocker.


    Last edited by rockytopper R.I.P 5-13-2017; 11-15-2015 at 03:54 PM.

  8. #28
    Registered Member
    Join Date
    Apr 2012

    Member #:571
    Posts
    4,672
    Looks like a typical aftermarket panel contour on the wheel cutout profile. Some careful shaping and filling should make it right. It will be some work but if you put enough smart work in it, you'll get there.

  9. #29
    Registered Member chevynut's Avatar
    Join Date
    Nov 2011

    Member #:115
    Location
    Fort Collins, CO
    Posts
    10,847
    Looks pretty good to me! A little hammer and dolly work and it will be a perfect fit.
    56 Nomad, Ramjet 502, Viper 6-speed T56, C4 Corvette front and rear suspension


    Other vehicles:

    56 Chevy 2-door BelAir sedan
    56 Chevy 210 4-door sedan
    57 Chevy 210 4-door sedan
    1962 327/340HP Corvette
    1961 Willys CJ3B Jeep
    2001 Porsche Boxster S
    2003 Chevy Silverado 2500 HD Duramax
    2019 GMC Sierra Denali Duramax

  10. #30
    Registered Member rockytopper R.I.P 5-13-2017's Avatar
    Join Date
    Sep 2013

    Member #:1884
    Location
    Covington Texas
    Posts
    1,039
    I started working dents out while I have it open. I started working the deep crease about 10 inches above patch. I have no prior experience with dolly and hammer. I did manage to get most of the crease out but realized i created a high spot. When trying to deal with it I created a oil can. I was checking the panel horzontally with a straight edge. This evening I bring home a contour or ships curve and check both sides. I'm way in on the drivers side compared to the passenger. The panel is not routed but rough to the point it should be replaced. But its good practice for me and if I can't save it no real loss. But I'm seeing this isn't going to be easy to keep it even decent looking. Not sure what to use as a reference point. The inner panels on the rear qtrs that have rubber seals dont fit the qtrs very well. How close are these when perfect? The rust areas vertically are the dents lol. Its rough.


    Last edited by rockytopper R.I.P 5-13-2017; 11-18-2015 at 07:25 PM.

Page 3 of 7 FirstFirst 12345 ... LastLast

Posting Permissions

  • You may not post new threads
  • You may not post replies
  • You may not post attachments
  • You may not edit your posts
  •