BTW don't try and do anything delicate running an air hammer wide open. Use a regulator and just slowly raise the air pressure enough to be effective.Originally Posted by 55 Rescue Dog


BTW don't try and do anything delicate running an air hammer wide open. Use a regulator and just slowly raise the air pressure enough to be effective.


Tonight after doing some painting in the house I decided to install the offset dowels and do a measurement. After a couple of tweaks here is what I get for concentricity.
20170122_007.JPG
I think that's about as good as it's going to get.One thing I did notice is that after getting rid of the countersinks in the adapter and putting the adapter on and torquing it, I could not see daylight anymore between a straightedge and the adapter surface. Those countersunk bolts were definitely distorting the bellhousing and adapter.
Next is some painting and final installation of the flywheel, clutch, bellhousing, and adapter. I won't be painting any of the contact surfaces.
I still haven't installed the pilot bushing and it's still in the freezer...it should be cold enough soon. I think the step I cut into it is going to help keep it starting straight and hopefully it goes in easily. I noticed the edge of the hole in the crank is pretty sharp instead of beveled like I thought it should be. I may take some sandpaper to it and smooth it a little before I try to drive the bushing in.
56 Nomad, Ramjet 502, Viper 6-speed T56, C4 Corvette front and rear suspension
Other vehicles:
56 Chevy 2-door BelAir sedan
56 Chevy 210 4-door sedan
57 Chevy 210 4-door sedan
1962 327/340HP Corvette
1961 Willys CJ3B Jeep
2001 Porsche Boxster S
2003 Chevy Silverado 2500 HD Duramax
2019 GMC Sierra Denali Duramax
I've used a puller bolted into the flywheel holes and a hardened washer to press pilot bushings in before. It works well.
What kind of "puller"?
56 Nomad, Ramjet 502, Viper 6-speed T56, C4 Corvette front and rear suspension
Other vehicles:
56 Chevy 2-door BelAir sedan
56 Chevy 210 4-door sedan
57 Chevy 210 4-door sedan
1962 327/340HP Corvette
1961 Willys CJ3B Jeep
2001 Porsche Boxster S
2003 Chevy Silverado 2500 HD Duramax
2019 GMC Sierra Denali Duramax

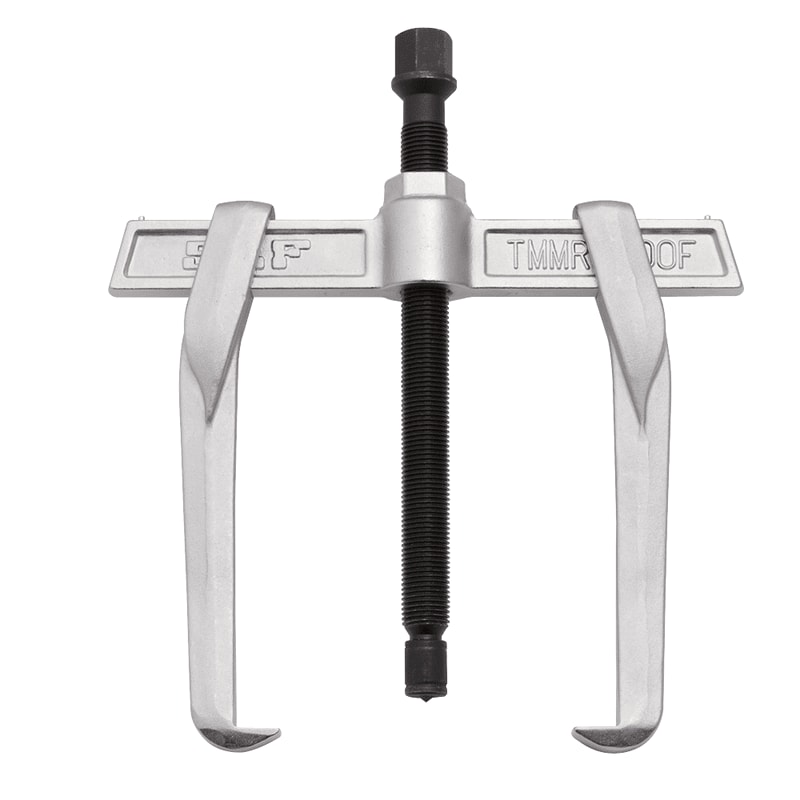
A single bar unit with the bent legs allowing bolts to pass through the legs delivering a push rather than a pull with the anvil
Could you remove the flywheel and use a normal two or three legged puller? Maybe make a pilot to replace the pointed center.
Last edited by WagonWonder; 01-23-2017 at 07:36 AM.
Wagonwonder, I'll be removing the flywheel today and I can try that if it won't tap in easily. I've read that it's impossible to damage a thrust bearing by driving a pilot bushing in, and my intuition tells me that's true. It's a large surface area and it's hard to believe you could damage it with anything less than a sledge hammer. Thanks for the ideas guys.
56 Nomad, Ramjet 502, Viper 6-speed T56, C4 Corvette front and rear suspension
Other vehicles:
56 Chevy 2-door BelAir sedan
56 Chevy 210 4-door sedan
57 Chevy 210 4-door sedan
1962 327/340HP Corvette
1961 Willys CJ3B Jeep
2001 Porsche Boxster S
2003 Chevy Silverado 2500 HD Duramax
2019 GMC Sierra Denali Duramax
Like this one. Bolts screw into the flexplate mounting holes in the crank and then push the bushing in with the main center bolt.
puller2.jpg
I have a puller like the small one in that box, Bluegrass. I tried it tonight and it's about 1/8" too small in radius for the flywheel bolts. Also, my crank is a 1-piece seal type so it doesn't have a flange, so I can't use a puller with a jaw.
I made this clutch alignment tool a while ago and used it to drive the pilot bushing in. The small end is .748" just like the T56 pilot. I don't think you can buy one like this so I decided to make one.
20170123_009.JPG
I reamed the bushing out to .750" and as I mentioned I turned down the OD from 1.096" to 1.093", same as a stock Chevy bushing. The crank ID is 1.090" so I don't think it would have gone in the way I got it. Also I'm glad I made the first 1/8" smaller because it really helped get it in straight. Just as I feared, after driving it in with a dead-blow hammer I couldn't get the alignment tool out. It had "swaged" the bushing onto the tool.
I was able to get it out with a vice grip and a hammer, and it would not go back in. So I got the reamer again and turned it by hand to get it back to .750". I am assuming that the stock Chevy bushings are made so they end up at the right ID after installation. I didn't have a .753" reamer.
Anyhow, it's now in and reamed out to the correct size.
20170123_006.JPG
I also cut away the area that was in the way of my oil pressure sender on the block plate and bellhousing. Now I can remove the sender if I ever need to. The bellhousing is actually larger than the block plate almost everywhere, which seems weird to me. I'm not going to mess with making them the same.
20170123_016.JPG
I sanded the parts and prepped them for primer and paint. Hopefully I'll have time Tomorrow to get them and some other parts primed. My ARP starter bolts should be here tomorrow as well.
One step at a time......
Last edited by chevynut; 01-23-2017 at 09:48 PM.
56 Nomad, Ramjet 502, Viper 6-speed T56, C4 Corvette front and rear suspension
Other vehicles:
56 Chevy 2-door BelAir sedan
56 Chevy 210 4-door sedan
57 Chevy 210 4-door sedan
1962 327/340HP Corvette
1961 Willys CJ3B Jeep
2001 Porsche Boxster S
2003 Chevy Silverado 2500 HD Duramax
2019 GMC Sierra Denali Duramax

Cool to see you making progress Laszlo. Keep at it...it's motivating.
1957 Nomad- LS1/T56 on C4 chassis
1959 Fleetside Apache 1/2 ton, shortbed, big window, 327ci.
 Posting Permissions

 Reply With Quote