Nice, I want one.


Nice, I want one.


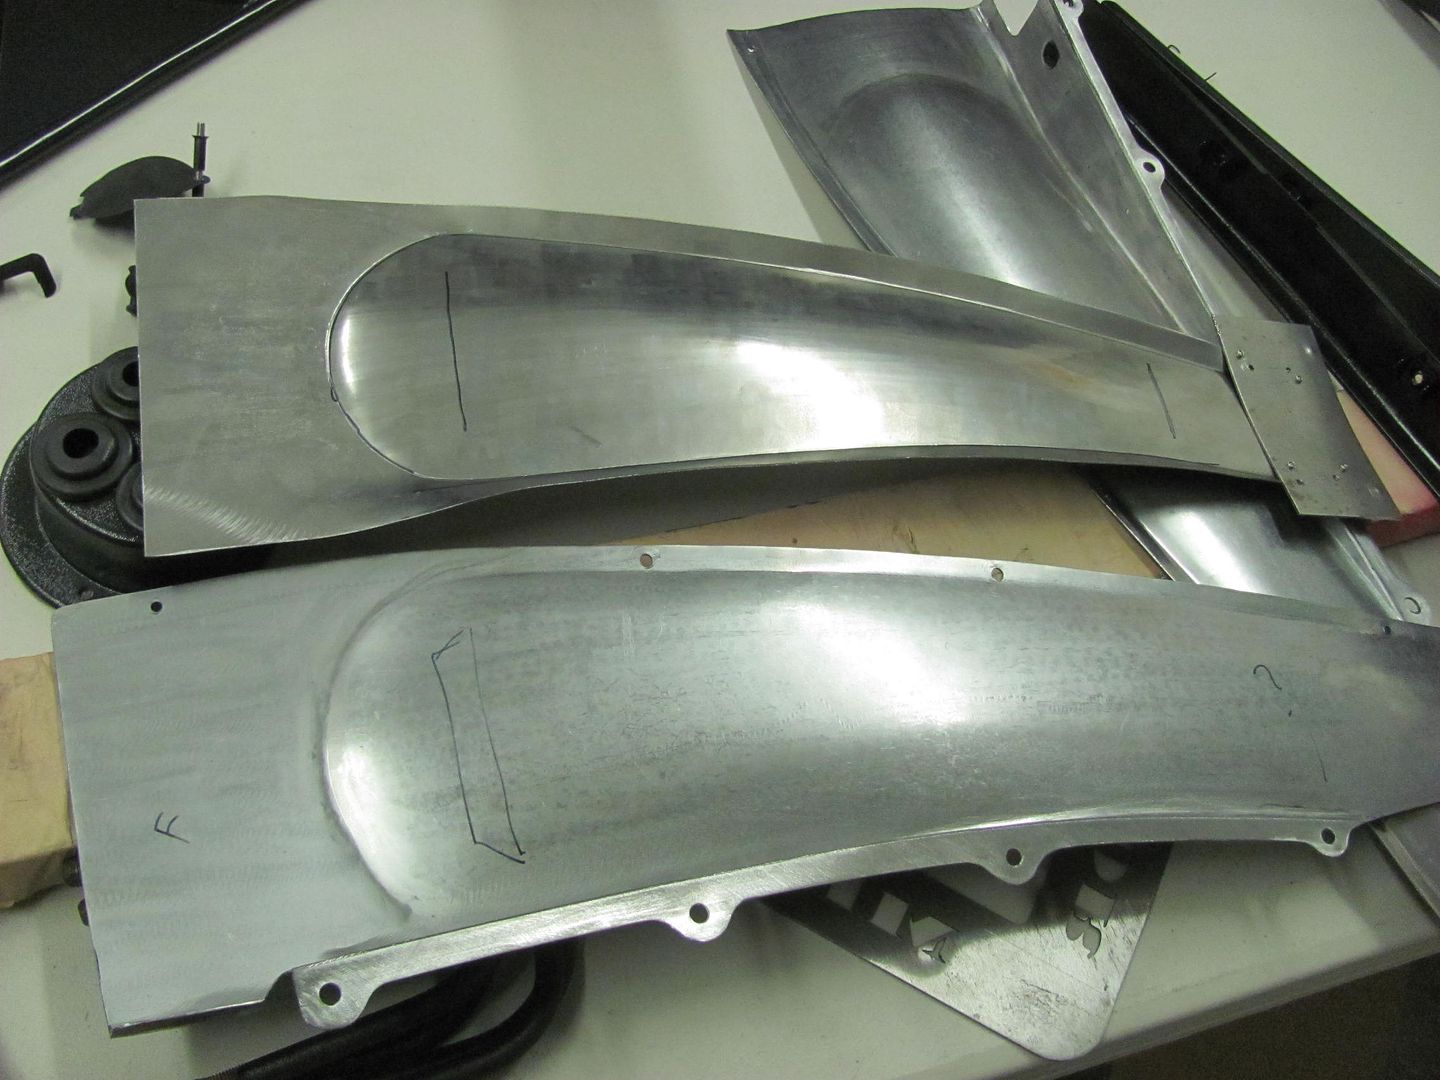
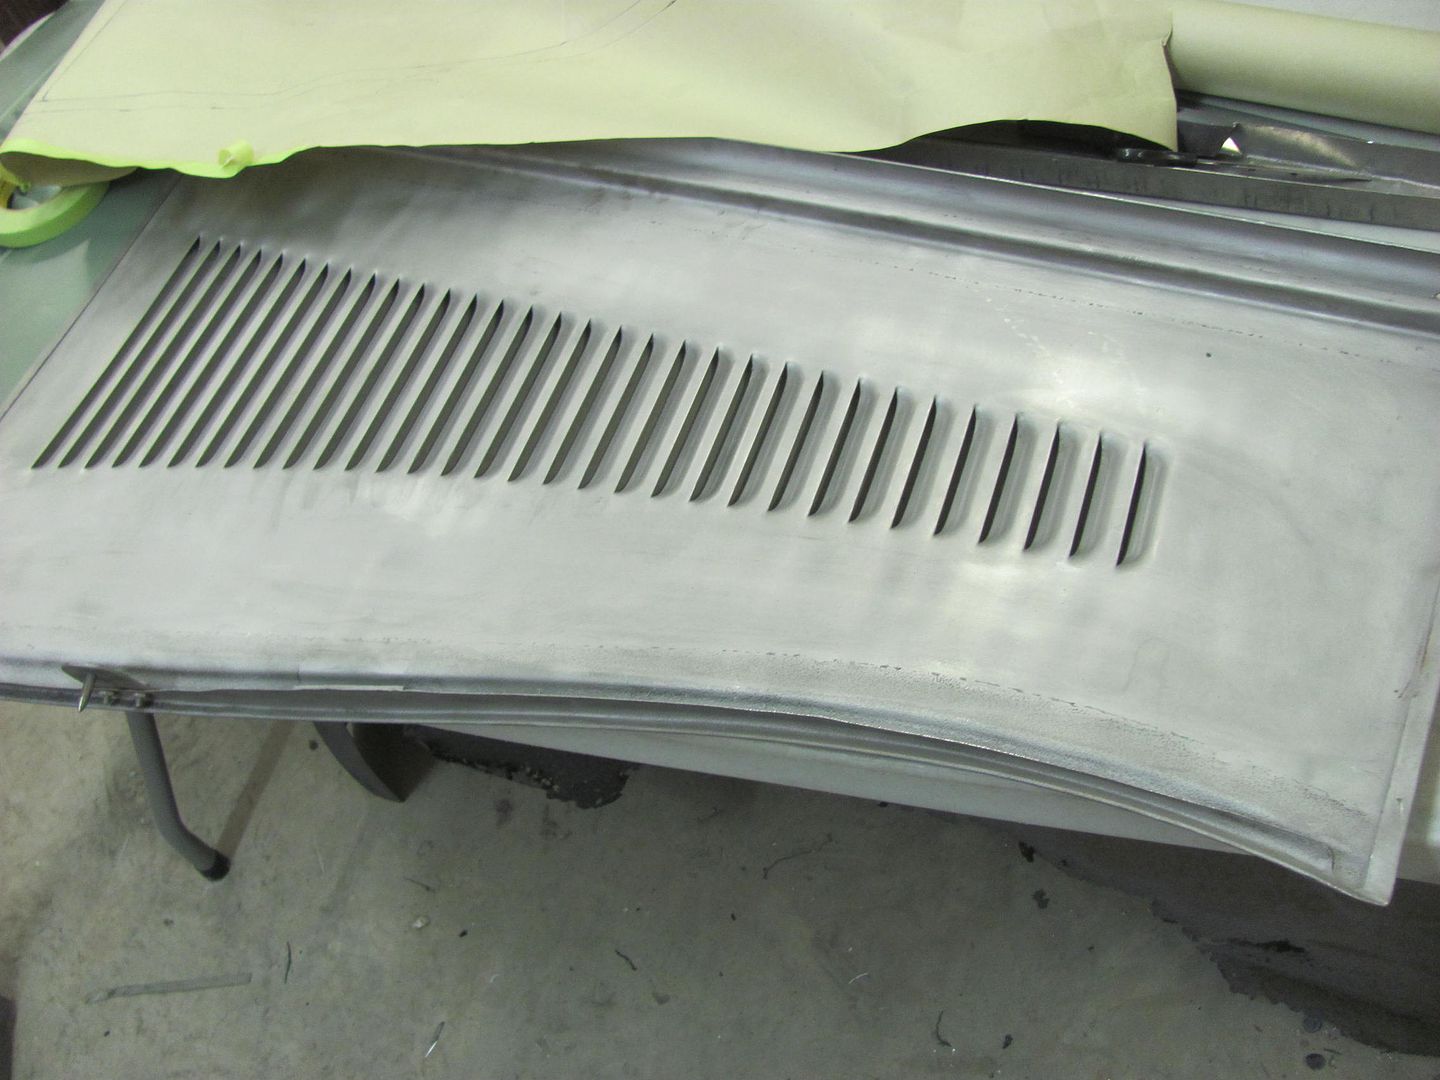
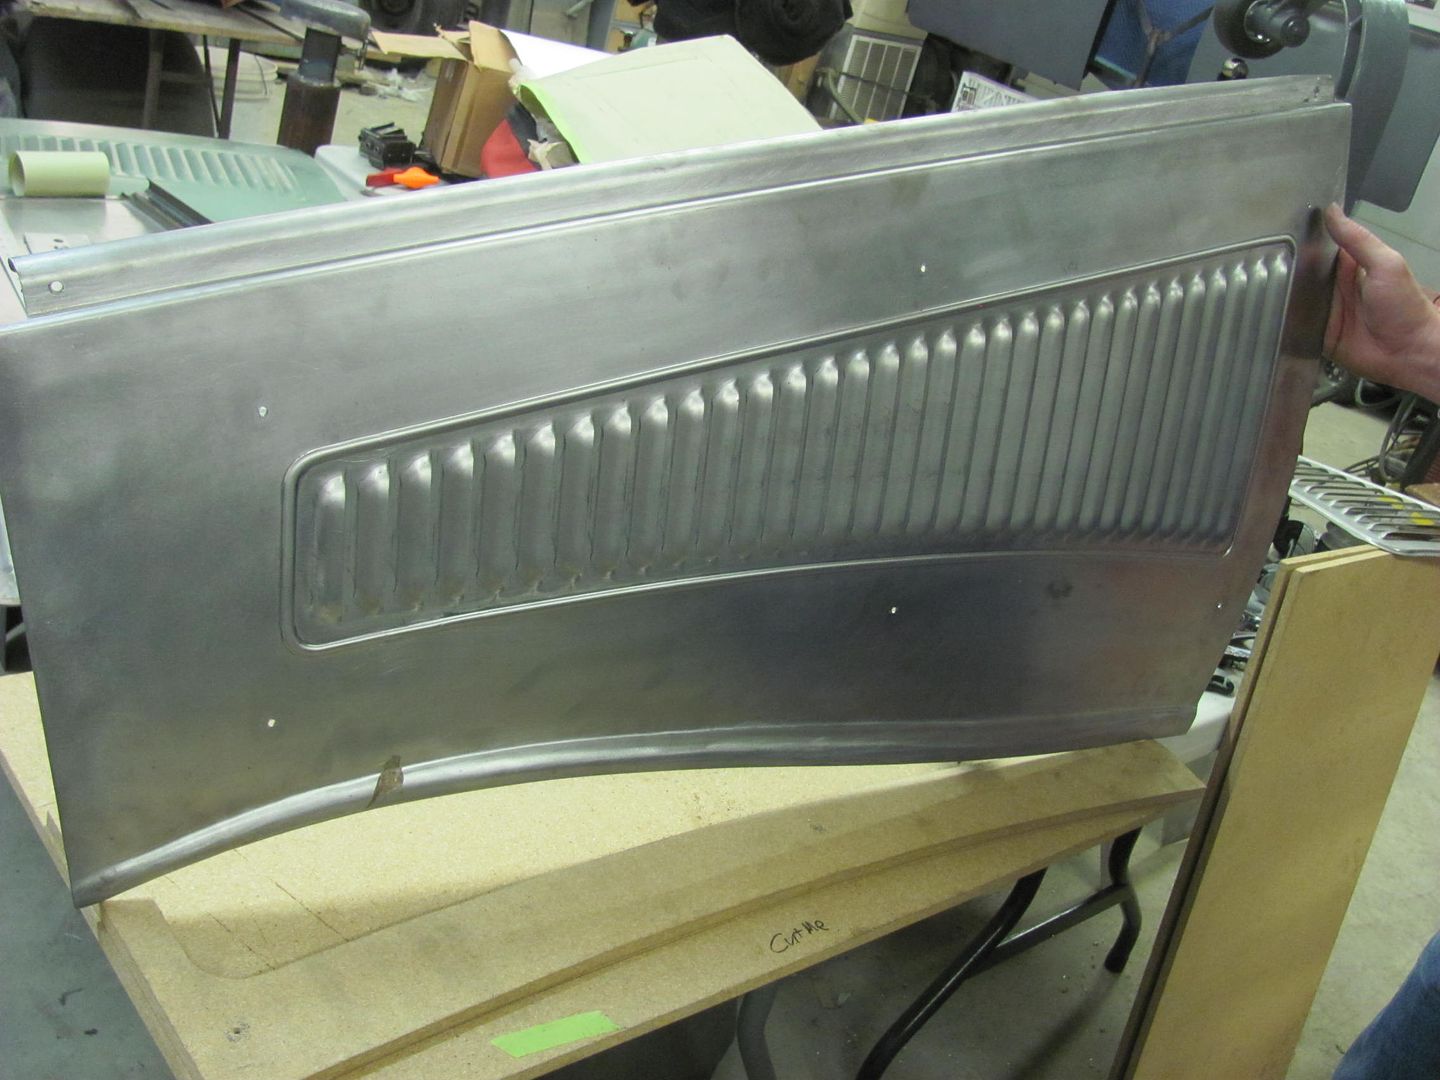
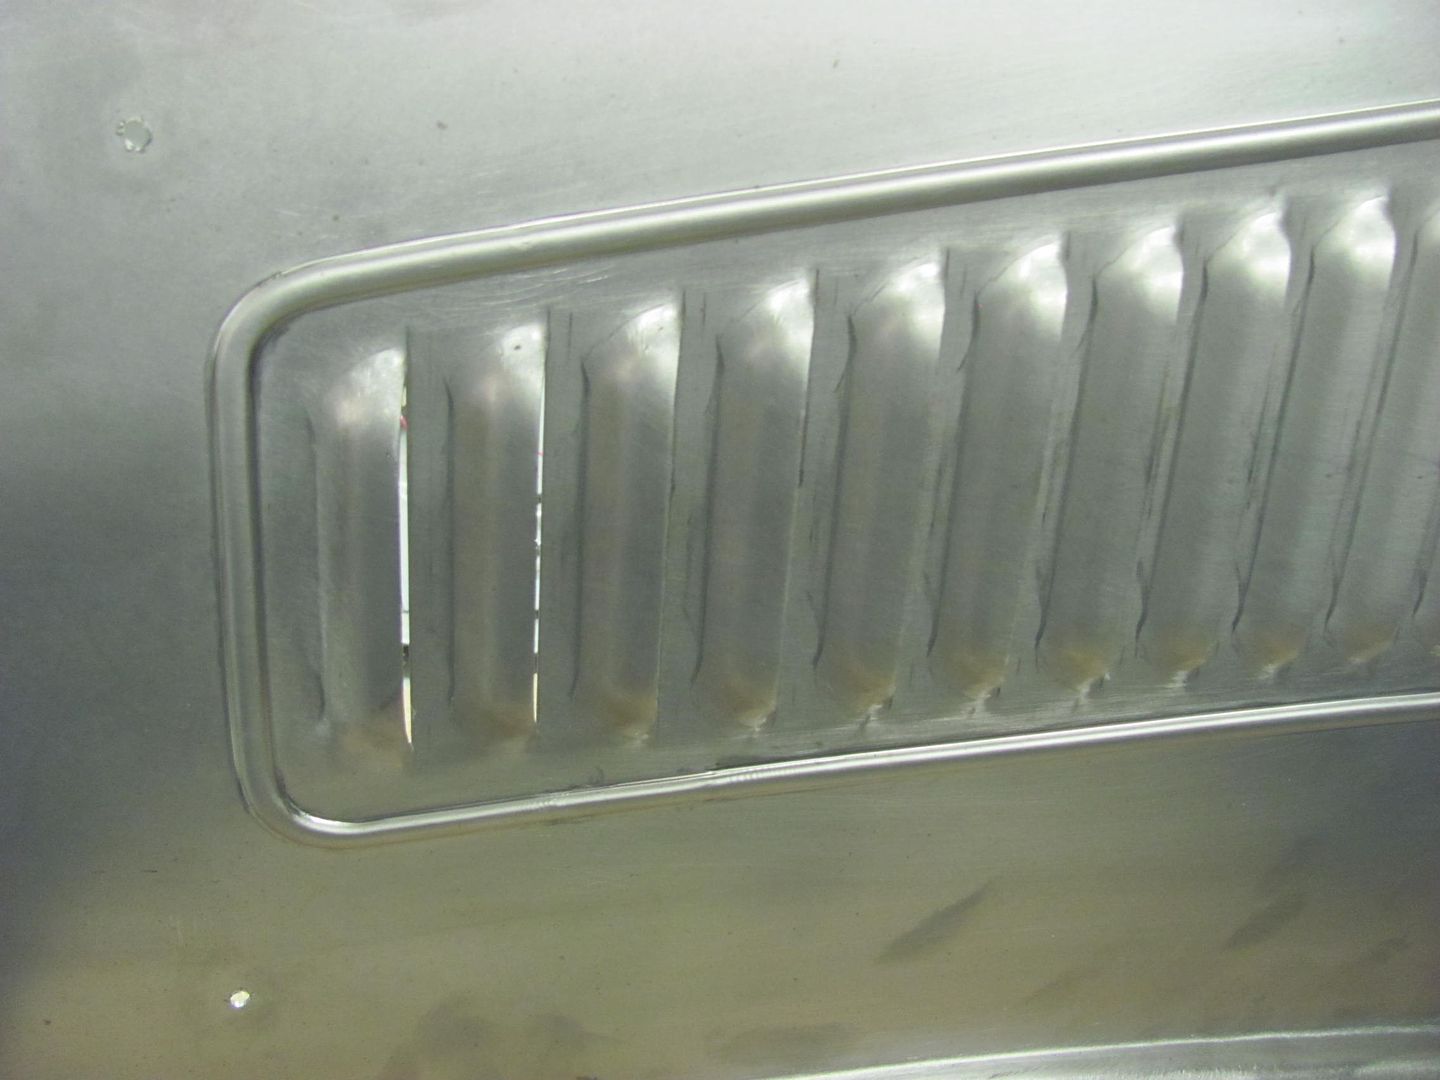
Here's the next practice panel as compared to Cody's inner fender panel..
Punching the louvers in the practice panel..
https://youtu.be/n3NVTILslbE
https://youtu.be/sHr2P60cqt8
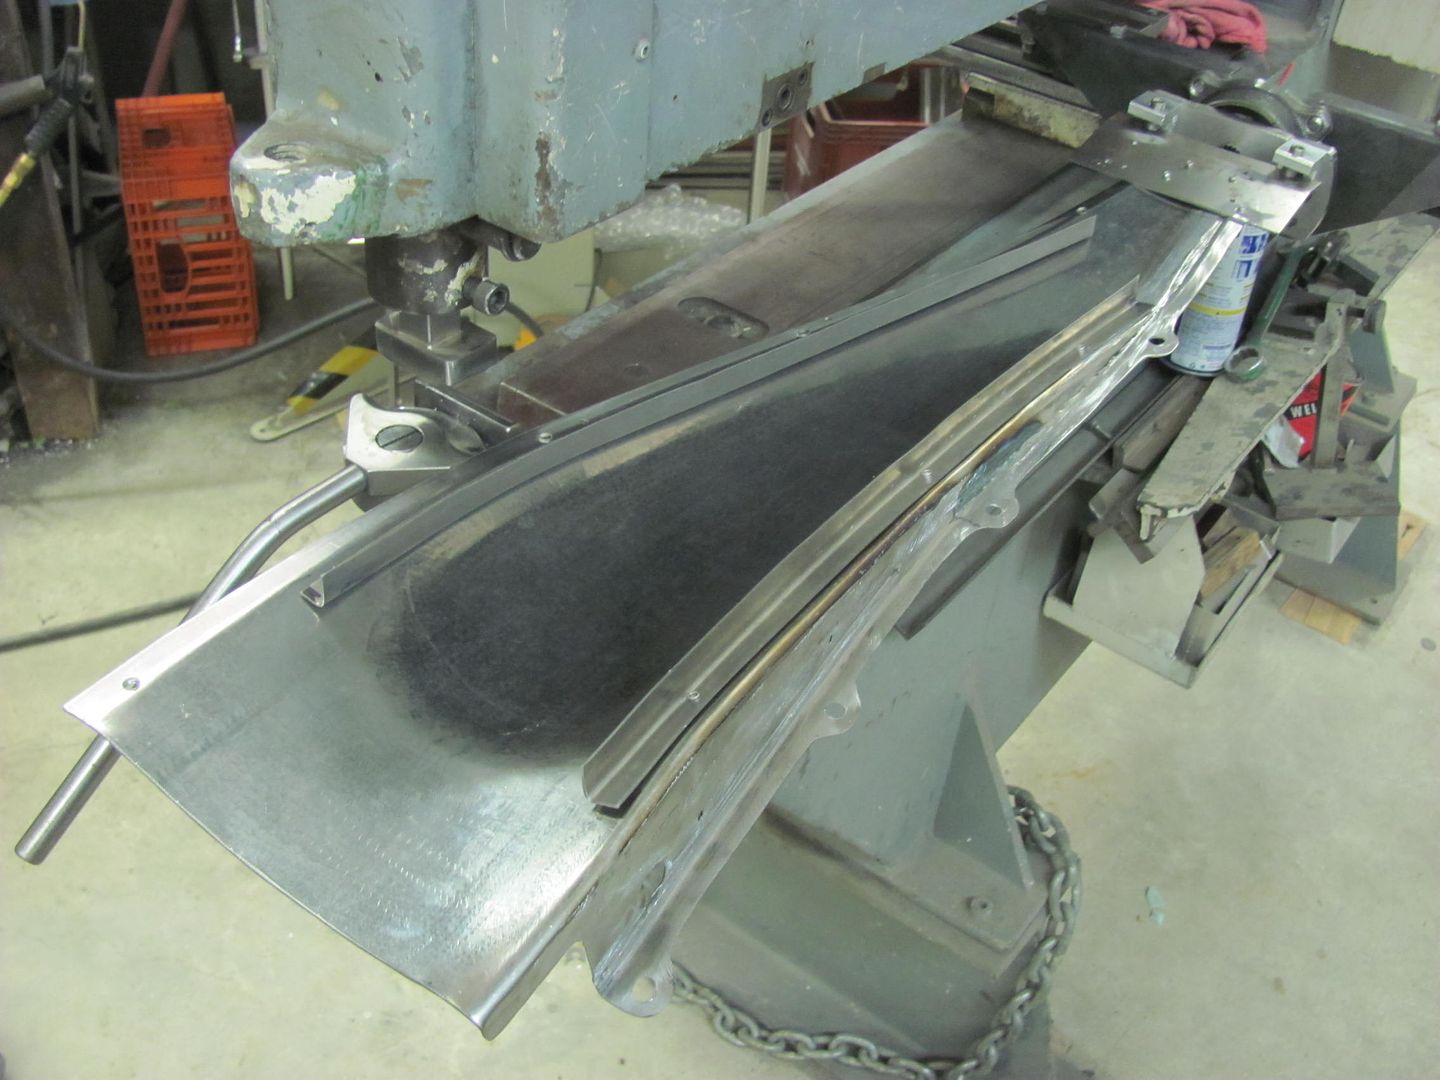
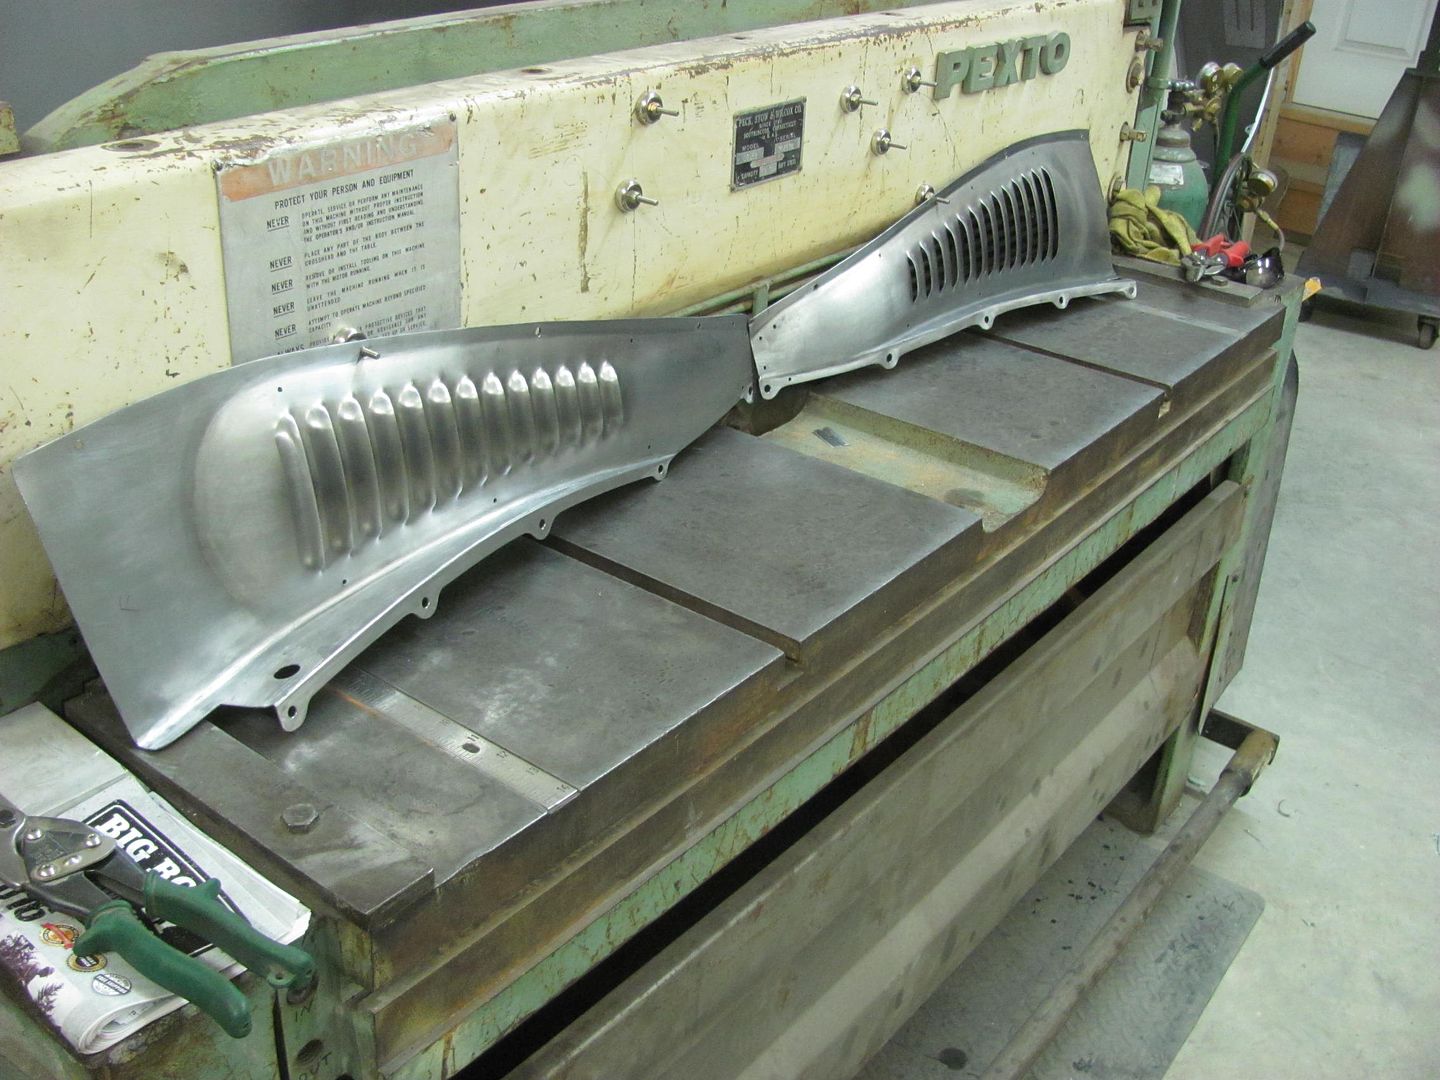
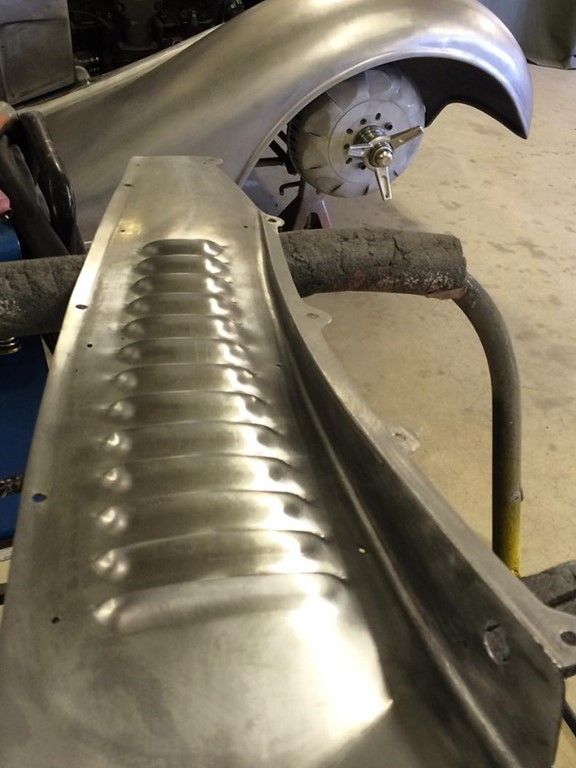
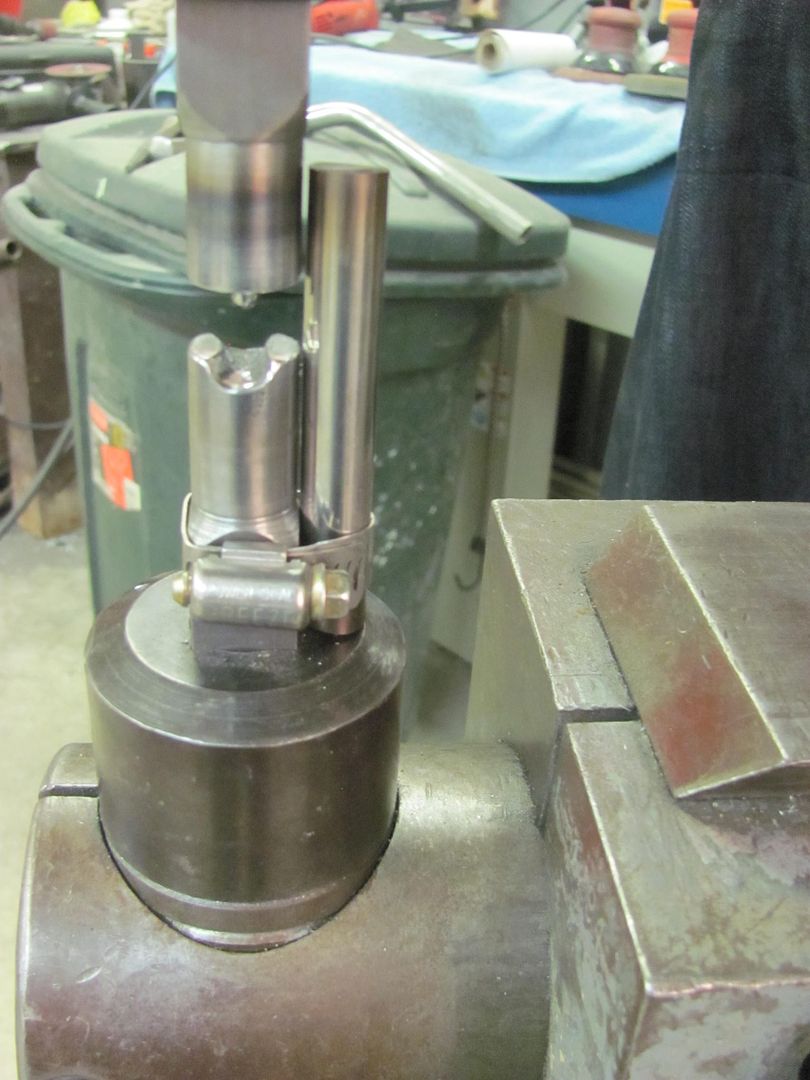
Here's the moment of truth, the inner fender ready for punching...
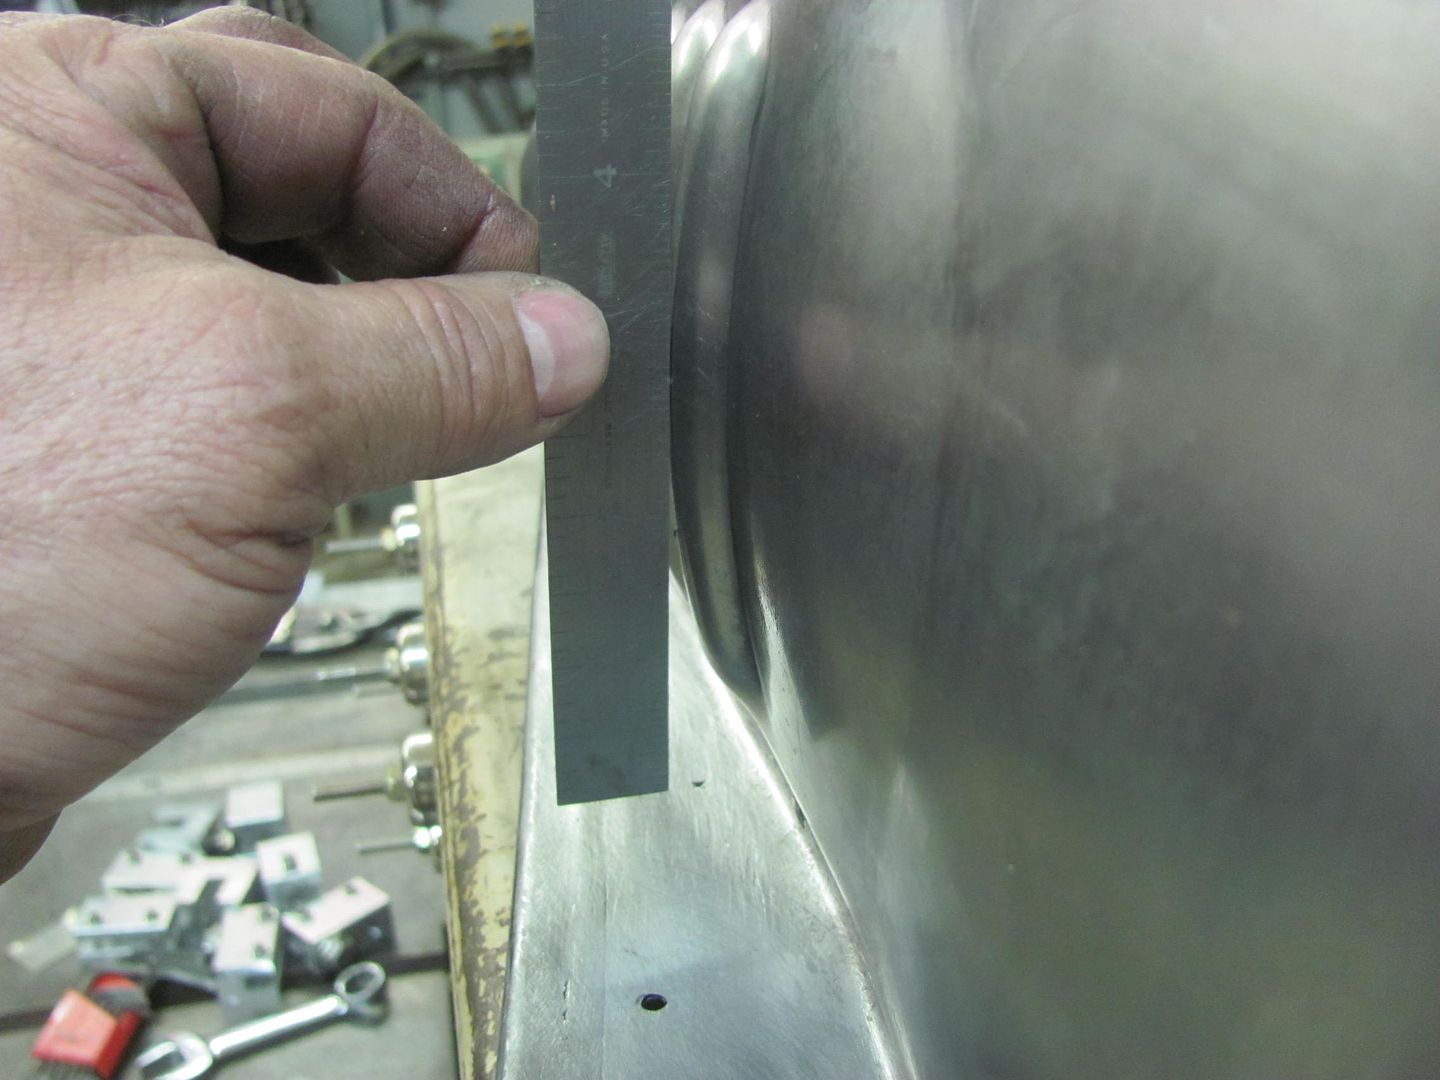
Looks like our crown still exists!
another view....
https://youtu.be/7tcYNZ29WTg
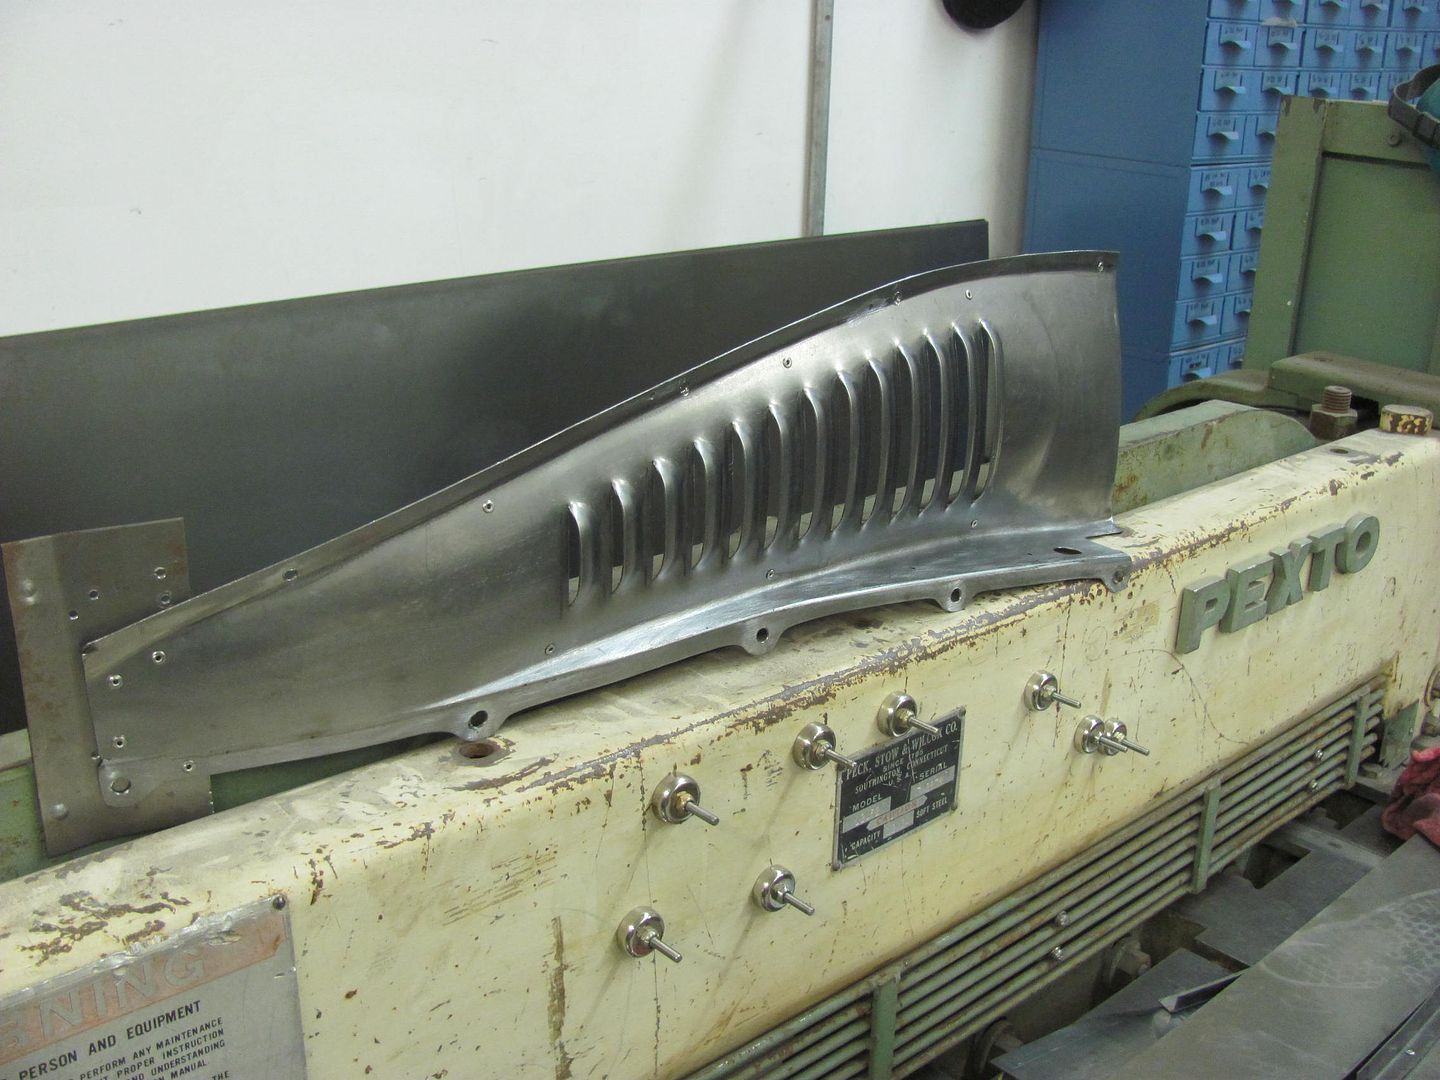
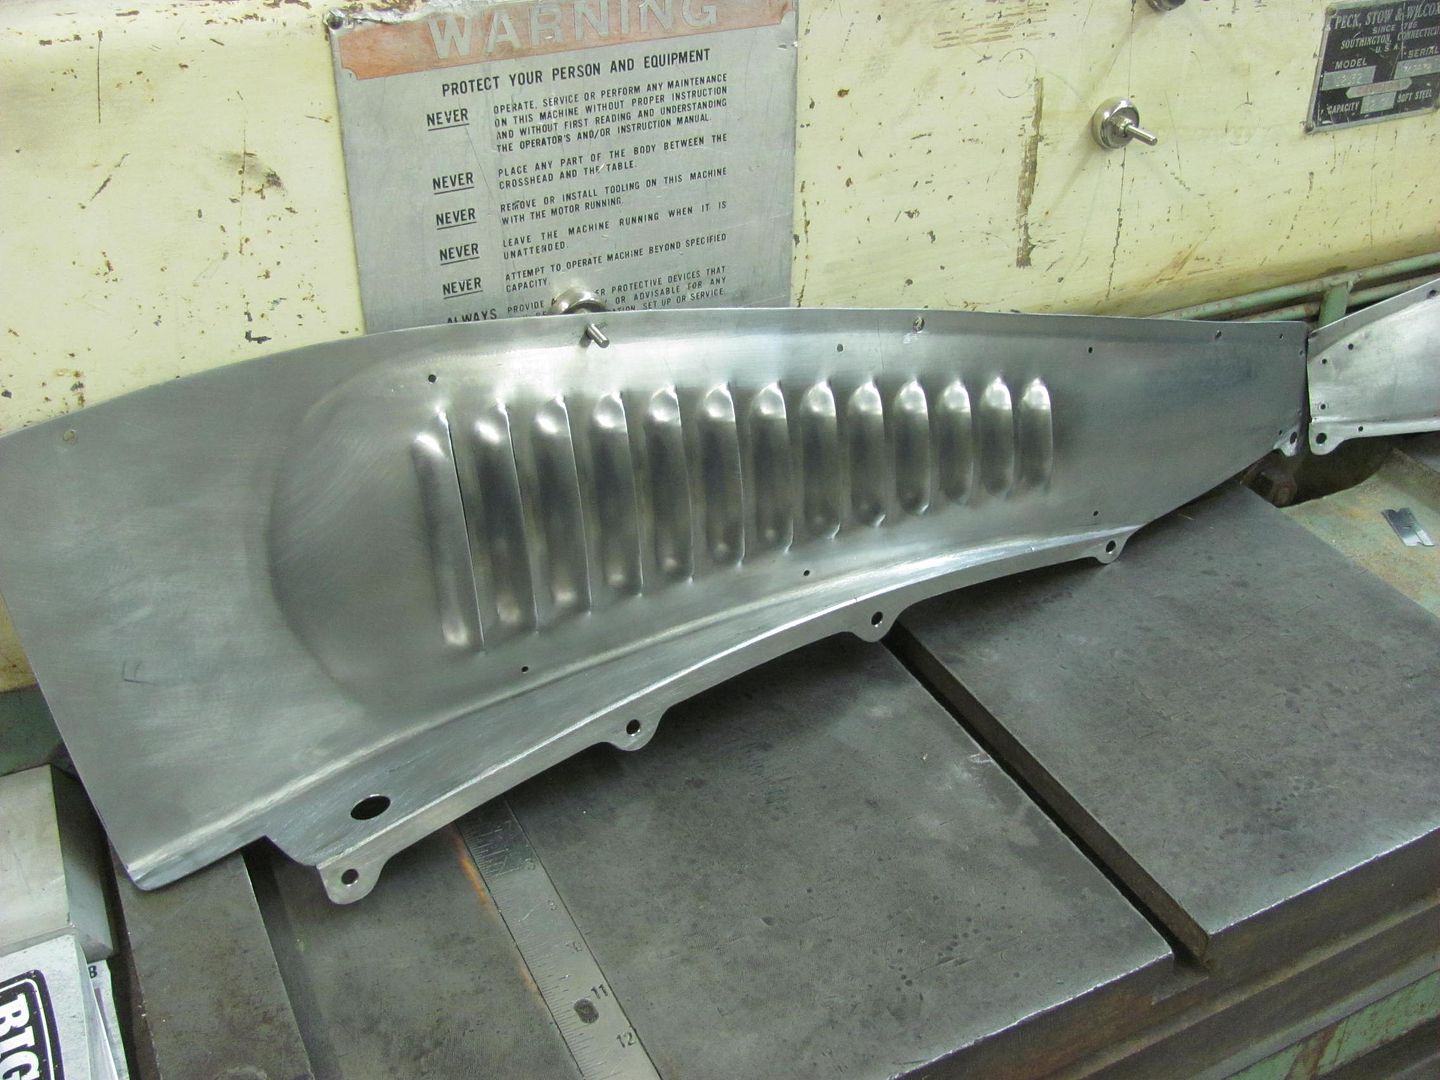
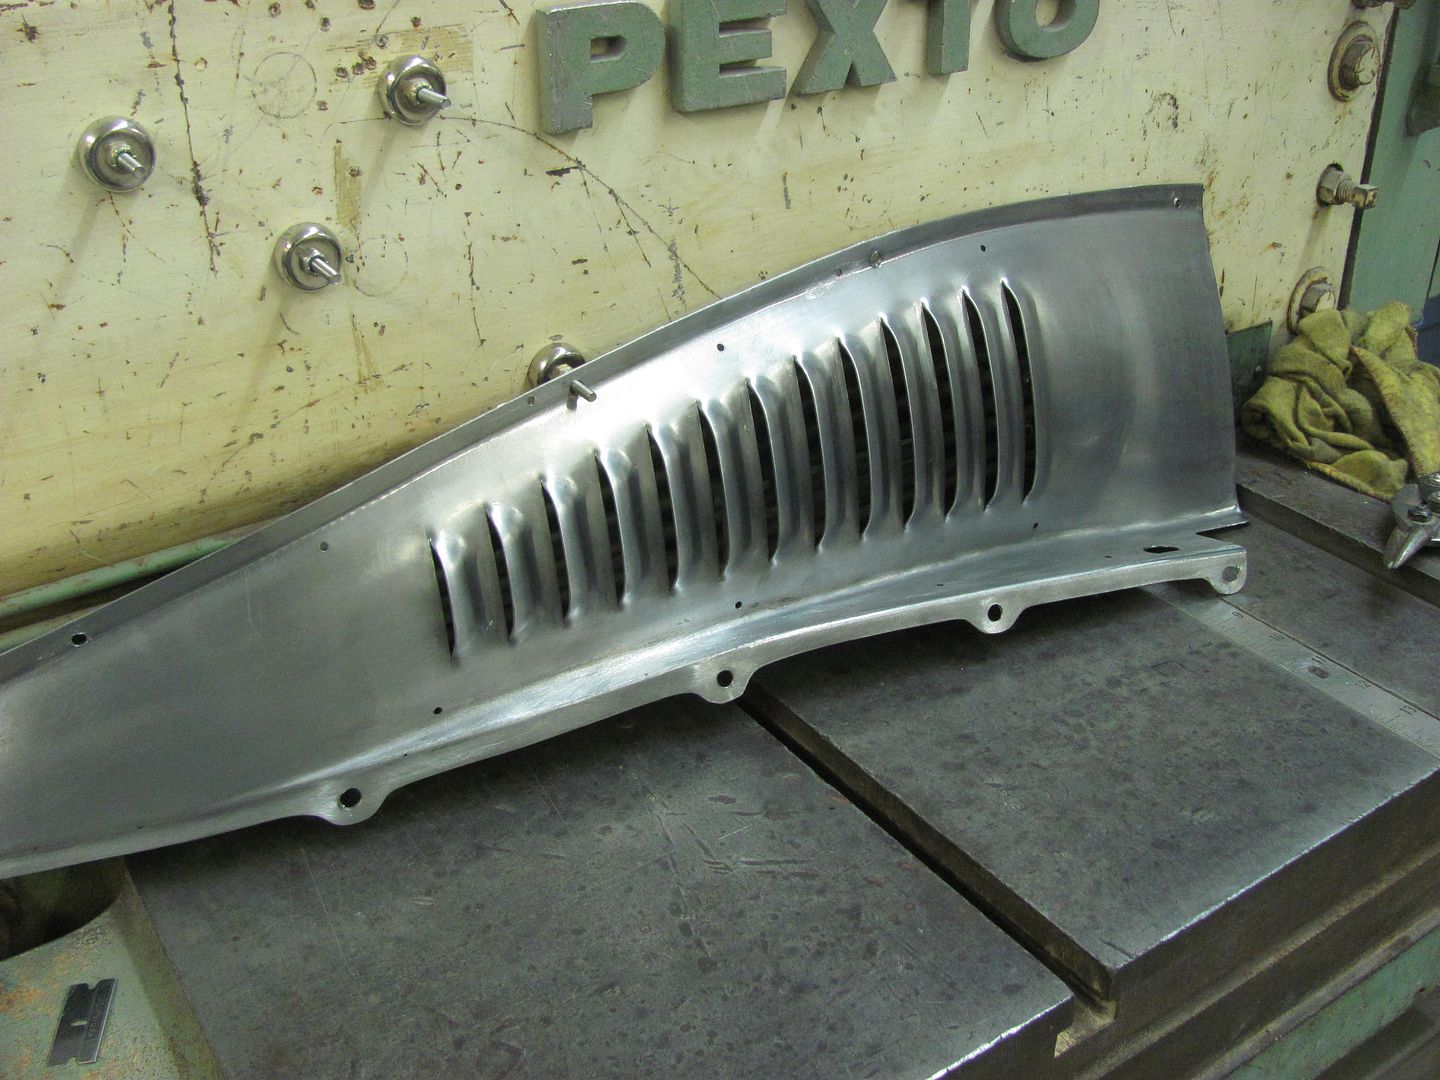
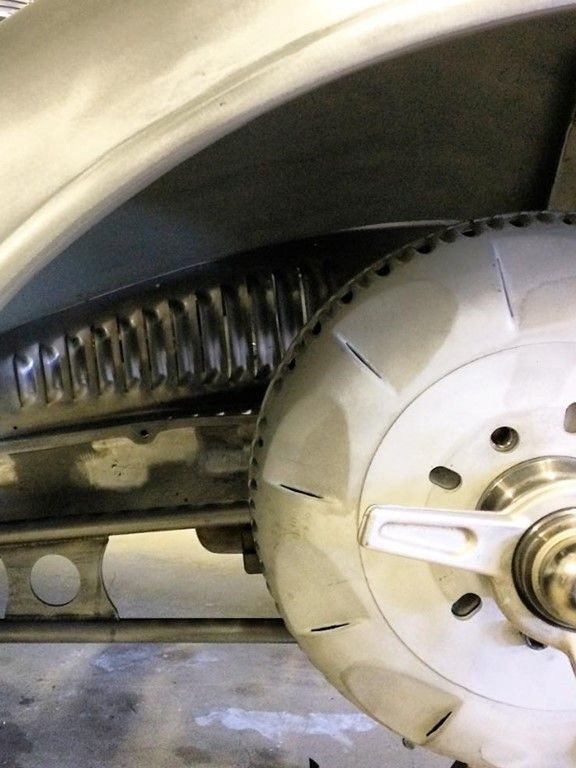
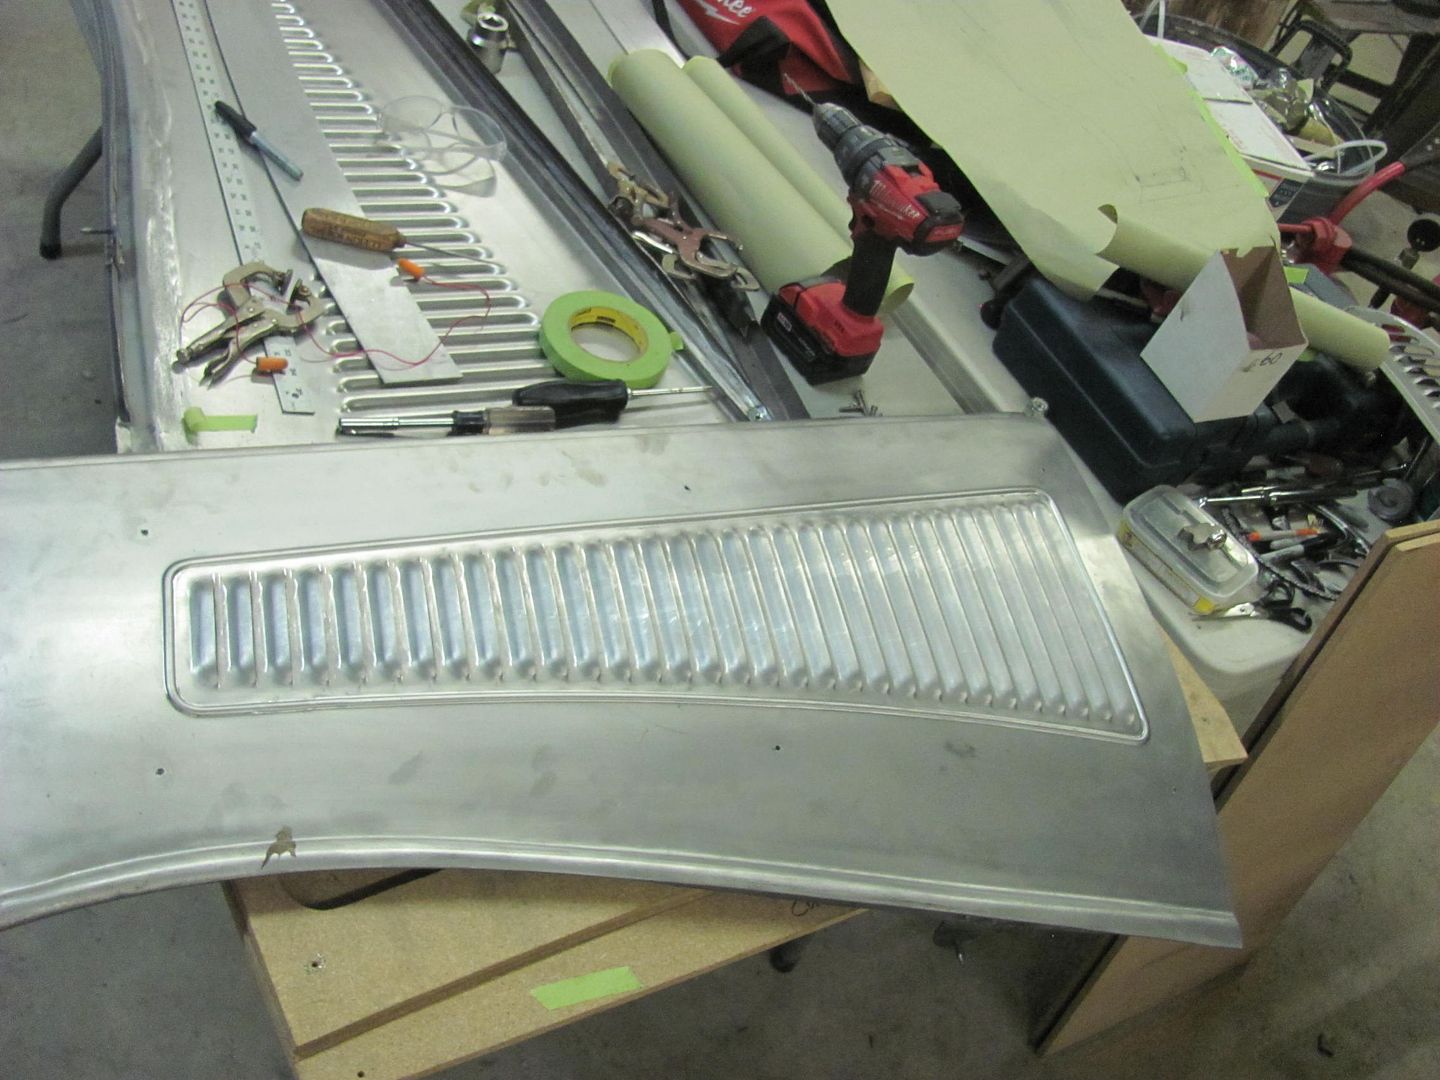
One down, one to go..
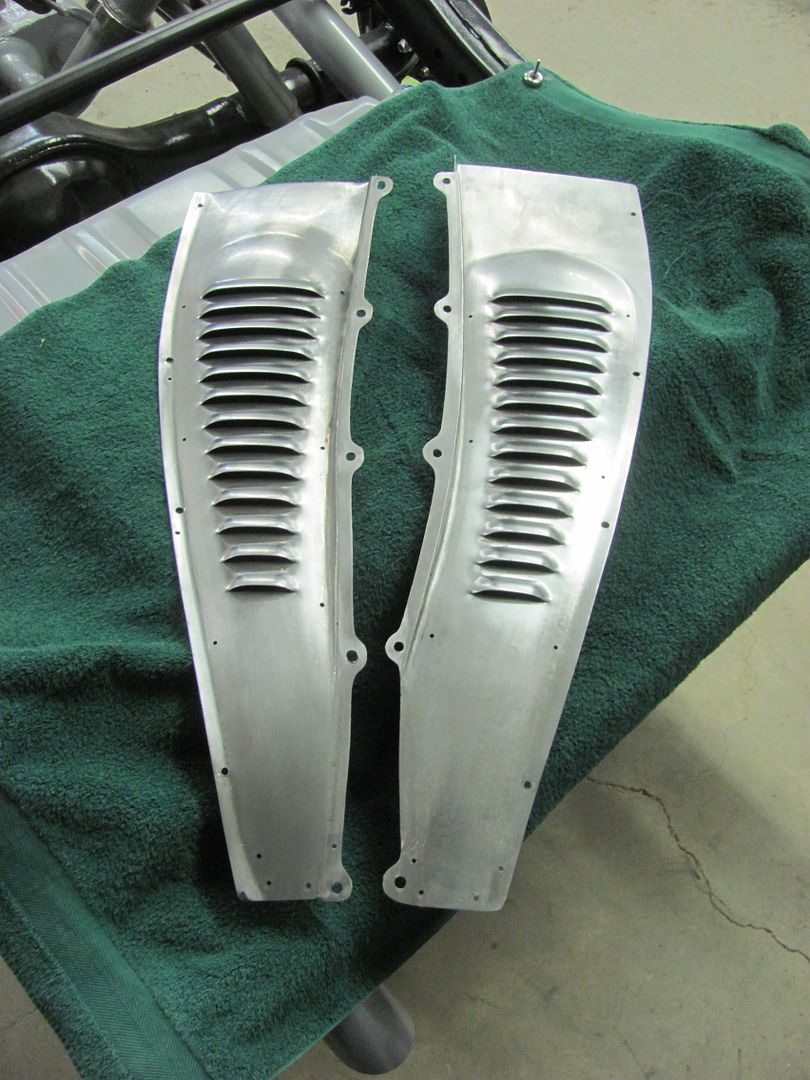
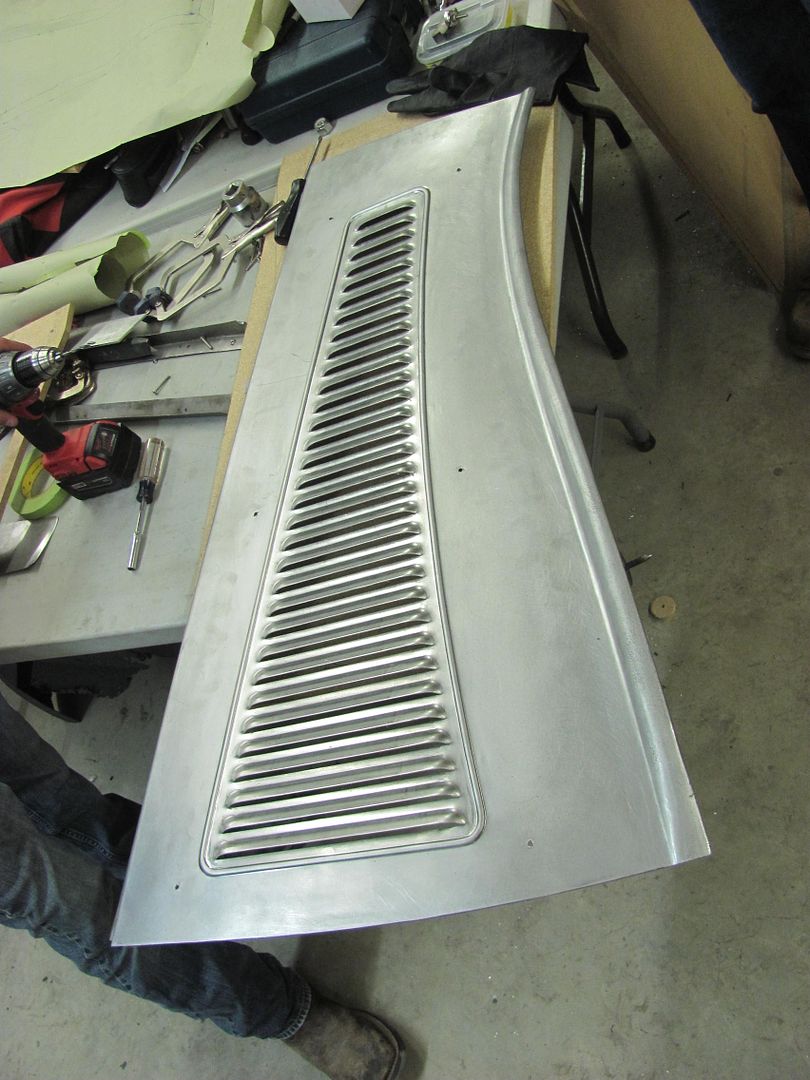
Finished the driver's side inner fender this morning..
Now to get them back to Cody so he can do some more re-assembly..
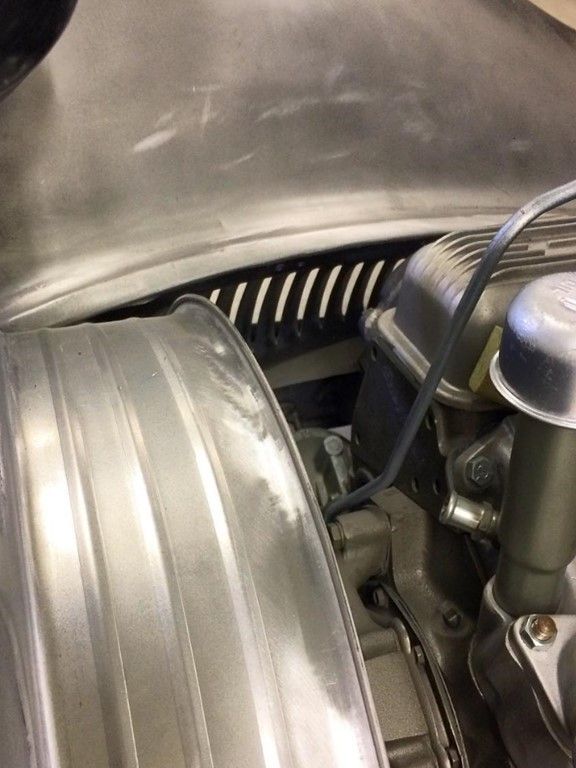
Well most small jobs I do like this you never see the part
installed (like the Studebaker dash parts) so I was happy to see Cody post up
some pictures this morning. Here's a shot of the passenger side installed.. It
was nice to take on a challenge like this and see it actually work..
I think Kyle enjoyed the break from blocking epoxy primer.. Now back to the
old grind..
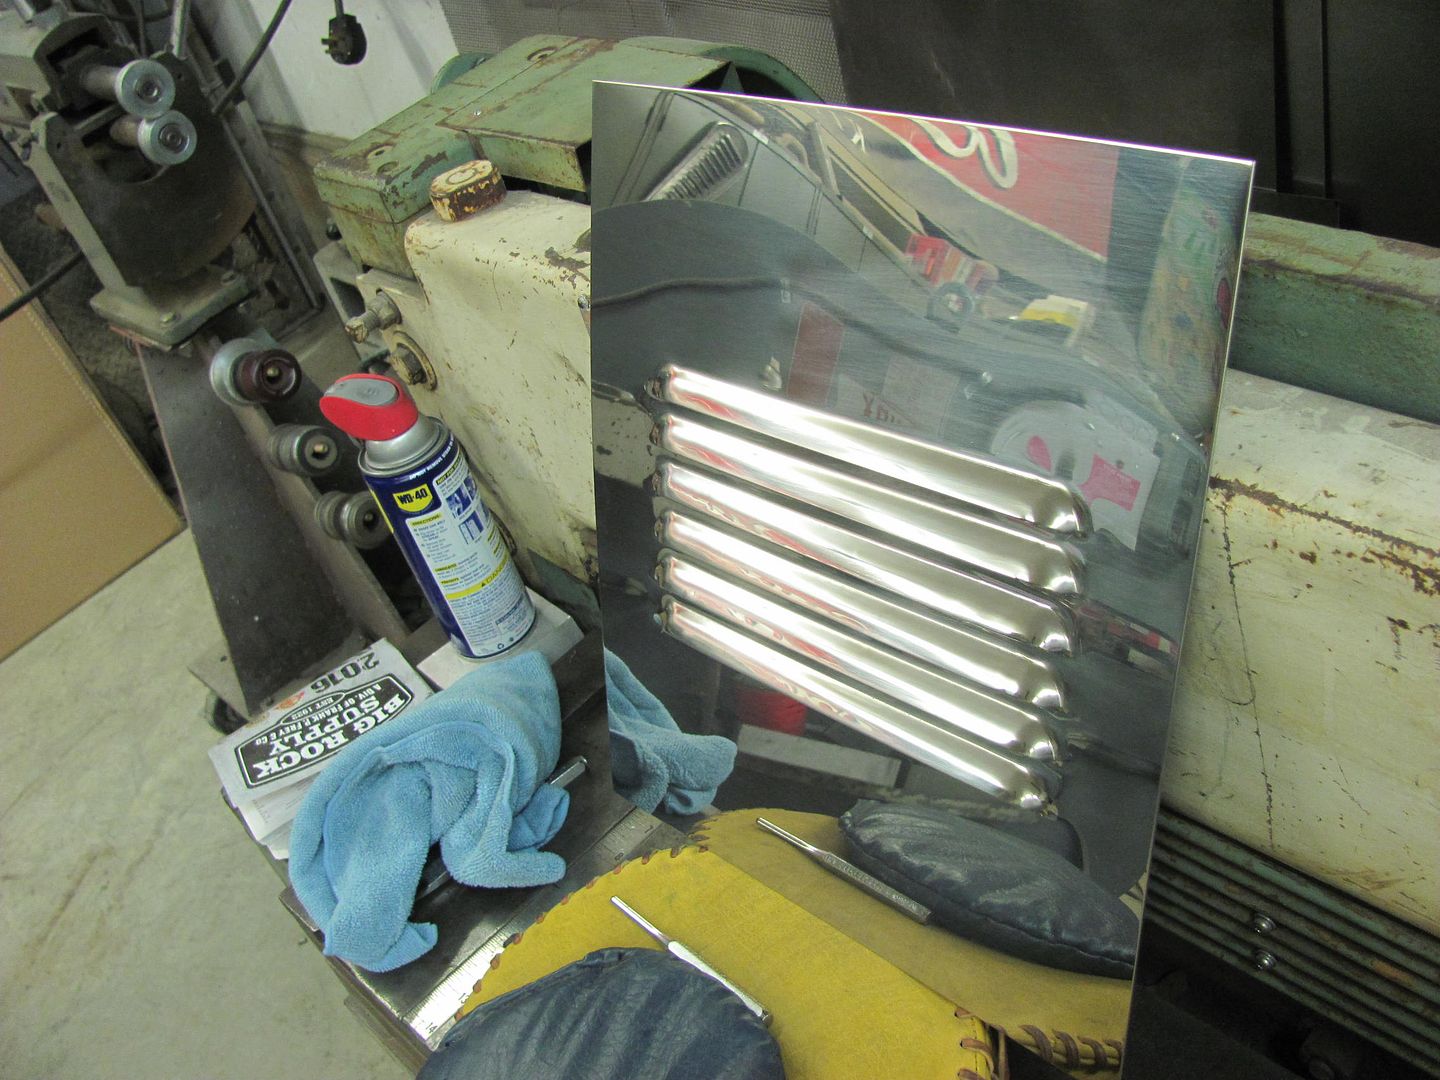
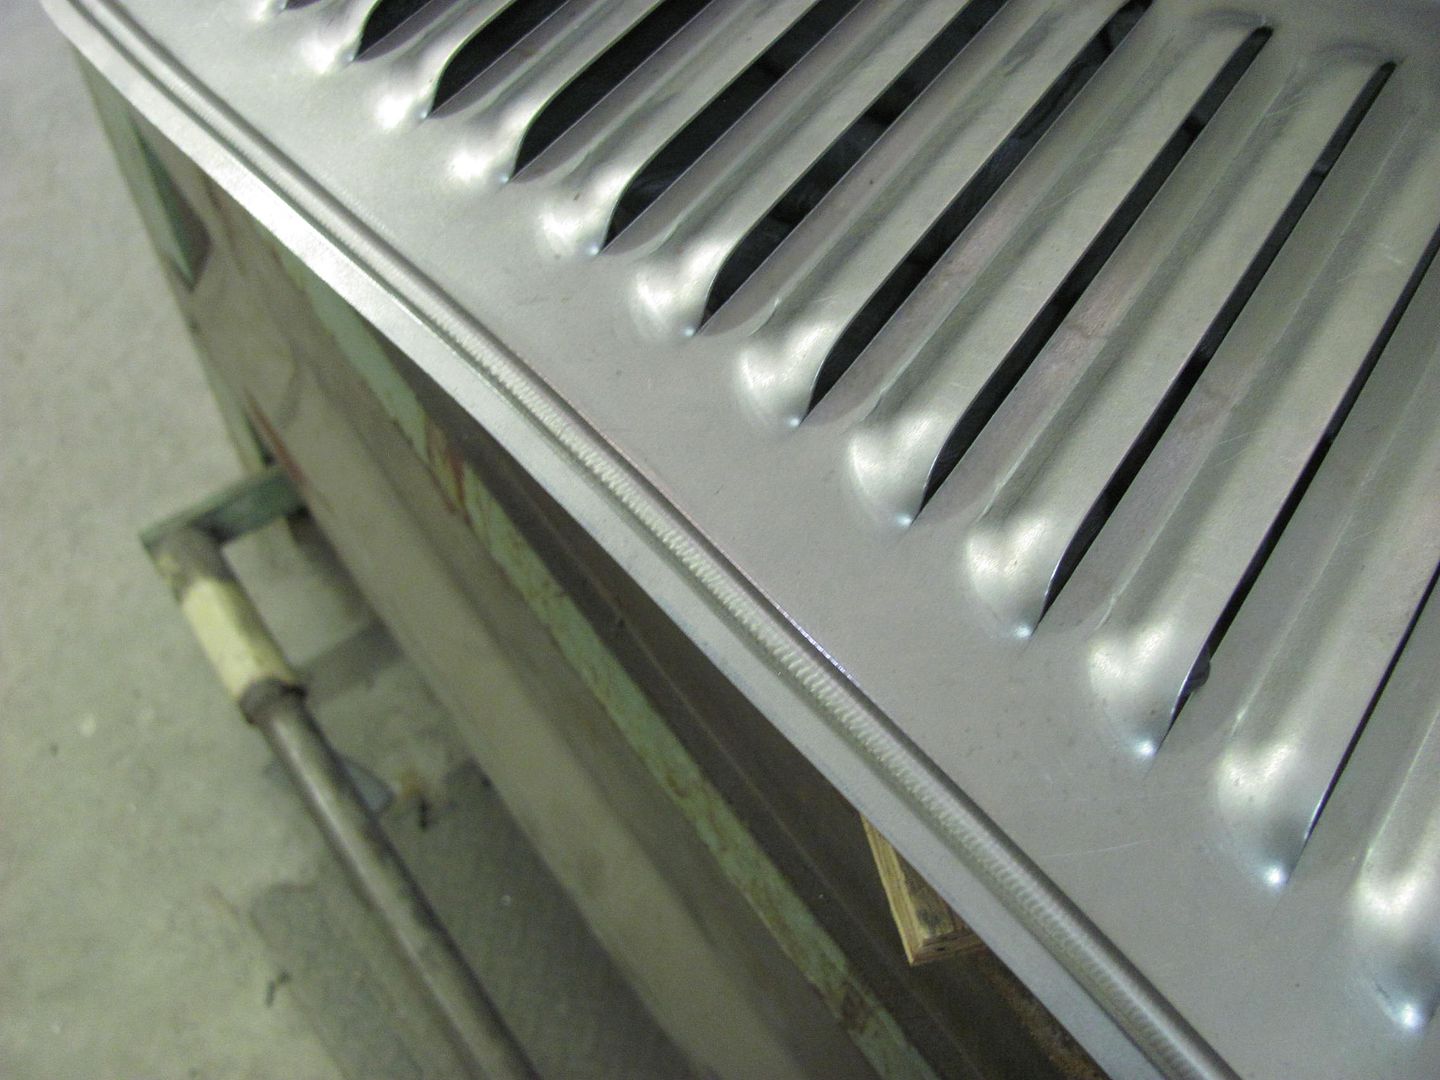
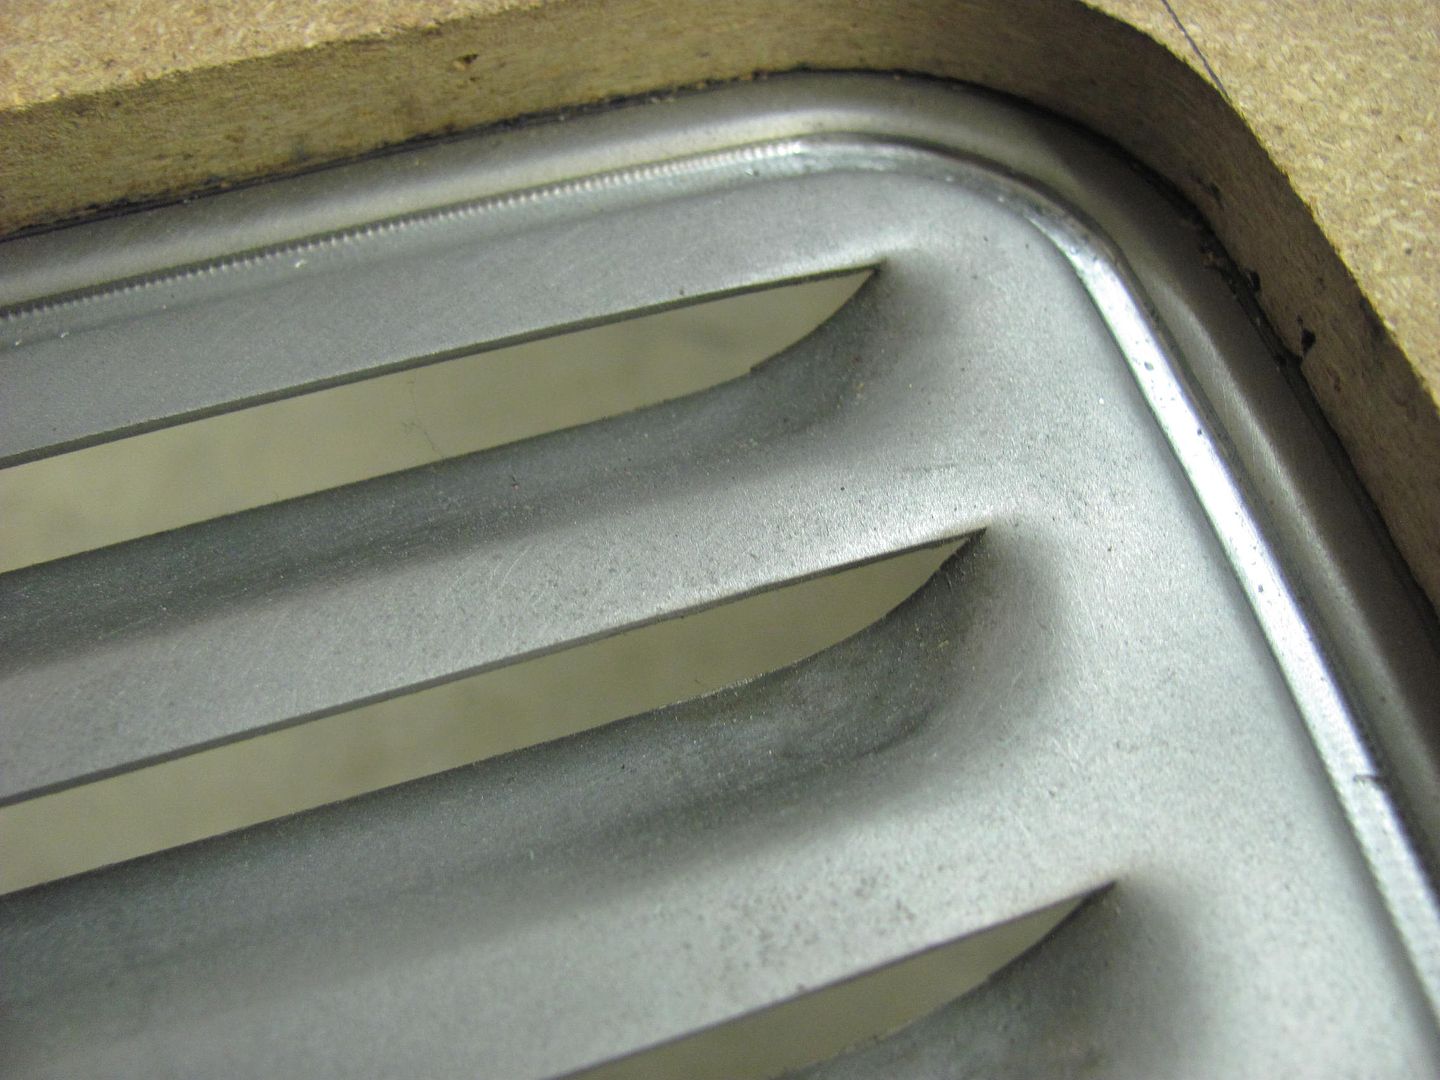
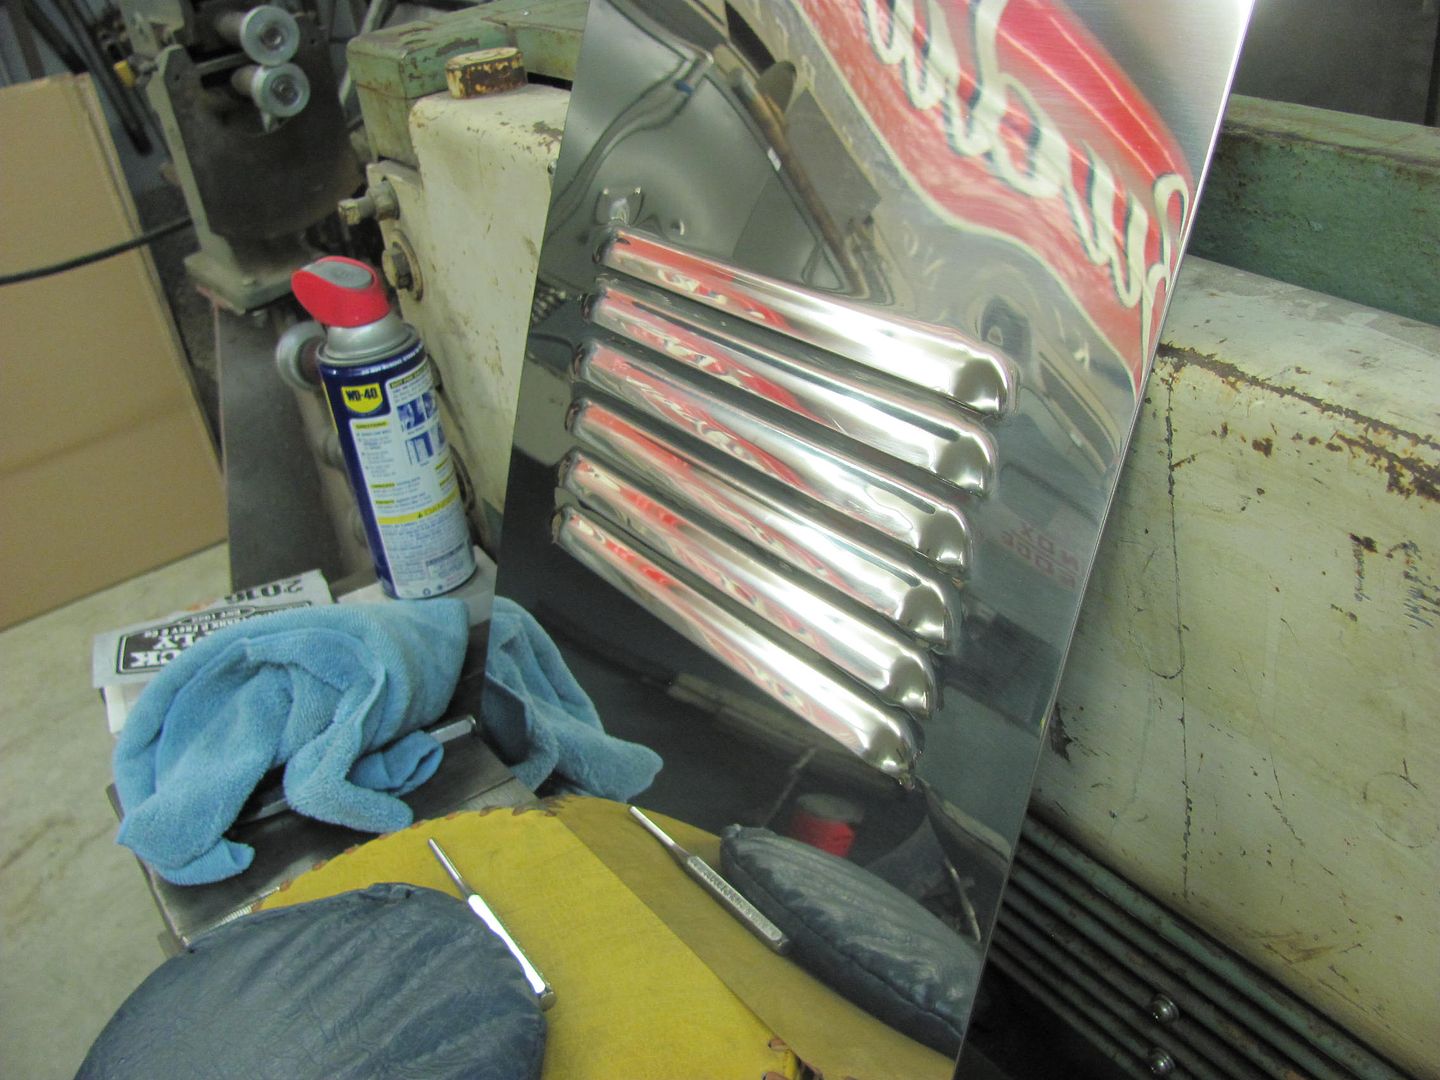
Punched more louvers last night, this time in 18 gauge polished stainless...
Motion pictures.... Punching...
https://www.youtube.com/watch?v=yph2x9Woq8I
Finished....
https://www.youtube.com/watch?v=VdXGRXDxn8M

I'm not a huge fan of louvers but those sure do look nice. They look good on older cars as long as they're not over-done....can't stand them on tri5s.
56 Nomad, Ramjet 502, Viper 6-speed T56, C4 Corvette front and rear suspension
Other vehicles:
56 Chevy 2-door BelAir sedan
56 Chevy 210 4-door sedan
57 Chevy 210 4-door sedan
1962 327/340HP Corvette
1961 Willys CJ3B Jeep
2001 Porsche Boxster S
2003 Chevy Silverado 2500 HD Duramax
2019 GMC Sierra Denali Duramax
Nice work, louvers look nice and are era correct for a 35 Chevy.

Nice work
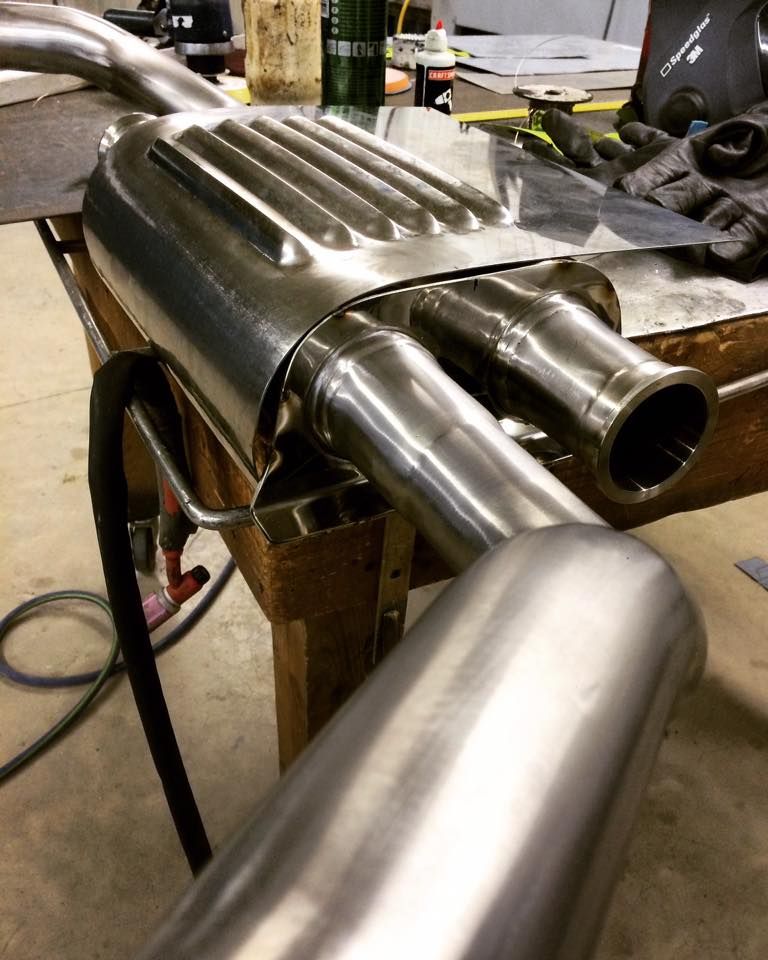
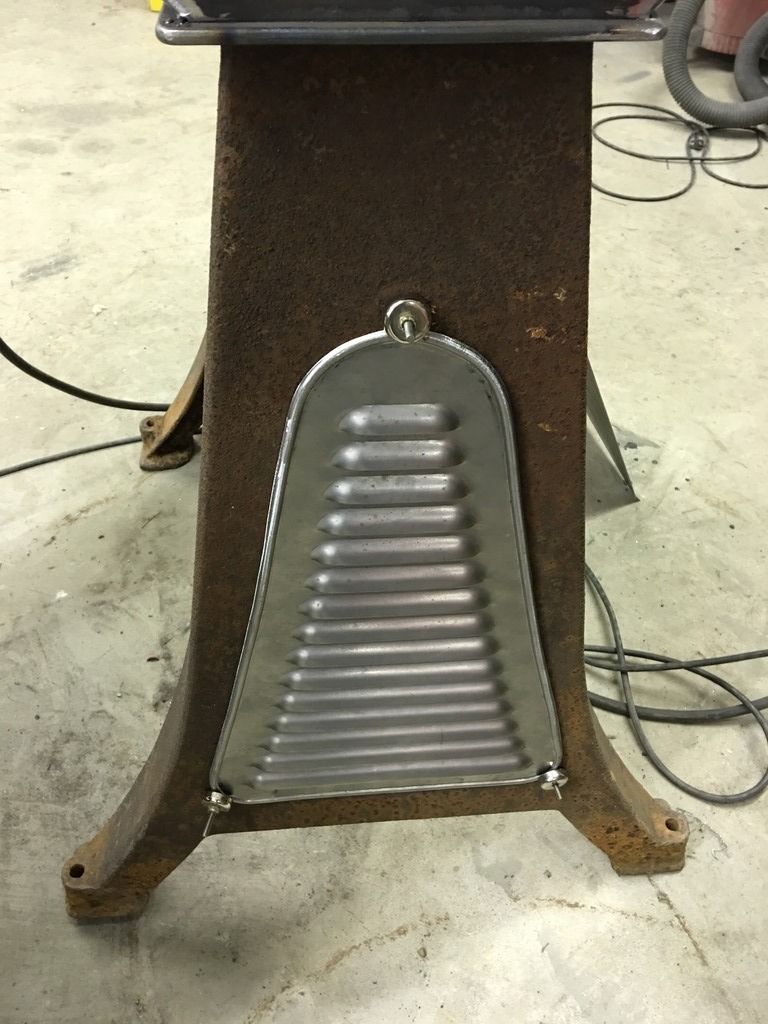
Well Cody posted up some pics today of the muffler "wrap" so I thought I'd add them here as a follow up for those that saw the post of us punching the stainless.
He's using stainless exhaust front to back, with two transverse mounted mufflers behind the rear axle. Since they are tucked up inside the frame rails, a bit of air flow will be provided by the louvers..
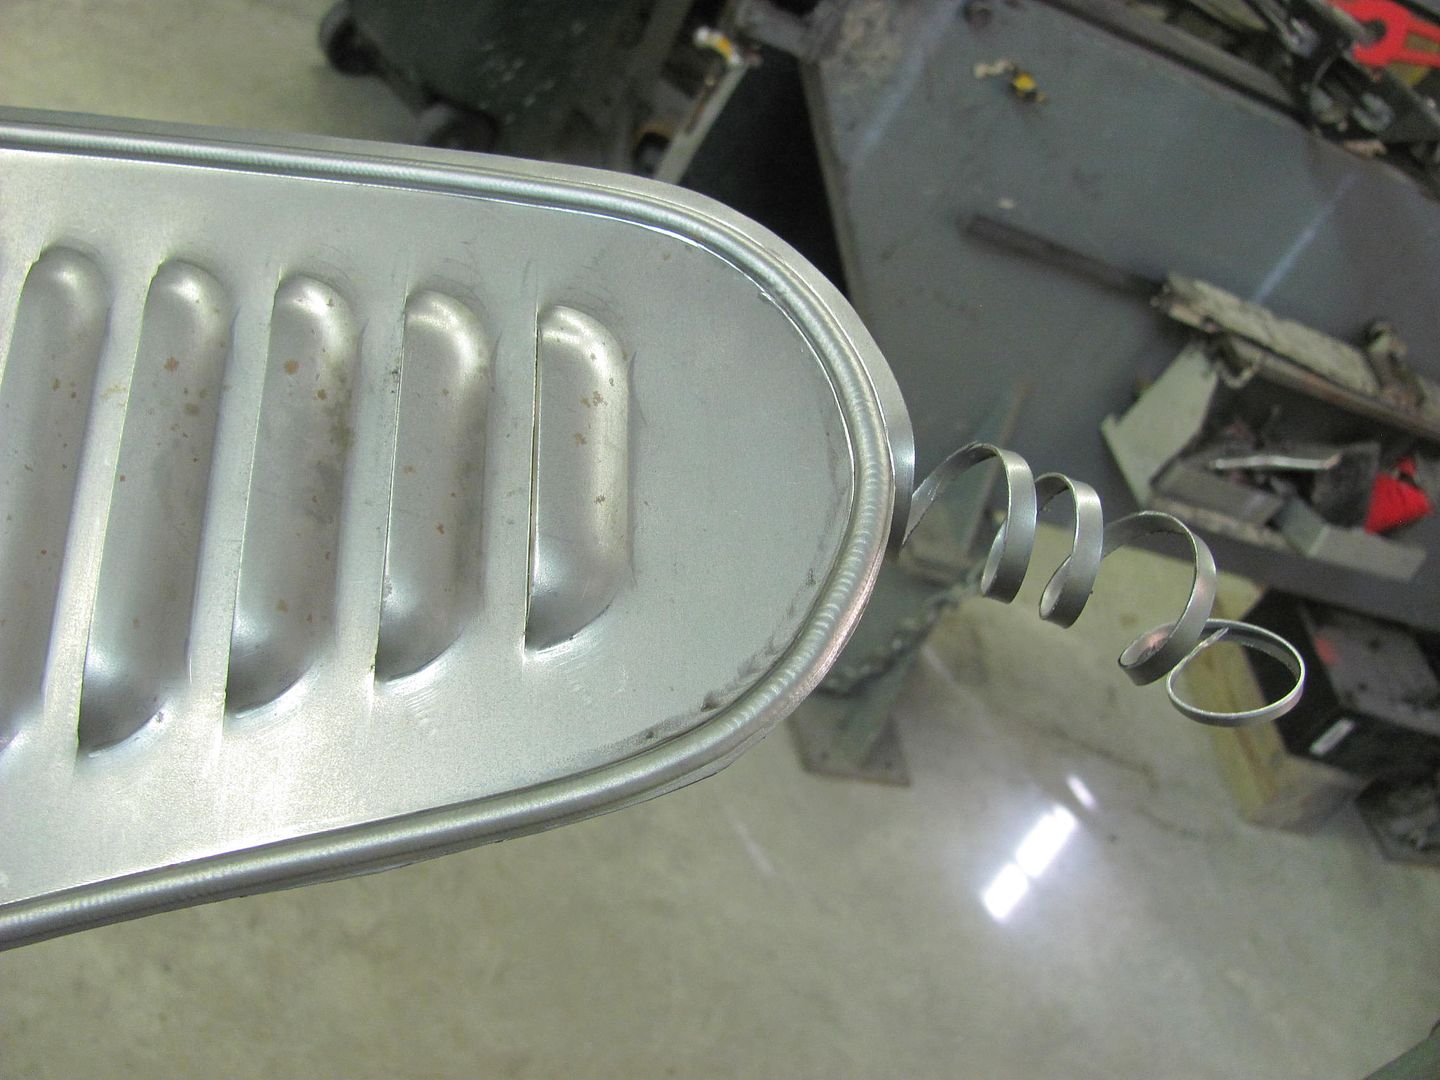
Note the "rolled" edge on the exhaust tail pipes. Cody says he isn't a fan of unfinished edges, and this car is loaded with such detail from one end to the other.
Installed, the louvers facing the front should give nice air flow.
We've got another detail to work on with Cody, and it's been a nice change of pace to set the rusty metal aside and help out on his build with the louvers we've done. Thanks for the challenge!
Cody travelled down today from Milton DE so we could add some bead detail surrounding the louvers on the hood sides.
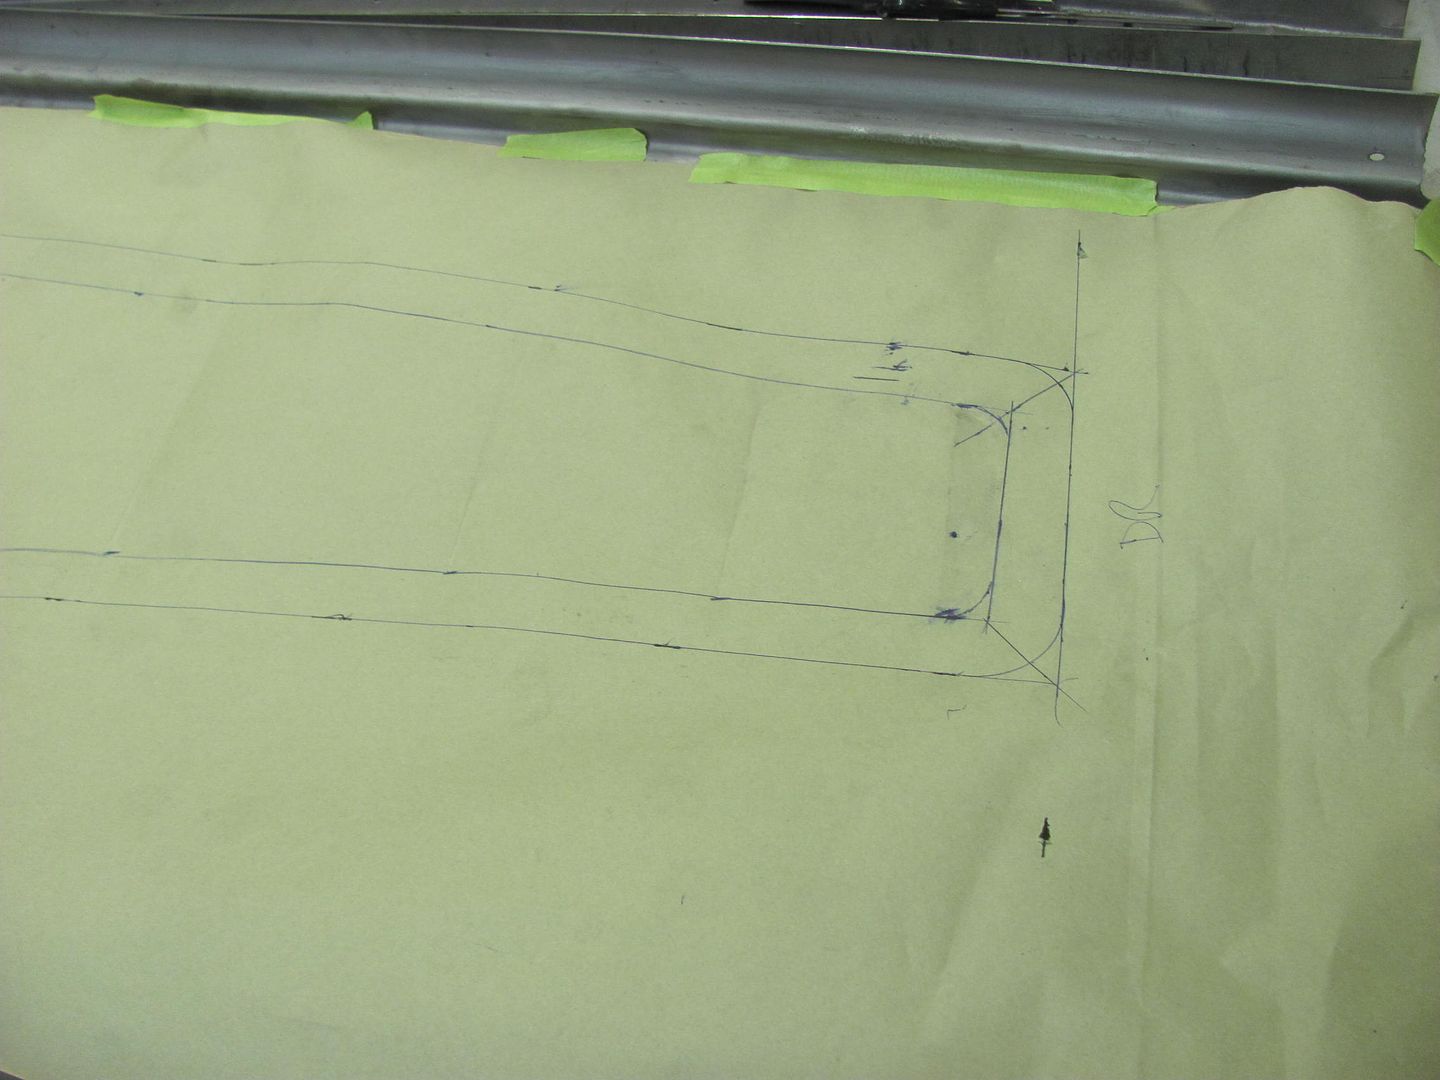
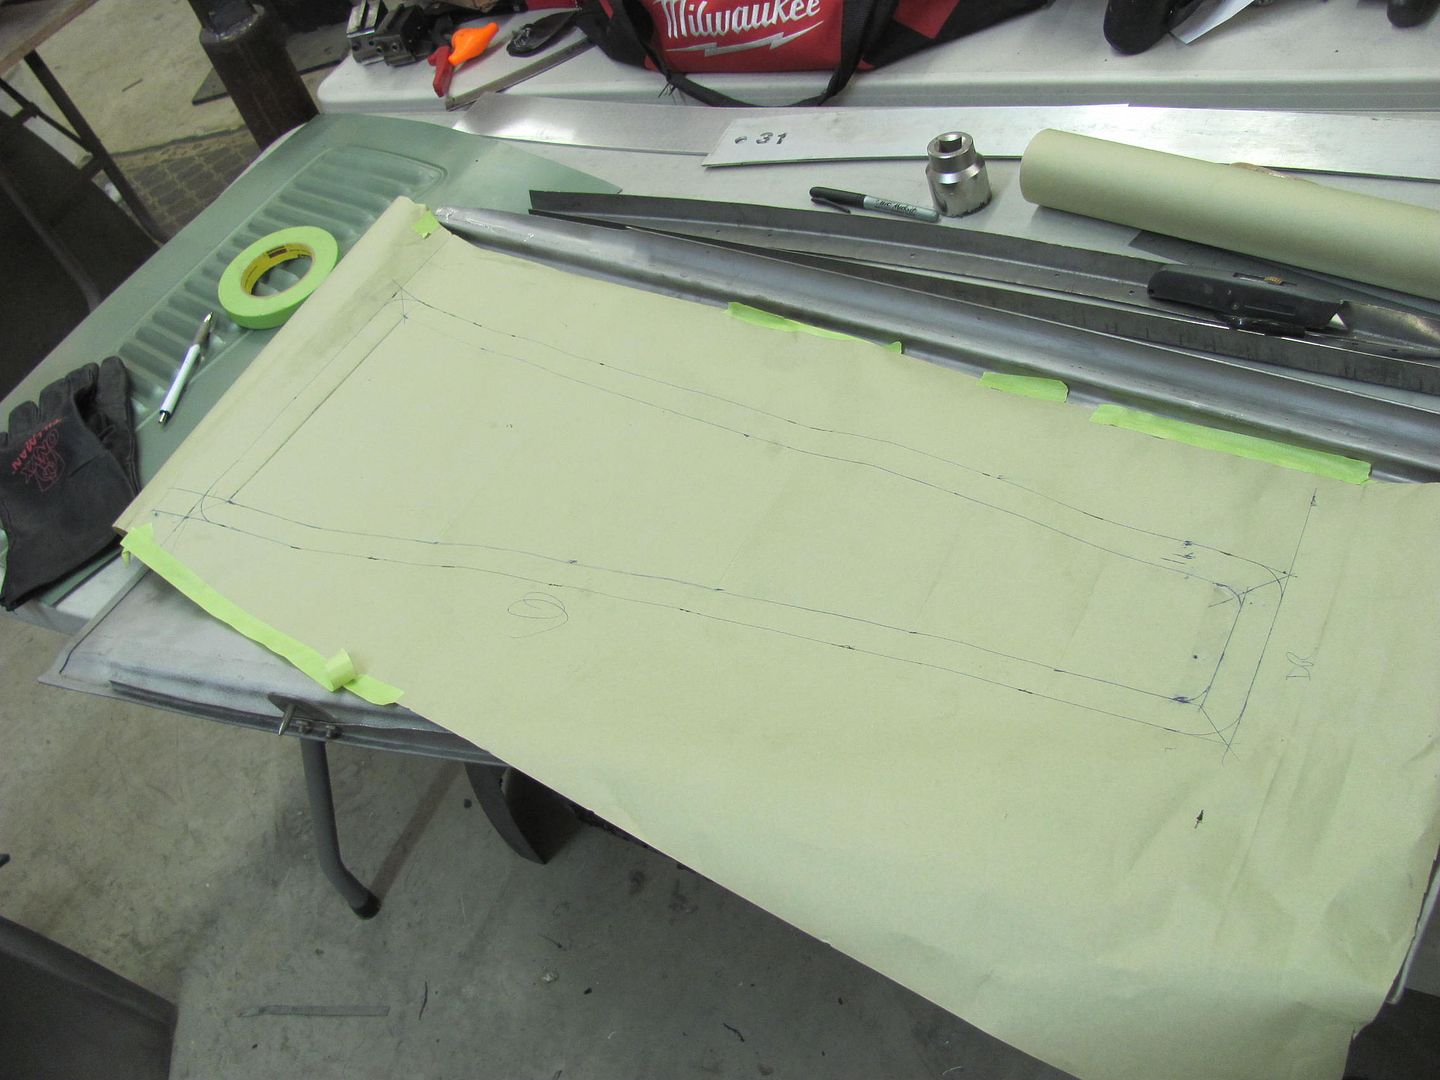
He used a paper pattern to copy the louver layout from the hood sides, and then added the offset for the bead location.
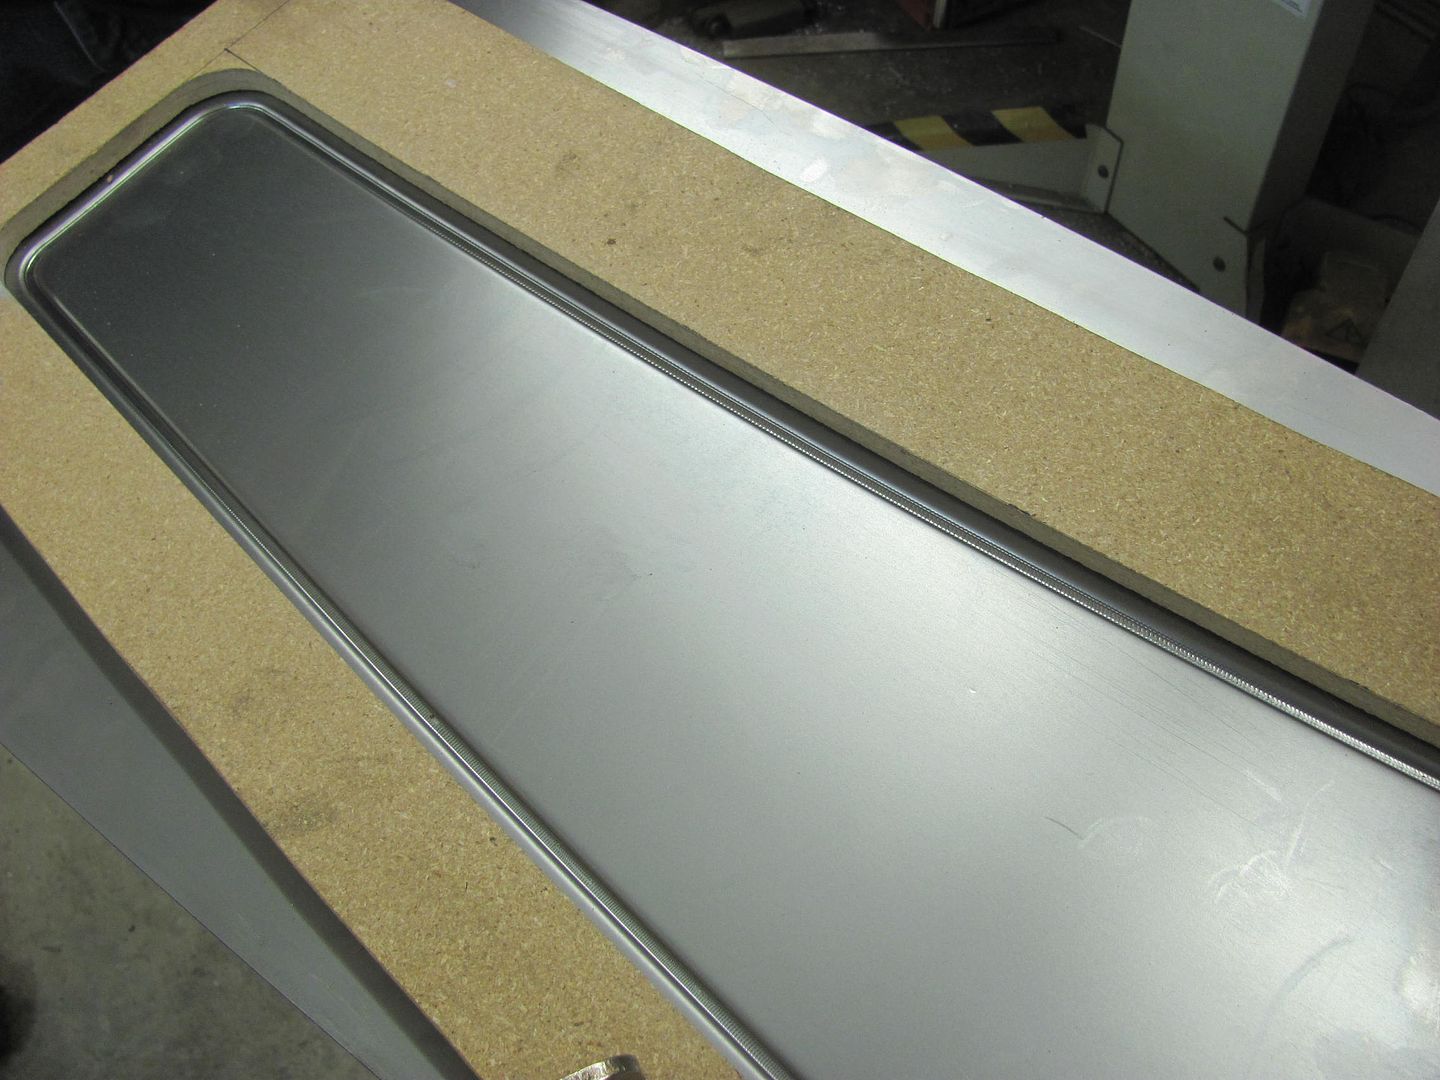
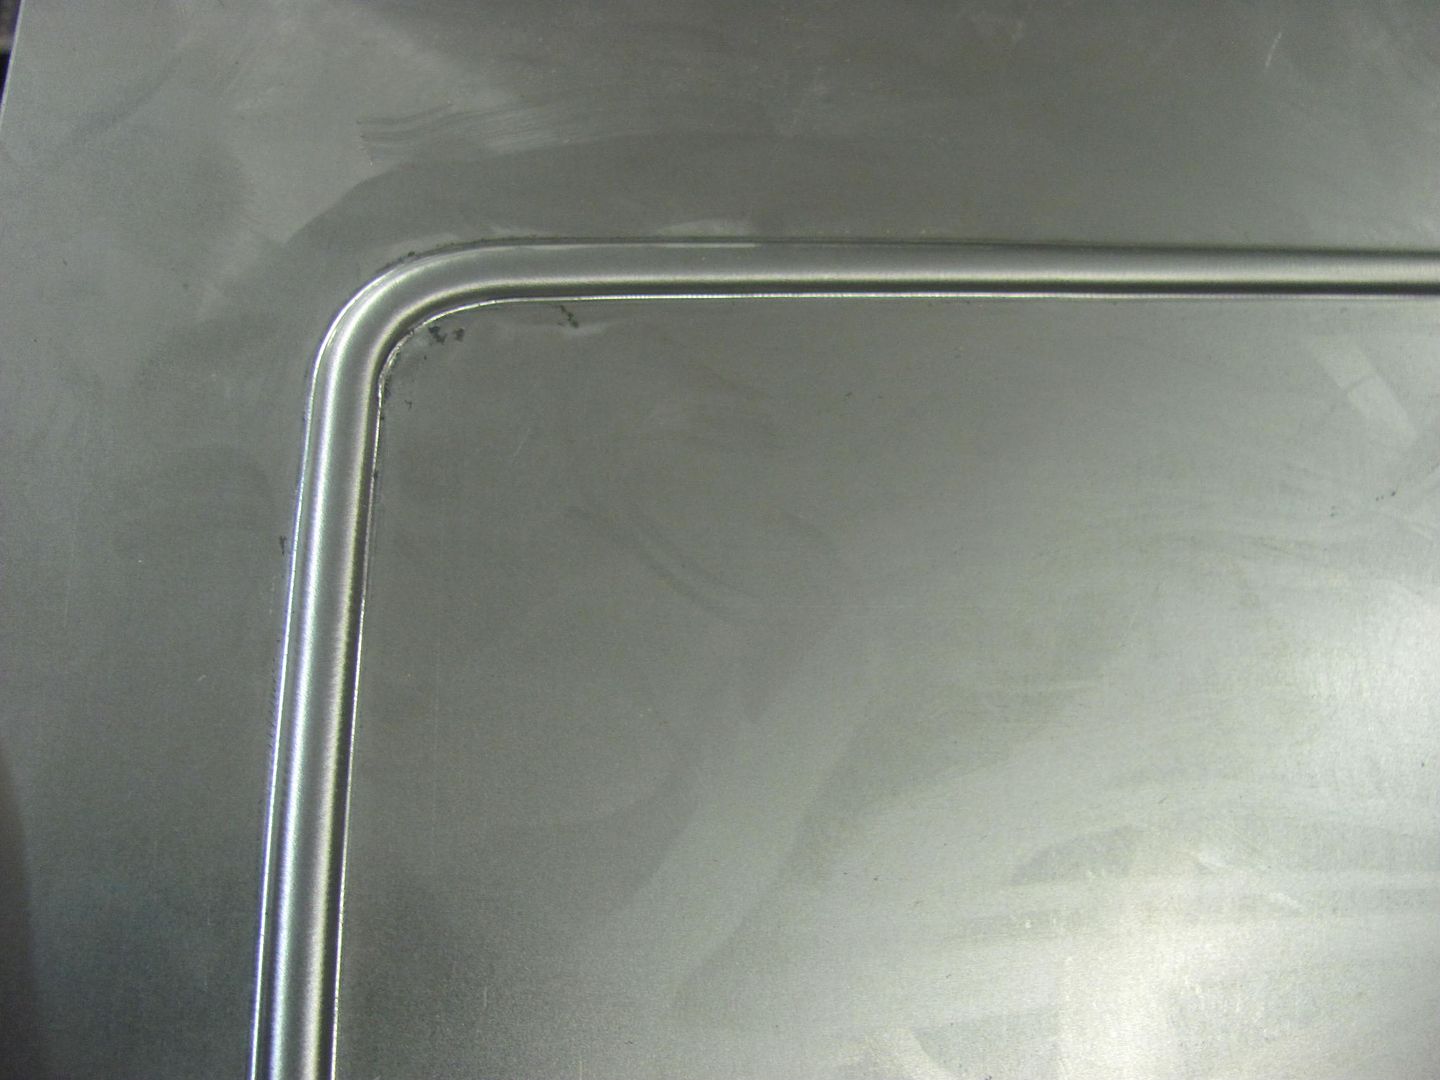
While he was doing that Kyle and I added the rounded bead detail to the louver panels for the Wheeling Machine, here using a fancy clamp-on guide...
Beaded....
Motion picture of same..
https://www.youtube.com/watch?v=IcPpwUF5yvI
Excess flange is trimmed to the bead edge...
This should give a more finished edge when attached to the cast legs...
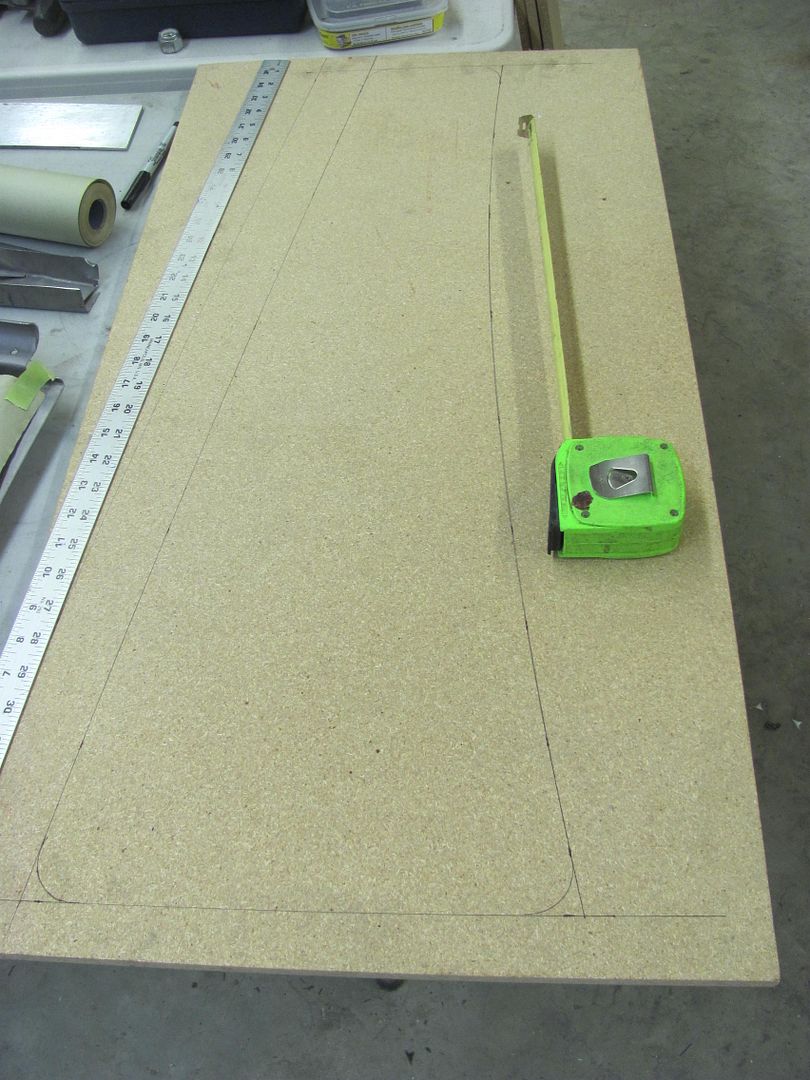
Once Cody was done with the layout and transferred it to some 1/2" thick MDF, it was cut out on the fancy vice jigsaw...
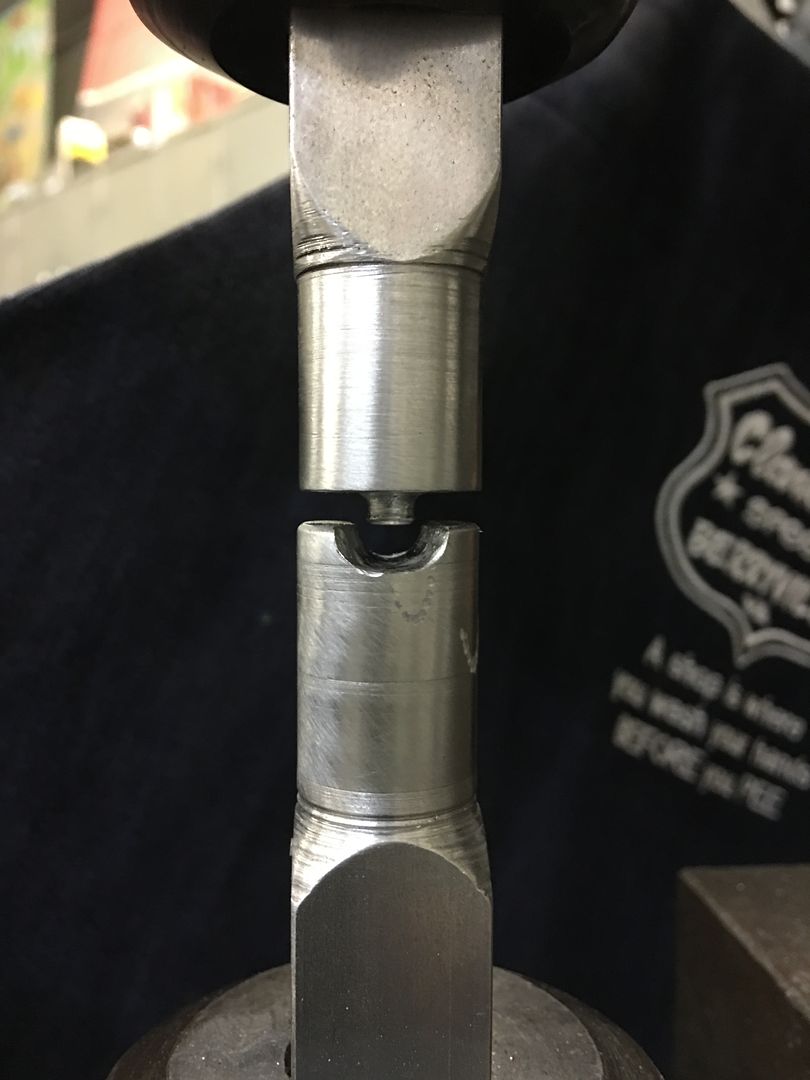
The corners were dressed with a 1-1/2" diameter drum sander and all the other edges filed to remove any imperfections that may alter the course of the beading dies. Then a sample of 18 gauge was clamped and run through the dies to insure the corners wanted to play nicely... The dies in the Lennox were changed to the flat upper for a flatter bead profile.
With that looking good, the MDF guide was located on the hood side, clamped temporarily with some vise grips, and drilled for 8-32 machine screws to secure it in place..
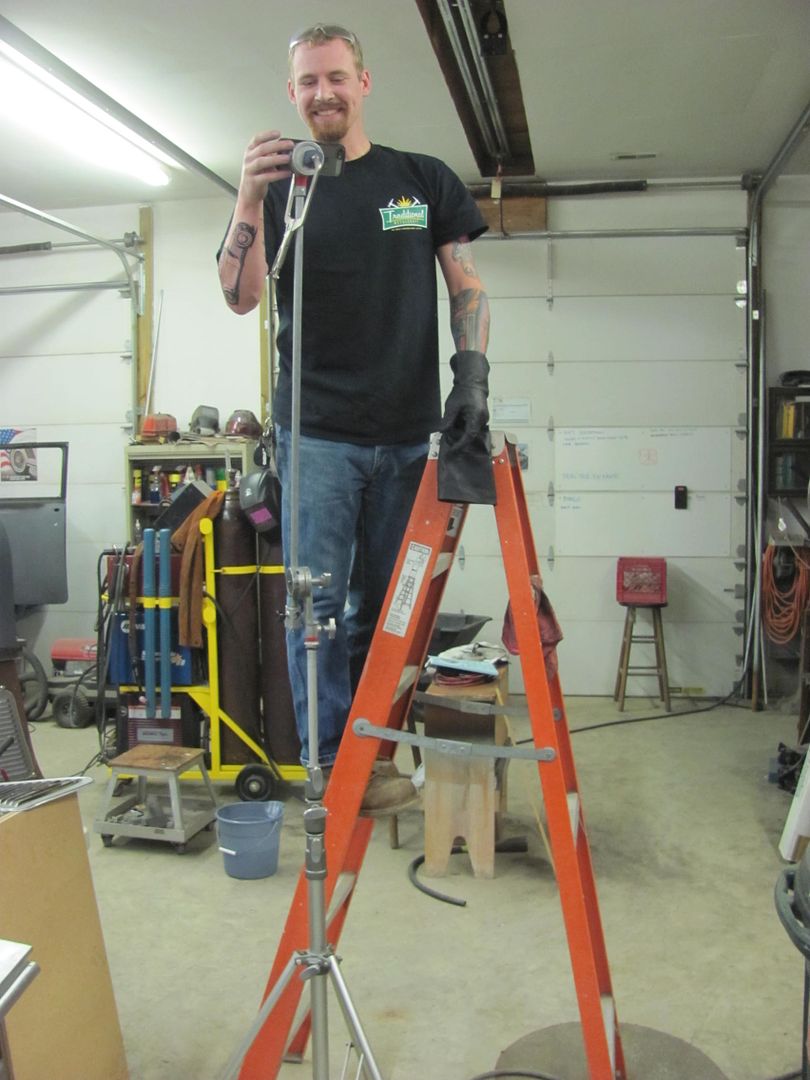
Cody positions the IPhone for the video, using the patent pending Vise Grip phone clamp.
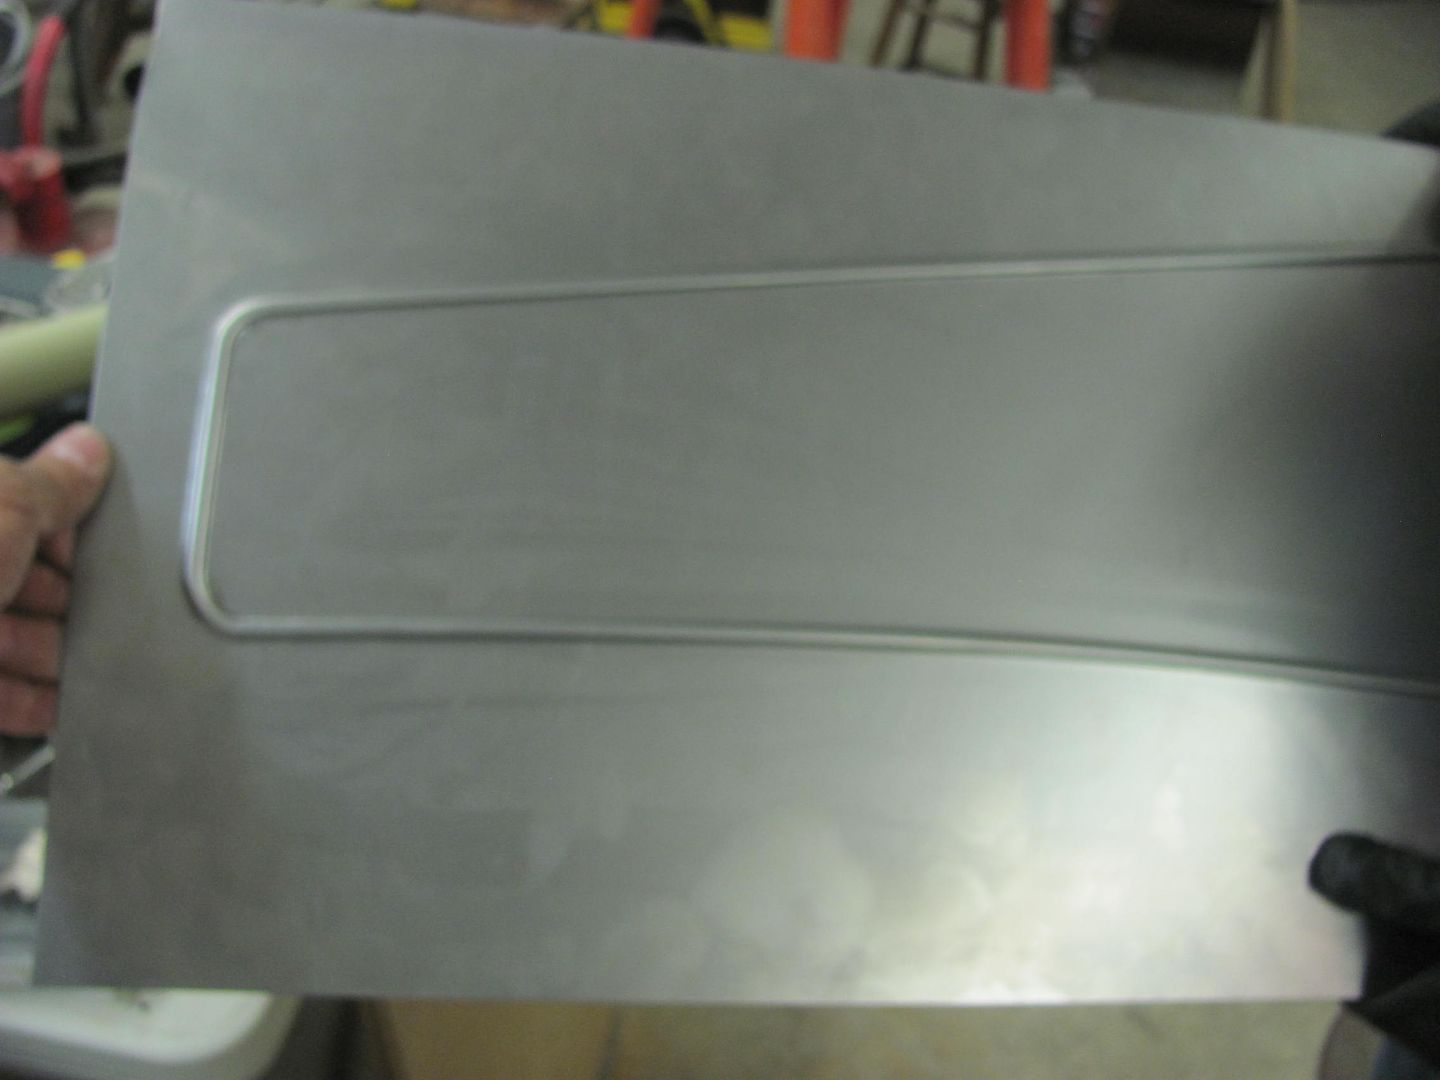
Completed panels...
Video of the process....
https://www.youtube.com/watch?v=zicnFG7KRLc
One pass was made most of the way through to give a good amount of stretch, and a second pass a slight bit more to add some definition..
 Posting Permissions

 Reply With Quote