Nice post and great work as always.


Nice post and great work as always.

Originally Posted by BamaNomad
 Thanks guys,
I think I am pretty close to being done fixing all the rust!!
I spent a few days of welding to finish the passenger side running board so I have had my fill of welding and grinding for a while!!
With all the outside edges welded up I started with an easy patch to finish up the weld seams.
Then I worked my way from front to back doing 3 tacks at a time and then grinding them out as I went. This area will need some work to straighten out some distortion as I expected being a very low crown area.
With this patch fully welded all that was left is the seam from front to back on the front edge.
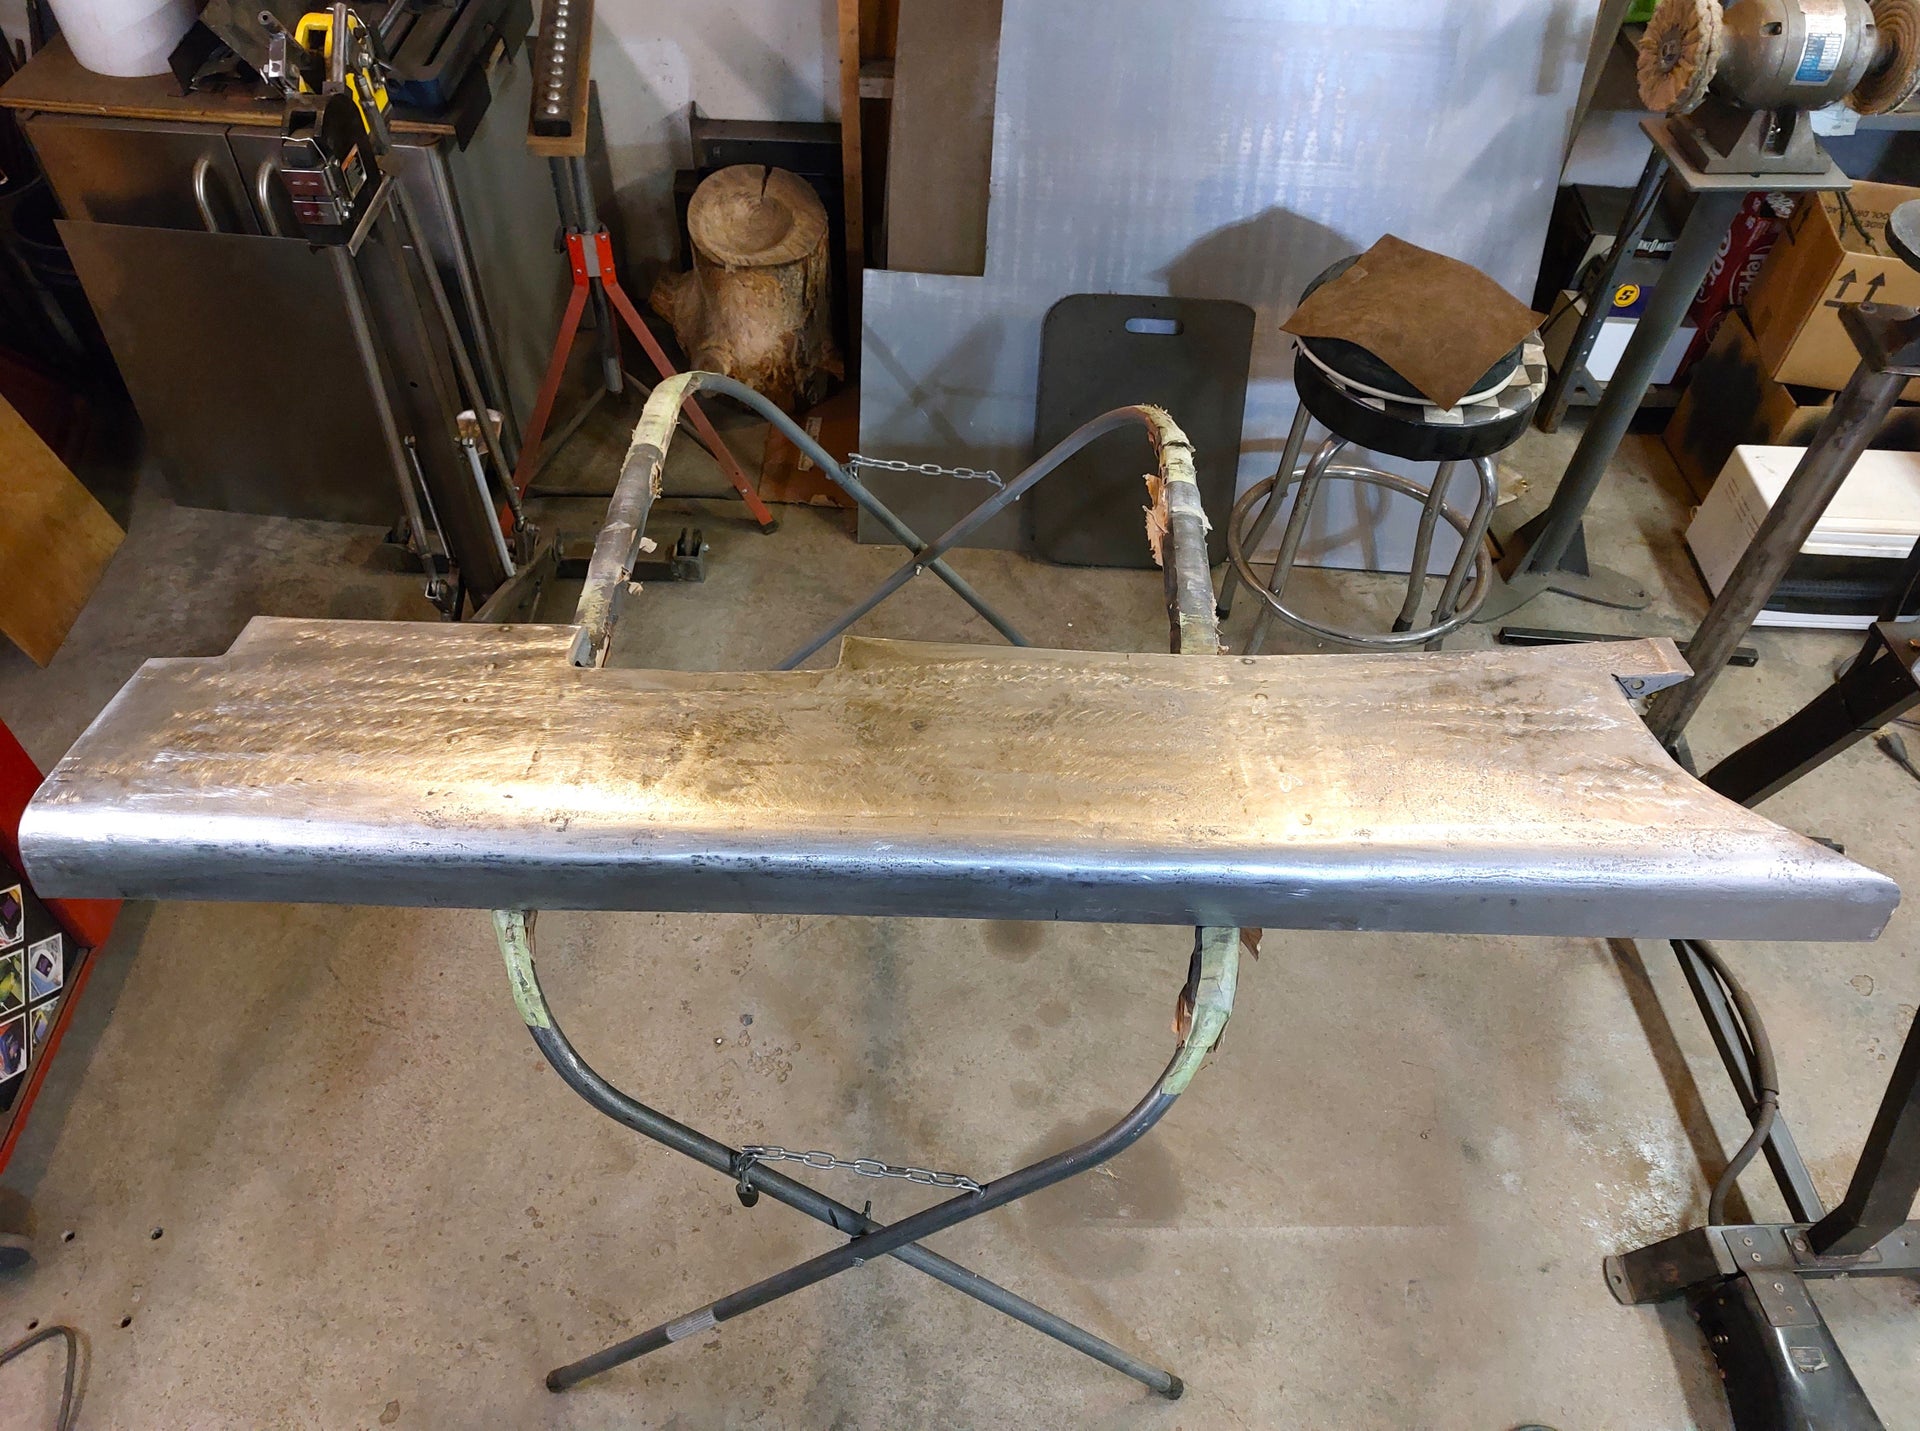
After finishing the weld seam on the outside edge I spent the better part of a day planishing weld seams, hammer off dolly work, some stretching and shrinking on the flange that bolts to the frame, and working it with the shrinking disc to get it to this point. Far from perfect but it should look good enough with a thin coat of fiberglass reinforced body filler. At least it will look much better than what I started with without breaking the bank.
And here I have the braces plug welded back in place so this one is done other than a coat or two of body filler.
After sandblasting both running boards to get rid of the last bit of rust that the Milkstone rinse wasn't taking off I started on the drivers side running board. This is the only area I am making a patch for on this one. I had to weld up a few more holes and there was some deeper rust pits to weld up but overall it is in better shape than the passenger side was.
Here is the patch I made to repair this area. I had to tip the flange over as it has a slight curve to match the frame rail in this area. This was a pretty flat area but sometimes the flat ones are harder to get done than the ones with a bit more shape to them. This one ended up with a slight twist probably from tipping the flange so it fought me to get it to lay right.
With the patch being in the middle I welded in a piece of flat stock to the flange to keep it from turning into a mess when I cut the old metal out.
And here is where I left off today with it all tack welded in place. After grinding all the tacks flat I had to do a bit of planishing on the tacks and the area to the left of the patch to get rid of a slight oil can. Probably got that because I never did get the patch to lay perfectly flat. Just need to finish welding the seam then hopefully not to much planishing and hammer and dolly work to get it ready to replace the braces and smooth it out with body filler.
Brian


Very nice work Brian. It's amazing how you're resurrecting these pieces without using pre-made patch panels. Good job and thanks for documenting and showing us how it's done.
56 Nomad, Ramjet 502, Viper 6-speed T56, C4 Corvette front and rear suspension
Other vehicles:
56 Chevy 2-door BelAir sedan
56 Chevy 210 4-door sedan
57 Chevy 210 4-door sedan
1962 327/340HP Corvette
1961 Willys CJ3B Jeep
2001 Porsche Boxster S
2003 Chevy Silverado 2500 HD Duramax
2019 GMC Sierra Denali Duramax
Thanks, I think I am pretty close to being done with the metal work so I can start putting things back together soon.
 Posting Permissions

 Reply With Quote