Thanks GaryOriginally Posted by BamaNomad


Thanks Gary
This past week or so I got started on my attempt to make a new tail pan. The first step in that process was to get rid of the old rusty one.
After laying out a grid on the old tail pan and making a few patterns of the shape as best as I could tell with what was left of it I got it removed.
Before starting on the new tail pan I got the quarter panel lower section flange straightened out and plug welded to the trunk area I had replaced previously.
On the passenger side I had to add a small section to the flange. When I had repaired the lower quarter panel in this area a while back I didn't make it go up high enough.
All welded up and good to go.
Next up was making a wooden buck to use as a guide for making the new tail pan. I had a big enough piece of 3/4" plywood on hand so I figured that would work as well as anything. At this point assembled with screws to fit the opening so I could mark out the shape of the trunk and quarter panels on it, and then take it apart to cut them to shape.
Here I have all the outer pieces cut and sanded to shape. The bottom piece is and educated guess as there wasn't much left of the original to go by. Not a big deal for me as it doesn't need to be exactly as original, it just needs to look good.
And with ribs added in the middle ready to sand the bottom board to match the shape of the ribs at the bottom.
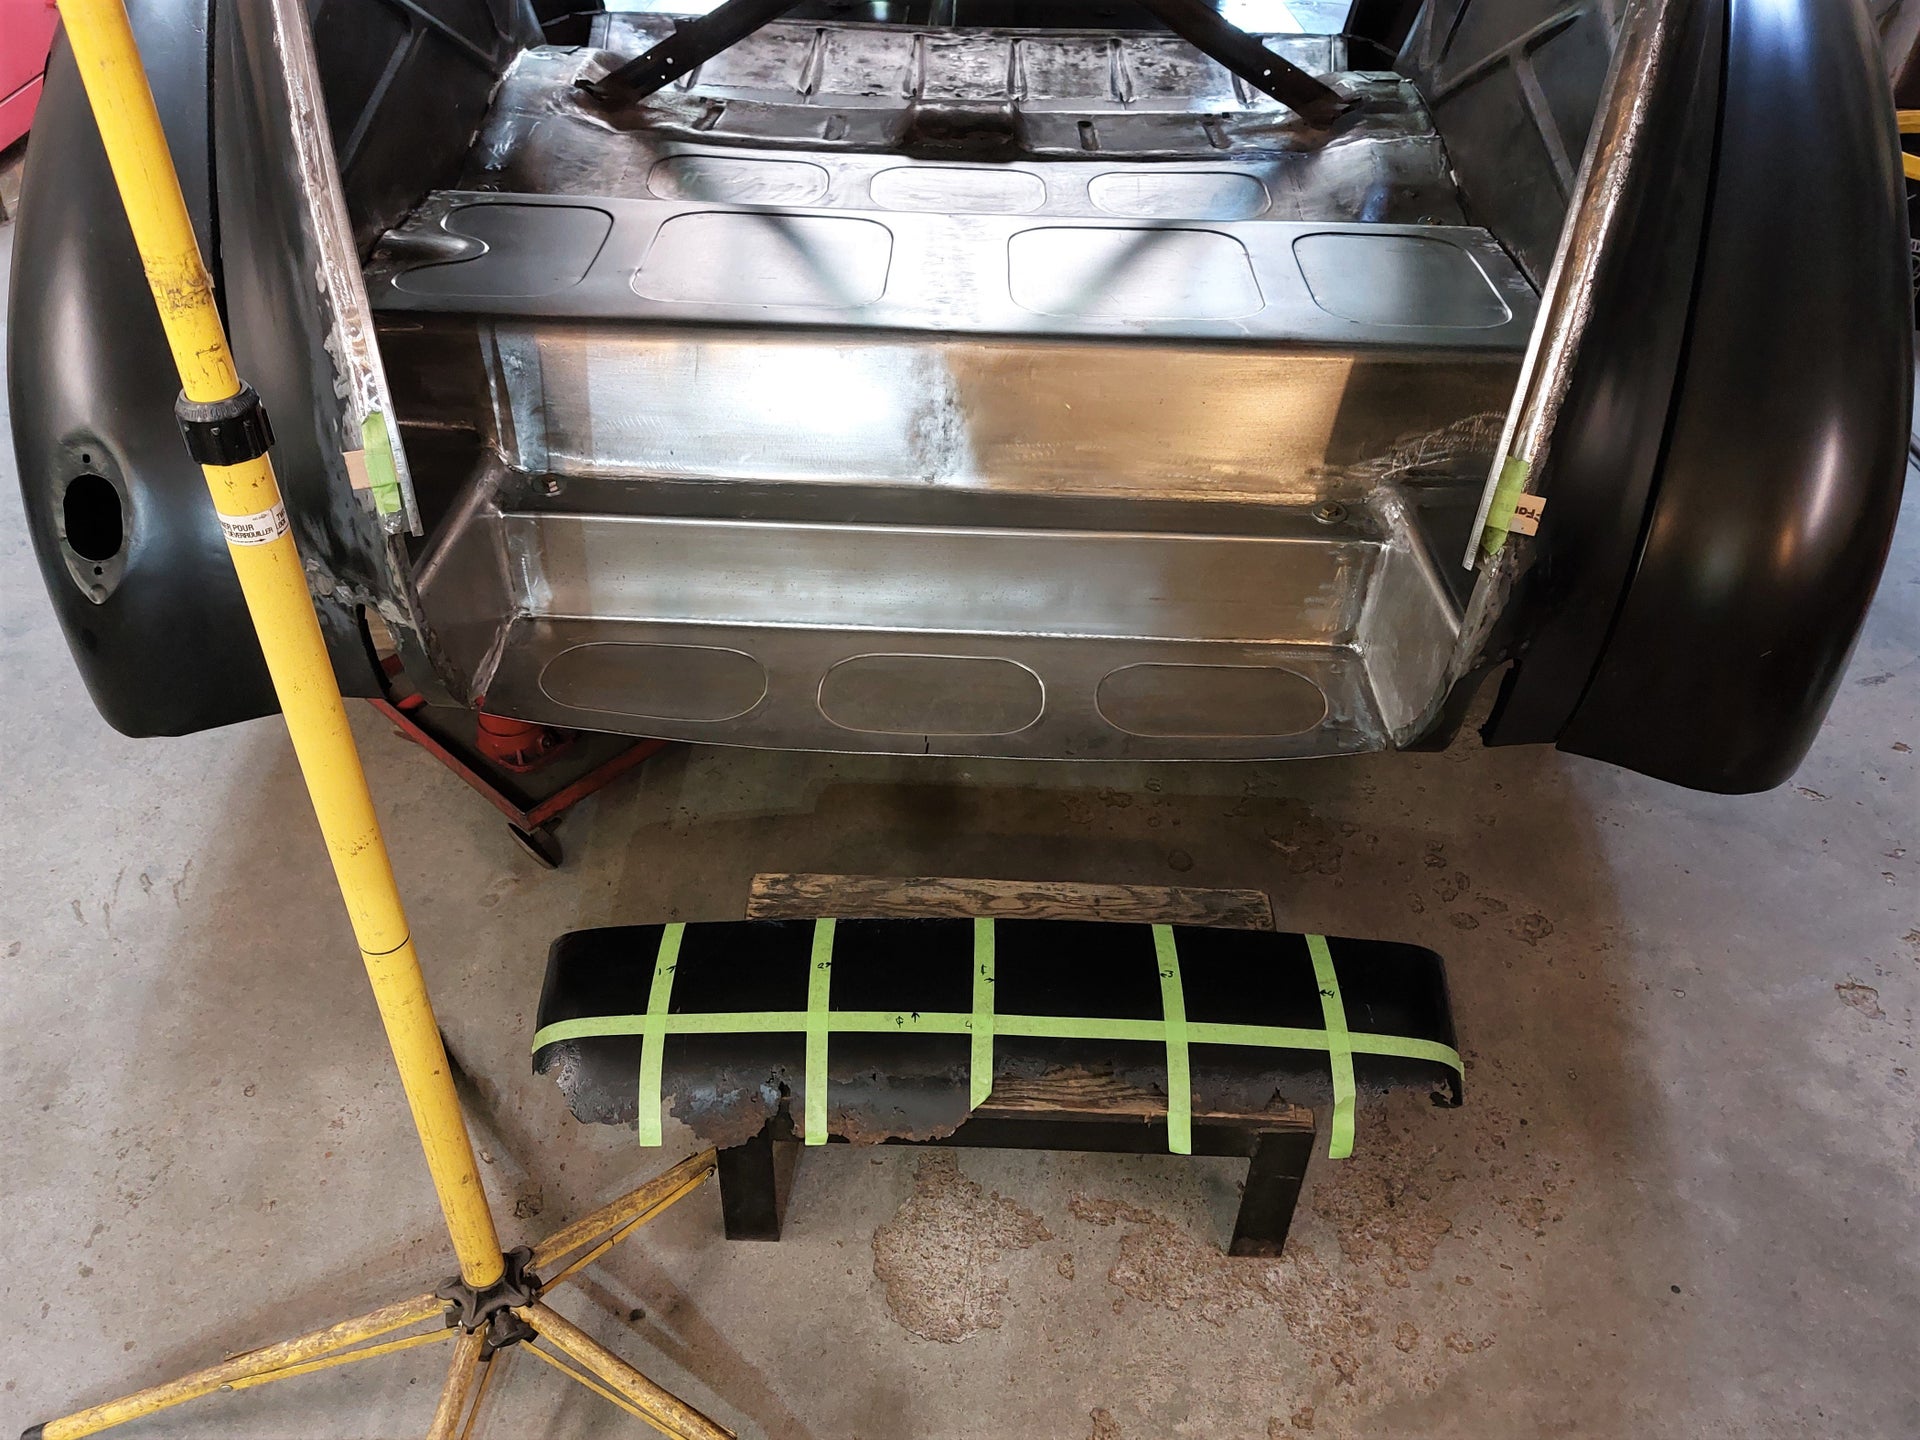
With the buck back out I laid the original tail pan over the buck to see how it fits. I looks reasonably close to what is left of the original.
(to be continued below)
continued below
I then taped a piece of paper on the buck to get a better idea of what the finished piece will look like.
And another view, looks like it should work ok to me.
And the paper can be used as a pattern to cut out the piece of metal. I will be doing this in 3 sections to simplify the process somewhat.
And the last step for making the buck was adding windows to the frame work to make it easier to tell if the metal is shaped the same as the buck. Building this thing was a good reminder of why I don't care for doing wood working.
Saw dust and wood sanding dust are one of my least favorite things for sure!!
Starting with the middle piece figuring it should be a little easier than the ends to form up. This is after a few hours of shaping the curve top to bottom and shrinking the outer edges and hammering the middle over a sand bag to to stretch it a bit to form the shape left to right. Then using my new planishing hammer on the right half to smooth it back out.
After smoothing it out better the shape is getting there. At this point I was ready to bend over the bottom flange and trim it to size.
At this point it seems to lay on the buck pretty well but I can tell in this picture that I need to shrink a couple of spots on the lower outer ends to get it to fit better yet. Not sure how to accomplish that yet but I'll have to figure it out.
Stay tuned.
Brian
Last edited by Custer55; 07-30-2023 at 06:22 PM.

Wow Brian.... you're moving quickly onto the 'big boy metal working' ranks.... My compliments!


I continue to be amazed!

Man you do good work, I wish I could do that kind of stuff!!!! I thought the wooden one looked good!!!
Thanks Gary, Some days are quite a struggle but I am learning as I go.
Thanks, Glad you are following my learning process.
Thanks Troy, You would be surprised what you can do if you give it a try. I have been learning a lot by watching metal shaping videos on YouTube
Brian
A quick update on what I got done today on the center piece of the tail pan.
Here is a shot of the gap to the wood buck at the ends of the center piece.
Compared to the fit on one of the center ribs, so some adjustment at the ends is going to be needed.
The first thing I did was put a guide coat on the panel with a wide magic marker and then sand it off with a long board sander to highlight the high spots that will need shrinking.
After doing heat shrinks with the welding torch and then more tuck shrinks on the edges then shape is better now.
I think the tuck shrinks on the edges were not enough initially as they don't reach far enough in to shrink everything that needed to be. I may have to re-watch some more videos to see if there is a better way to do this.
Before planishing the panel out again I used a shrinking disc to smooth out the areas that I did the heat shrinking.
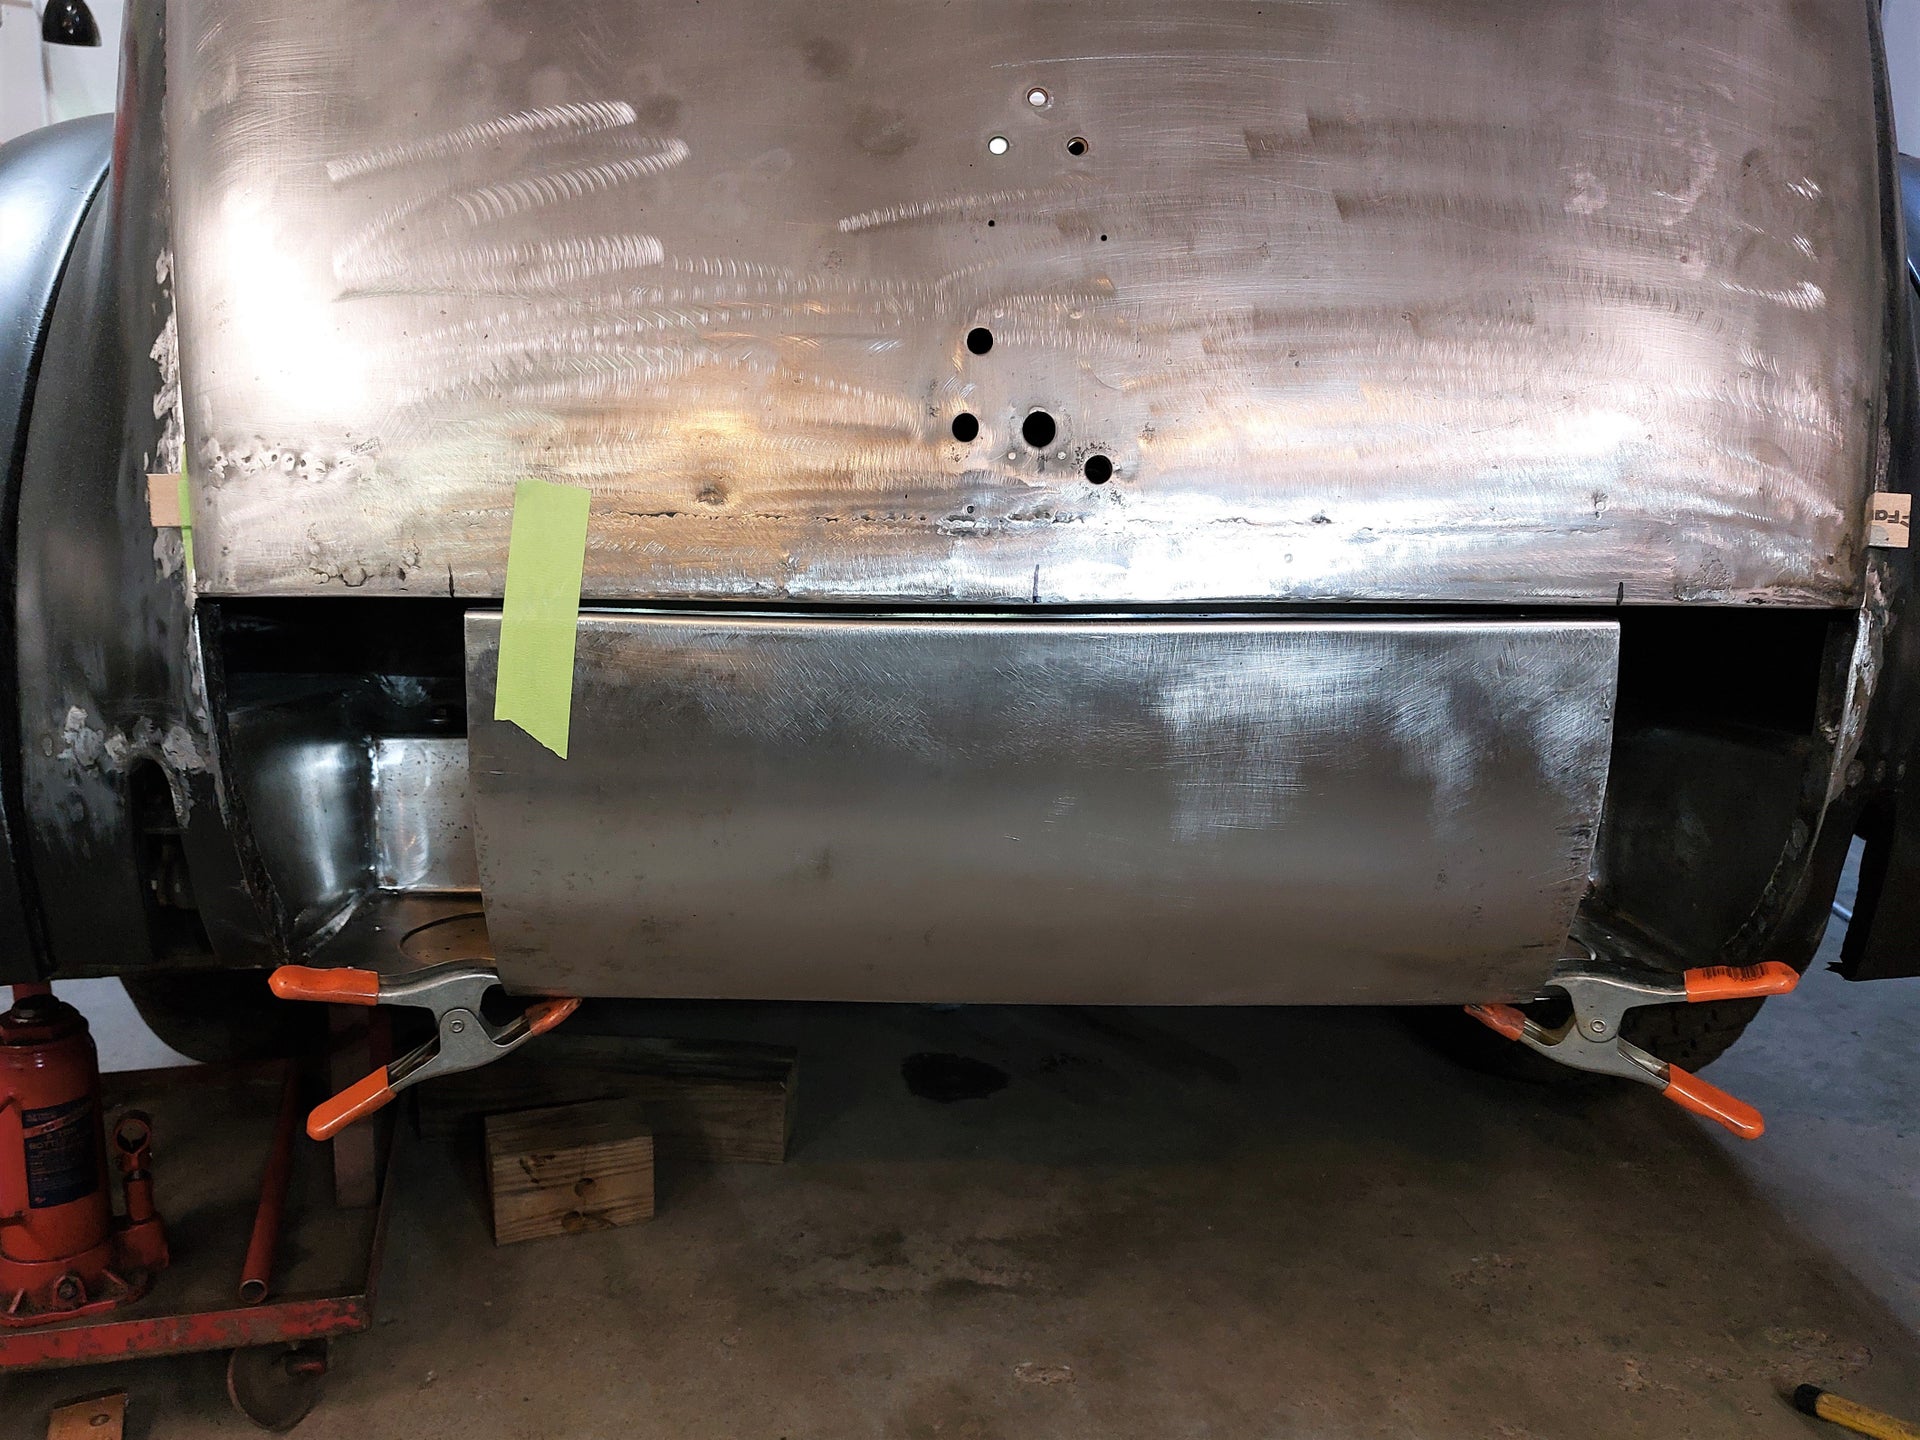
After more planishing to smooth things out again and doing some re-shaping it is looking much better and fits the buck pretty well now. Not perfect by any means but it won't need more than a skim coat of filler at this point so I am happy with it.
With the panel clamped in place it looks like it should work ok. So time to move on to attempt making the end pieces.
Brian

Hi Brian,
What a great transformation! Very nice work - thanks for showing the methodology!
Regards, Doug
Very Nice!!!
 Posting Permissions


 Reply With Quote