Originally Posted by Belair-o
 Thanks guys!


Thanks guys!
So with the center part looking pretty close time to start working on the ends. These will need more shaping as they will need a tighter curve at the ends where they meet the quarter panels.
The first step was to make a pattern with the needed flanges added and then cut a piece of 18 gauge to match.
Then made a bend on the brake for the top flange at the trunk opening. This will eventually get shaped to match the trunk on the shrinker/stretcher.
Then shaped the panel to match the curve of the buck from top to bottom. I mostly did this by bending it over my upper leg and the buck itself. Anything that is somewhat round will work.
Then I did a combination of tuck shrinks, shrinks with the shrinker/stretcher, hammer and dolly work and hammering it over the buck itself. At this point I had done some work on it with the planishing hammer with a 1" radius die to smooth it out as well.
This is after using the planishing hammer to shape the balance of the piece to better match the buck and transition into the center section of the tail pan. I did end up slicing the upper and lower corners to make them fit the contour of the wooden buck better.
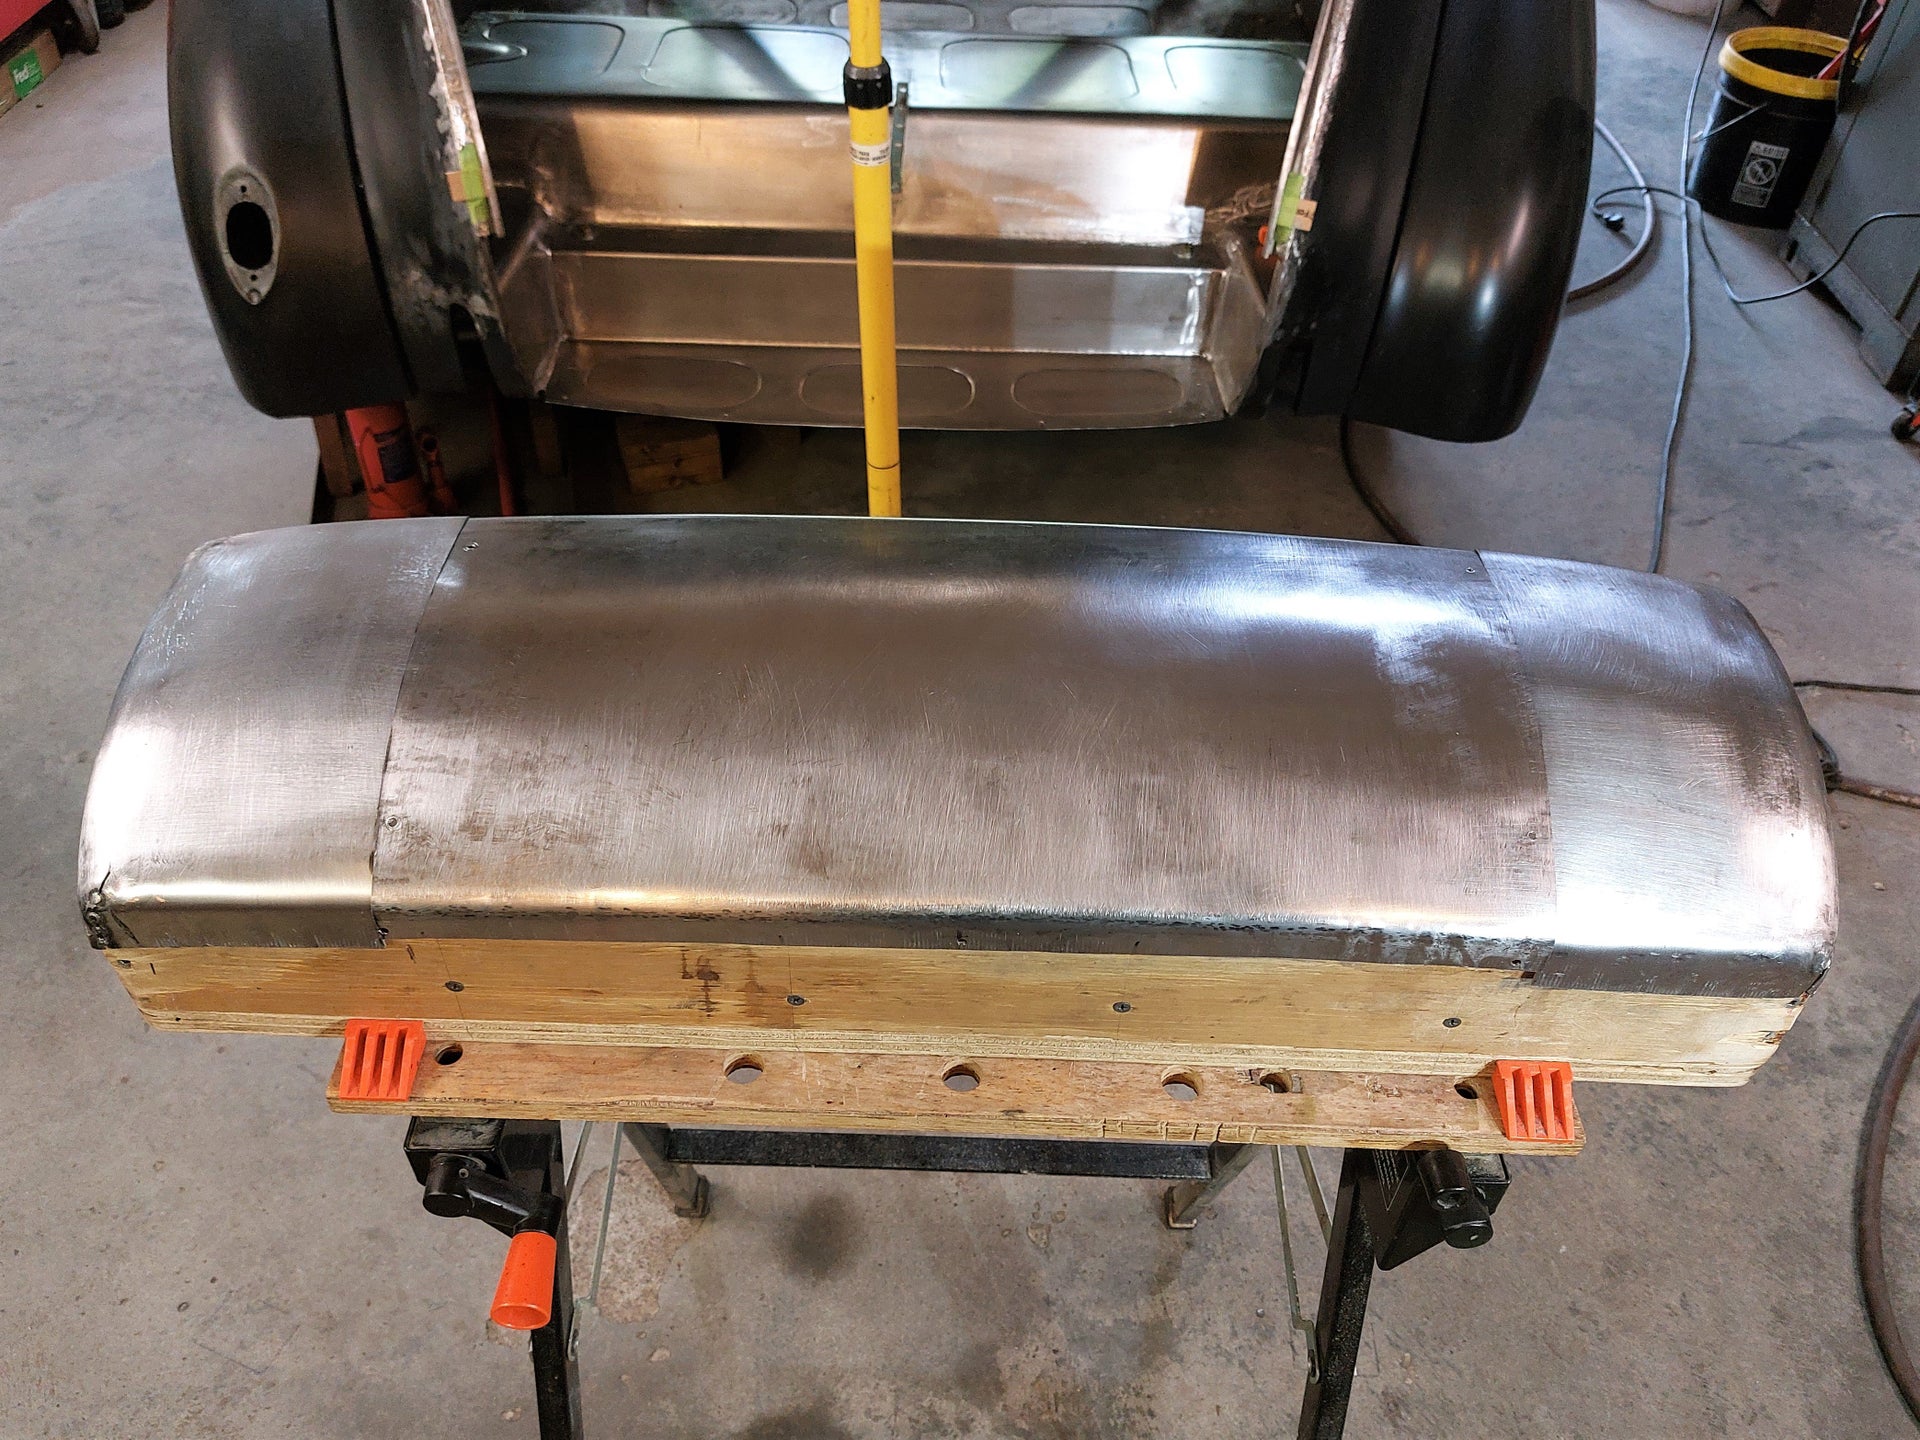
With the shape looking pretty close I screwed the end and center together to check the fit on the car.
A quick test fit shows I should be able to make it work. So on to making the left hand end.
(continued below)
So time to repeat the process on the other side.
I'll skip some of the initial process as it is the same as the right hand piece. This shot shows how the flange that meets the trunk lid was shrunk to match the buck. The profile gauge is a match to the top edge of the piece where it meets the trunk lid. Obviously it doesn't match lower down on the piece. To correct this I used the grid pattern I had drawn out and used the planishing hammer with a 3" radius die to re-shape/stretch the low area up where it needed to be. Then I used the 6" radius die that I made to smooth it all out again.
Here is a shot after planishing it out to re-shape it. It doesn't match the profile gauge exactly but I think that is ok because the tail pan has less of a curve to it at the bottom than it does where it meets the trunk.
Here I have all three pieces screwed together to make sure it will fit when it's all welded together. Looks pretty close to me.
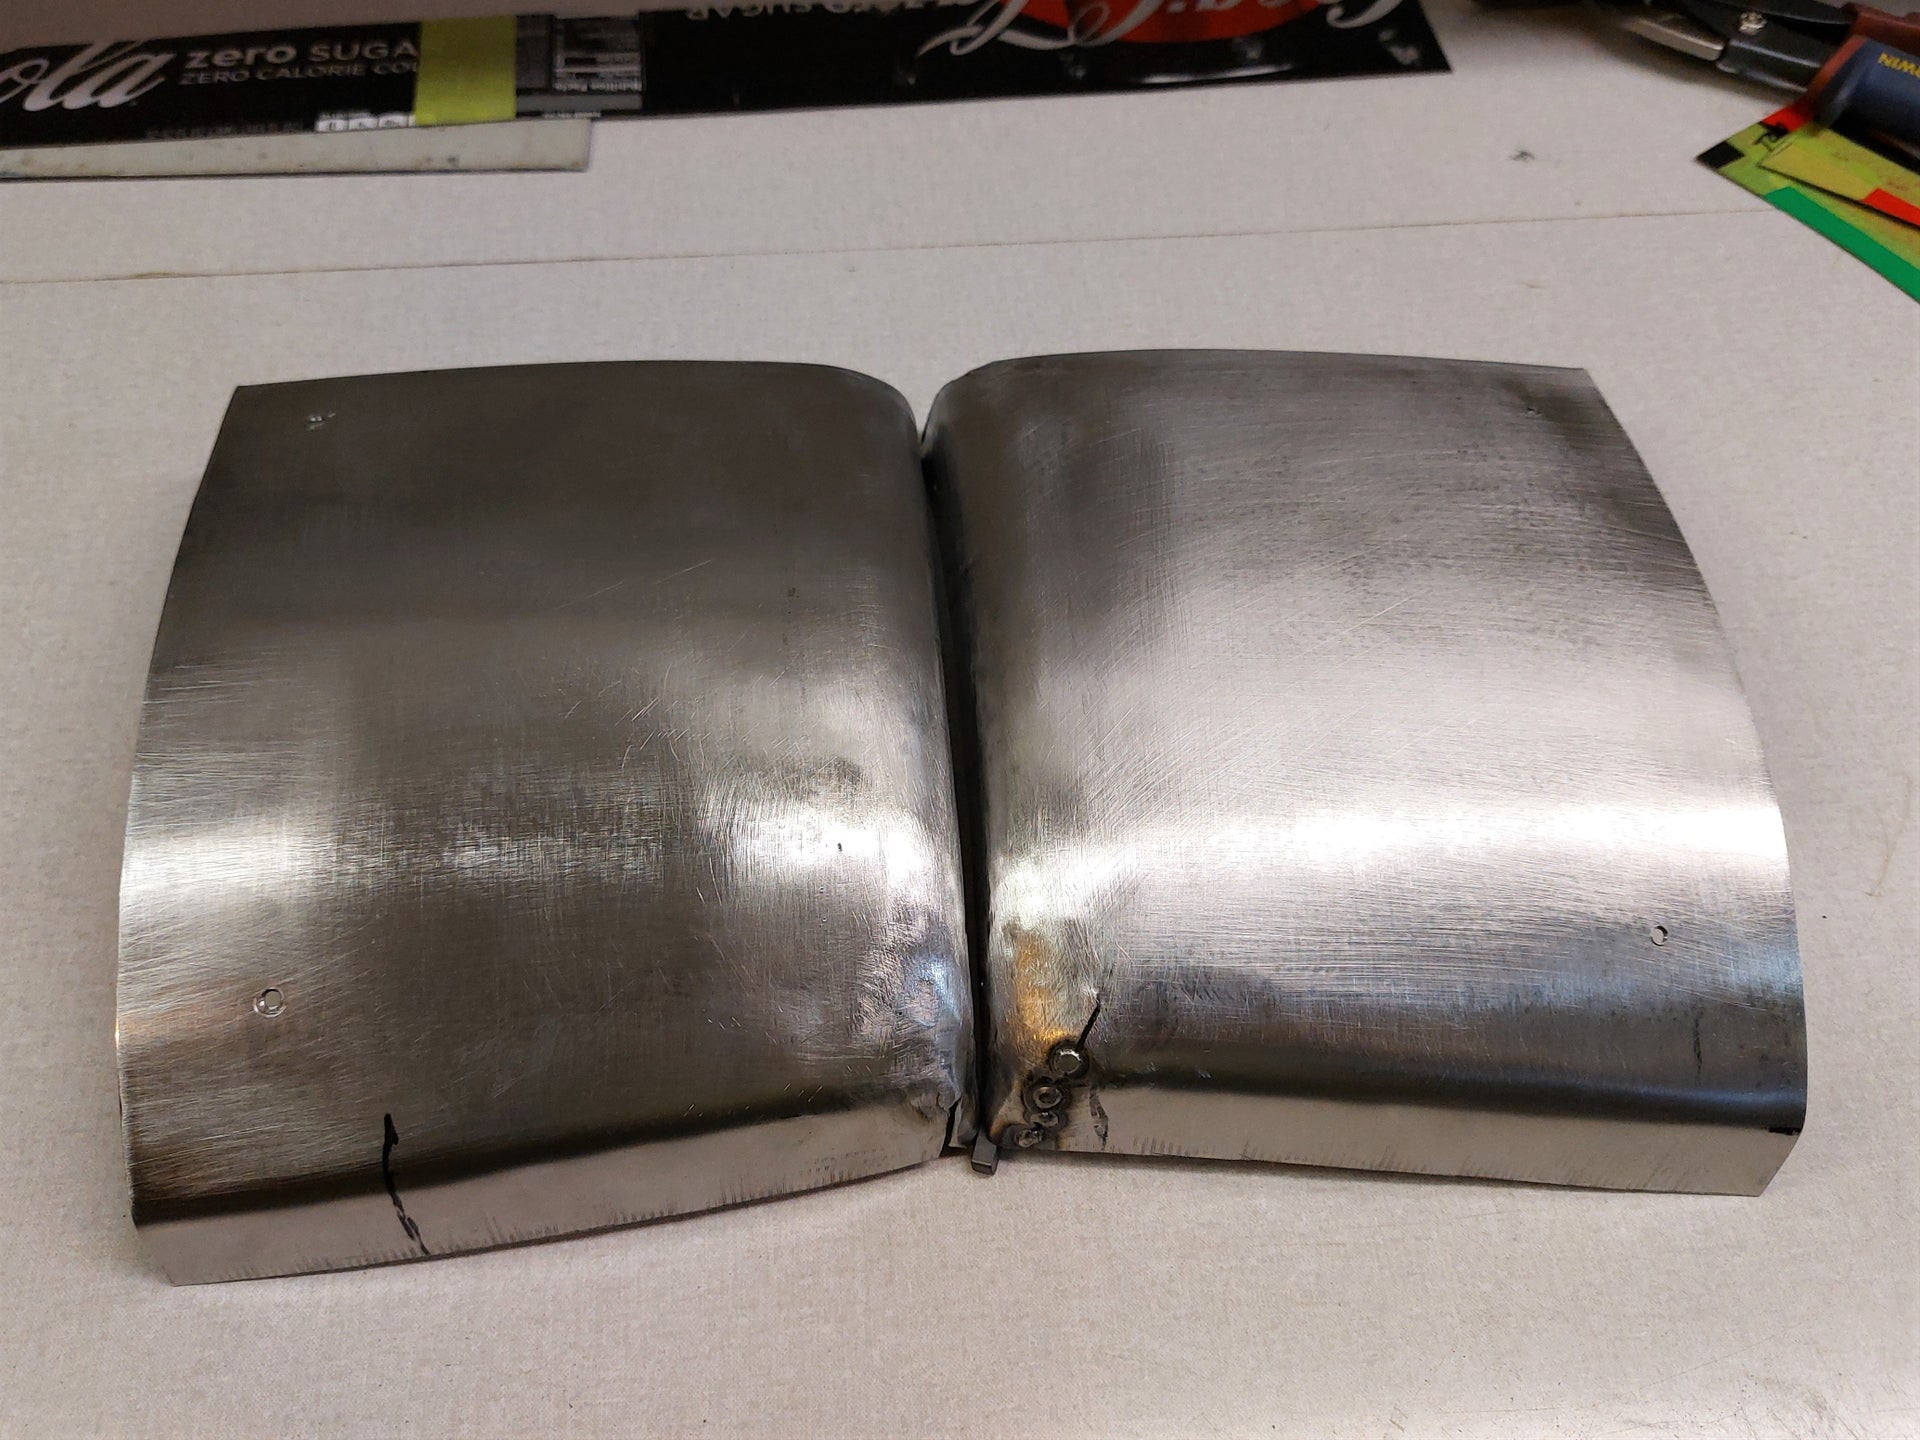
After taking the pieces apart I put the two ends next to each other to see if they were shaped reasonably close to each other. This is after a bit more hammer and dolly work, and smoothing on the planishing hammer.
I think they are good at this point since they will be about 32" apart from each other on the car.
Here is where I left off today. I had made all the pieces with a 2" or so overlap, so I could trim to fit for welding with a nice tight gap. After just a bit more trimming I should be ready to start tack welding them together. I plan to tack weld them right on the buck so I did make sure the weld seam won't be right over the ribs of the buck. Don't want anything starting on fire!!
Brian

Looking great Brian. You’ll be done with the metal work soon!
Thanks Richard, I hope it will be done soon. Once the back of the car is done it will just be the front fenders, hood sides, and running boards that need work.
After a bit more fitting of the 3 pieces of the tail pan it was time to weld them together. I decided against tack welding them together on the buck, as I figured if it all lined up correctly on the buck with tight gaps there was no need to leave the pieces on the buck to weld them together.
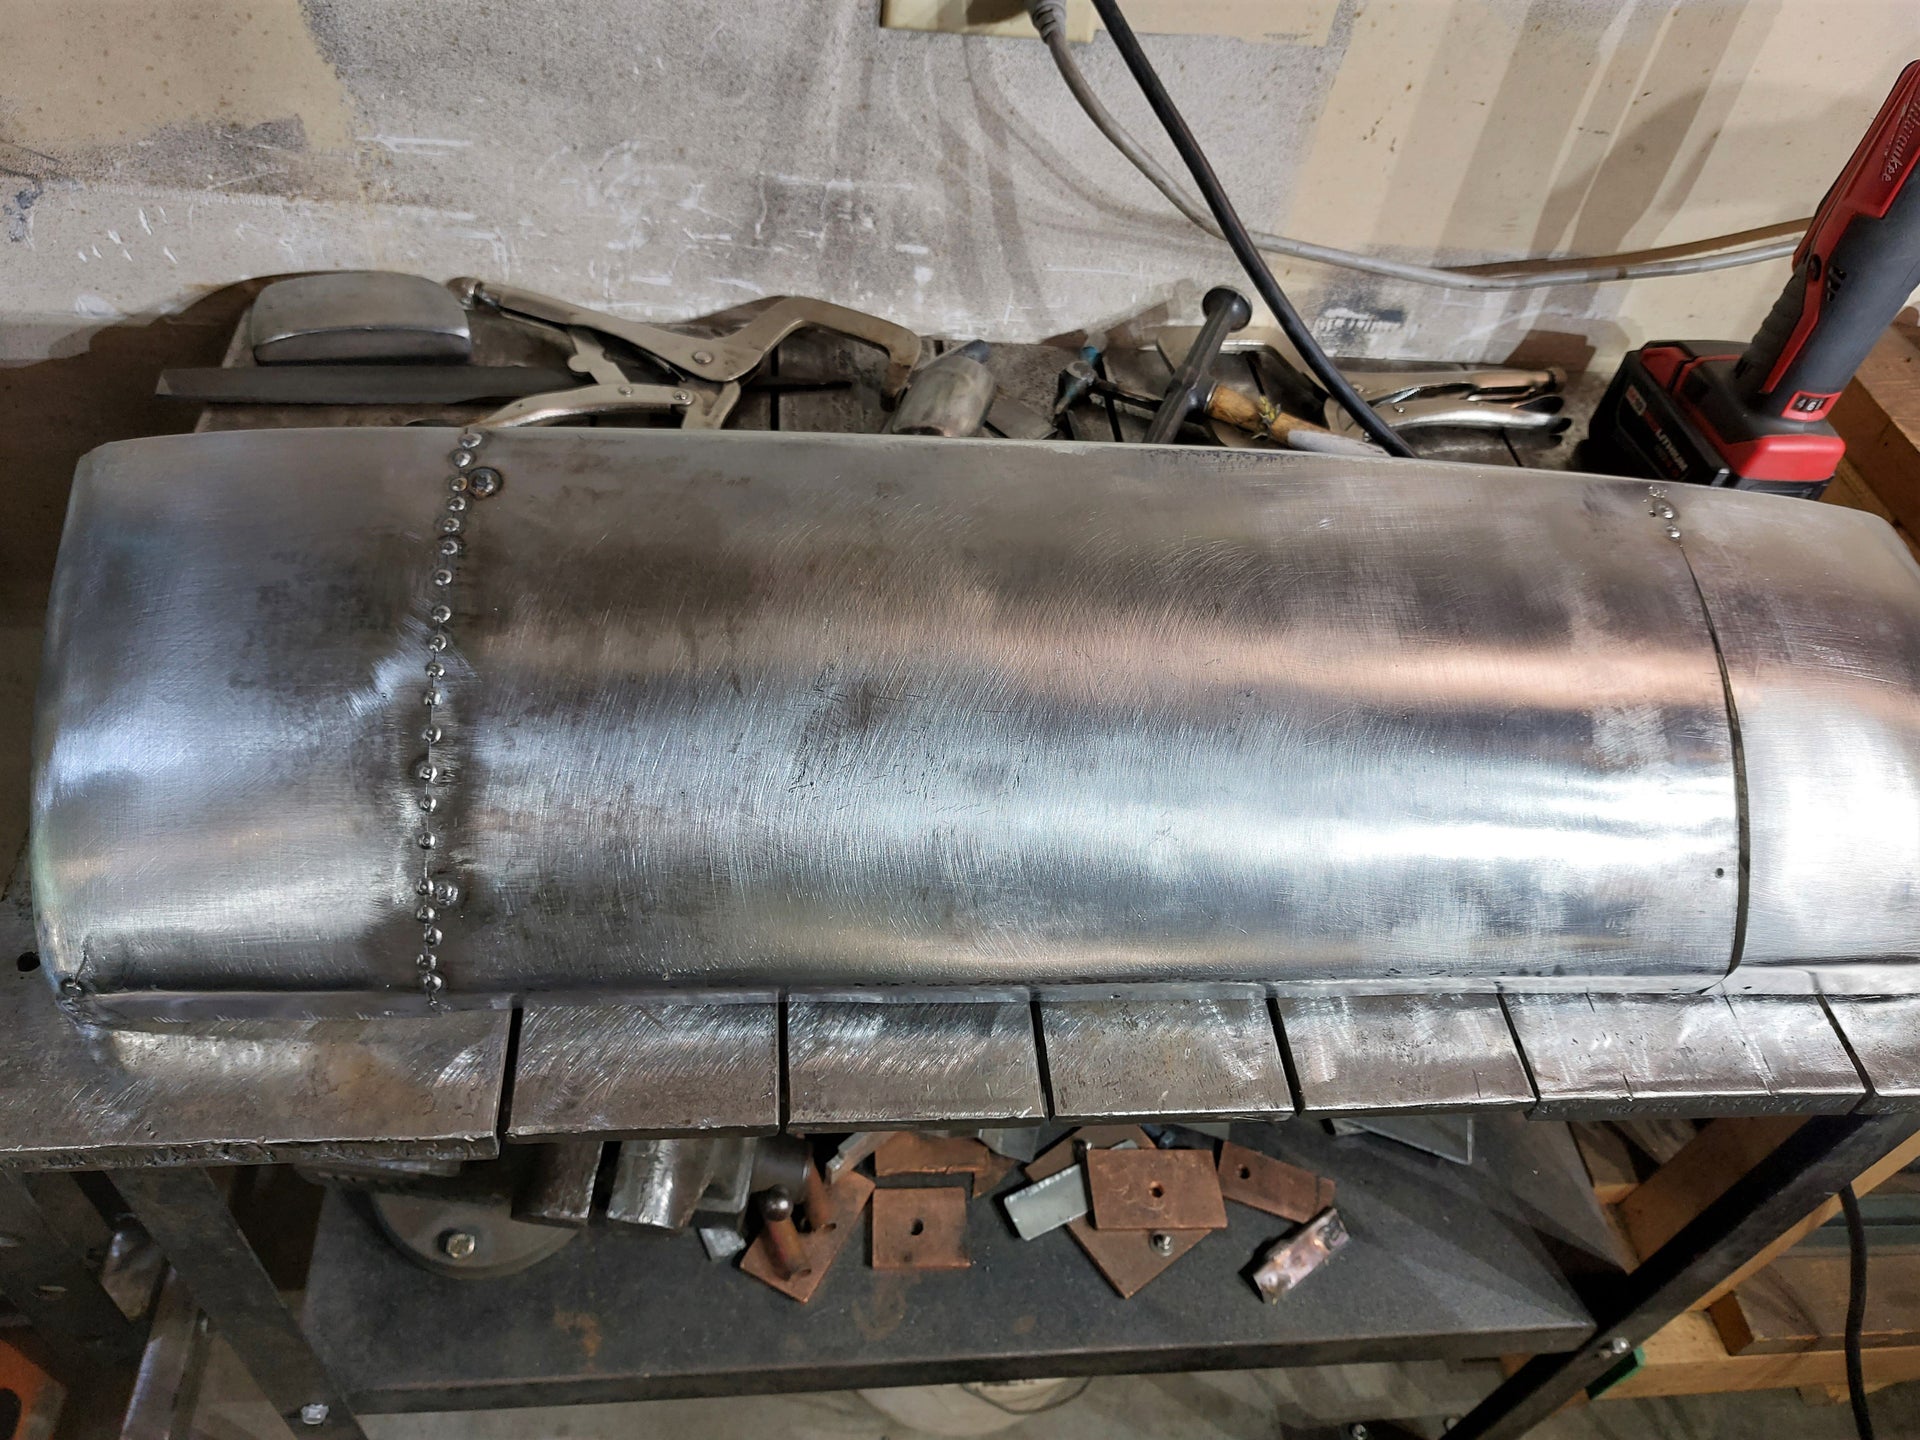
Here I have one end tack welded in place and starting on the other end. I started at the top and worked my way down with tacks about a half inch apart, trying to keep things as lined up as possible.
All tack welded together and over the buck again to check the fit.
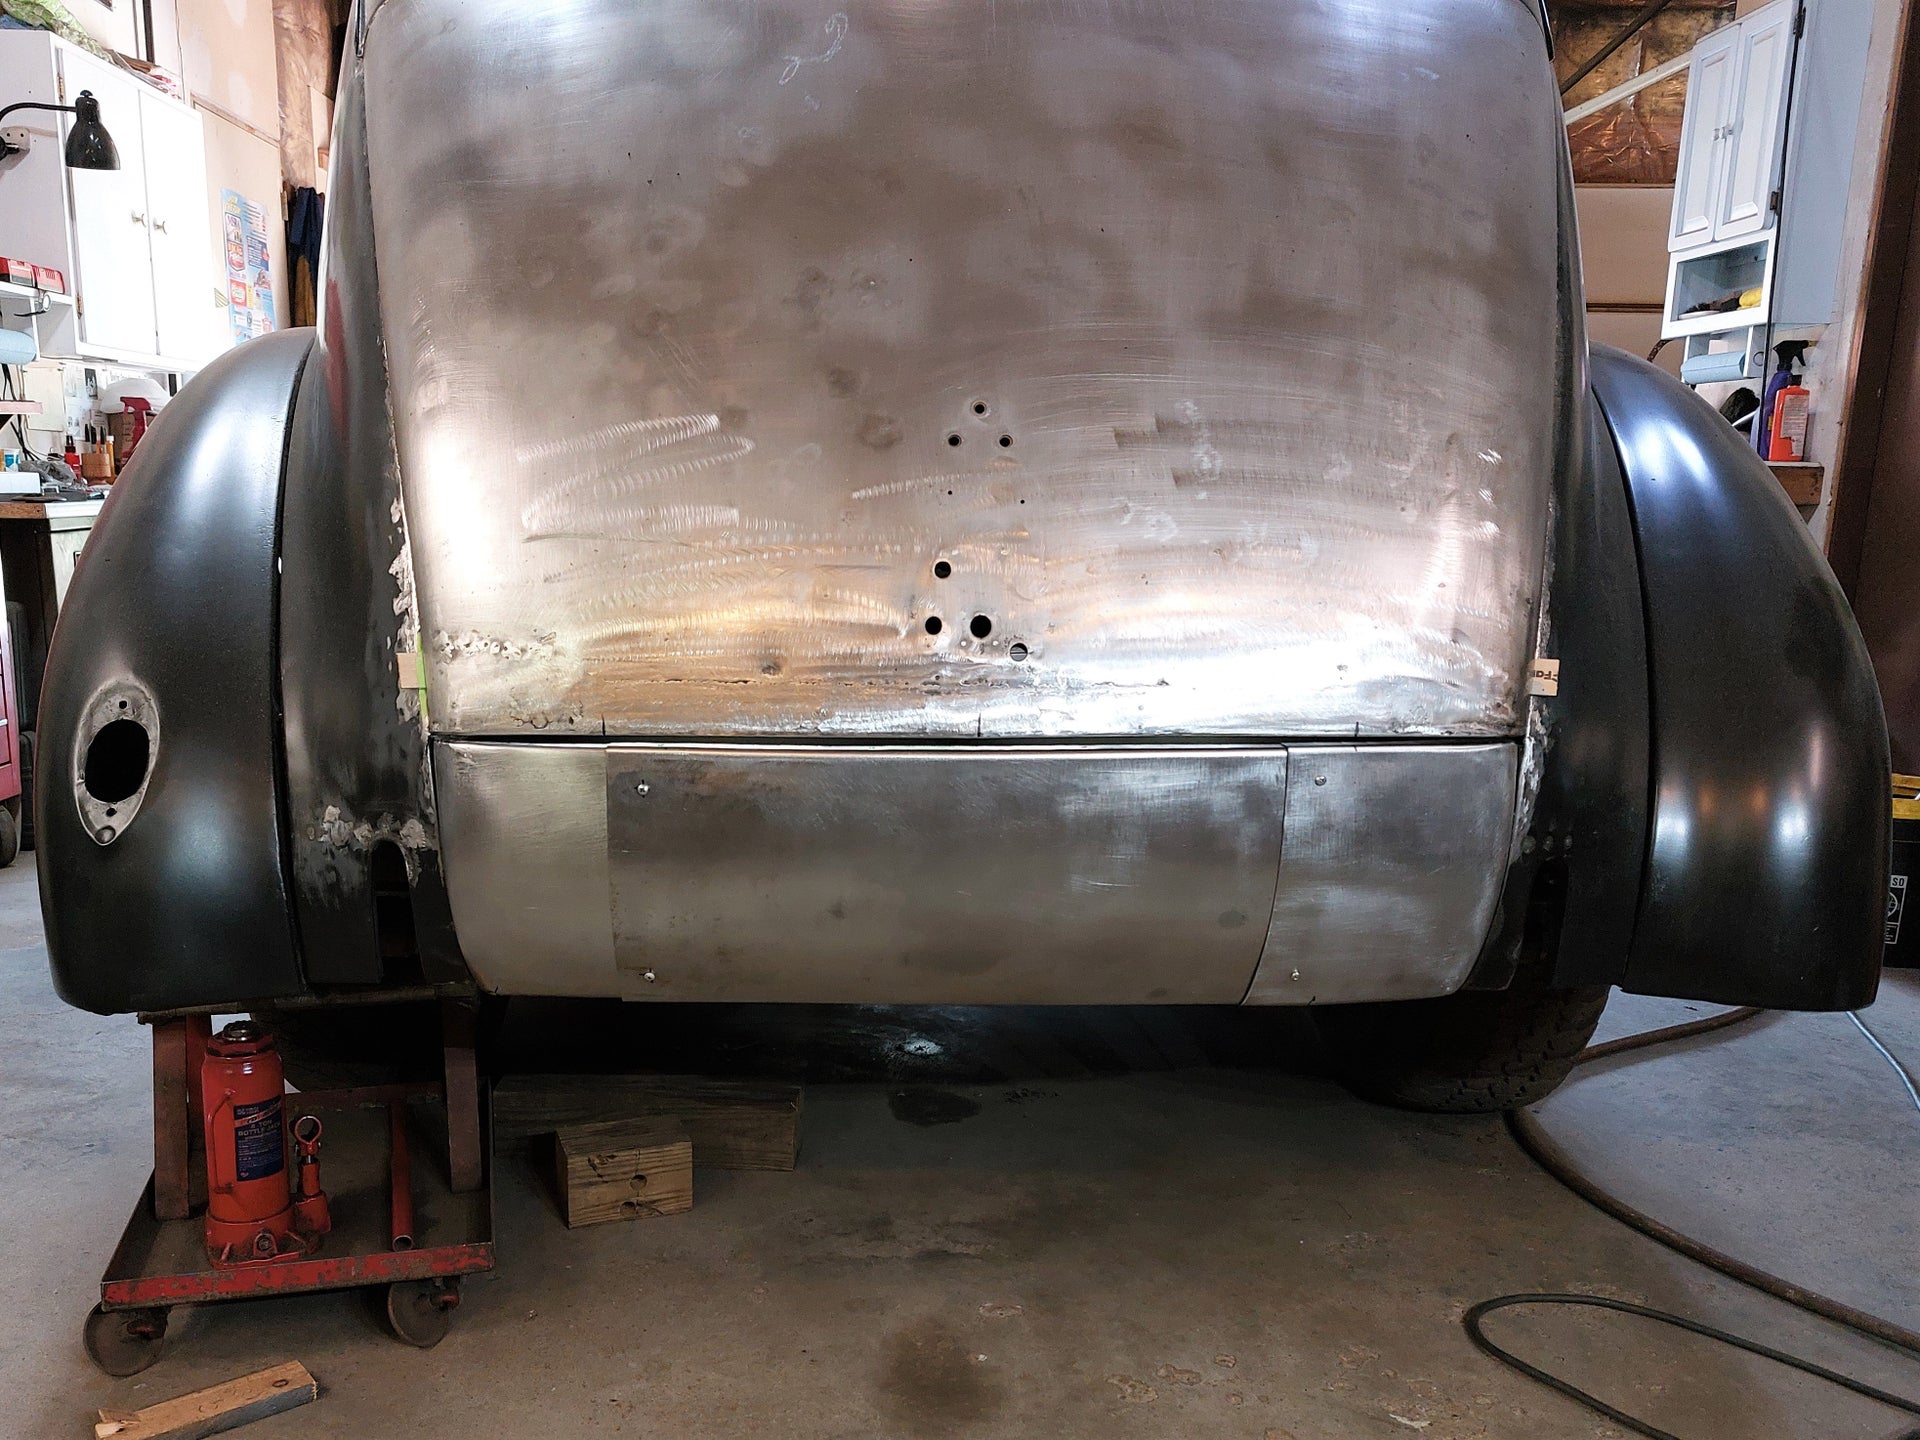
And on the car again to double check the fit before fully welding the seams.
After grinding all the tack welds flat inside and out I started the process of fully welding the seams. I used a little different process that what I usually do on this to make sure I didn't get impatient and warp anything to much.
Started at the top and did three tacks at once on each seam, then lightly hammered the welds to stretch the tacks out a bit. Then I ground the welds inside and out before doing the next set of tack welds. It was a bit more work doing it this way but the weld warpage was minimal so it was worth taking the extra time.
Here is a shot of the weld on the backside of the weld seam, so I know I was getting the seam fully penetrated which is nice!
And another test fit after all the welding was done.
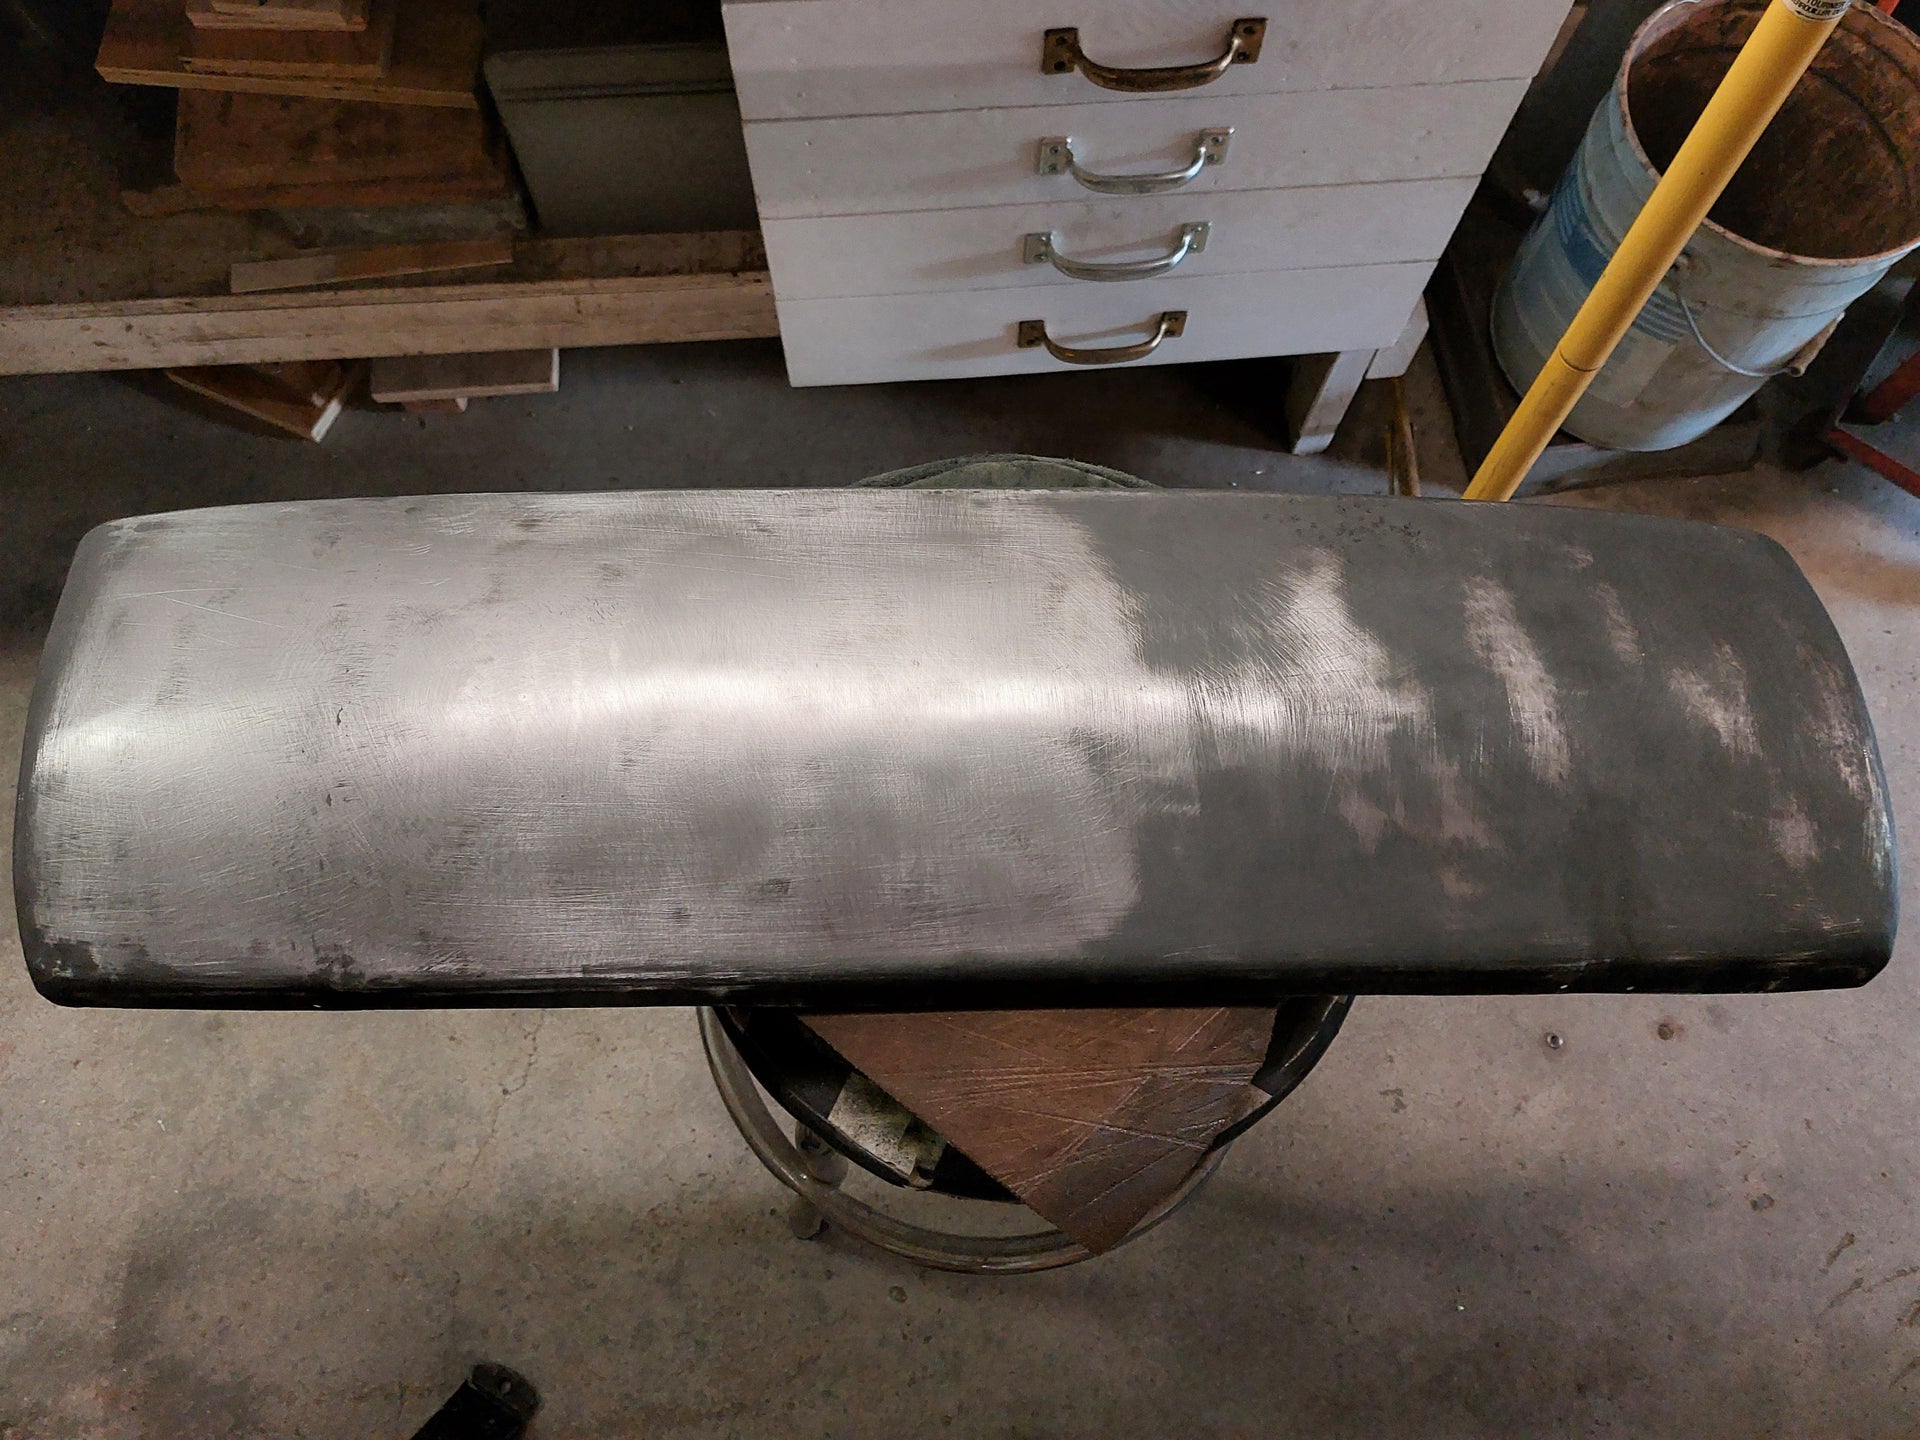
To get the weld seams and a few low spots smoothed out better I put a light coat of spray can primer on the panel.
Then went through the process of block sanding the primer and then planishing the low spots until the panel looked and felt better. I am about half done at this point.
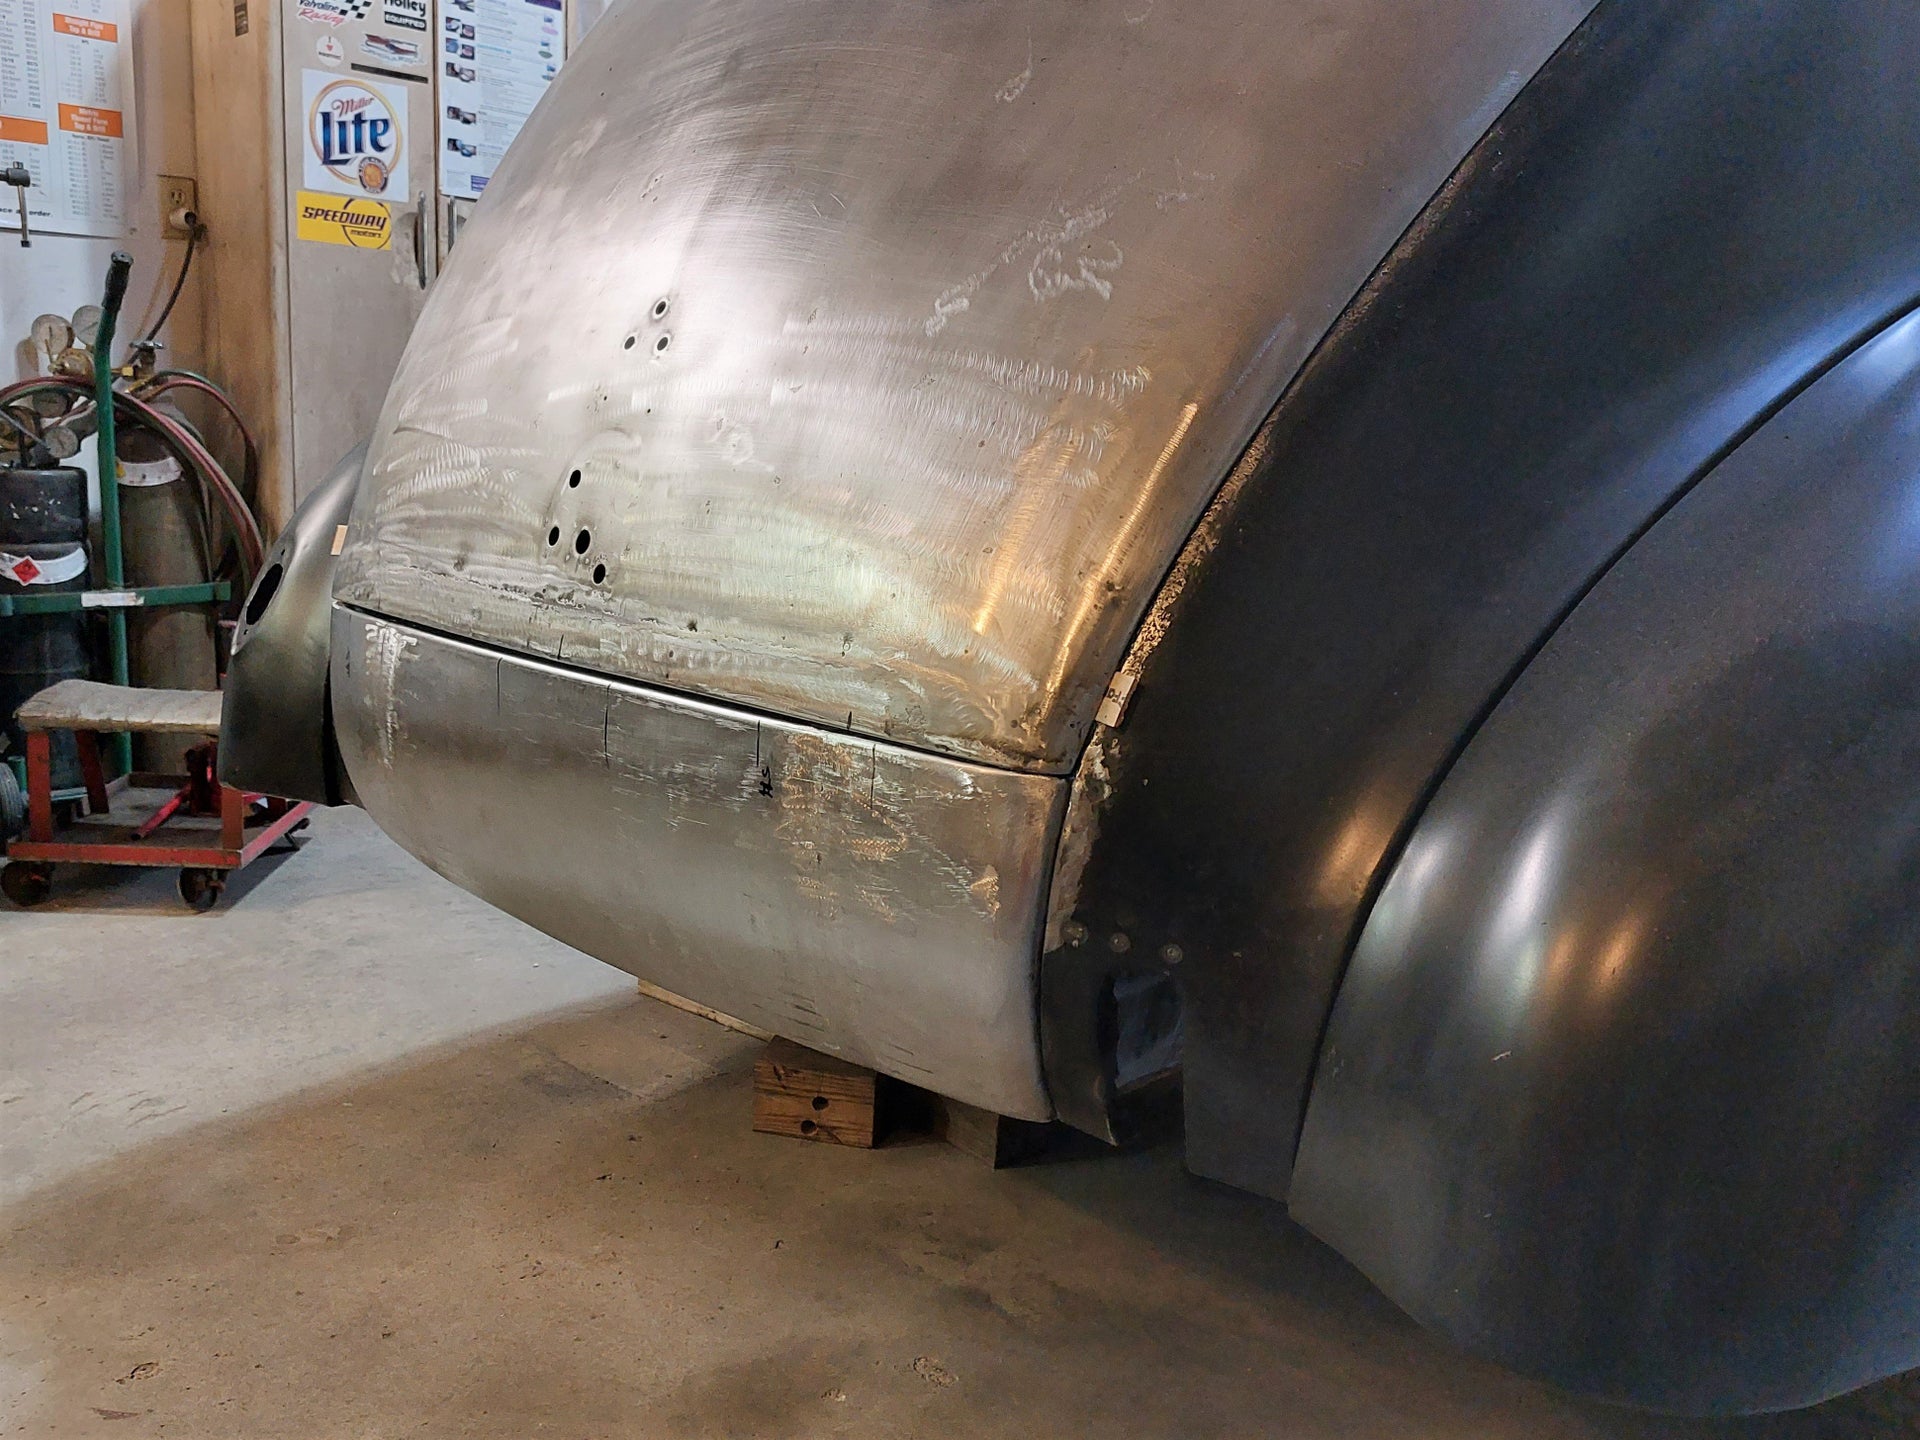
Looking pretty good at this point so time to punch some plug weld holes, get it lined up on the car again and clamp and screw it in place for final welding.
Finally welded in for keeps. I will still need to do some work on the trunk lid to get the gaps a little better but overall I am happy with the way it turned out. Not bad for my first attempt at making a complete piece like this.
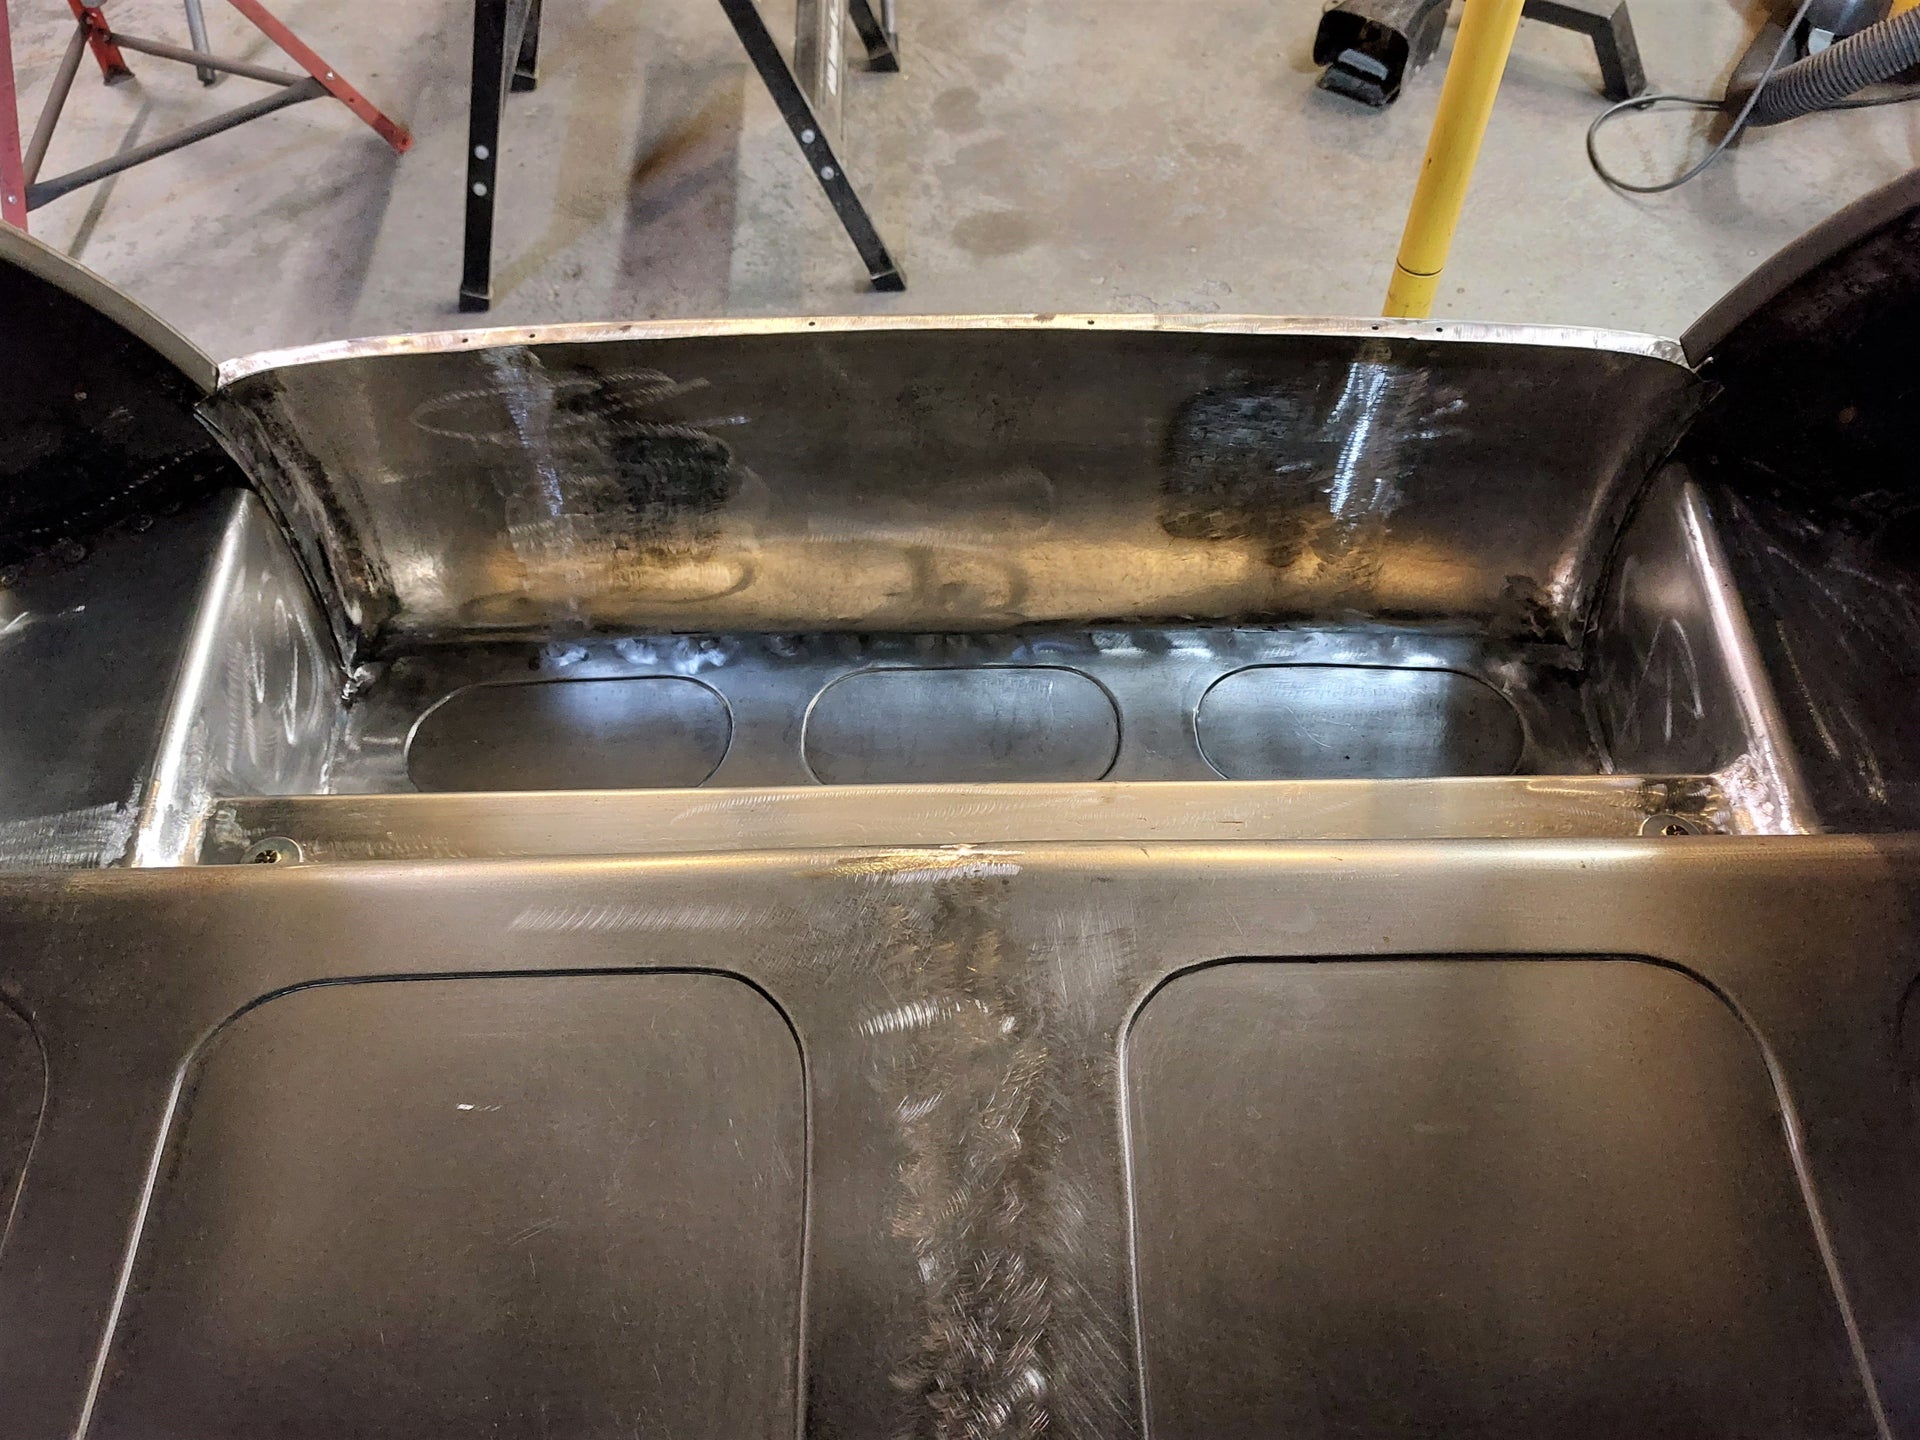
And a view from the inside. Next I need to form up and weld the weather strip channel to the the tail pan like I did on the rest of the trunk opening. Then the original factory braces that I removed will have to be replaced to call this a done deal but it is getting close. Sure is nice to not have any rust holes back there anymore!!
Brian

Wow she's got a nice booty!!

Sweet! Nice job!
Really nice work
Thanks guys!!
 Posting Permissions

 Reply With Quote