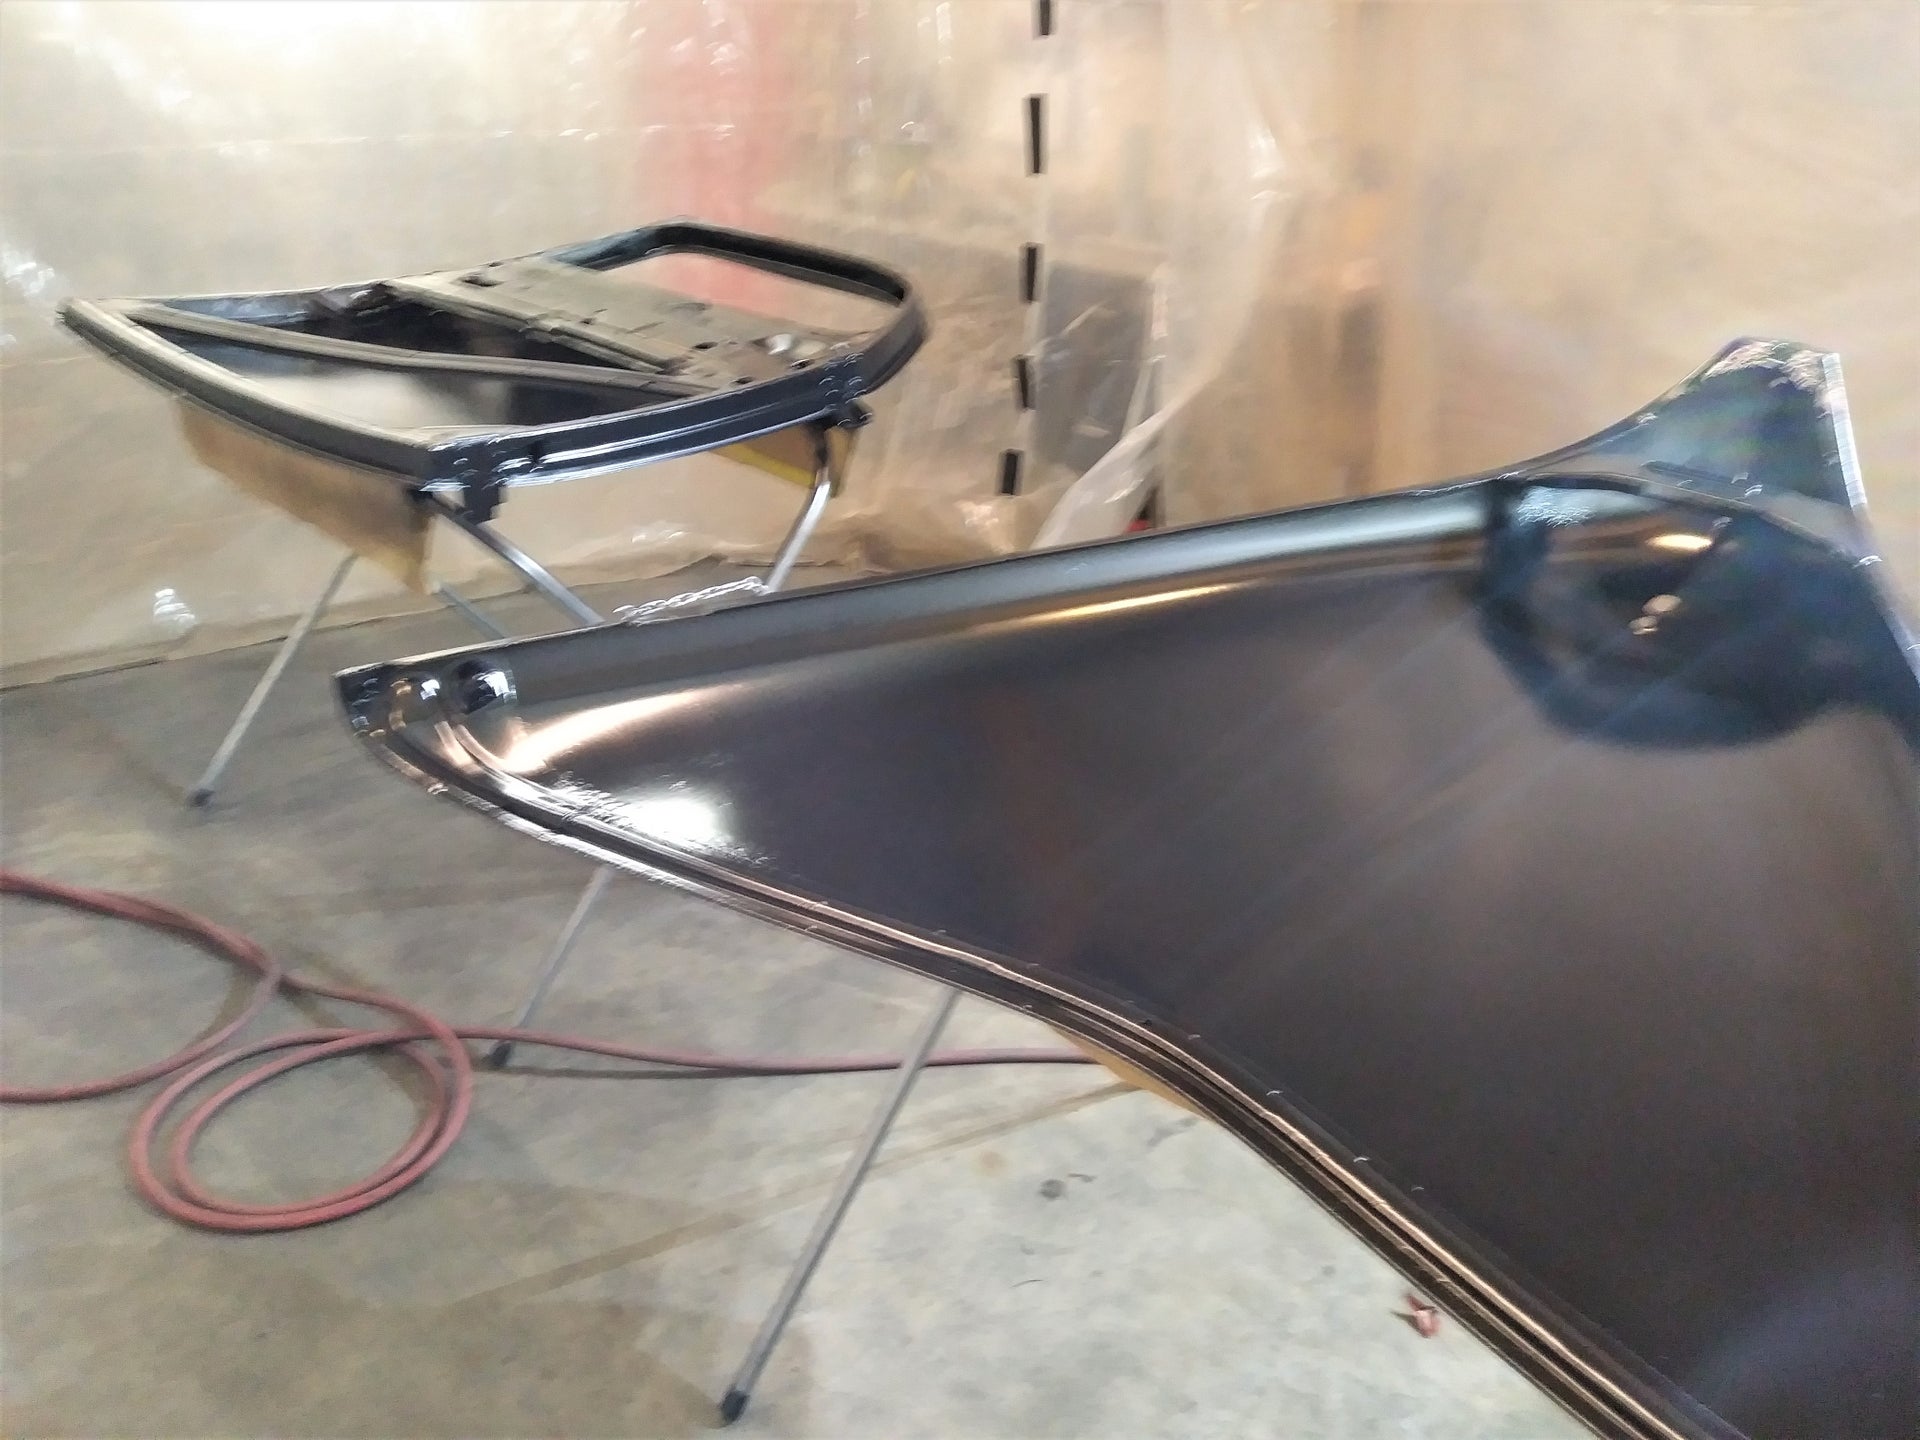
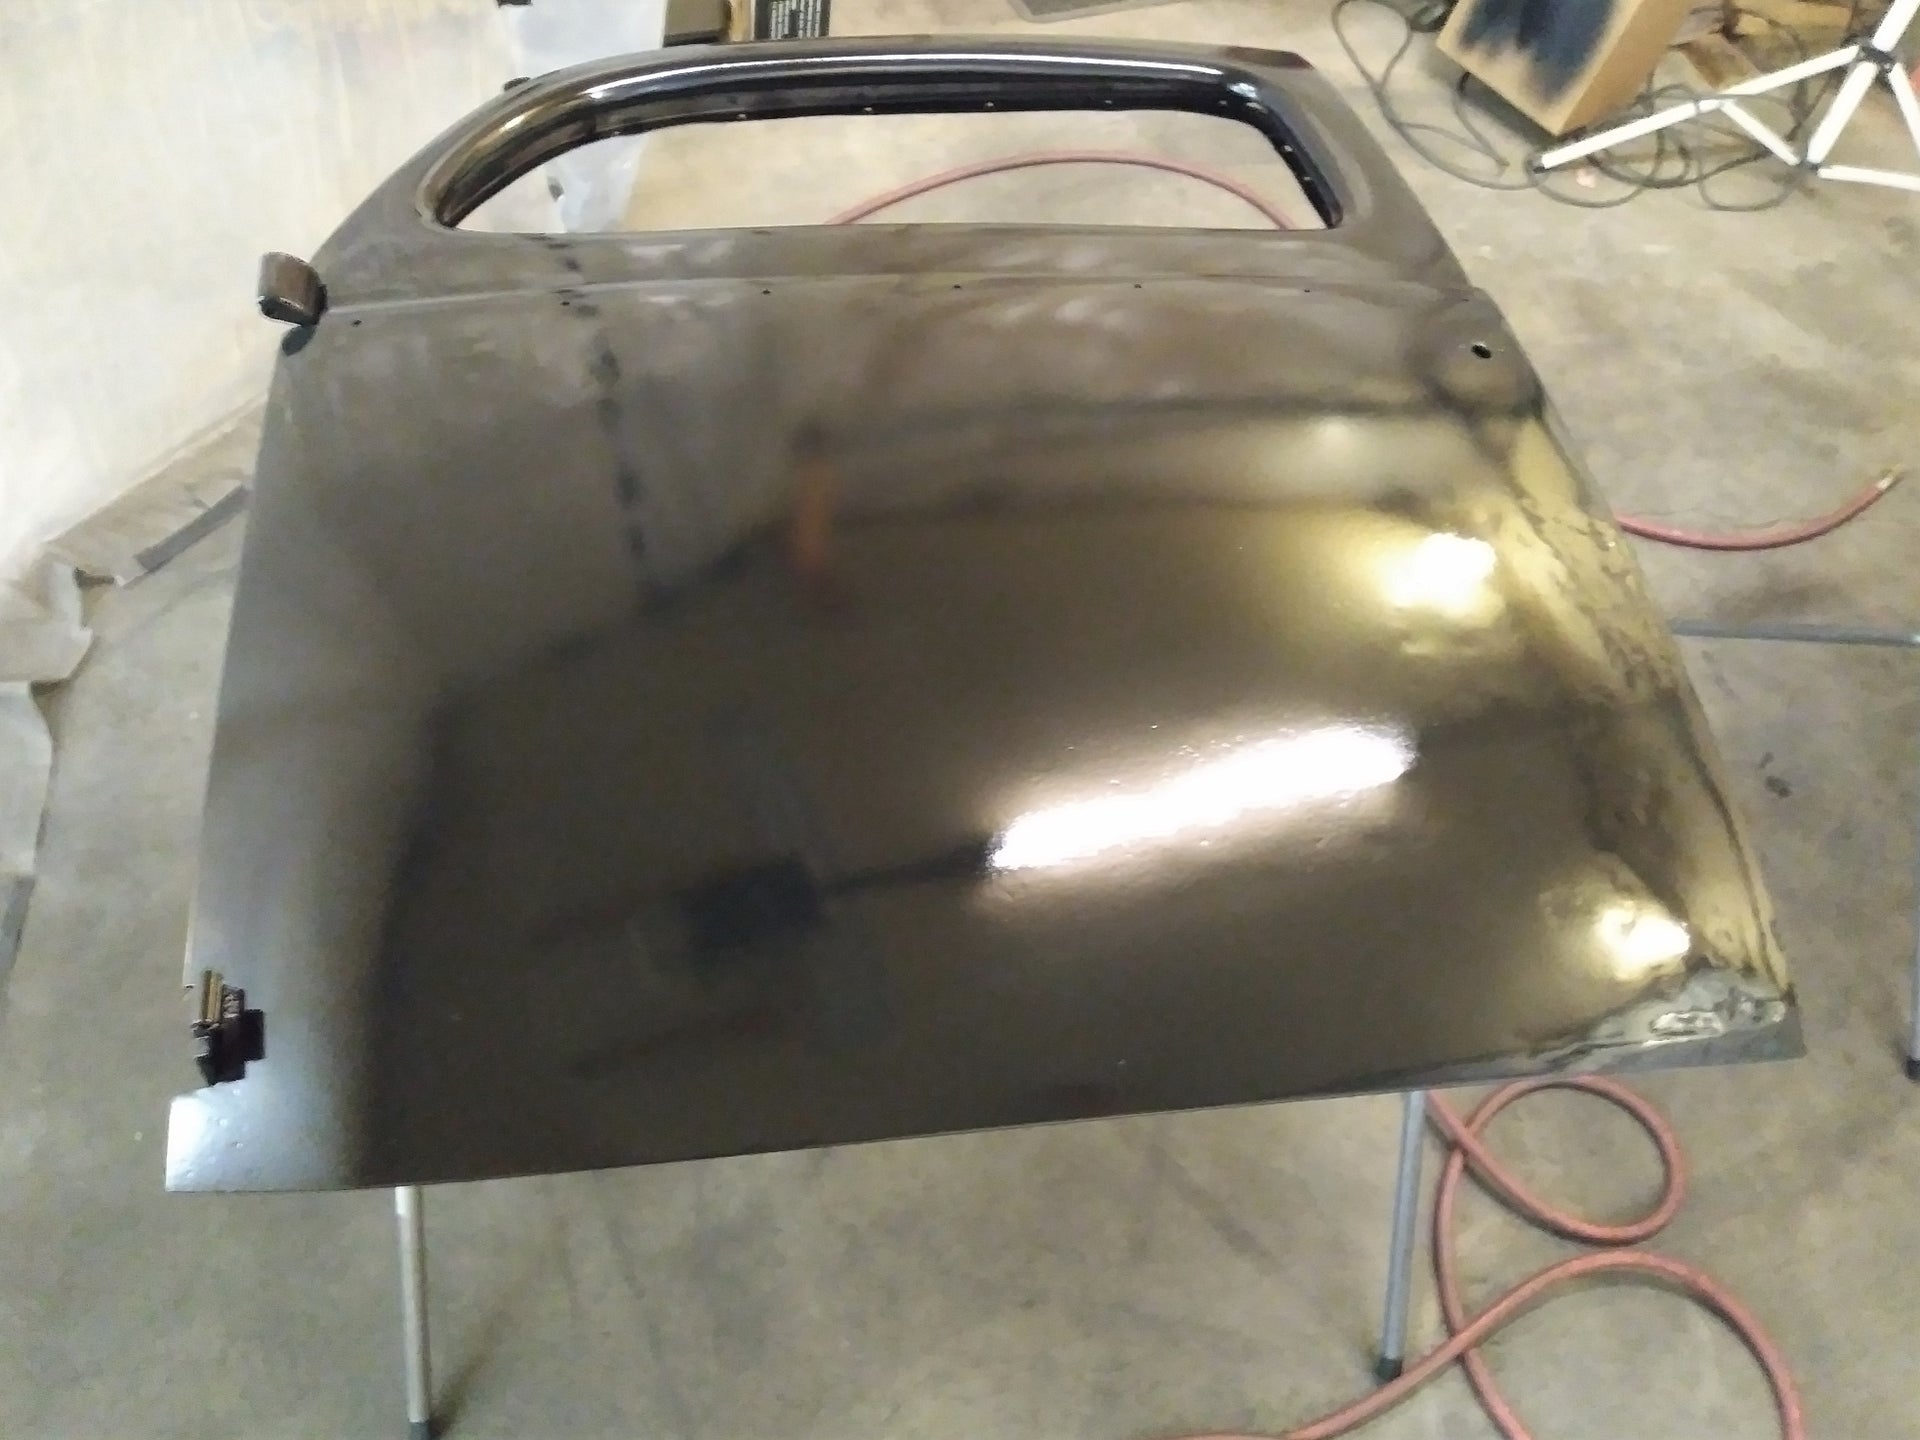
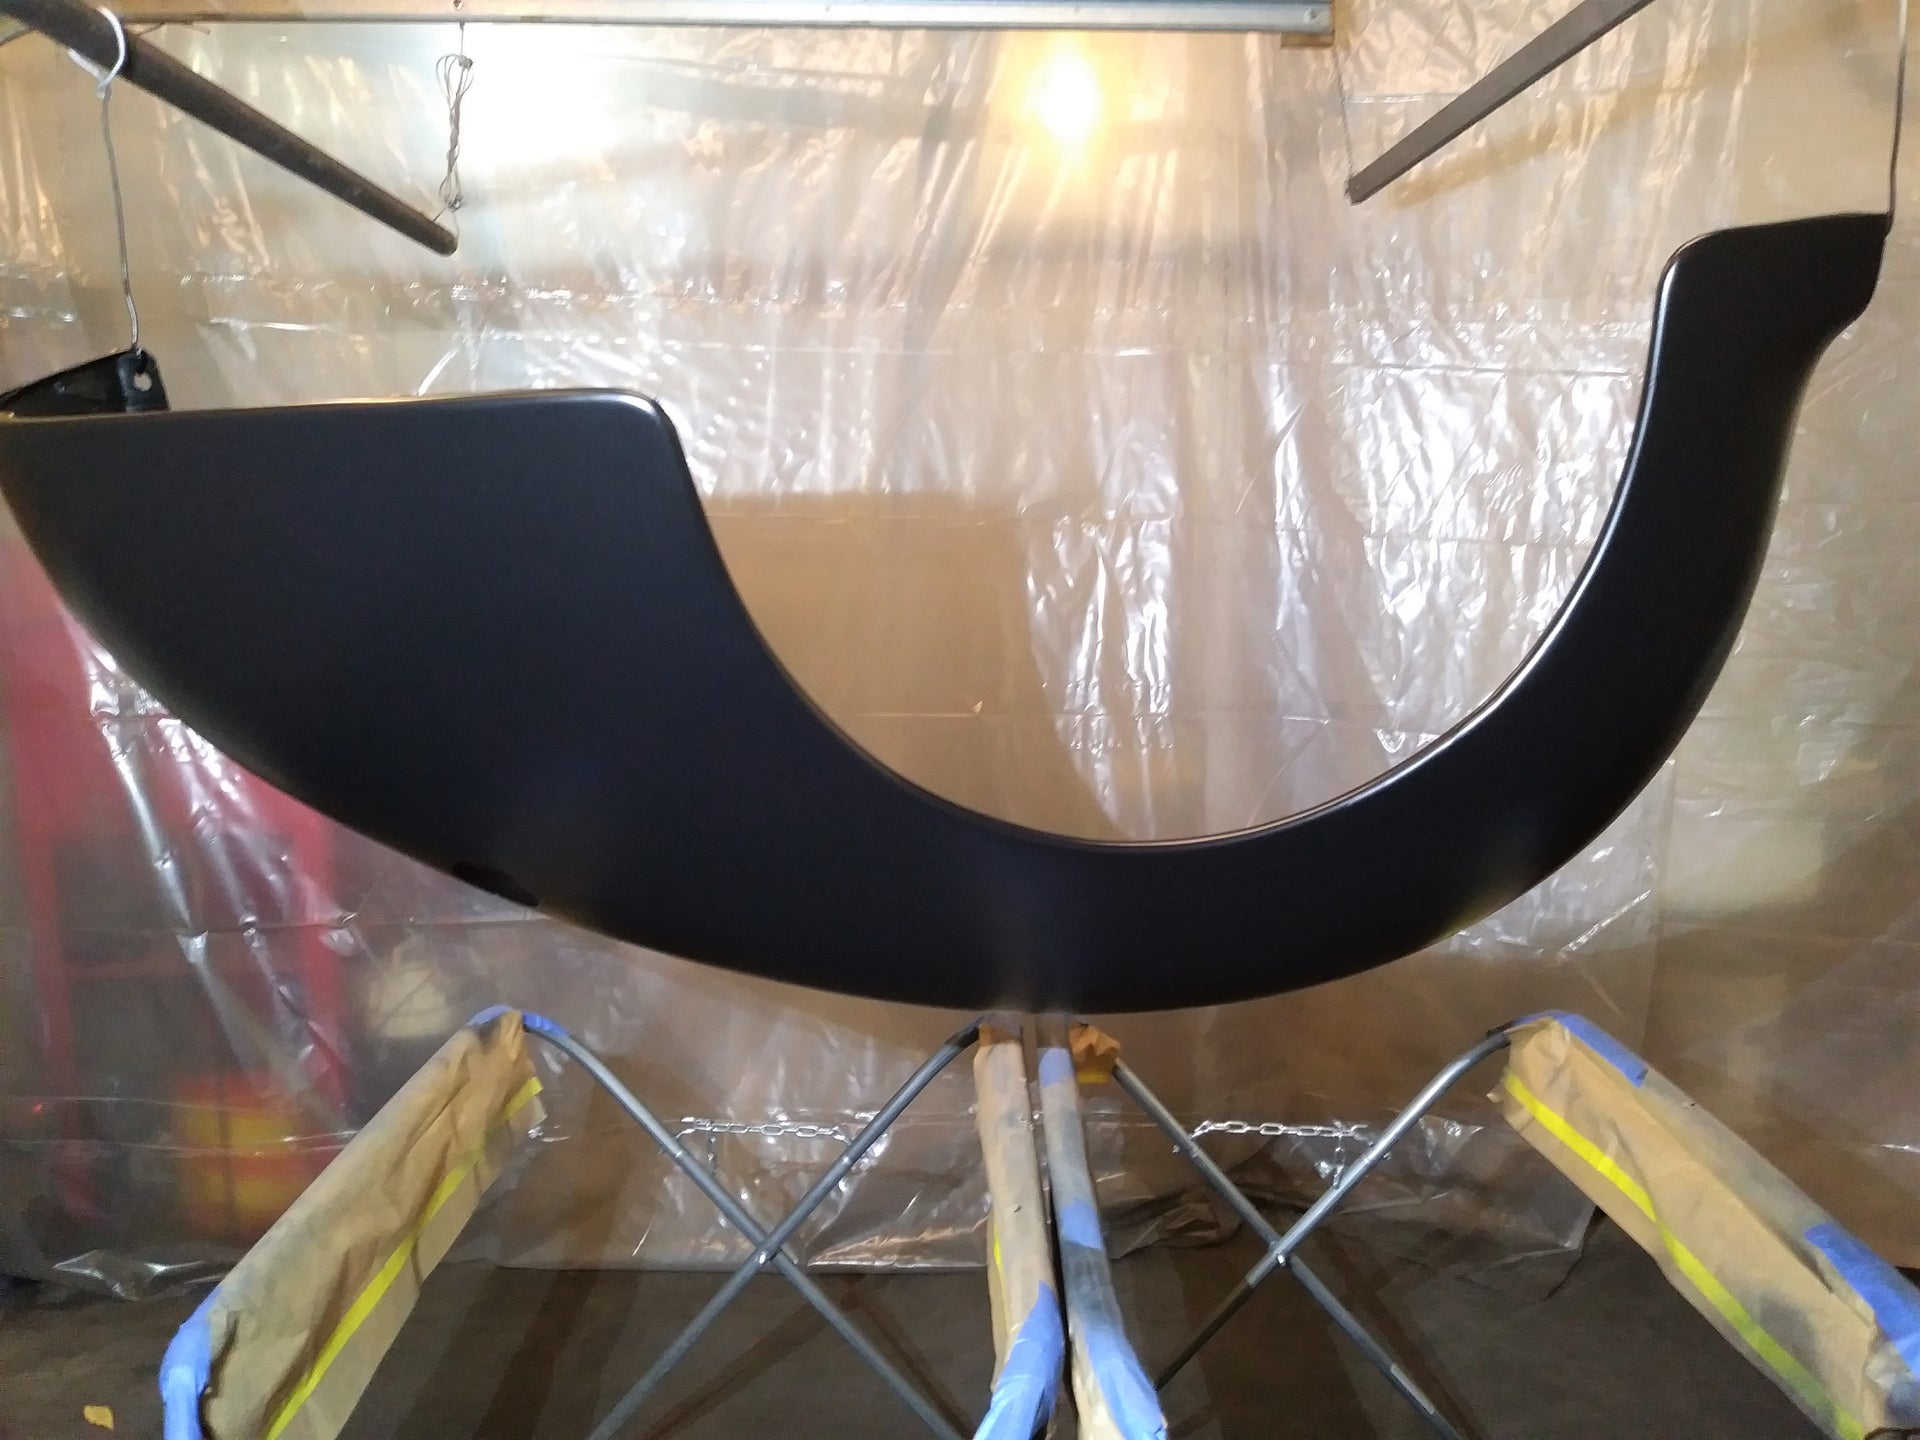
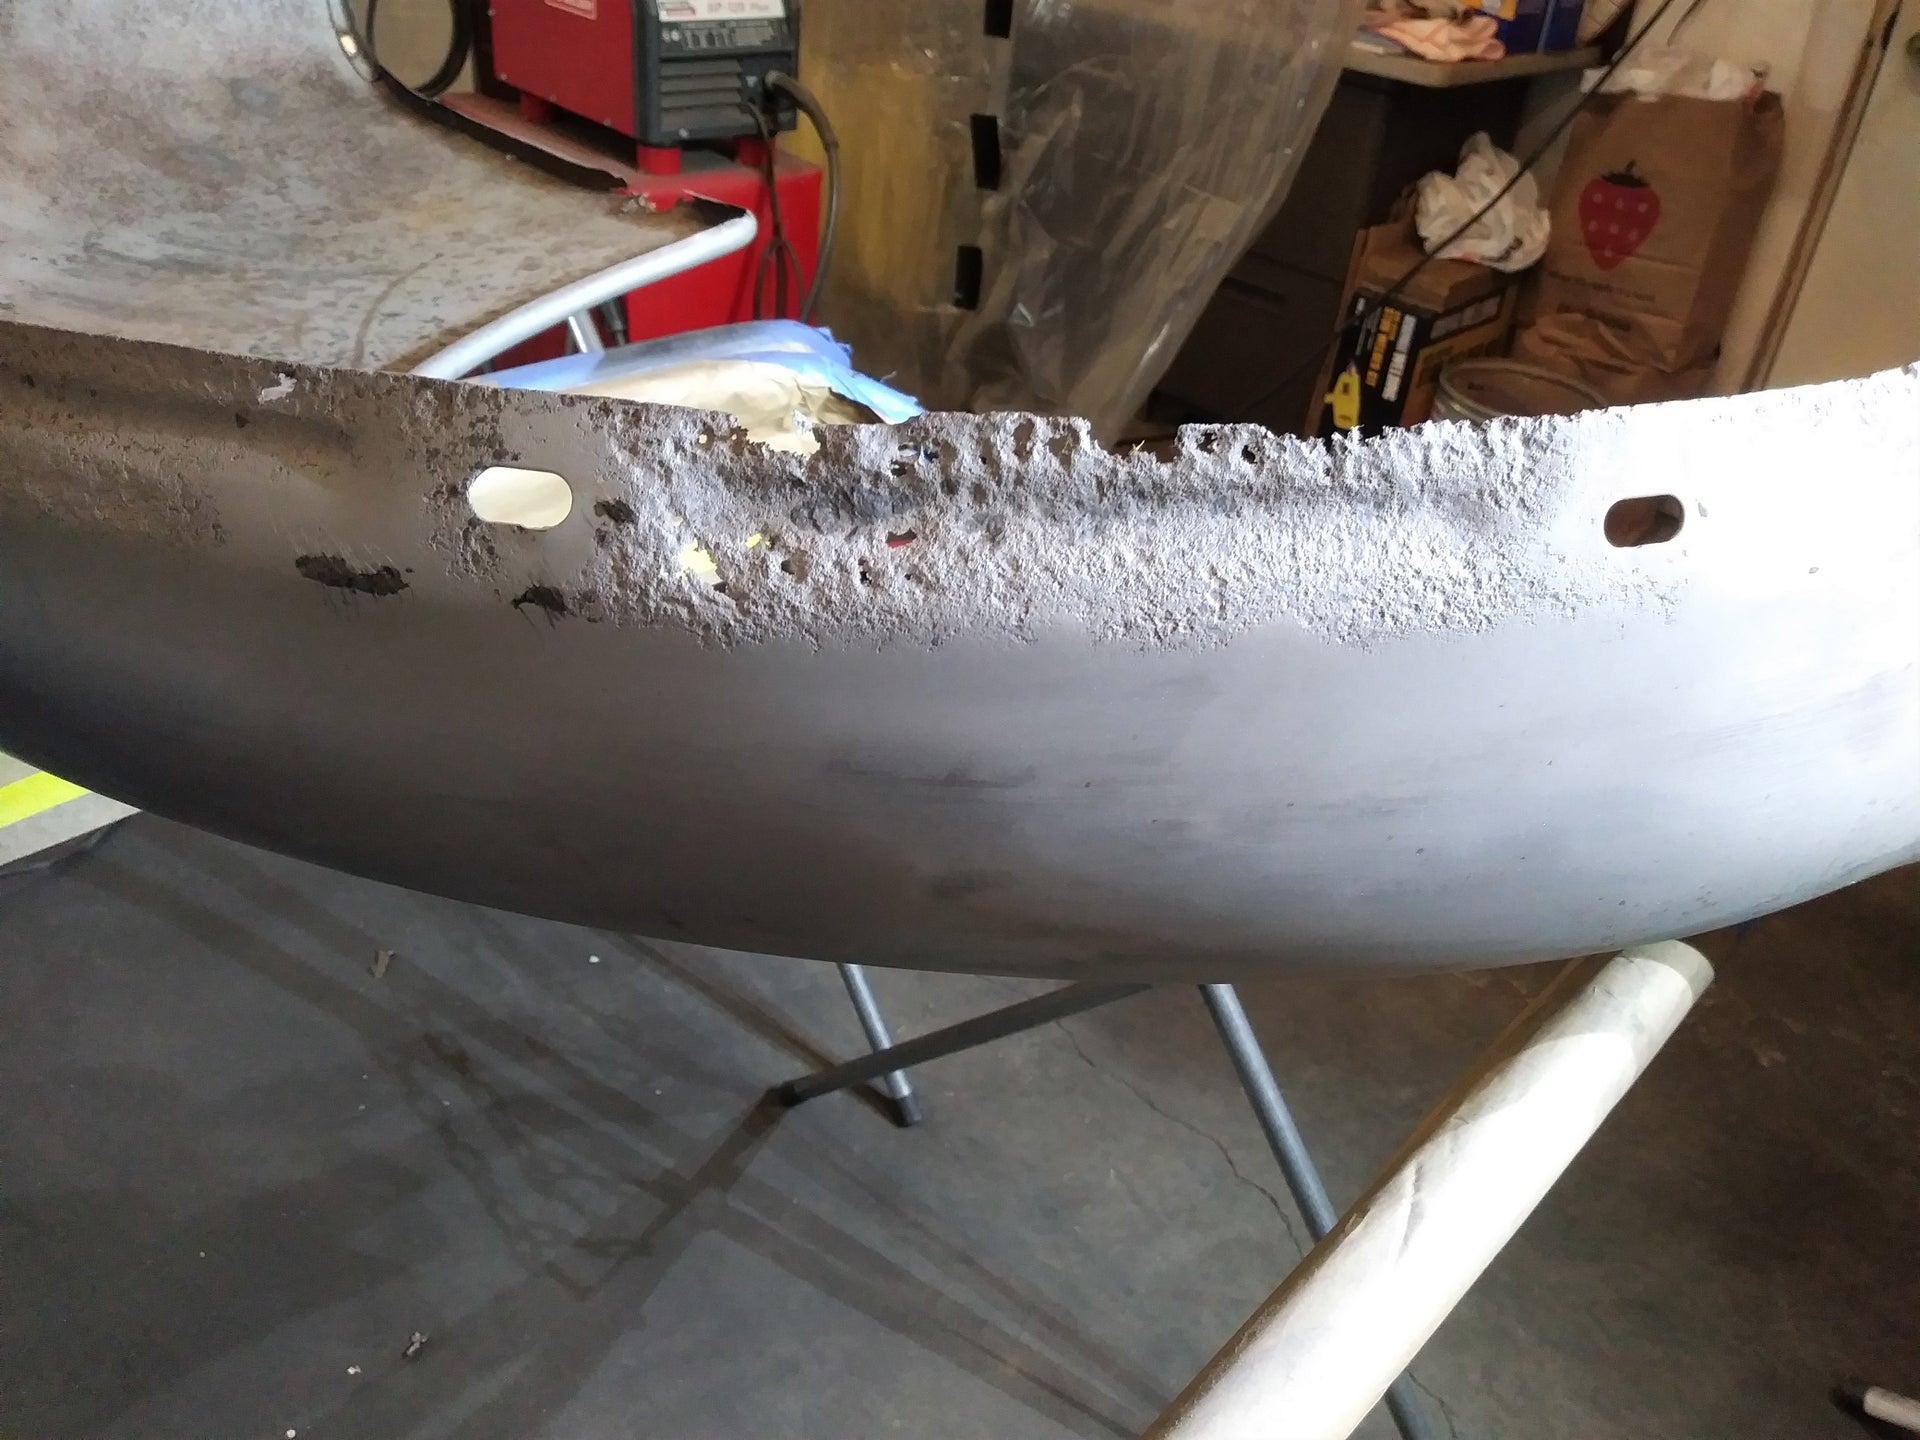
those 39 parts are looking great Brian, and are going to look even BETTER with some epoxy primer on them and all screwed back together.. Sorry to hear about your air compressor problem...
Speaking of 5 hp electric motors: My 50 yr old compressor (two stage IR pump, HUGE 5 hp motor, and replaced 80 gallon horiz tank). The 5 hp motor on that compressor (I think it's original) is approximately 4X larger physically than the 'so called' 5-hp electric motors that have been available the past 30 yrs or so... Makes me wonder how the ways the specs are written and tested have changed?
Speaking of 5 hp electric motors: My 50 yr old compressor (two stage IR pump, HUGE 5 hp motor, and replaced 80 gallon horiz tank). The 5 hp motor on that compressor (I think it's original) is approximately 4X larger physically than the 'so called' 5-hp electric motors that have been available the past 30 yrs or so... Makes me wonder how the ways the specs are written and tested have changed?


Comment