


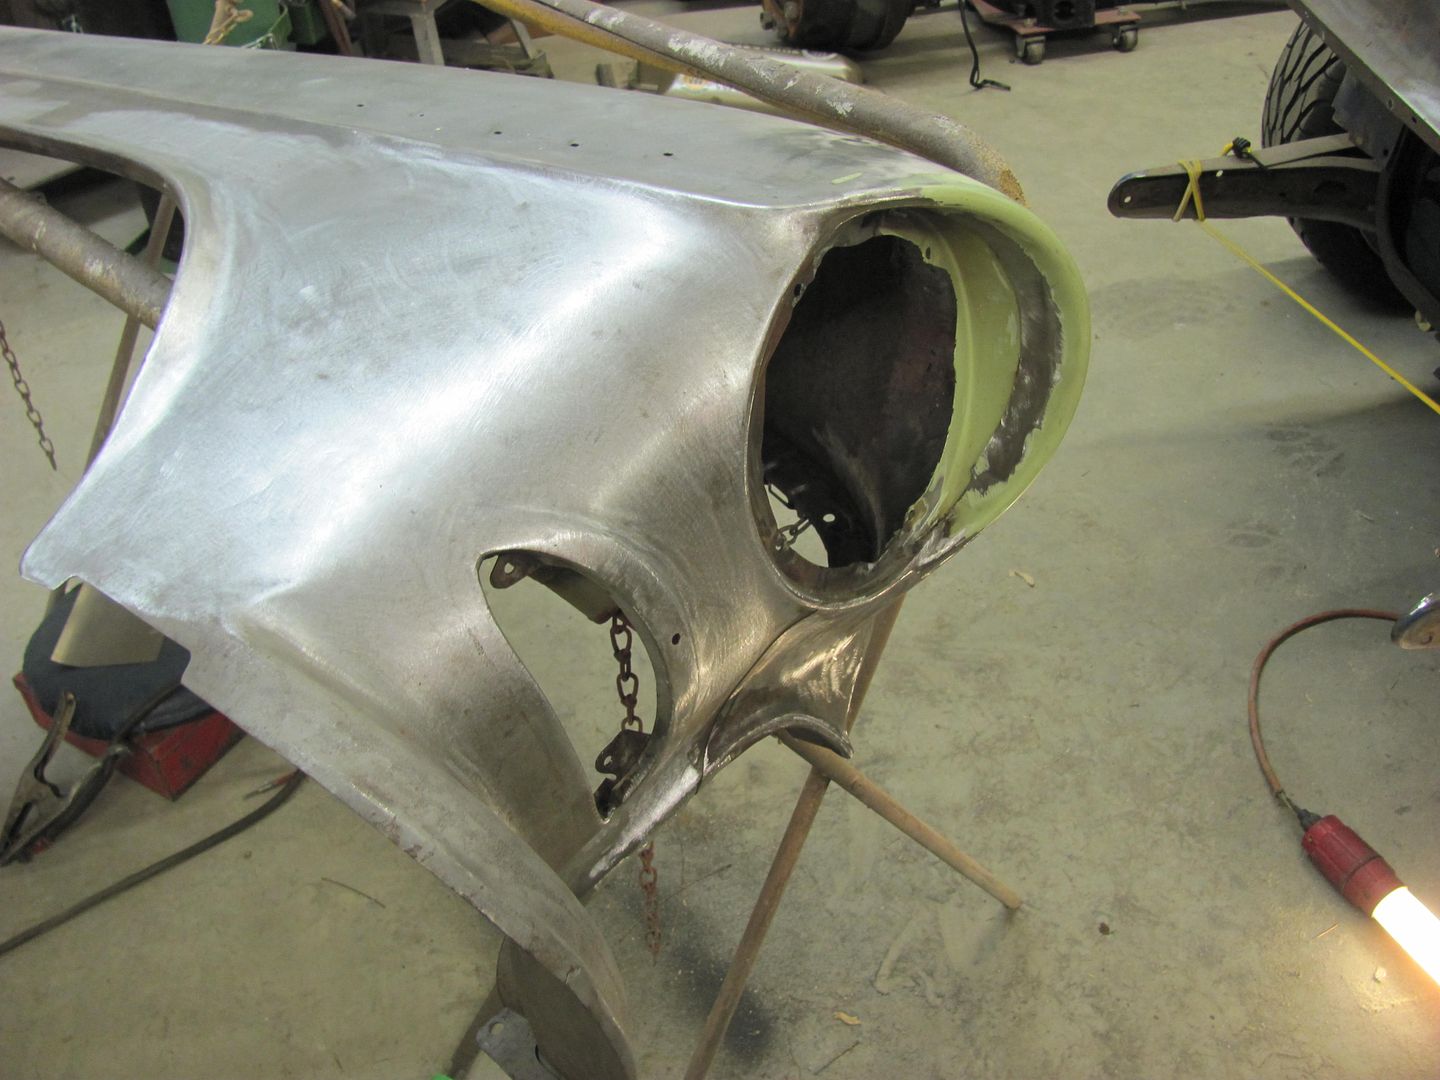
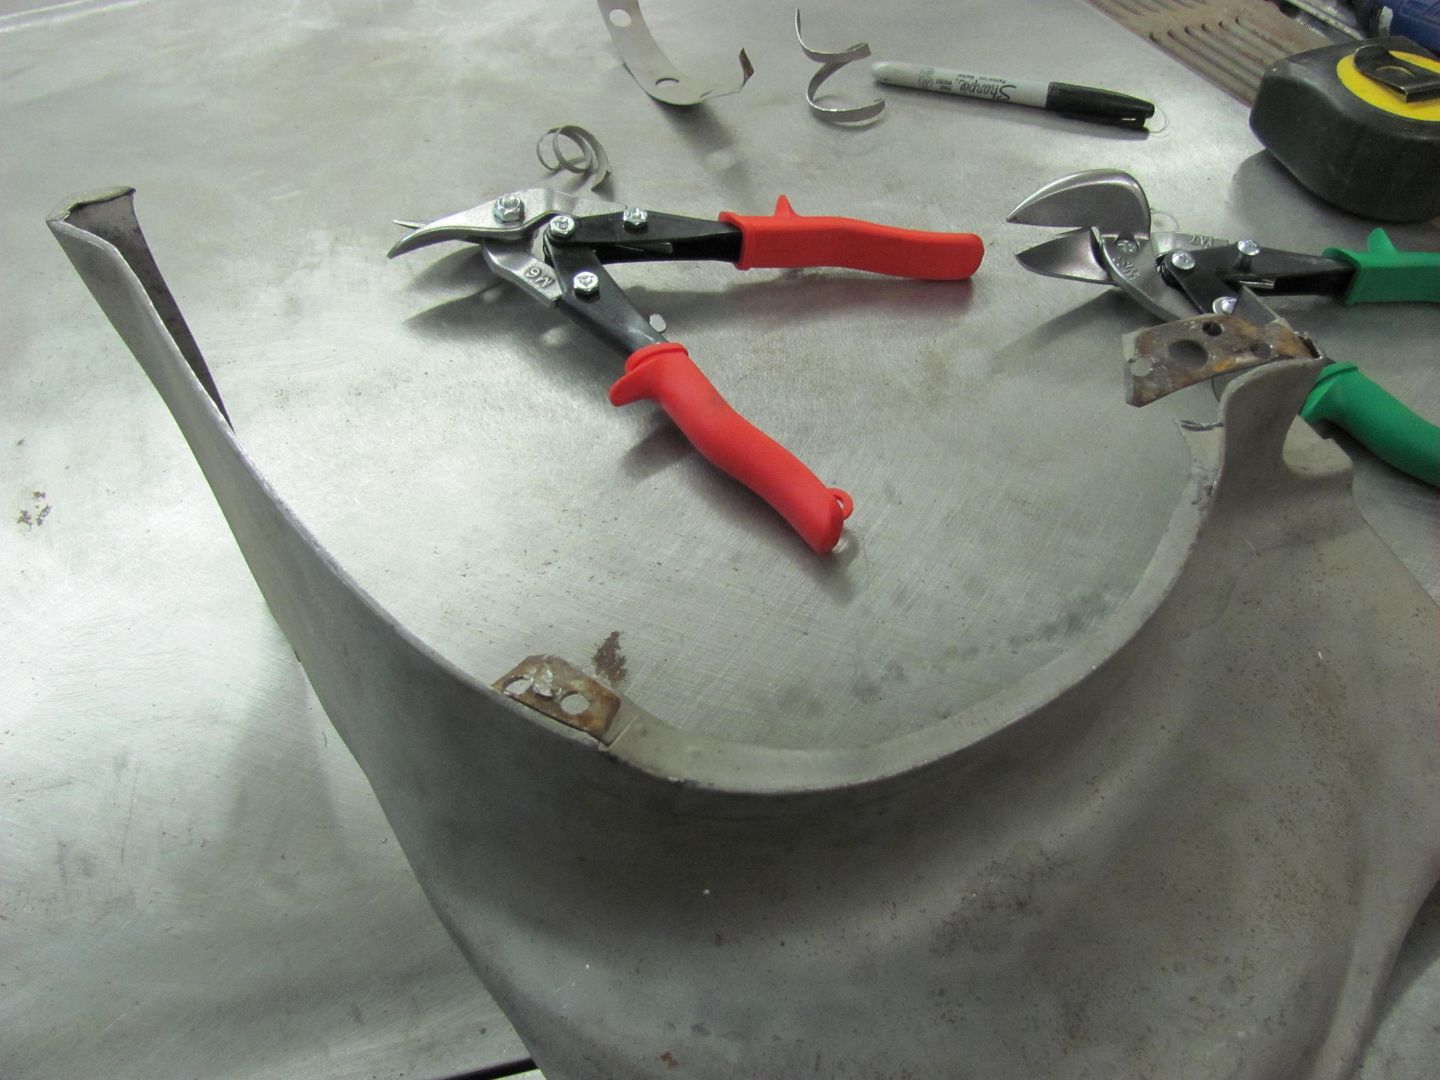
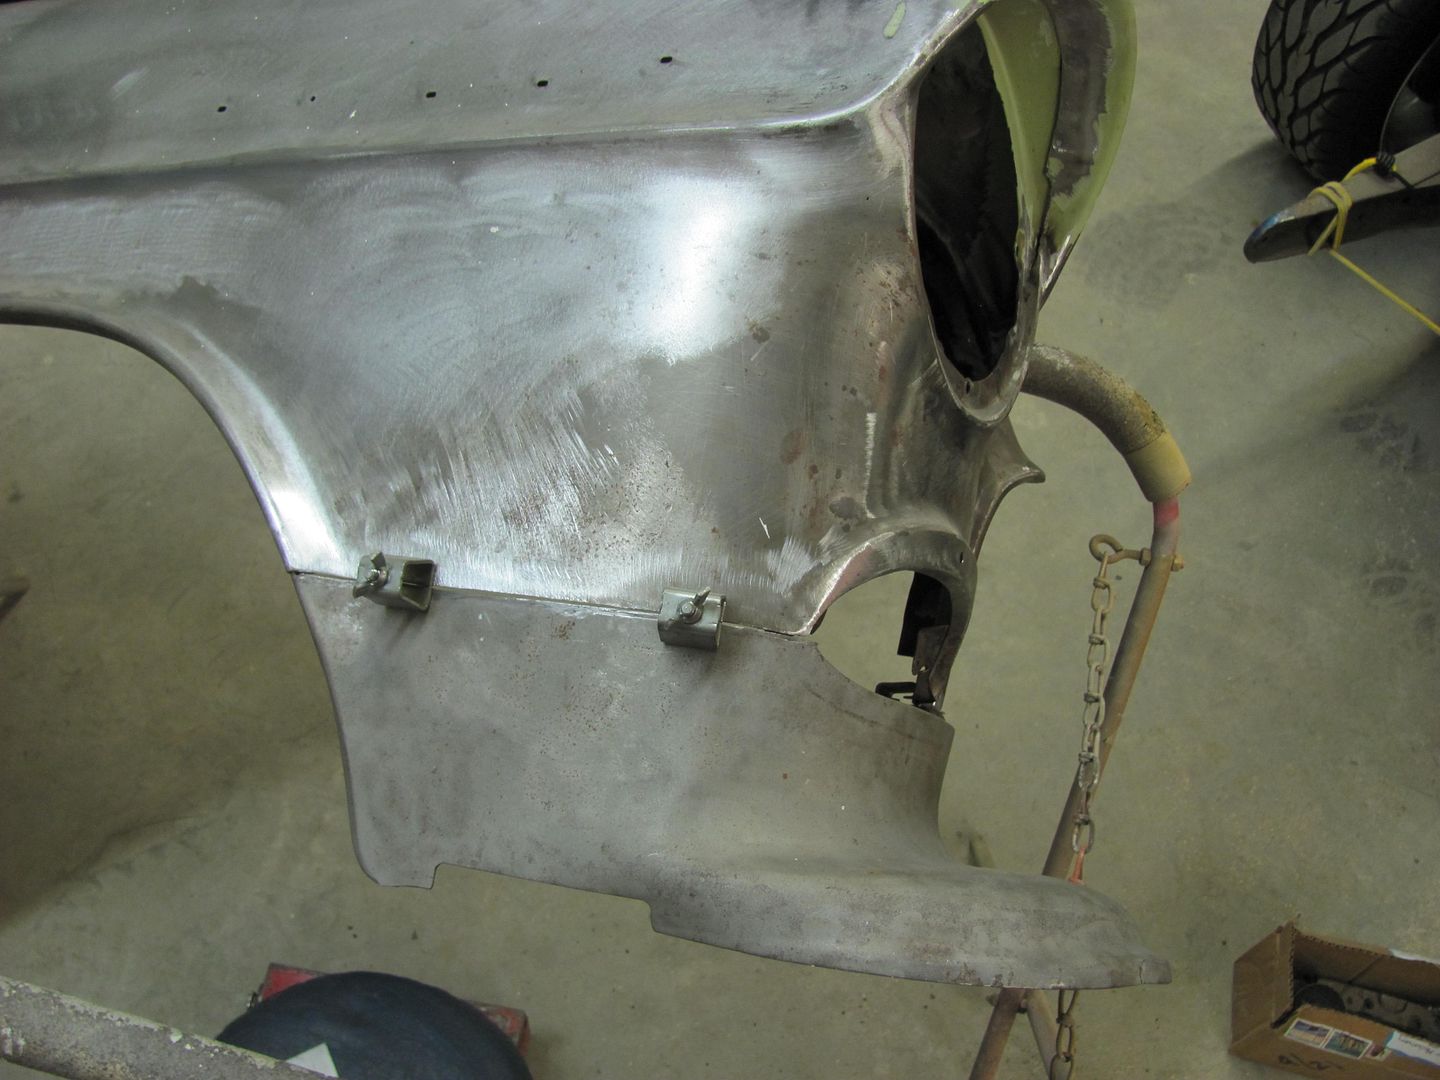
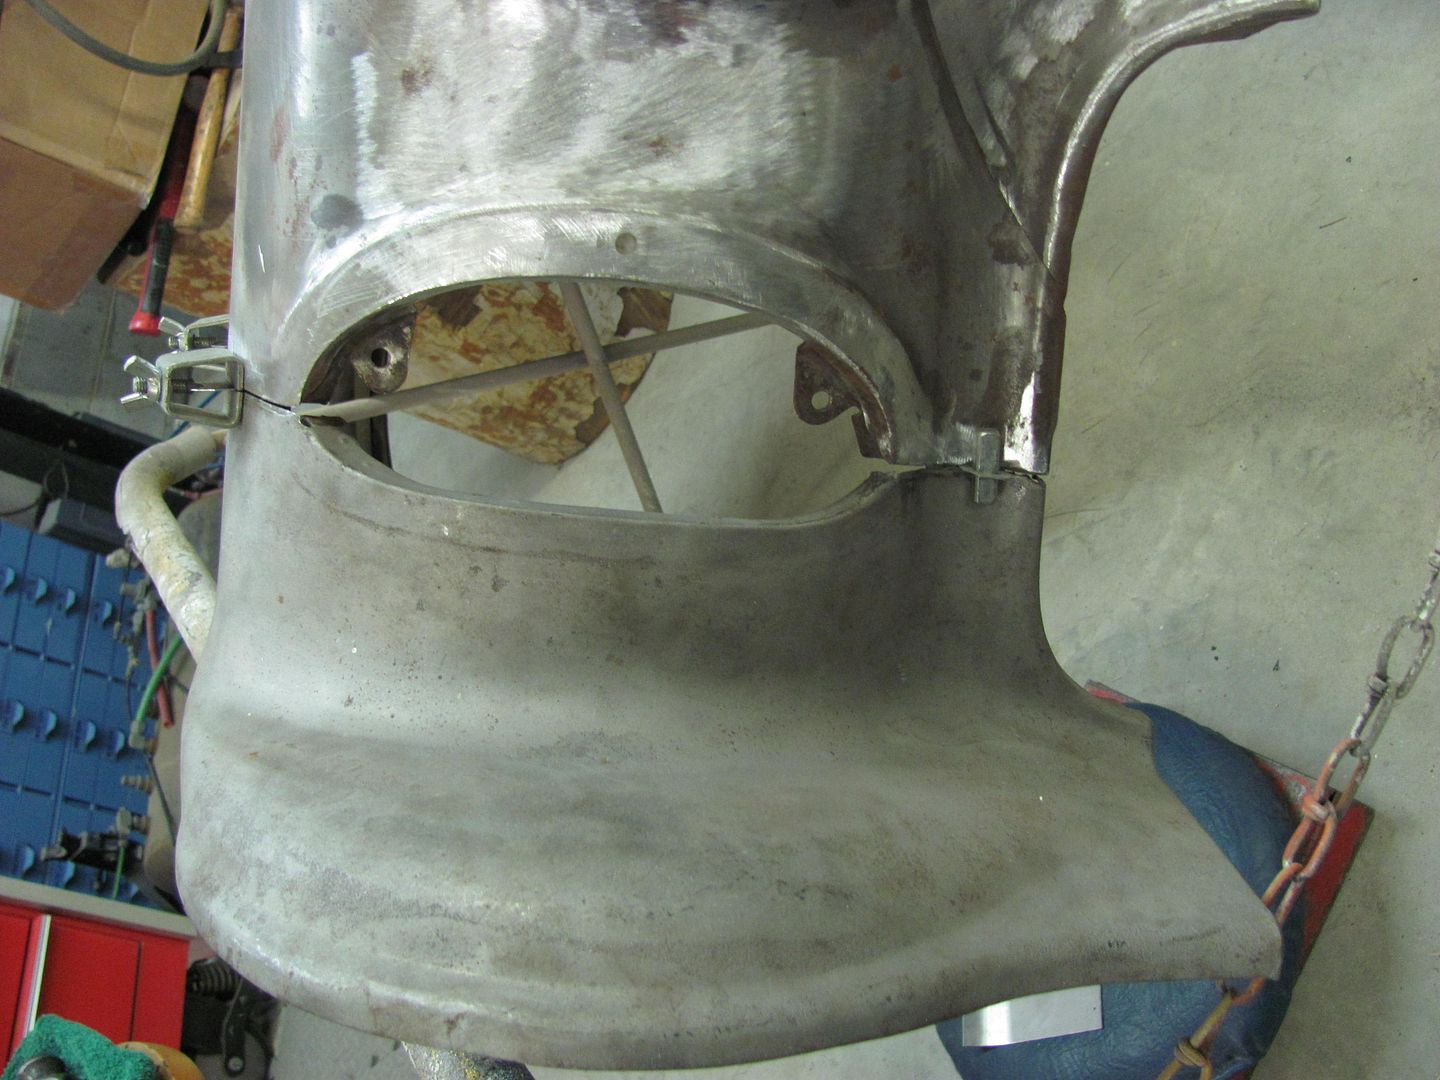
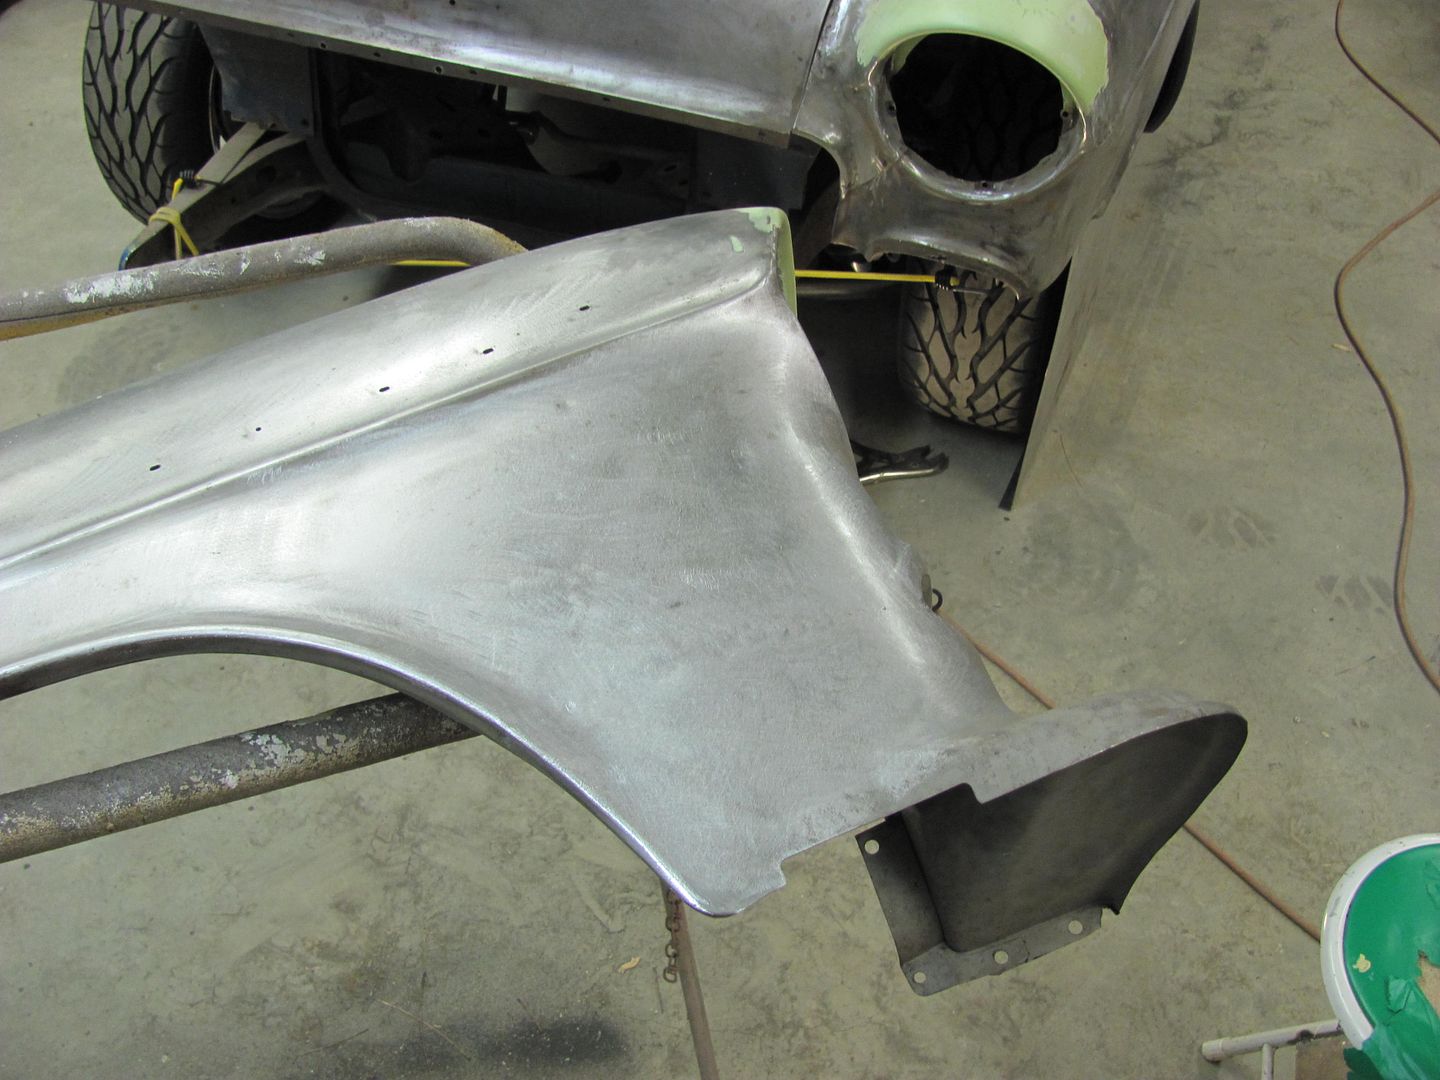
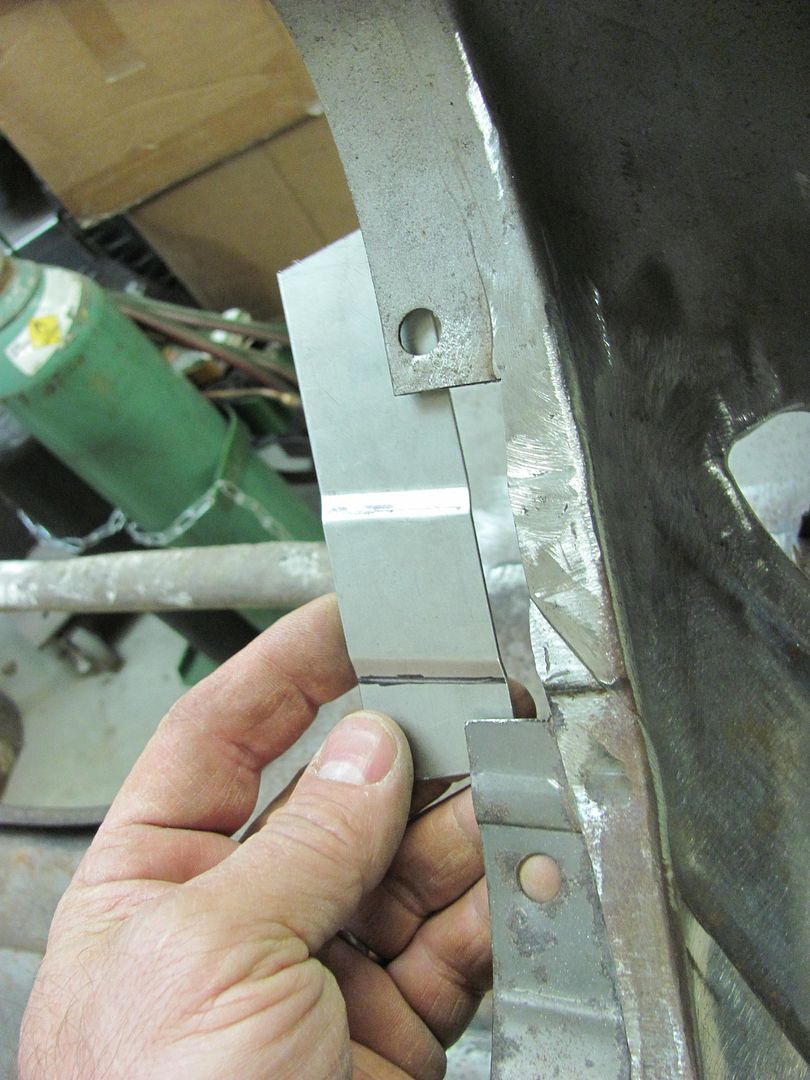
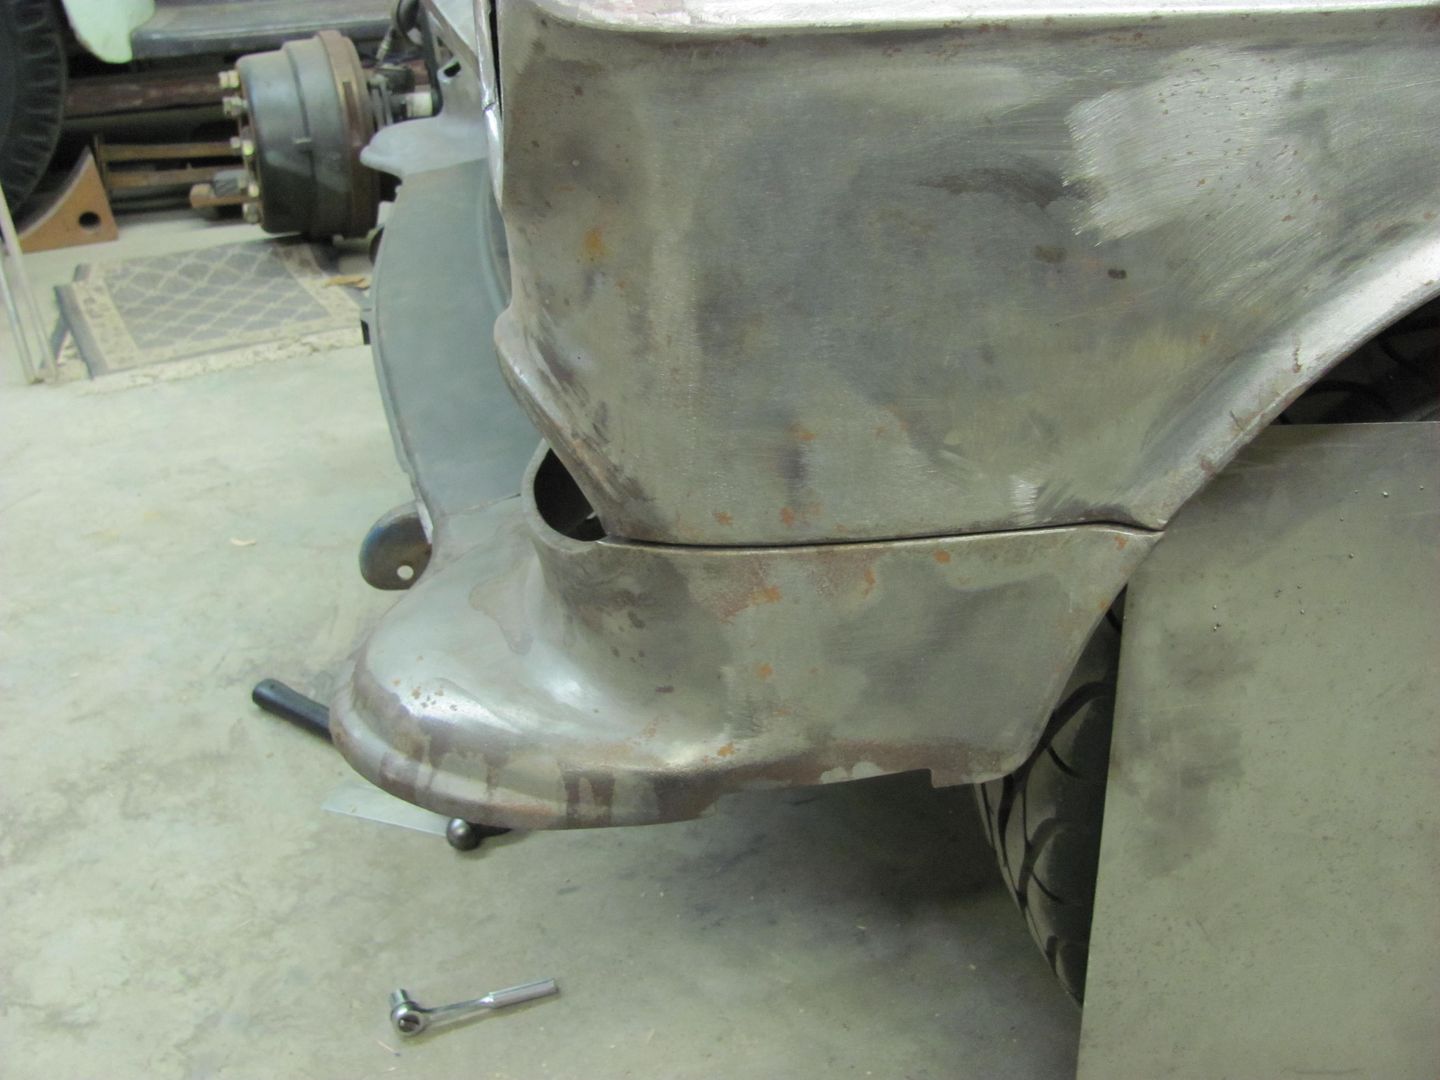
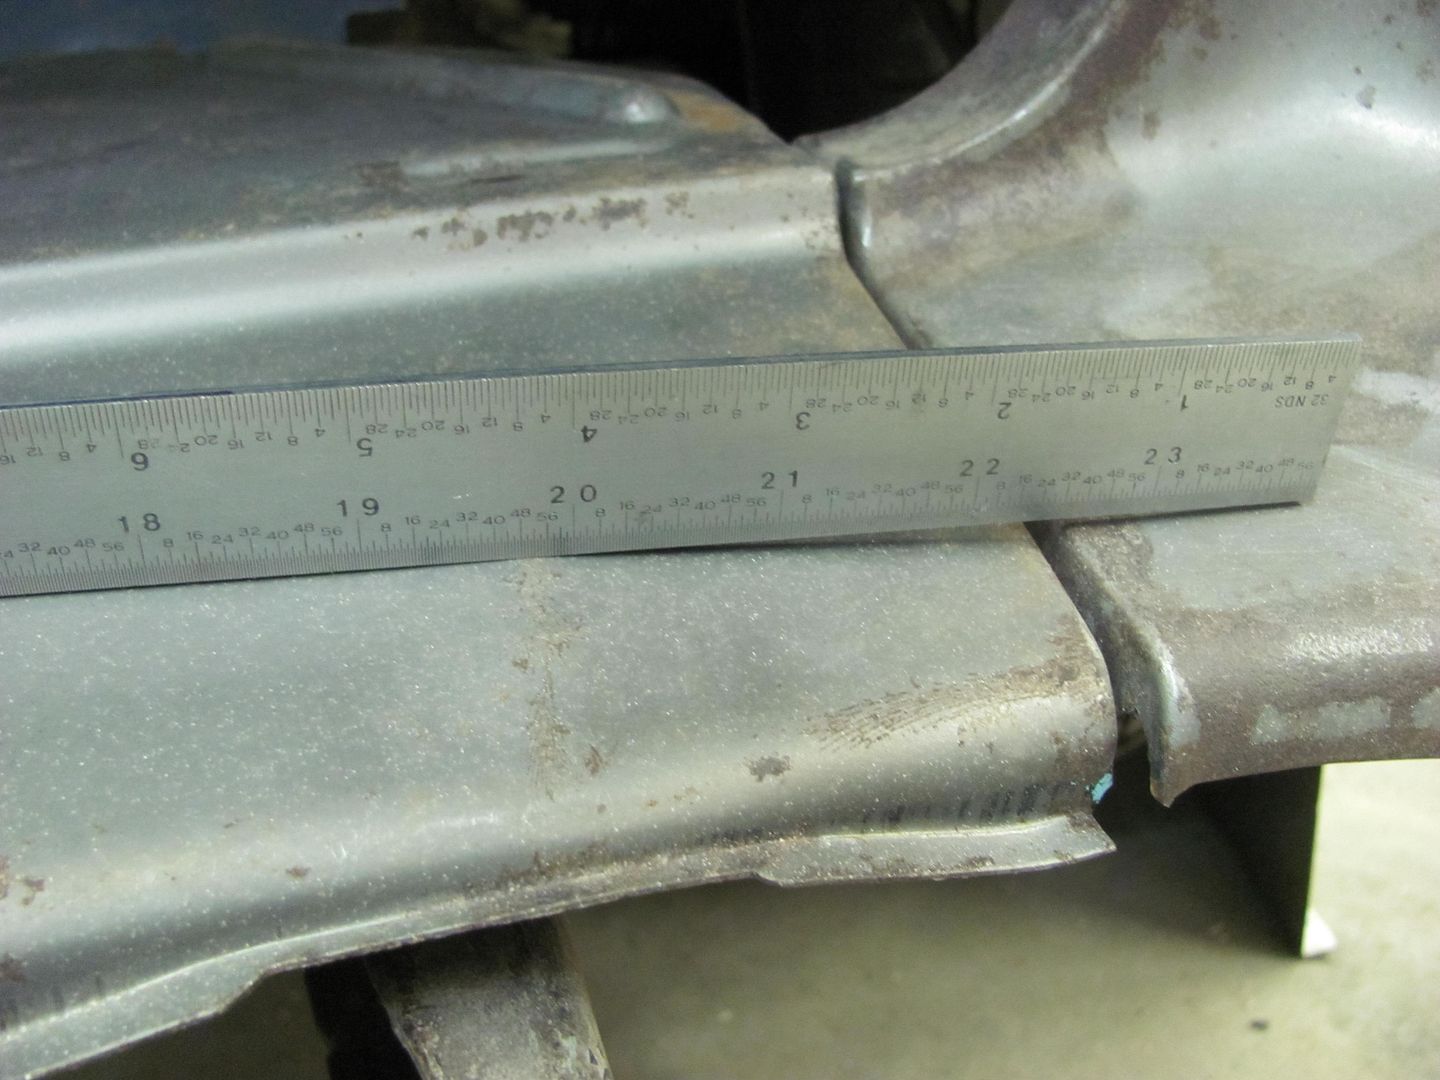
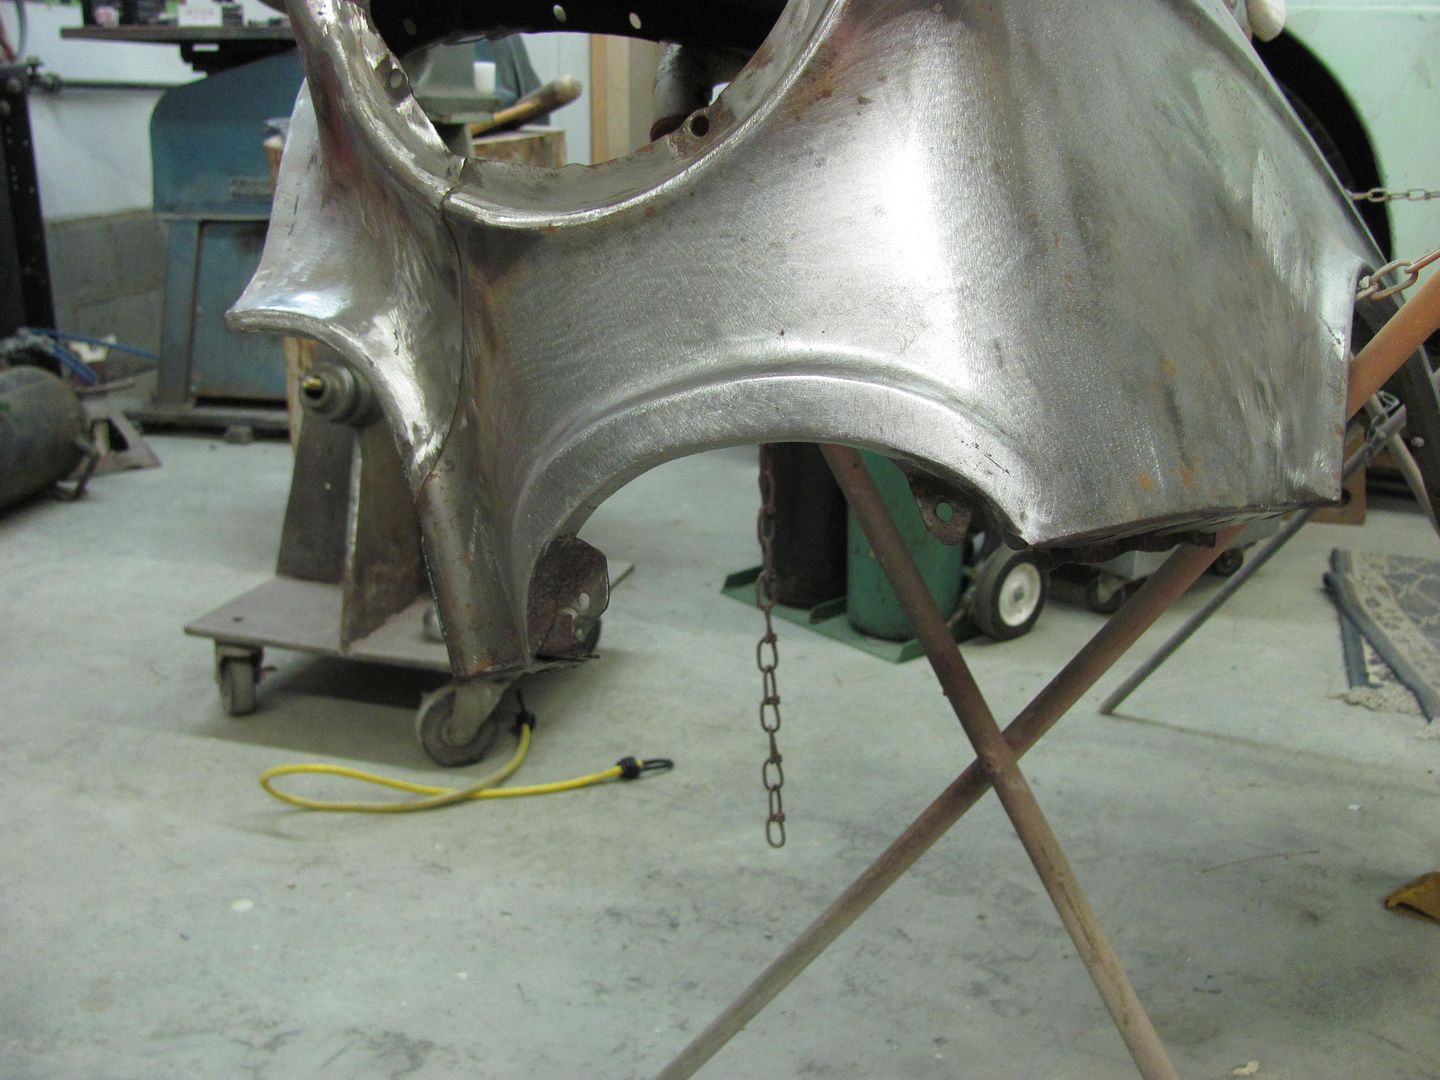
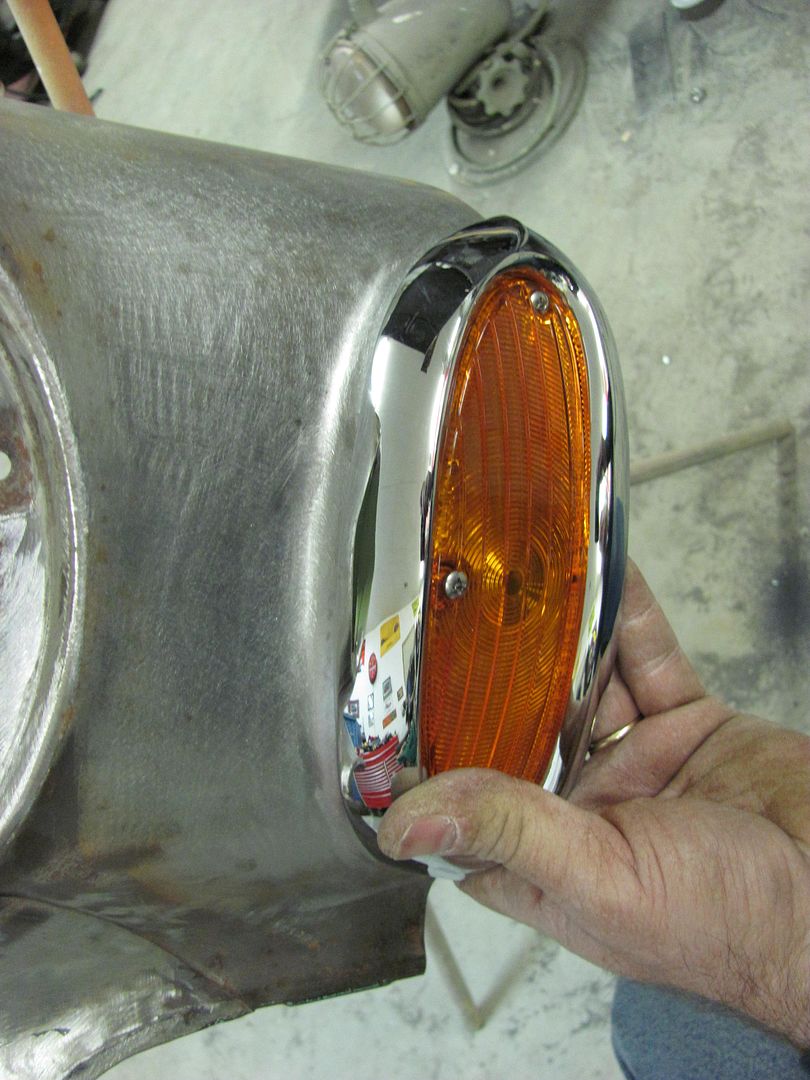
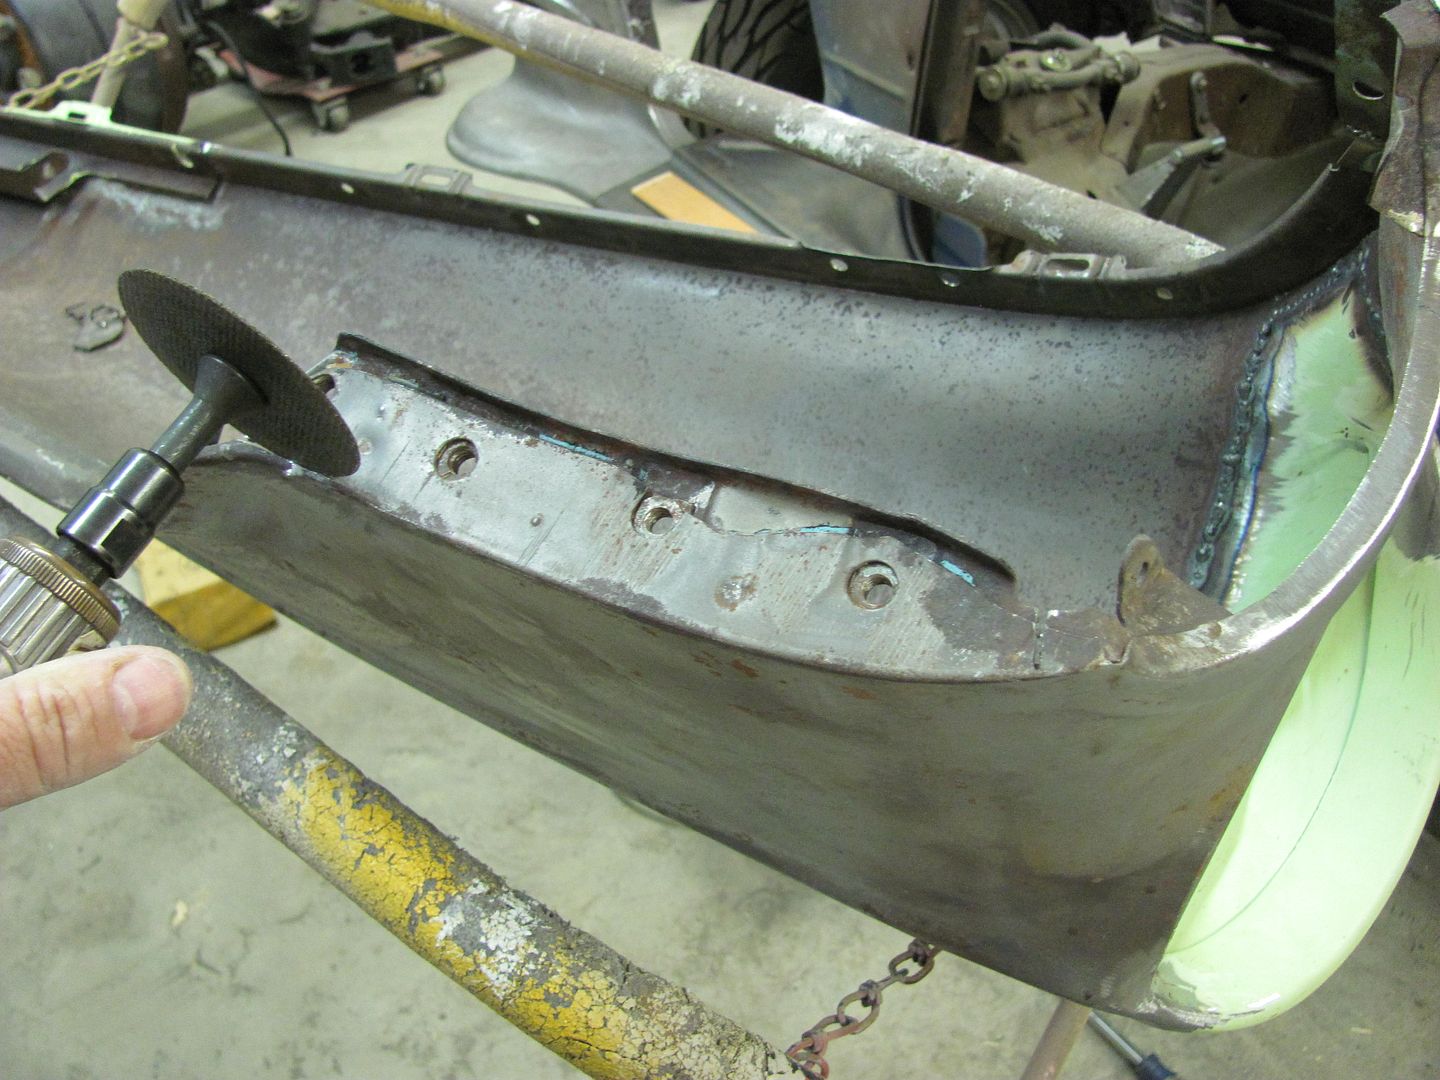
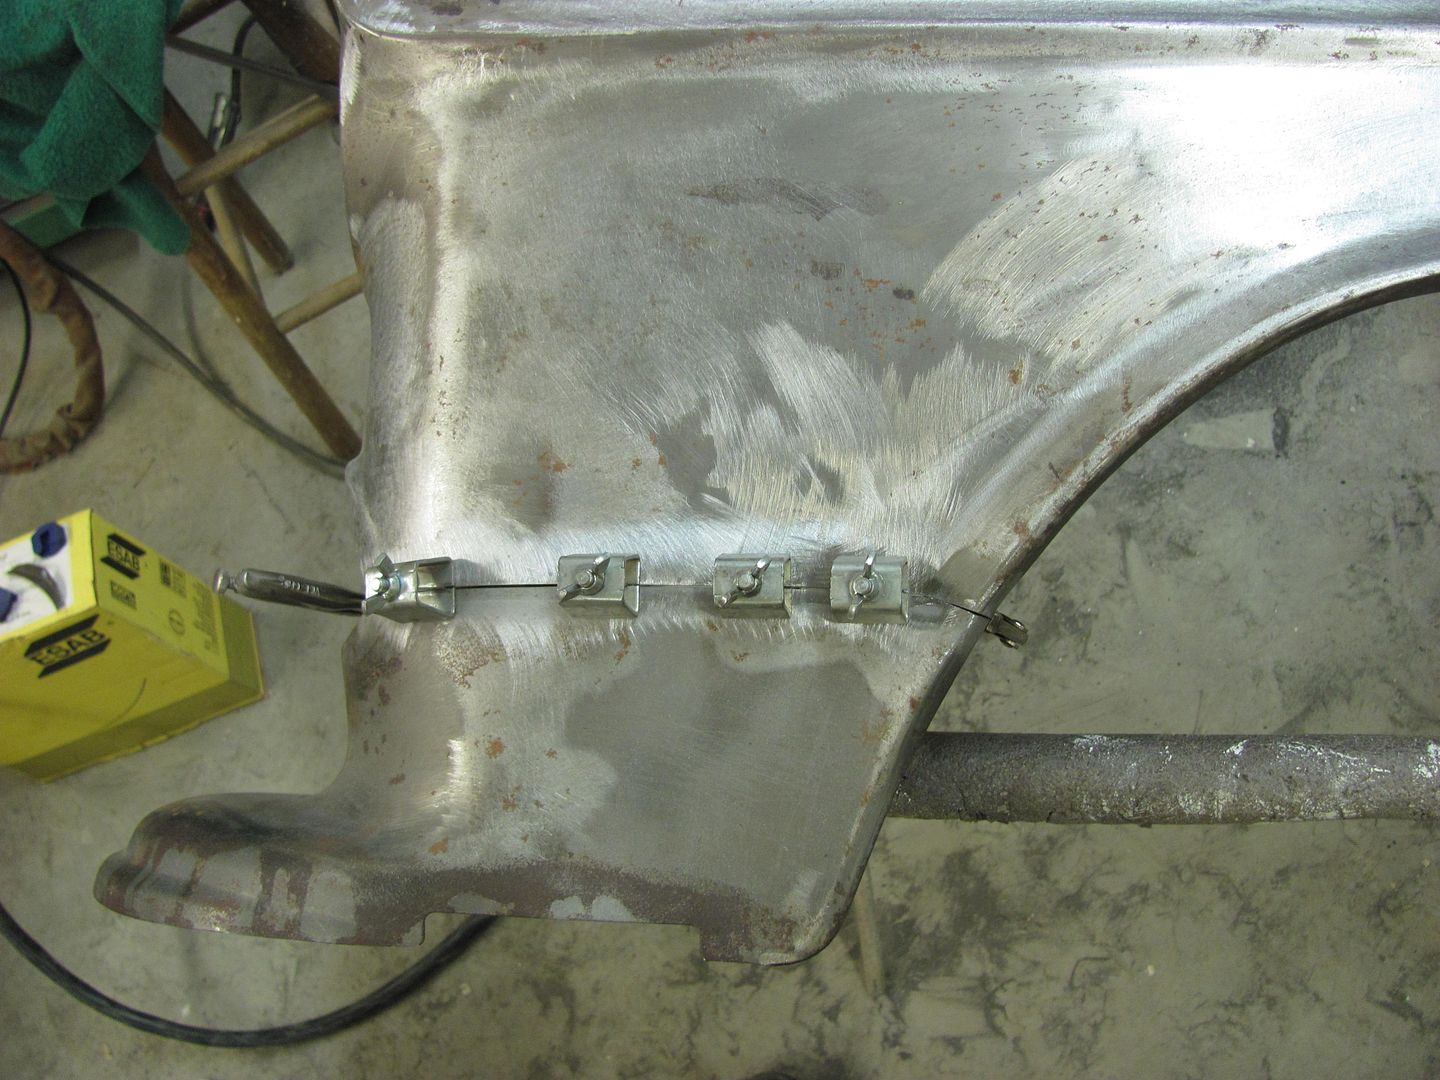
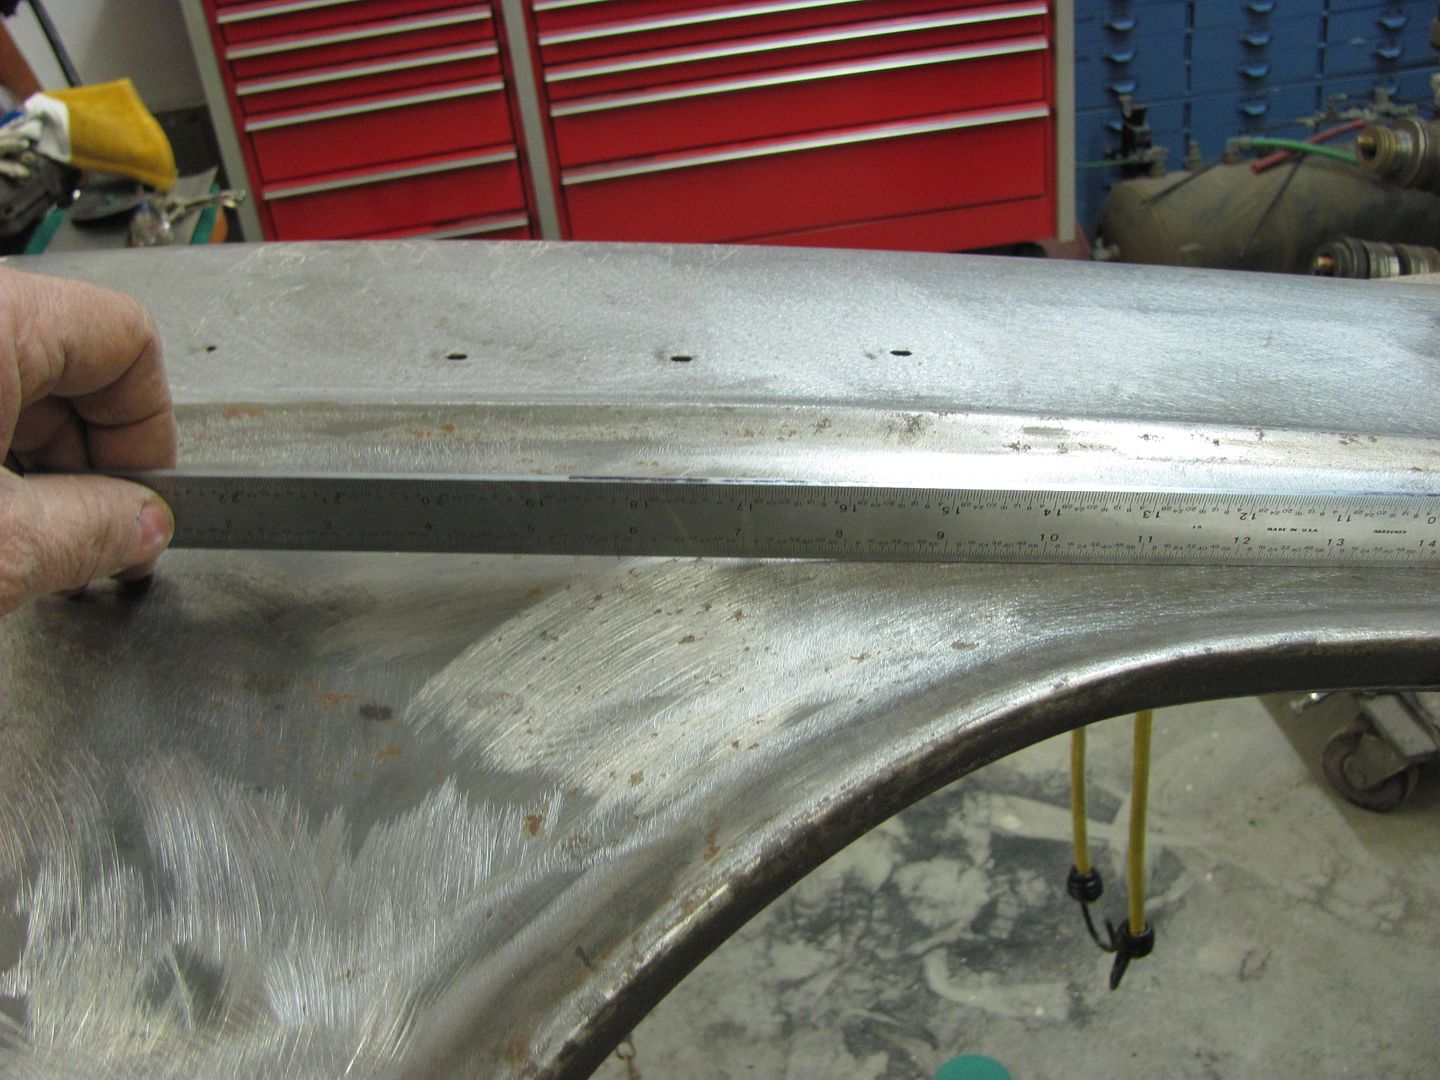
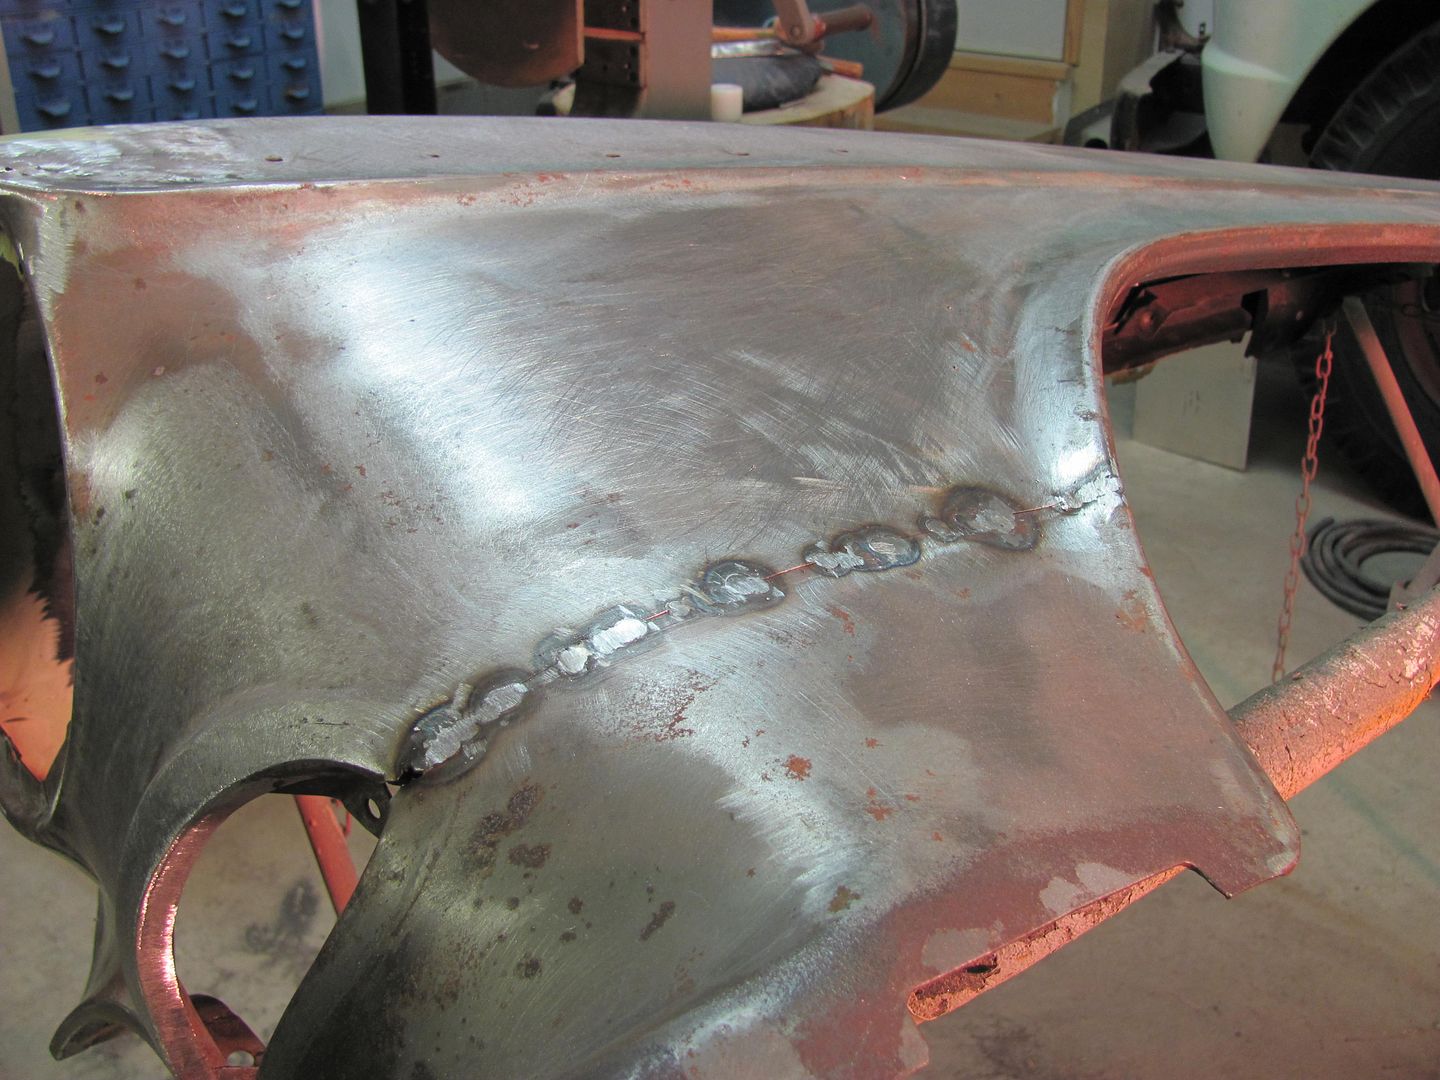
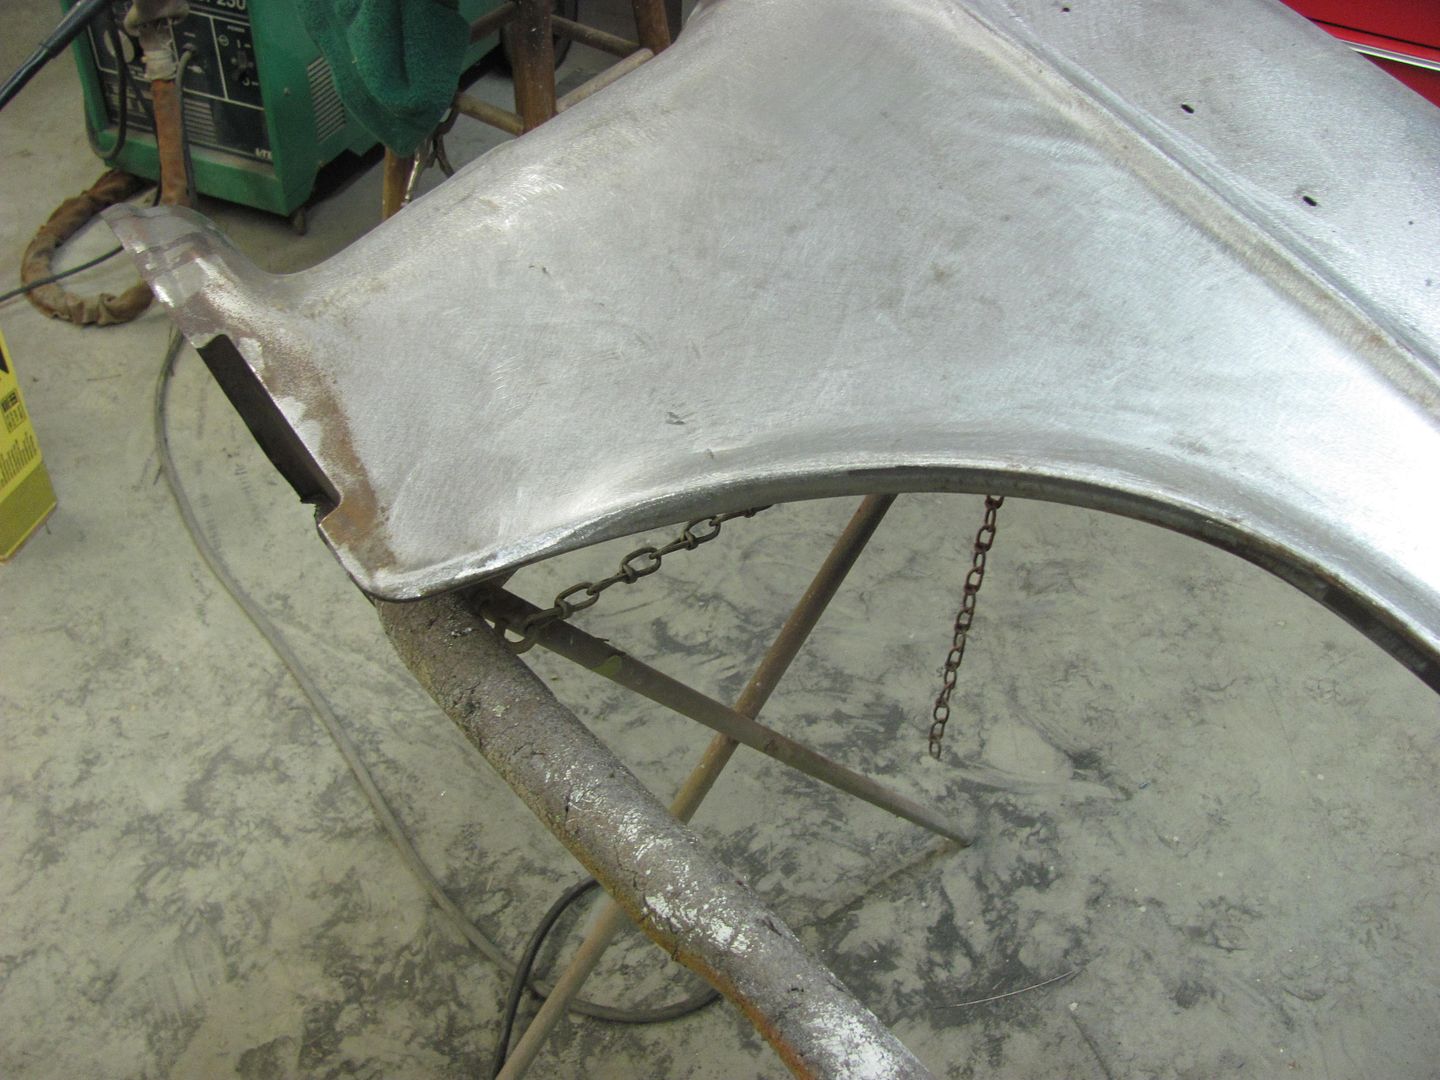
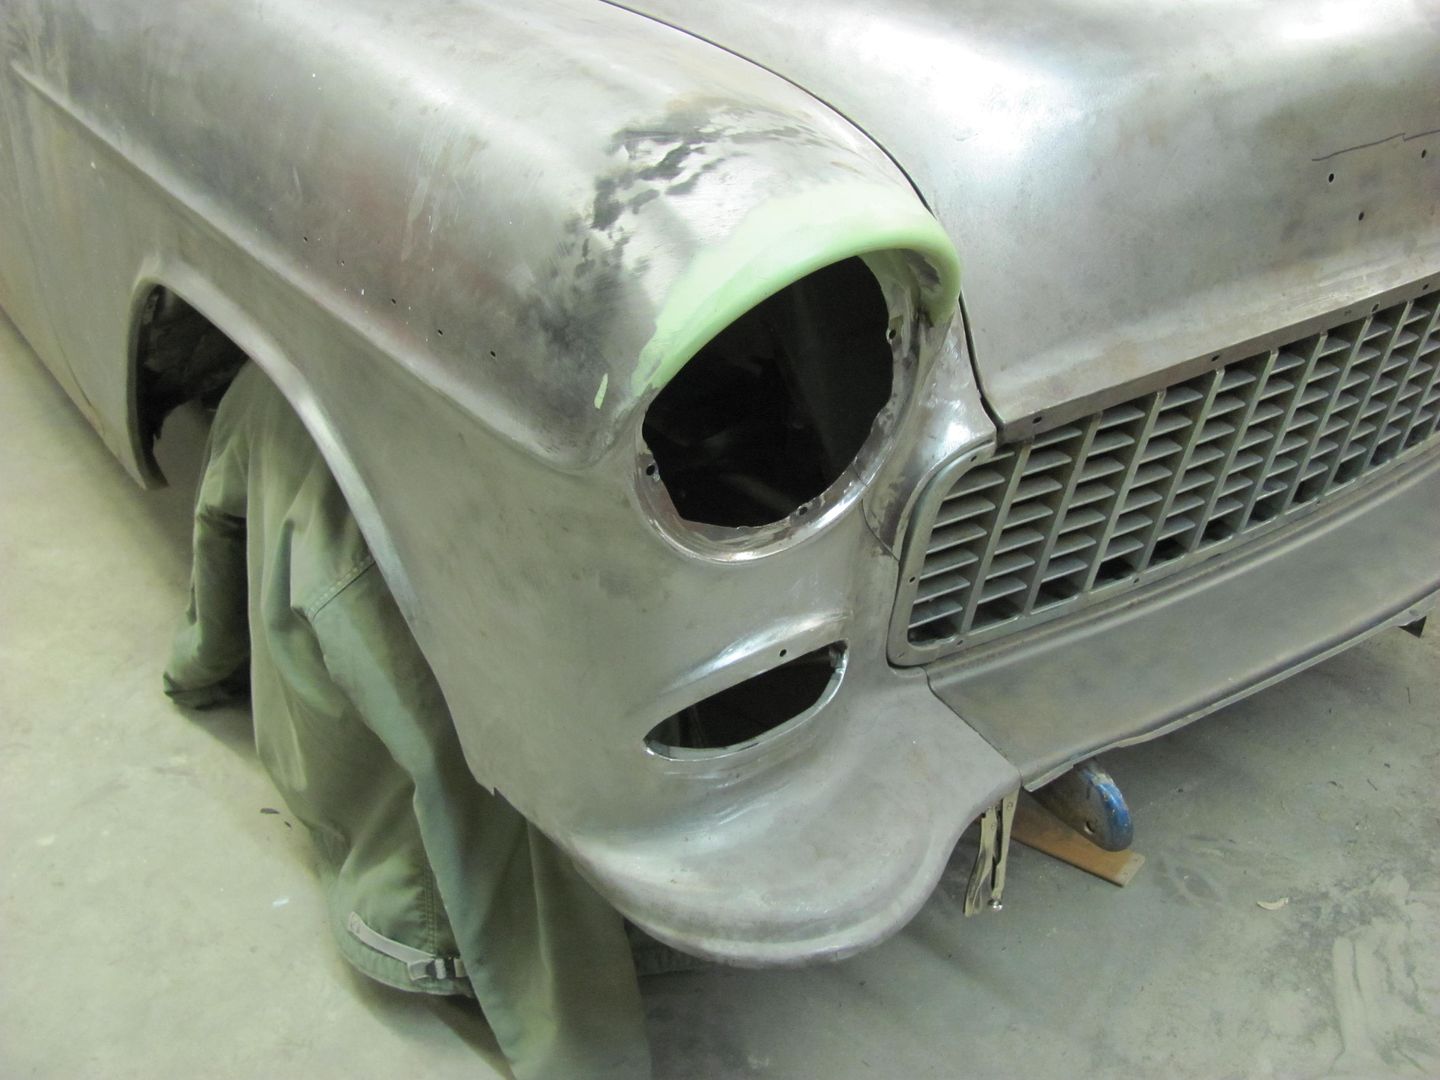
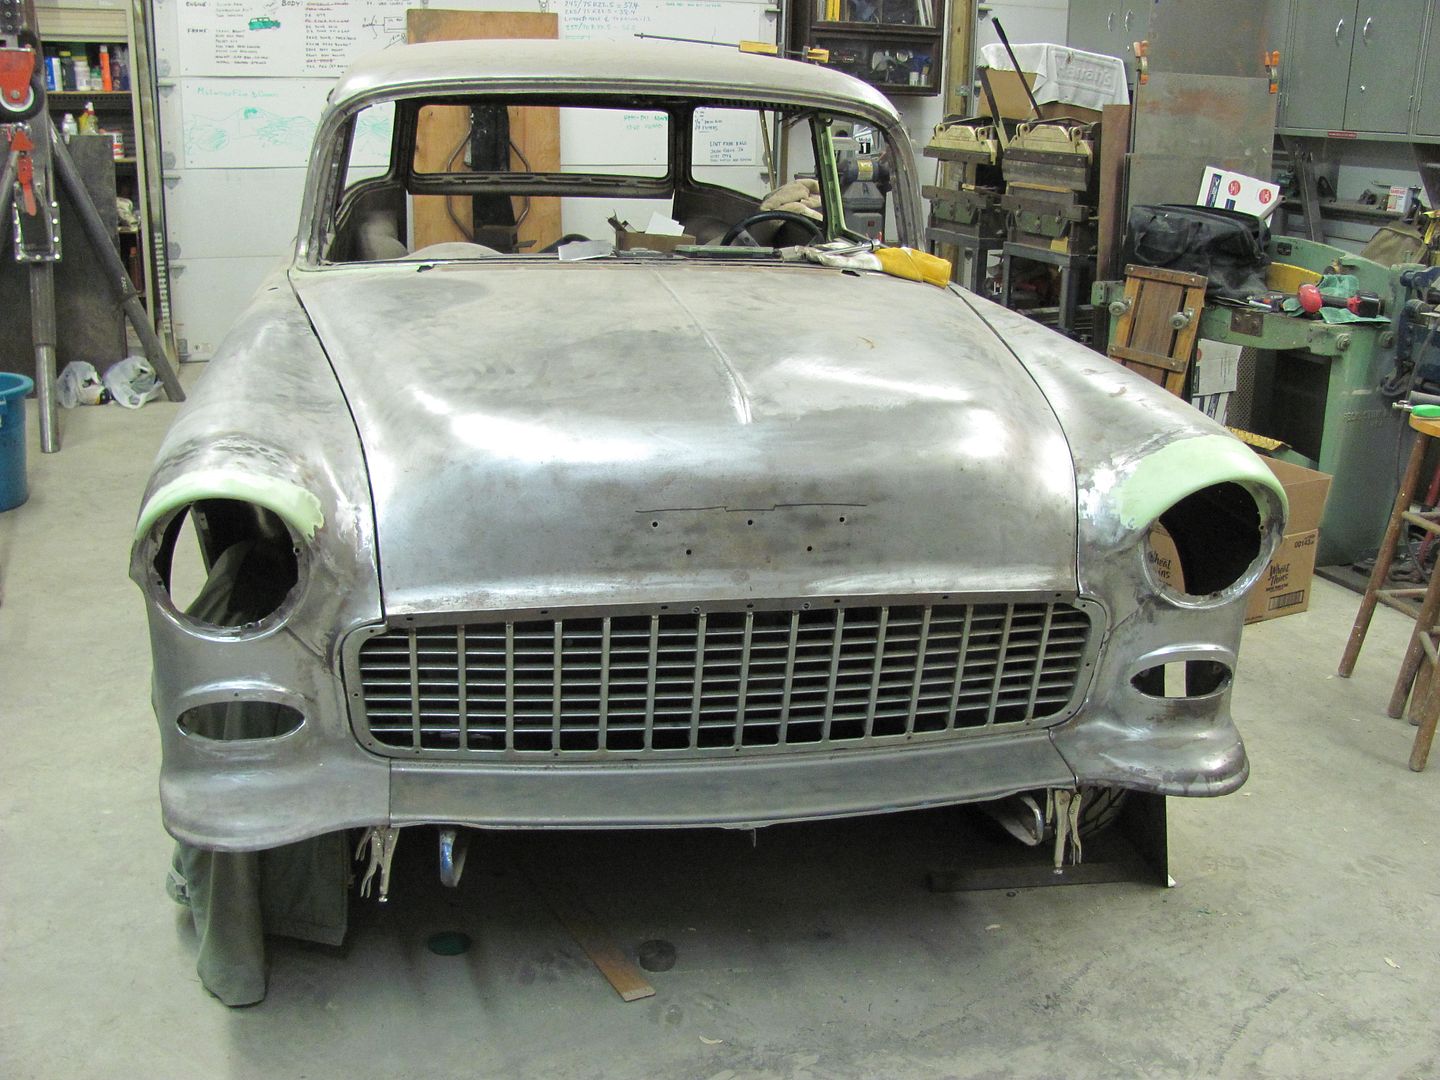
Here's the seam on the lower fender of a 55. Always thought this would look cleaner without, and so did the owner, so here's the process:
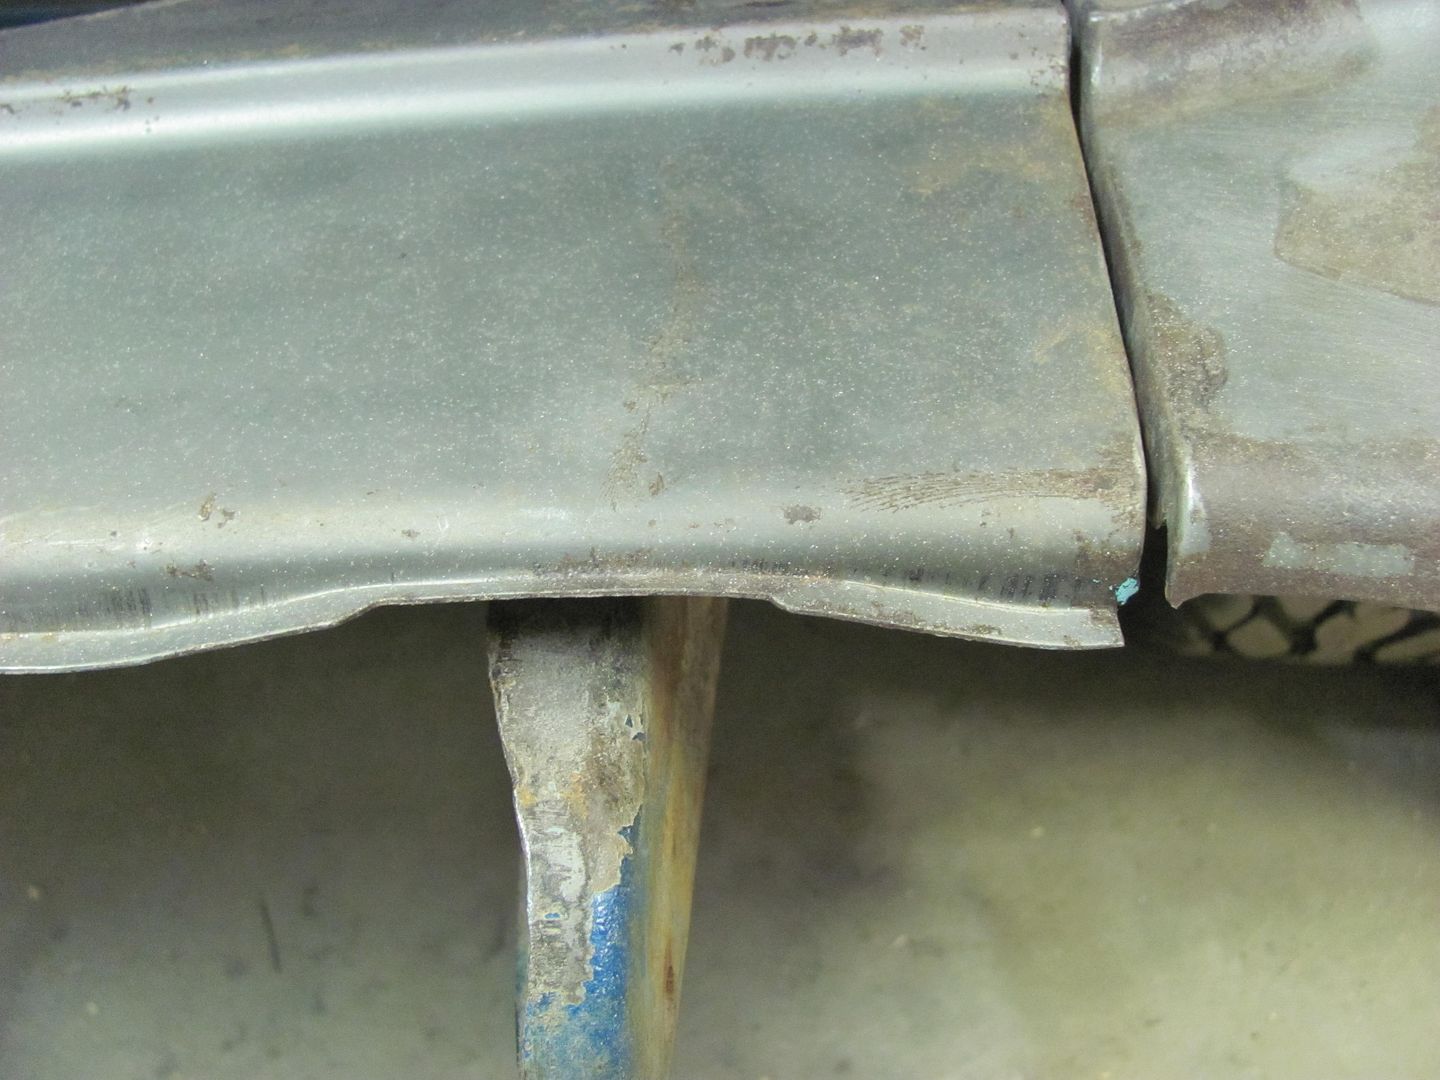
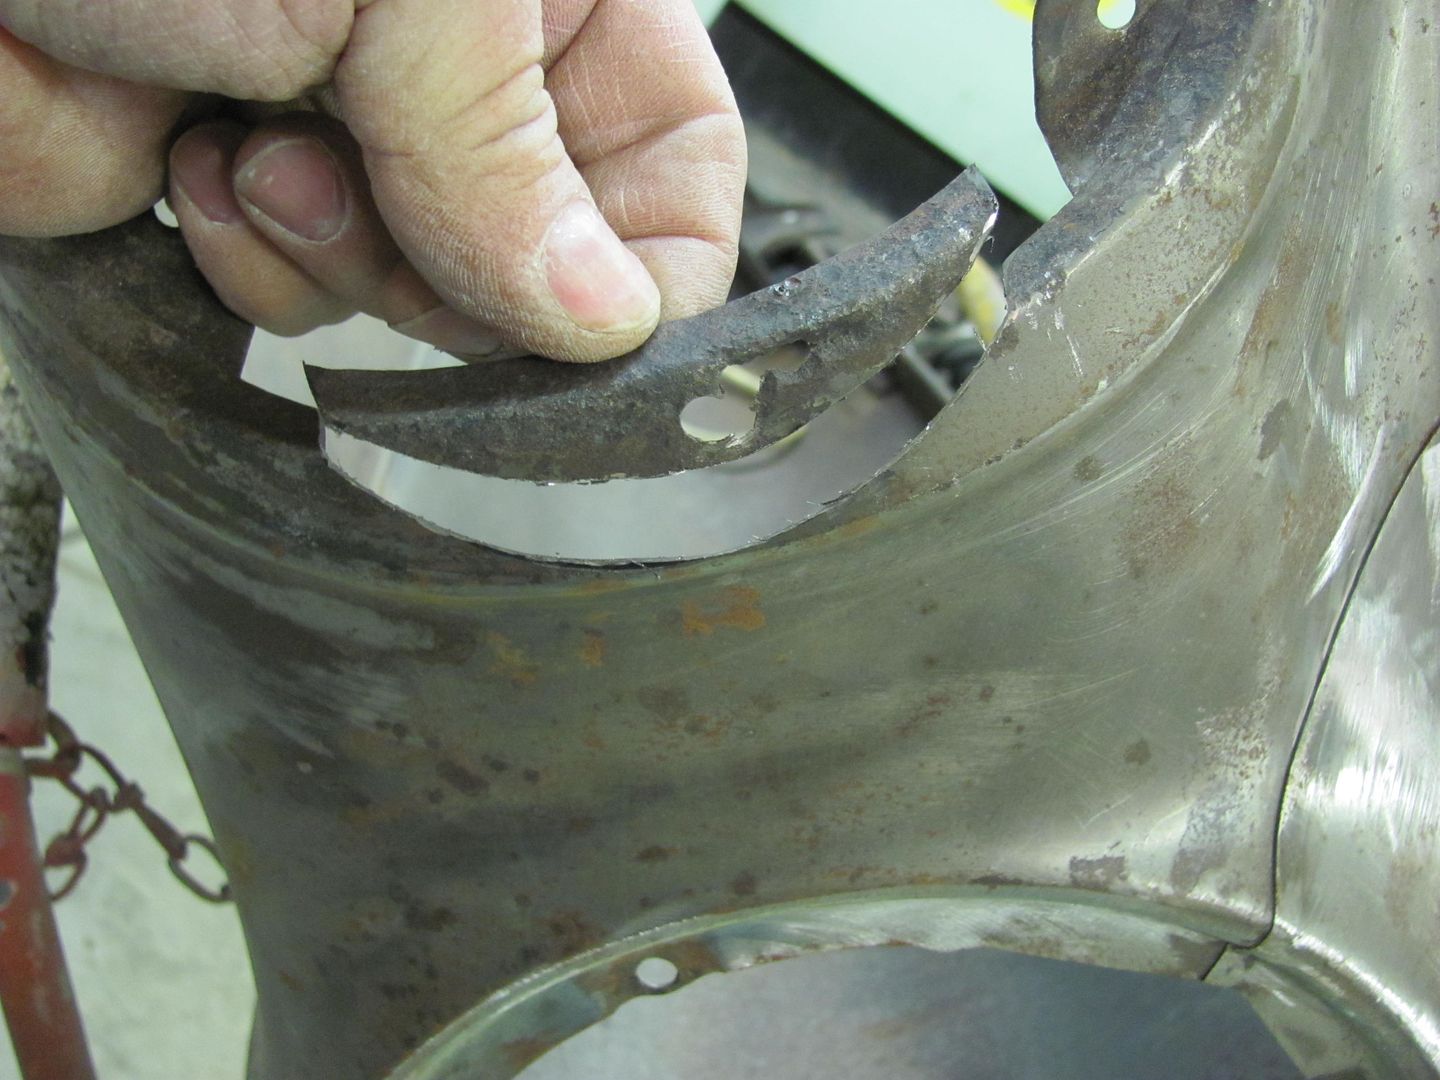
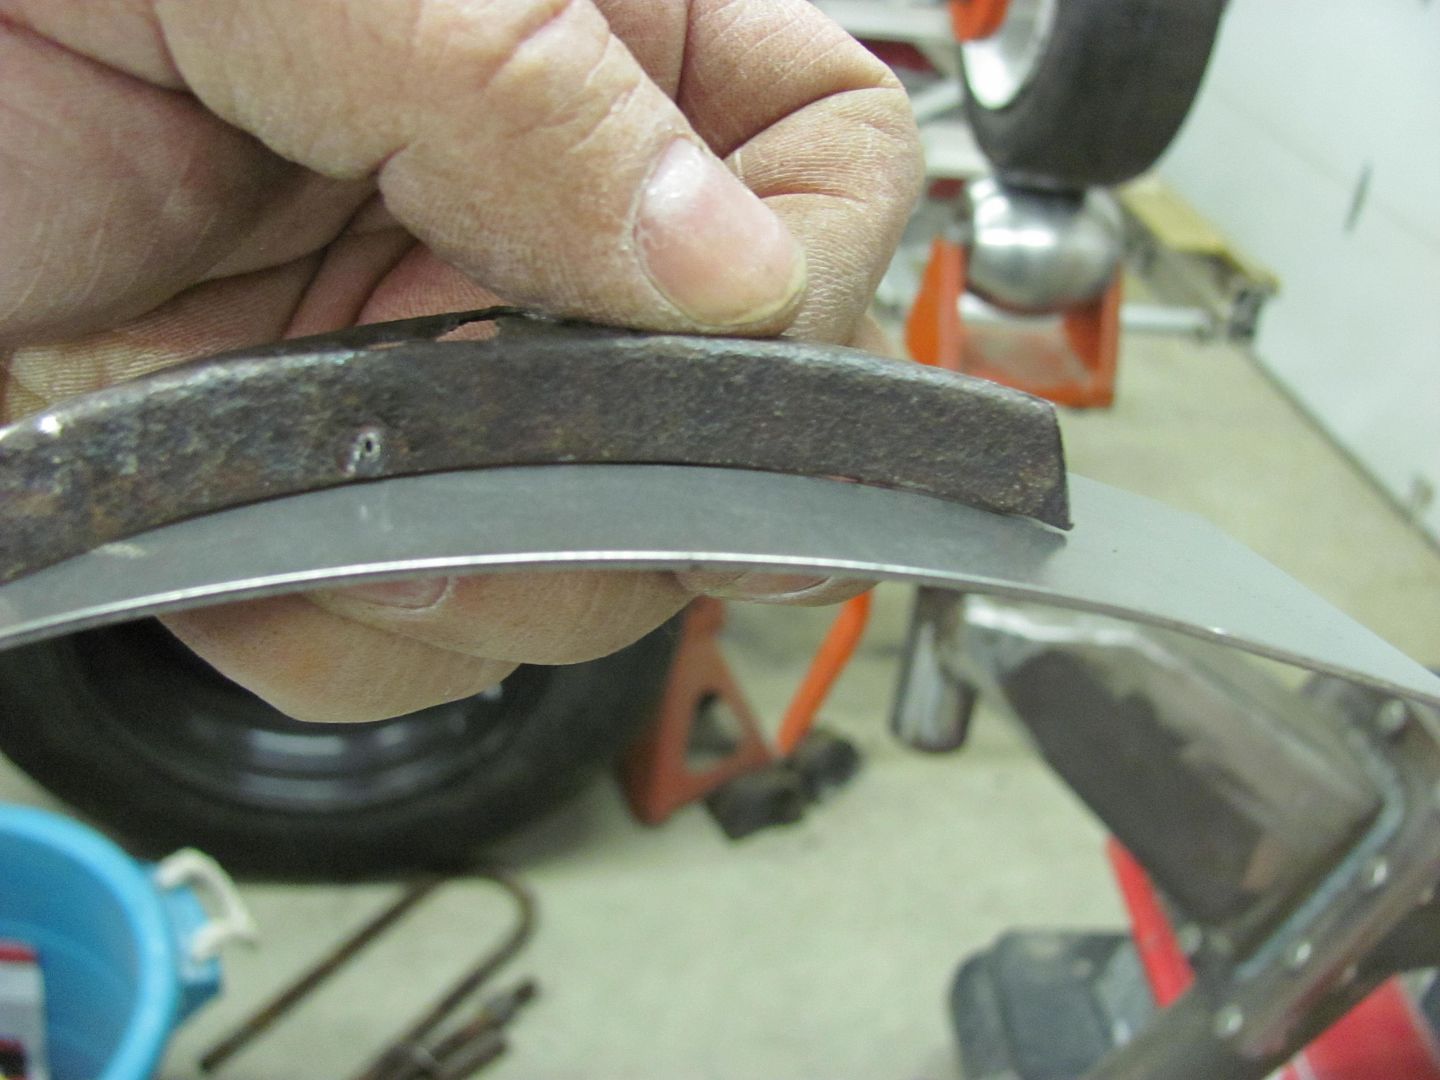
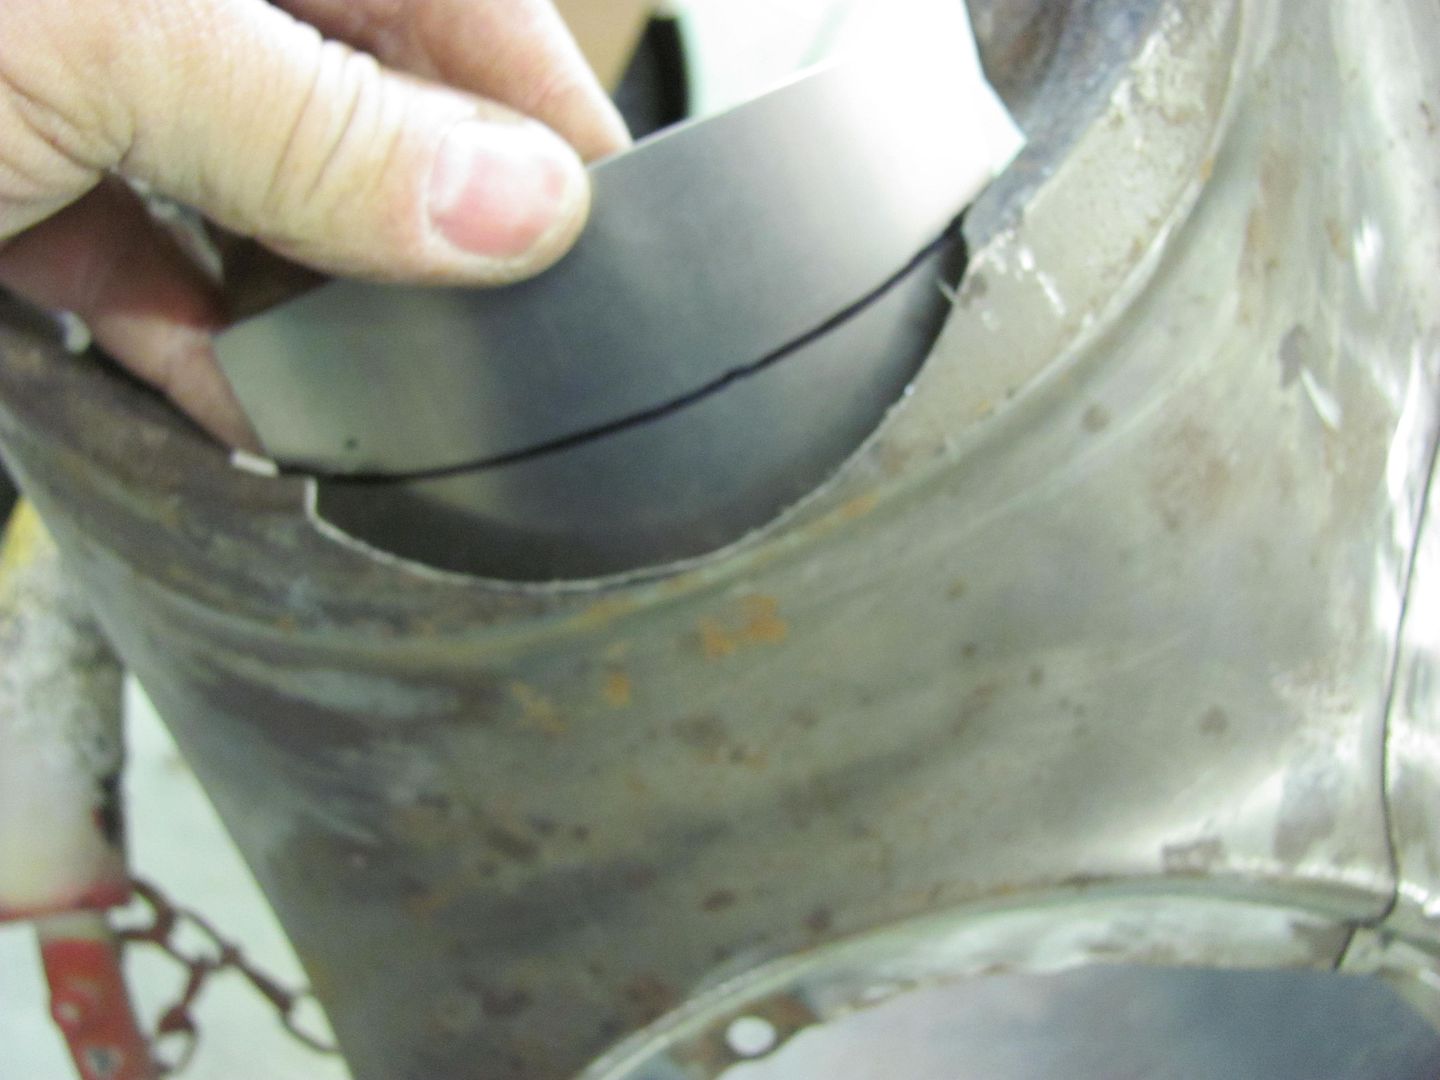
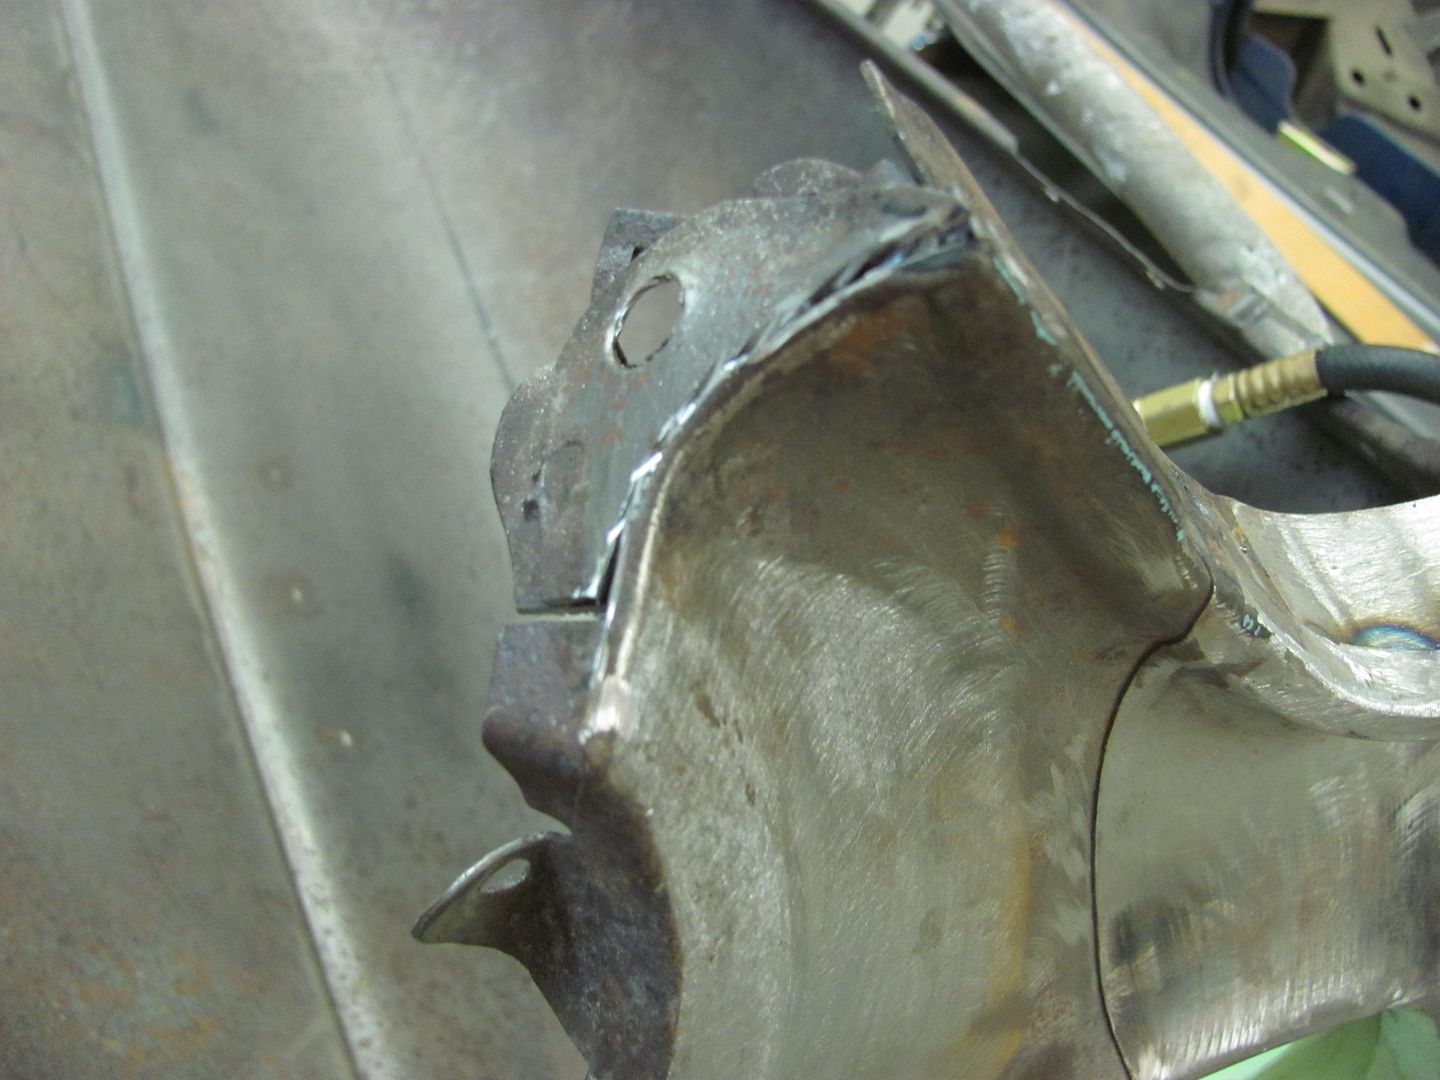
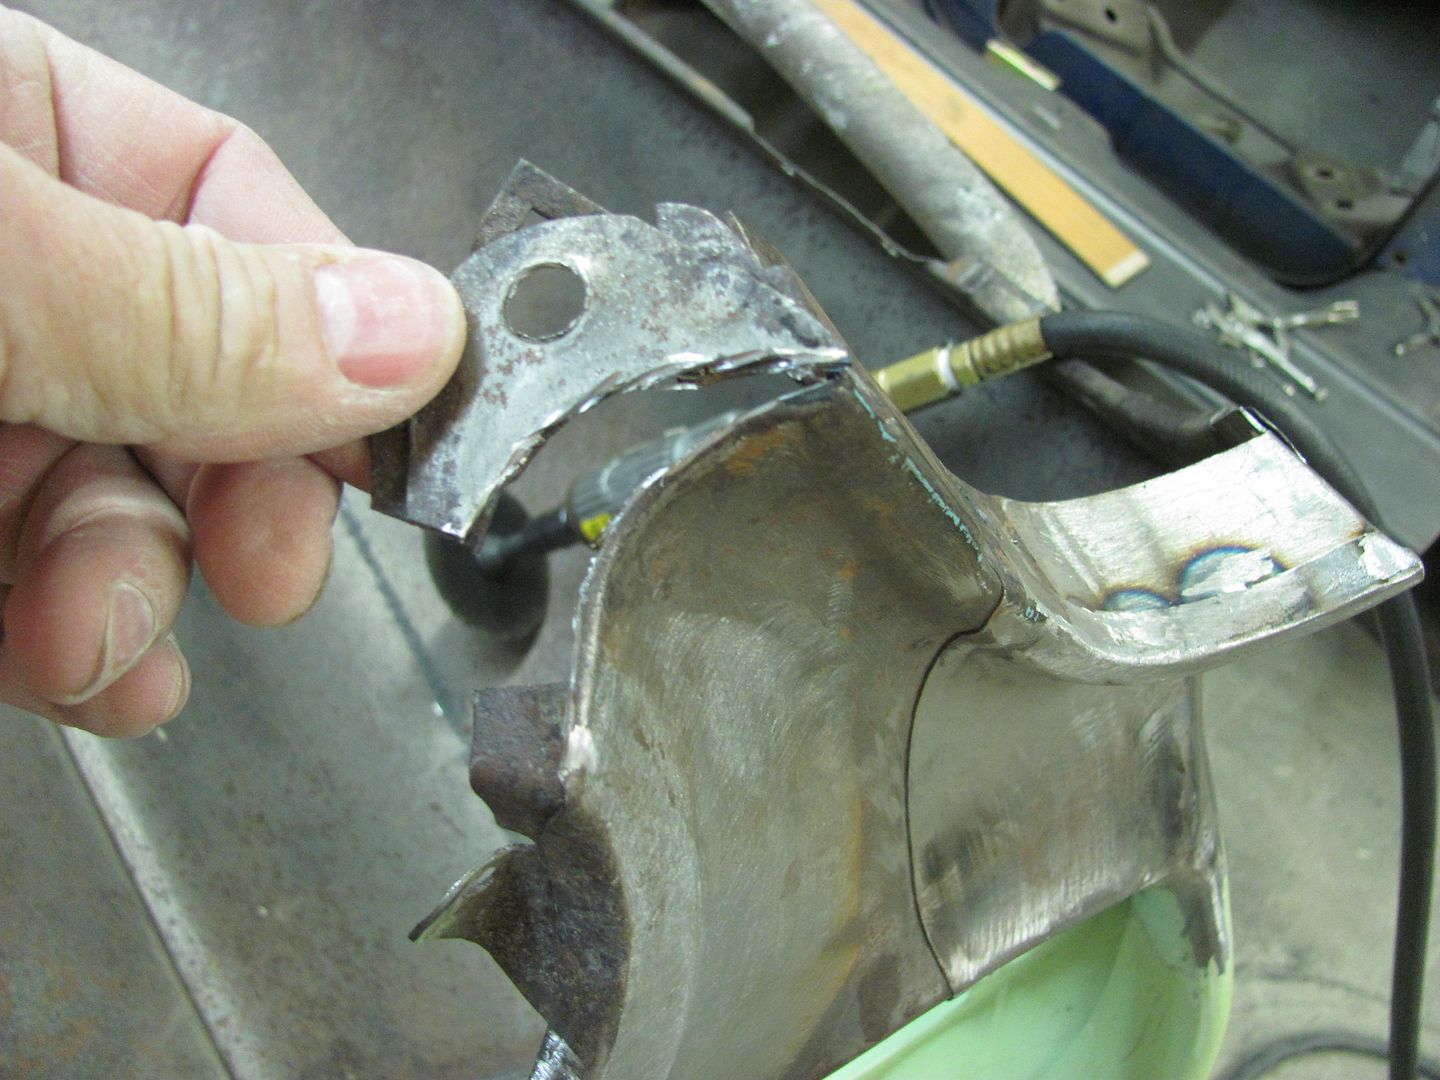
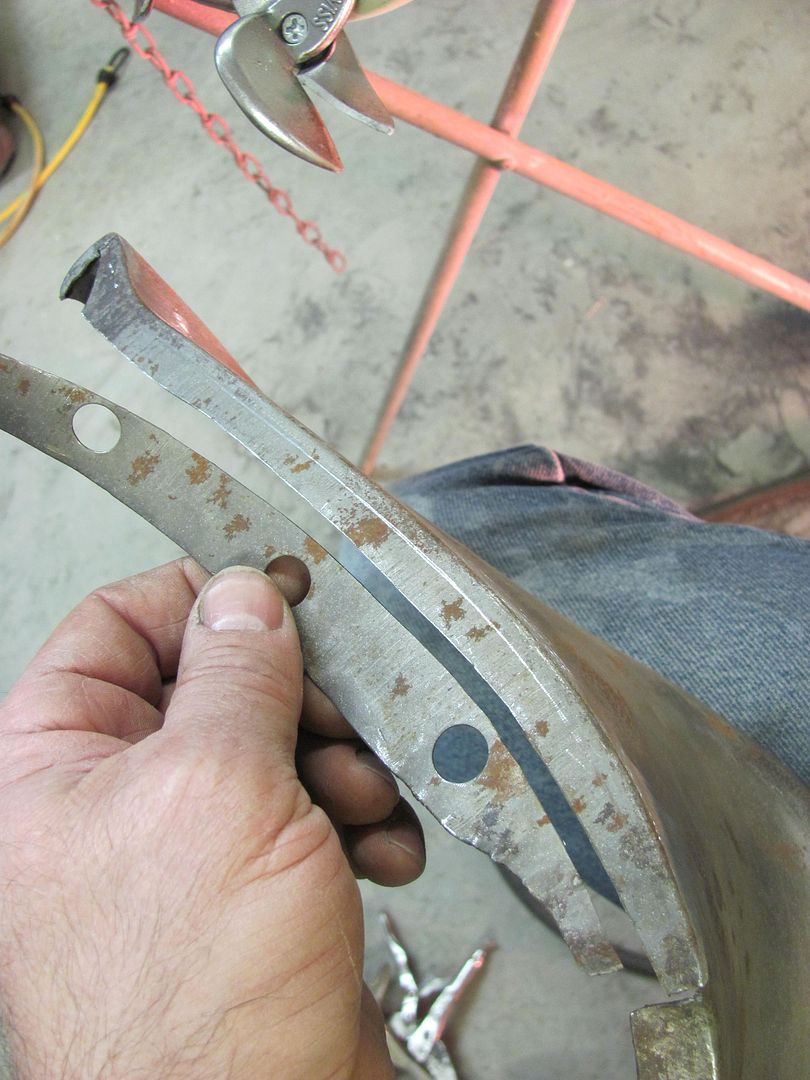
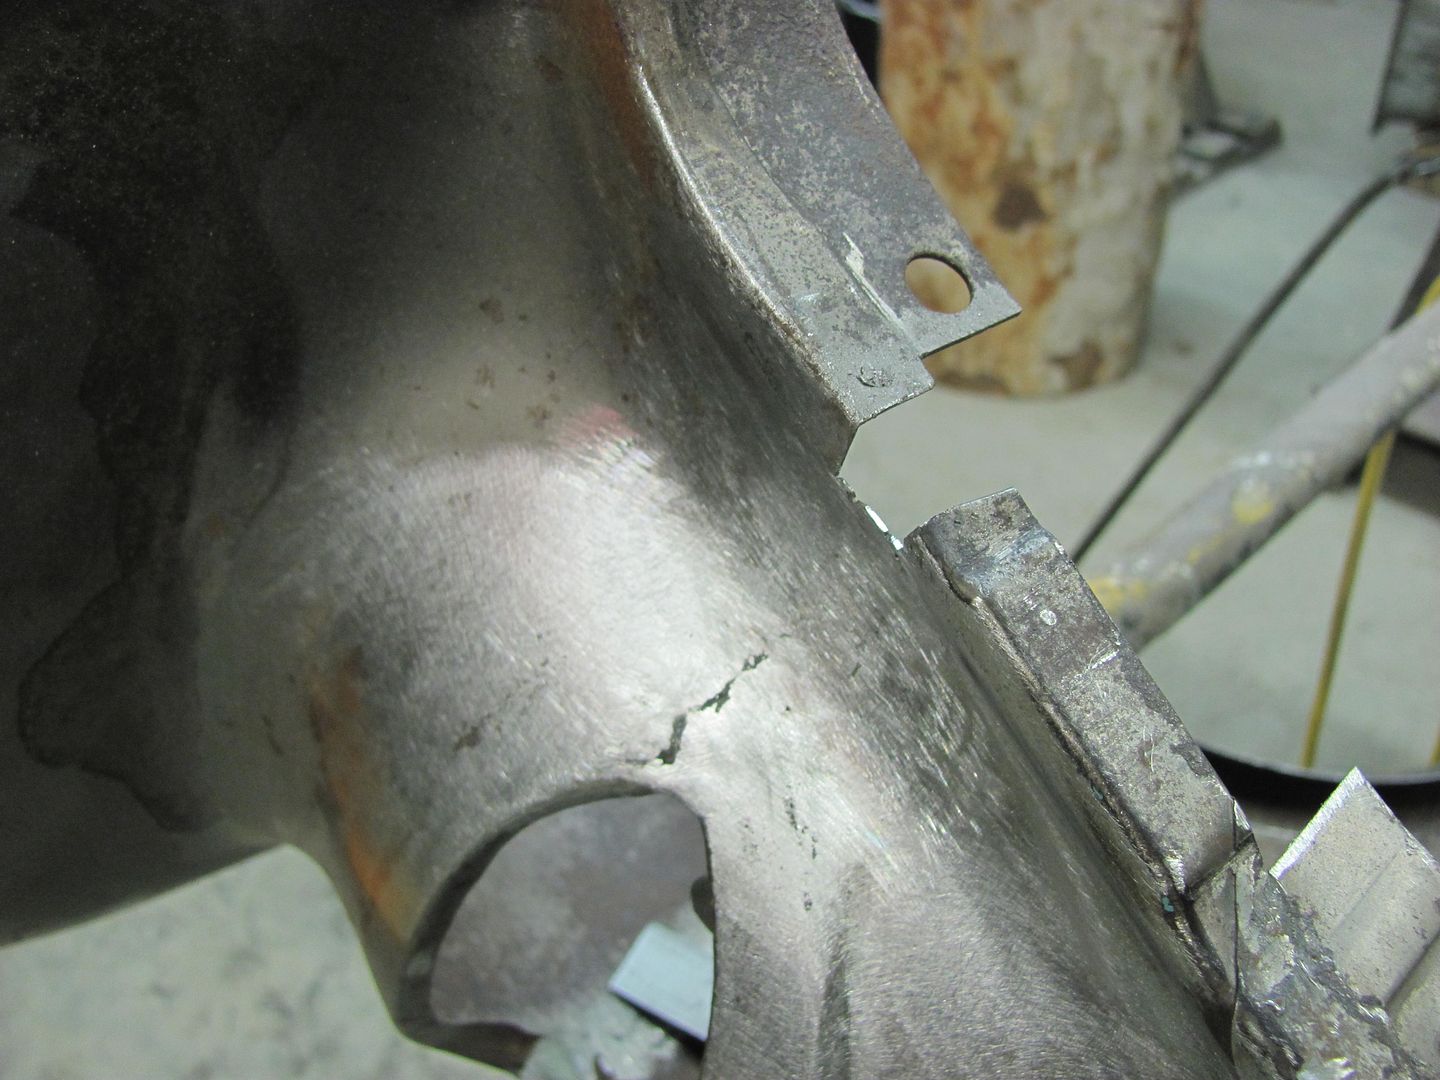
The bolting plates are cut out of the way, and the folded flange is trimmed, leaving a bit of extra to allow for fine tuning the weld joint.
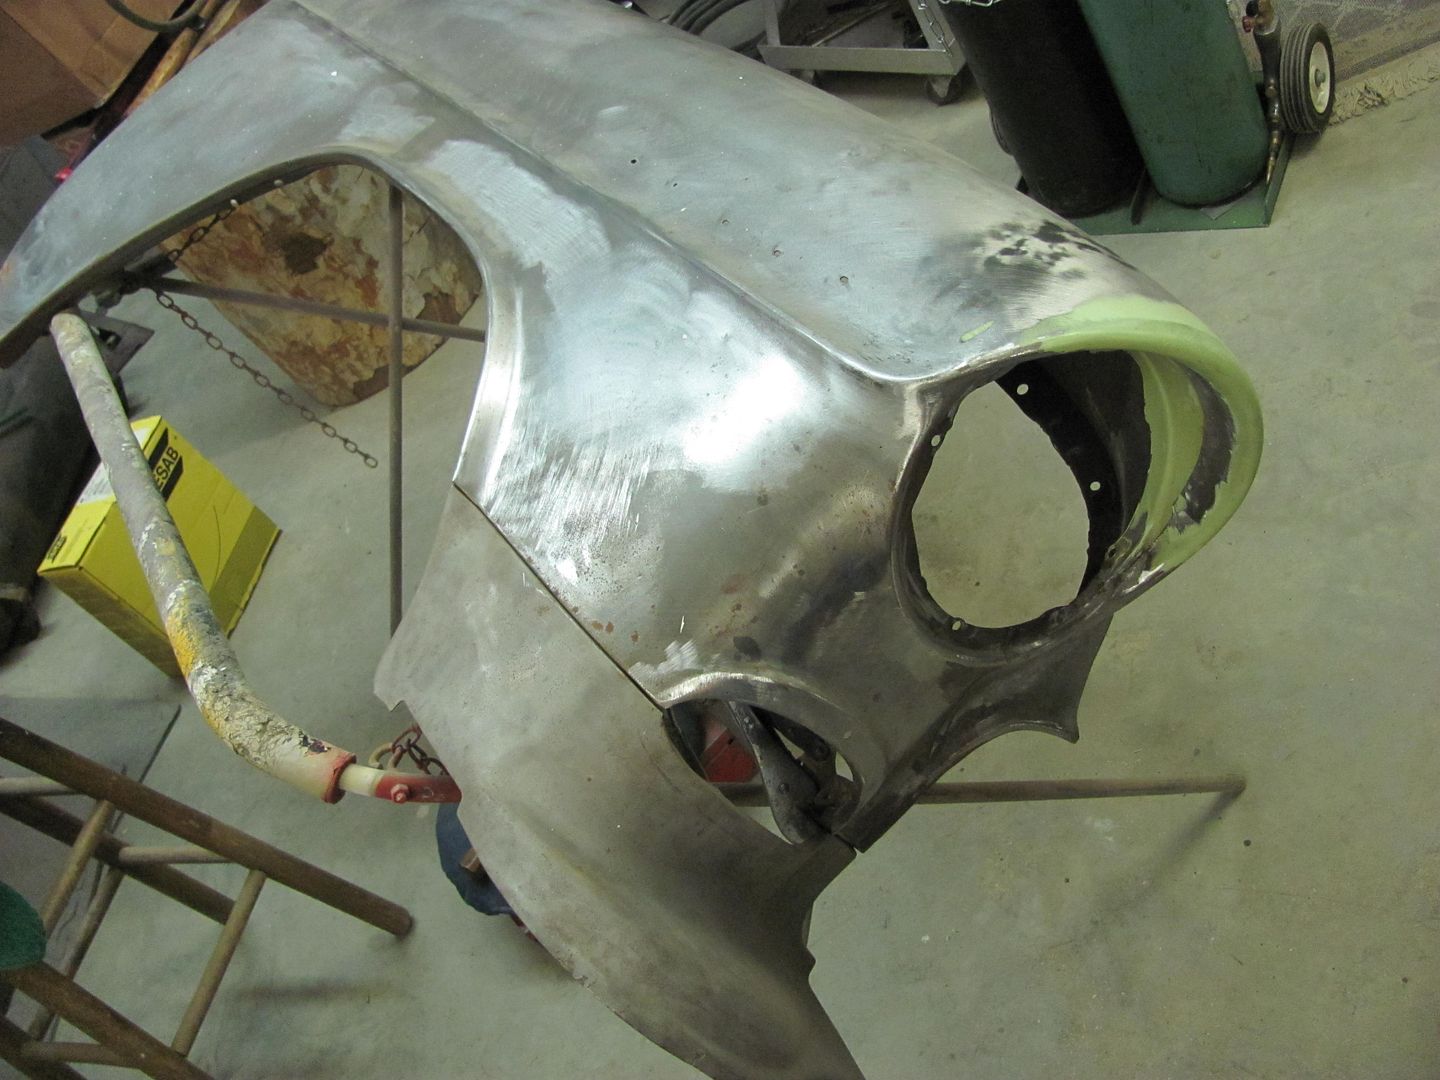
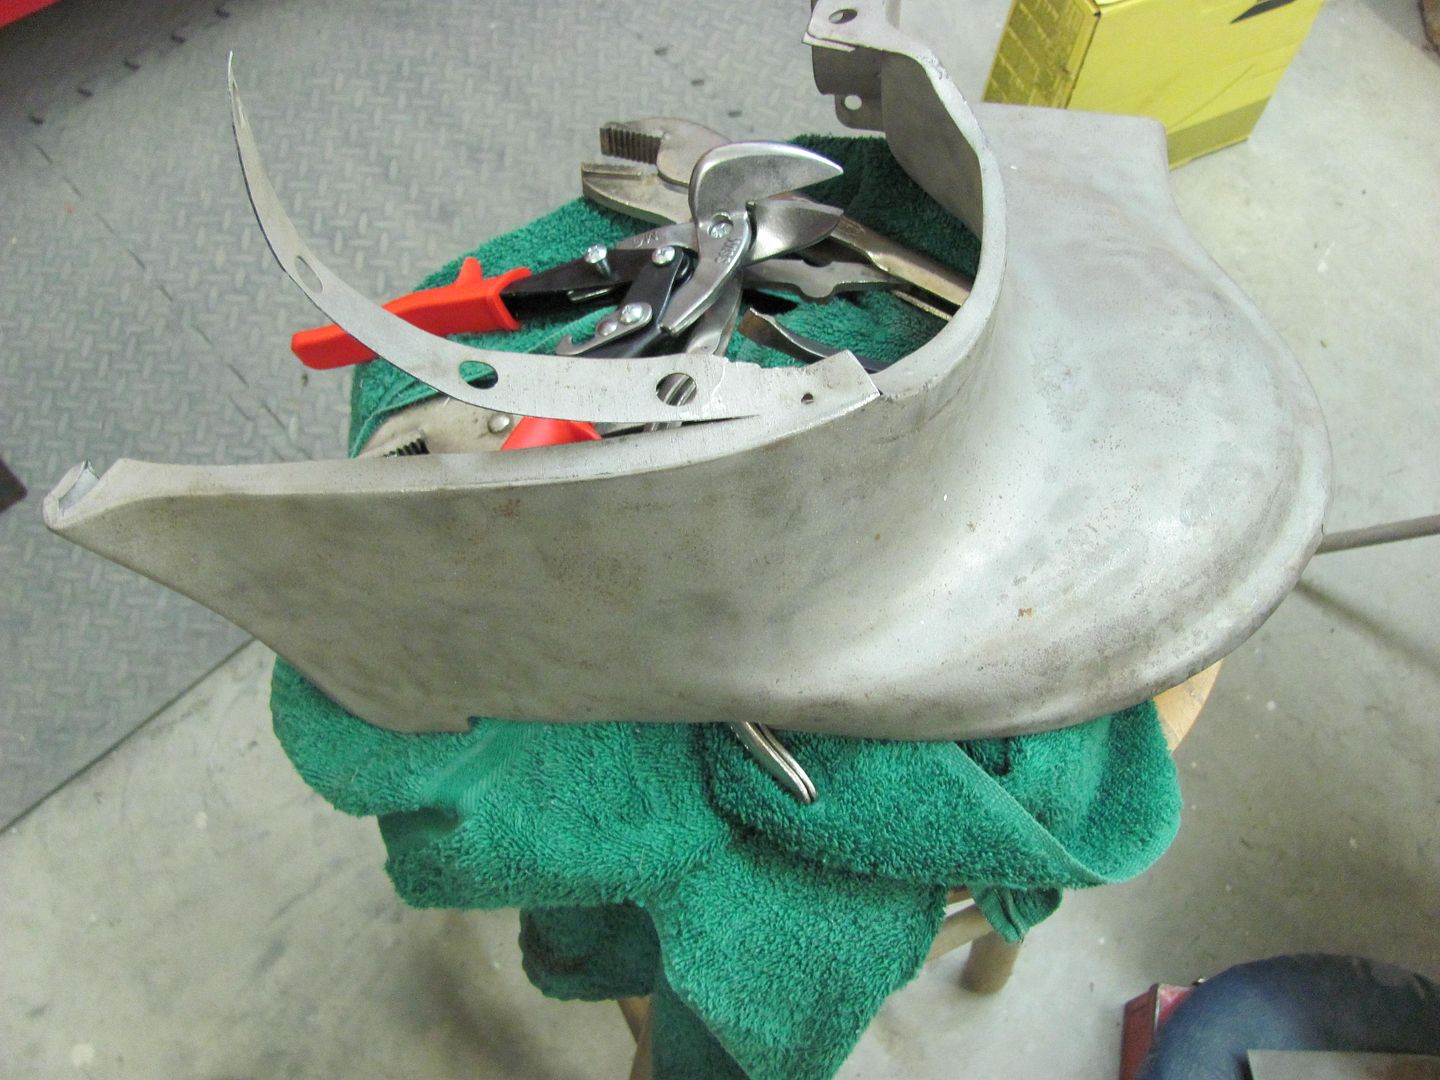
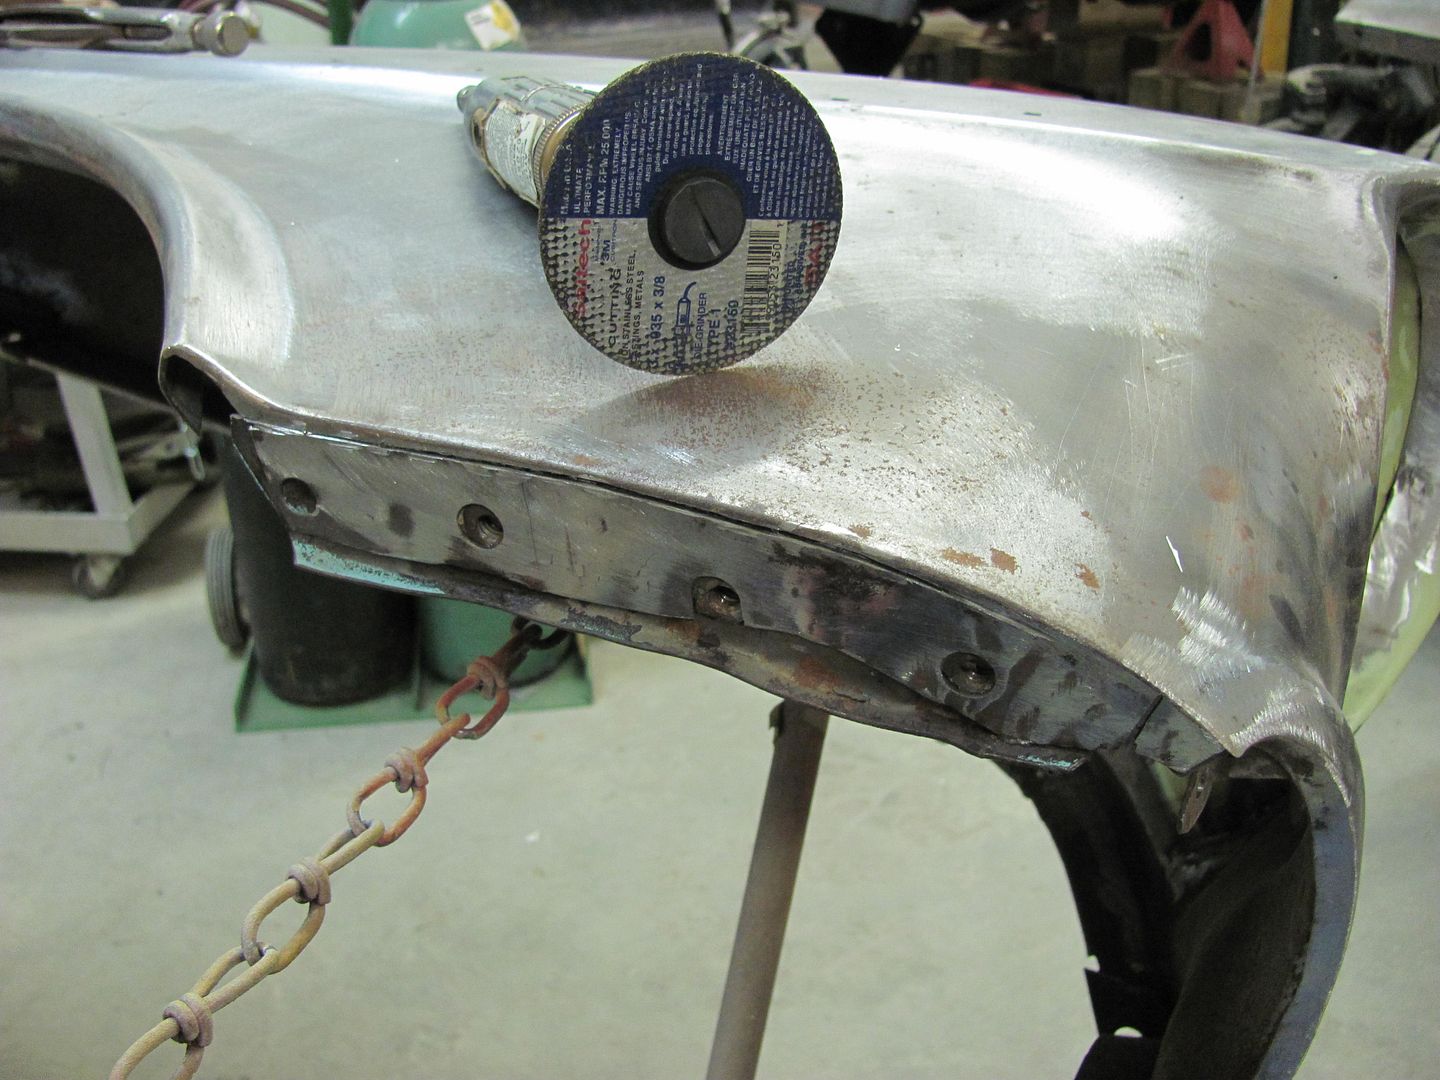
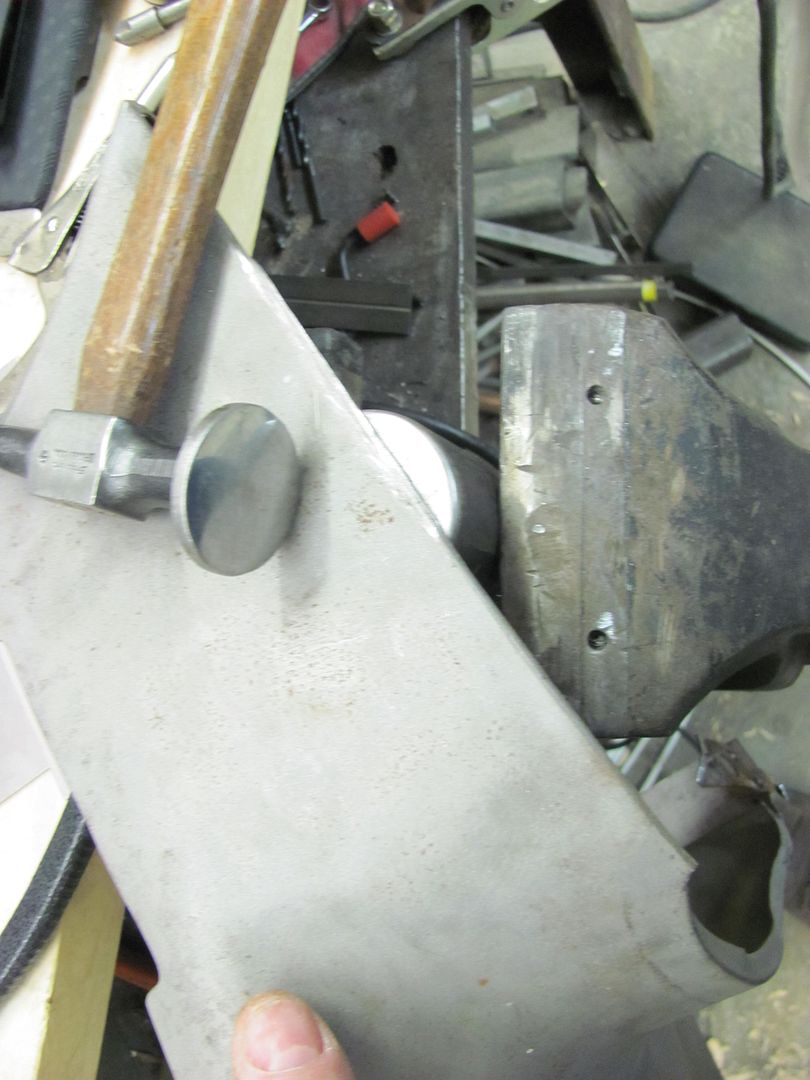
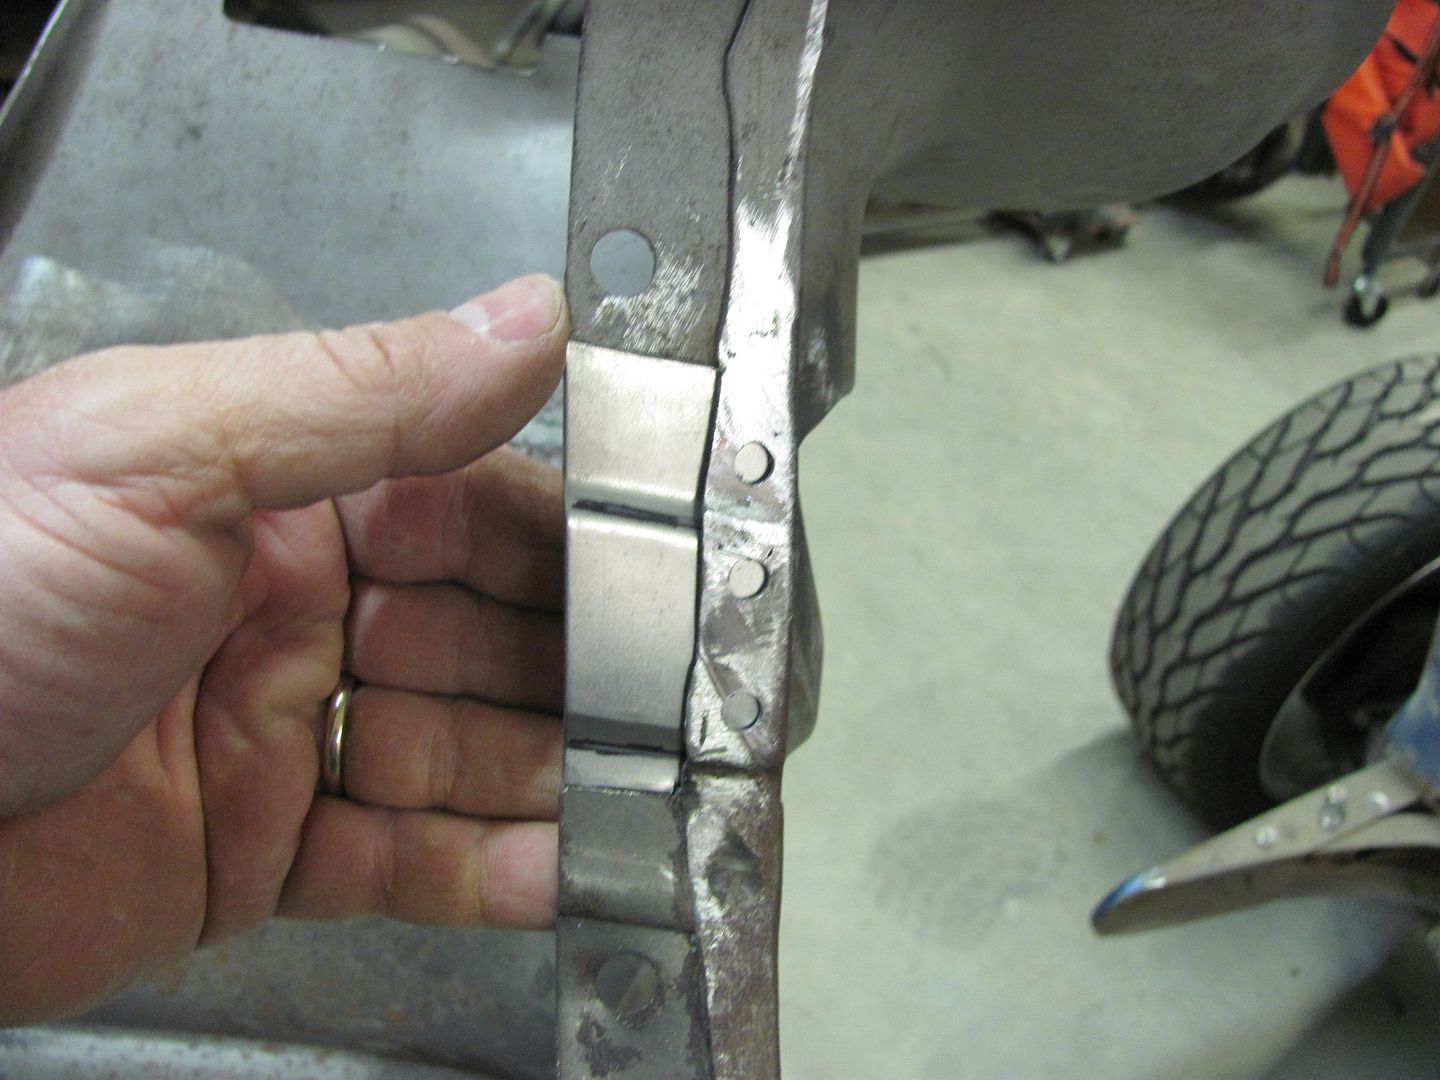
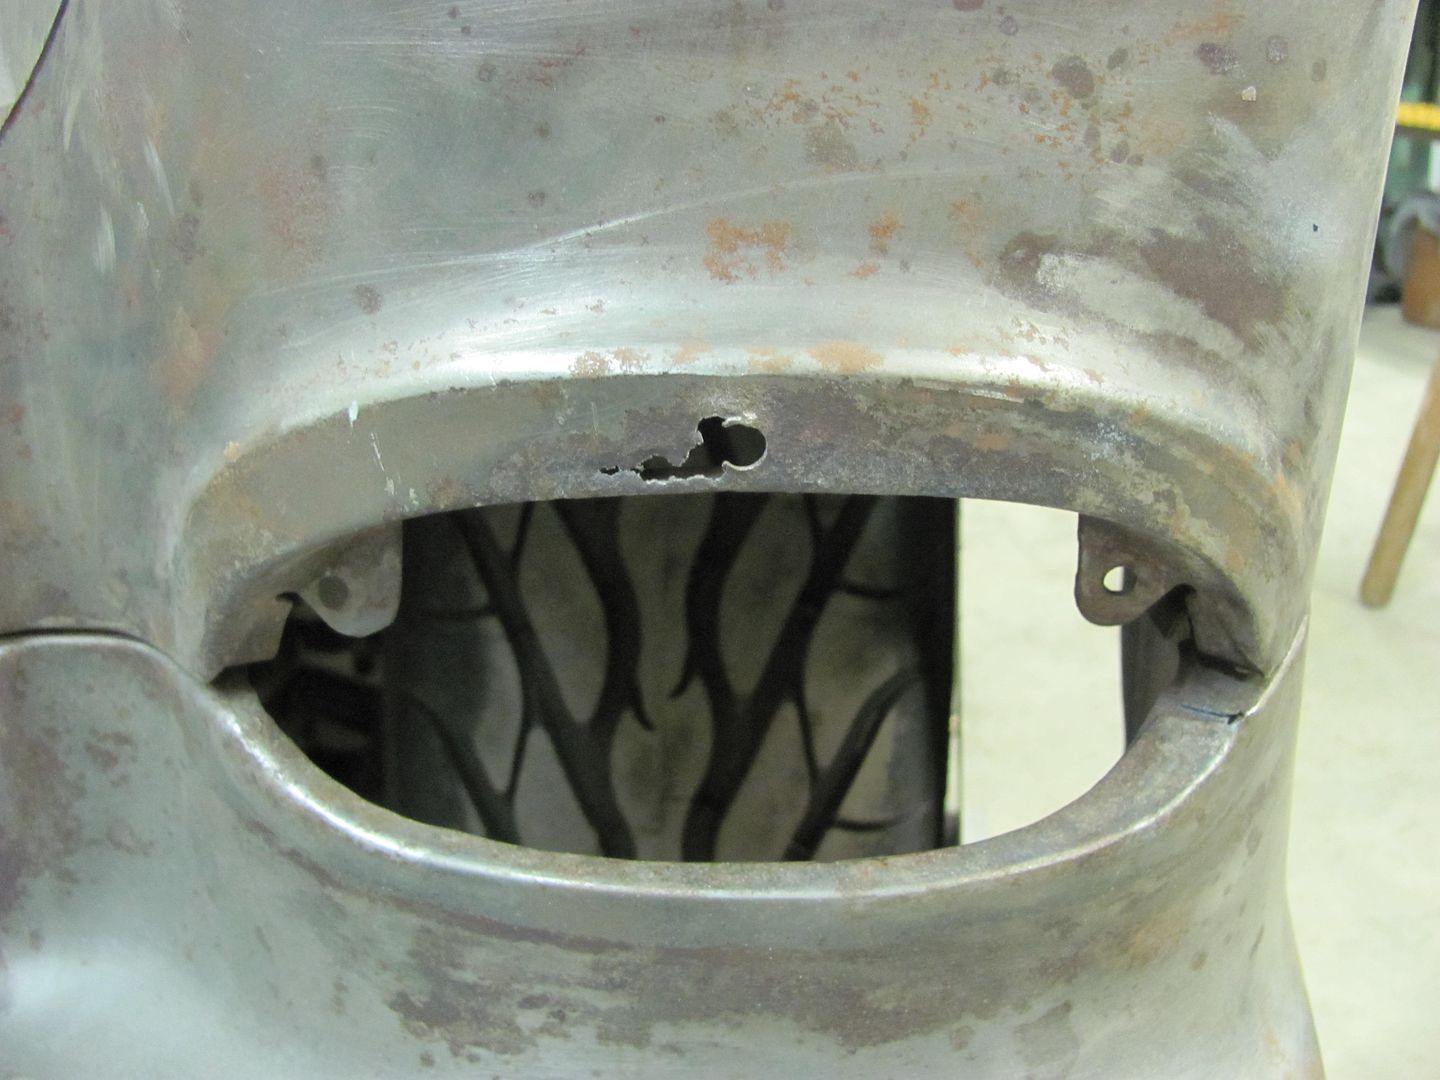
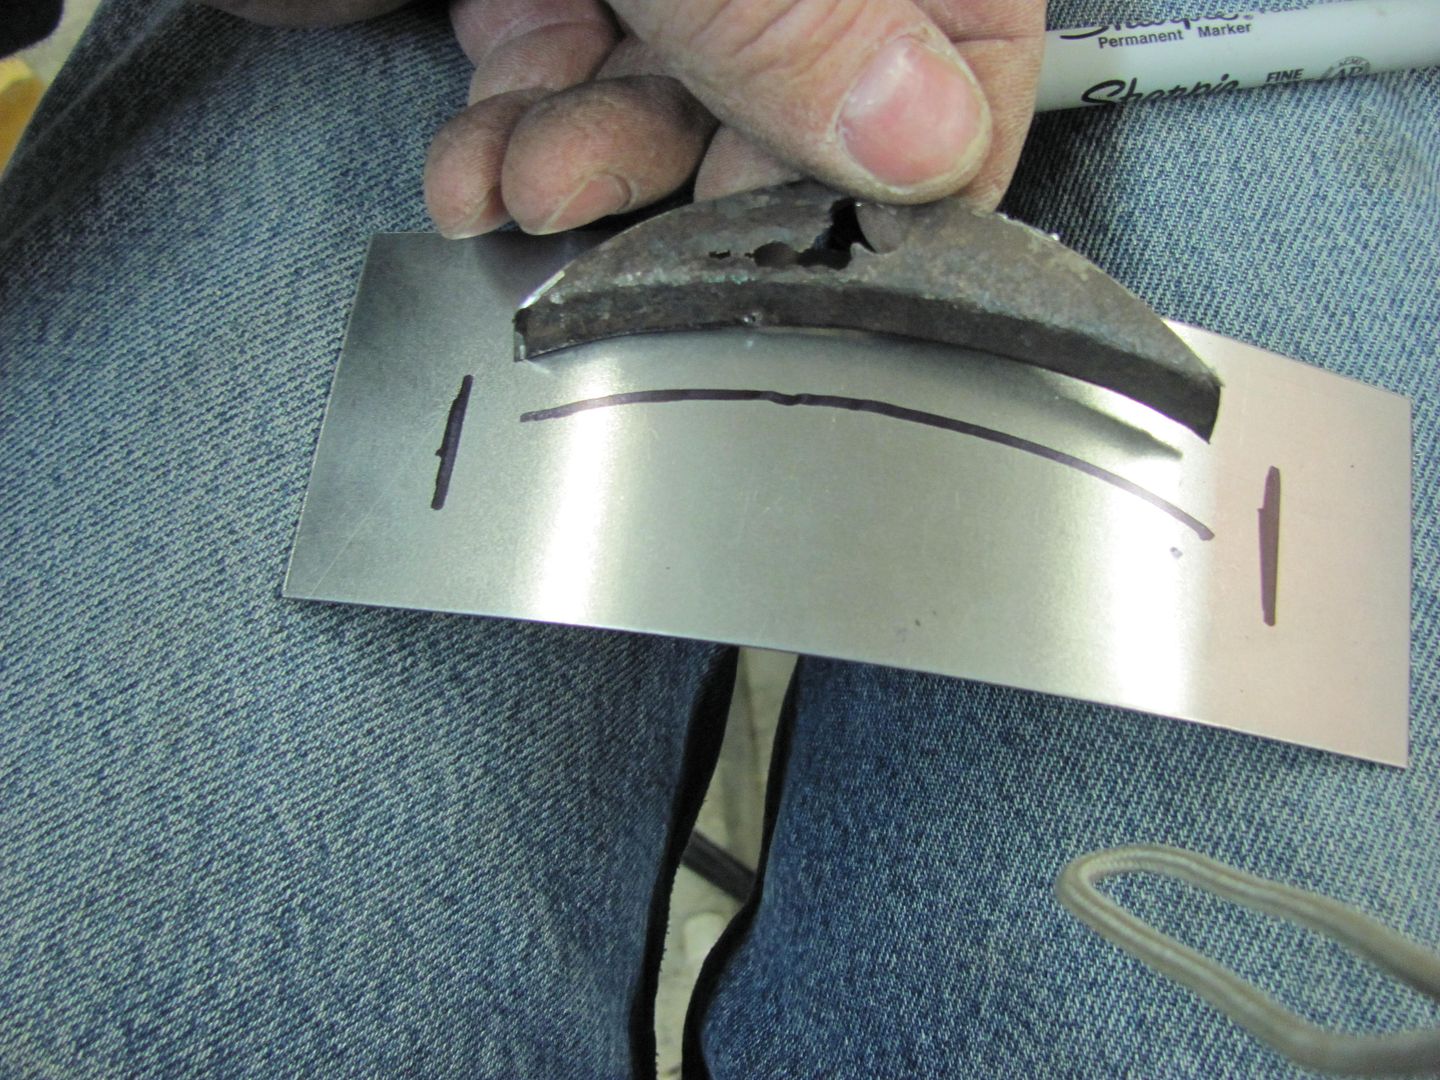
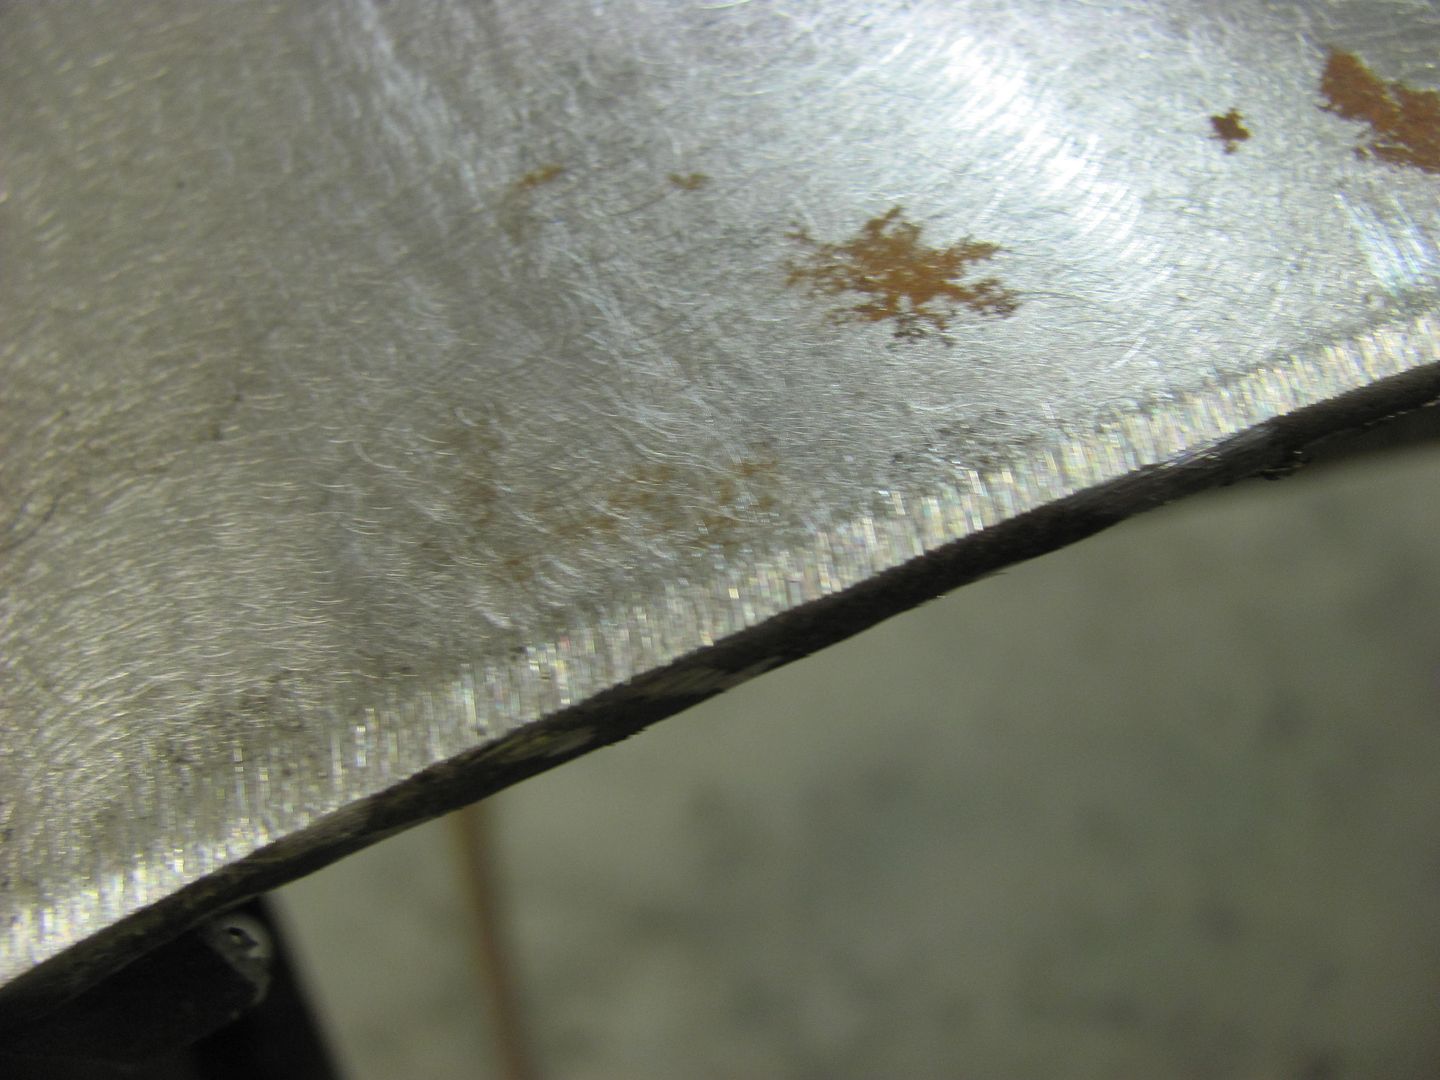
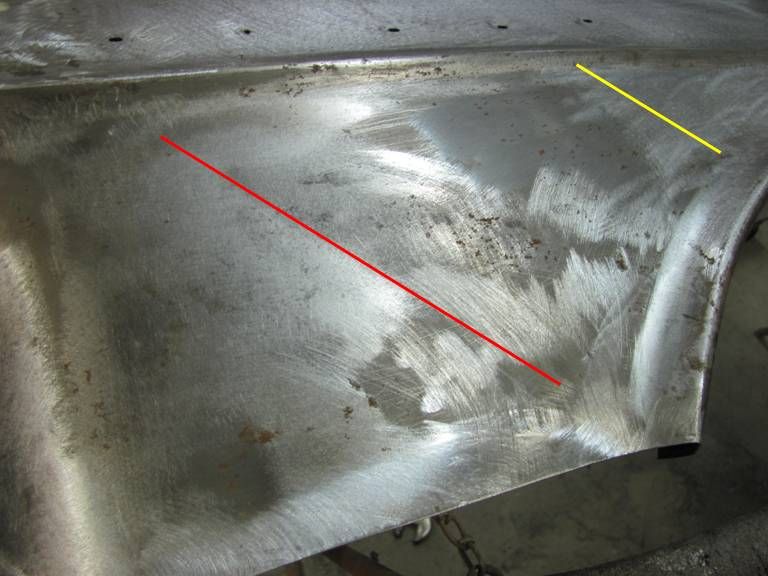
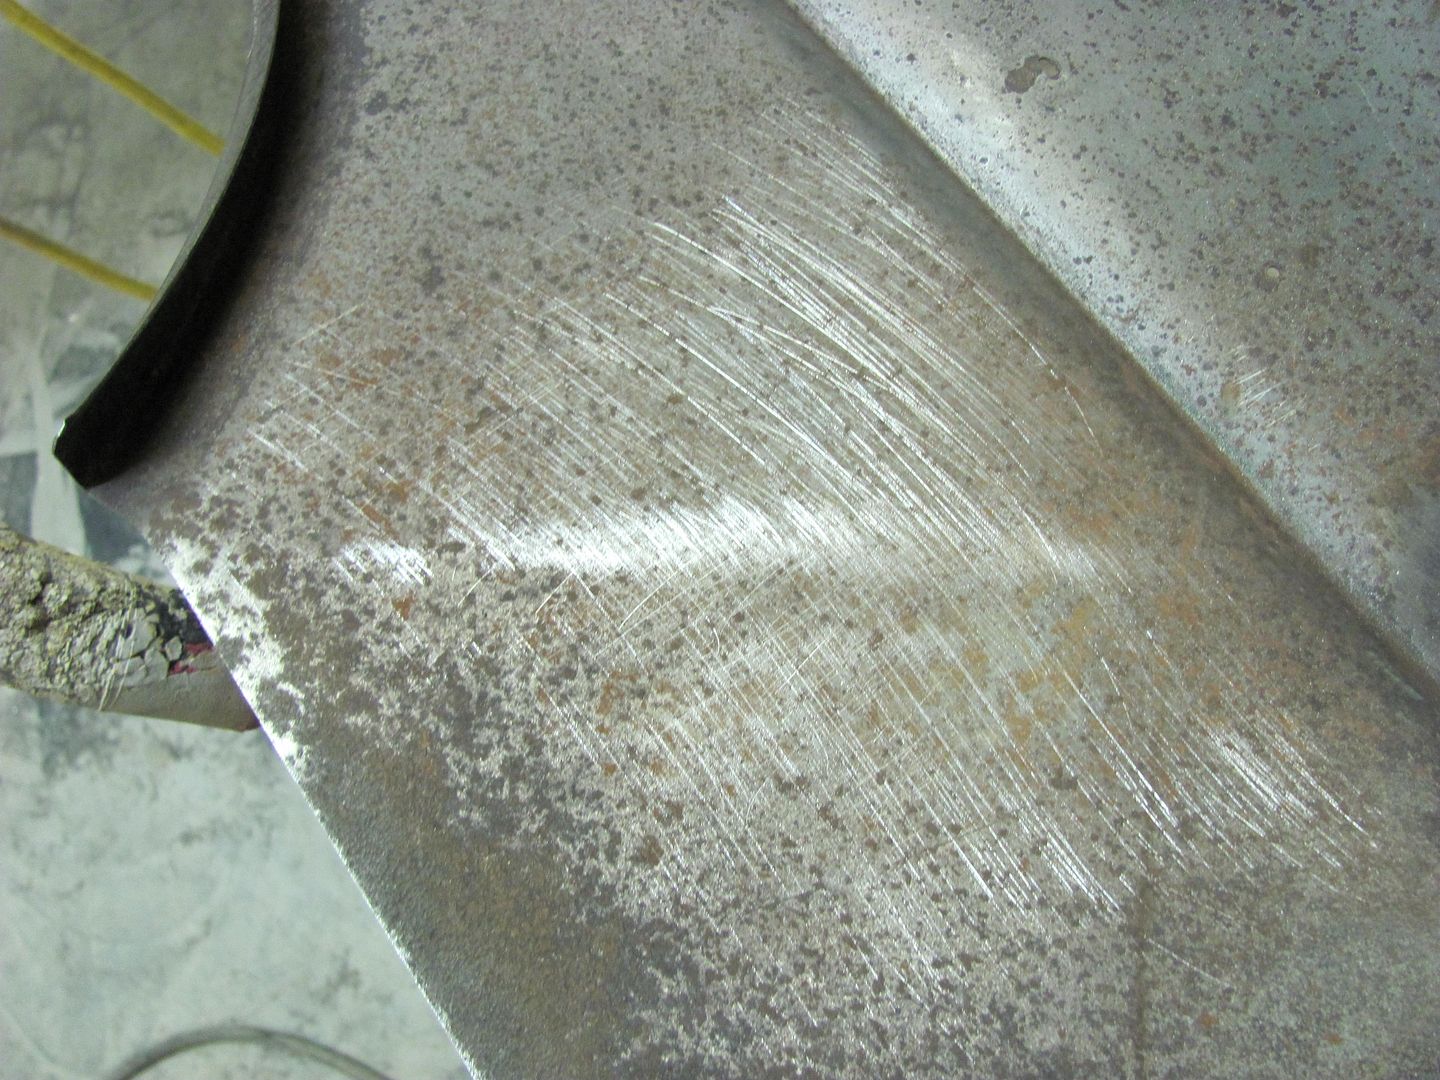
Bottom of the fender is cut loose from the bolting plate using the cutoff wheel. Then sanding the face of the fender leaves a contrast at the bend of the flange for a good guide for trimming with snips....
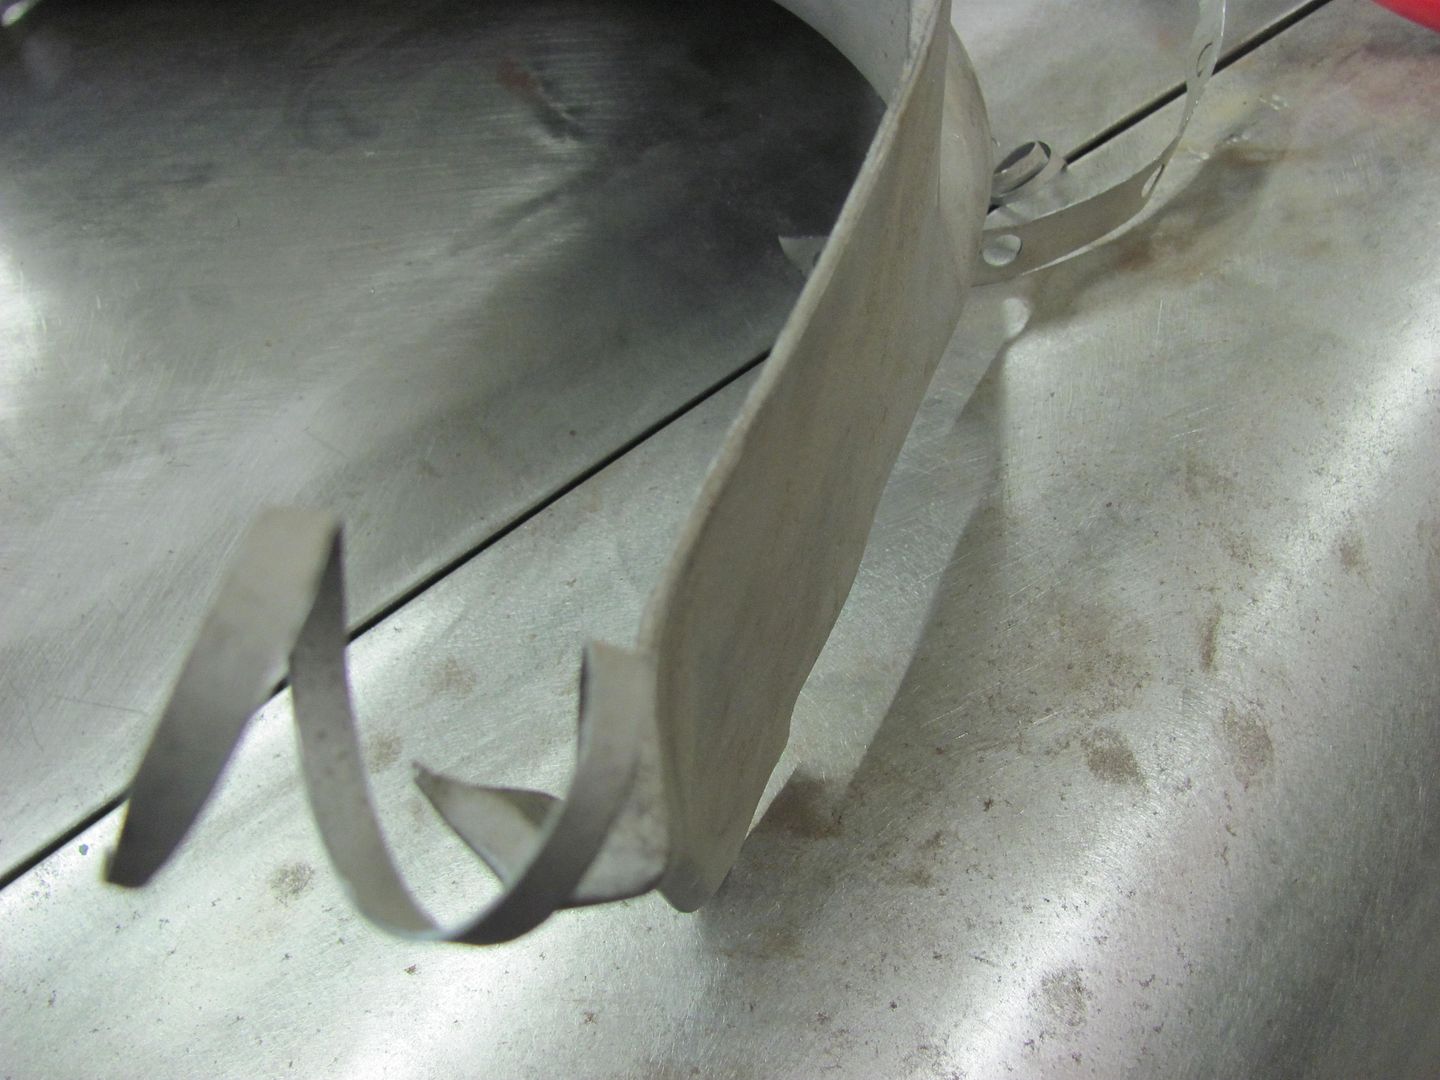
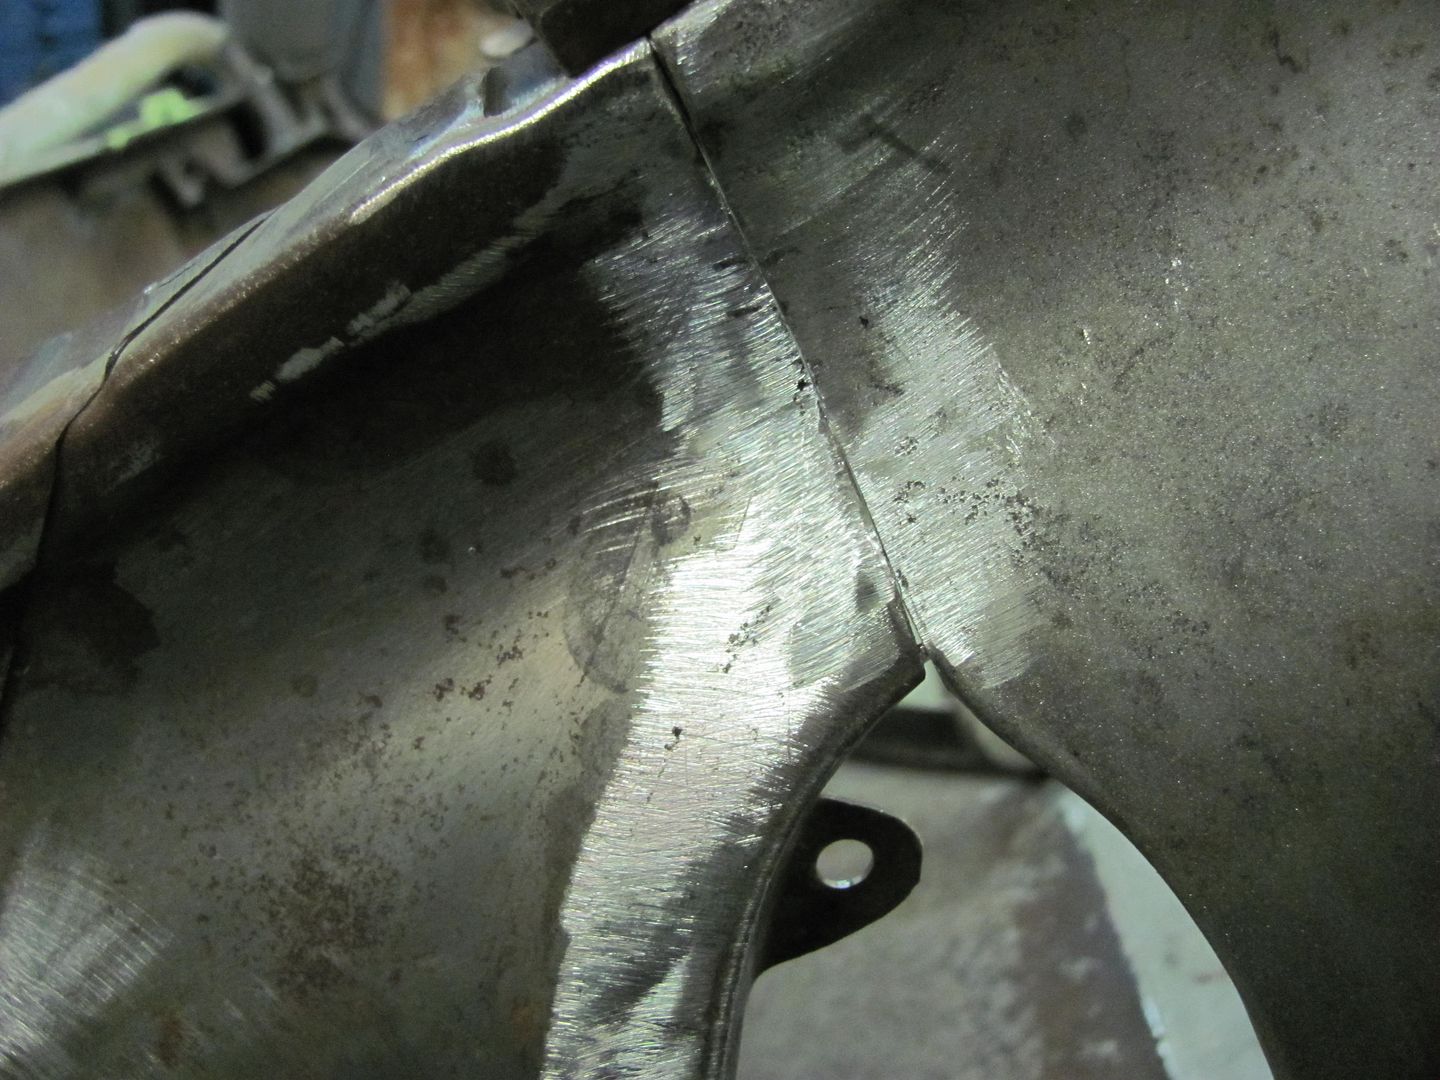
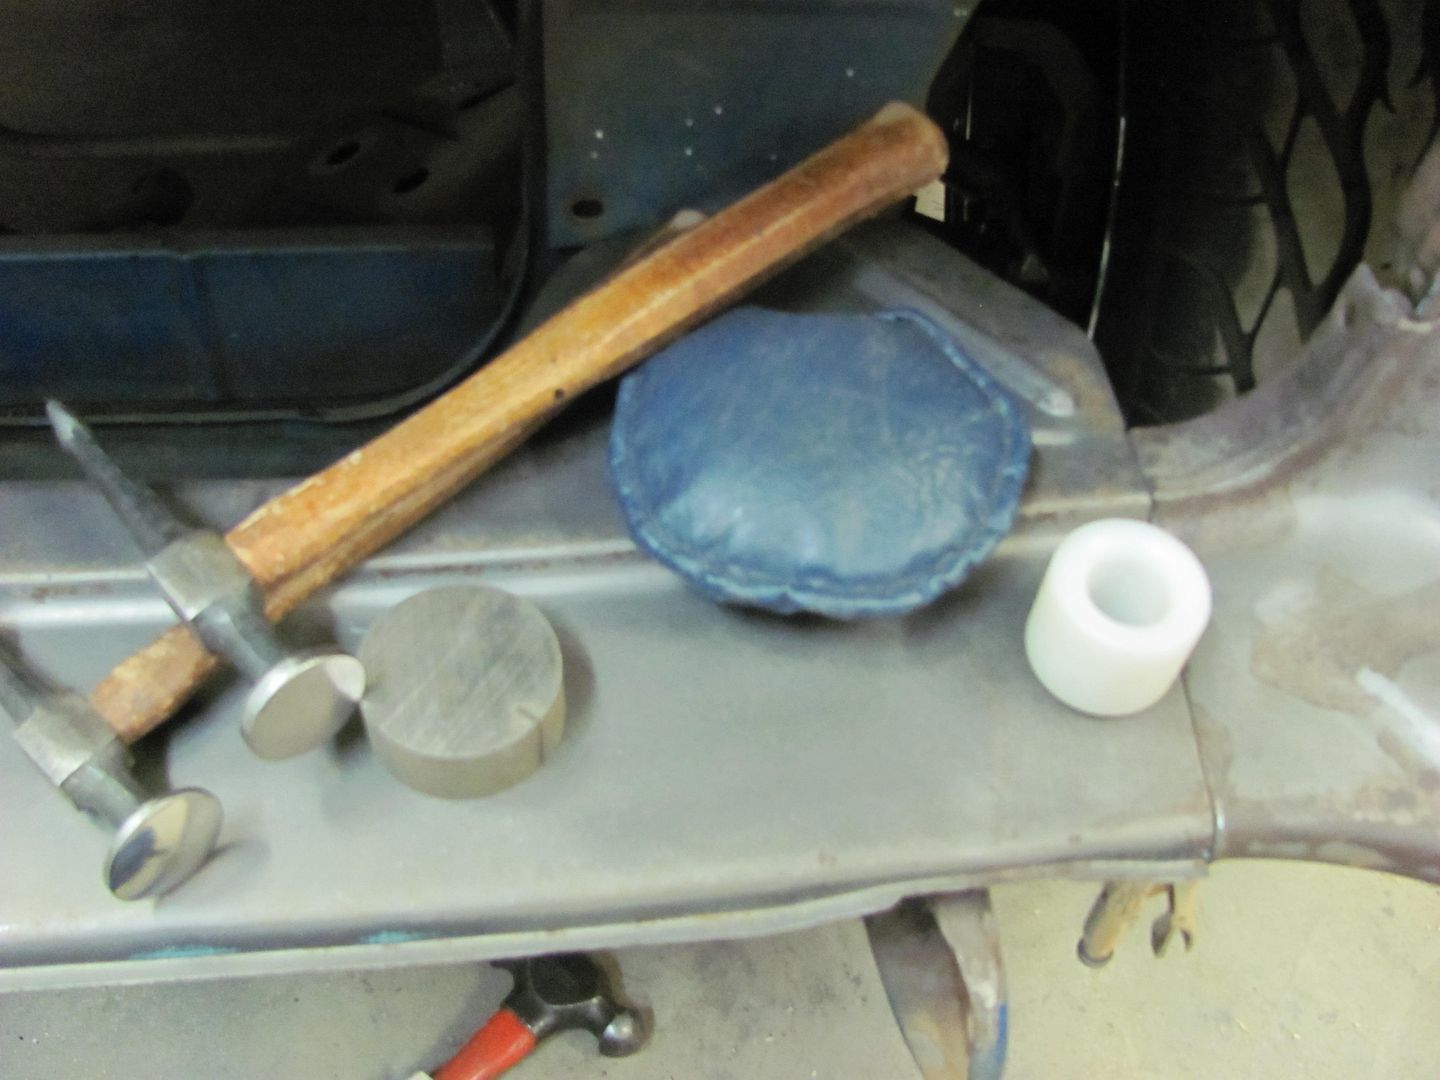
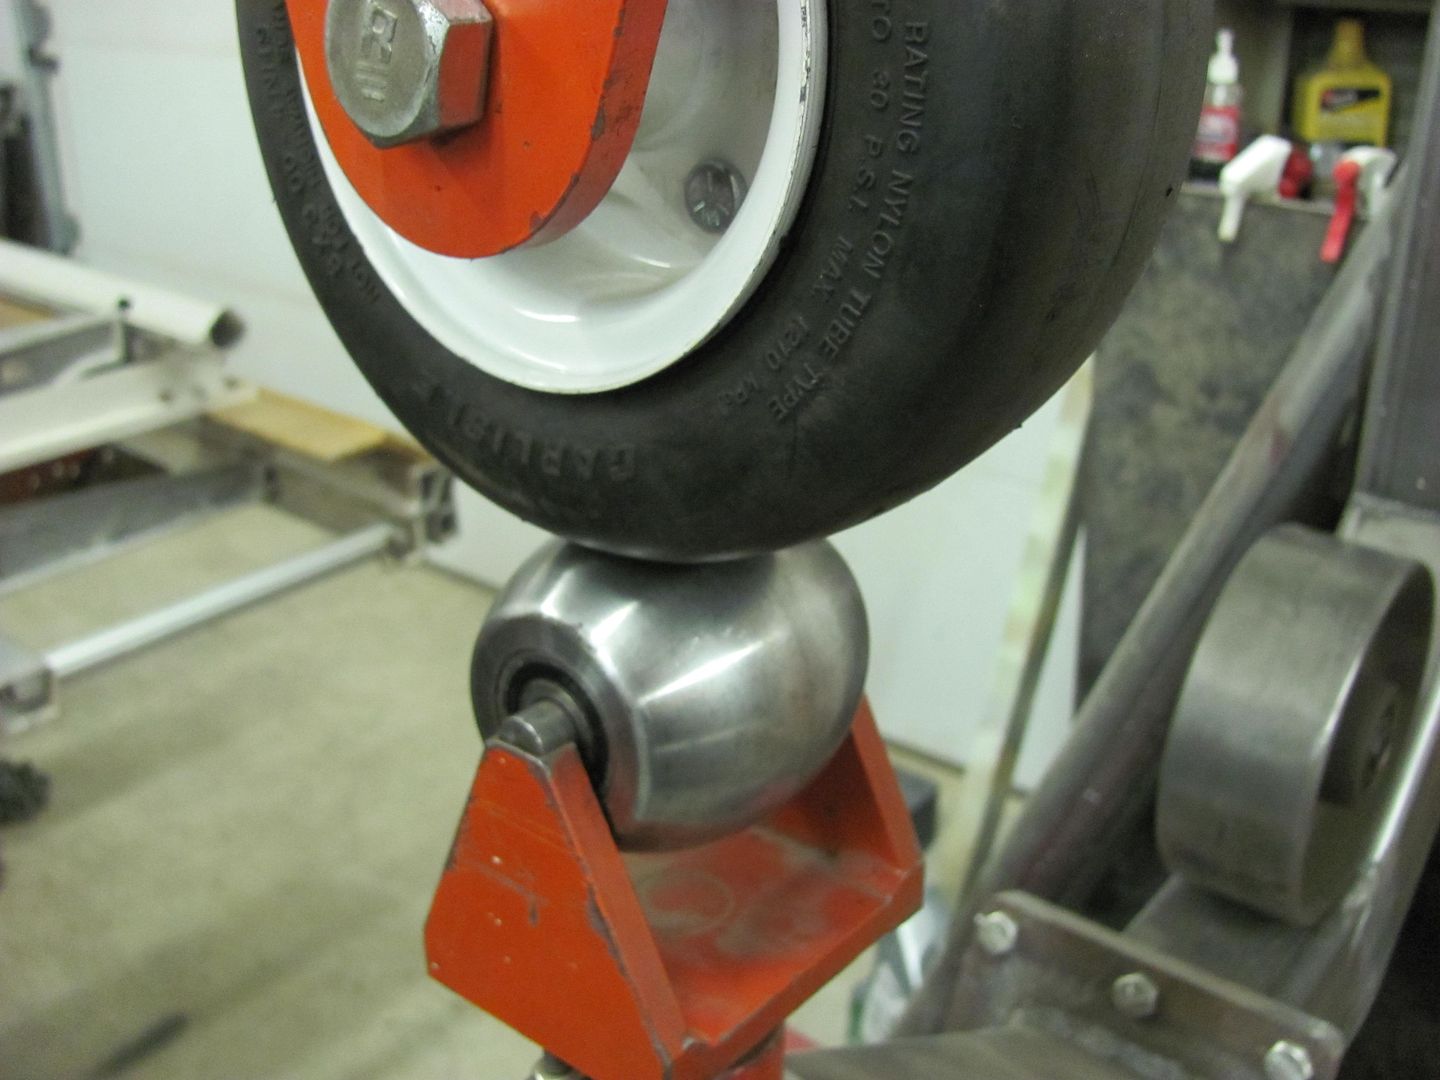
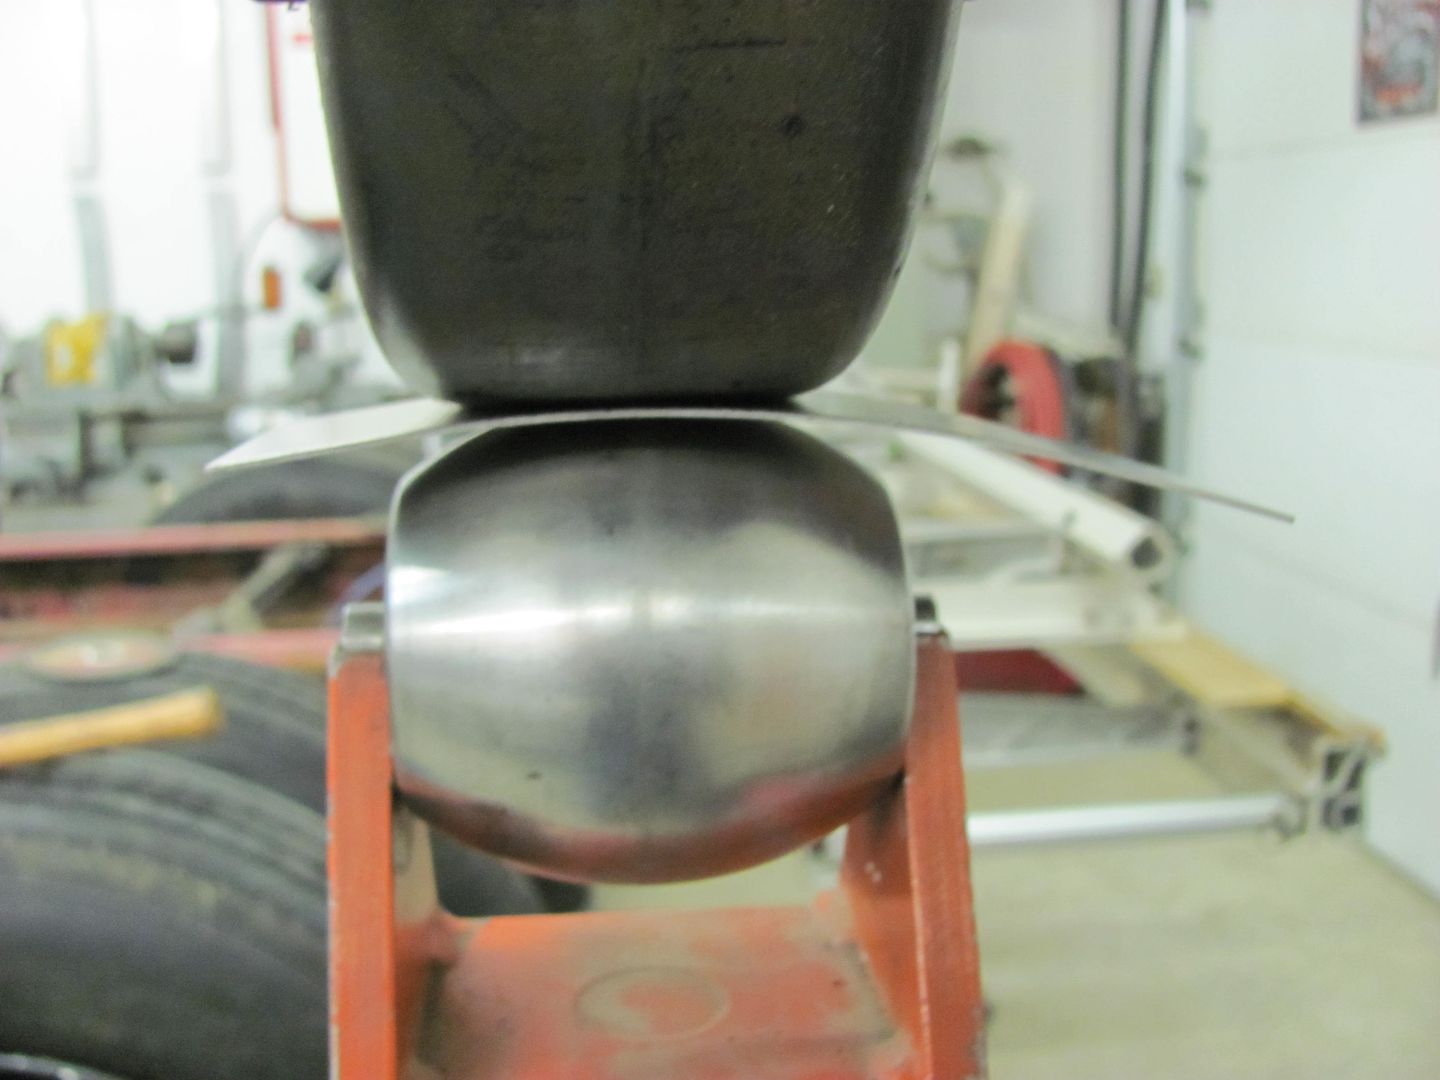
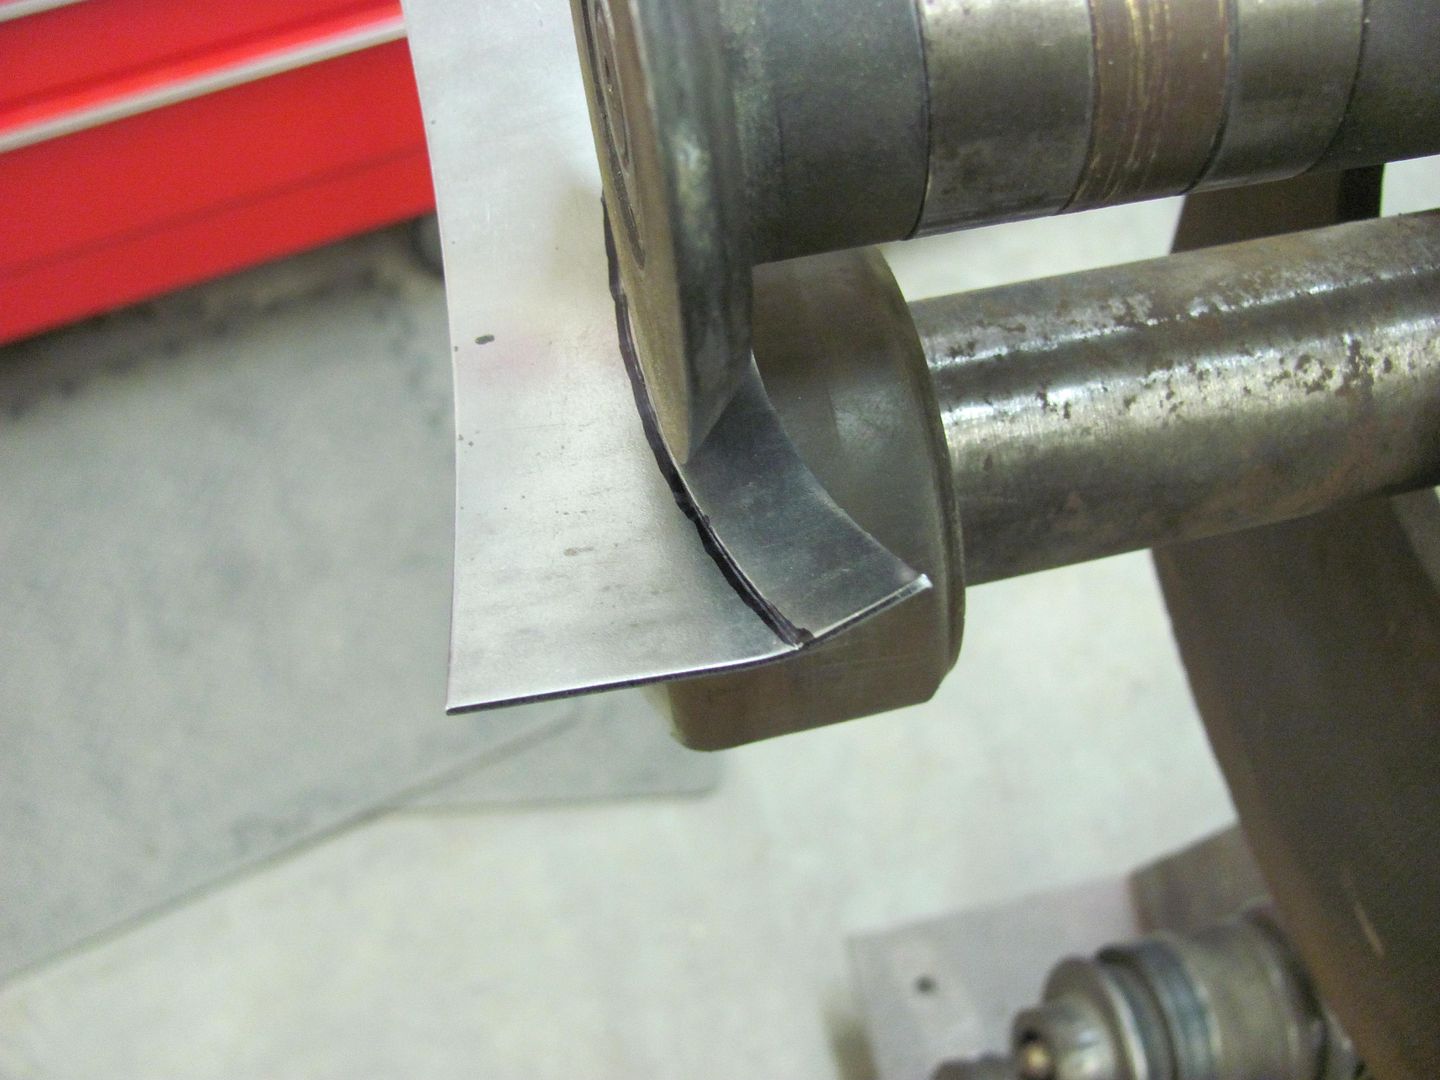
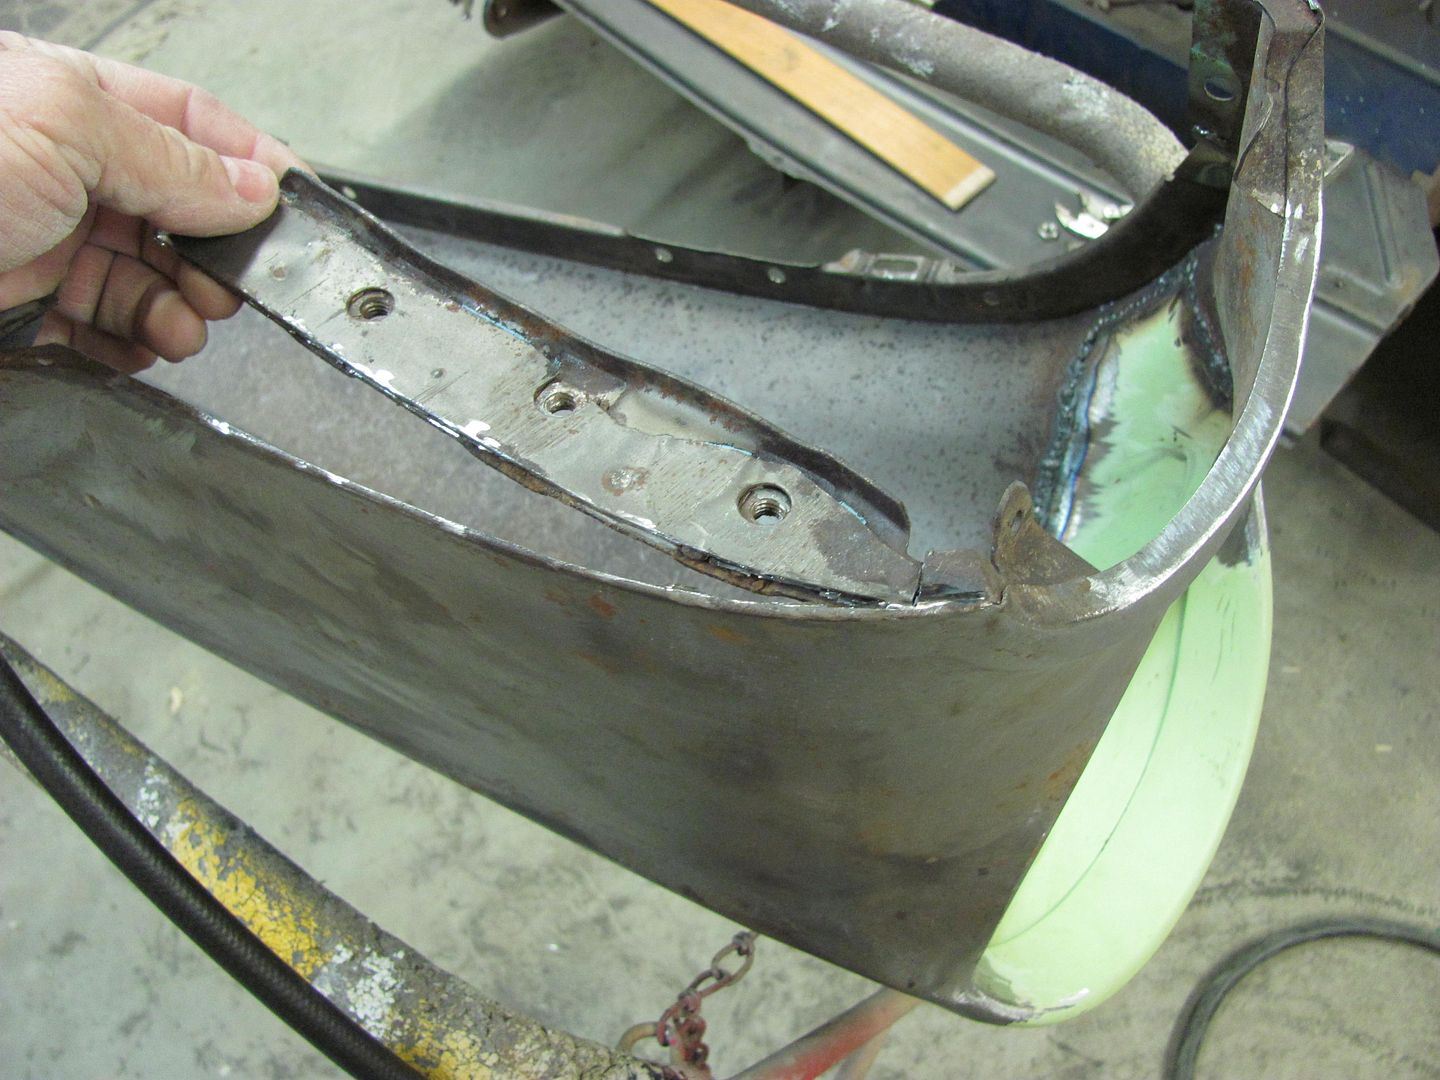
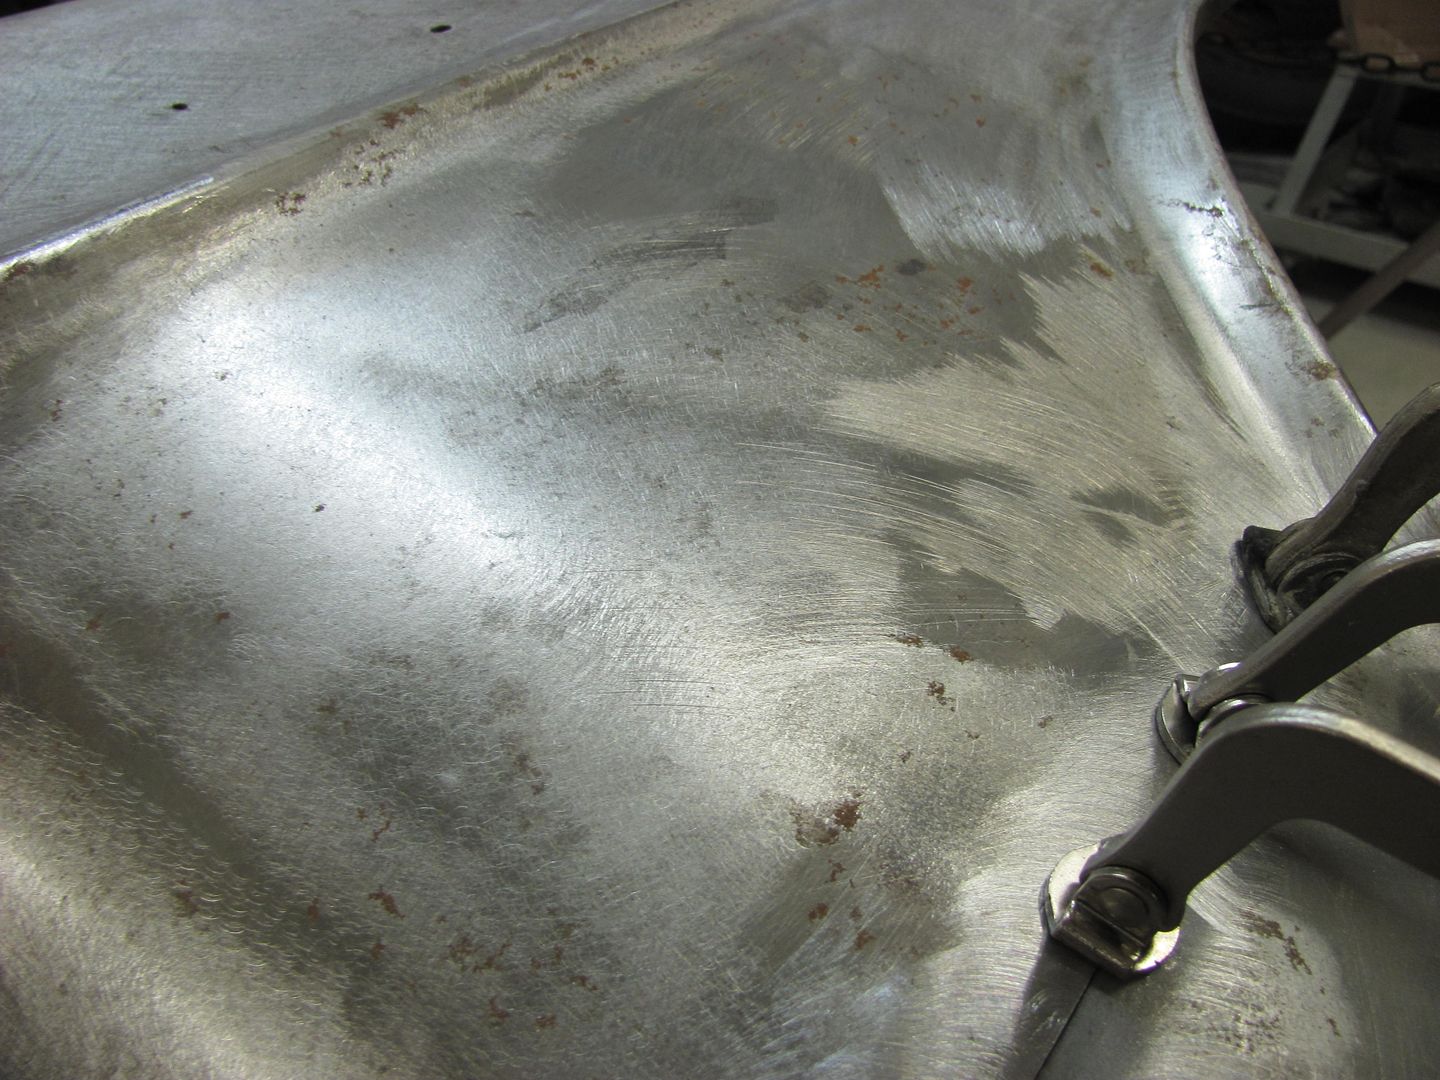
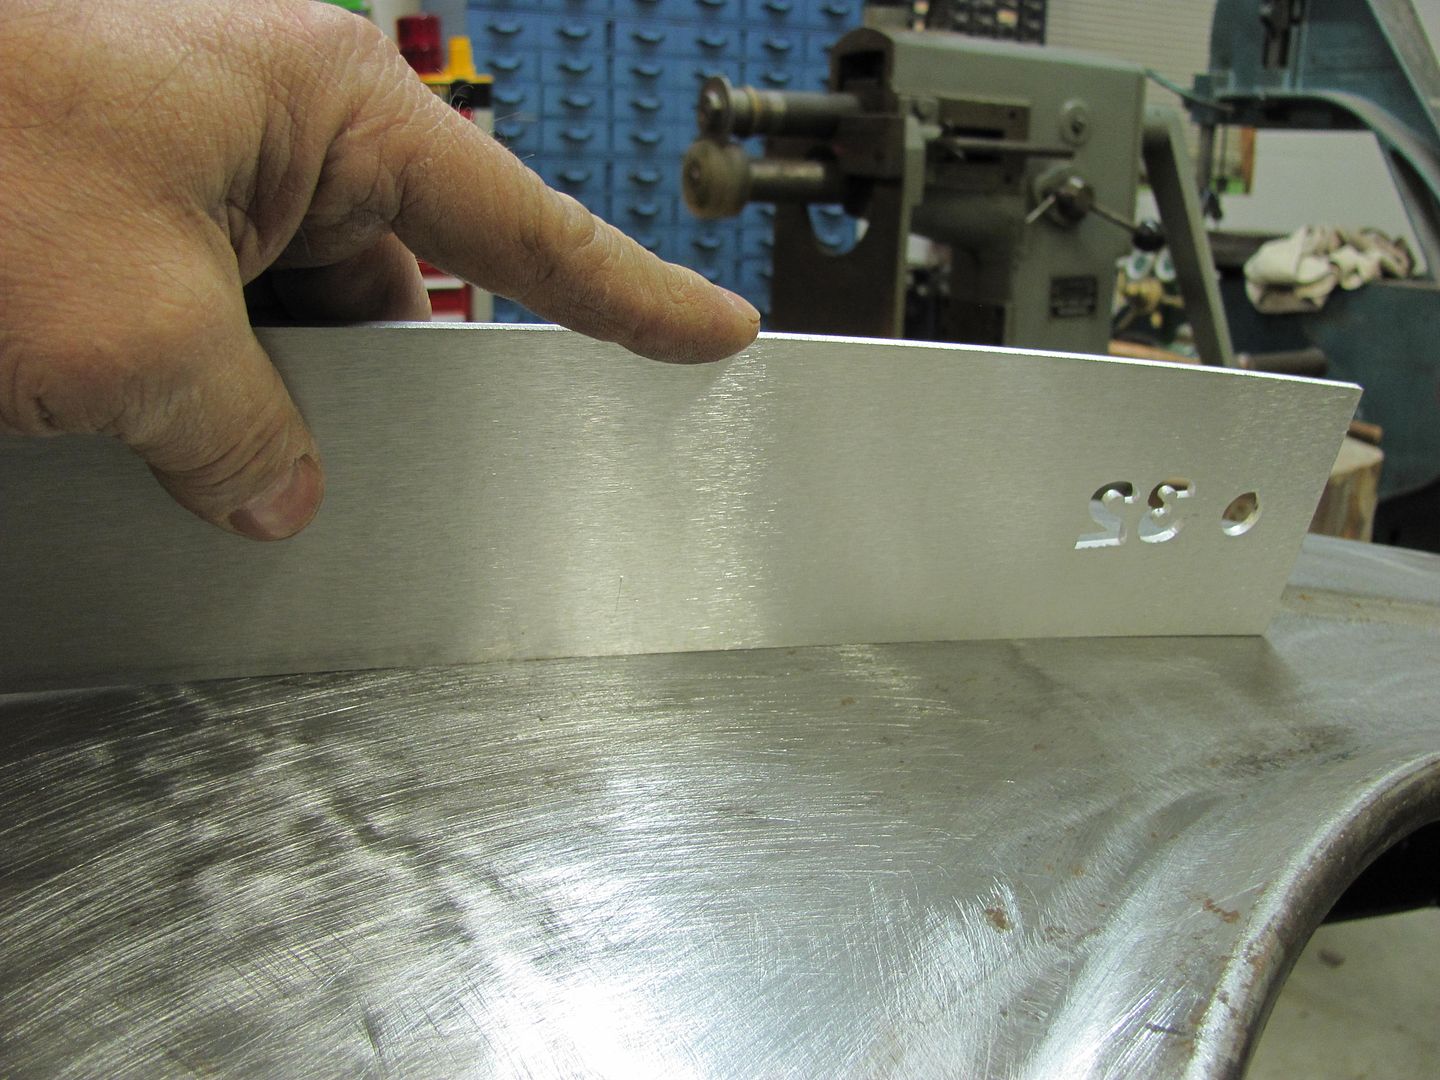
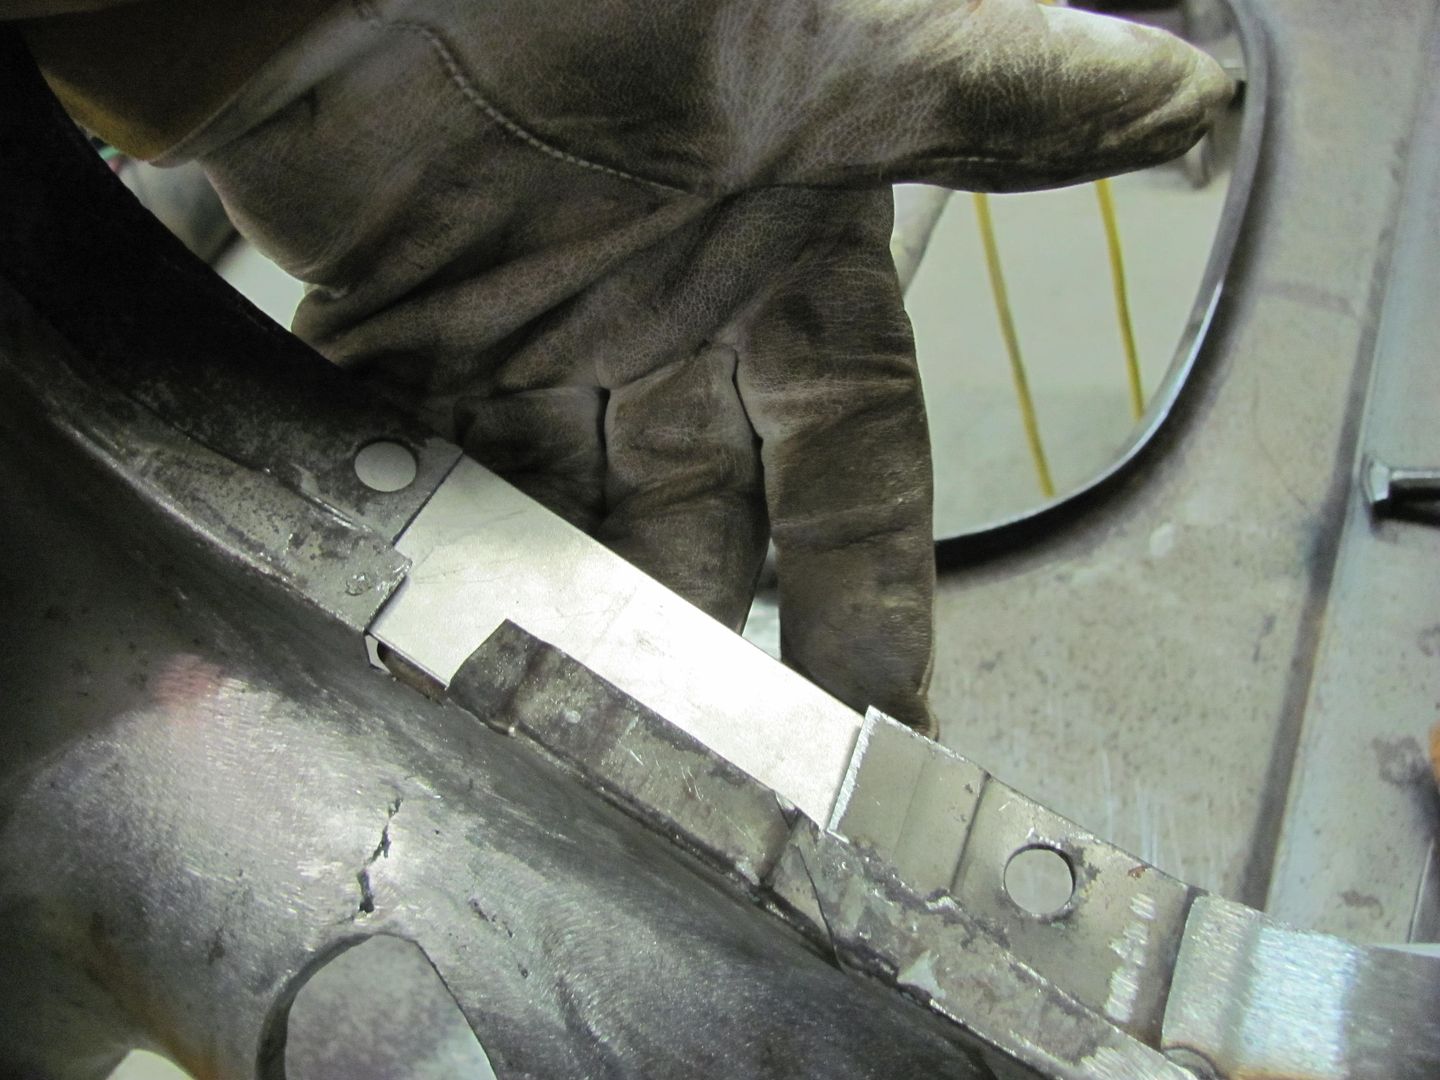
Planishing out the fold to fill the gap....
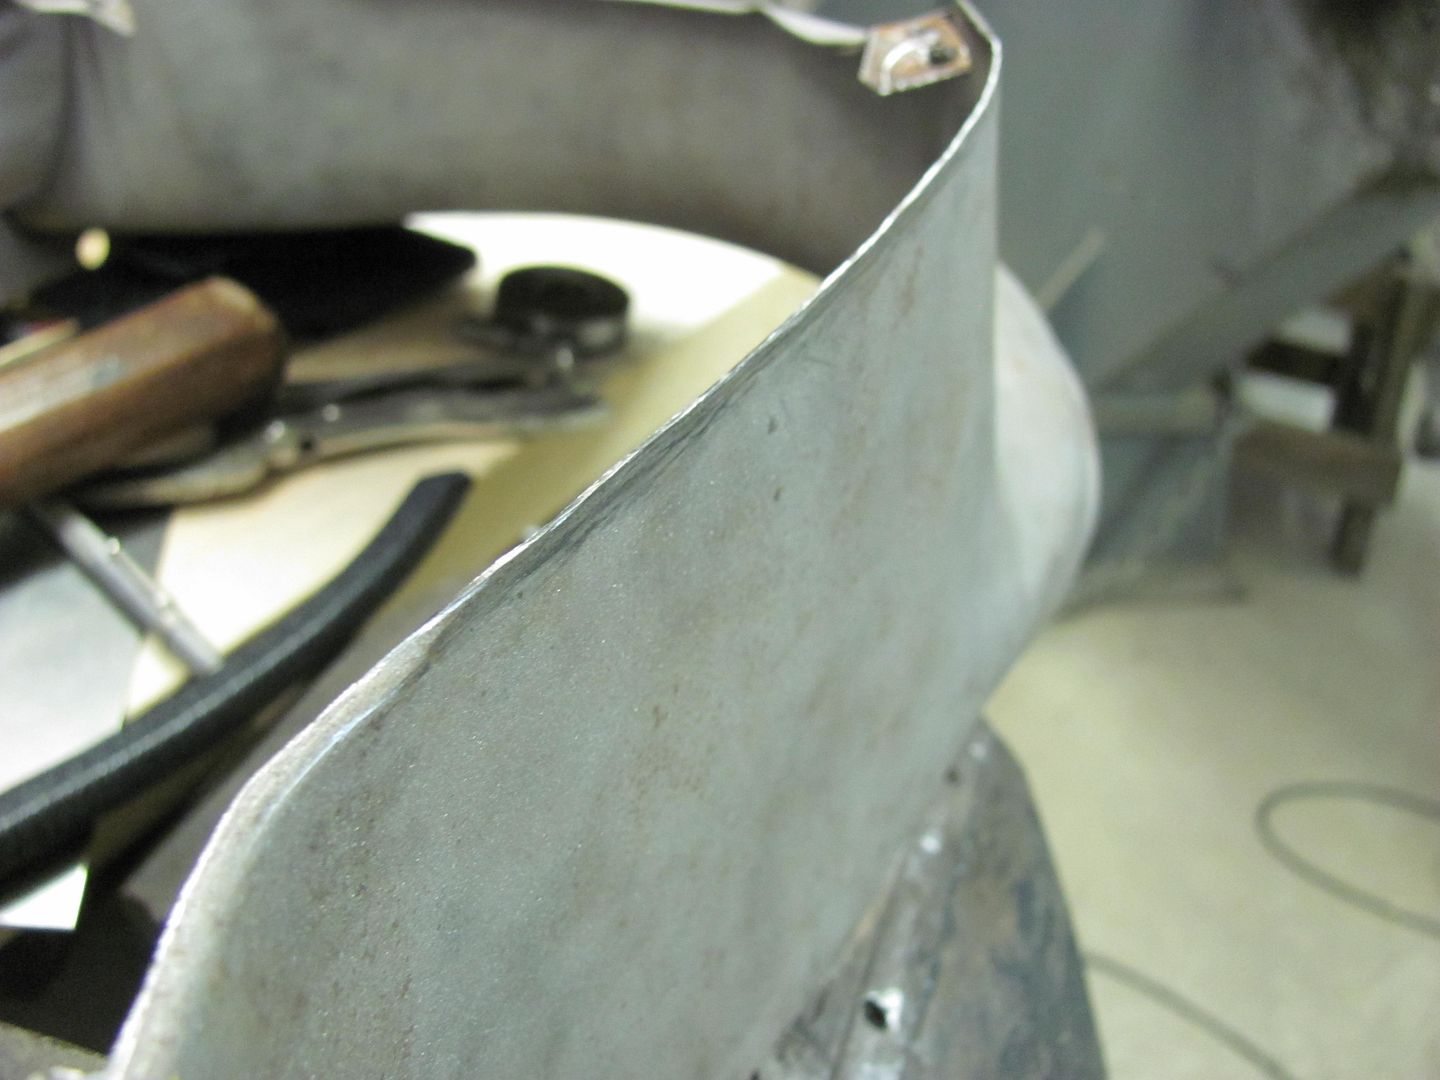
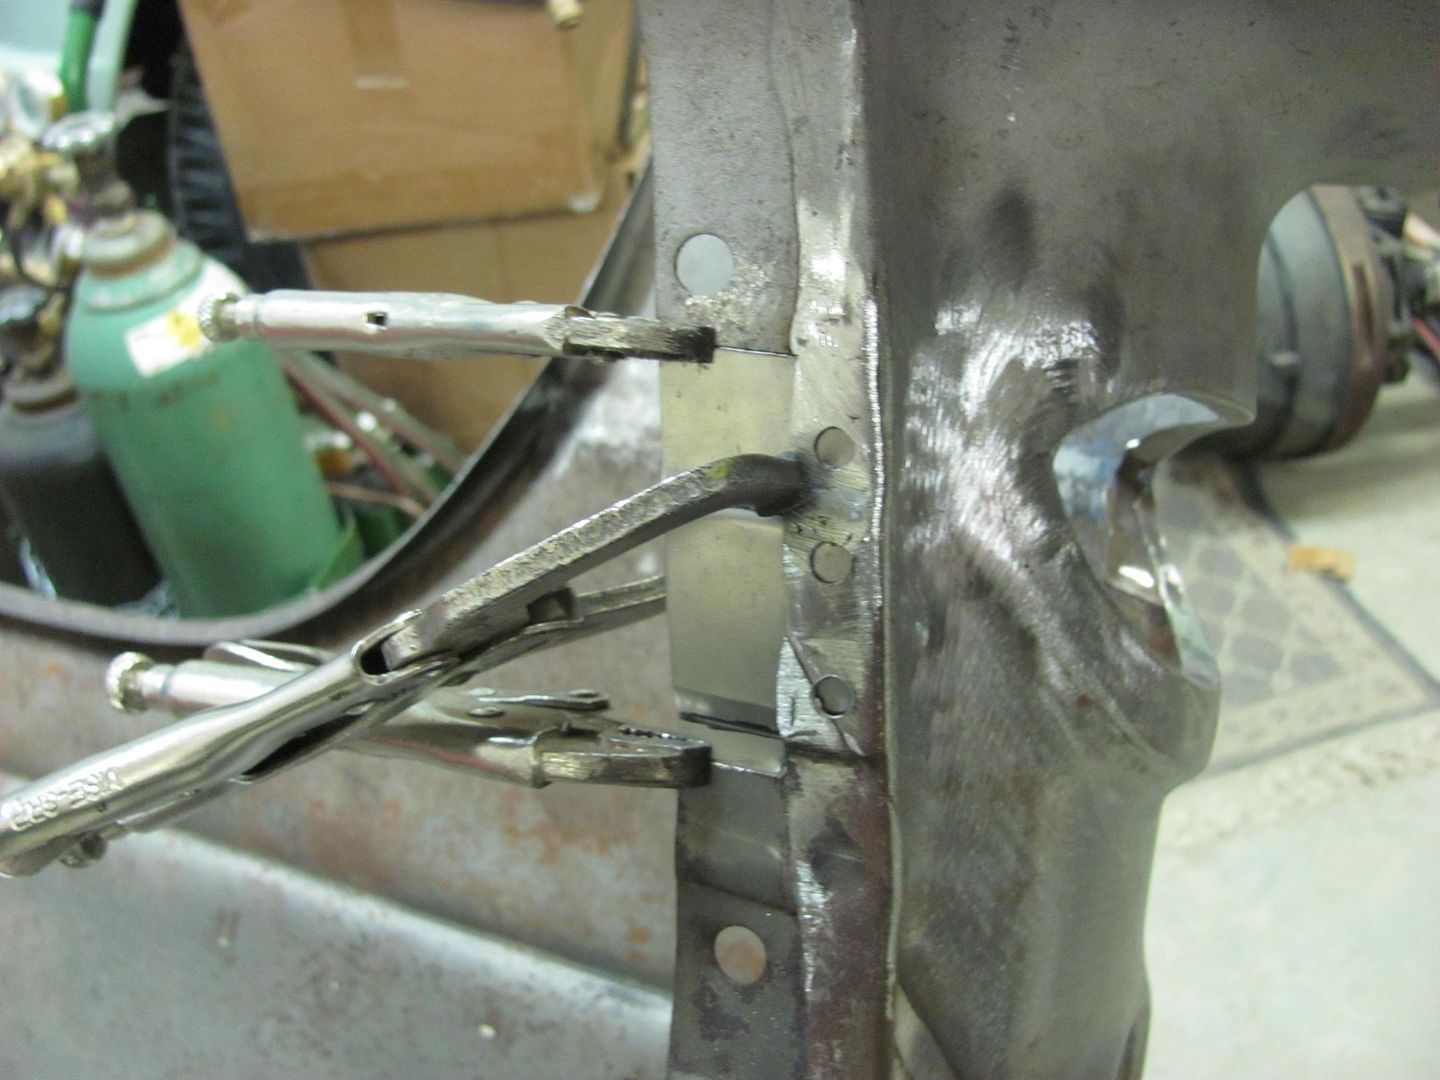
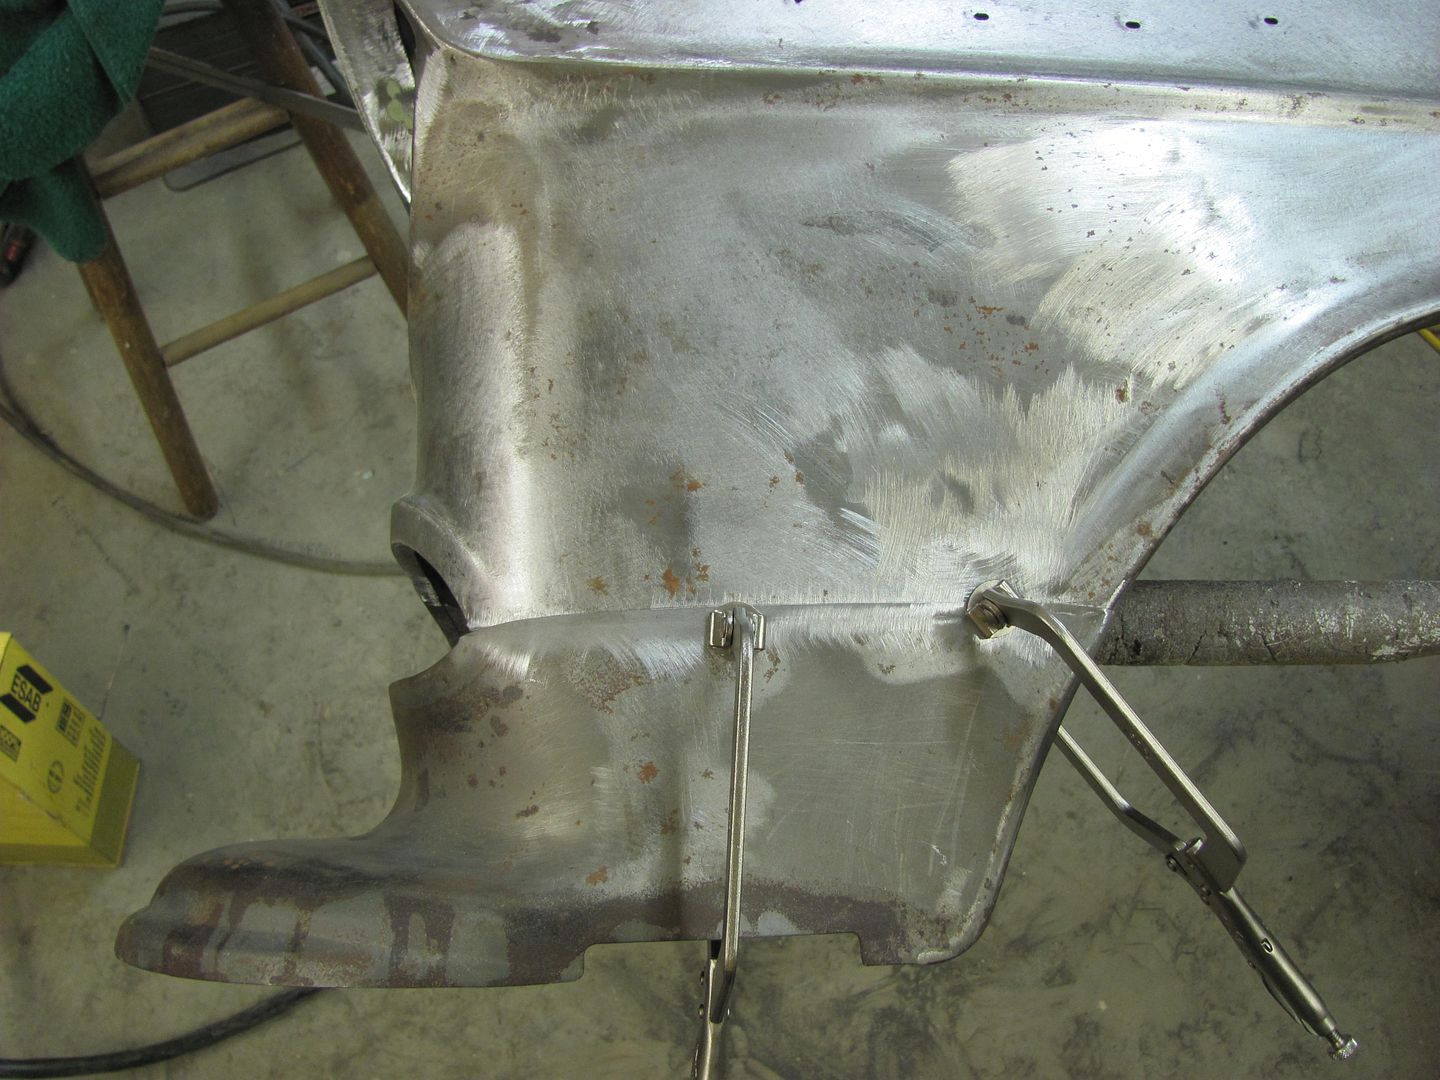
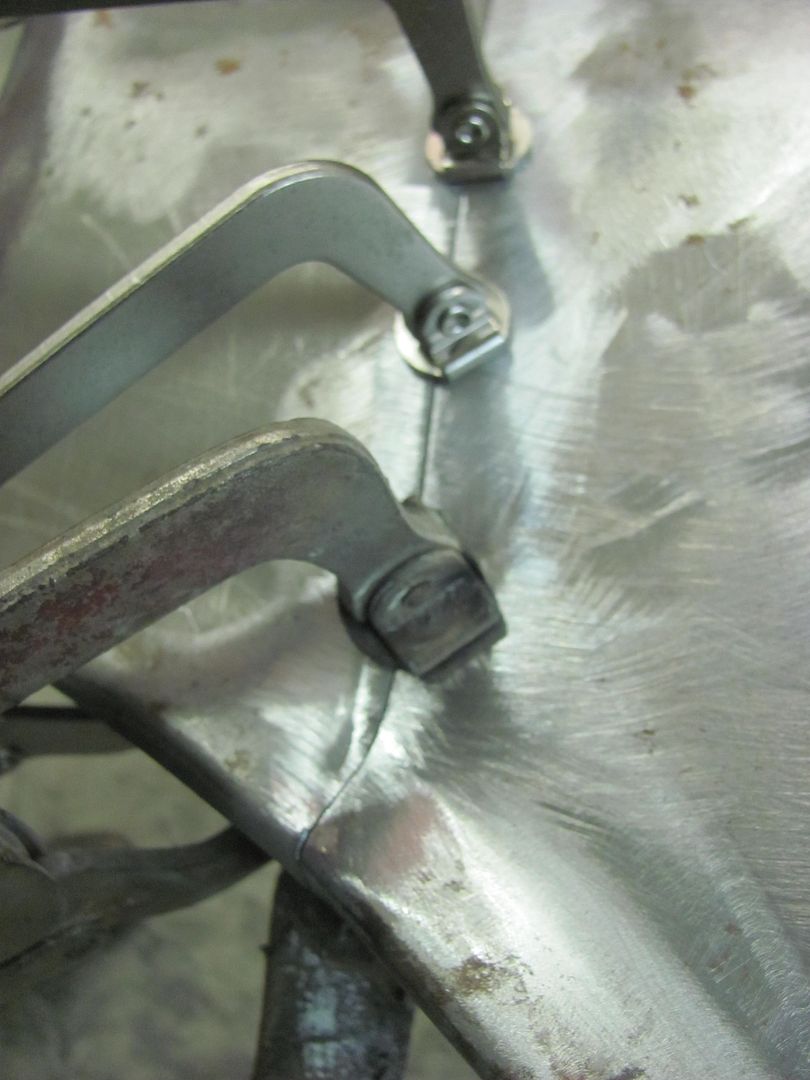
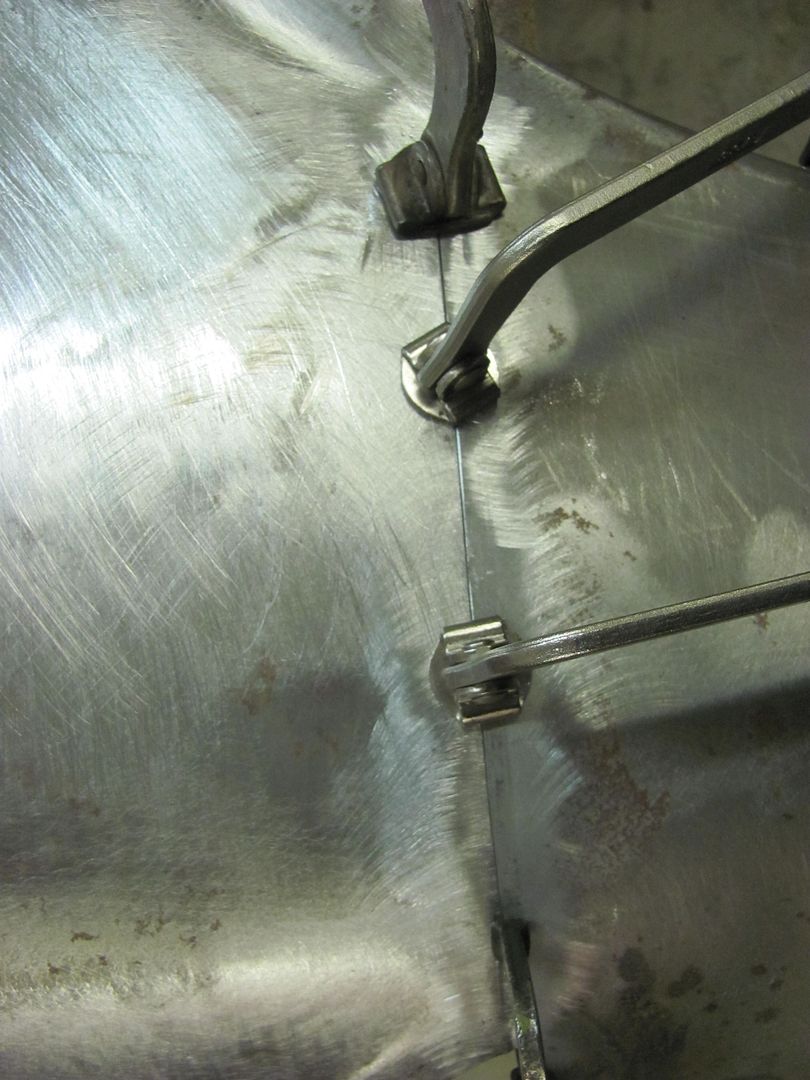
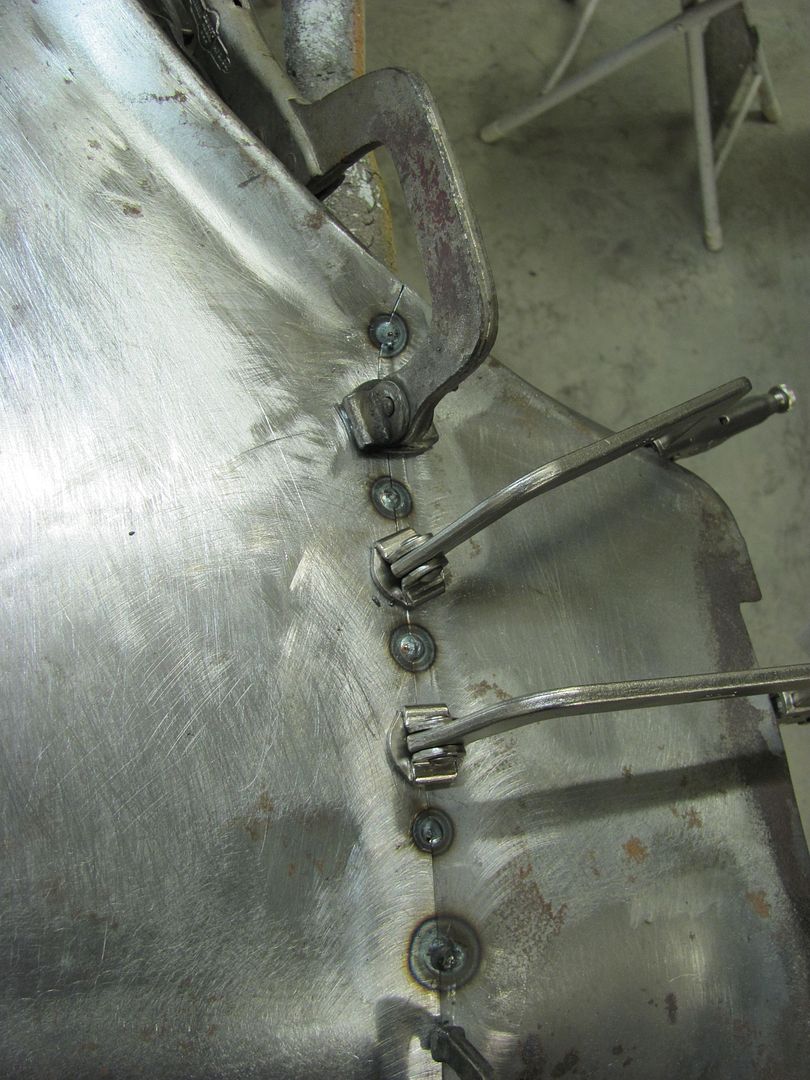
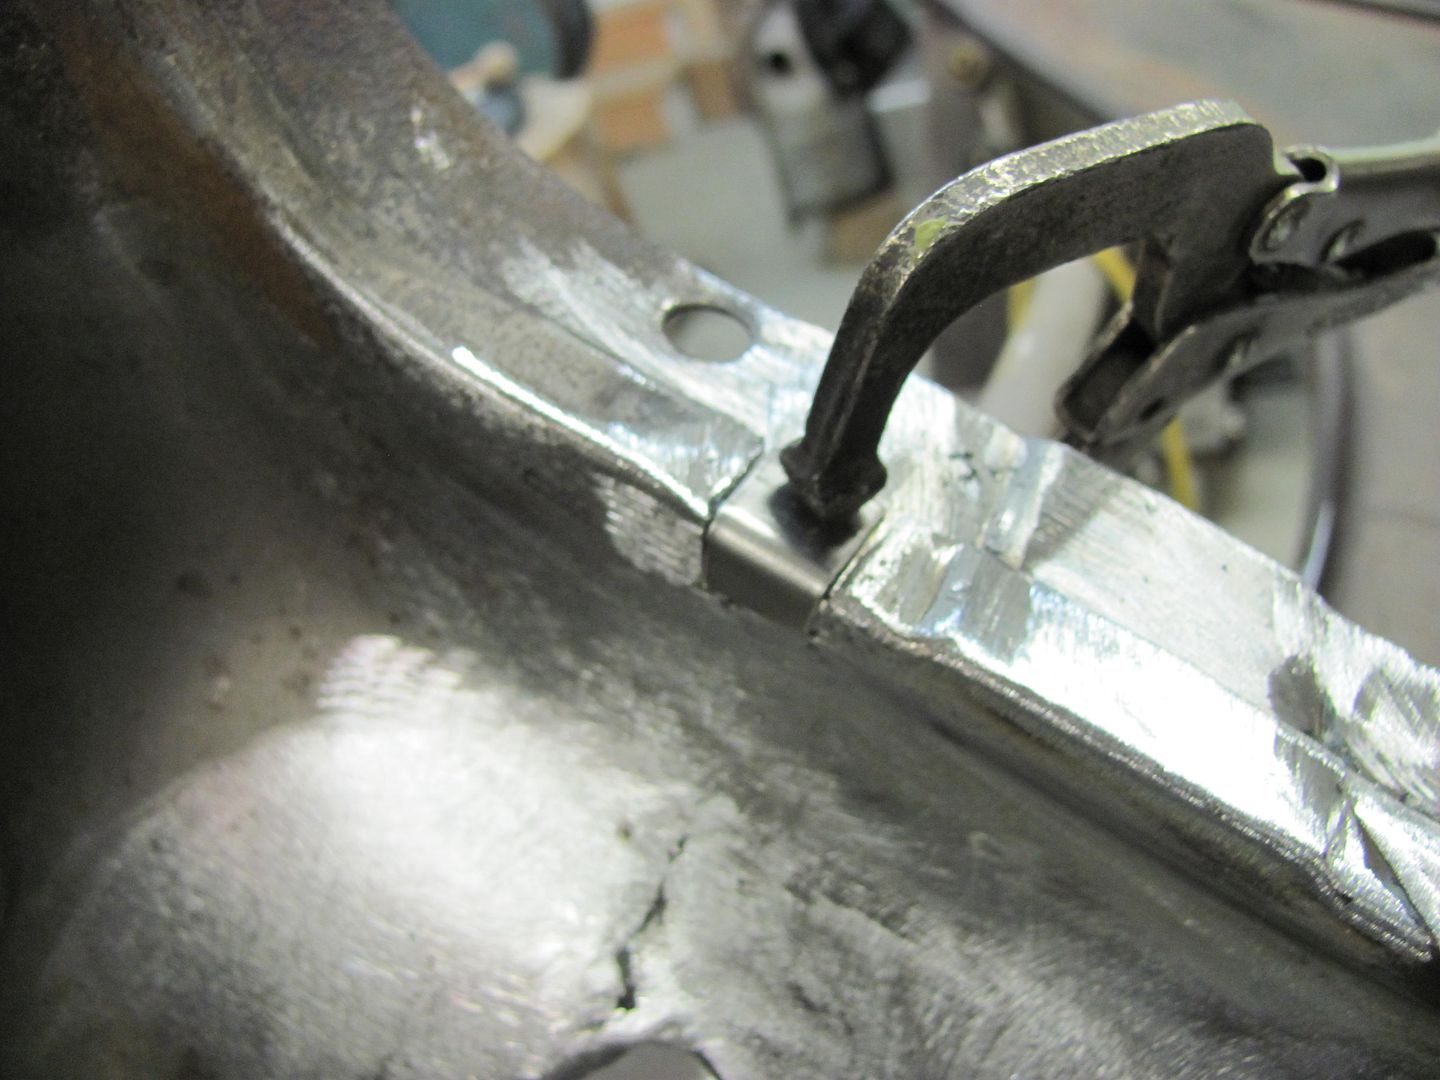
Clamps used to test fit. ONLY... Will be removed during welding for a tight fit. Still needs a bit more fine tuning for zero gaps....
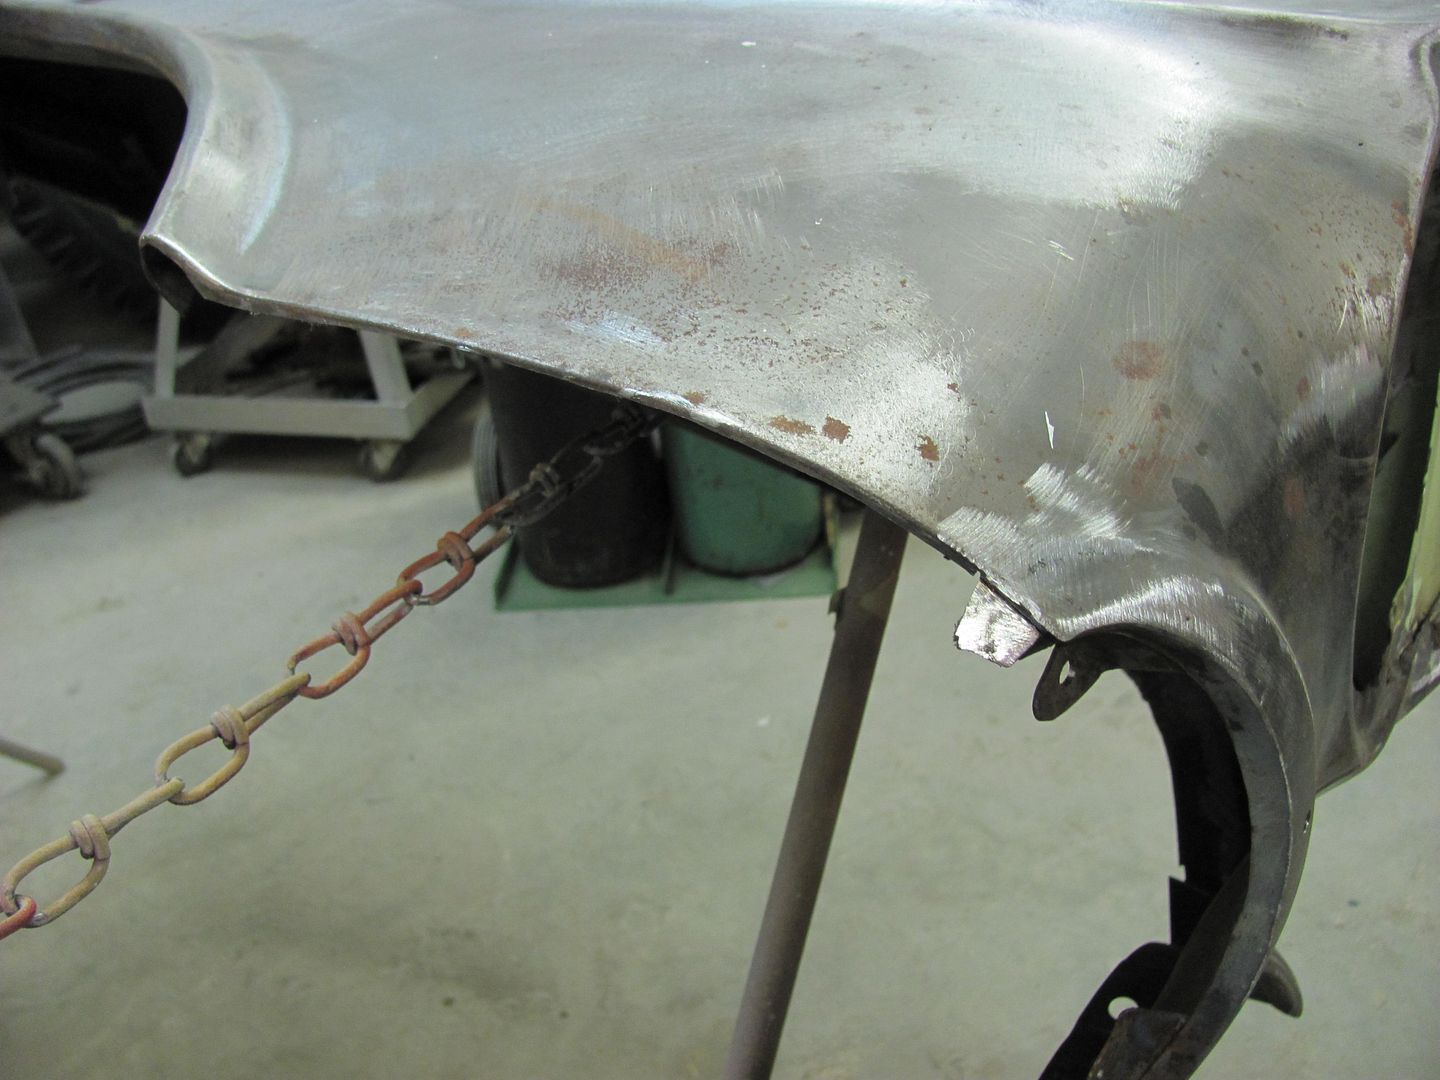
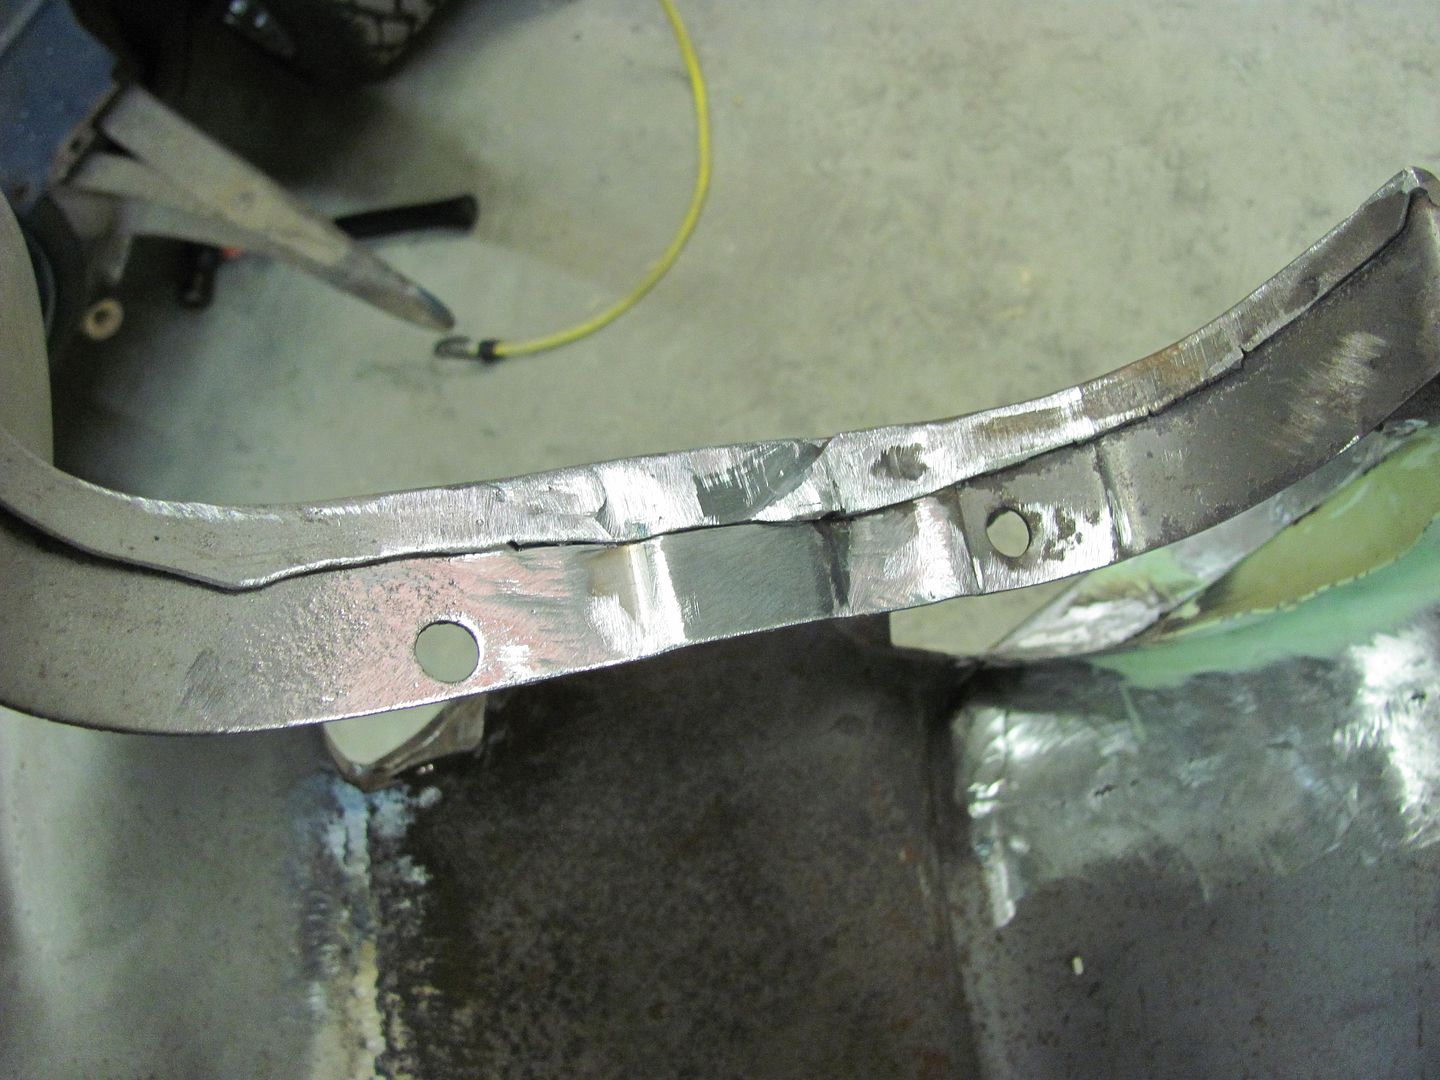
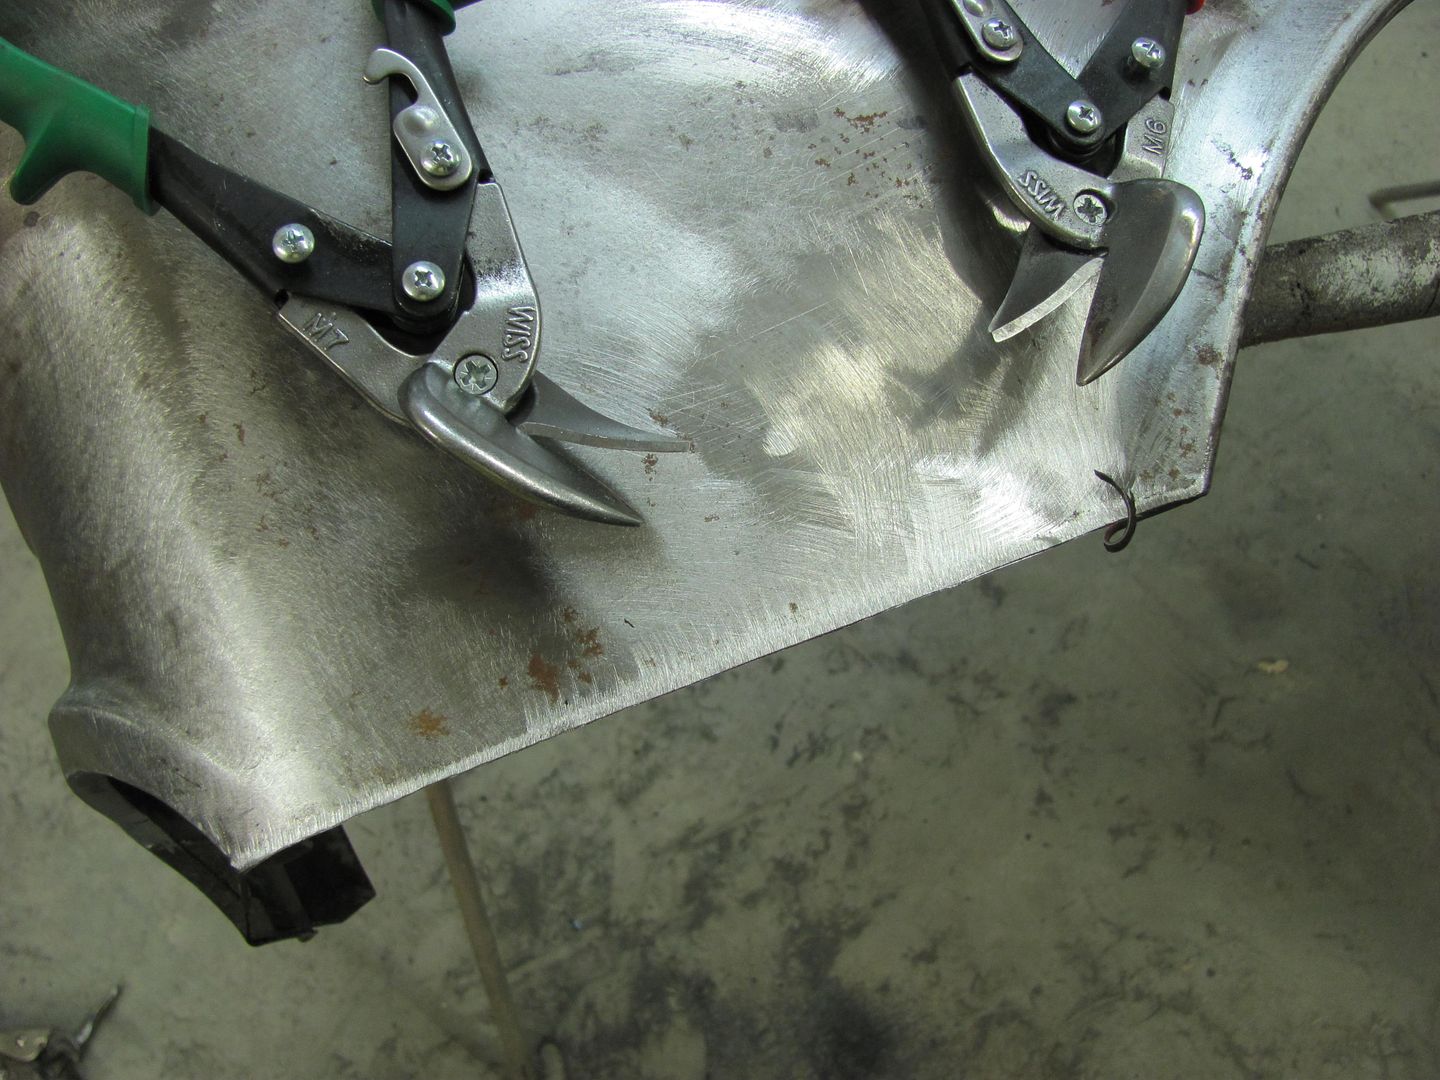
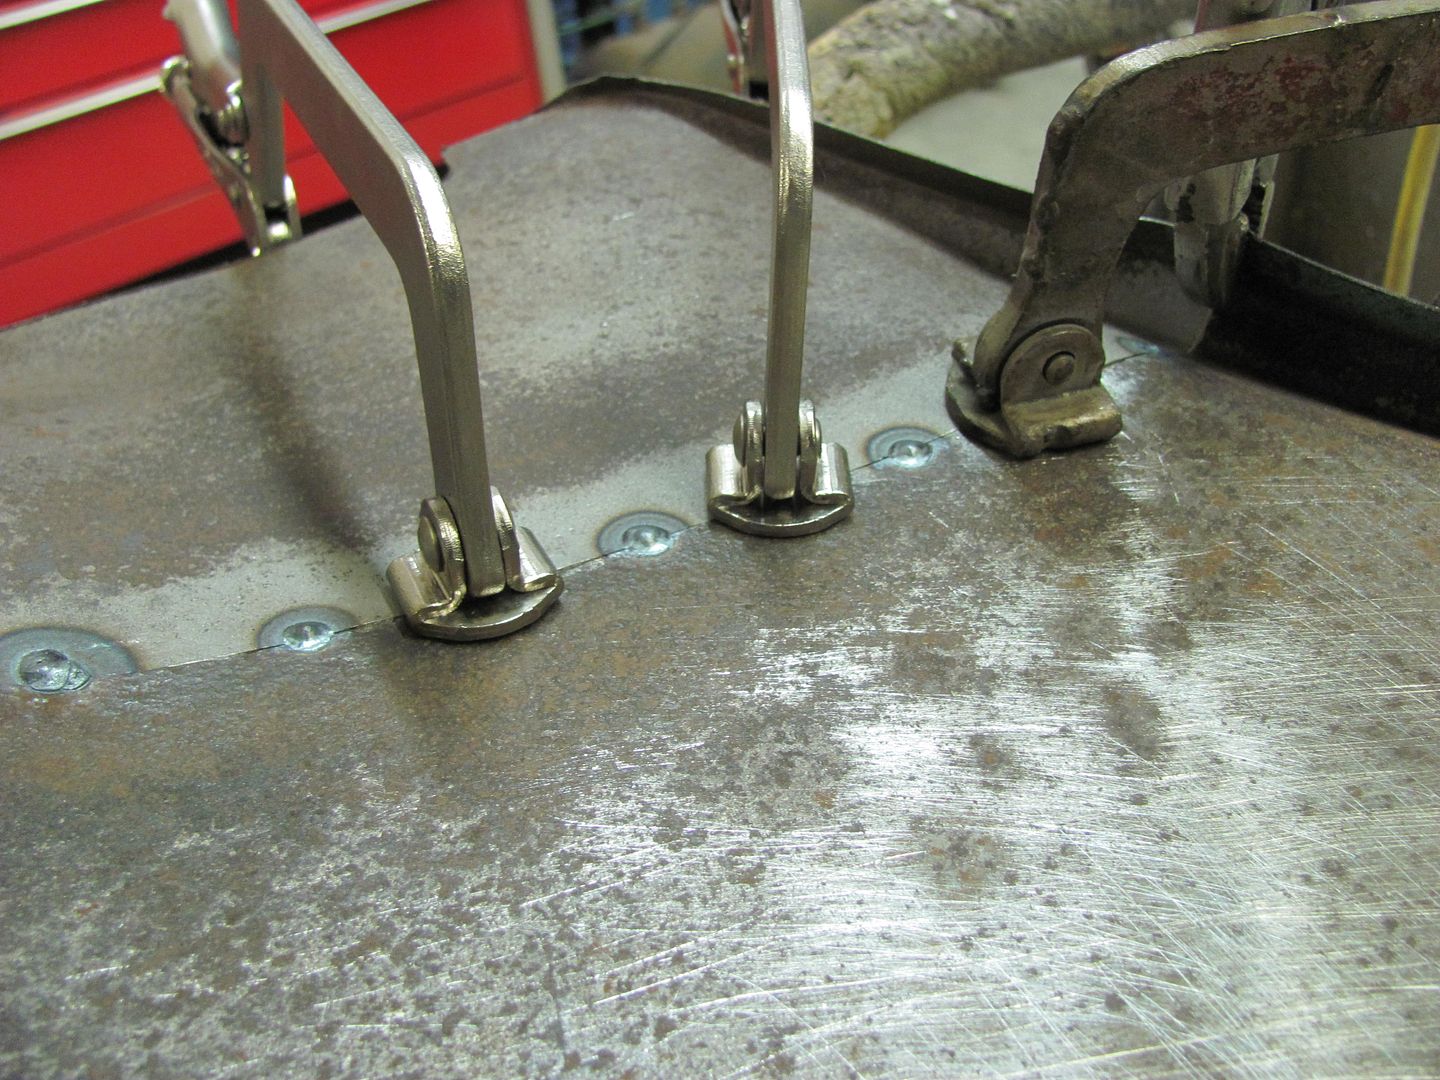
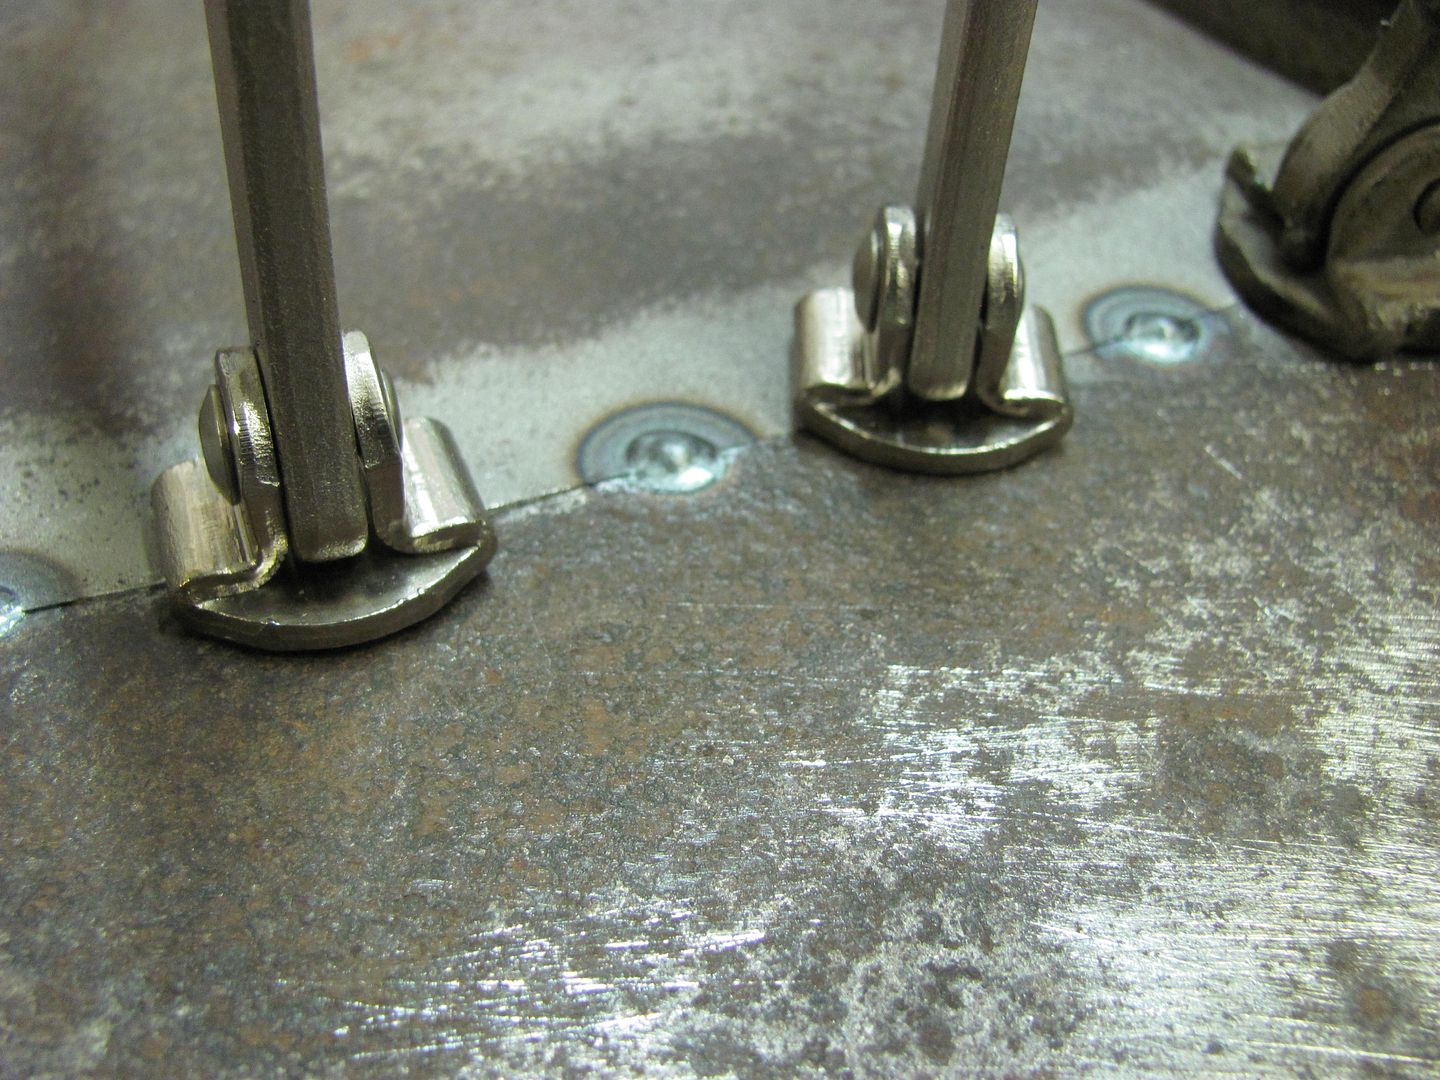
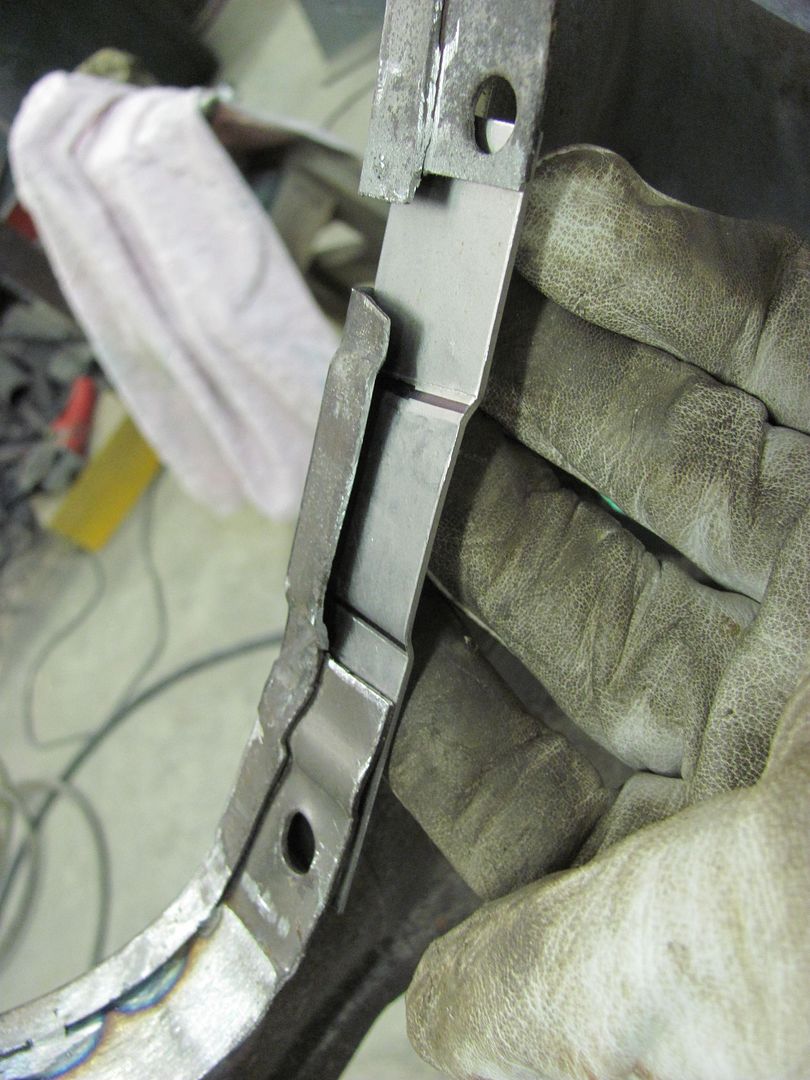
Got to trimming, little to no gaps....
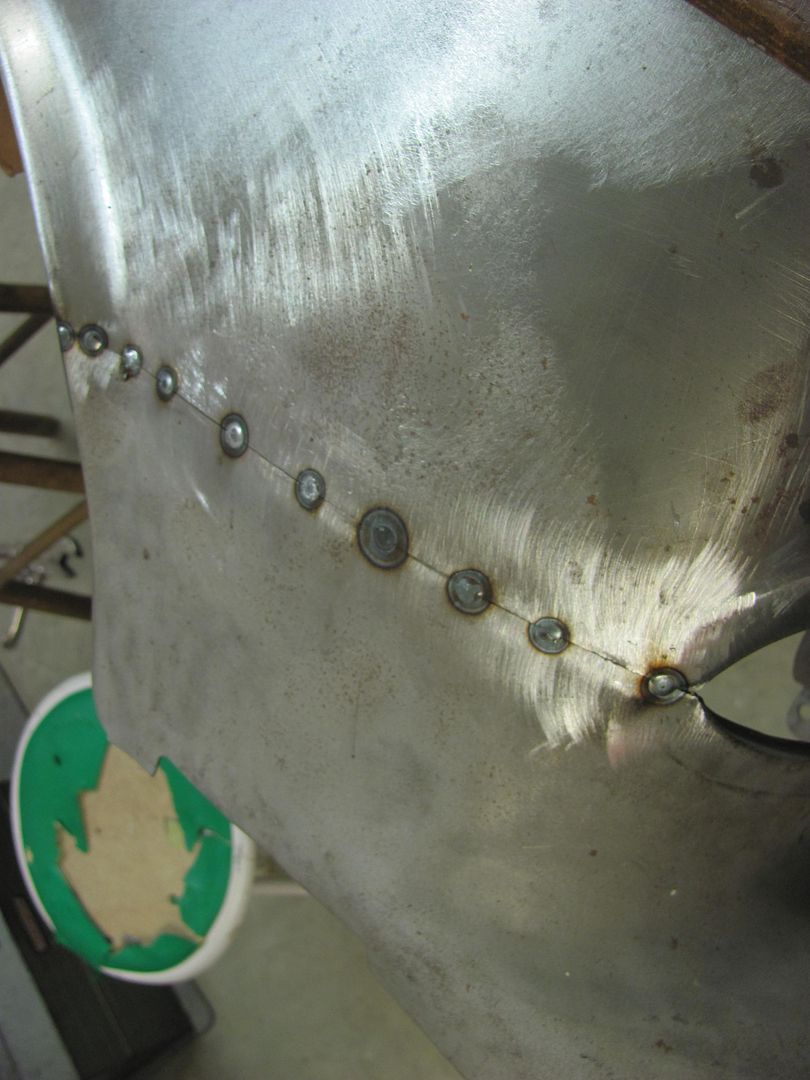
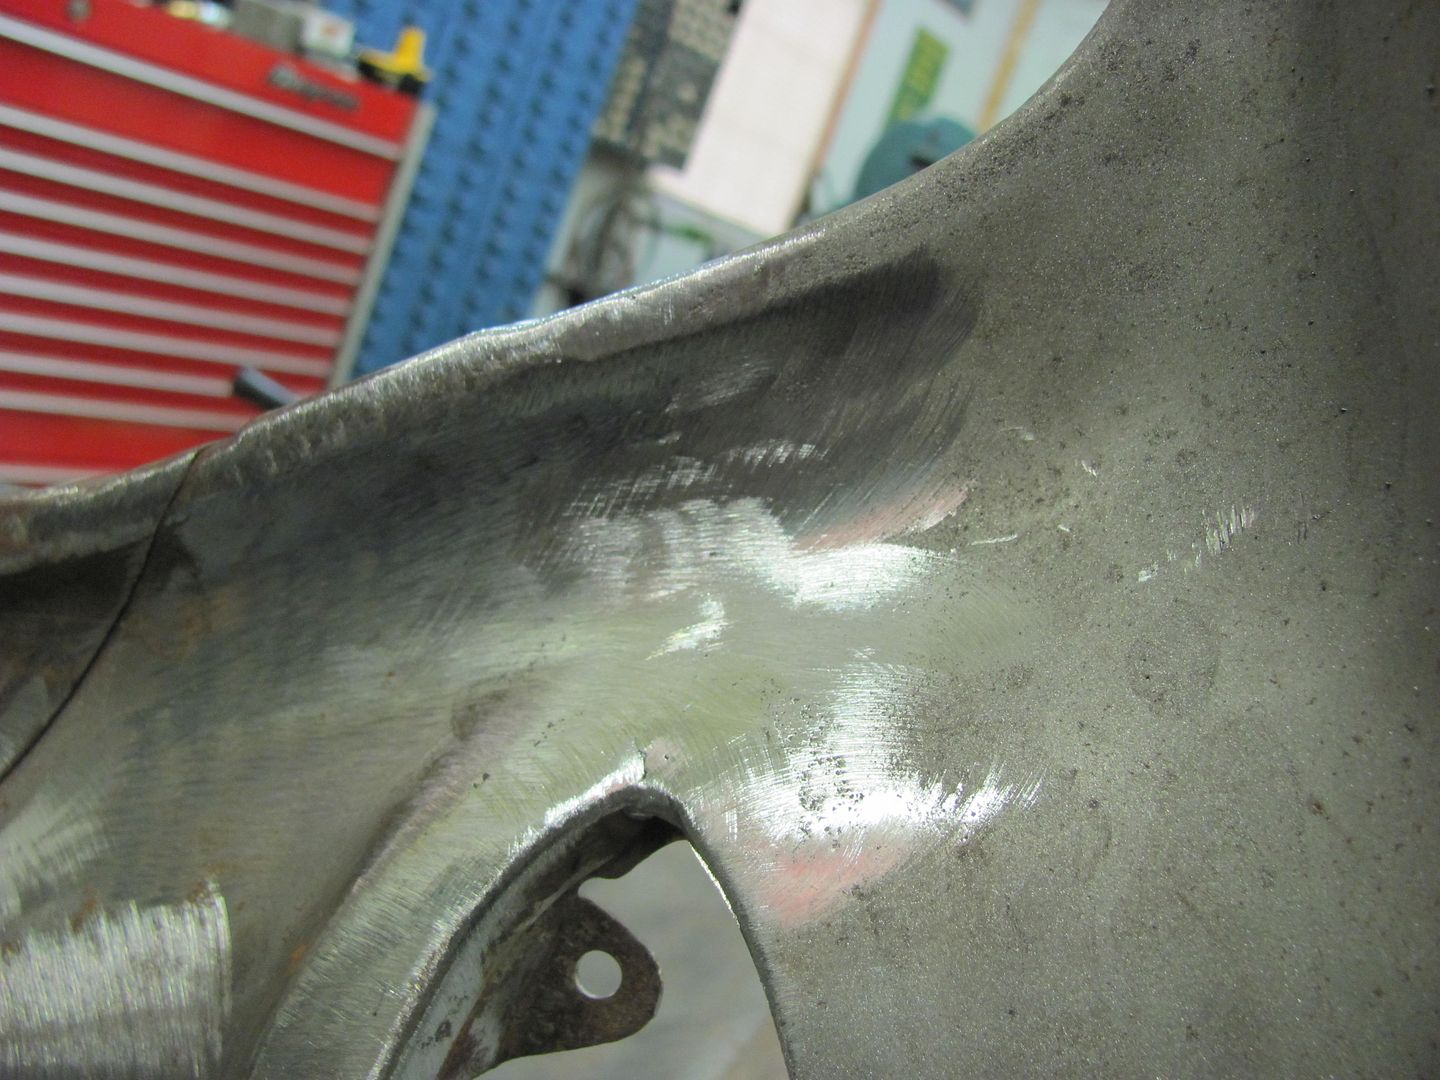
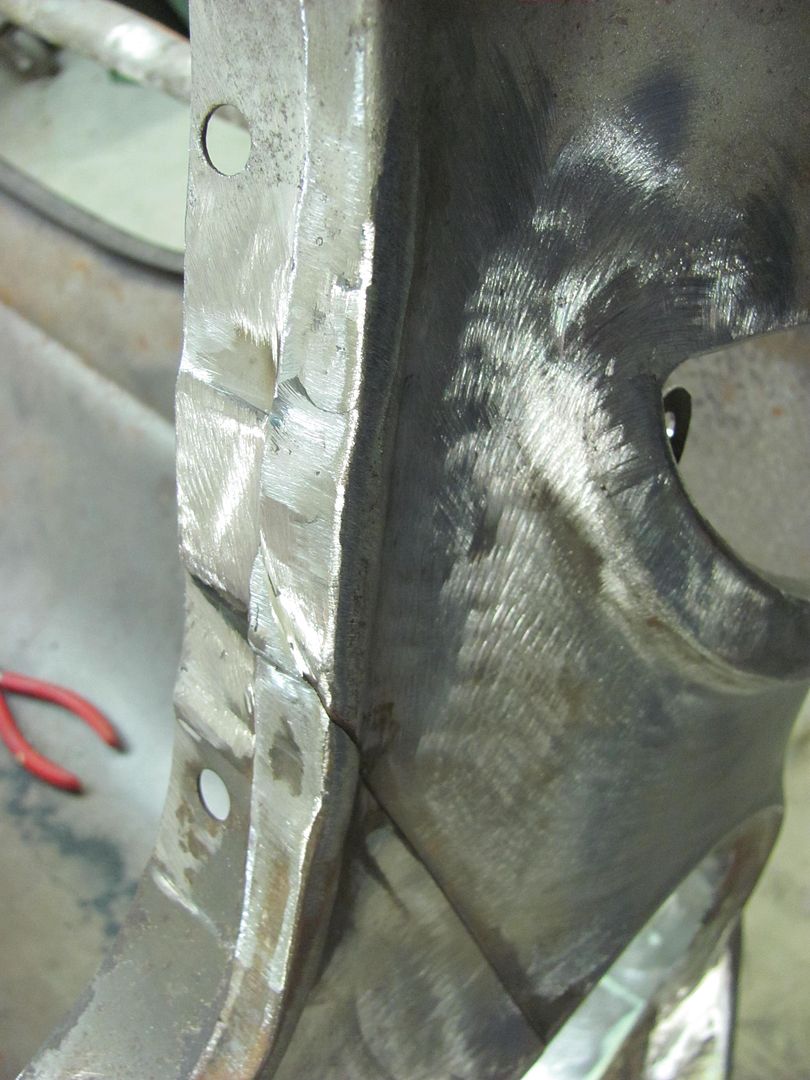
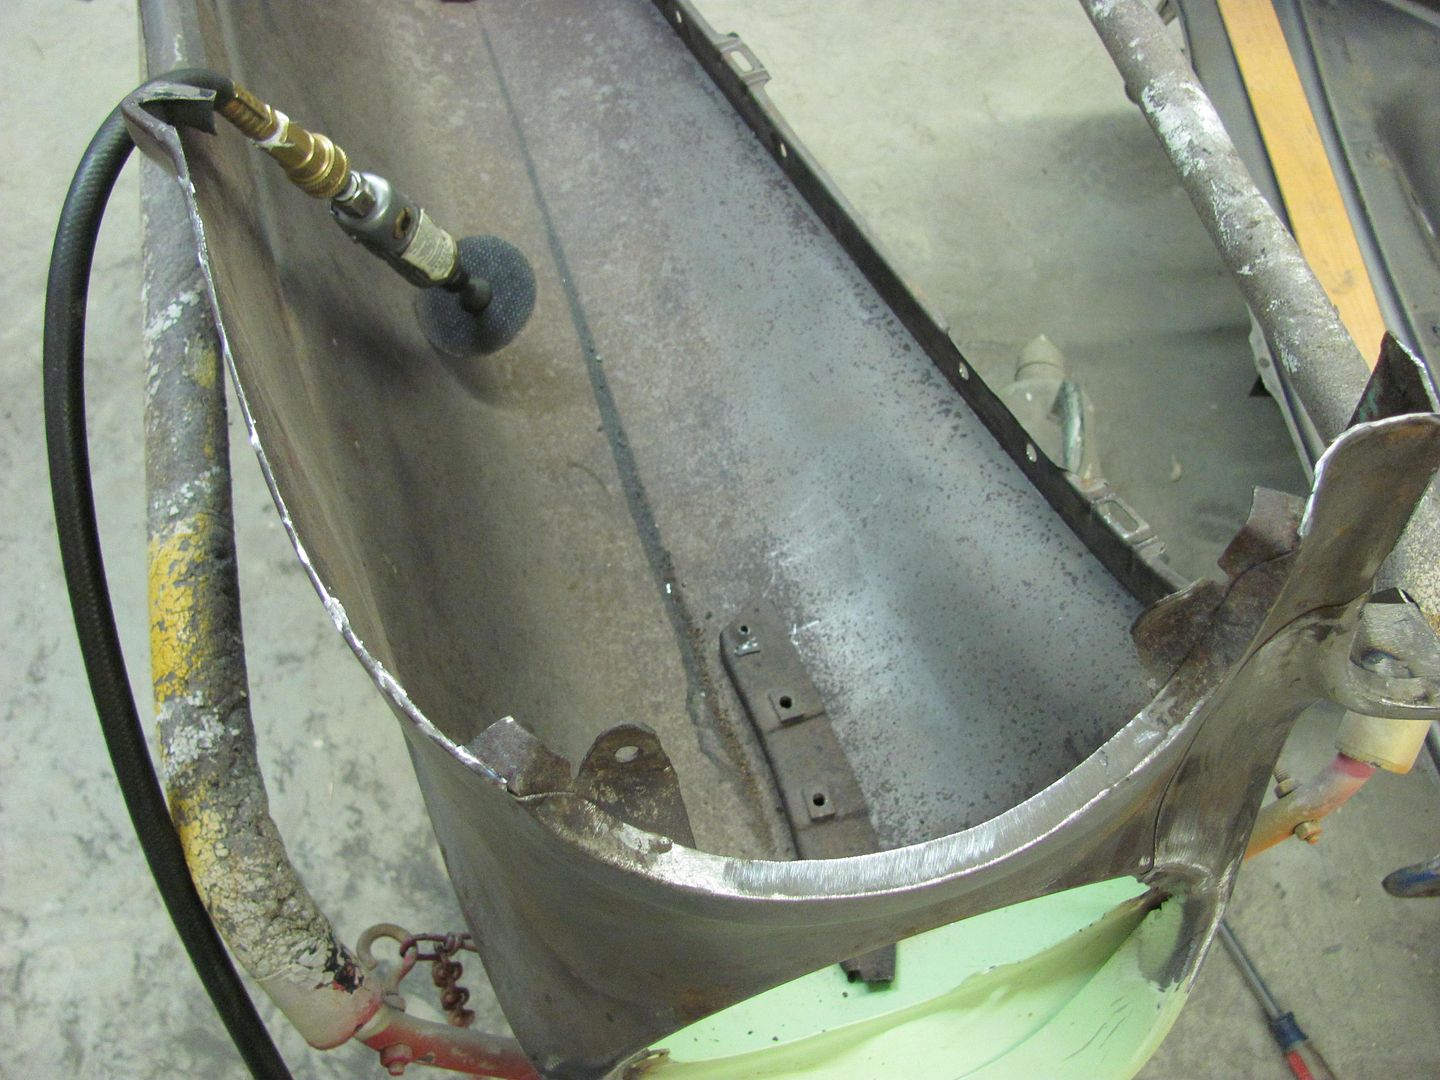
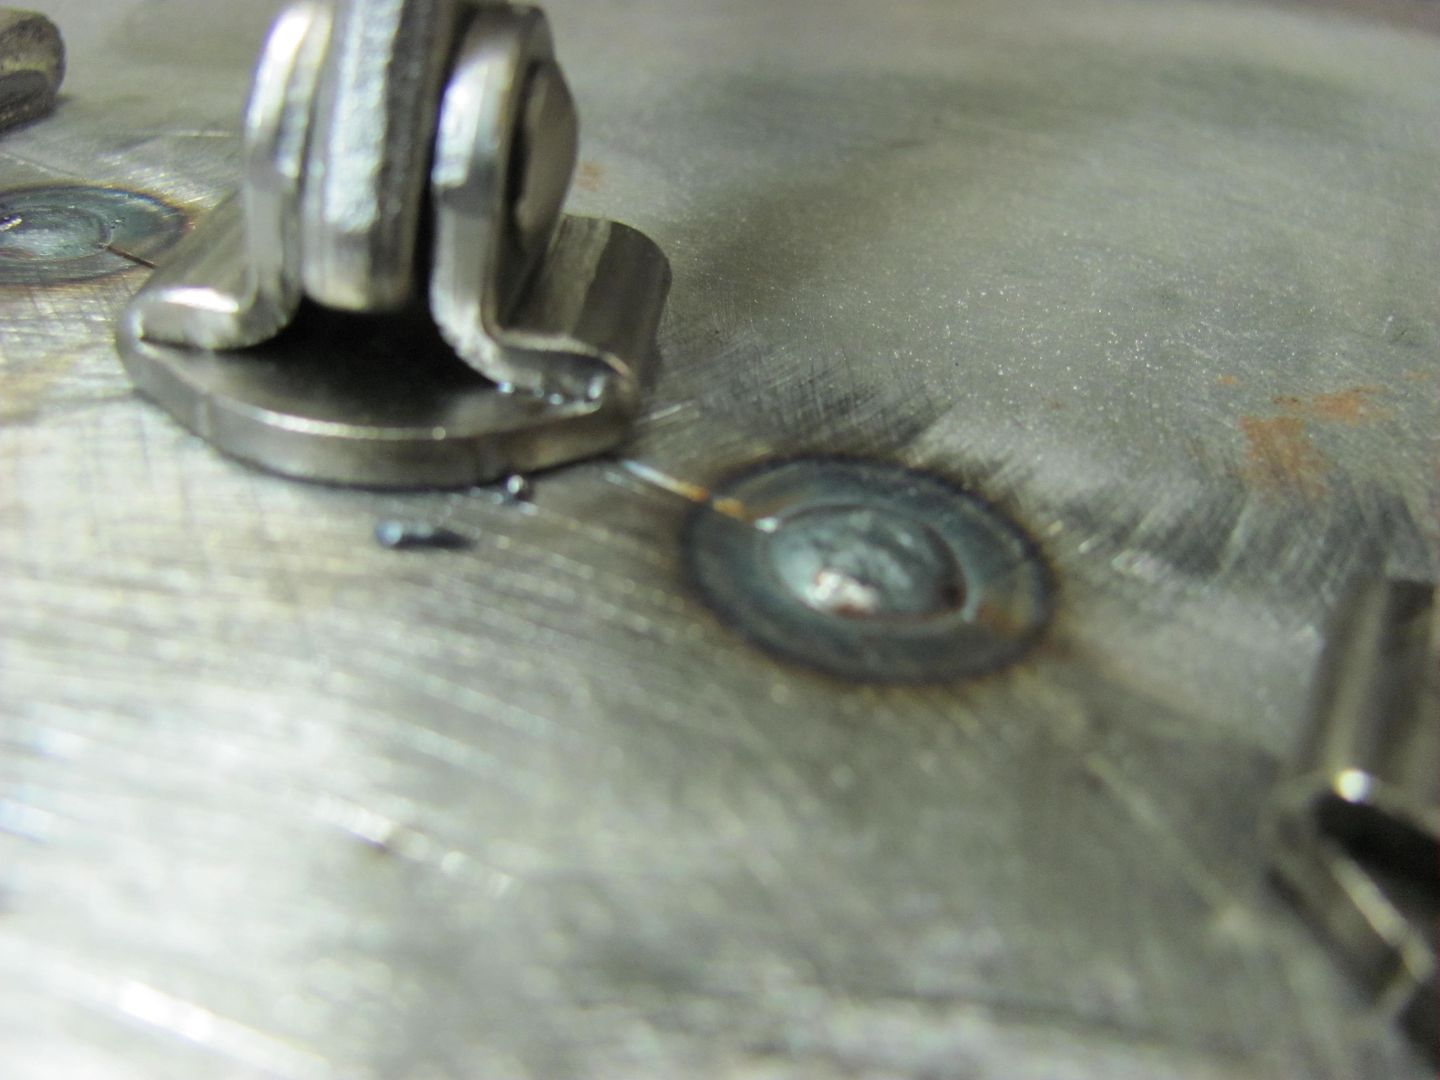
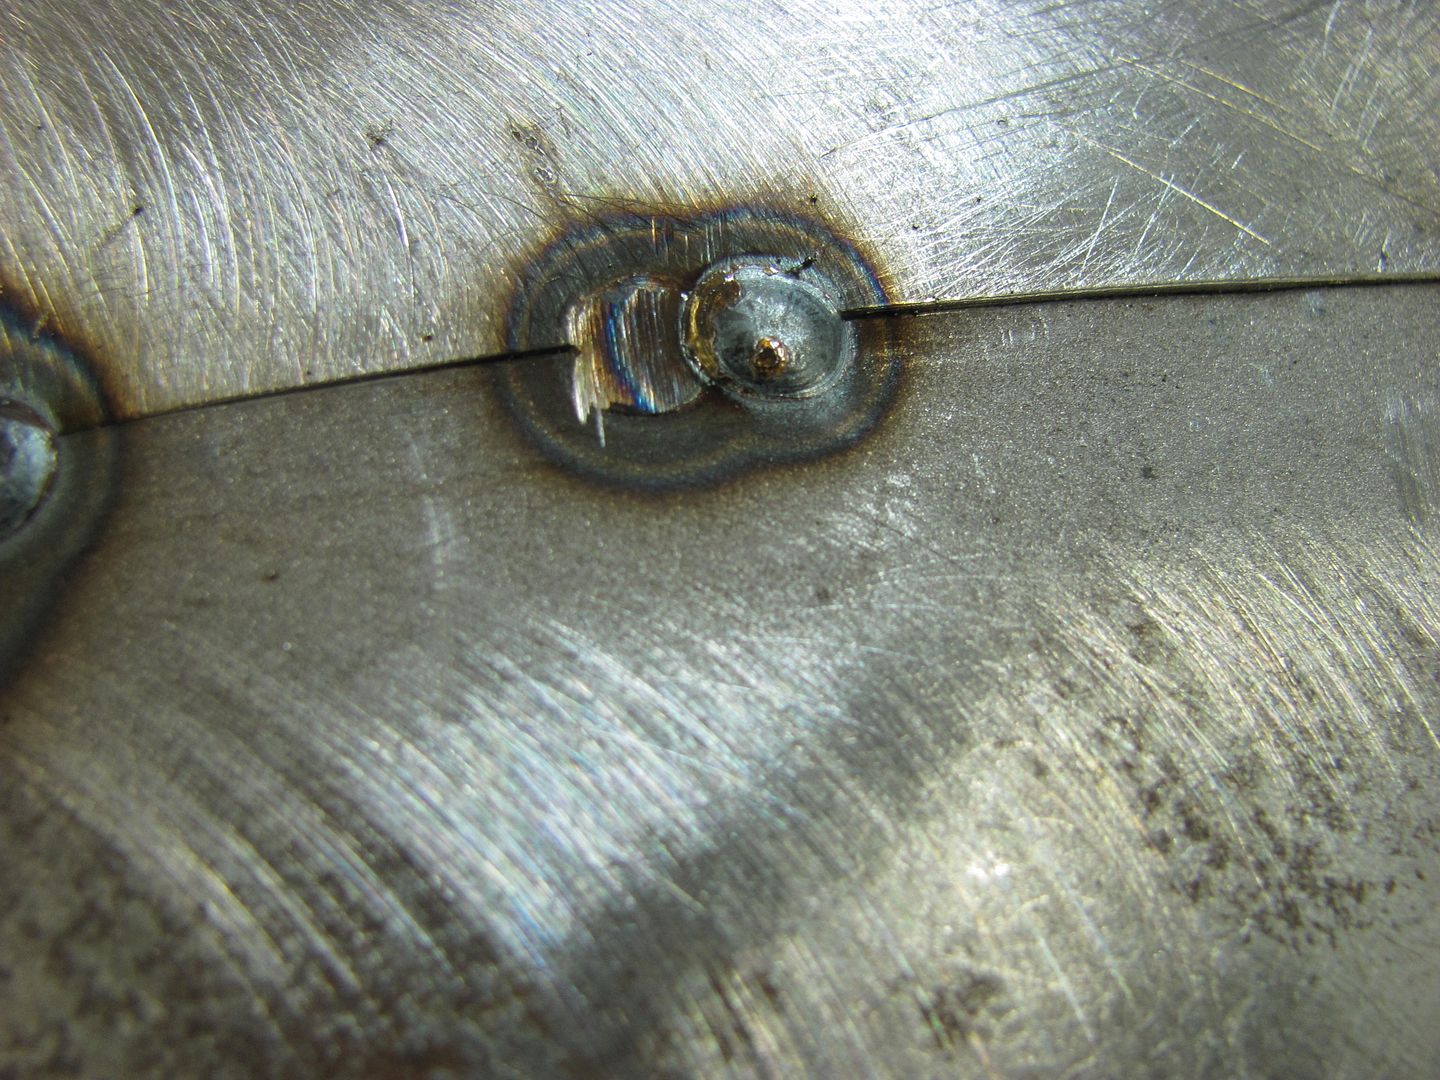
Used the new ER70S-7 wire. Looks to me like it lays out a bit flatter than the ER70S-6 that I replaced...
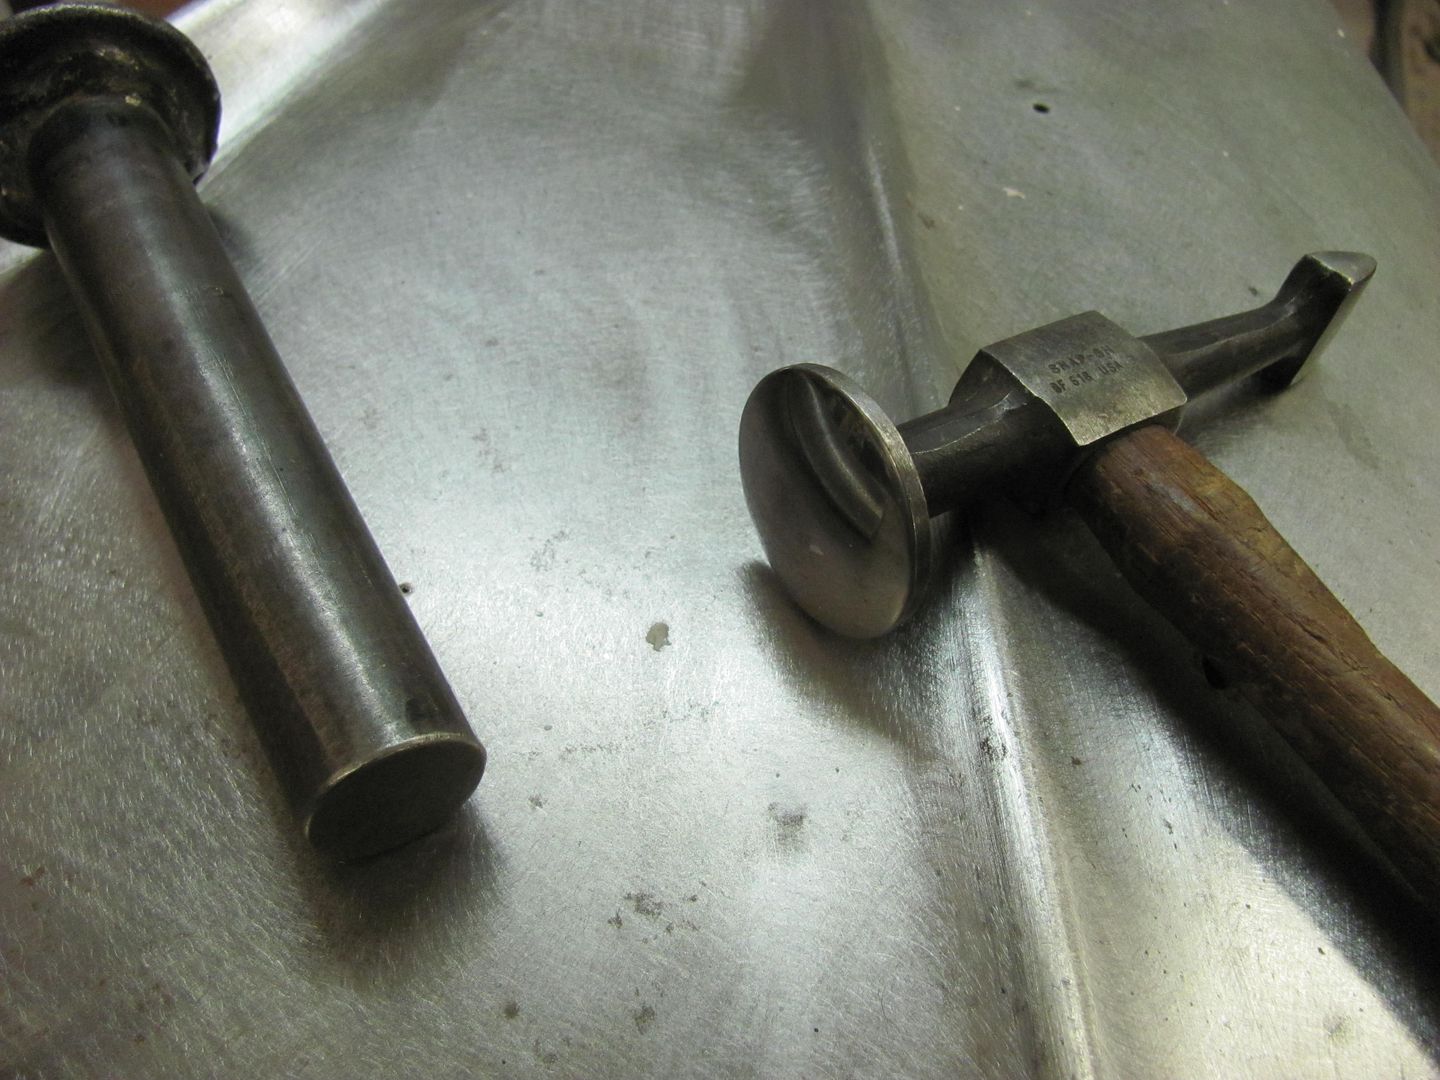
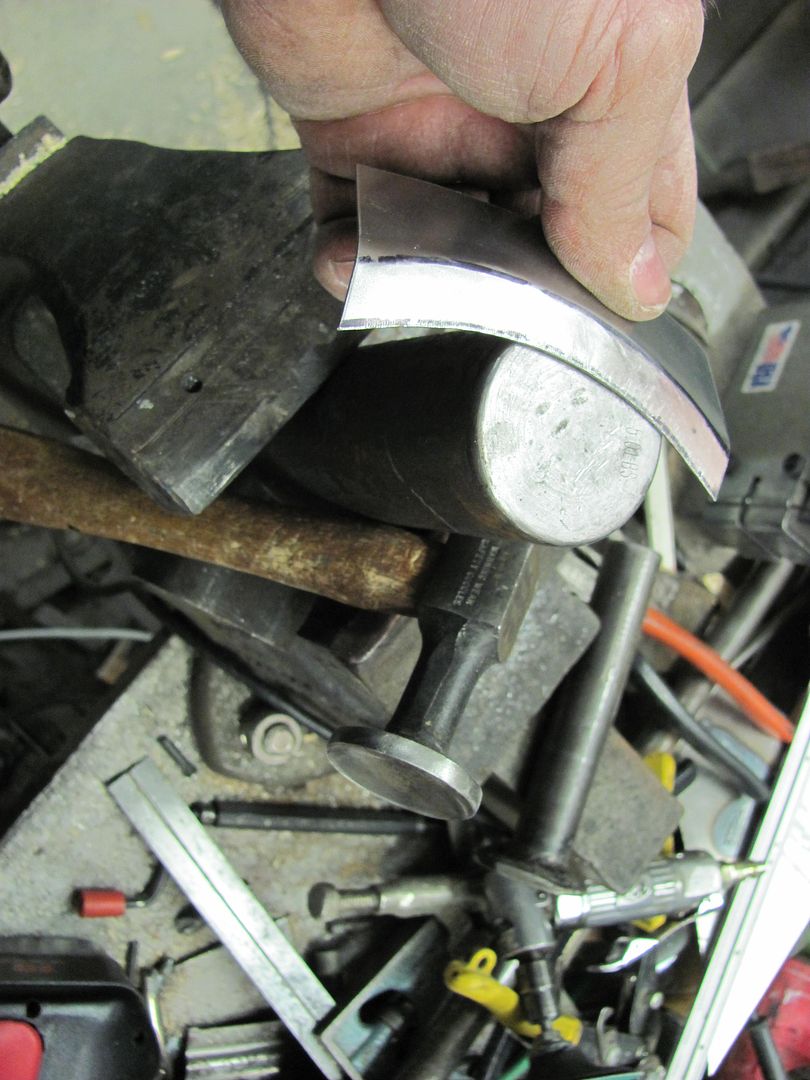
Used the crowned hammer to planish the welds. This stuff planishes out a bit easier as well, the weld is noticeably softer.
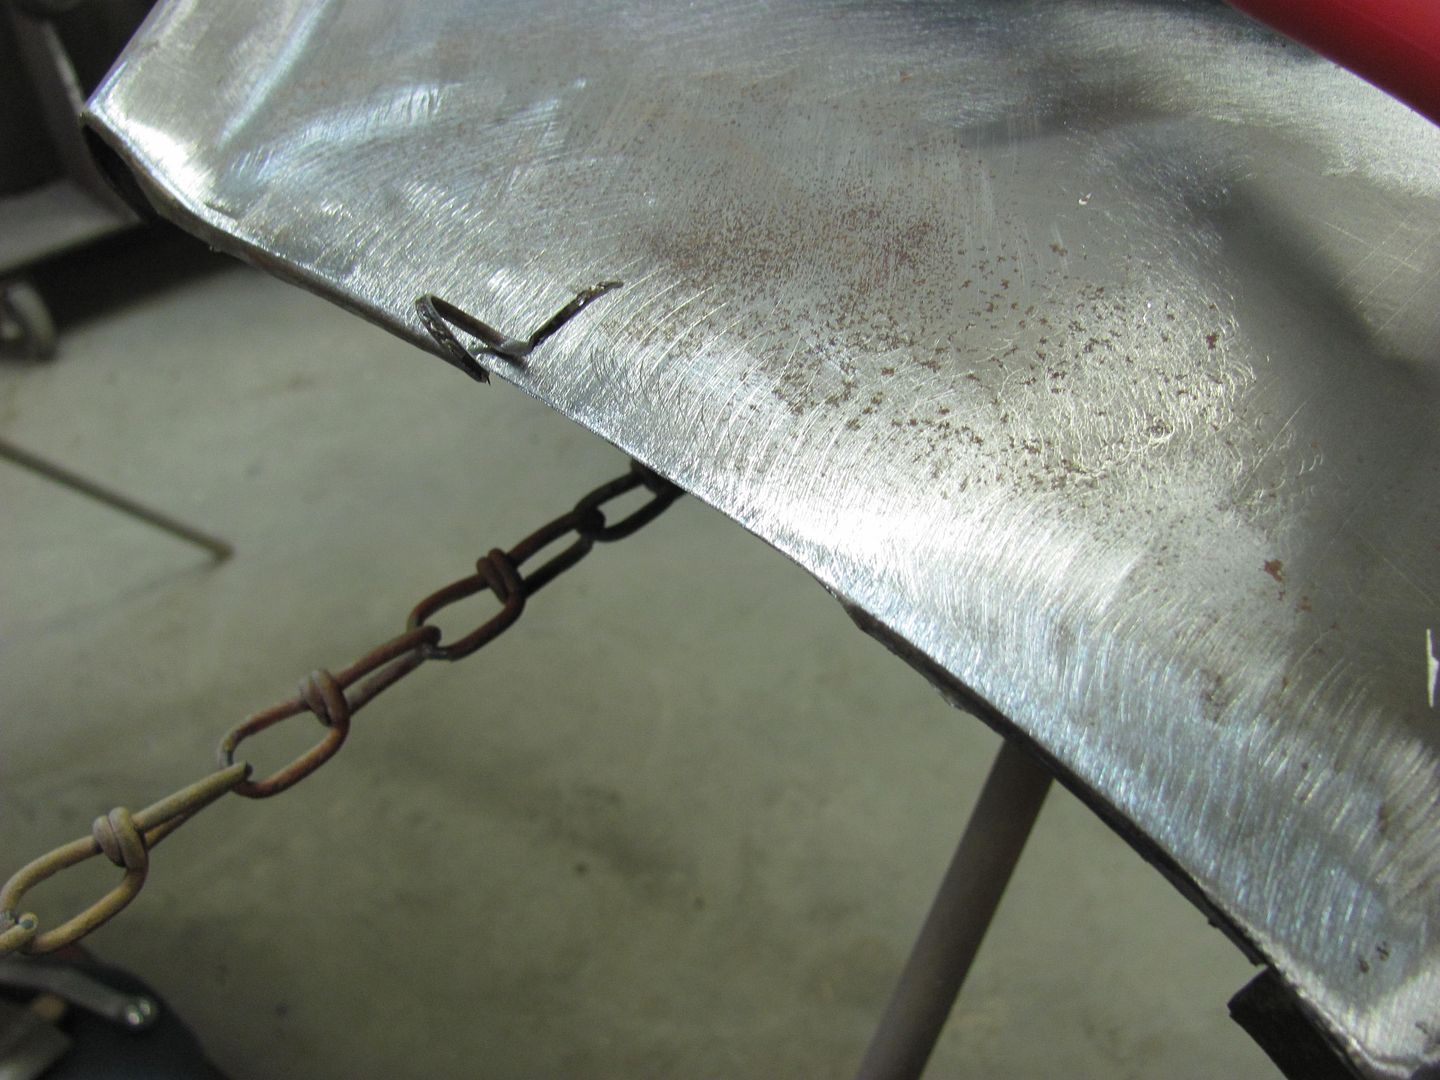
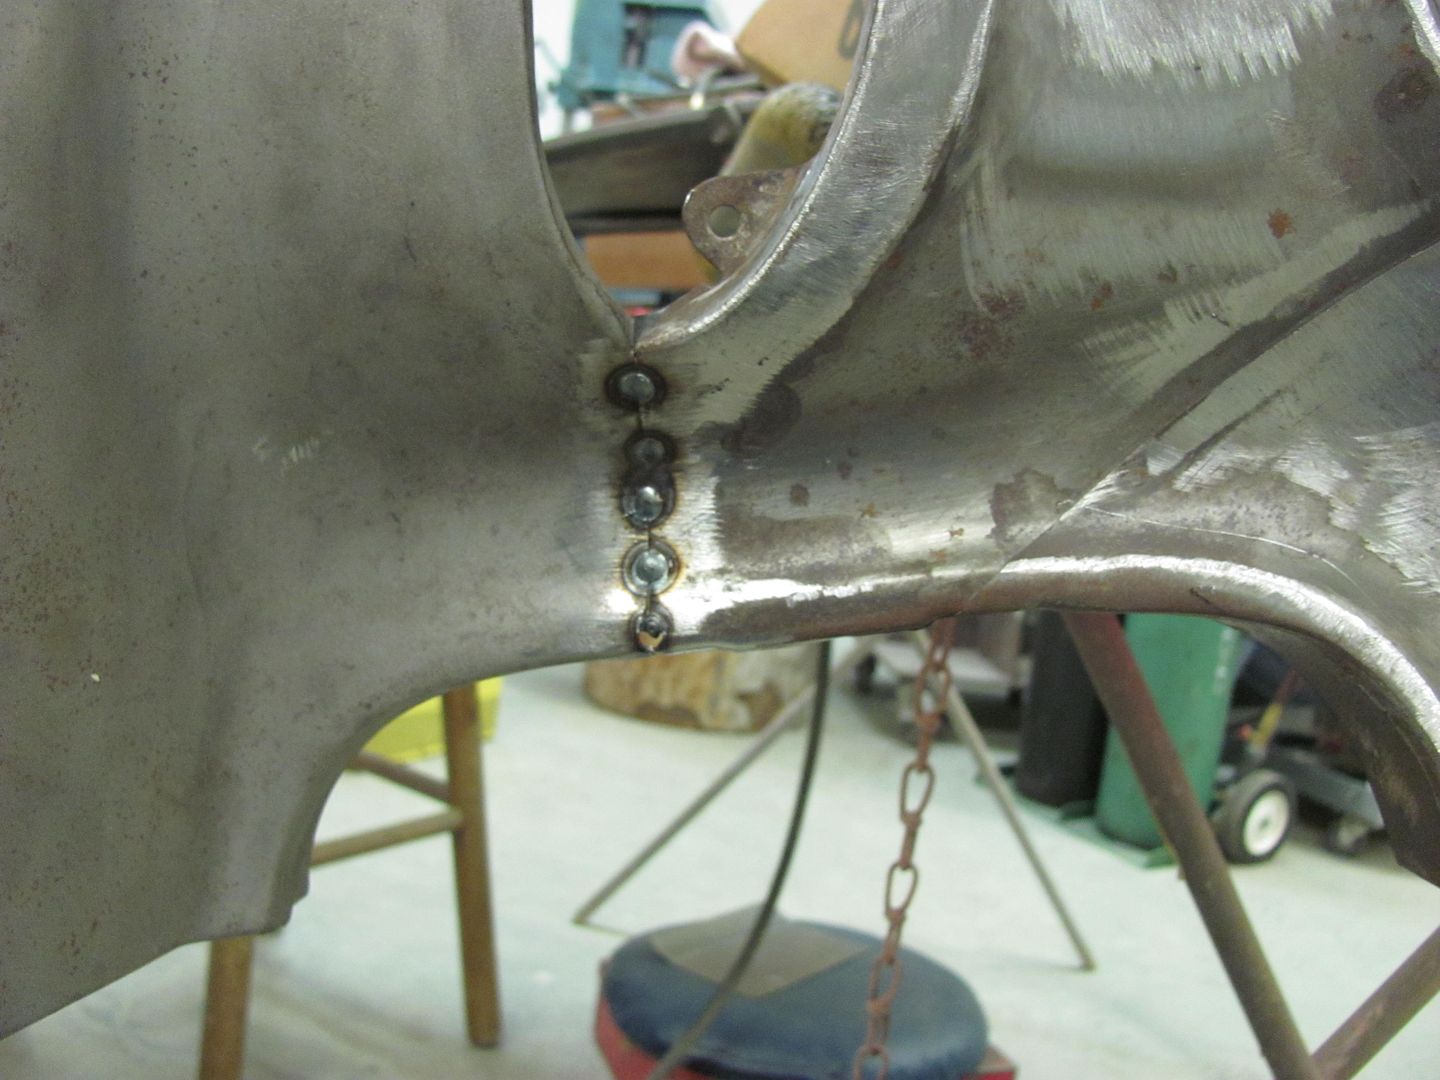
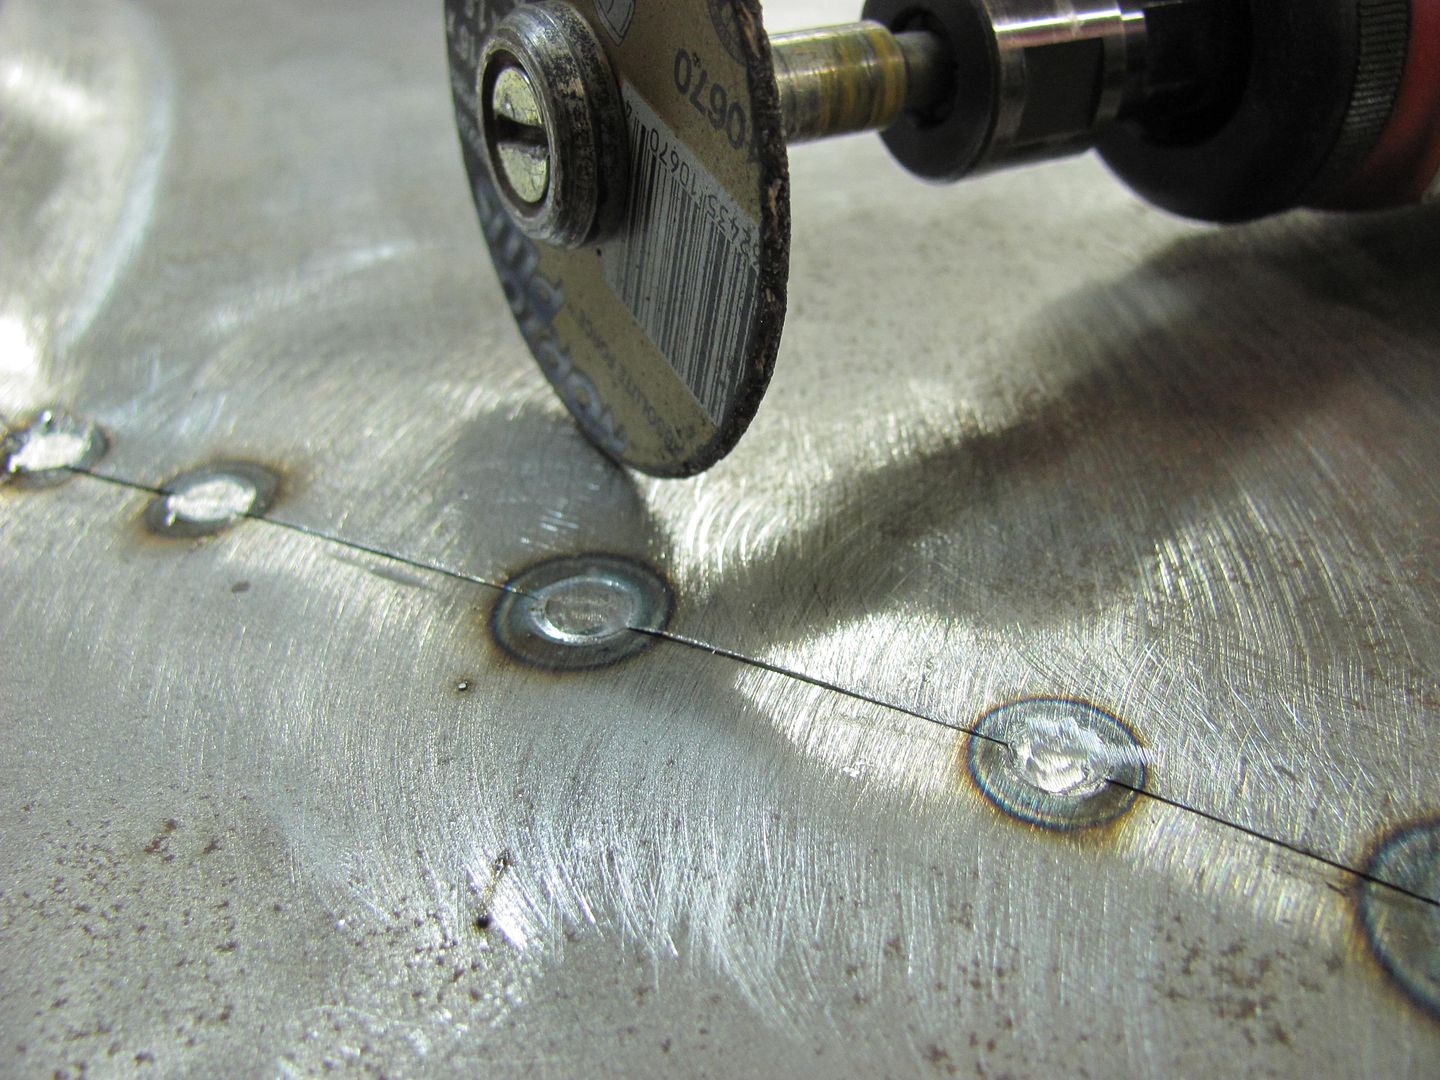
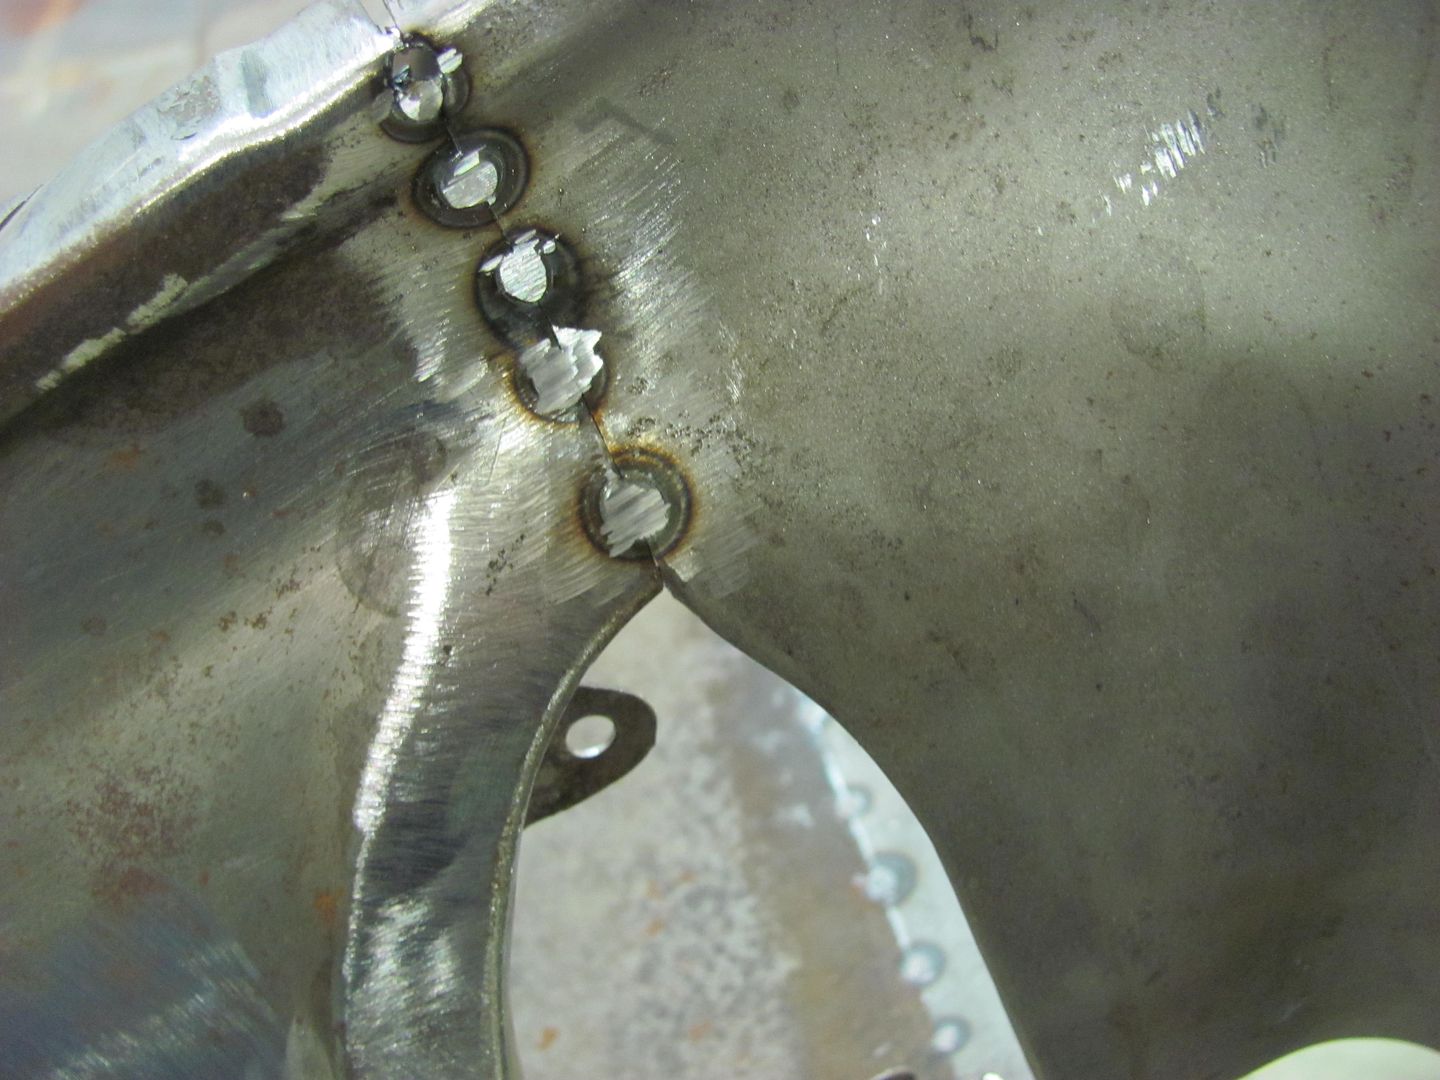
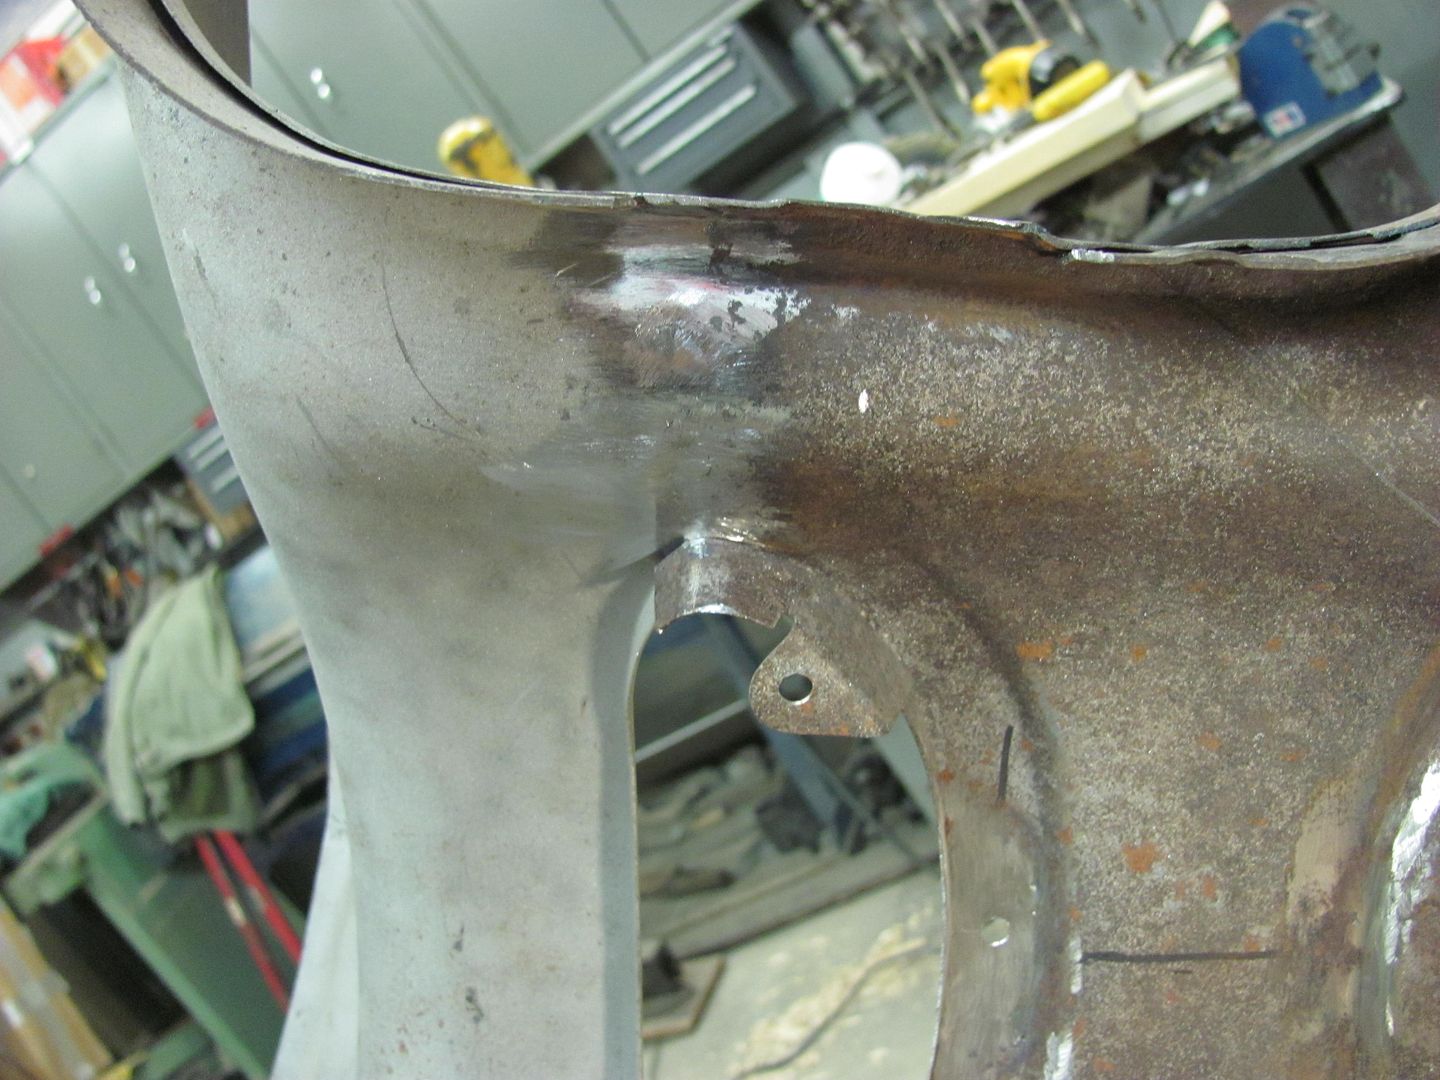
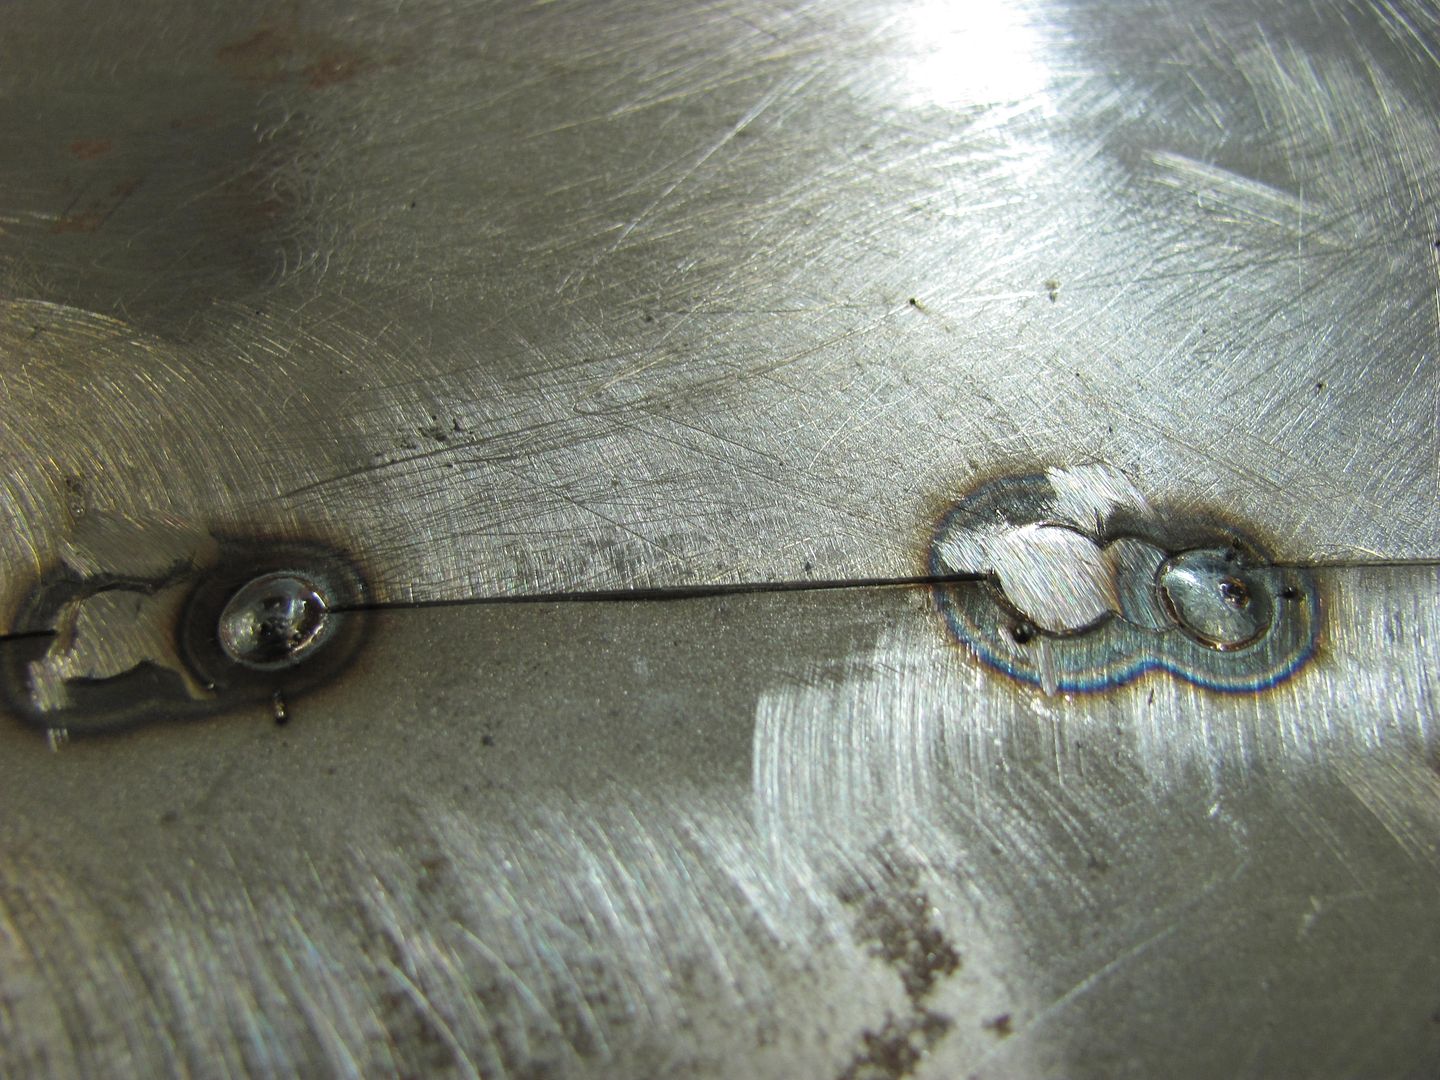
After planishing, 1/16" wide cutoff wheel used perpendicular to the weld for grinding the welds with minimal contact patch and less heat buildup. Ground welds just proud of the metal surface, front and back, to make room for planishing the next set of weld dots. Then rather than weld the next dots in the middle, I overlapped each of the previous welds to help eliminate missed spots and pinholes. Weld, planish, grind, repeat.
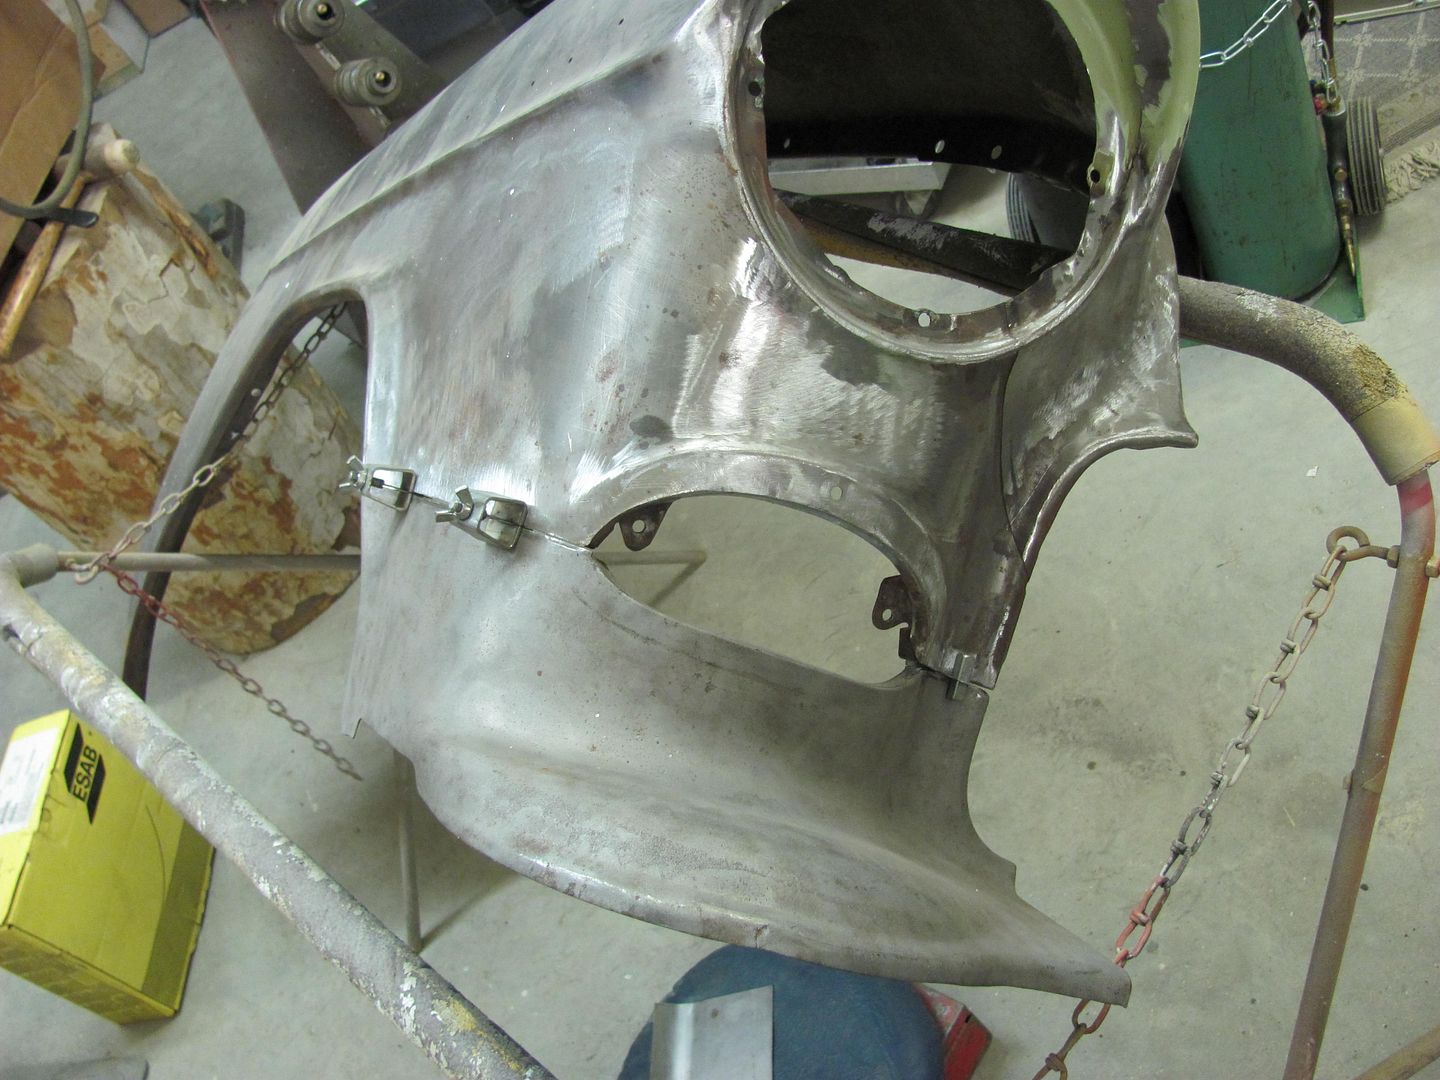
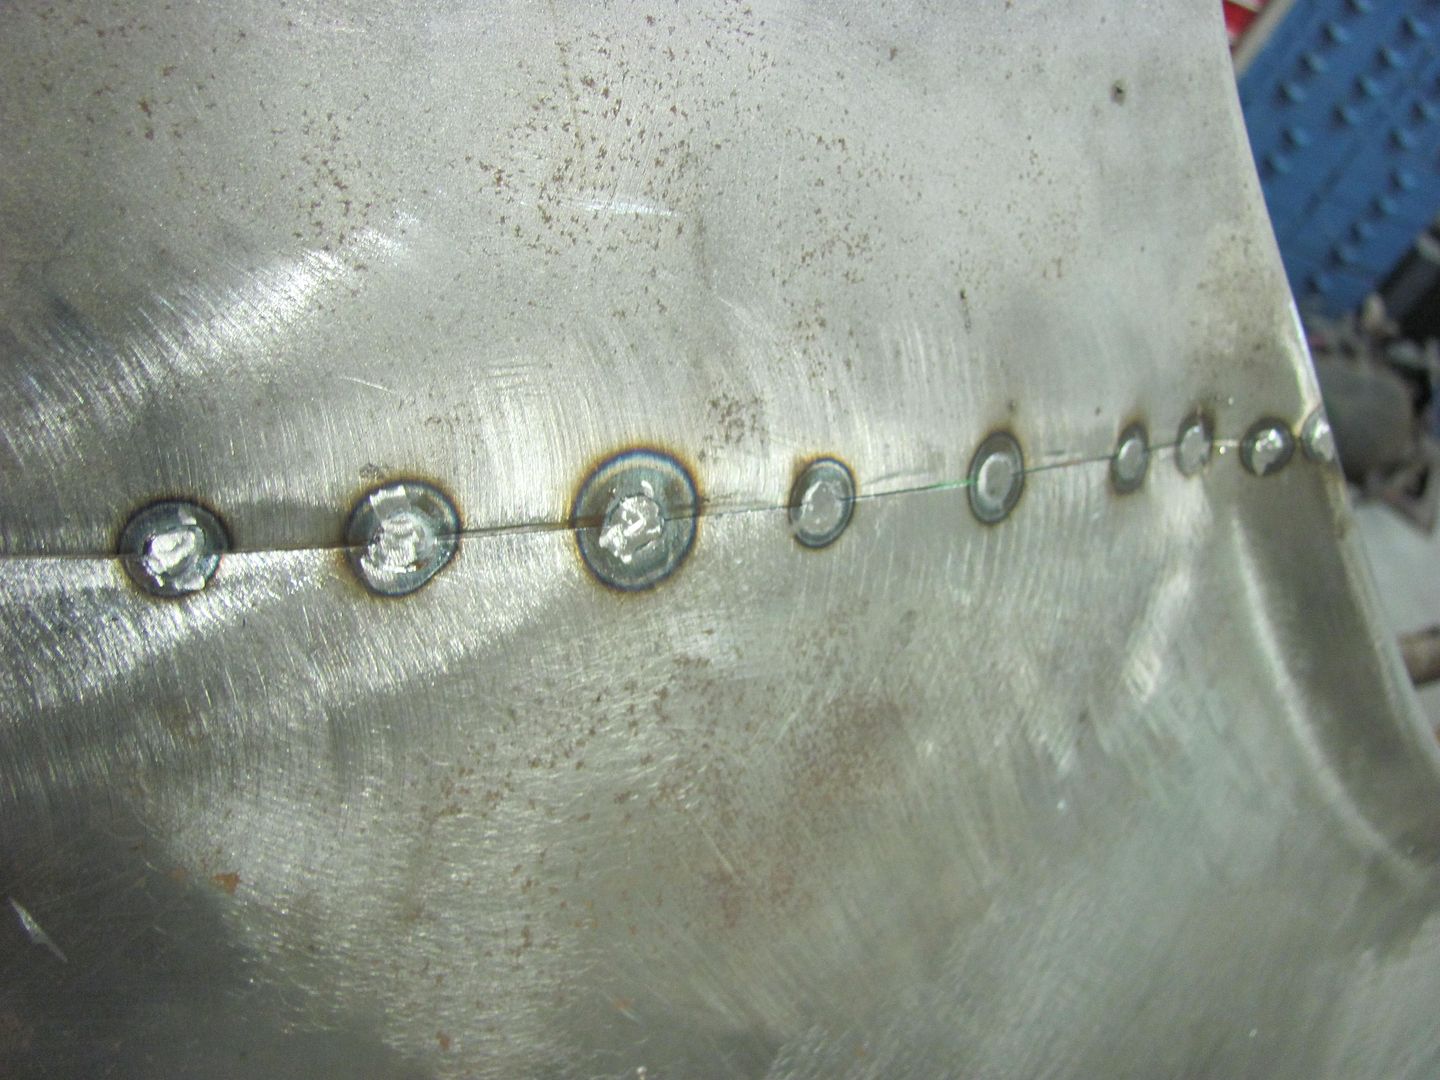
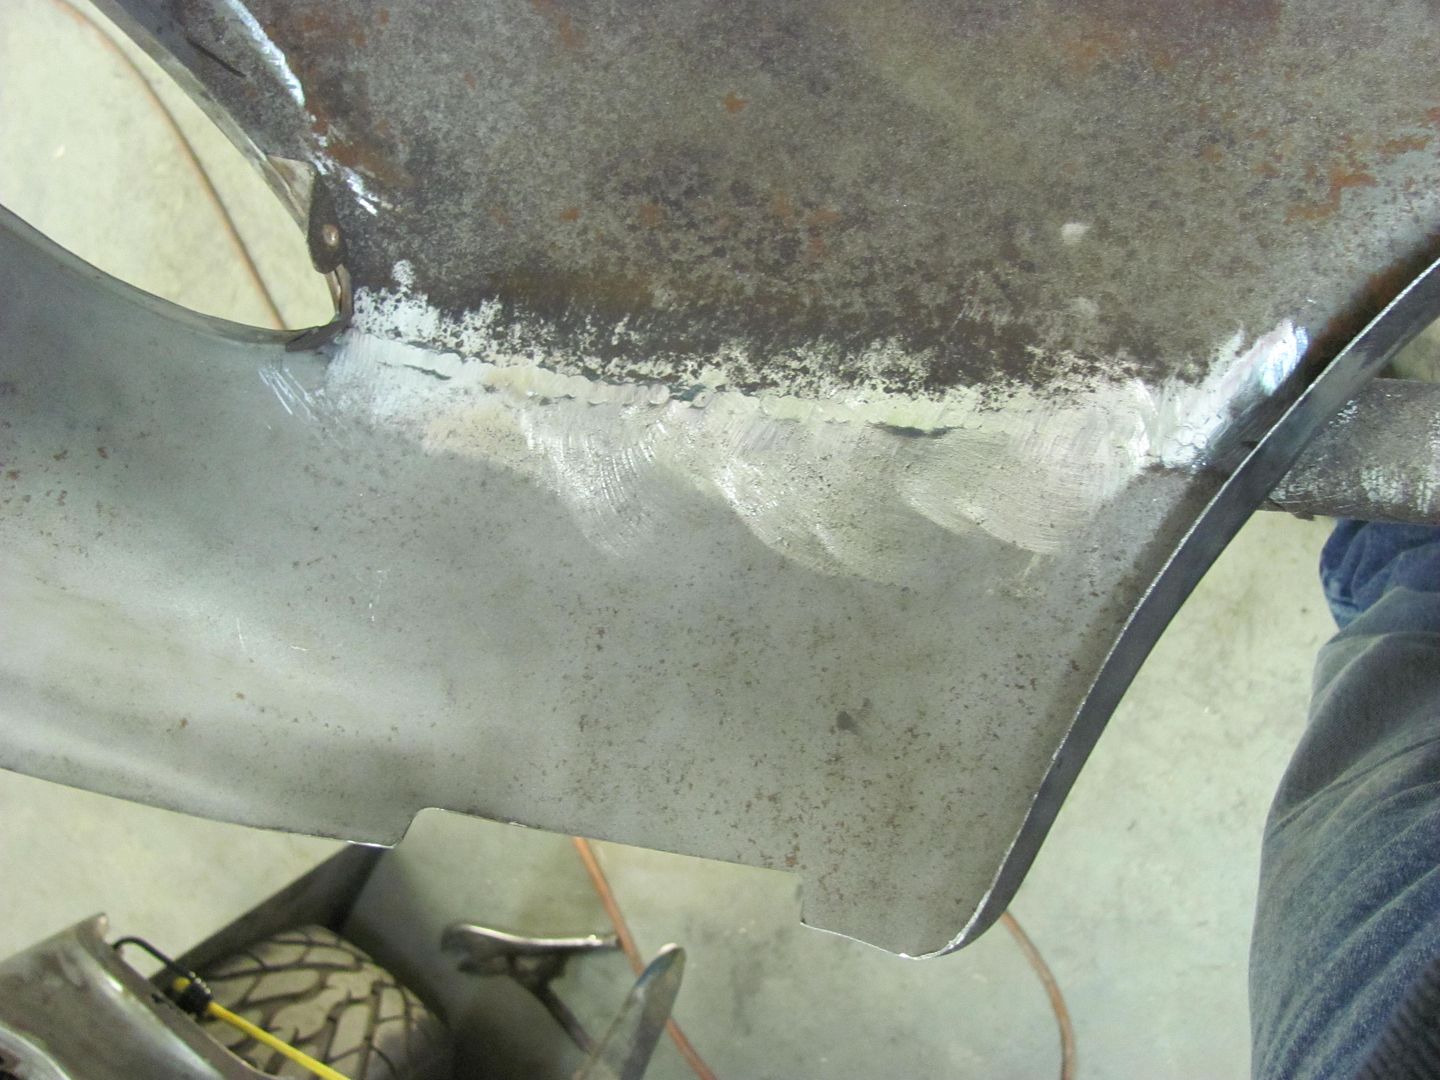
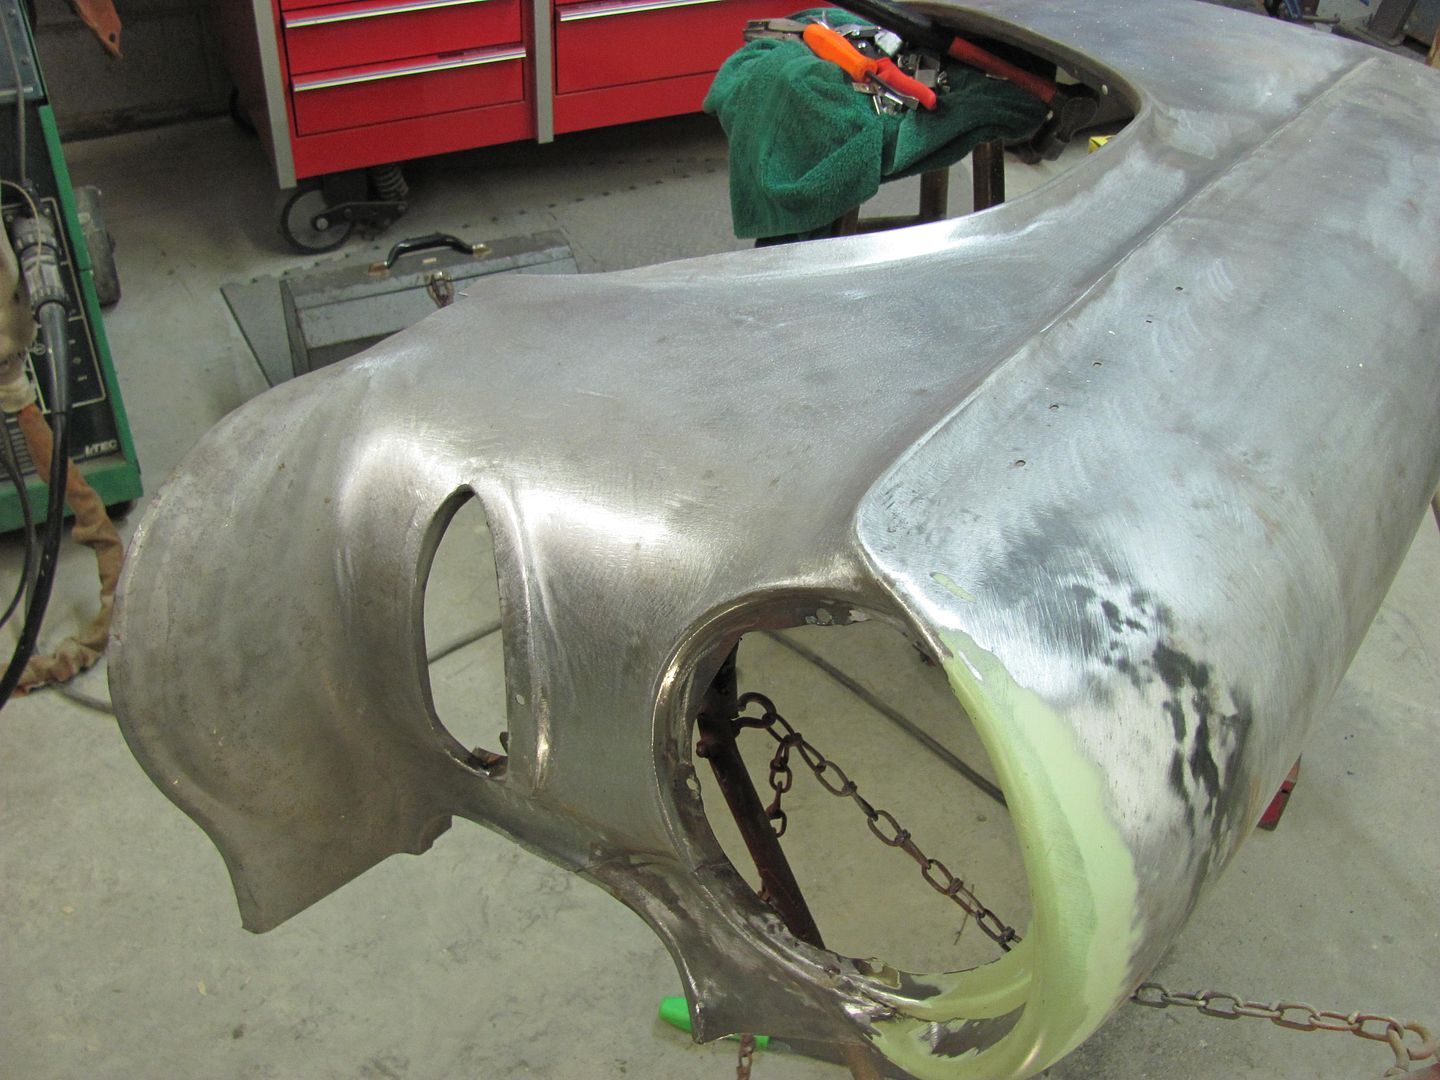
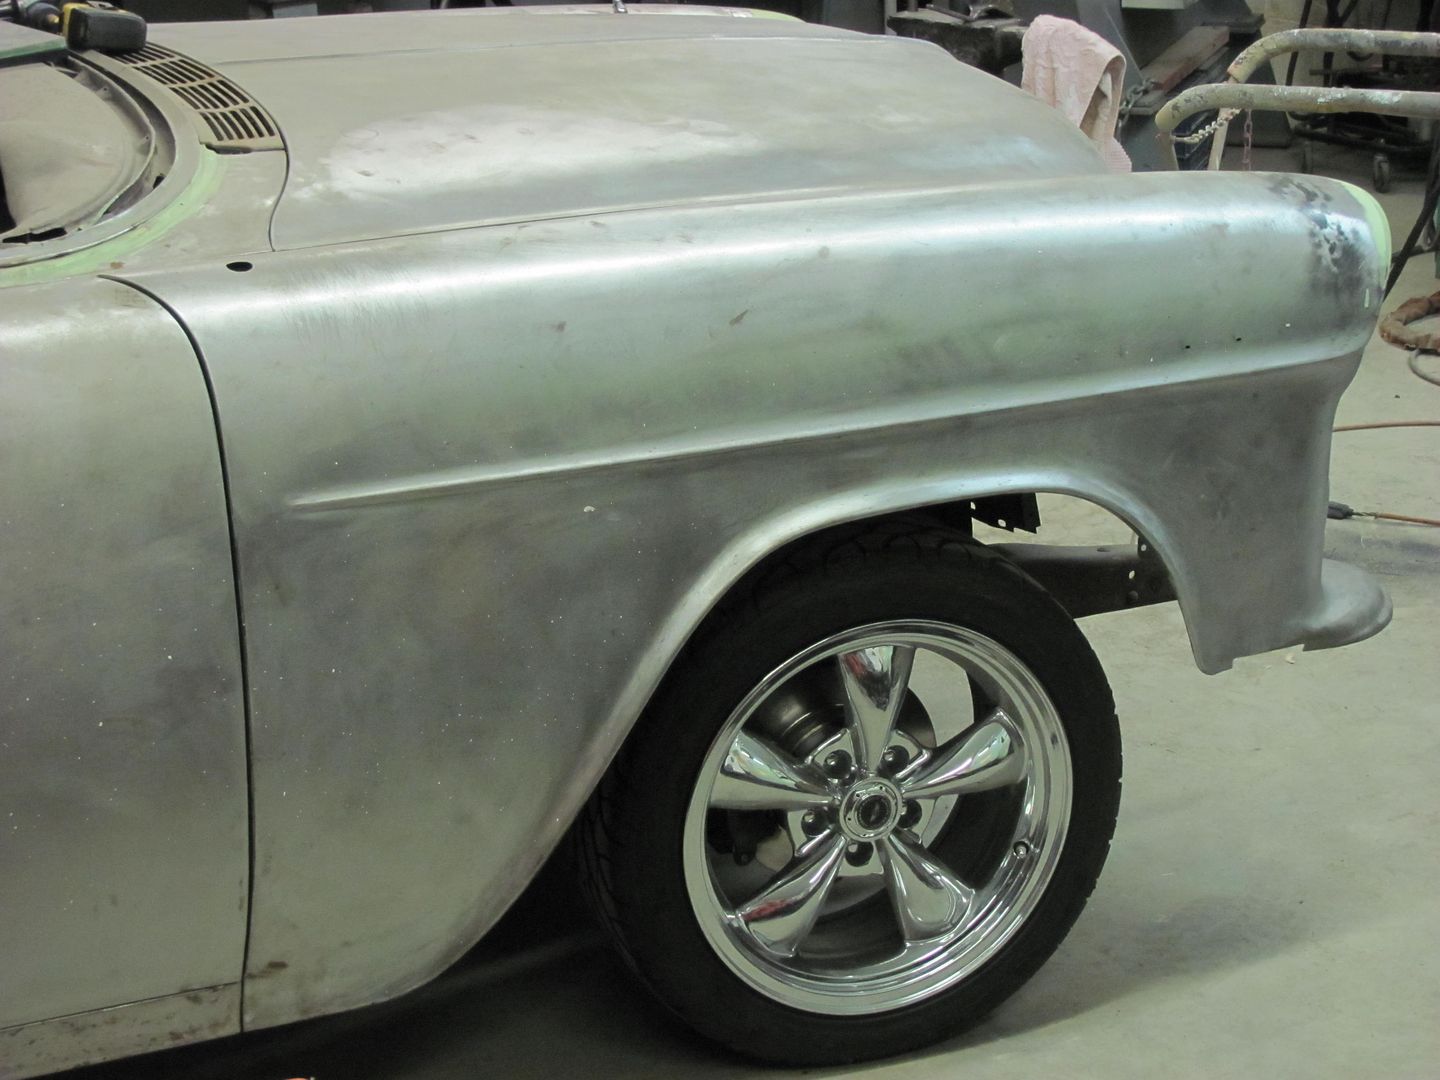
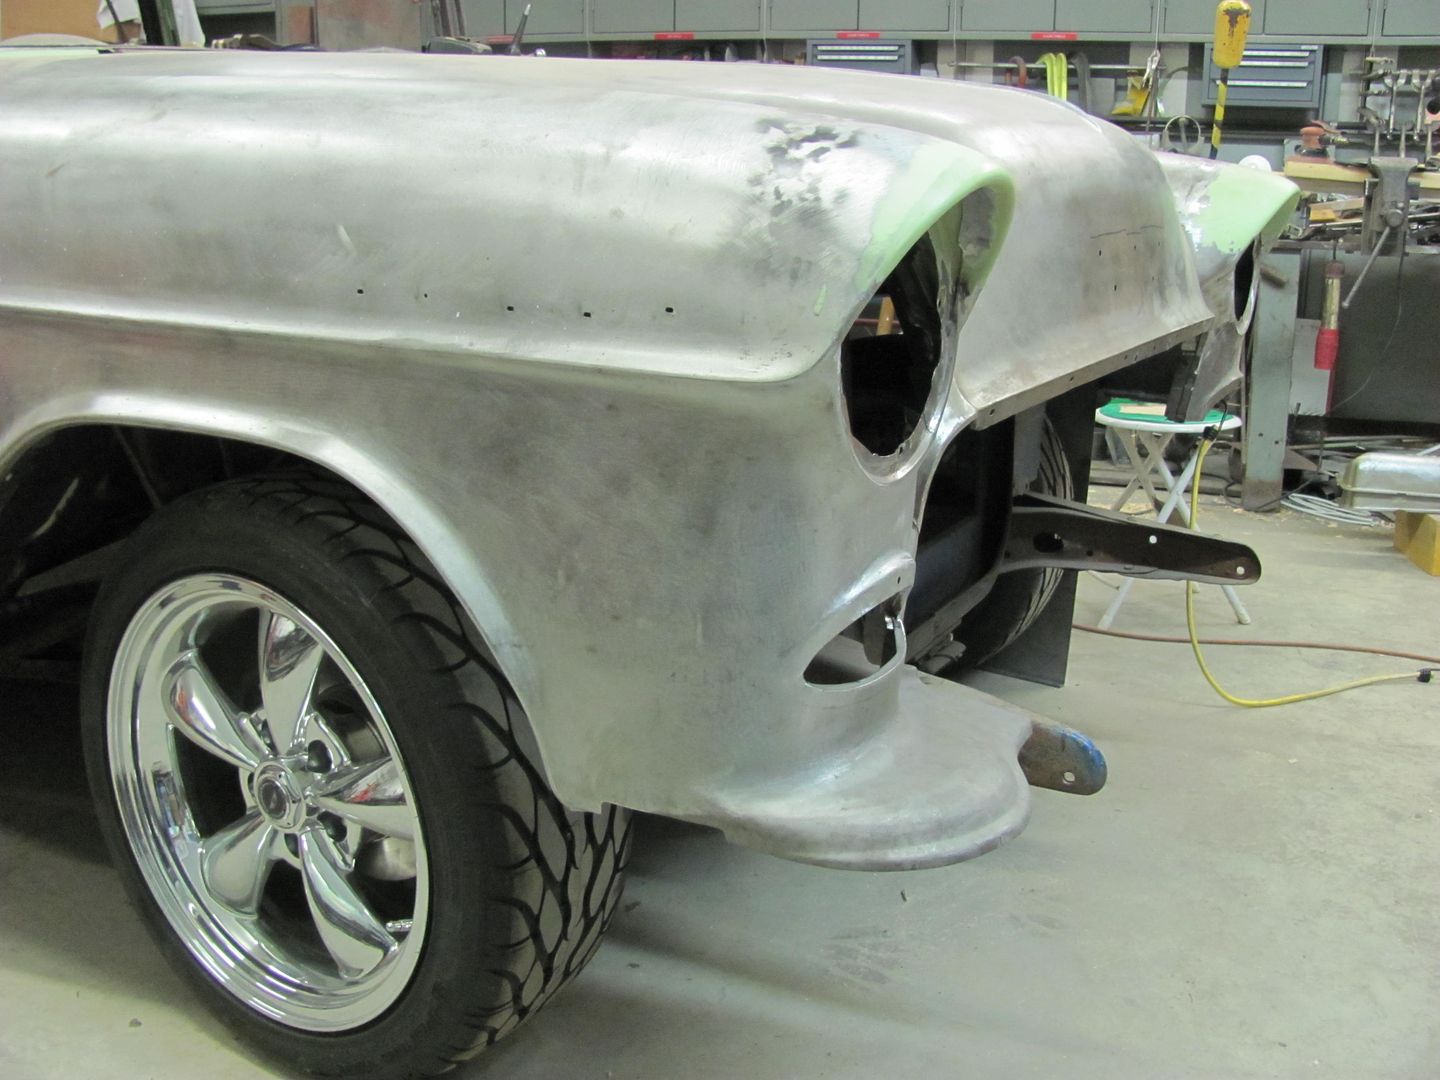
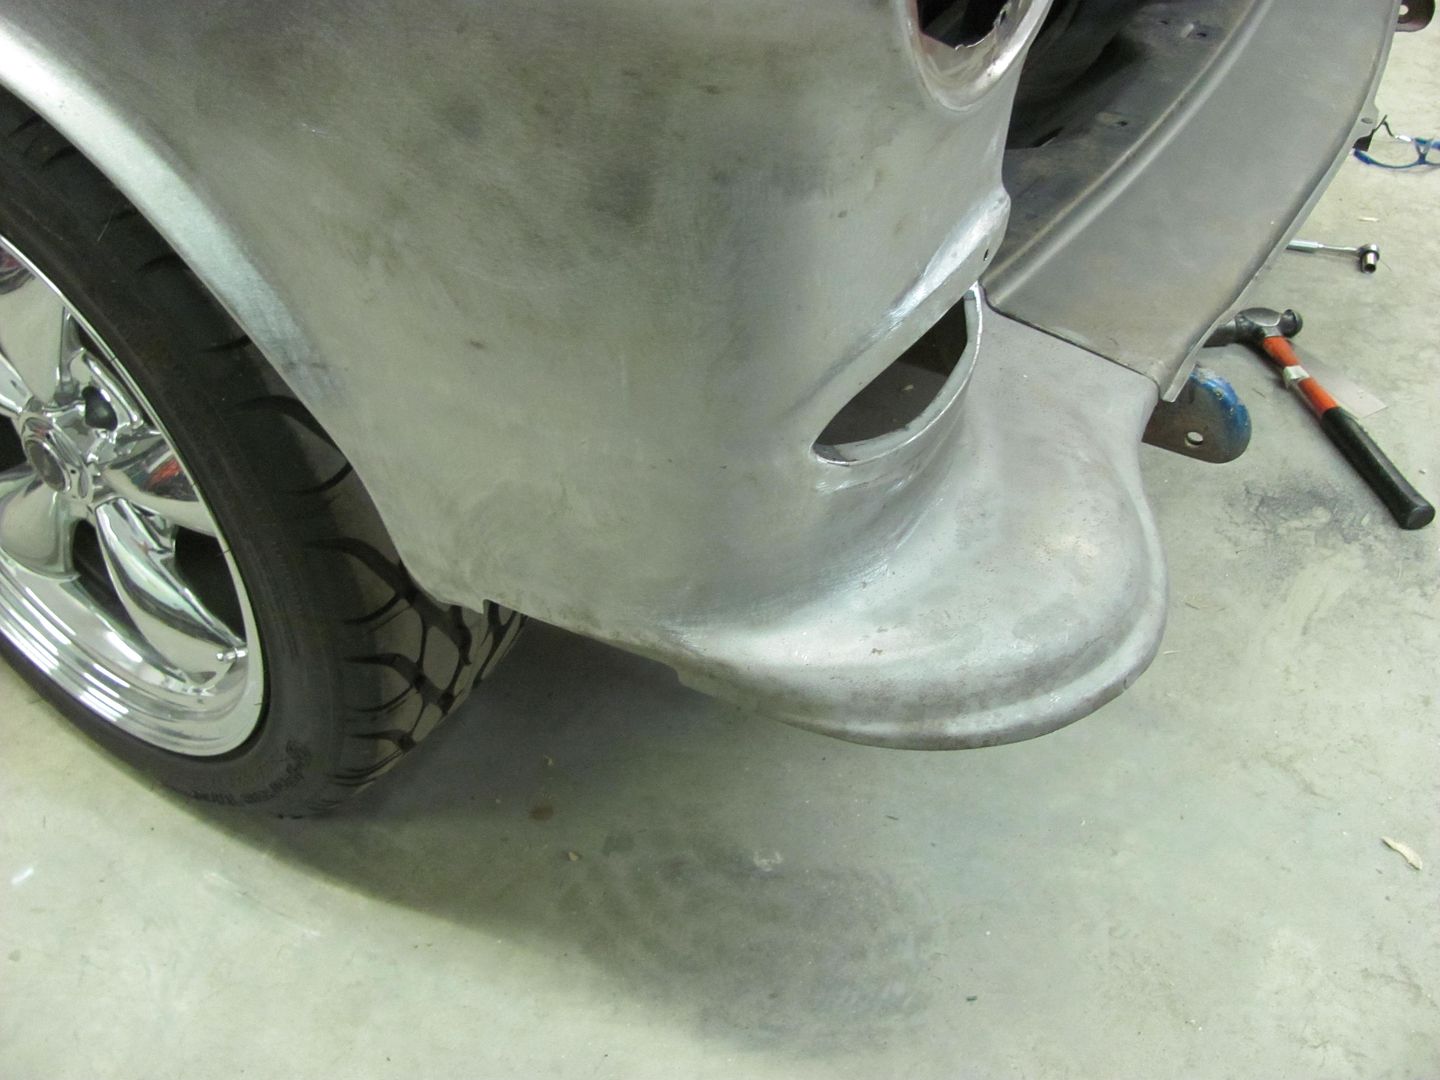
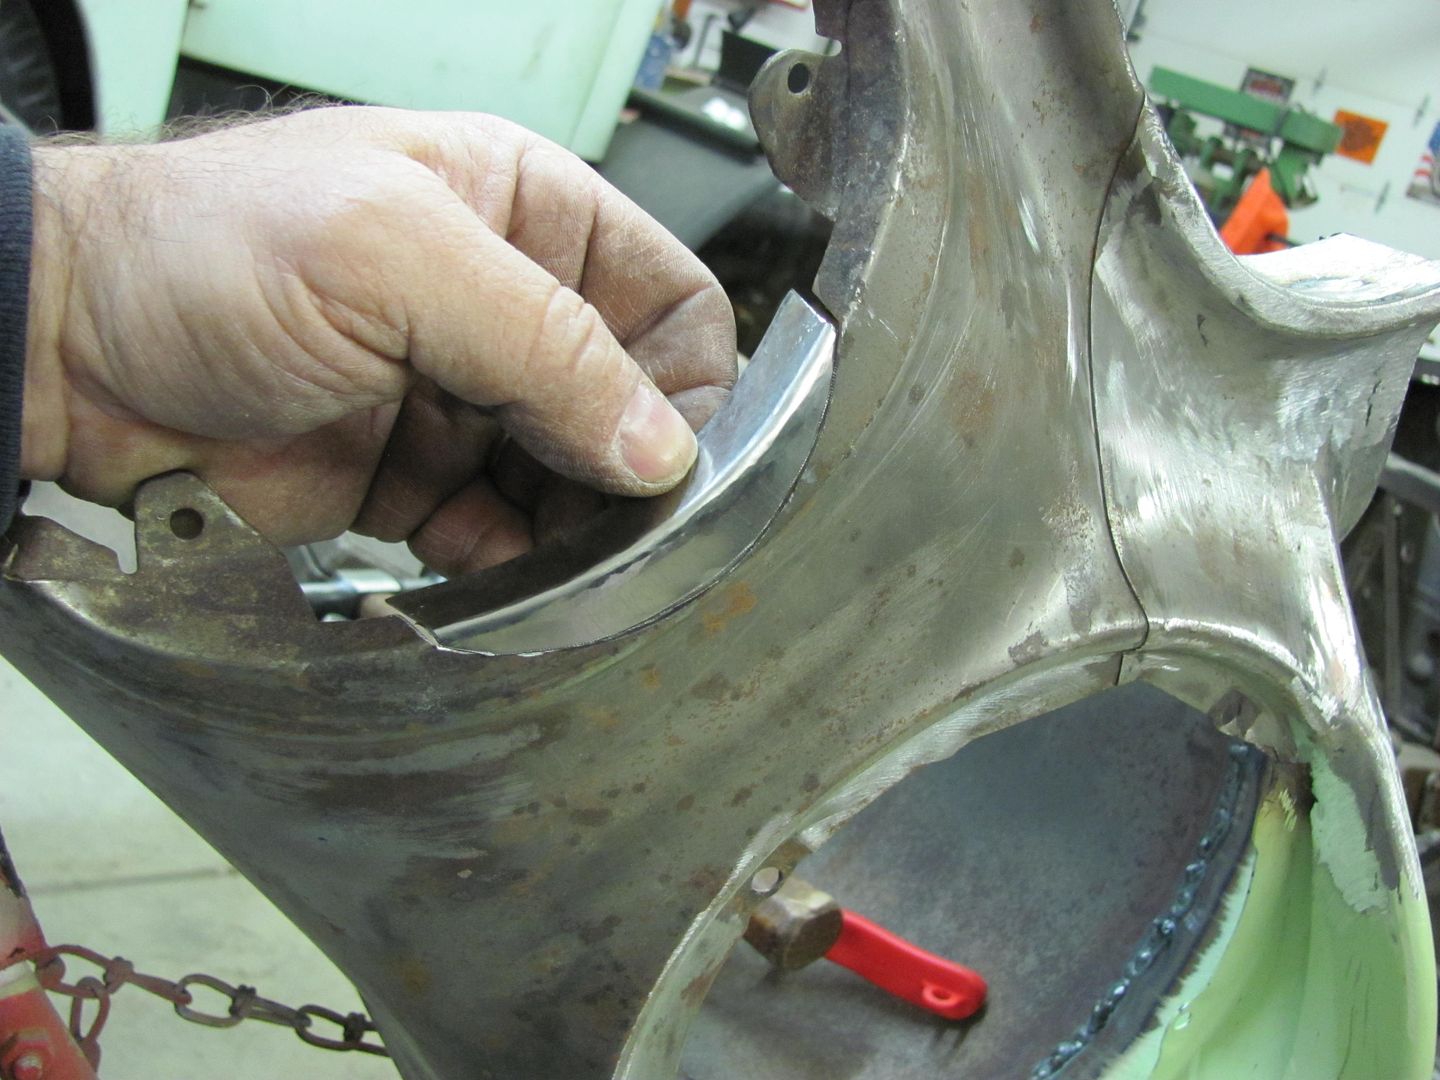
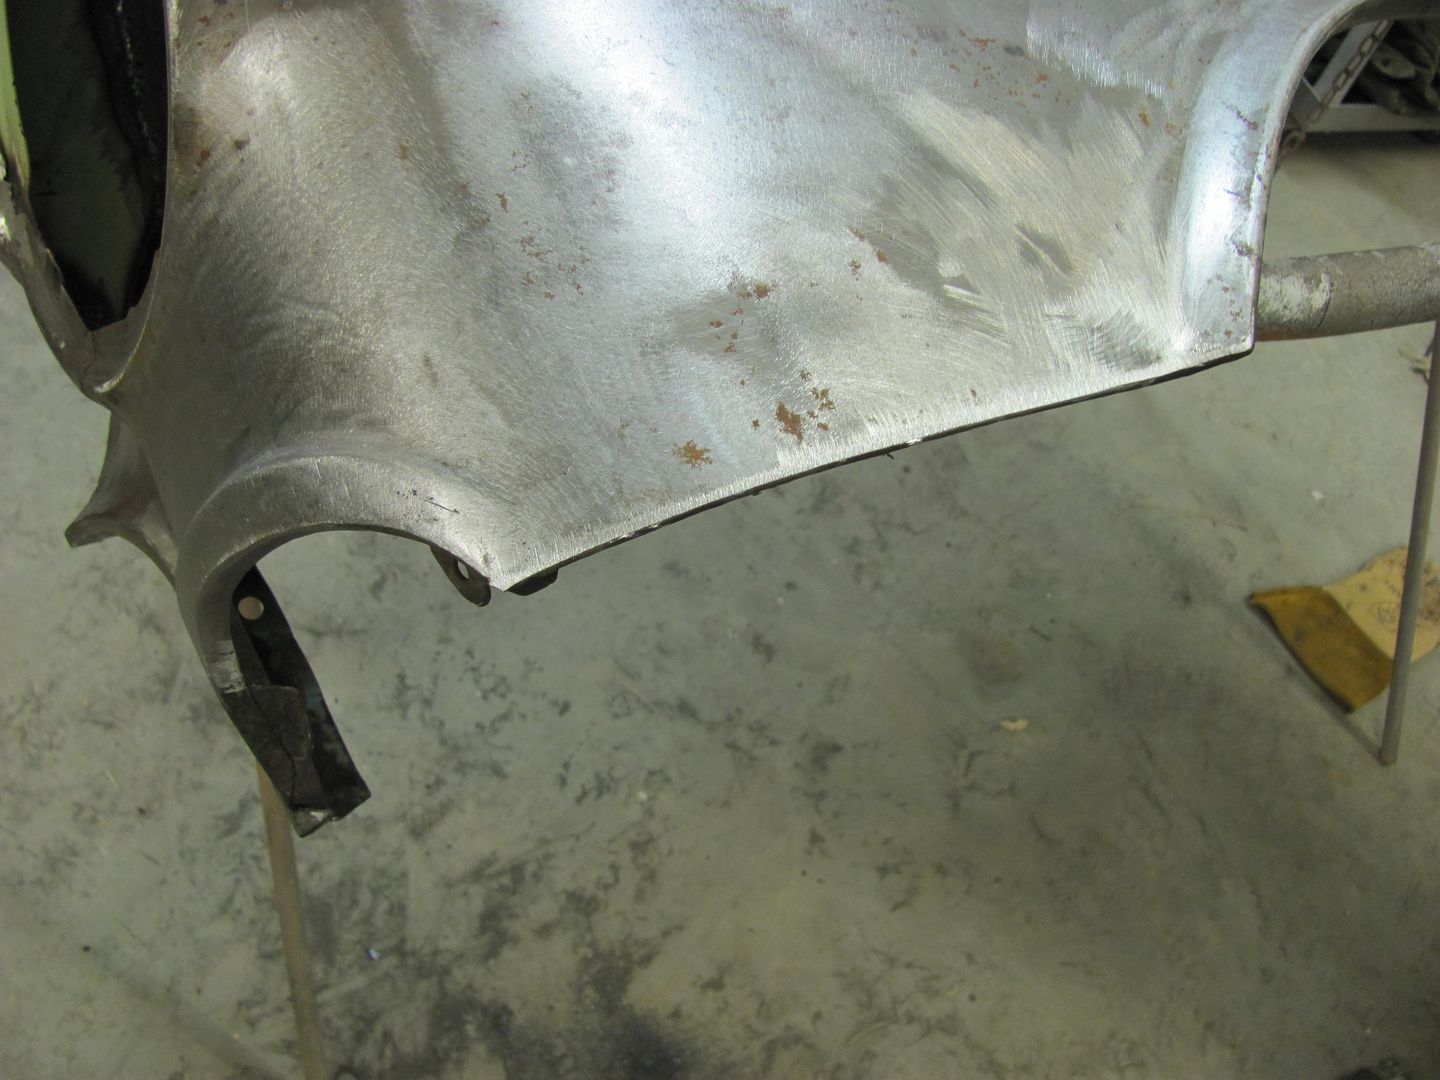
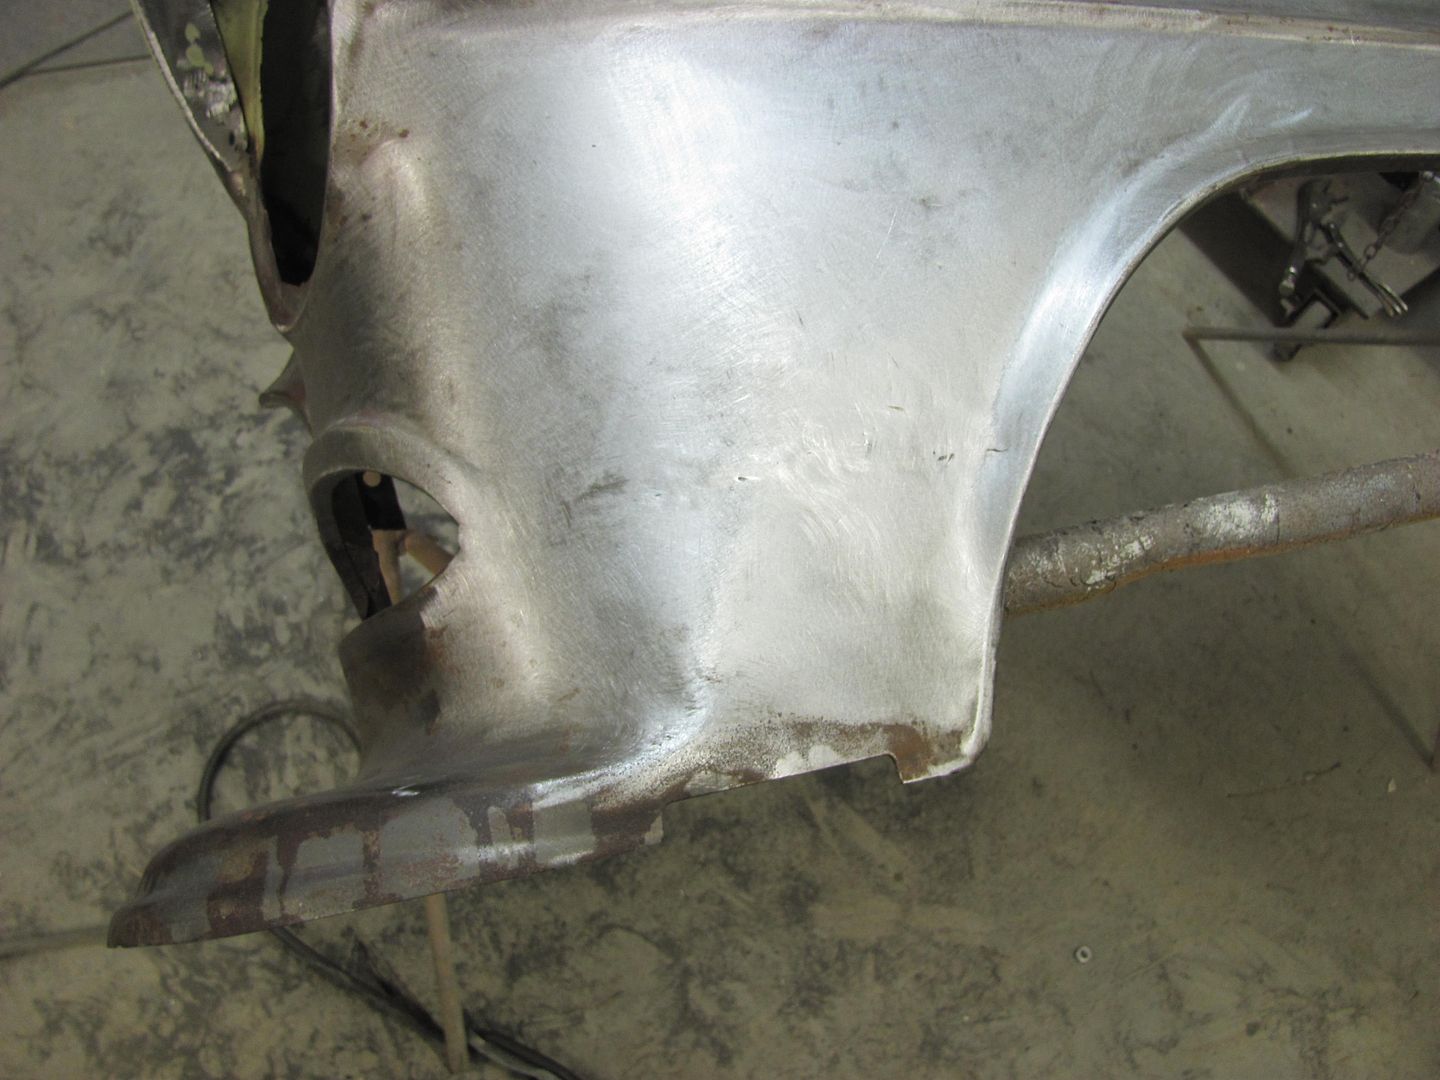
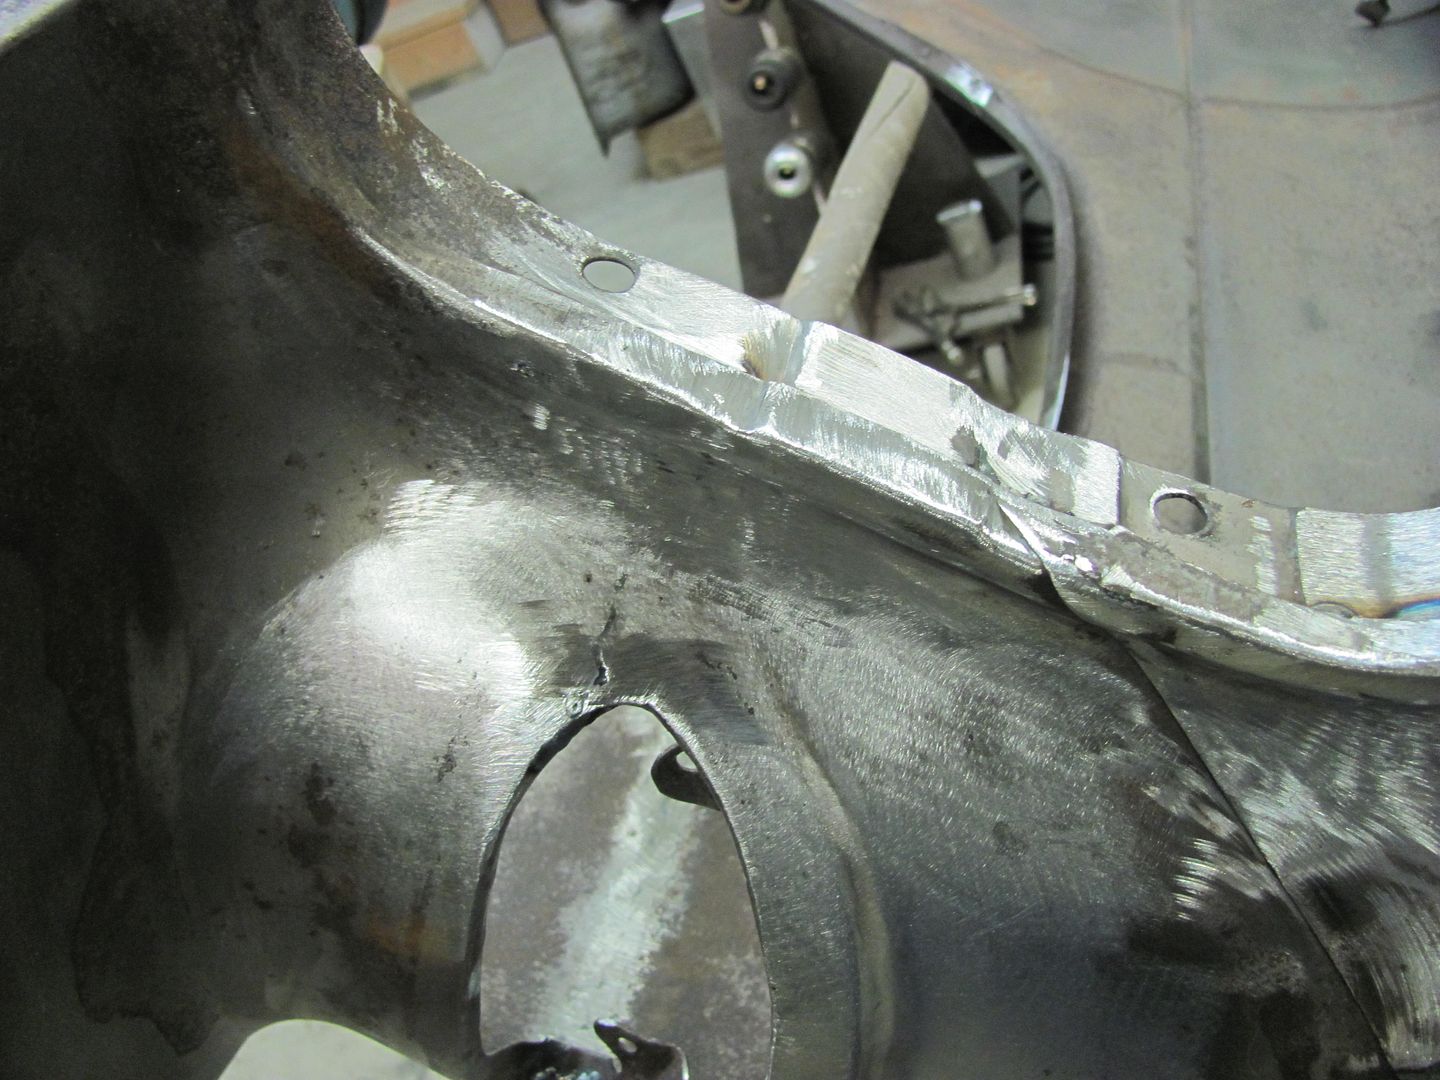
Then I got on a roll and missed some in process pics, but here is the result after dressing out all the welds...
Back side....
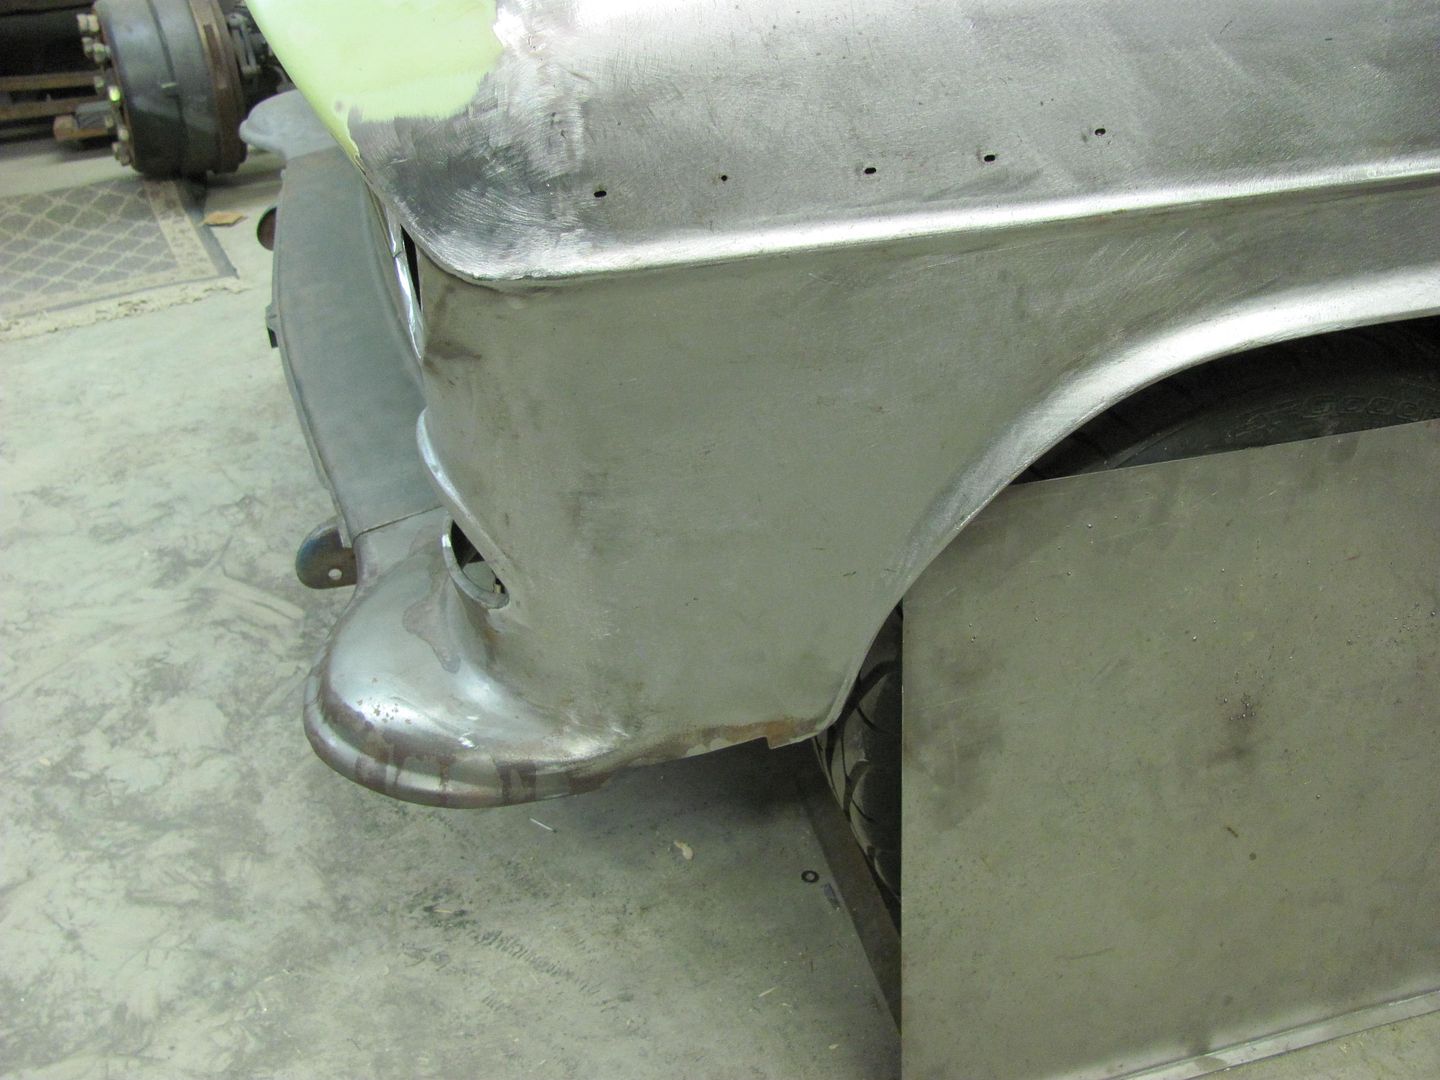
Yeah, I like this much better....


 Reply With Quote
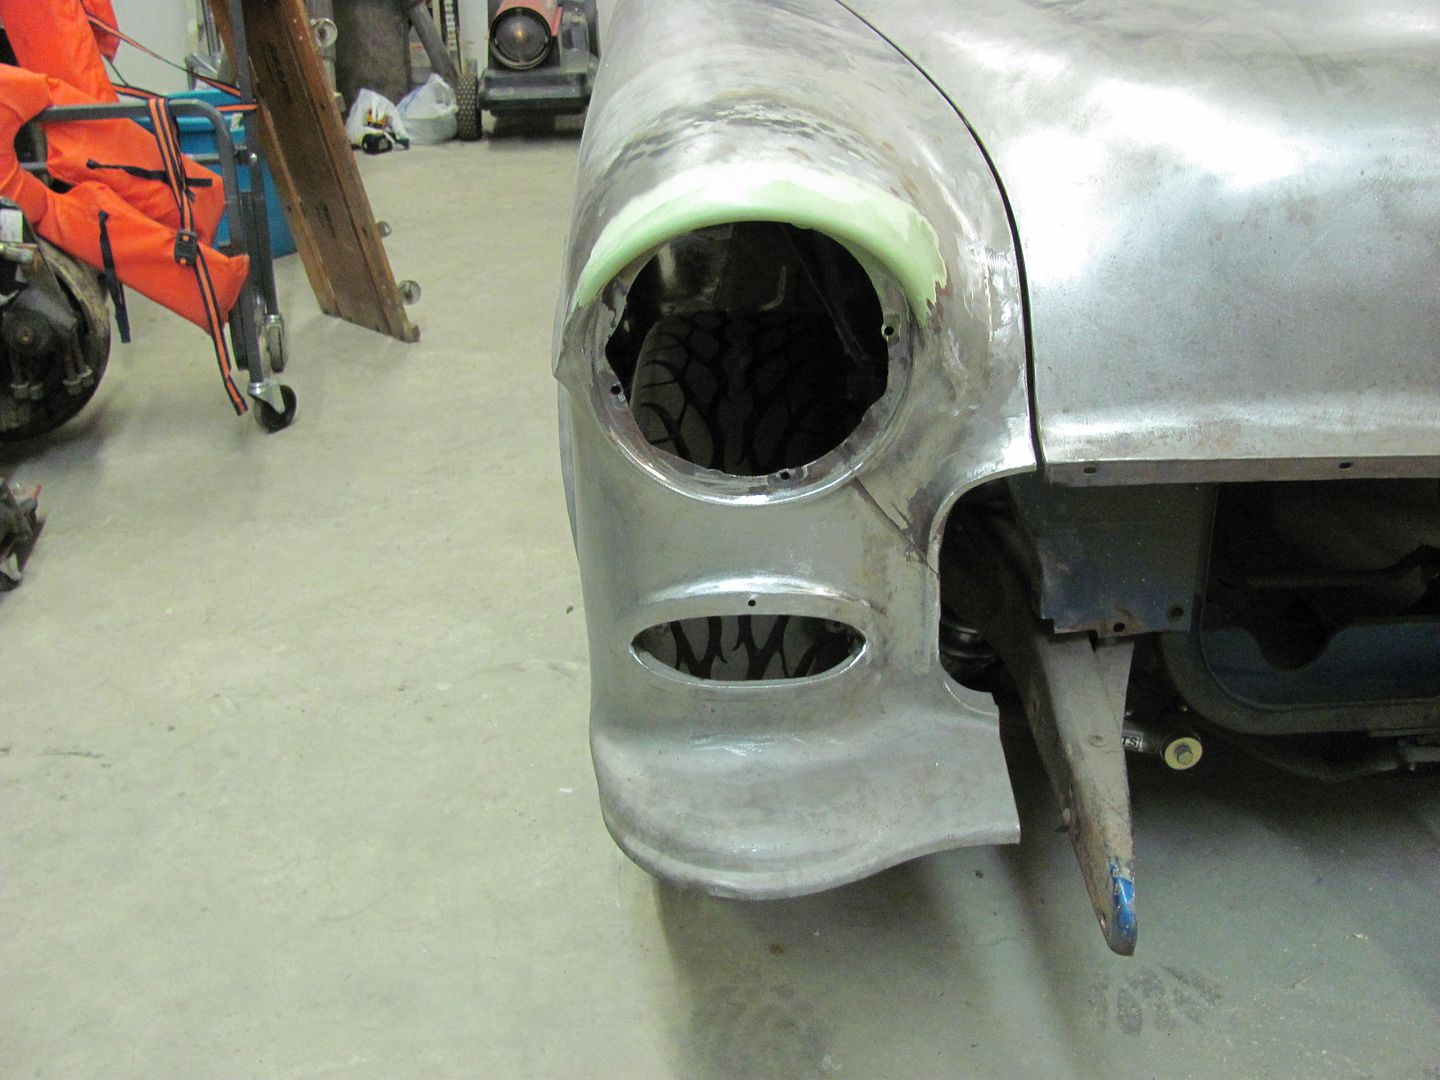


's Avatar")


