Just joined? Please introduce yourself.
Page 30 of 102 FirstFirst ... 2028293031324080 ... LastLast
Results 291 to 300 of 1019

Thread: wagon progress

  1. #291
    Registered Member MP&C's Avatar
    Join Date
    Dec 2013

    Member #:2017
    Location
    Southern MD
    Posts
    1,293
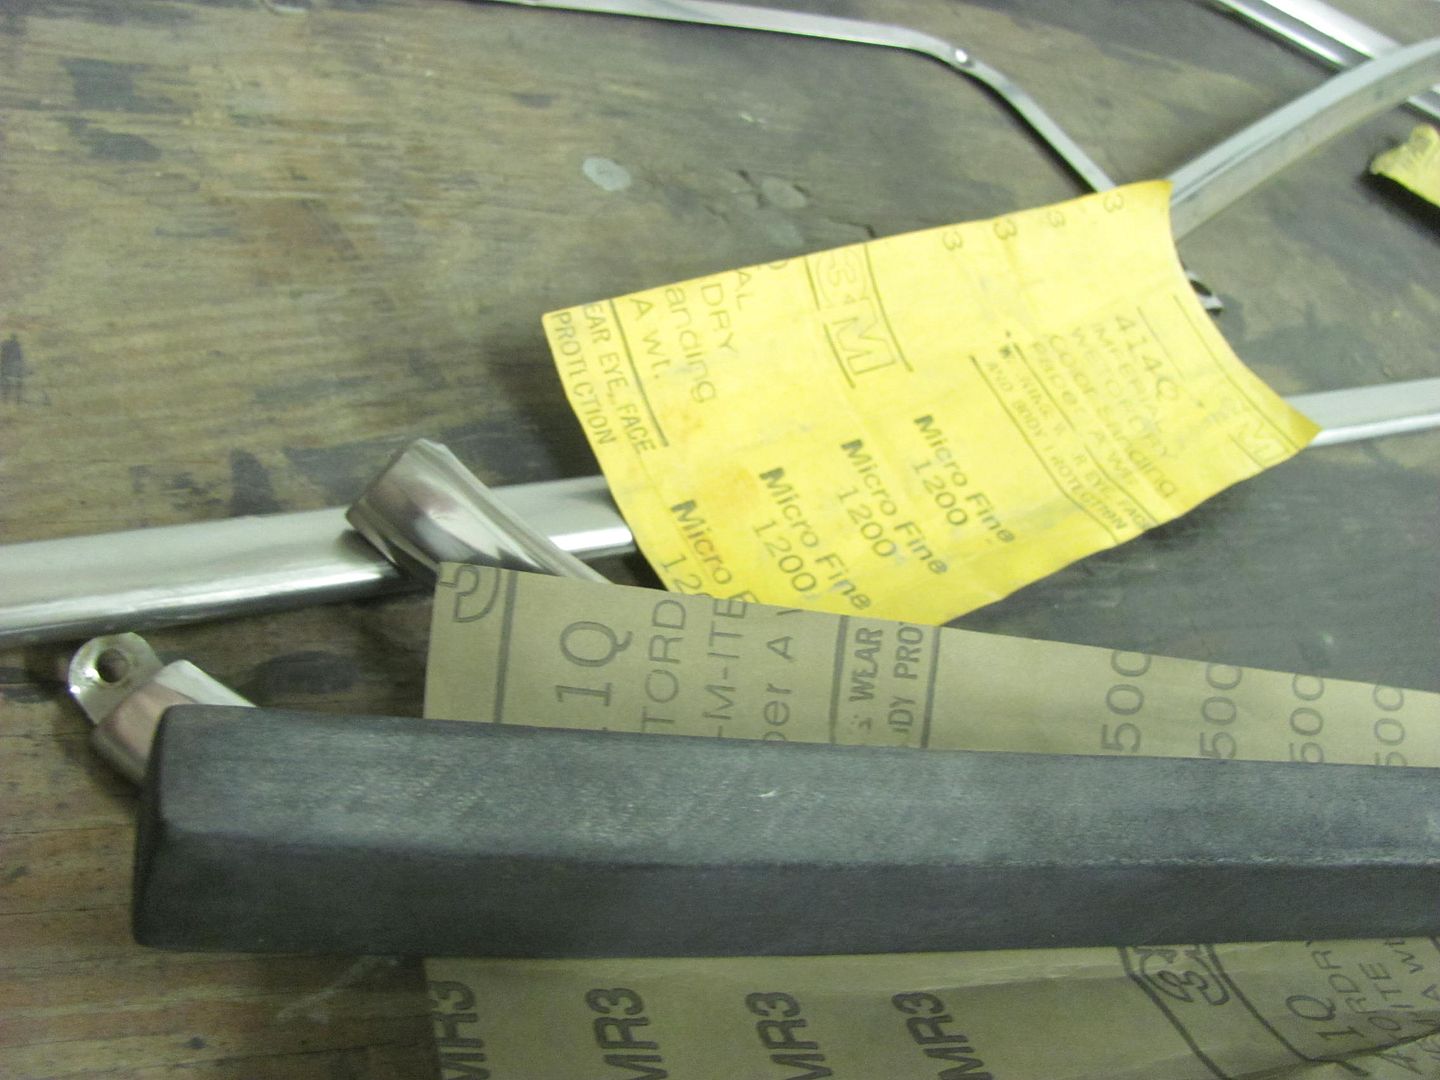
    I was going to get a longer one from McMaster Carr so I wouldn't need to weld them together, but thanks!


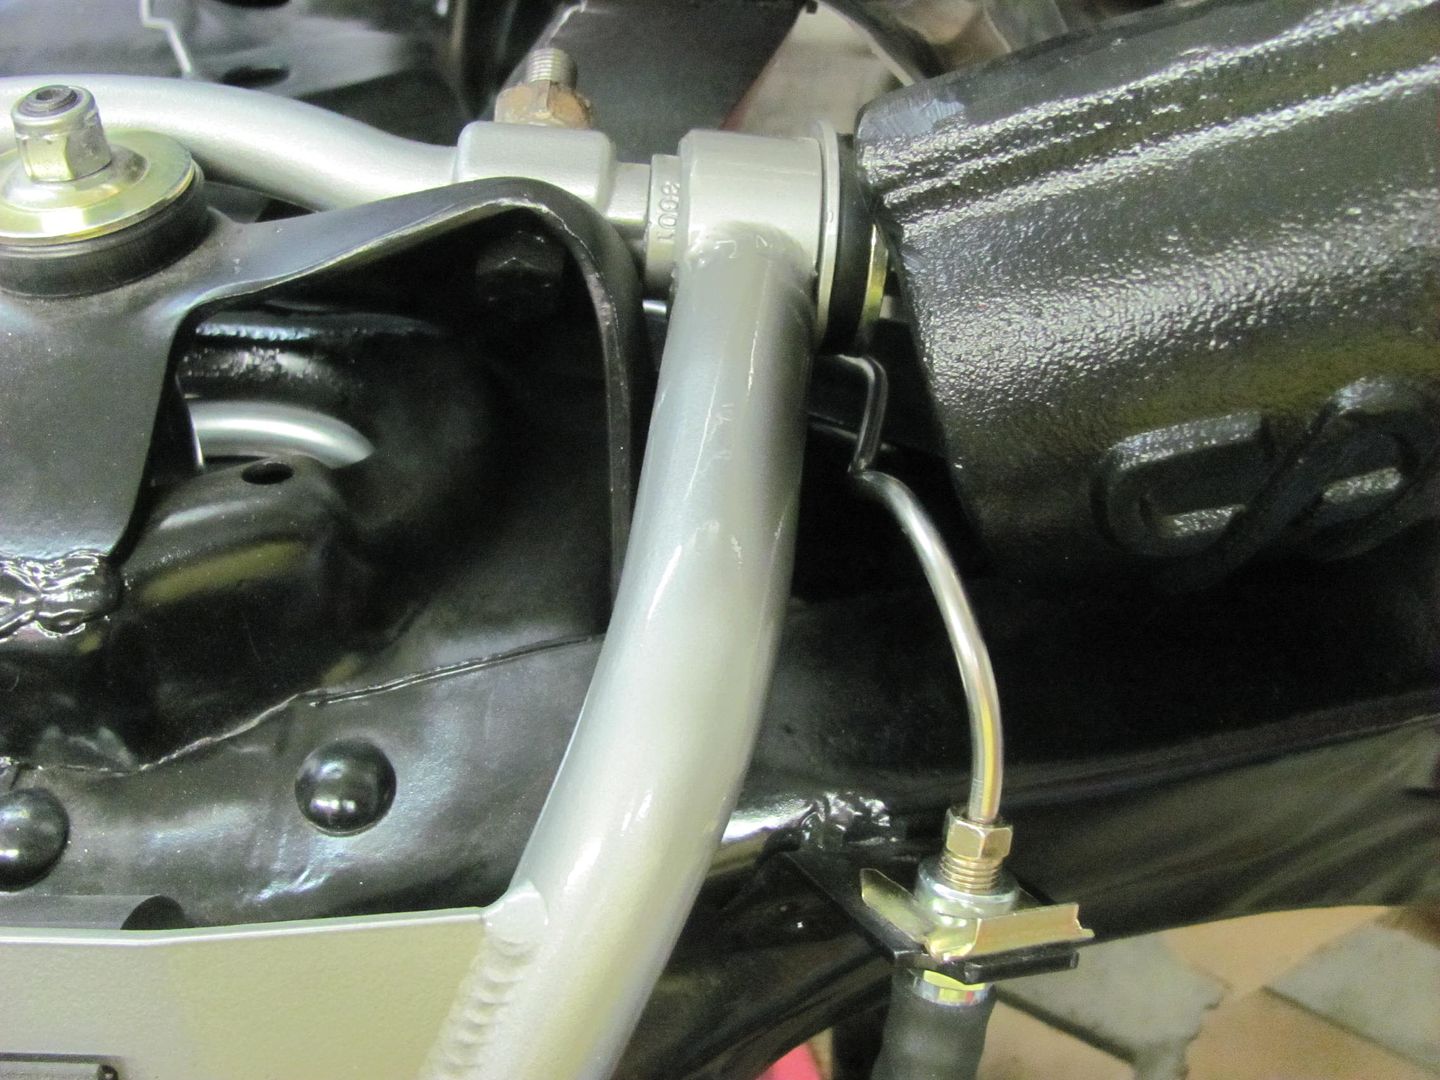
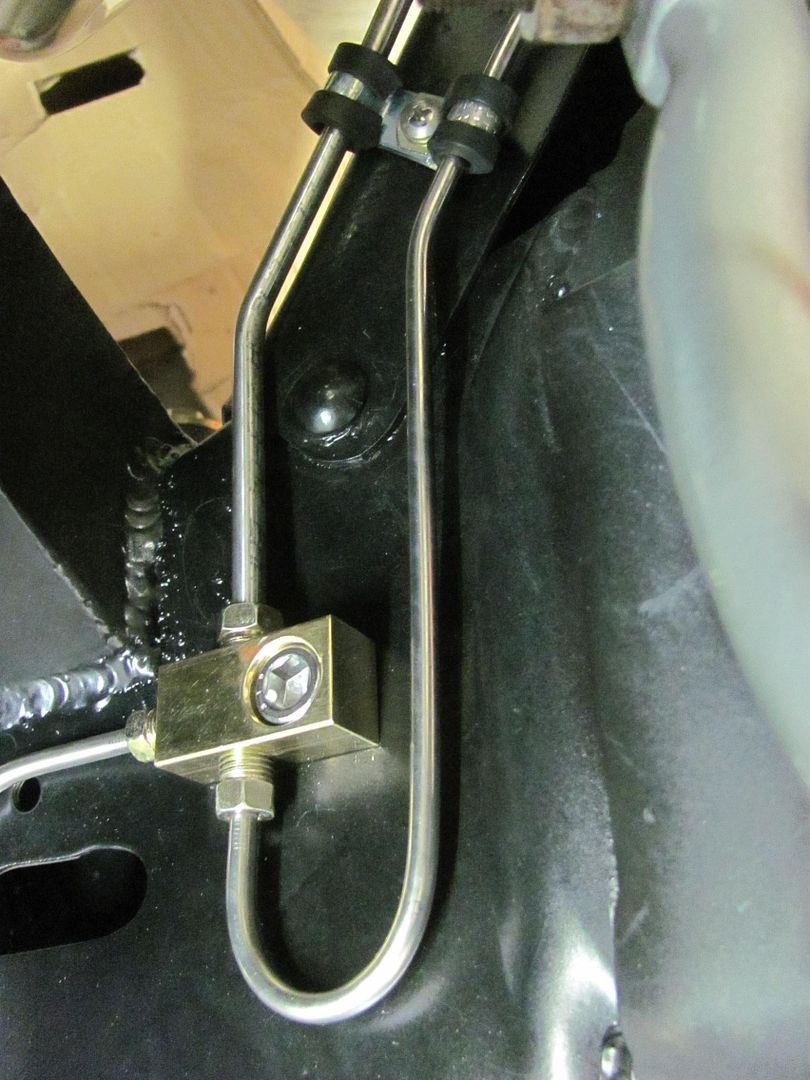
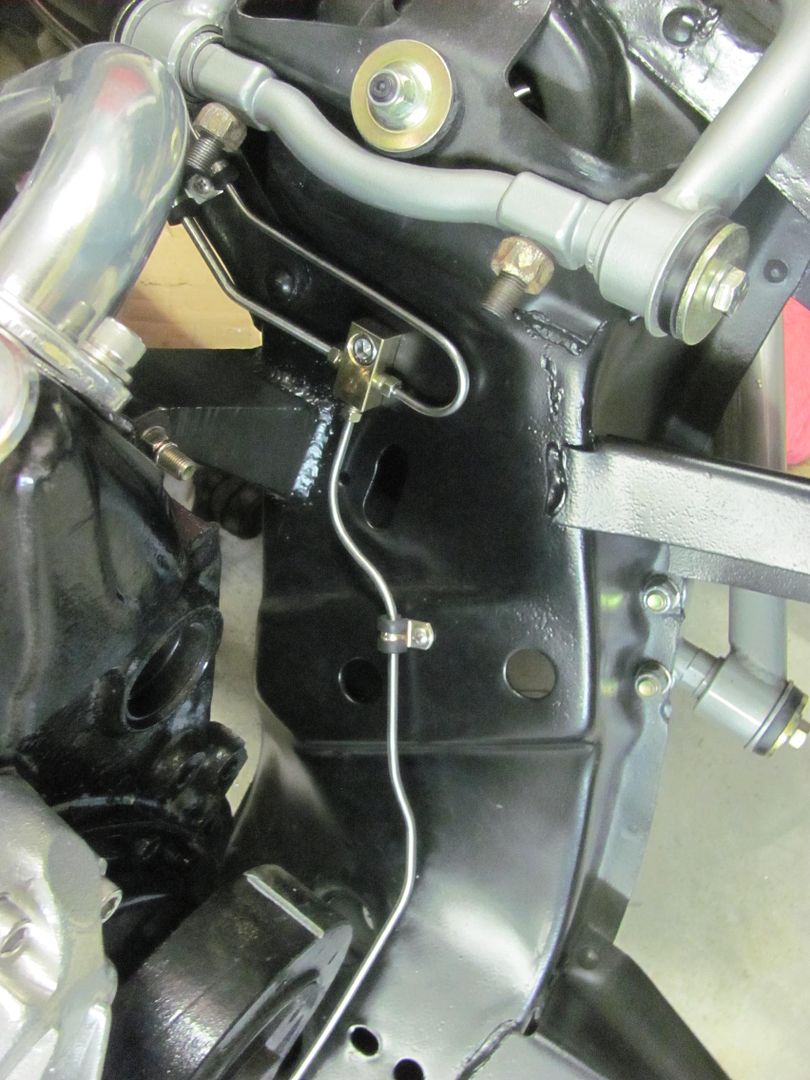
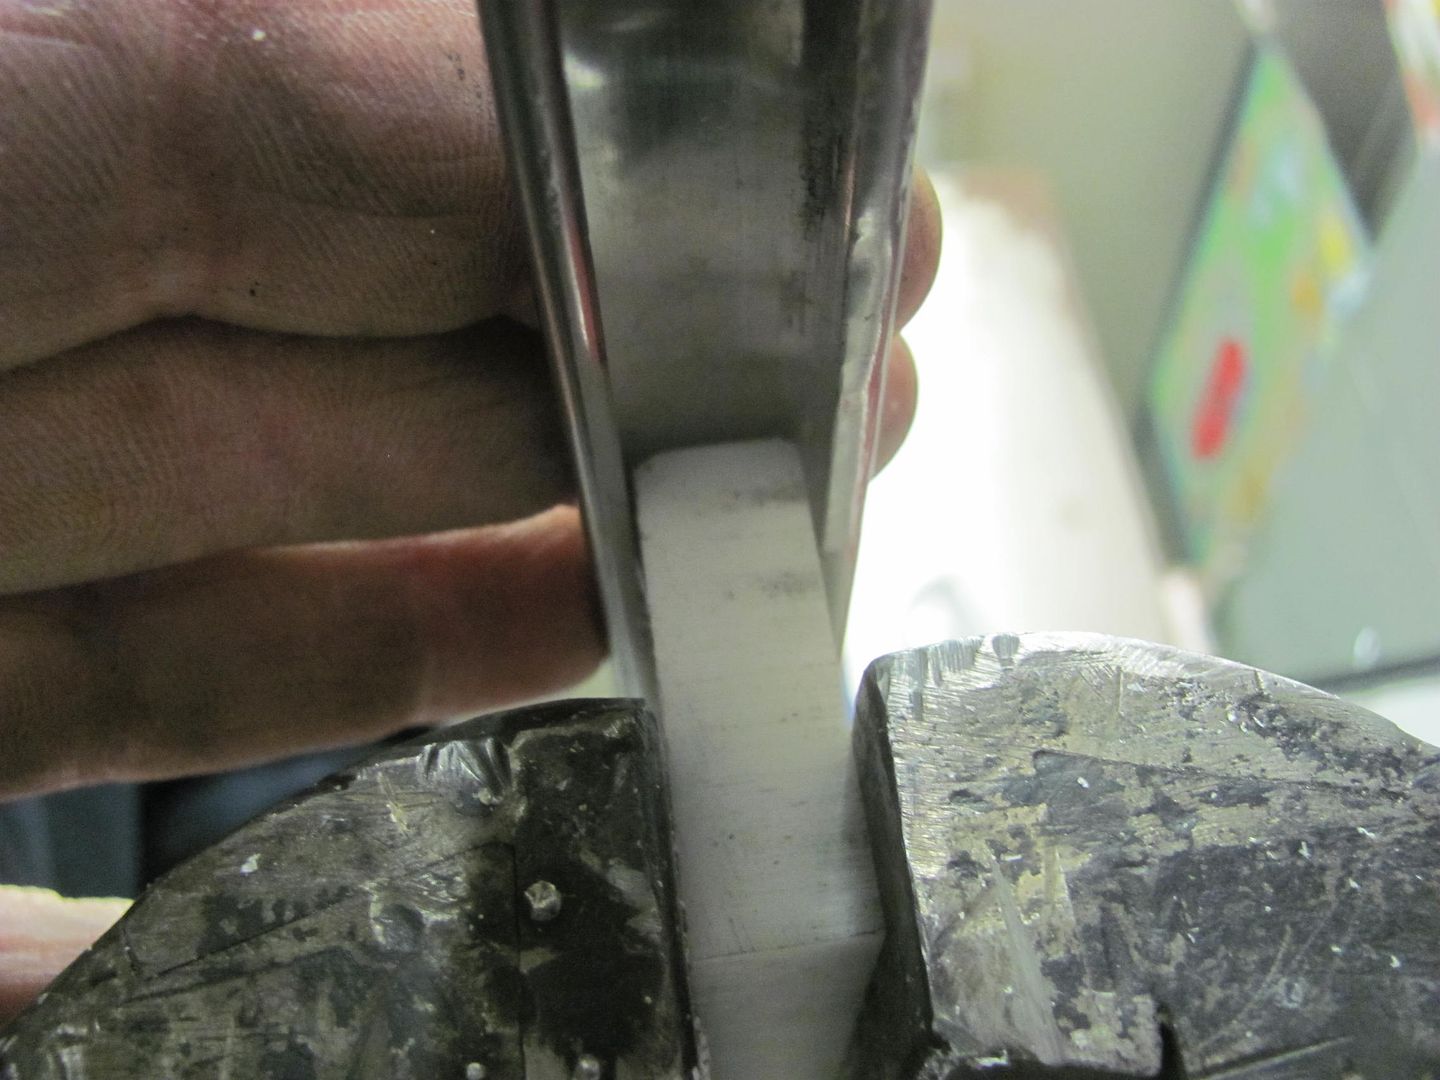
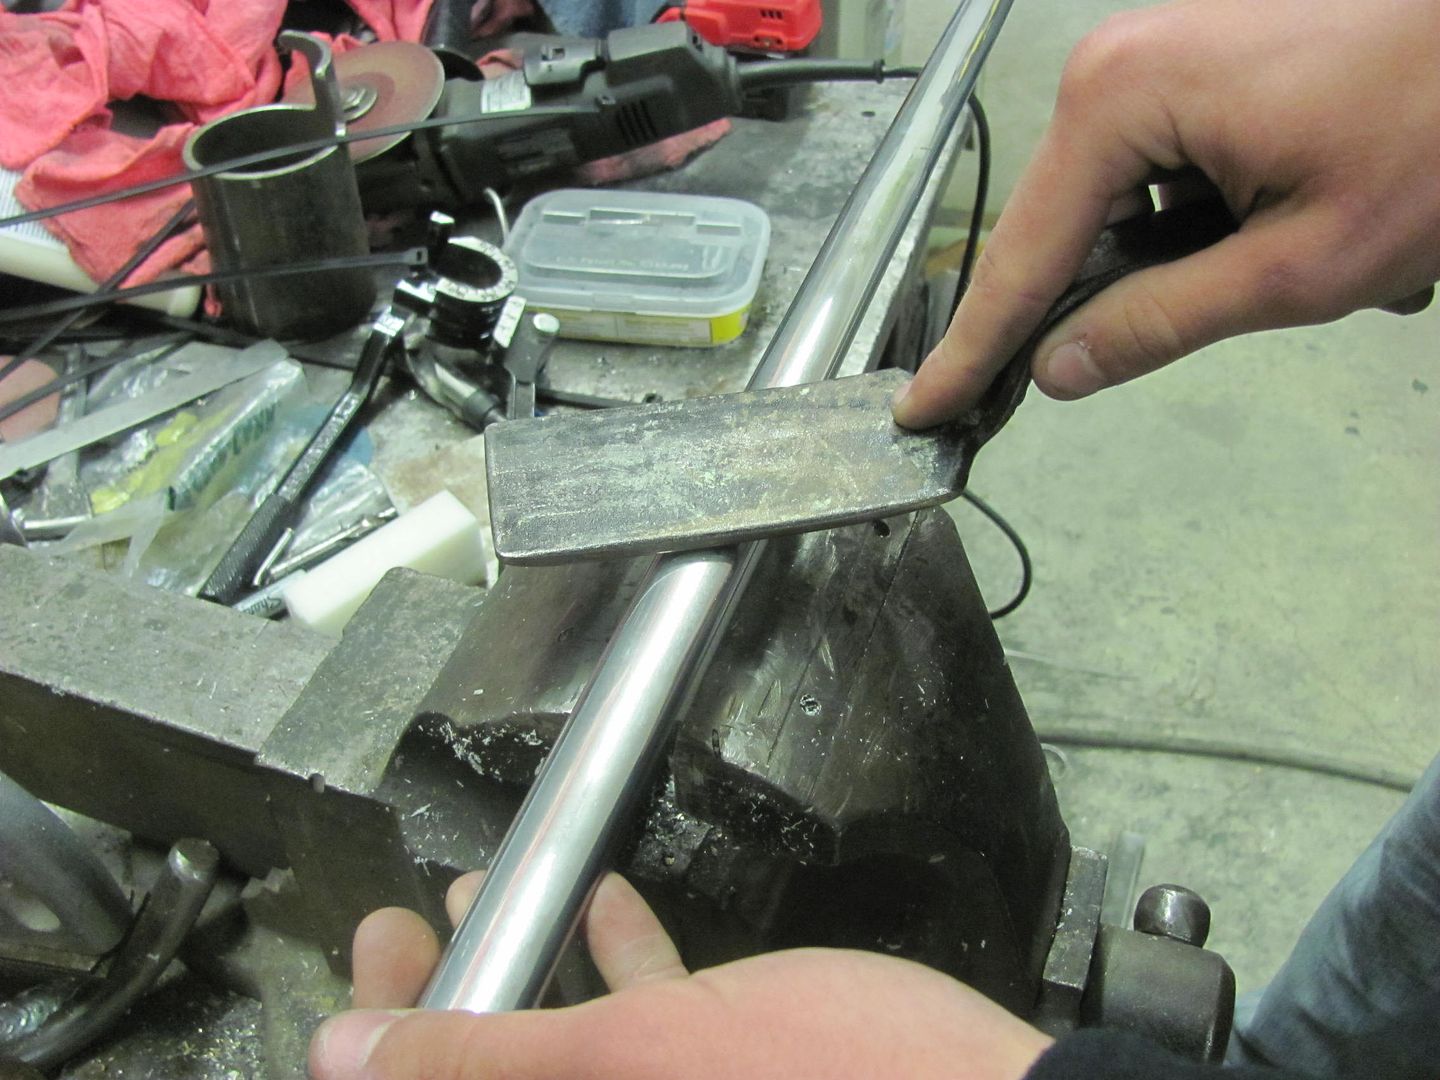
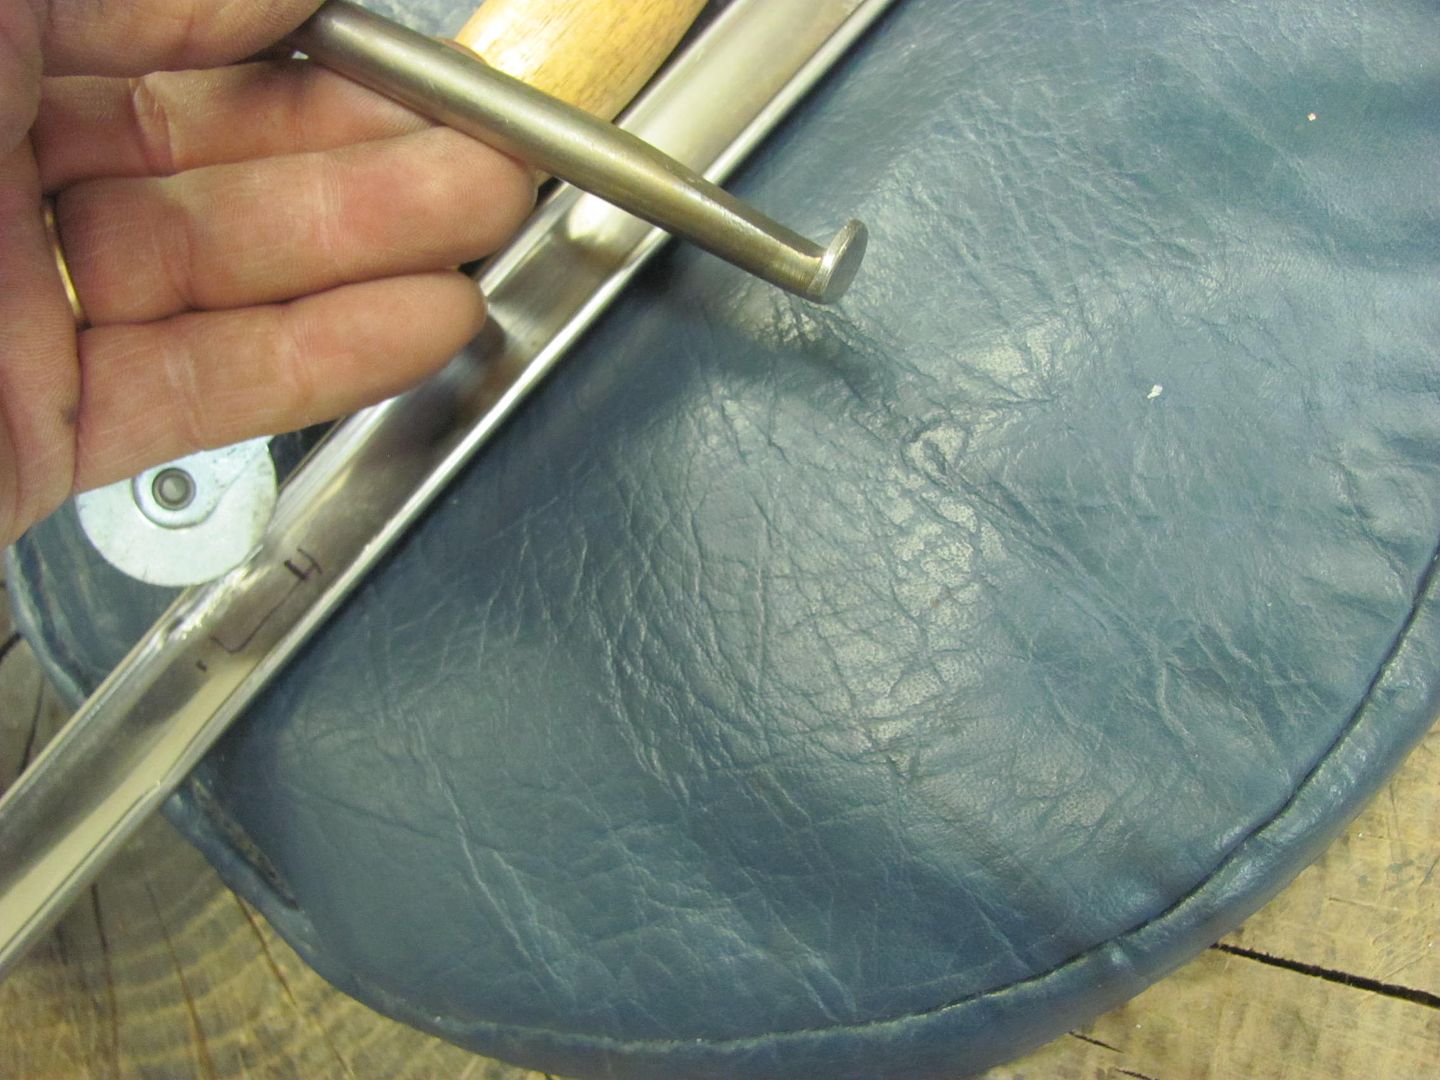
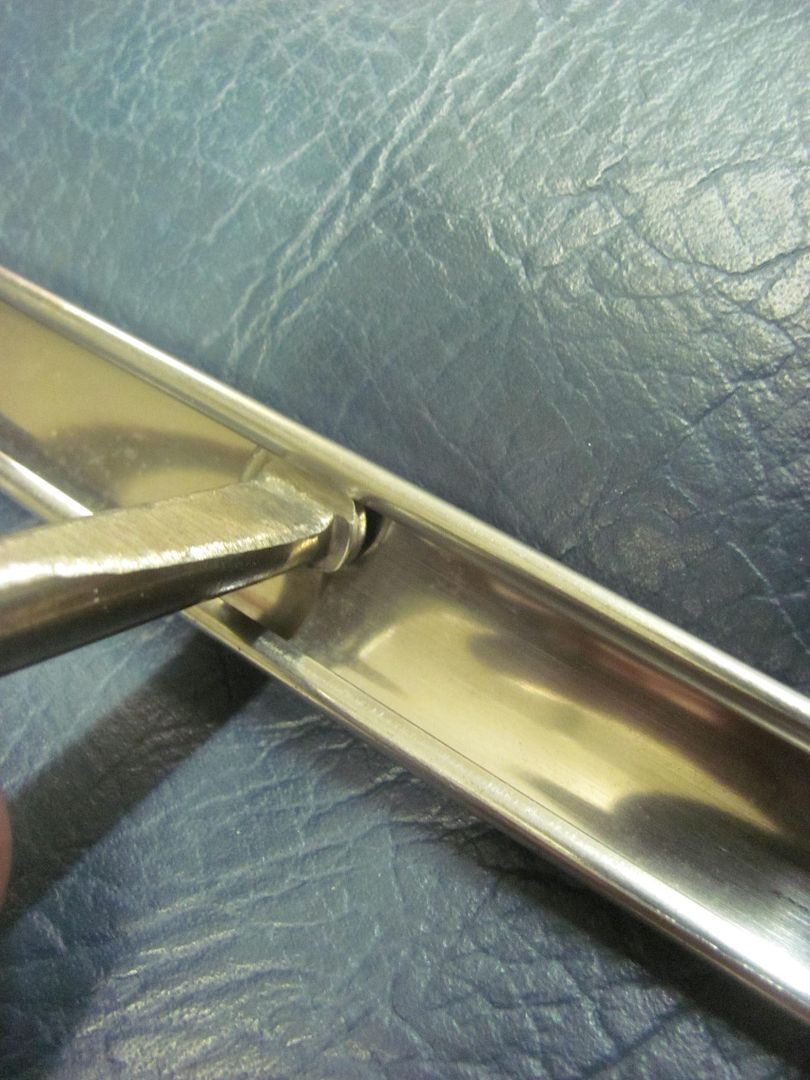
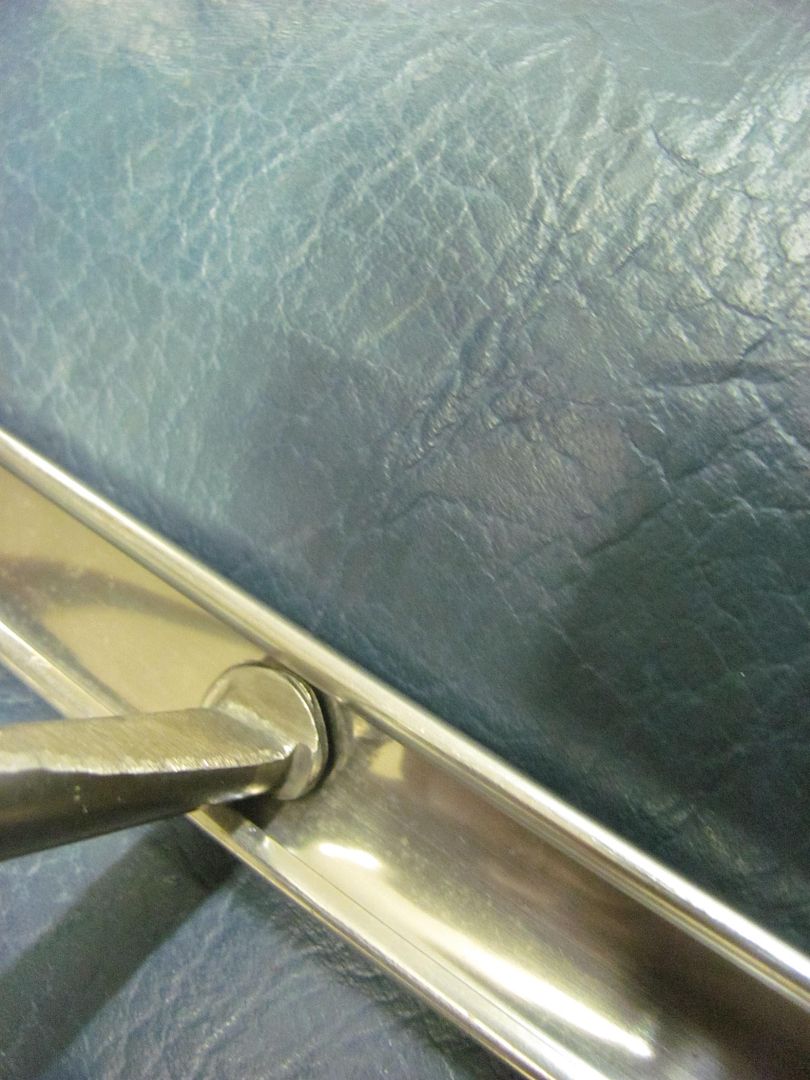
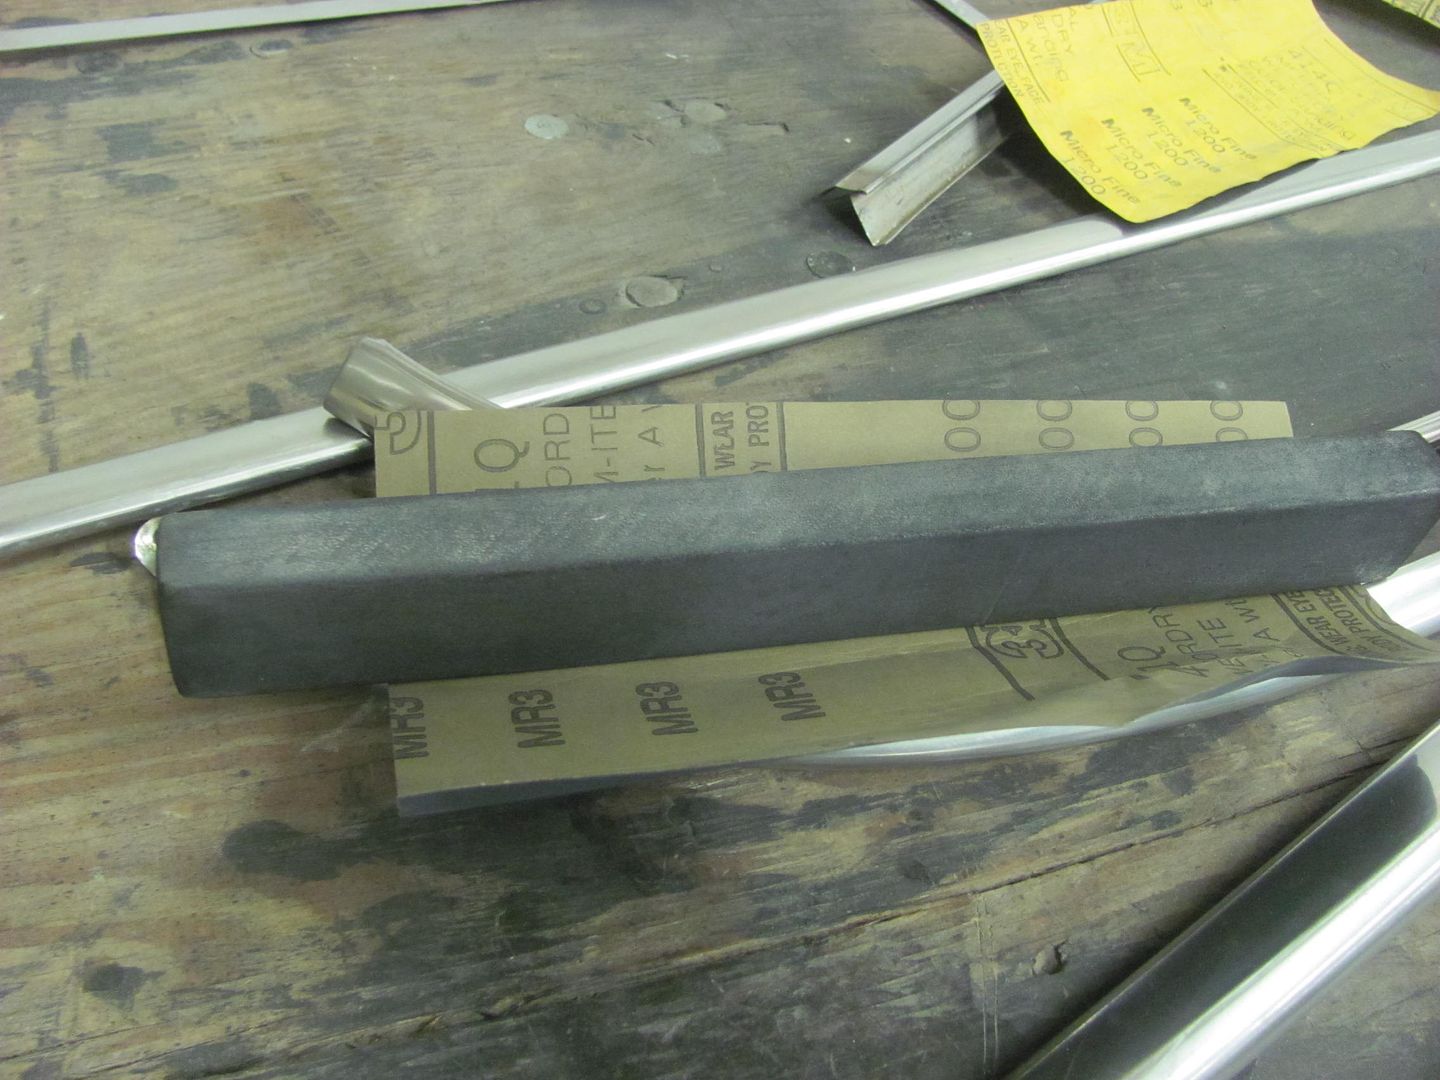
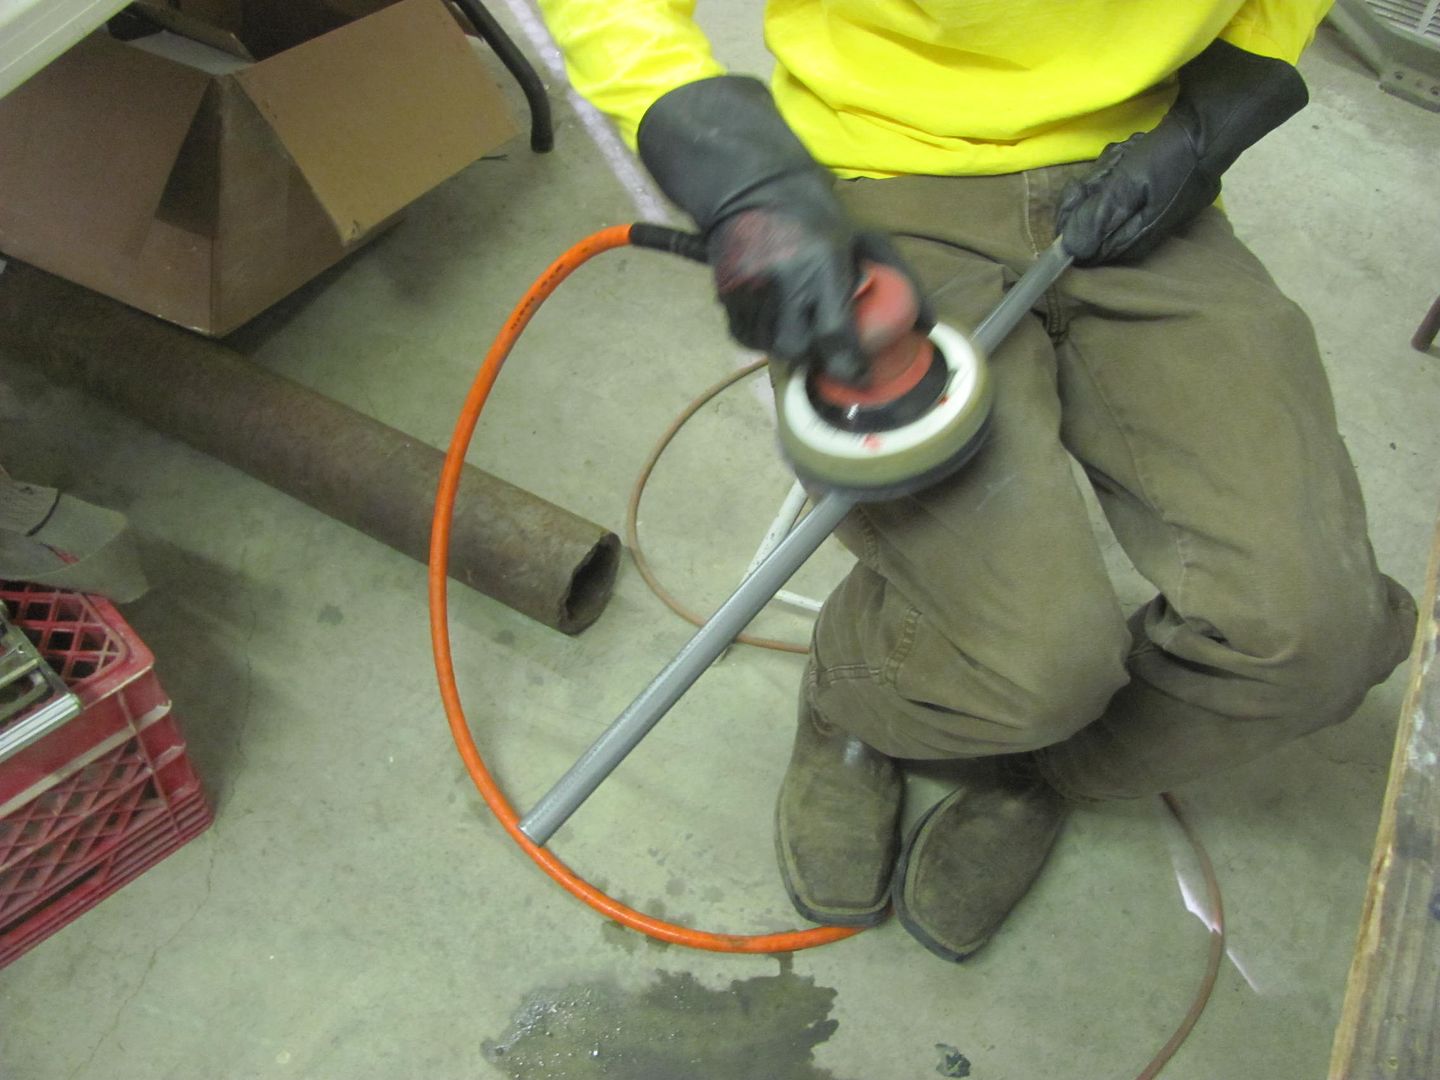
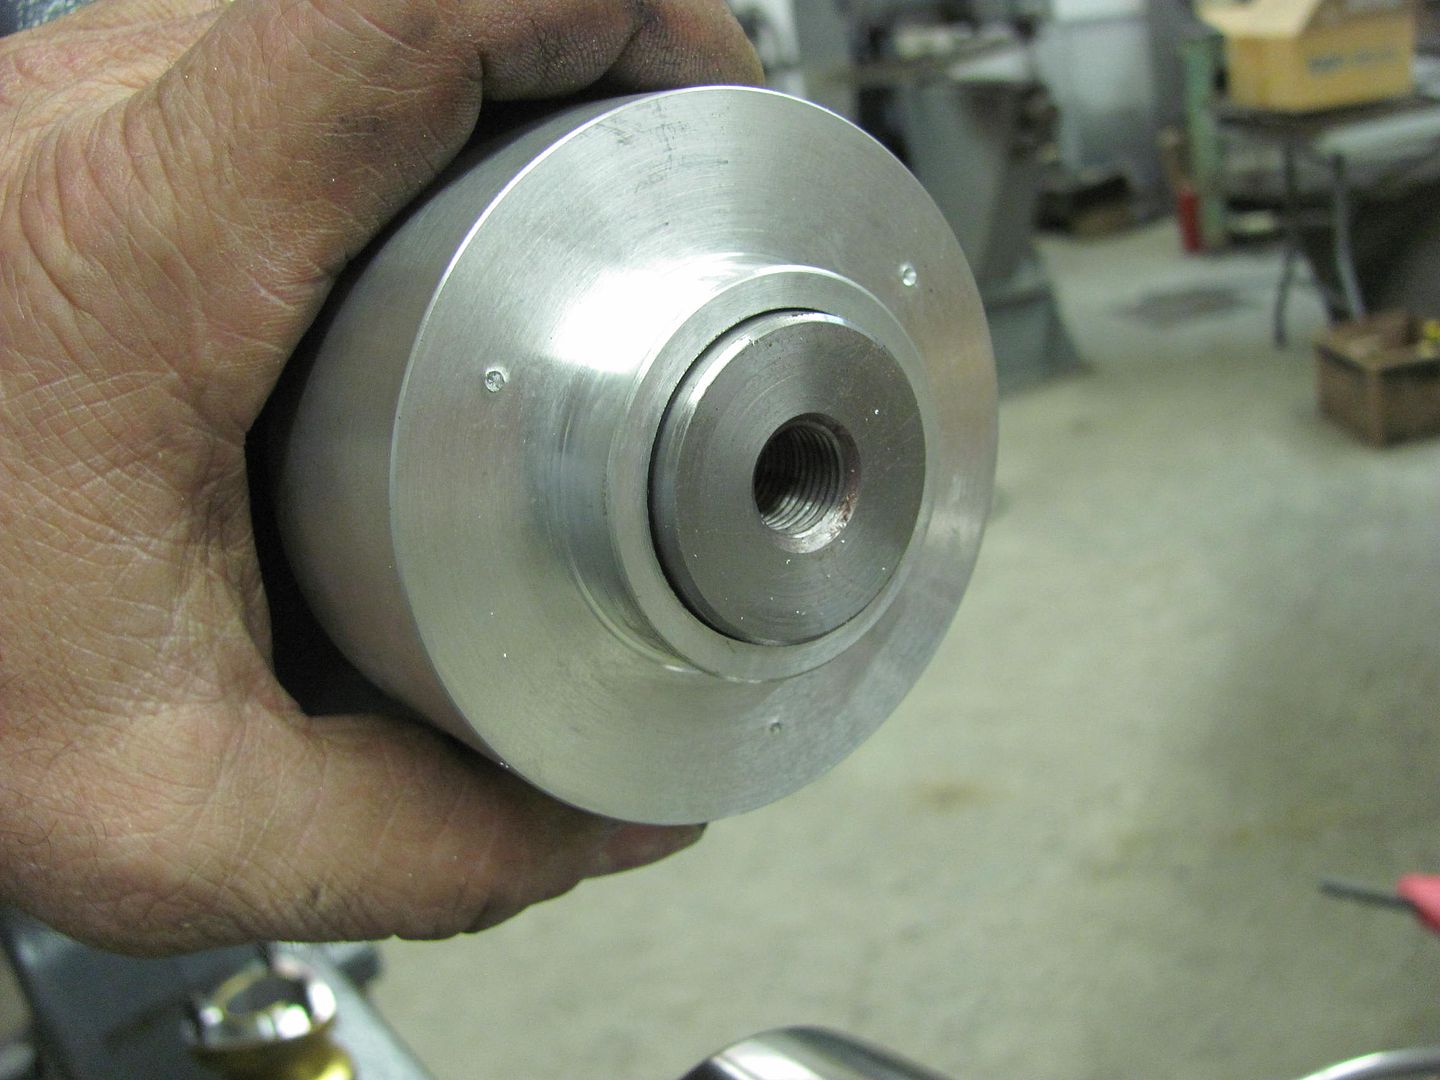
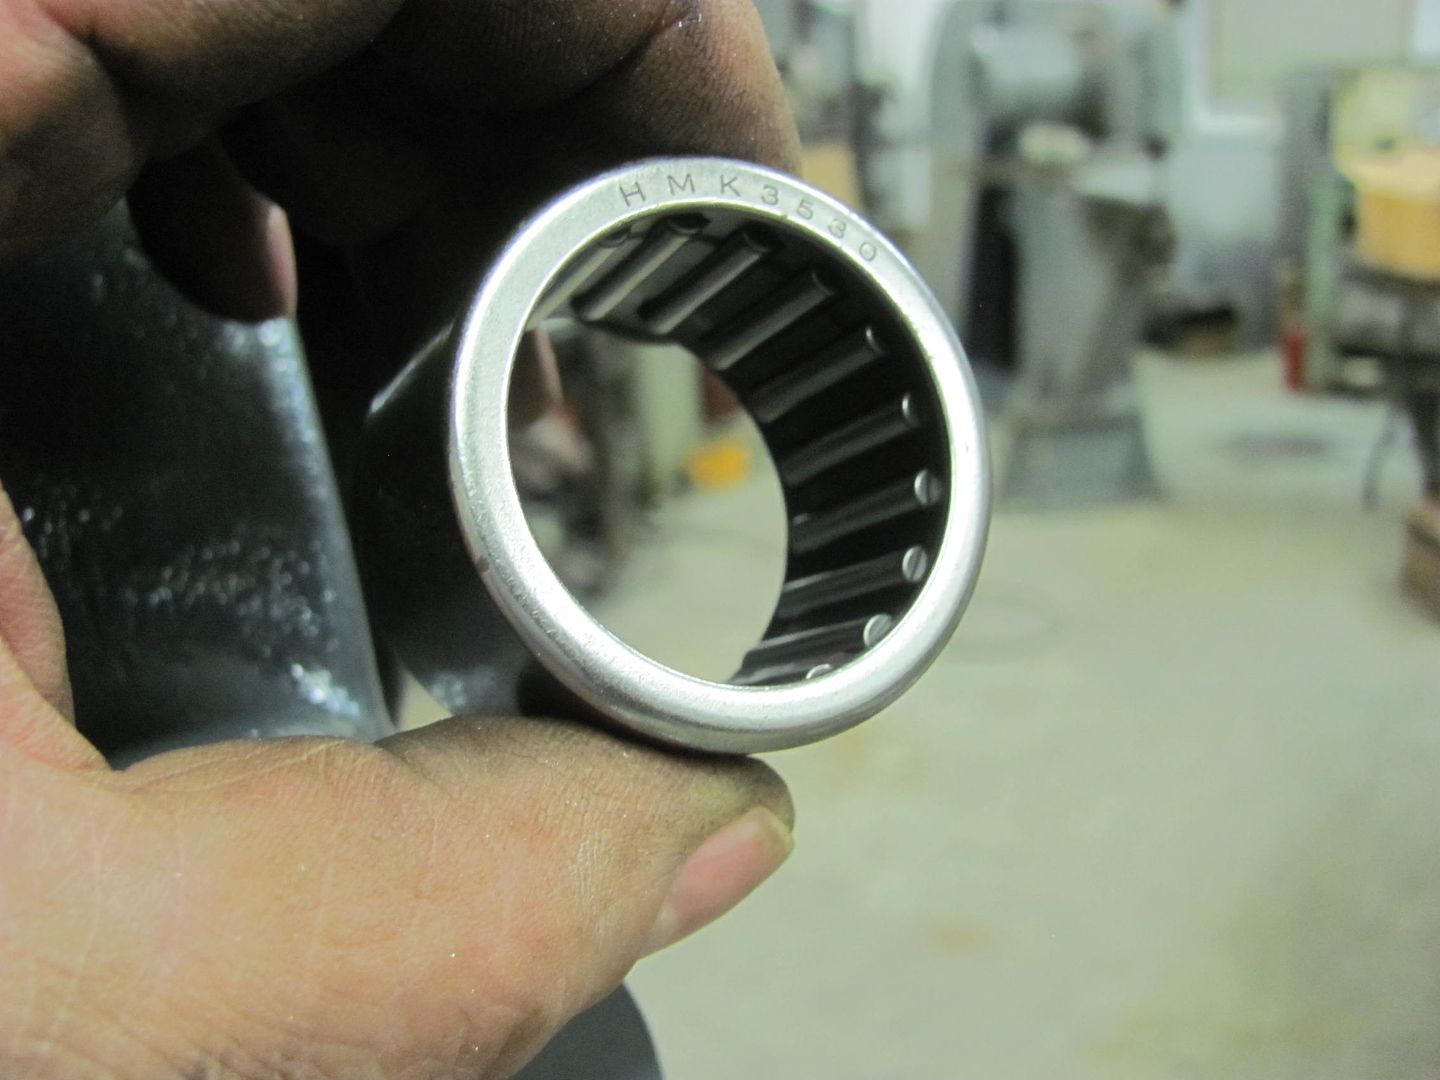
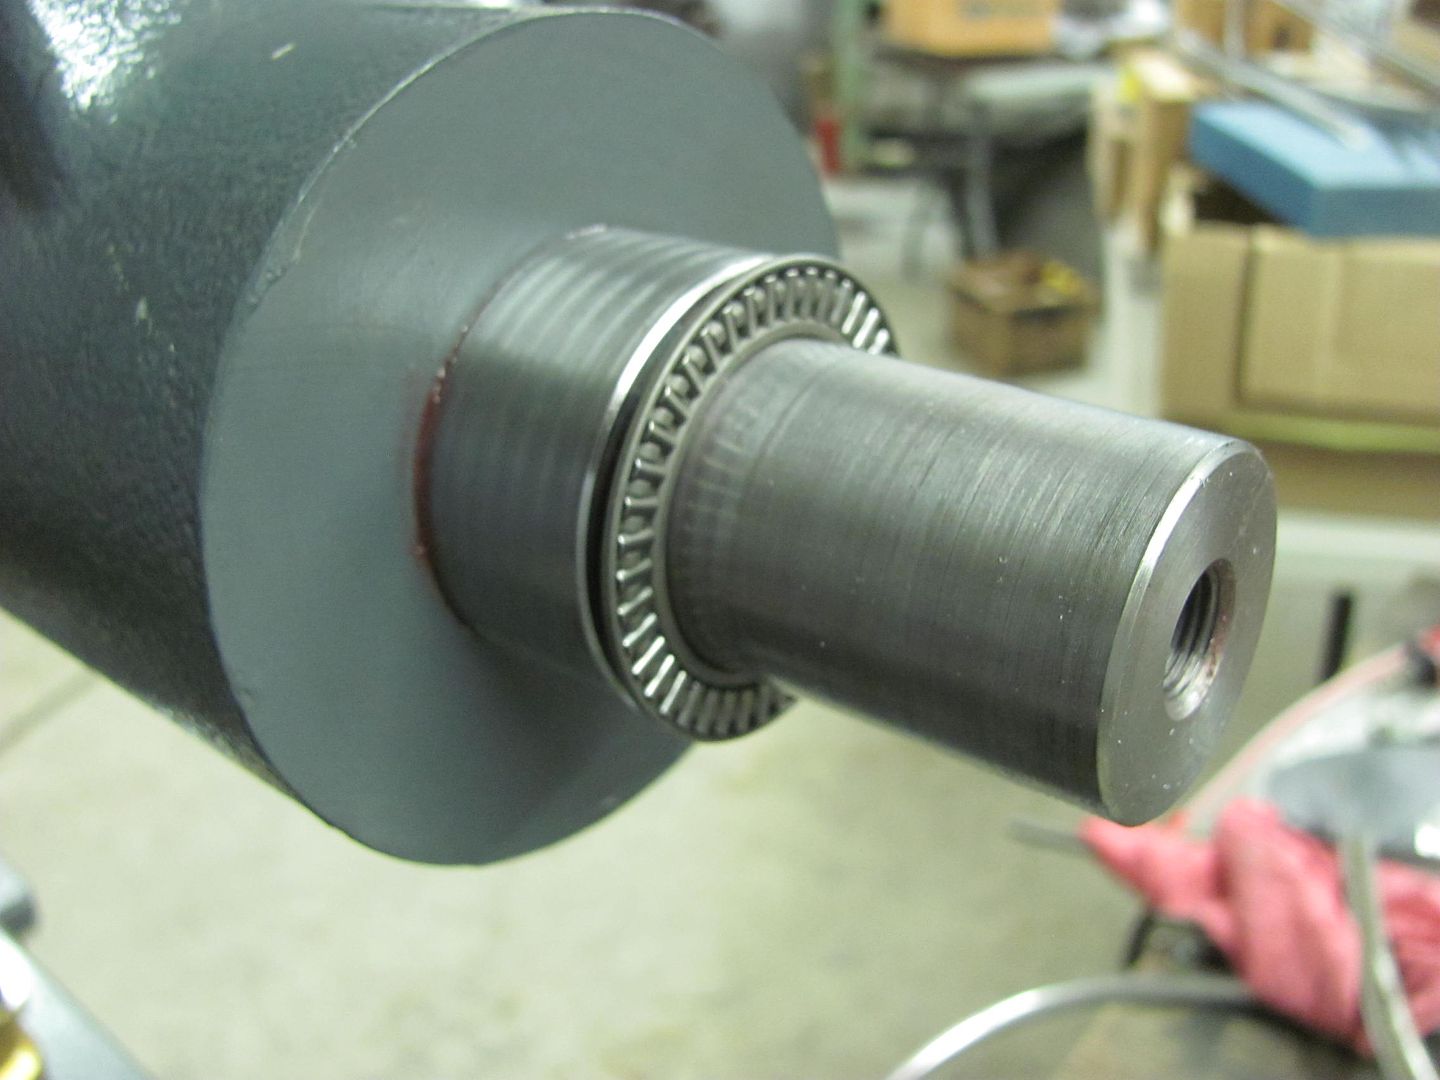
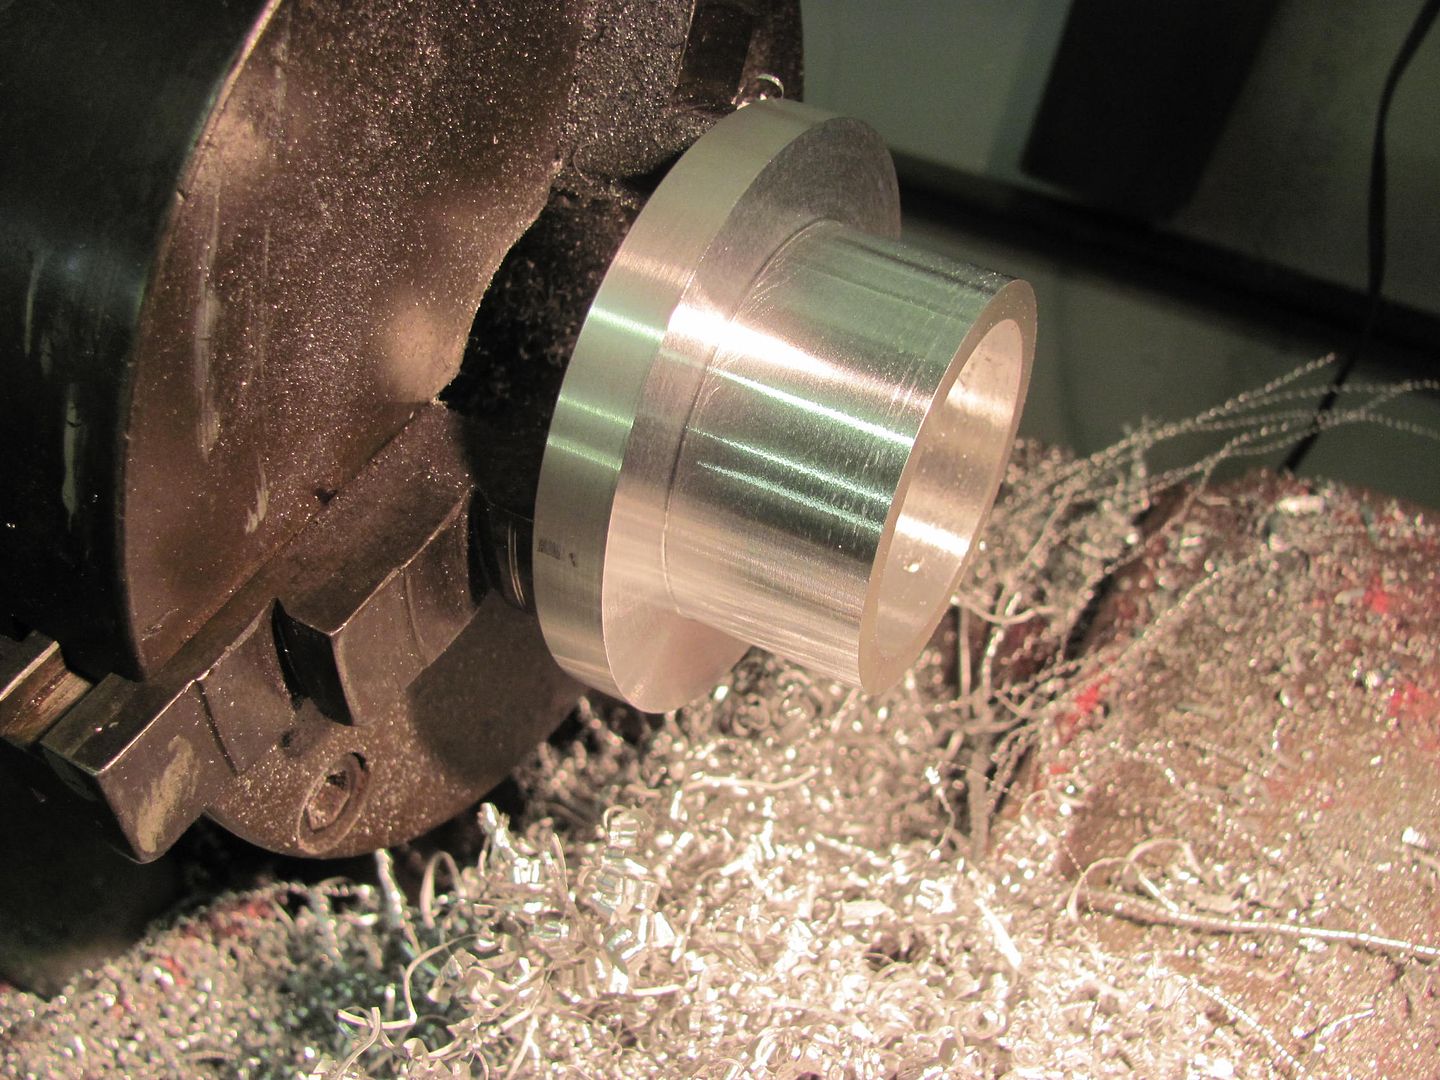
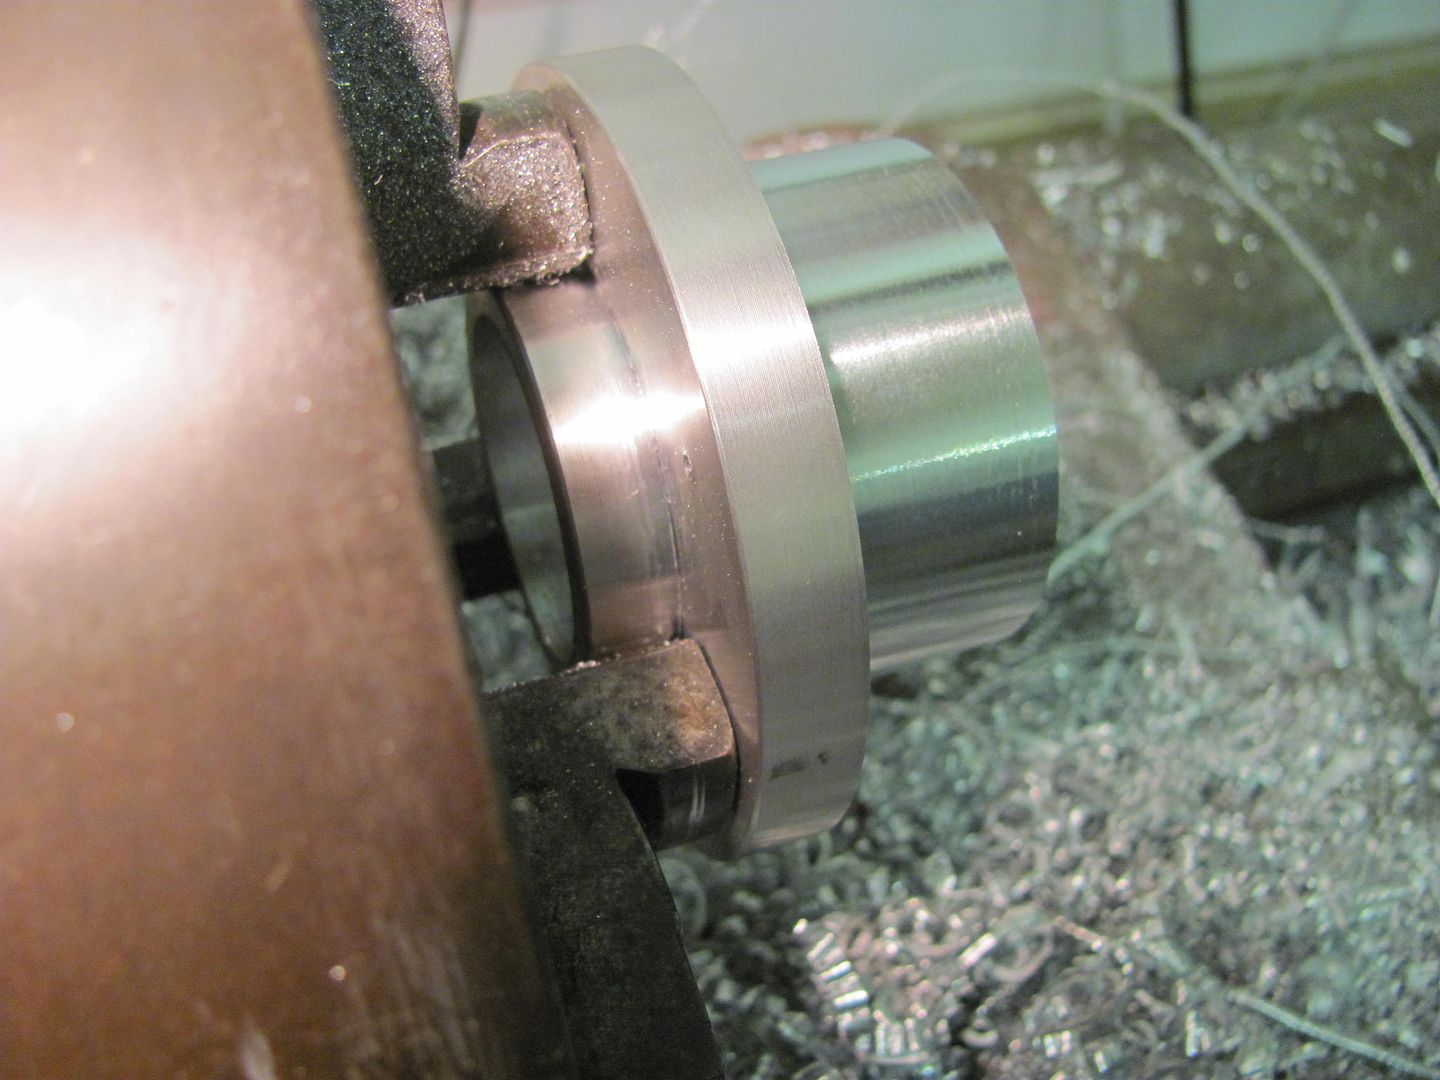
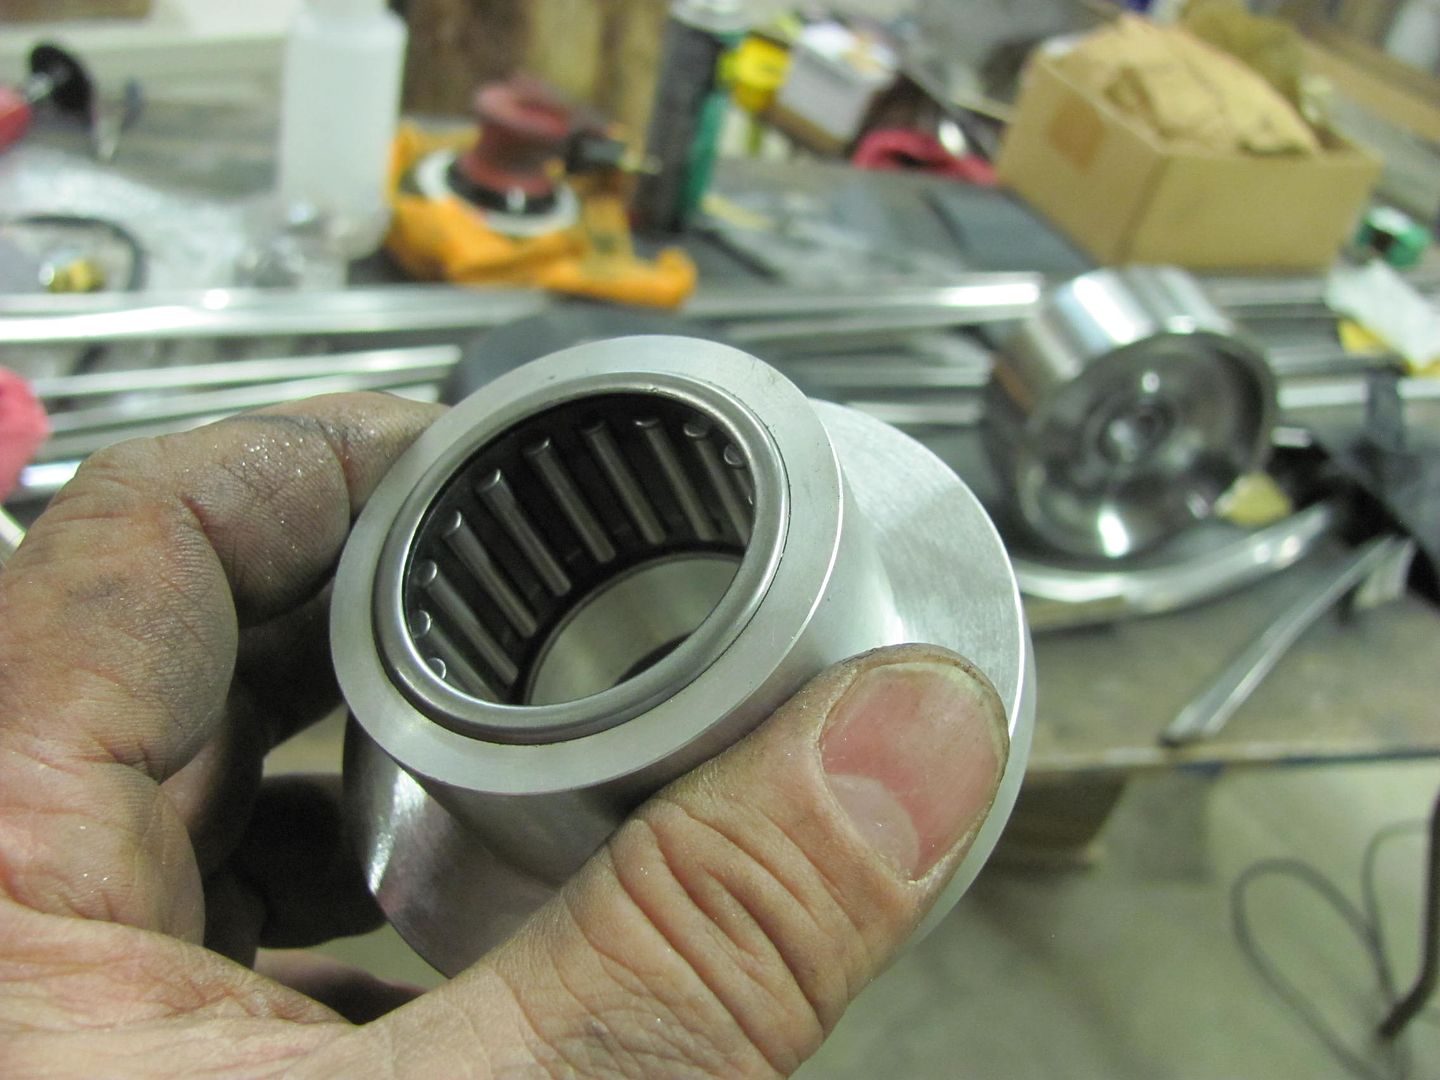
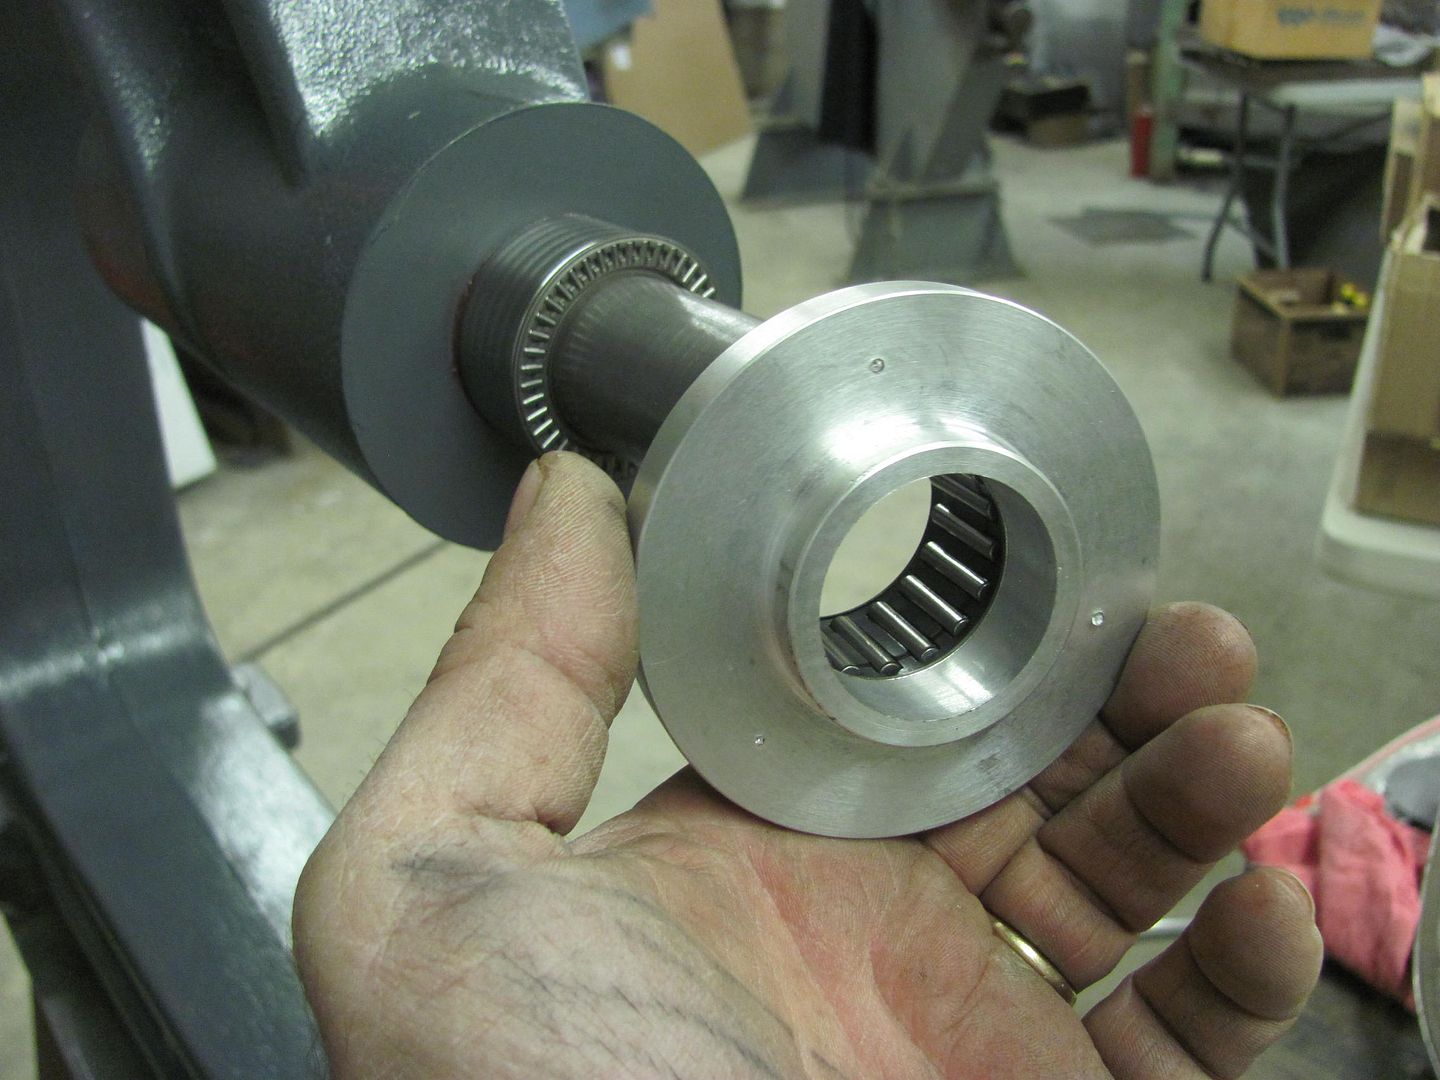
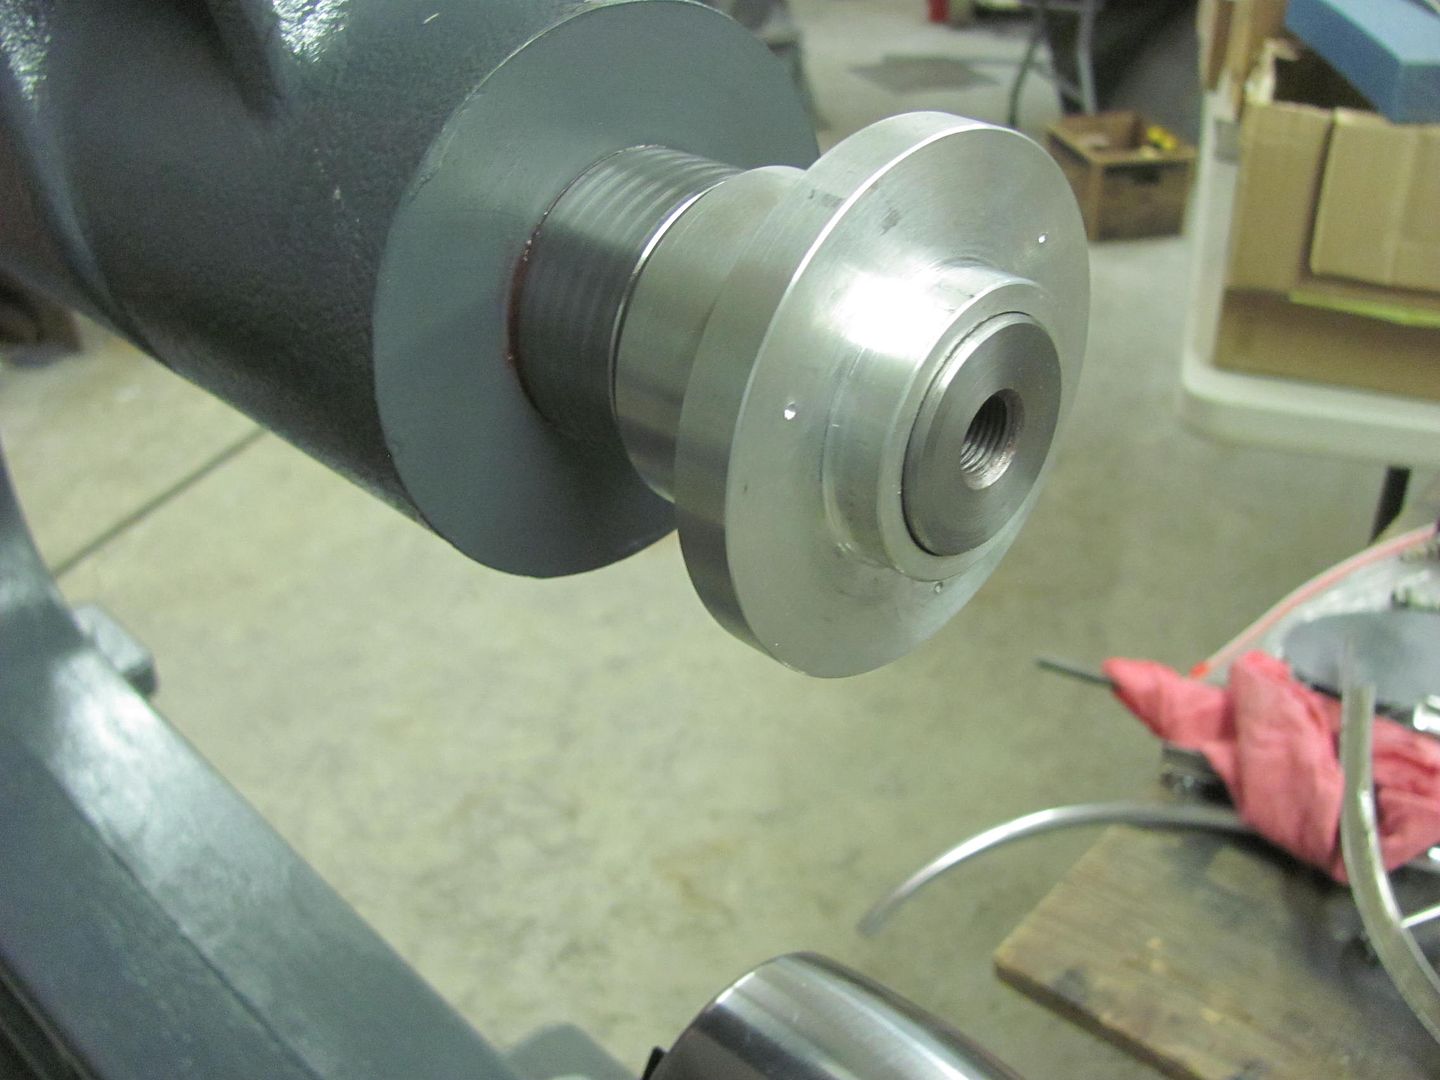
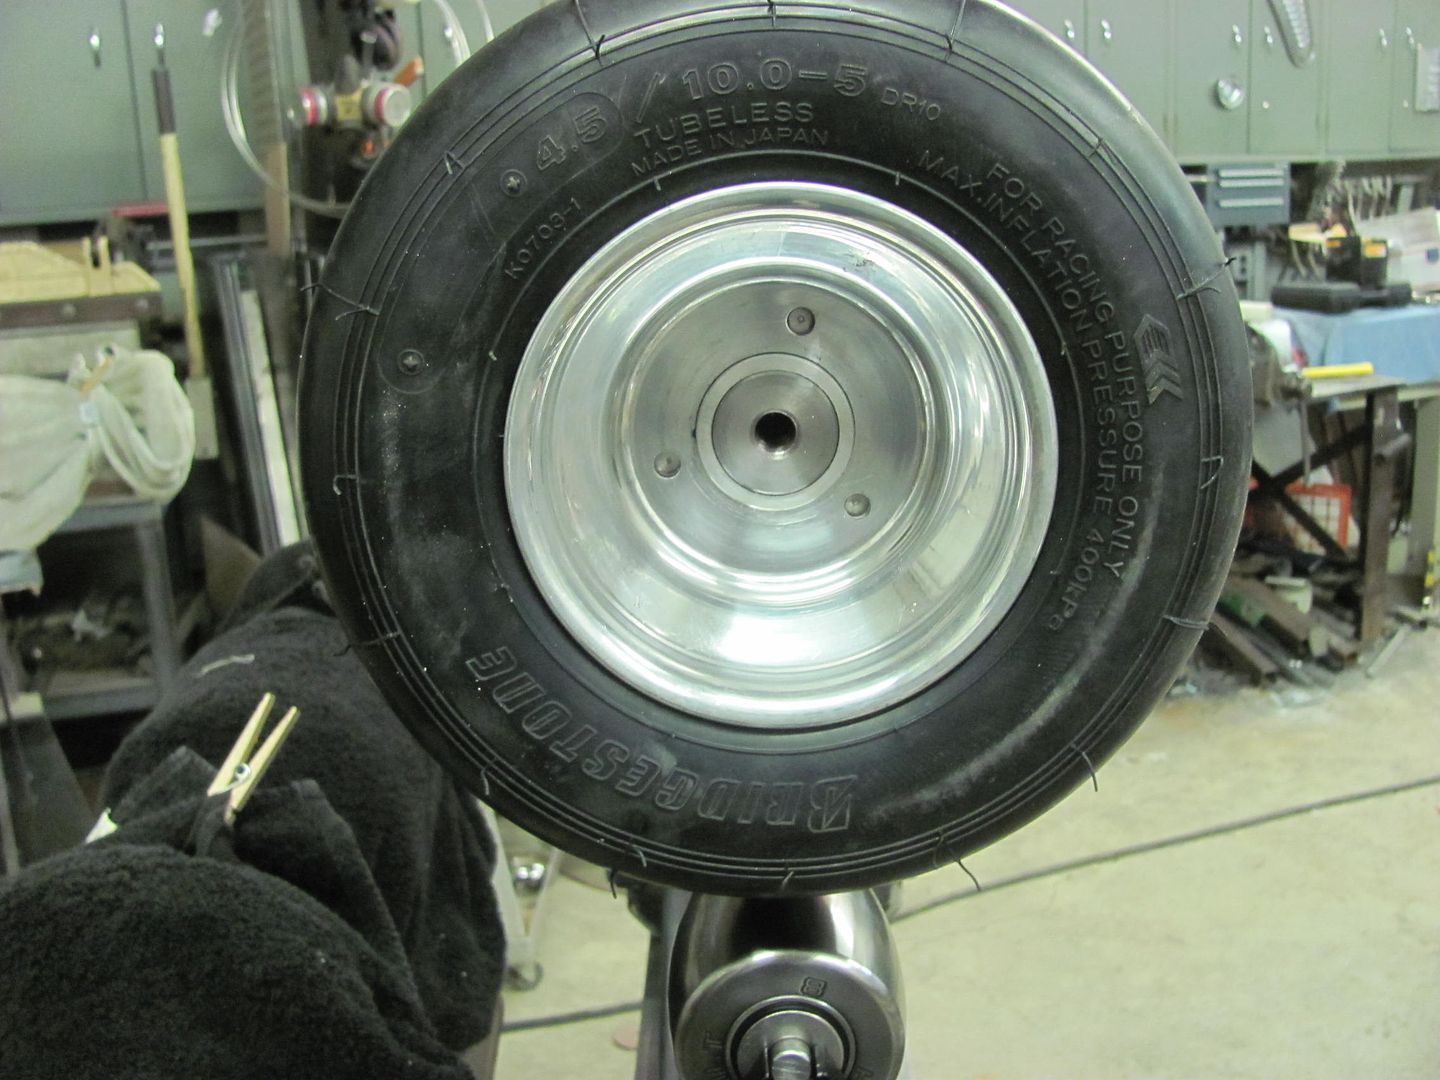
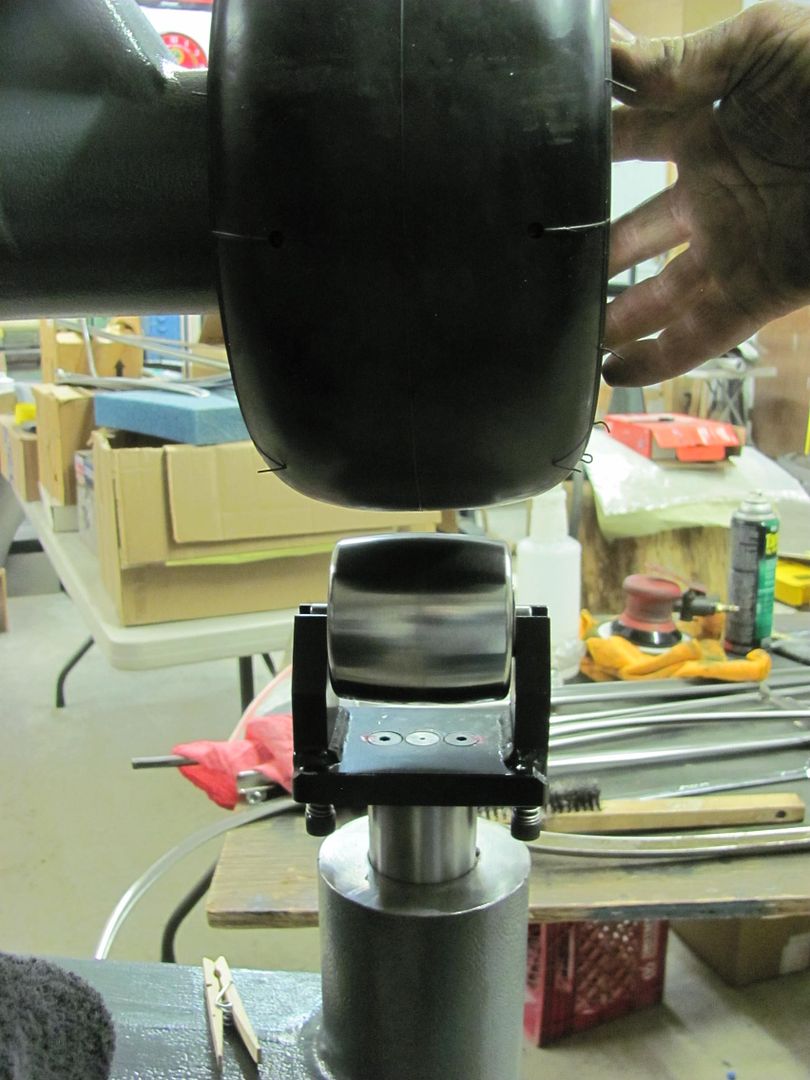
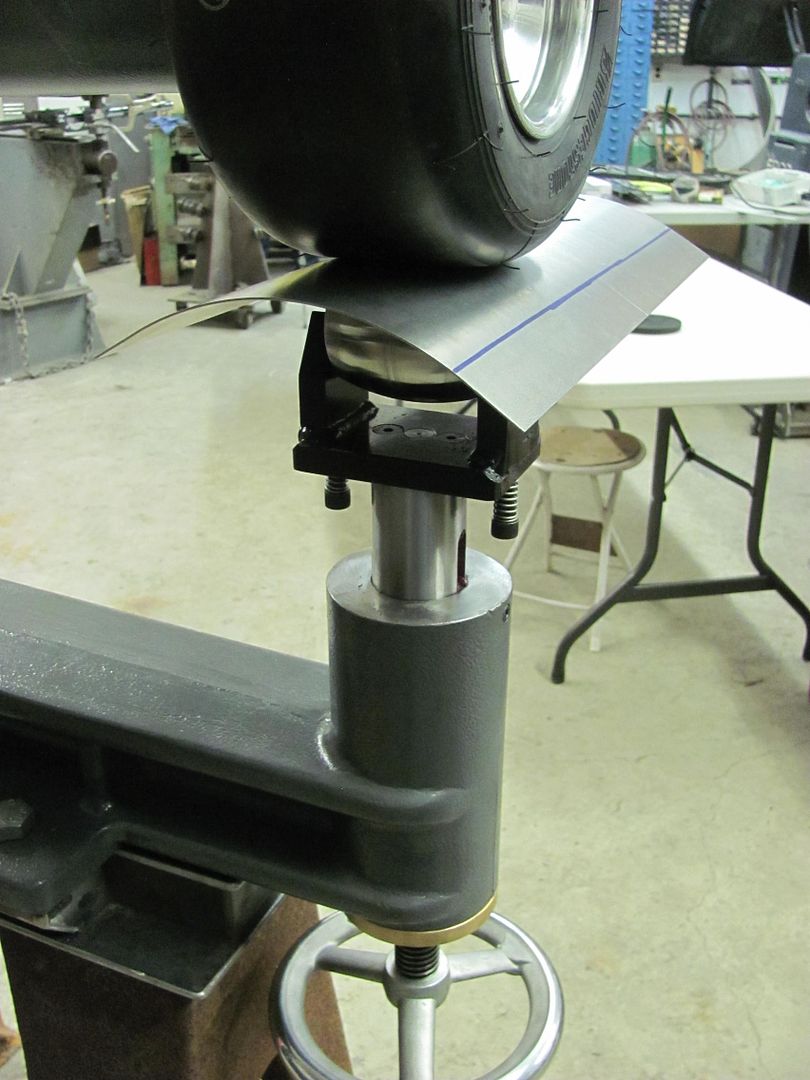
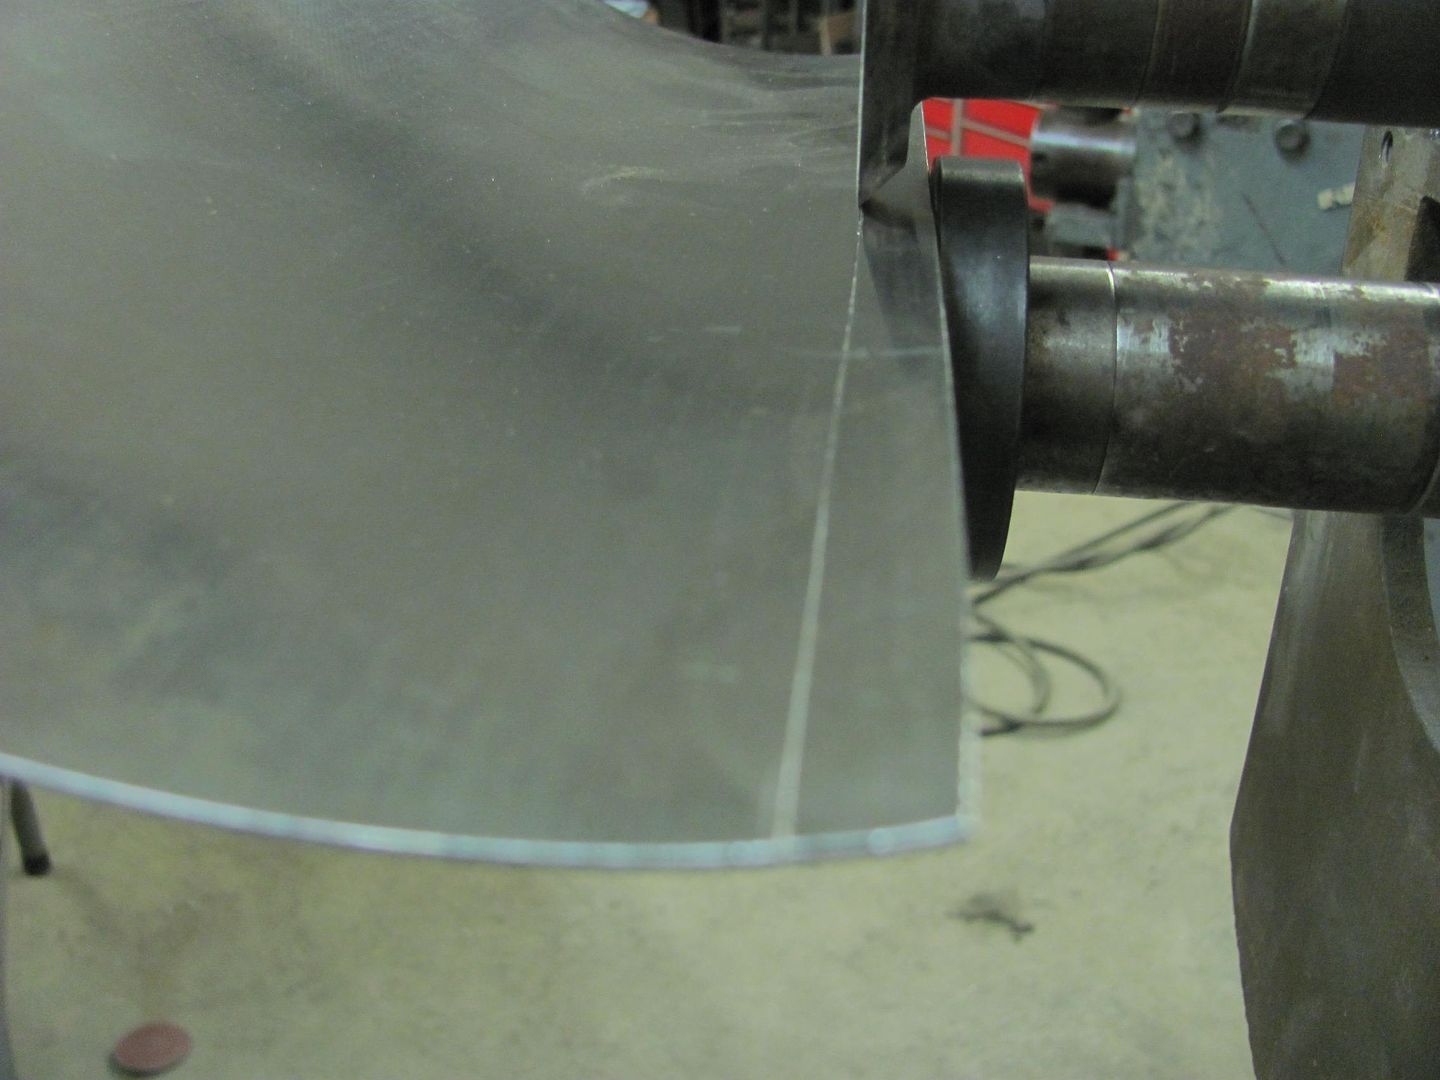
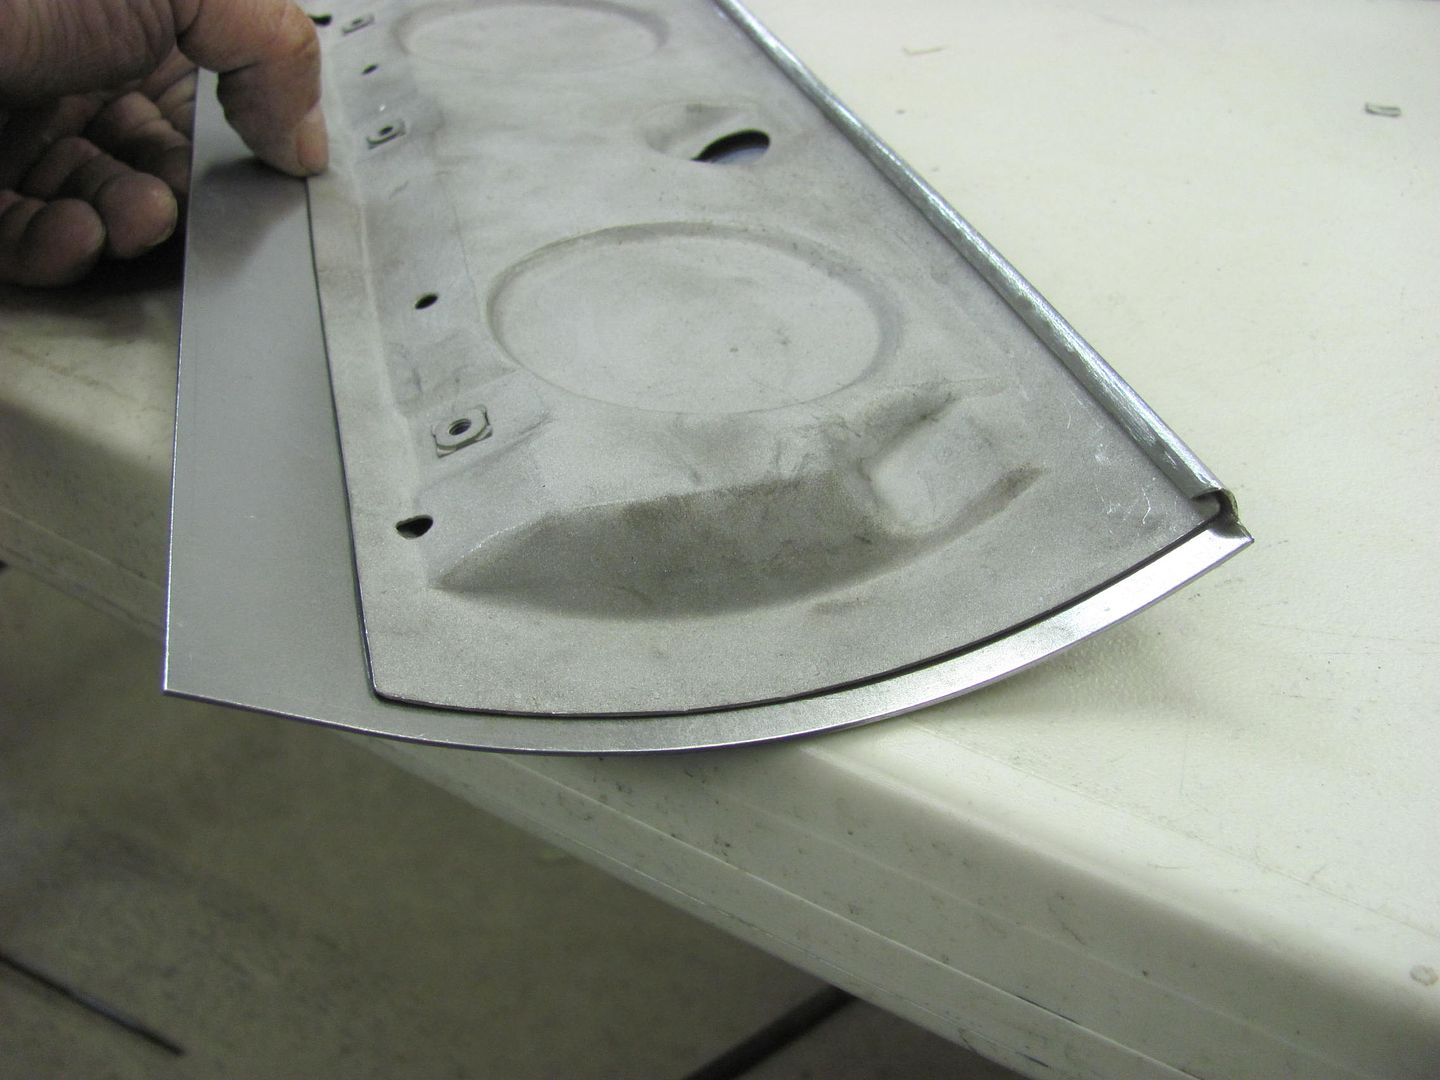
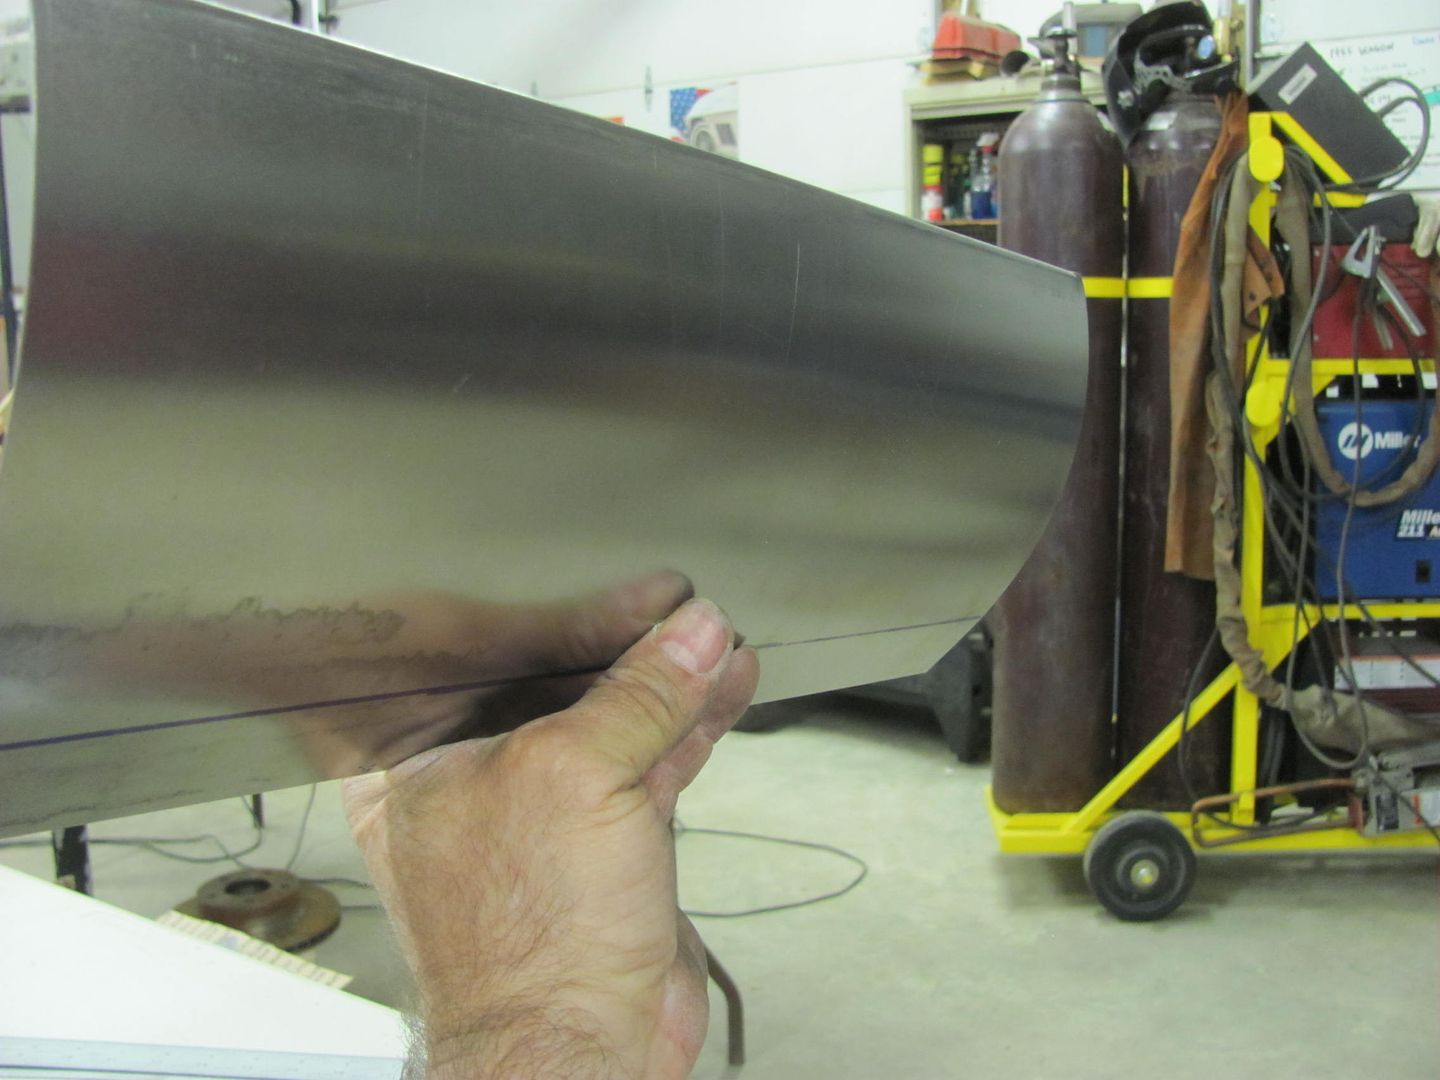
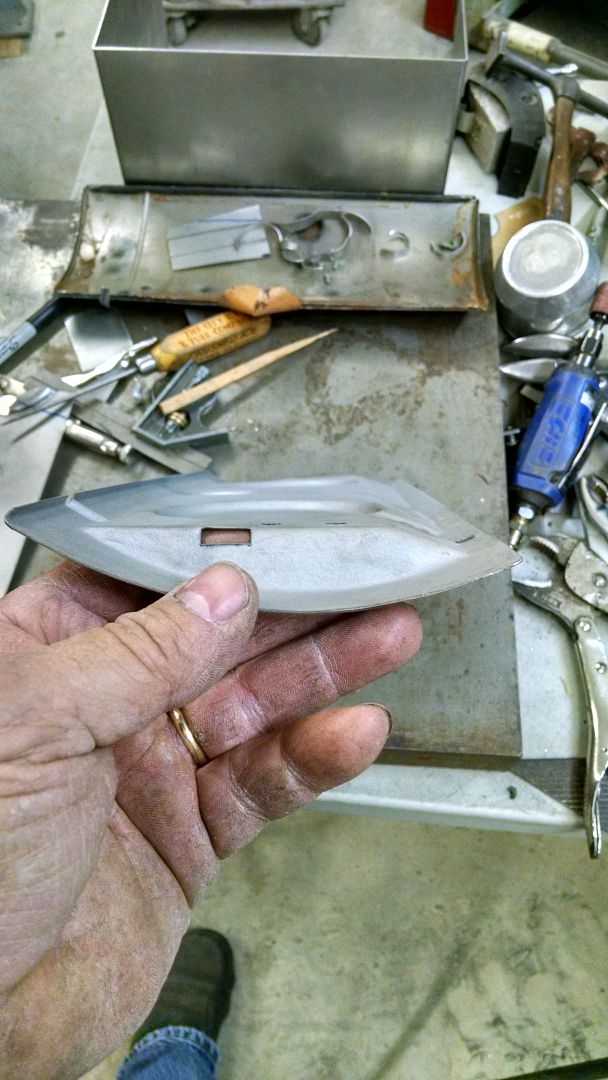
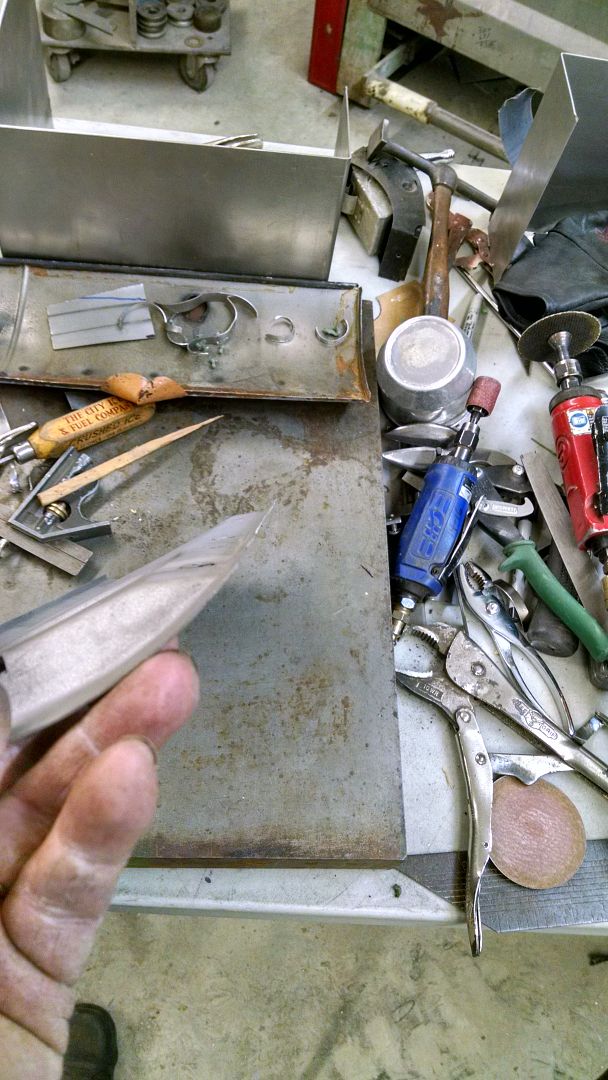
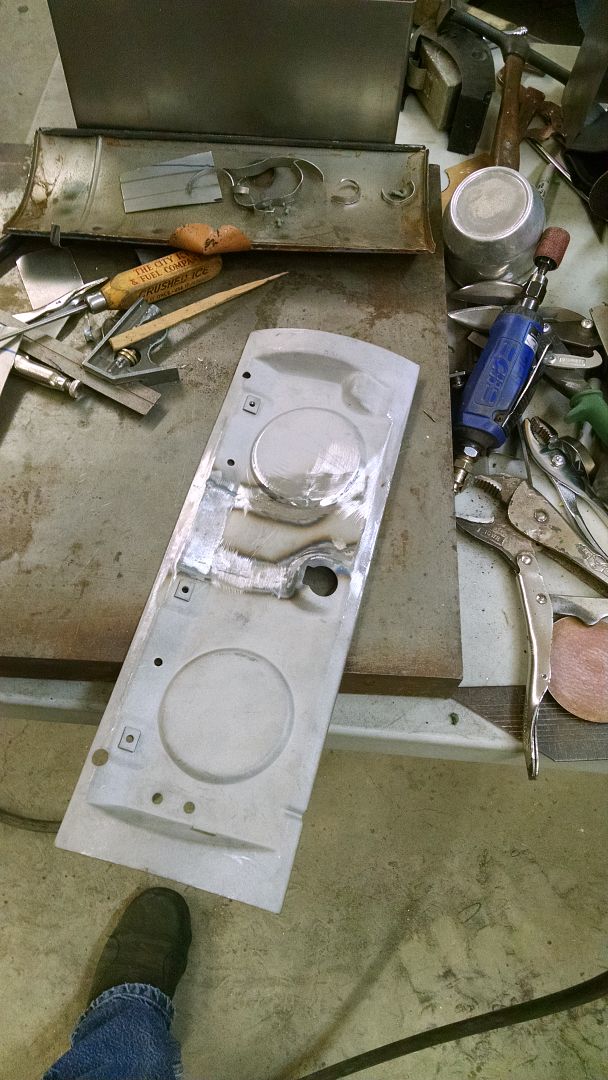
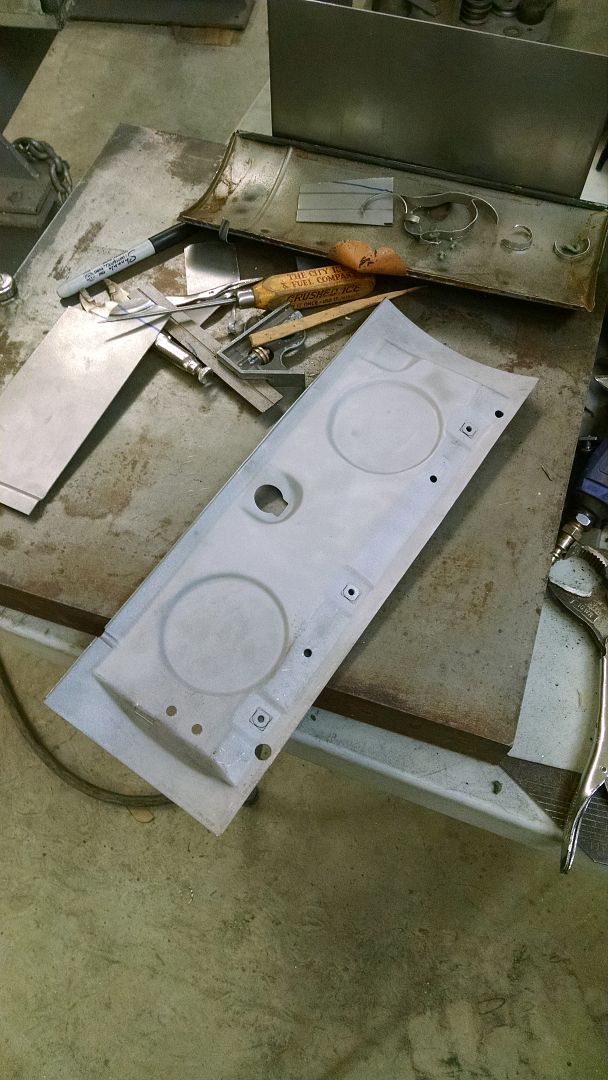
    Spent some time in the shop tonight finishing the other weld but I was on a
    roll and forgot the in process pics.. Have to get a new photographer, this one
    just isn't working out..


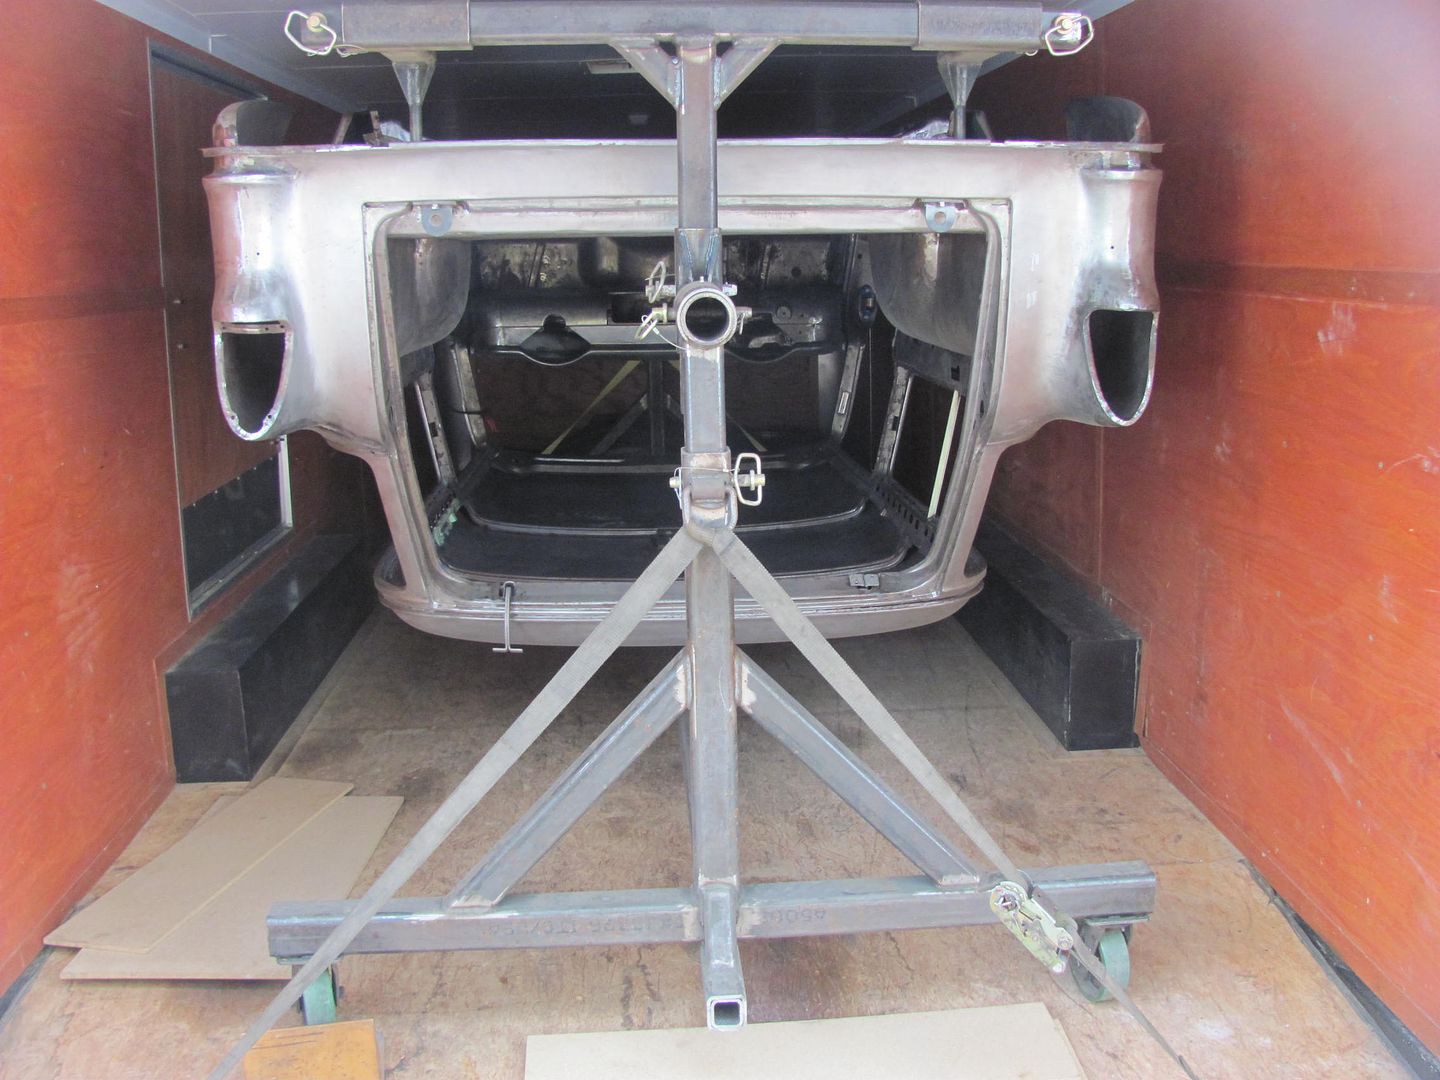
    Or the motion picture...


    https://youtu.be/SD4j6tJwh7w


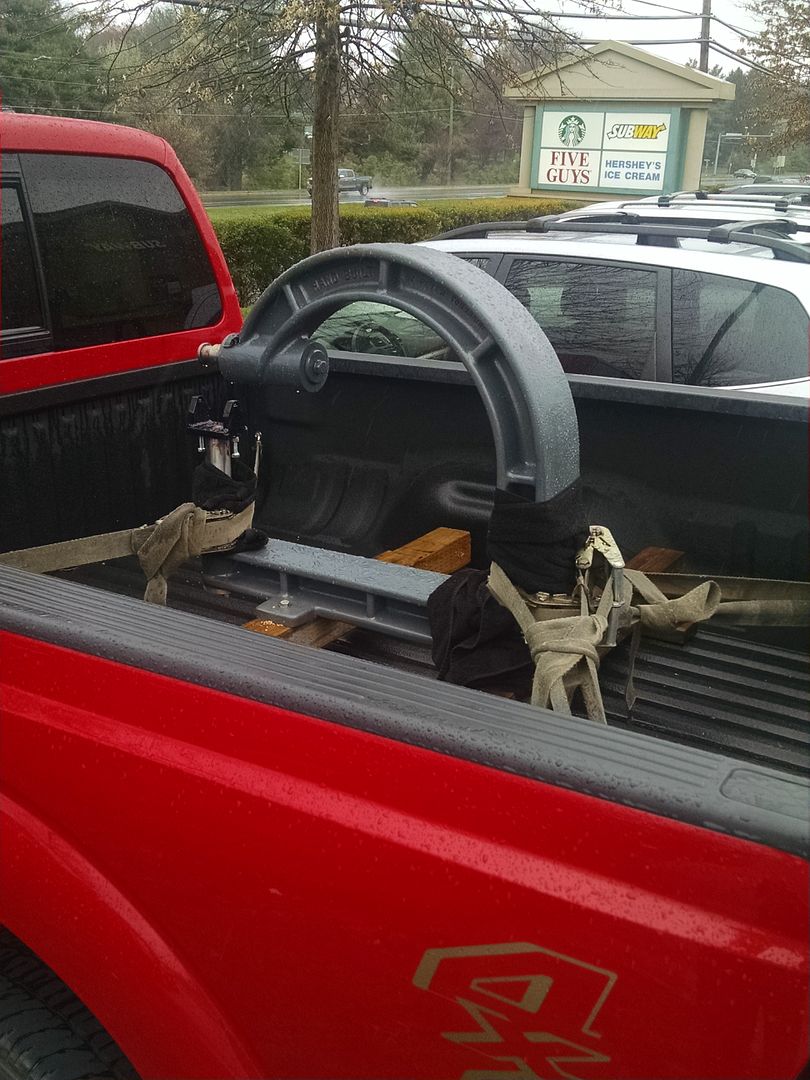
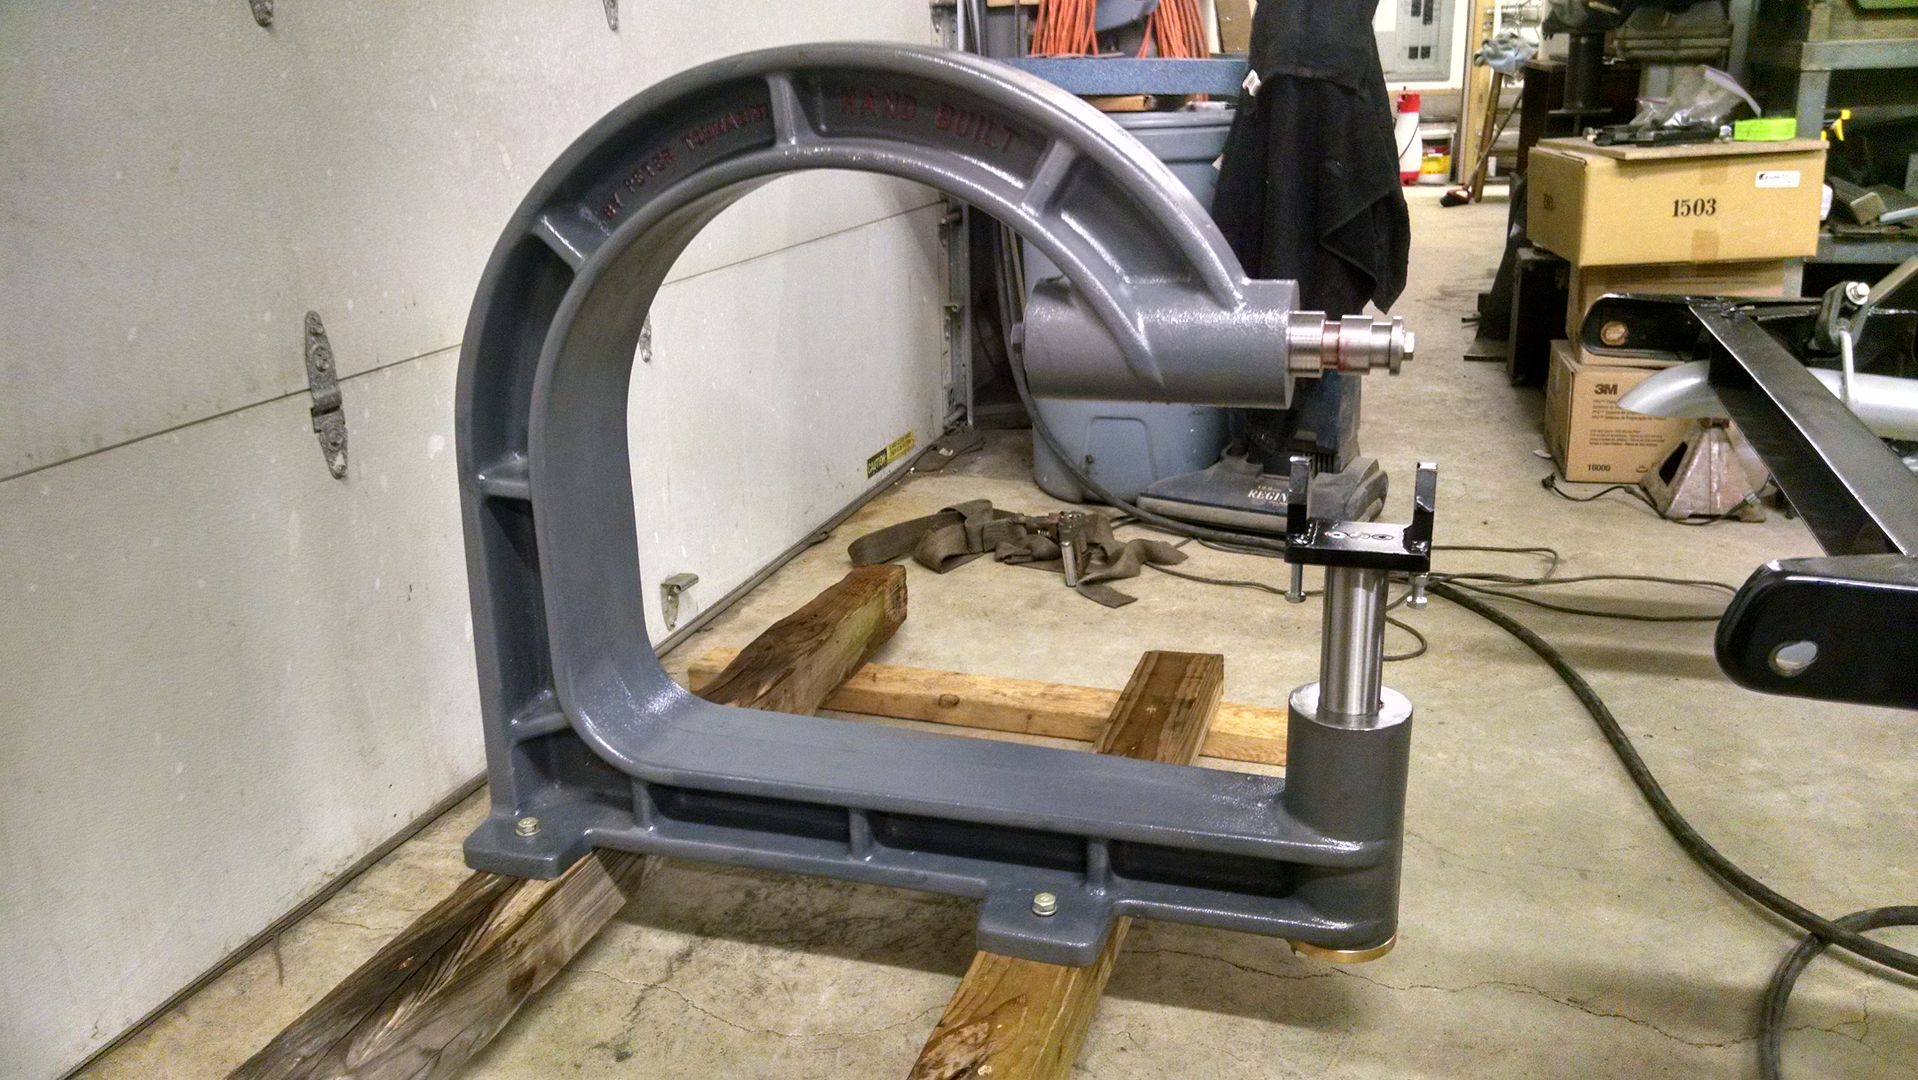
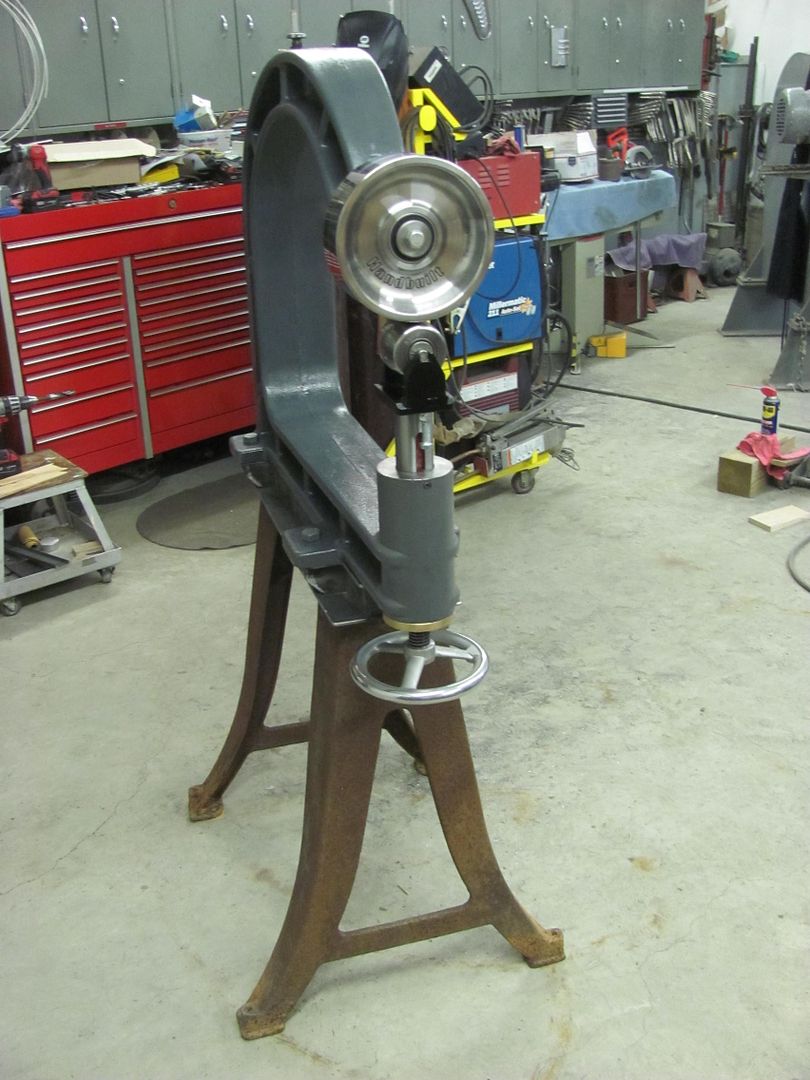
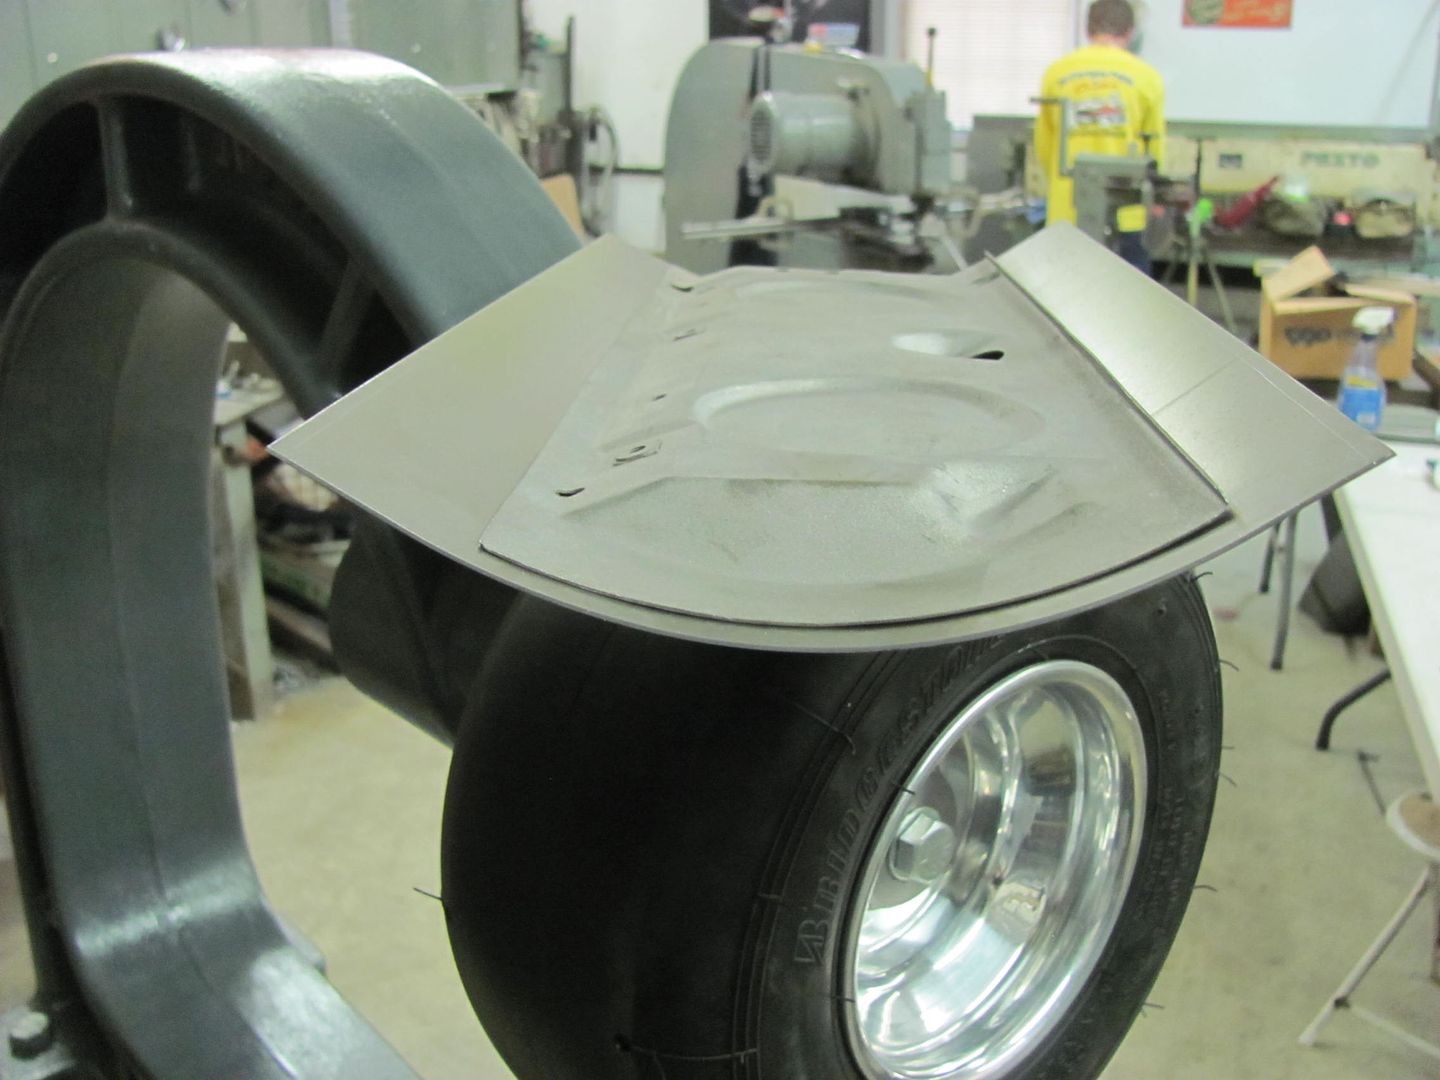
    The new Tommasini Wheeling machine is on it's way north from Rock Hill SC,
    we'll be picking it up this weekend. Once it's set up we can whip out the new
    glove box door skin..


    Robert


    MP&C Shop Projects-Metalshaping Tutorials


    Instagram @ mccartney_paint_and_custom


    .

  2. #292
    Registered Member MP&C's Avatar
    Join Date
    Dec 2013

    Member #:2017
    Location
    Southern MD
    Posts
    1,293
    The front brake line distribution block showed up, so let's get the front lines finished up.. My tubing bender was not getting the nice small radius I was looking for, so time for a new tool. Here's a pulley out of the furniture and hardware parts bins at the local Ace store..


    Here's the comparison to the tubing bender..


    Bending the tubing...


    Robert


    MP&C Shop Projects-Metalshaping Tutorials


    Instagram @ mccartney_paint_and_custom


    .

  3. #293
    Registered Member MP&C's Avatar
    Join Date
    Dec 2013

    Member #:2017
    Location
    Southern MD
    Posts
    1,293
    Well it wasn't supposed to rain in the mid-Atlantic states today until later tonight, but wouldn't you know, loading something in the back of the truck just seemed to coax the precipitation from the sky.


    And here we are, unloaded back in the shop, still needing to make the stand. I'll pick up some materials likely on Monday..


    Robert


    MP&C Shop Projects-Metalshaping Tutorials


    Instagram @ mccartney_paint_and_custom


    .

  4. #294
    Registered Member MP&C's Avatar
    Join Date
    Dec 2013

    Member #:2017
    Location
    Southern MD
    Posts
    1,293
    Tonight Kyle did some more media blasting as I was installing the idler arm
    bushings. Finally the drag link is off the floor, Thurs night we should get the
    front tires back on so we again have a
    roller..


    Then
    we worked on some stainless just to show Kyle another aspect of restoration.
    There were some minor scratches that the buffing wheels wouldn't begin to take
    out, so we opted for some 600 then 1200 w/d cross hatching, then moved to the
    1500 then 3000 Trizact on the DA using the foam interface pad. With scratches
    gone, back to the buffing wheels...

    Videos:

    https://youtu.be/4VLocC_ZfJ0

    https://youtu.be/vqcVXg-UXEQ

    Robert


    MP&C Shop Projects-Metalshaping Tutorials


    Instagram @ mccartney_paint_and_custom


    .

  5. #295
    Registered Member
    Join Date
    Jun 2015

    Member #:2581
    Posts
    111
    Great job on the glove box mod. I welded my ash try to the door to make one piece, never thought of doing it the way you did.

  6. #296
    Registered Member MP&C's Avatar
    Join Date
    Dec 2013

    Member #:2017
    Location
    Southern MD
    Posts
    1,293
    Well I'm back from UK, Kyle is still plugging away on stainless polishing and repairs..

    Here's just a few of the implements used. And I must stress, this is not an 18 ga panel, with stainless trim we use light taps for everything.

    Here's a piece of Delrin that was cut out and filed to match the bottom side of the door trim to act as a soft "anvil".


    Then a spoon is used to bump.... LIGHTLY


    Many ways of bringing up low spots, here are just a couple of the tools used...
    This is a roller tool used for installing the "beading" to hold in screen material. The roller has been flattened from the original version, which had a hollow in the middle. A 3" roloc sander held just right will get the wheel spinning while sanding it flat..


    In many cases you'll bump the highs down, roll the lows out, and check your progress using the fluorescent light tube reflections, and repeat. It is not likely this is a one and done process.


    Another tool that can sneak in behind flanges.


    Also used some dry sanding with the durablock, here using 500 then 1200 paper.


    Then followed with the Trizact 1500, then 3000. Then it should be ready for the buffer..

    Robert


    MP&C Shop Projects-Metalshaping Tutorials


    Instagram @ mccartney_paint_and_custom


    .

  7. #297
    Registered Member
    Join Date
    Apr 2012

    Member #:571
    Posts
    4,672
    Robert, as always, some neat stuff and things to learn. I especially like your stainless trim repair tools.

  8. #298
    Registered Member MP&C's Avatar
    Join Date
    Dec 2013

    Member #:2017
    Location
    Southern MD
    Posts
    1,293
    Thanks Rick!


    Sorry for the hiatus, the day job had me travelling, two weeks in UK and two weeks in HI. Got back this past Sunday.
    Tuesday afternoon we loaded up the wagon and dropped it off for media blasting.. should pick it up this weekend.


    Tonight I worked on getting the Go Kart Slick hub fabricated for the wheeling machine..


    I had stopped at a local machine shop and picked up a 3-1/2" diameter slug left over from their water jet. After some cleanup work on the South Bend, and a clearance hole for the 35mm upper shaft on the wheeling machine...


    I had found this roller bearing (35mm ID) on ebay, as well as this thrust bearing...


    Getting close...


    Bearing installed....


    With slick held in place, the alignment looks pretty good...


    Motion picture version....

    https://www.youtube.com/watch?v=HwVhZzGkBCE

    Still need to drill and tap the three lug holes and install the outer thrust bearing.. and then we can get working on the re-skinning of the glove box door..
    Robert


    MP&C Shop Projects-Metalshaping Tutorials


    Instagram @ mccartney_paint_and_custom


    .

  9. #299
    Administrator 567chevys's Avatar
    Join Date
    Oct 2010

    Member #:3
    Location
    Woodland Washington
    Posts
    2,416
    Great stuff Robert ,

    Thanks for showing it , we all can learn from it !

    Sid

    1955 2 DR Post
    1937 Chevy Coupe
    2023 Ford Super Duty F350 TREMOR
    2019 Corvette Z06
    1955 Chevy Nomad
    1935 Ford 2dr Slant back I have 4

  10. #300
    Registered Member MP&C's Avatar
    Join Date
    Dec 2013

    Member #:2017
    Location
    Southern MD
    Posts
    1,293
    Thanks Sid!


    Well today was our Saturday so we put the newly installed GoKart slick to use on the cast wheeling machine, along with the 4" diameter lower anvil. Started with slight pressure and gradually increased. Tire was about 1/2 deflated.


    The sides (as shown) had been left a bit long to keep from flattening out fingertips, so now we trimmed one side and marked for the bends. The tipping wheel in the bead roller was used to thin the bend area for a bit of friendly persuasion..


    These were fun. About 3/16" from bend to bend....or less. Had to use all the tricks, hem is still loose, we'll epoxy all the pieces apart and then assemble, making all the folds tight.


    Still have the lock hole to go as well, we are going to leave this one smooth as opposed to the factory's vertical bead to simulate the gap at the ashtray..
    Robert


    MP&C Shop Projects-Metalshaping Tutorials


    Instagram @ mccartney_paint_and_custom


    .

Page 30 of 102 FirstFirst ... 2028293031324080 ... LastLast

Posting Permissions

  • You may not post new threads
  • You may not post replies
  • You may not post attachments
  • You may not edit your posts
  •