Looking good Robert!!!
You have any idea how much paint I need to do my Sedan including under hood and trunk?


Looking good Robert!!!
You have any idea how much paint I need to do my Sedan including under hood and trunk?
Forgive me for askin' this. But is the epoxy a hybrid? I have used several epoxy materials and there is not enough solids in them to build and block. I have even used a Valspar product that is a modified epoxy that is a higher build material. Neither of these would I use to "block" a car body. I use straight 2K high build urethane primer. I can do in 3 coats what an epoxy would take 10.
I also like the fact that I can tint it to provide a guide coat, or tint the main color so the top color coat will cover quicker.


Just noticed your other thread, will respond there...Originally Posted by DocHarley

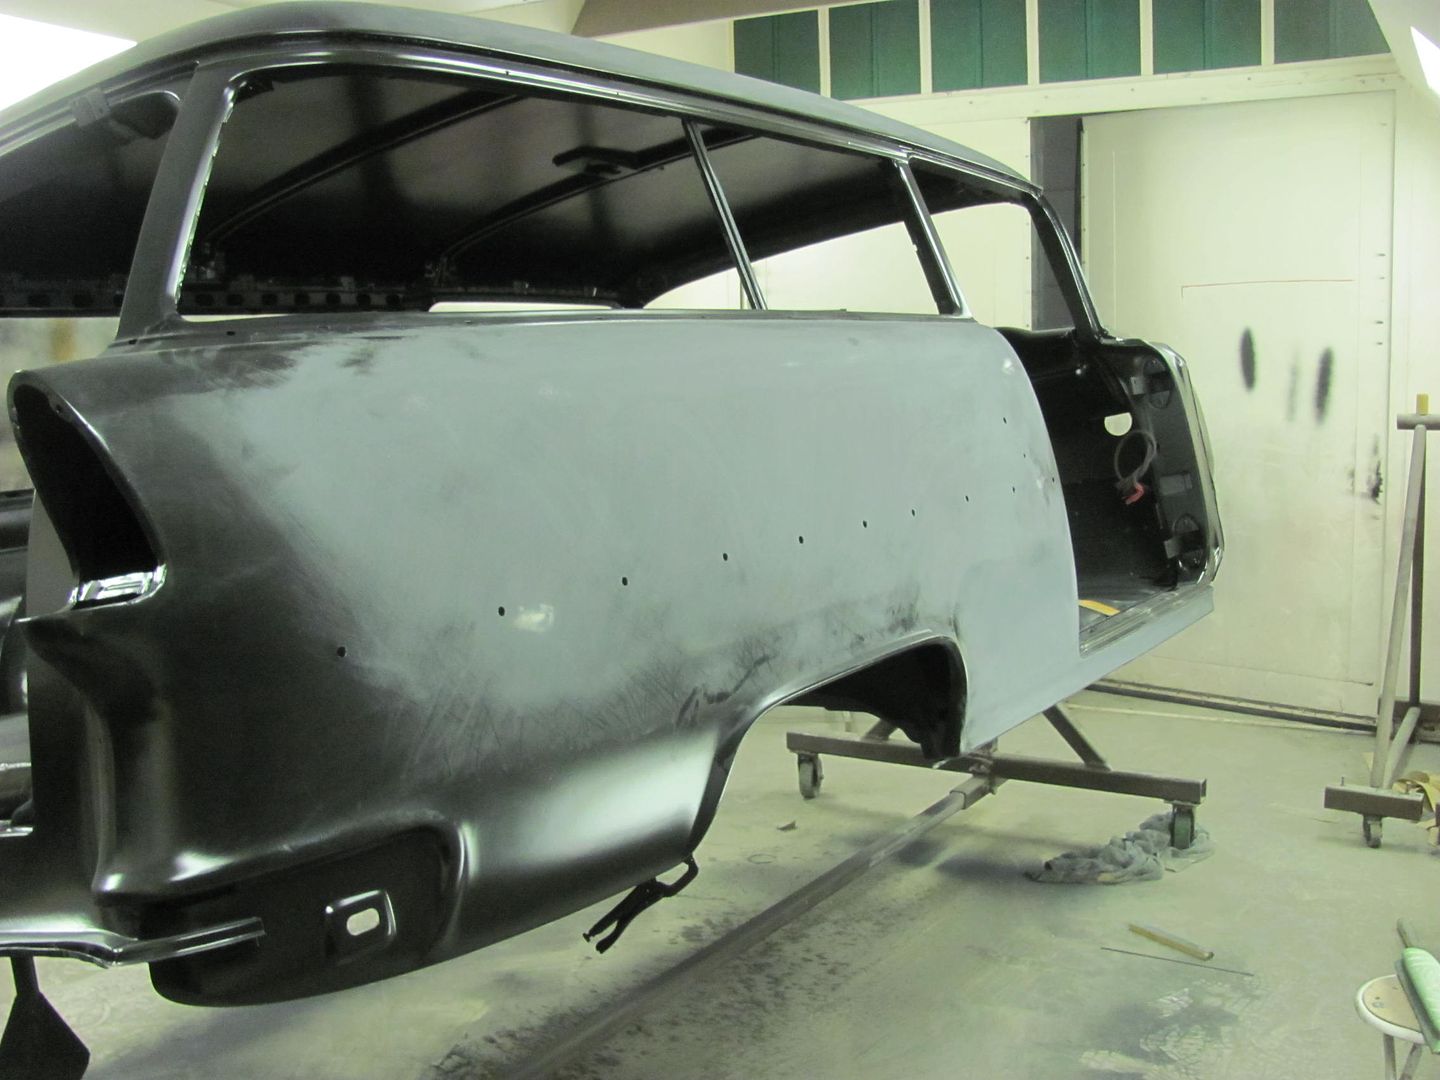
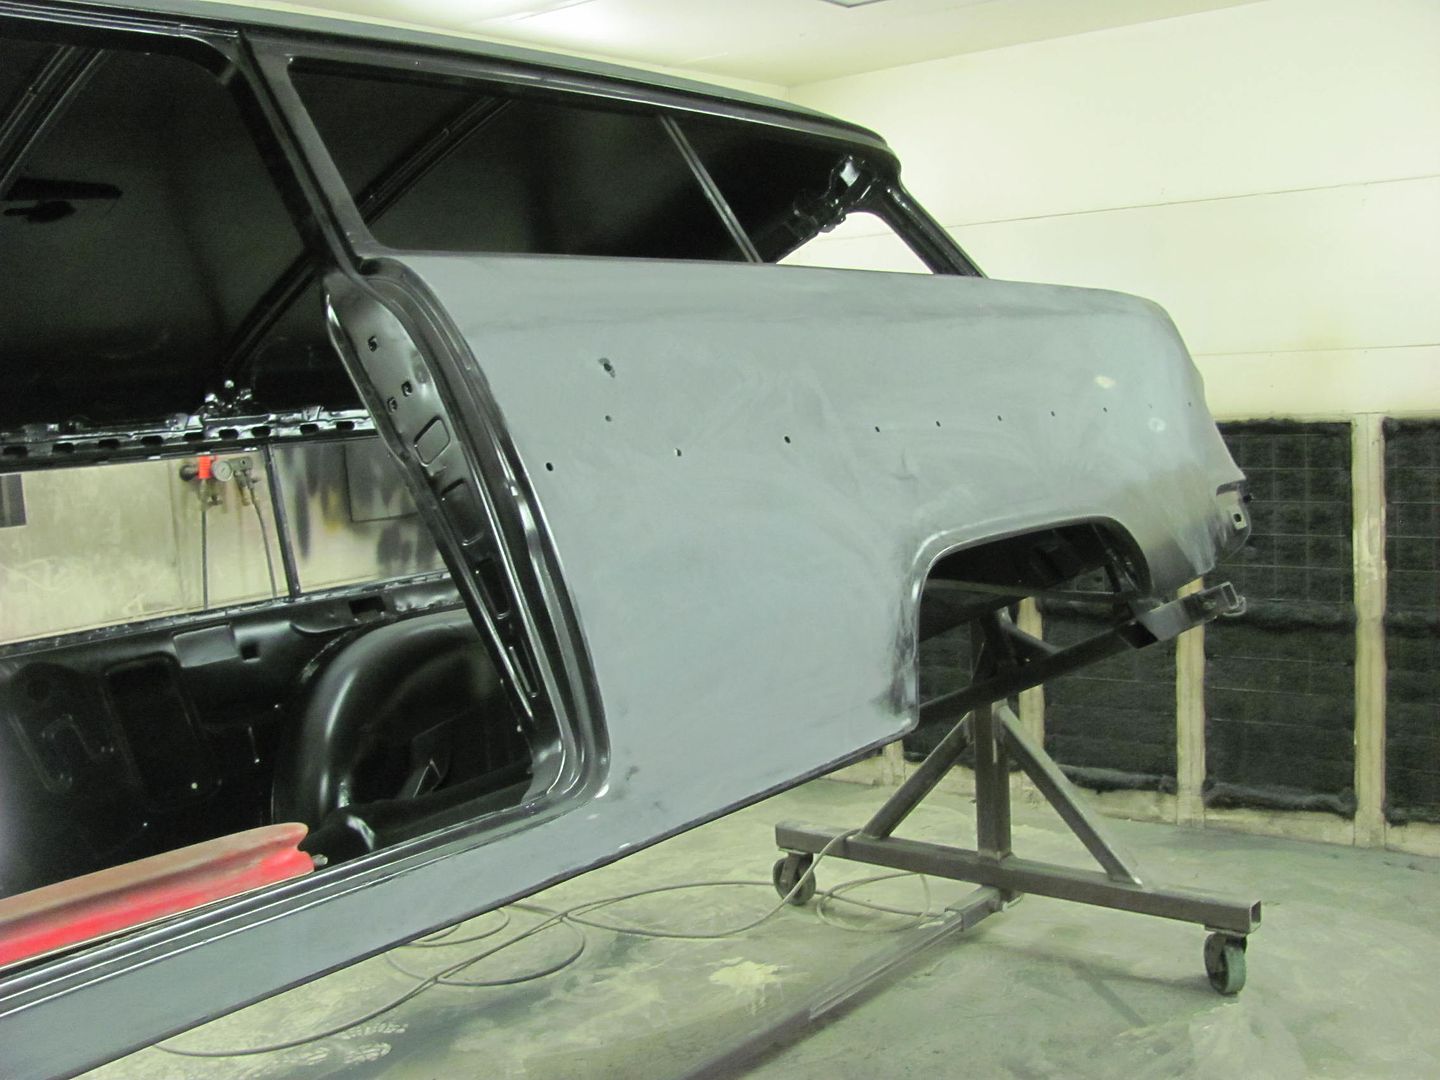
The last full paint job I did we used Slick Sand on the body and now that a few years has passed, I notice some minor shrinkage has occurred in areas. Minor in that the owner likely will never see it but you or I would notice it. I used to use House of Kolor epoxy, which they touted as filling 40 grit scratches. At that time my paint jobs were primarily motorcycles, and other than a slight amount of filler used for dent repair, the only thing used as a substrate was House of Kolor epoxy. For an epoxy it sanded well, and I never encountered any lift issues like some do around gas filler necks. All in the prep (media blasting for extra bite). I recently tried the SPI epoxy as an alternative to the H/K as their prices reflected how proud they were of the product. The SPI also shows to have some high build properties as the H/K did, and seems to sand slightly better. Is this comparable to a high build product as Slick Sand? No, not quite that much fill. But given the shrinkage issues with the SS, I wanted to try something different and monitor the results.... I thought all epoxy may be a better base more impervious to shrinking issues.. We shall see.
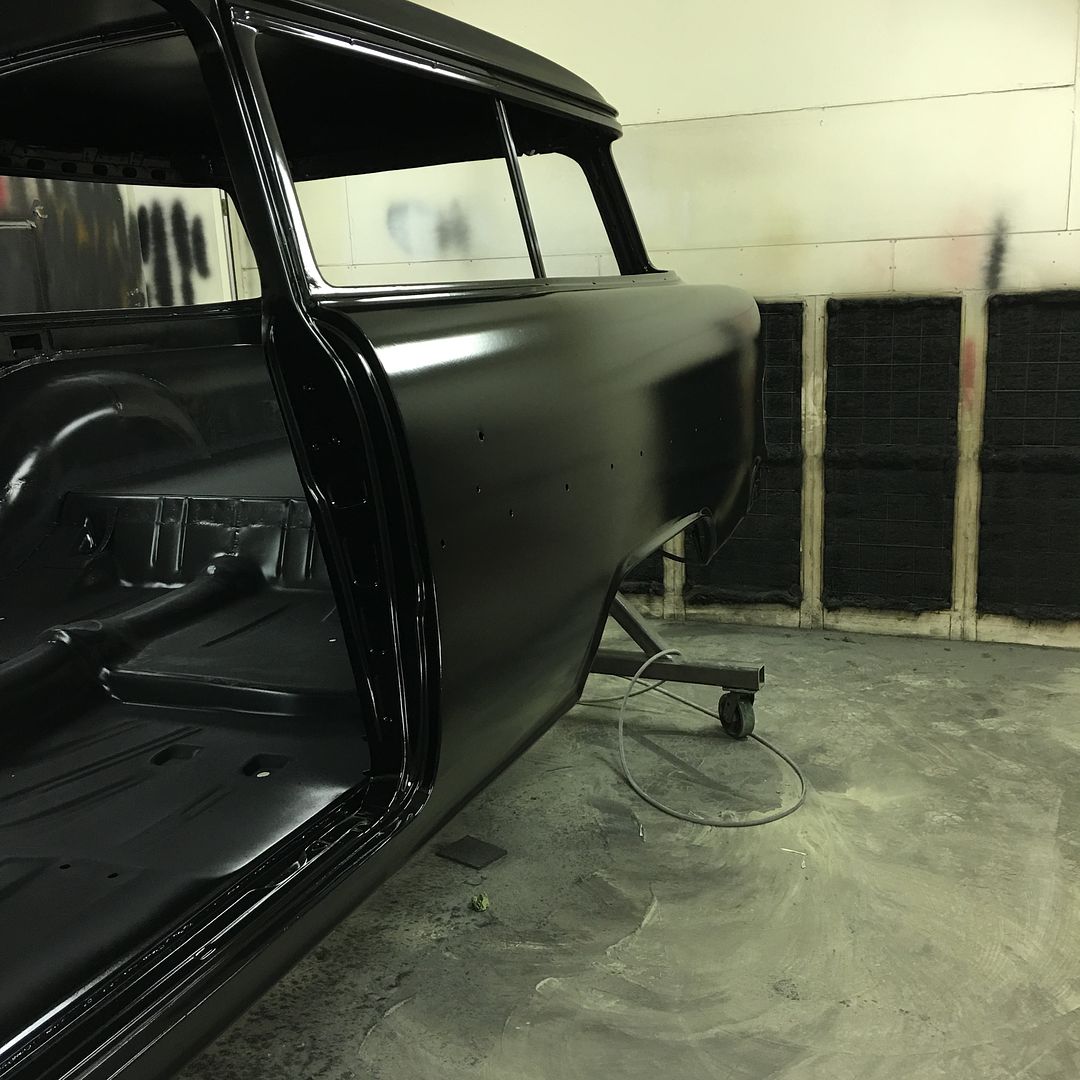
Well after block sanding the latest coat of epoxy....
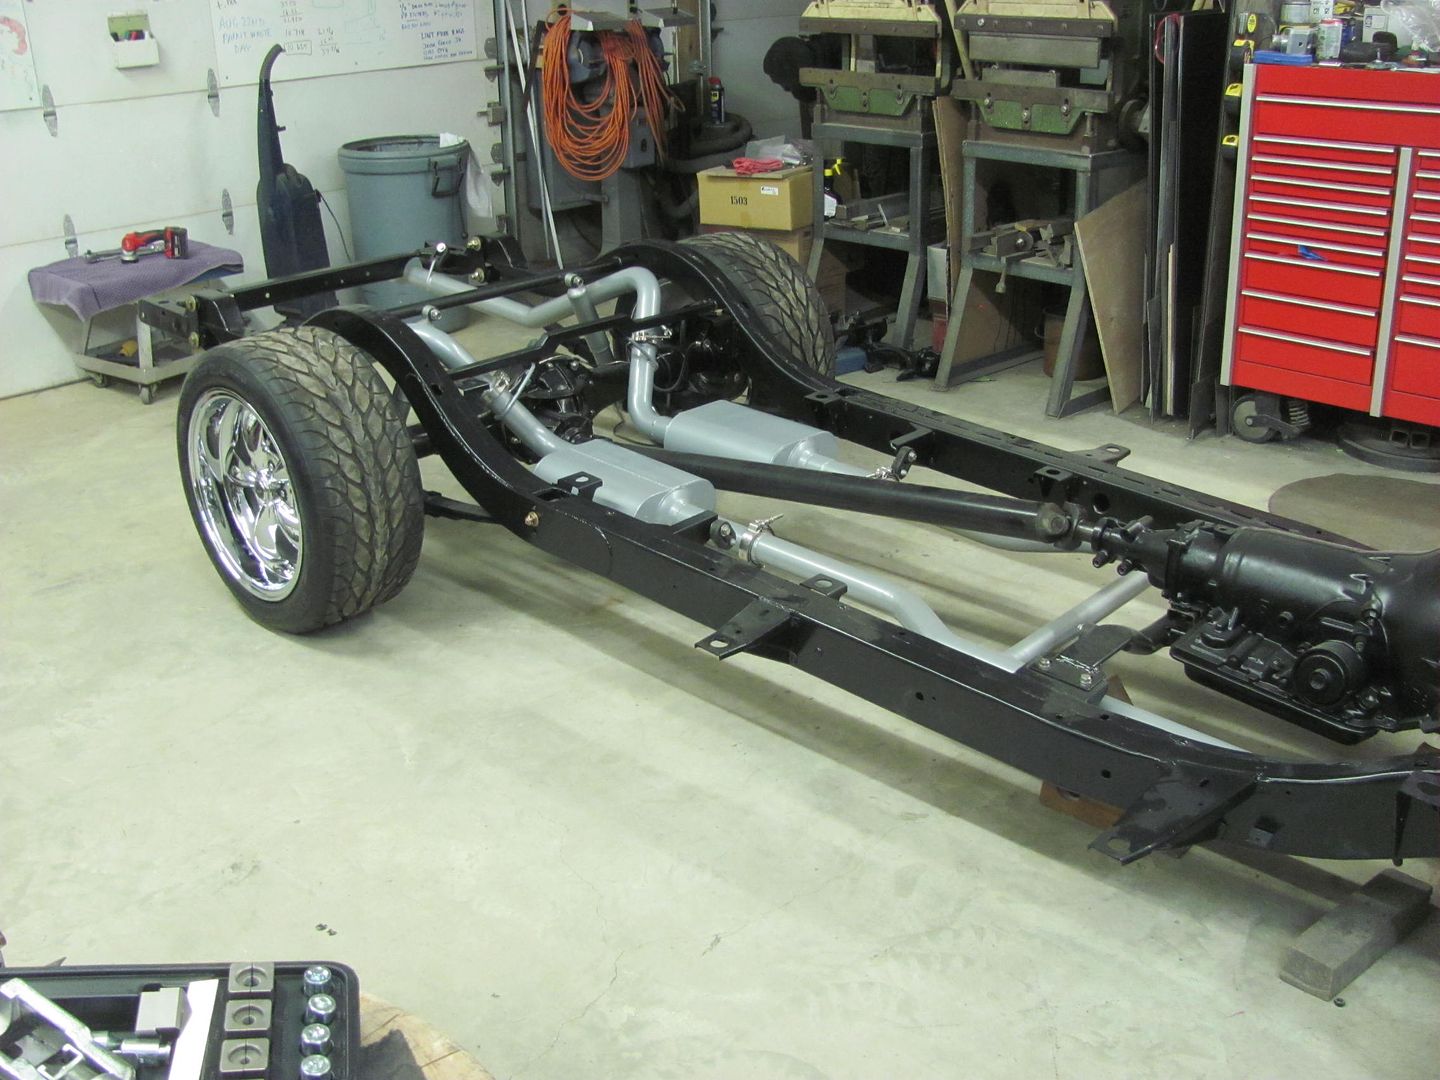
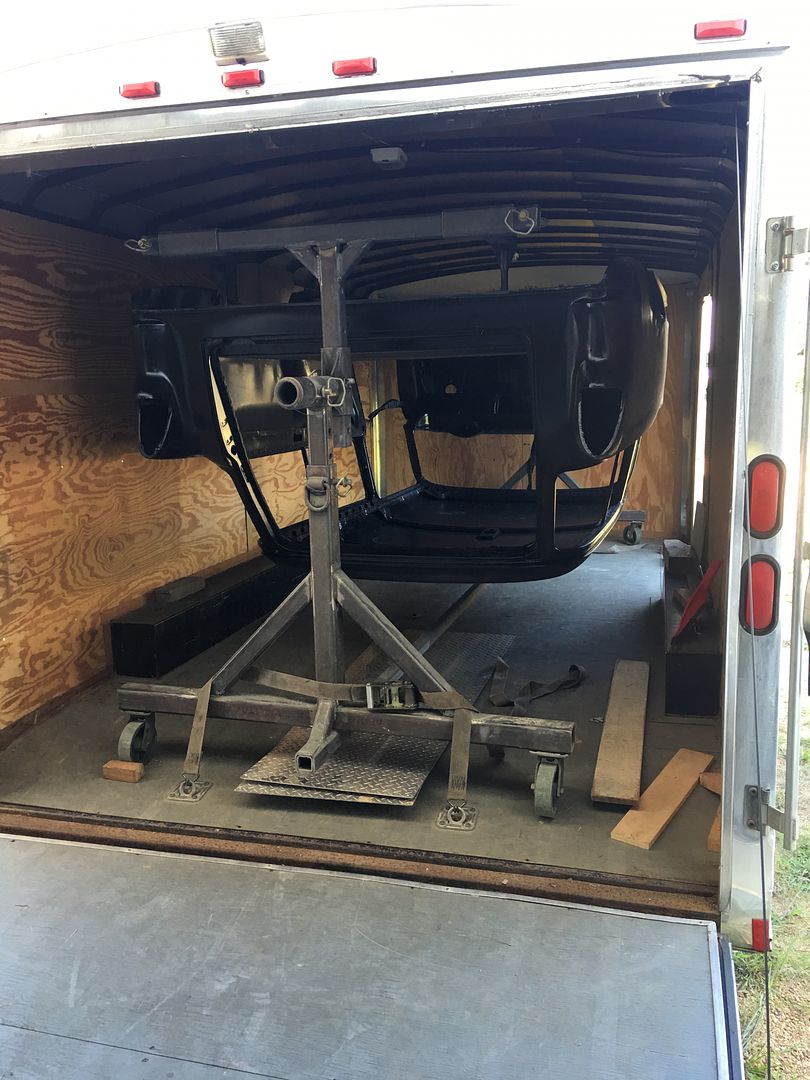
We had a local car show we could attend, but didn't know whether to take the
body or the frame...
I didn't think the rotisserie would fit in my 16' trailer for some reason,
but another measurement proved otherwise. Since it showed more of our metal
fabrication, we opted for the body.. All loaded up, height limitations on the
ceiling do require inverted travel...
At the show with the "trailer queen"
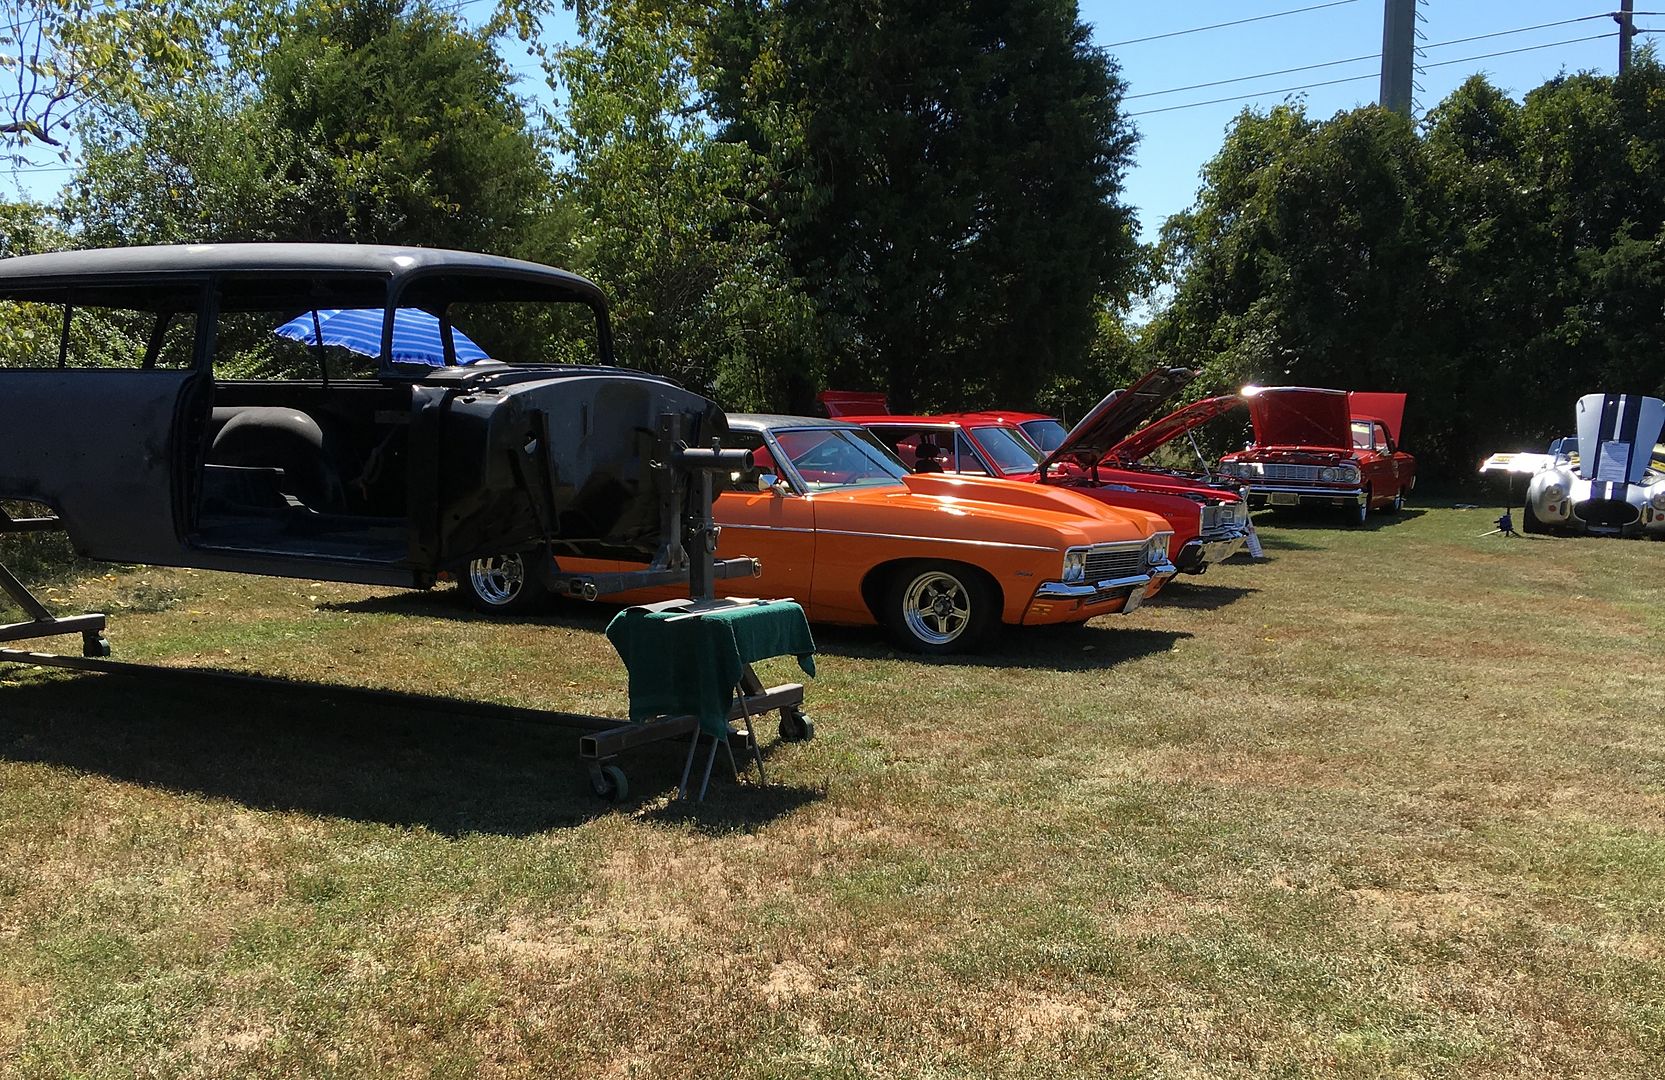
Taking that bare body to the show was a neat thing to do in my opinion. It was probably in better shape than the all other cars with paint on them.

Must have been fun rolling it out over the grass with those narrow steel wheels!!! Pretty cool to take it that way though. I love to see projects in progress.
Brian
Thanks, it did take a bit more help to load it up from the grass. Only two of us to load it from the shop, two to unload, five to push it in from the grassy knoll.
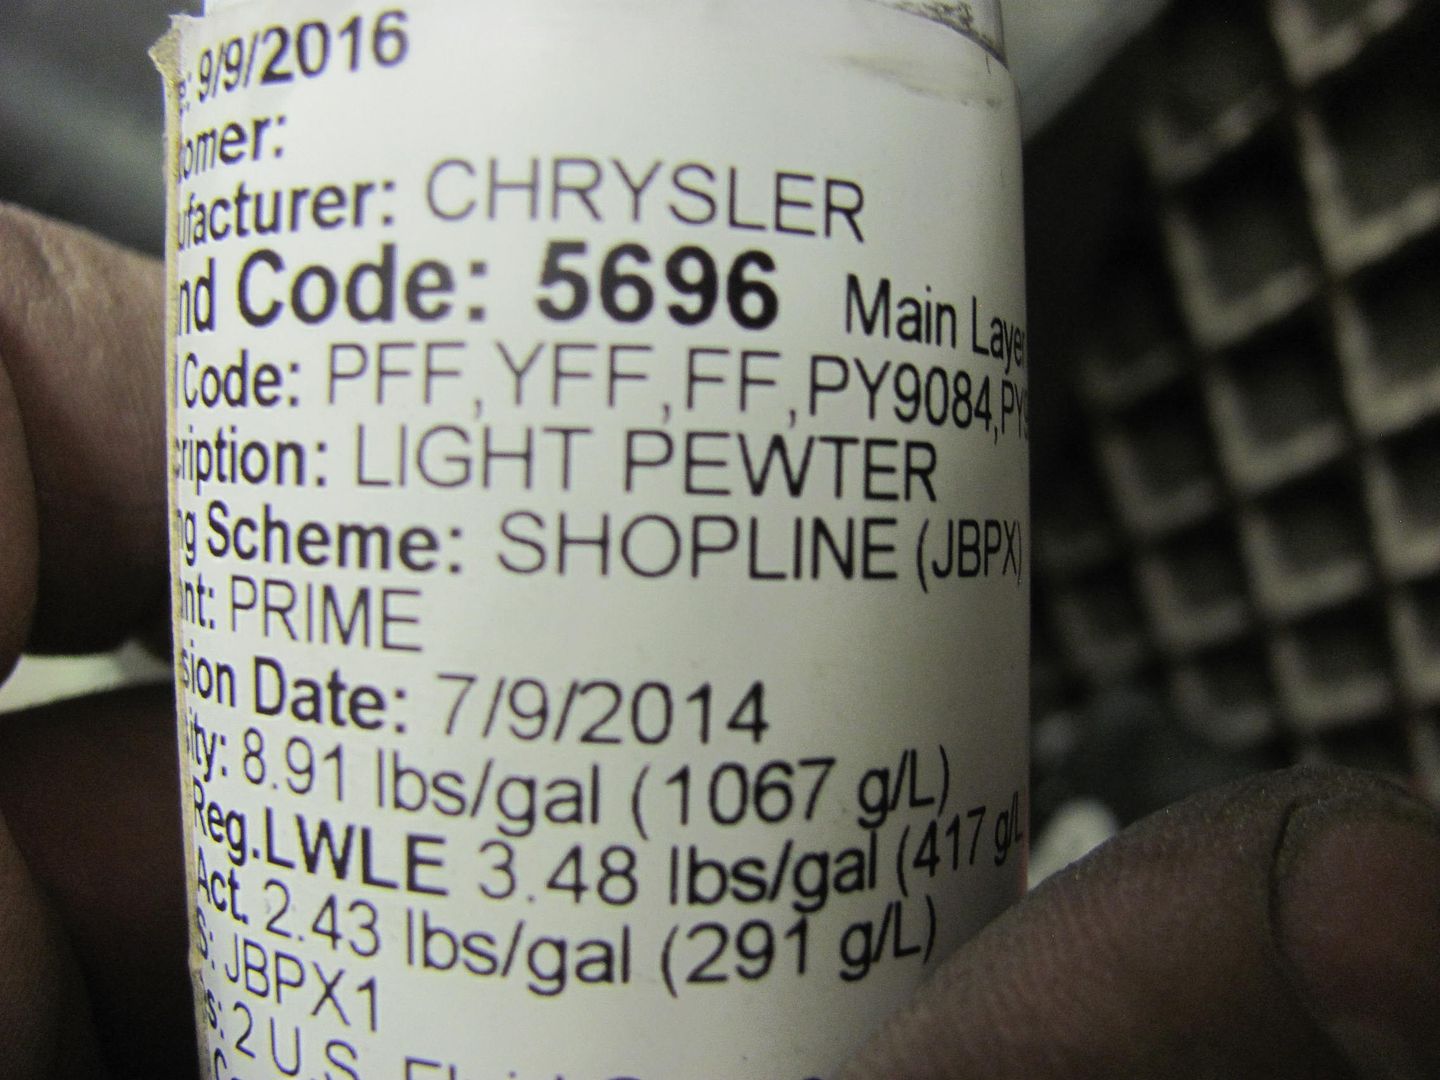
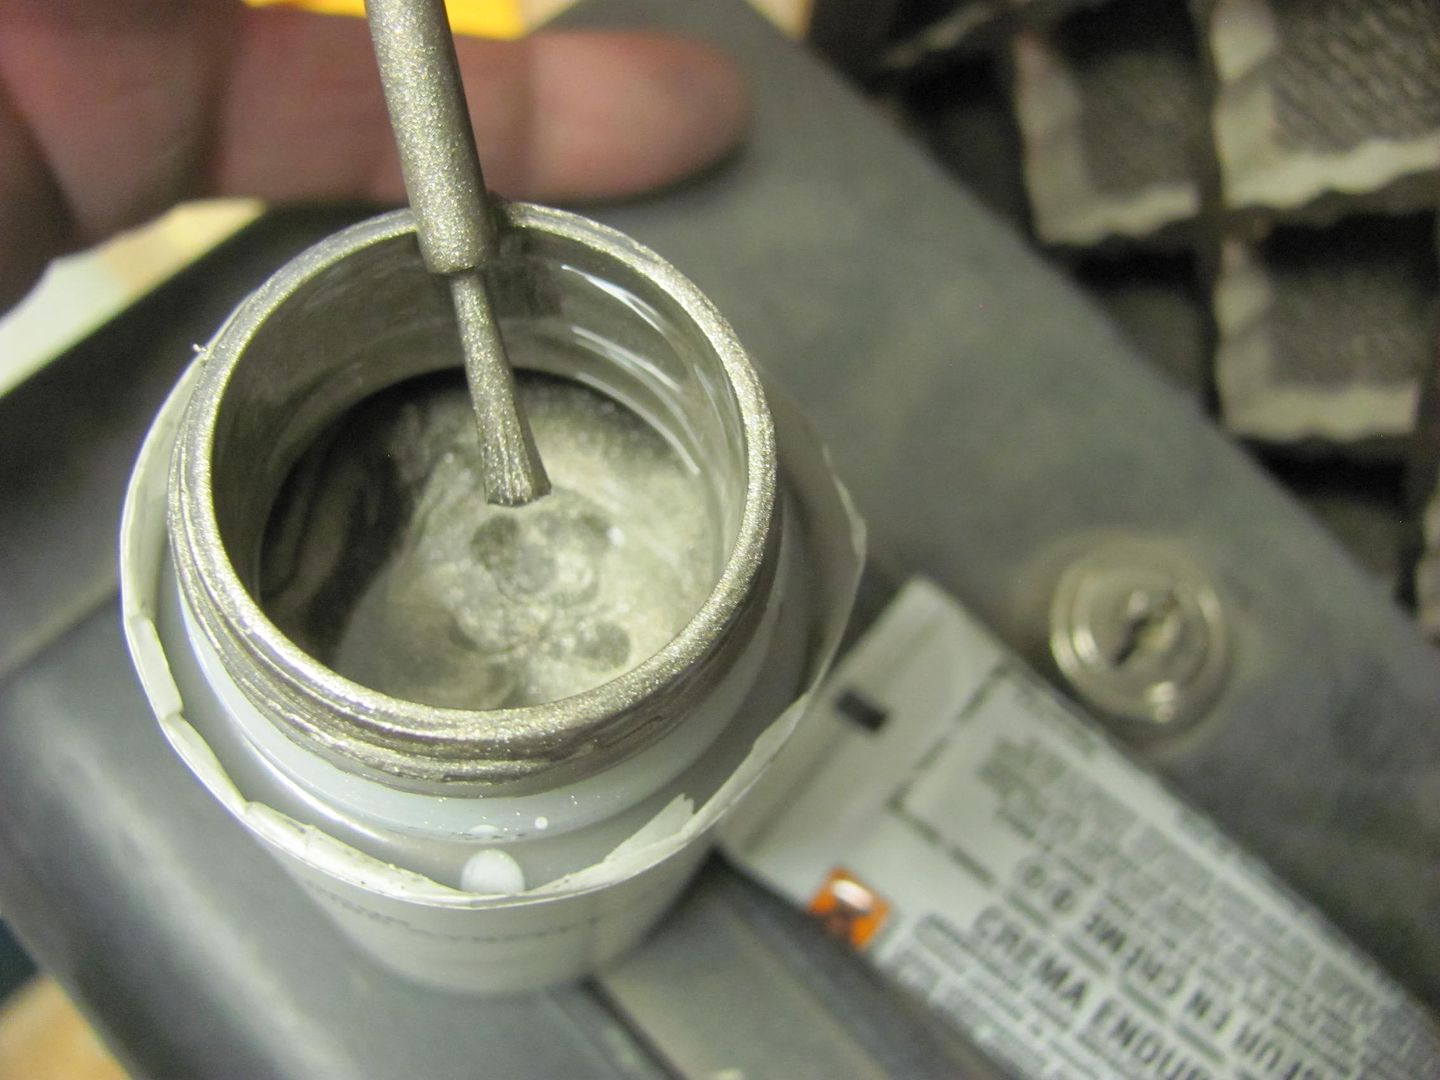
Today was more blocking on the 55, and moving forward to get it ready for the Linex that will go on the bottom side. We need to get seat brackets complete and welded into the floor, finish epoxy prime on cavities (rocker and inner quarter), install wheel houses, etc. Yesterday was a road trip to get a paint sample and other paint supplies. here's the proposed color for above the quarter...
With the H/K Organic Green Kandy basecoat on the quarters down. To better get a feel for the test sprayout of the Kandy, a panel was made to simulate the top of the quarter, so we can better see the effects in the sunlight...
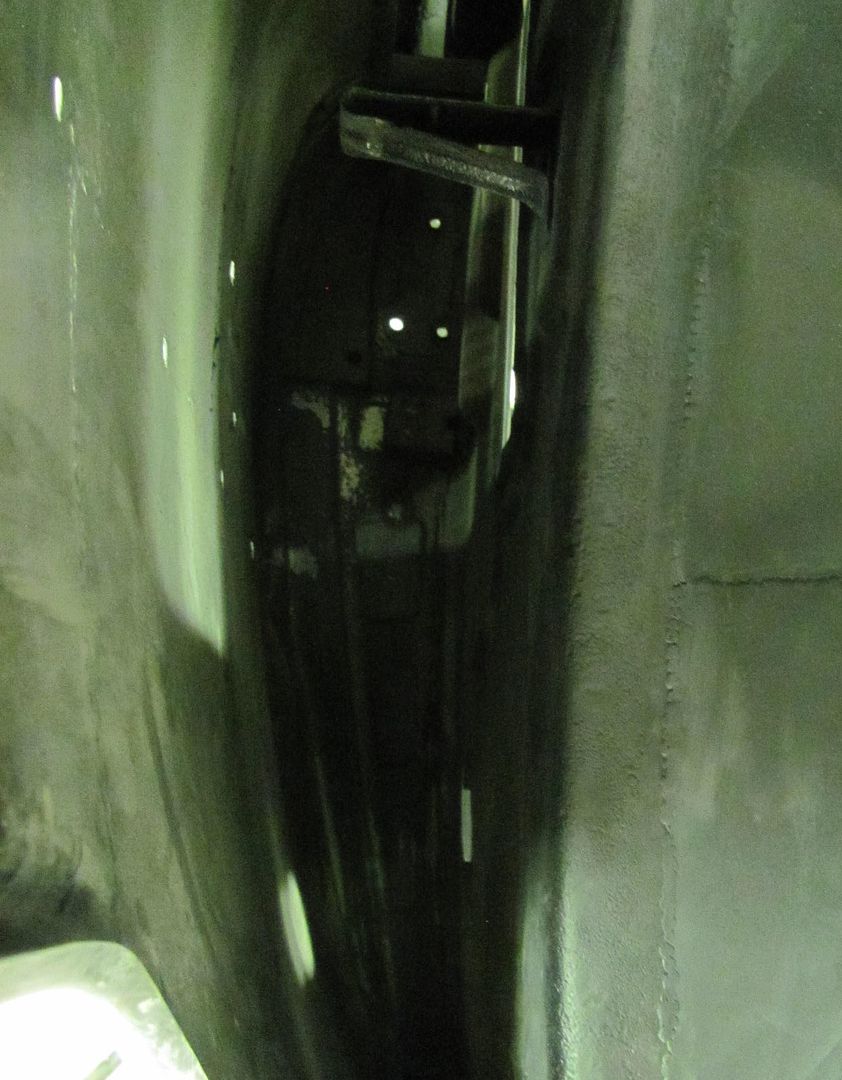
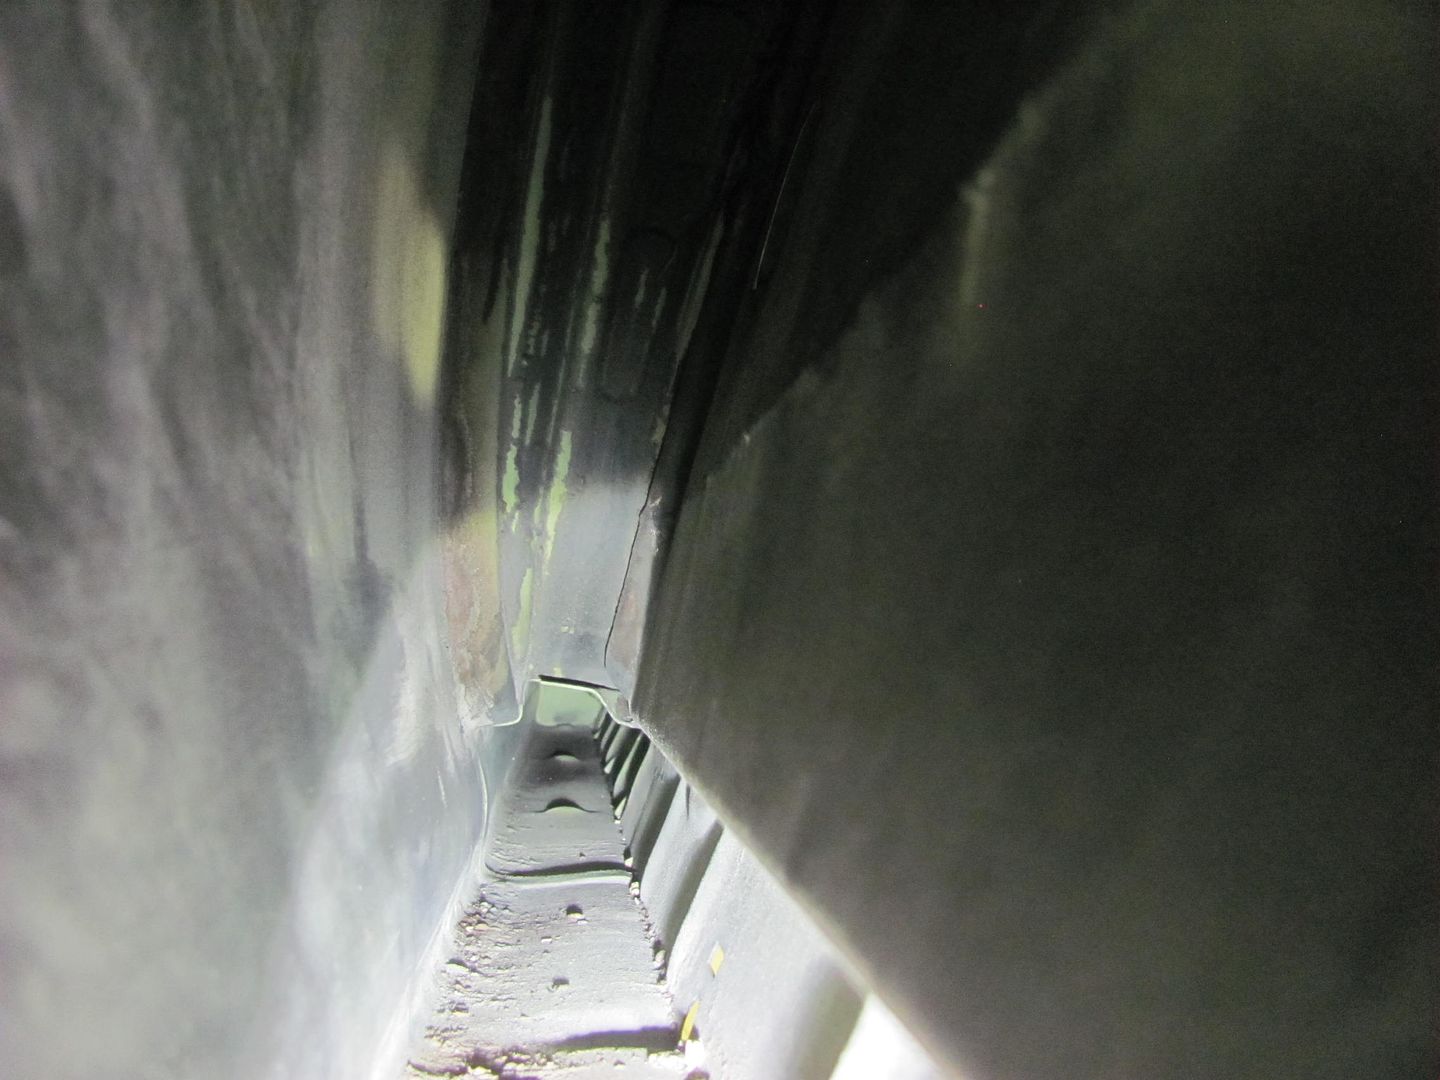
Next, epoxy in the cavities. I had looked at cavity spraying wands and the like, and did not care for what was available. So lets get basic, after all it is unseen when complete..
This area doesn't have to be pretty, so picked up this goodie at the local hardware store..
.....which should get enough on the inner quarter to seal things up..
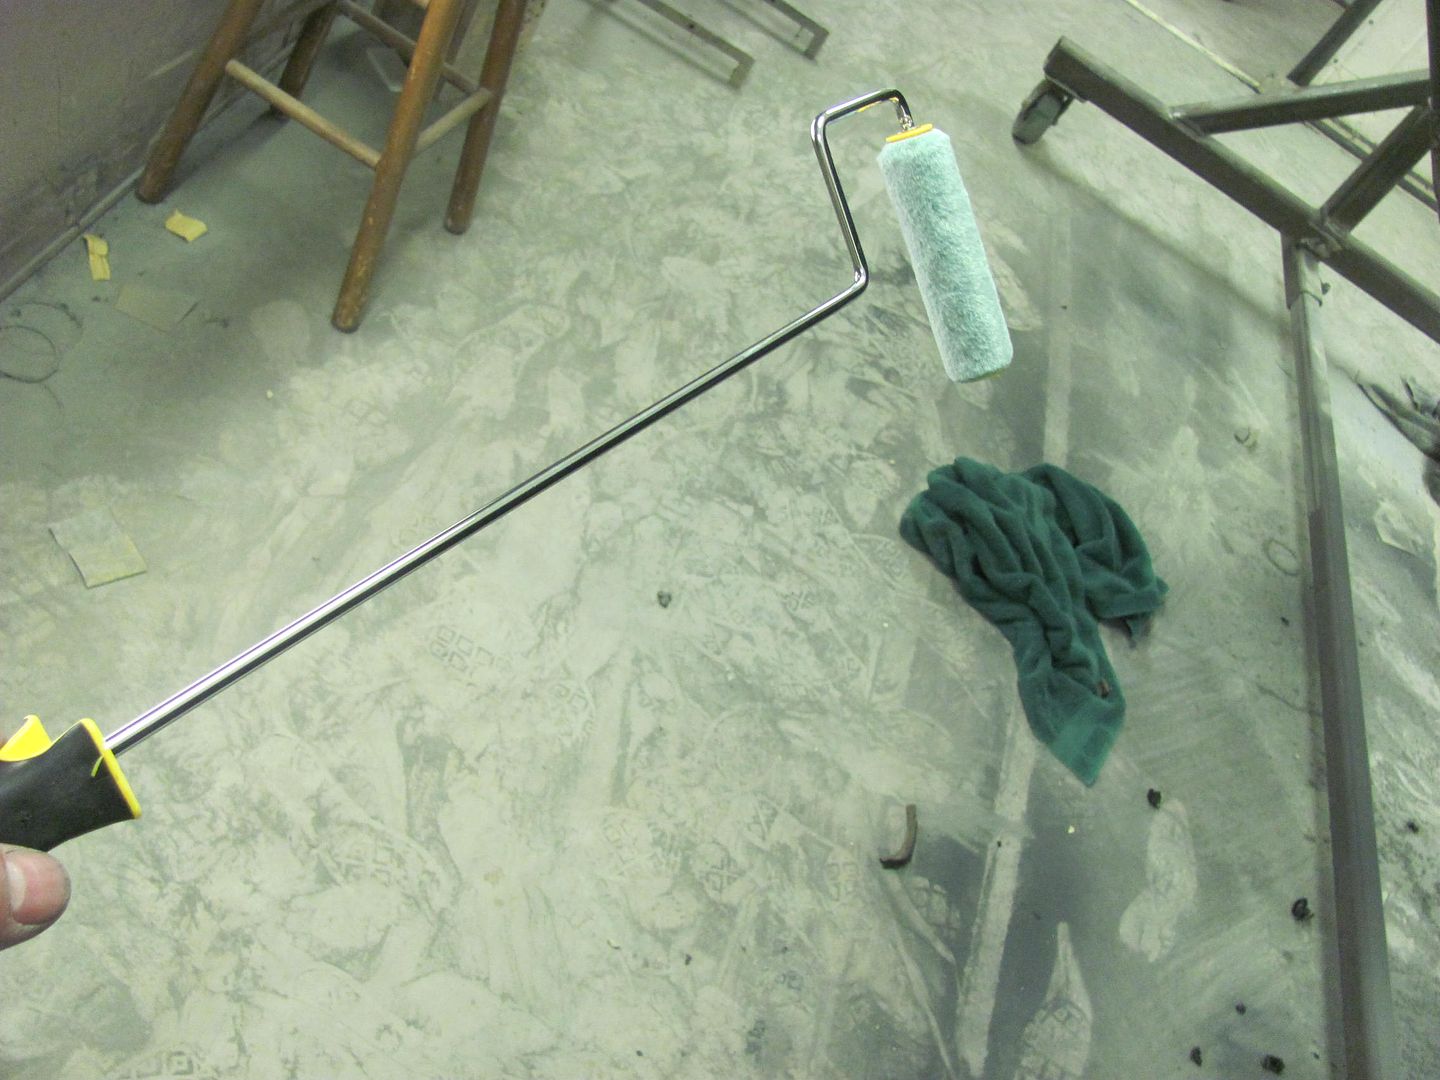
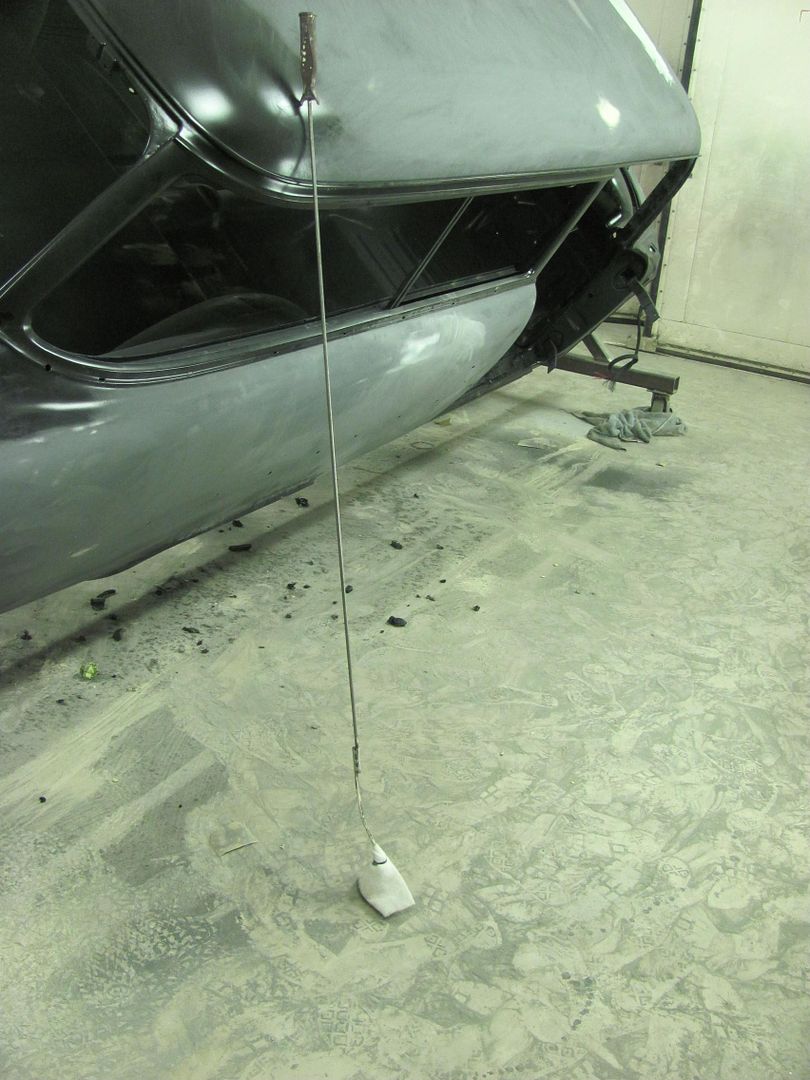
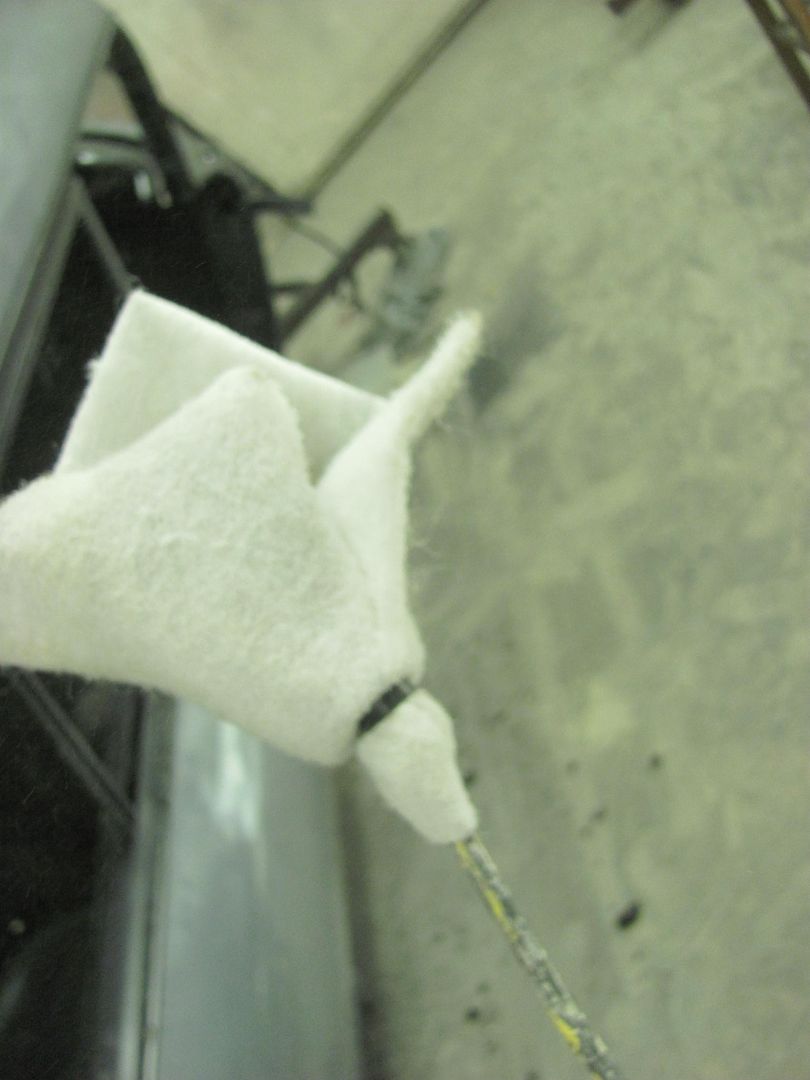
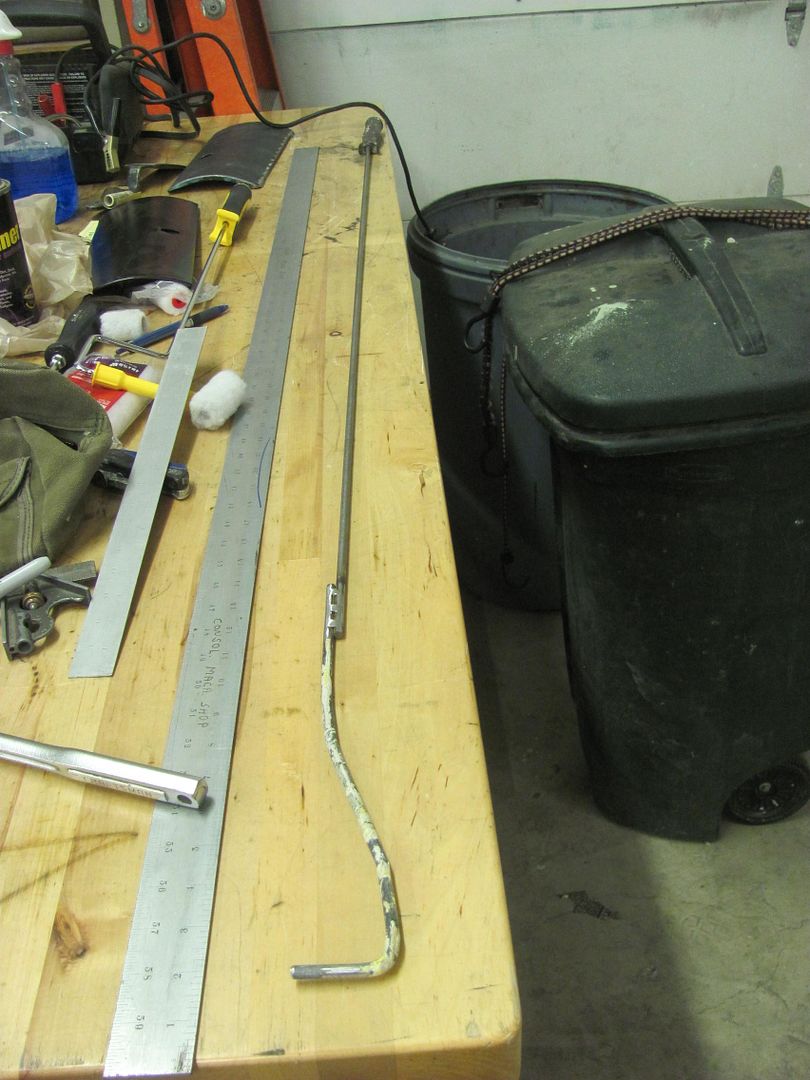
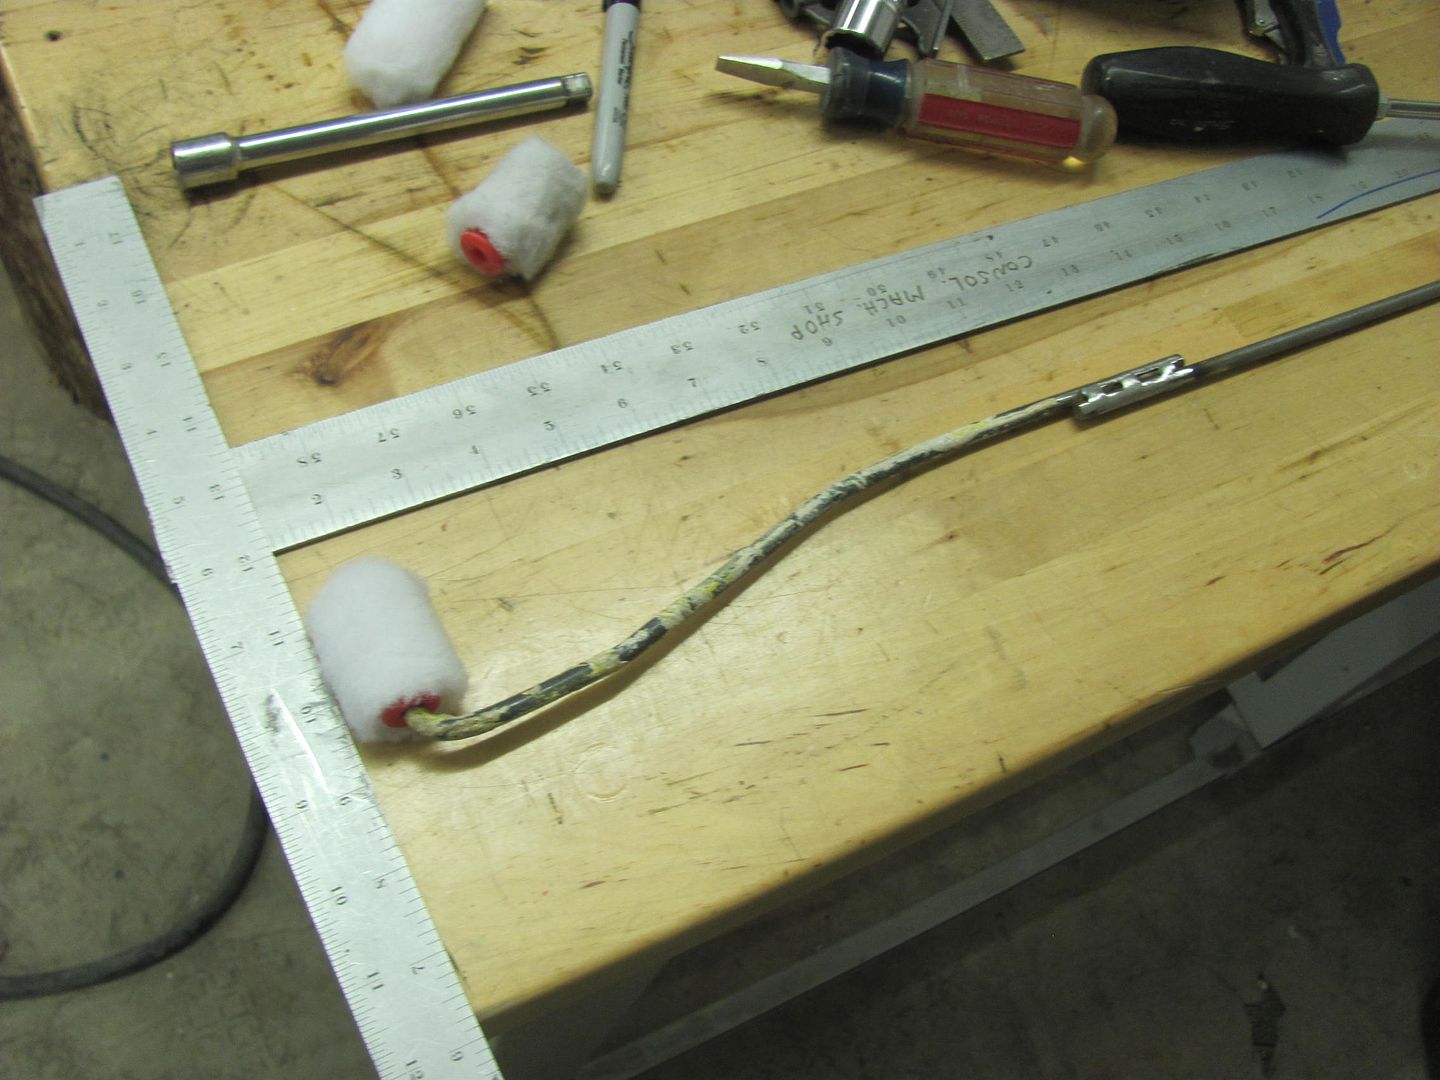
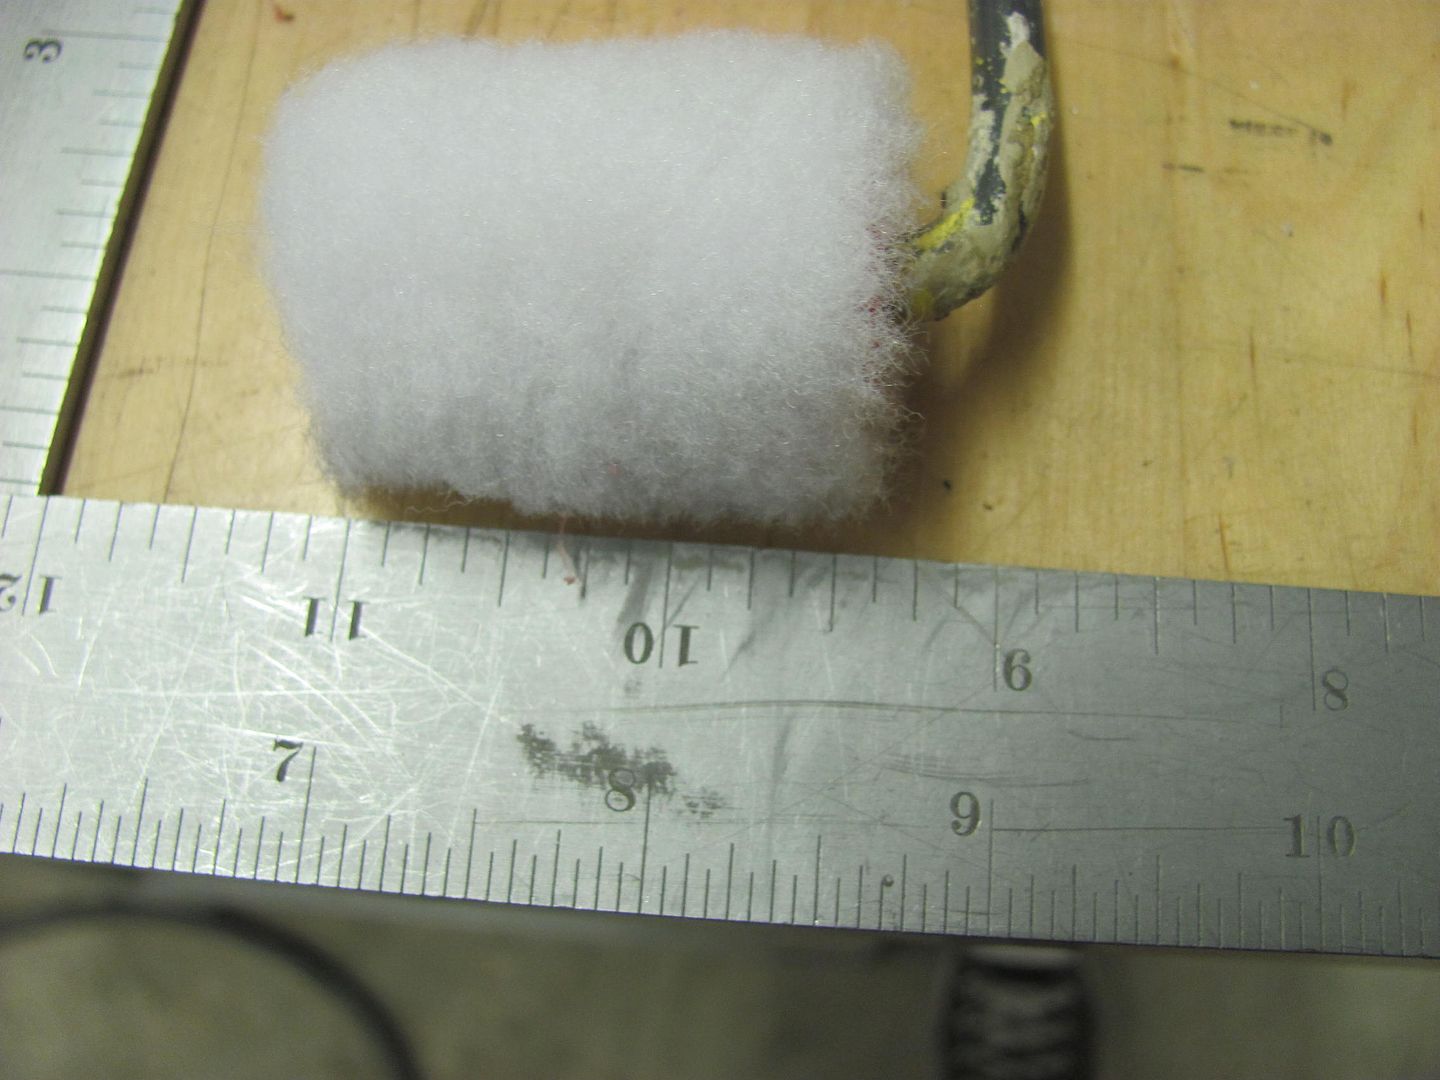
For the rocker, needed a bit more reach, both to scuff things up and roll on some paint. Here's the new multi-tool, with a 4' lift kit.
Scuffing attachment
Target area..
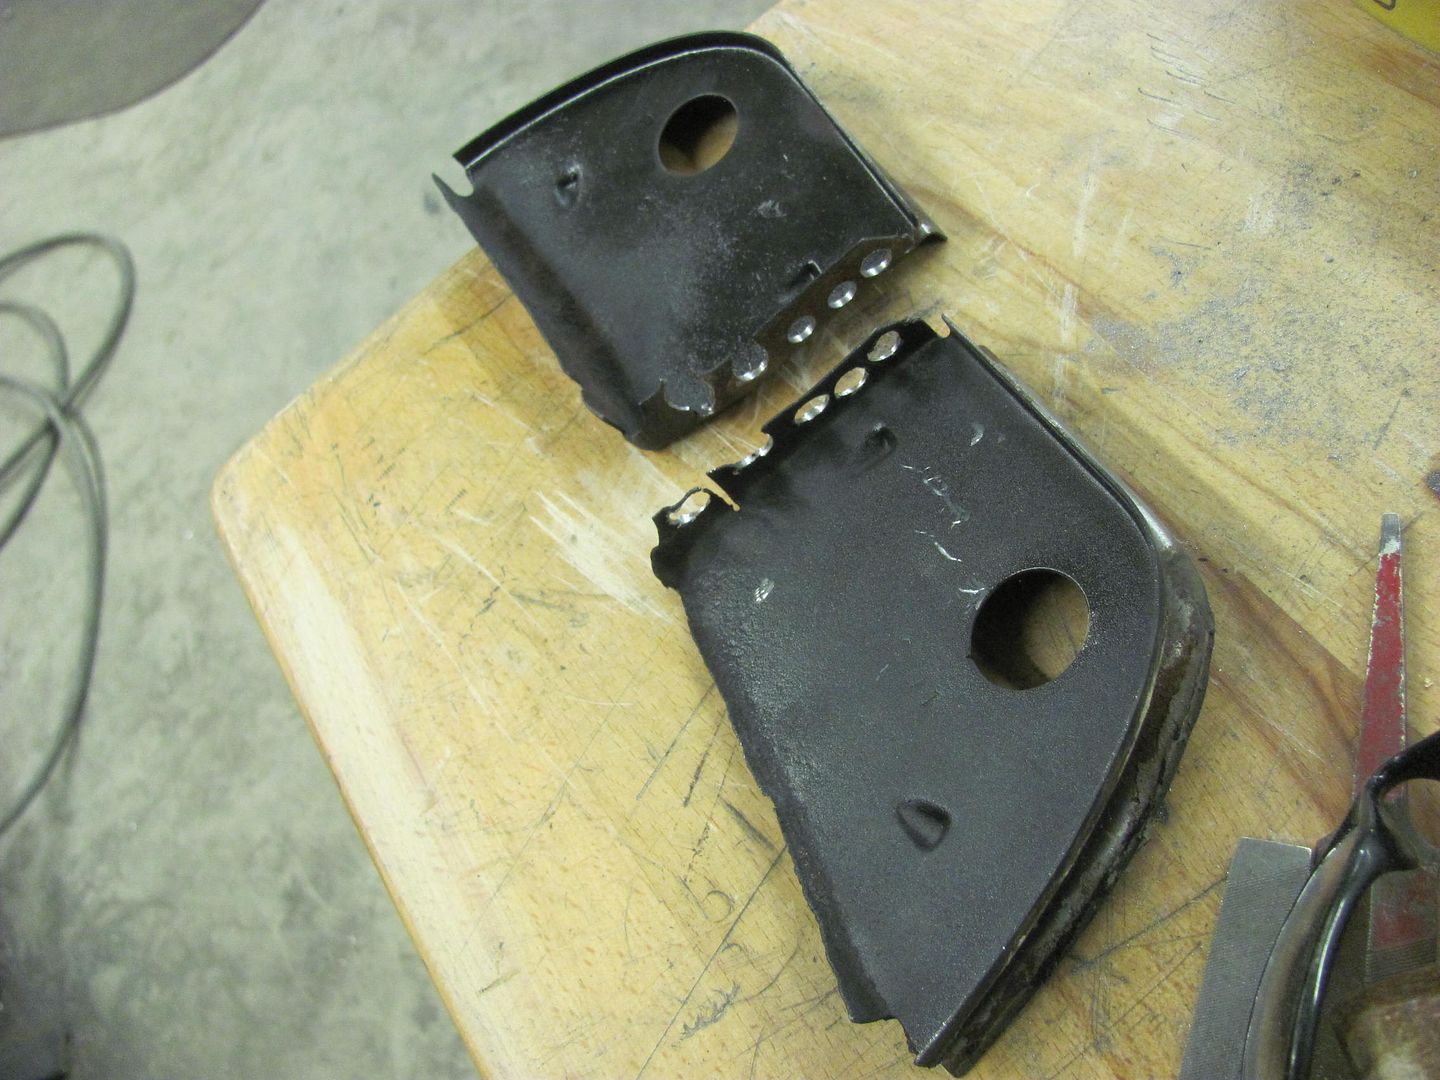
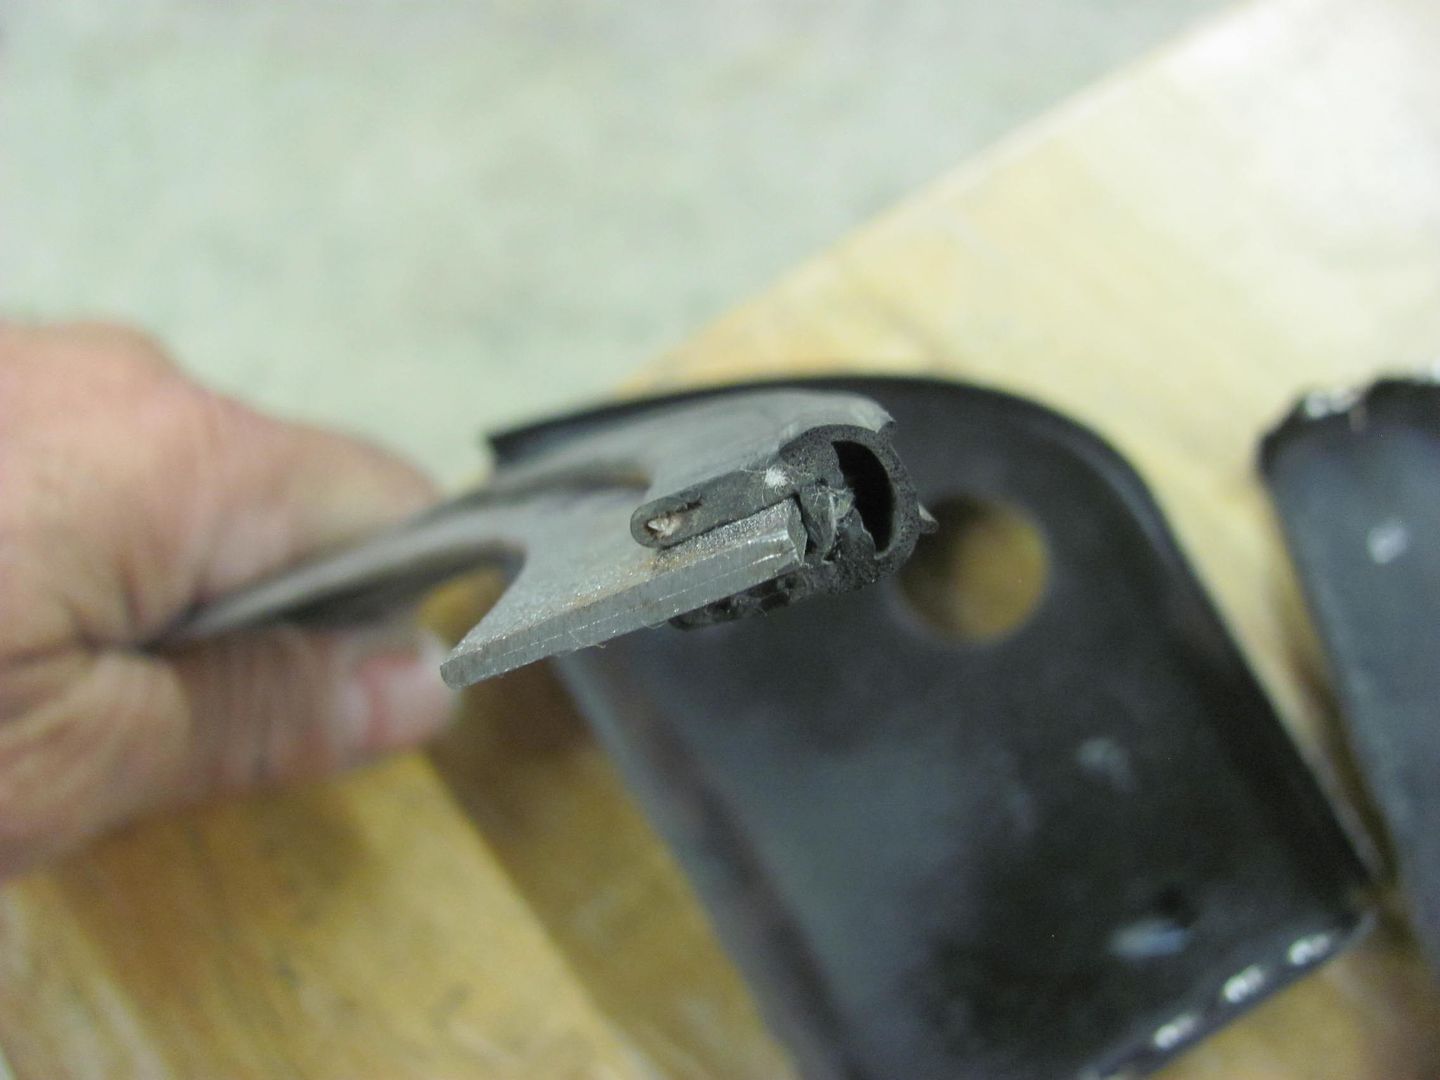
These dividers sit above the wheelwells inside the top of the quarter, and a bottom flange serves as a welding anchor for the top of the wheelwell. If they both had a bottom flange..
On top of those was a nice foam seal, which also served to trap water and cause one of our pits in the original quarter that we removed.
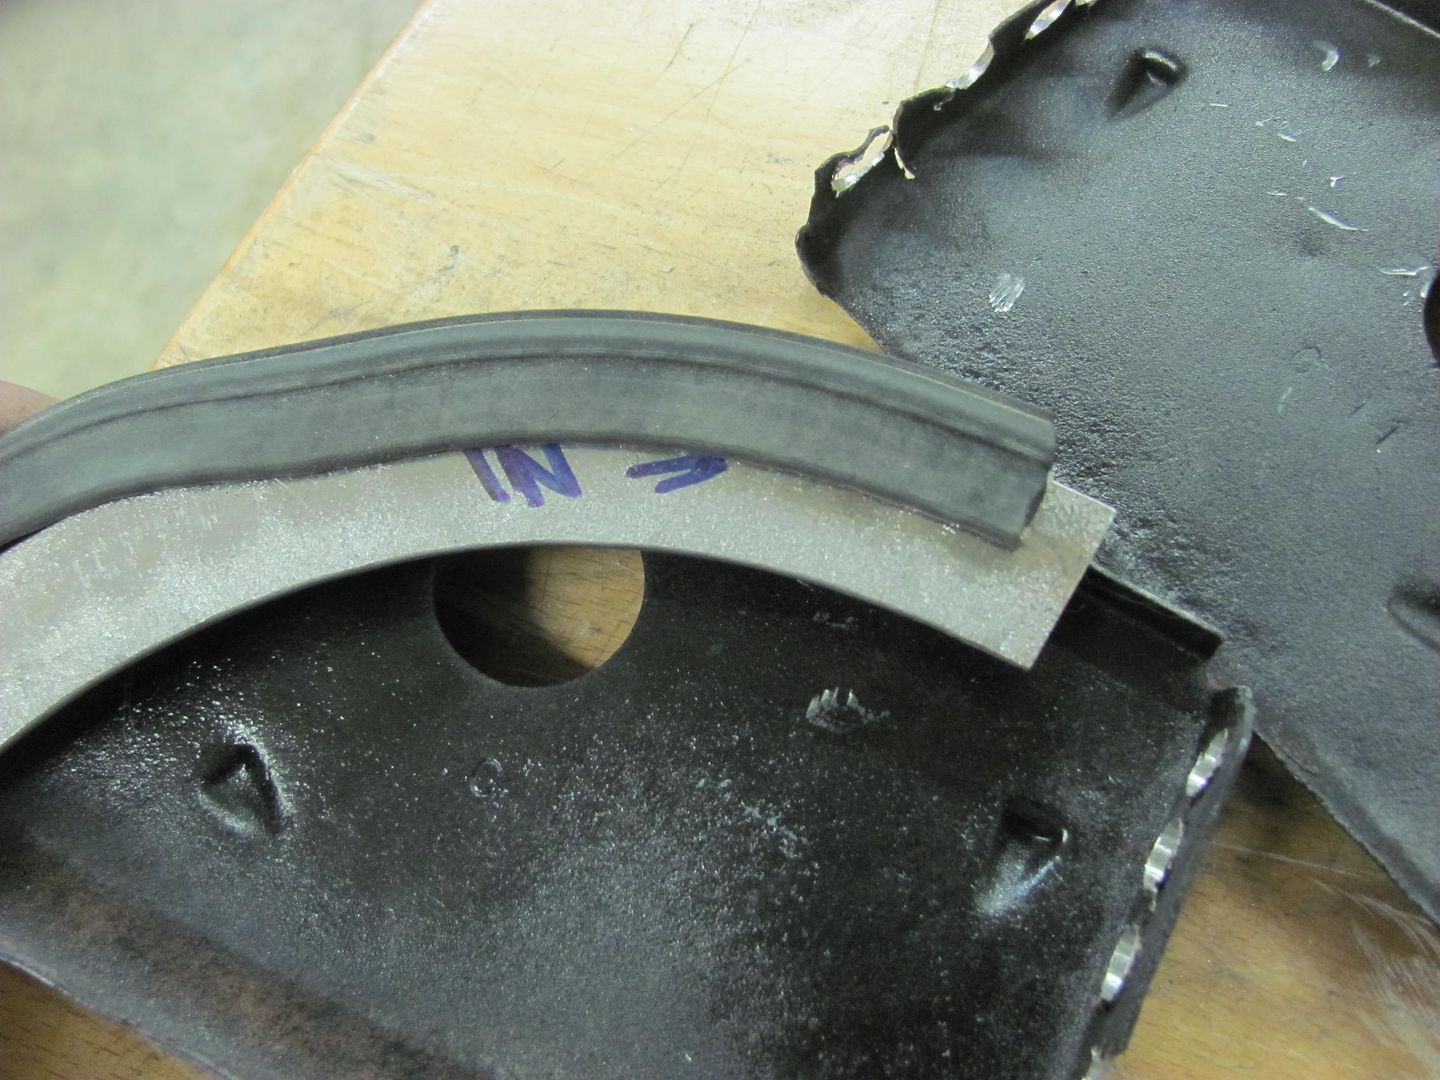
So the thought is to replace these with new ones made of 16 gauge, using a bulb seal at the top for less water absorption/retention...
With these now removed, you can see the still bare 1955 sheet metal that we'll also get covered with epoxy prior to installing the new brackets..
After all this fun, we loaded up one of the Biederman fenders and took it over to Saufley Sandblasting to get a quote on those. We'll get all the parts blasted individually, then sealed in epoxy primer, then assembled. After assembly, one more dose of Epoxy and they're off to the painter..

Hey Robert, I need to make those baffles for my Nomad too. I was going to just forget them but in retrospect I think they're needed and I think I can get them in with the outer wheelwells in place. As far as I can tell they're not repopped for a wagon. Where did you get the "bulb" seal? Are you going to make all new parts?
56 Nomad, Ramjet 502, Viper 6-speed T56, C4 Corvette front and rear suspension
Other vehicles:
56 Chevy 2-door BelAir sedan
56 Chevy 210 4-door sedan
57 Chevy 210 4-door sedan
1962 327/340HP Corvette
1961 Willys CJ3B Jeep
2001 Porsche Boxster S
2003 Chevy Silverado 2500 HD Duramax
2019 GMC Sierra Denali Duramax
Bulb seal came from McMaster Carr, similar to same offered by TrimLok. The tricky part is going to be trimming to fit inside the void for the window "frame out". So it won't be straight across the top nor have those two flanges. Why leave well enough alone, right? The original was 18 ga and we'll likely be using 16
Looks like it would be a tricky job to R&R those things with the quarters in place. Maybe it's not so hard once you decide you really can.
I made one for the side on my sedan where I replaced the quarter. My replacement wasn't as elegant as yours, it looks mostly like a stocker. I formed the flanges using a hammerform.
 Posting Permissions

 Reply With Quote