Just joined? Please introduce yourself.
Page 34 of 102 FirstFirst ... 2432333435364484 ... LastLast
Results 331 to 340 of 1019

Thread: wagon progress

  1. #331
    Registered Member
    Join Date
    Feb 2015

    Member #:2437
    Posts
    26
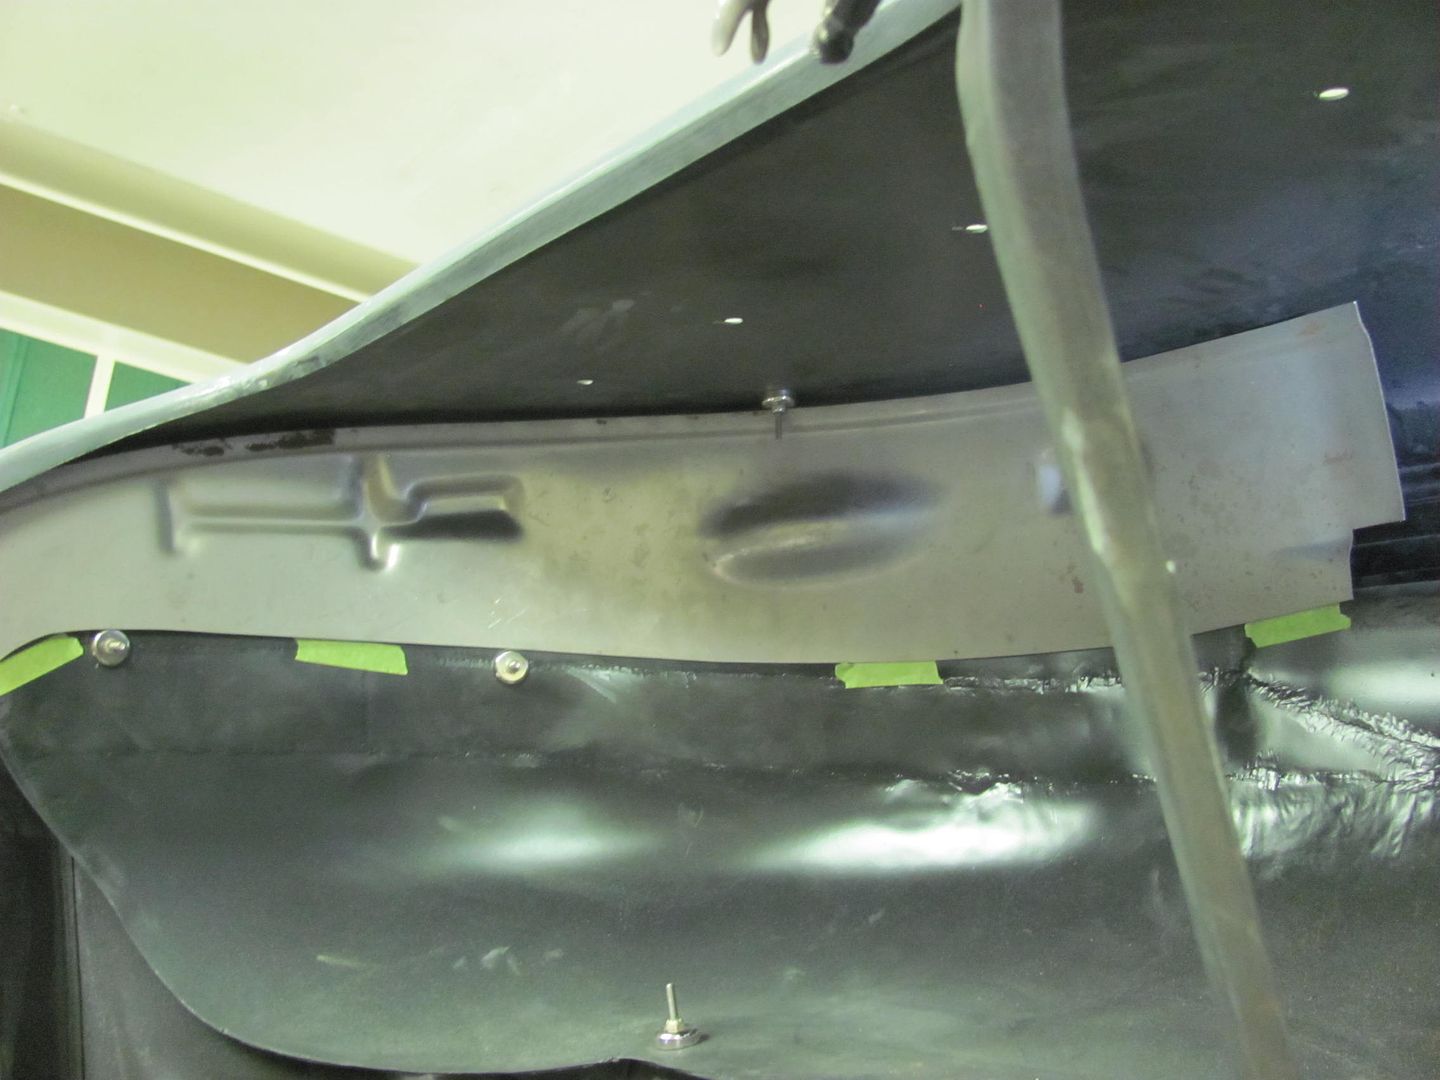
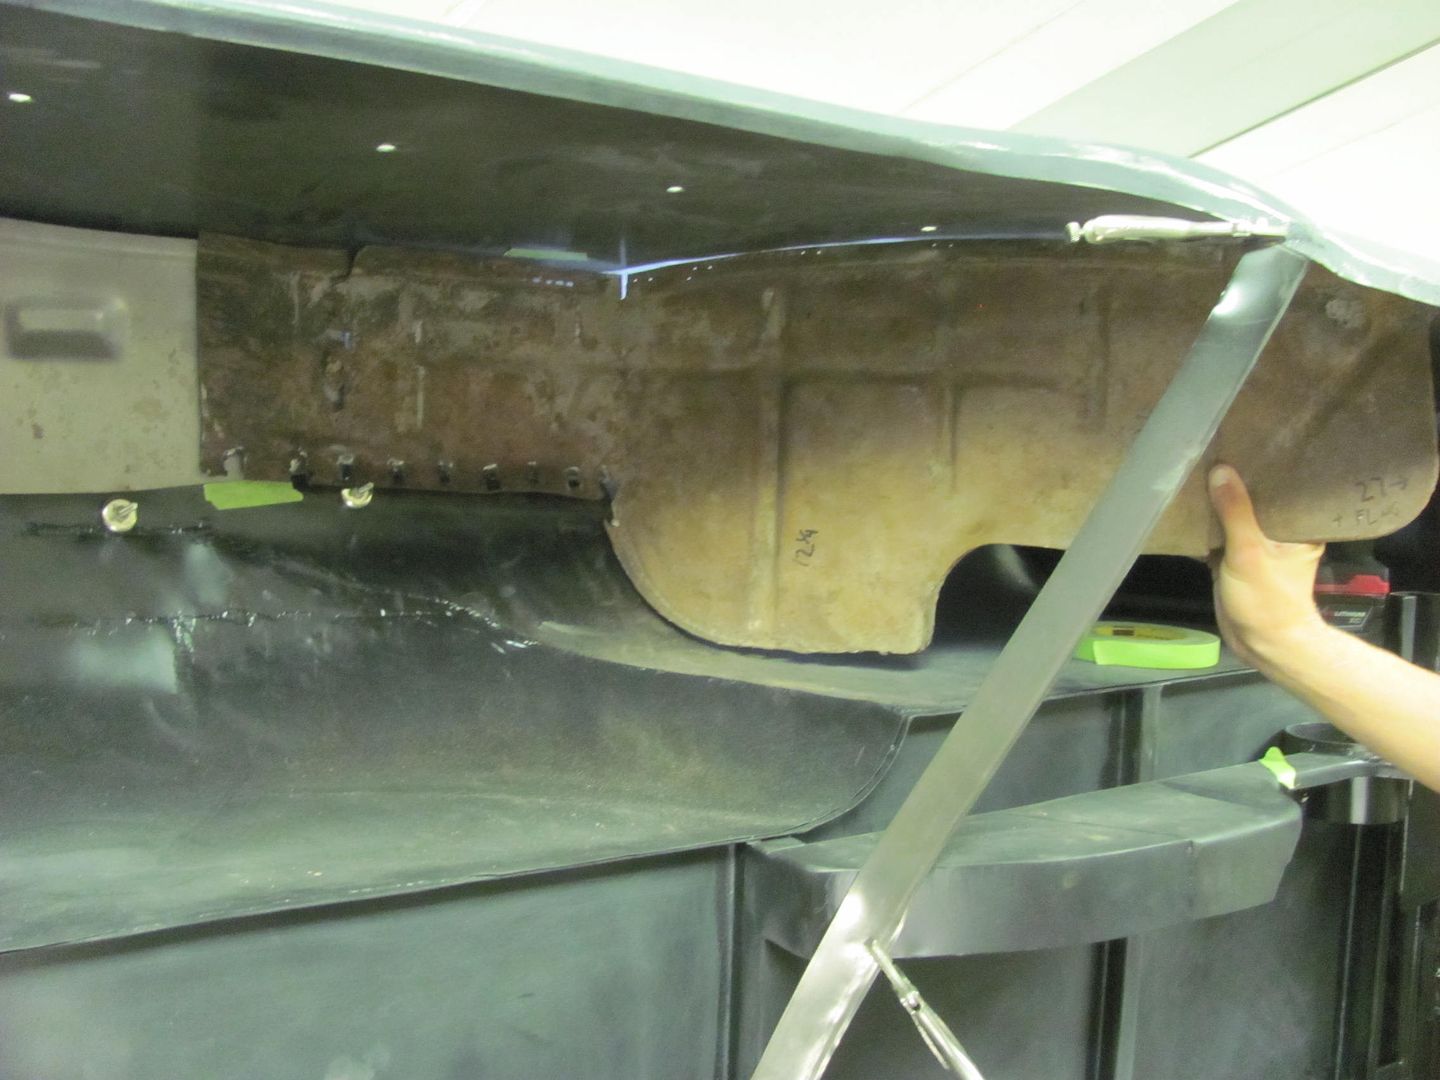
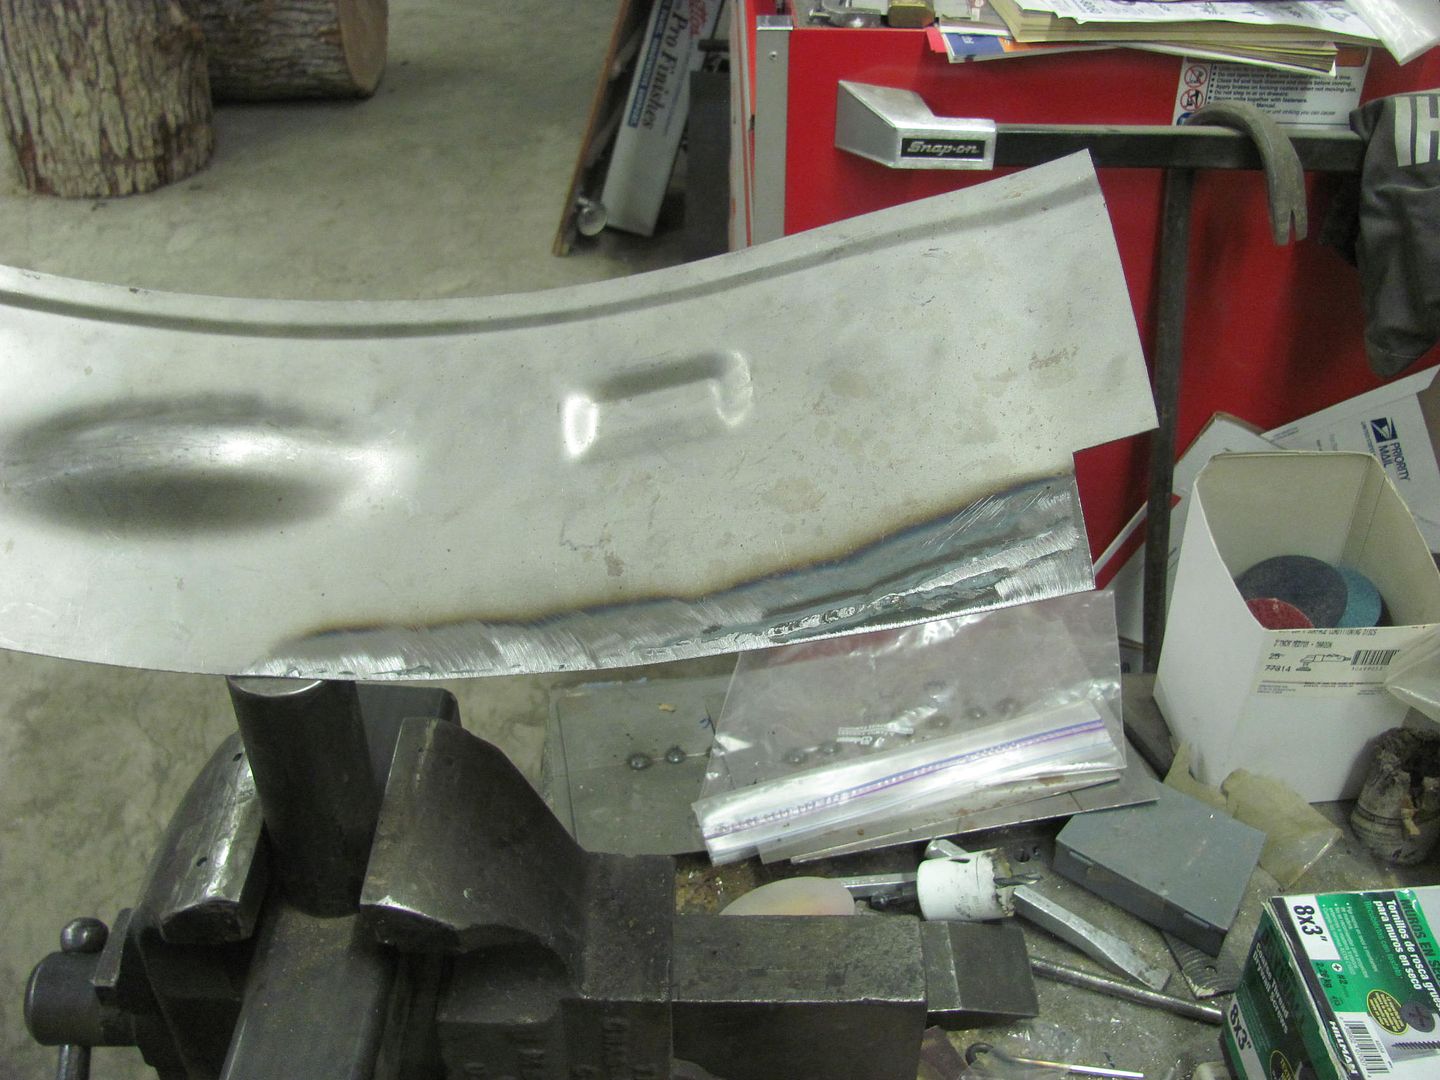
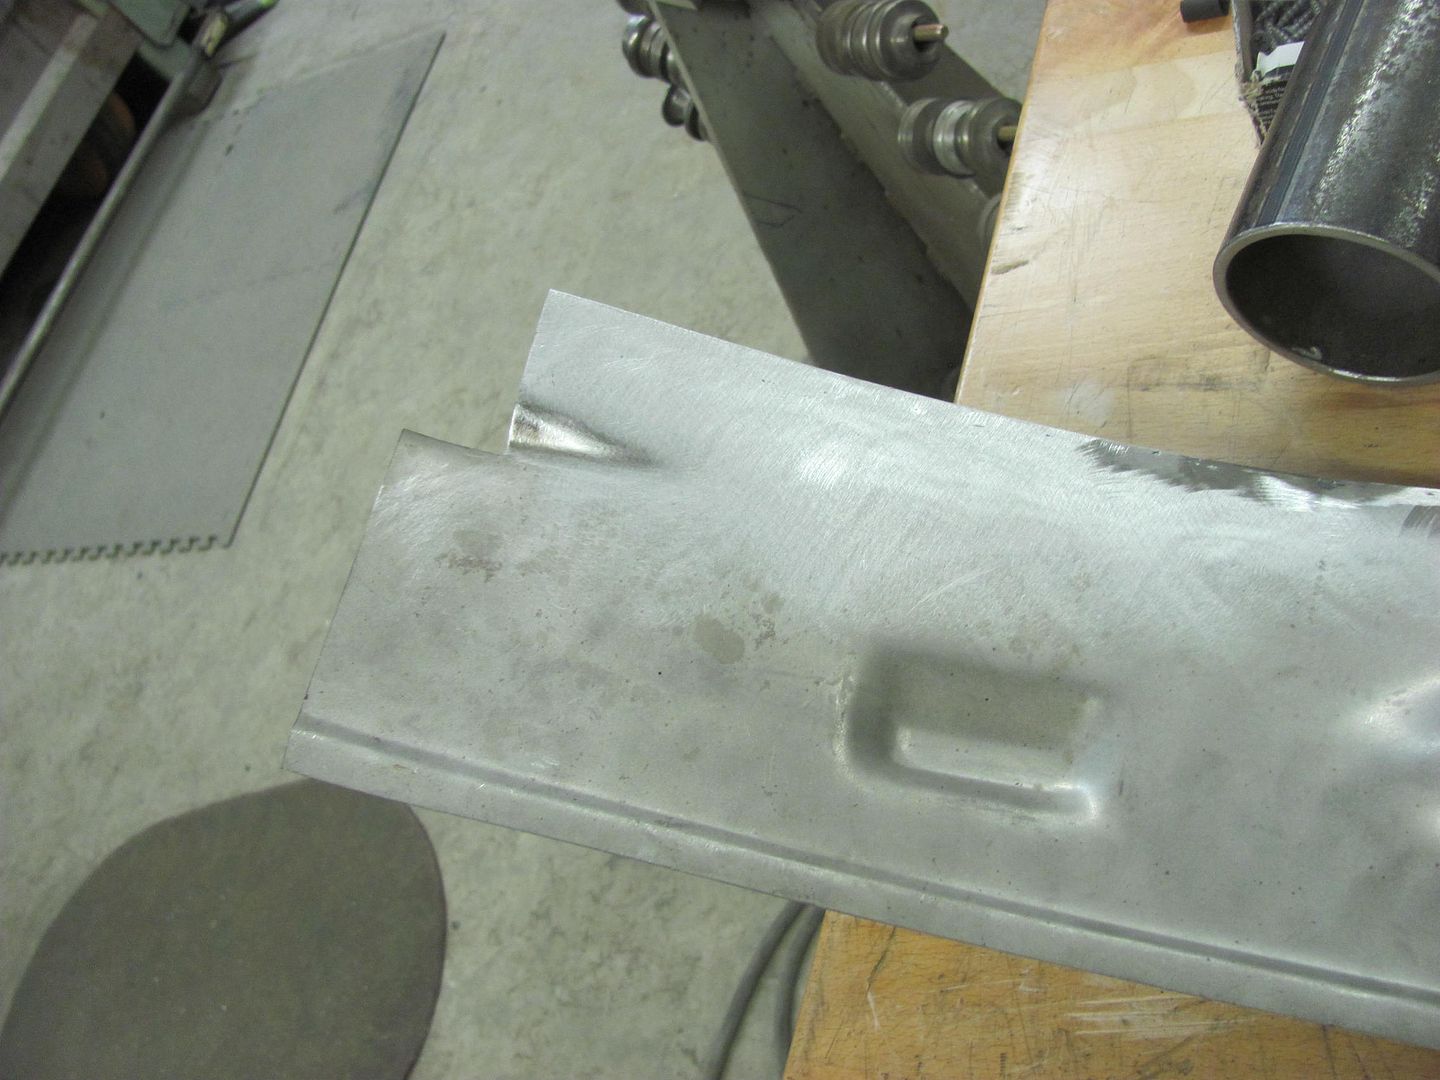
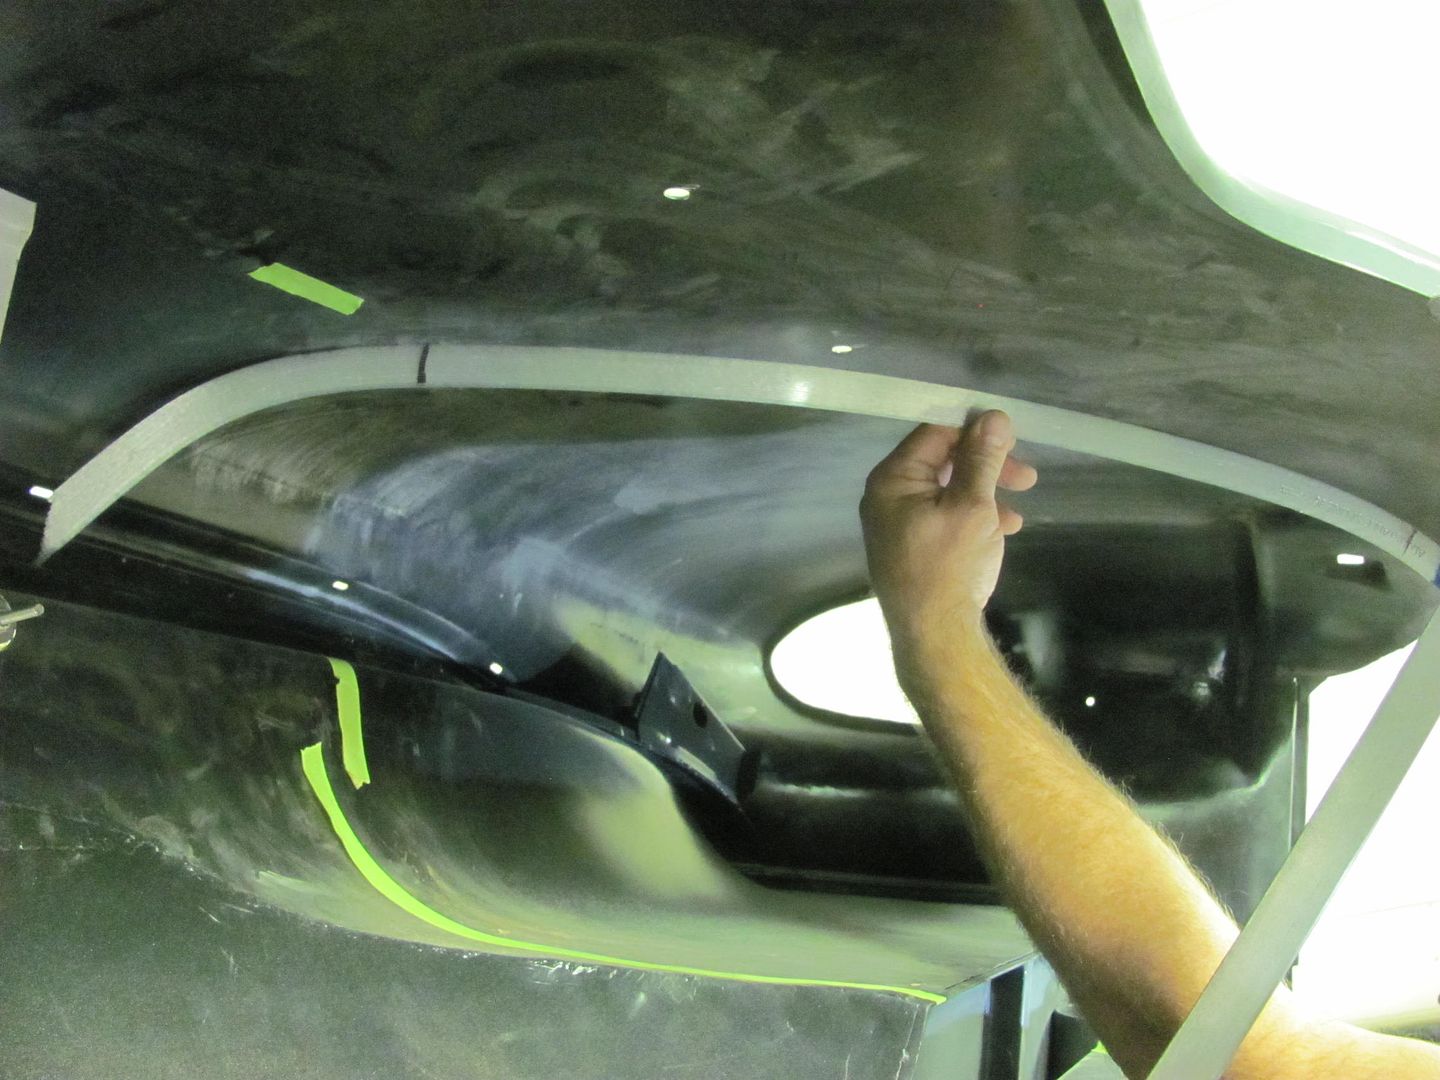
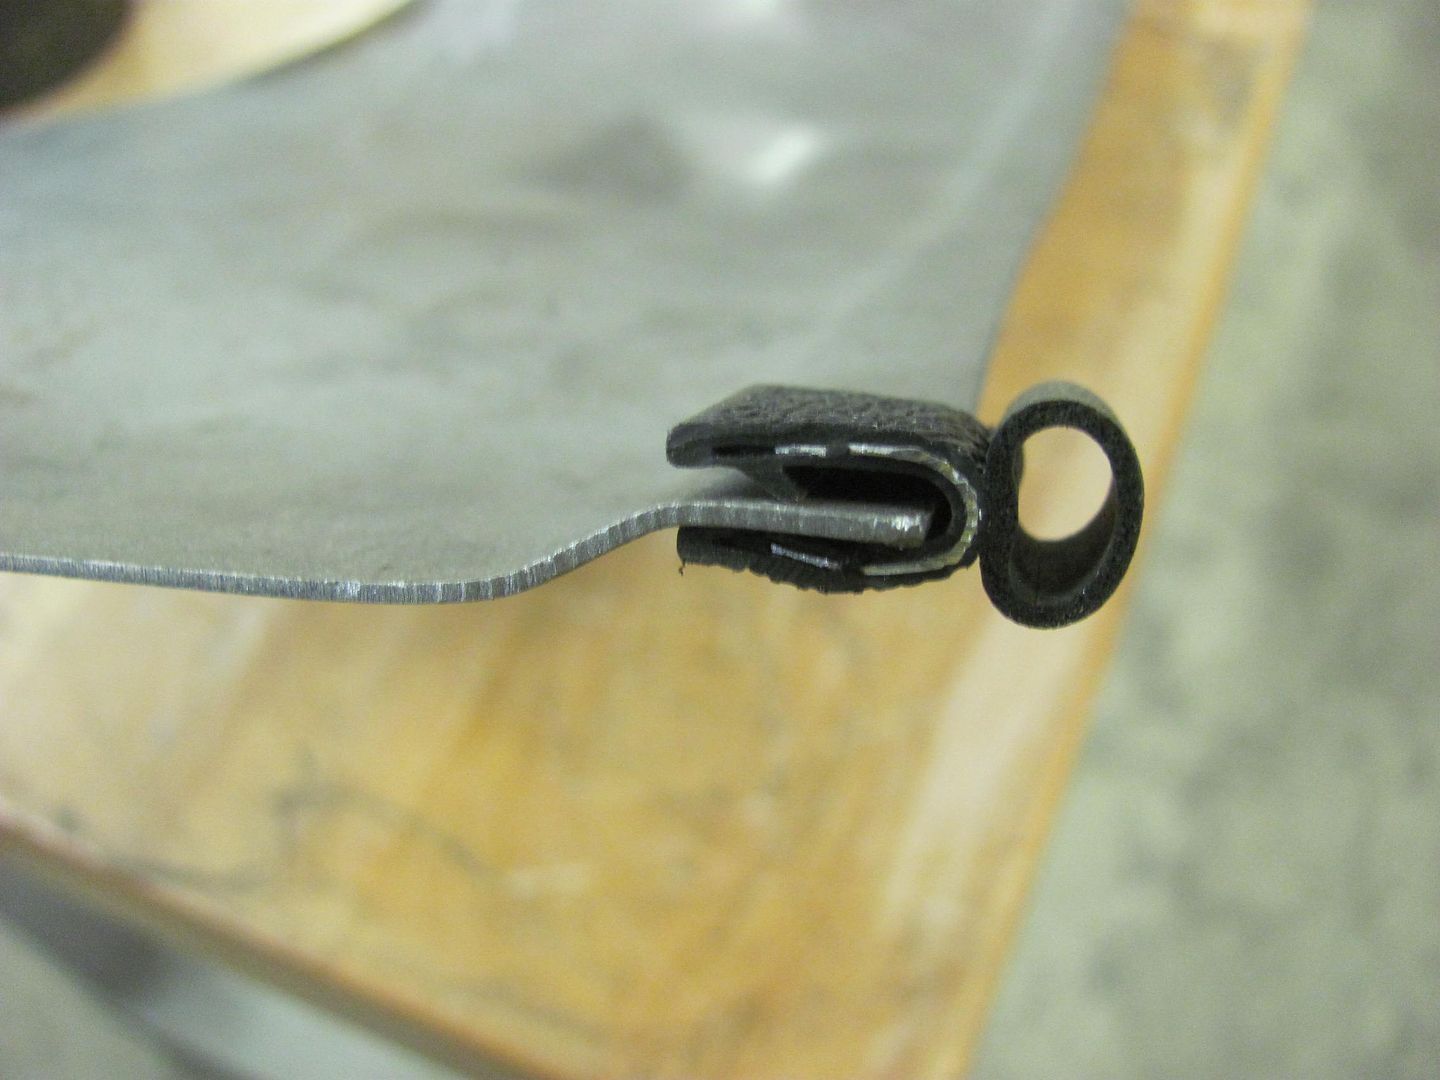
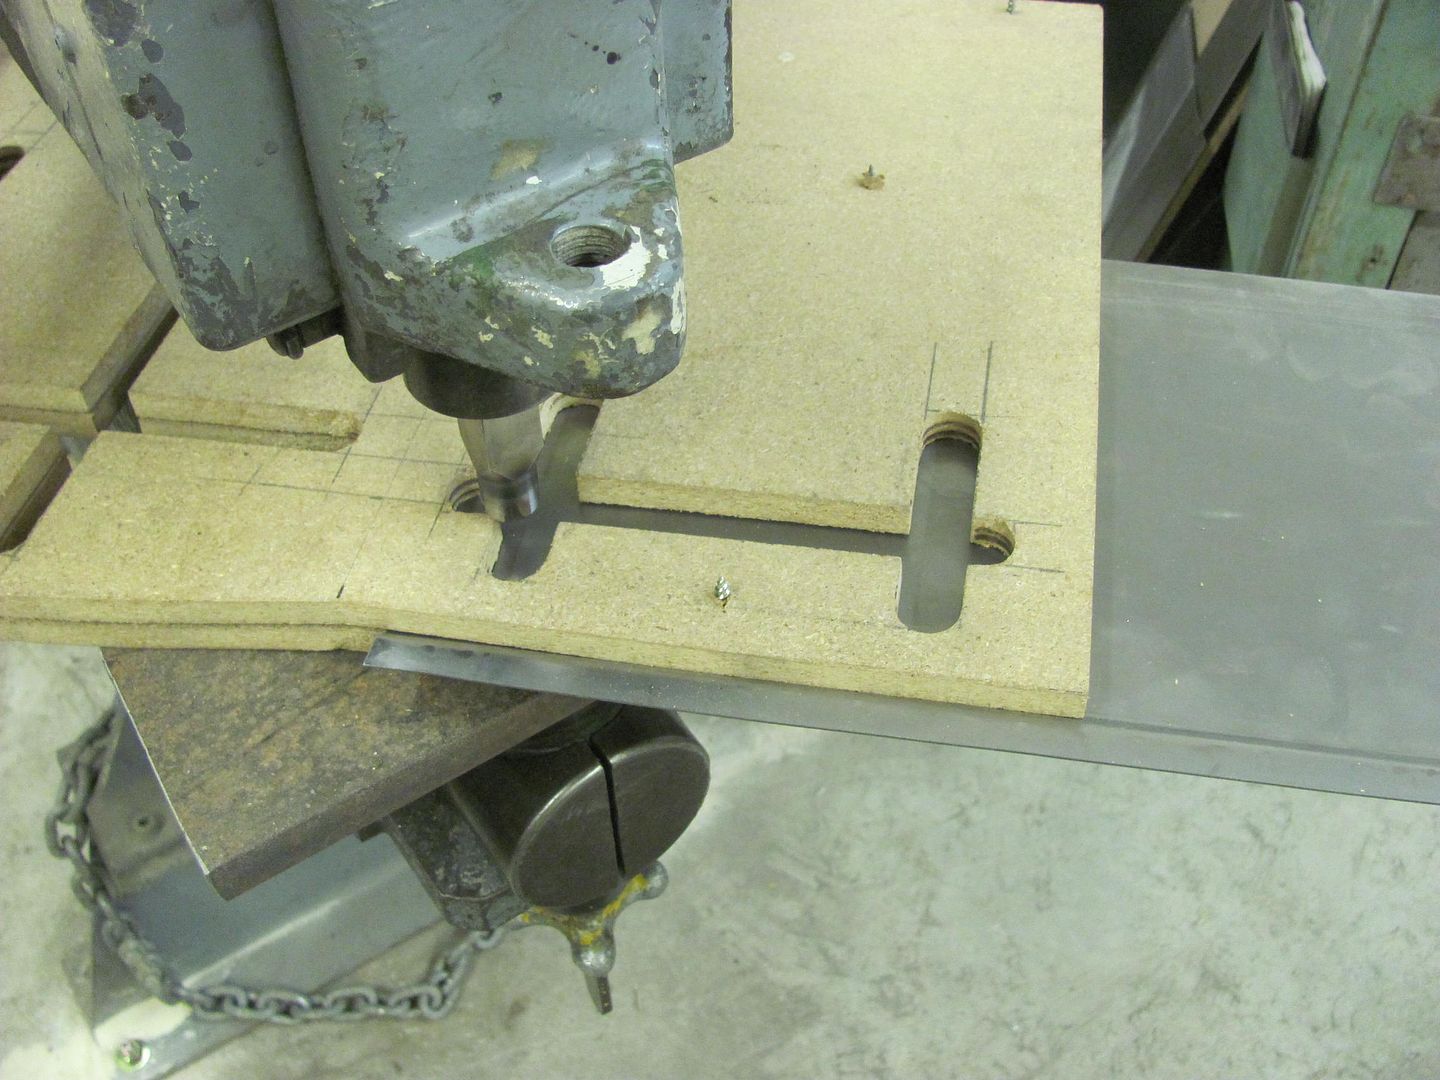
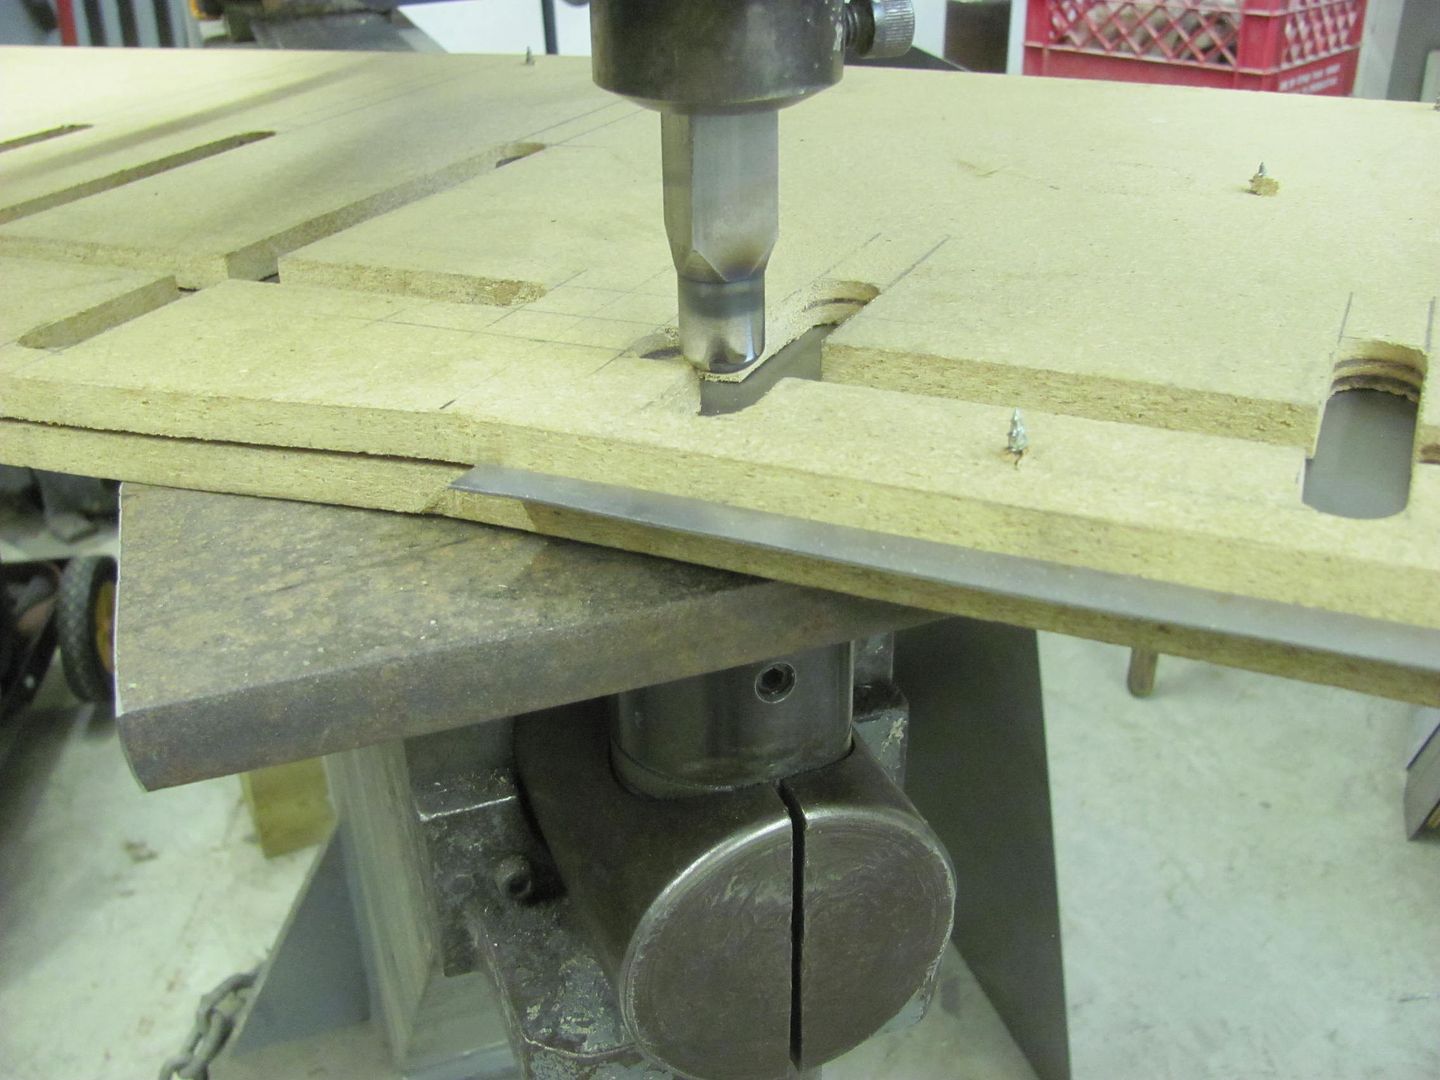
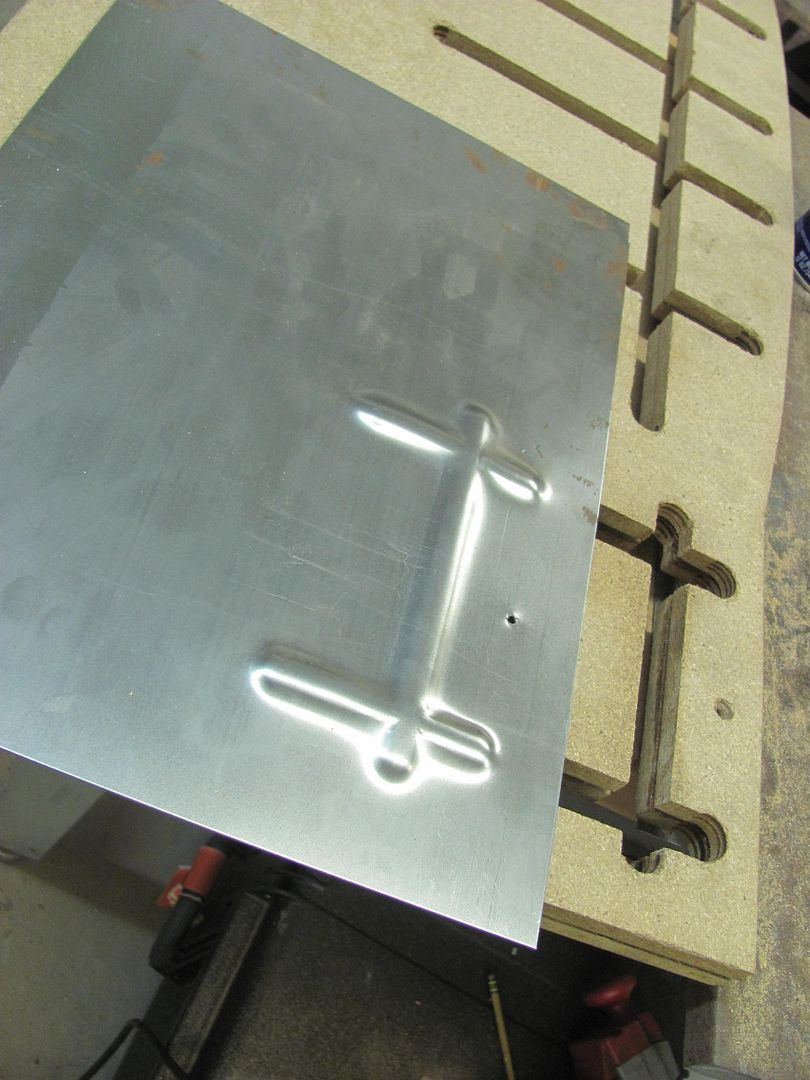
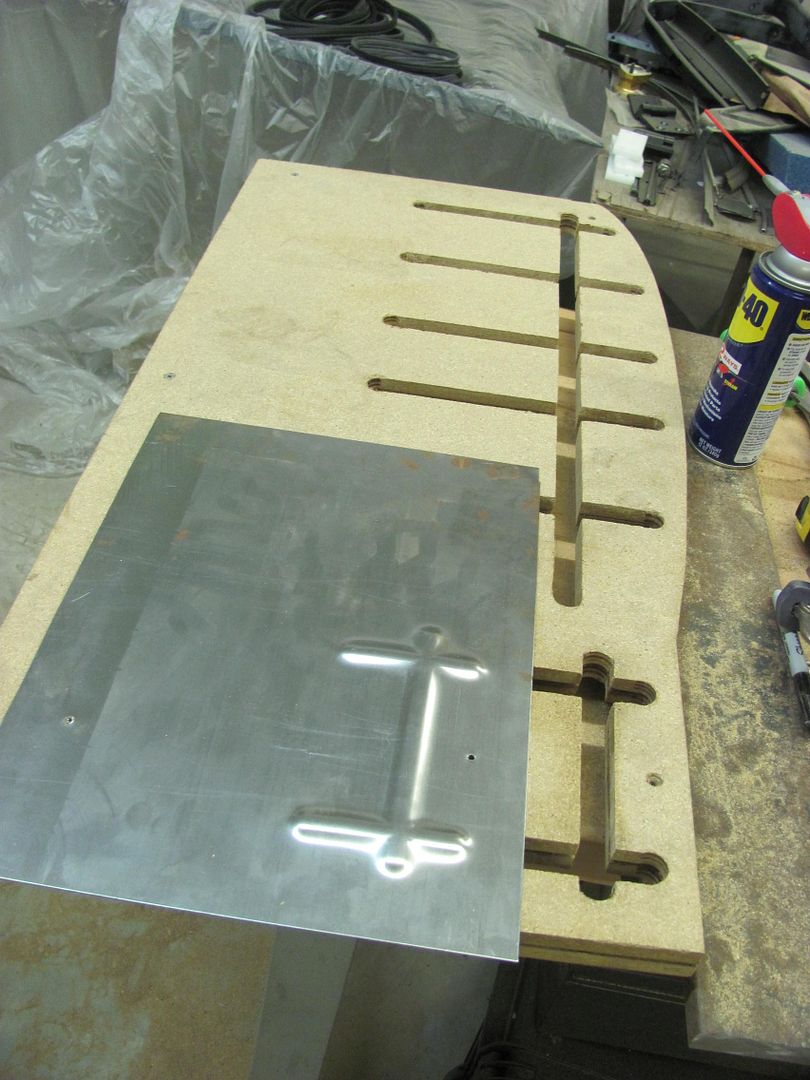
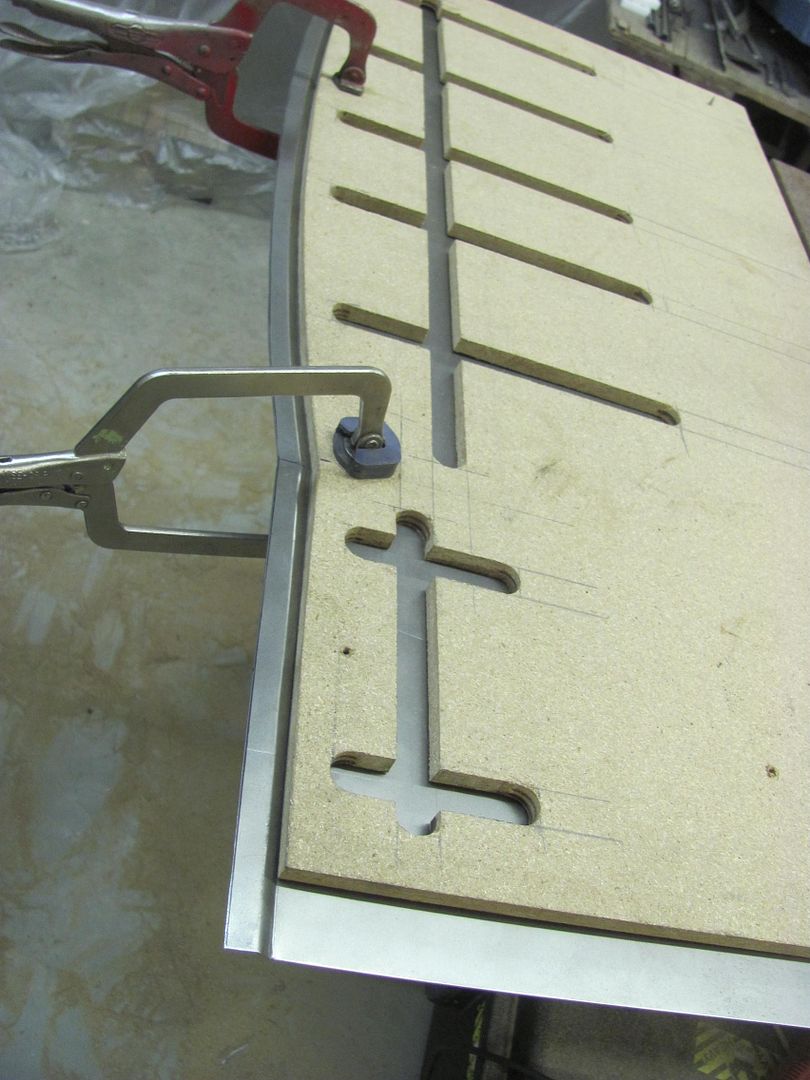
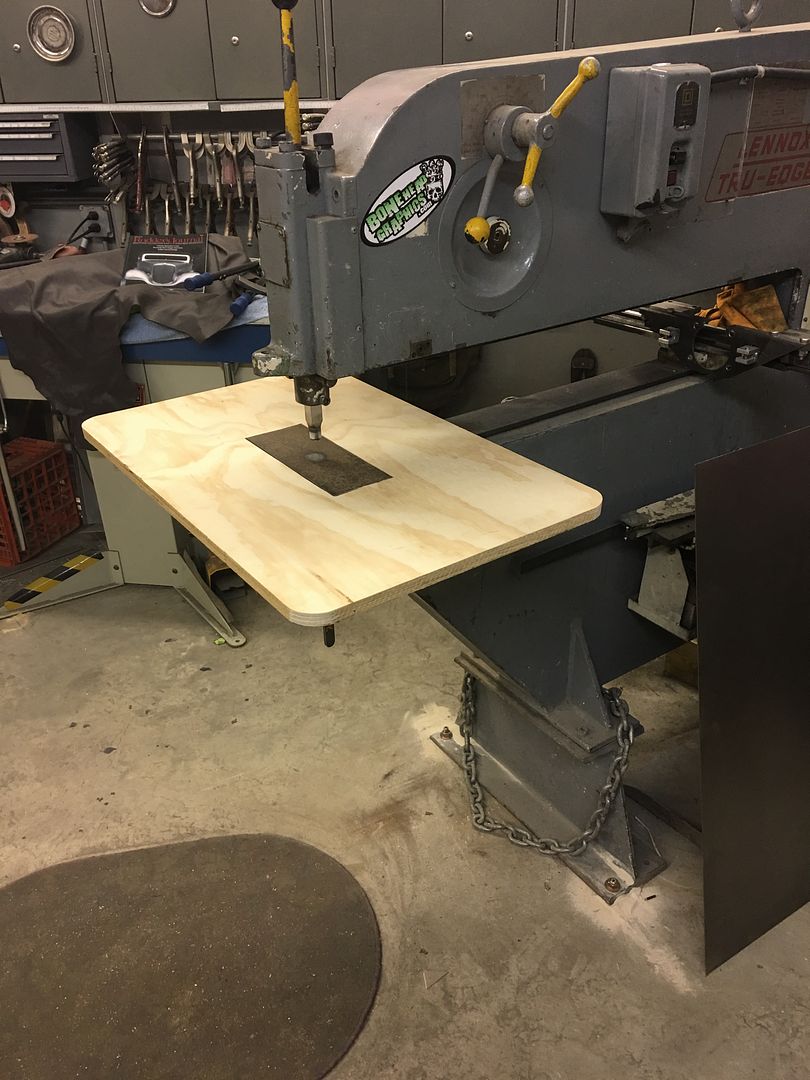
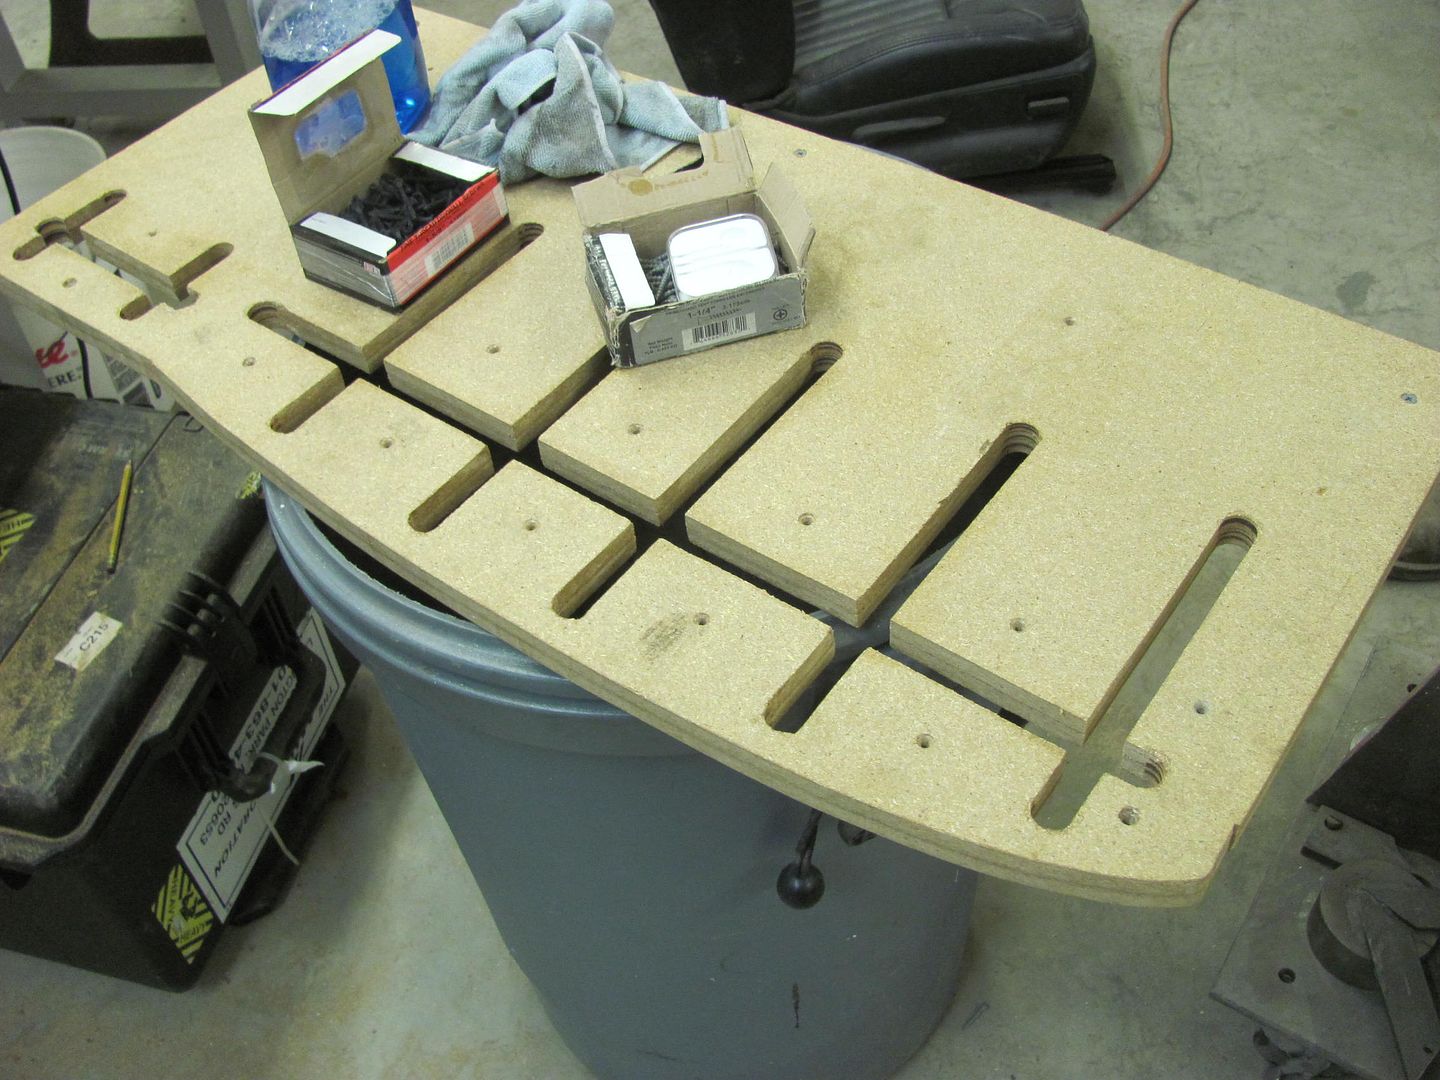
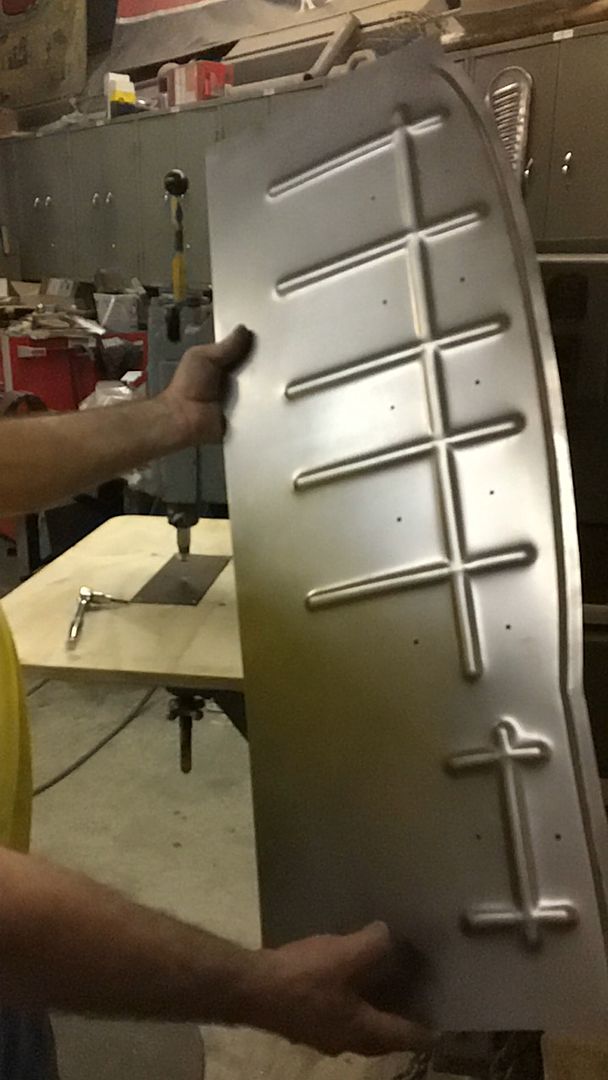
    Robert, the seal you show in your fingers is just part of the whole seal. GM used a slow expanding foam. They laid it in the channel and then installed the skin. No two are the same for this reason. The same material was used on all the models. I have made new ones out of dense foam cut to fit the profile of the area it is going into. I make the seal about 1/8 inch larger so it compresses. I'm at the same place on my wagon with replacing the seals before the quarter skins are replaced.

    Mikey

  2. #332
    Registered Member MP&C's Avatar
    Join Date
    Dec 2013

    Member #:2017
    Location
    Southern MD
    Posts
    1,293
    Thanks Mikey. Still on the fence on which way to make it..

    Working today on fitting up the wheel wells. The front half is re-popped and uses the same part as the sedans, the rear part is not available. Fitting the front, notice the right lower corner (as shown) tapers up with less overlap for plug/spot welding.


    The rear section has a notch to clear where the leaf springs used to be attached outside the frame. As the leafs are now suspended inside/under the frame, these notches aren't needed. So we'll make a new set that fills that in...


    To fix our front repop, a piece of 18 gauge is TIG welded to give us a square corner...


    To make the new piece for the rear, we'll need a method to add beads that cross each other. This will entail a small table to use on the Lennox, an upper punch, and two pieces of matched MDF. Slots will be cut into the MDF, the top used as a guide for the punch, the bottom acts as our bottom die as it "rests" on the table..
    The table will be supported in the lower tool holder using a 3/4 shank. The end is turned down to 1/2" to mate into a 1/2" hole in the 4 x 12 table, which is then plug welded.


    For an upper punch, we'll use some 3/4 oil hardening 4140, making it less pointed than the original just in case we want to use it for something besides the 55.


    For a bead guide we first need to get a good template of the inside of the quarter. The adjustable spline comes in handy...


    MDF is screwed together and then the edge profile cut..


    Cutting our bead pattern..


    The offset of the original for the quarter seal is added using a tipping die in the Lennox, slight modification on the backstop for the correct width..


    New matches the repop....


    This seal will be used against the inside of the quarter..


    Running a test pattern... The table height is adjusted to set the punch depth...


    All clamped up, ready to go. Kyle has already left for the day so we'll finish up next time..


    Robert


    MP&C Shop Projects-Metalshaping Tutorials


    Instagram @ mccartney_paint_and_custom


    .

  3. #333
    Registered Member chevynut's Avatar
    Join Date
    Nov 2011

    Member #:115
    Location
    Fort Collins, CO
    Posts
    10,846
    I didn't know they don't repop those pieces for 55's. They are available for 56-57s. I had to widen mine due to my tubs but it looks like you were able to avoid that.

    BTW, how come you're able to post big pictures, but mine suddenly started showing up small? Do you know of some setting?
    56 Nomad, Ramjet 502, Viper 6-speed T56, C4 Corvette front and rear suspension


    Other vehicles:

    56 Chevy 2-door BelAir sedan
    56 Chevy 210 4-door sedan
    57 Chevy 210 4-door sedan
    1962 327/340HP Corvette
    1961 Willys CJ3B Jeep
    2001 Porsche Boxster S
    2003 Chevy Silverado 2500 HD Duramax
    2019 GMC Sierra Denali Duramax

  4. #334
    Registered Member MP&C's Avatar
    Join Date
    Dec 2013

    Member #:2017
    Location
    Southern MD
    Posts
    1,293
    Yes they are available for 56 and 57. My pictures are links from PB and not uploaded, maybe that has something to do with it. Are they larger than normal? Maybe I need to change a setting..
    Robert


    MP&C Shop Projects-Metalshaping Tutorials


    Instagram @ mccartney_paint_and_custom


    .

  5. #335
    Registered Member
    Join Date
    Feb 2015

    Member #:2437
    Posts
    26
    Robert, The 55's are just a bit longer on the rear lower where the lower or last splash pan is spot welded. You can just add about 1 inch of new metal to the repros and they will work just fine. The notch you removed is not for the leaf spring. It is for the gas filler tube. GM die cut both sides the same and then used a reverse die set to stamp the 2 sides. I filled in the RH side on my project also. If you use a stock gas tube, the LH will need to be left there. I also eliminated the overlap joint at the top on both sides of mine. I did this because I never want to worry about that rust problem again.

  6. #336
    Registered Member chevynut's Avatar
    Join Date
    Nov 2011

    Member #:115
    Location
    Fort Collins, CO
    Posts
    10,846
    Quote Originally Posted by MP&C View Post
    Are they larger than normal? Maybe I need to change a setting..
    Your pics are like mine used to be....until this week. They're fine. I assume you're just cutting and pasting to your post? I can do that from any other website and it produces large pics. I don't know what changed, but I started a thread on it in the support section.
    56 Nomad, Ramjet 502, Viper 6-speed T56, C4 Corvette front and rear suspension


    Other vehicles:

    56 Chevy 2-door BelAir sedan
    56 Chevy 210 4-door sedan
    57 Chevy 210 4-door sedan
    1962 327/340HP Corvette
    1961 Willys CJ3B Jeep
    2001 Porsche Boxster S
    2003 Chevy Silverado 2500 HD Duramax
    2019 GMC Sierra Denali Duramax

  7. #337
    Registered Member chevynut's Avatar
    Join Date
    Nov 2011

    Member #:115
    Location
    Fort Collins, CO
    Posts
    10,846
    That's some pretty cool work there Robert. I wonder why they don't repop them for a 55??? Maybe you need to start selling them.

    Here's what I had to do on mine....

    20070805_960.jpg

    20070805_961.jpg

    20070805_964.jpg

    20070805_965.jpg

    20081206_1106.jpg

    20090620_1572.jpg
    56 Nomad, Ramjet 502, Viper 6-speed T56, C4 Corvette front and rear suspension


    Other vehicles:

    56 Chevy 2-door BelAir sedan
    56 Chevy 210 4-door sedan
    57 Chevy 210 4-door sedan
    1962 327/340HP Corvette
    1961 Willys CJ3B Jeep
    2001 Porsche Boxster S
    2003 Chevy Silverado 2500 HD Duramax
    2019 GMC Sierra Denali Duramax

  8. #338
    Registered Member rockytopper R.I.P 5-13-2017's Avatar
    Join Date
    Sep 2013

    Member #:1884
    Location
    Covington Texas
    Posts
    1,039
    Just curious on the seal selection. I am very familiar with the trim loc product I have used it on my popup up camper product sense early 90's. I will soon be at this point in my build and have been wonder what options are out there. Is the original style no longer available or do you believe this will do a better job of sealing and or installing etc?
    Thanks
    Rocky

  9. #339
    Registered Member chevynut's Avatar
    Join Date
    Nov 2011

    Member #:115
    Location
    Fort Collins, CO
    Posts
    10,846
    Rocky, I plan to use the stock seals, except I'm using the split type all the way around. I think Rick suggested that long ago so I hope it works since I bought two sets.
    56 Nomad, Ramjet 502, Viper 6-speed T56, C4 Corvette front and rear suspension


    Other vehicles:

    56 Chevy 2-door BelAir sedan
    56 Chevy 210 4-door sedan
    57 Chevy 210 4-door sedan
    1962 327/340HP Corvette
    1961 Willys CJ3B Jeep
    2001 Porsche Boxster S
    2003 Chevy Silverado 2500 HD Duramax
    2019 GMC Sierra Denali Duramax

  10. #340
    Registered Member MP&C's Avatar
    Join Date
    Dec 2013

    Member #:2017
    Location
    Southern MD
    Posts
    1,293
    Mikey, thanks for keeping me in line!


    Made our table slightly larger to better hold the panel level for punch depth consistency..


    More holes for screws added to keep things snug


    A few holes to fill, we'll get the other side done and weld them all in one sitting.


    Motion picture version:

    https://www.youtube.com/watch?v=KCIv27b4dPs

    .
    Last edited by MP&C; 09-21-2016 at 06:53 AM.
    Robert


    MP&C Shop Projects-Metalshaping Tutorials


    Instagram @ mccartney_paint_and_custom


    .

Page 34 of 102 FirstFirst ... 2432333435364484 ... LastLast

Posting Permissions

  • You may not post new threads
  • You may not post replies
  • You may not post attachments
  • You may not edit your posts
  •