Just joined? Please introduce yourself.
Page 36 of 102 FirstFirst ... 2634353637384686 ... LastLast
Results 351 to 360 of 1019

Thread: wagon progress

  1. #351
    Registered Member
    Join Date
    Feb 2015

    Member #:2437
    Posts
    26
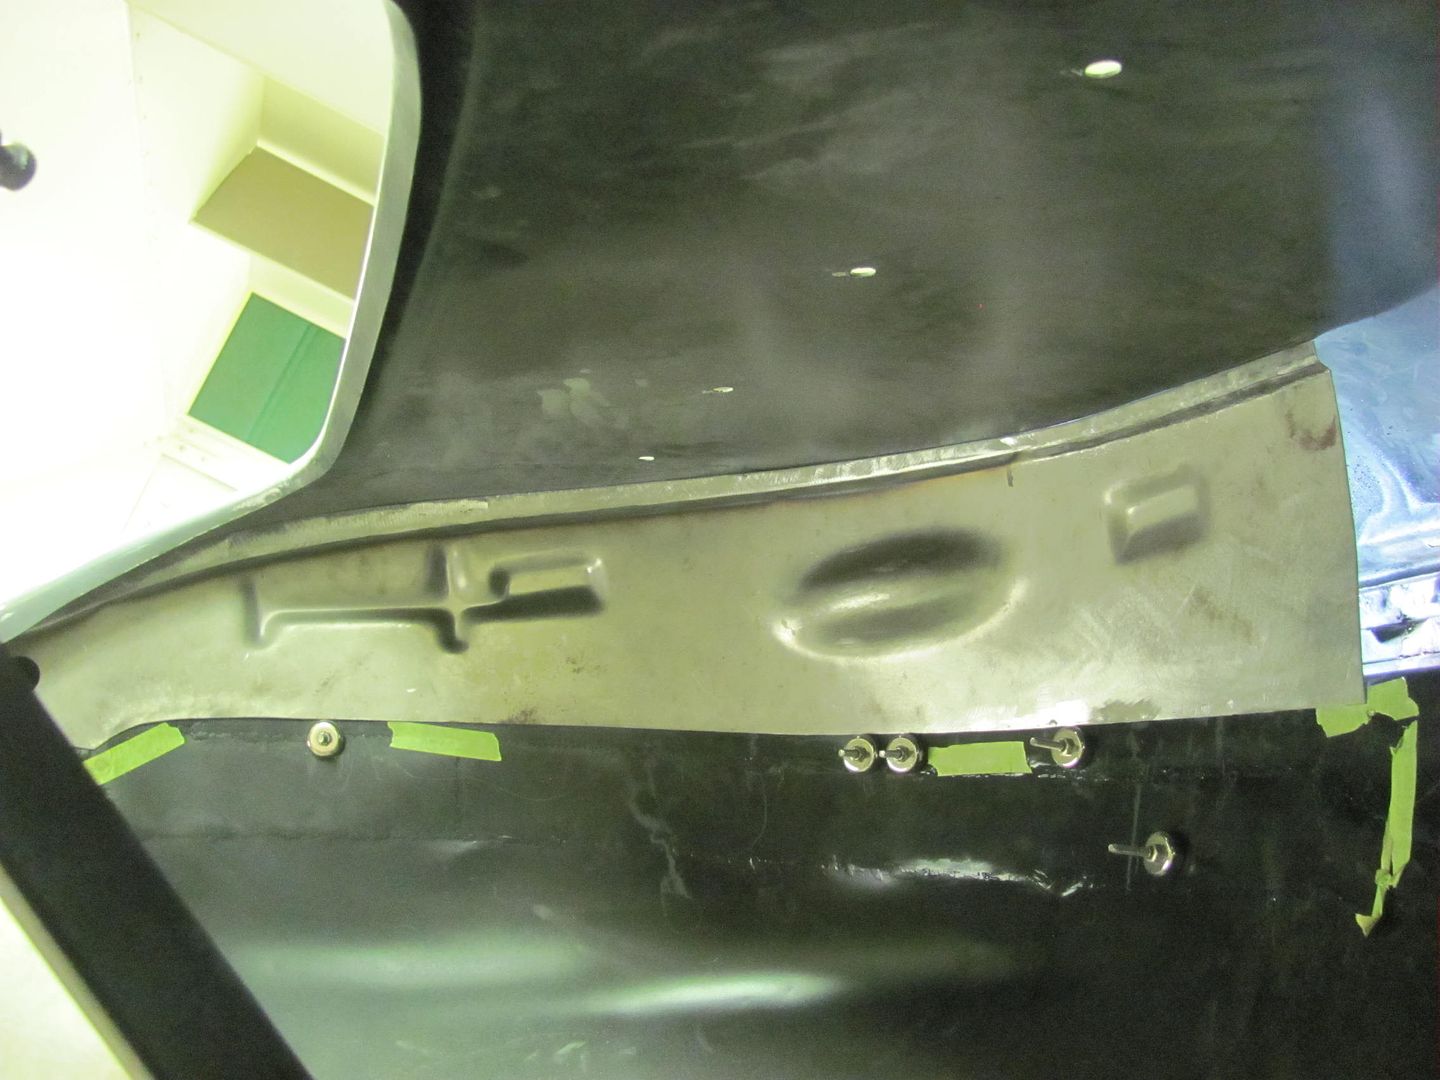
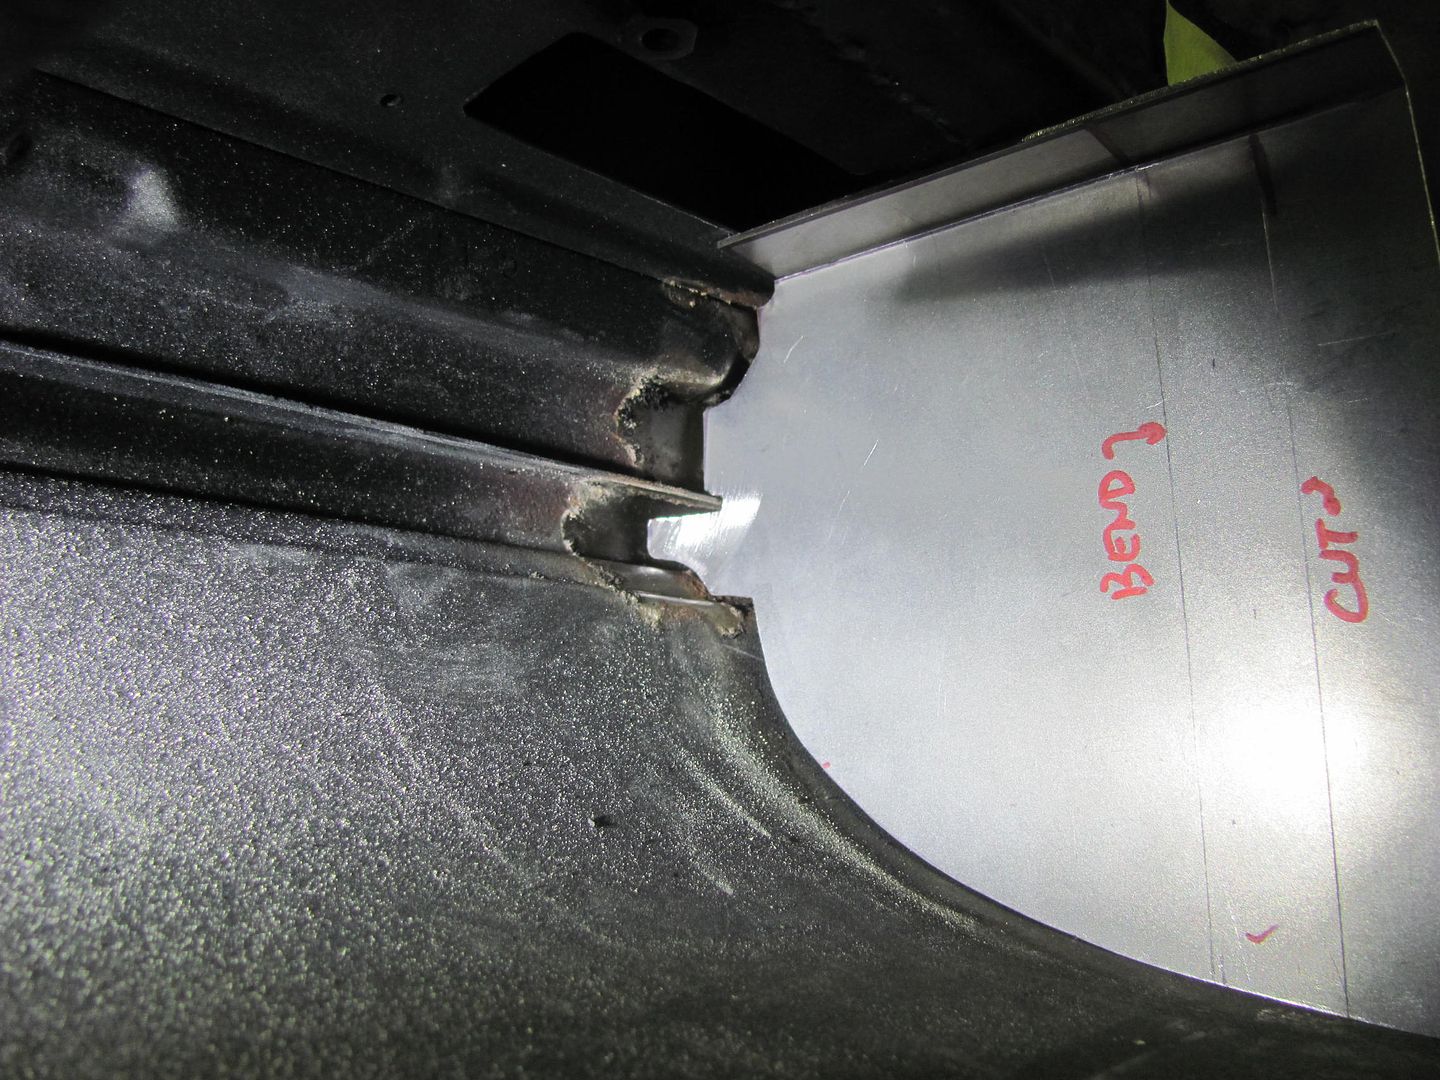
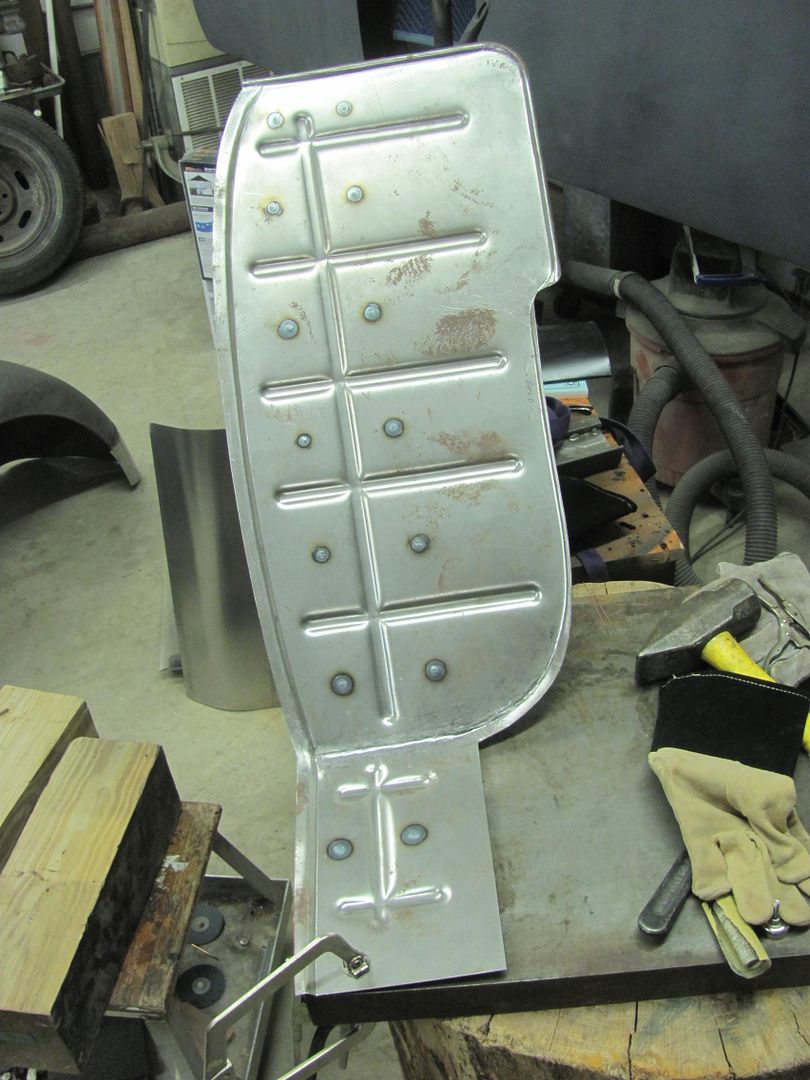
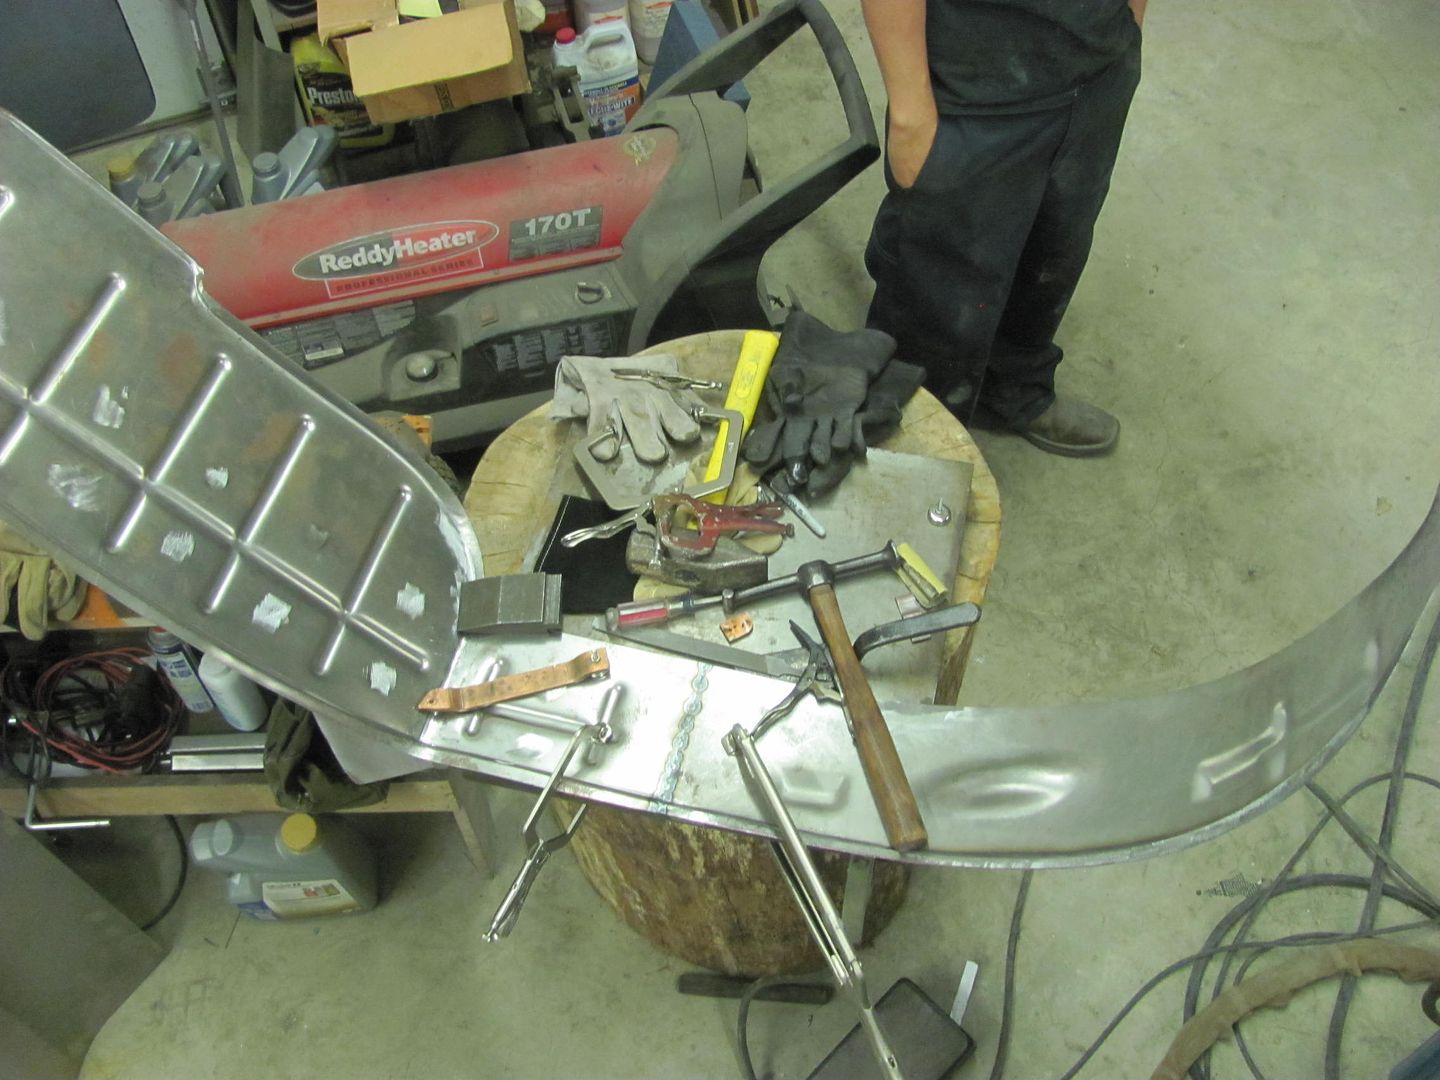
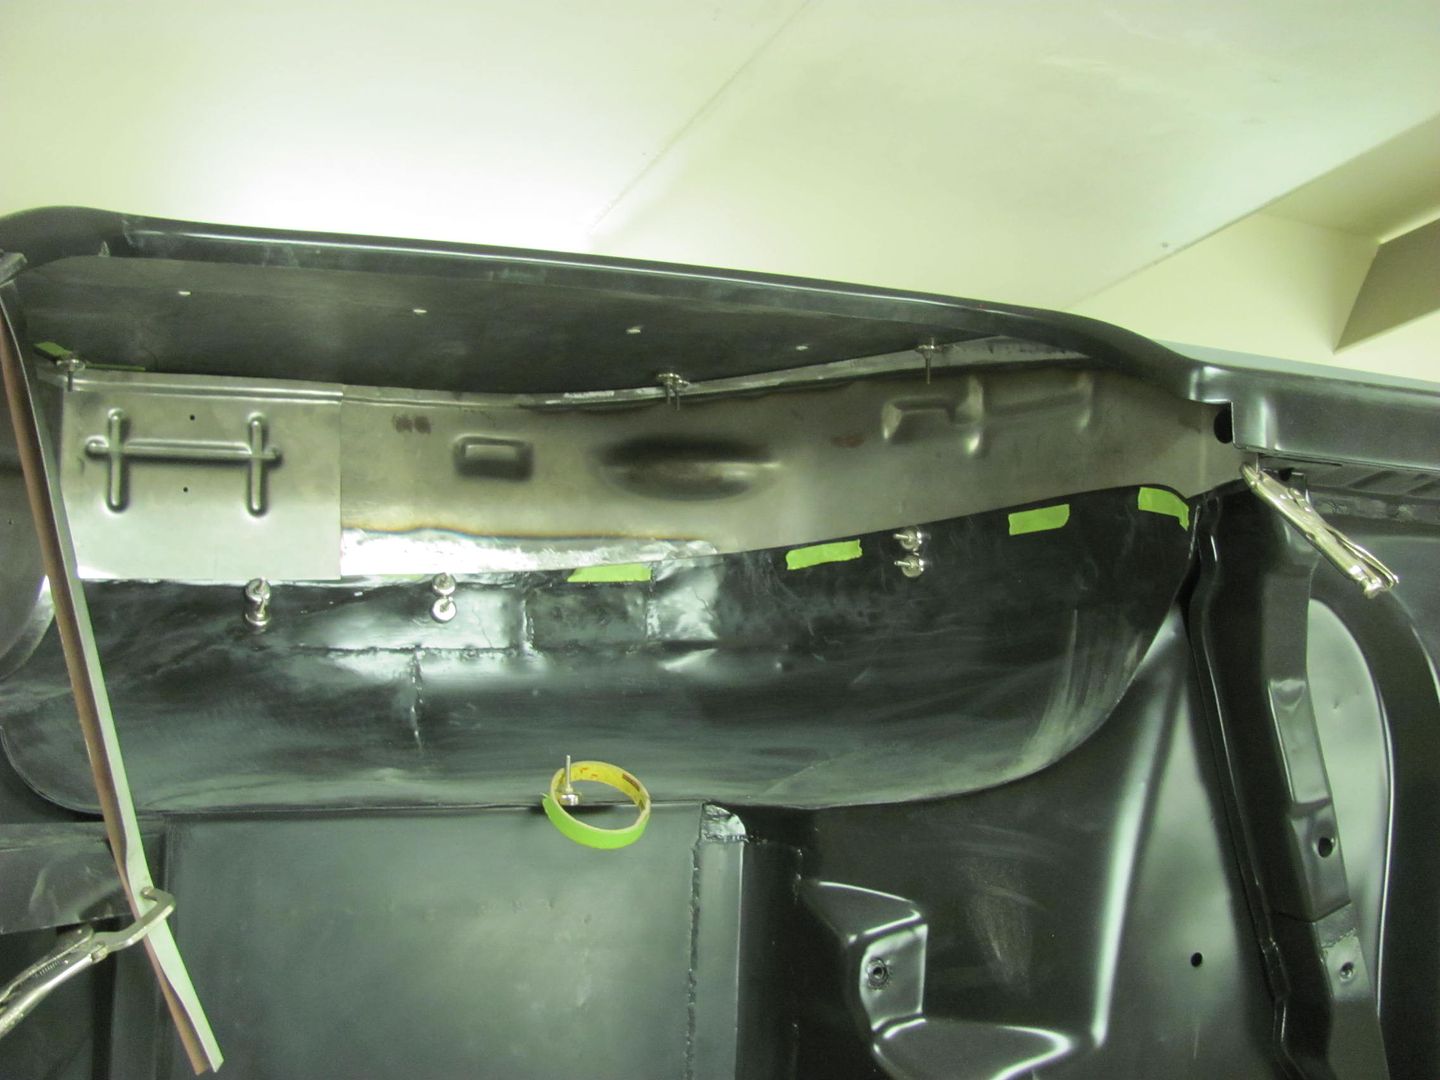
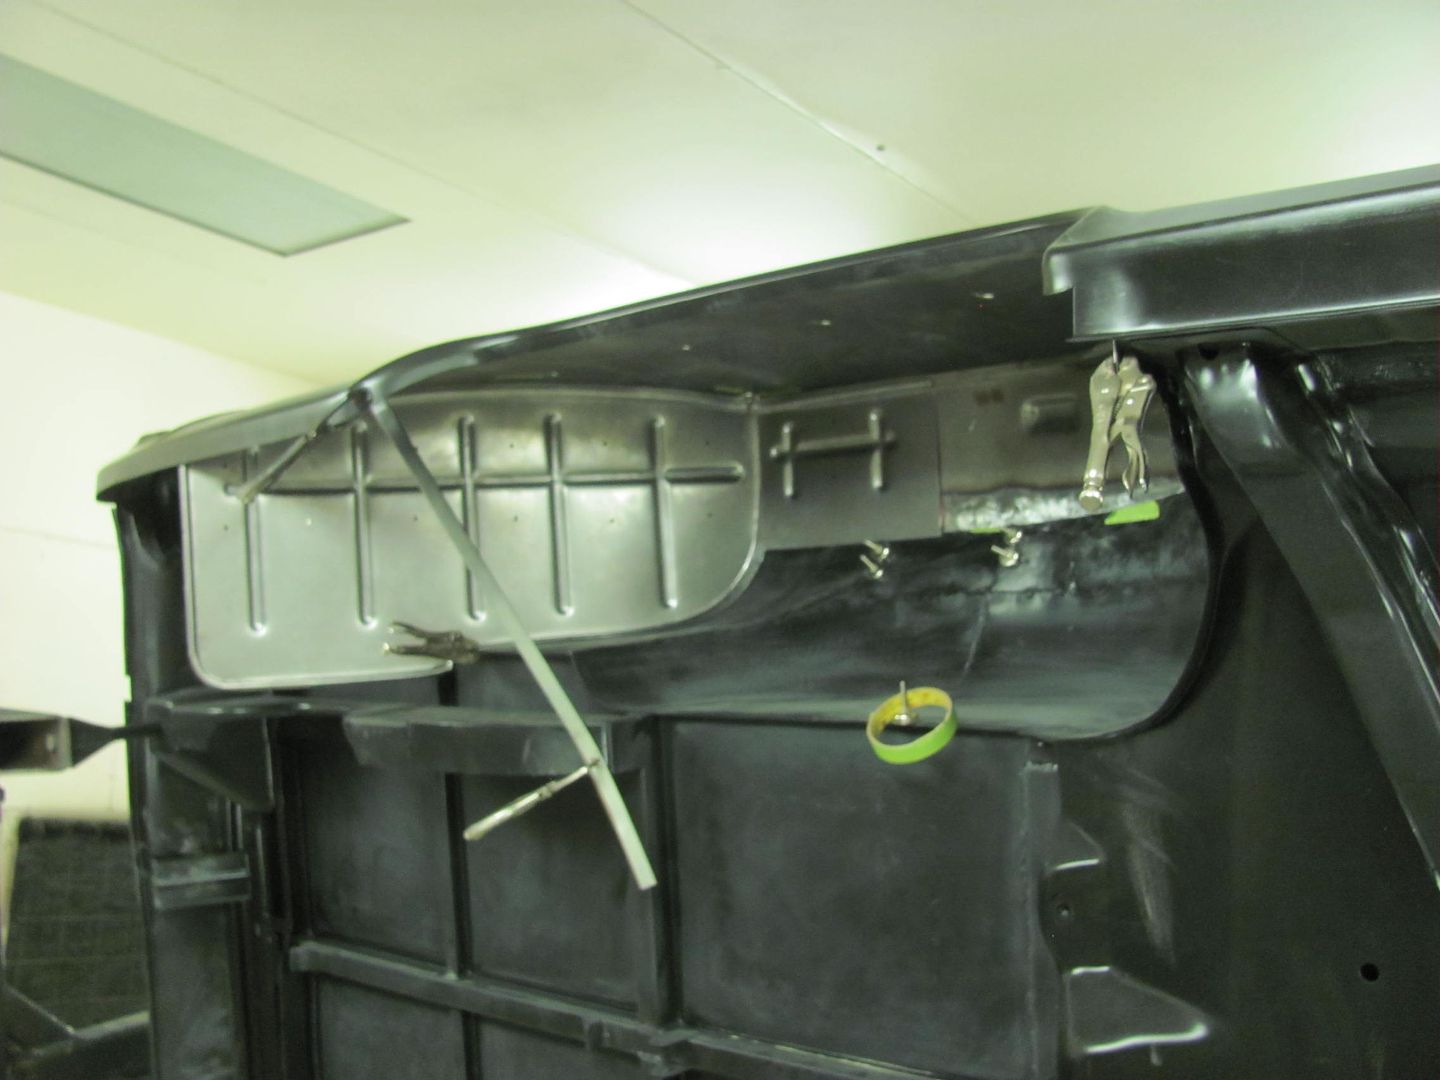
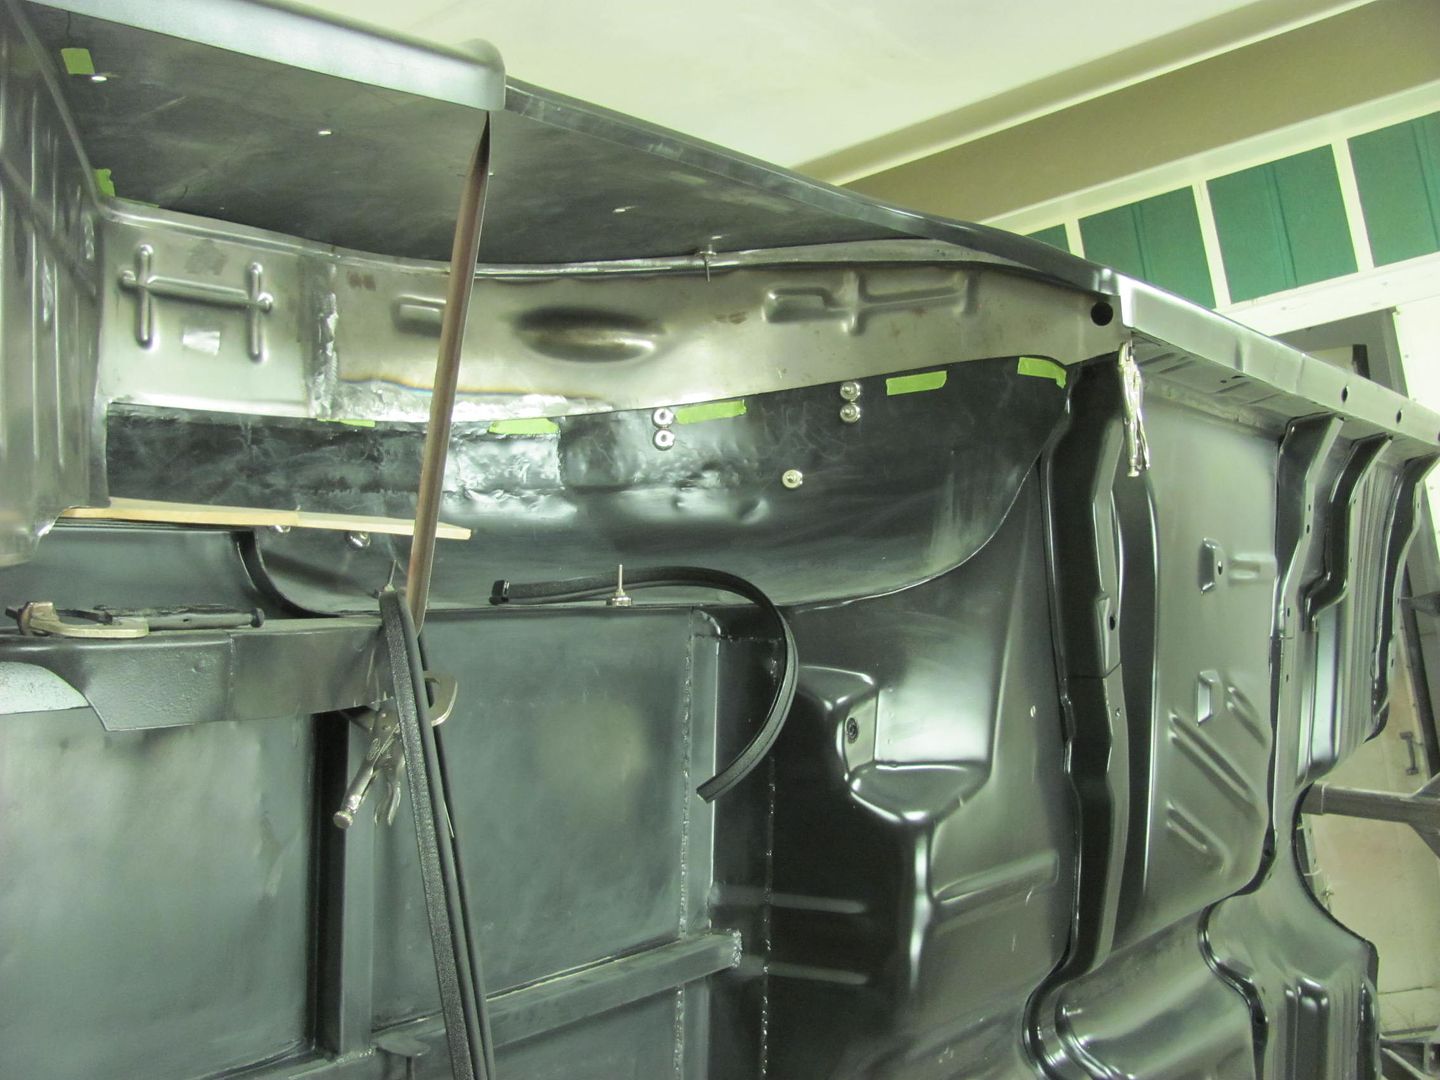
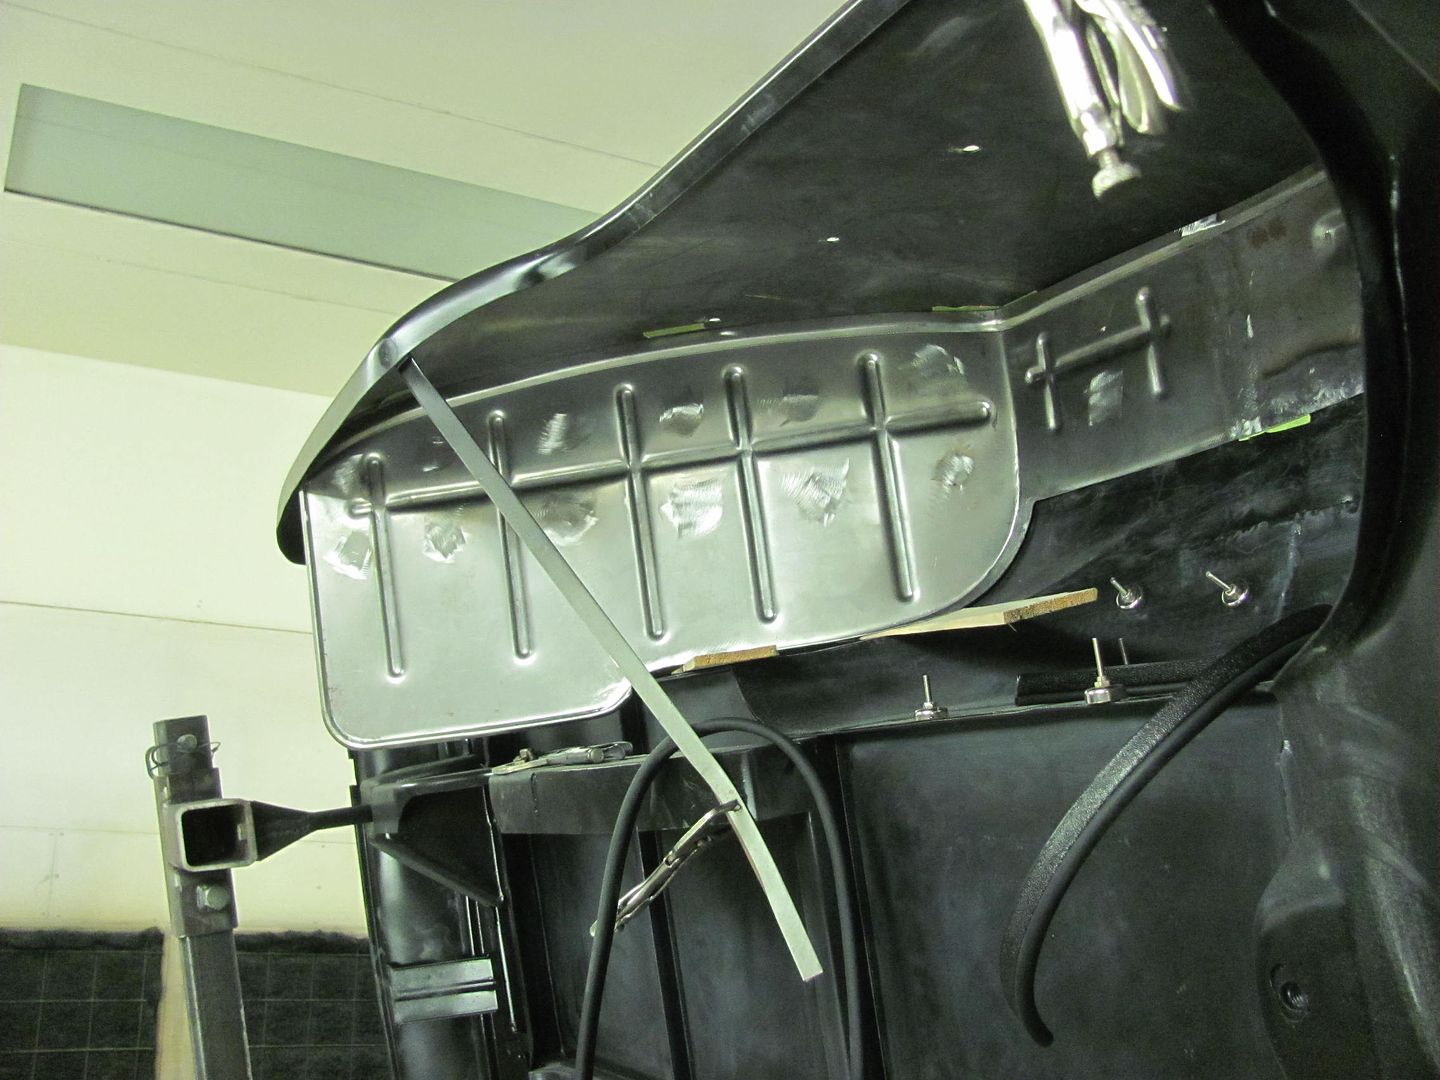
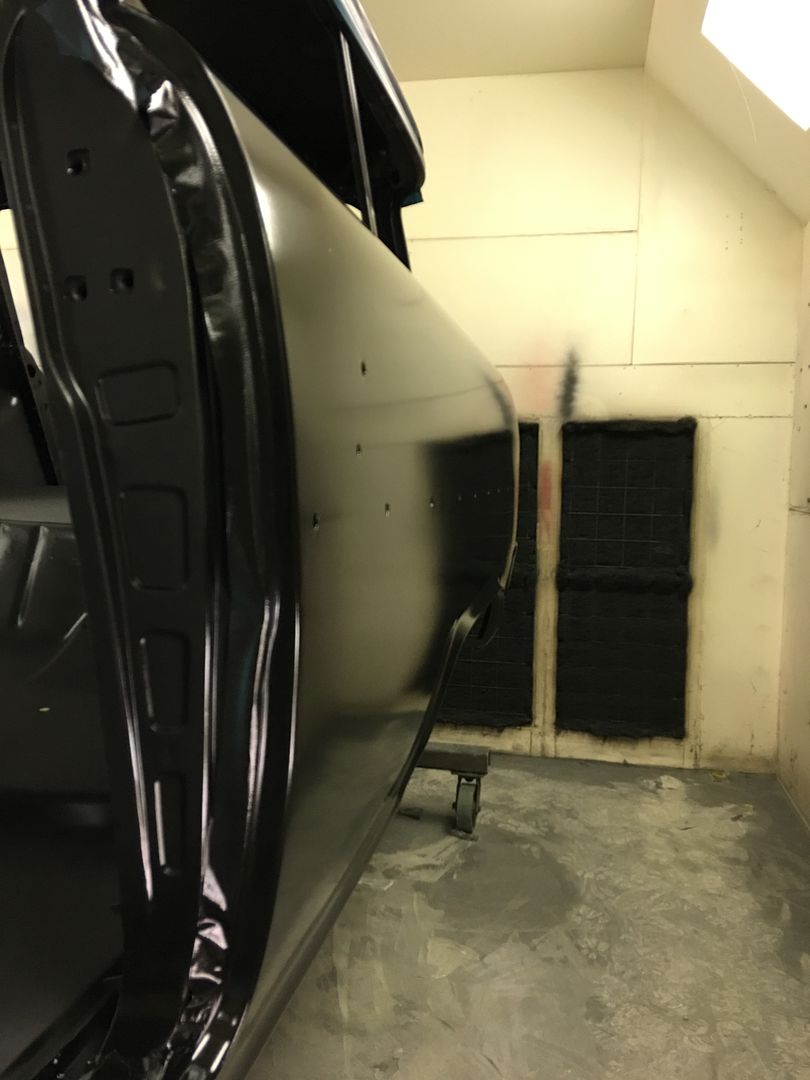
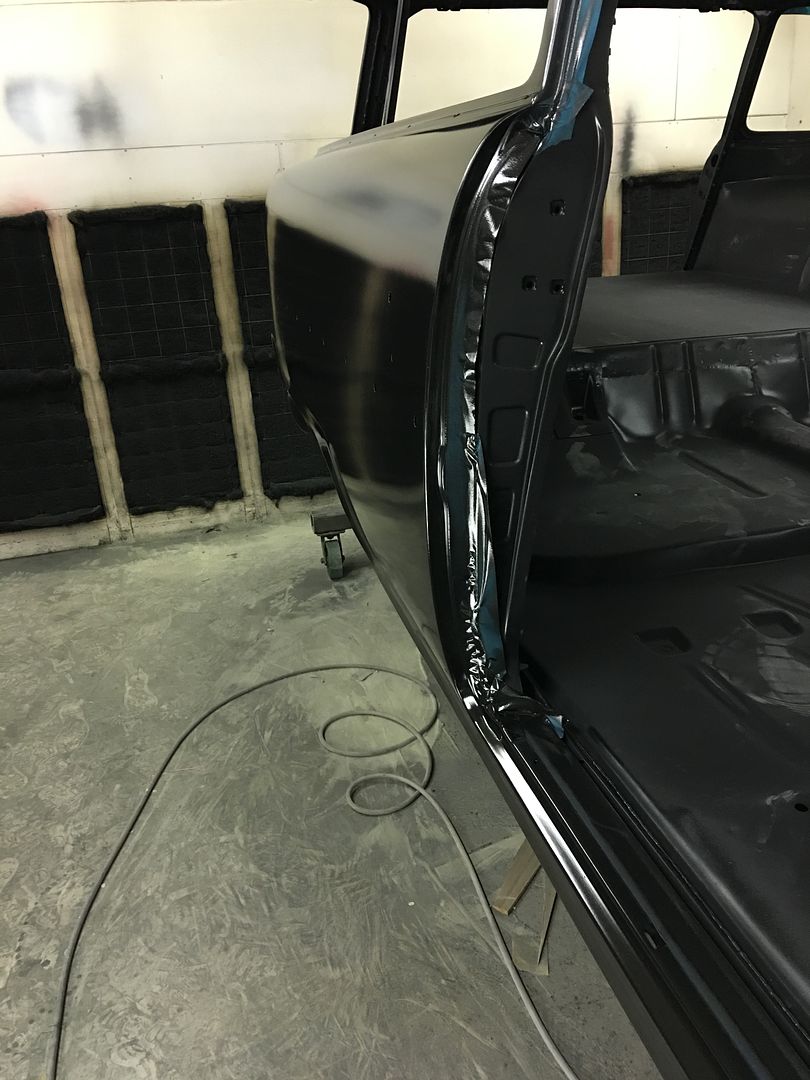
    Really nice work Robert. I only have one observation: Why does the lower flange lip face the front. I would think this will just be a place to catch dirt etc. I know it is easy to make it that way so the upper section can be spot welded to the inner wheel housing. You could have changed the direction where it stops and reverse it.......maybe even still.

    You must be getting 5.00 per hour or the owner is very good friend

  2. #352
    Registered Member MP&C's Avatar
    Join Date
    Dec 2013

    Member #:2017
    Location
    Southern MD
    Posts
    1,293
    Thanks for the comments guys. Laszlo, although it may seem that long, especially from my point of view, I don't think we've quite reached that yet. Mikey, I did look at the option of putting the flange to the rear, but did not think changing direction in mid stream would look very well, plus sealing the overhead portion as shown will require the same process as to the rear. We plan on seam sealer, another coat of epoxy, and Linex inside the wheel wells as well as coating the underside of the car.


    Finishing up on our drivers side wheel well today. The front "modified" reproduction is trimmed and fitted. A light is put behind it to check for gaps...


    The baffle that sits above the wheel well is made differently as well, this time using a piece of 16 ga cold rolled steel, and trimmed to fill the void. We left a slight gap that we plan on sealing with seam sealer.


    Shown here with bulb seal against the quarter....


    The trouble with the factory version of sealing above the baffle is that the expanding foam encapsulates the surrounding area, to include surrounding the slot for trim hardware. It is here that water intrudes, and is held against the quarter causing rust.


    Our version will leave this hole unobstructed so that any water intrusion that may occur will pass on through.

    Now to fill in our screw holes that held together the "MDF Sandwich" that we used for beading the panel. A piece of 1/4" thick X 1" copper flat bar is used as a backer, I find it leaves the back side of the weld much cleaner than using flattened copper pipe.


    Video version:

    https://www.youtube.com/watch?v=H2k5_RqRnzc


    With the front and rear sections having been fitted and trimmed for a butt weld, next we tack the panels together with the TIG..


    Now we have a one piece wheel well, no overlap joints to trap moisture and start rust, as the originals had done.


    One piece wheel well test fitted using the bulb seal....

    https://www.youtube.com/watch?v=ViIPhYNsEb0

    Moving on to the passenger side, both front and back are trimmed and test fitted. Some minor tweaks and we will be ready to trim for a butt weld and TIG these together next time..


    Last edited by MP&C; 10-01-2016 at 08:04 PM.
    Robert


    MP&C Shop Projects-Metalshaping Tutorials


    Instagram @ mccartney_paint_and_custom


    .

  3. #353
    Registered Member
    Join Date
    Jun 2015

    Member #:2581
    Posts
    111
    Better then factory. Good job!

  4. #354
    Registered Member bfalfa55's Avatar
    Join Date
    Sep 2016

    Member #:3138
    Posts
    21
    That is just steel artwork ! You make it look easy. Great skills !

  5. #355
    Registered Member MP&C's Avatar
    Join Date
    Dec 2013

    Member #:2017
    Location
    Southern MD
    Posts
    1,293
    Thanks for the kind words guys.


    Progress from this past week.. Kyle got started on media blasting the drivers side wheel well and I "assembled" the two components for the passenger side..


    We plan on epoxy primer on these prior to installation, so the media blasted surface will give a good bite for the primer.
    Here's the test fit of the assembled passenger side wheel well...


    Next, the road trip on Friday.. To preface, a couple weeks ago someone had posted a link showing a Baileigh English wheel on eBay (the big one). In the background was one of the Baileigh power hammers. So I called the contact number in the ad, asked if the hammer was available, which he said yes. He gave me a price, asked for a deposit, and this past Friday was the pick up day. I left the house at 1:45 am, picked up my nephew Chris, and drove to CT. Got it loaded up, made it back to the house by 10 pm, quite a long day. Wait....it's supposed to rain tomorrow, let's unload! So we got it off the trailer and inside by 11. Saturday, after sleeping in, was spent locating a spot for the machine, hooking up power, and trying it out on some scrap metal..


    Excited to have this additional capability in the shop.
    Robert


    MP&C Shop Projects-Metalshaping Tutorials


    Instagram @ mccartney_paint_and_custom


    .

  6. #356
    Registered Member MP&C's Avatar
    Join Date
    Dec 2013

    Member #:2017
    Location
    Southern MD
    Posts
    1,293
    Was working on finishing blocking roof and quarters Saturday when the high winds took out the power for a couple hours.. Not to be deterred, the Milwaukee flashlight comes to the rescue...


    Power came back on just after lunch and we got the next dose of Epoxy applied. These sure are some long quarters, I think I'll try a Yugo for the next project, shouldn't need anywhere near the paint prep...


    or the video version:

    https://www.youtube.com/watch?v=06HesZWWT5I

    .
    Robert


    MP&C Shop Projects-Metalshaping Tutorials


    Instagram @ mccartney_paint_and_custom


    .

  7. #357
    Registered Member chevynut's Avatar
    Join Date
    Nov 2011

    Member #:115
    Location
    Fort Collins, CO
    Posts
    10,854
    It sure is nice that the SPI epoxy has some shine to it so you can see your progress and how flat the panel is. The "built-in guide coat" is nice too.
    56 Nomad, Ramjet 502, Viper 6-speed T56, C4 Corvette front and rear suspension


    Other vehicles:

    56 Chevy 2-door BelAir sedan
    56 Chevy 210 4-door sedan
    57 Chevy 210 4-door sedan
    1962 327/340HP Corvette
    1961 Willys CJ3B Jeep
    2001 Porsche Boxster S
    2003 Chevy Silverado 2500 HD Duramax
    2019 GMC Sierra Denali Duramax

  8. #358
    Registered Member MP&C's Avatar
    Join Date
    Dec 2013

    Member #:2017
    Location
    Southern MD
    Posts
    1,293
    I bought some of that 3M dry powder guide coat and have yet to use any....
    Robert


    MP&C Shop Projects-Metalshaping Tutorials


    Instagram @ mccartney_paint_and_custom


    .

  9. #359
    Registered Member
    Join Date
    Jun 2015

    Member #:2581
    Posts
    111
    Nice work Robert.

    Which color will the car be painted?

  10. #360
    Registered Member MP&C's Avatar
    Join Date
    Dec 2013

    Member #:2017
    Location
    Southern MD
    Posts
    1,293
    This is the first sprayout sample... we'll view these again tomorrow in the sunlight to see the true colors...

    Chrysler pewter over H/K organic green.


    https://www.youtube.com/watch?v=4GniinTcVDw


    https://www.youtube.com/watch?v=GgDecIZdv04
    Robert


    MP&C Shop Projects-Metalshaping Tutorials


    Instagram @ mccartney_paint_and_custom


    .

Page 36 of 102 FirstFirst ... 2634353637384686 ... LastLast

Posting Permissions

  • You may not post new threads
  • You may not post replies
  • You may not post attachments
  • You may not edit your posts
  •