Here's our paint sample with some sunlight added. The incremental lines to make the radius really show up, but quite a bit of pop in the sunlight..


Here's our paint sample with some sunlight added. The incremental lines to make the radius really show up, but quite a bit of pop in the sunlight..


Nice color Robert. Similar to the factory Neptune green I am planning but doesn't flip to blue as much...
Awesome color! looks like it would be hard to spray, easy to leave tiger stripes.
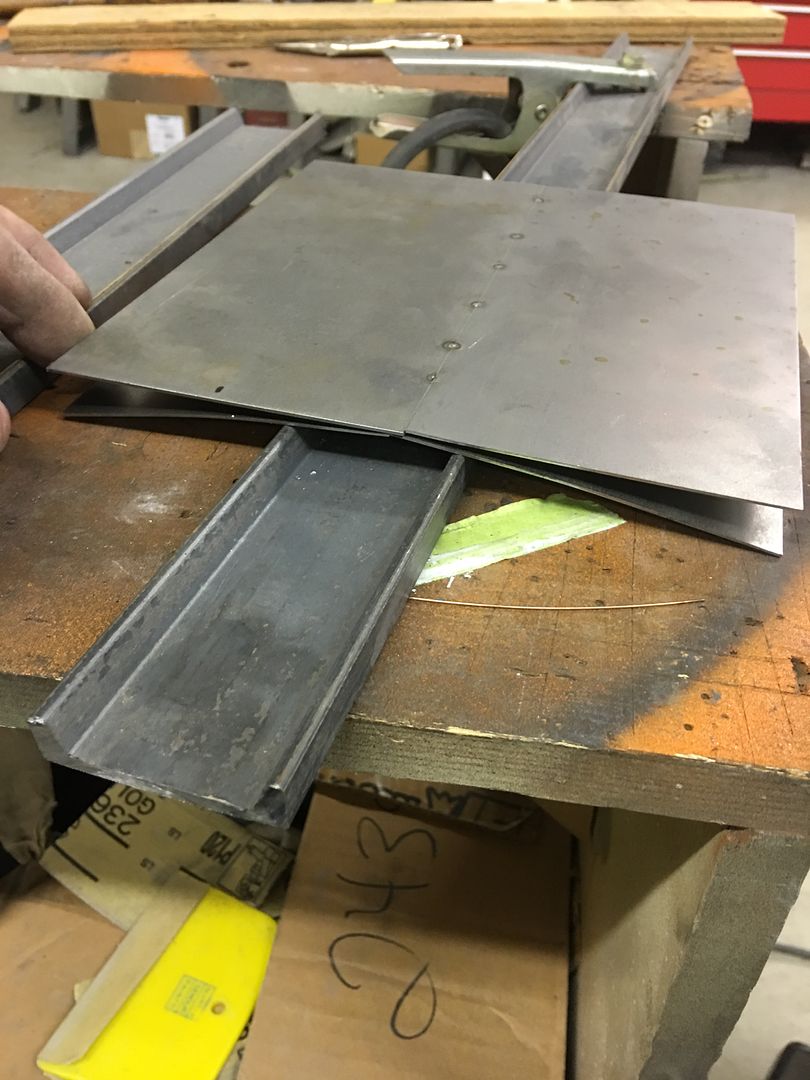
Started the evening off with some TIG practice, here tacking two panels together....
https://youtu.be/aTqQJoecqCw
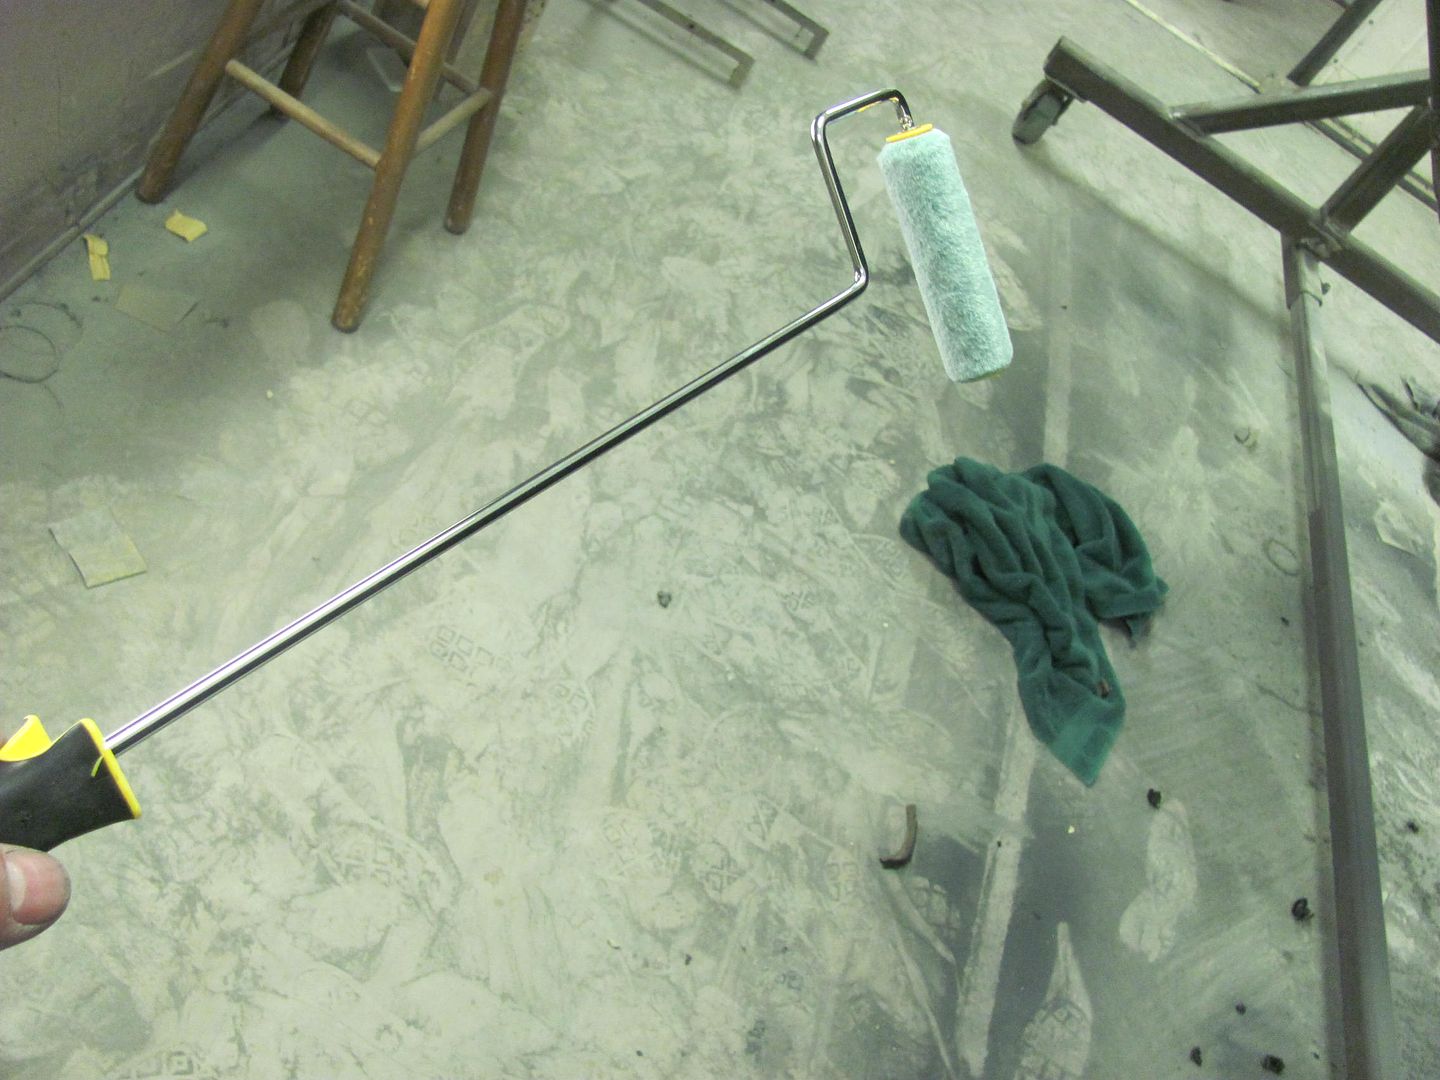
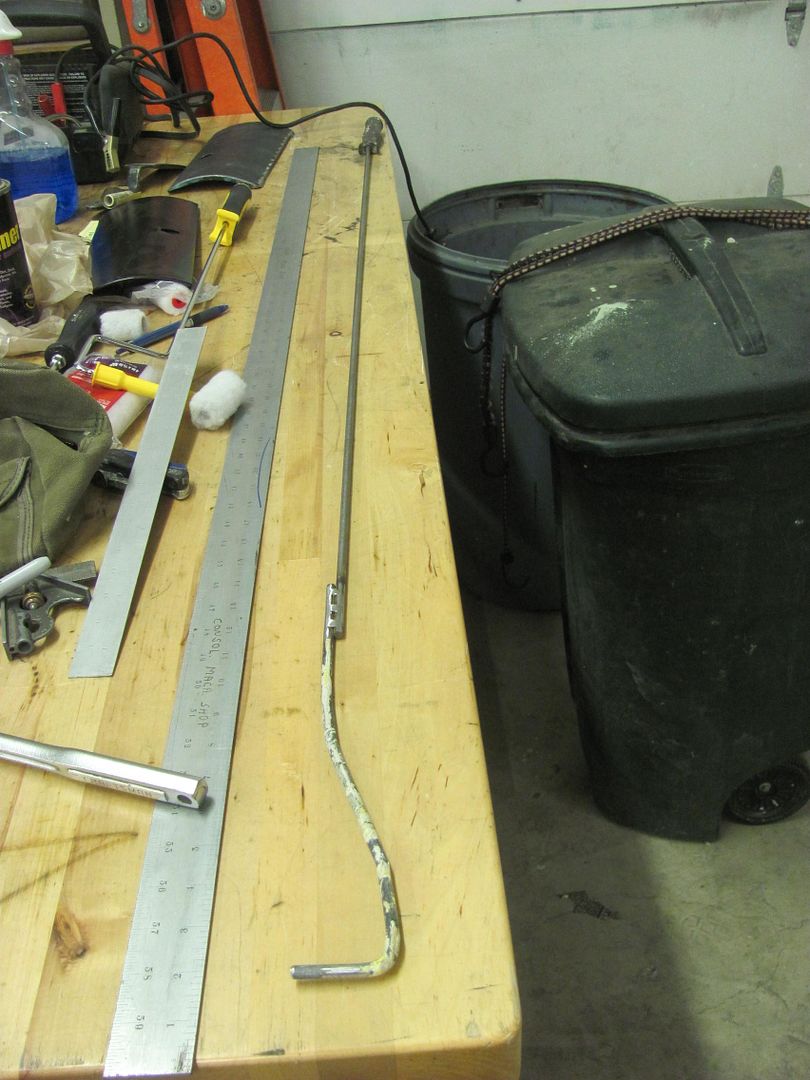
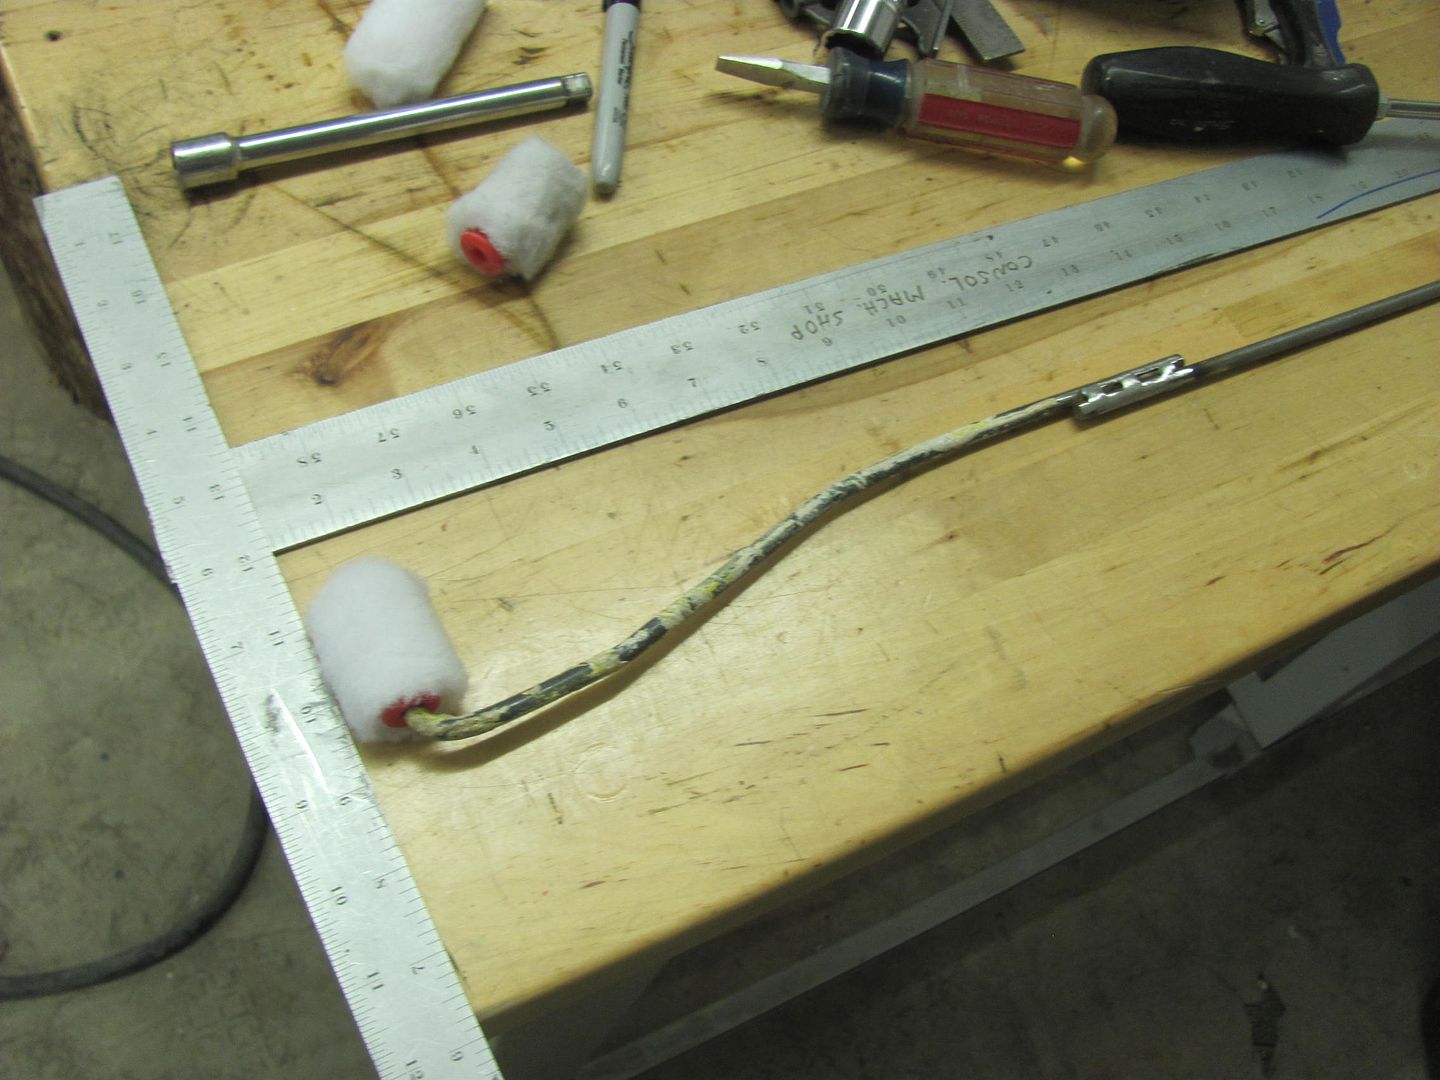
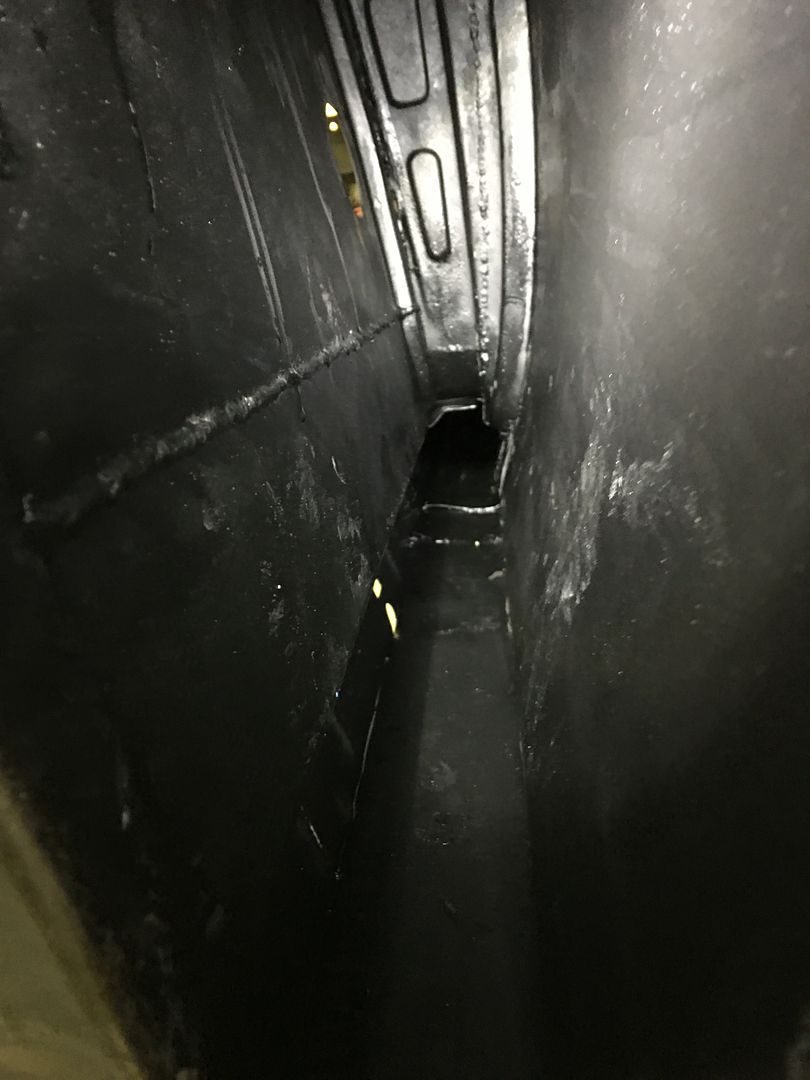
Next, to use our fancy dancy paint rollers, getting epoxy inside the rocker panels and inner quarter in prep for installing the wheel wells...
...and used a brush to cover the bare metal that was above the quarter panel's baffle..
There was a bit of overflow, or dust control shall we say.
One rocker down, one to go..
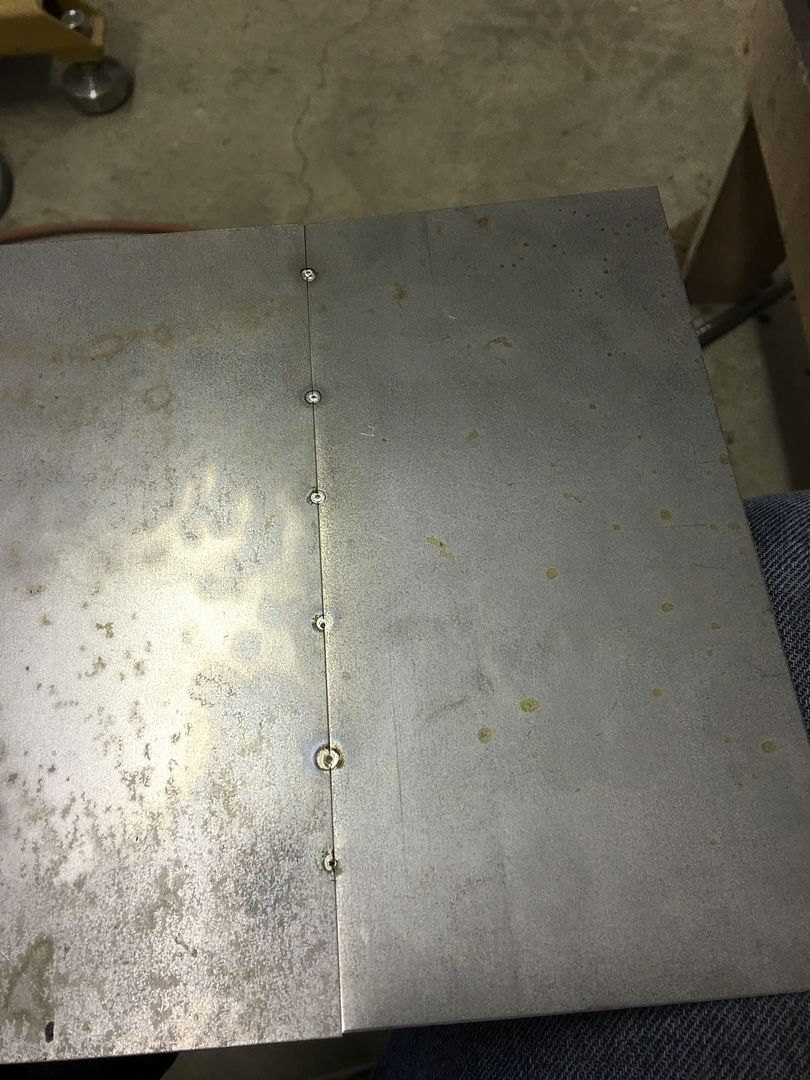
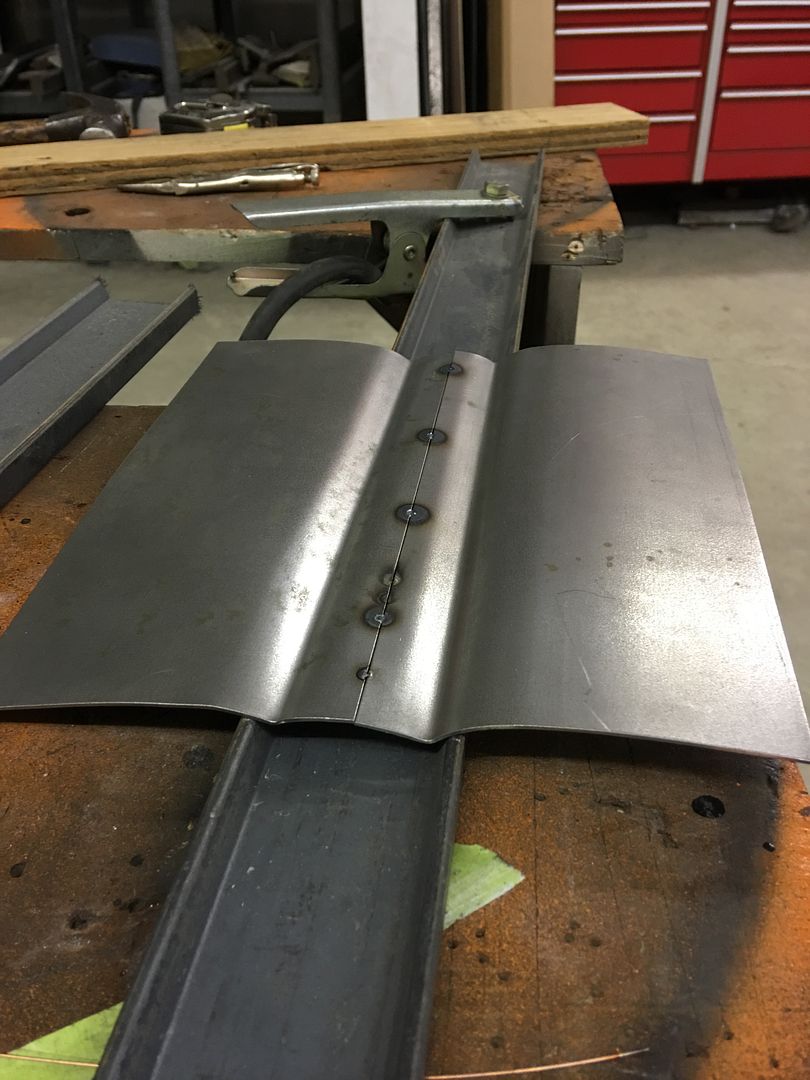
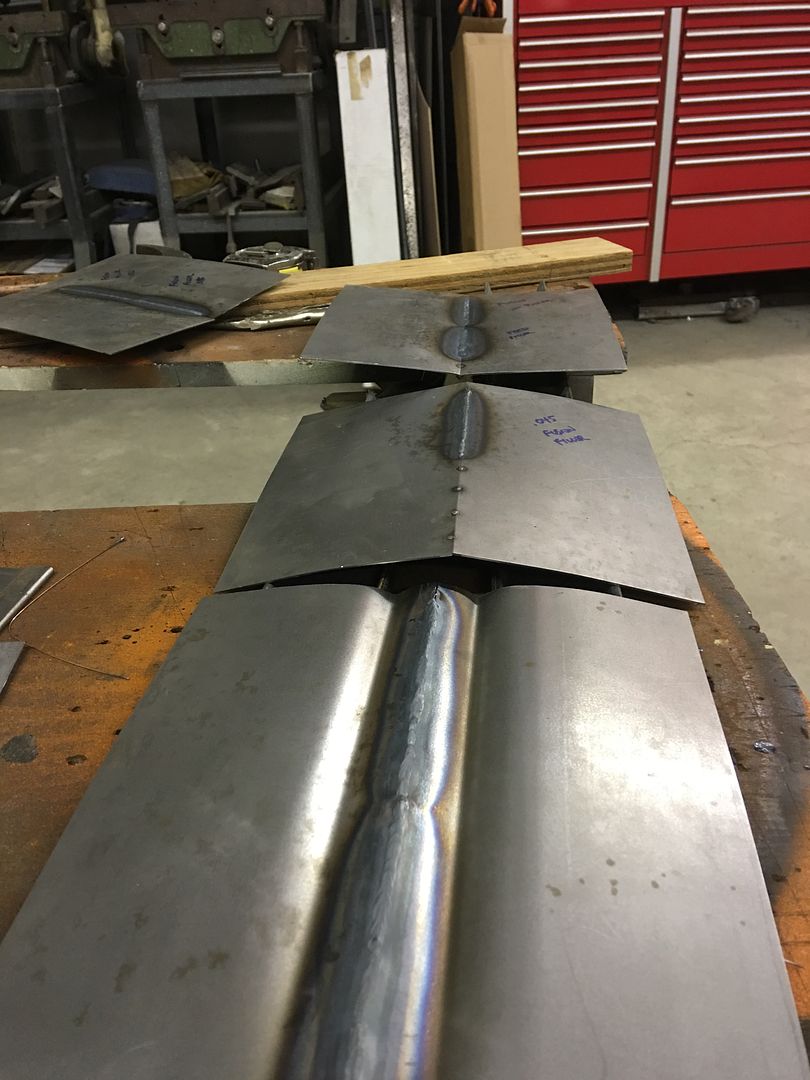
Welded some more TIG coupons last night. I had some questions about weld placement, so I decided to do some samples that mimicked various body shape types.
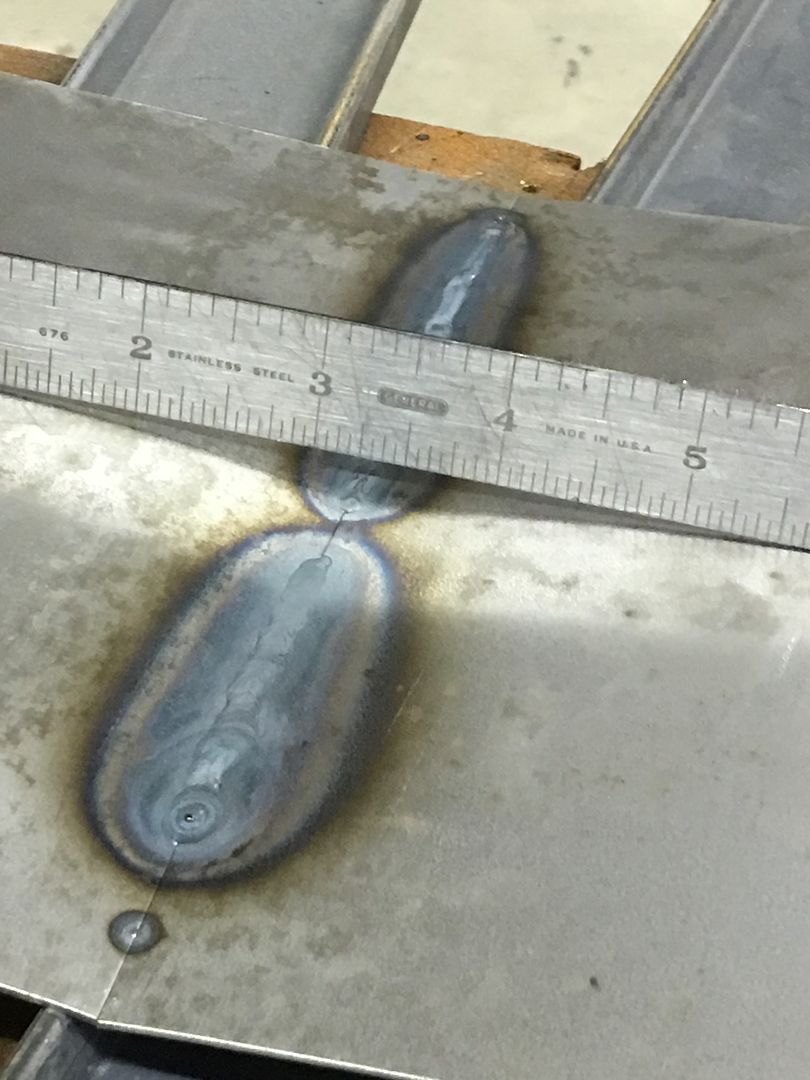
First, we have a flat version, this would simulate the flat area at the bottom of a door skin...
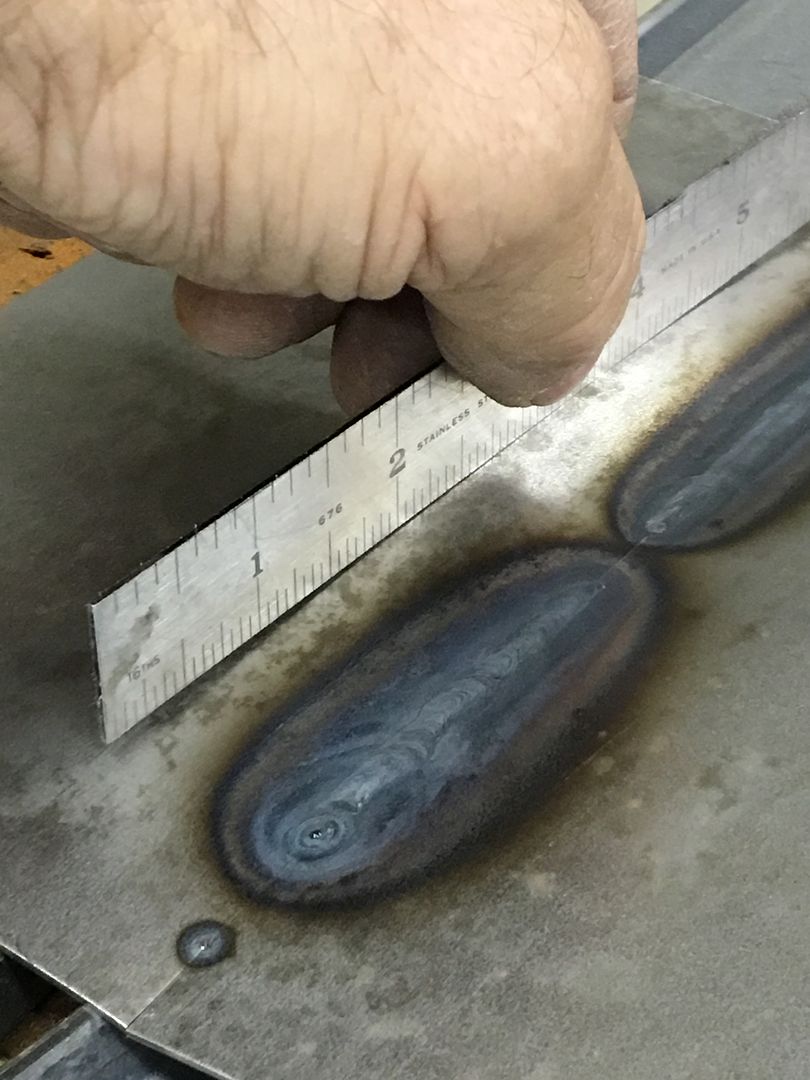
The second panel has more crown, such as toward the top of a quarter/door skin....
Comparing the two...
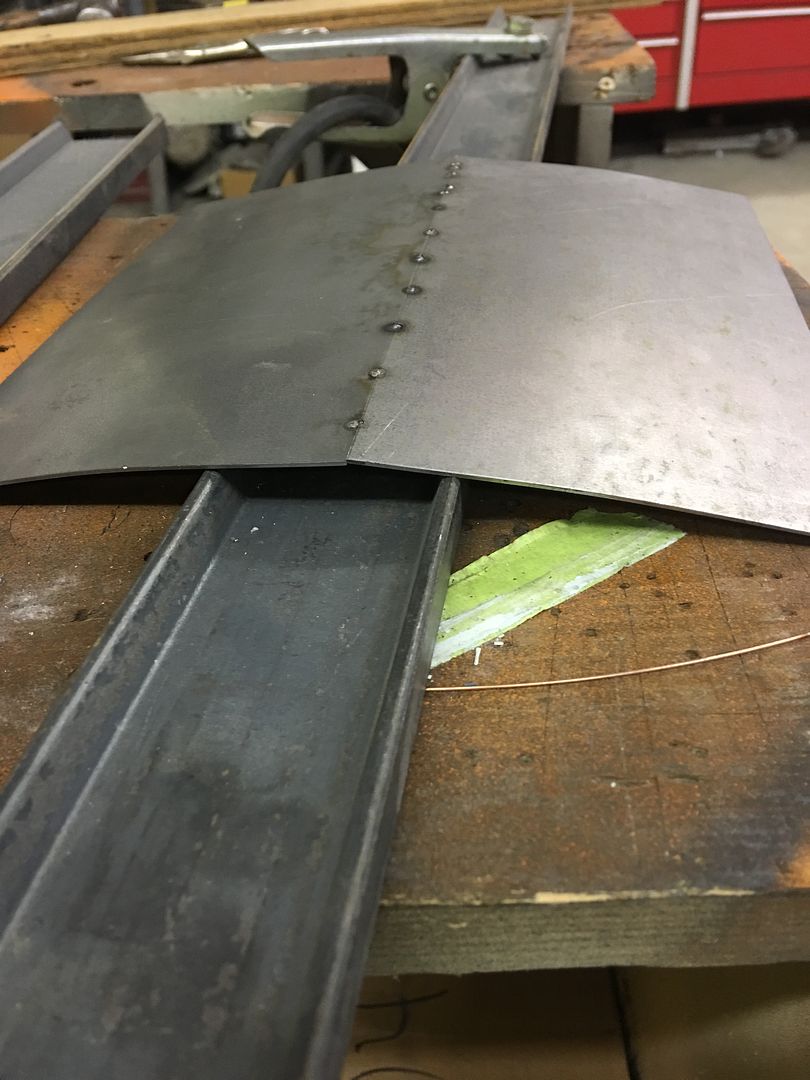
Next, we have a repair piece that is joined at the beltline bead...
The flat area distorts quite a bit... Normally we would planish the weld after cooling to remove this distortion, but here it was left to better compare distortion amounts..
Looking at the three samples, the flat one moves/distorts the most. The crowned panel a bit less, the beltline bead even less..
This helps to show the benefit of weld seam locations, we should select anything but the low crown/flat areas if at all possible.. The crowned areas or those with beltline bead details will help to hold any distortion in check.

Kool!
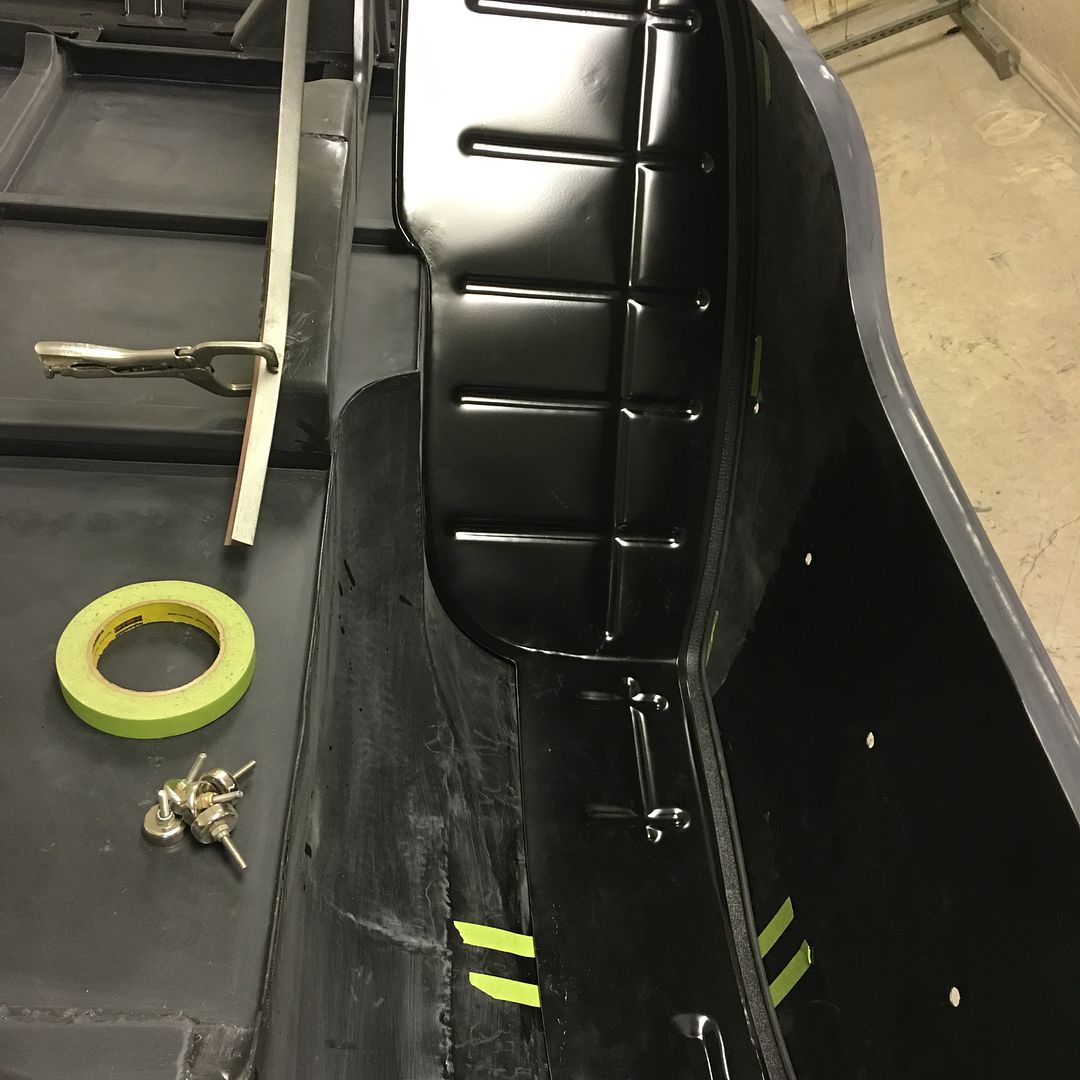
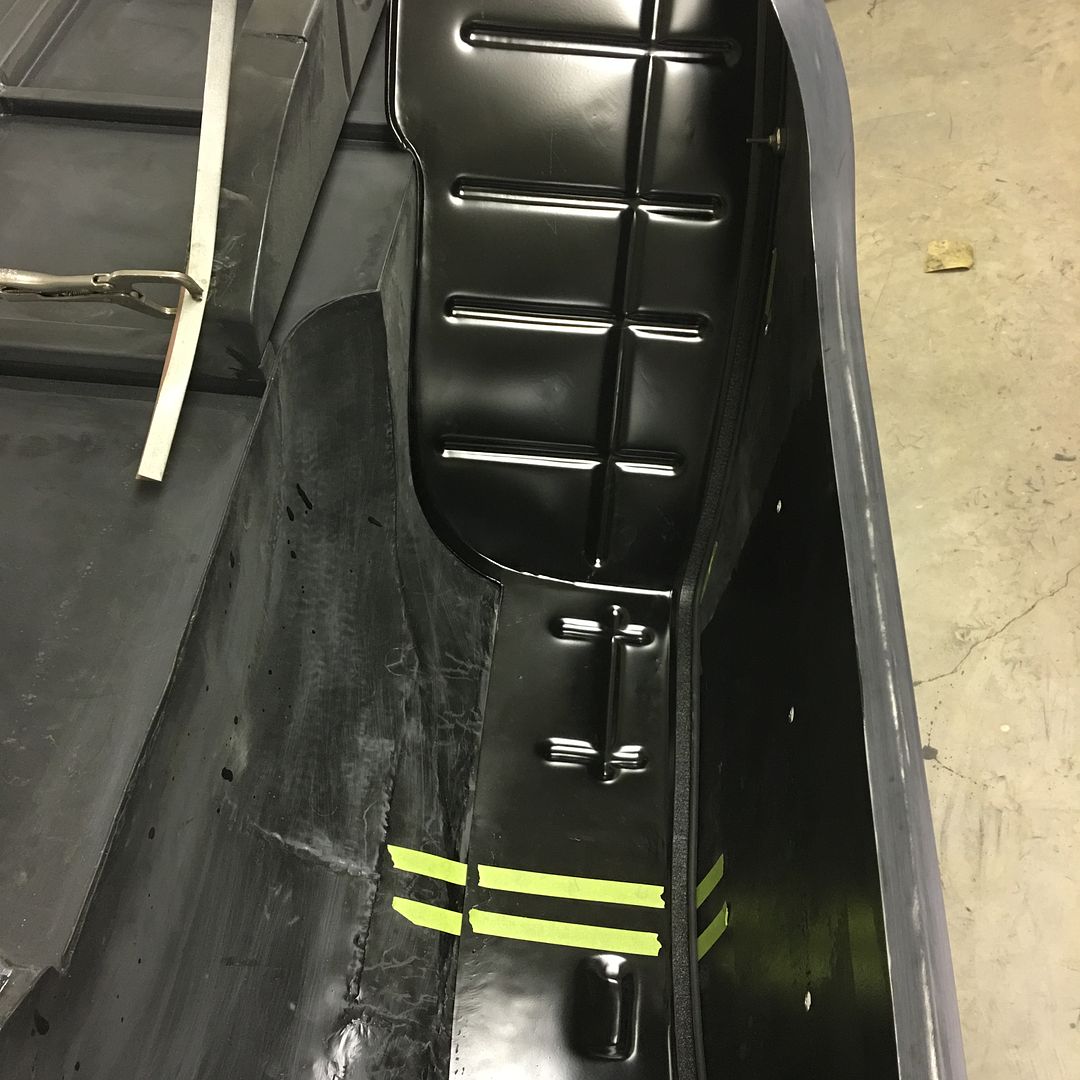
With the rockers and inner quarters covered with some SPI epoxy primer, tonight we'll get the quarter panel baffles welded in place so we can install the wheel wells.
Here's our home-made baffles, these were made from 16 gauge cold rolled steel:
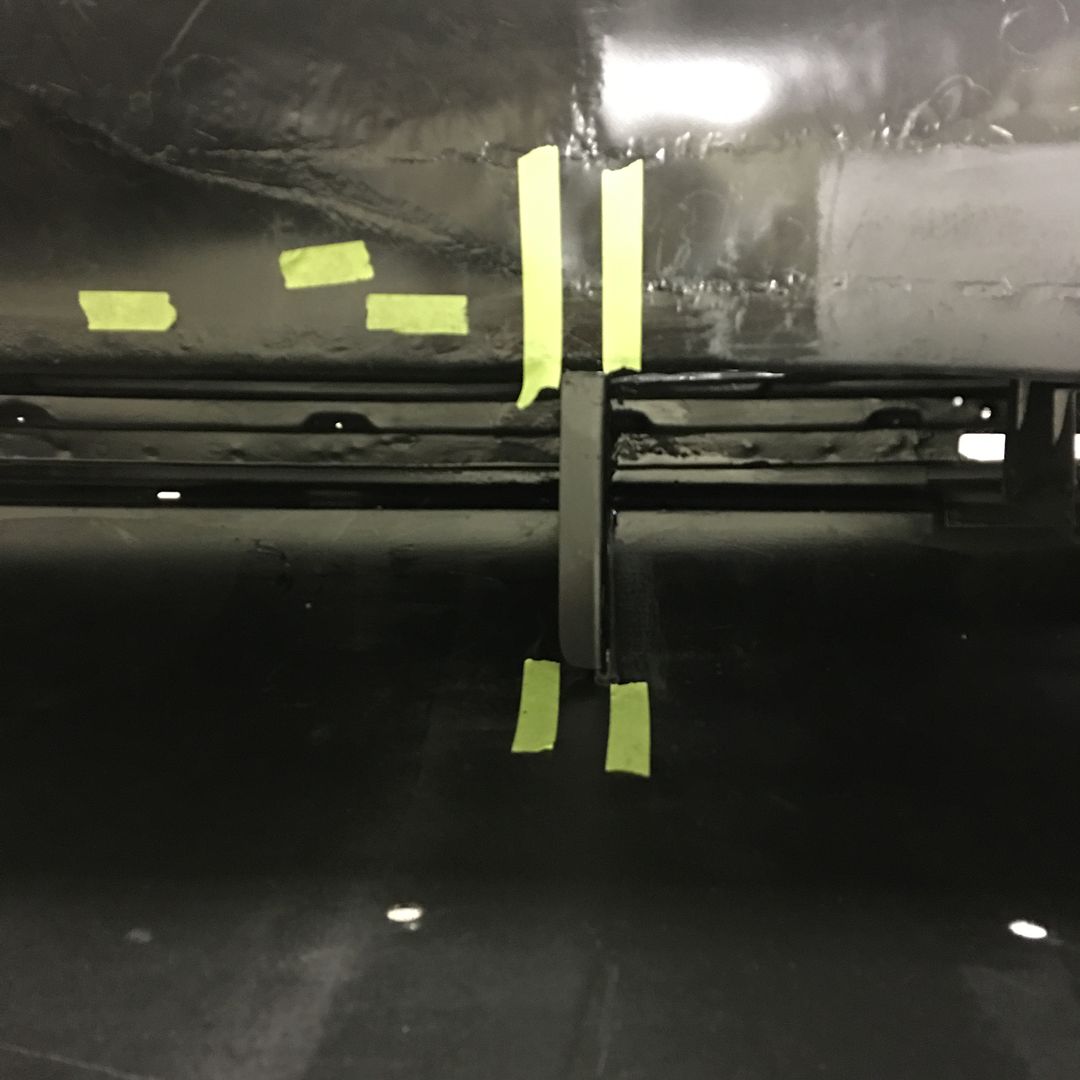
Primer cleaned off for the plug weld holes..
Kyle plug welding:
https://www.youtube.com/watch?v=_AIDbEy_uLc
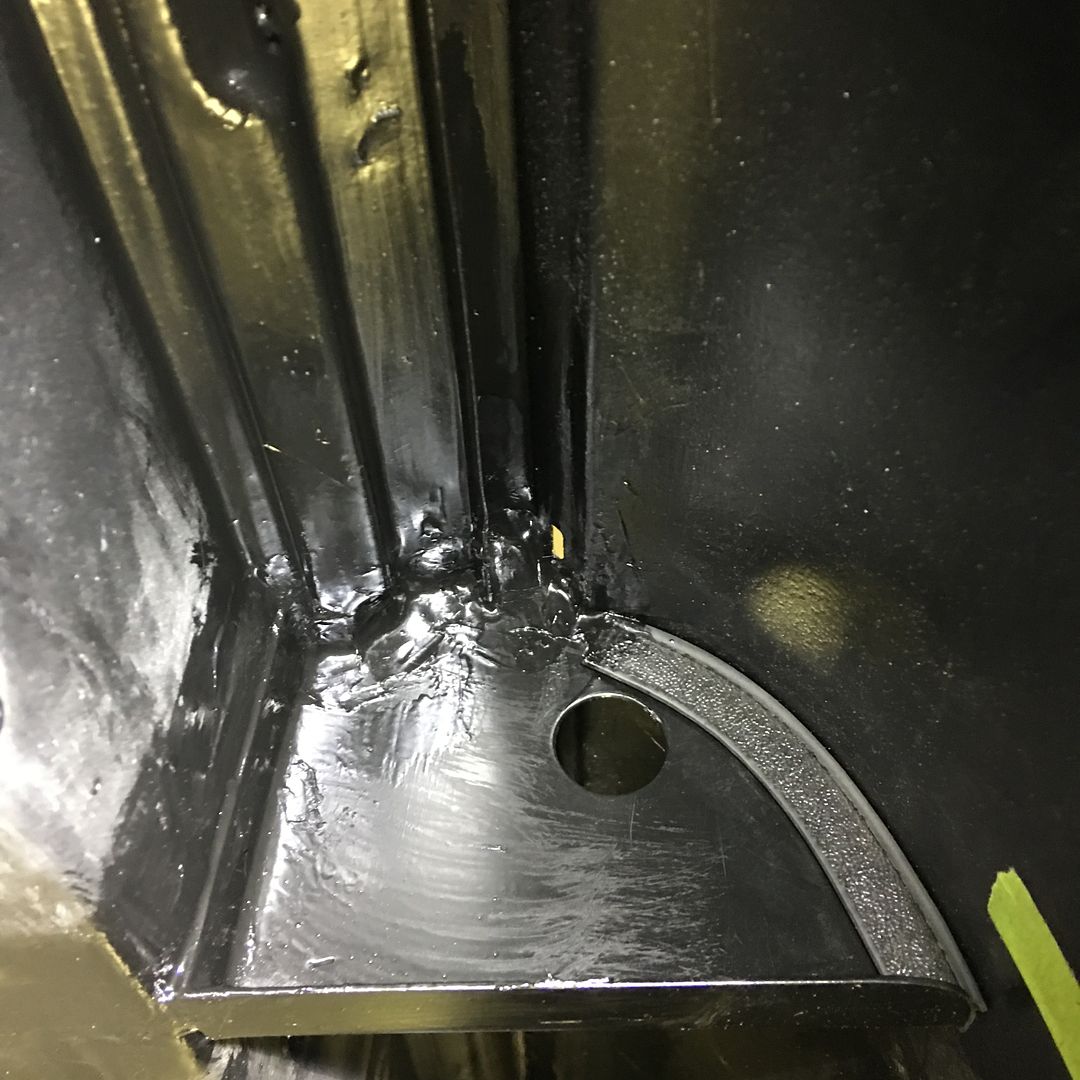
Now plug welded in, we'll clean up these welds tomorrow evening, epoxy prime and seam seal around the top profile of the baffle inside the window extrusion area.

Last edited by MP&C; 12-07-2016 at 04:11 AM.
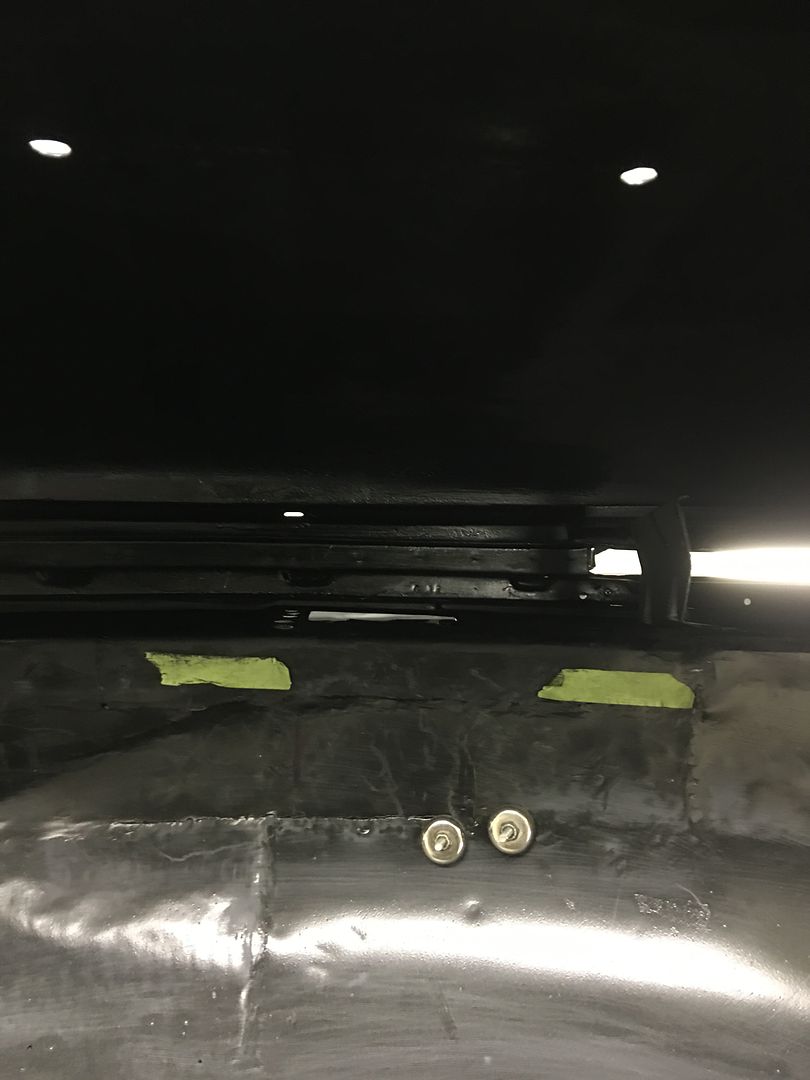
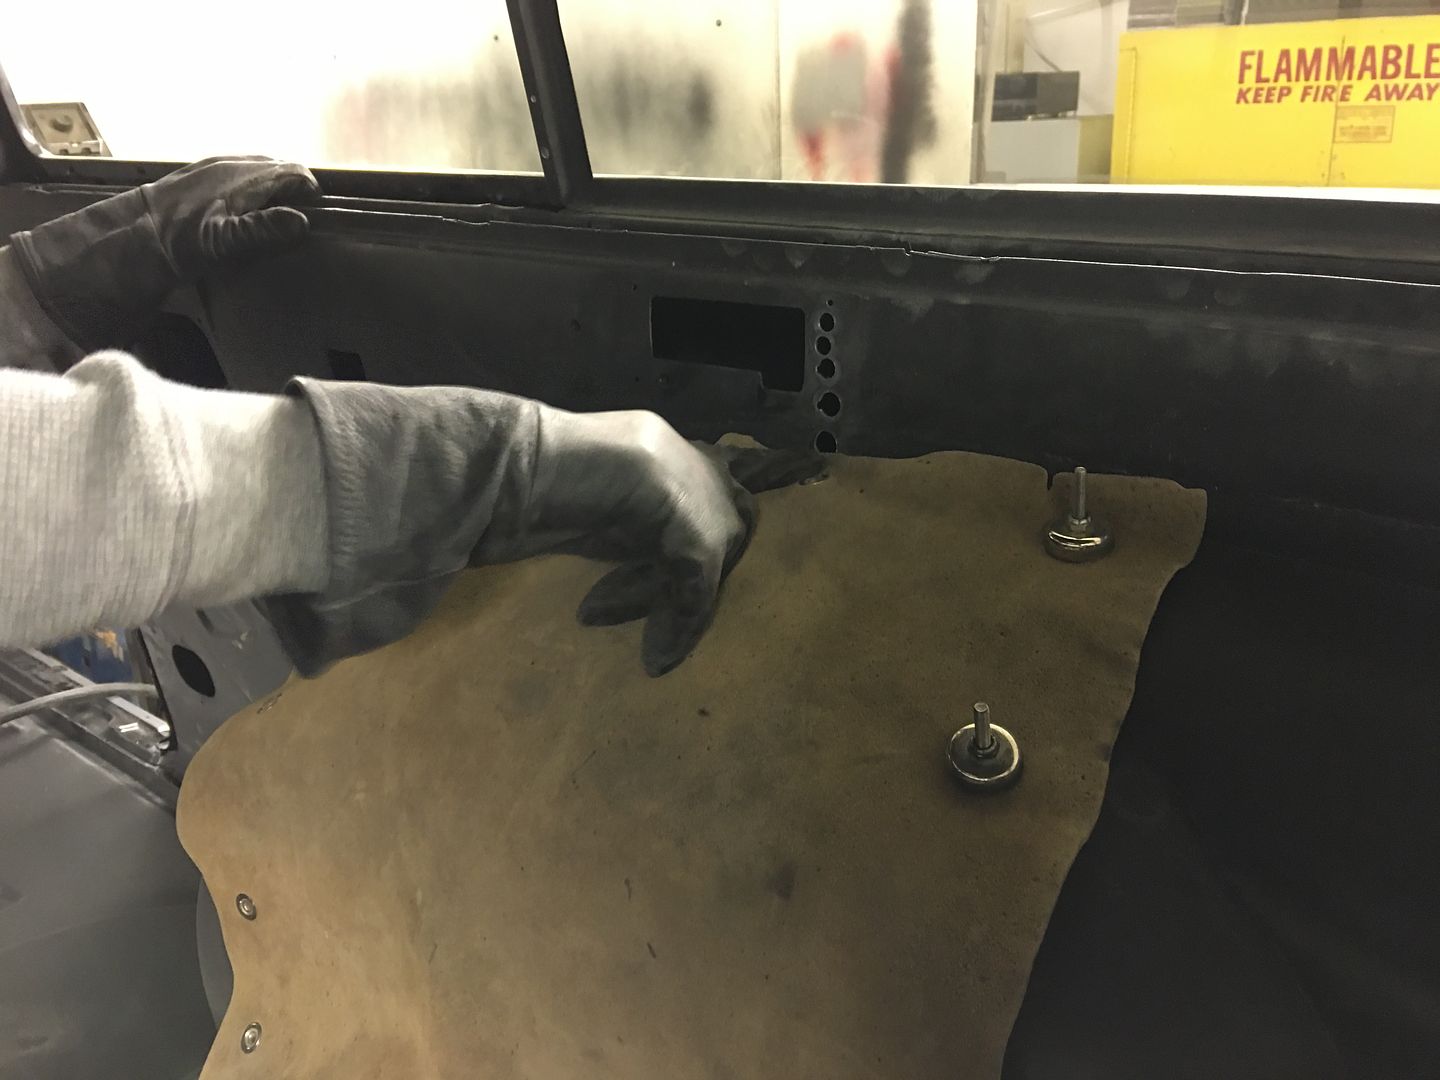
When we fabricated the quarter panel baffles we trimmed the upper profile to leave about a 1/16" gap, so that any possible body flex would be less likely to rub paint..
Plus, it gives a good anchor for the seam sealer....
Then we used masking tape to mark off the edges of the flange so we could transpose these to the wheel well for drilling plug weld holes...
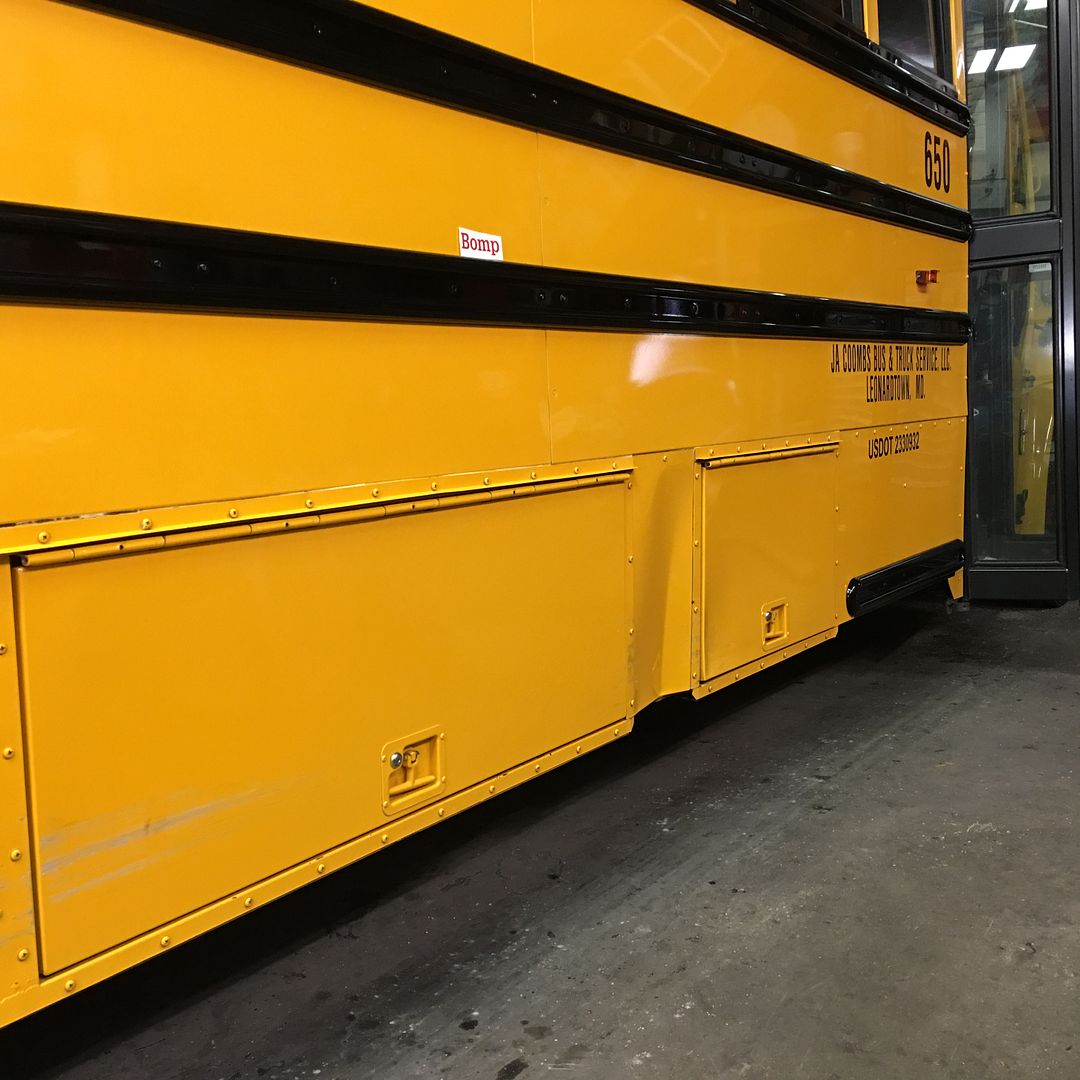
Next, we have another yellow vehicle to work on. A new driver at a local high school missed seeing the bright yellow oversized vehicle as it passed, and backed into the side of it..
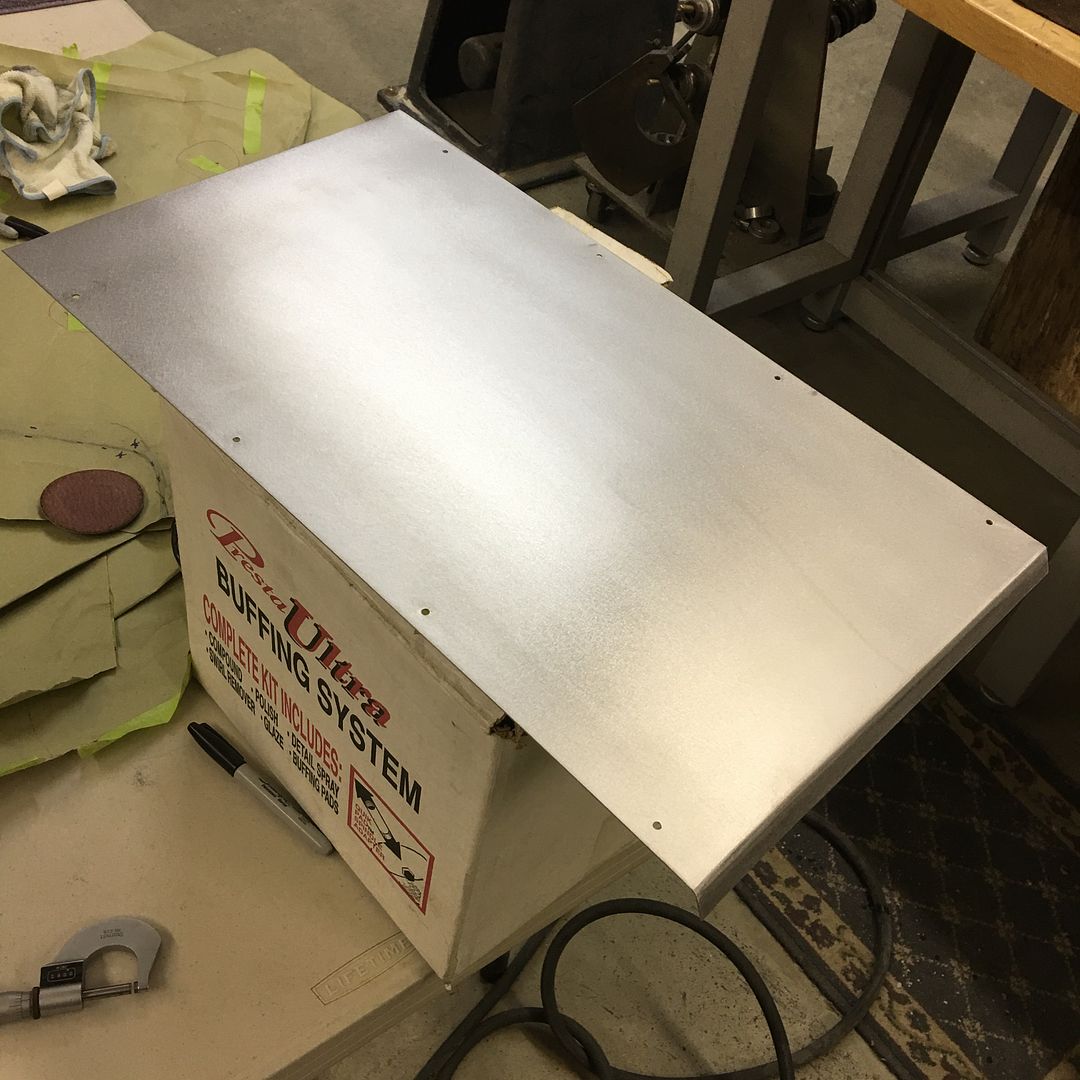
New filler panel was made out of 18 gauge steel, ready for some SPI epoxy..
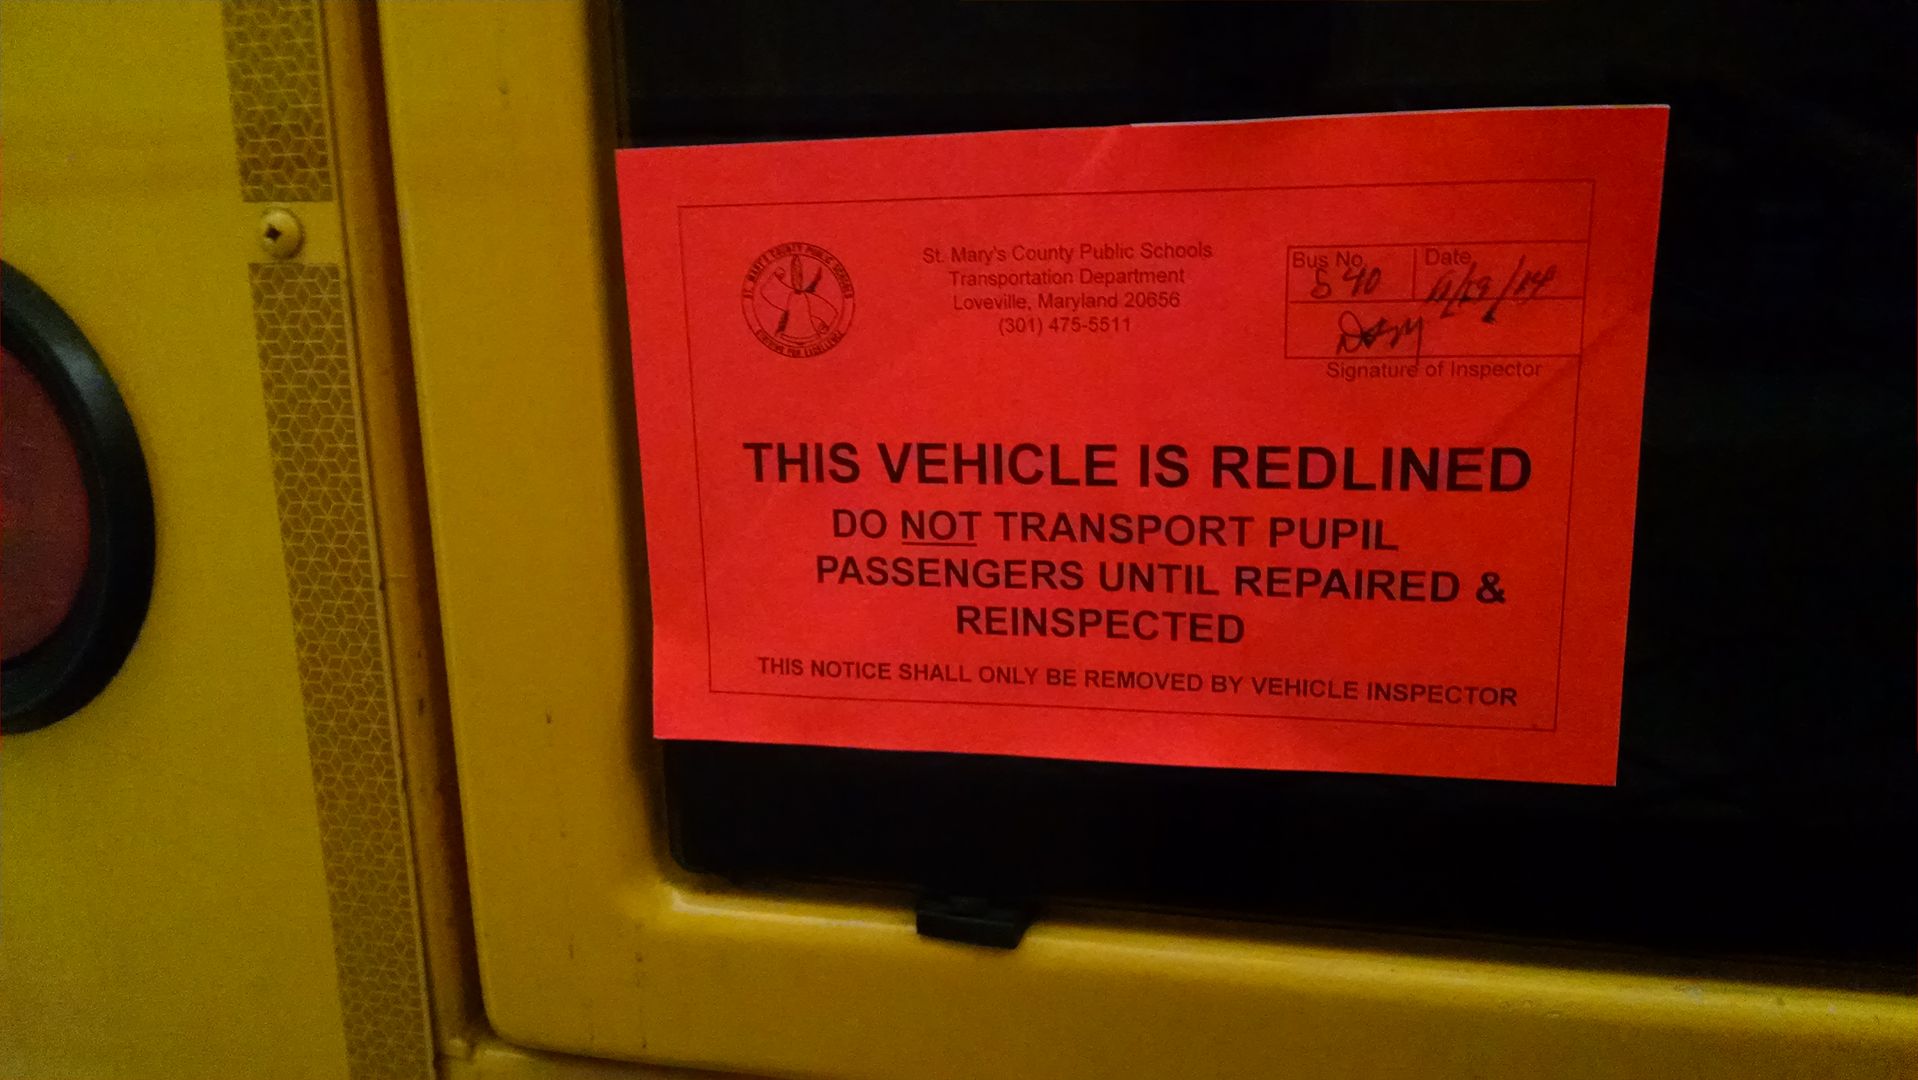
I think it's cool that your area cares for their buses as well as they do. Some of ours look they came out of a demolition derby.
They have yearly bus safety inspections that also address any loose, torn, jagged edges in the sheet metal that may be a safety issue. Anything deemed unsafe fails inspection and can't be used. Regardless of bus ownership, the local Govt (board of ed) owns and issues the state license plates. So they can pull the plates from your bus if they deem necessary. ALL buses are inspected by these same guys after any accident to insure there are no safety issues with the continued use of the vehicle. We've had some instances of body damage where they did pull the plates, others they actually take the bus out of service until repairs are made:
All in the interest of safety. Where the damage on this one poses no safety threat, it still falls under the fault of the high school kid who was in too much of a hurry (or distracted, or ??) to wait for the bus to pass before leaving his parking space. The smaller luggage door is actually bowed enough in the middle that the seal is no longer effective and the door can rock back and forth. We have a brand new door coming, retail on that puppy is just about $400, in primer. Besides the door replacement, we still needed to fab up the filler panel, prime and paint, fix remaining doors and sheet metal, adjust door gaps where compartment flanges have been moved and the doors now rubbed. So when juniors' dad wanted to square up on the repairs to eliminate the insurance company, I believe he was thinking this was a few hundred dollar repair job. Needless to say when we got into four figures, it was turned into his insurance.
 Posting Permissions

 Reply With Quote