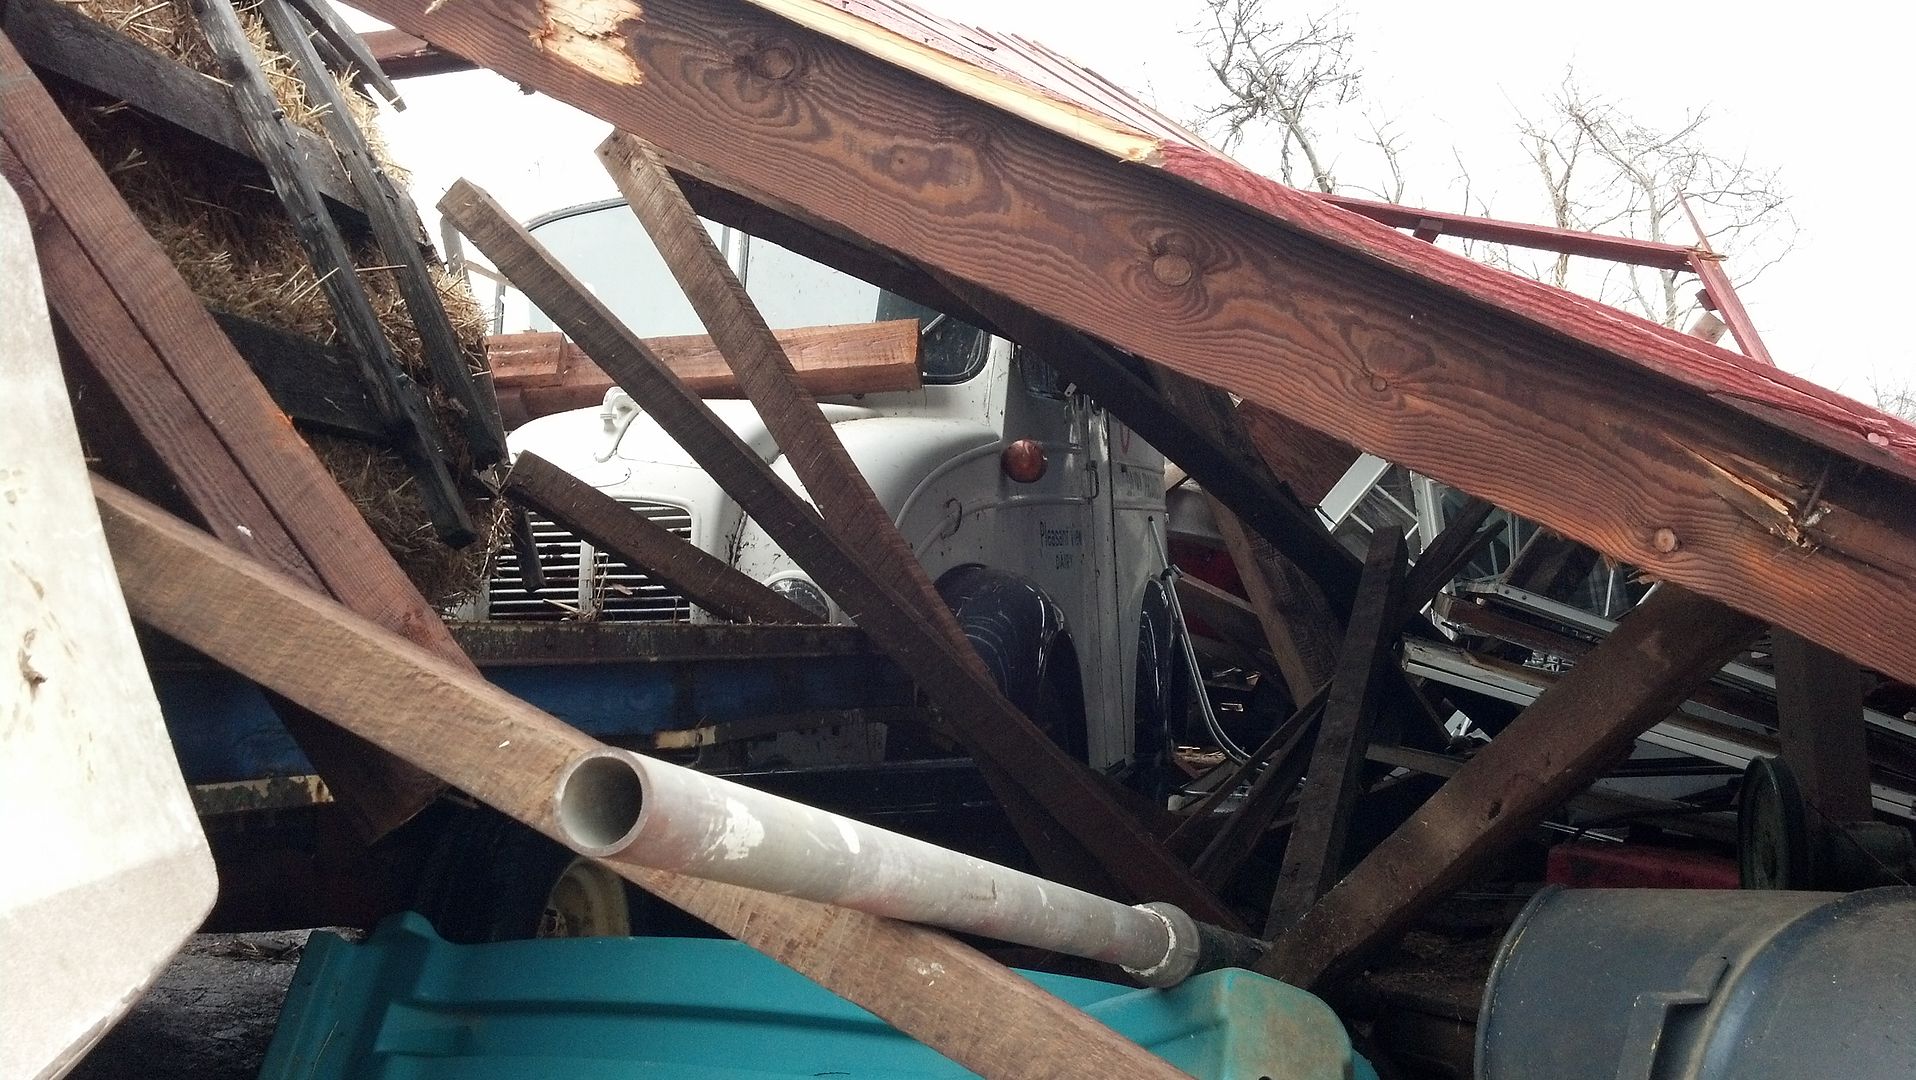
Is that a Thomas bus ?


Is that a Thomas bus ?


Yeah, he has about twenty of them..

When are you going to start shooting that GREEN!!!
56 Nomad, Ramjet 502, Viper 6-speed T56, C4 Corvette front and rear suspension
Other vehicles:
56 Chevy 2-door BelAir sedan
56 Chevy 210 4-door sedan
57 Chevy 210 4-door sedan
1962 327/340HP Corvette
1961 Willys CJ3B Jeep
2001 Porsche Boxster S
2003 Chevy Silverado 2500 HD Duramax
2019 GMC Sierra Denali Duramax
I've got two quarts being picked up this Friday for another sprayout session. Still working on nailing down the color...
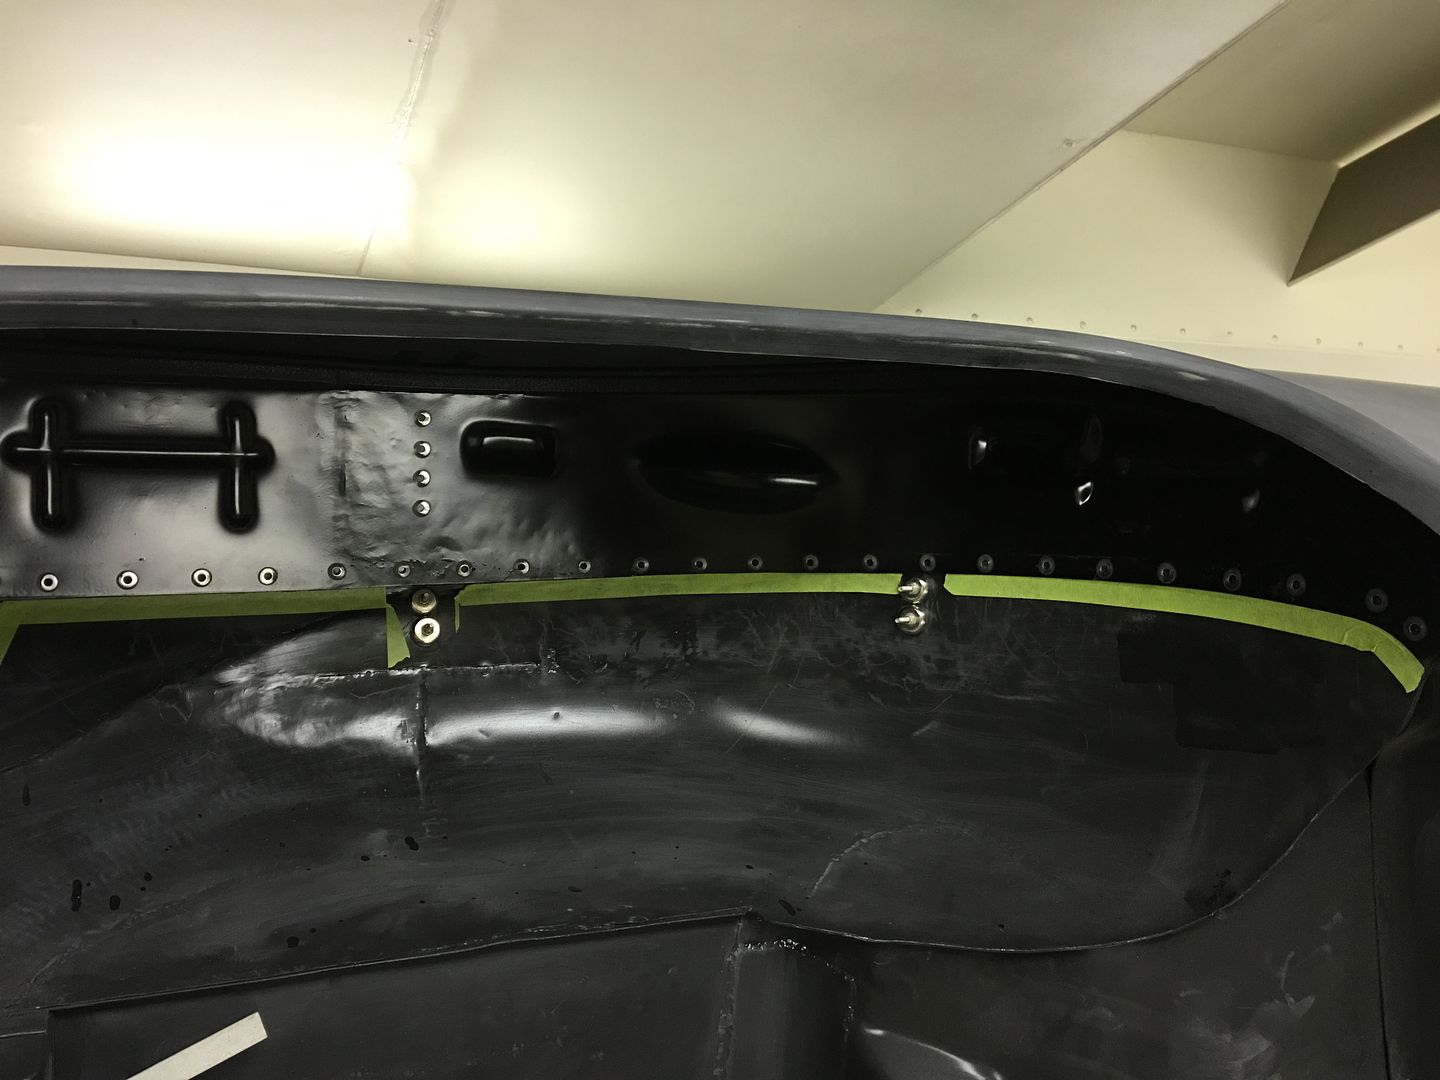
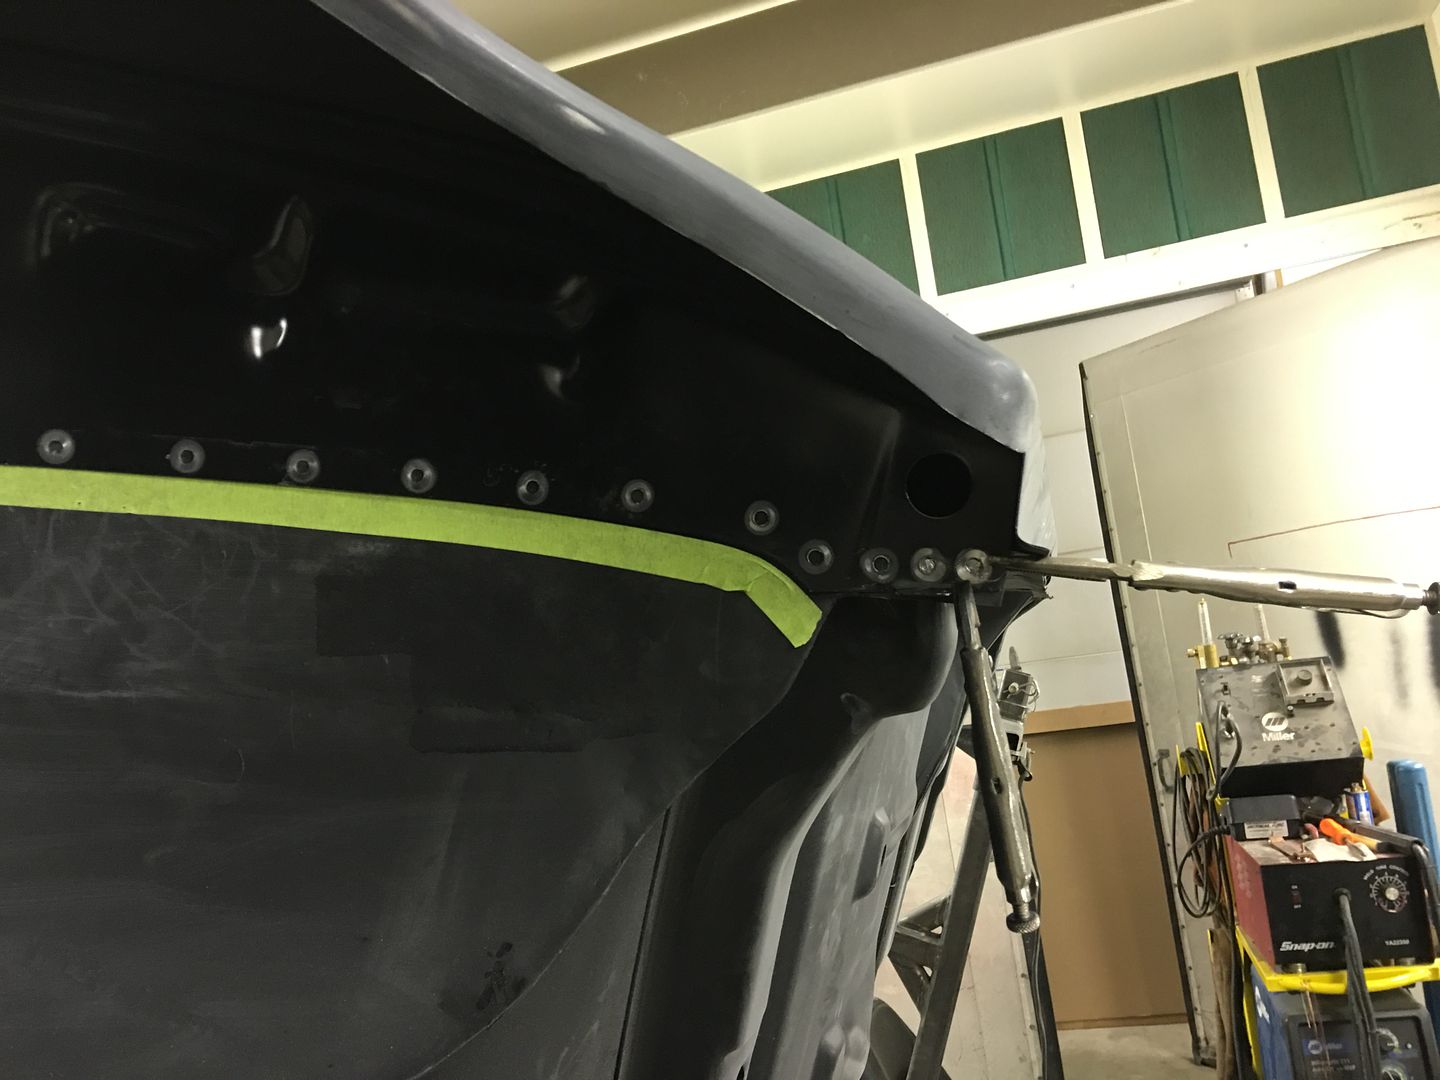
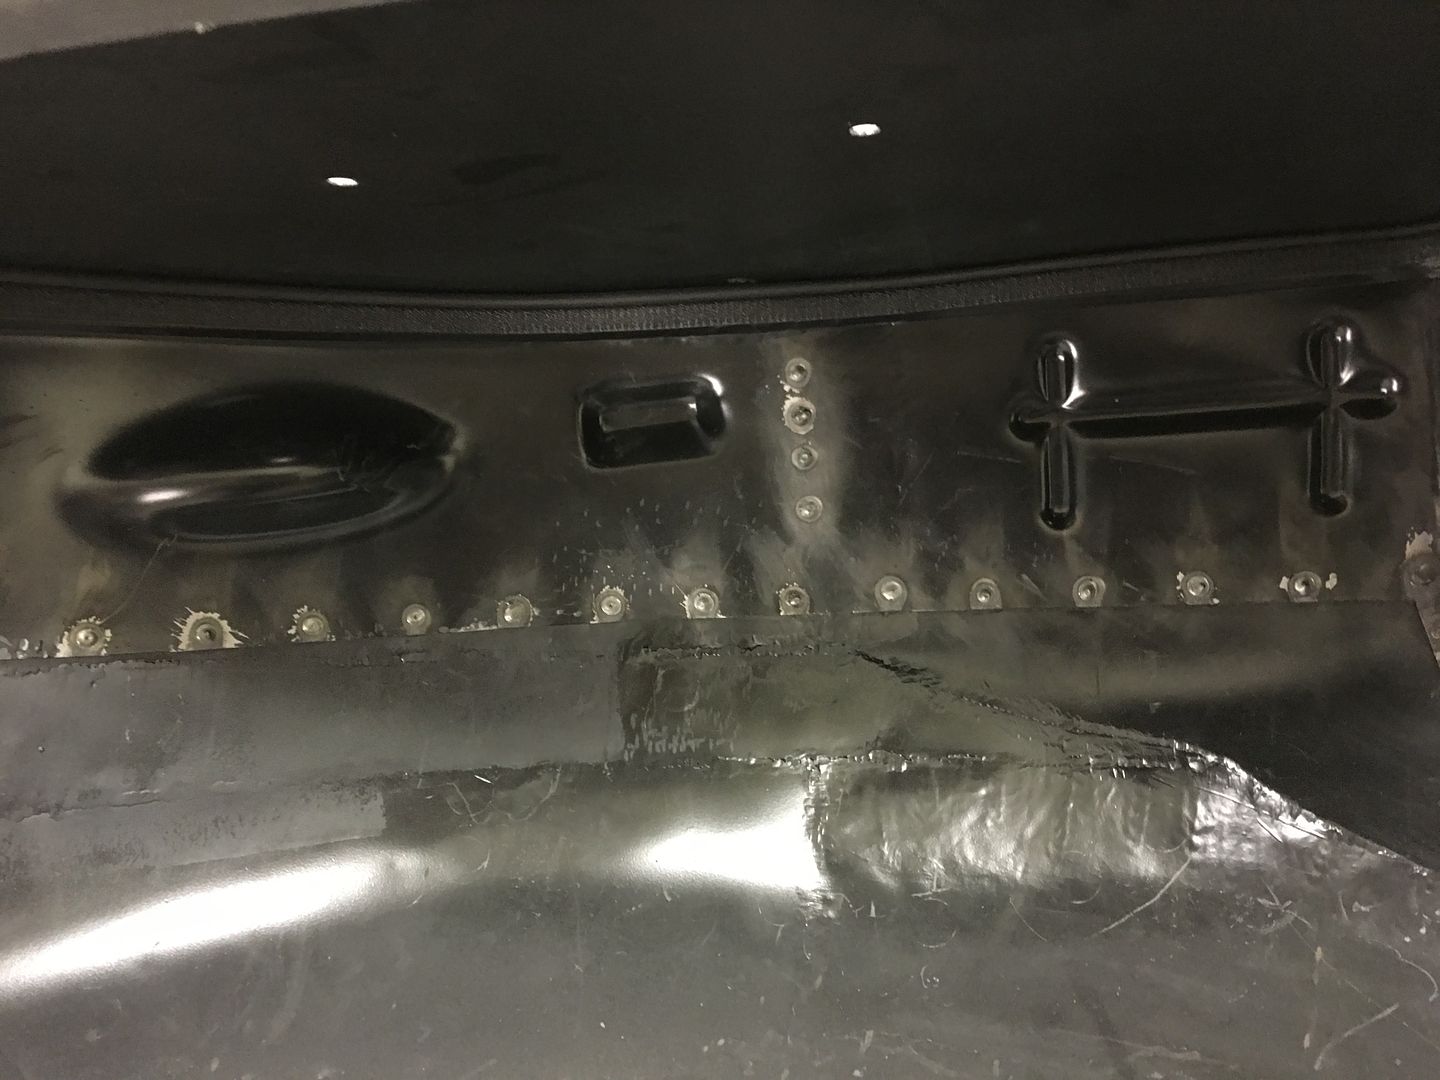
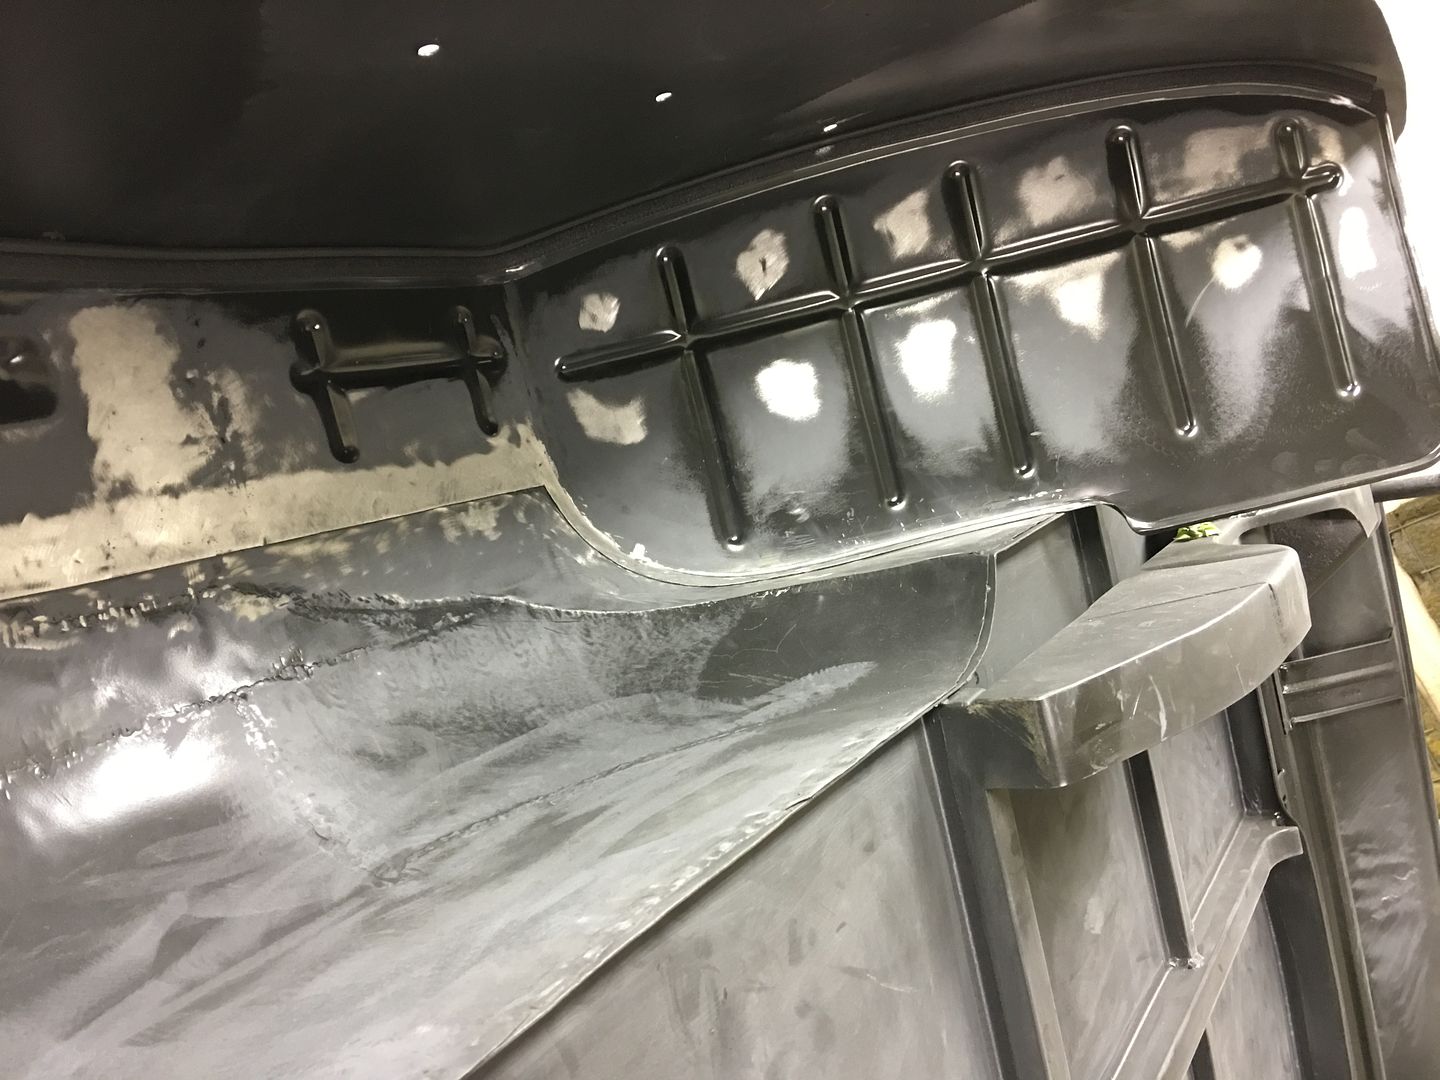
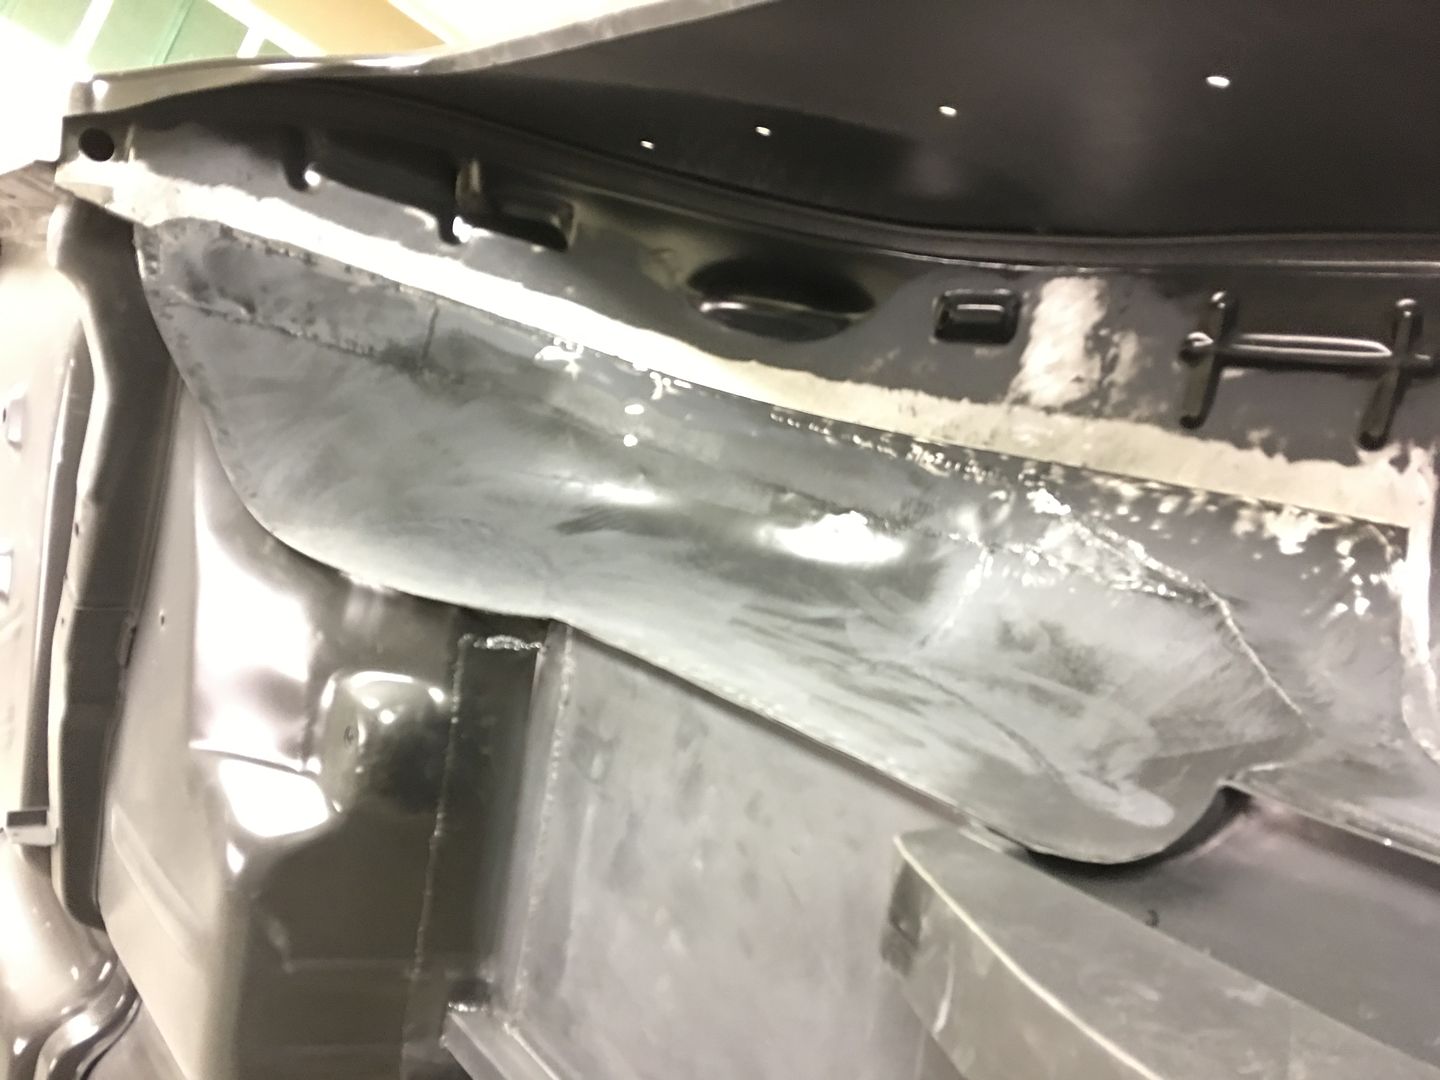
Fitting up the one piece wheel well into the passenger side quarter. Once fitted, the edge is marked with tape, wheel well removed, and the width available beneath for plug welds is noted. Then holes are punched in the wheel well to match, and it gets refitted. We started at the front so we could use vise grips to clamp, and worked progressively toward the back.
We did have a few plug welds that were contaminated from the epoxy primer, so we'll grind everything smooth, fix those areas, redress the welds and finish any bare areas with epoxy primer. One step closer to the Line-x coating on the underside...
Here we are all tacked in place:
https://www.youtube.com/watch?v=GuCIhFYUMXY
.
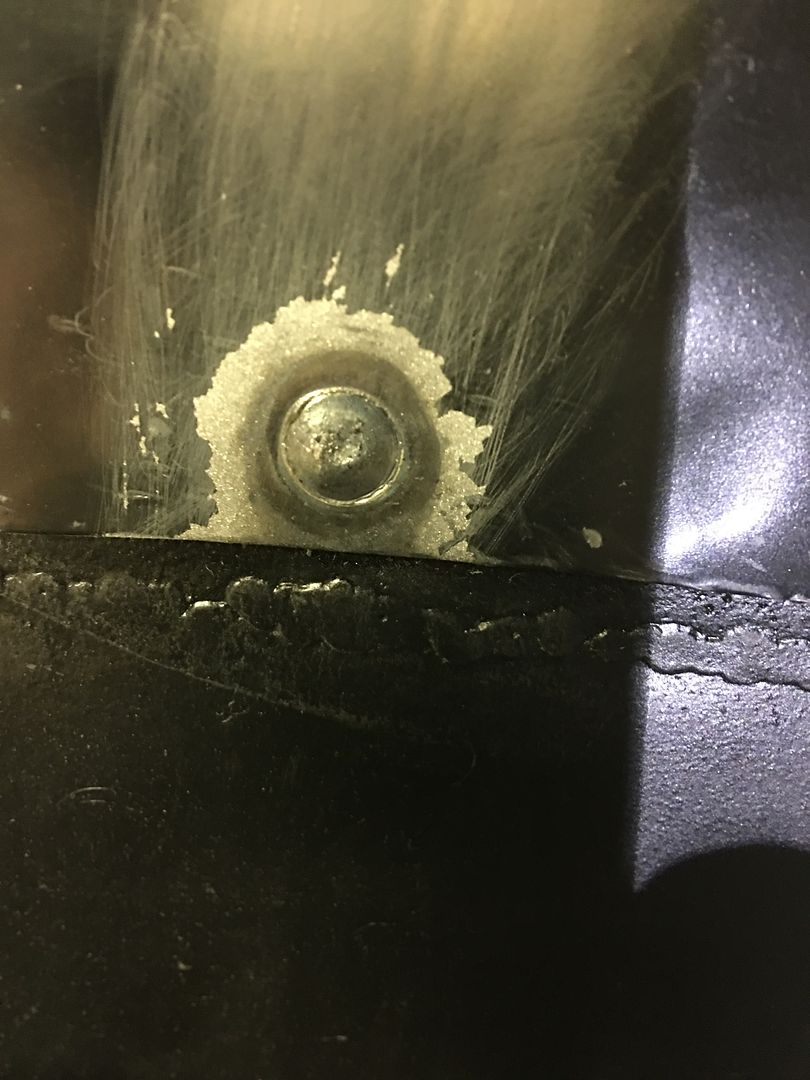
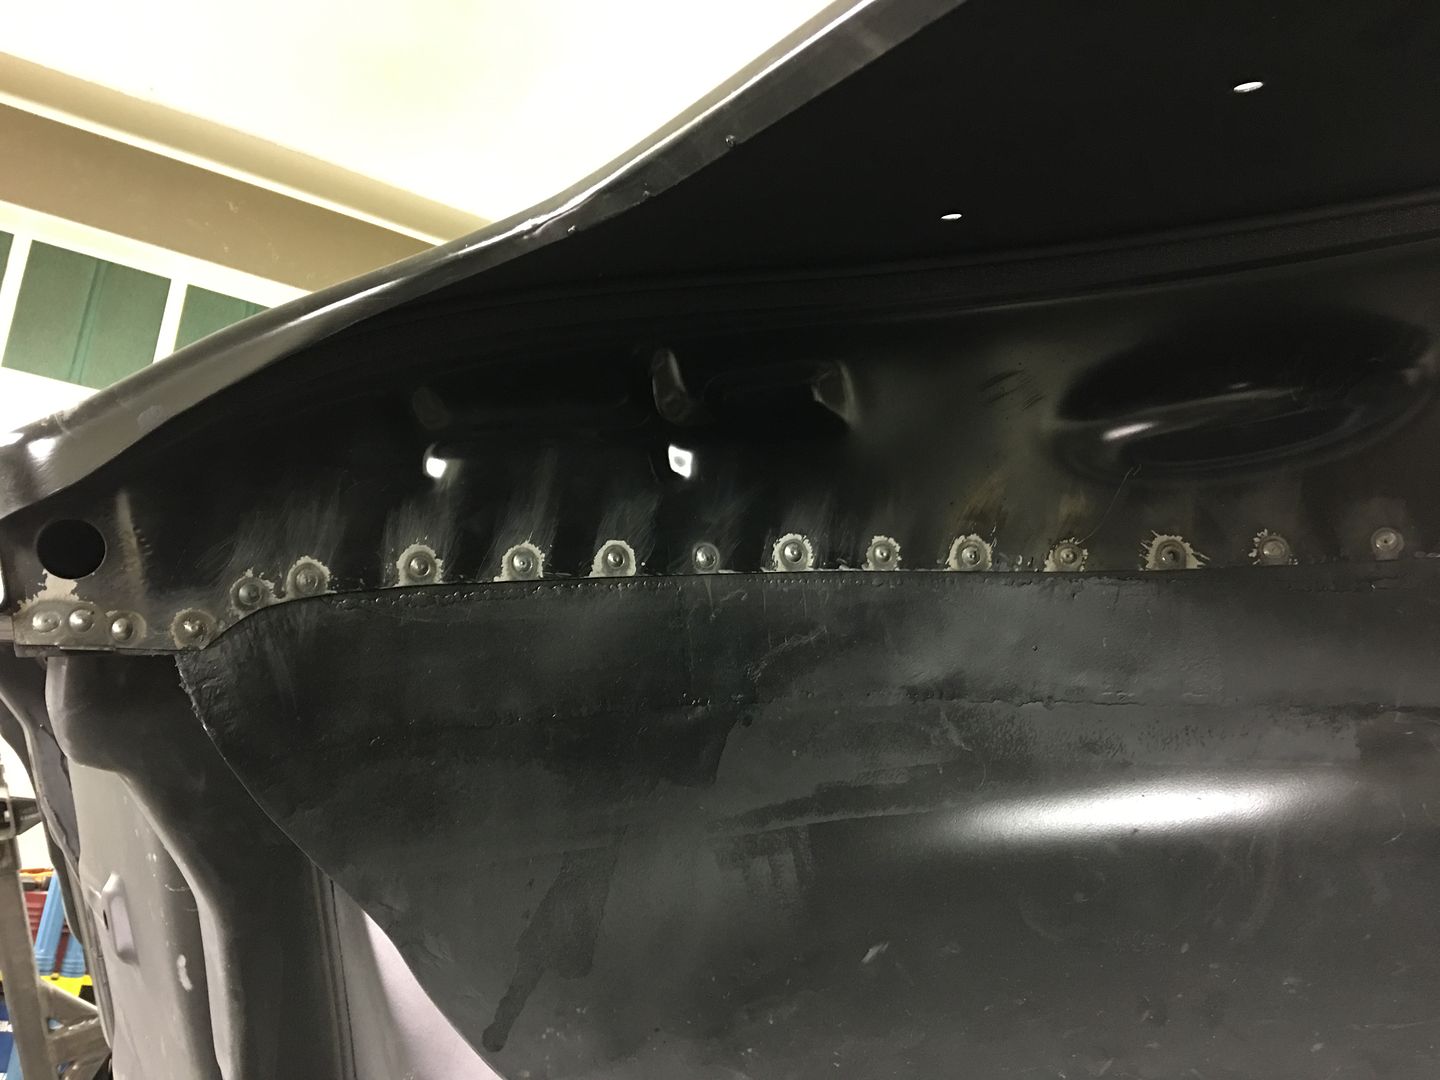
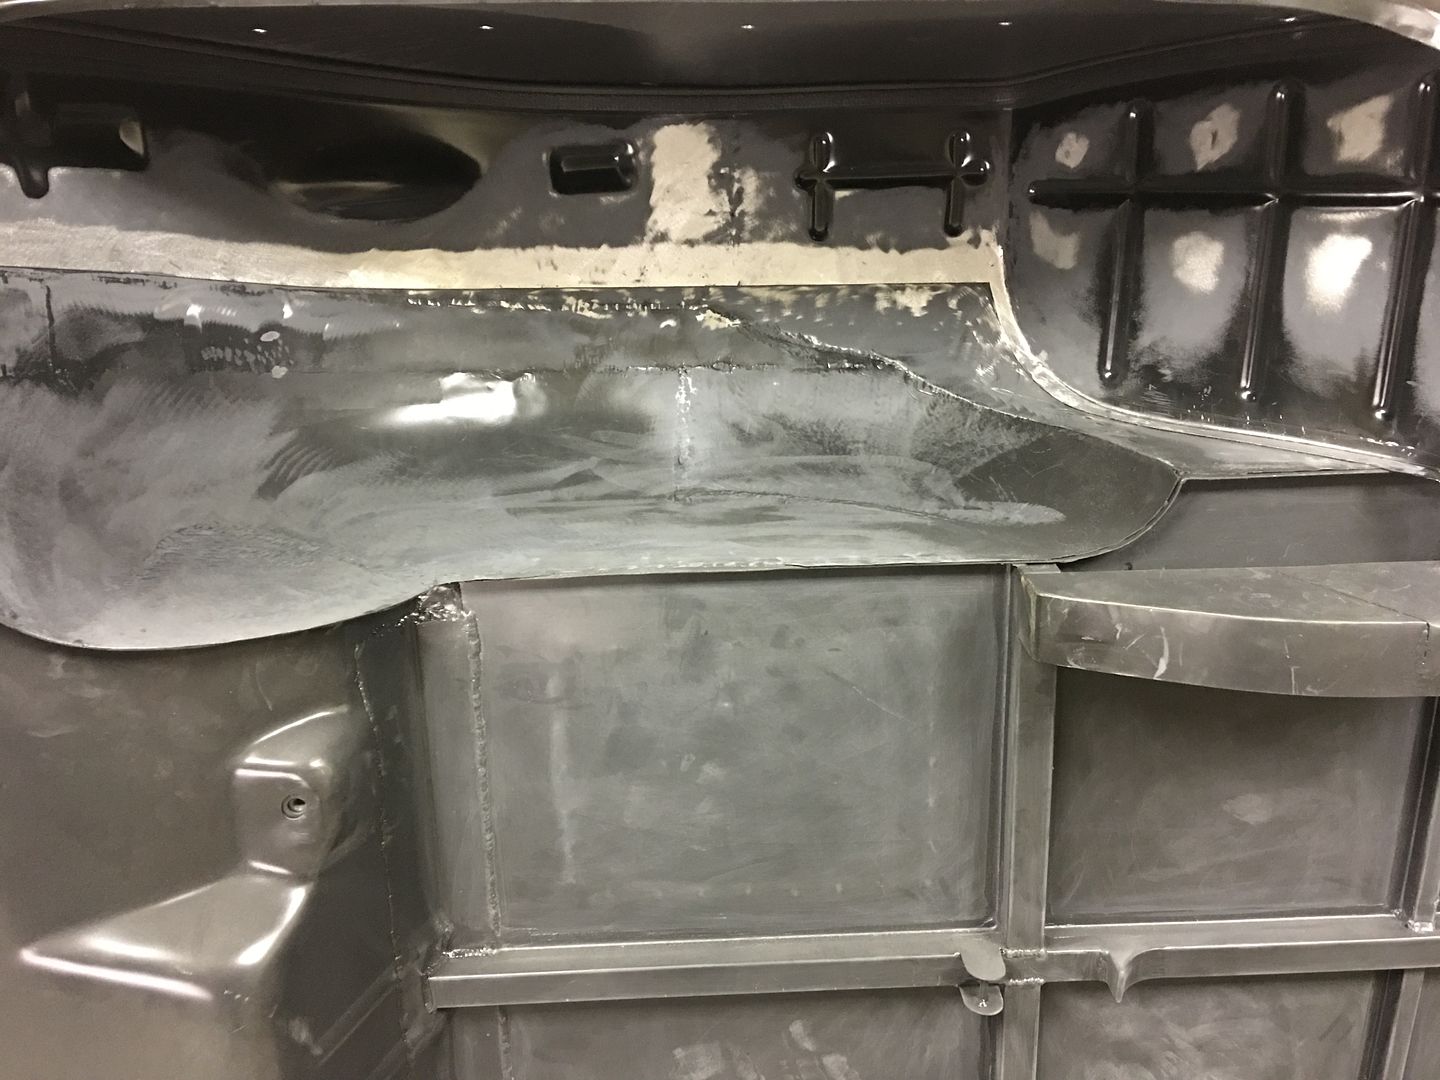
Tonight we worked on getting the driver's side wheel well installed. To help eliminate the contamination issue from the close proximity of the primer, we used these piloted burnishing brushes to remove the paint around the plug weld holes on both front and back sides...
That did the trick, no volcanoes this time...
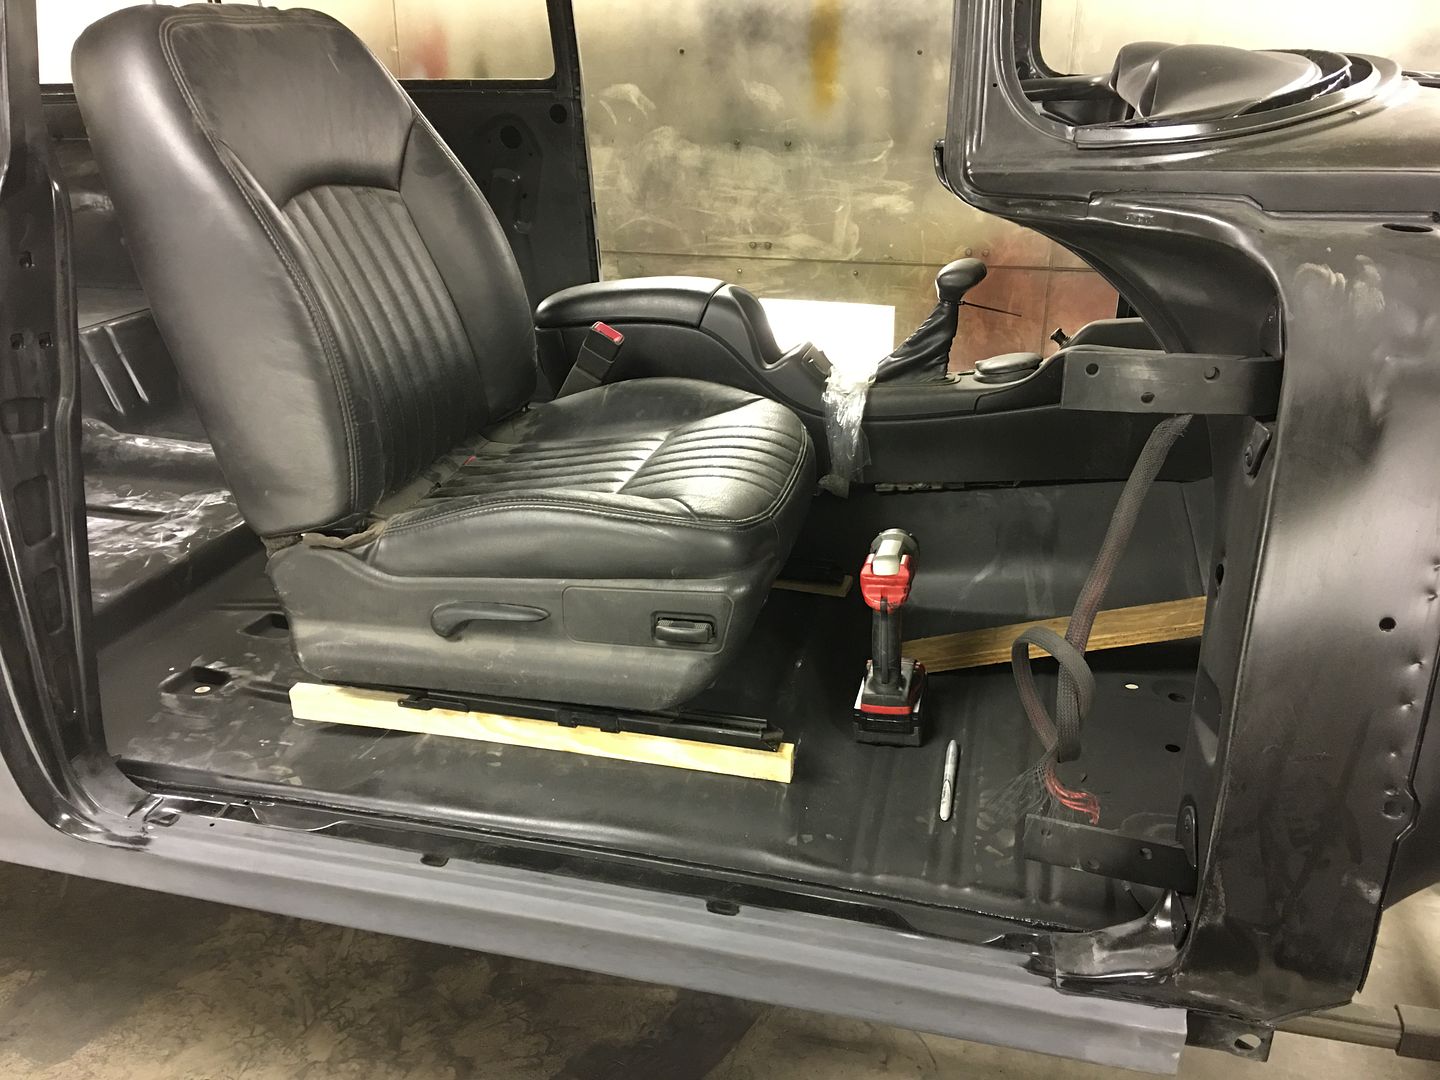
Next we'll need to dress these welds and epoxy prime the bare spots. In the meantime, a test fit of the bucket seats. We're going to need to make some adapter brackets to weld to the floor, I don't think the wood one is going to fly...

Very Nice
Thanks JT!
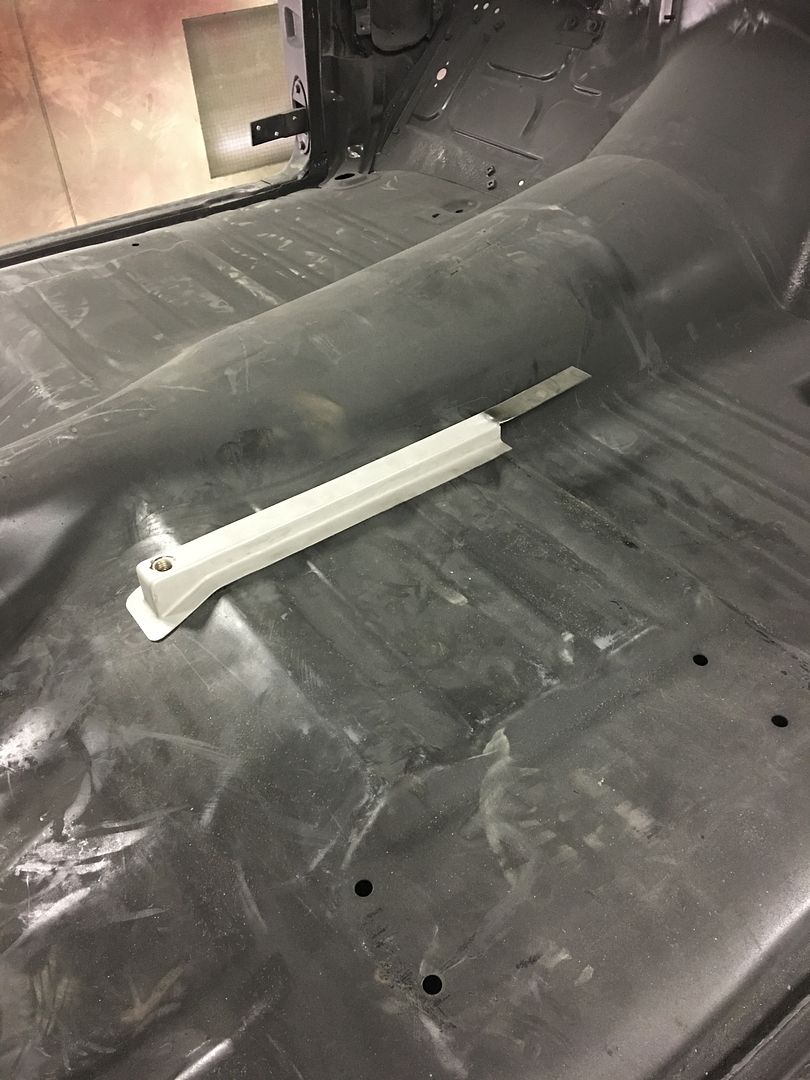
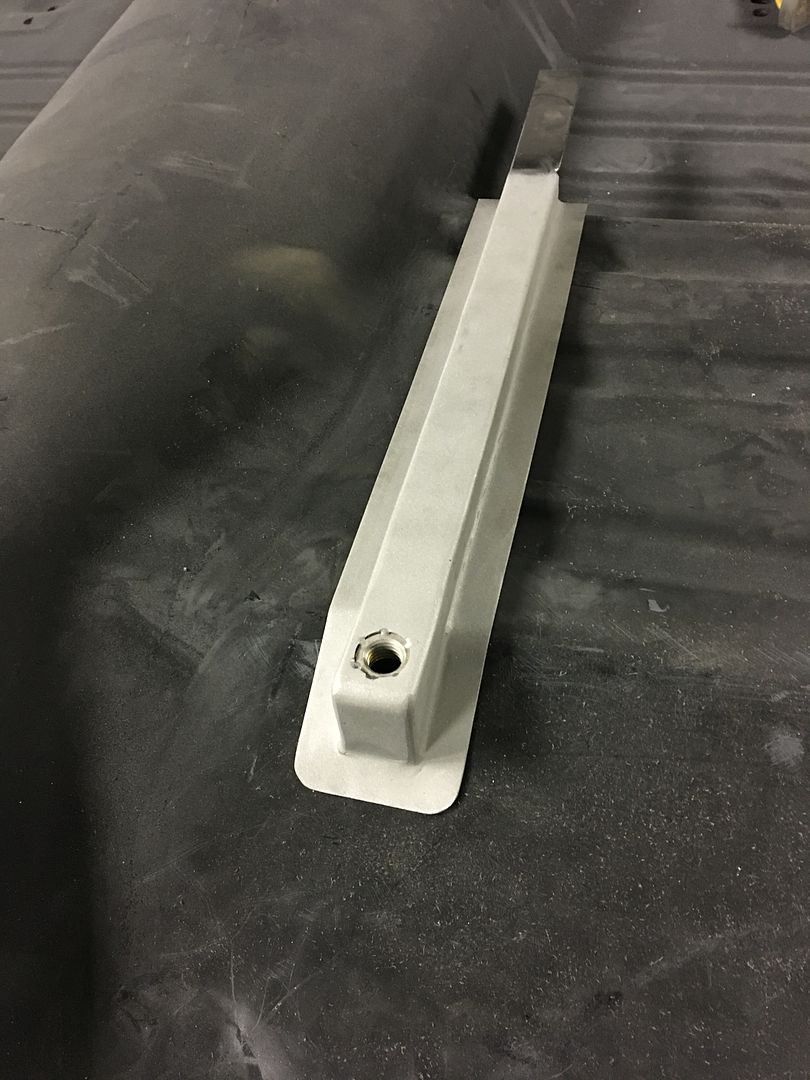
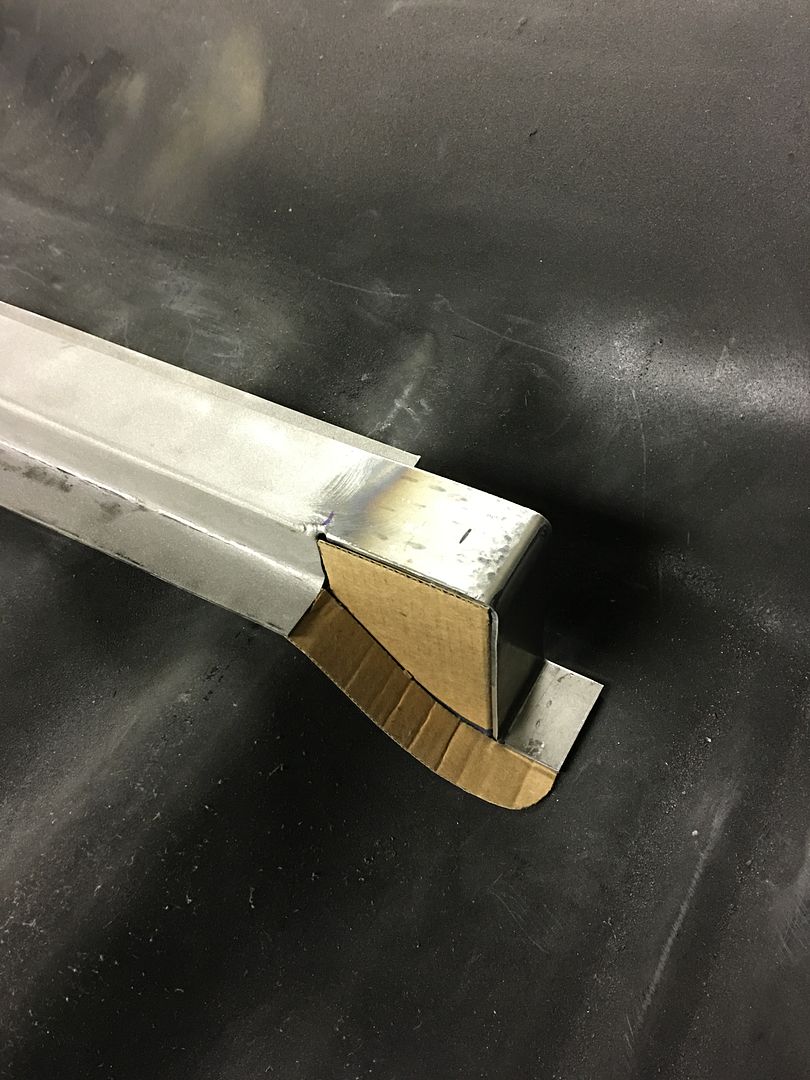
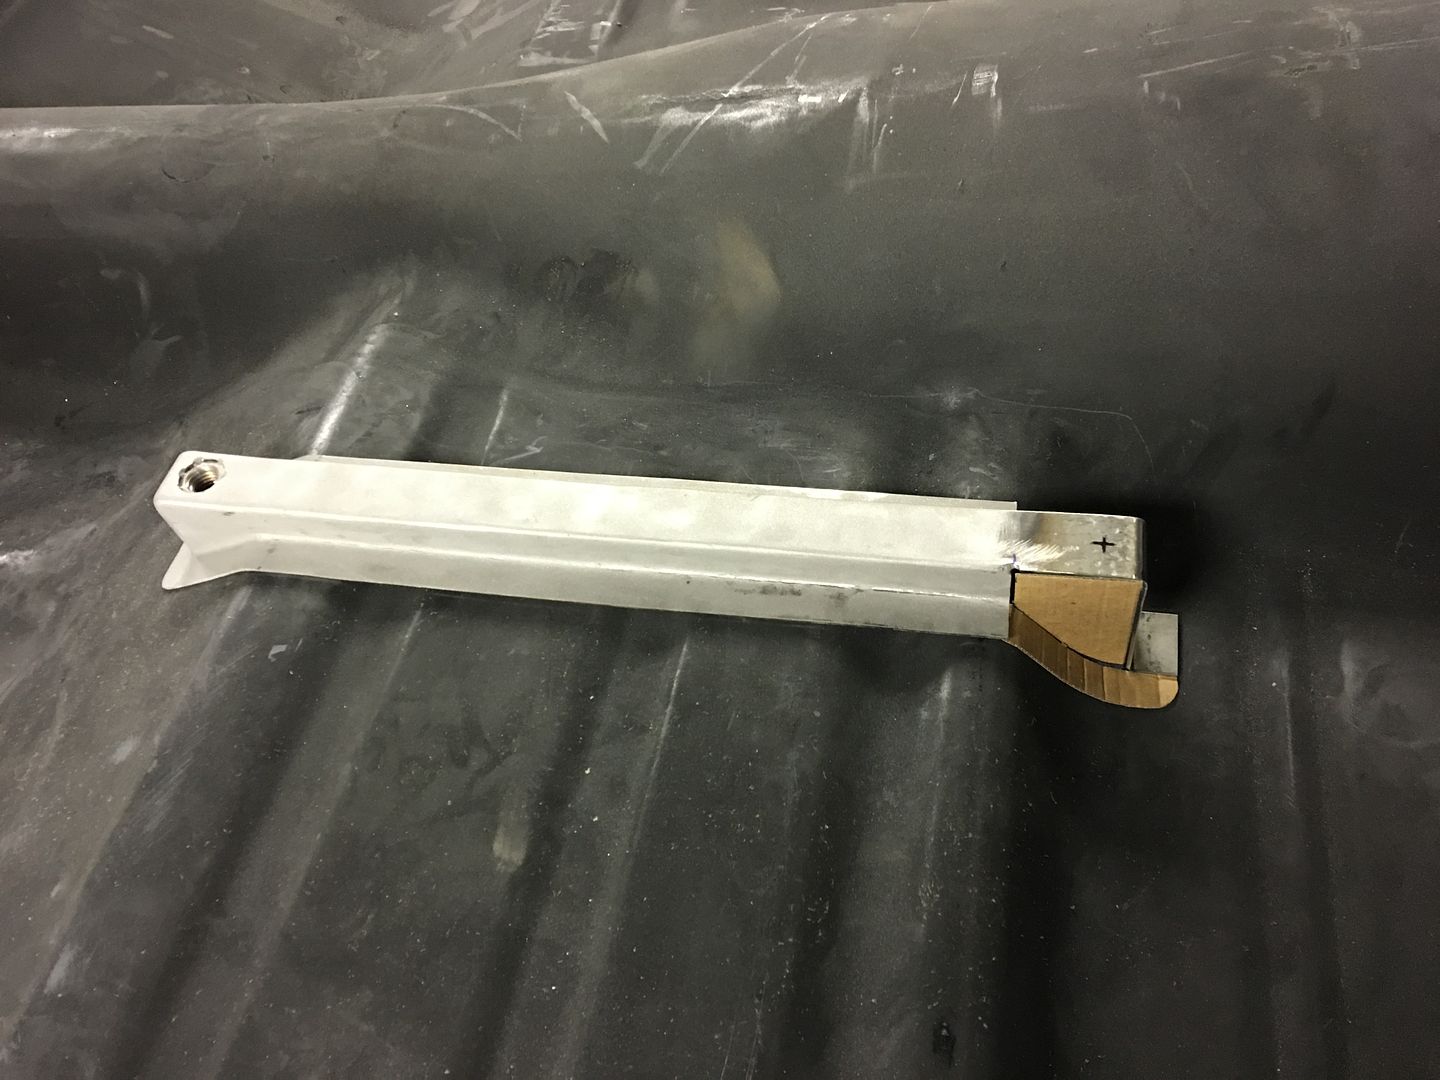
Here's the path we took on the seat risers....it's been a while now that GM has used wood in the vehicle, no sense in us bucking that trend! Started by fabbing up some 14 gauge steel into a hat section and left some longer ears on the ends to fold down and close the ends off..
Stainless hex nut welded inside for the seat frame hardware..
Missed getting these pics on the other end, but cardboard templates were transposed to steel fillers, cut out and welded in place, along with the flanges around the perimeter.
We plan on finishing the inner risers up this evening and leveling the seats across for sizing the height of the outer risers.
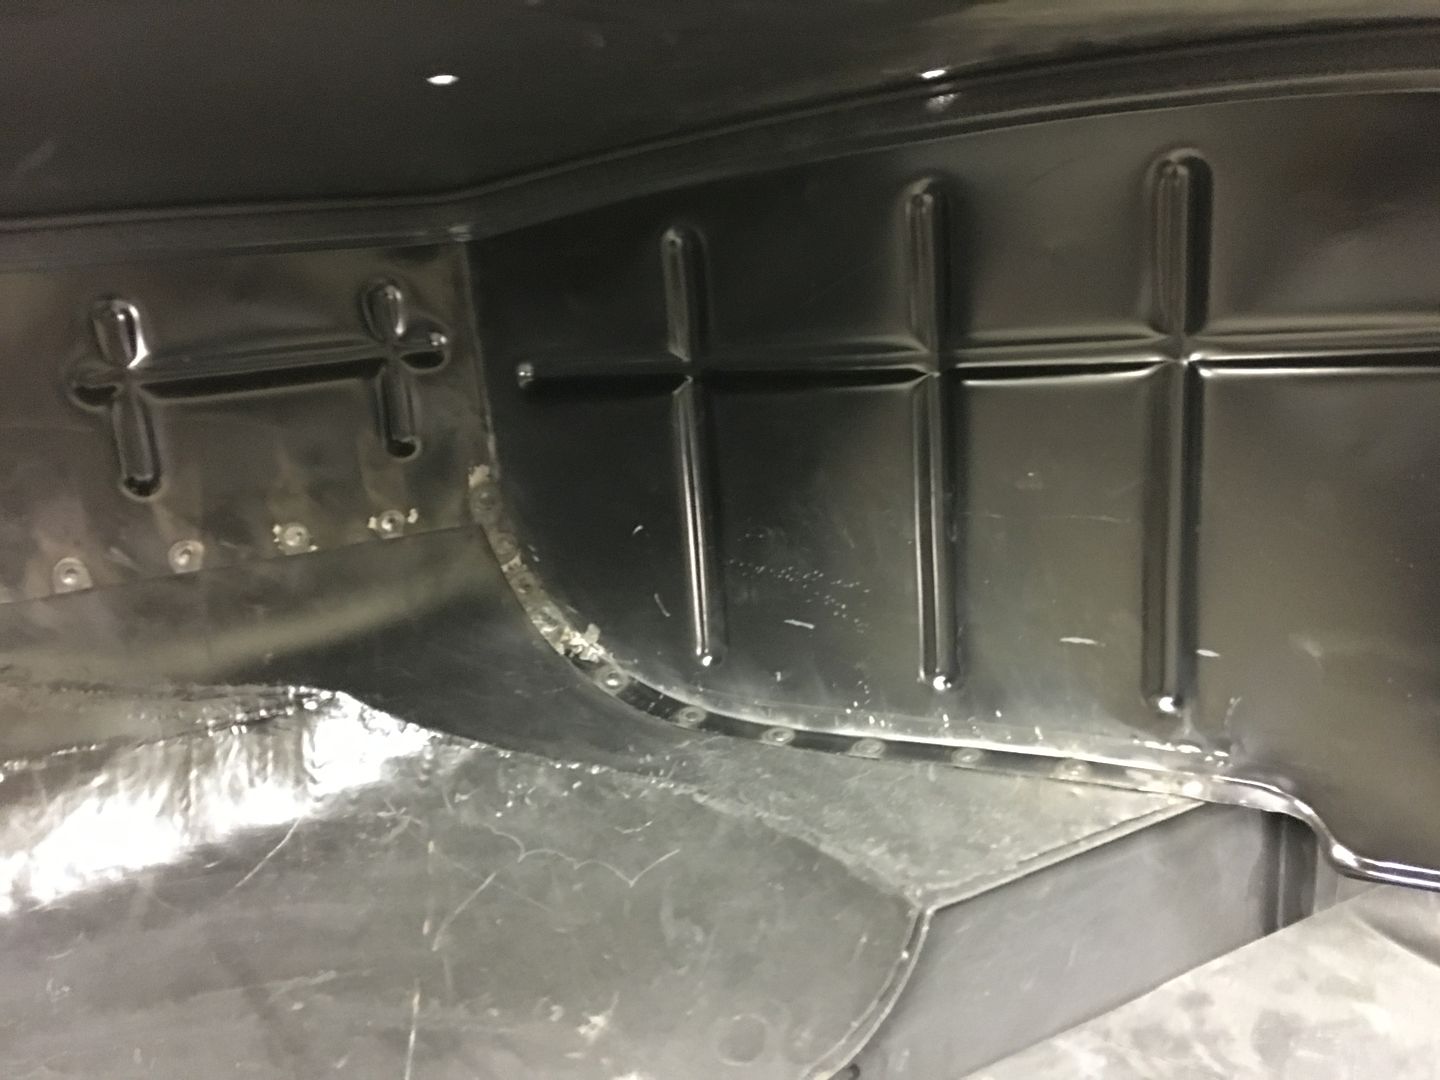
Finished up the plug welds on the driver's wheel well. We'll get a few more parts prepped for epoxy and address those bare spots at the same time.
Wow Robert! I've spent the last week reading your posts on this wagon. Can mine be next being you do such a bang up work?
Sorry, but we've got a Divco milk truck in the shop next after this one, need to fix the tornado damage....
Last edited by MP&C; 01-03-2017 at 07:42 AM.
 Posting Permissions

 Reply With Quote