Dang it!


Dang it!


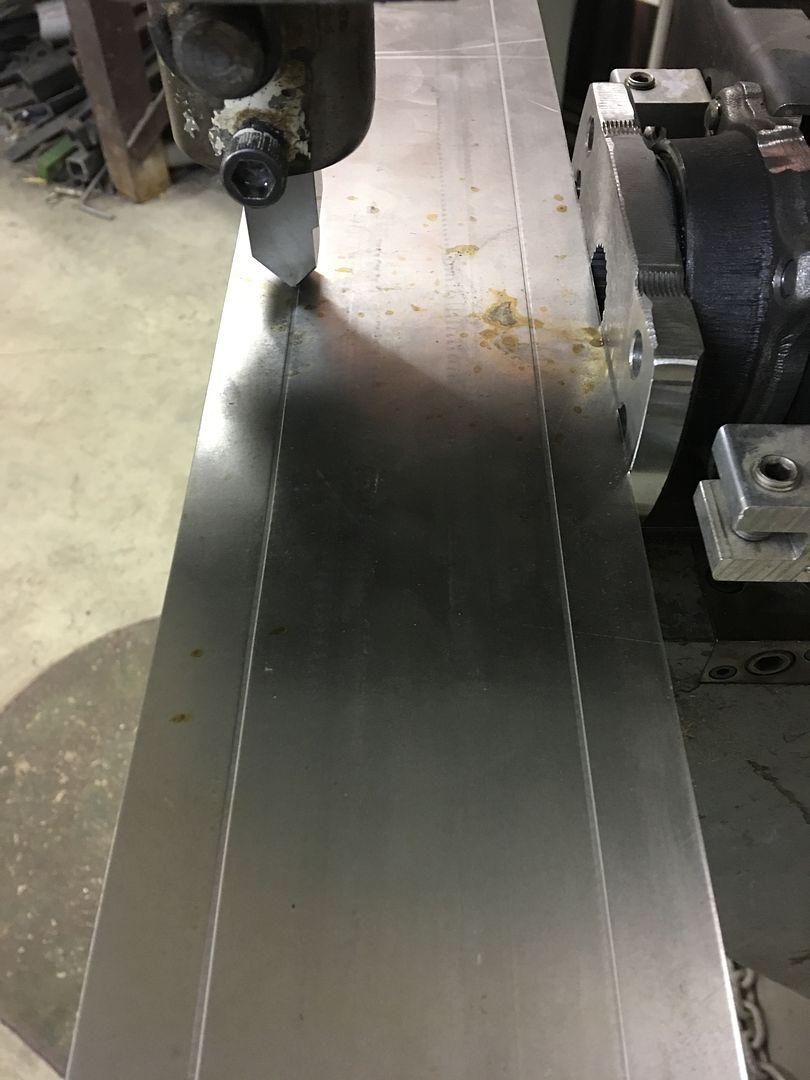
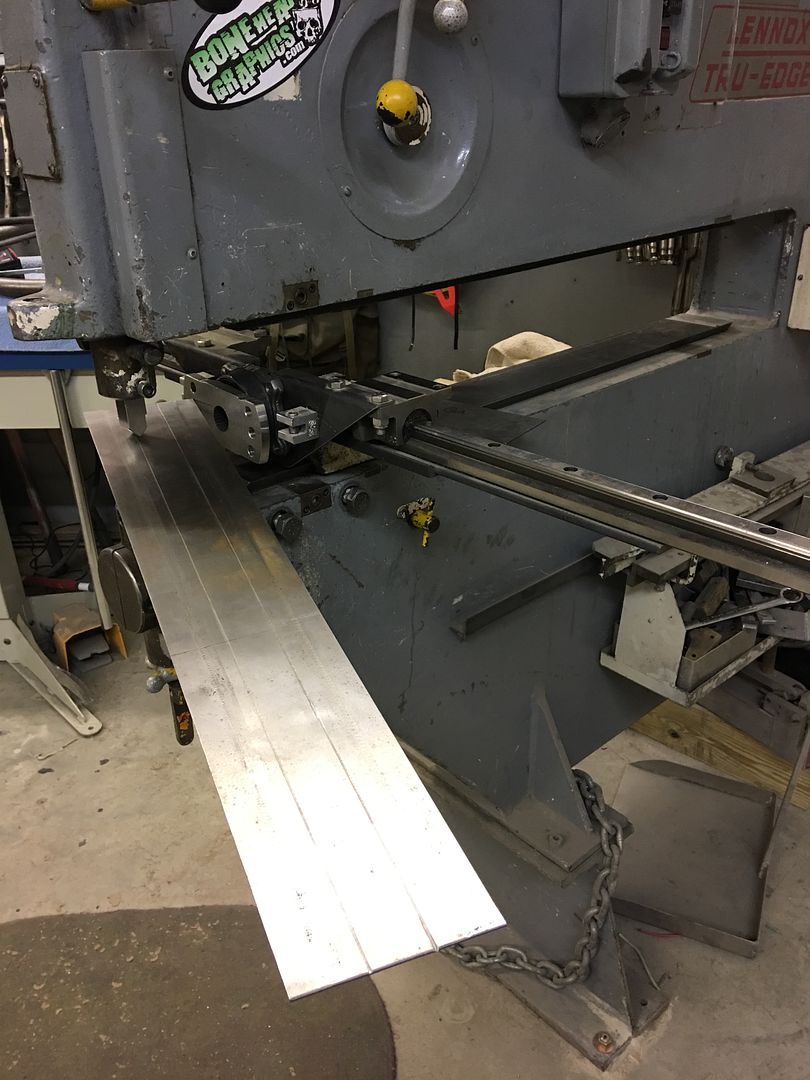
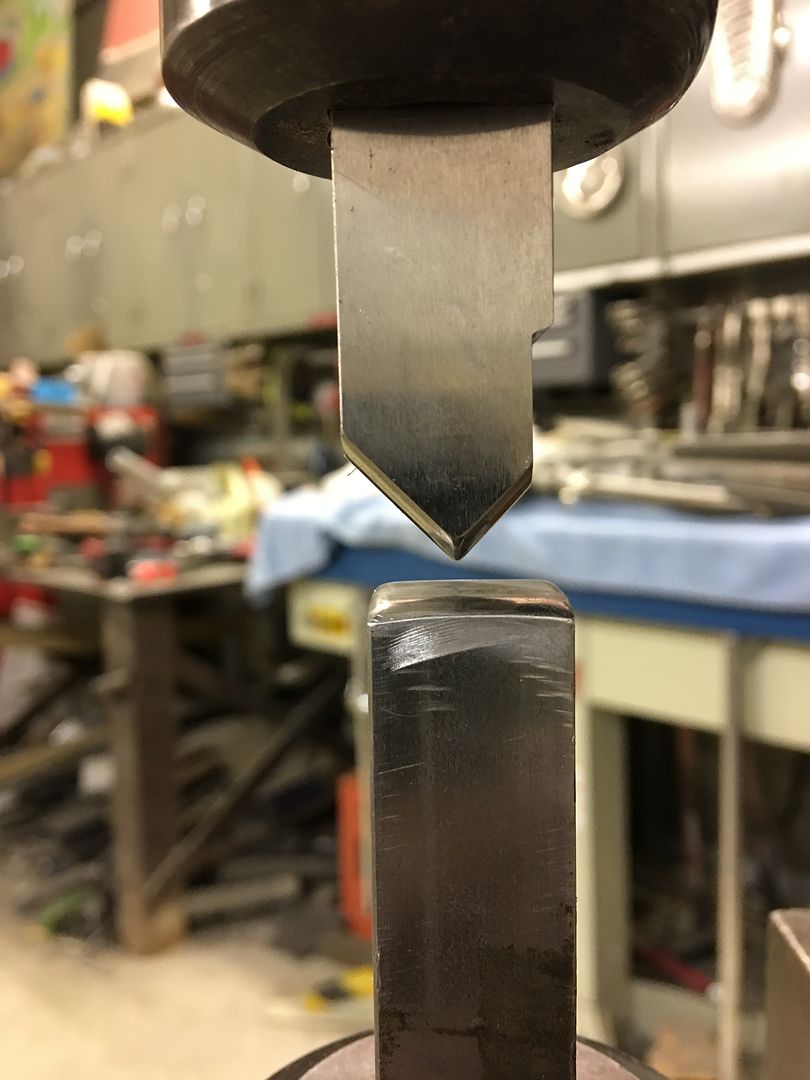
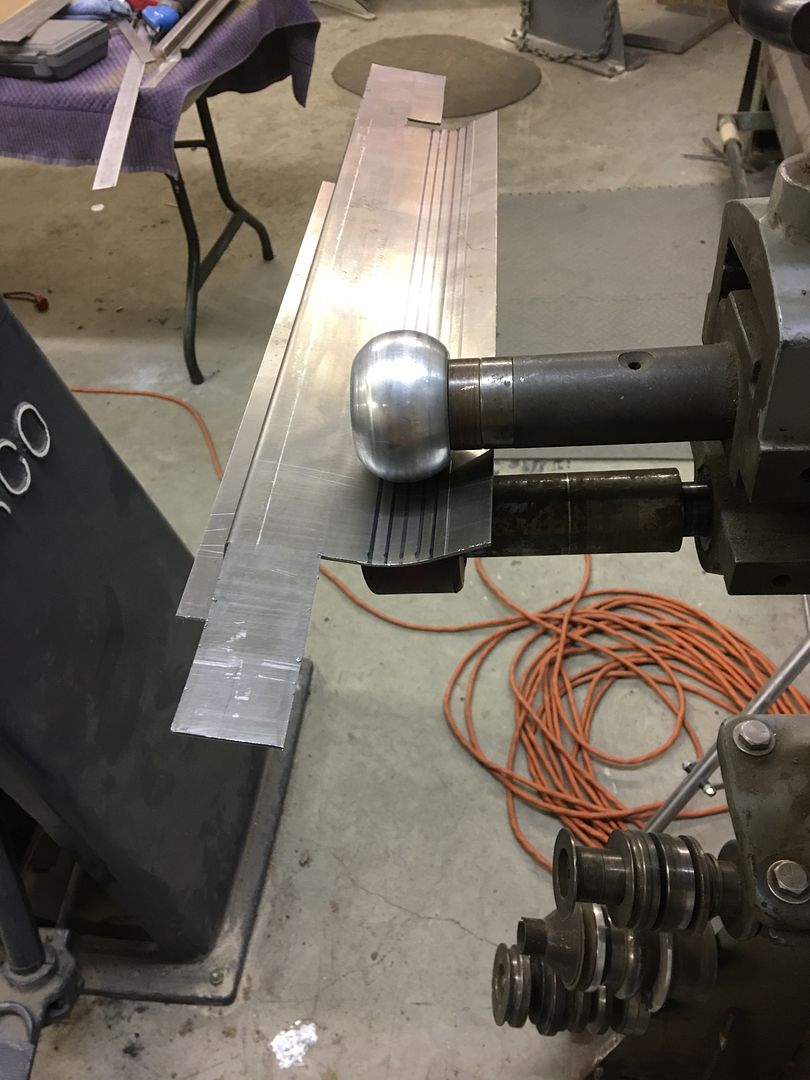
Seat riser bracket number two fabrication, got more detail pictures this time..
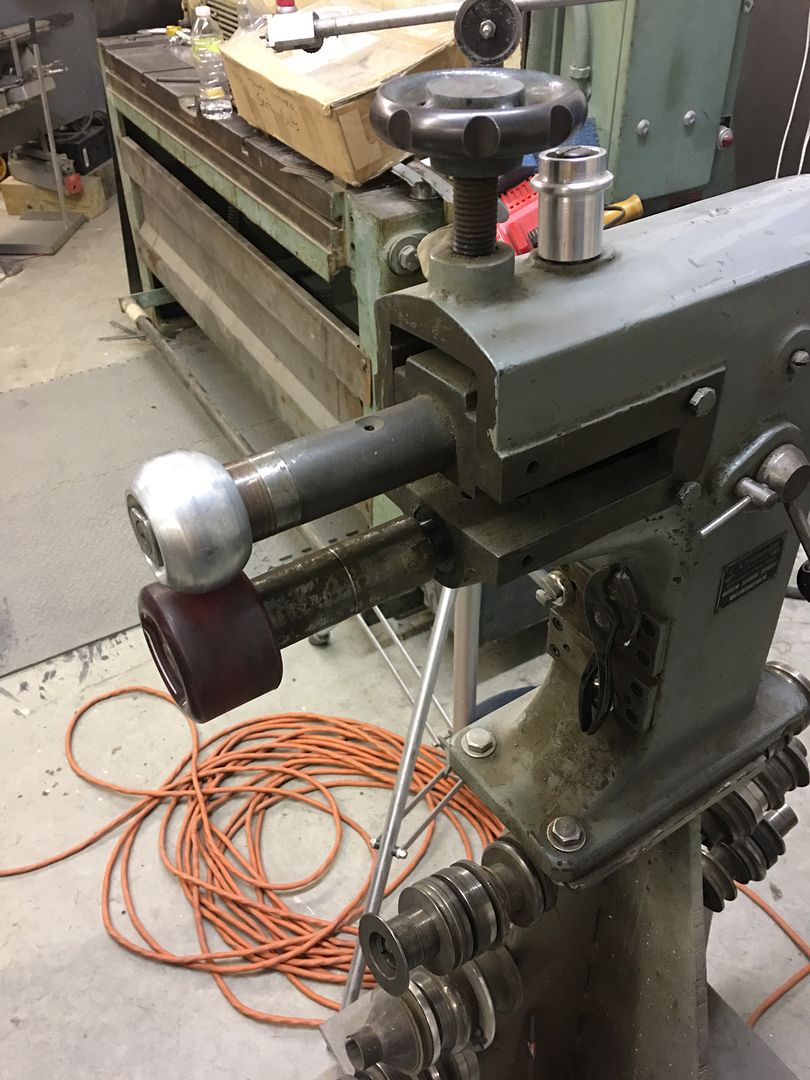
Used the Tipping die in the Lennox to thin out the crease line, makes for a more crisp bend, especially given the 14 gauge steel we're using...
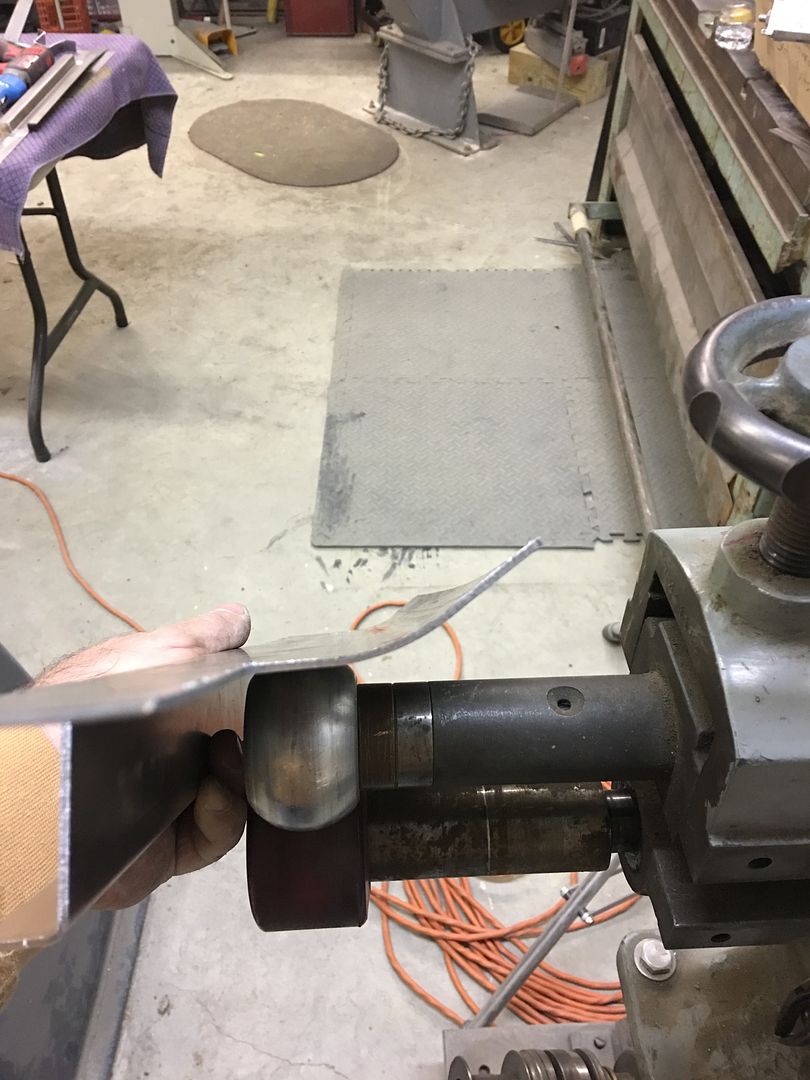
After bending in the Diacro manual press brake using the gooseneck die...
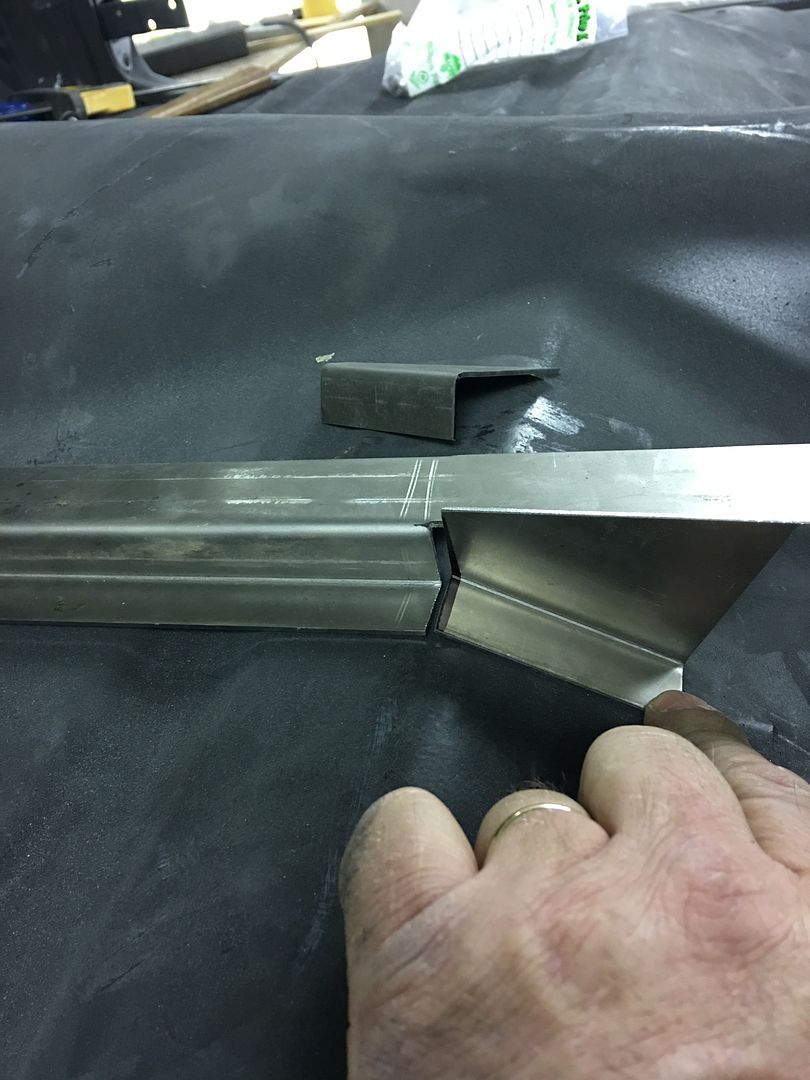
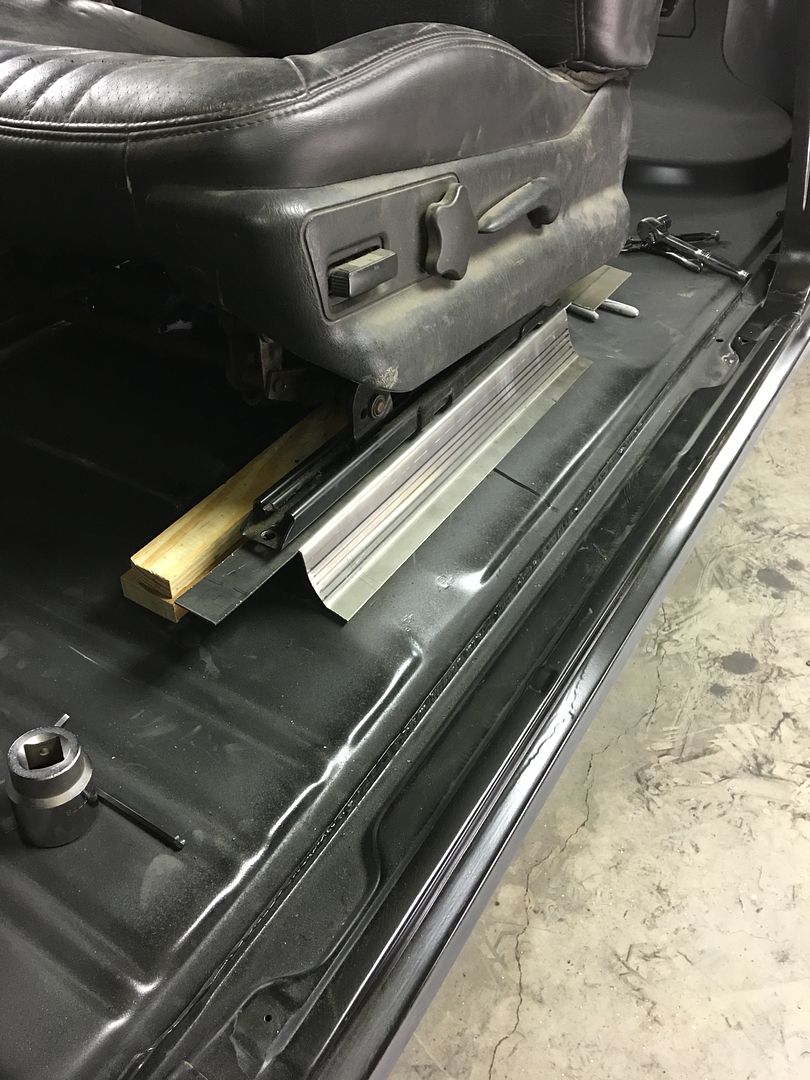
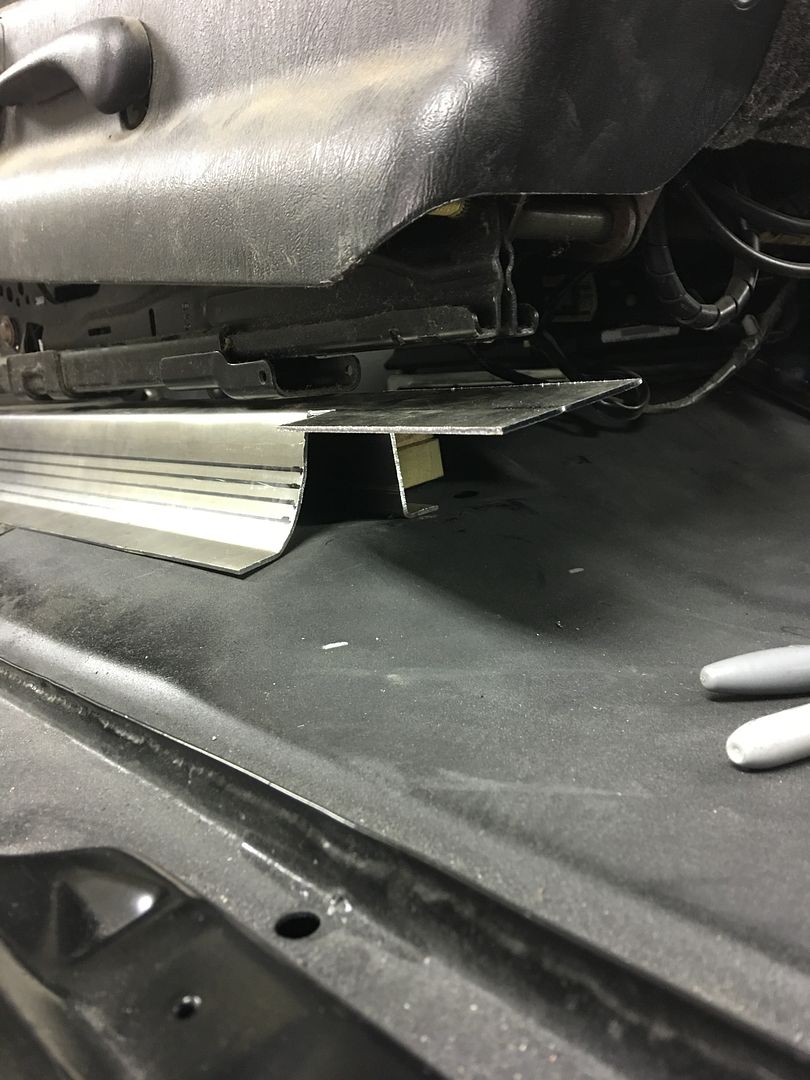
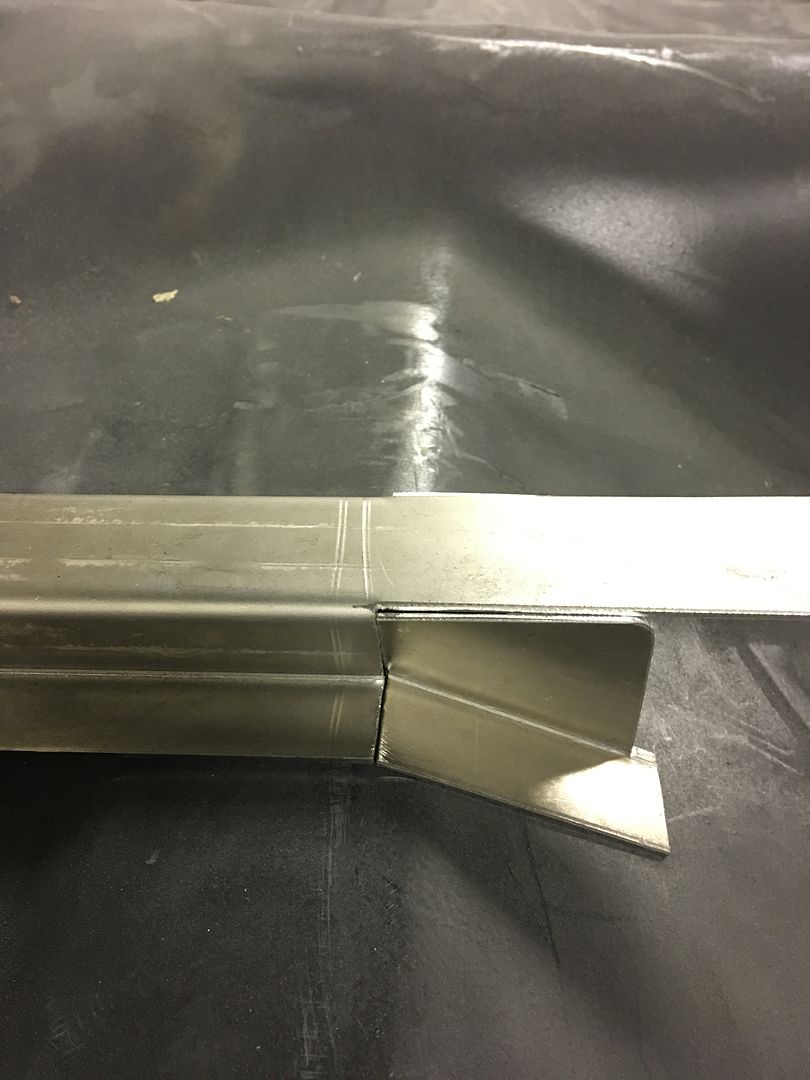
Fitting and trimming the end transitions while matched to the floor...
Ready for the TIG
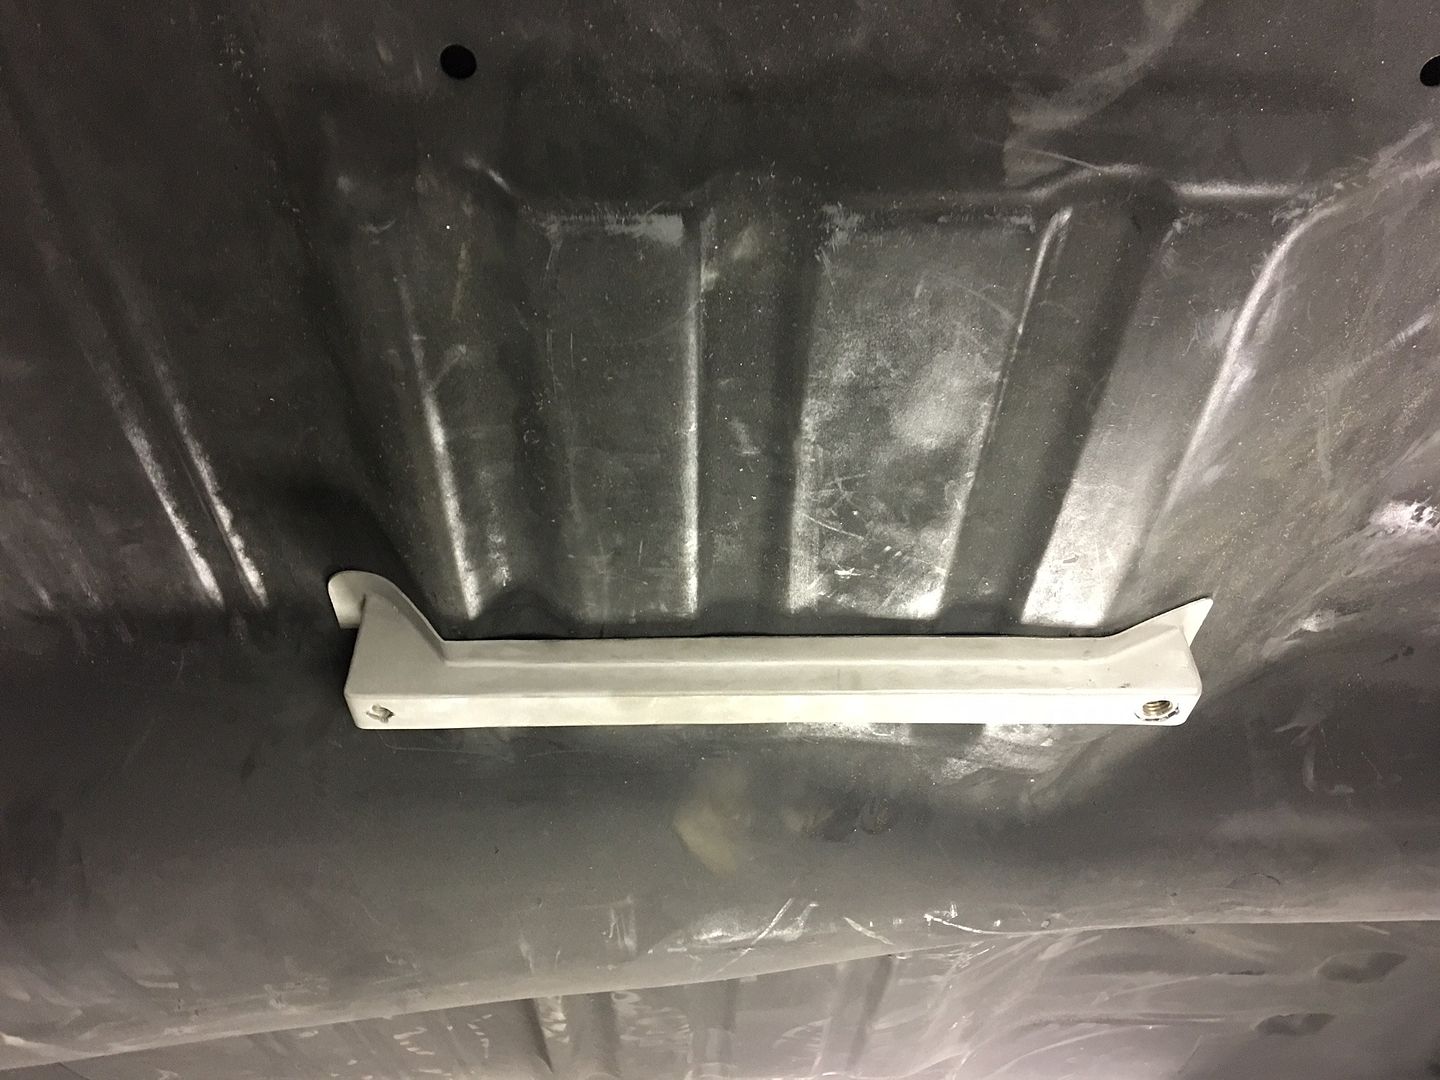
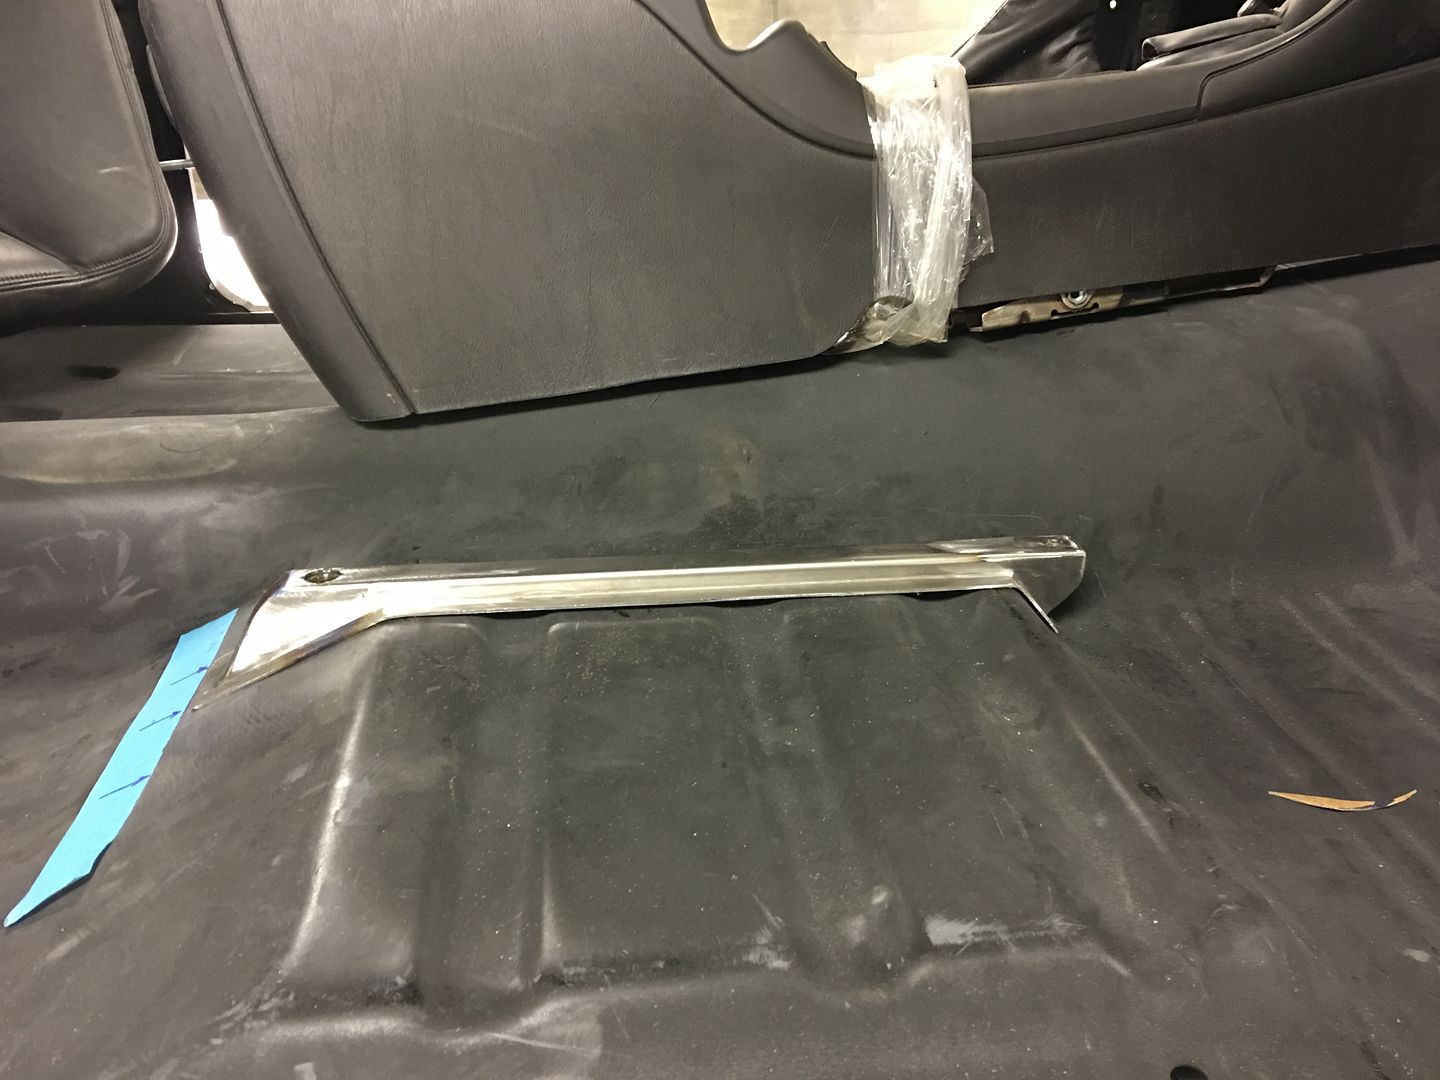
OK, so sometimes you take another look and think yeah, we can do better than that. Today the passenger bucket seat was test fit onto our riser. It could be brought a bit tighter to the floor.
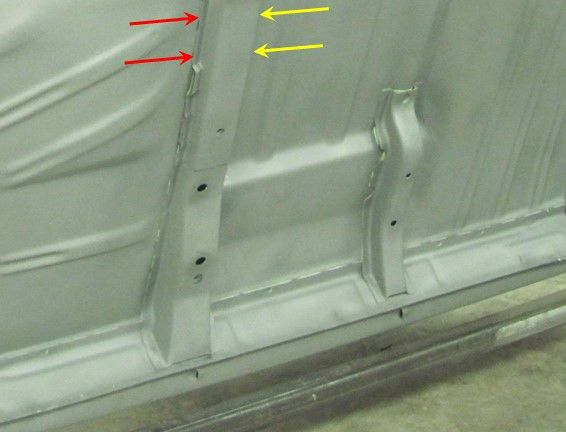
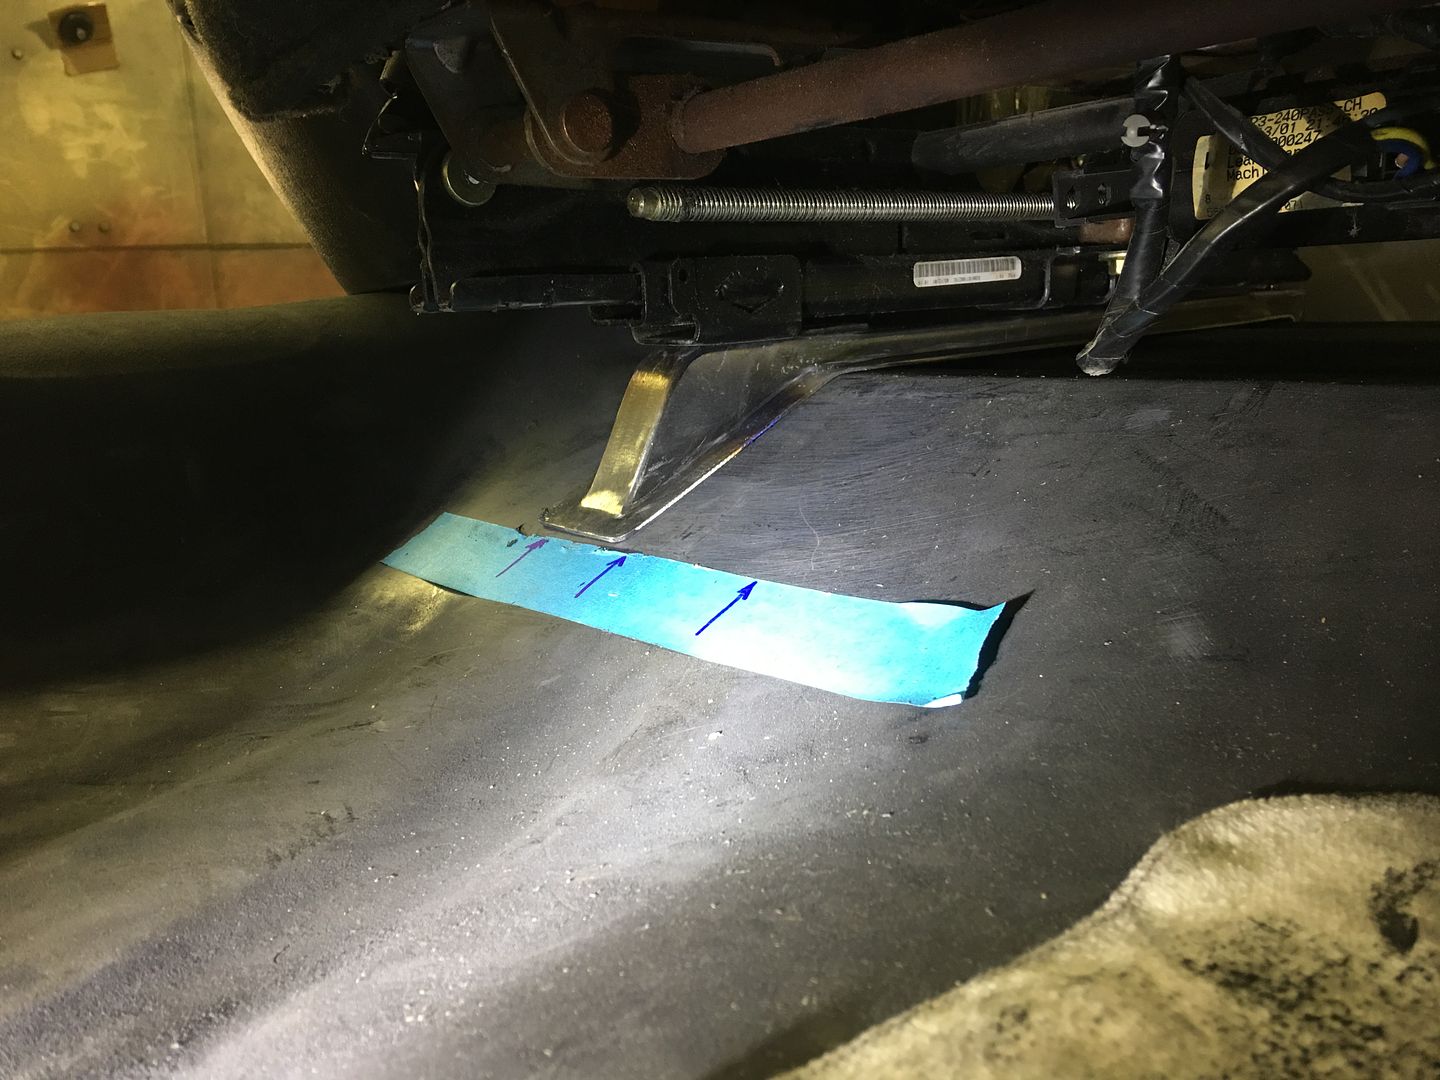
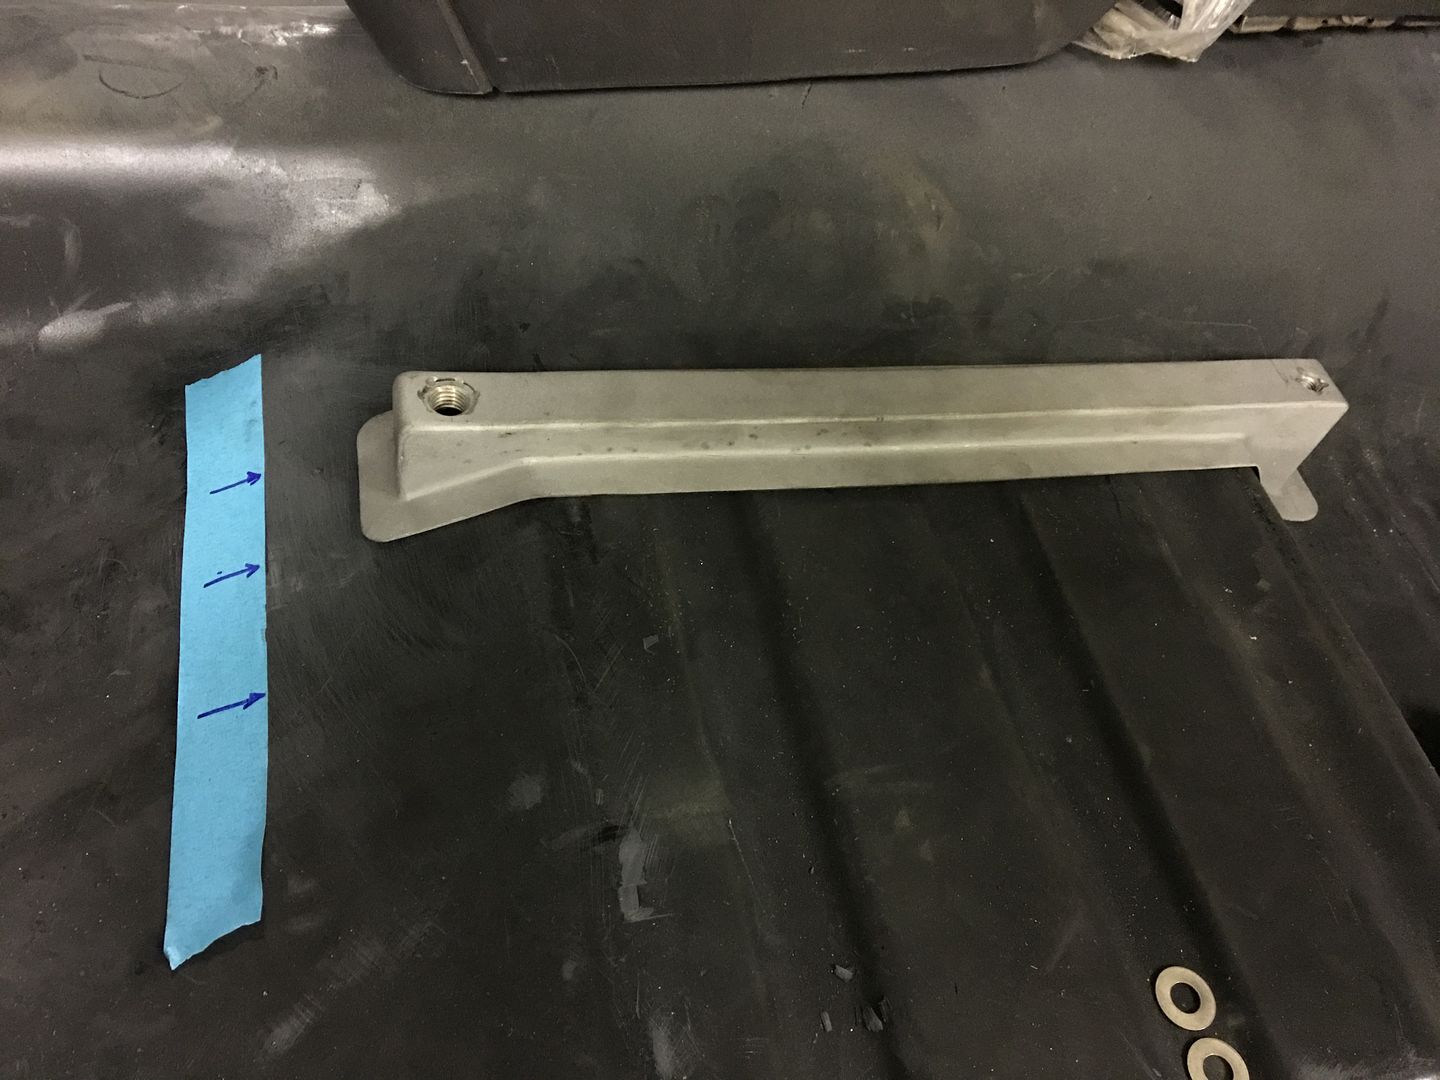
Next, looking at the cross member, the rear flange (red arrows) didn't match up to the rear flange of our riser.
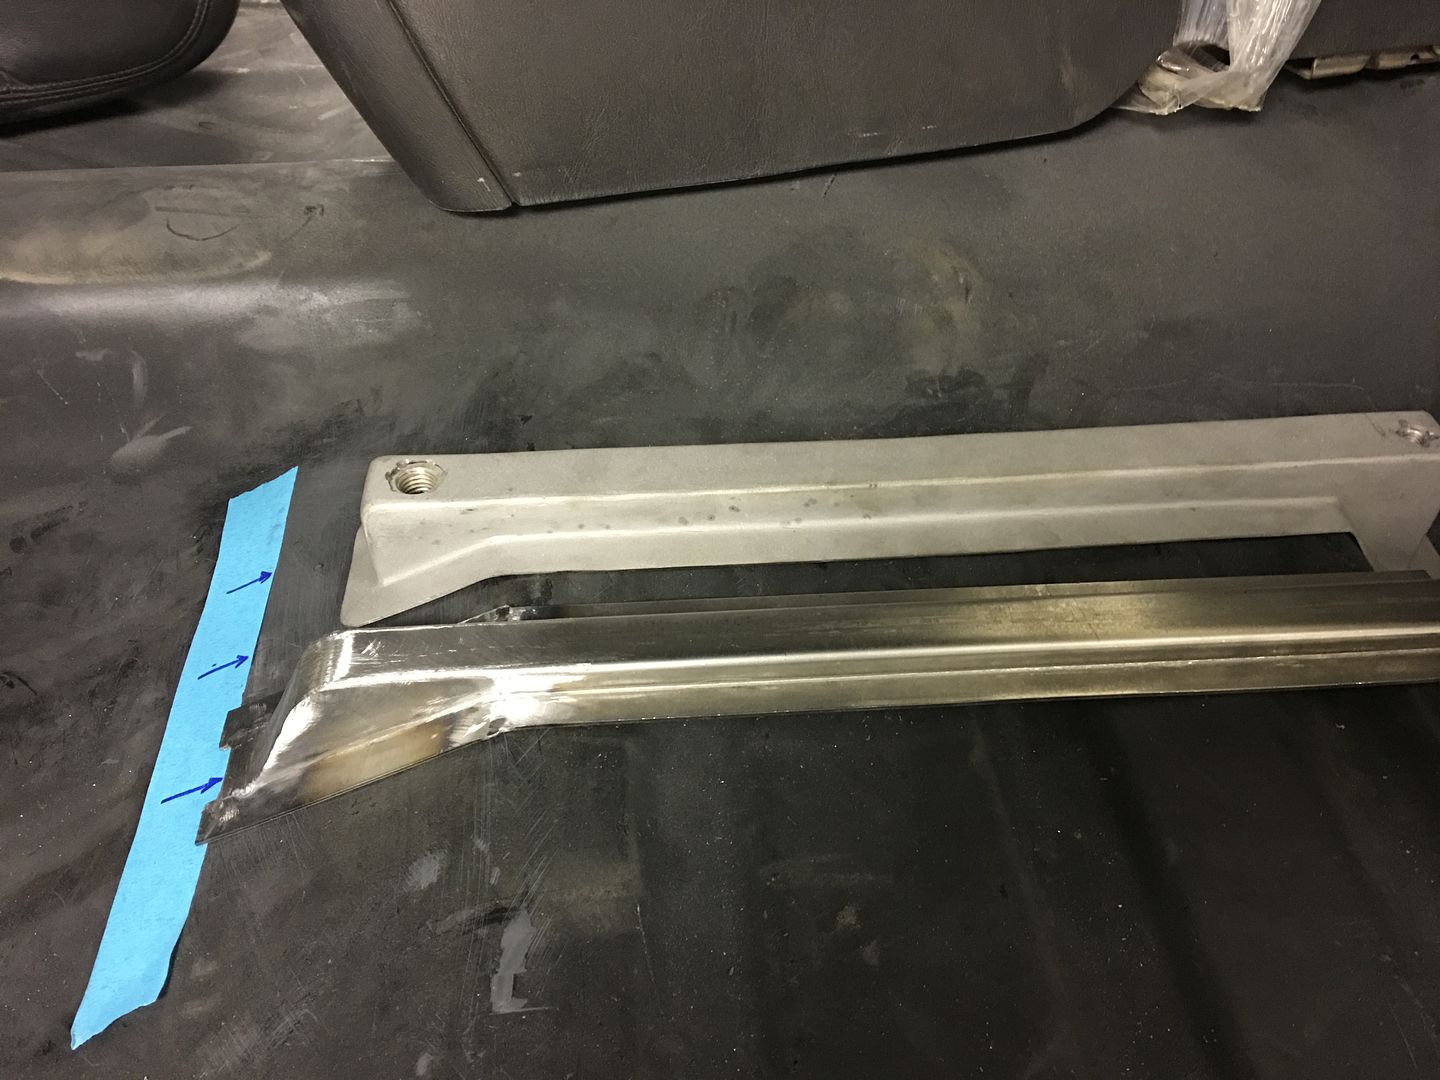
The blue tape shows the rear flange of the cross member below...
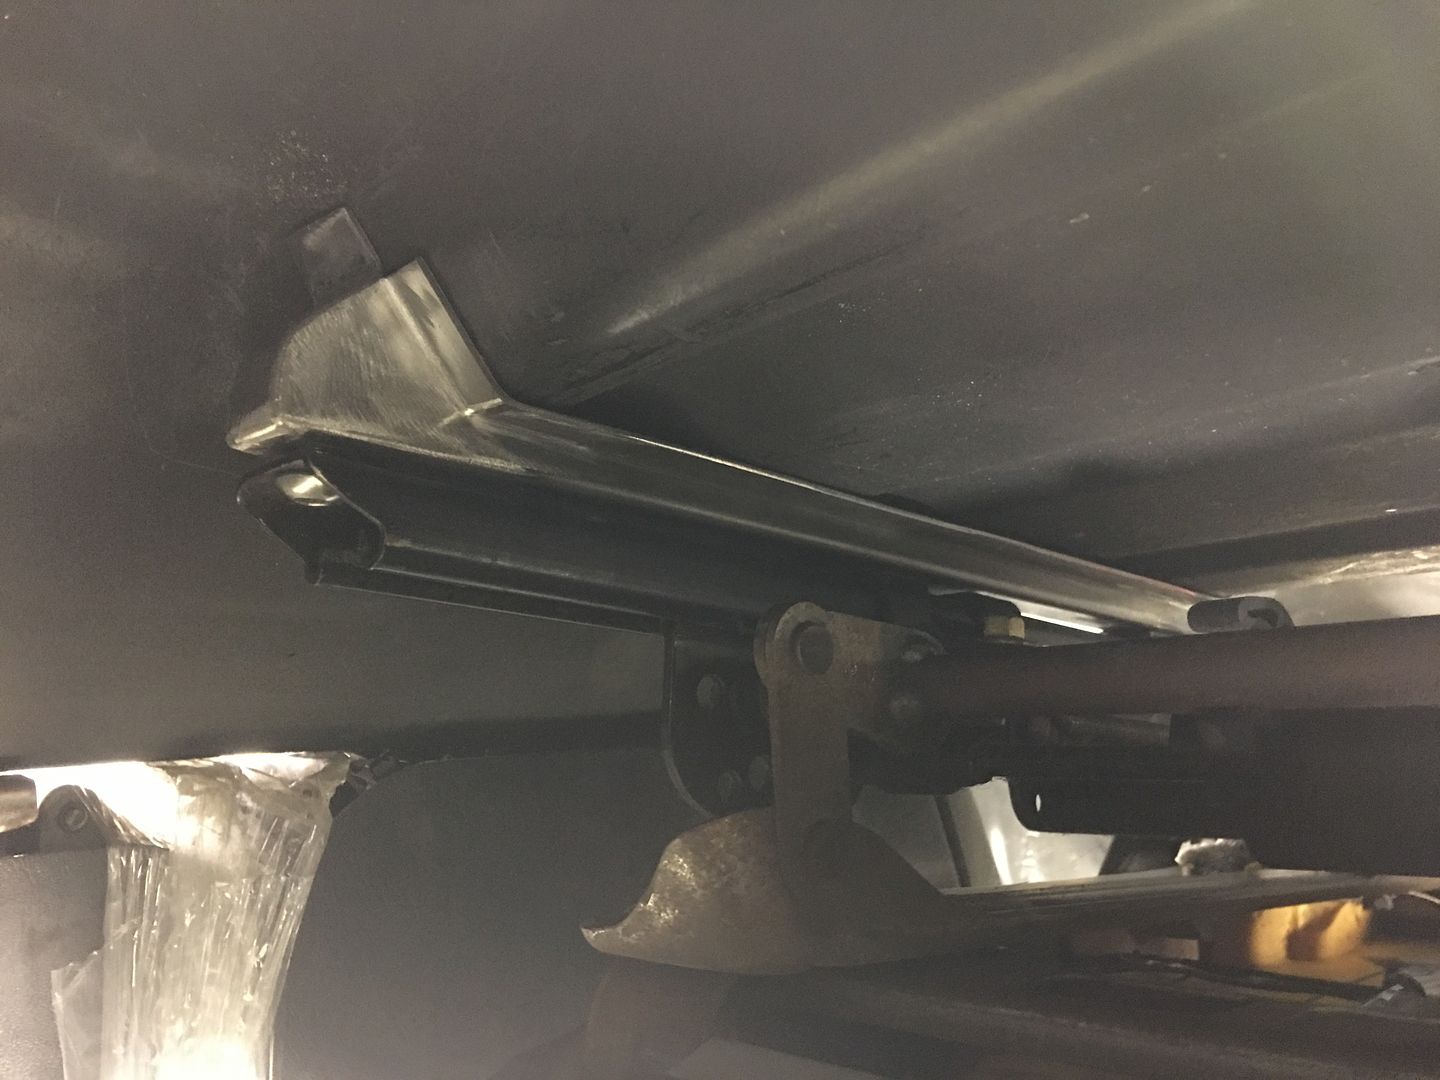
Here's our updated riser, half as tall, and once trimmed the flange will match to above the cross member..
Great job on the seat riser/bracket. I fabbed something that does the same job, but it's not nearly as pretty or "factory looking".

Robert, I was wondering why you made the original so tall. Nice fab work as usual. I use a 3/16" thick strap on the inboard mount to keep it as low as possible. Also, the rear inboard seat bolt goes through the brace. That's where the seatbelt is connected to the seat and I feel that it needs to be a really strong connection to the floor.
56 Nomad, Ramjet 502, Viper 6-speed T56, C4 Corvette front and rear suspension
Other vehicles:
56 Chevy 2-door BelAir sedan
56 Chevy 210 4-door sedan
57 Chevy 210 4-door sedan
1962 327/340HP Corvette
1961 Willys CJ3B Jeep
2001 Porsche Boxster S
2003 Chevy Silverado 2500 HD Duramax
2019 GMC Sierra Denali Duramax
That's the same way I did mine except it's 1/4". Like you, I felt it was important to anchor the inner rear of the seat well using the brace under the floor because it carries the seat belt load.
I have to admit the same.Originally Posted by Rick_L

Laszlo, I guess more than anything the height was based on ease of bending. It still wasn't easy, and looked too tall with the seat in place. Was a bit more challenging to bend the newer version, used two different dies and progressive bends ..
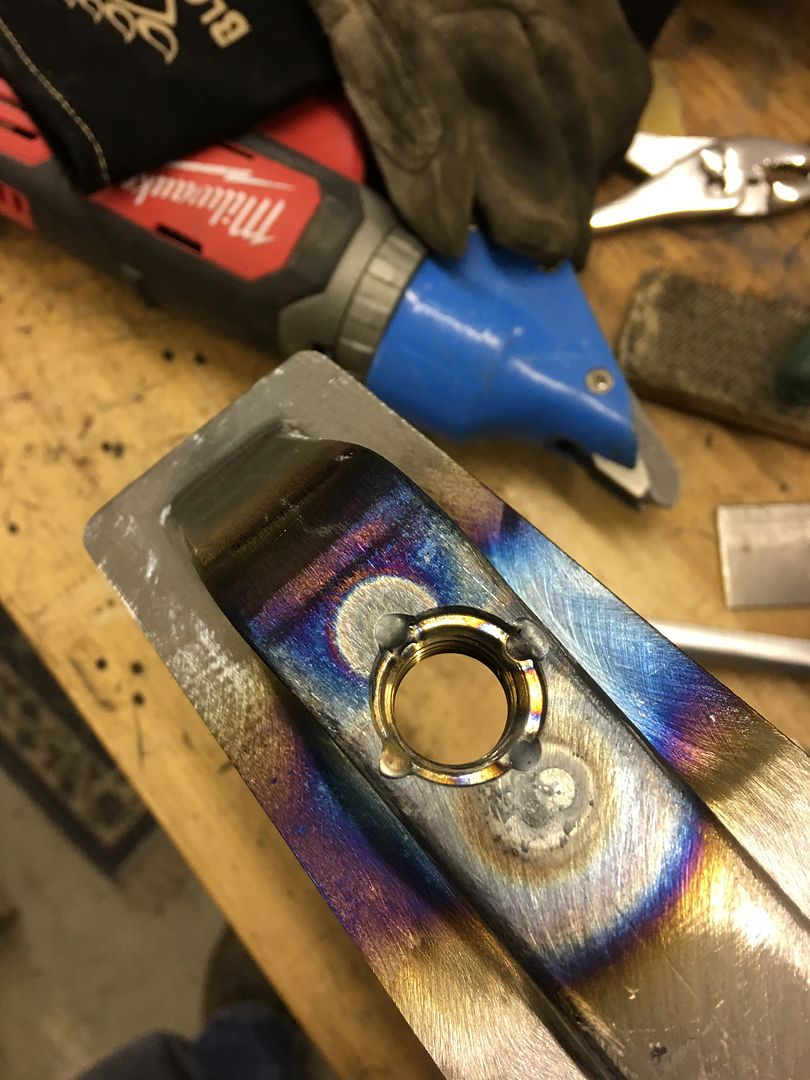
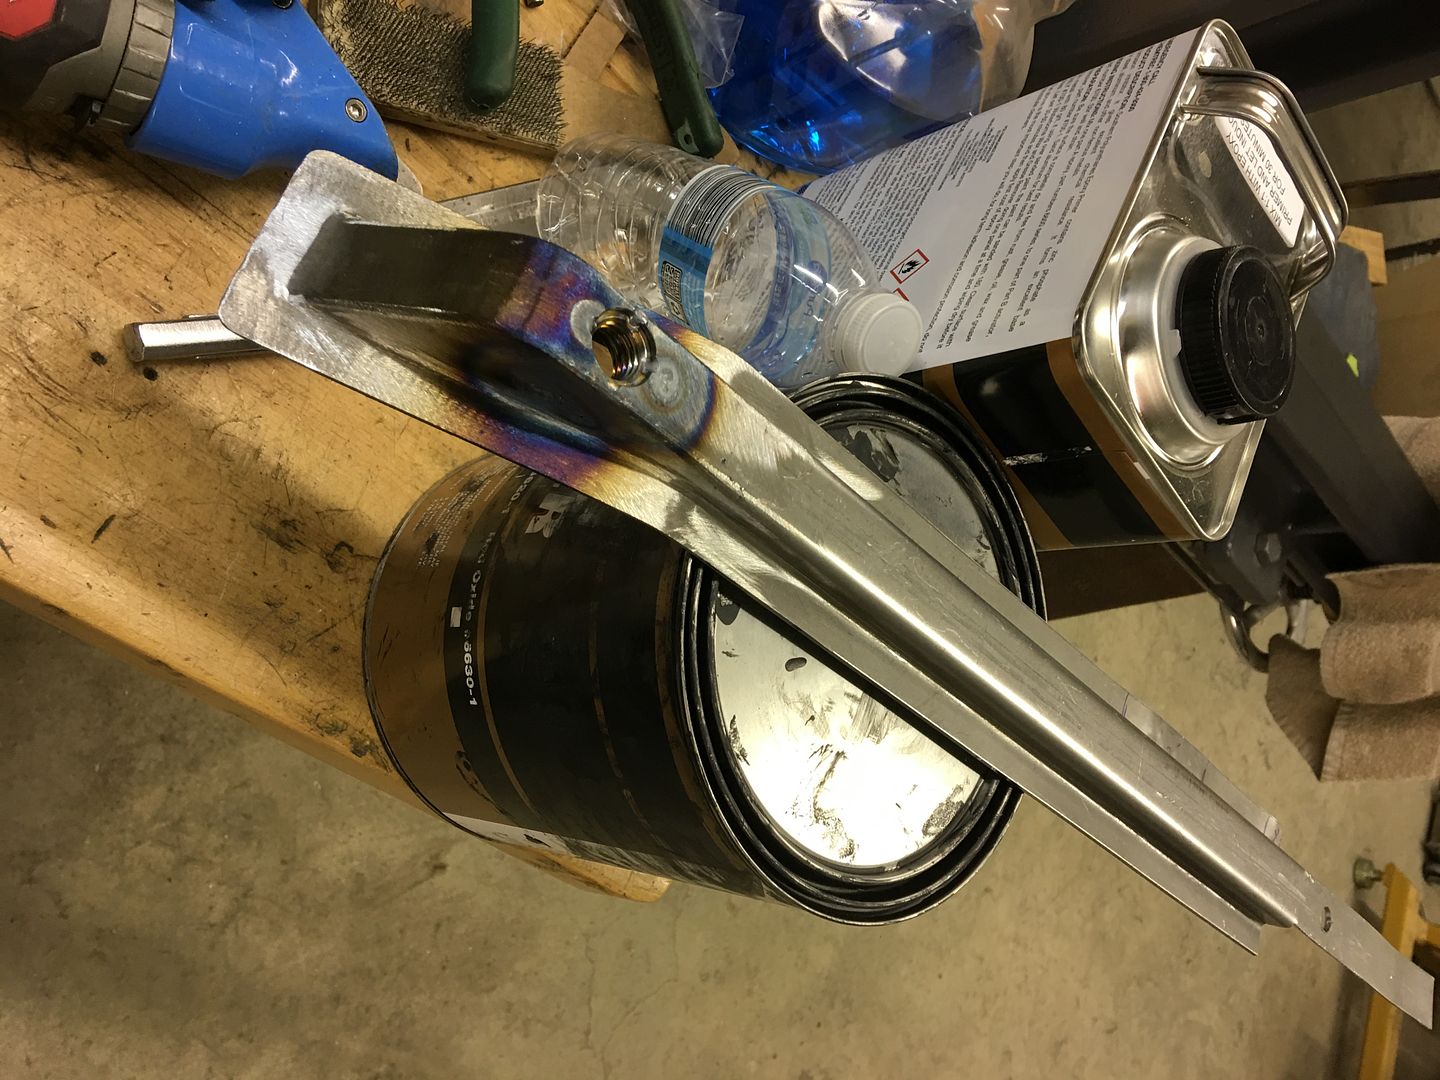
More details on the seat risers, here the 5/8-11 hex nut is welded inside. The tacks at the top are merely to hold it centered within the hole to maintain our correct C-C hole spacing. It gets welded inside as well to keep things anchored in place.
The 5/8 hardware was chosen as the factory seat bracket on these 2002 Monte Carlo seats had a hole that large existing already. The front of the seat bracket actually had another bracket underneath that was held in place with a solid rivet. We drilled out the rivet to remove the obstacle (so the rail was flat across the bottom), and opened the hole up for 3/8 hardware.
Test fit....
Still need to fill in the flange corners on the front and this one will be ready for SPI epoxy primer to coat all the surfaces before it gets welded in place..
Moving on to the outer risers, these ones will be a bit taller due to the recess where the original seat frames bolted. We started out with using the tipping die in the Lennox to thin the 14 gauge cold rolled steel at the bend line for a more crisp bend.
https://www.youtube.com/watch?v=OKFZqnHb9eY
Next, after making the inside bends, the Fasti-werks bead roller is used with a skate board wheel to add a radius to the outer "leg" of the riser.
Next time in the shop we'll get the ends closed up.....
 Posting Permissions

 Reply With Quote