Just joined? Please introduce yourself.
Page 50 of 102 FirstFirst ... 40484950515260100 ... LastLast
Results 491 to 500 of 1019

Thread: wagon progress

  1. #491
    Registered Member MP&C's Avatar
    Join Date
    Dec 2013

    Member #:2017
    Location
    Southern MD
    Posts
    1,293
    This weekend's progress... Jake finishing up on the seat bolsters.


    We don't always have the right tools to use, so on occasion we make them. This corner of the panel needed a sharper shape on the anvil


    With both bolsters done and fitted to the rear seat, Jake media blasted both and hung them up in the booth where he applied some SPI Epoxy primer.

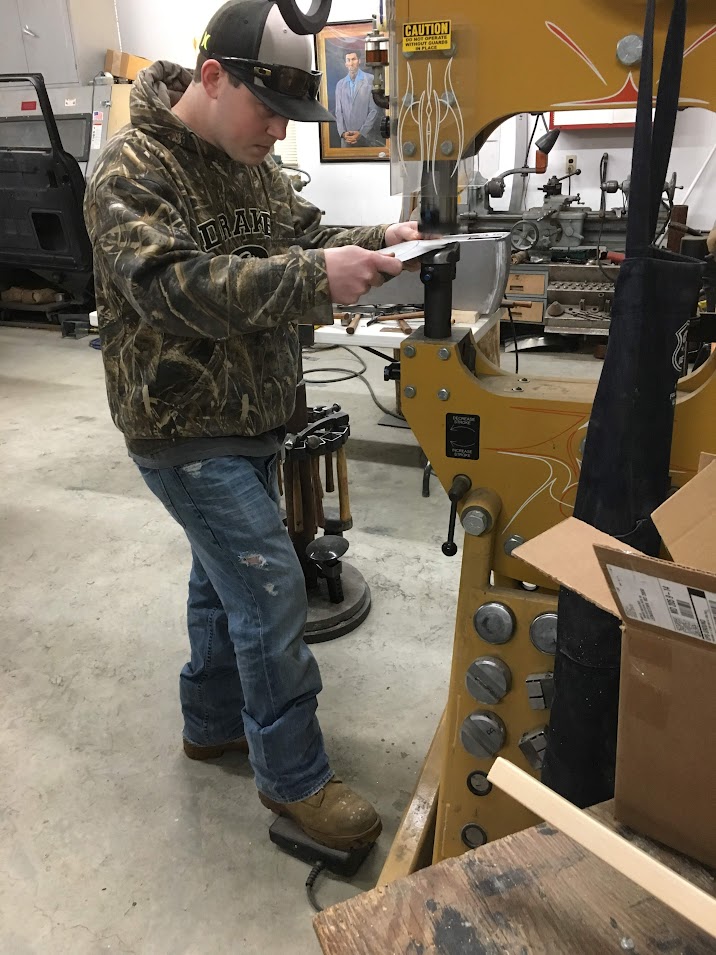
    Meanwhile Mike and I worked on getting the driver's side of the console folded up..


    We started by using the tipping die in the Lennox for thinning the bend lines. This both gives a sharper bend and also gives a "feel" for when the press brake's upper die is located in the proper bend location.

    https://www.youtube.com/watch?v=I87VWj-Qetc

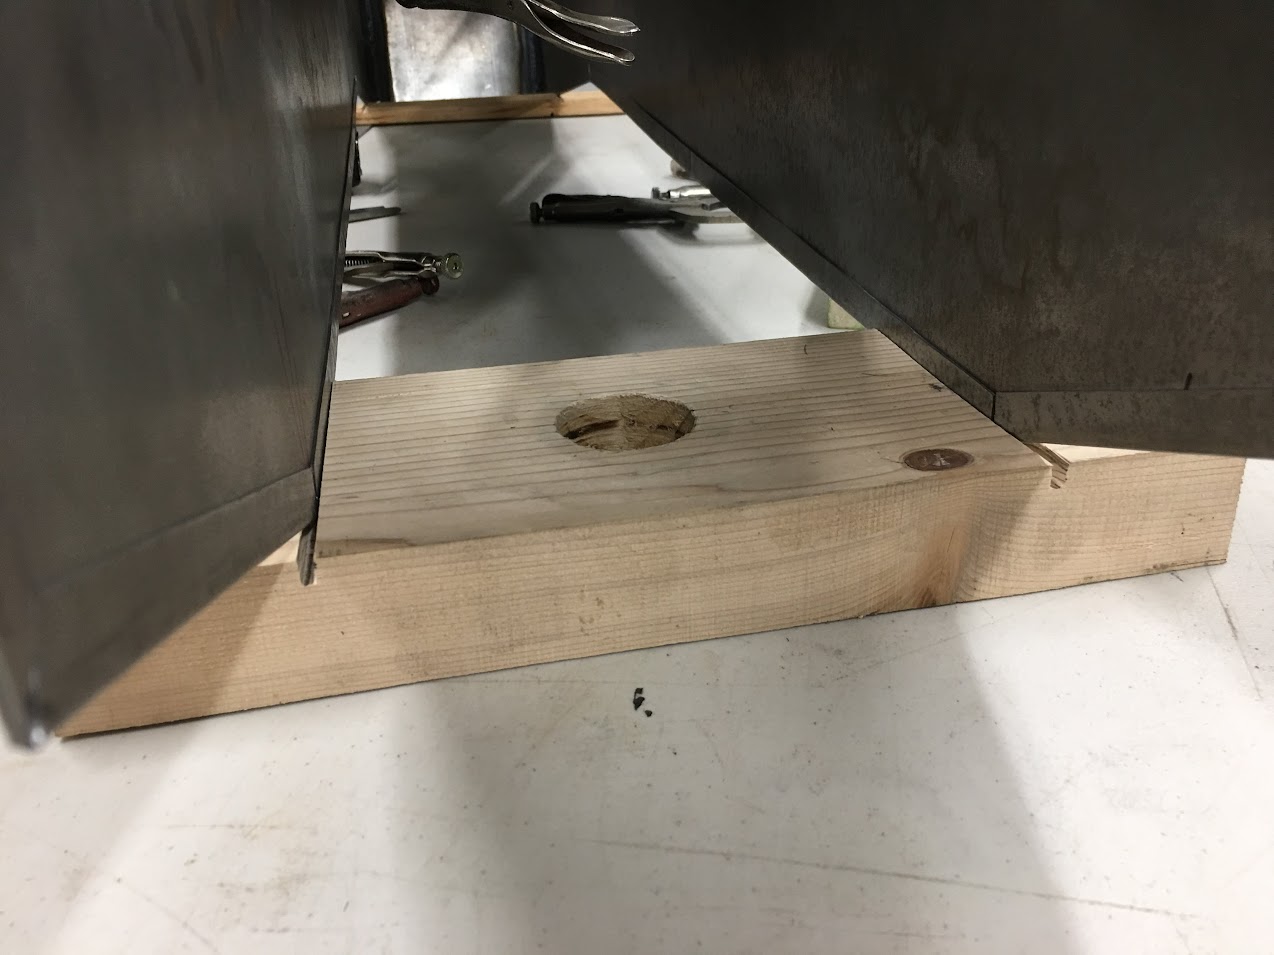
    Here's the highly technical back stop used to set the fold distance. We have a growing collection of these starting as the dimensional requirements change..


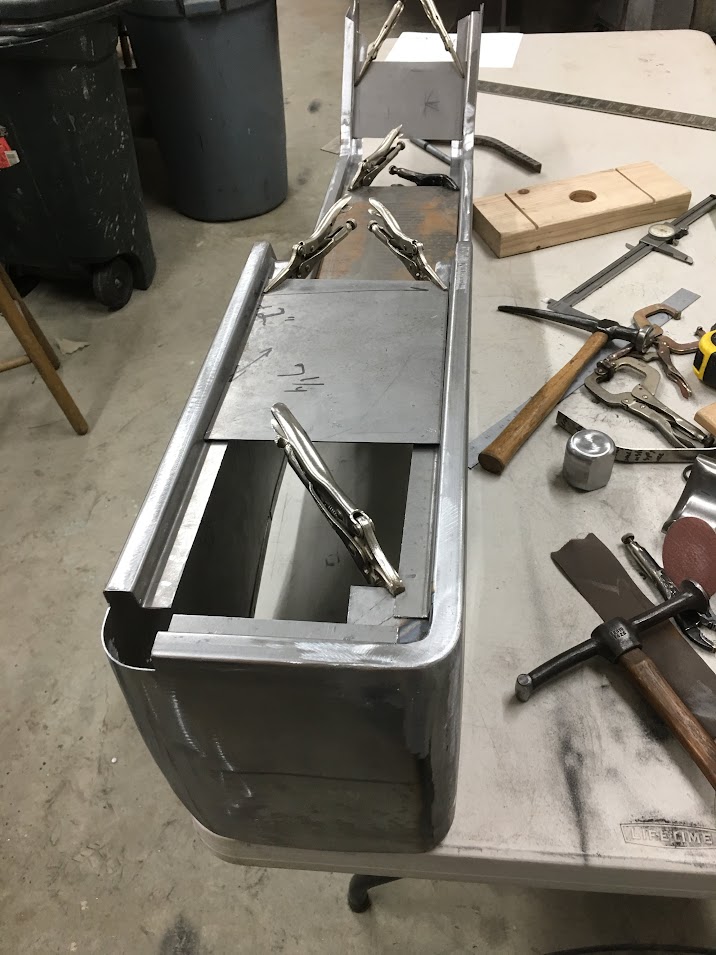
    With two sides now, a spacer was made to clamp in the middle to hold our proper width..


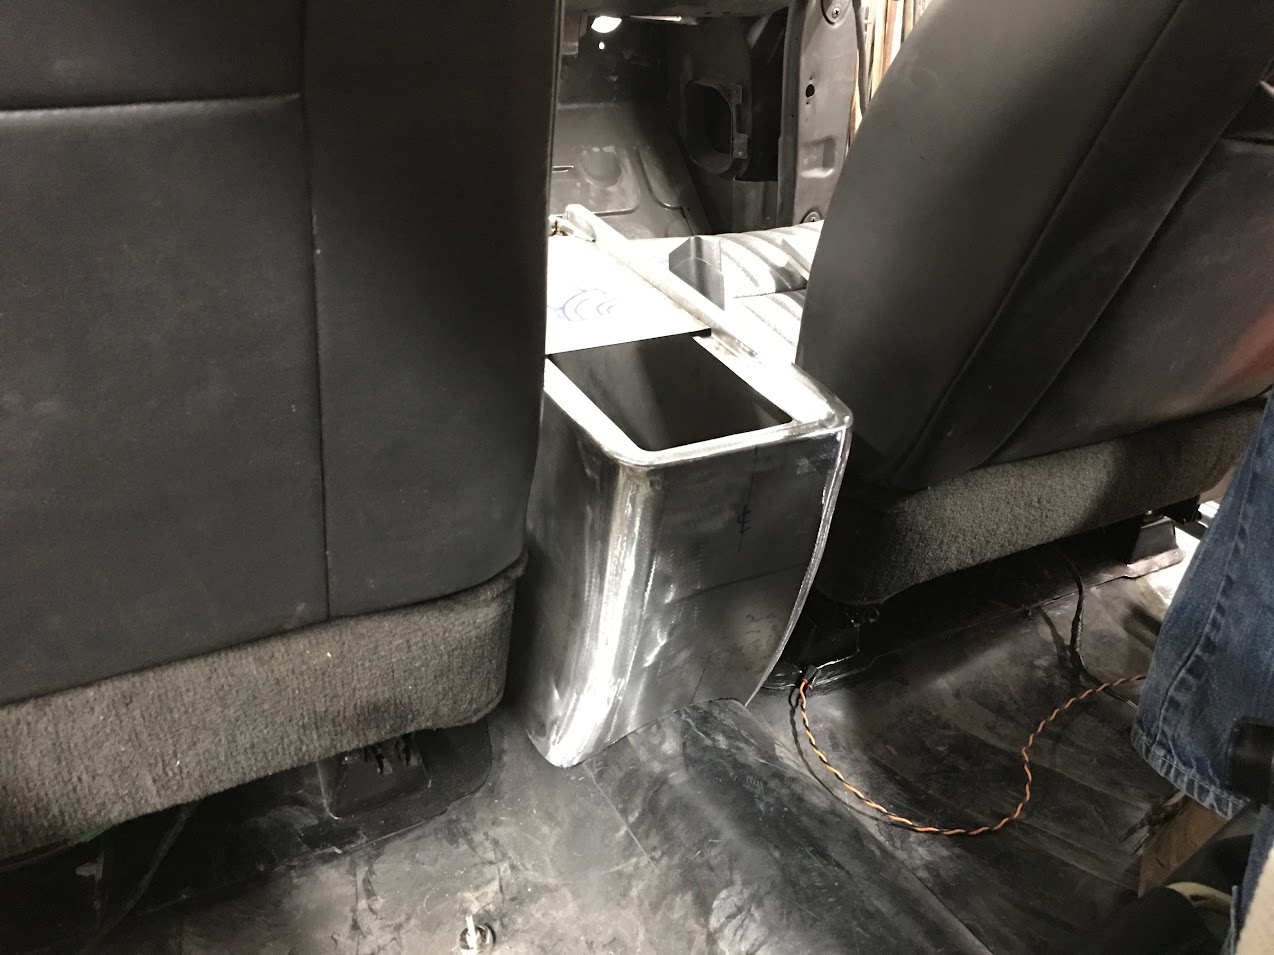
    Seats above are all the way forward, compare front location to next picture where they have been moved back to normal location, as well as mocking up the Chevelle shifter..


    Next we'll get the radius pieces added and start on the internal structures of the console.
    Robert


    MP&C Shop Projects-Metalshaping Tutorials


    Instagram @ mccartney_paint_and_custom


    .

  2. #492
    Registered Member chevynut's Avatar
    Join Date
    Nov 2011

    Member #:115
    Location
    Fort Collins, CO
    Posts
    10,847
    Quote Originally Posted by MP&C View Post
    Laszlo, IIRC they are set at 13-1/2", and prior to installing any interior parts, was balanced perfectly. Now that we've started putting some interior parts inside, we're finding it more top heavy. So depending on your intent, you may want to adjust accordingly.
    Thanks Robert. That gives me a good starting point. I'll be loading the body onto the rotisserie by myself so I want it as close to balanced as I can get. The body will be bare.
    56 Nomad, Ramjet 502, Viper 6-speed T56, C4 Corvette front and rear suspension


    Other vehicles:

    56 Chevy 2-door BelAir sedan
    56 Chevy 210 4-door sedan
    57 Chevy 210 4-door sedan
    1962 327/340HP Corvette
    1961 Willys CJ3B Jeep
    2001 Porsche Boxster S
    2003 Chevy Silverado 2500 HD Duramax
    2019 GMC Sierra Denali Duramax

  3. #493
    Registered Member MP&C's Avatar
    Join Date
    Dec 2013

    Member #:2017
    Location
    Southern MD
    Posts
    1,293
    Progress last night on the console, as I was welding the remaining bits in the drivers console side (sorry, no pics) Jake was using the GoKart slick in the Wheeling machine to add the correct contour to the rear panel for the console...


    Matches up well.....


    Then he made some practice side pieces so we could test the fitment to the rear panel after using the tank roll die in the Lennox. There's quite a bit of work in the console sides at this point, and we didn't want them to be the guinea pigs..


    View of them clamped:


    We can use this rear panel on the console, and this weekend we'll use the tank roll die on the console sides and get them welded together..


    Robert


    MP&C Shop Projects-Metalshaping Tutorials


    Instagram @ mccartney_paint_and_custom


    .

  4. #494
    Registered Member BeachGirl55's Avatar
    Join Date
    Dec 2017

    Member #:3611
    Location
    Havasu
    Posts
    180
    Looking good, great work Robert, can't wait to see this beauty finished

  5. #495
    Registered Member MP&C's Avatar
    Join Date
    Dec 2013

    Member #:2017
    Location
    Southern MD
    Posts
    1,293
    Thanks, kinda anxious myself!

  6. #496
    Registered Member
    Join Date
    May 2012

    Member #:625
    Posts
    3,413
    I like it, not a woodshop piece that weighs a ton,

  7. #497
    Registered Member chevynut's Avatar
    Join Date
    Nov 2011

    Member #:115
    Location
    Fort Collins, CO
    Posts
    10,847
    Quote Originally Posted by MP&C View Post
    Thanks, kinda anxious myself!

    I wanna see GREEN!!!
    56 Nomad, Ramjet 502, Viper 6-speed T56, C4 Corvette front and rear suspension


    Other vehicles:

    56 Chevy 2-door BelAir sedan
    56 Chevy 210 4-door sedan
    57 Chevy 210 4-door sedan
    1962 327/340HP Corvette
    1961 Willys CJ3B Jeep
    2001 Porsche Boxster S
    2003 Chevy Silverado 2500 HD Duramax
    2019 GMC Sierra Denali Duramax

  8. #498
    Registered Member MP&C's Avatar
    Join Date
    Dec 2013

    Member #:2017
    Location
    Southern MD
    Posts
    1,293
    Merry Christmas and Happy Holidays to everyone!

    More progress today on the console, time to weld in the back section.. We had it clamped like so:


    But on second thought, it should be clamped on the upper portion...


    ....and to keep the bottoms from sliding out from under, some spacers were made out of scrap wood....


    Tacked and welded with the TIG....


    Jake cut out some corners, tipped some flanges, and used the Vise Grip tucking tool to gather up some of the excess metal. A torch heats up the tucks for an easy flattening.


    Trimmed and test fit...


    Inner corner finished in the same fashion...


    Robert


    MP&C Shop Projects-Metalshaping Tutorials


    Instagram @ mccartney_paint_and_custom


    .

  9. #499
    Registered Member BamaNomad's Avatar
    Join Date
    Nov 2016

    Member #:3217
    Location
    Rocket City, USA (Huntsville, AL area)
    Posts
    3,780
    Robert... you fellas do some damn good metalwork!

  10. #500
    Registered Member MP&C's Avatar
    Join Date
    Dec 2013

    Member #:2017
    Location
    Southern MD
    Posts
    1,293
    Thanks!


    Happy New Year to everybody!


    Had a visit by the shop this week from cousin JB, who works at Interiors by Shannon in Alabama. He was up for the holidays. They have recently picked up a bead roller so we did some practice runs on pre-stretched and non-stretched beads, and then some beads using the Lennox Nibbler. Finished up with some shrinking on the MH-19. We ran out of time to punch louvers. Great to see him again, nice to spend time "playing" in the shop.


    Progress on the console this weekend... Mike is still in California visiting family, so Jake and I have been texting pics to him of what he's missing haha..

    Corner number two, we've already shown some shrinking, so no we'll show stretching the inside corner..


    Placing the part on a suitable flat anvil, a barrel roll hammer is used to provide stretch the inner corner...


    You get to a point where flat is no longer useful, so then we use another anvil, this one in the form of a square tube. Works well for what we're doing here...


    Fitted and welded....


    Next, a pattern made of the rear hump for trimming the console.. we'll keep it snug for now for placing anchors and then trim later for carpet and sound deadening space.


    Robert


    MP&C Shop Projects-Metalshaping Tutorials


    Instagram @ mccartney_paint_and_custom


    .

Page 50 of 102 FirstFirst ... 40484950515260100 ... LastLast

Posting Permissions

  • You may not post new threads
  • You may not post replies
  • You may not post attachments
  • You may not edit your posts
  •