Just joined? Please introduce yourself.
Page 100 of 102 FirstFirst ... 50909899100101102 LastLast
Results 991 to 1,000 of 1019

Thread: wagon progress

  1. #991
    Registered Member MP&C's Avatar
    Join Date
    Dec 2013

    Member #:2017
    Location
    Southern MD
    Posts
    1,293
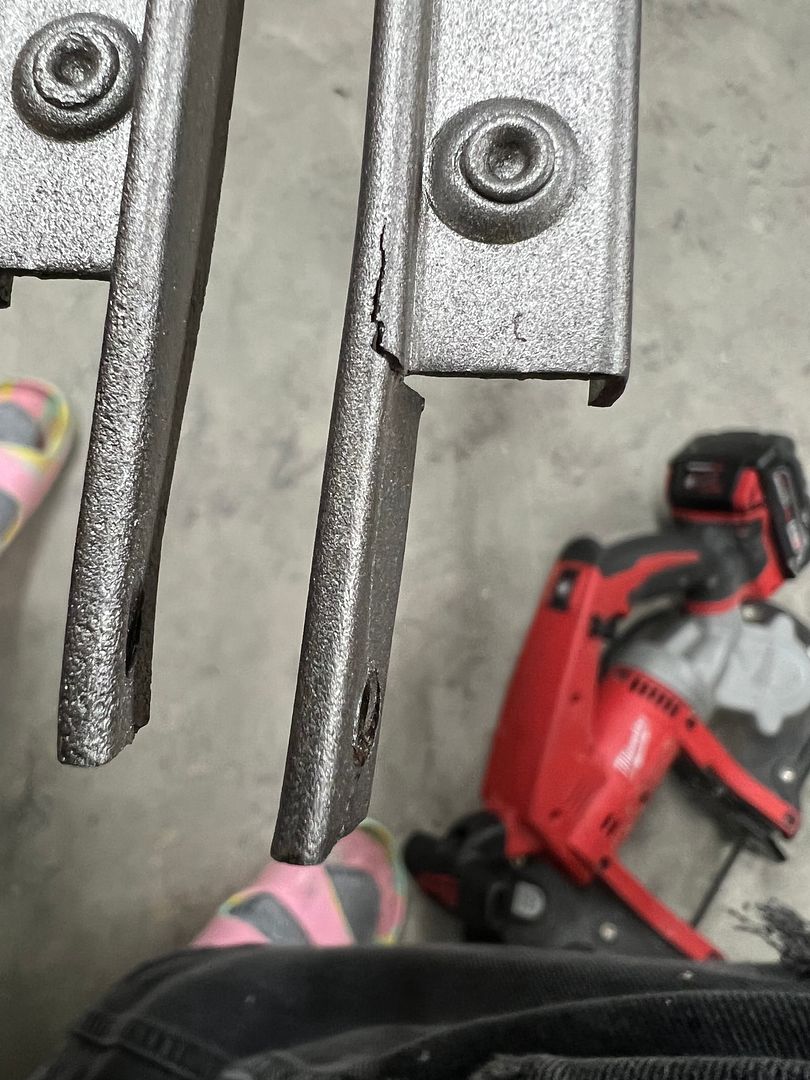
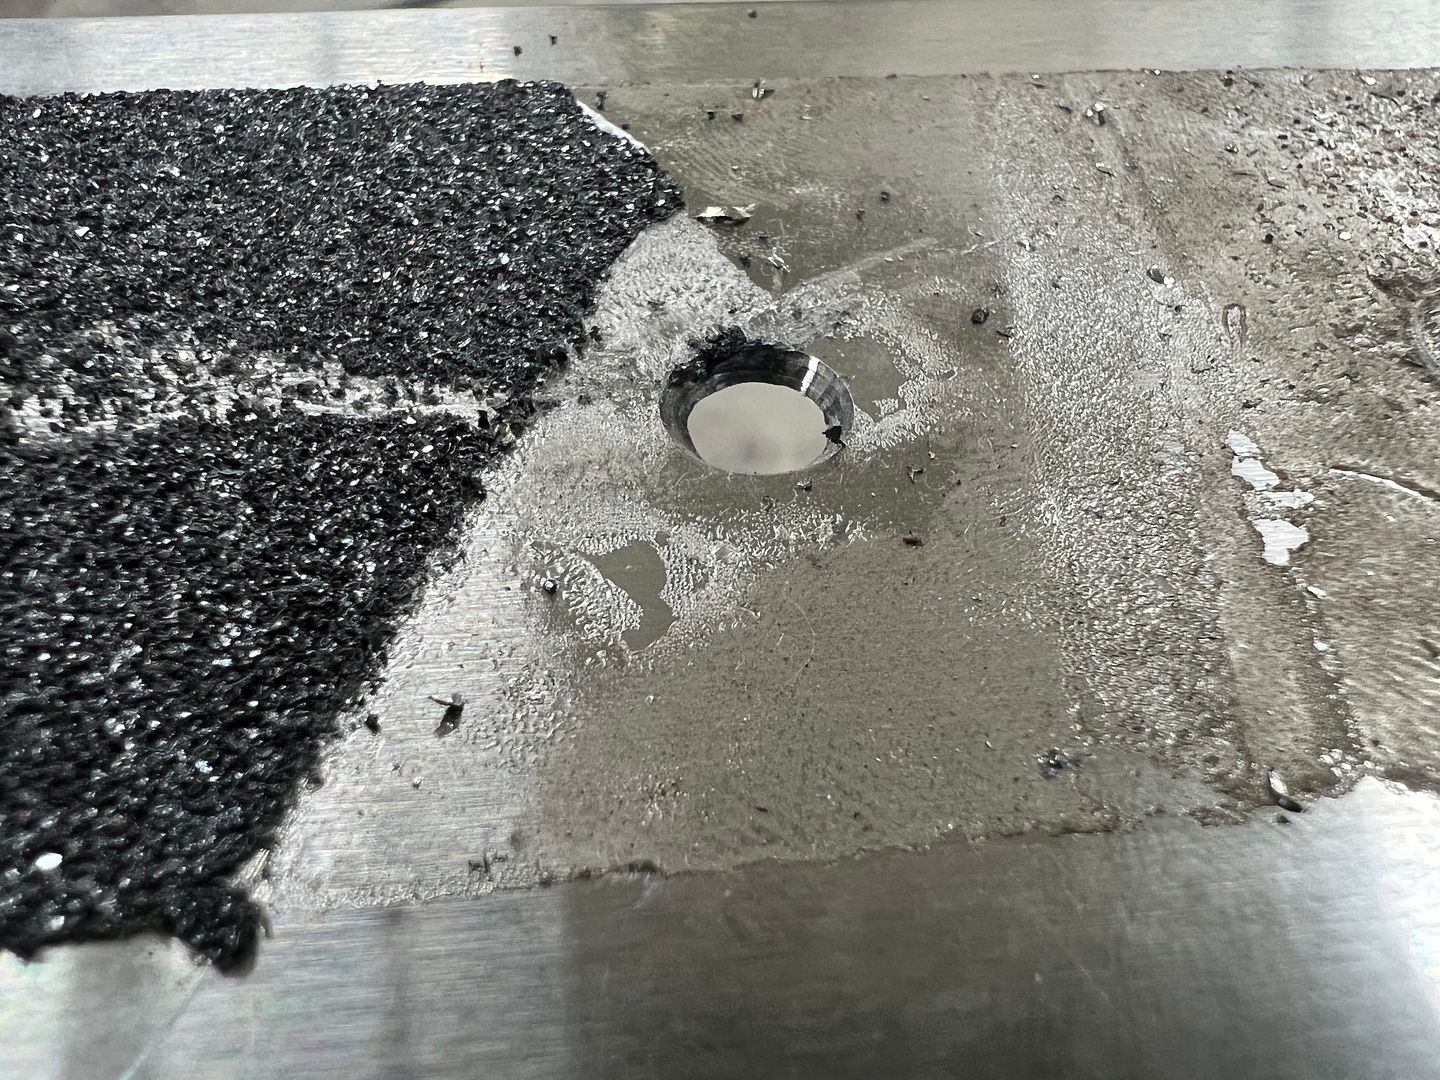
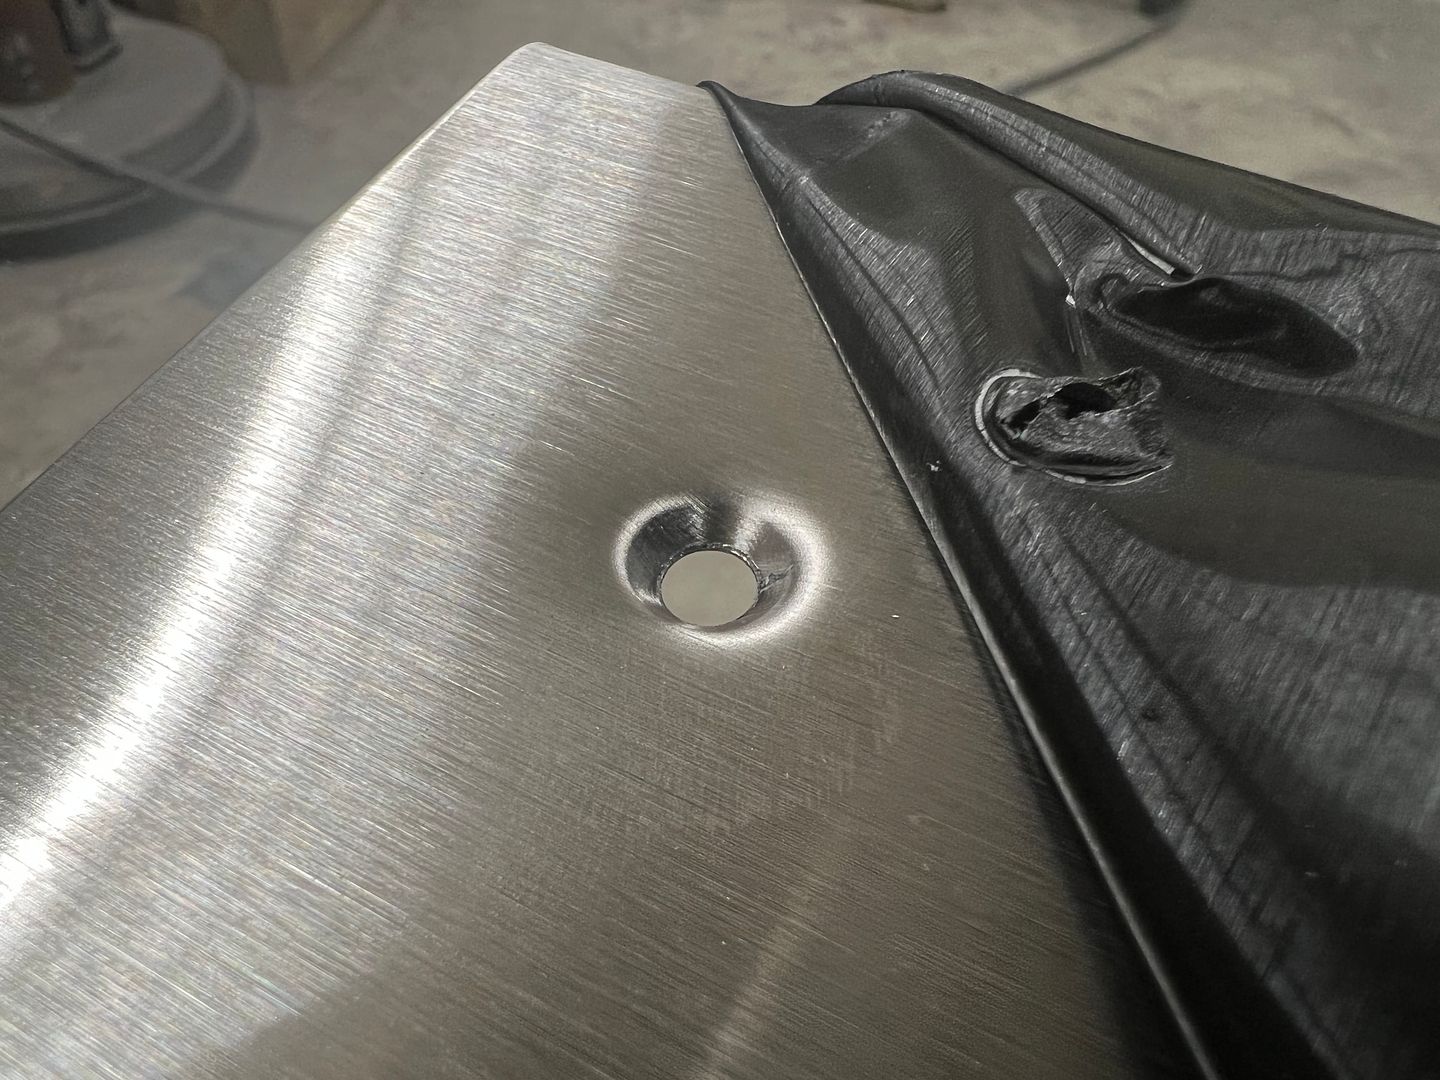
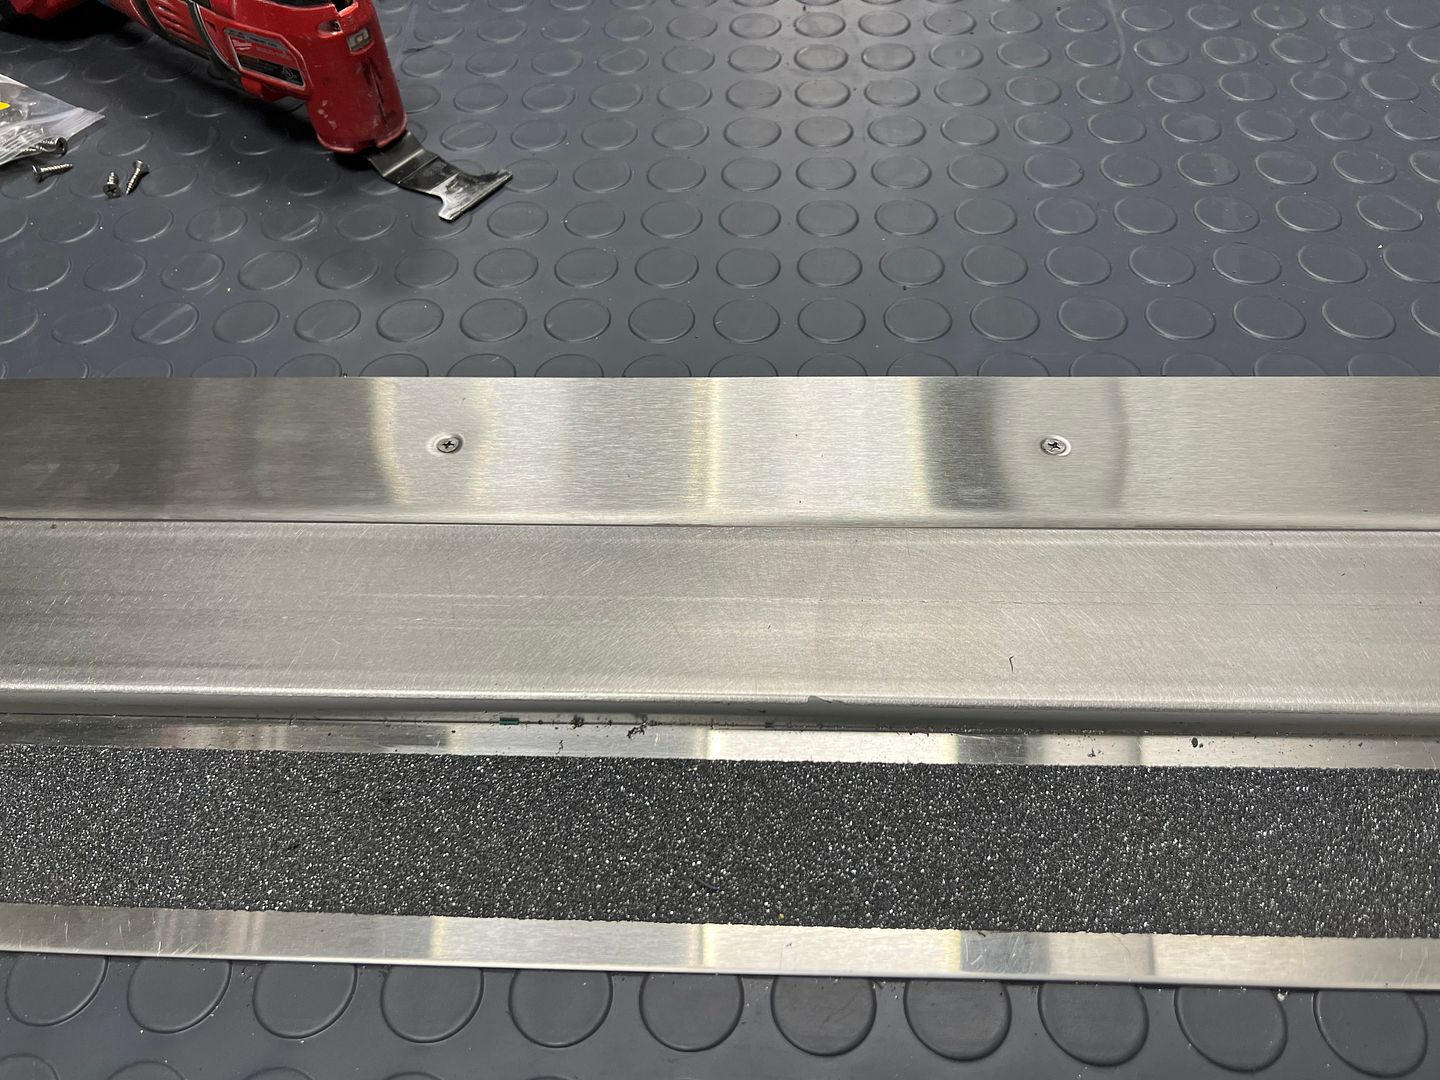
    Some more fabrication work for the day job, we had a door seal that was being abraded by a non-skid strip on the threshold, and wanted to drop it down some as well for better clearance. So a new threshold was made from 16 Gauge #4 brushed stainless. Where the old used countersunk holes for the #8 screws, we opted for the more correct version of dimpled holes. Provides more contact area for better seated hardware.


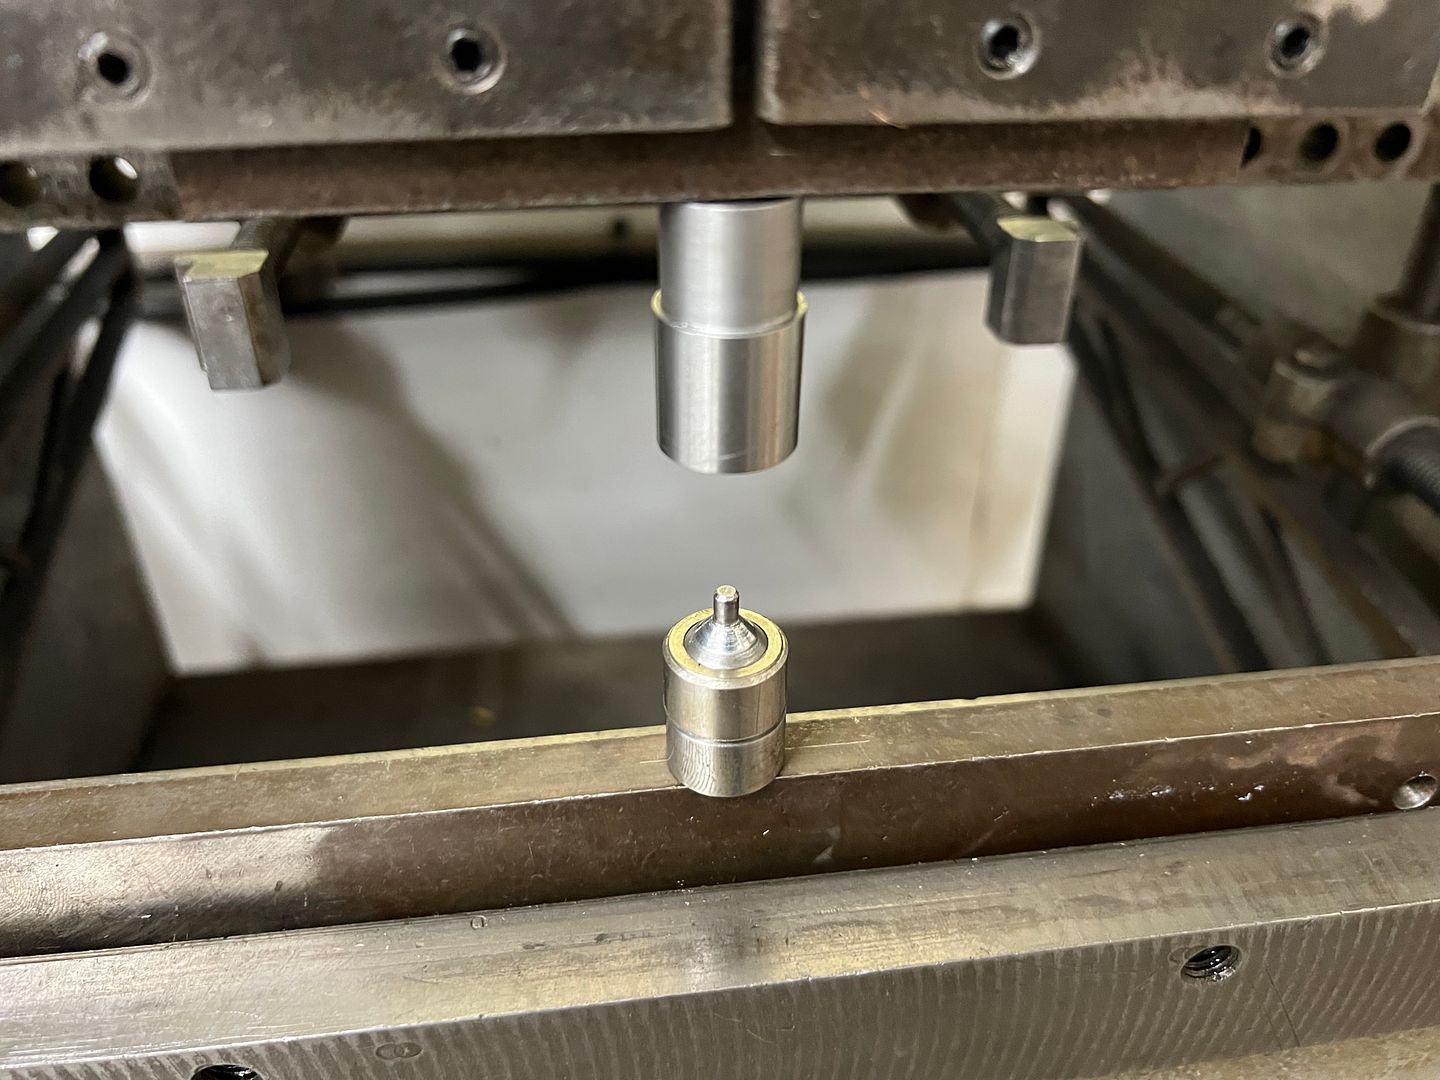
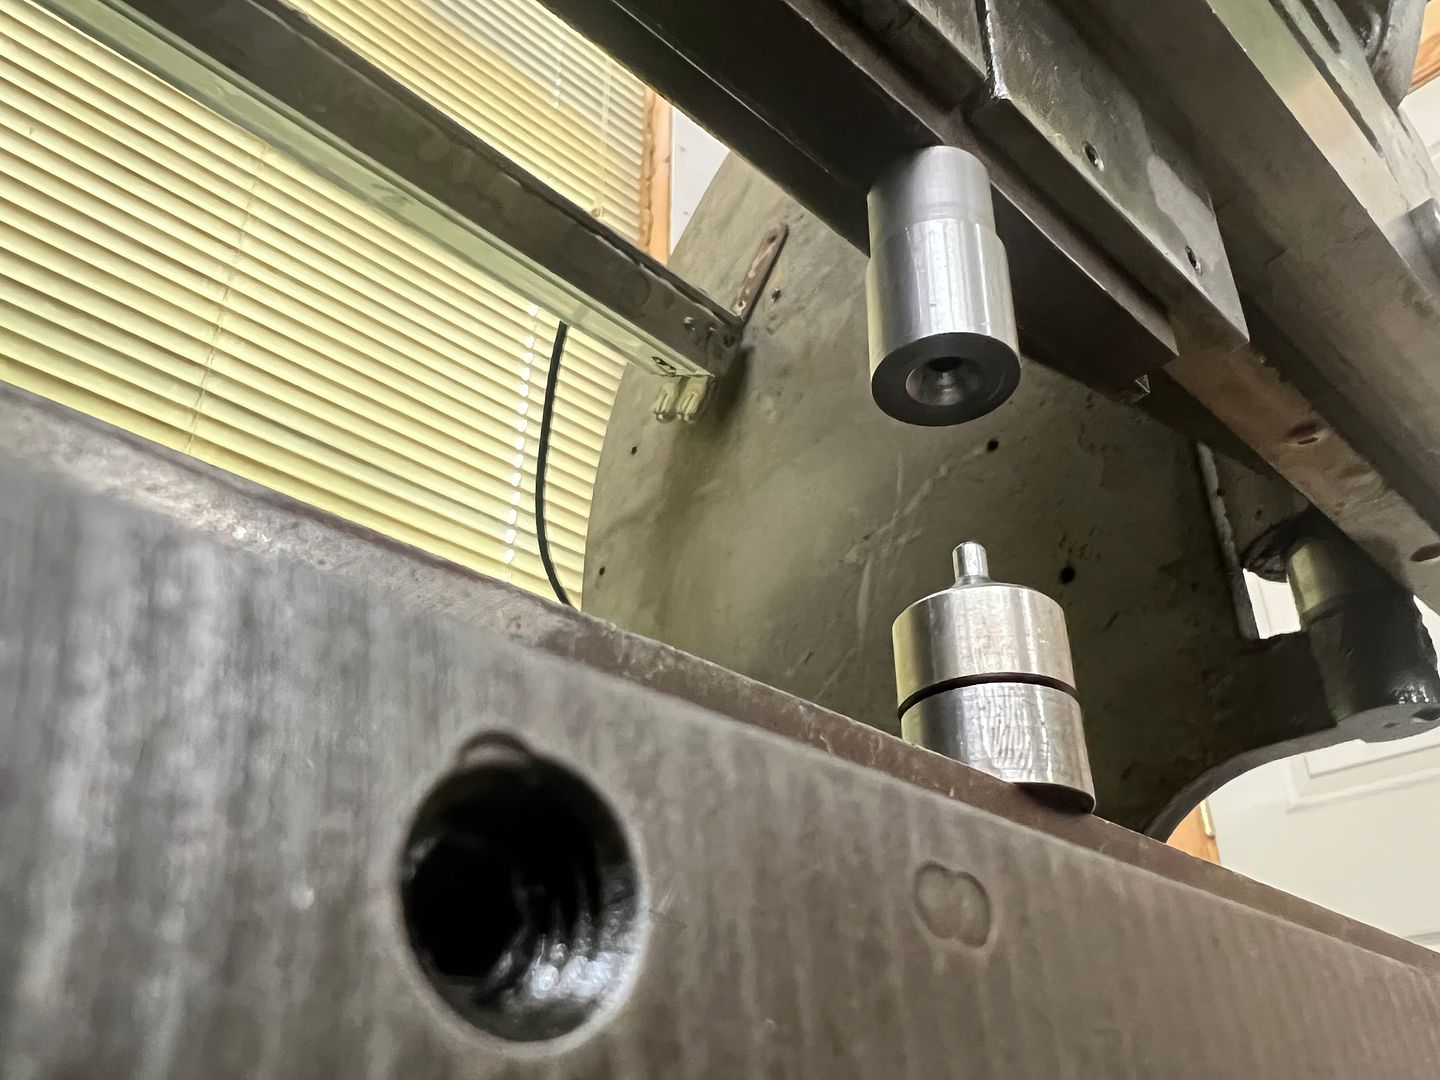
    Dies were made for the dimpling process, they used a 1/4" shank just pushed into a drilled hole in some bar stock vs. welding together. This will allow quick changeout for other sizes/shapes of dies for use in the press brake.


    https://youtu.be/FafzVr8eTPM


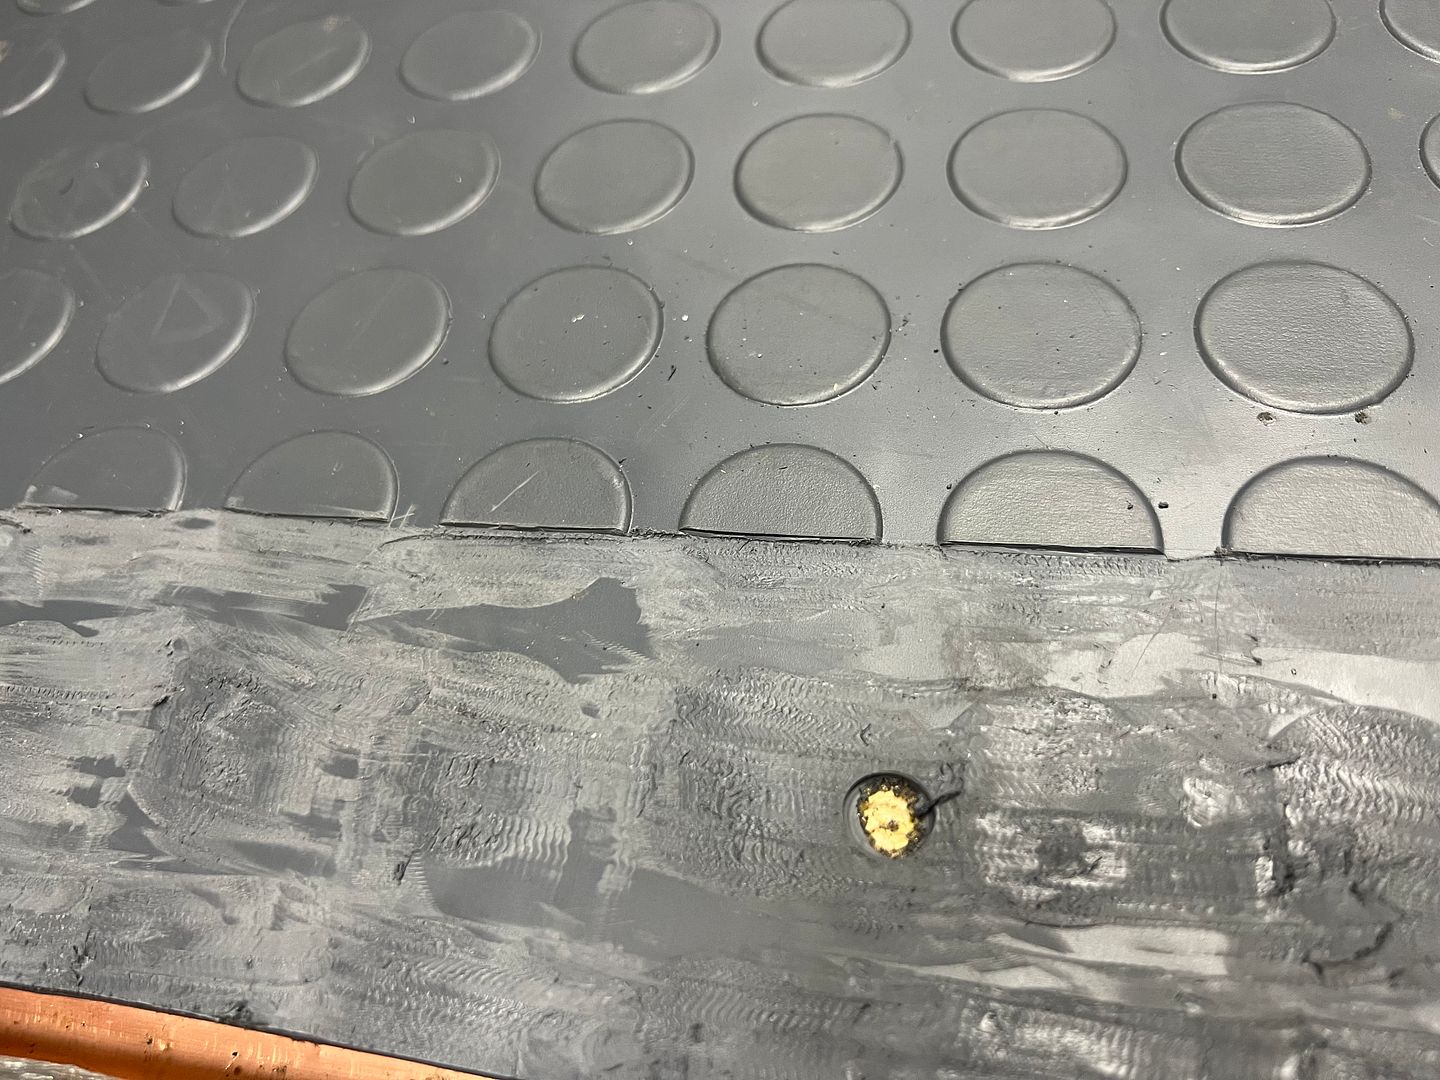
    Next, to gain a bit more clearance for the door seal, the new threshold was located and the protrusions of the rubber flooring were scored with a utility knife at the threshold edge. Next, we used a multi-tool to shave down these protrusions that would be beneath the threshold. This wasn't much, but better than what was there before.


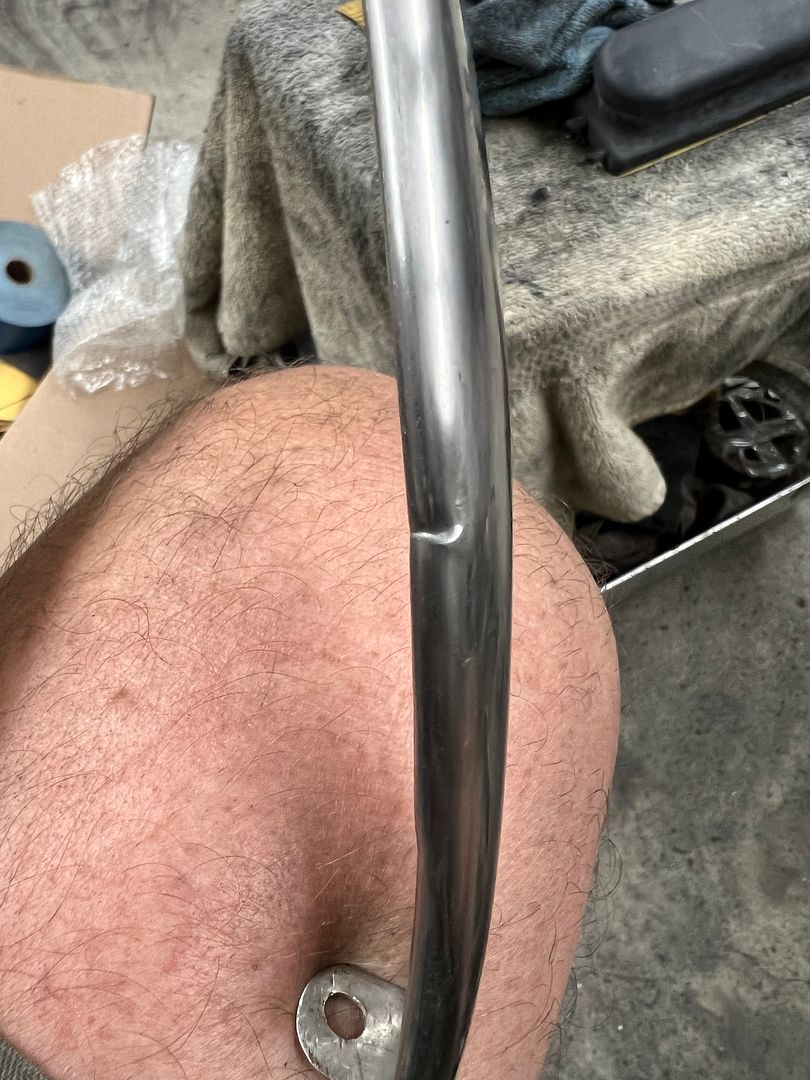
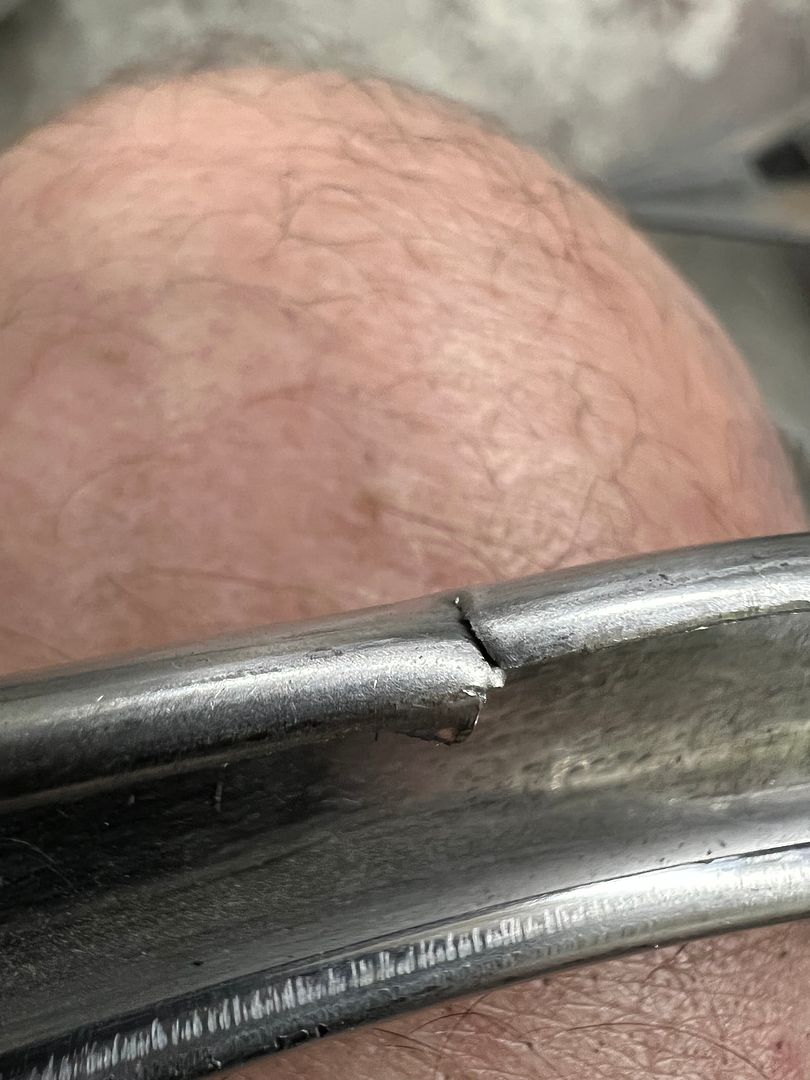
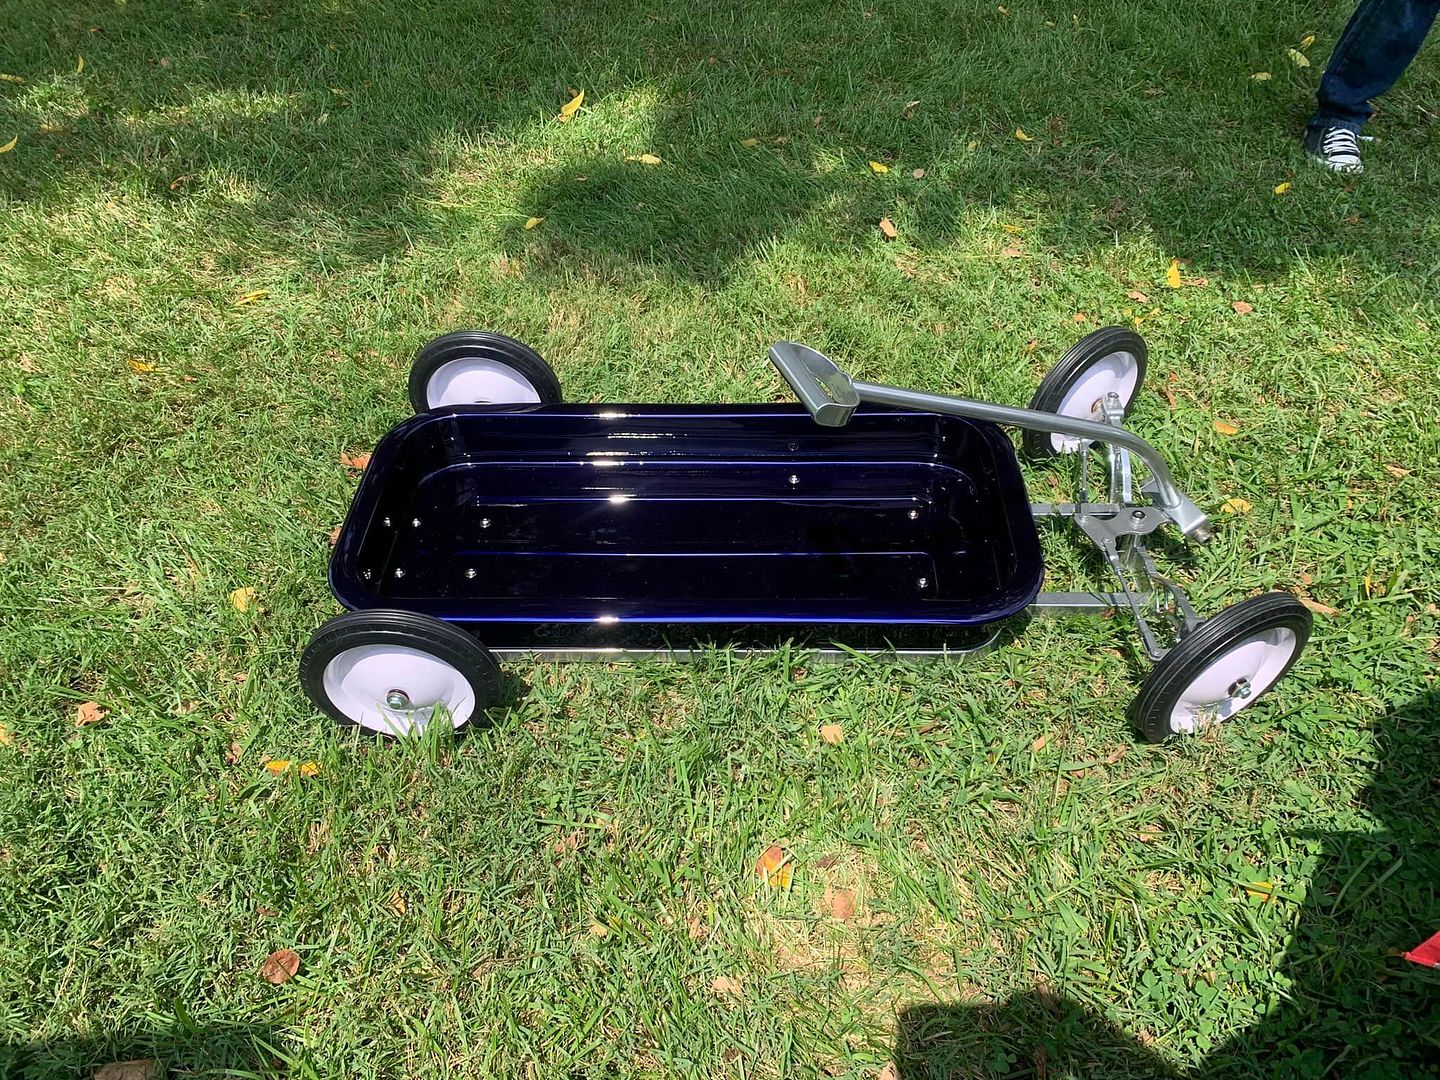
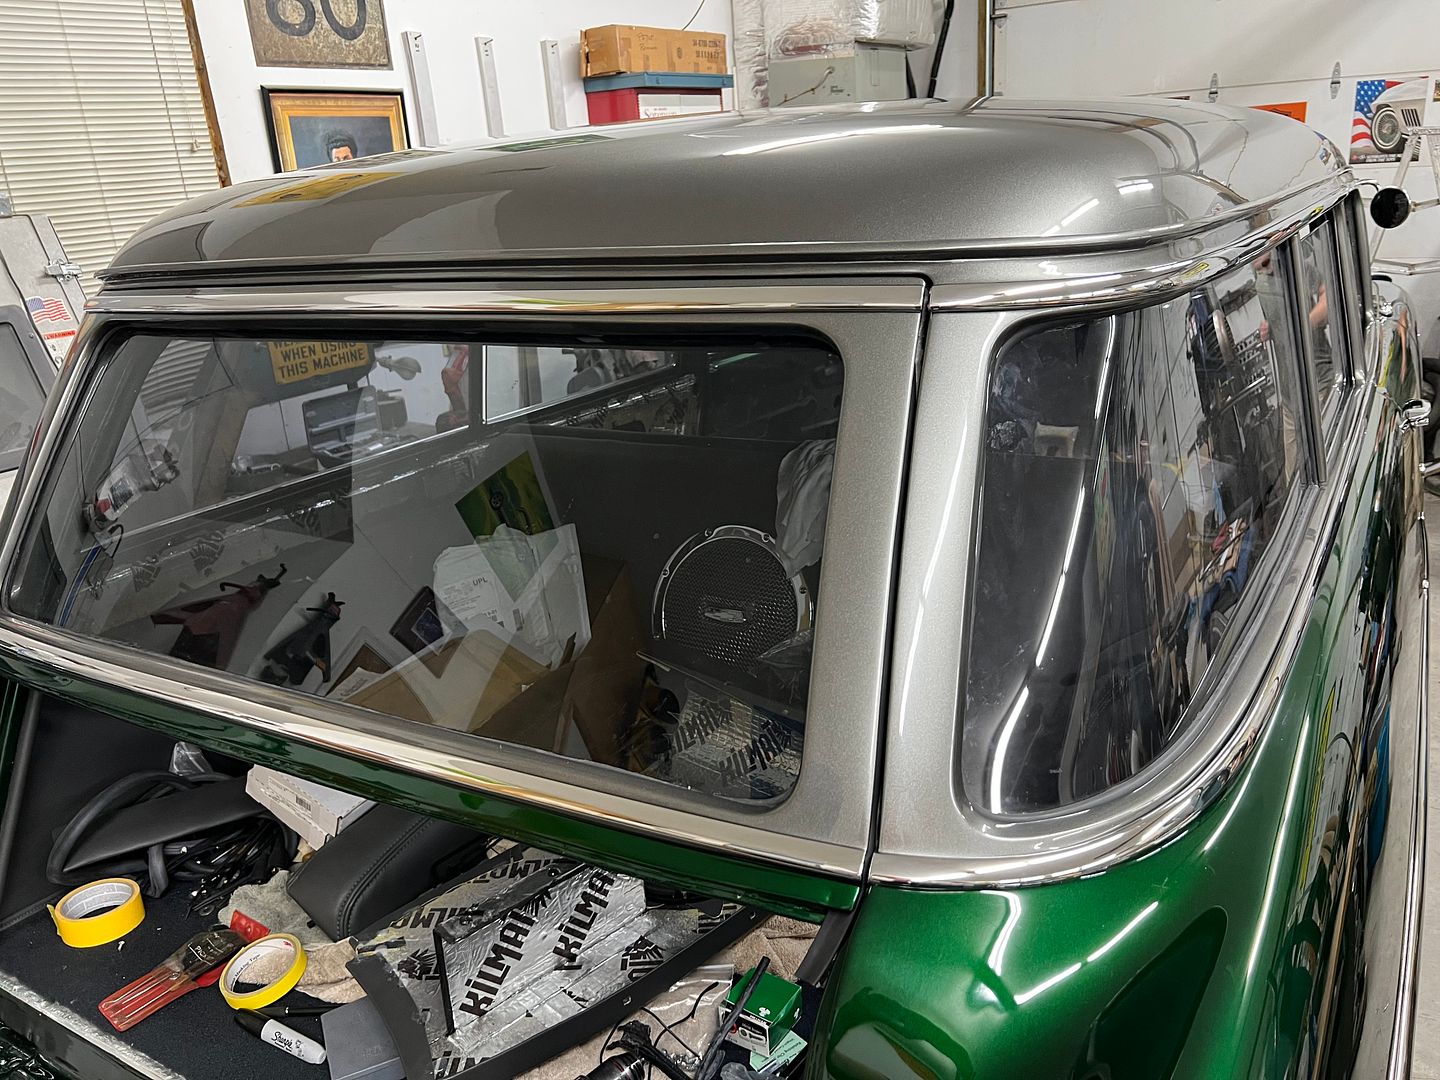
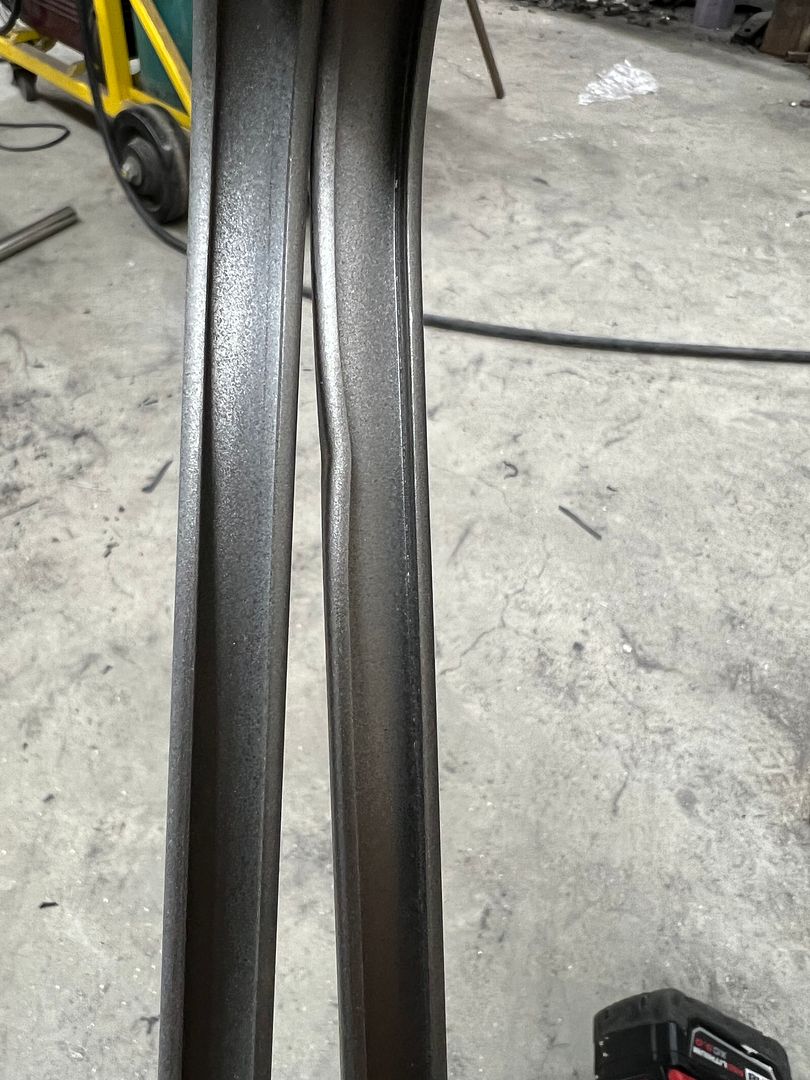
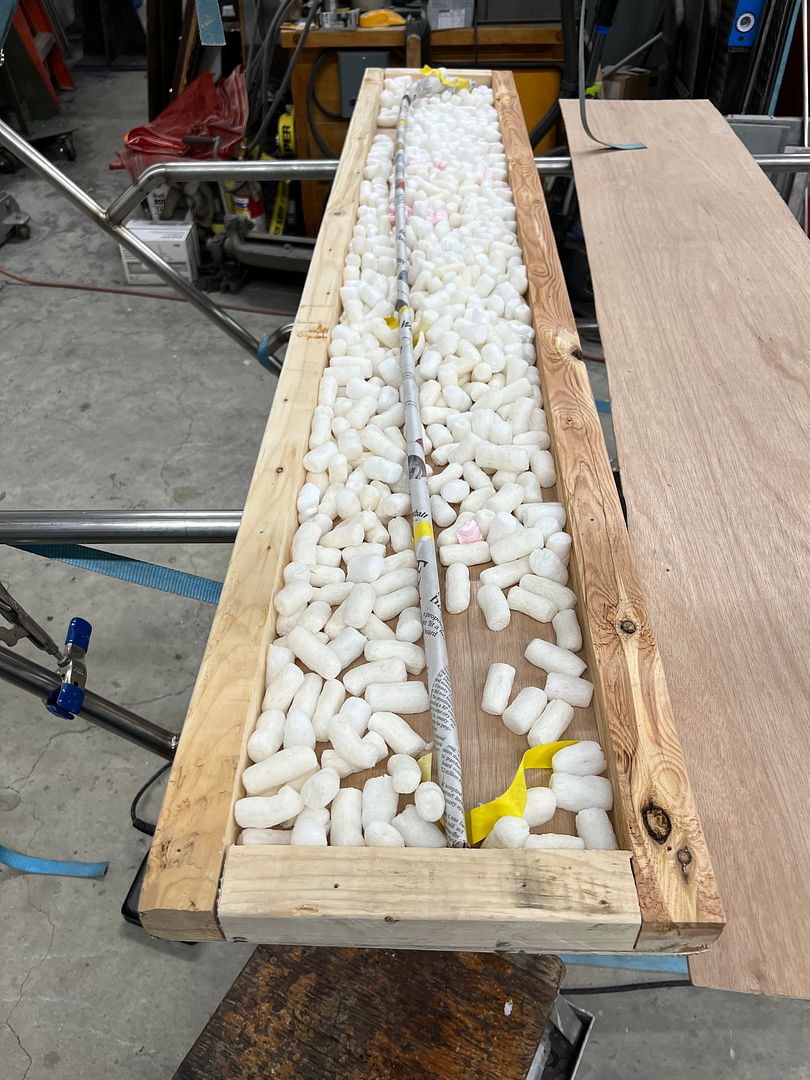
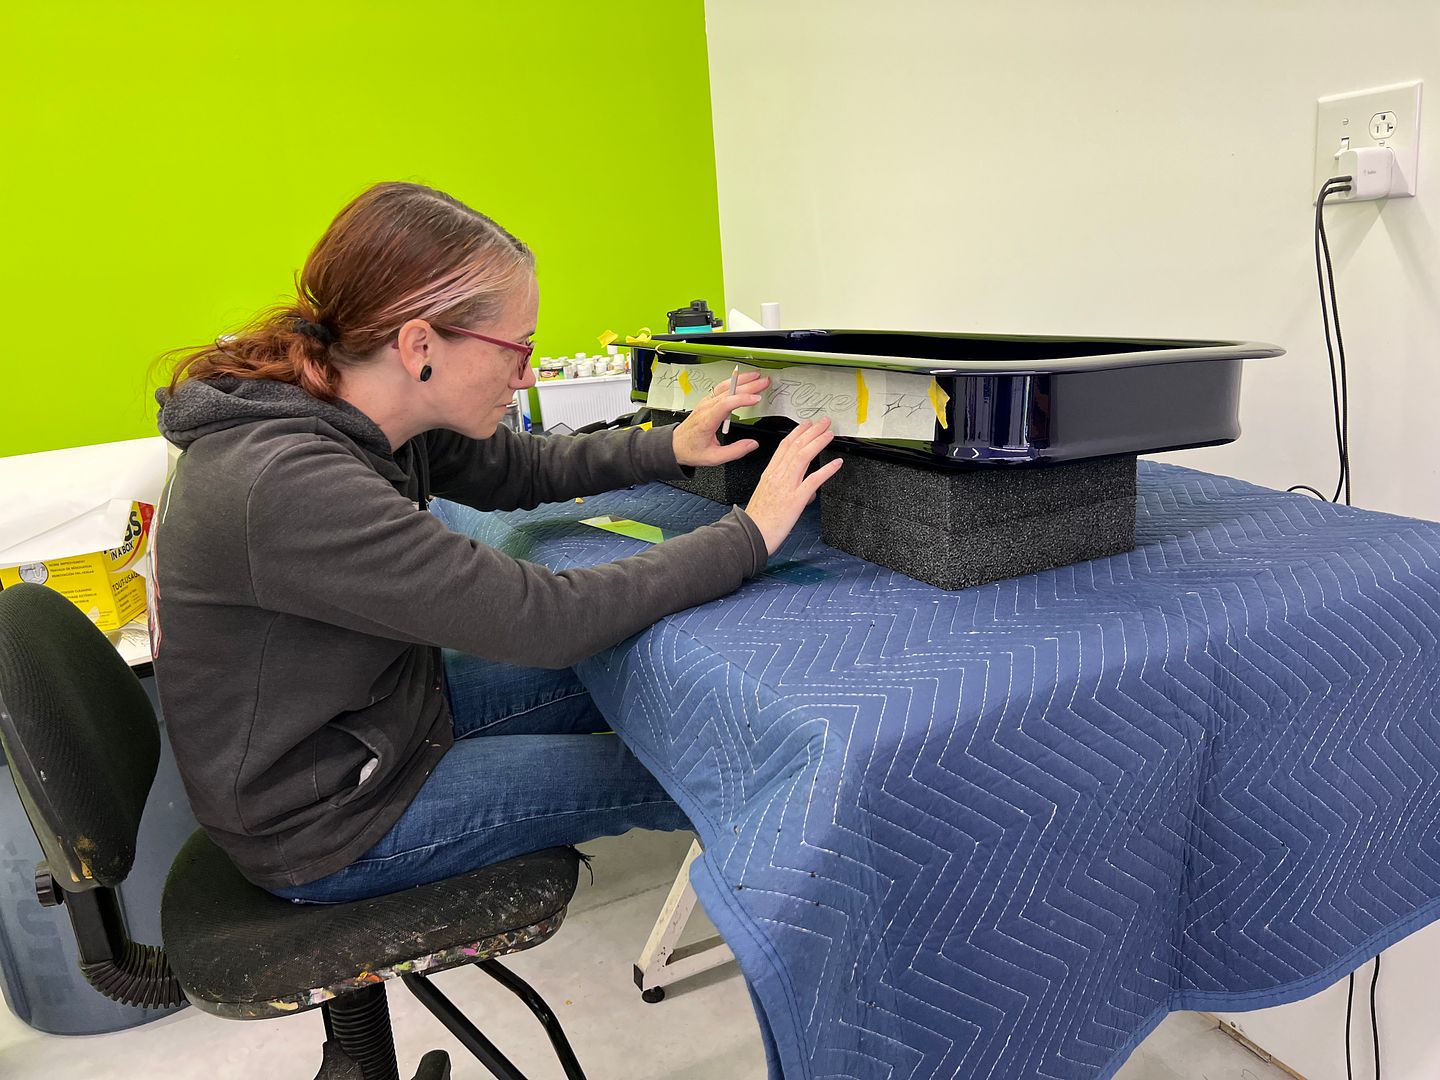
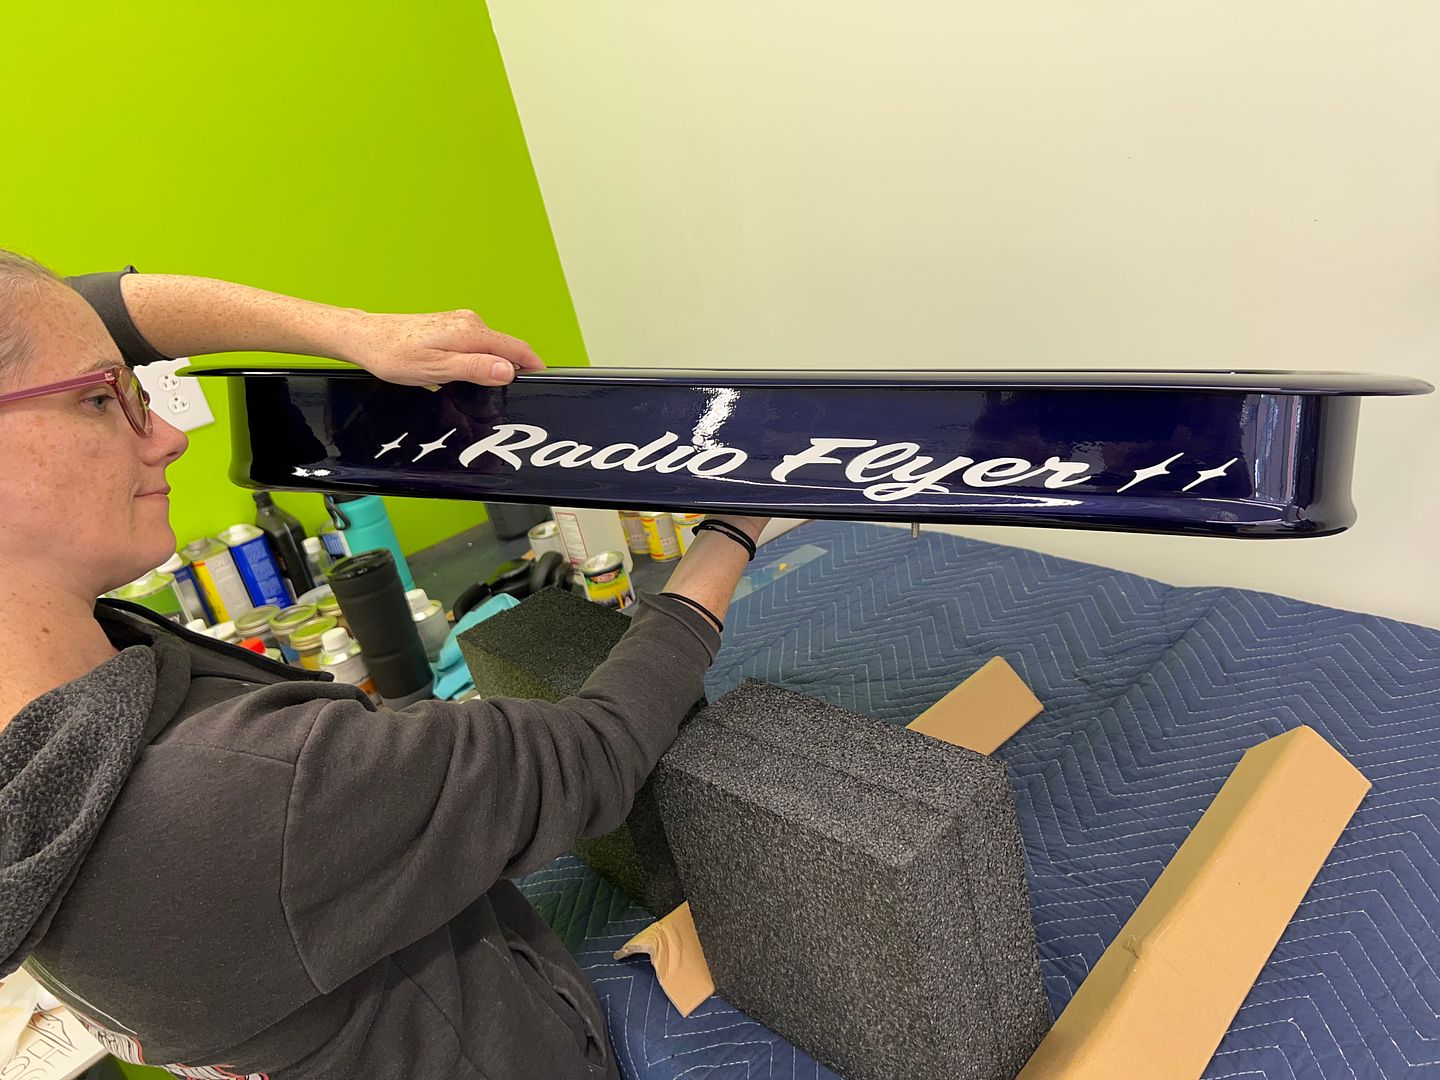
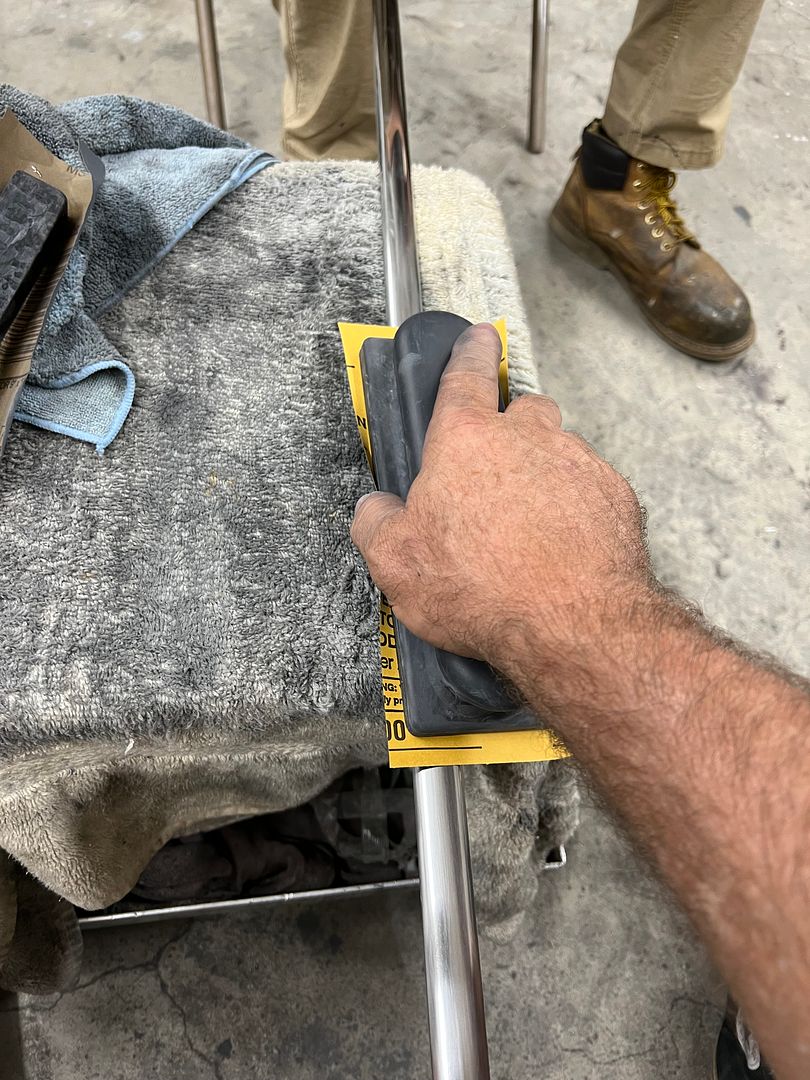
    Back on wagon duty, we've been continuing on stainless polishing. We had been doing some of the shorter sections by sanding on top of my 4 wheel shop stool as it has a nice flat top surface.


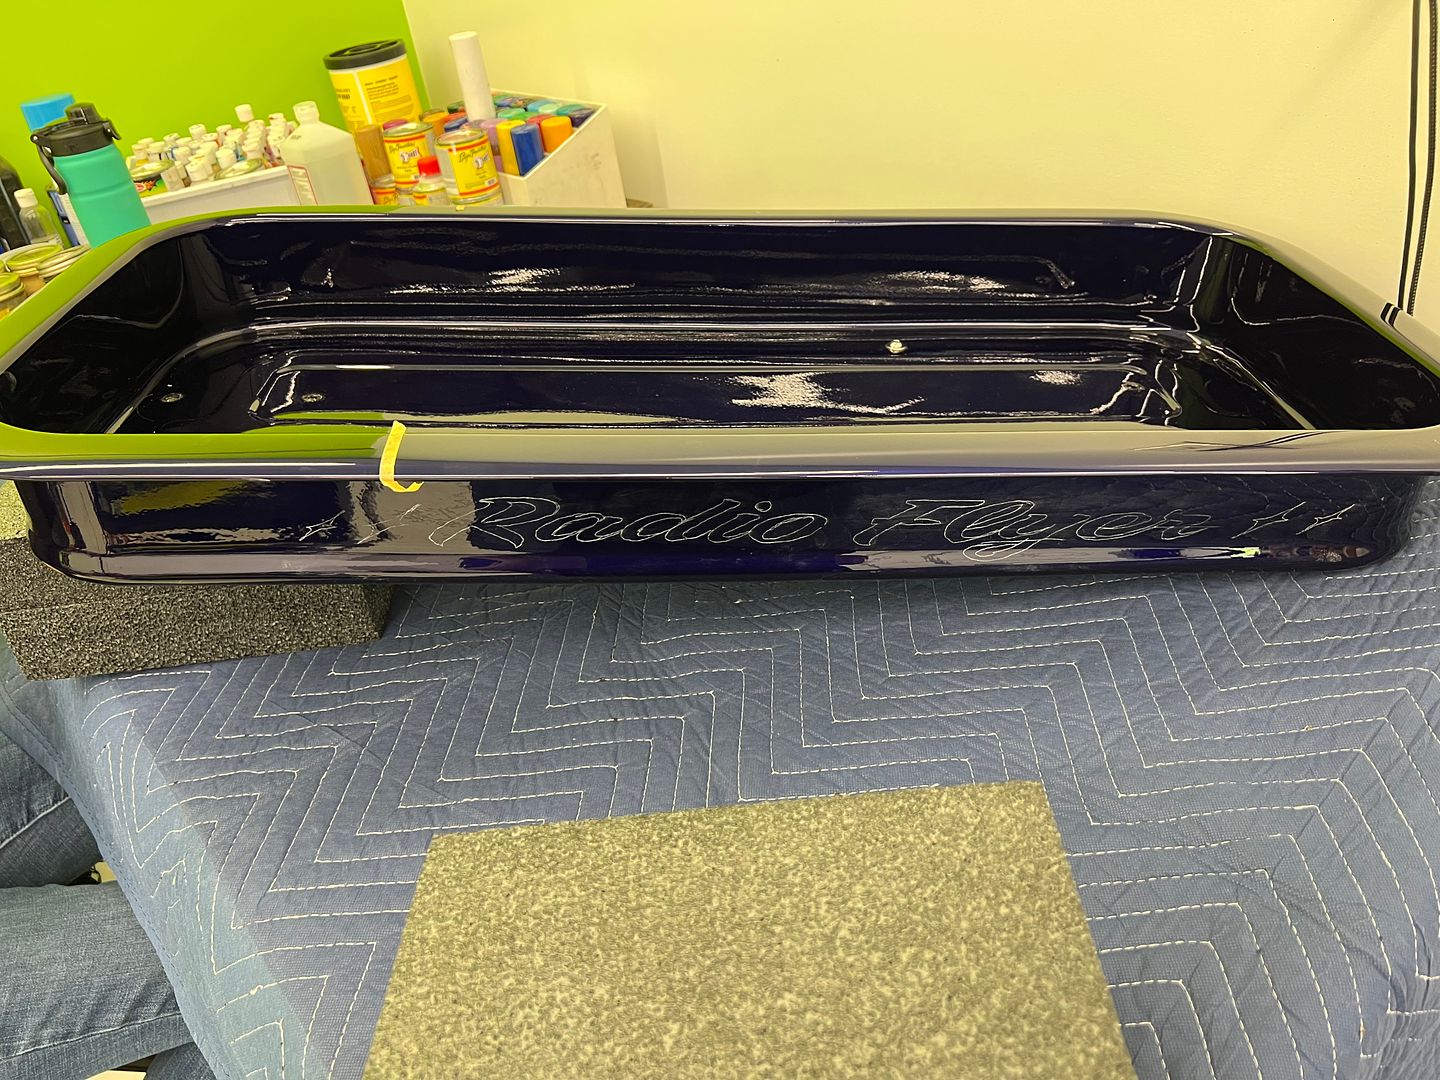
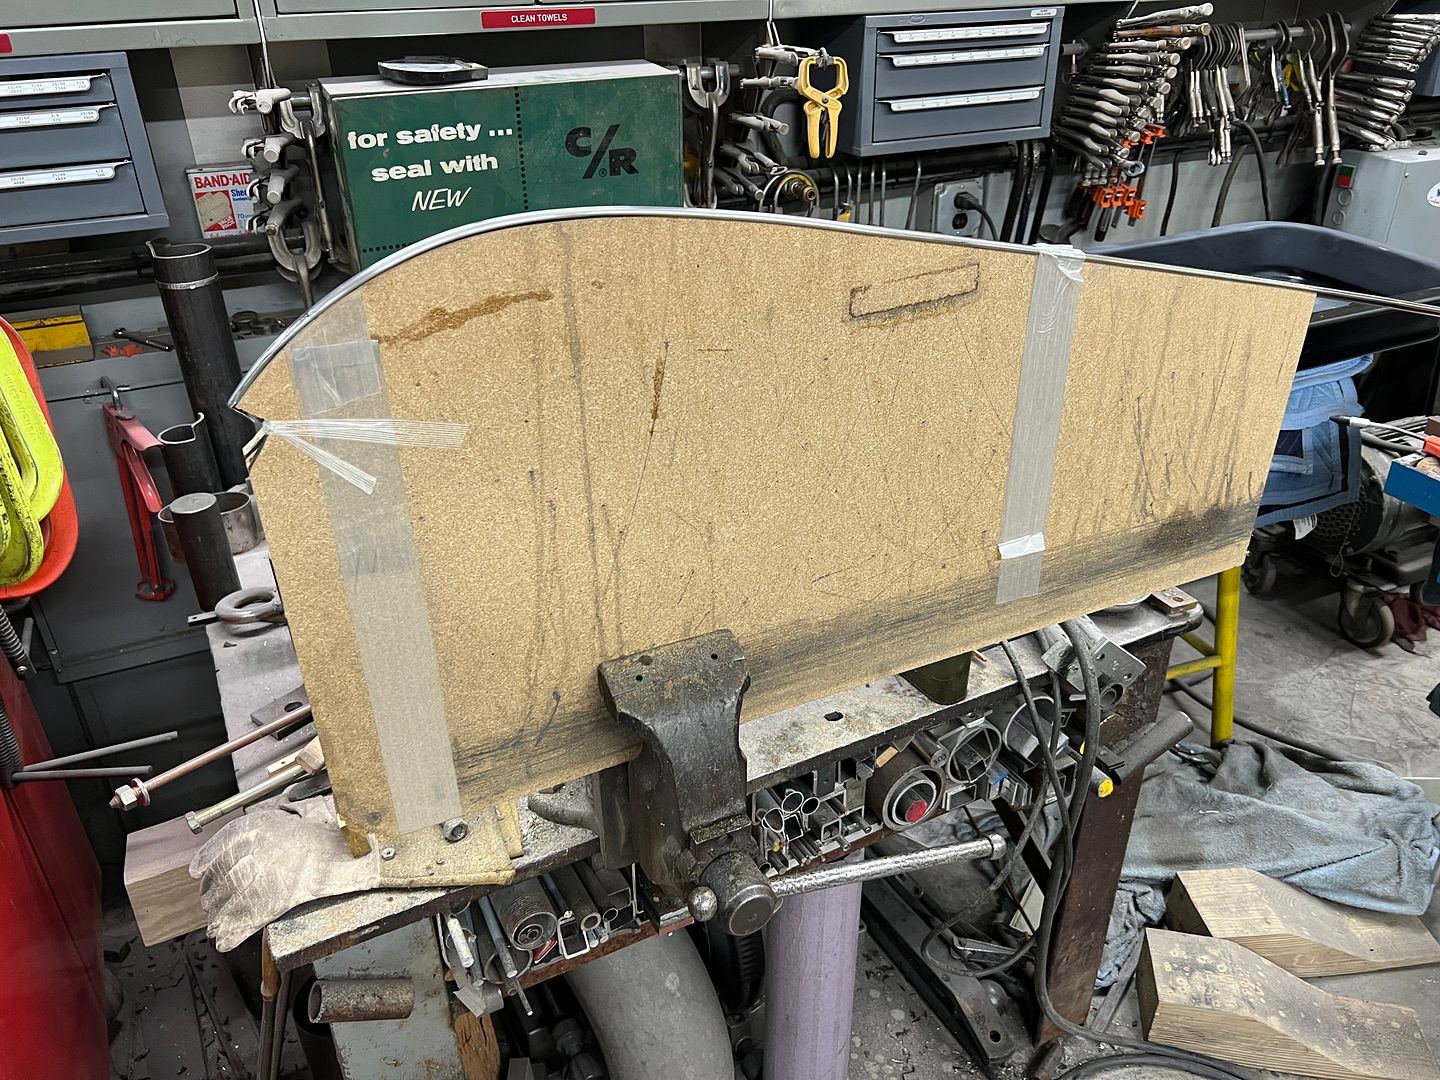
    Once we got to the longer sections of trim, this became too cumbersome, so some 1/2" MDF was repurposed as a "holding fixture" while we refined the damaged scratches and dings. A Black Diamond longboard was used with 500 grit PSA paper to highlight any low spots, high spots, or other carnage. Then some LIGHT DUTY metal bumping to address the issues and a repeat of the highlighting sanding. Once all the defects were addressed, we then worked progressively through 600, 1200, 1500, 2000, and 2500 w/d paper. Then 3000 and 5000 Trizact, and finally on to the buffer.


    https://youtu.be/THKxgvIdVZw


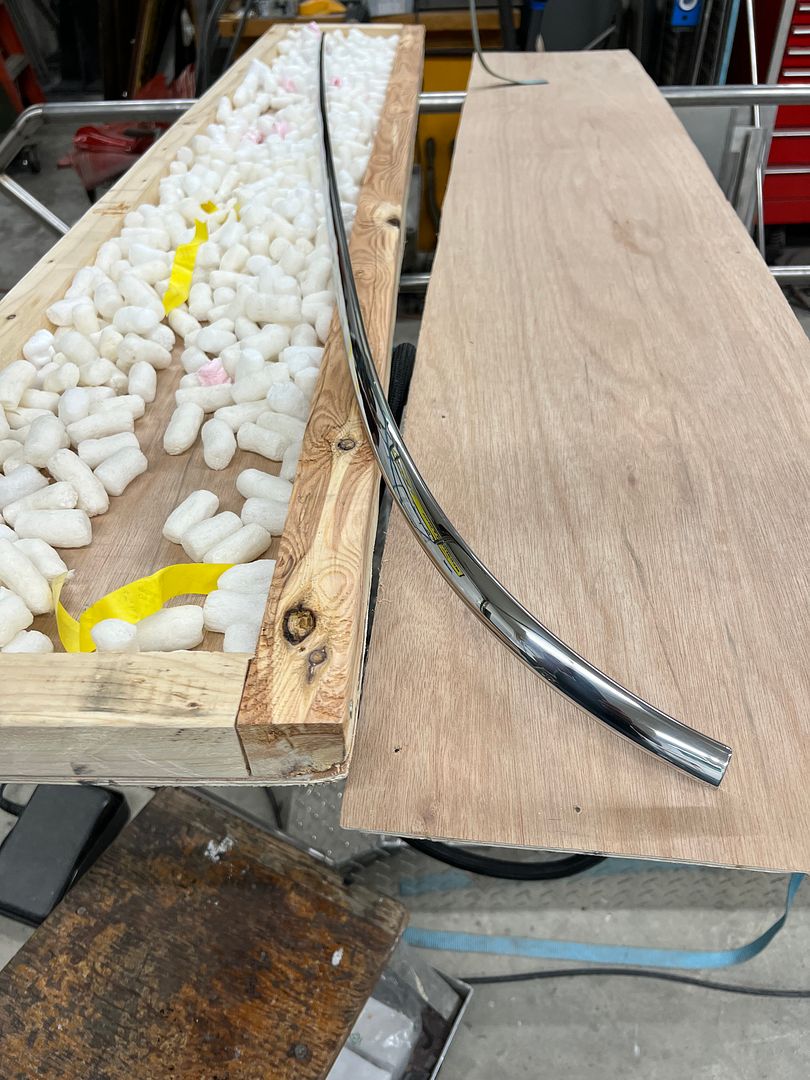
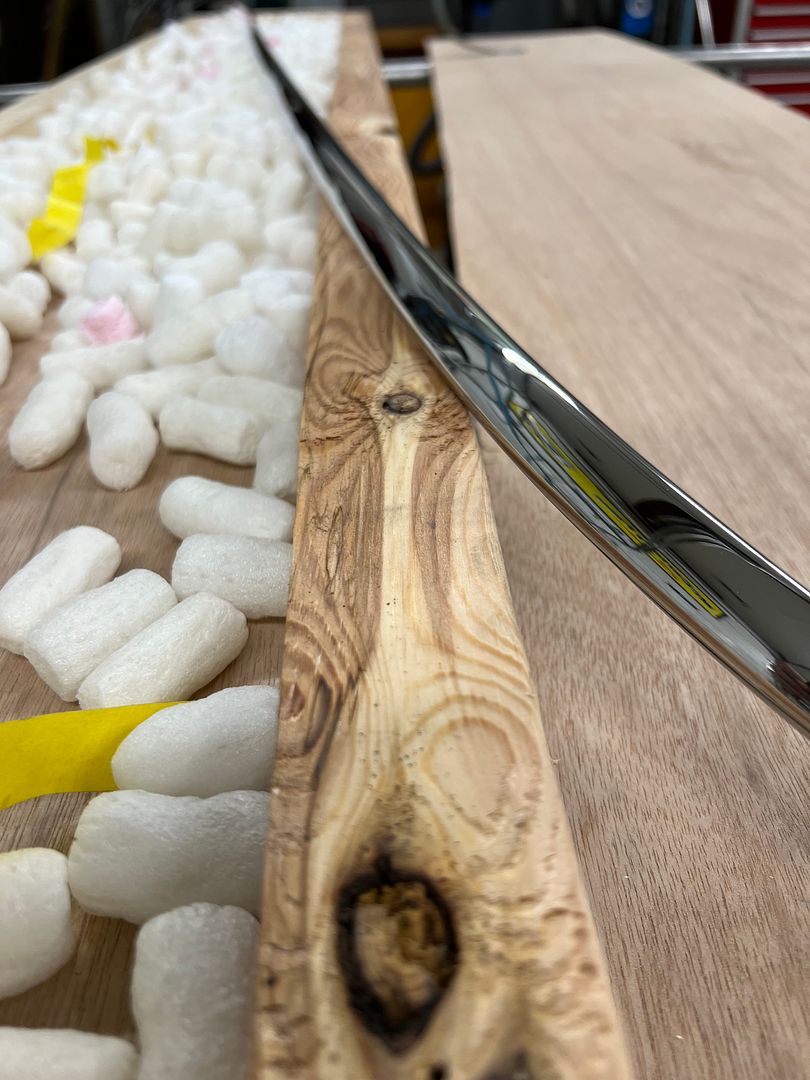
    A modification of our "fixture" to hold the curved end of the trim...


    https://youtu.be/N5cgoFXjCDk


    https://youtube.com/shorts/tViITsStf_A?feature=share


    https://youtube.com/shorts/zYWU_zc4q1w?feature=share


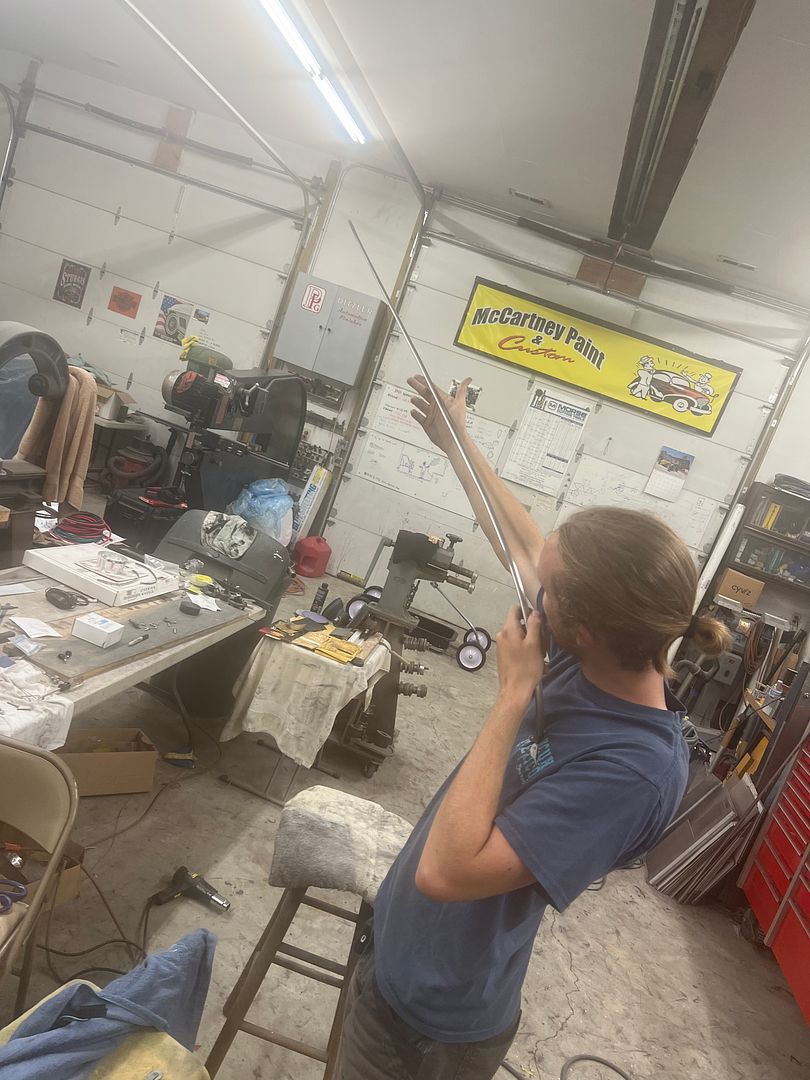
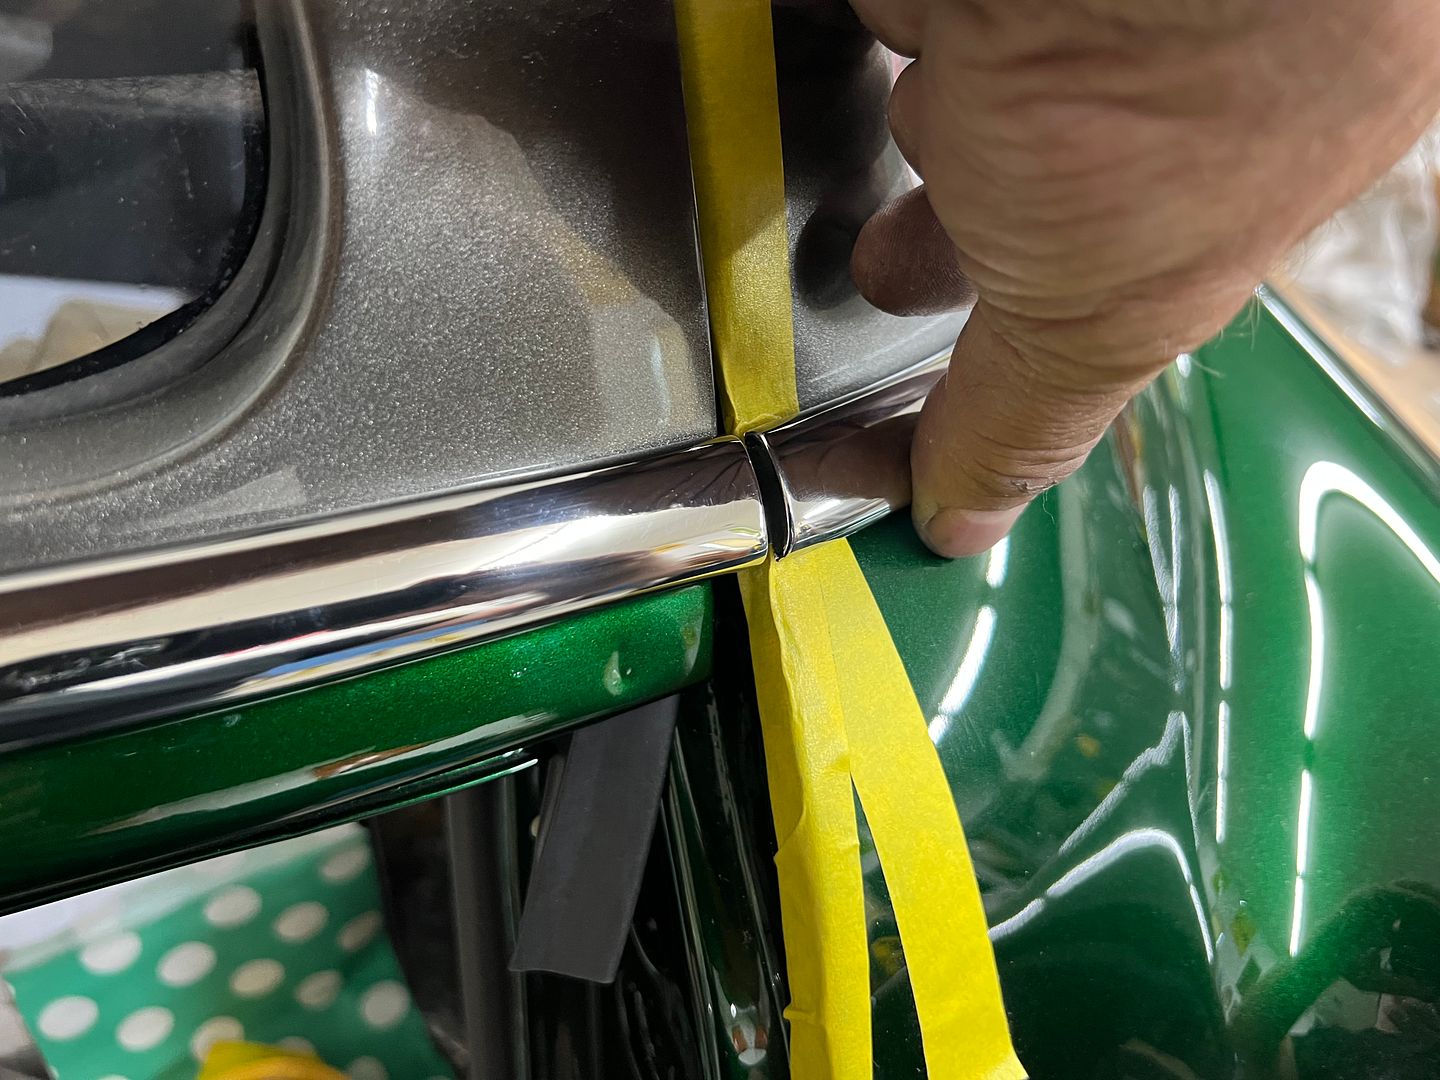
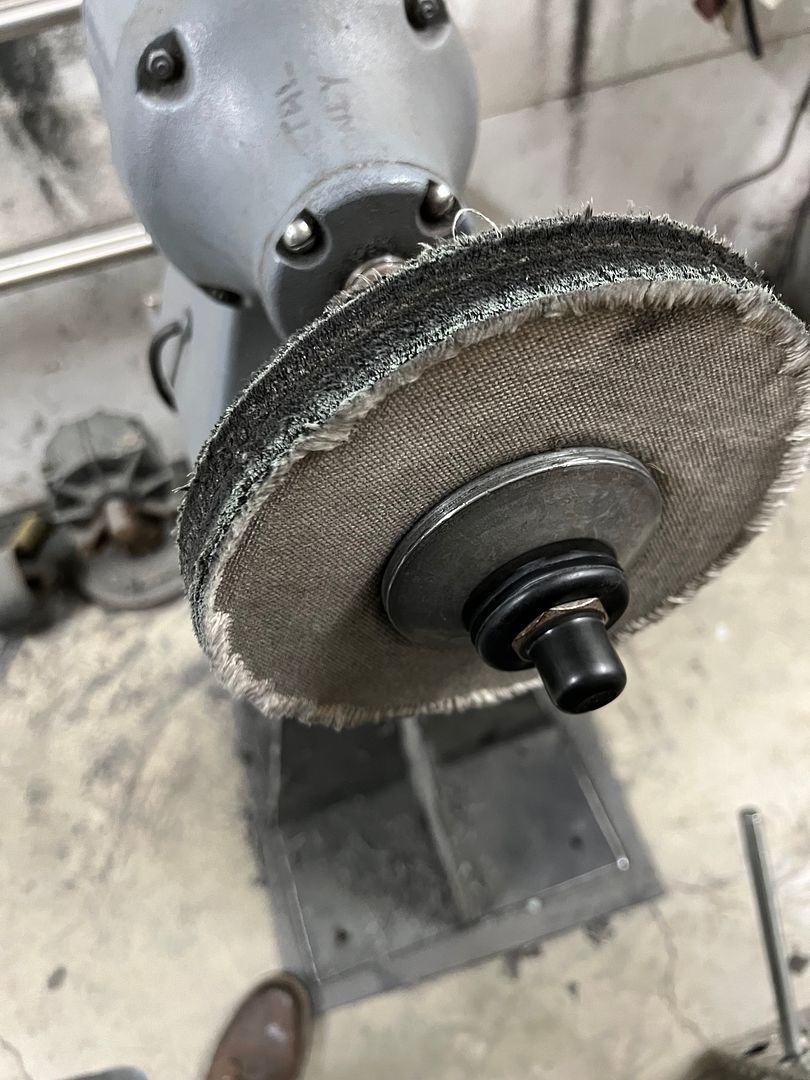
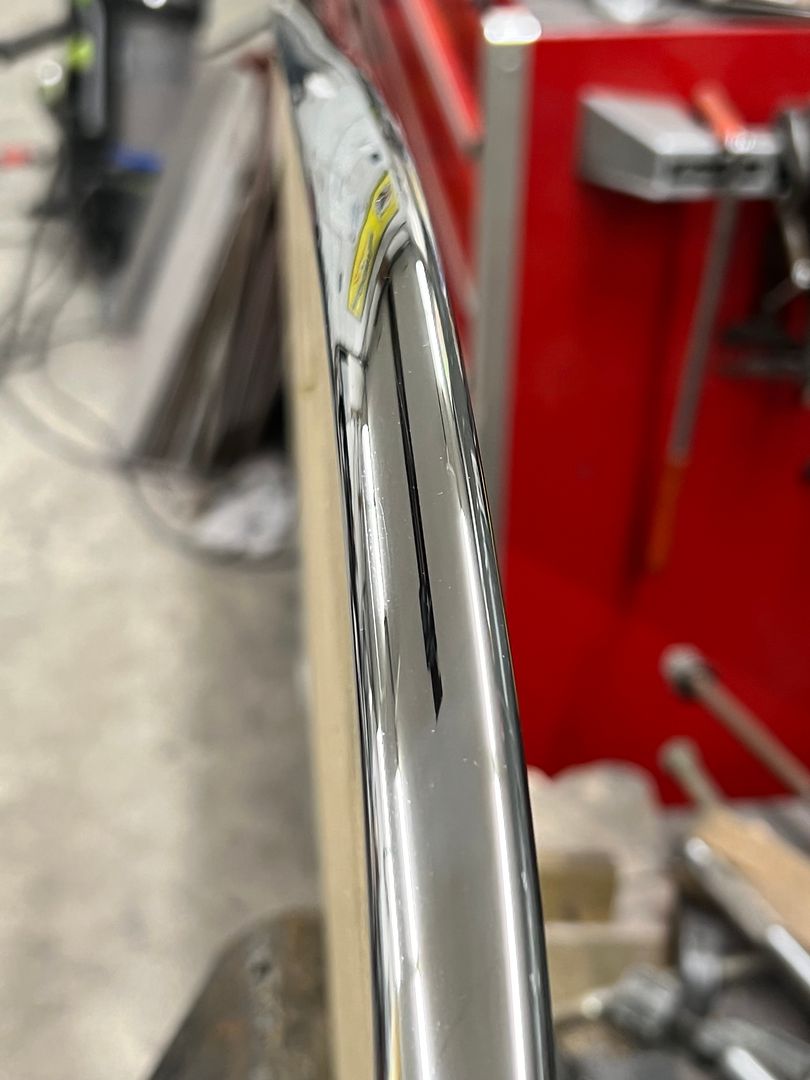
    Jared helps out here to help stabilize the skinny trim and keep it from flopping around. Once quick mis-step at this point is about an hour minimum of recovery.


    https://youtu.be/Q0h6FuKog44


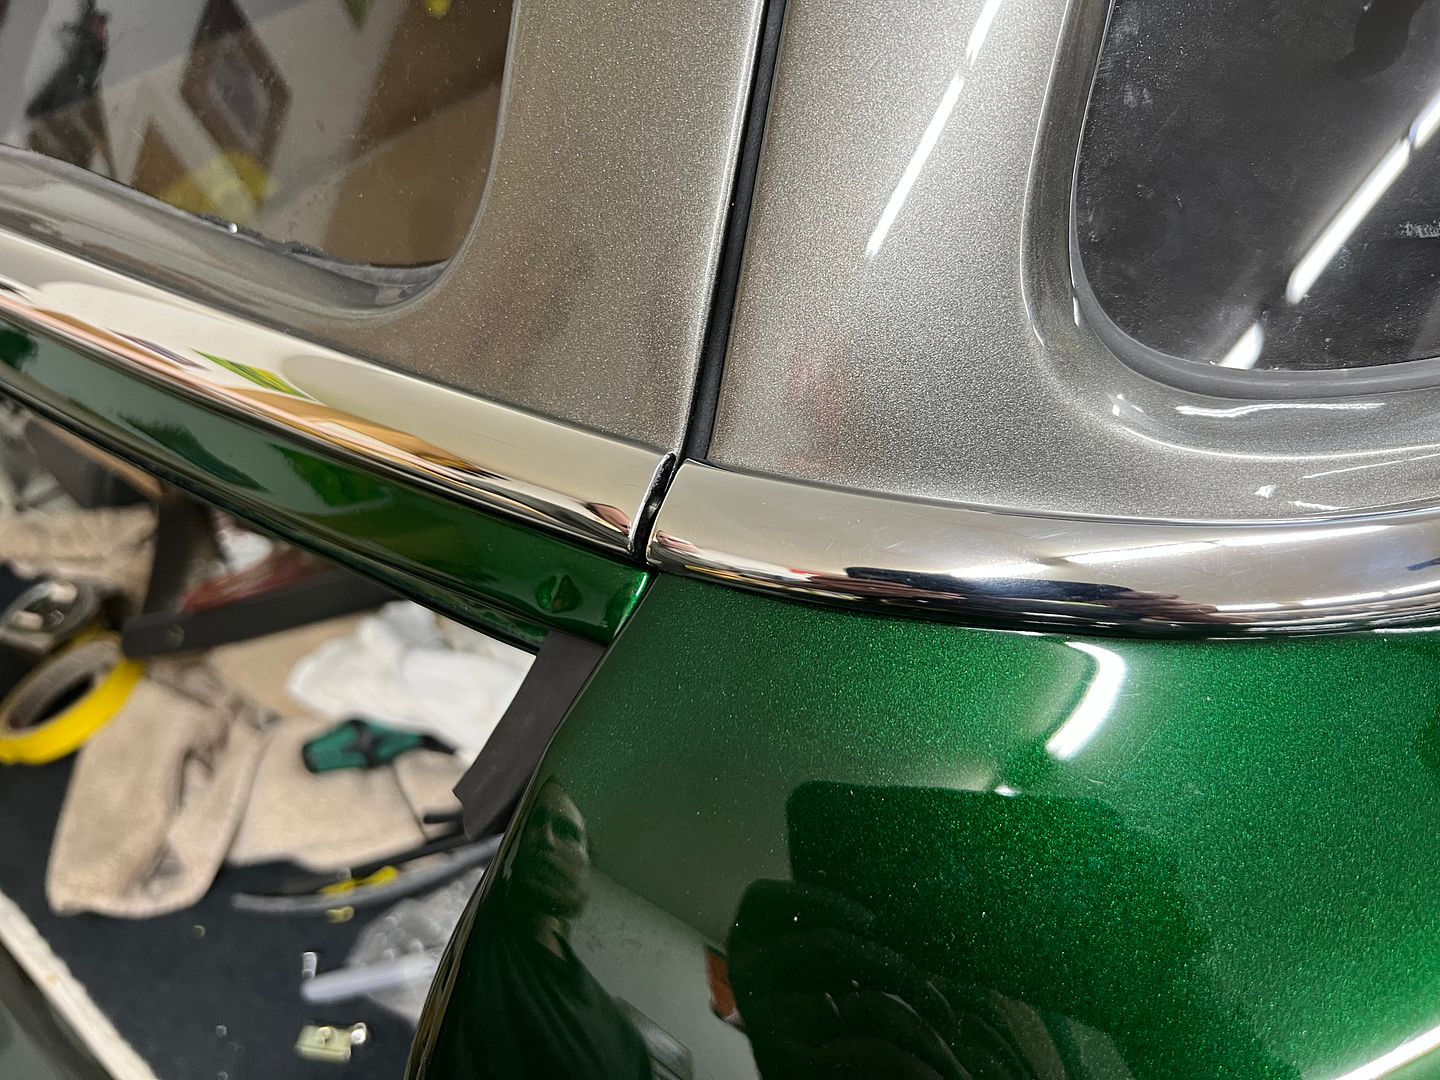
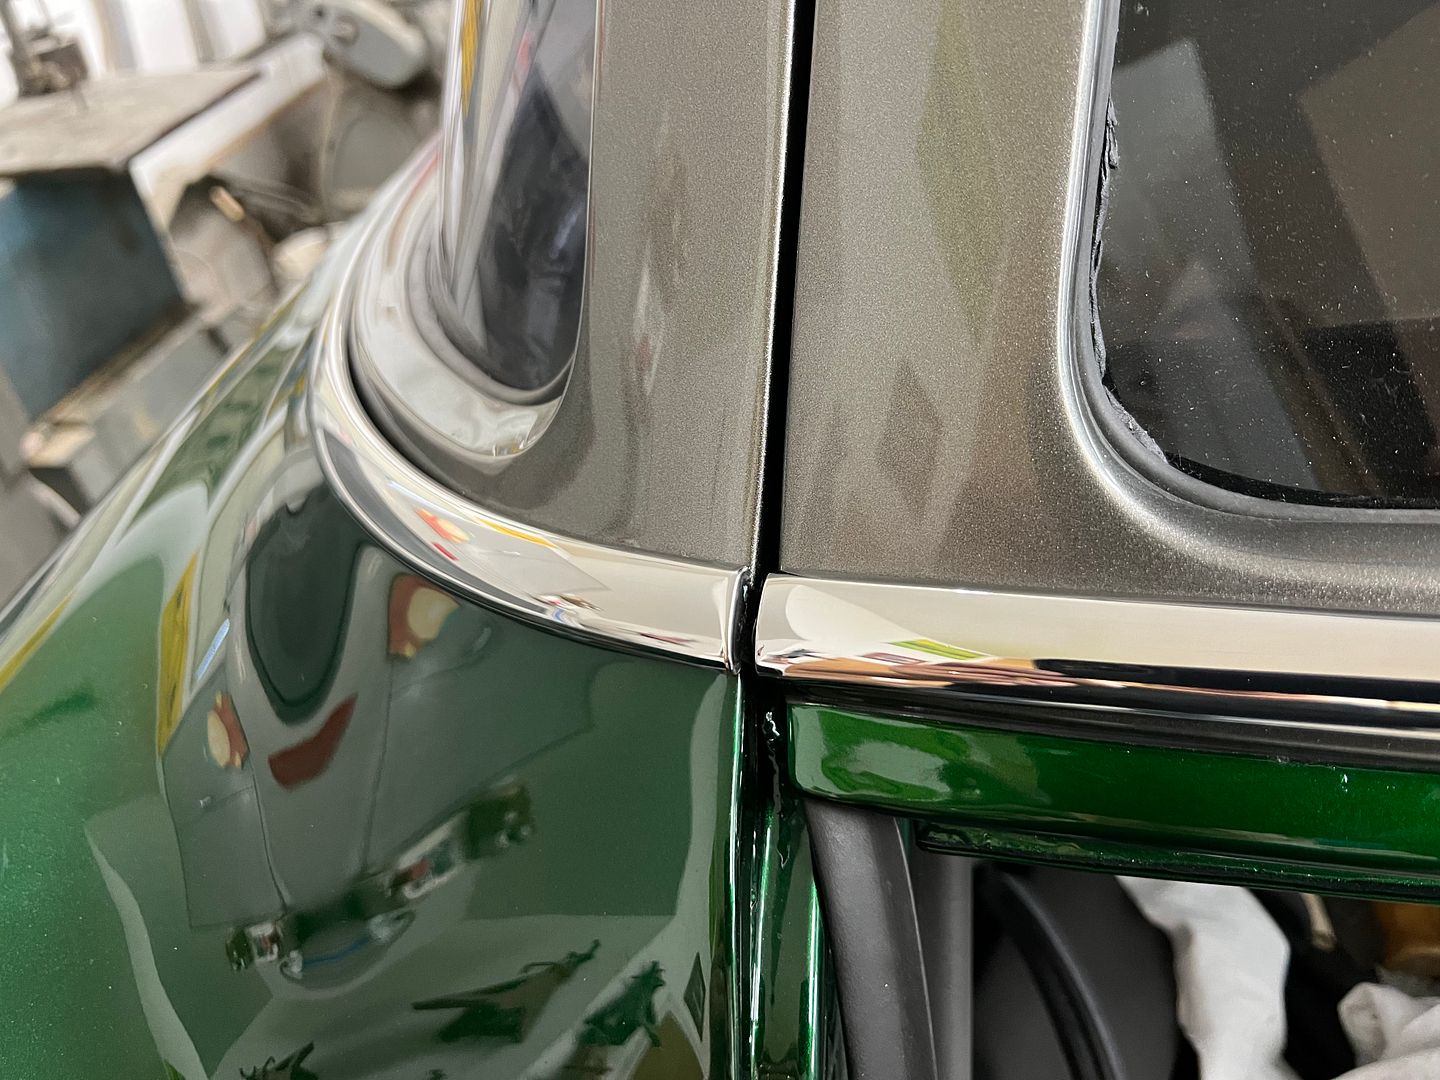
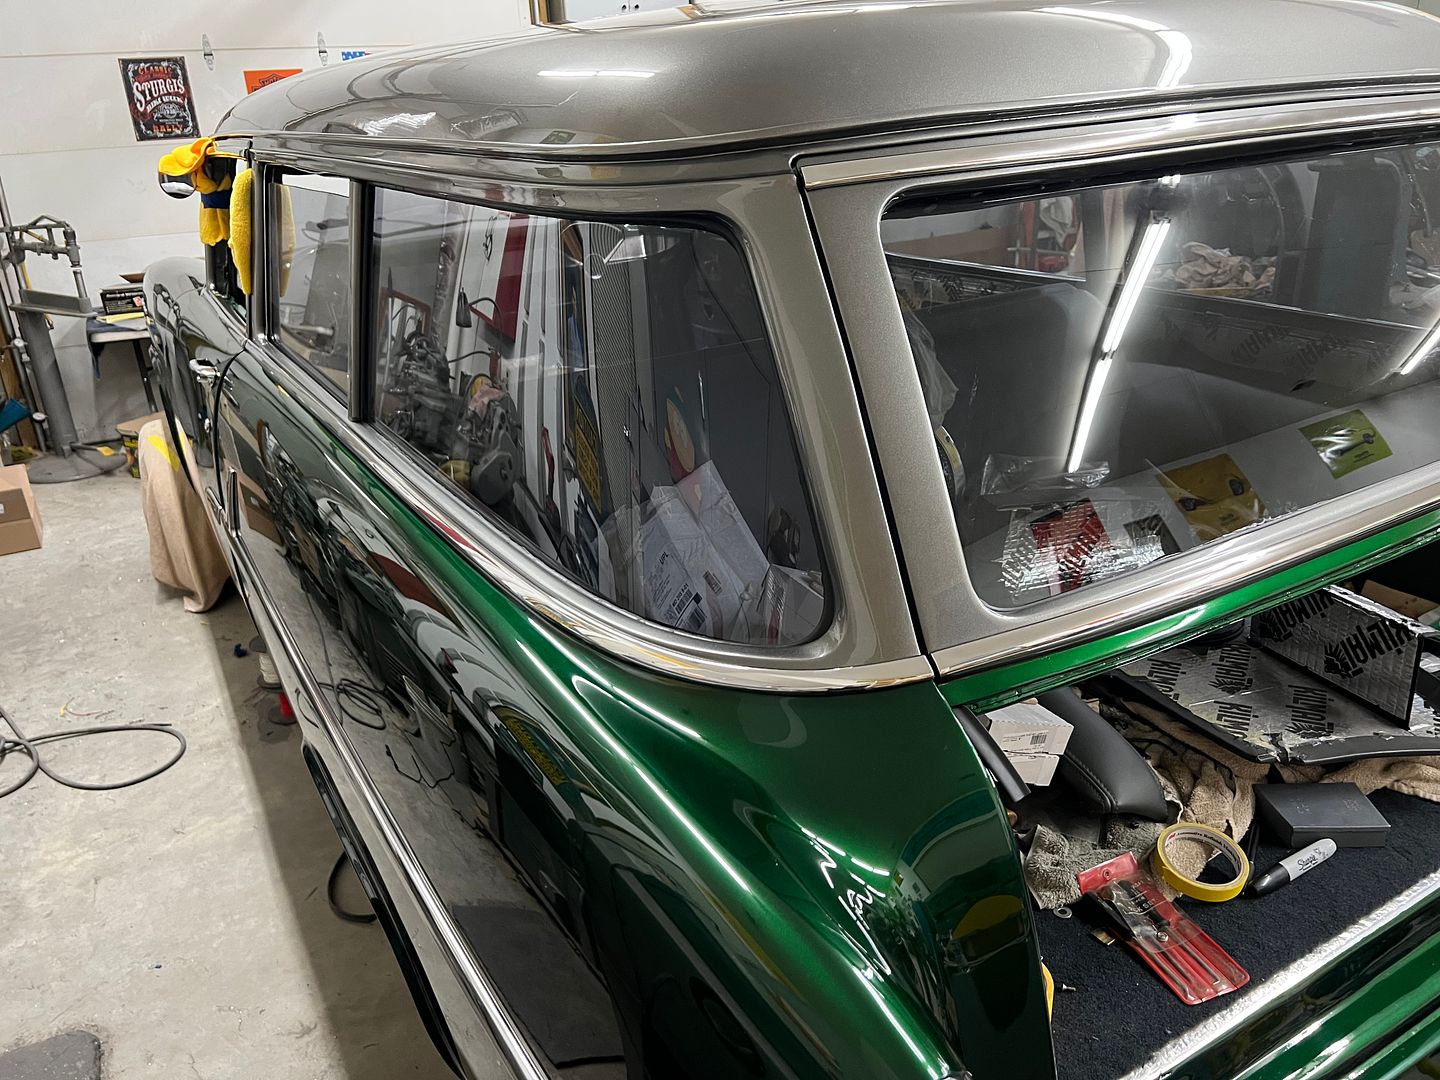
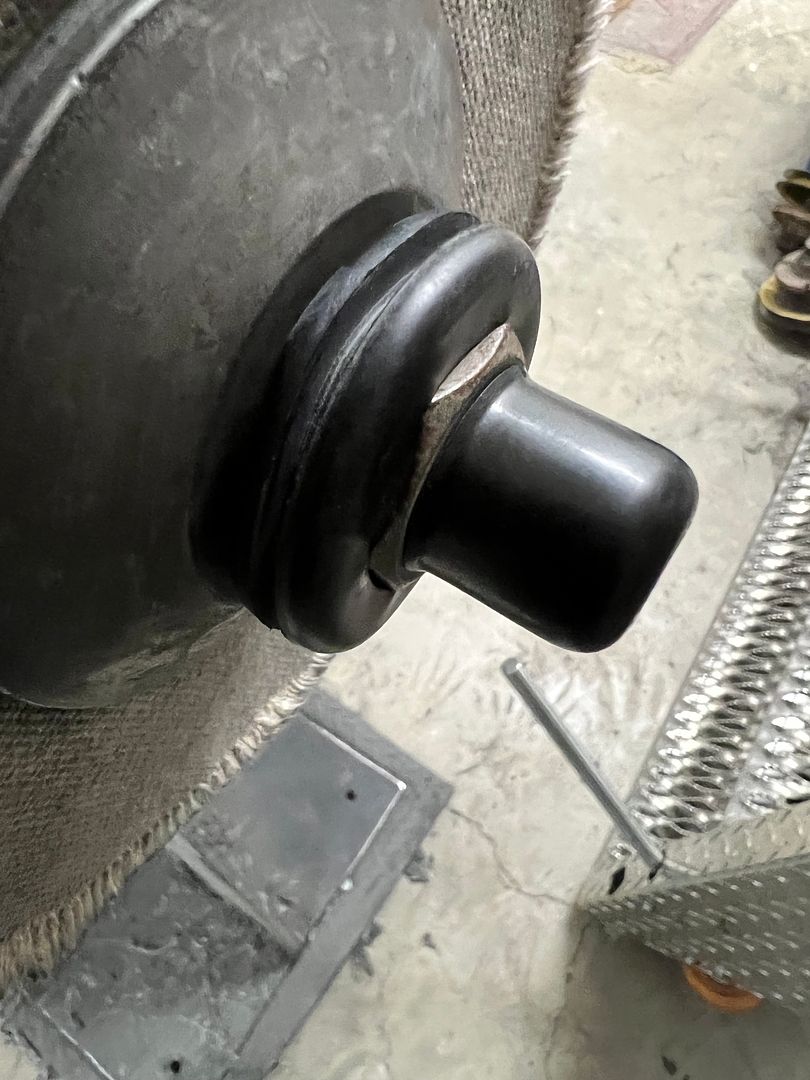
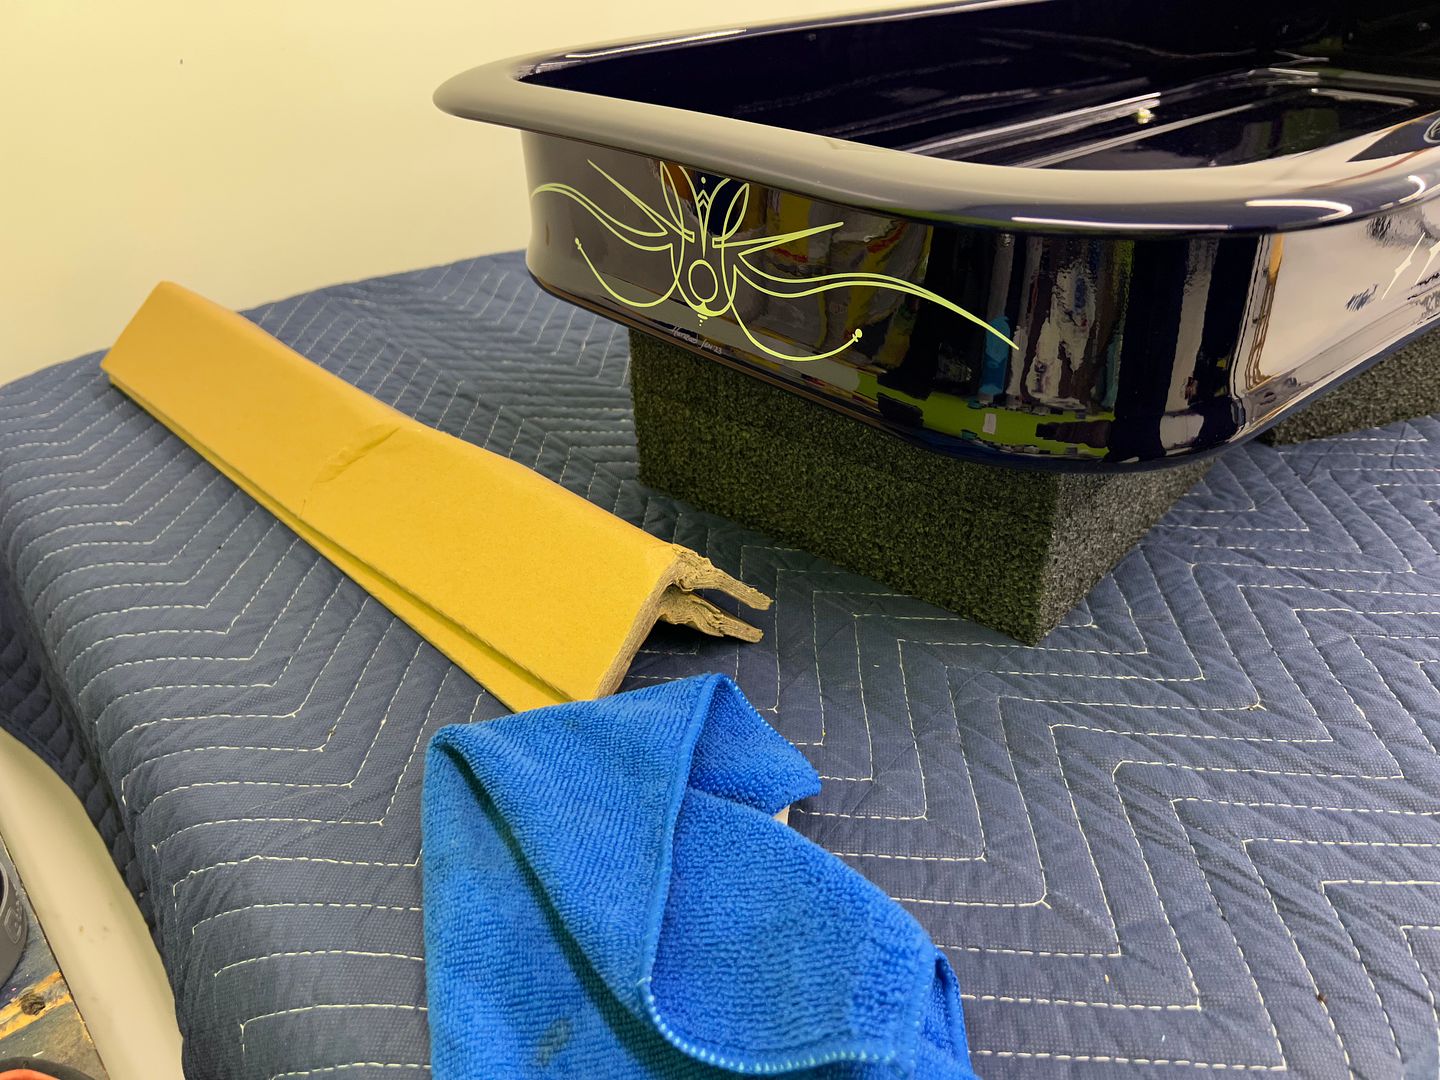
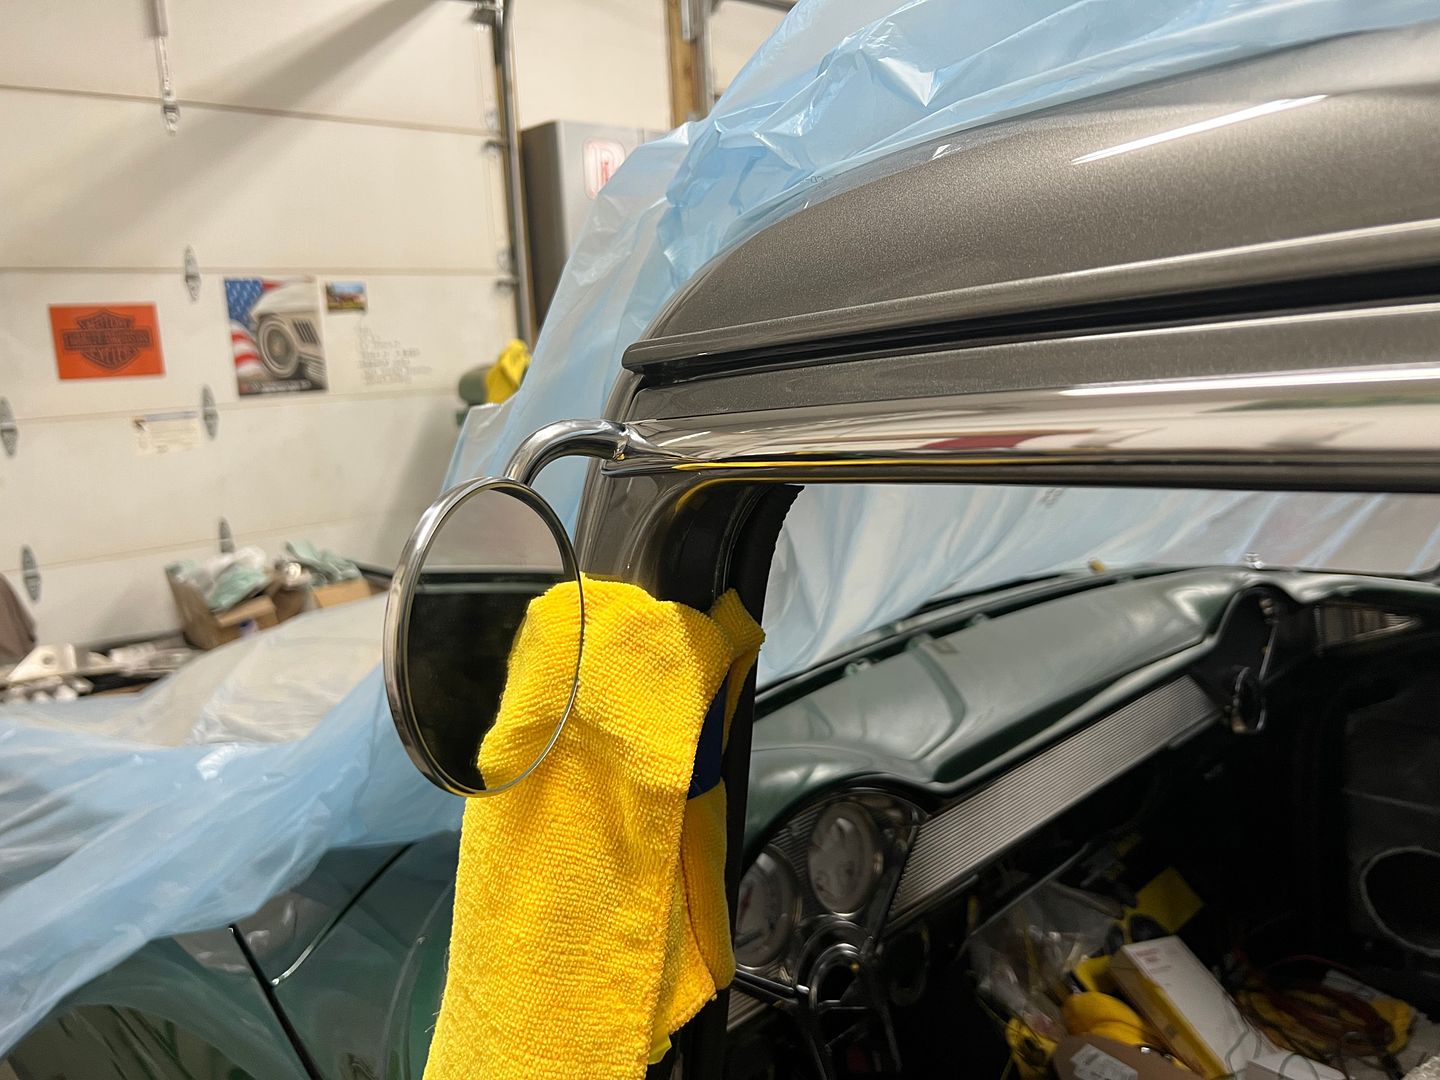
    Nice reflection of the door opener in the ceiling after buffing...
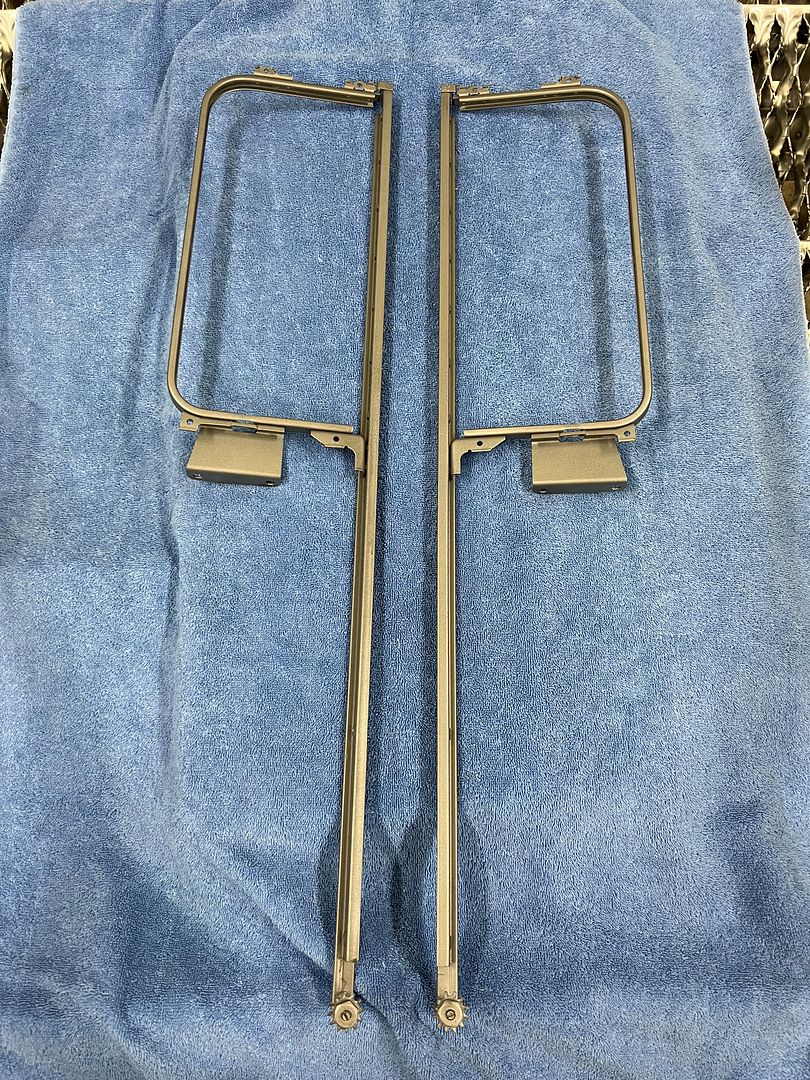
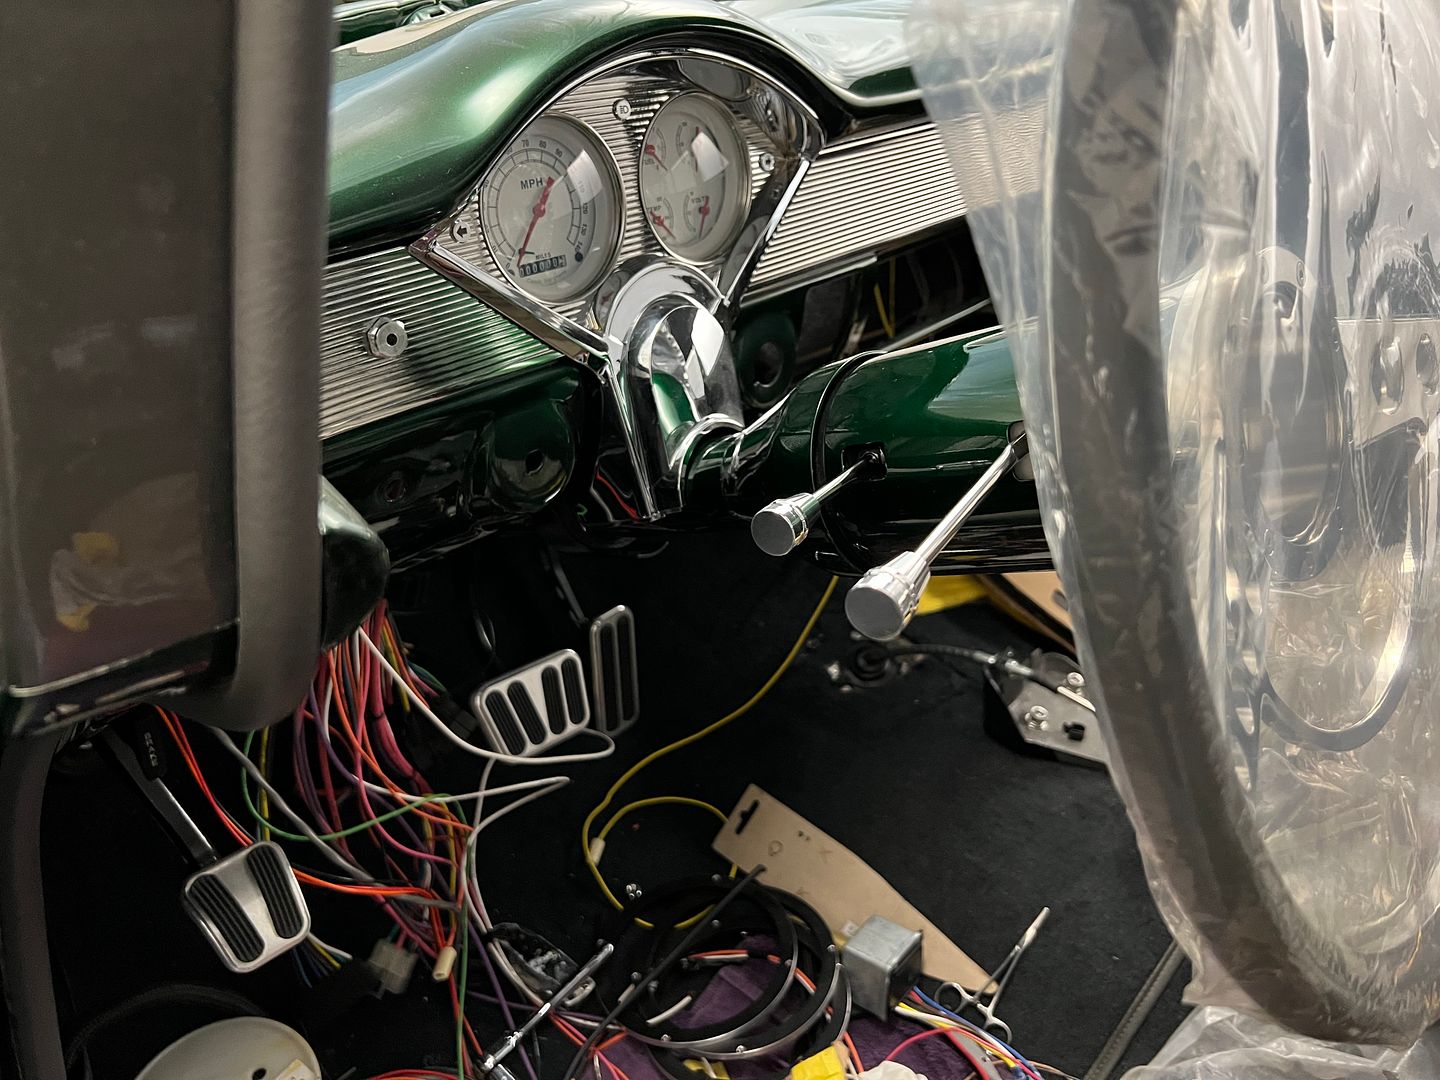
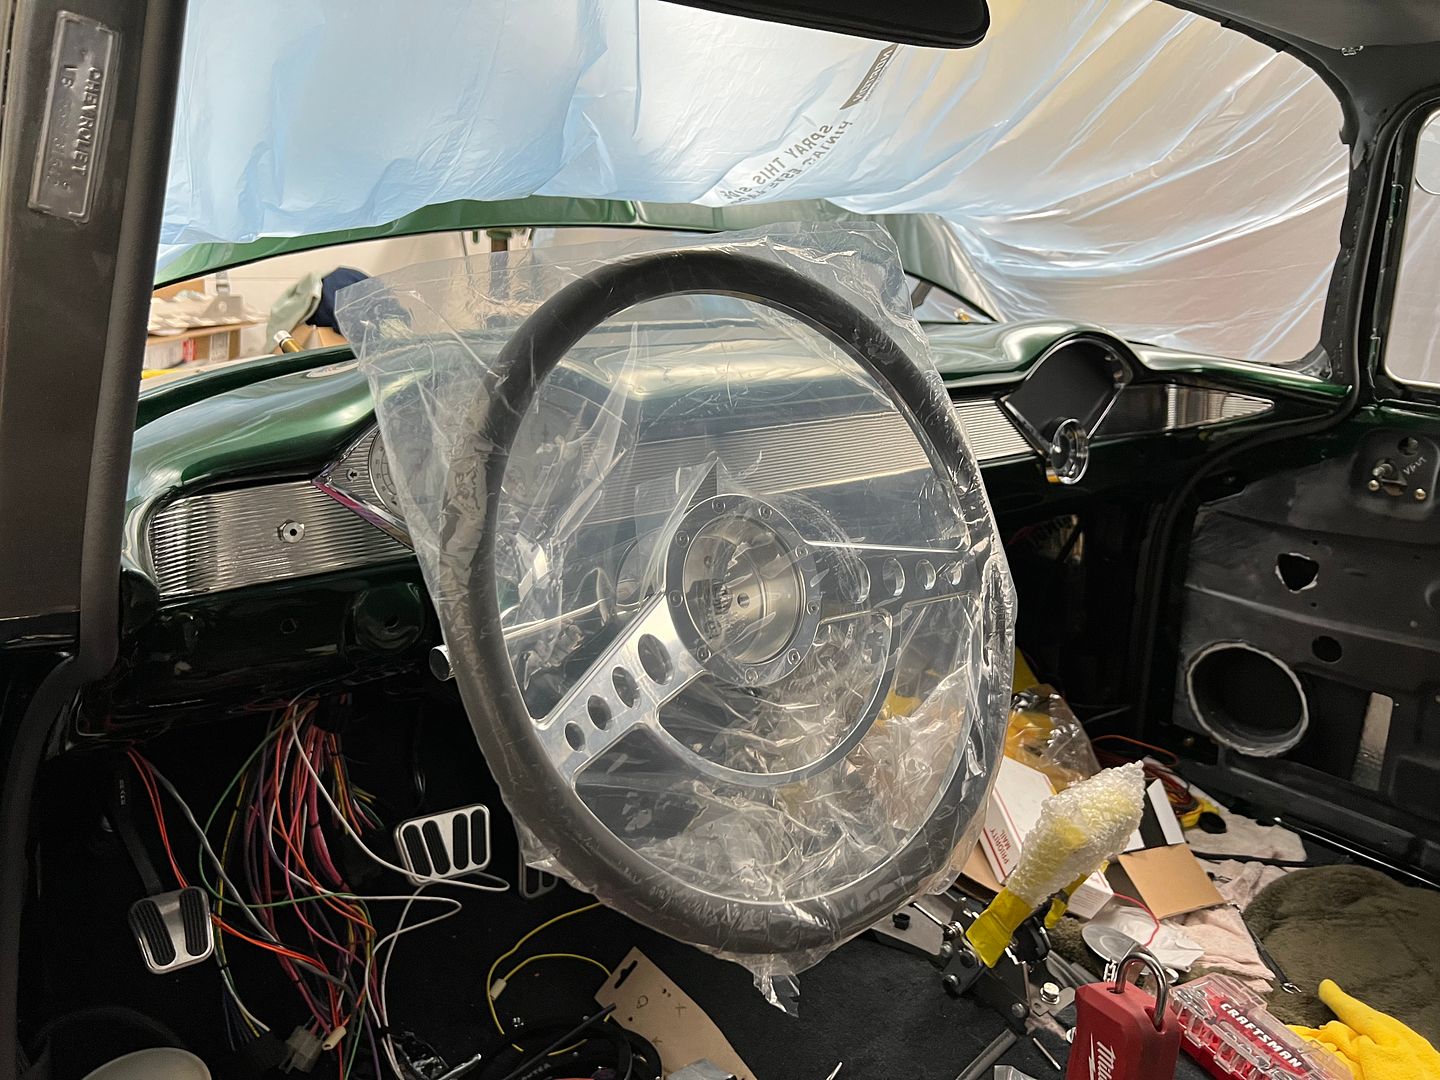
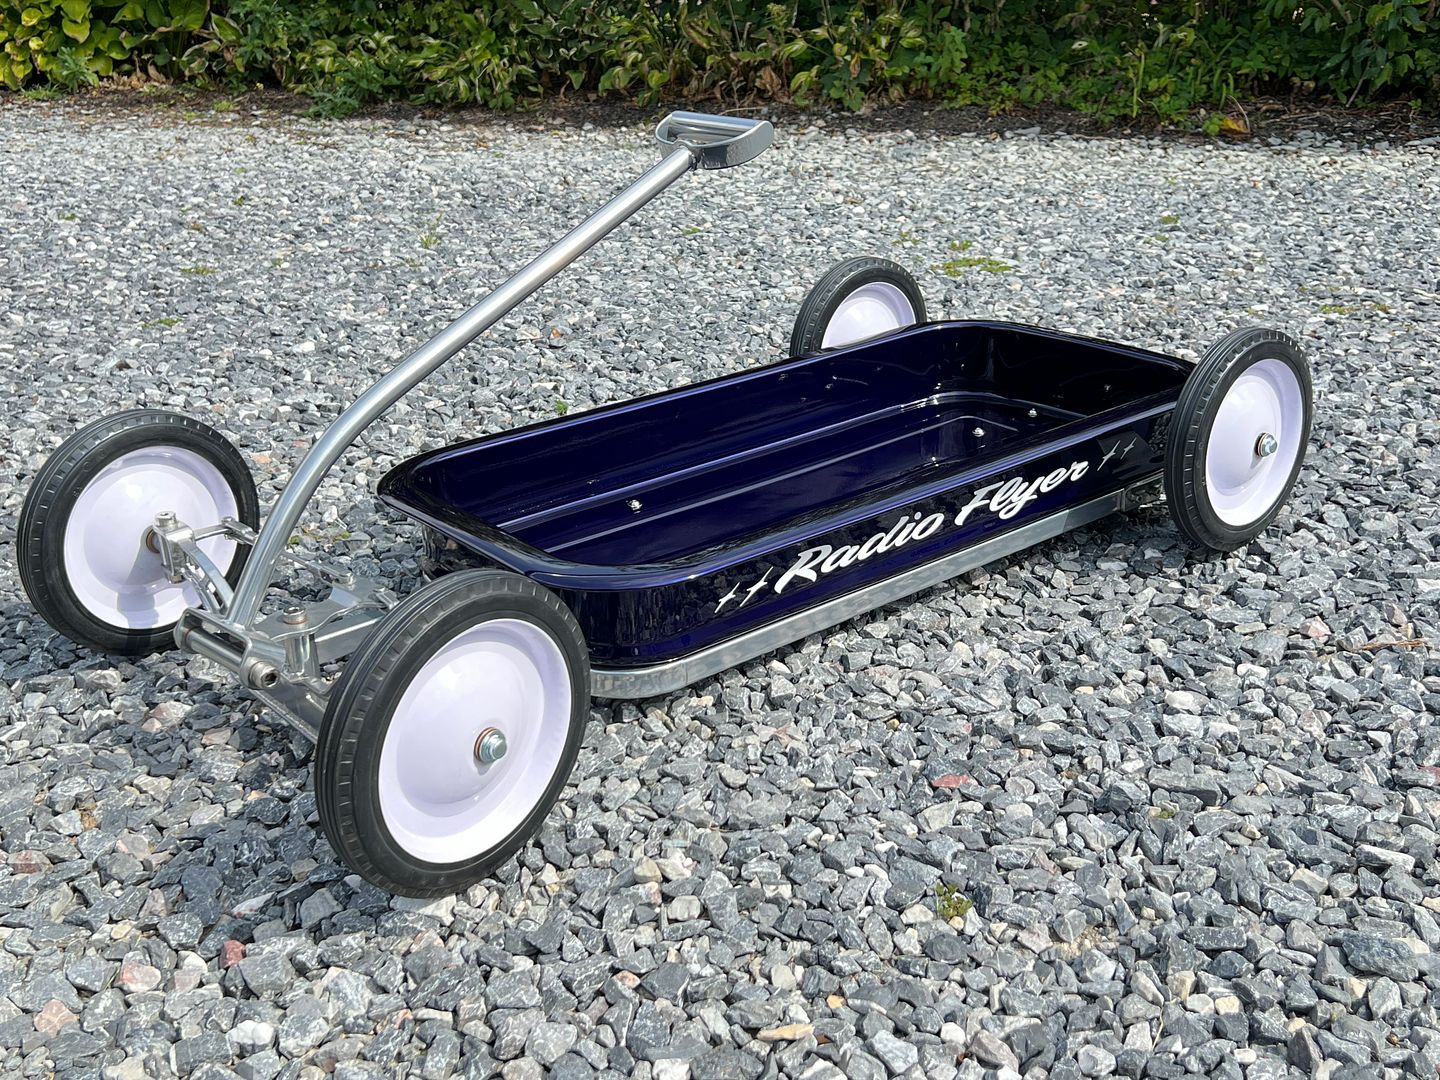
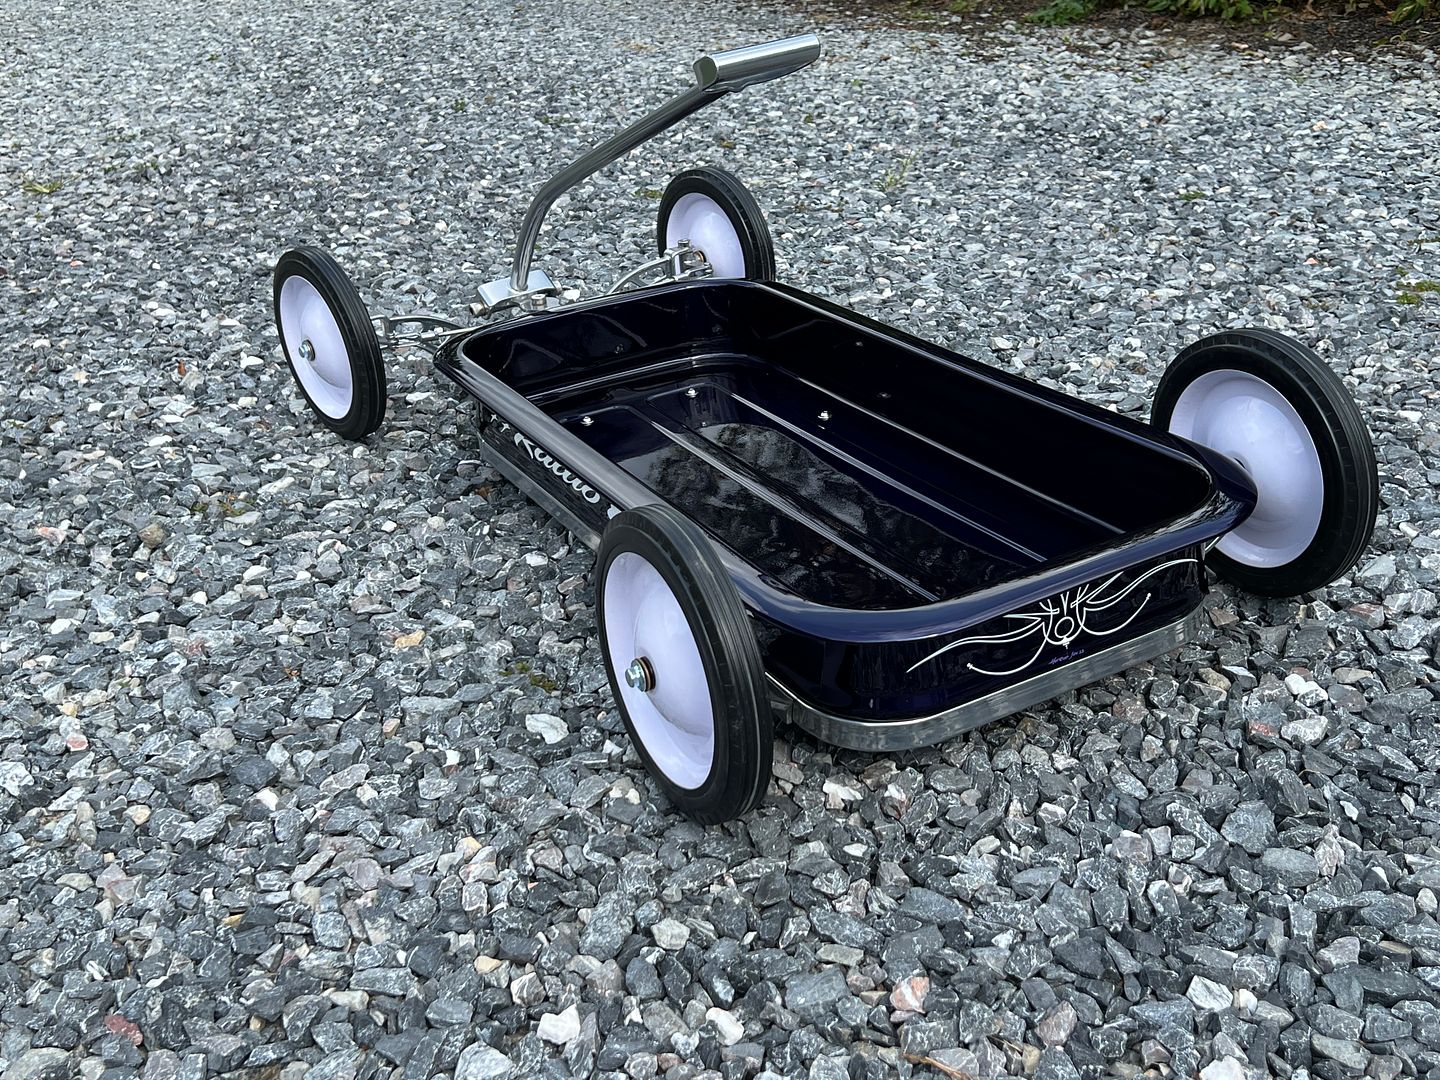
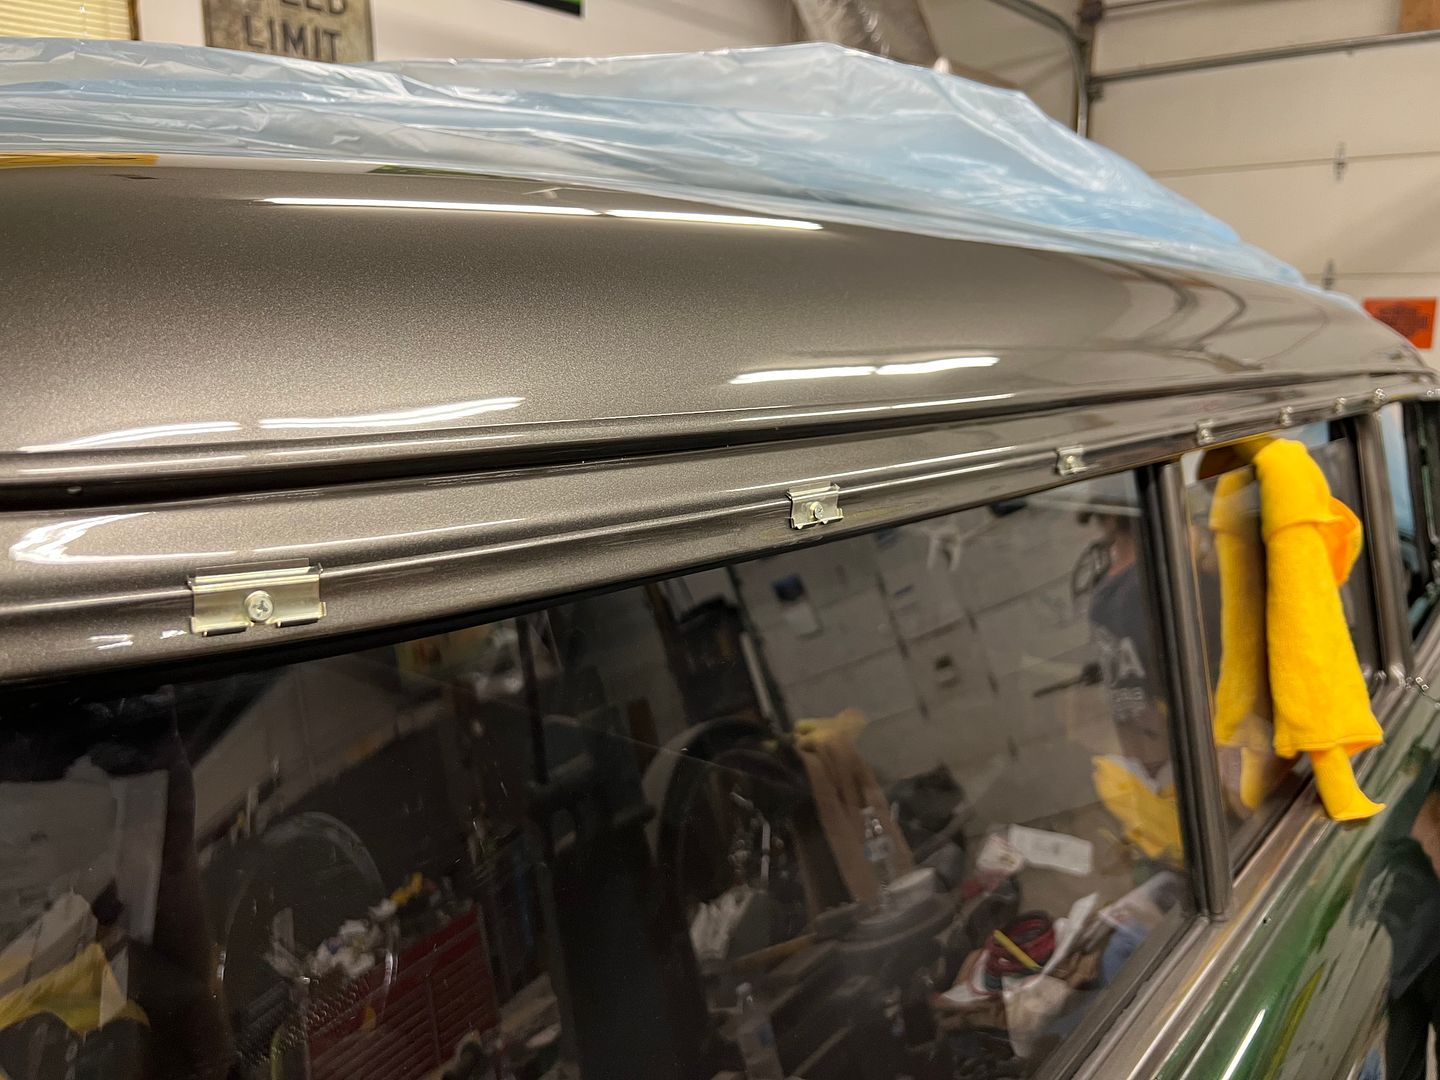
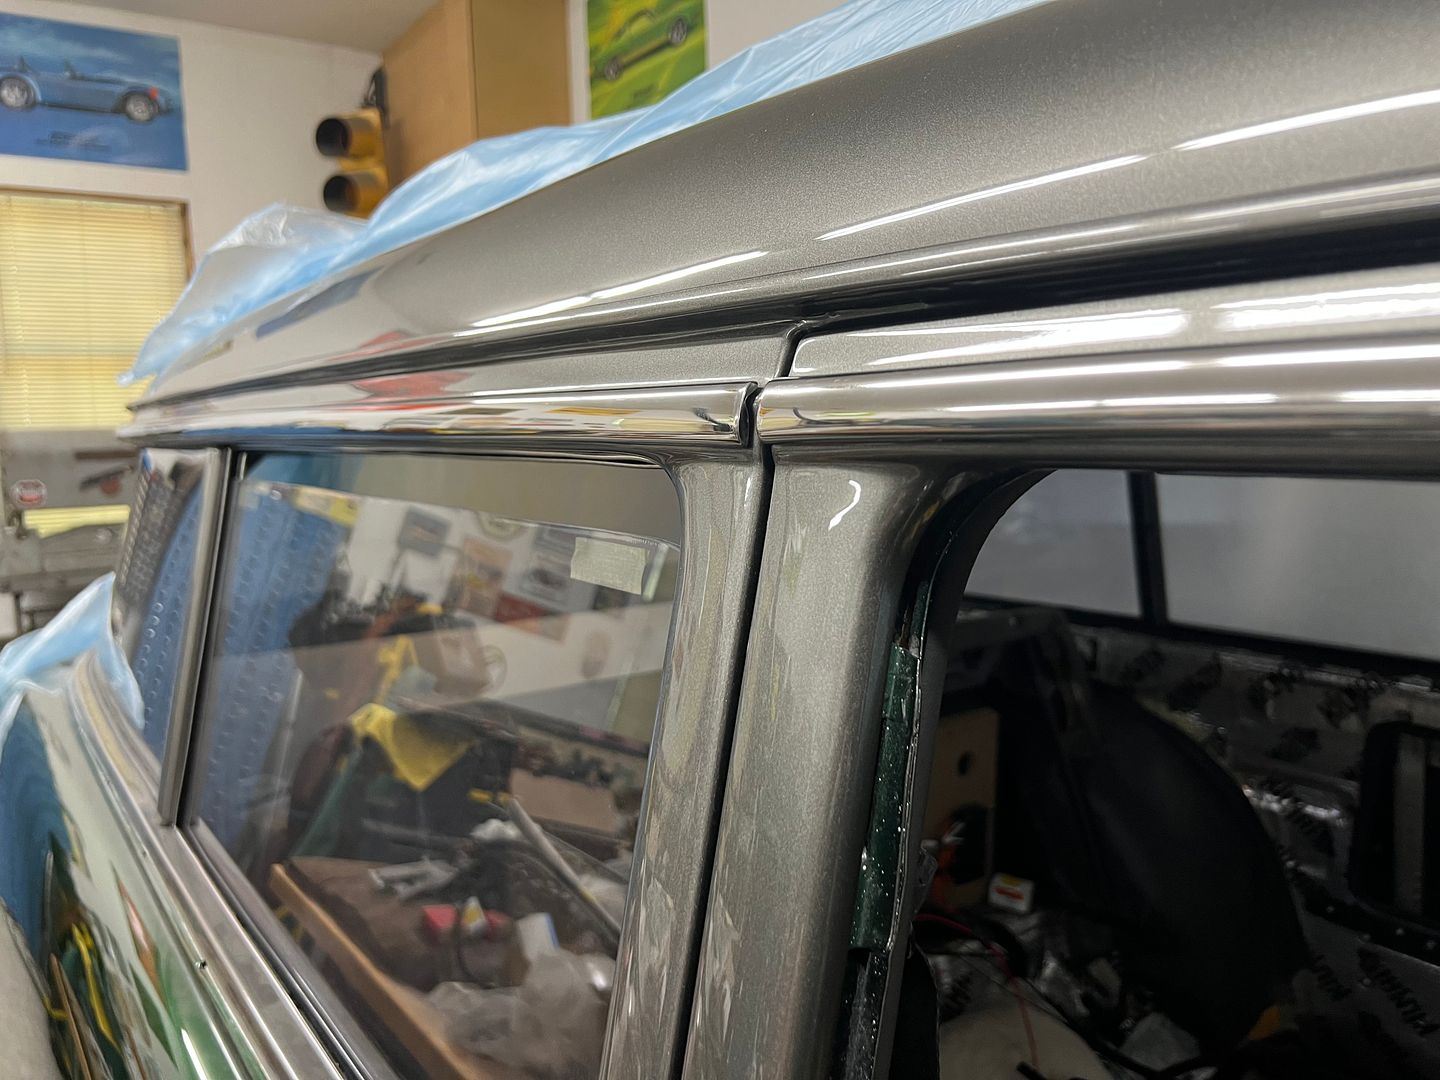


    trim clips added...


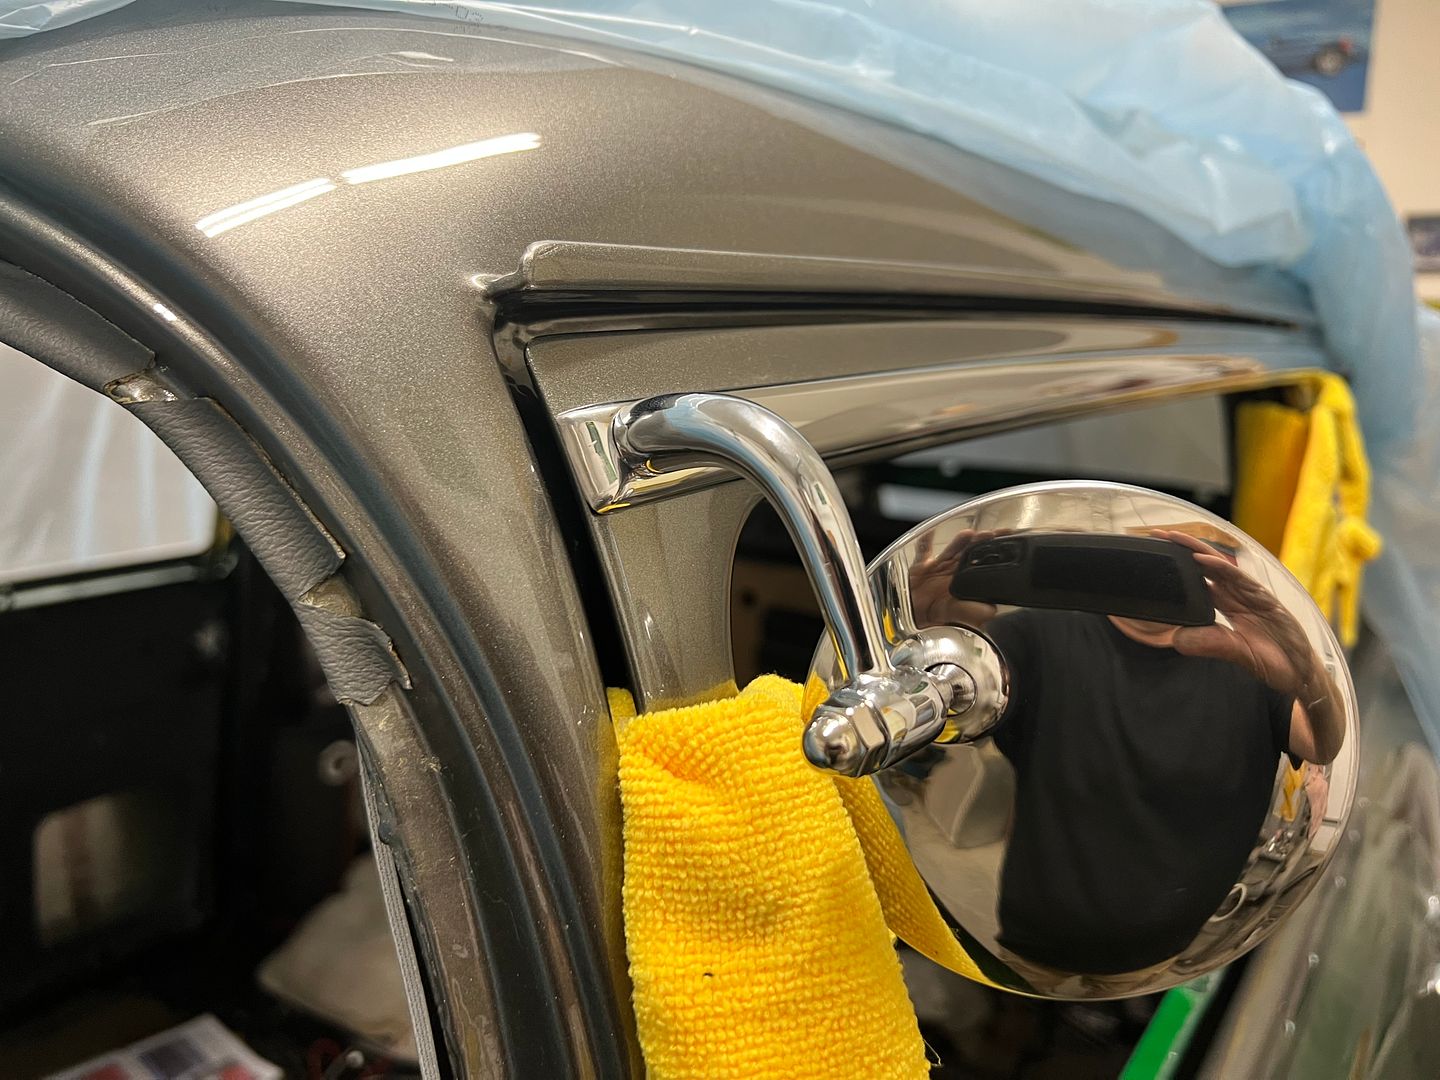
    ...and our driver's mirror added...


    Robert


    MP&C Shop Projects-Metalshaping Tutorials


    Instagram @ mccartney_paint_and_custom


    .

  2. #992
    Registered Member WagonCrazy's Avatar
    Join Date
    Mar 2012

    Member #:530
    Location
    Santa Clarita, CA
    Posts
    1,800
    Such great attention to detail here. Thanks for taking the time to walk us thru the steps including pictures and video links to demonstrate what ca be done.
    This wagon is such a nice build!
    1957 Nomad- LS1/T56 on C4 chassis
    1959 Fleetside Apache 1/2 ton, shortbed, big window, 327ci.

  3. #993
    Registered Member MP&C's Avatar
    Join Date
    Dec 2013

    Member #:2017
    Location
    Southern MD
    Posts
    1,293
    Thanks!!


    Friday night was paint night. We started with a coat of SPI epoxy thinned for sealing, then two coats of Galaxy gray shimrin basecoat, then 4 coats of Cobalt Blue Kandy, and two coats of SPI universal clear.


    First coat of Kandy:


    It was loosely assembled Saturday morning and carried into the sunlight for pictures. The low morning sun was not enough to wake up the metallic in the basecoat, and this looks jet black.


    A bit later, it’s starting to wake up the blue….


    https://youtu.be/SeT3ykEg_wA


    After wagon assembly and photo op, we did some more Stainless scratch refinement... Two long pieces left to go. and one on order. Dana had taken one somewhere for straightening, and the results left us with a wrinkle and a crack forming. So that one's replacement is on the way from The Stainless Shoppe.


    Jared putting the eagle eye on the remaining stainless to find any defects...


    Reassembling the steering column after painting...


    some heat shrink was added to the harness to help prevent abrading against the steering shaft. Our steering wheel puller kit did not have the needed parts for compressing the spring for the ts cam/horn ring, so we made a push ring and modified some 5/16 bolts for the cause. Much cheaper than grinding on the snap on parts.


    Sunday morning we loaded up the wagon for it's maiden voyage, a shakedown run at Eddie's Brunch and Car Show, located at Bailey's Olde Breton Inn. This isn't a real large show (although it grows every year) but it's one of those must attends, and all the proceeds benefit our local Hospice.

    Some takeaways on the wagon design, the pull handle length that was designed for a small child inside the wagon was too short for a 6' tall fella with a long stride. Felt like yap dogs at my heels… And I think the frame design may need air bags, where it did well on the pavement, there was quite a bit of drag (rolling resistance) with the grass up in the frame.


    *Car show pictures borrowed from FB
    Robert


    MP&C Shop Projects-Metalshaping Tutorials


    Instagram @ mccartney_paint_and_custom


    .

  4. #994
    Registered Member MP&C's Avatar
    Join Date
    Dec 2013

    Member #:2017
    Location
    Southern MD
    Posts
    1,293
    Jesse Harris, a metalshaper local to me, did a recent video on using the TIG for performing spot welds. He was kind enough to send me the video so we could share it with others...


    https://youtu.be/JRBcLeRjN3Q
    Robert


    MP&C Shop Projects-Metalshaping Tutorials


    Instagram @ mccartney_paint_and_custom


    .

  5. #995
    Registered Member 1320GASSER's Avatar
    Join Date
    Mar 2012

    Member #:227
    Posts
    127
    thanks for the link Robert, will come in handy

  6. #996
    Registered Member MP&C's Avatar
    Join Date
    Dec 2013

    Member #:2017
    Location
    Southern MD
    Posts
    1,293
    More installing stainless trim. The screw holes for the beltline trim that wraps into the tailgate opening had been filled when we shaved the lead seams. So we used some tape to protect the paint as we aligned the side trim to the lift gate trim before drilling the holes.


    One piece to go on the left side, awaiting the trip from WI.


    Next, we attempted to install our vent windows in the "reconditioned" frames the owner had bought. Only we noticed they weren't so ready for installation...


    and bent...


    Well, since we're on a roll, lets check the stainless trim that divides the vent and side windows. This had been "reconditioned" and included with the bent and cracked vent frame. Looks like they just polished up the dents and scratches. Not going to meet our standards.


    https://www.youtube.com/watch?v=ToR2iF0sNeQ


    So we media blasted the original frames, which had no damage, and dropped them off at the Shop at Shorty's for a Cerakote finish.


    Inspecting the stainless trim, we found the originals to be less beat up than the reconditioned stuff, so we opted to straighten out the originals. Here's a comparison of the trim, the two on the left are the reconditioned that had been polished right over the defects. The two on the right are the originals, the left of the two has had any dings/dents pushed from the back in prep for our refinement process. (except the one up top I missed) The right one has gone through our w/d 360, 600, 1200, 1500, 2000, and 2500, all done wet. There are some minor scratches still, so we'll go through this process once more prior to buffing to make sure we have a flawless finish.


    https://www.youtube.com/watch?v=UIQcvWRF9nU


    And a helpful hint for those who dabble in polishing stainless. We've all had occasion where the stainless slips off the buffing wheel, bouncing off the buffer shaft, causing another 2-3 hours to correct. We added a rubber grommet to cover the nut and a plastic end cap to cover the threads. Less chance of damage from those mis-steps.


    We did get some more chrome on the front. Look, no bolts!!


    Robert


    MP&C Shop Projects-Metalshaping Tutorials


    Instagram @ mccartney_paint_and_custom


    .

  7. #997
    Registered Member WagonCrazy's Avatar
    Join Date
    Mar 2012

    Member #:530
    Location
    Santa Clarita, CA
    Posts
    1,800
    This wagon is shaping up nicely.
    1957 Nomad- LS1/T56 on C4 chassis
    1959 Fleetside Apache 1/2 ton, shortbed, big window, 327ci.

  8. #998
    Registered Member chevynut's Avatar
    Join Date
    Nov 2011

    Member #:115
    Location
    Fort Collins, CO
    Posts
    10,854
    Perfection. I saw a C1 corvette that color at Goodguys Colorado and it was really nice looking.
    56 Nomad, Ramjet 502, Viper 6-speed T56, C4 Corvette front and rear suspension


    Other vehicles:

    56 Chevy 2-door BelAir sedan
    56 Chevy 210 4-door sedan
    57 Chevy 210 4-door sedan
    1962 327/340HP Corvette
    1961 Willys CJ3B Jeep
    2001 Porsche Boxster S
    2003 Chevy Silverado 2500 HD Duramax
    2019 GMC Sierra Denali Duramax

  9. #999
    Registered Member Belair-o's Avatar
    Join Date
    Jun 2013

    Member #:1723
    Location
    Franktown, CO
    Posts
    601
    Thanks for the tip about the grommet over the buffer wheel nut!

  10. #1000
    Registered Member MP&C's Avatar
    Join Date
    Dec 2013

    Member #:2017
    Location
    Southern MD
    Posts
    1,293
    Thanks for the comments guys!!

    Picked up the vent window frames from The Shop at Shortys, done in a Gunmetal Gray Cerakote finish.


    and we got our final piece of stainless trim from The Stainless Shoppe...


    Packaged very well....


    Steering column installed...


    Friday was our appointment for lettering the blue wagon, rode up to PA to HotRodJen's art studio..


    We opted for a script that deviated from the stock "decals", why hand paint something to match a factory decal? Let's go with looks fast while standing still...


    and reassembled for the trip home..


    Robert


    MP&C Shop Projects-Metalshaping Tutorials


    Instagram @ mccartney_paint_and_custom


    .

Page 100 of 102 FirstFirst ... 50909899100101102 LastLast

Posting Permissions

  • You may not post new threads
  • You may not post replies
  • You may not post attachments
  • You may not edit your posts
  •