


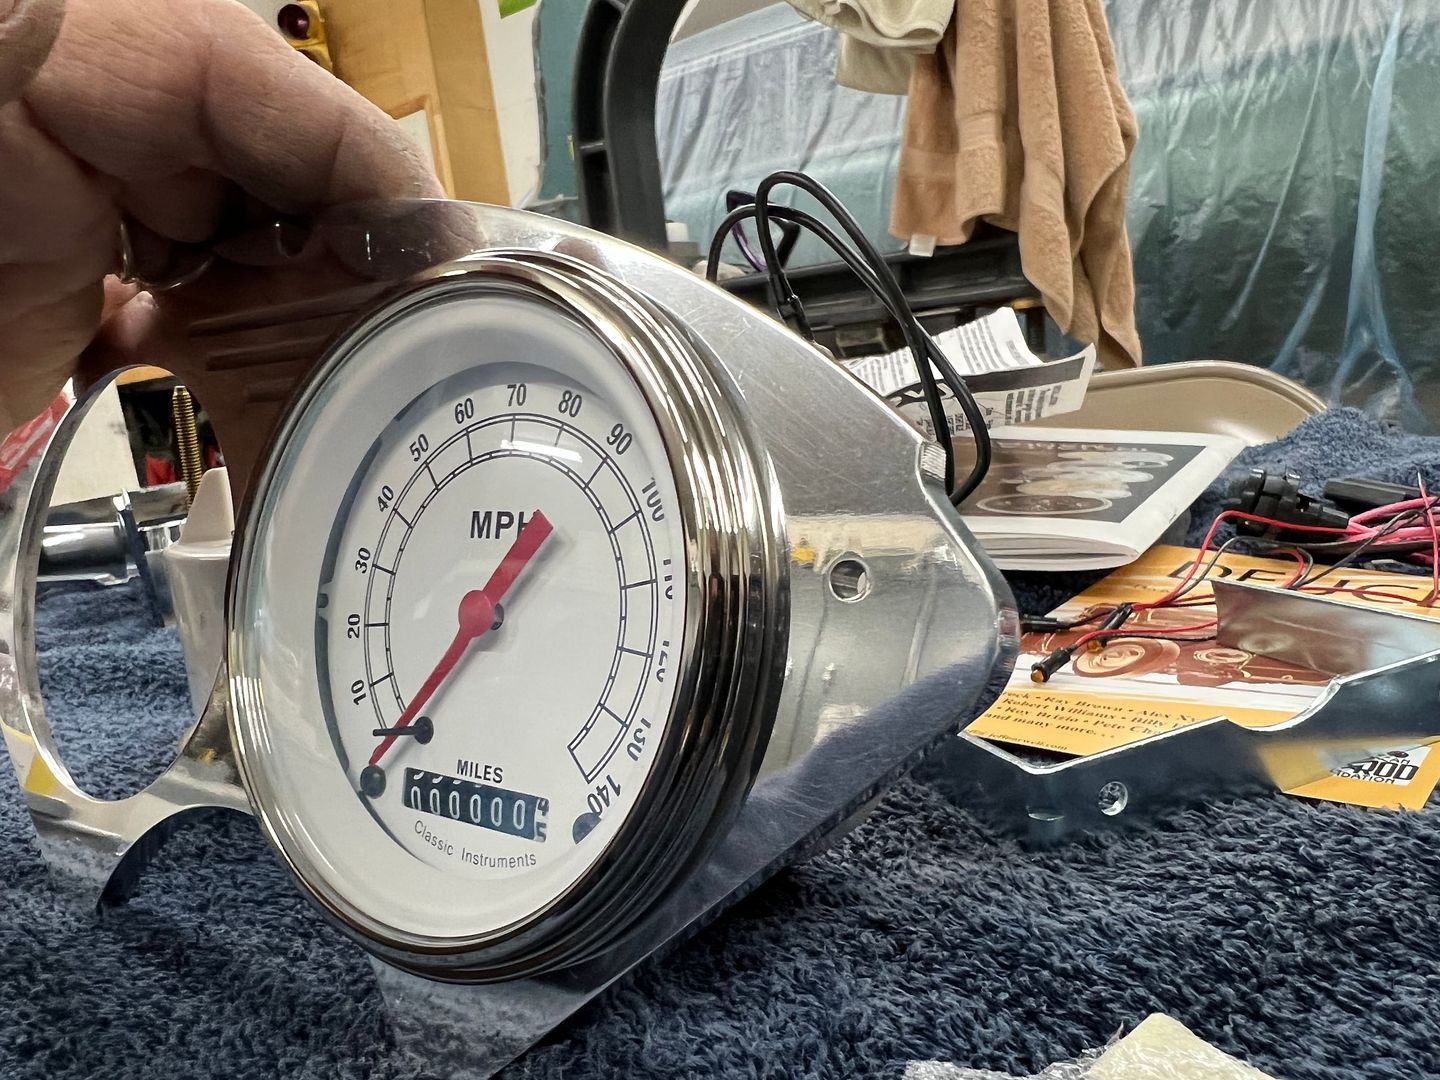
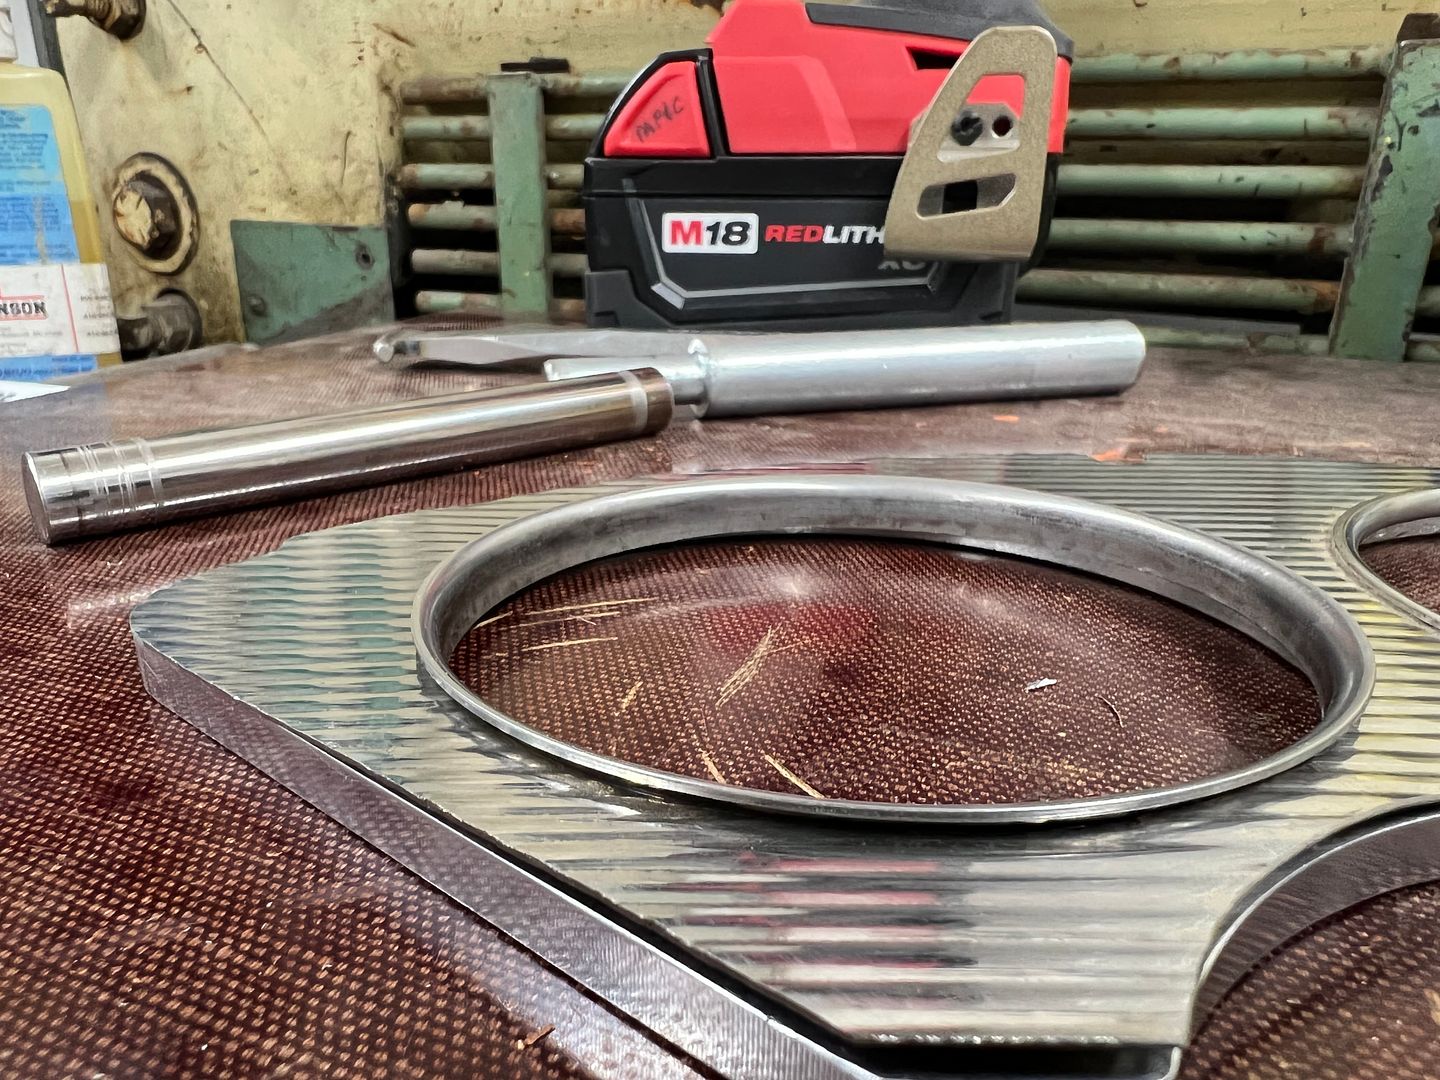
Today we had a back up and punt moment. The nice chrome bezel on the gauges is far too large to fit in those corners of the instrument panel bezel from the outside. So we'll have to keep it on the backside, but that doesn't help us cover up the cut edge of the hole in the ribbed stainless..
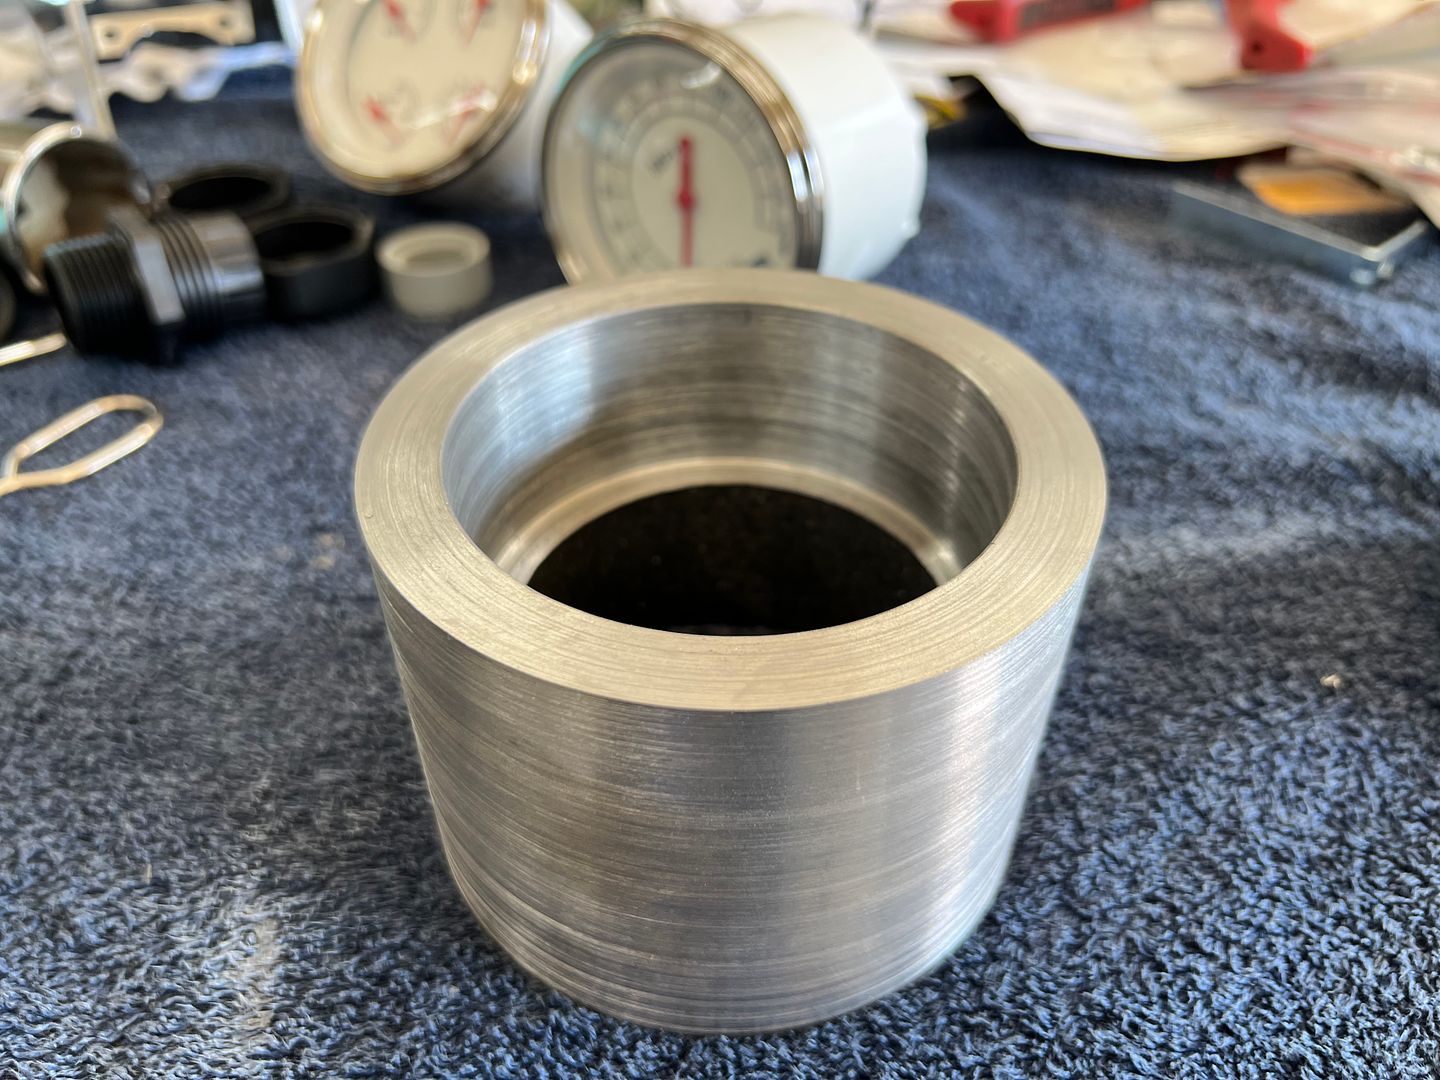
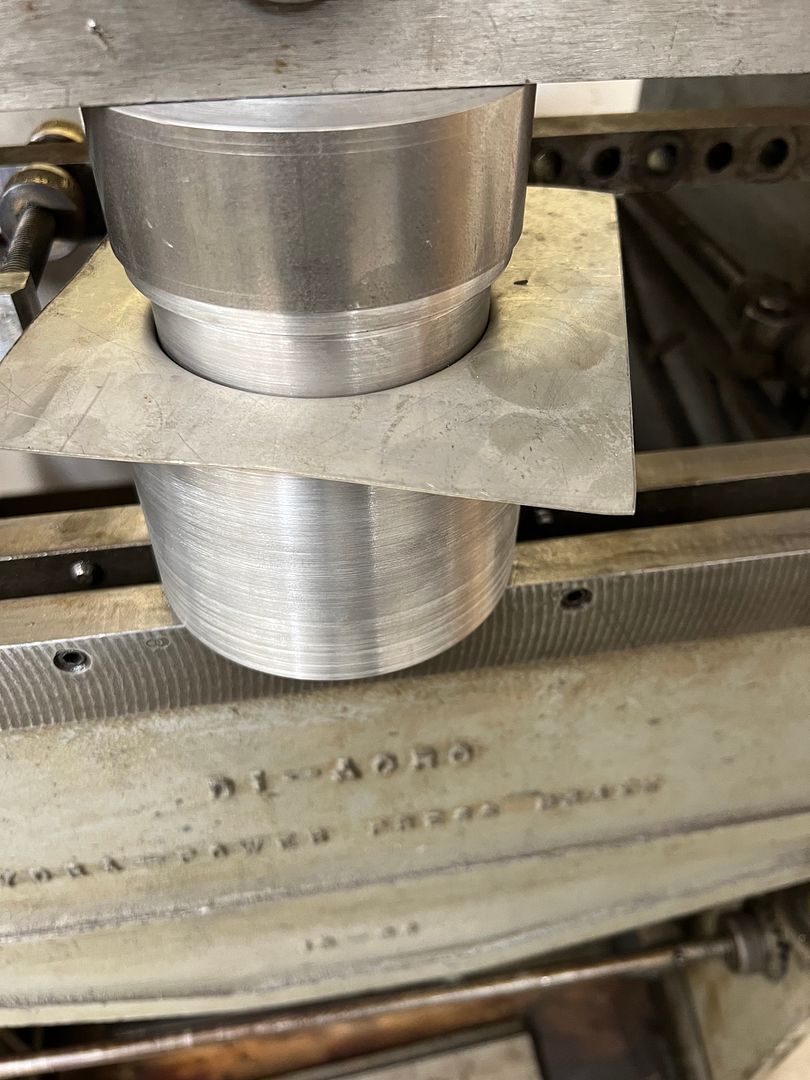
......so let's make some stainless "eyelets" to both hold the ribbed stainless securely to the billet panel, as well as give us a finished edge around the cut hole.. First a punch and die will be needed to press one side of our eyelet.
and we added a 1/2 x 1/2 tang to hold the punch in the press brake...
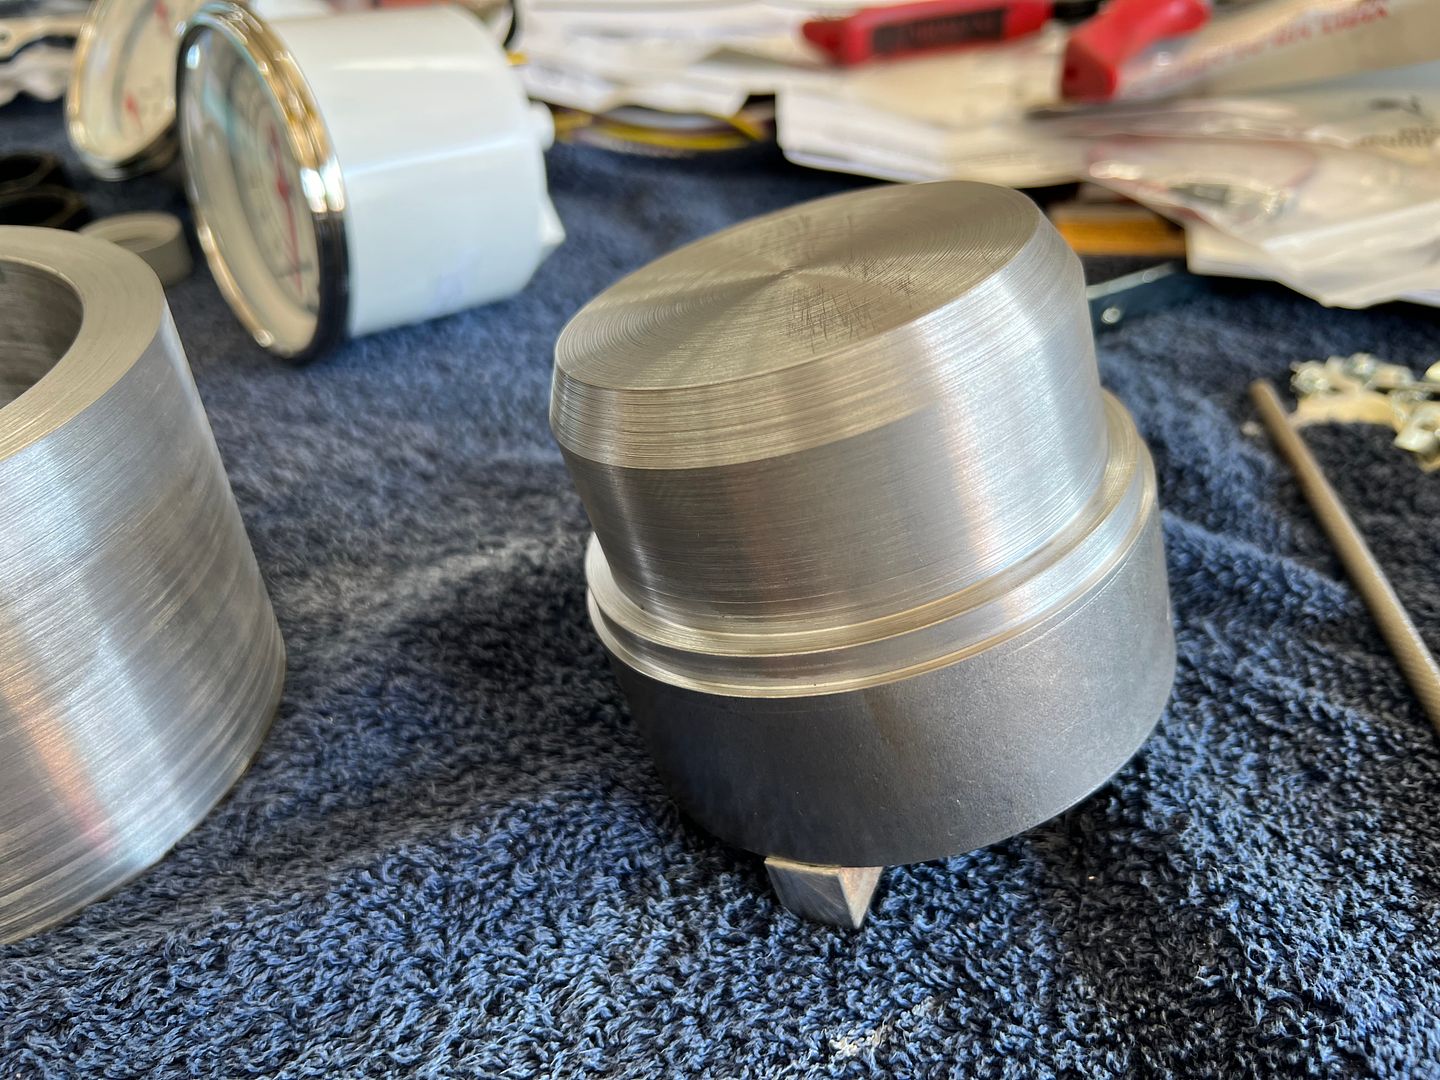
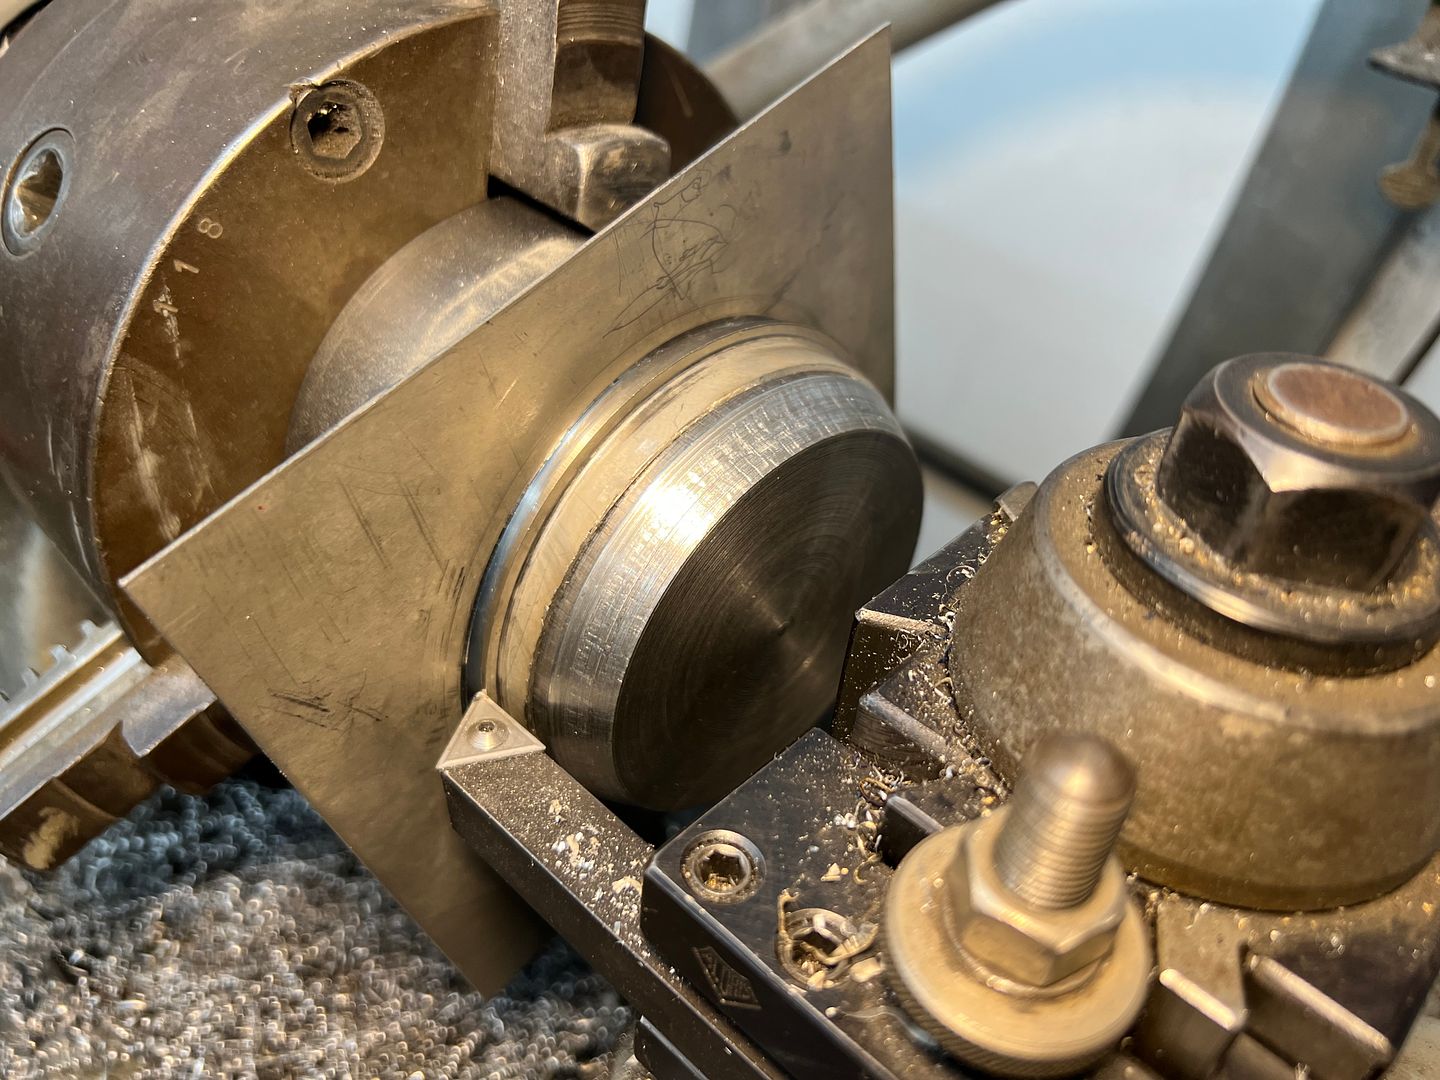
Back to the south bend to cut out our flange lip.. The punch was snug after the press operation, so it was used as a holding fixture for the trimming operation.
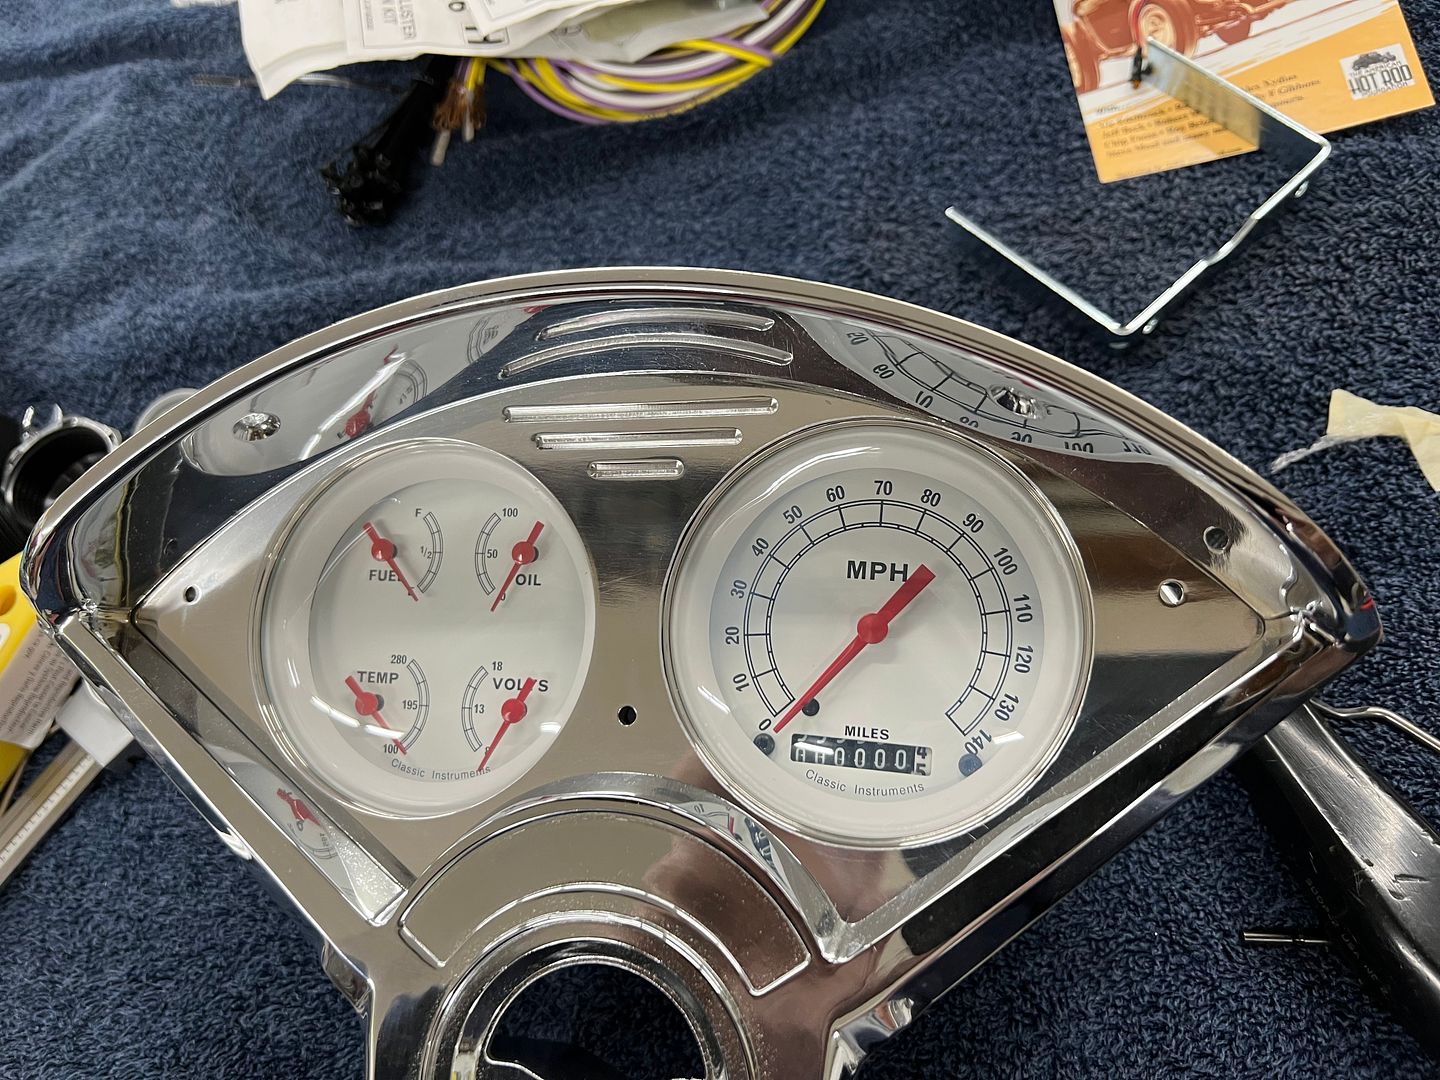
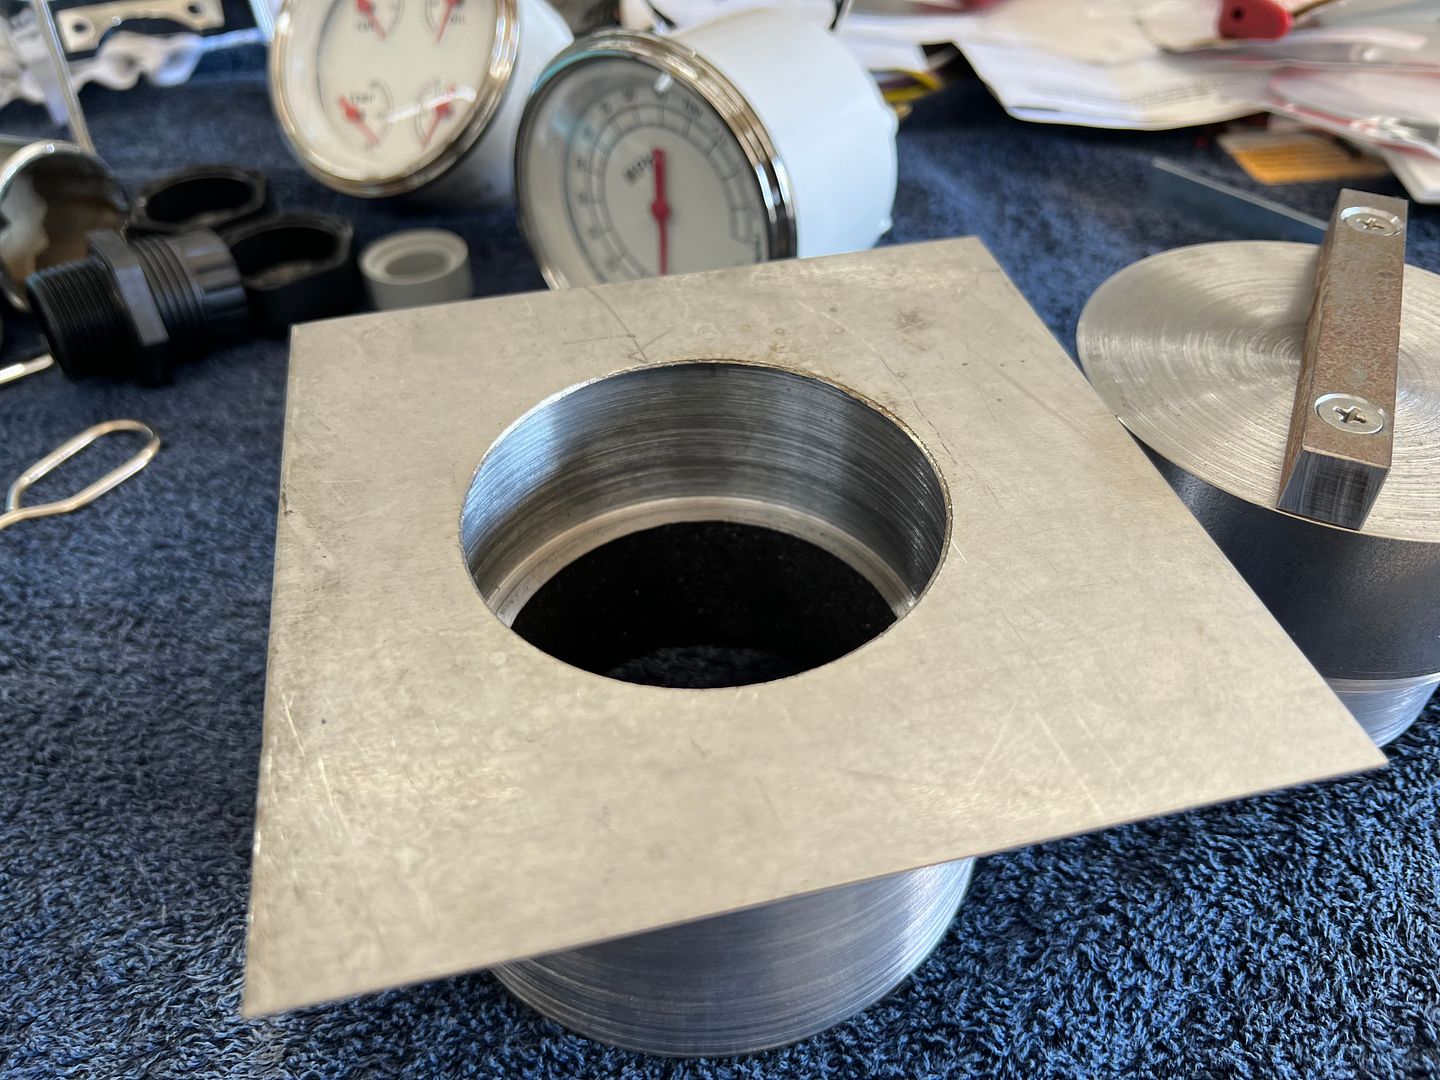
A holesaw in the drill press started the holes for the gauges and then we used our Jigsaw with cruise control to fine tune the openings.
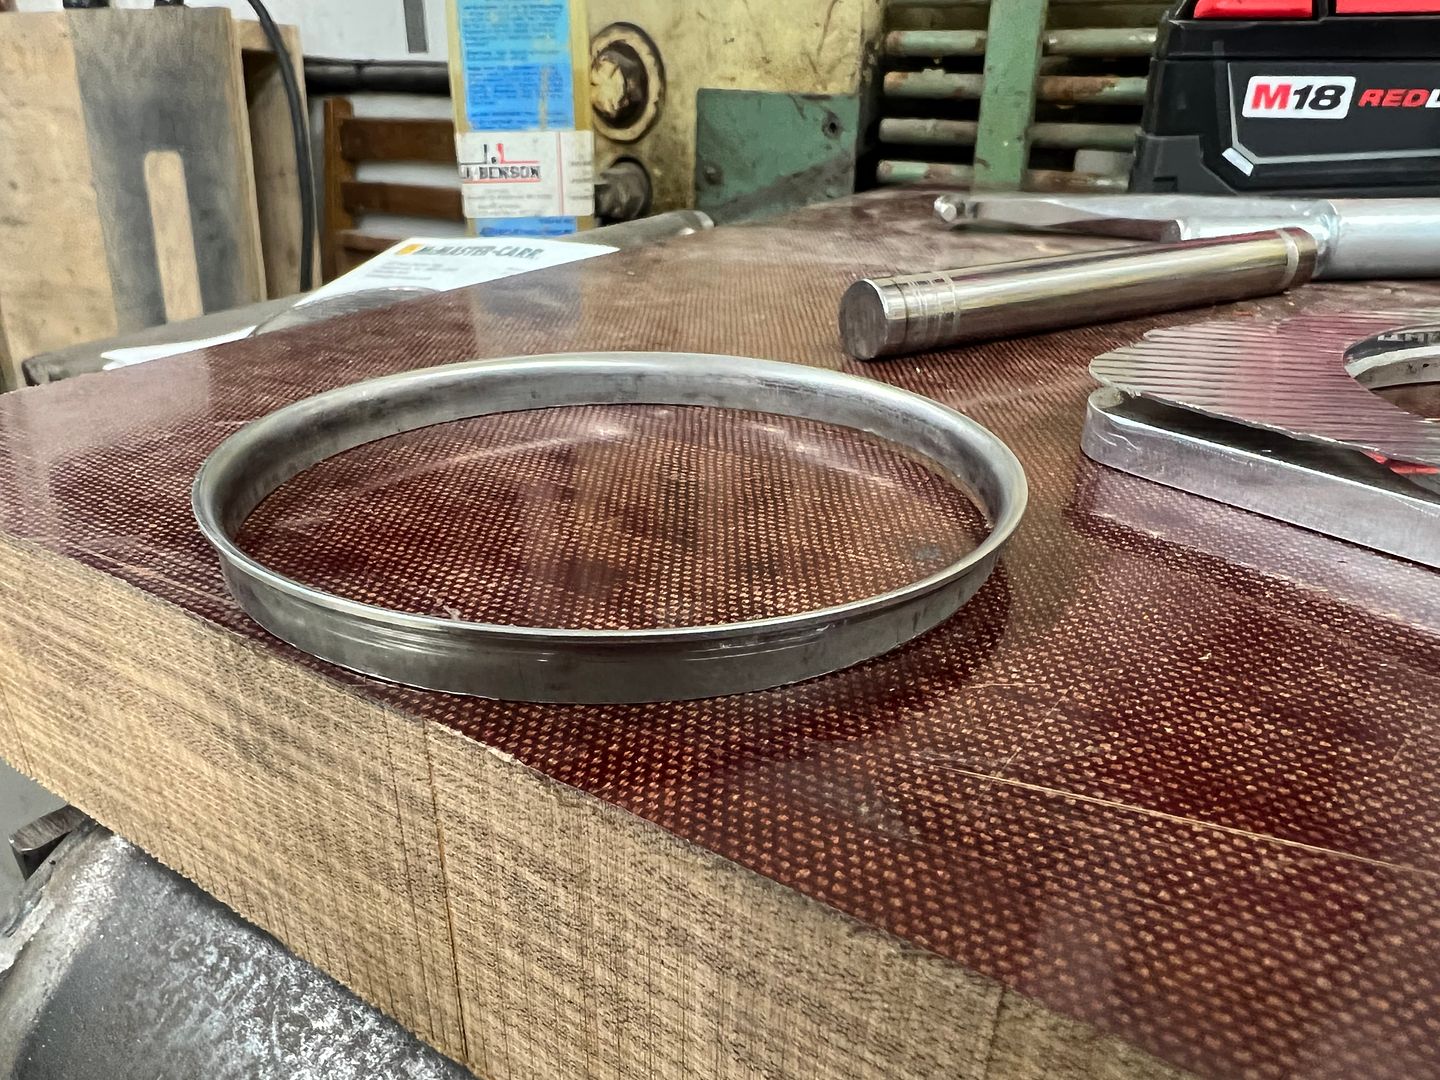
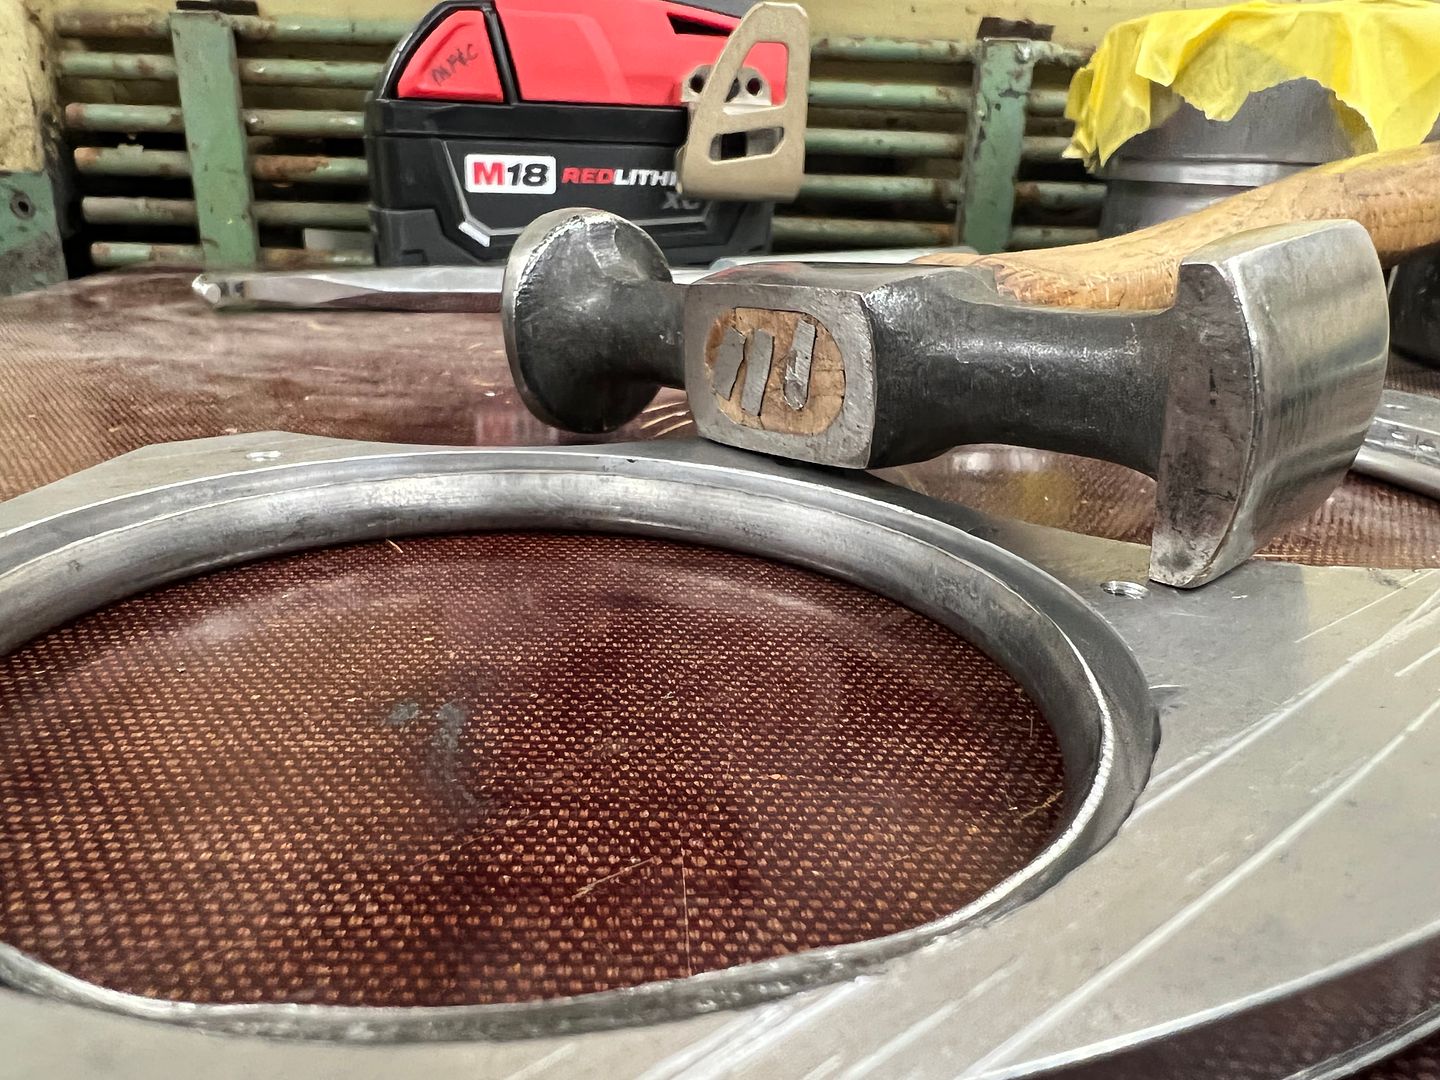
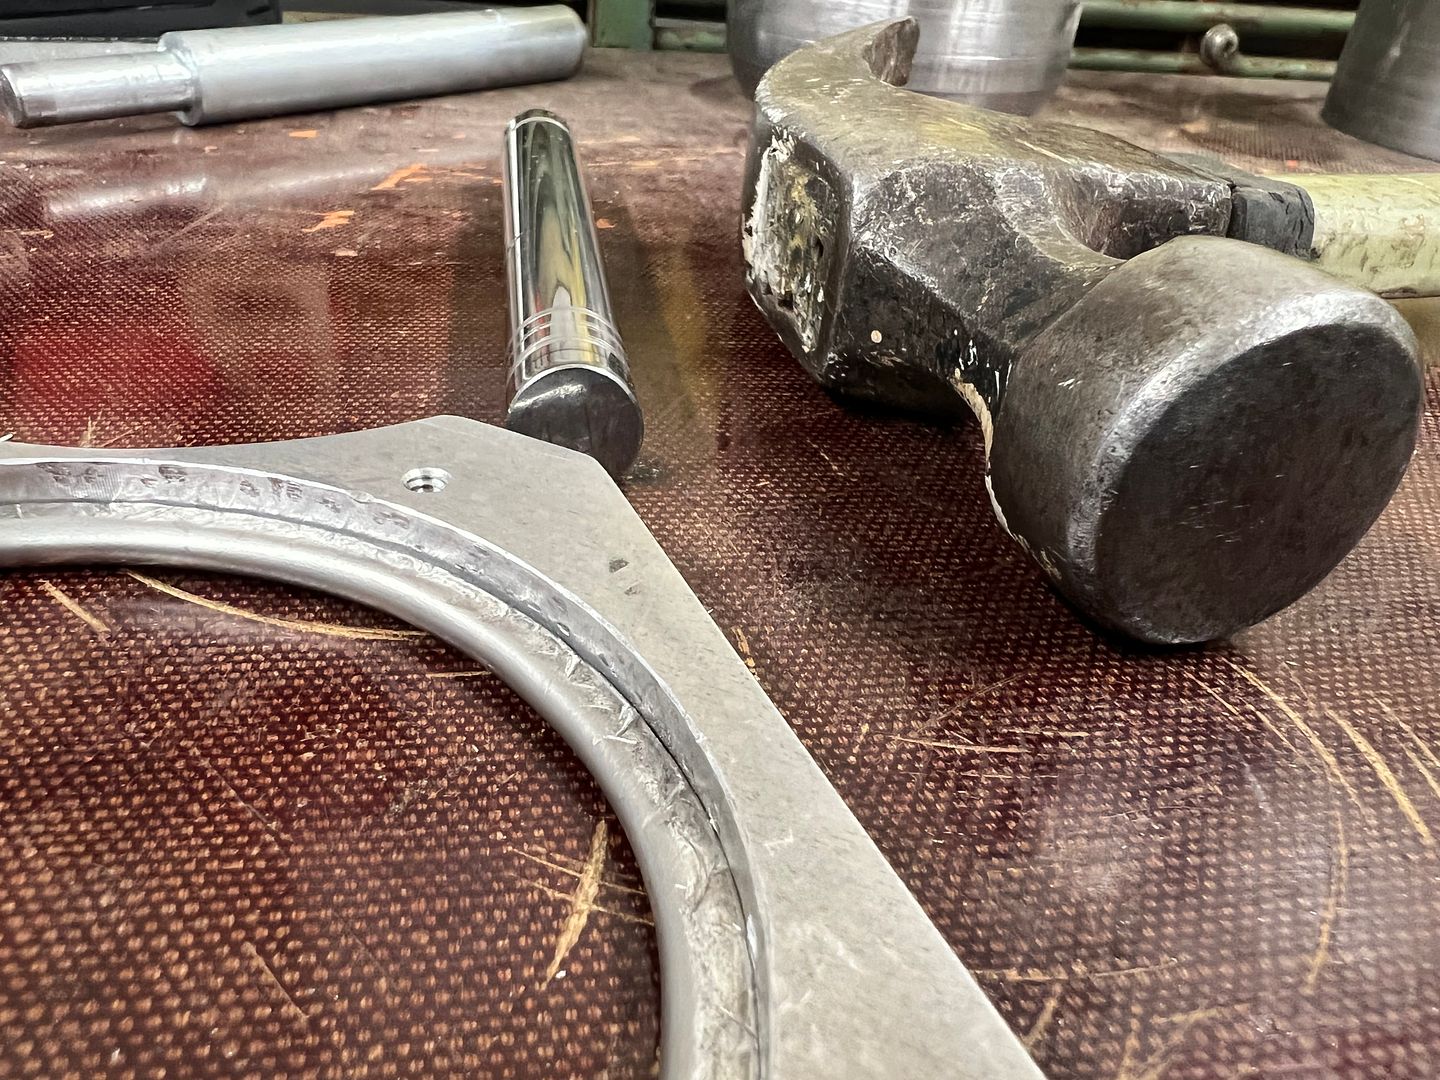
A sheet of phenolic gives us a non-marring surface to pound on, the Snap-on linear stretch hammer swages the flange over and a 1/2" diameter round makes a good punch to flatten out the rest.
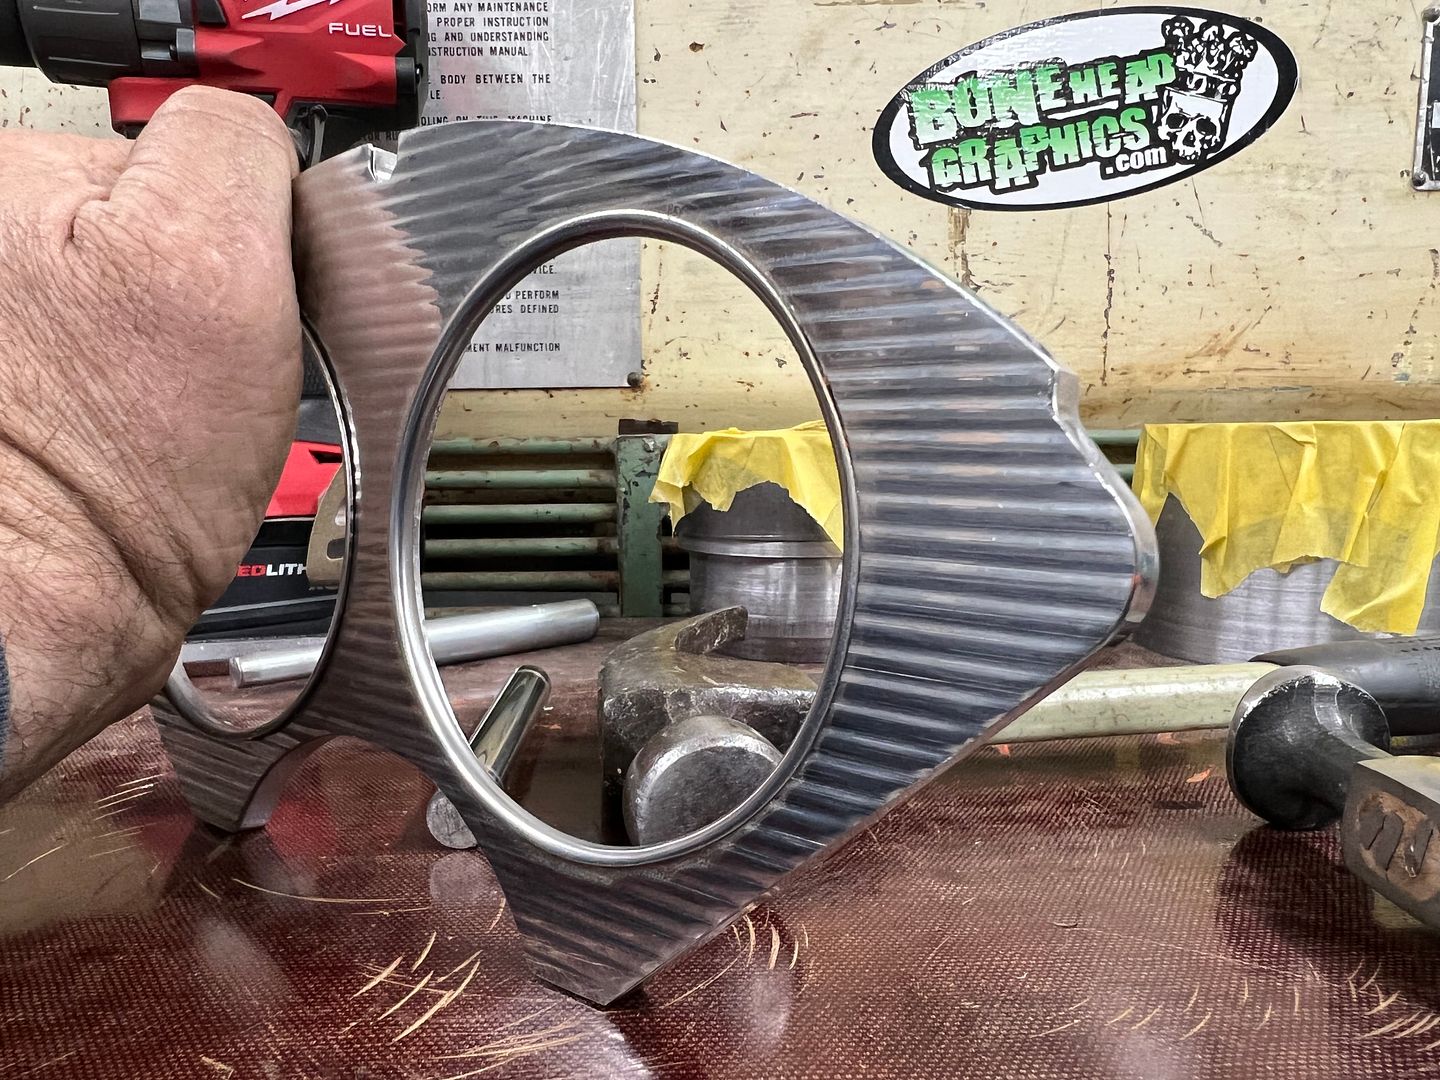
Finished "eyelets"
Still have to install the indicator lights, but since I need to pack up for the local car show tomorrow in Leonardtown, we'll finish that up this coming week.
.


 Reply With Quote