Now that's pretty damn cool. I was wondering how you were going to "edge" that piece. Nice job.


Now that's pretty damn cool. I was wondering how you were going to "edge" that piece. Nice job.
56 Nomad, Ramjet 502, Viper 6-speed T56, C4 Corvette front and rear suspension
Other vehicles:
56 Chevy 2-door BelAir sedan
56 Chevy 210 4-door sedan
57 Chevy 210 4-door sedan
1962 327/340HP Corvette
1961 Willys CJ3B Jeep
2001 Porsche Boxster S
2003 Chevy Silverado 2500 HD Duramax
2019 GMC Sierra Denali Duramax

Wow! You amaze me! Great skills, great results!

Thanks guys!!
More shiny stuff...
Since I was on a road trip Sunday, I popped in and visited the patent display that we made the hood for. The owner has it re-wired and reflectors installed. This video gives a better idea of what it was used for..
https://www.youtube.com/watch?v=sw0gYxvY2m4
Back in the early 20's there were lights that would attach to the bumper and a cable driven mechanism attached to the front steering so that the light would follow the direction of travel. Advantageous for the limited brightness of the headlamps in those days. So this was likely a salesman's prop for selling such a lighting accessory.


I love your custom dash trim.. It's GEM-dandy..
And nobody who hasn't followed the build has a clue to the work, and magic that went into the bling! Wow!
I fully expect someone to ask where we bought the dash trim. I'm planning on sending them to Speedway Motors..

No send them to Danchuk!!!Originally Posted by MP&C

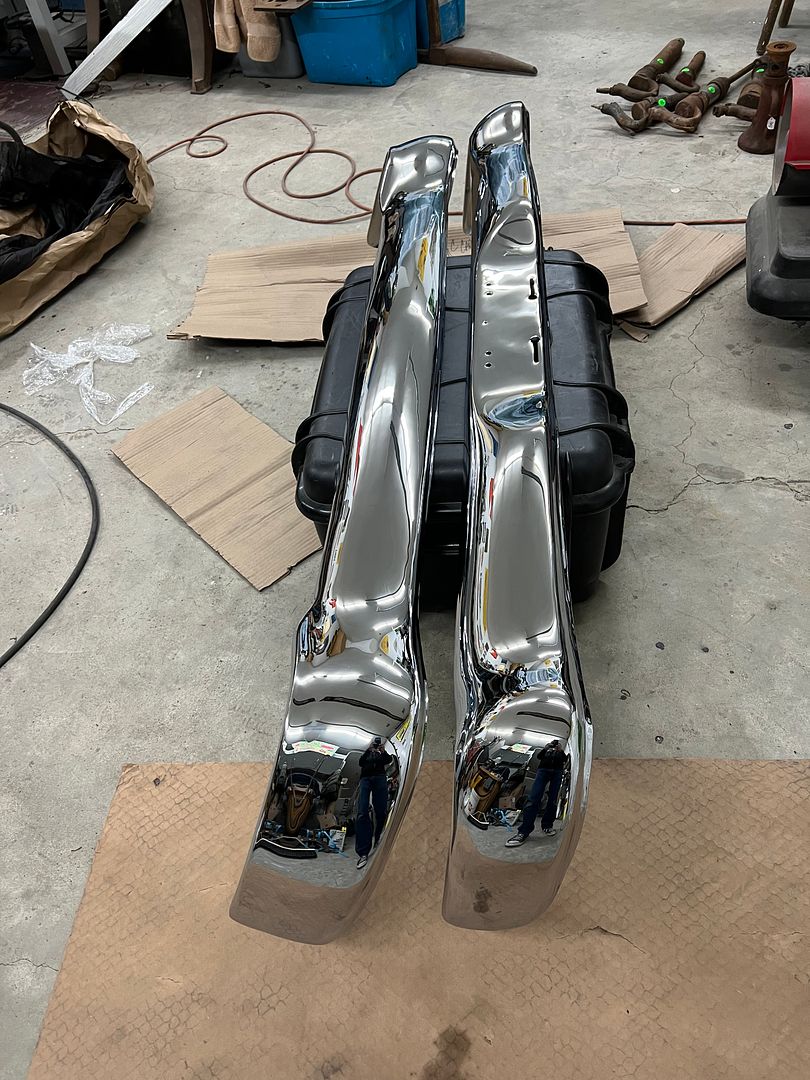
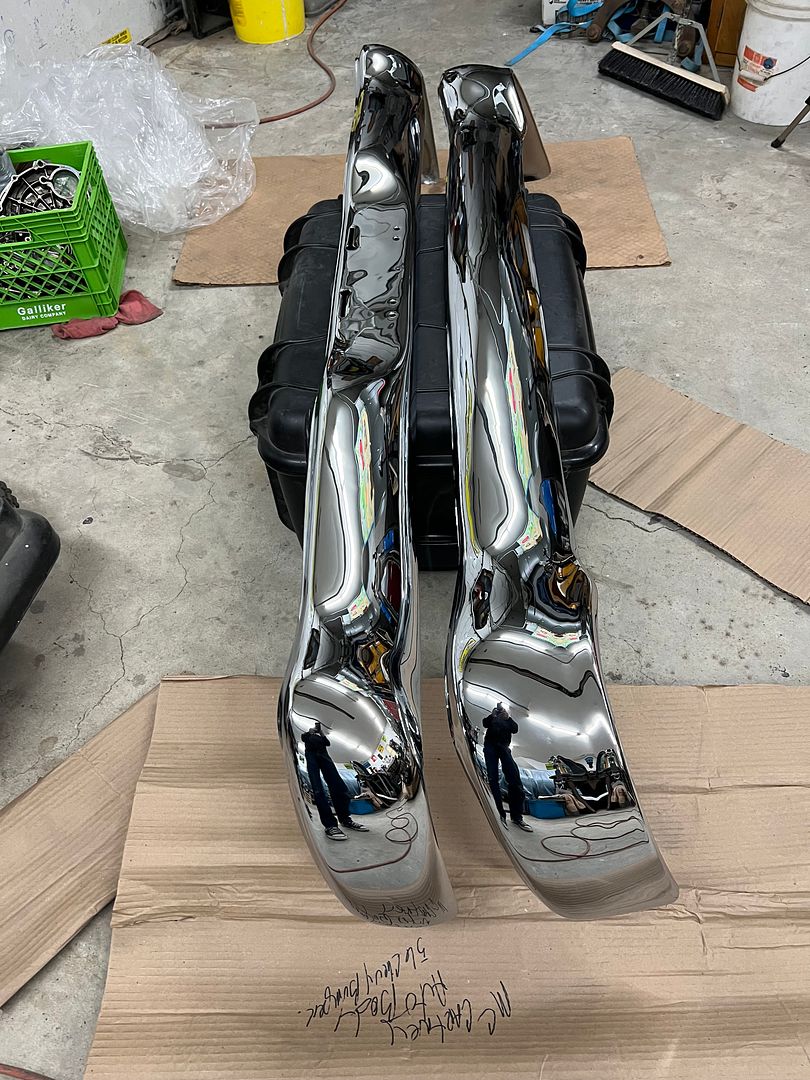
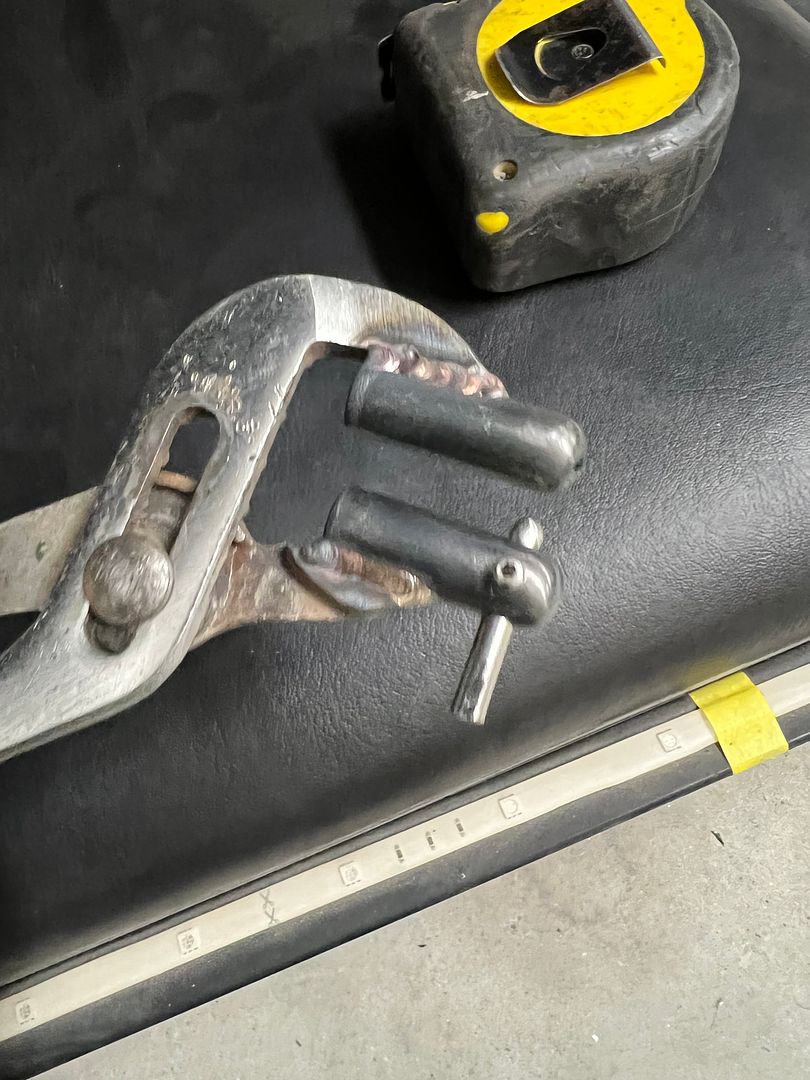
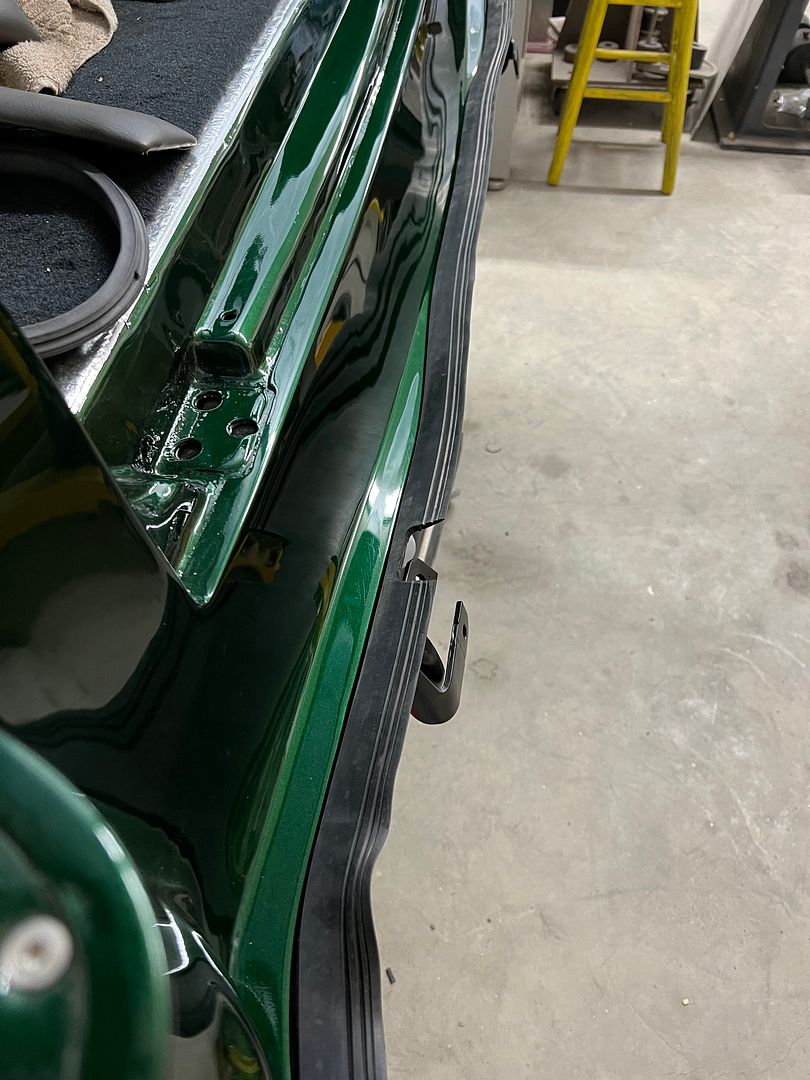
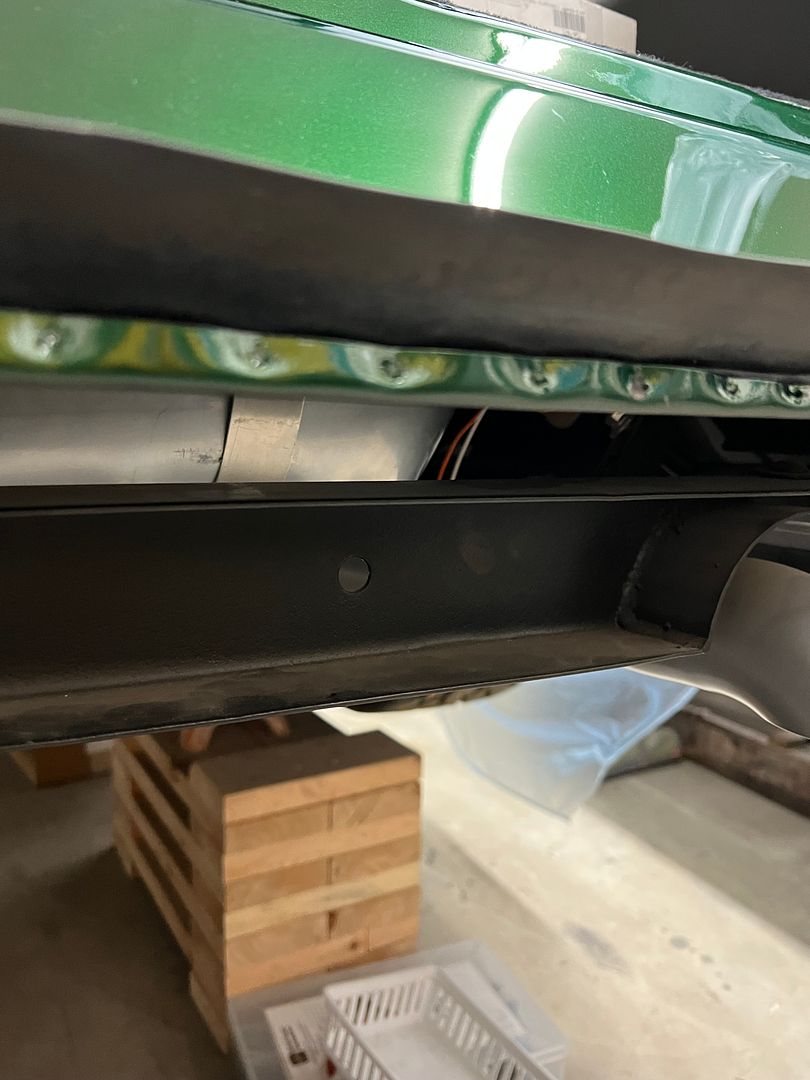
Before we could install the rear bumper we needed to install the rear bumper seal, this keeps exhaust fumes from sneaking through and getting sucked in the back tailgate. The seal sits in a channel which is then "crimped" with some rounded pliers. Only my rounded pliers did not work, we needed parallel jaw pliers. So these channel locks were modified by adding the round stock. Only that did not hold well enough, so a dimpler was added to the bottom jaw, as shown...
These dimples gave us enough grip, and any chips were removed and then recoated with a couple coats of epoxy primer.
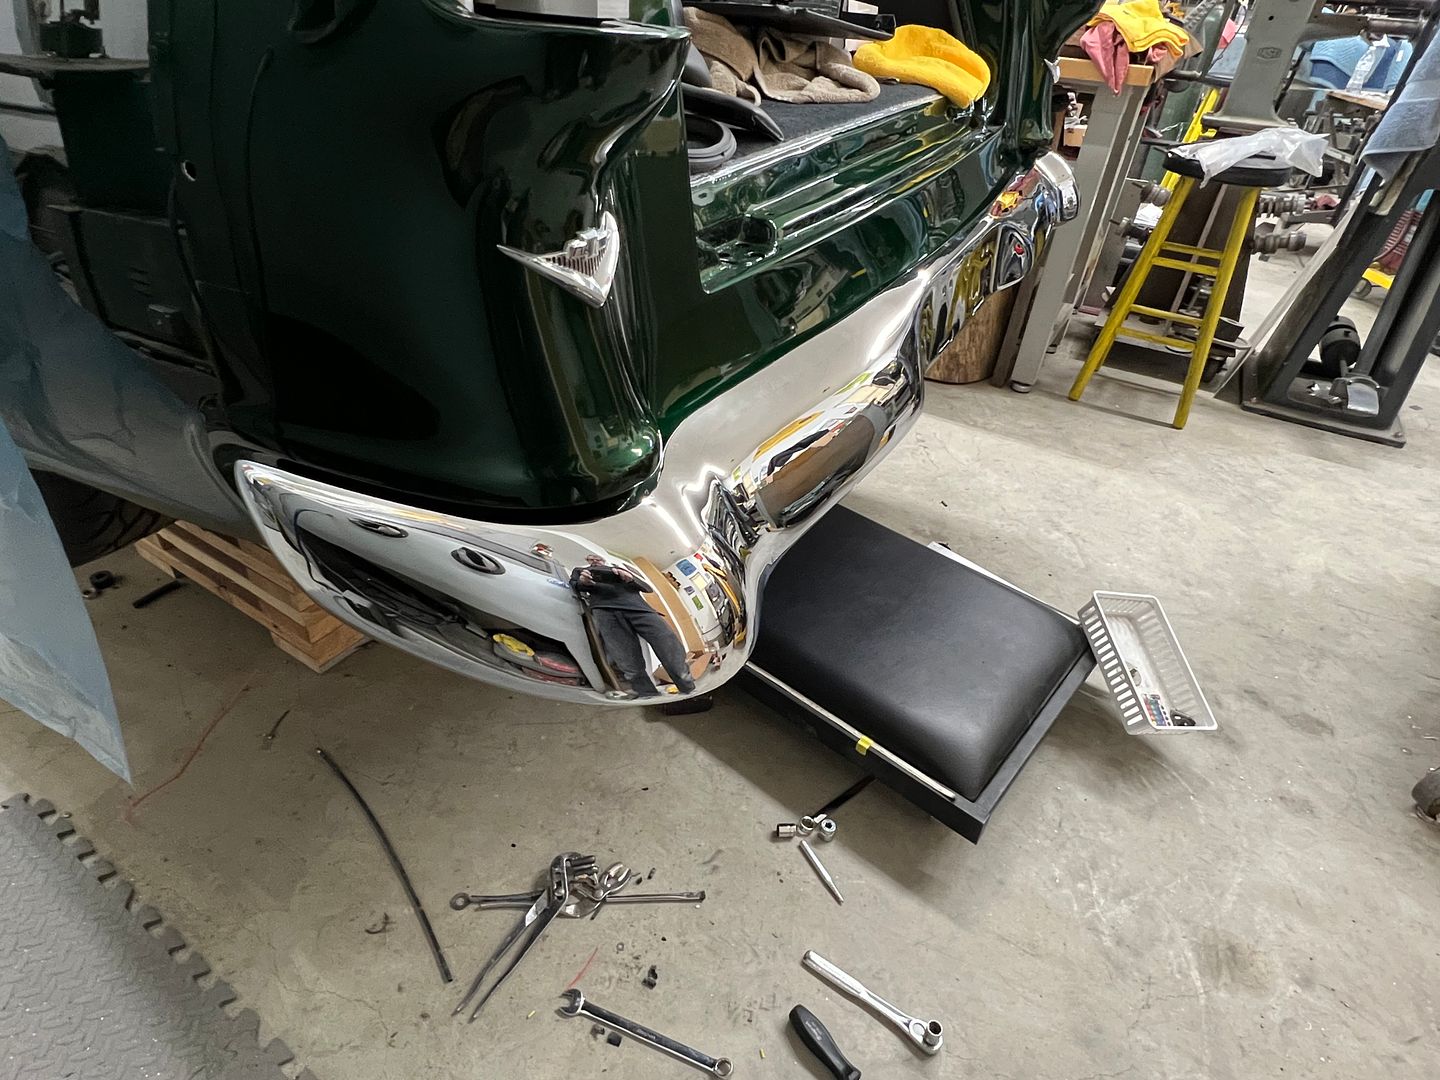
Here's the bumper added, and a video that better shows the hidden hardware...
https://www.youtube.com/watch?v=XLtCAbLpv48
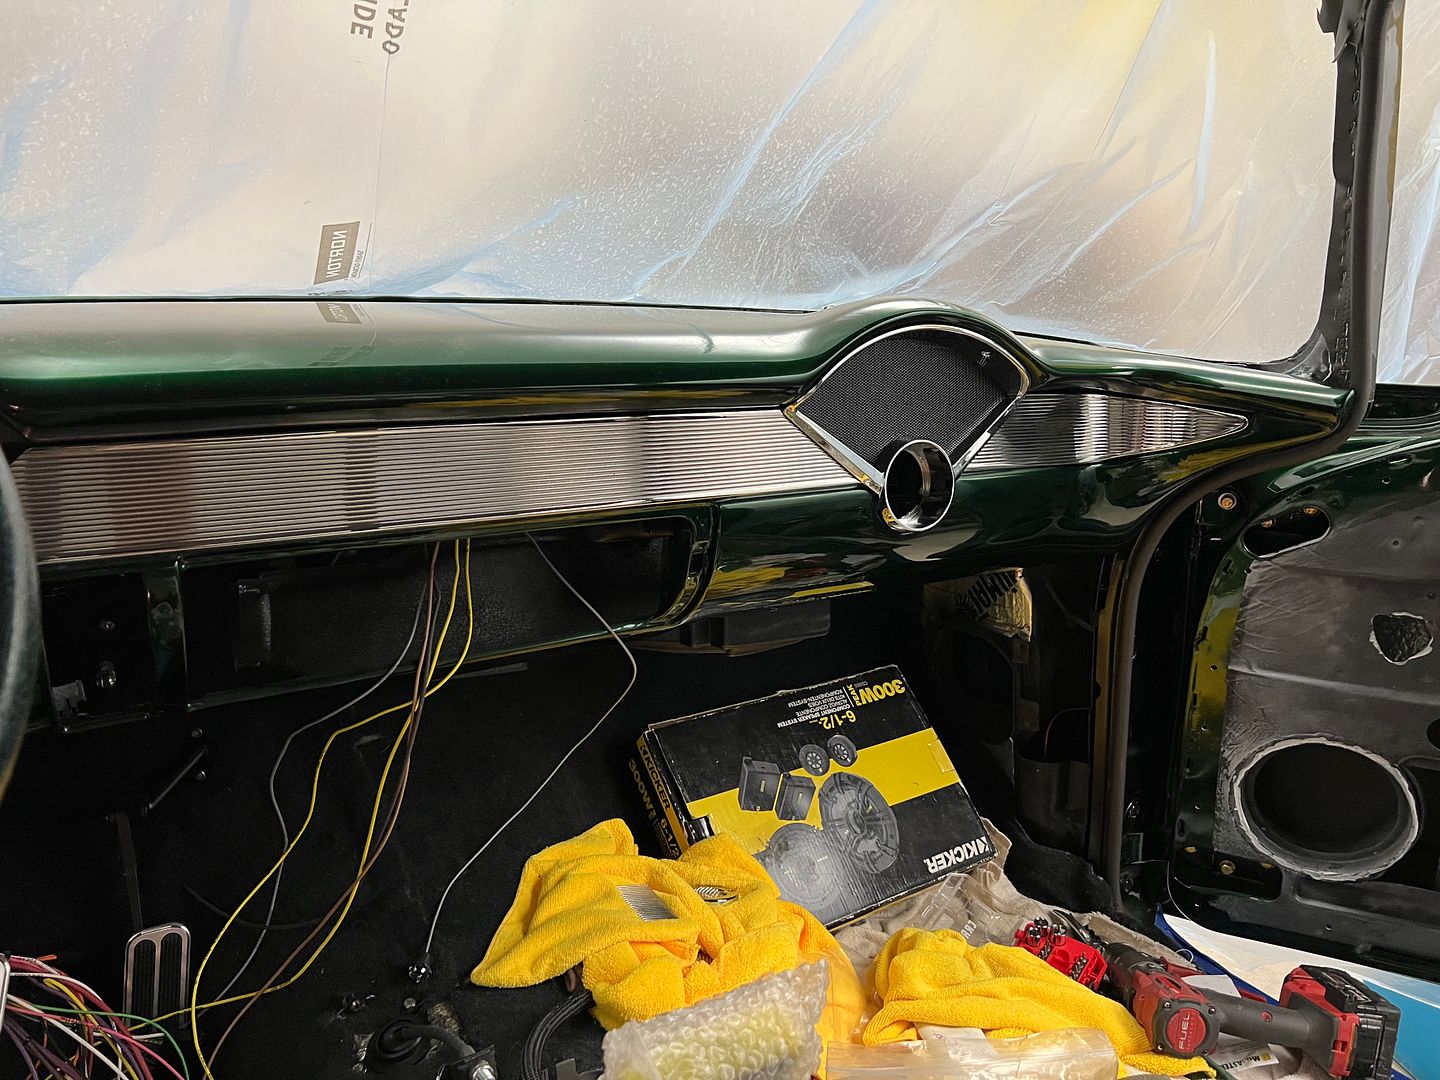
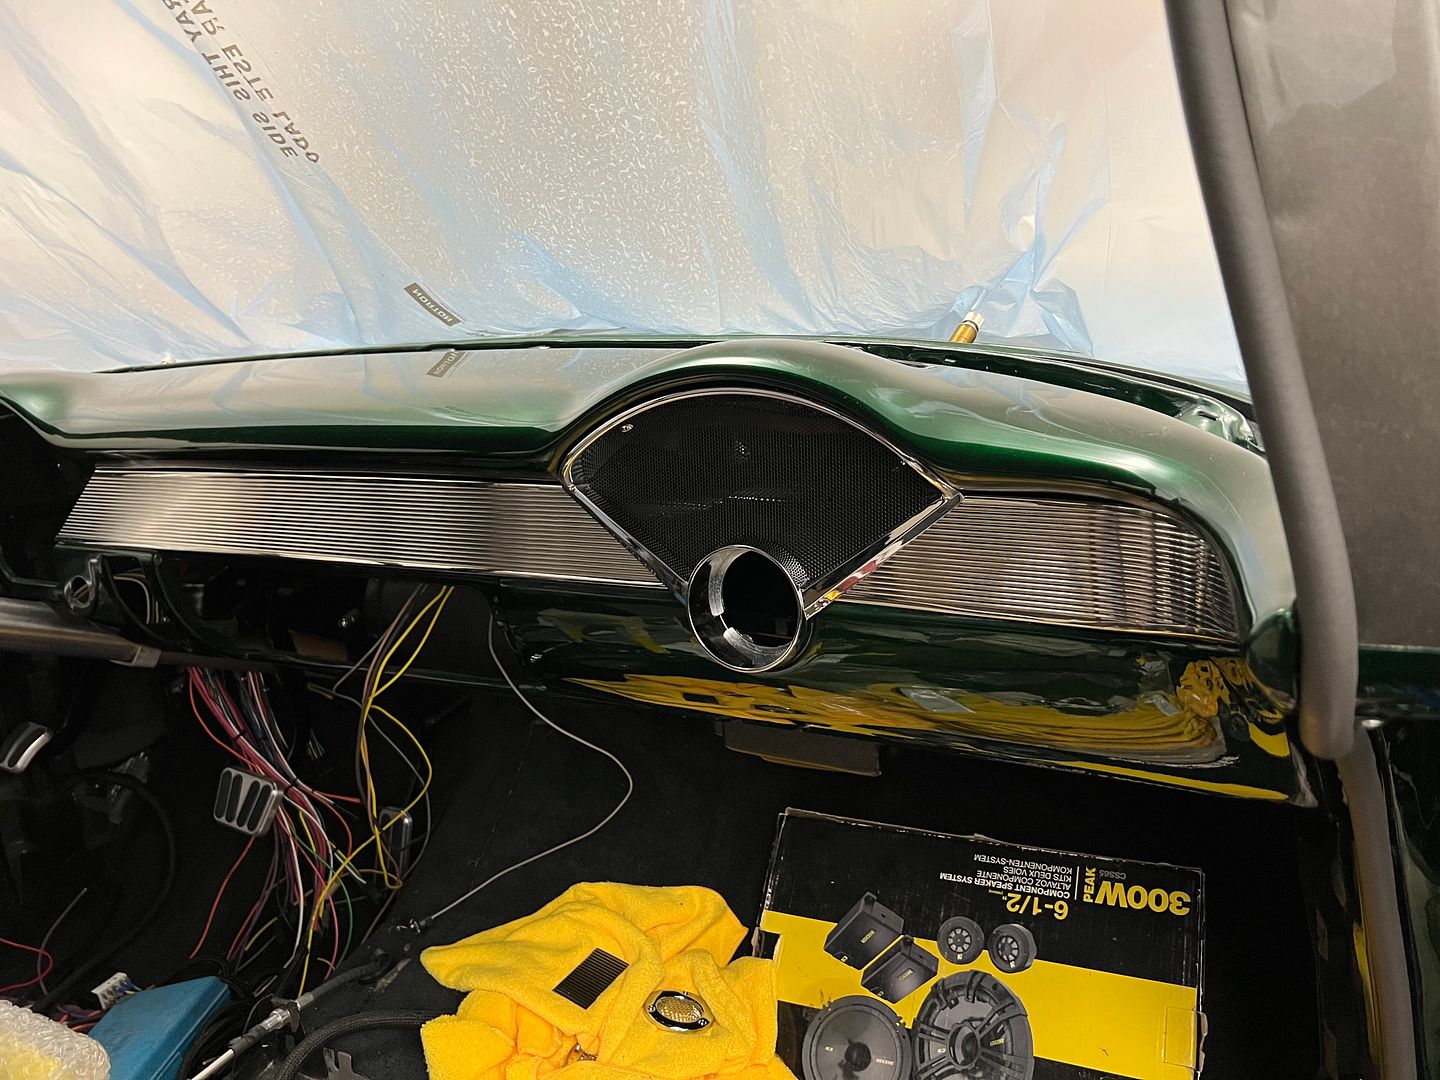
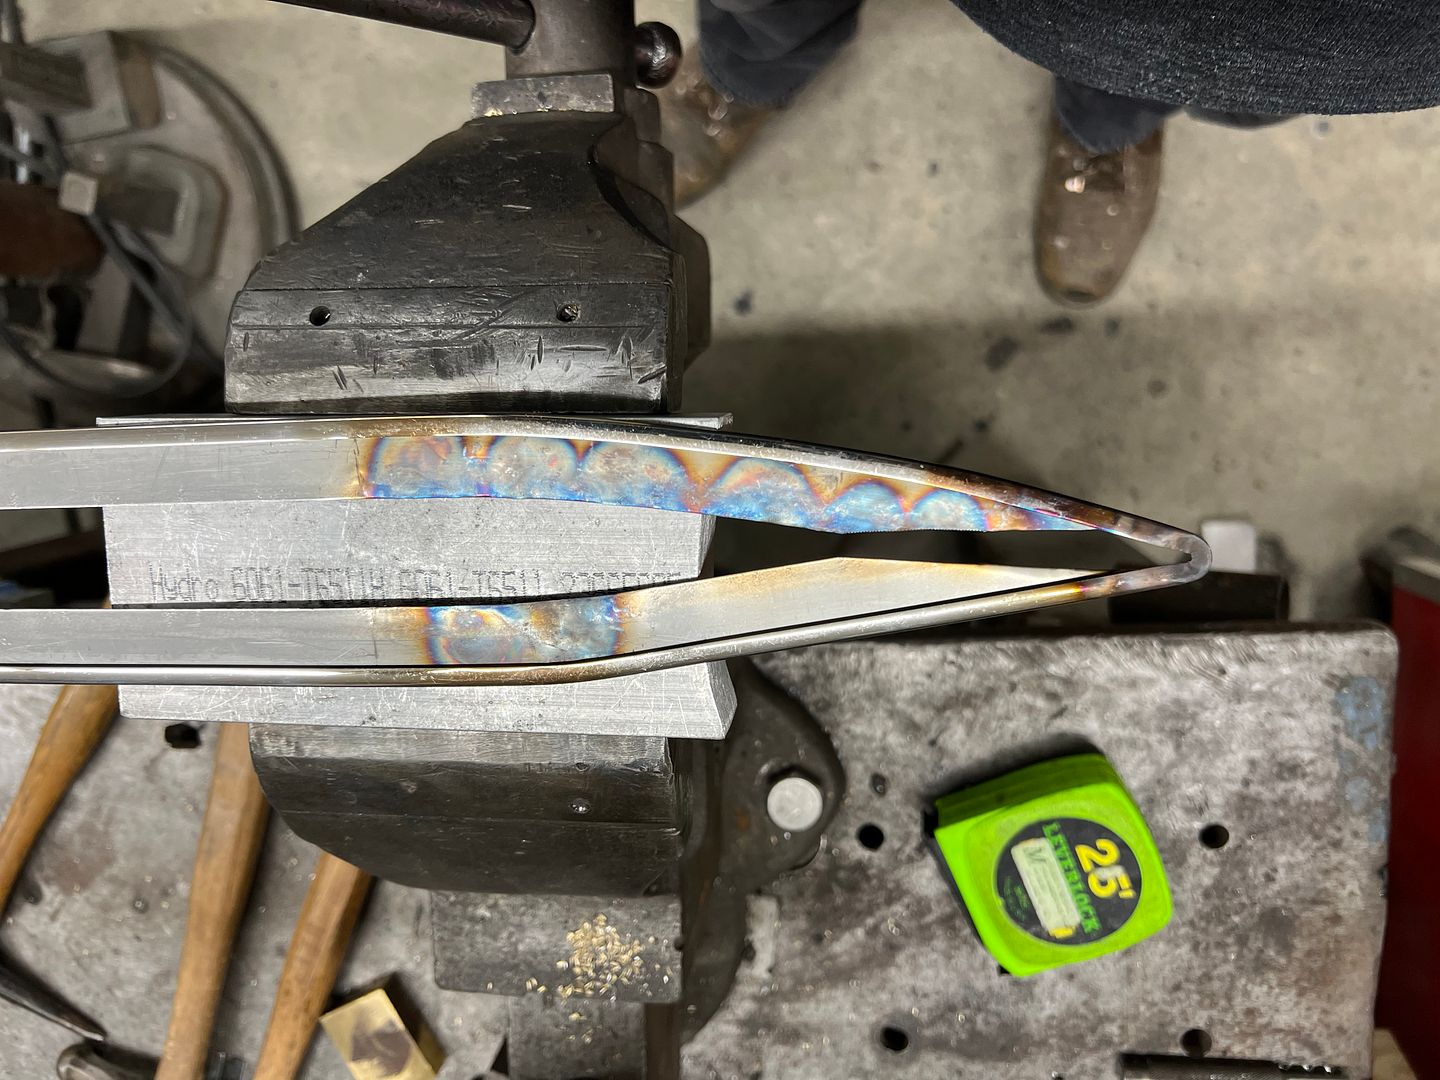
Here's a closer look at the forming of the edge trim for our dash inset trim. We had made a template out of 19 gauge steel to match the dash inset, and used it (and some heat) to form the point. This video shows the shrinking of the flange so the edge trim would match. The upper and lower edge trim was squeezed while applying heat to form a tuck for shrinking the flange and providing the radius.
https://www.youtube.com/watch?v=Cwpt3_R4284
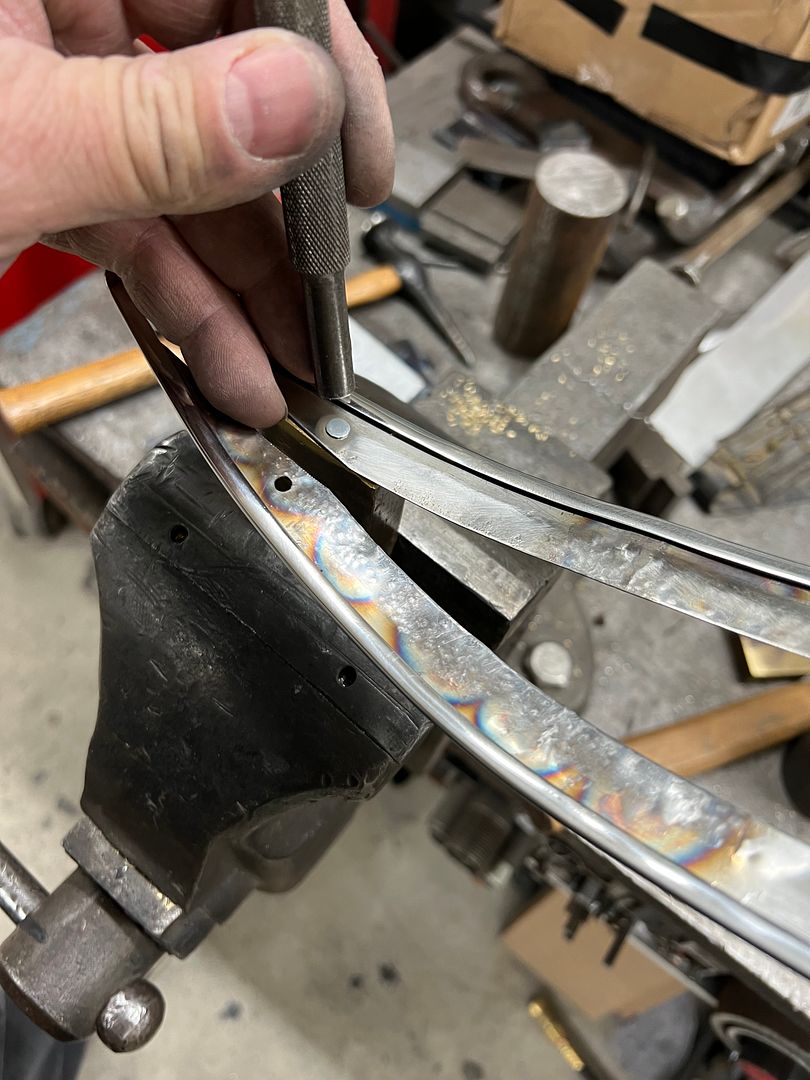
All shaped, before polishing..
Press studs installed...
Ribbed stainless insert added and our green radius brake used to match the dash profile...
One last touch-up to the polishing and installed in the dash.....
https://www.youtube.com/watch?v=WpRCFd29c8Y
 Posting Permissions

 Reply With Quote