


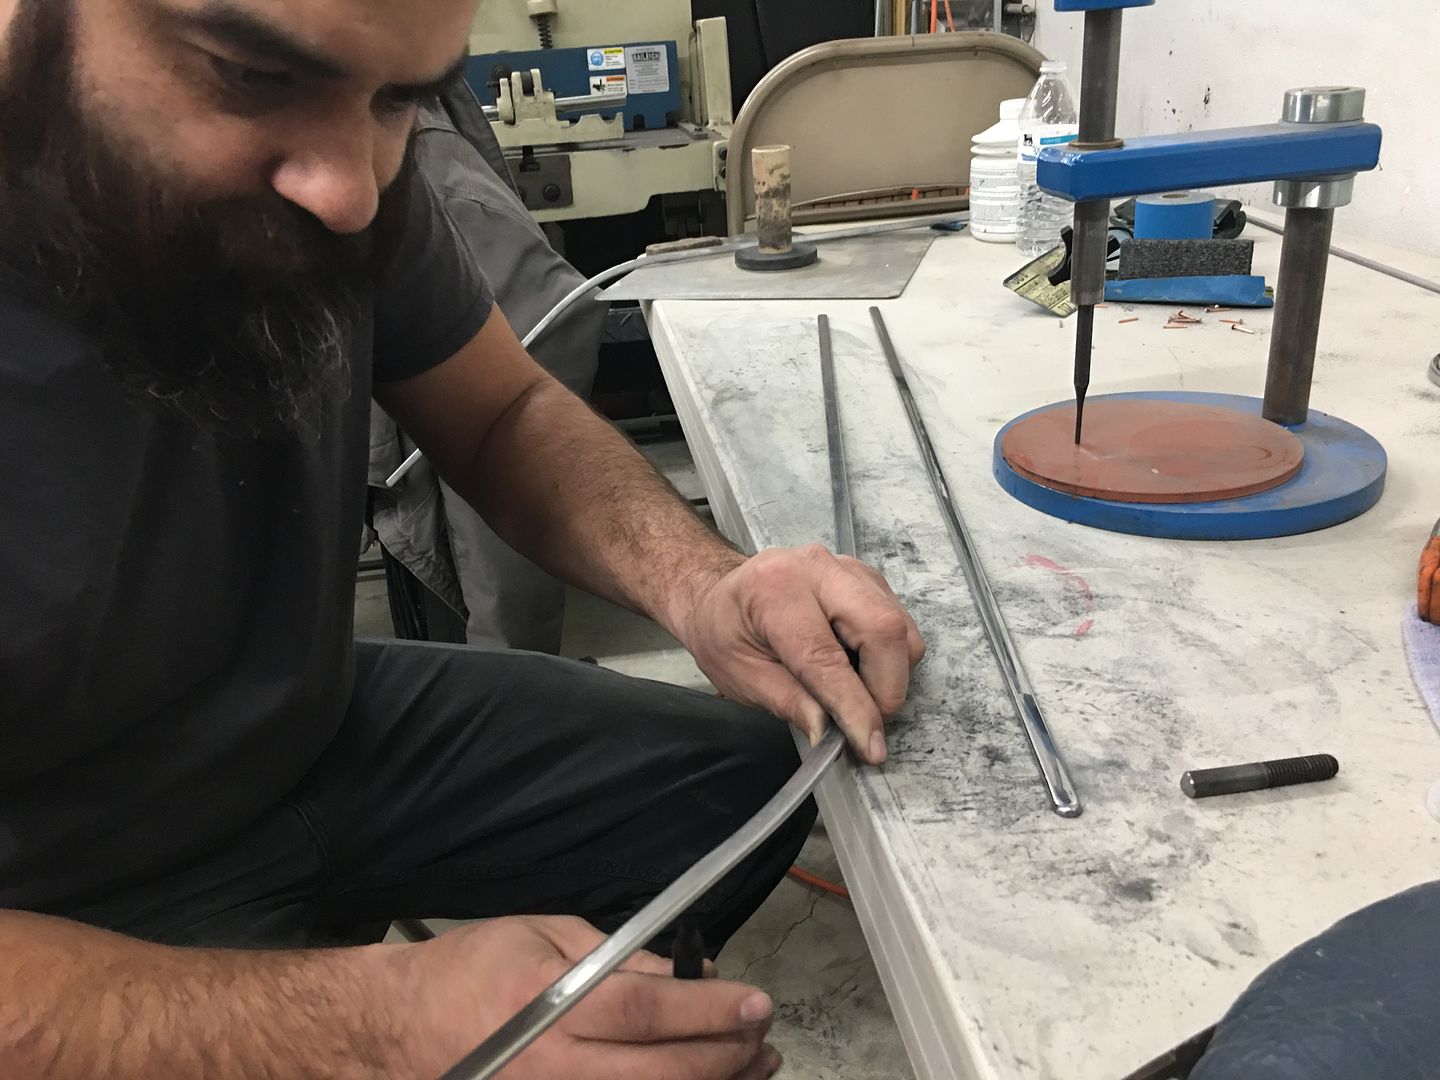
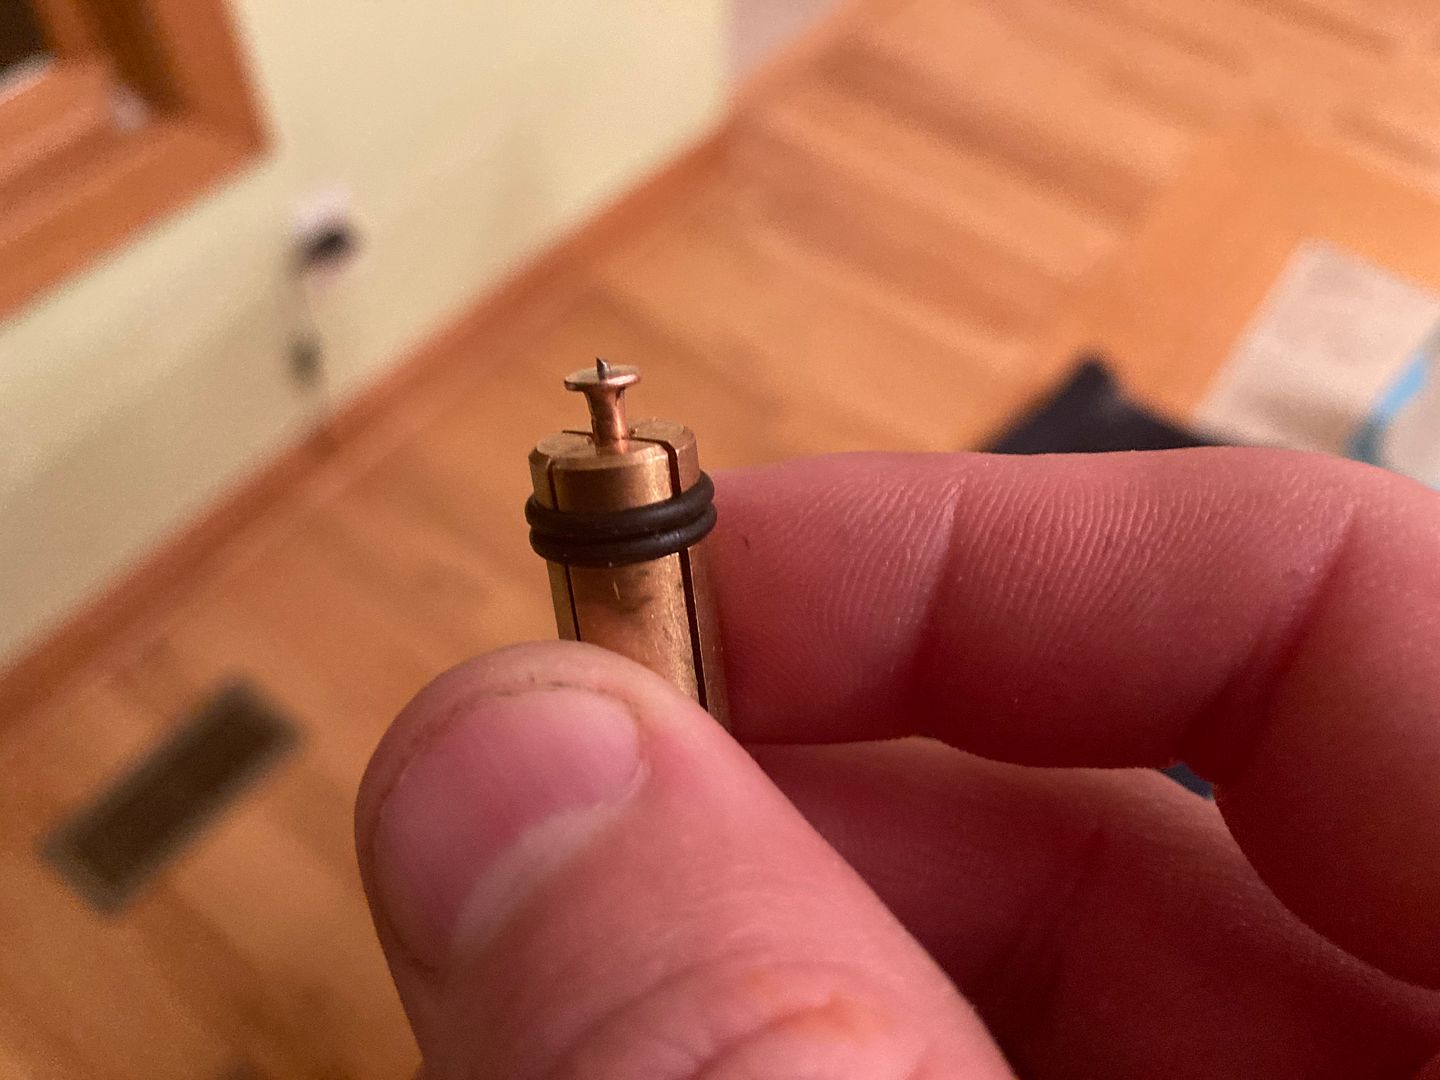
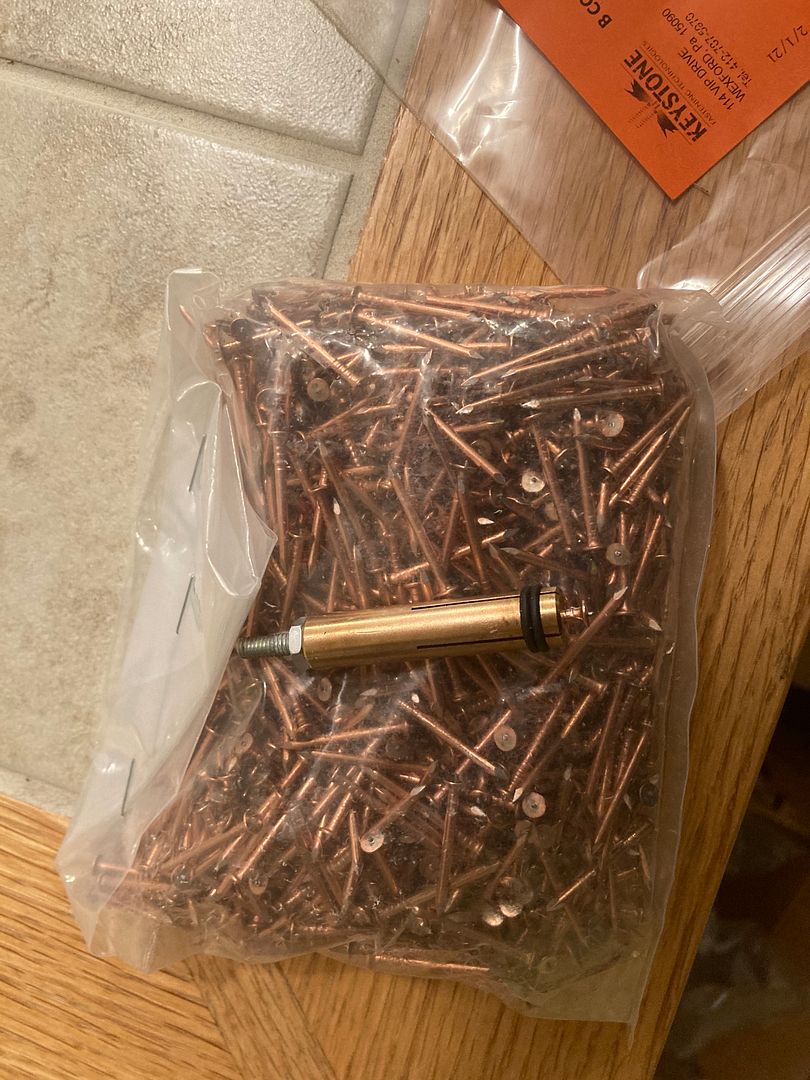
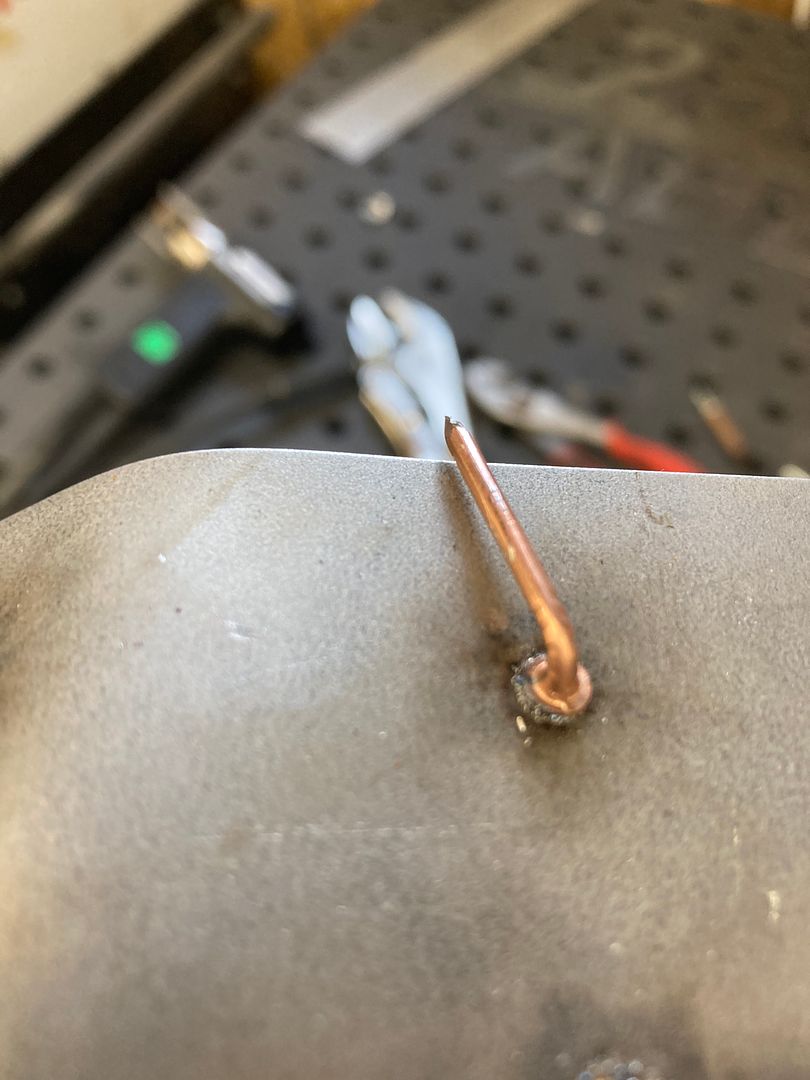
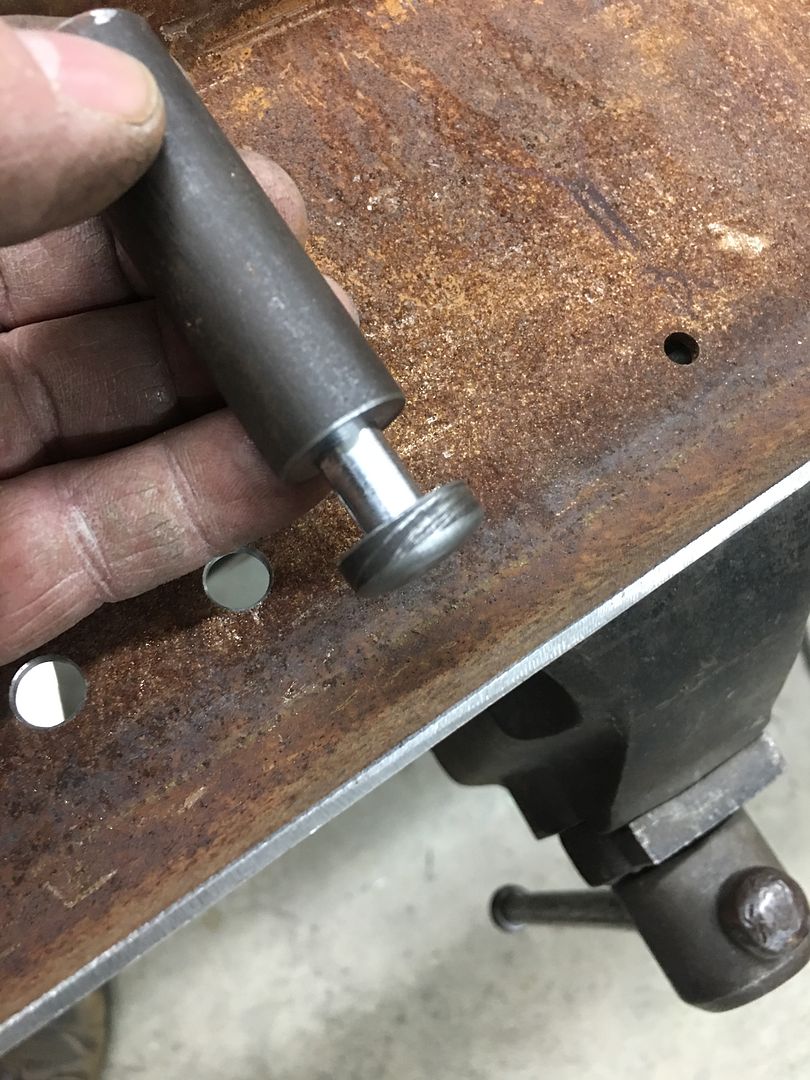
Back to our door panel stainless, the correct studs came in for the CD stud welder, and tests have shown them to provide the solution we need..
These studs have much less mass at the end, for a lesser capacitive charge needed.
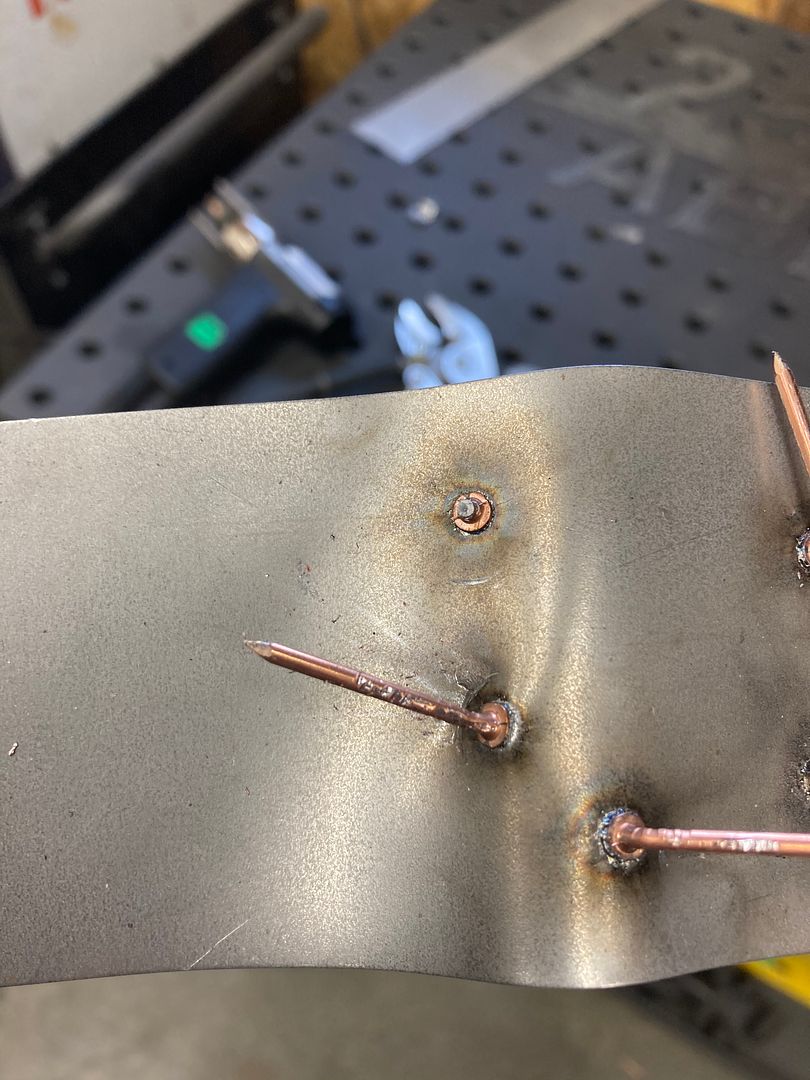
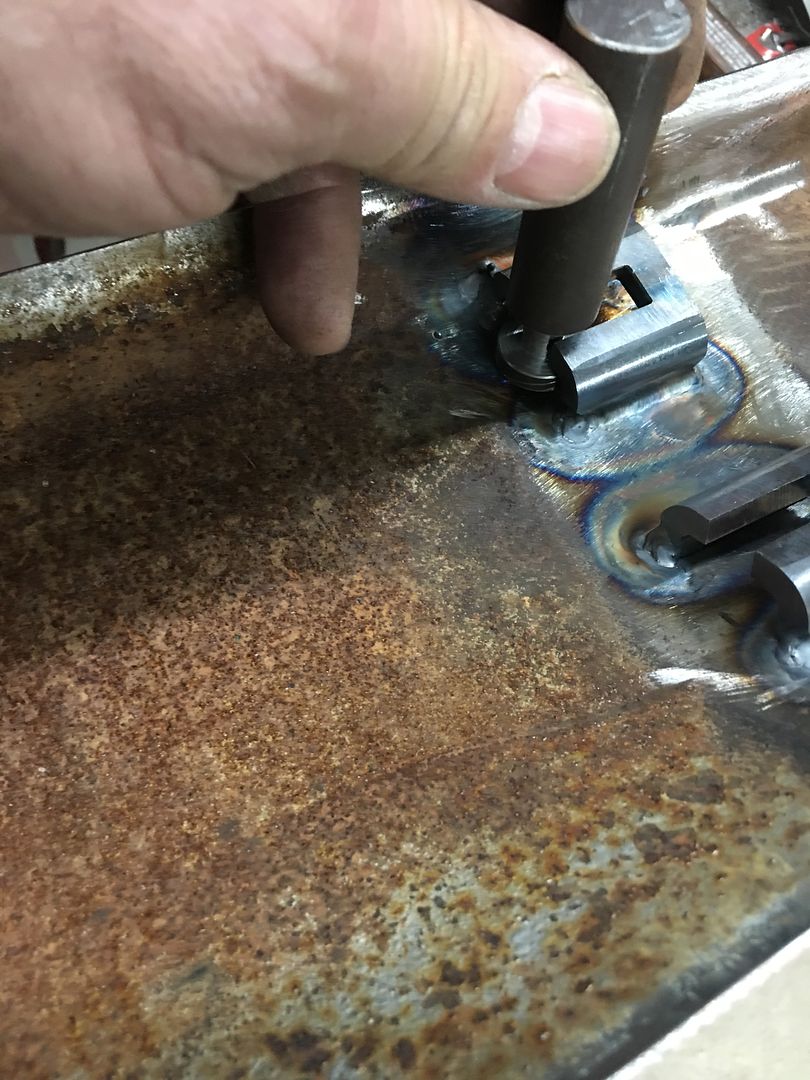
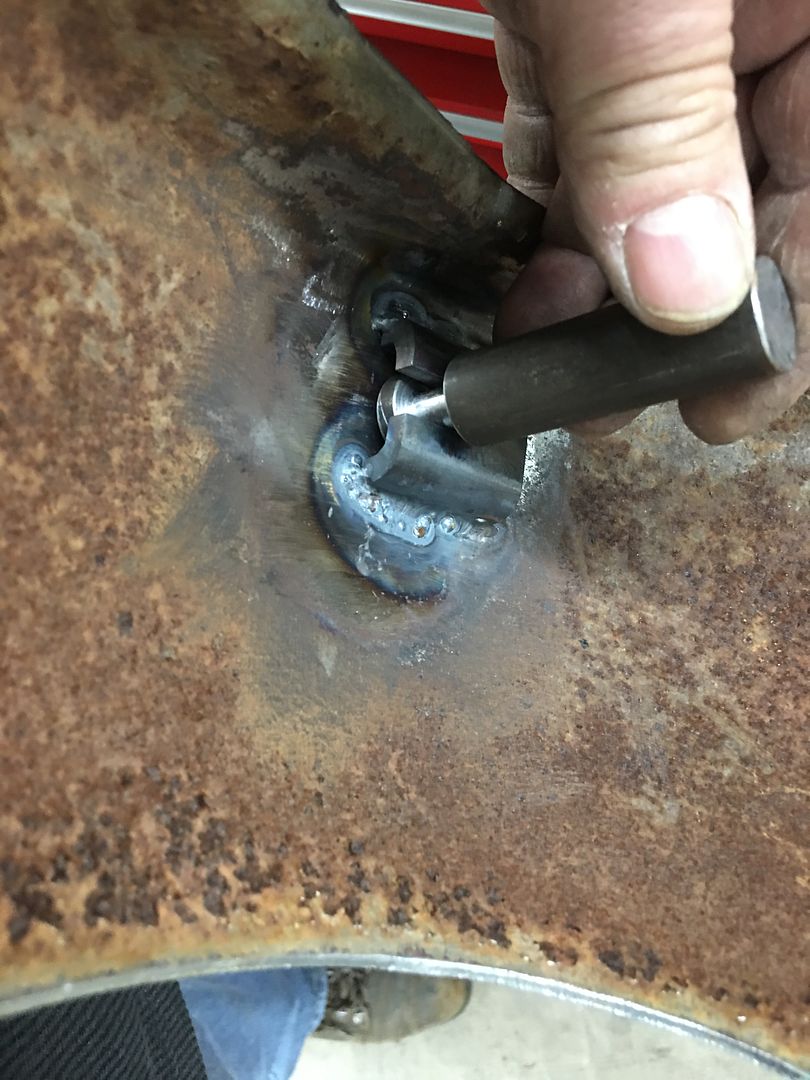
Tested on a piece of 19 gauge steel, note the back side has no discoloration whatsoever. Allen used a pair of Vise grips to give it a twist test to see if the weld would release. Where the one that is cut got too close to the cutters, the others did not release, and in fact distorted the shape of the metal because they held so well. The one pin shows a good 90* bend, which is what will be used to hold the stainless onto the door panel per the same design as original.
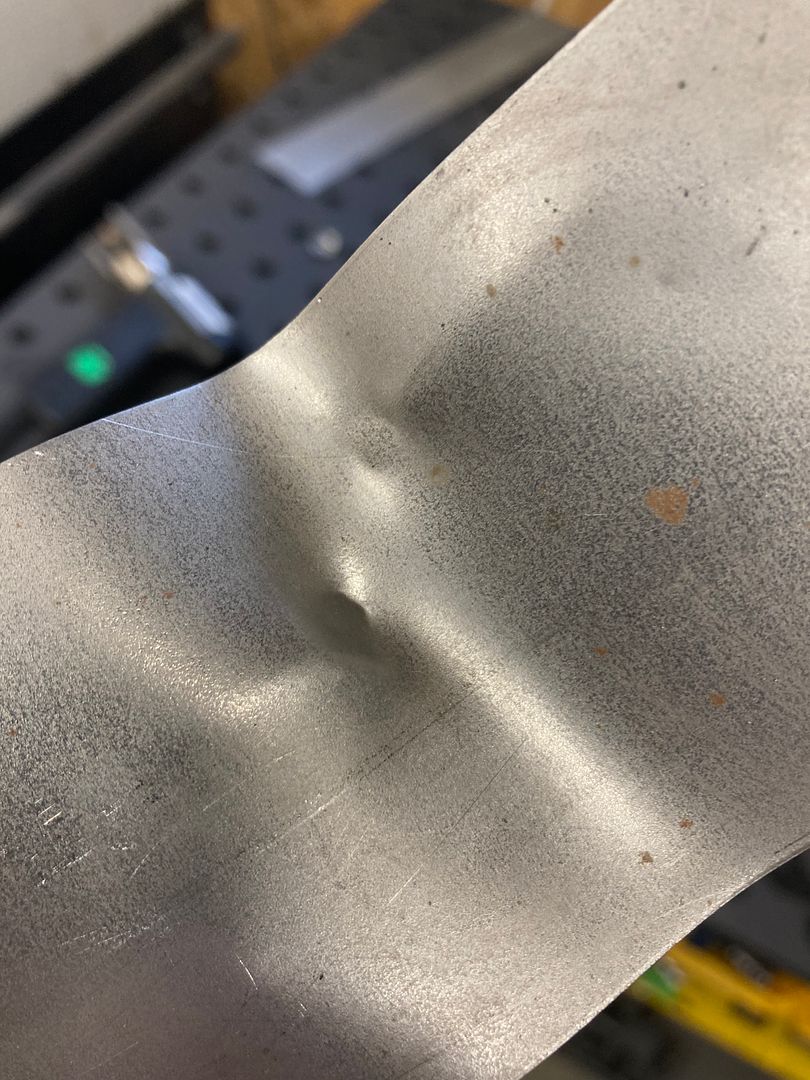
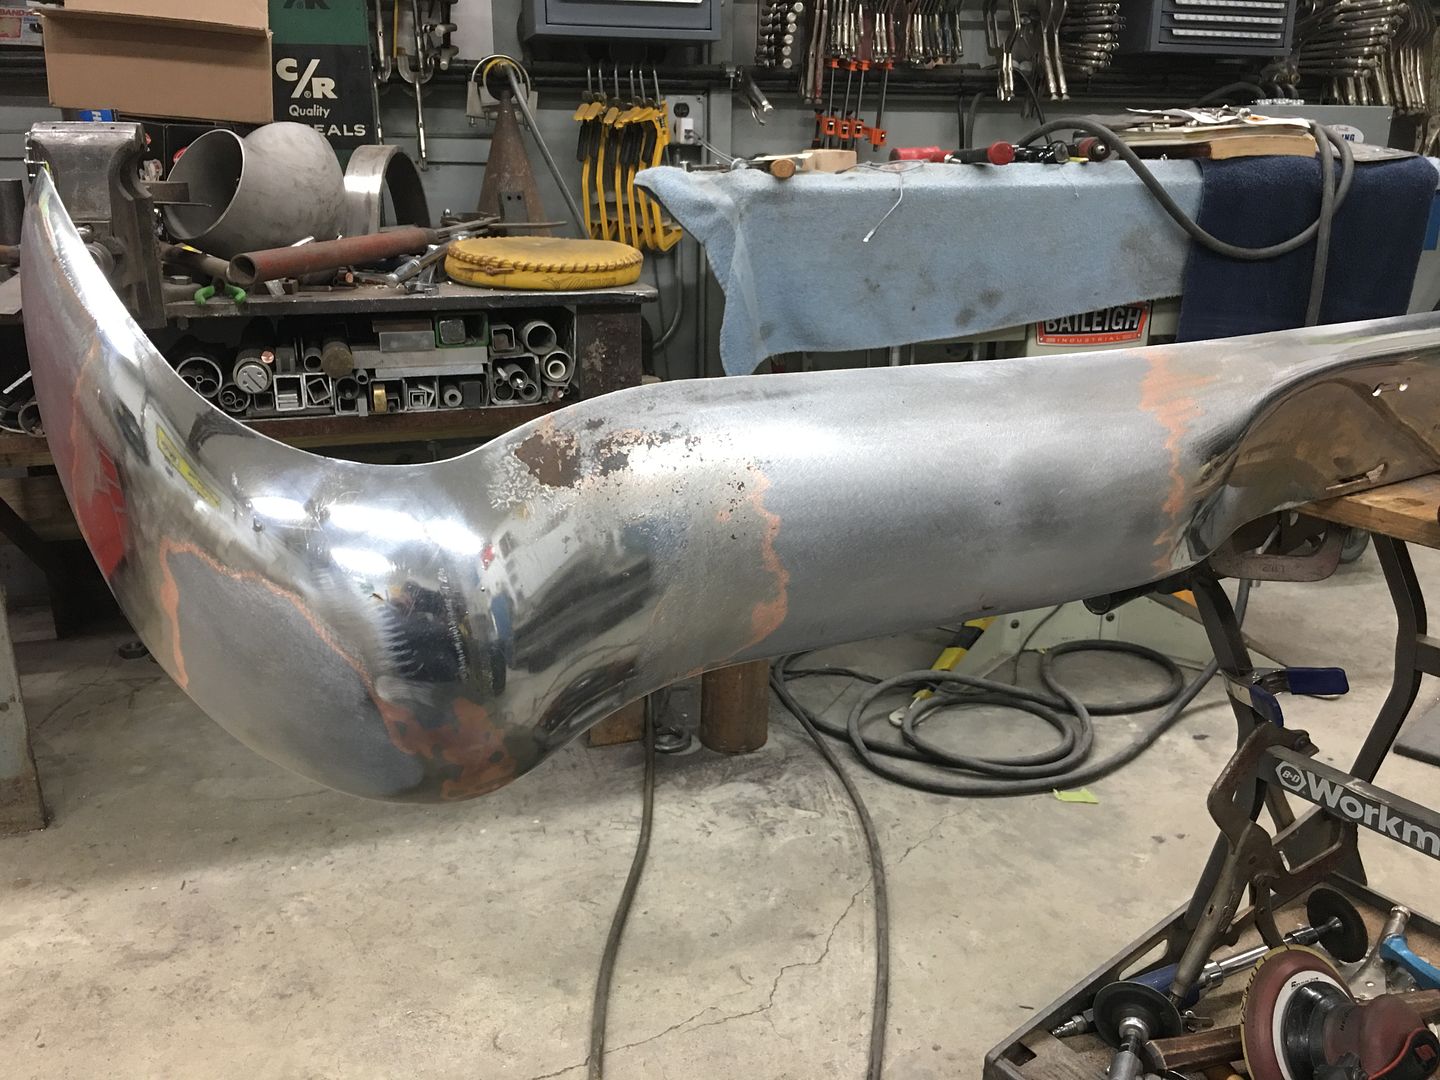
And now for the next wrench thrown in our bumper modifications.. Welding causes shrinking, so TIG welding the slotted brackets onto the back side of the bumper invariably causes flat spots on the front side of where the brackets reside.. So some quick work on the South Bend to make a purpose built punch so we can do some metal bumping on the bumper..
….or the motion picture visual....
https://www.youtube.com/watch?v=dH5F7VZRwvI
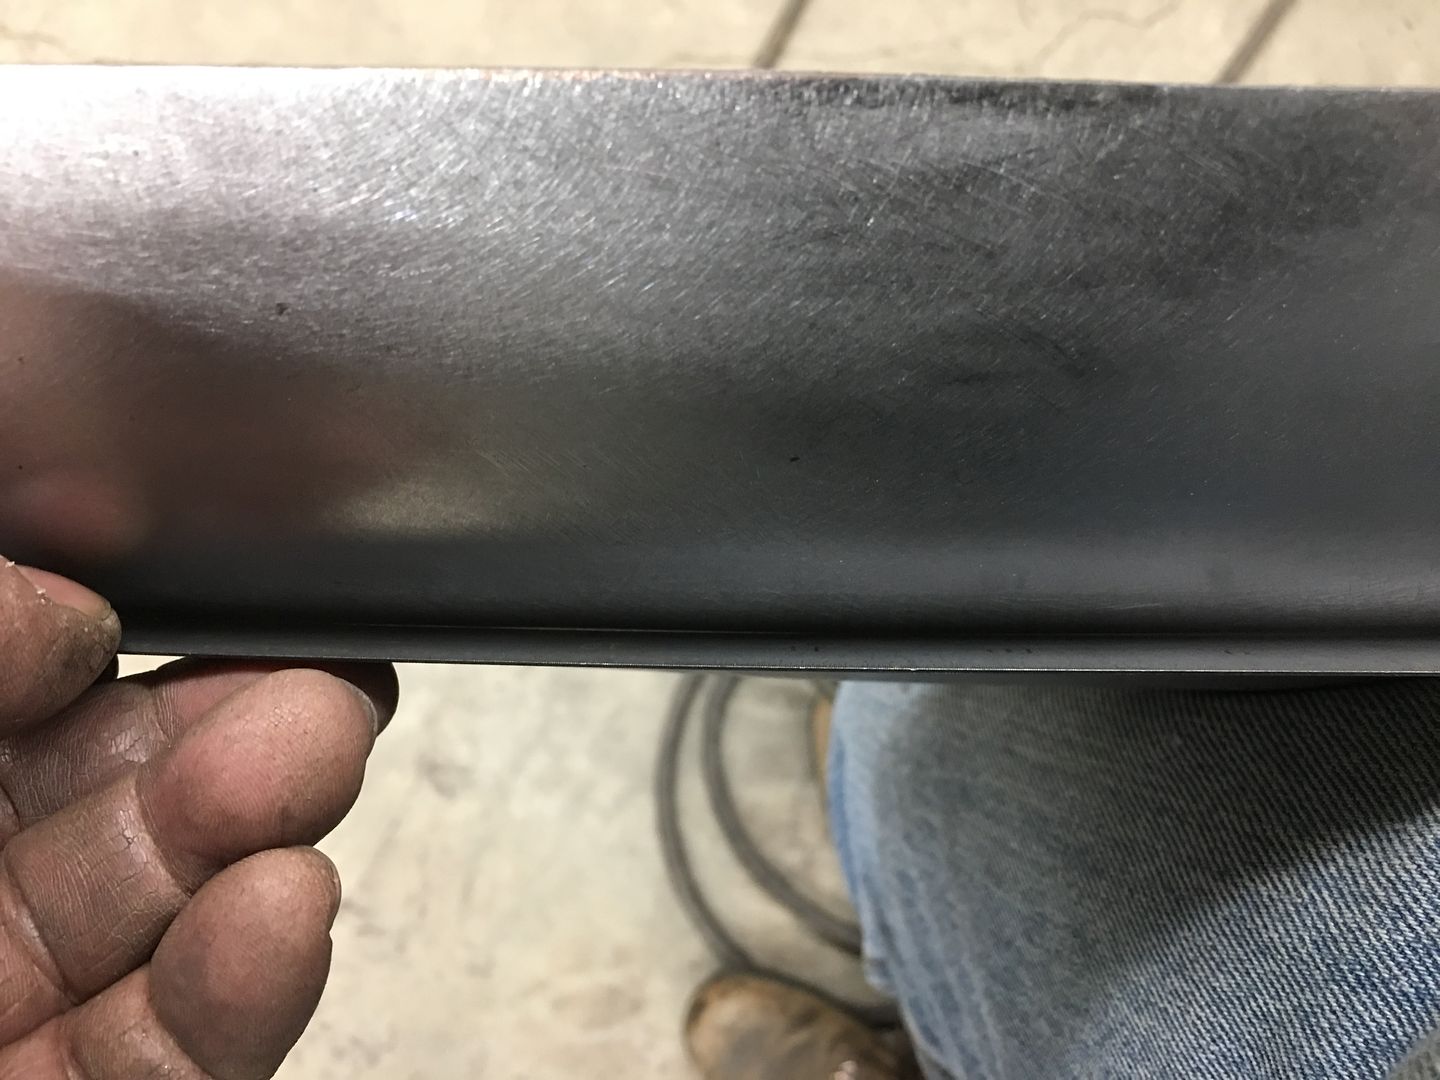
And after a bit of metal bumping, we have the area down to less than a 1/32 depression, which should be just fine for the copper stage of plating..
Note the minimal gap behind the straightedge. One down, three to go...


 Reply With Quote