Thanks Gary,Originally Posted by BamaNomad

We will see about selling this one. The original intention was to get this car more sellable to help finance a project car for my wife.
Of course it has turned into more of a project than I had intended!!


Thanks Gary,
We will see about selling this one. The original intention was to get this car more sellable to help finance a project car for my wife.
Of course it has turned into more of a project than I had intended!!
So I finished up the floorboard project over the last couple of days. Got the passenger side rocker panel welded in place and a coat of paint on it. The sealed all the lap seams with the 3M drip check sealer that had come with the firewall and front floorboard kit. It was a pain in the butt to use as it was in smaller tubes so I couldn't use a caulk gun and makes a sticky mess if your not careful how you apply it. Once dried it looks like it does a nice job of sealing up the seams though. I didn't get a picture of the sealer though, maybe on the next post if I remember.
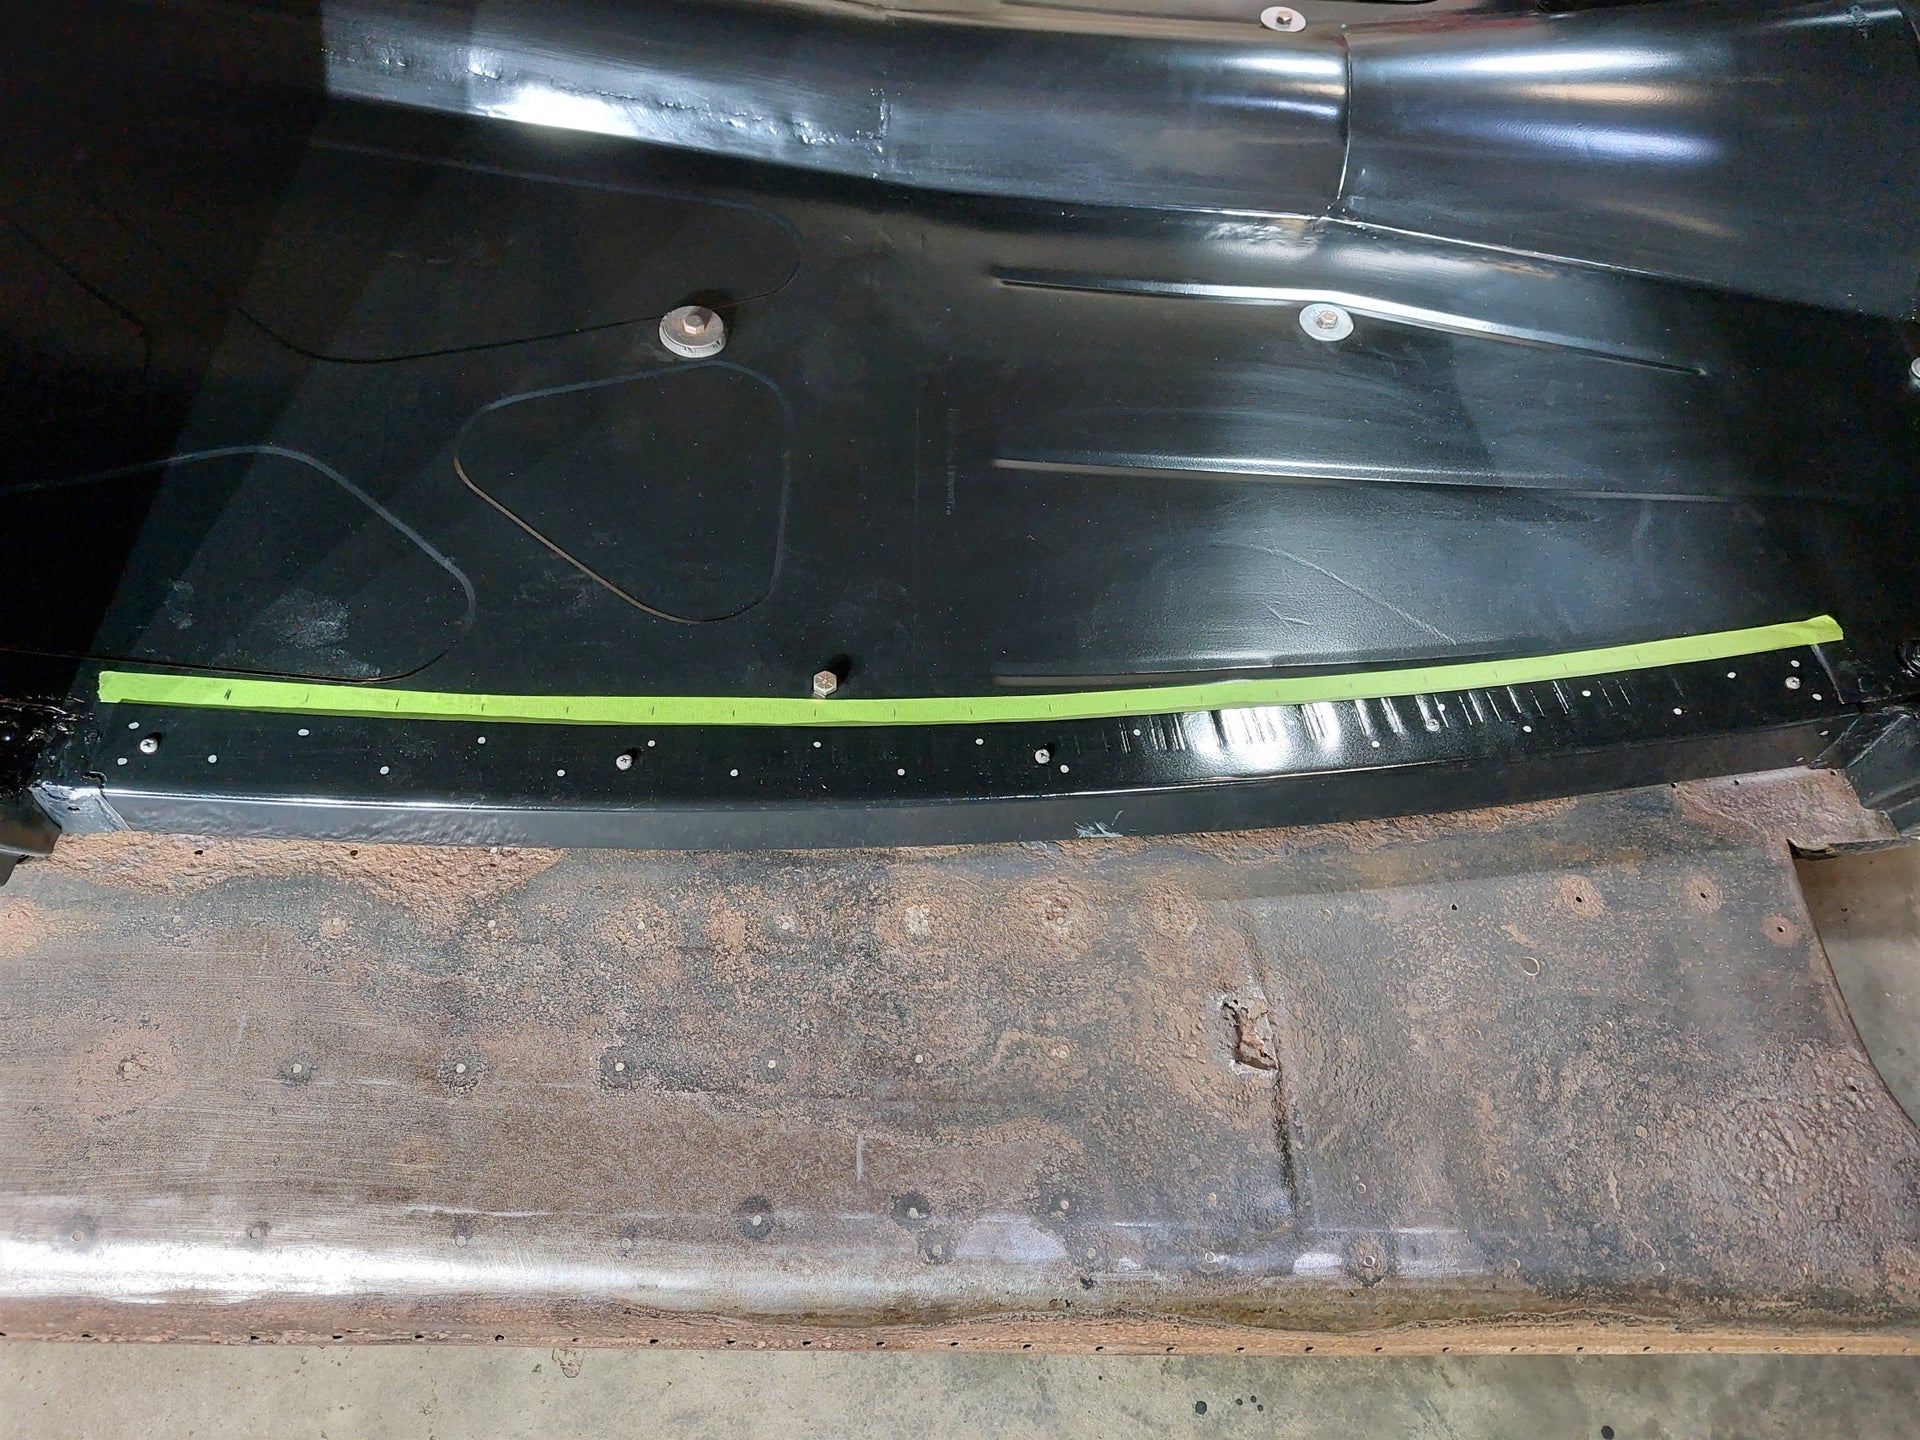
First step was to screw the rocker panel in place and mark where I wanted to drill all the plug weld holes with a silver Sharpie. Silver Sharpie's work nice on the black painted pieces.
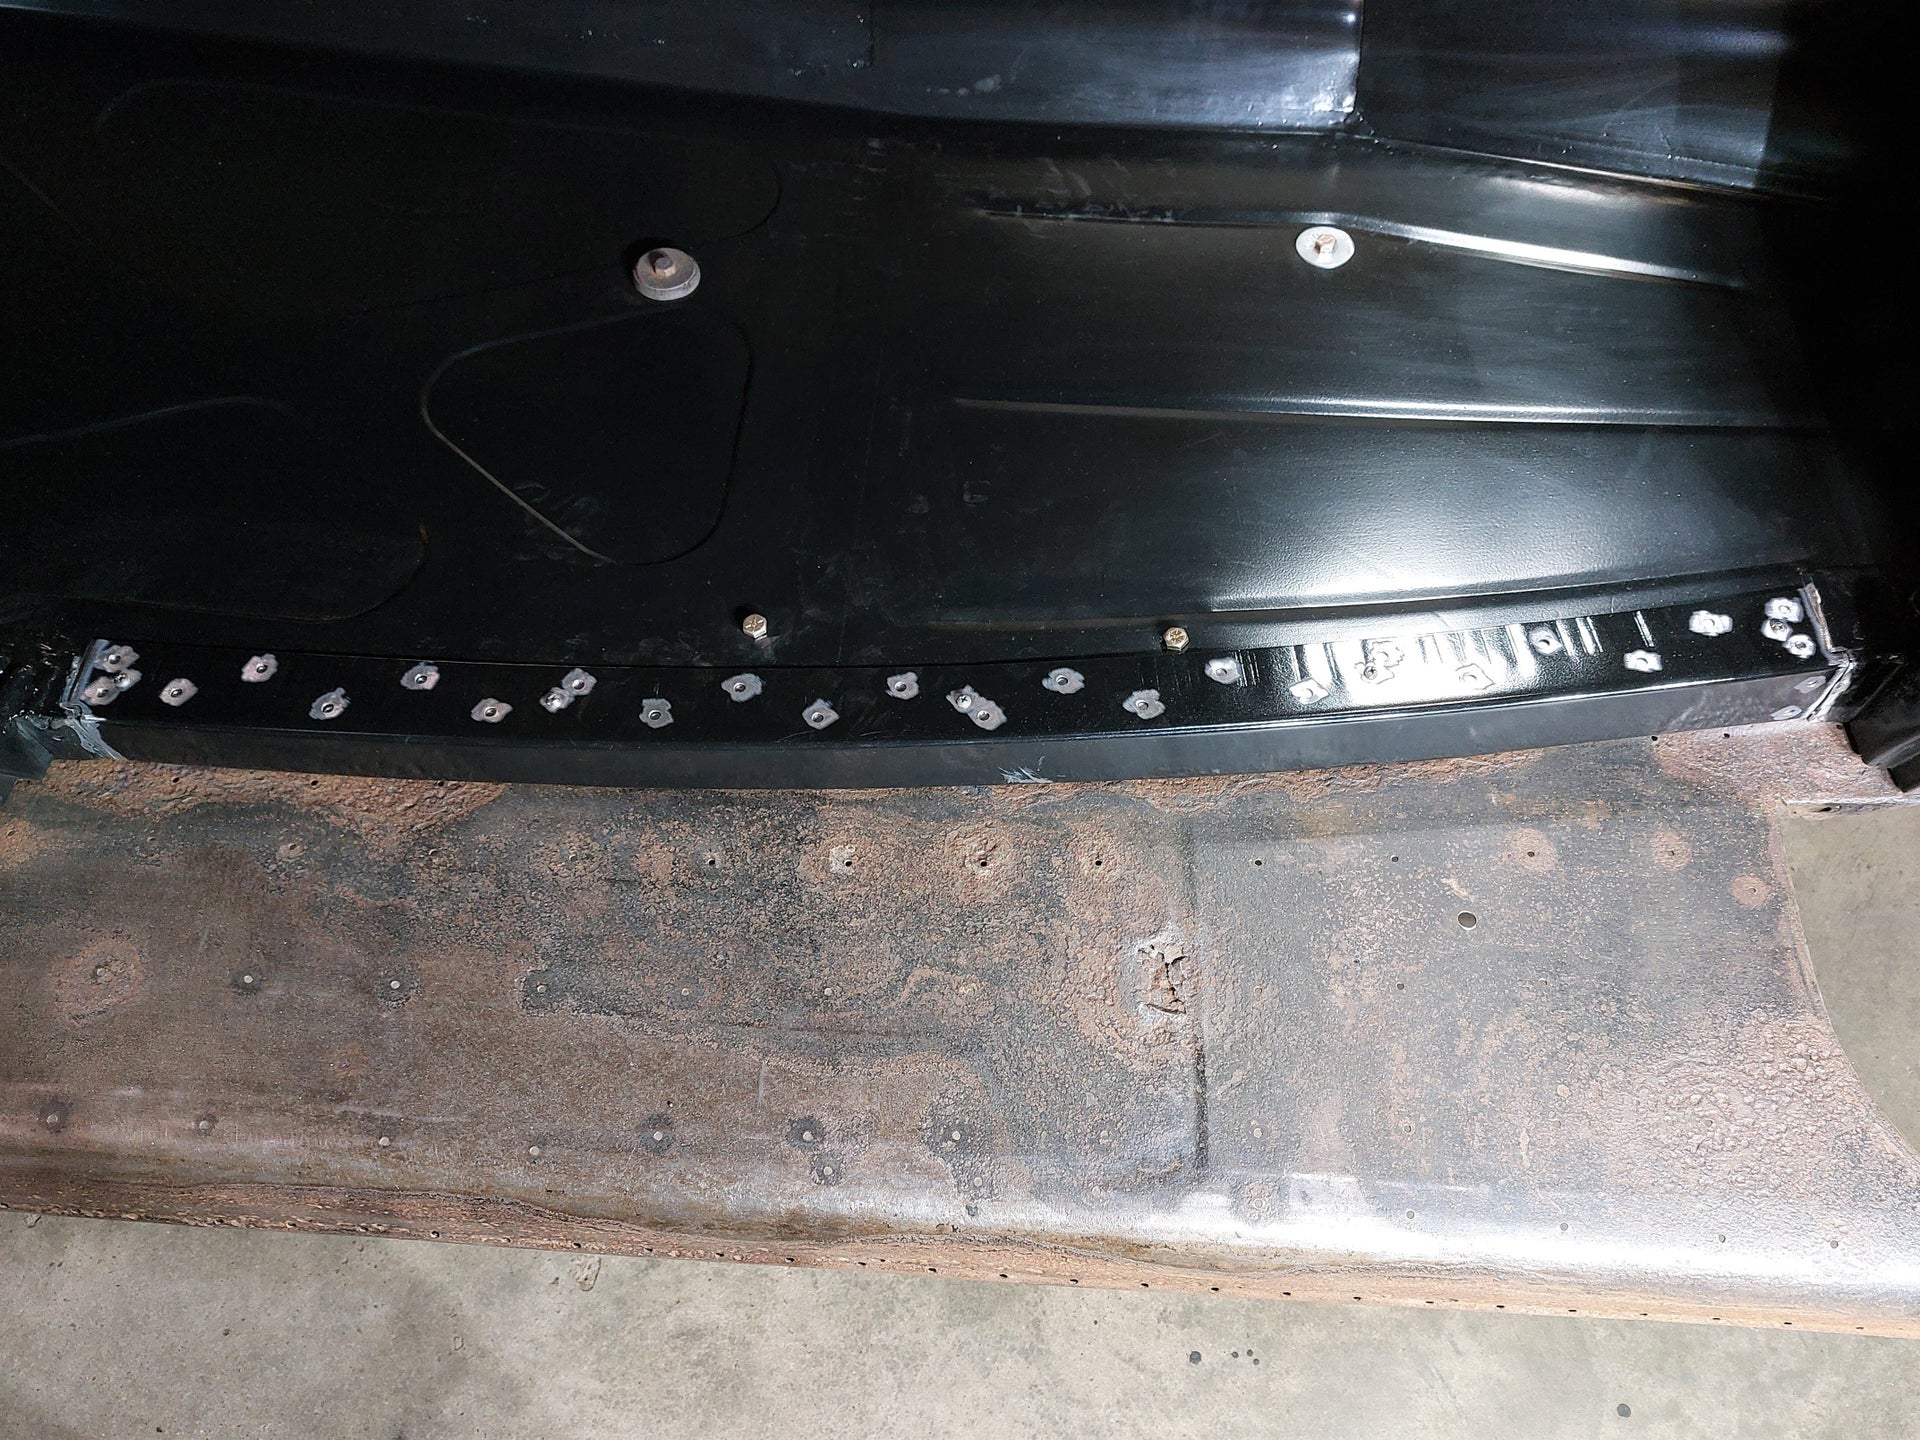
All the holes (1/4") drilled and the paint ground away from the holes and on the ends where it will be welded in.
I then used a scribe to mark the location of all the holes on the floor boards below.
Then the rocker comes back off to grind away the paint on the floorboards for the plug welds. Here I have just a few left to grind the paint off.
And finally screwed in place ready to start welding it in for good.
Might be hard to see in this picture but after doing all the plug welds and removing the screws, I used a countersink bit to enlarge the screw holes to make it easier to get weld penetration through both layers of metal.
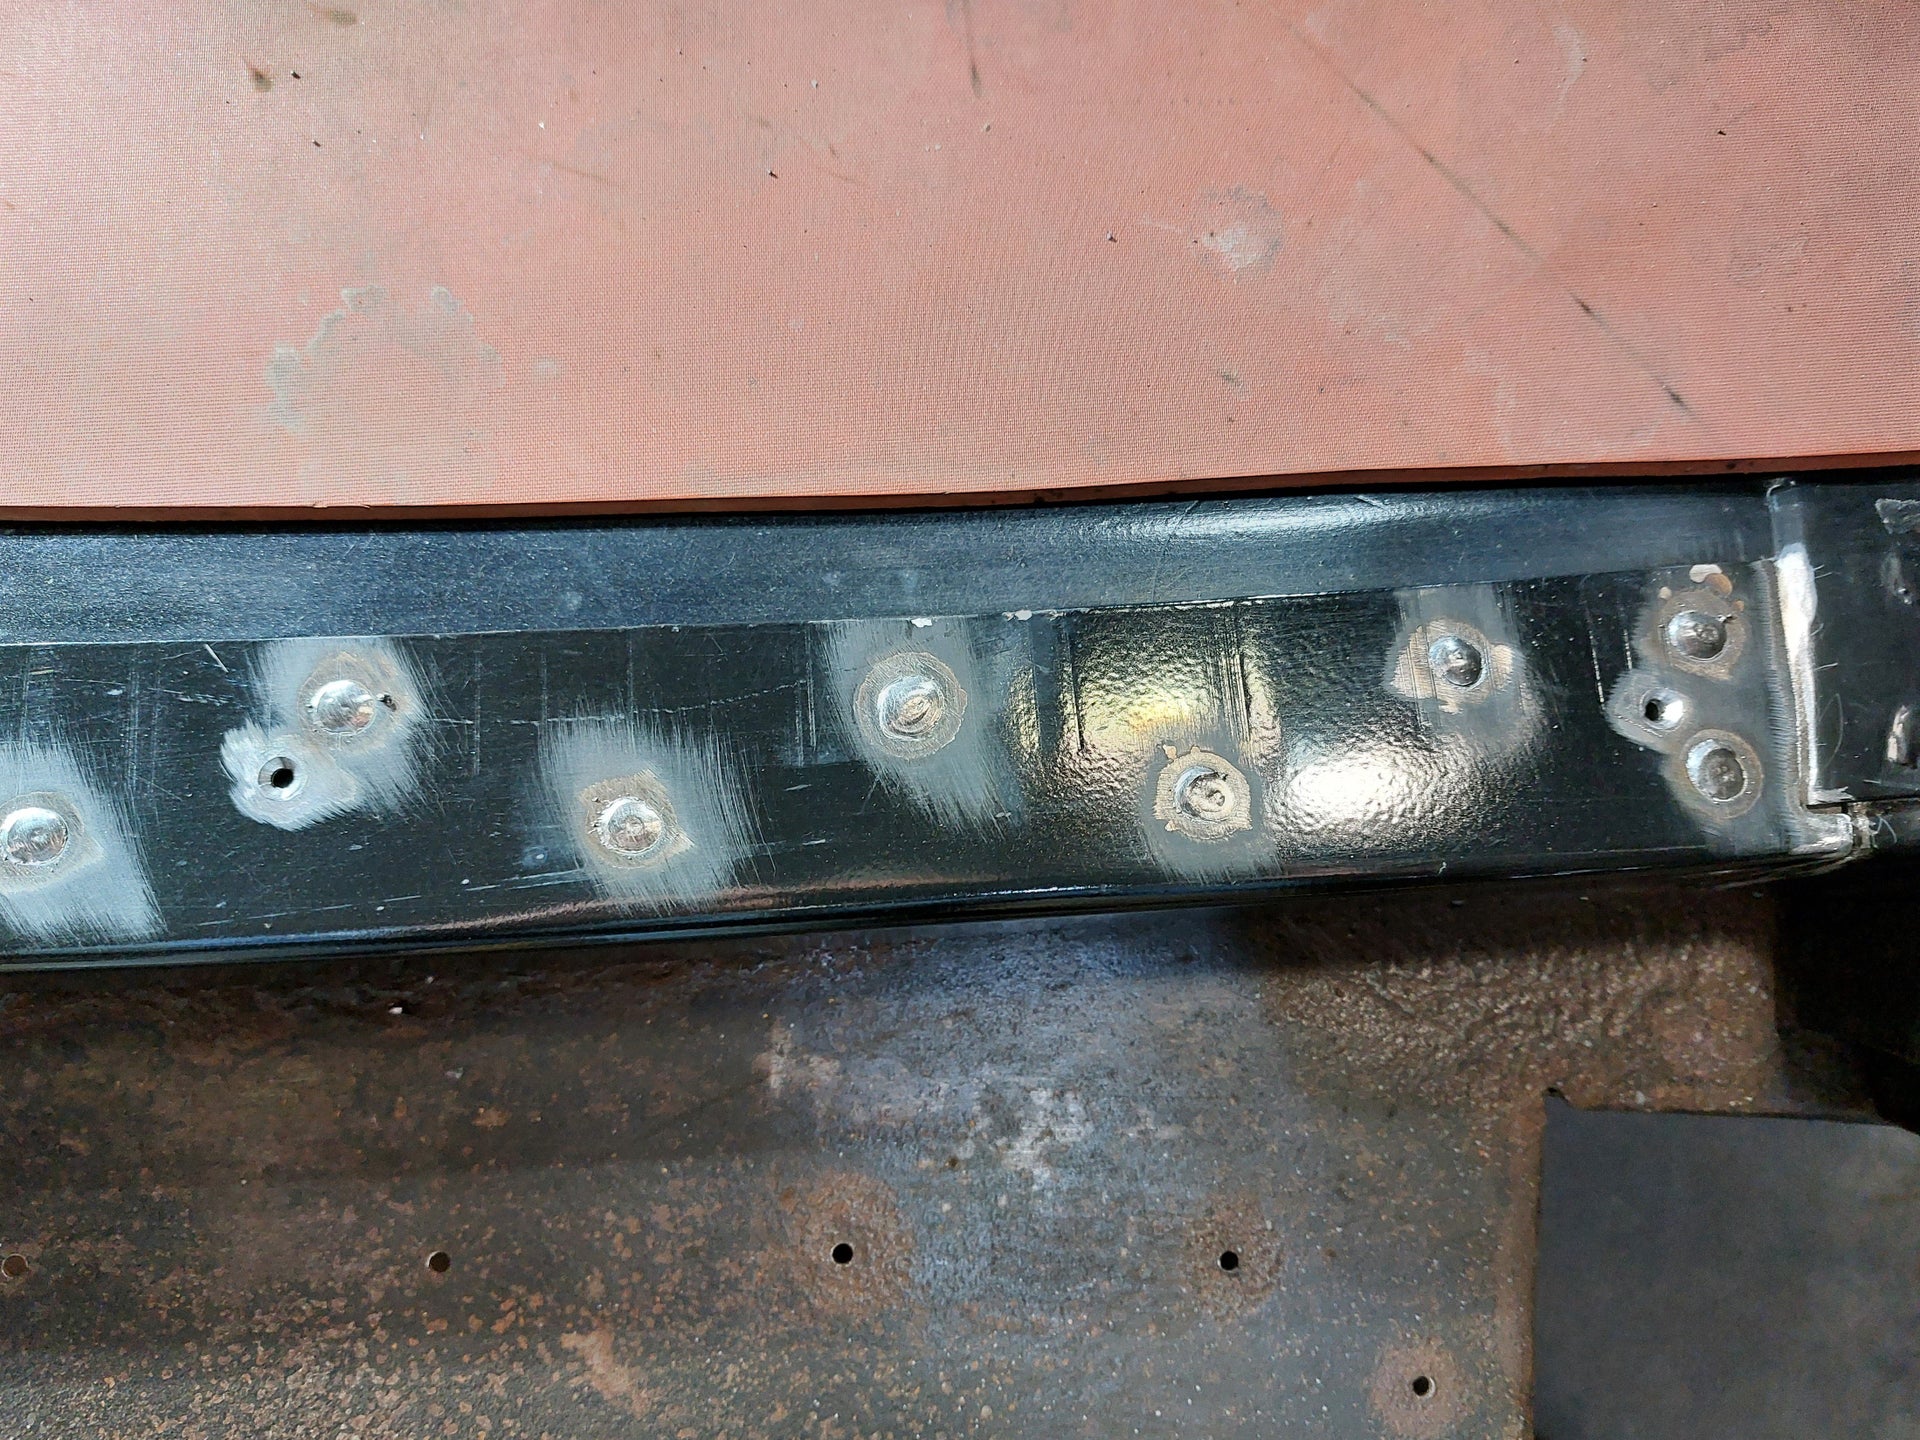
All welded in place including all the screw holes and on each end. Just need to grind out the welds and get some paint on it to be complete.
All ground and sanded out ready for some spray can primer and semi gloss black to protect the bare metal.
With a couple of coats of paint this phase of the project is done.
Today I started on the area below the rear seat. I wish I could have sandblasted that part of the car but that never happened so I will be using wire wheels and sandpaper to clean up that area to determine what needs to be repaired.
Stay tuned.
Brian
Making great progress, Brian. What sheet metal work do you have left, after the rear seat floors?
Thanks Richard.
After the rear seat area there is the rest of the trunk floor, the rear tail pan, and the rails around the trunk opening are not in great shape but those will be one of the last things I do. Then there is the running boards. The front fenders and hood sides have some minor rust. The grille is in pretty good shape. So I'll be busy for a while yet!!
Next project I need to find one with a lot less rust. Lol.
You’re doing a great job bringing the ‘39 back to life.
With the front & rear floorboards done time to move on to repair more rust holes. Next on the list is the area underneath the rear seat.
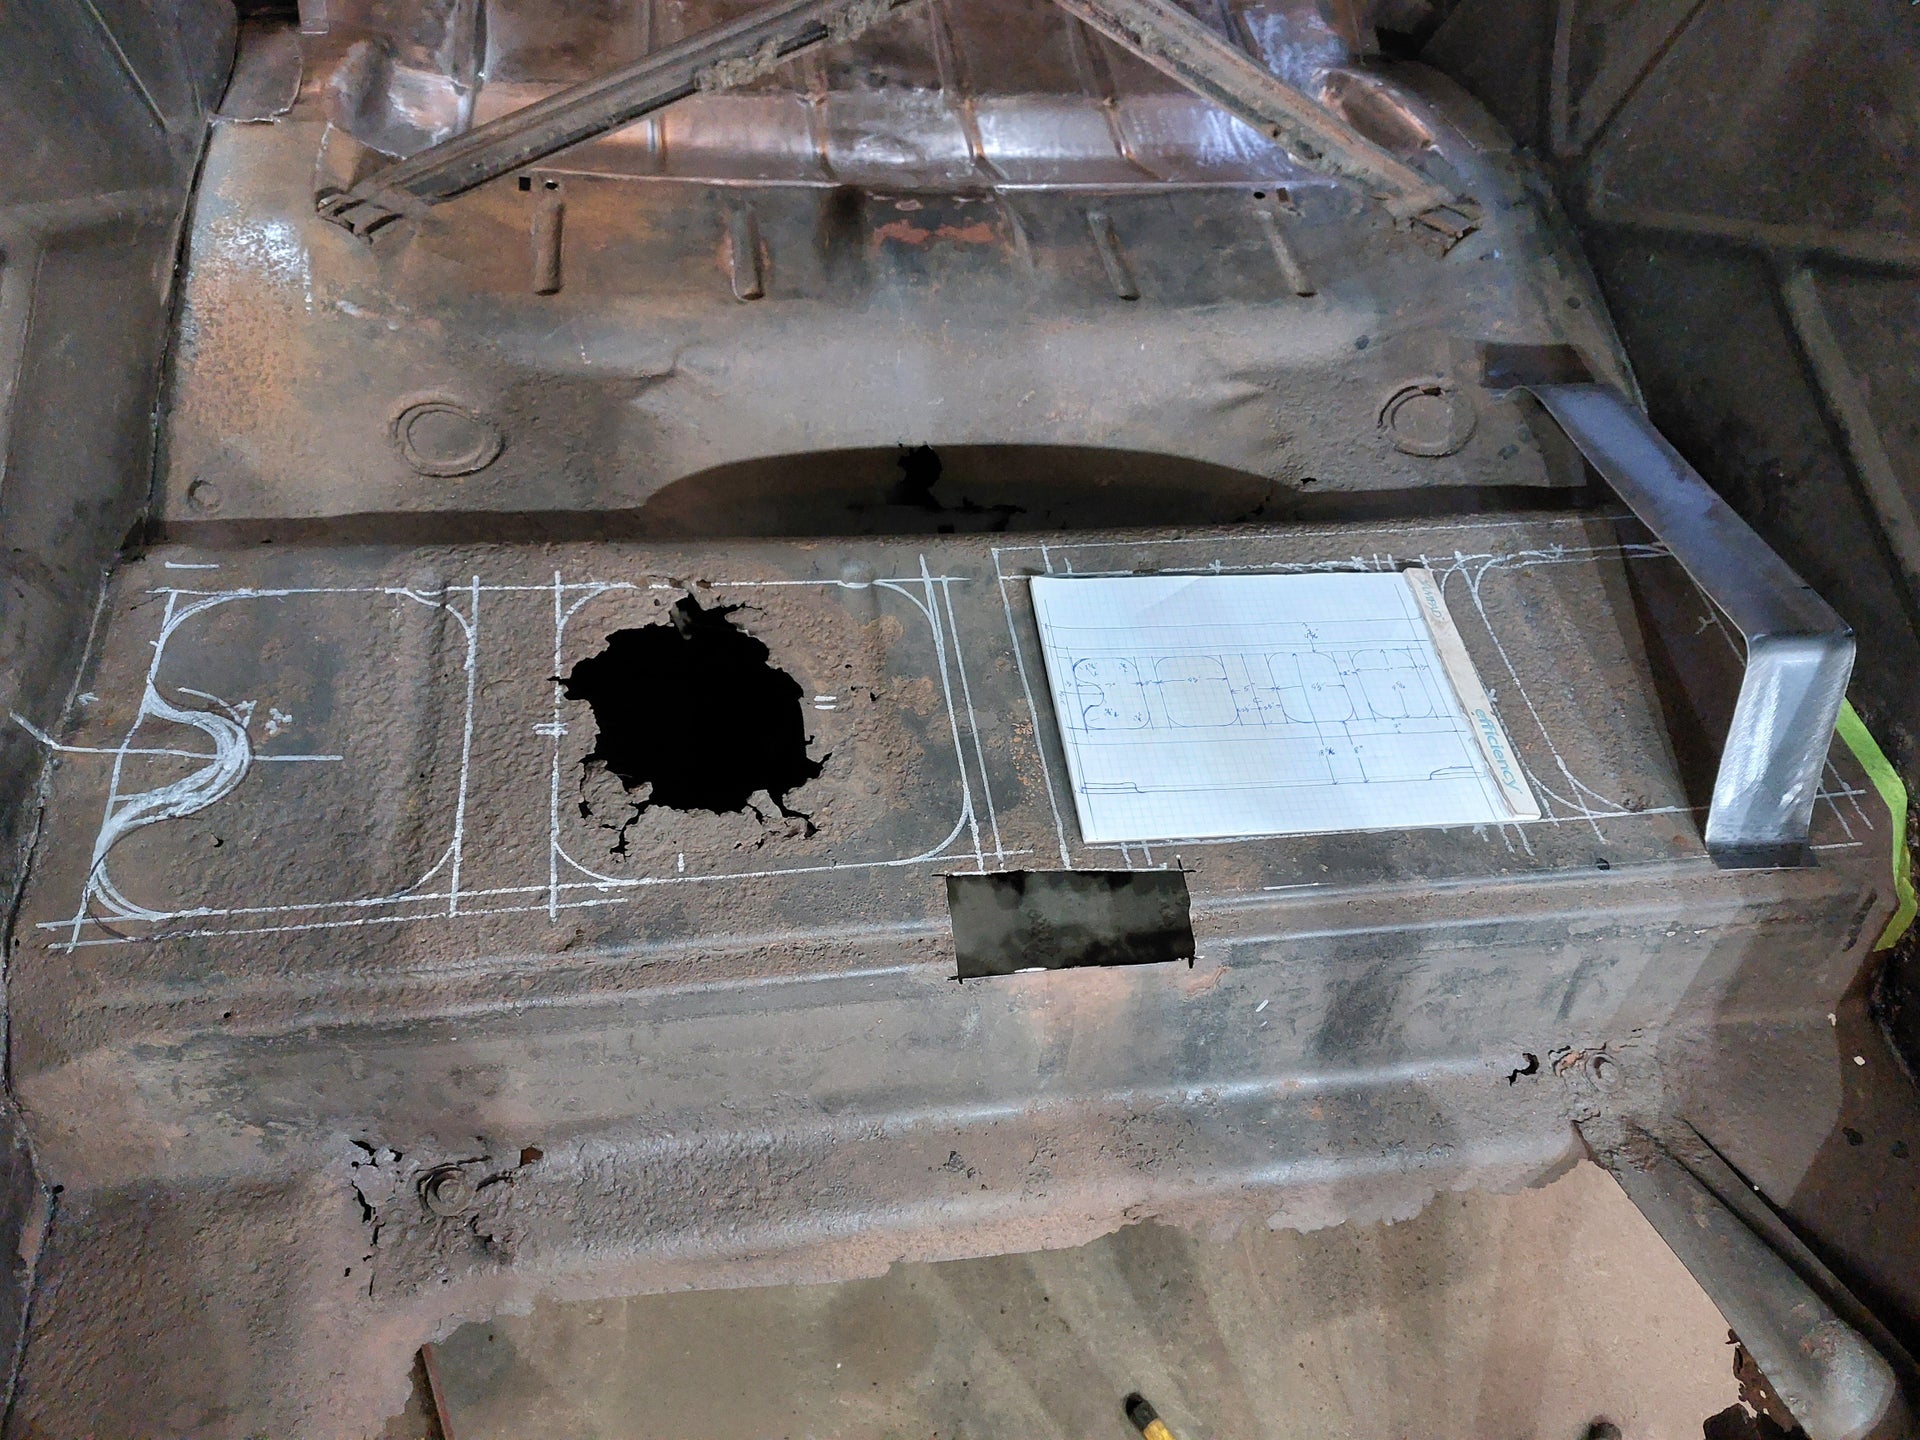
The first step was to sand and wire wheel the area to figure out how much rust there was needing repair. I was hoping to only need to fill a few small holes but after poking around and getting a better look at everything decided to cut out and replace a bigger section as Indicated in the photo above,
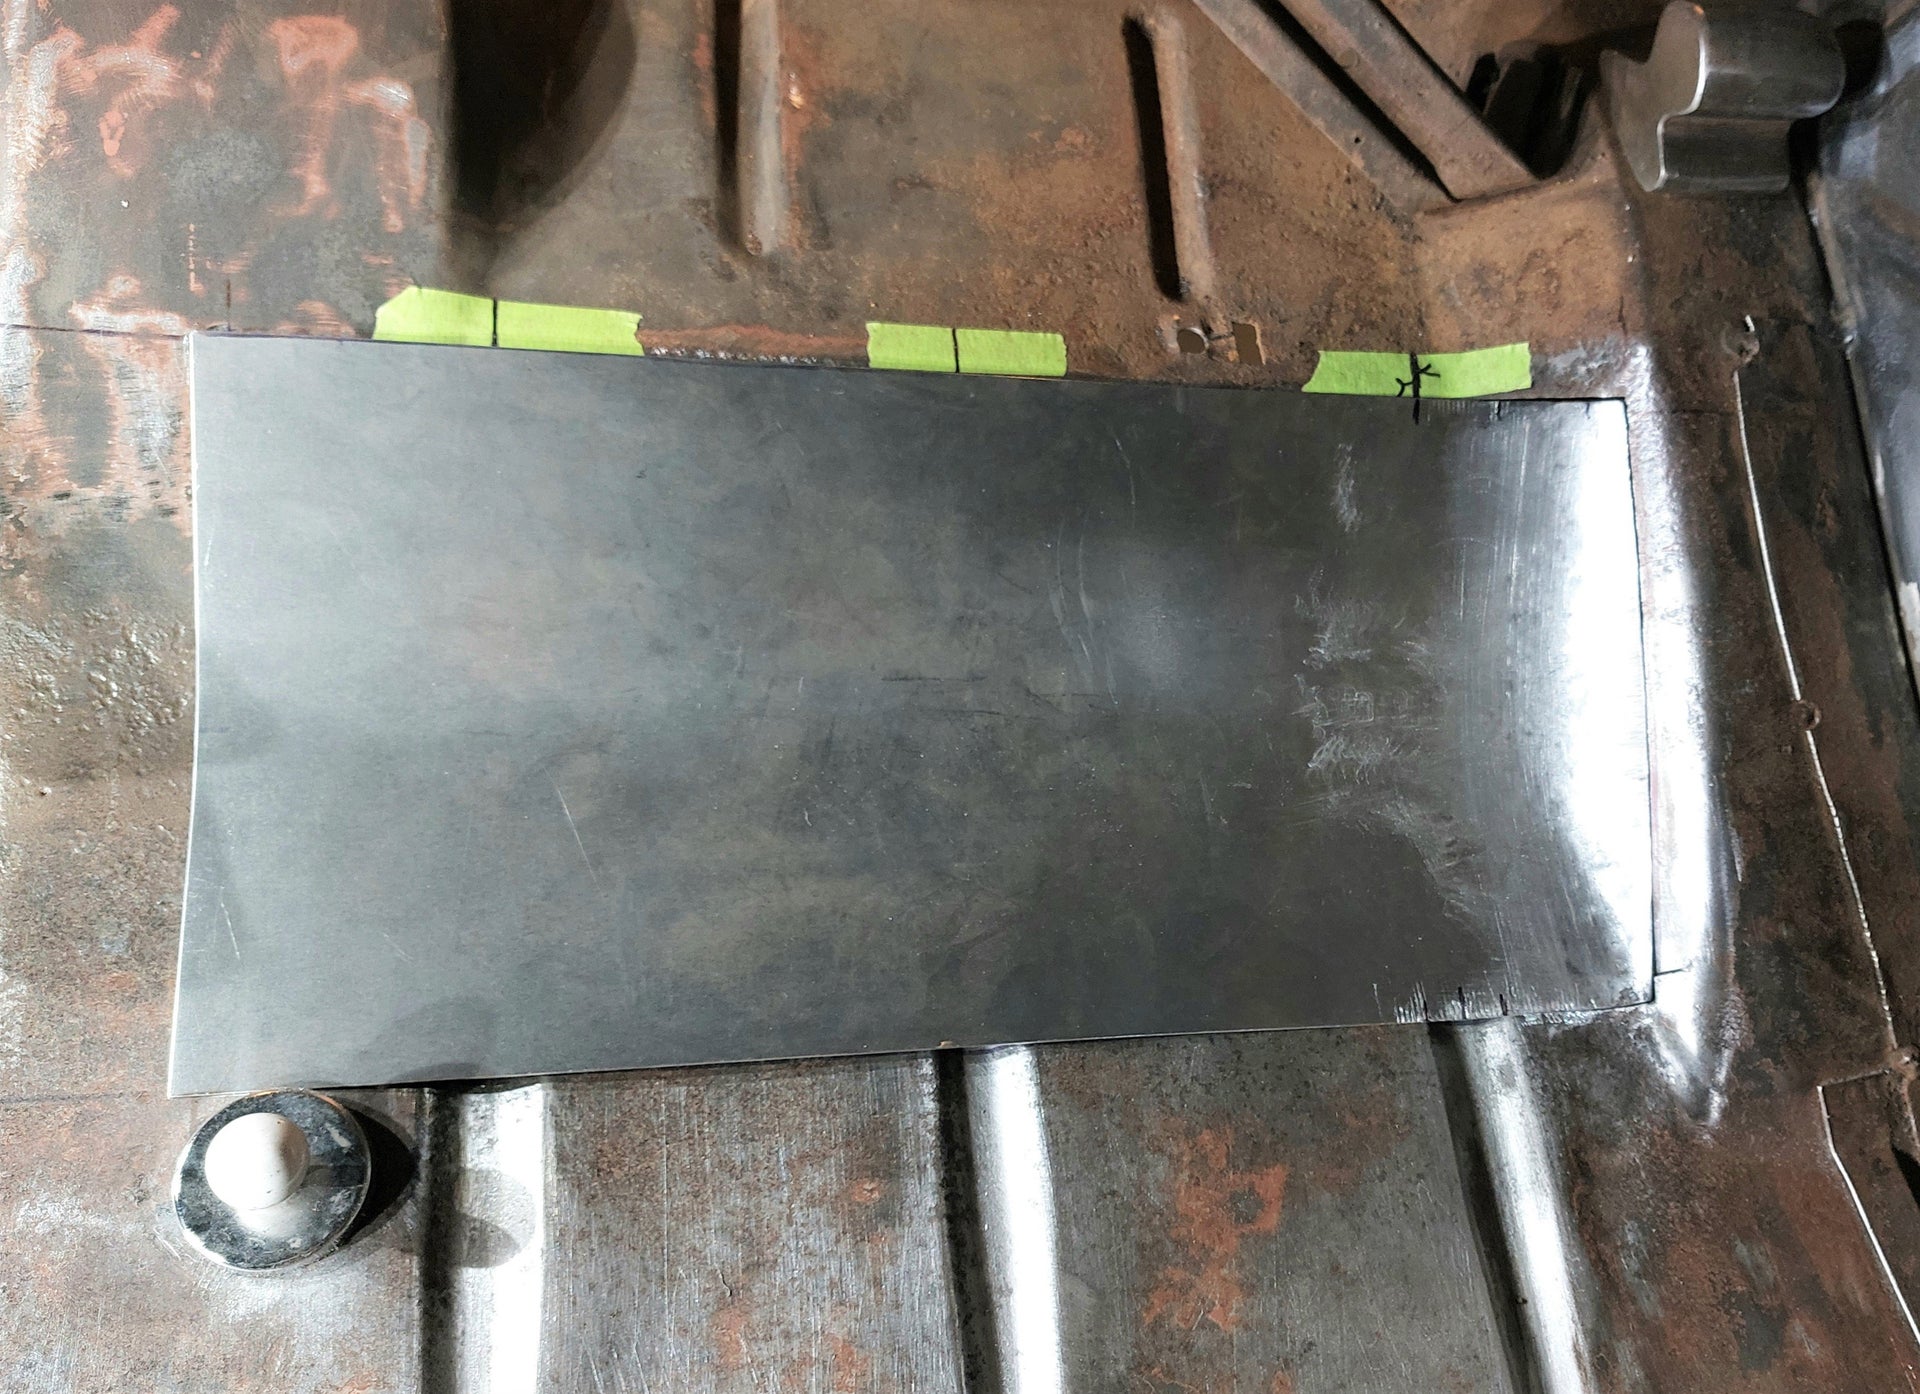
I decided to make the patch panel in 2 pieces to make things easier as all the shape needed on the ends would have made it pretty difficult to make it fit properly. (at least for my skill levels)
Here I have the right end fit up so I can locate the beads to roll into the panel.
Here I have the beads added and fit up on the bottom edge of the panel. The factory beads were a lot wider than my bead roller dies could do so I just hammered in a short transition area to match them up. If this were in an area that would ever show I would have made the transition longer to make it look nicer.
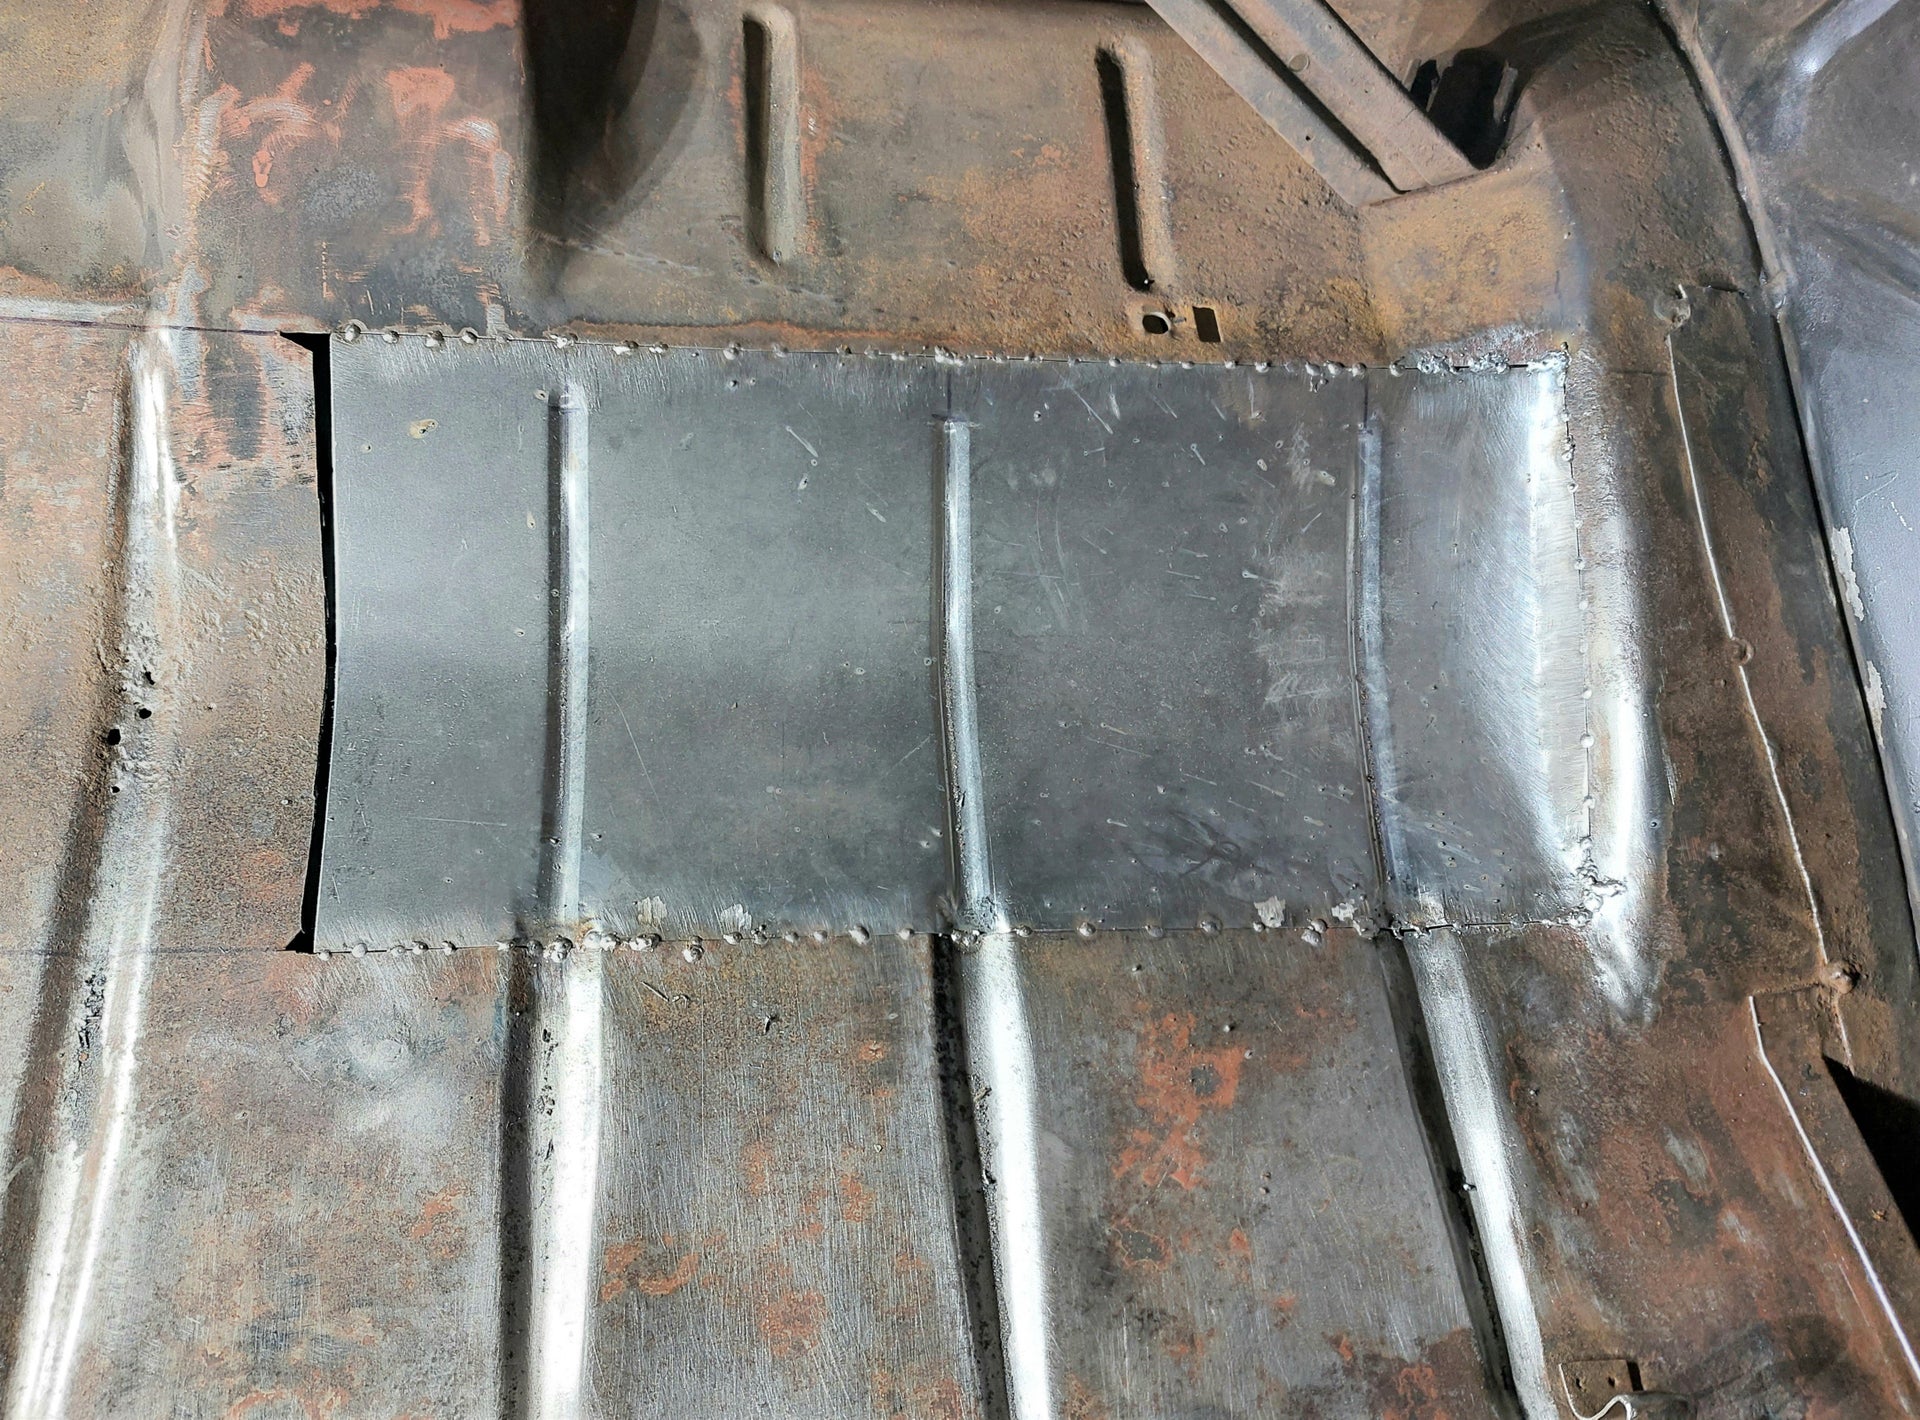
All tack welded in place ready for final welding.
And finally all welding finished and ground out. Just need to repeat the process on the other side then start working on the trunk floor.
Brian
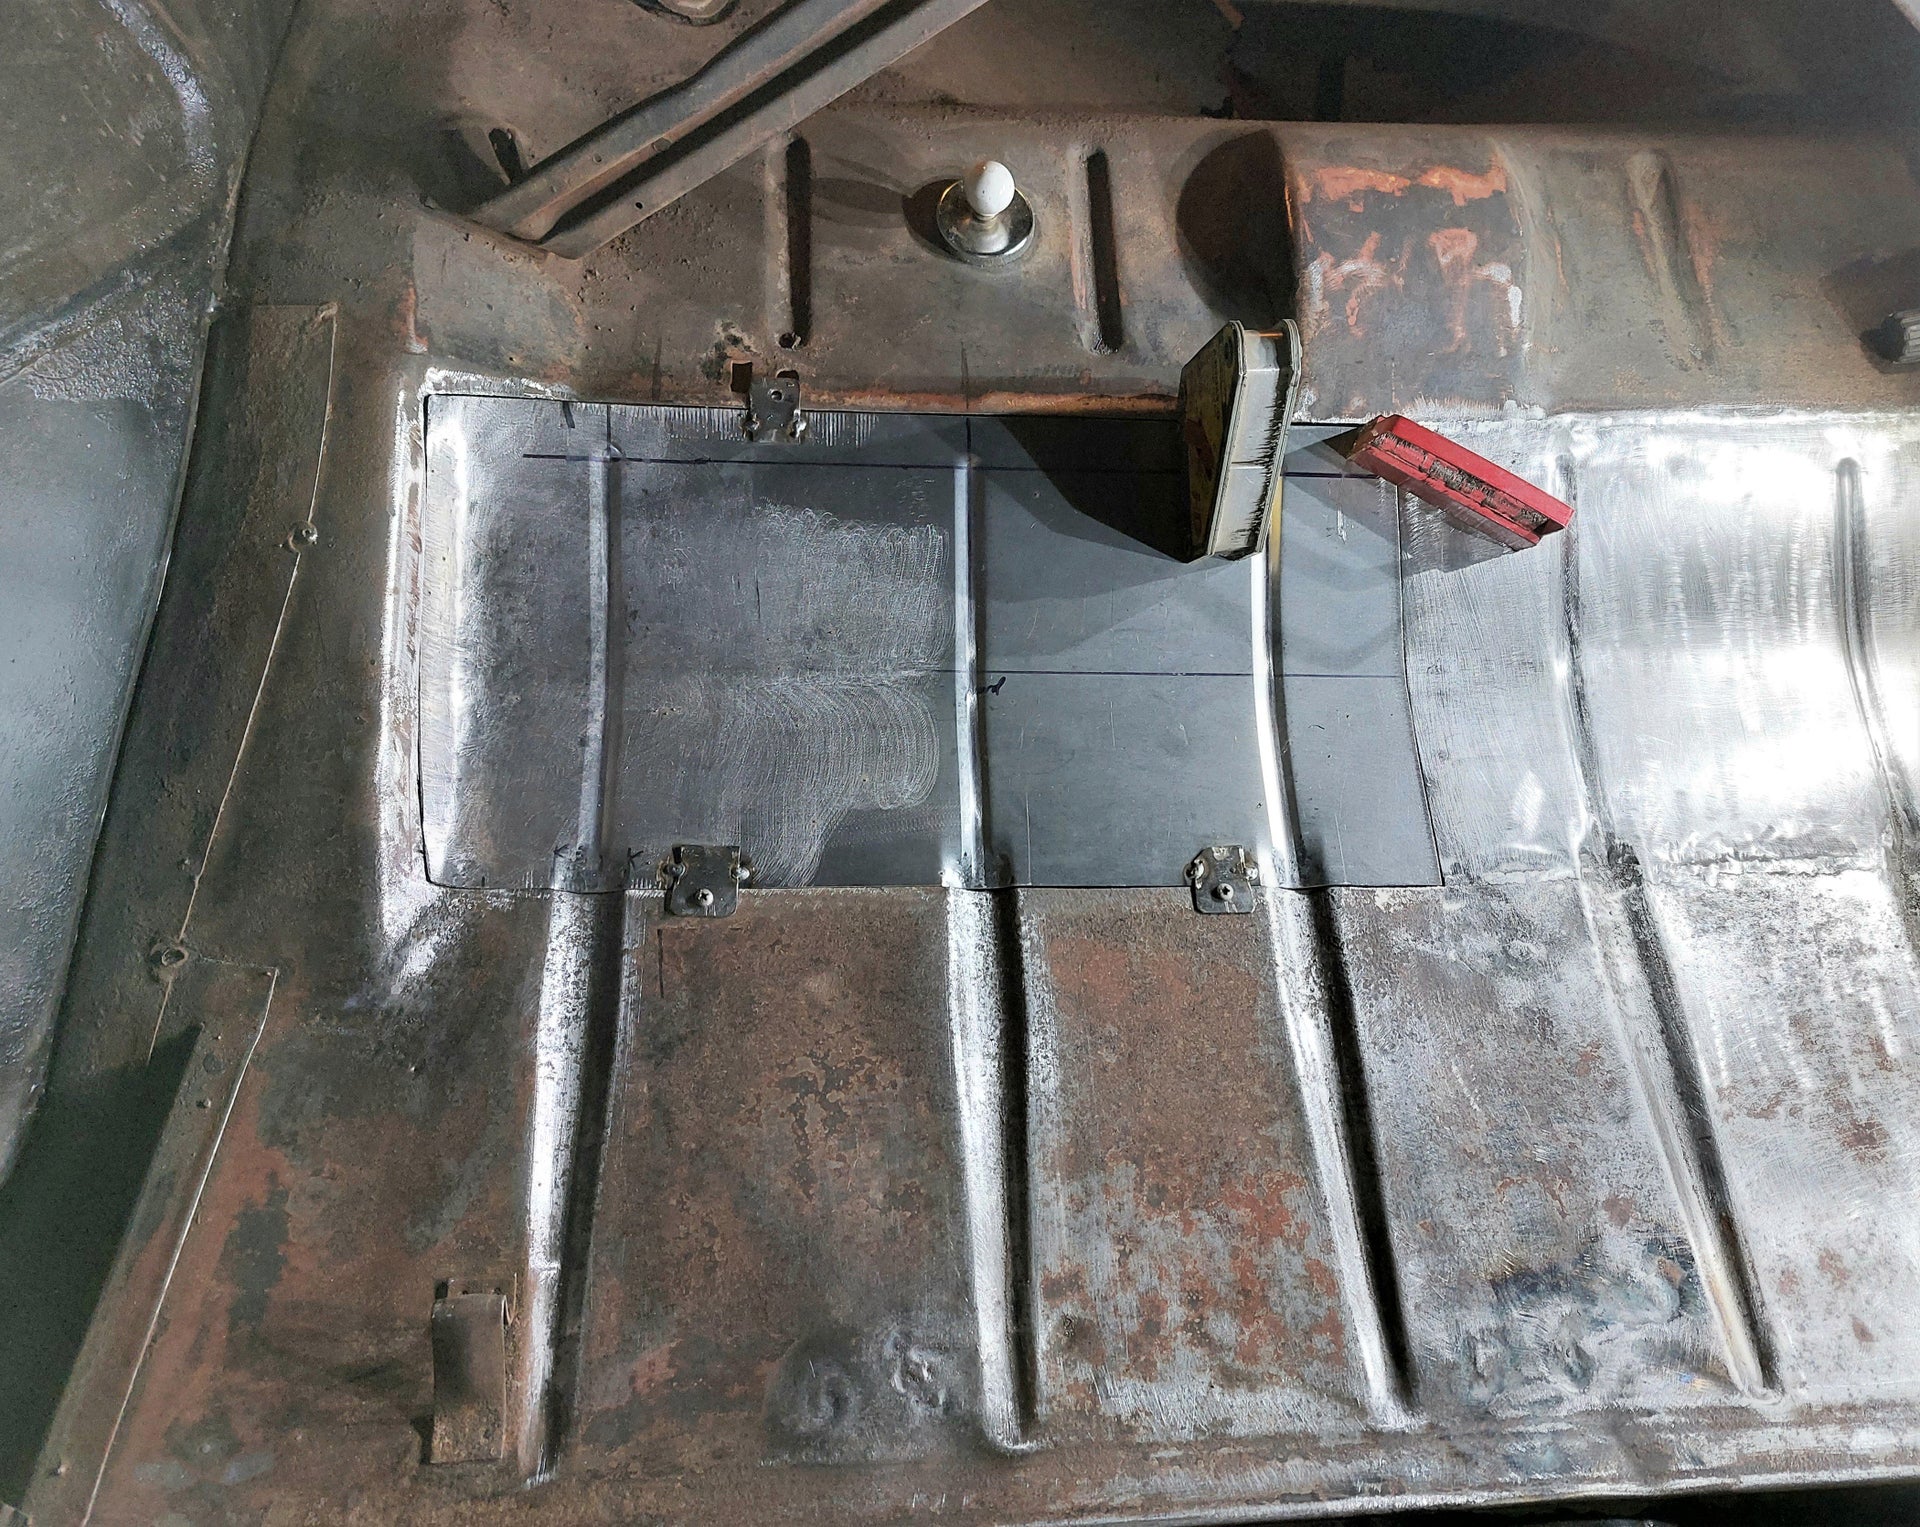
Finished up yesterday on the passenger side of the area under the back seat.
Here is the panel all formed up and fitted up ready to weld in place.
And here it is all welded up and and all the welds ground out. Far from perfect but no more rust holes so good enough for an area that will never be seen once the back seat is in place.
So this area will be the next challenge to repair. Major rust back here which I think was made worse when a tree fell on the car before we purchased it. The back window was broken out and even though they had duct taped a tarp over the opening a lot of water was probably still getting inside the car in this area.
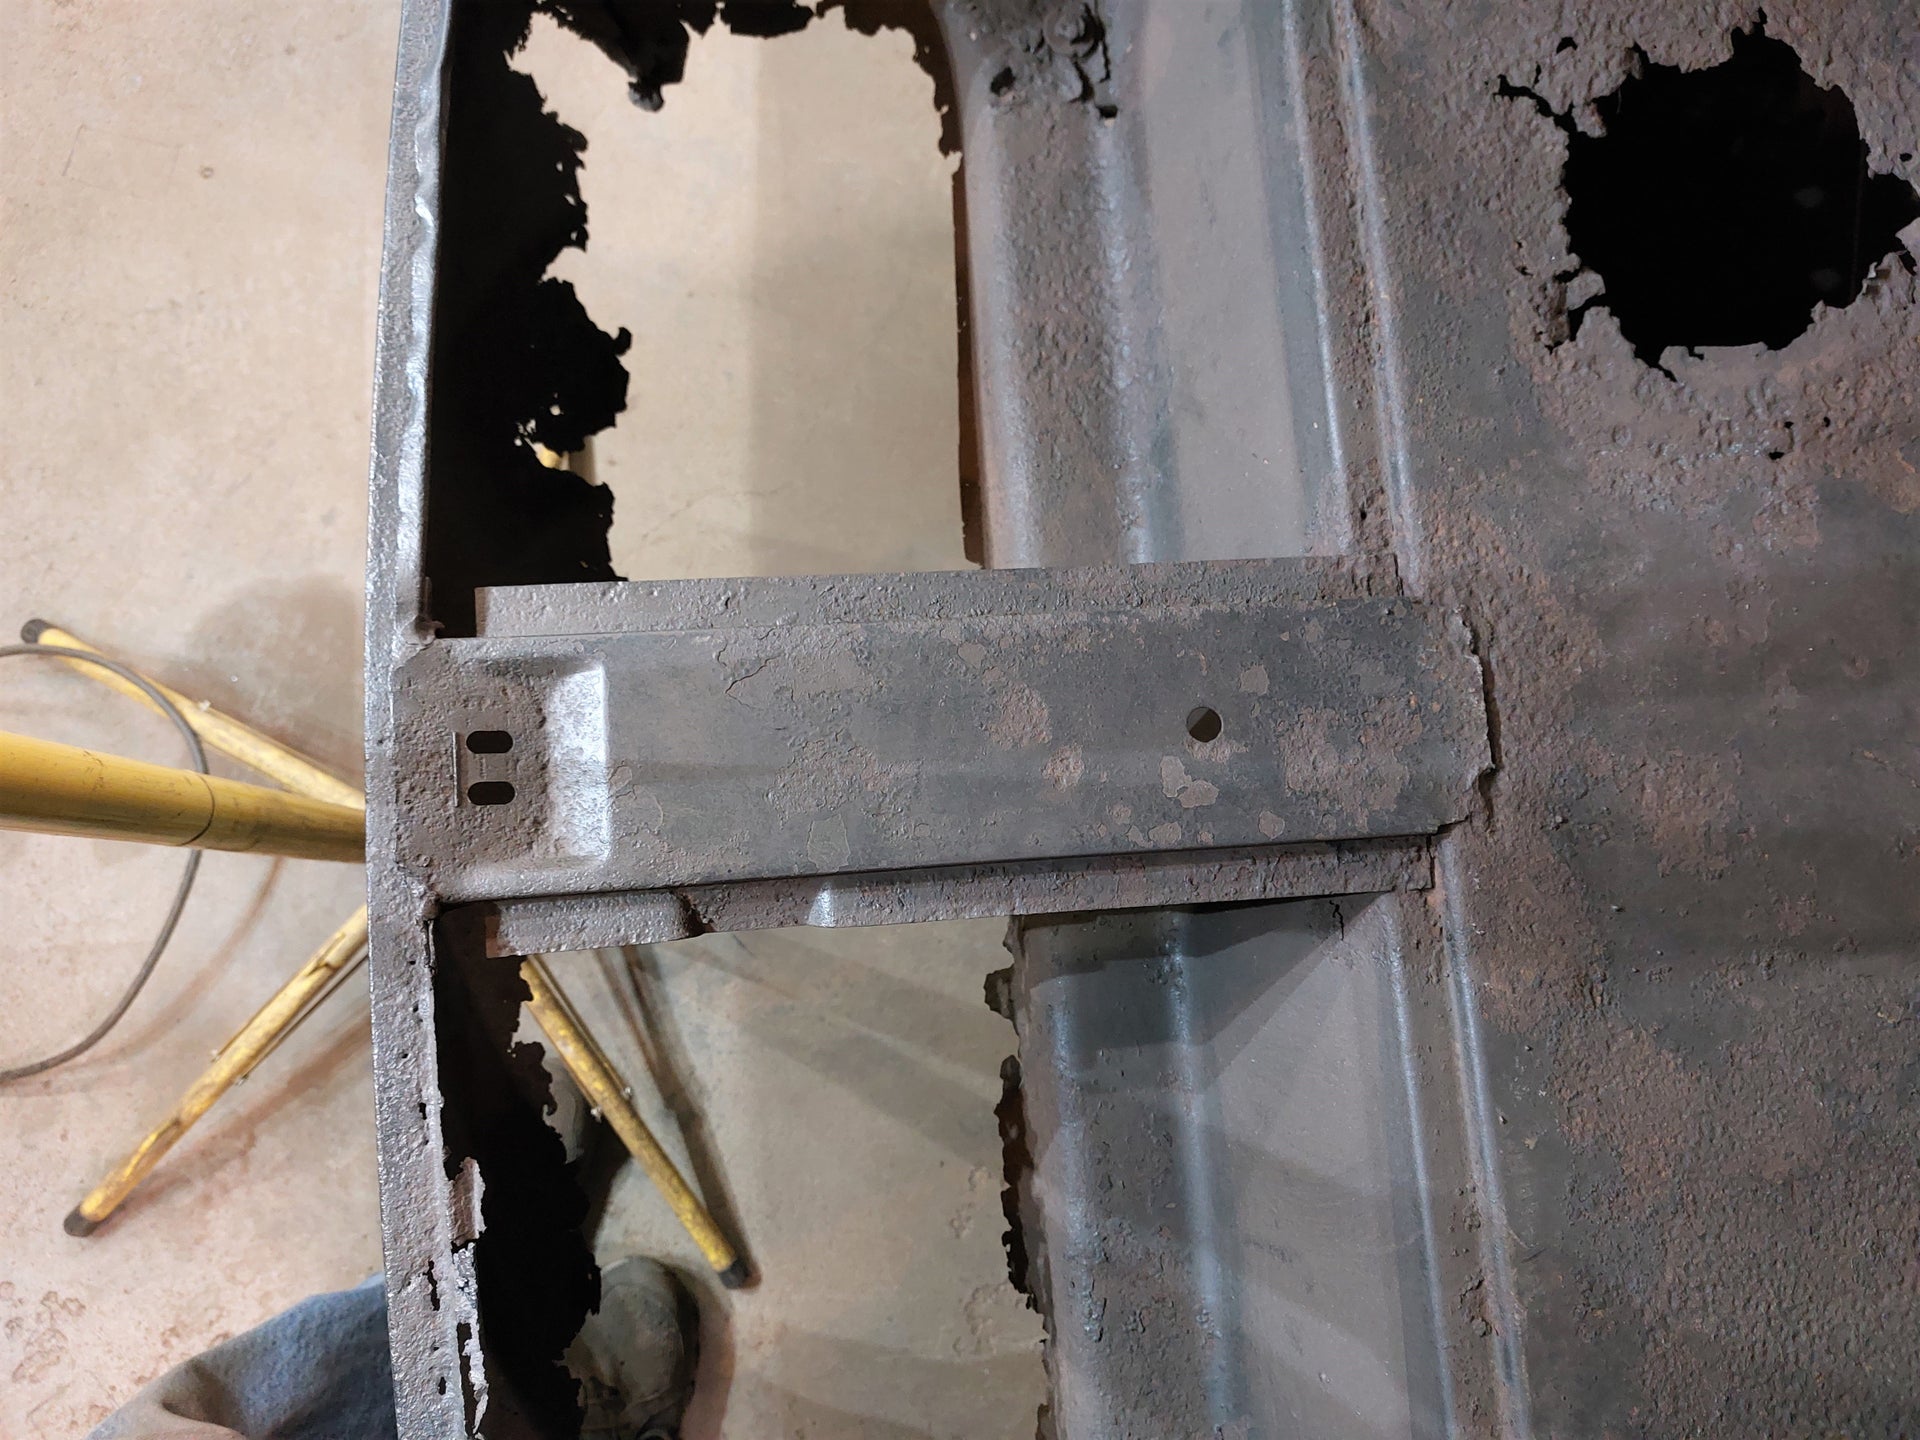
This brace is one of the only things back here I will be able to salvage. At least it will be easy to cut out since I won't be saving any of the metal it is attached to.
After cutting a couple pieces of 18 gauge (will be doing this in several pieces) I had a 3" wide strip left so I used it to bend up a piece that I will be able to copy the shape for the actual panels. Not going to make it exactly like the original on the backside bend to make it easier to form.
Next was laying out the pattern for bead rolling the panel to strengthen it similar to what I did on the rear floorboards. I had laid it out on the passenger side first but then realized that wouldn't work on the drivers side due to the access door needed (big rust hole) for the gas tank sending unit. Also needed to go around the little bump where the fuel filler neck goes. Once I adjusted the layout to wok around the access hole I made a sketch to layout the patterns on the metal. My 3" piece to locate the bends came in handy for this as I put a piece of masking tape over it accurately mark the front to back location of the bead rolled panels. Then I just took the tape off to get accurate measurements from the tape since I will need to do the bead rolling before making the bends in the panels.
I went to Jefferson car show on Friday and picked up some better bead rolling dies from Eastwood so hopefully those will work better than the dies I used on the rear floorboards.
Brian

Outstanding progress bringing this old metal back. Keep the updates coming. We appreciate your hard work here.
1957 Nomad- LS1/T56 on C4 chassis
1959 Fleetside Apache 1/2 ton, shortbed, big window, 327ci.

Outstanding work...

I love seeing your craftsmen ship what a great job. Thanks for keeping us up to date on your progress.
 Posting Permissions

 Reply With Quote