The next step on the passenger side front fender was to repair the area at the bottom rear where it meets the running board.

 Here I have the inner structure repaired. As you can see the rust holes are confined to the very corner so I was able to make the patch for this in one piece instead of the two pieces I did on the drivers side fender.

 Here I have the patch all formed up and ready to fit up for welding.

 All fitted up and tack welded in place.

 View from the inside with the seam fully welded.

 And the inside view after grinding out all the welds and planishing out the weld seam.

 And the view from the outside. This one turned out pretty well, not perfect but it won't need much filler. I just need to drill out the mount holes to finish this repair.

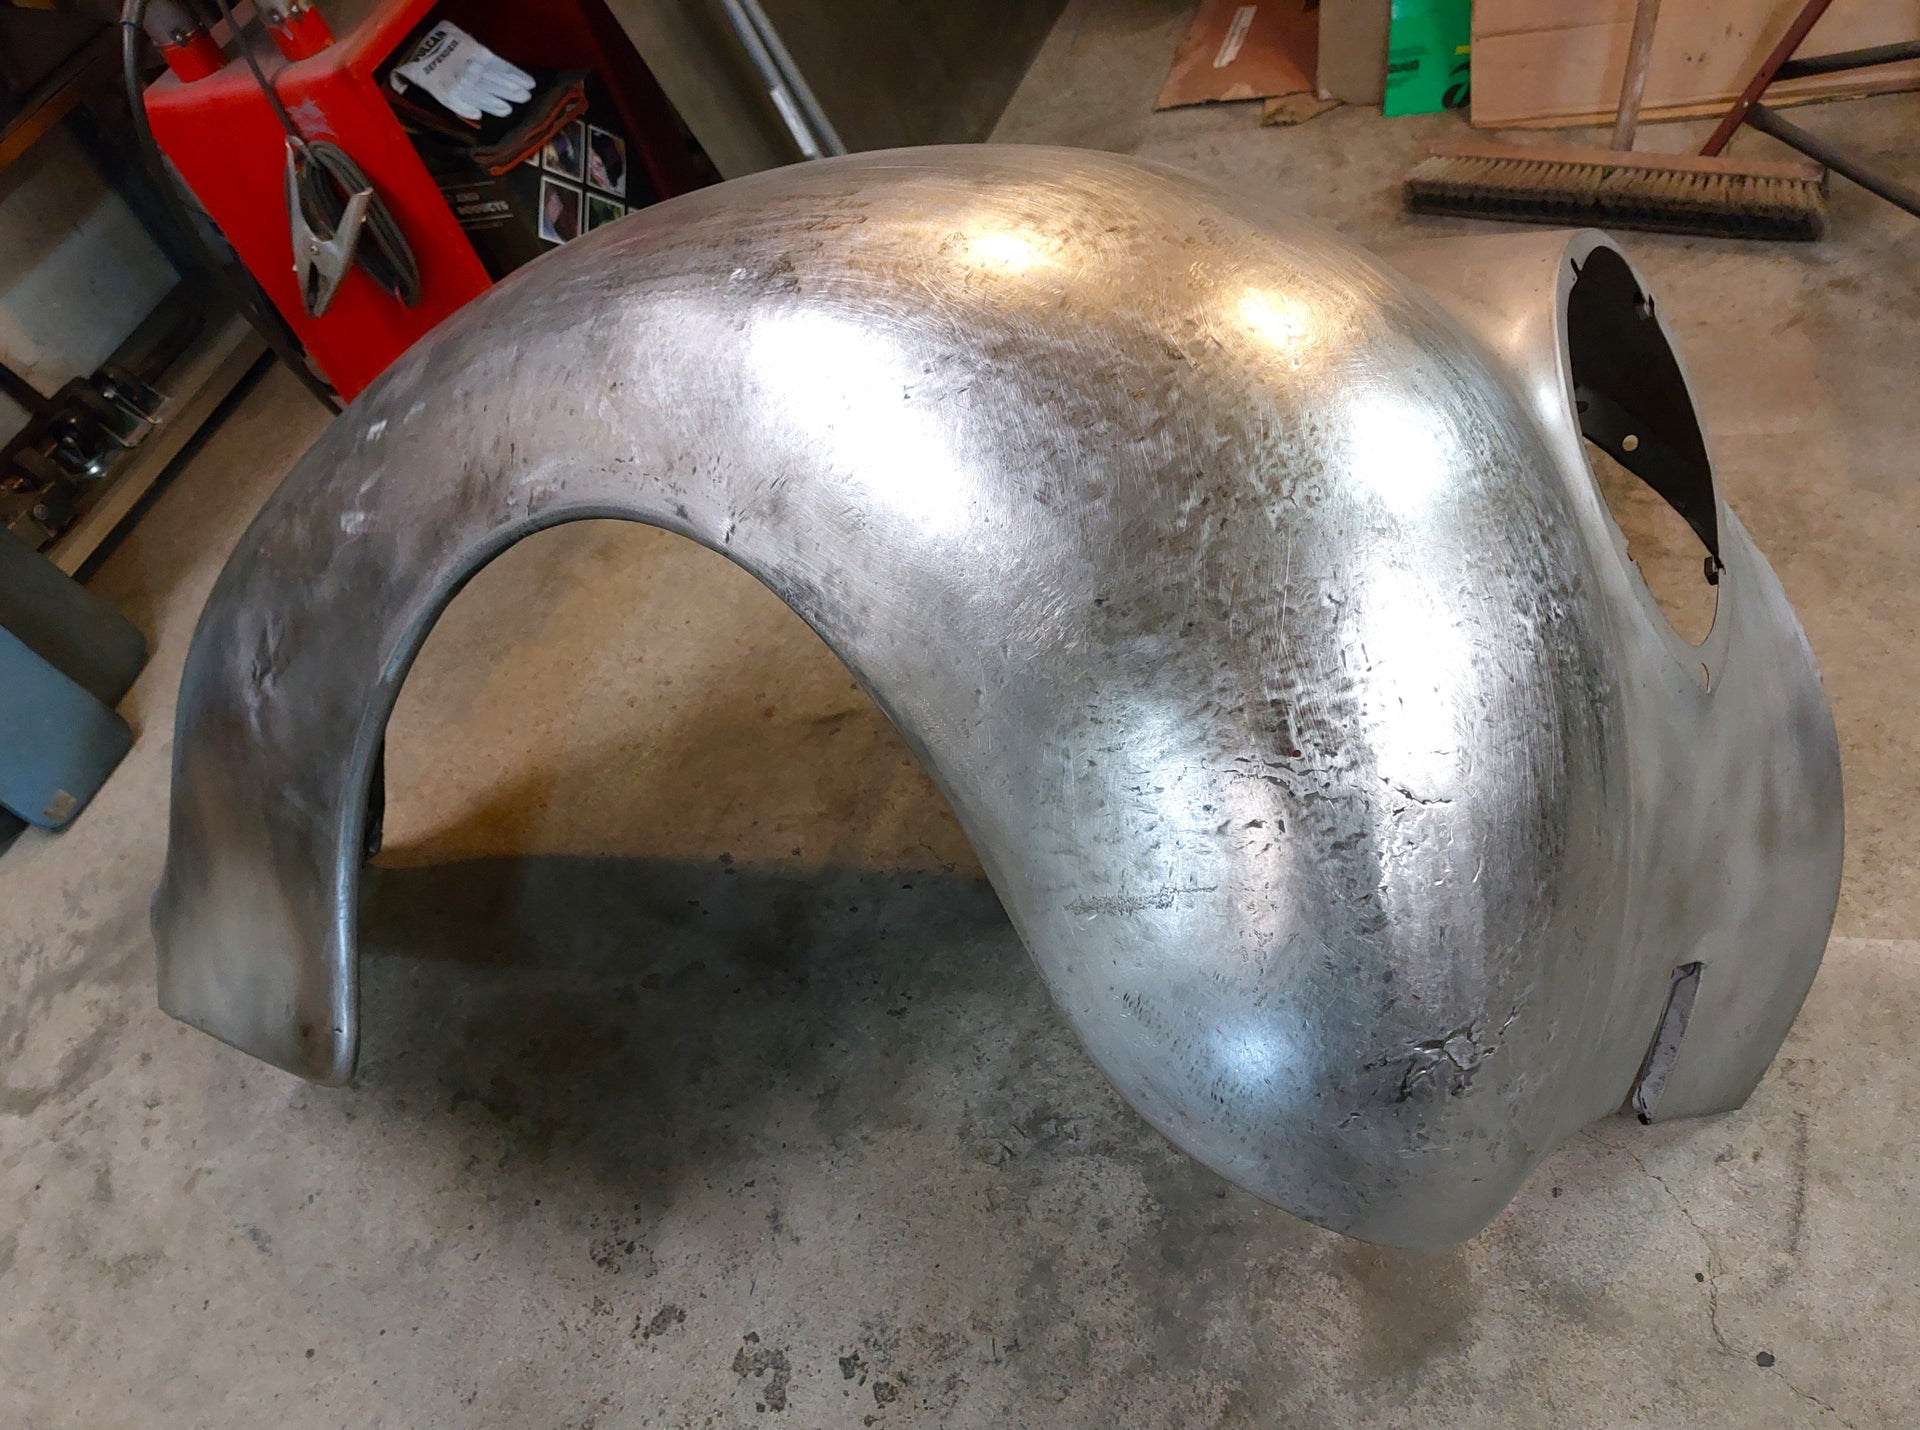 At this point I finished welding up the seams on the two patches on the bottom front corner so I am ready to tackle making a patch panel for the area with the holes from the past poor repair.

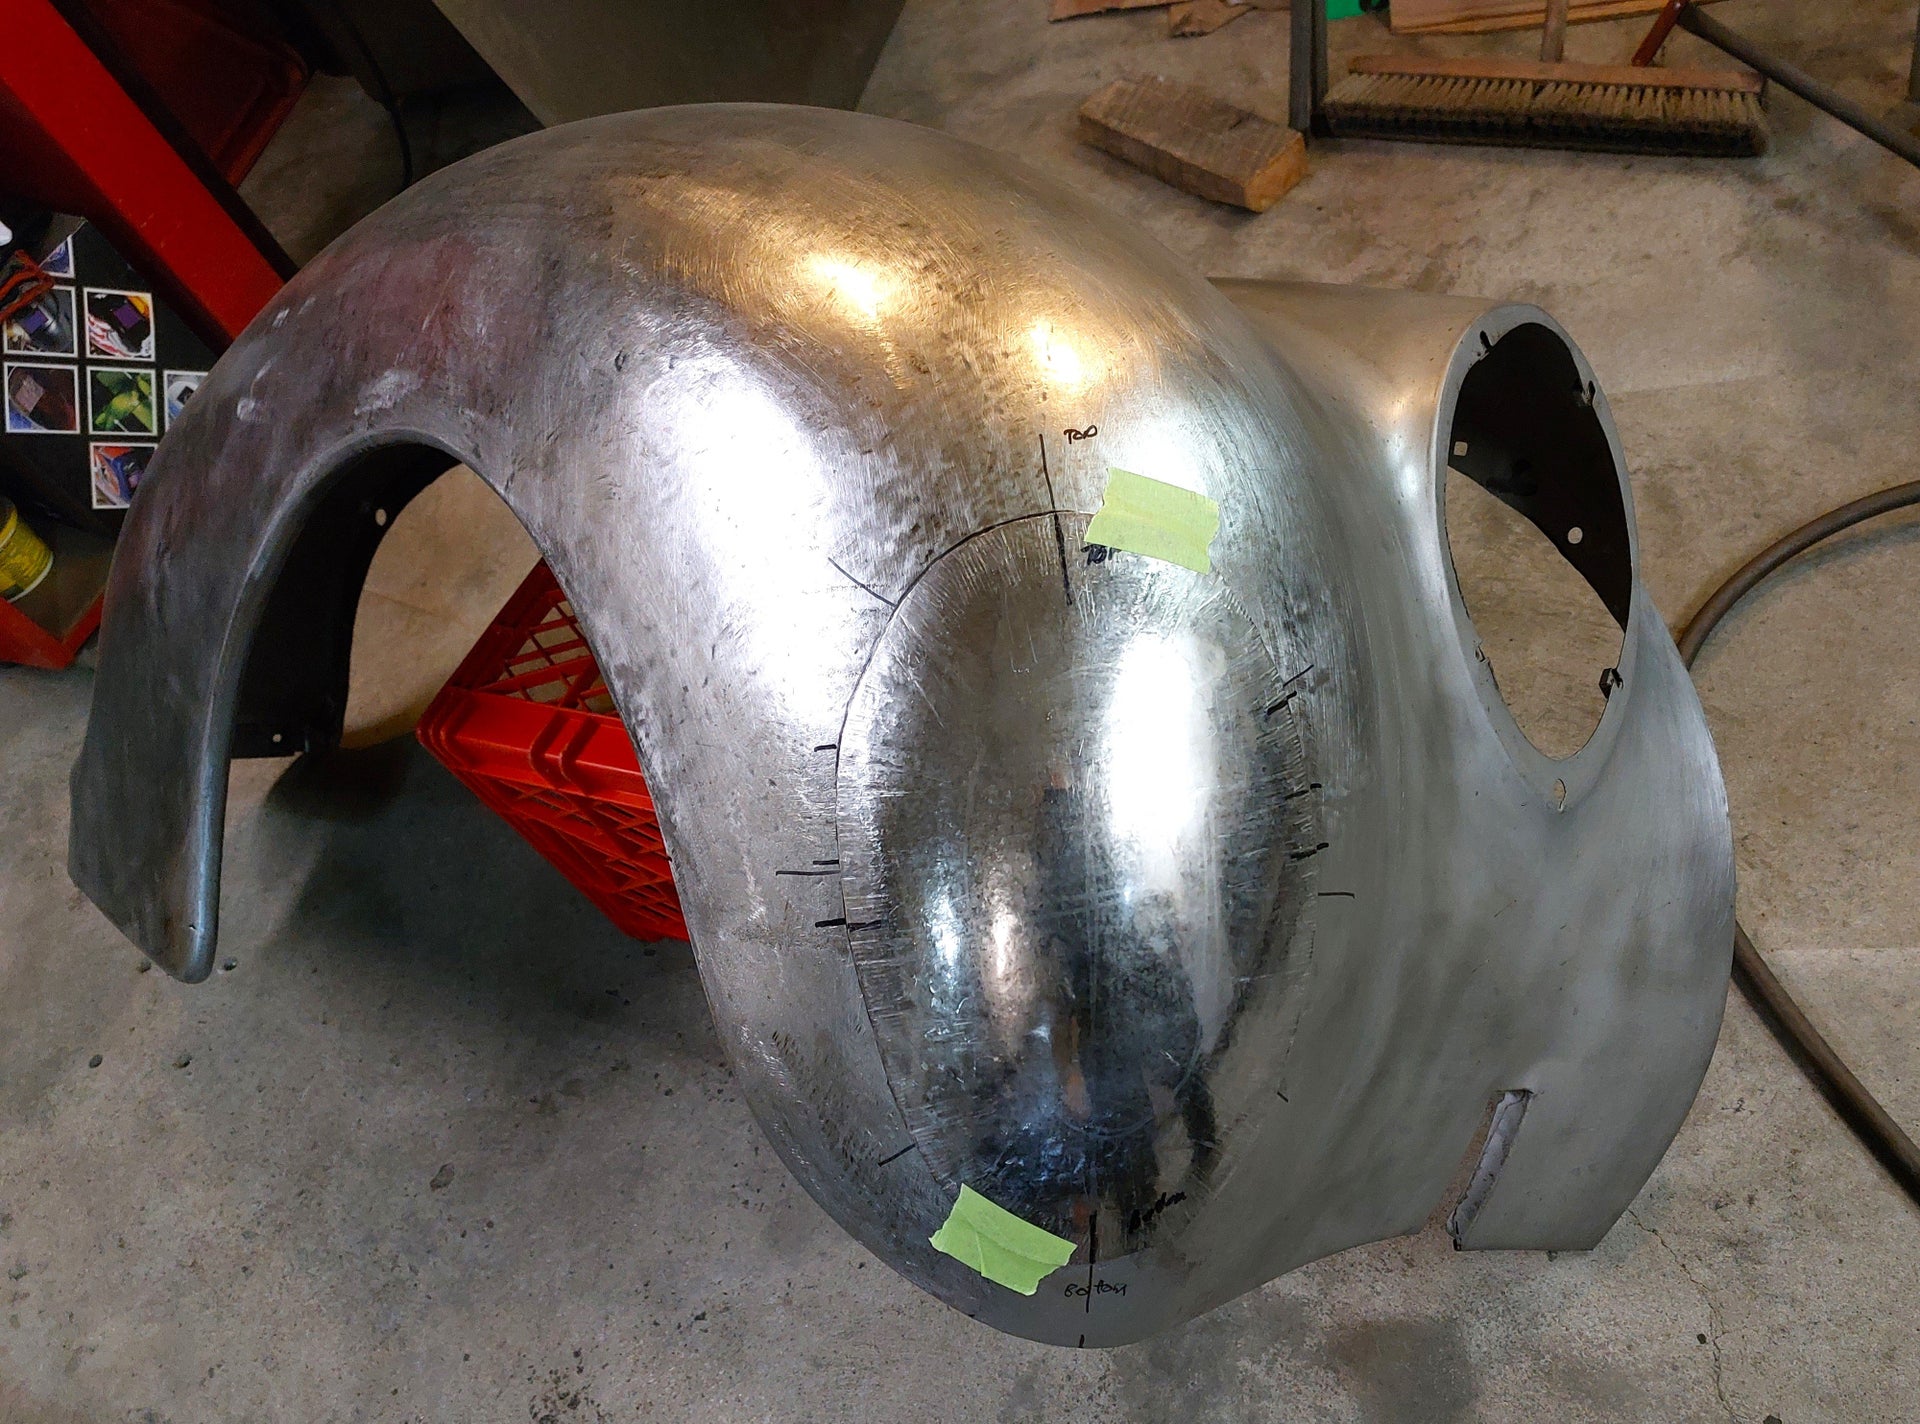
 The first step in that process was to make a paper pattern of the area the patch will need to cover. I had a light behind the fender when I took this picture so you can see holes where the light is shining through the paper. Where the paper pattern has the wrinkles indicates where the metal will need shrinking to create the needed shape.

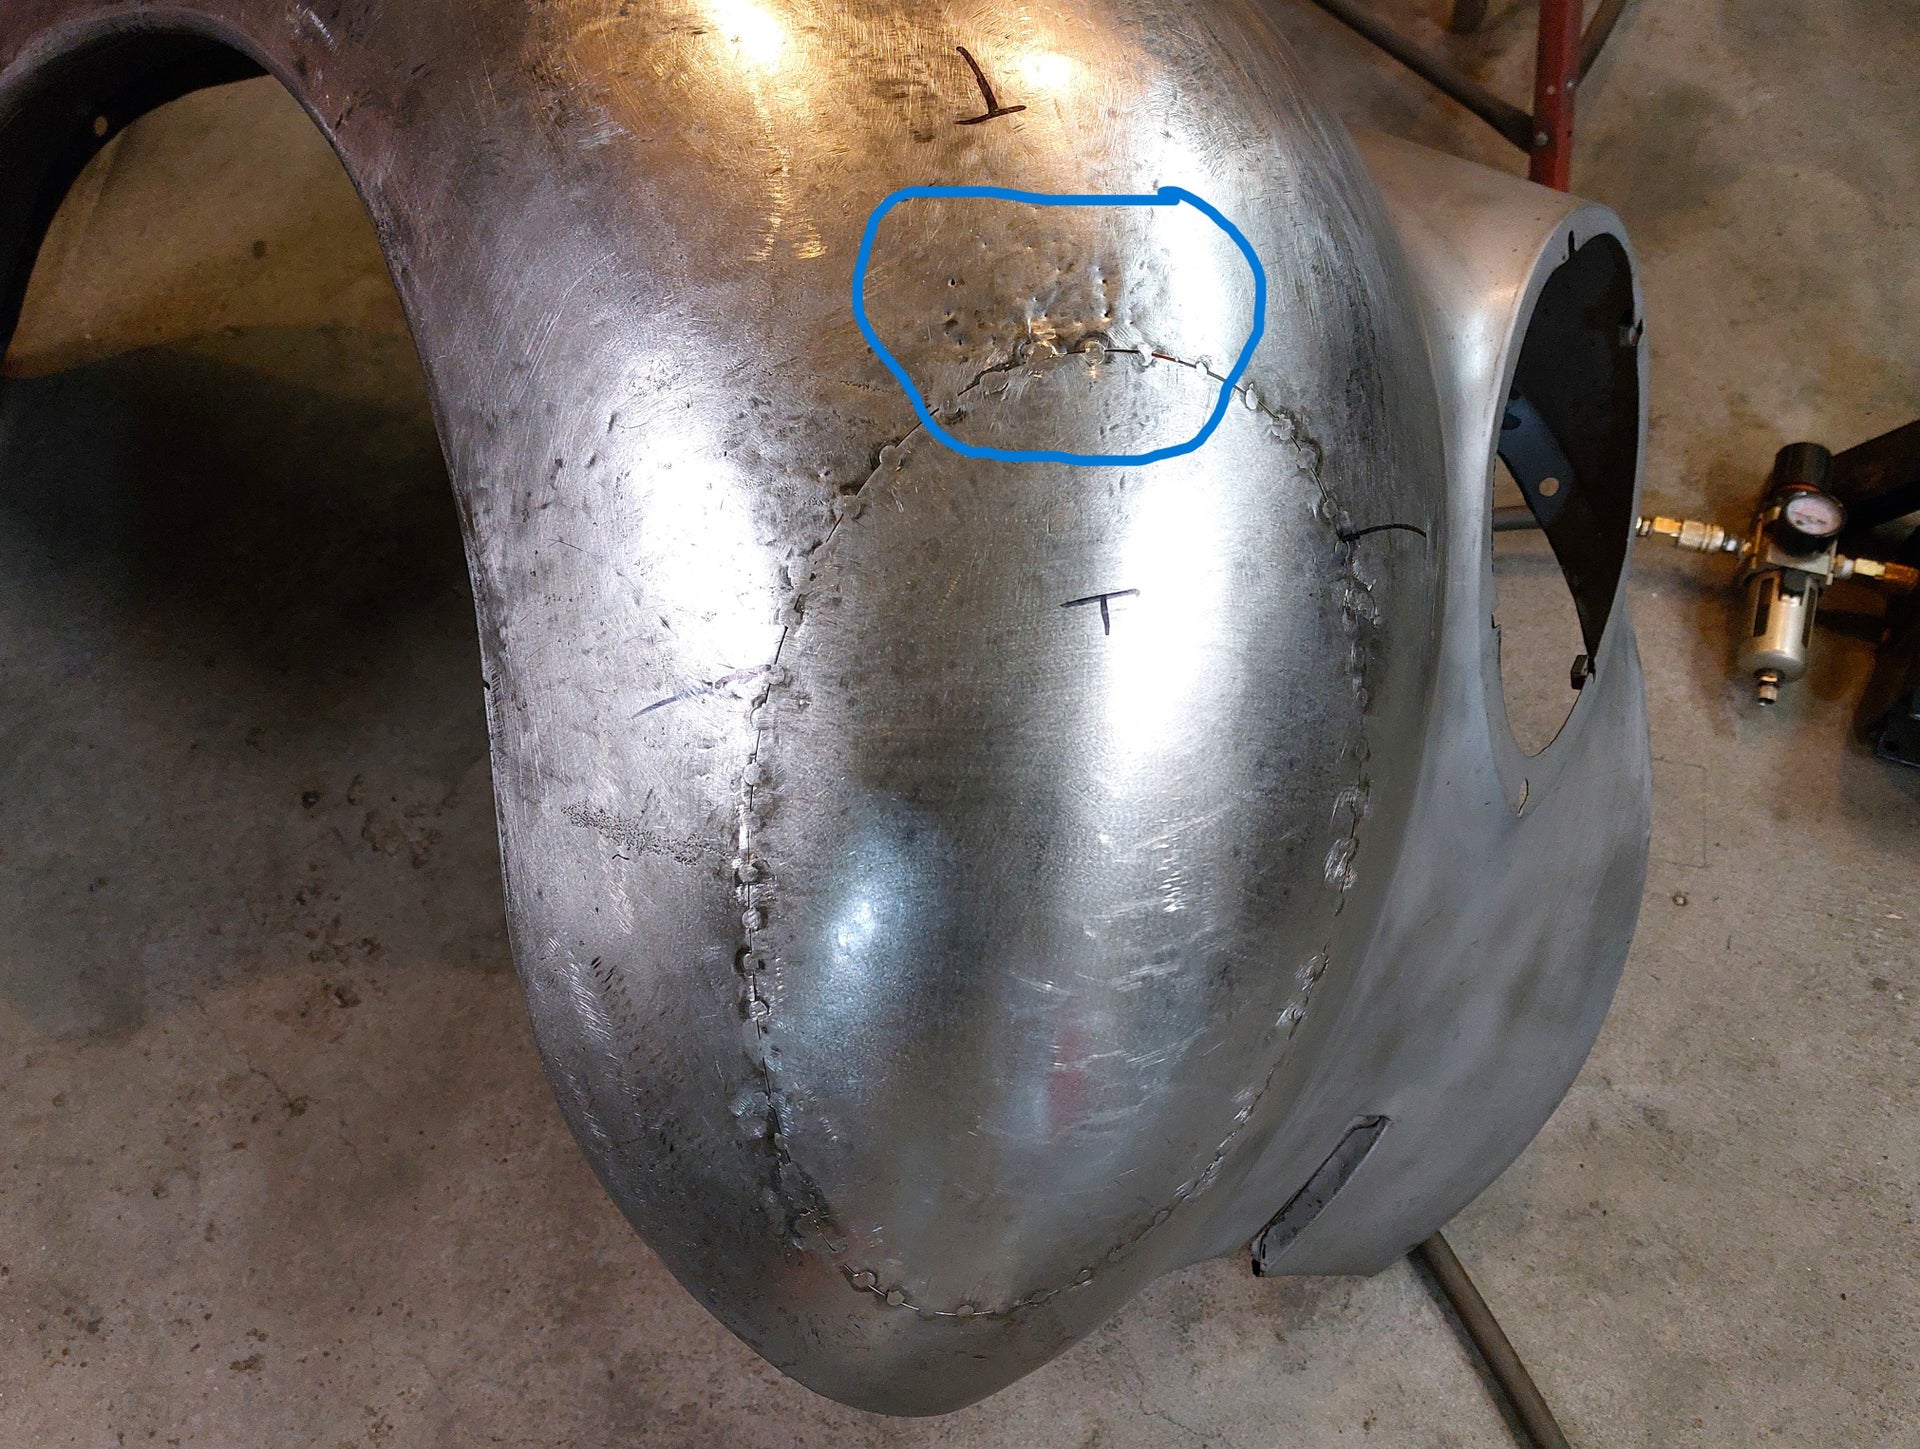
 Starting to take shape after doing tuck shrinks around the outside edge. I also did a bit of stretching in the middle of the patch on the planishing hammer at this point.

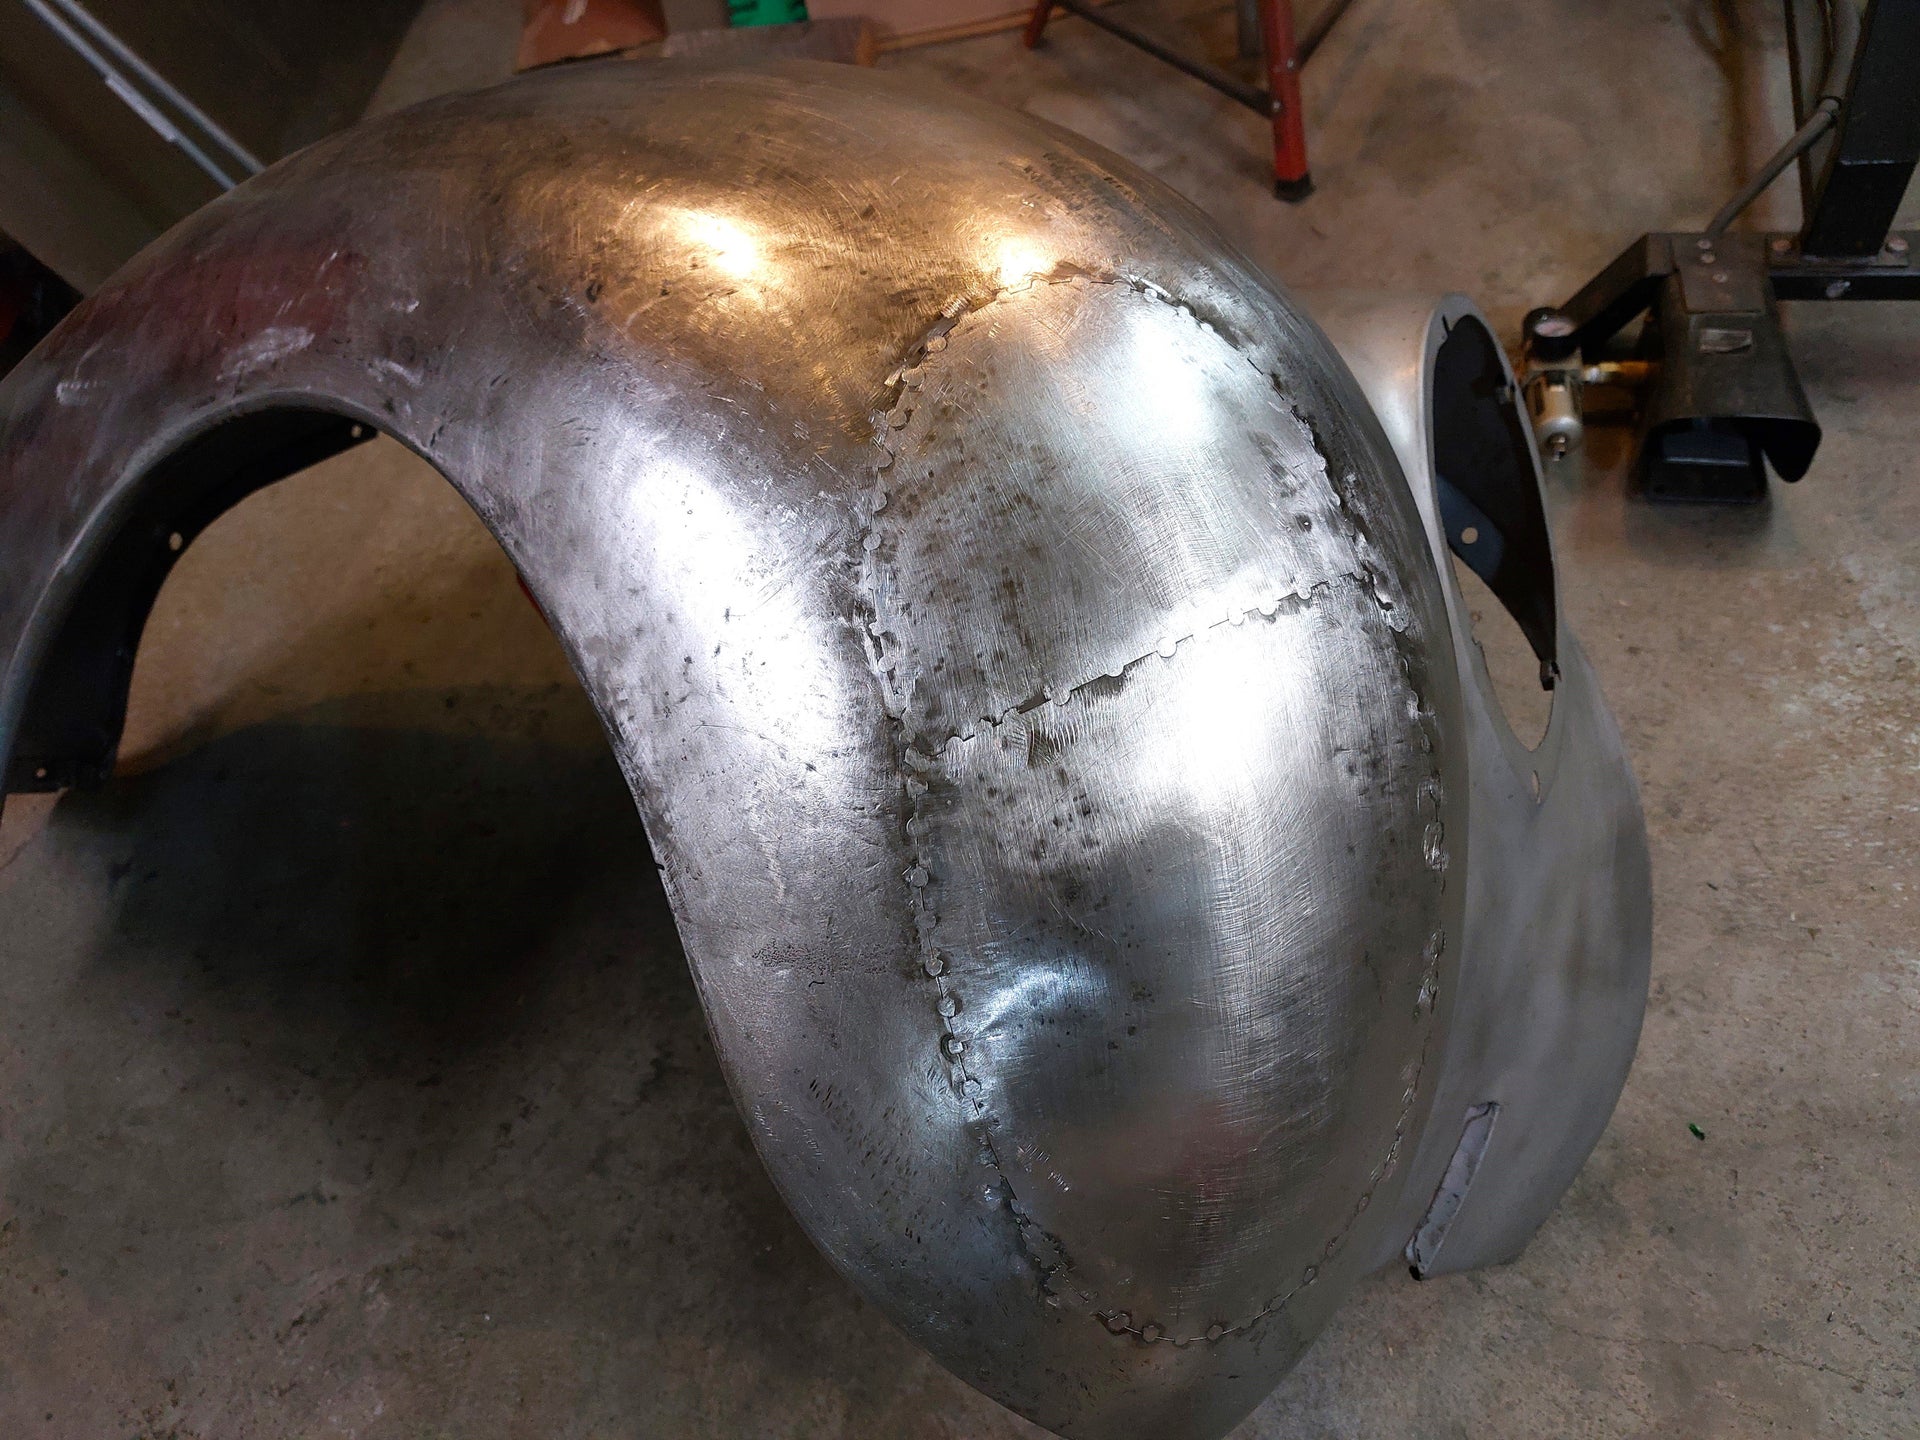
 It has a ways to go yet here but getting closer after smoothing it out on the planishing hammer and a a bit more shrinking on the edges.
So that is where I left off yesterday. Hopefully by my next update this fender will be done!
Brian
Here I have the inner structure repaired. As you can see the rust holes are confined to the very corner so I was able to make the patch for this in one piece instead of the two pieces I did on the drivers side fender.Here I have the patch all formed up and ready to fit up for welding.All fitted up and tack welded in place.View from the inside with the seam fully welded.And the inside view after grinding out all the welds and planishing out the weld seam.And the view from the outside. This one turned out pretty well, not perfect but it won't need much filler. I just need to drill out the mount holes to finish this repair.At this point I finished welding up the seams on the two patches on the bottom front corner so I am ready to tackle making a patch panel for the area with the holes from the past poor repair.The first step in that process was to make a paper pattern of the area the patch will need to cover. I had a light behind the fender when I took this picture so you can see holes where the light is shining through the paper. Where the paper pattern has the wrinkles indicates where the metal will need shrinking to create the needed shape.Starting to take shape after doing tuck shrinks around the outside edge. I also did a bit of stretching in the middle of the patch on the planishing hammer at this point.It has a ways to go yet here but getting closer after smoothing it out on the planishing hammer and a a bit more shrinking on the edges.So that is where I left off yesterday. Hopefully by my next update this fender will be done!
Brian


Comment