Robert,
It is extremely interesting and informative to all of us here.. to watch your efforts to achieve *perfection* in all the work you do~ Thank you!


Robert,
It is extremely interesting and informative to all of us here.. to watch your efforts to achieve *perfection* in all the work you do~ Thank you!


Thanks, I think it's part of my OCD..
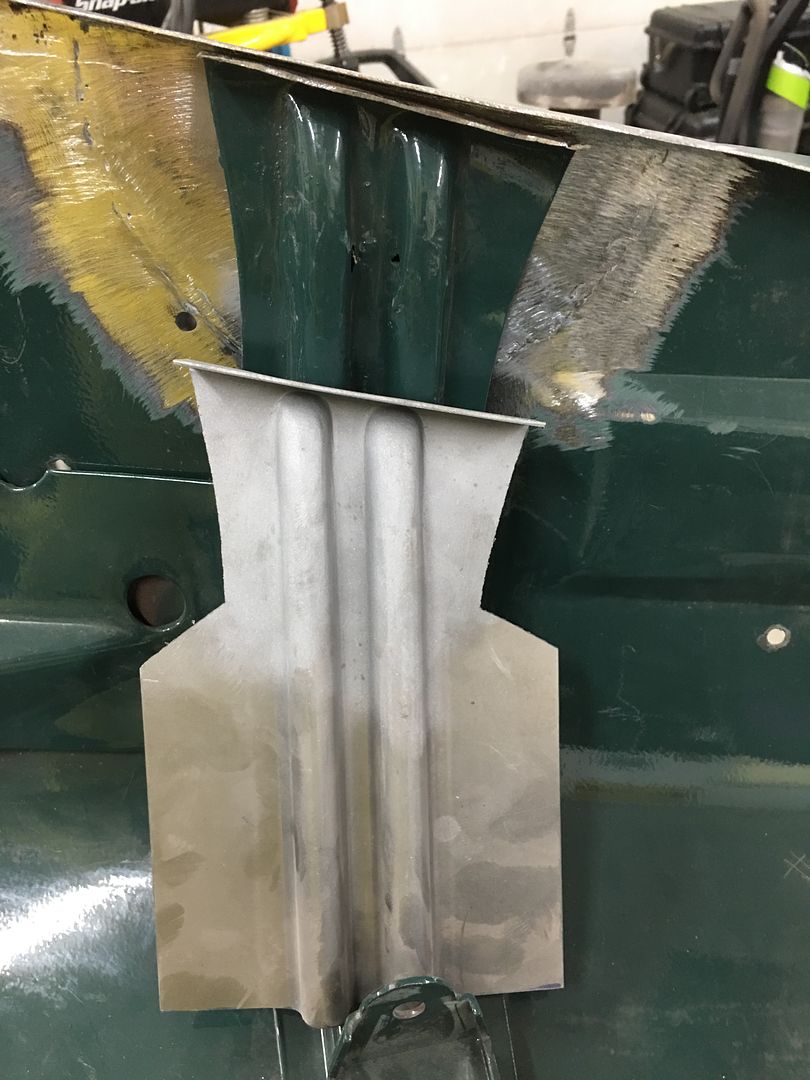
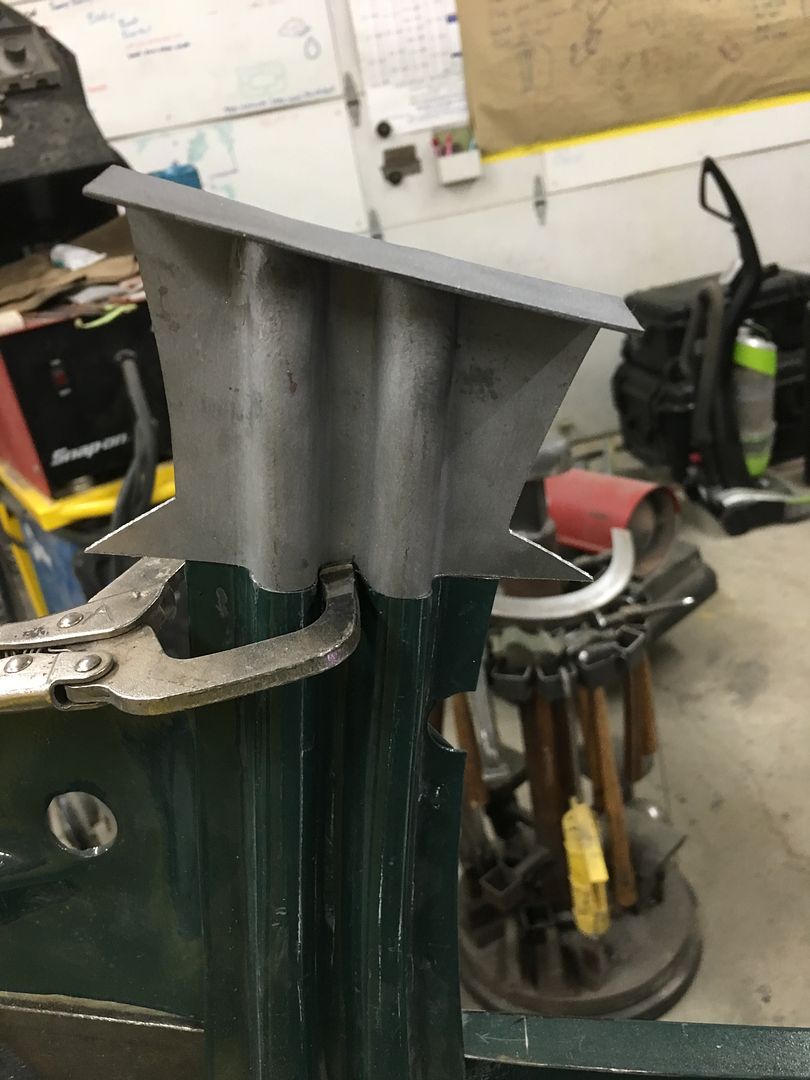
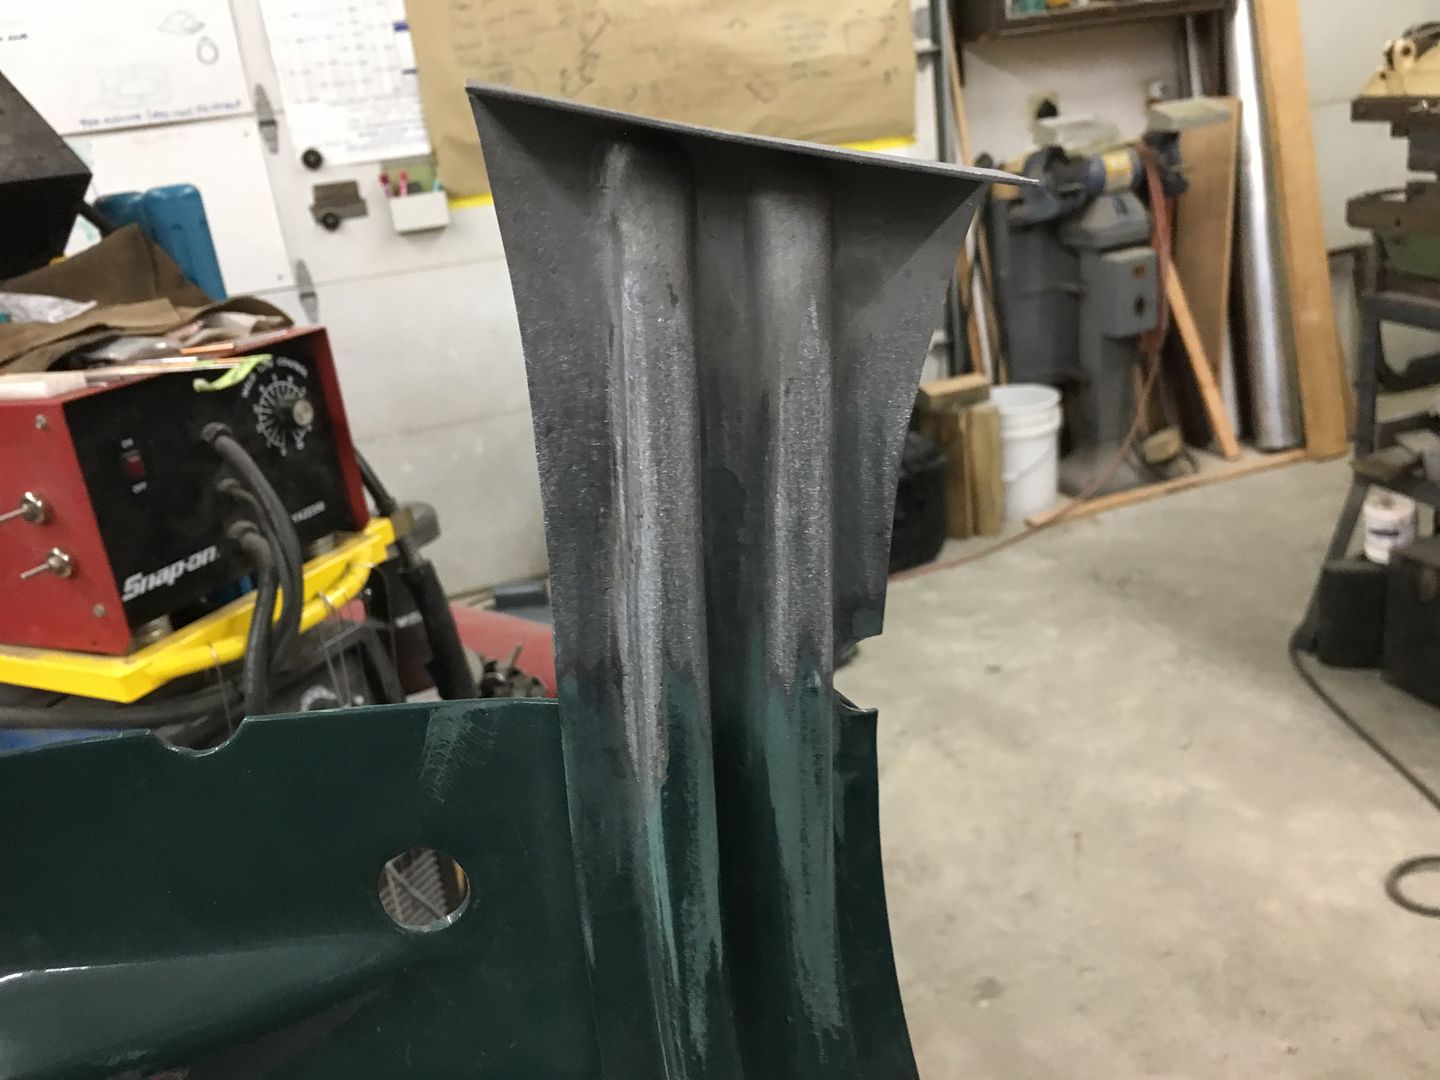
Thought I'd do a progression of pictures to show the carnage we started with on the hood brace to where it was painted this past weekend....
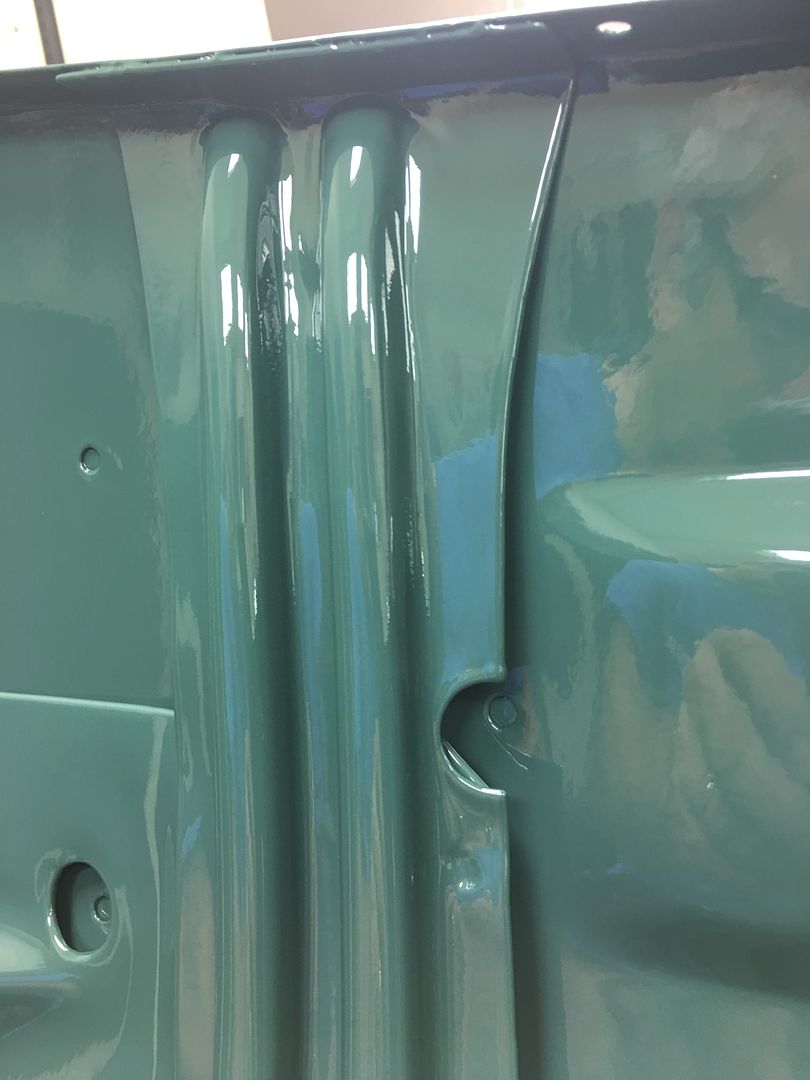
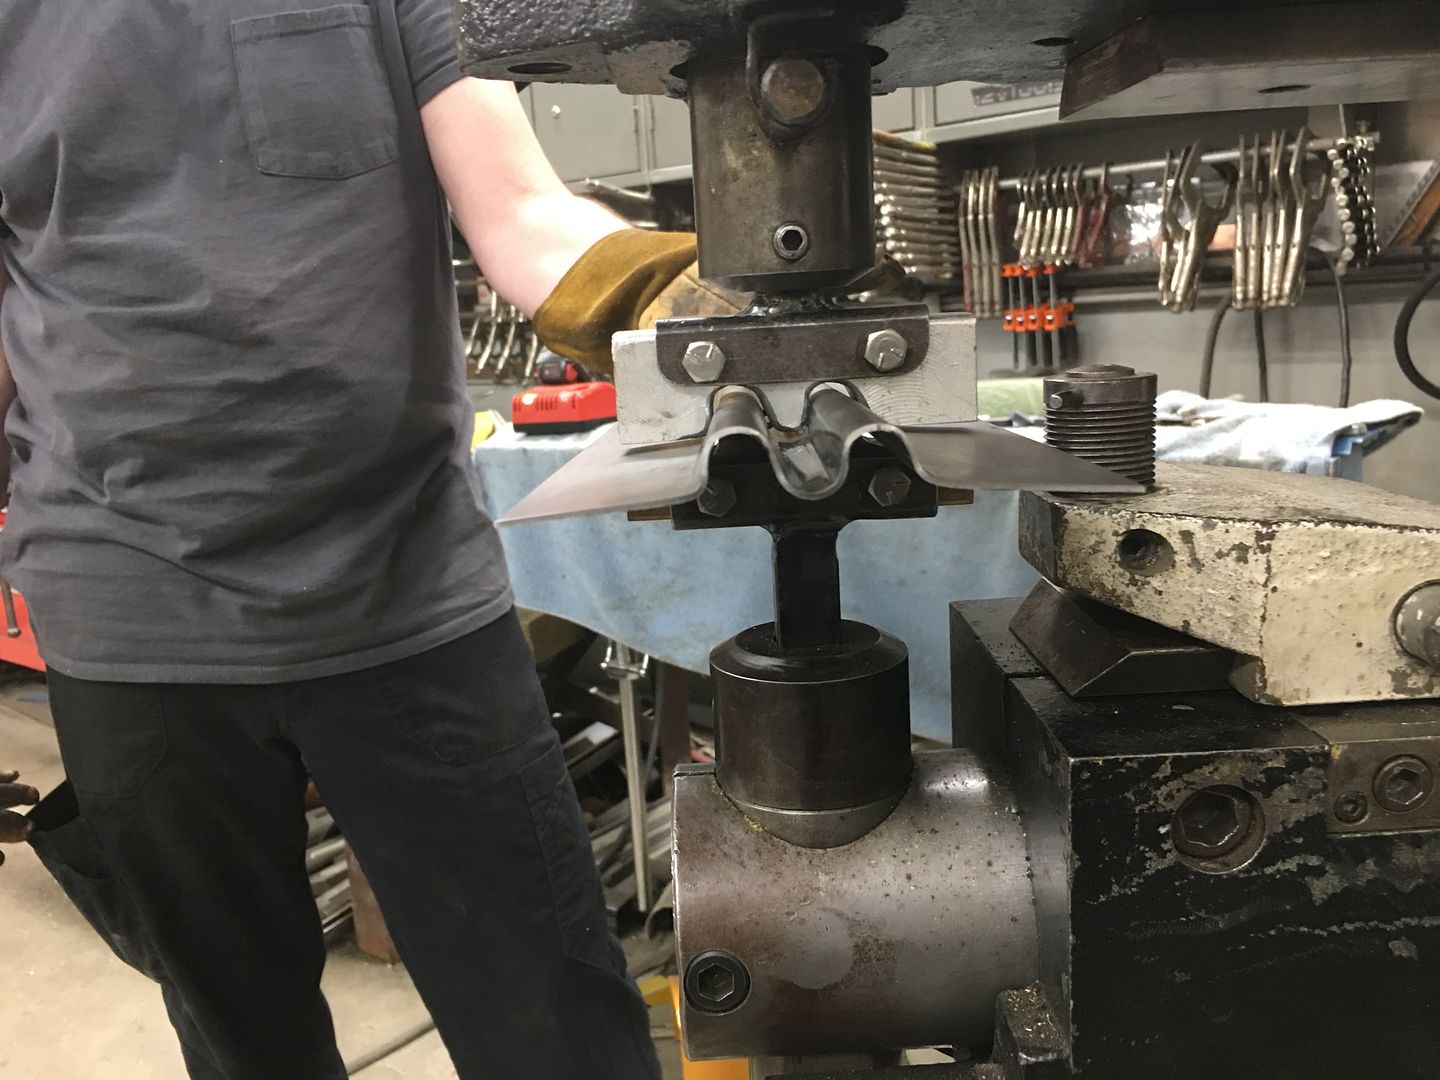
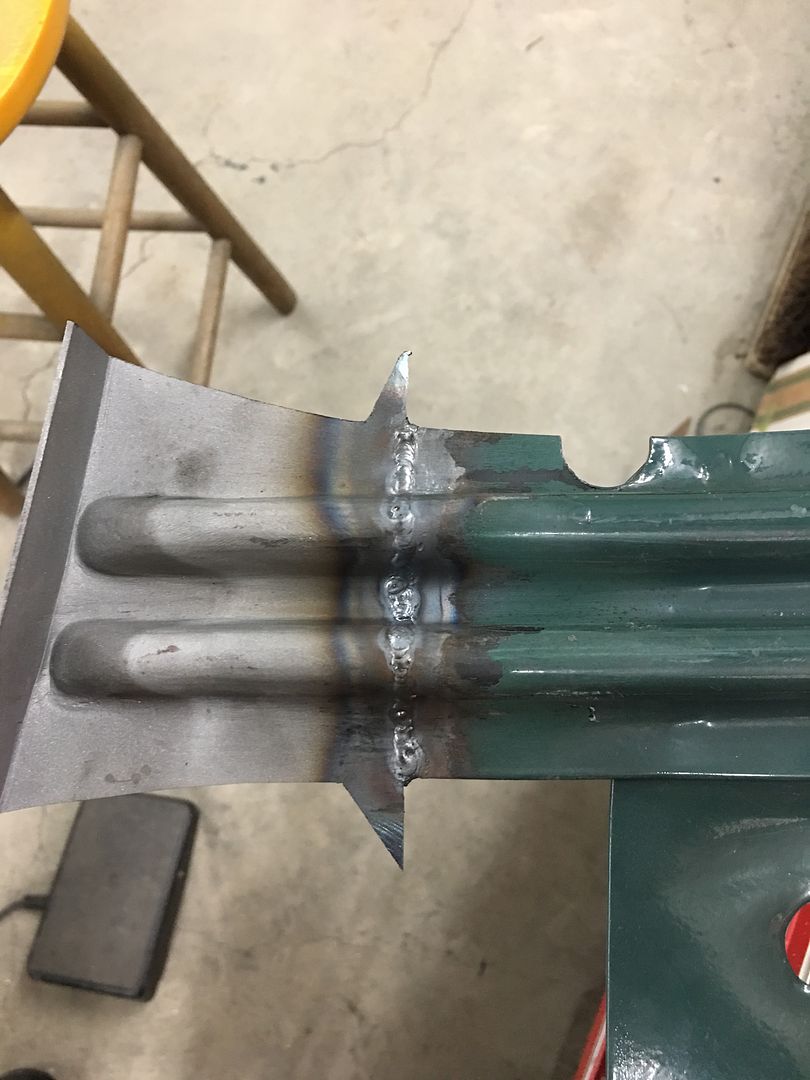
Note the wings left adjacent to the weld to act as heat sinks and prevent the edge from burning back...
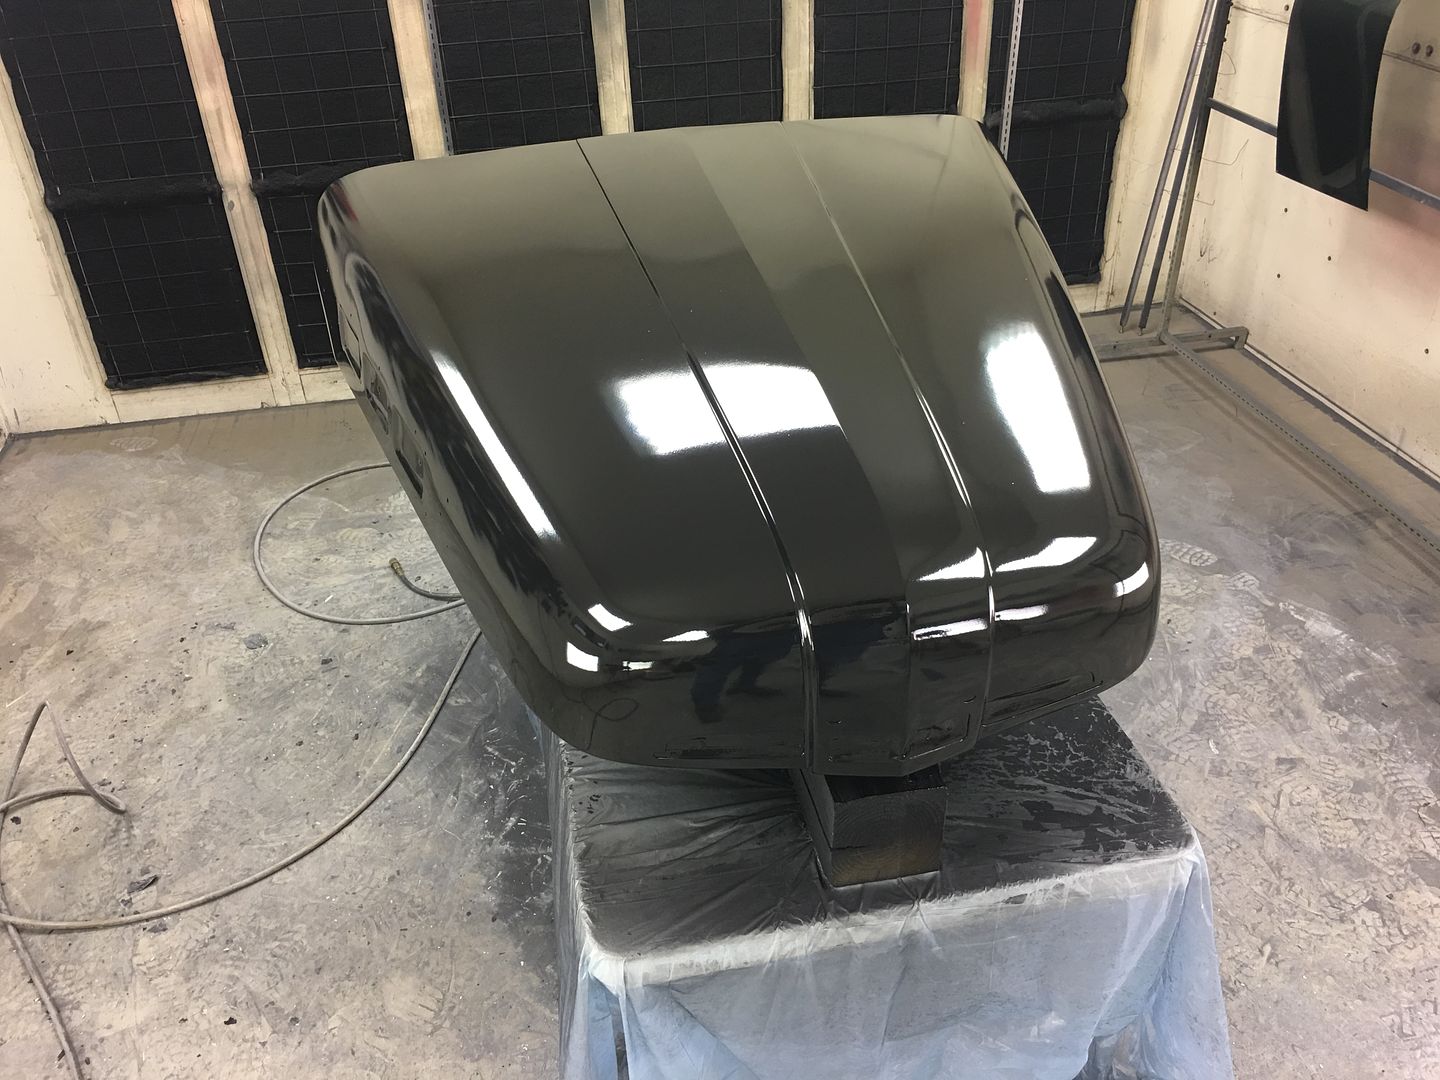
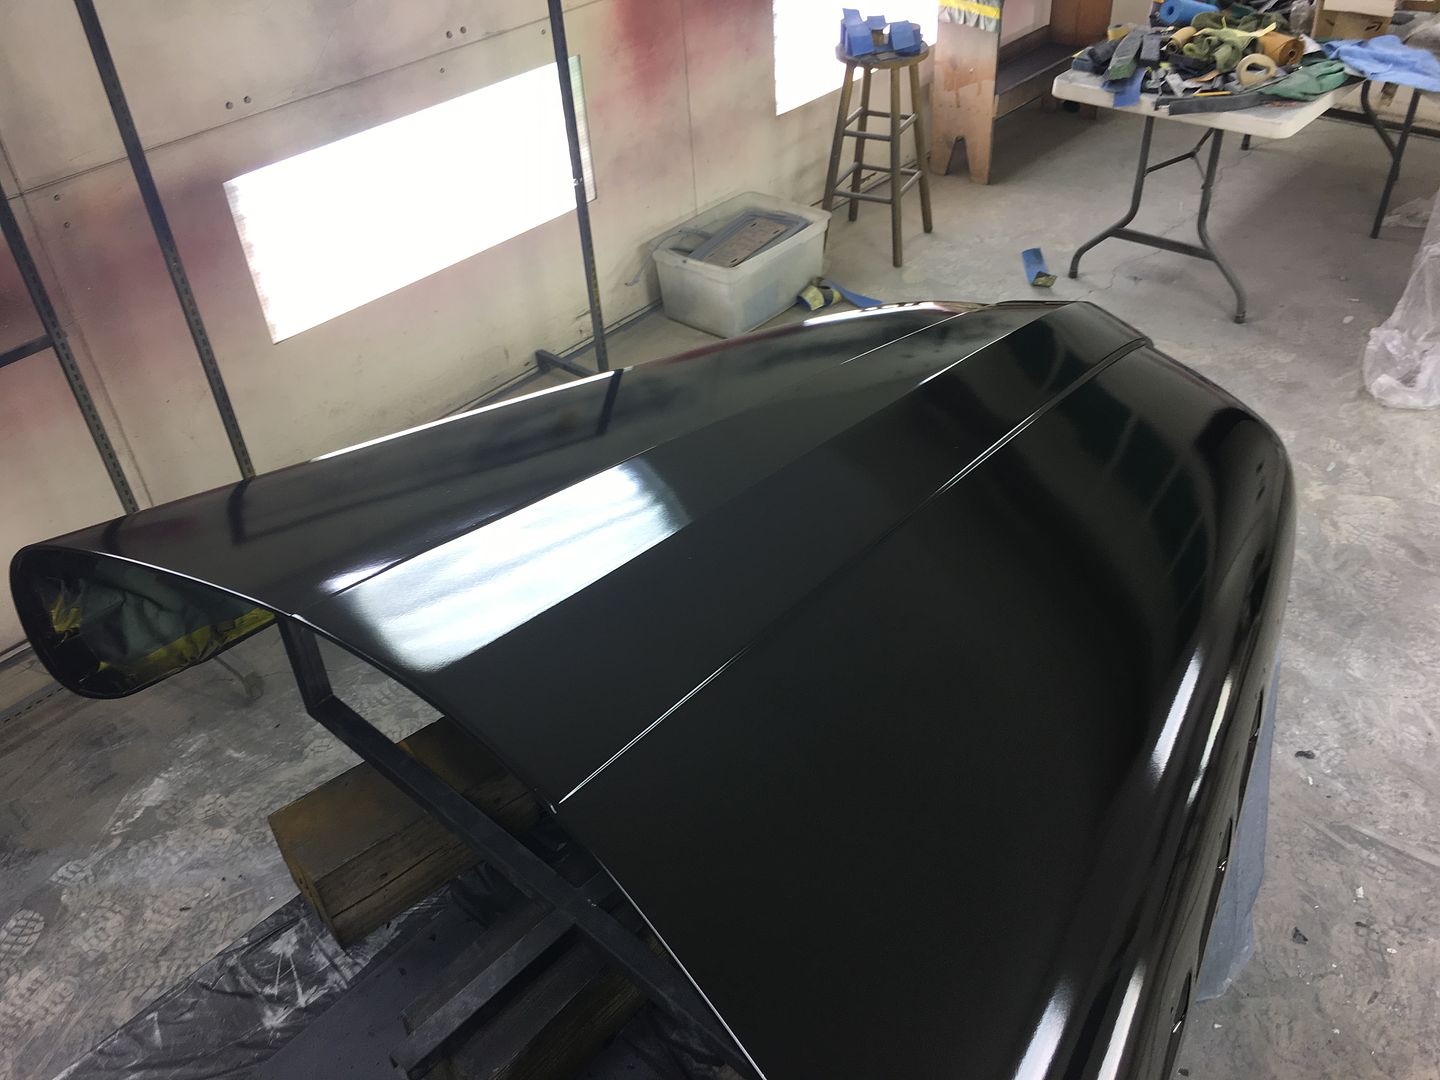
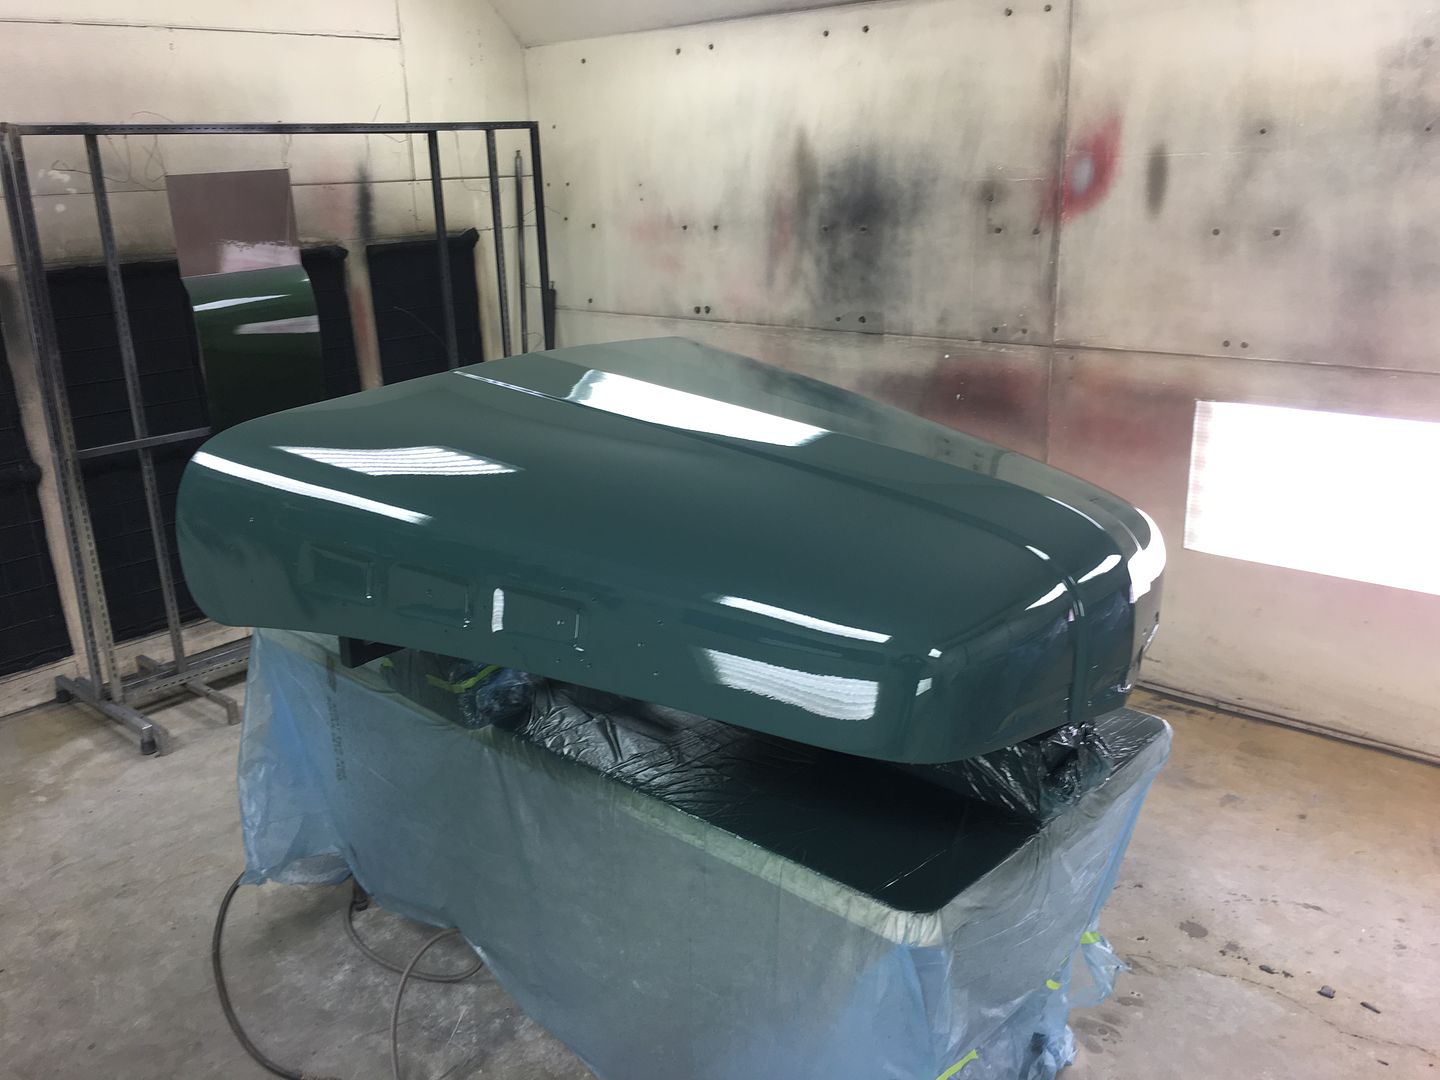
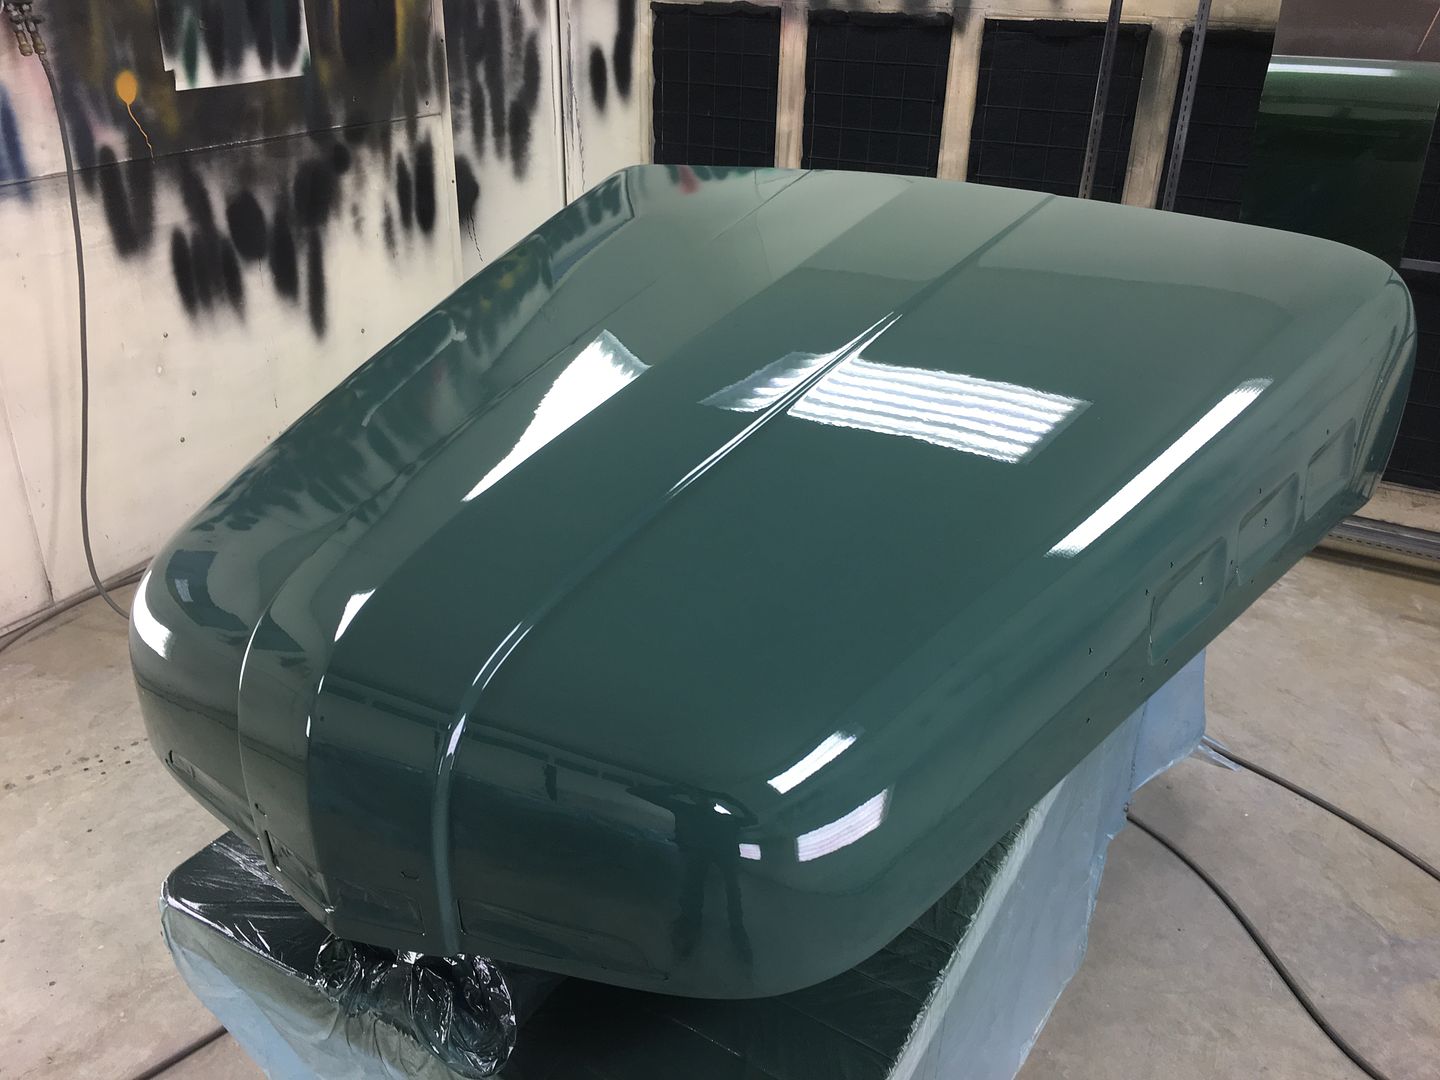
No Body filler, just epoxy primer, basecoat, and clearcoat. Looks almost factory!!
Last edited by MP&C; 09-01-2020 at 09:34 PM.
There may have been fewer weld joints from the factory, but the factory paint/finish was no where near as good as you've left it..
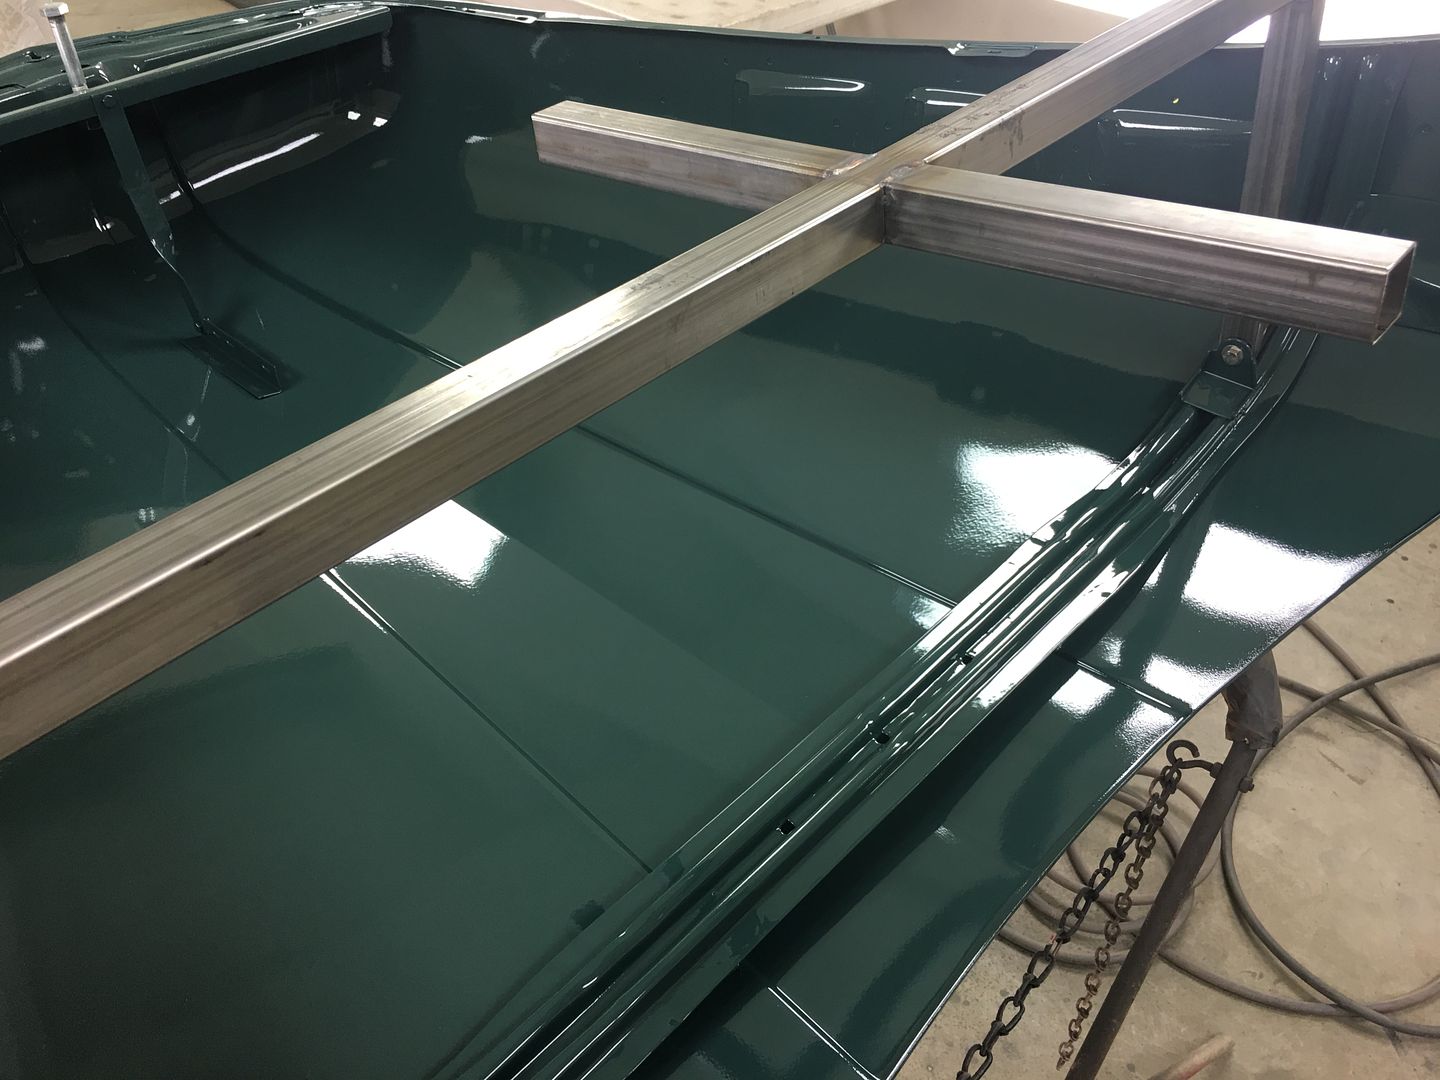
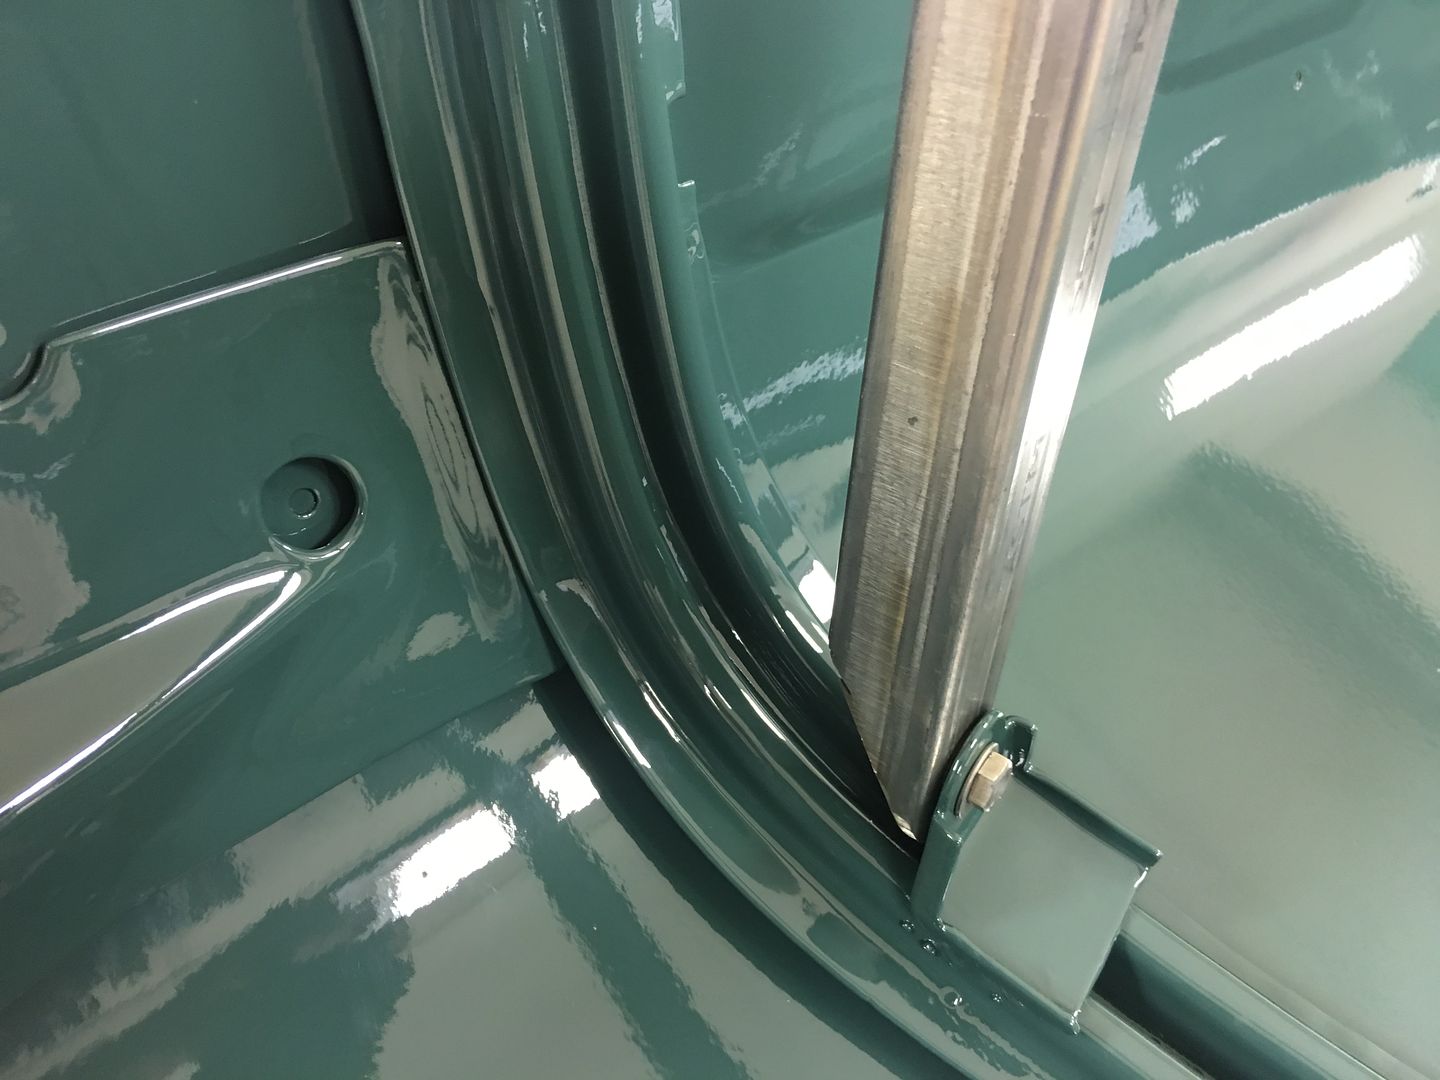
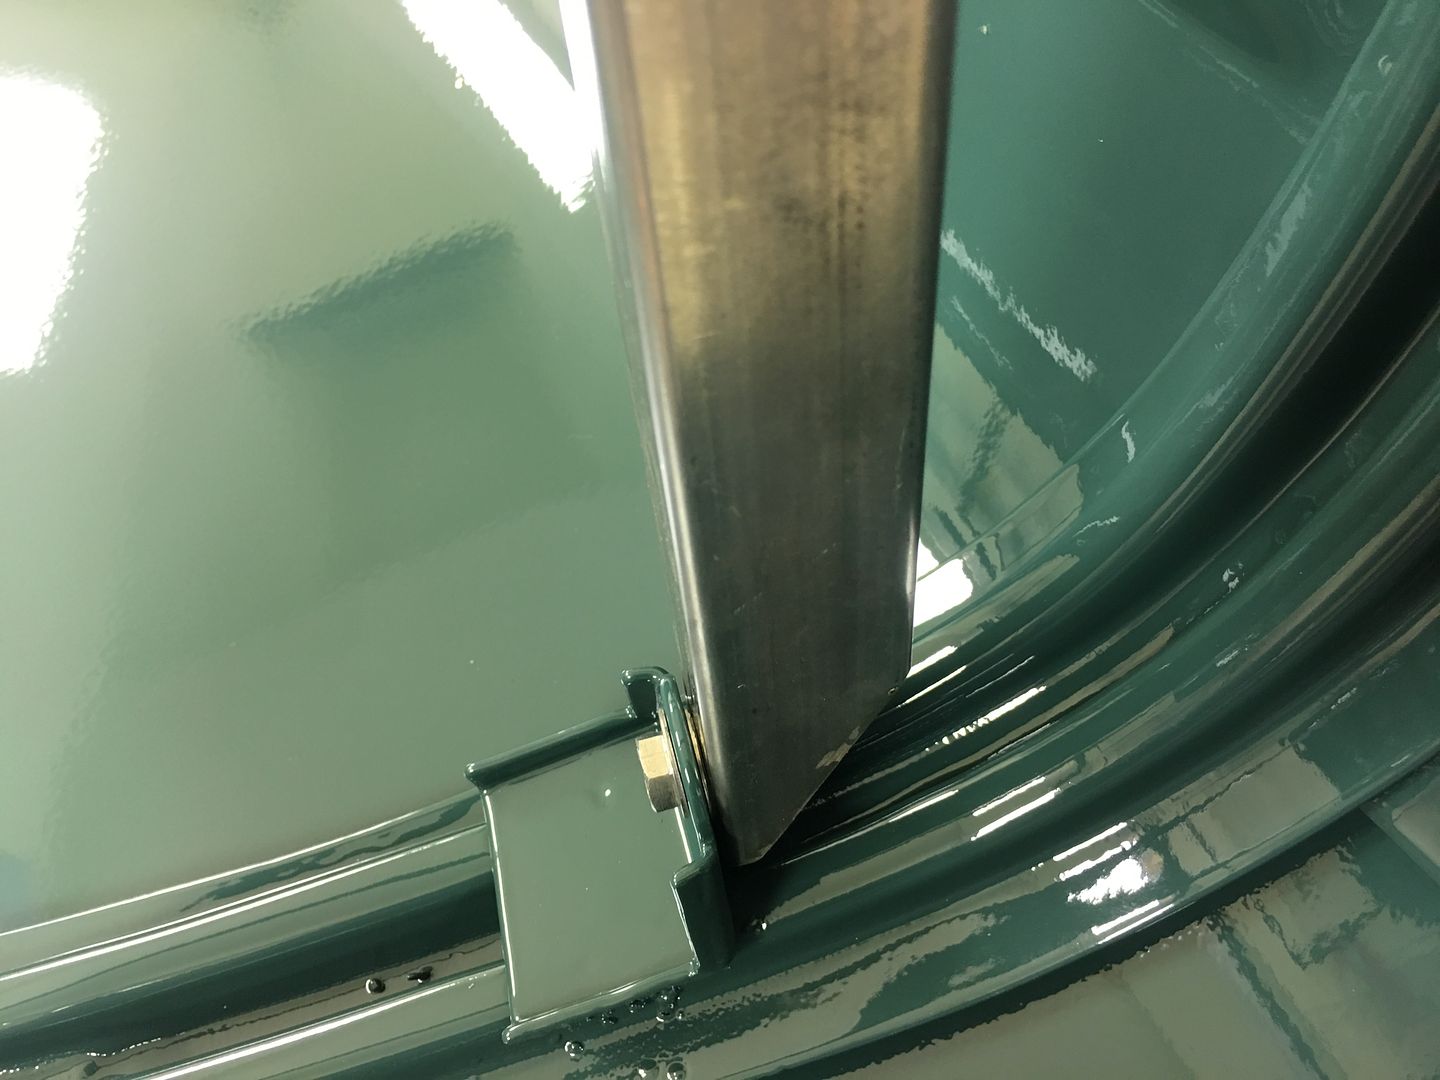
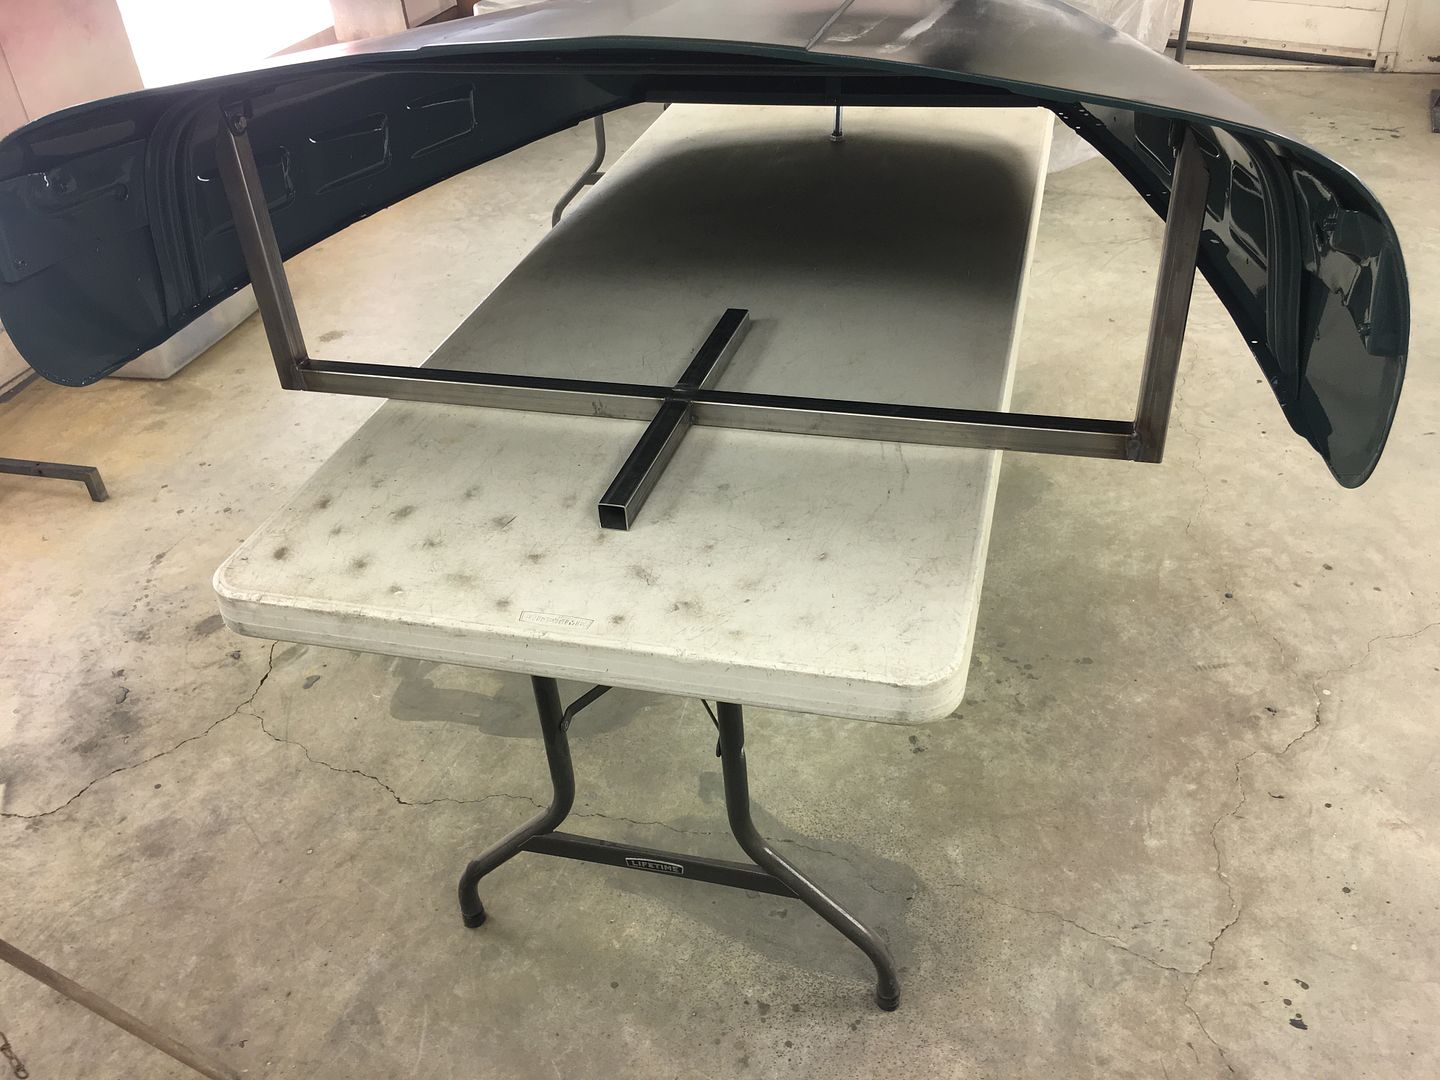
So every time we place the hood on my folding stand, the hood skin deflects upward at those pressure points (corners). Which means that won't work for blocking out the hood. So lets' use the same supports that the hood uses and make a blocking "stand".
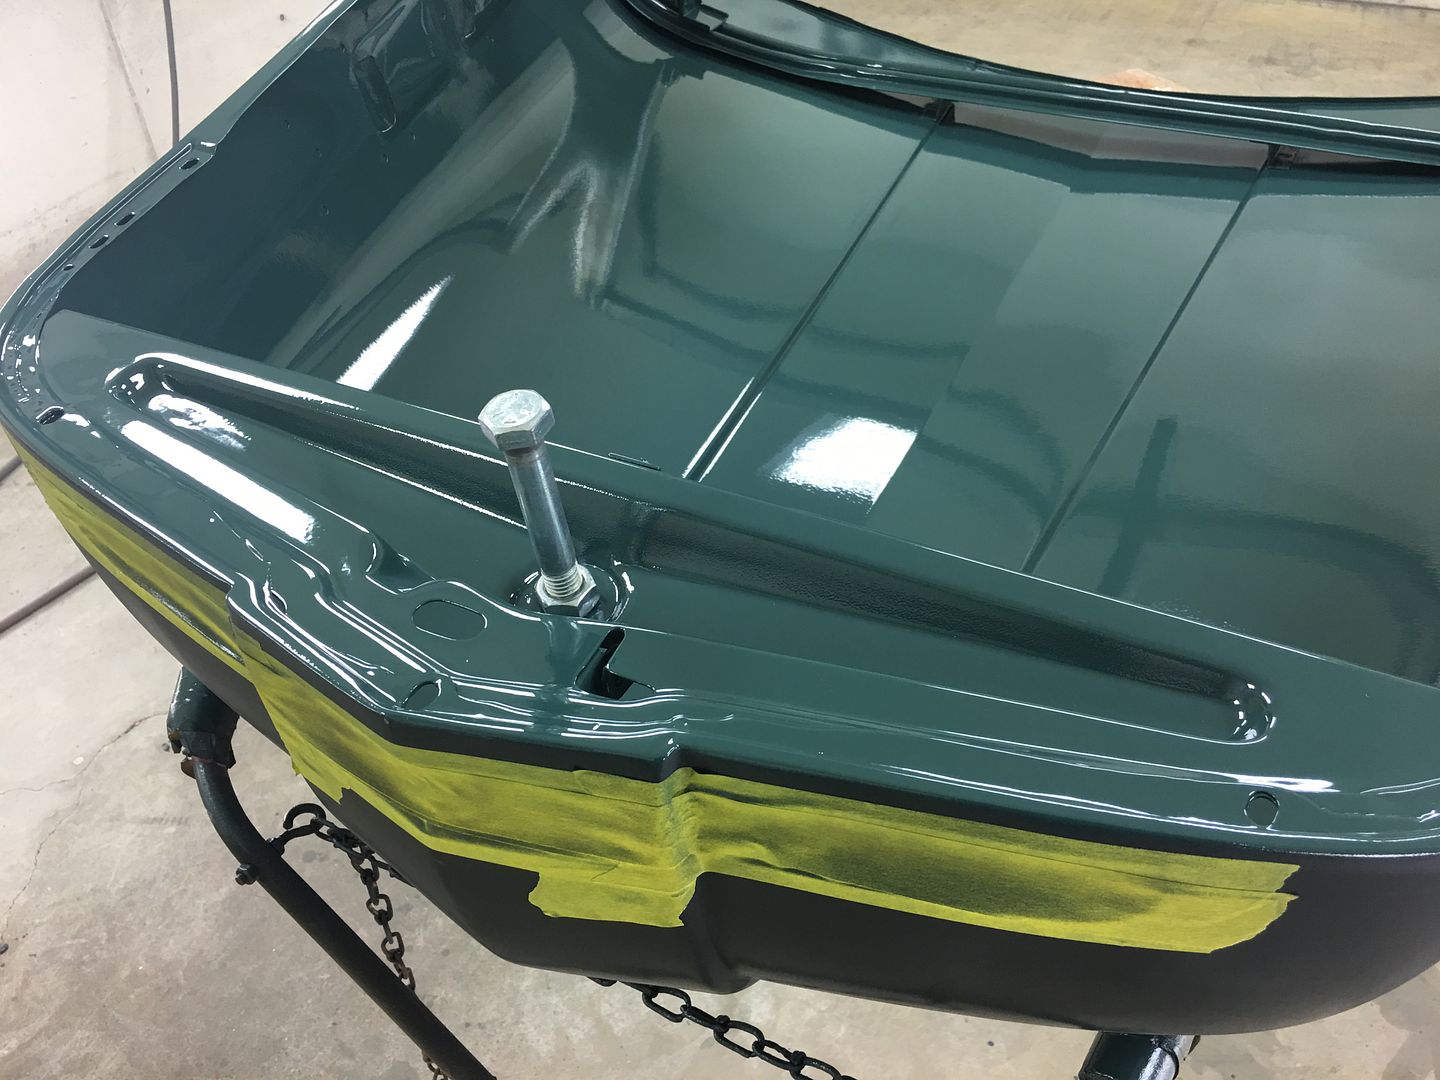
Large 5/8" bolt through the hood latch hole for supporting the nose...
And going through our scrap inventory, here's some tubing we used for the back end, bolted into the hinge support. The extra "feet" help to stabilize it so the sanding effort won't try and flop it over...
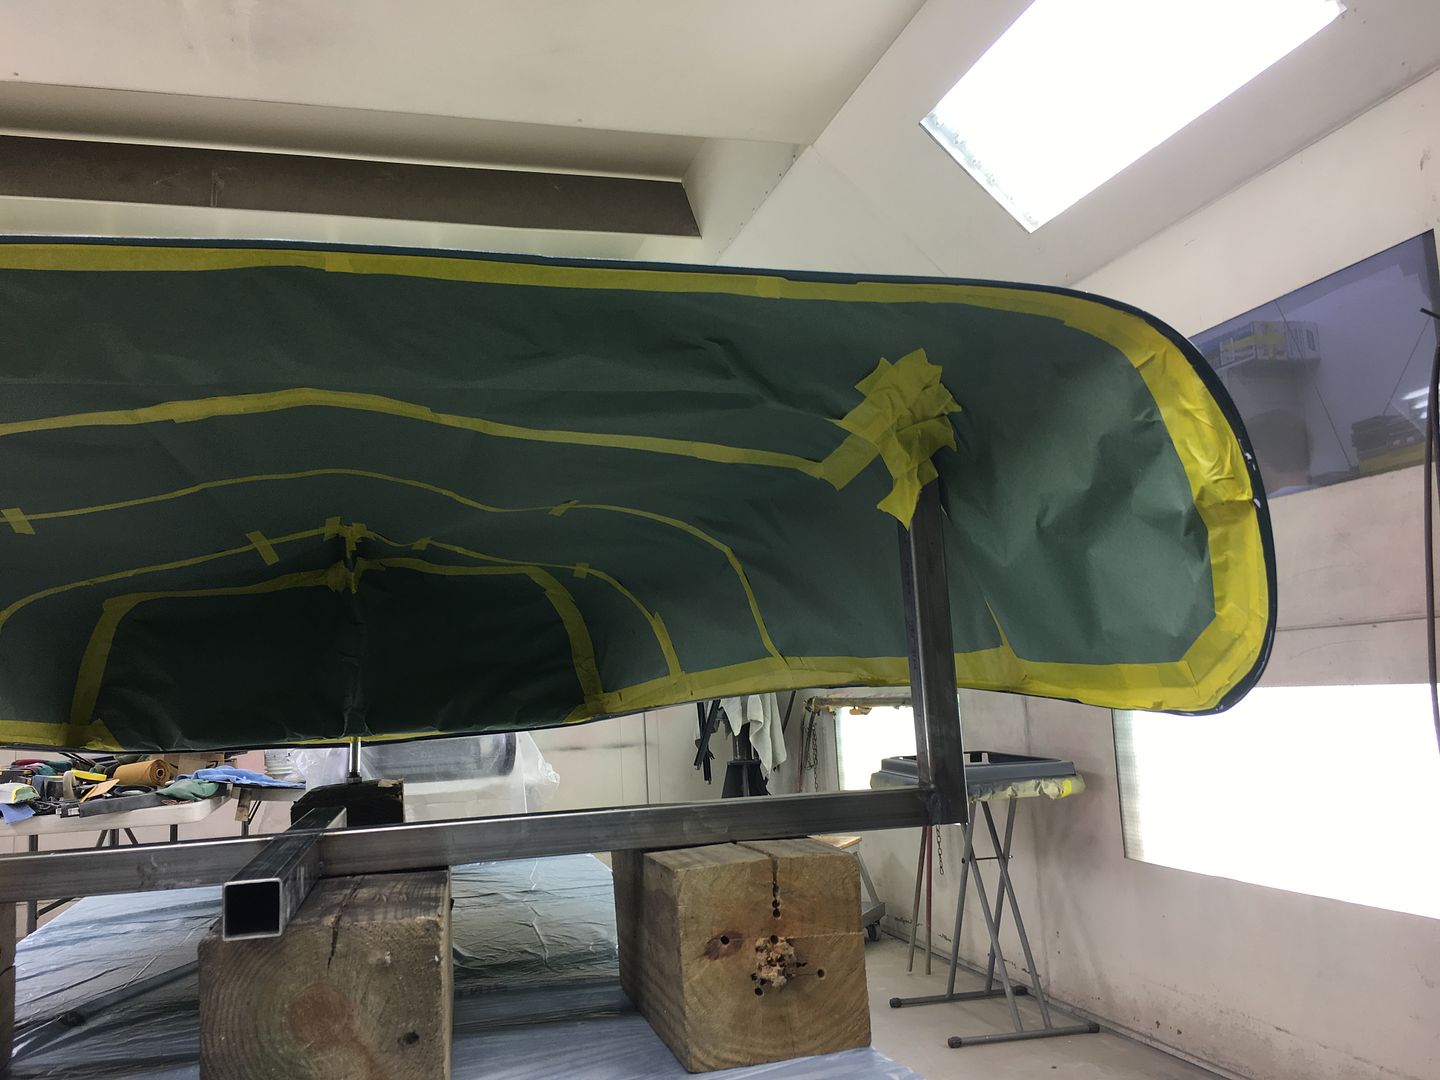
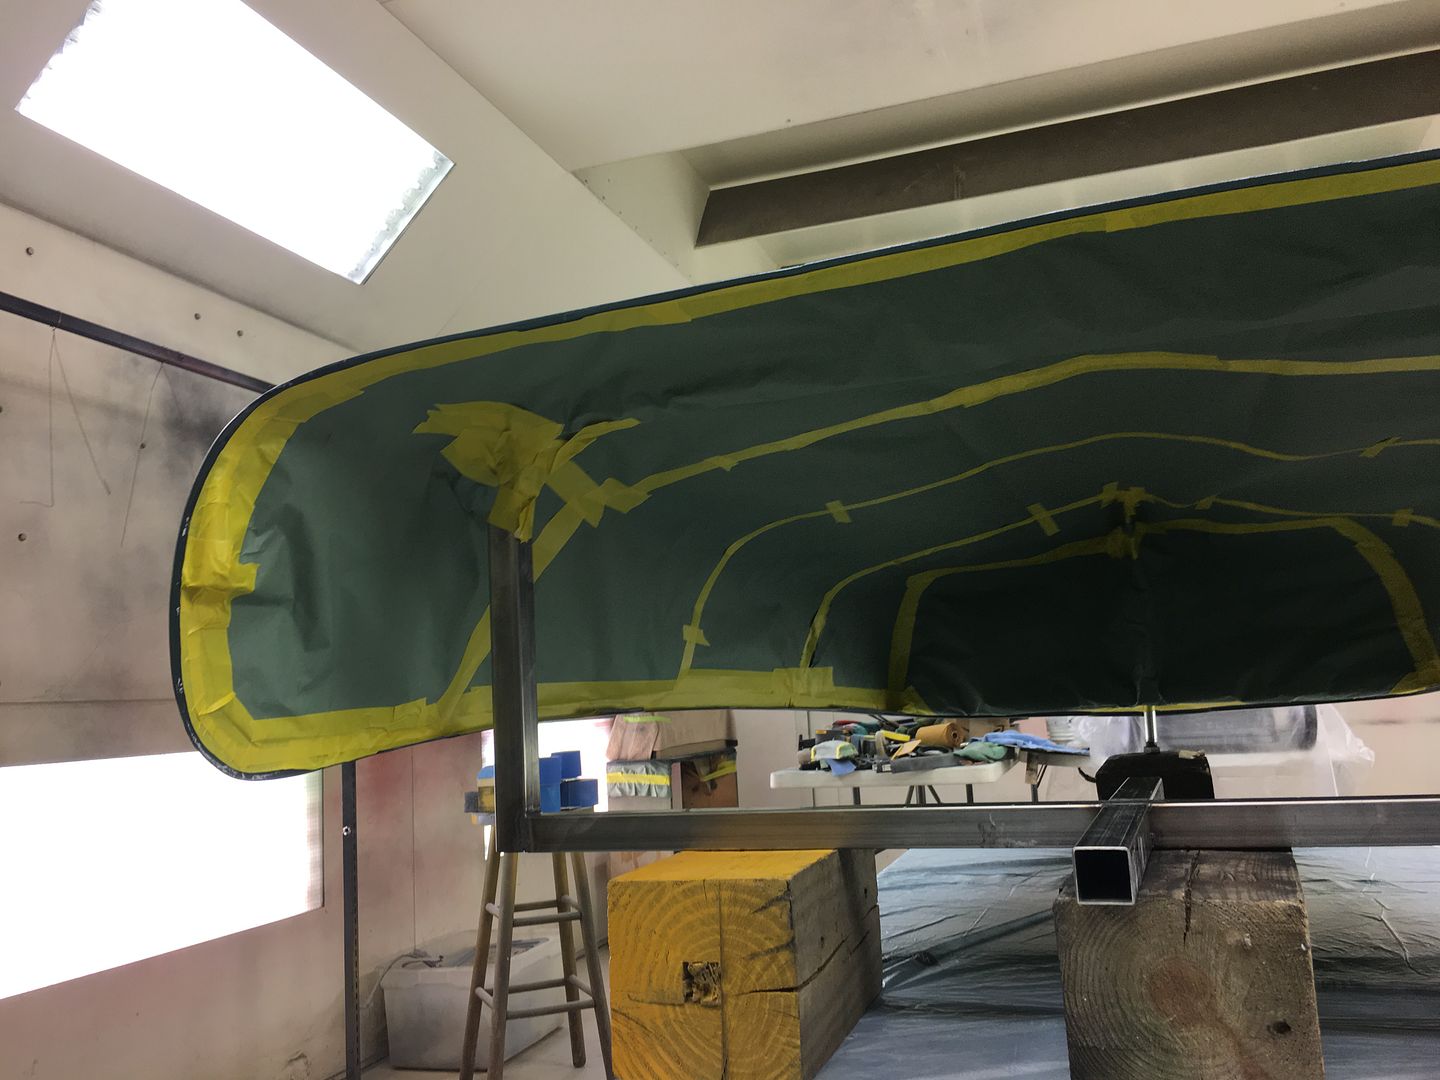
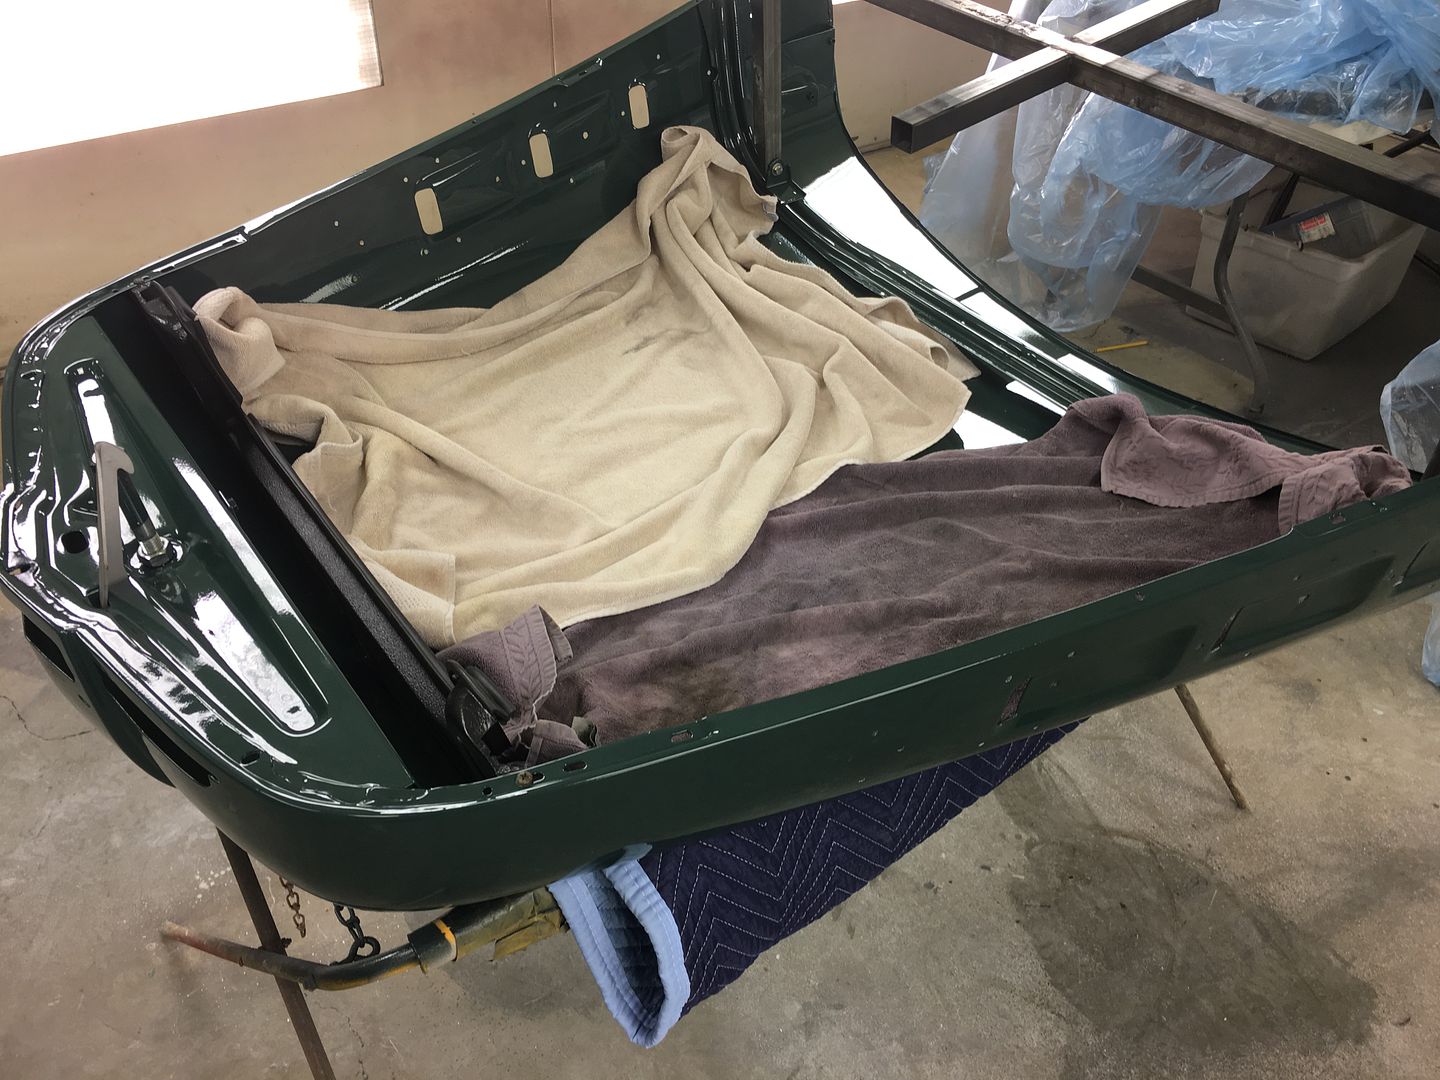
With that done, all our open holes are taped over and the entire bottom side masked off to protect the inside finish..
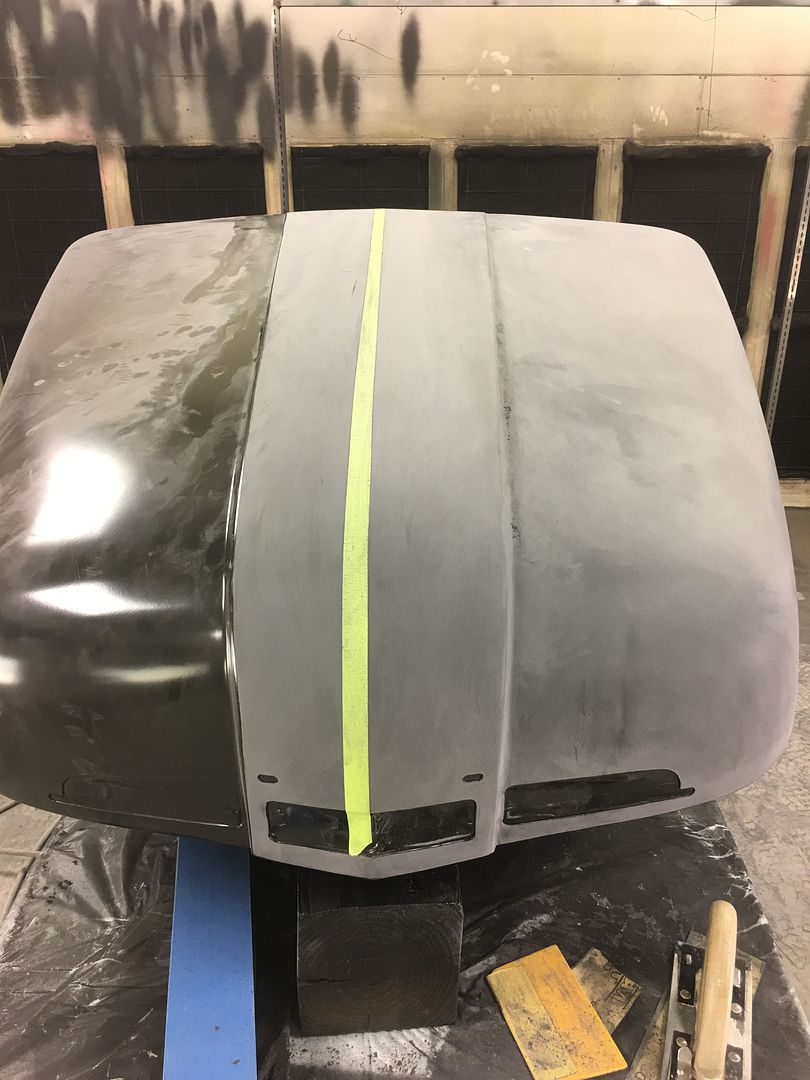
A bit of Evercoat 416 to address some lows, and 3 coats of SPI epoxy for the next round of blocking on the outside.
Blocking...
Some booth clean up and fresh masking on the table, hood pre-cleaned and tacked.....
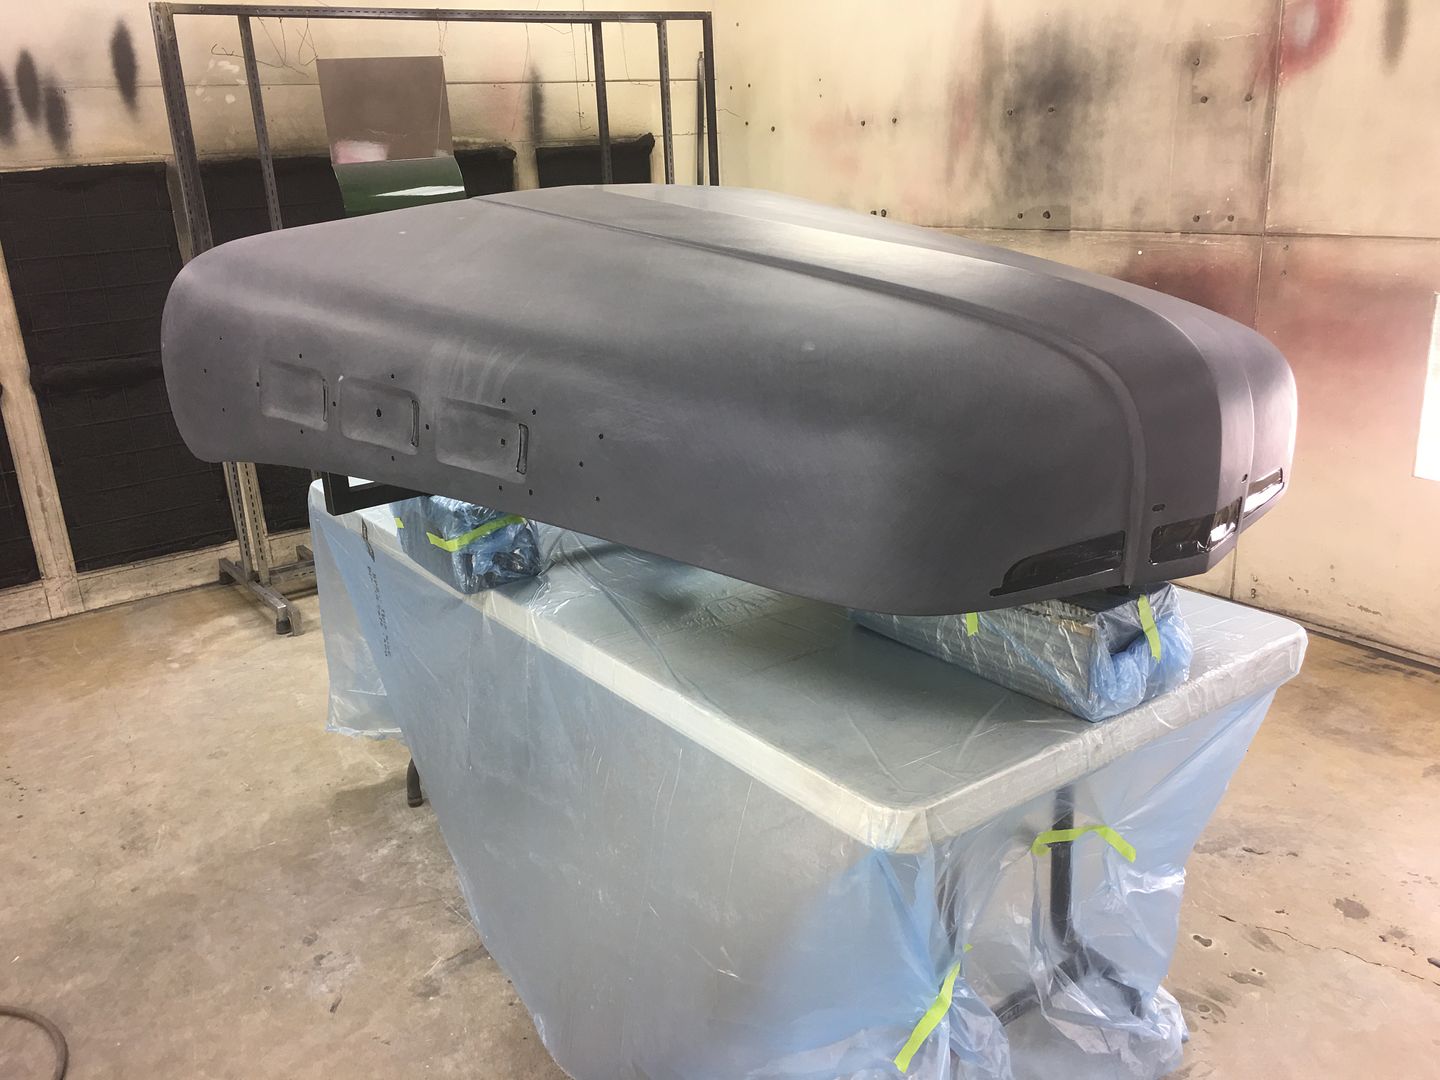
Sealed with SPI Epoxy thinned about 10%
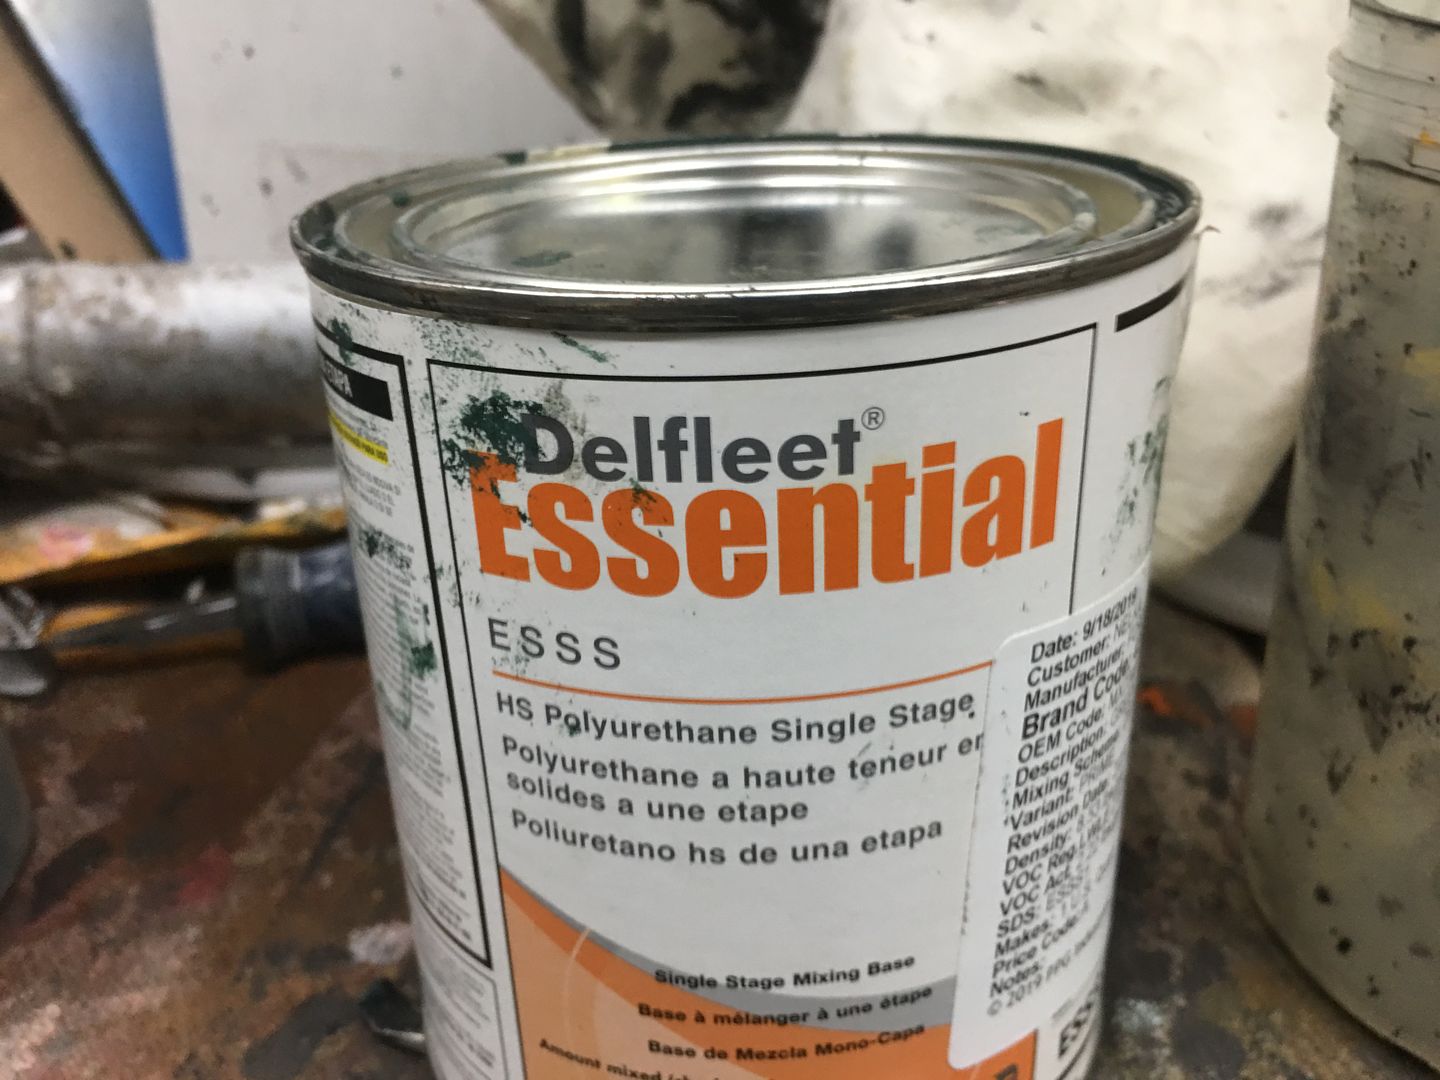
Fleet paint that was used originally on the truck, supplied by owner. Orange peel in a can..
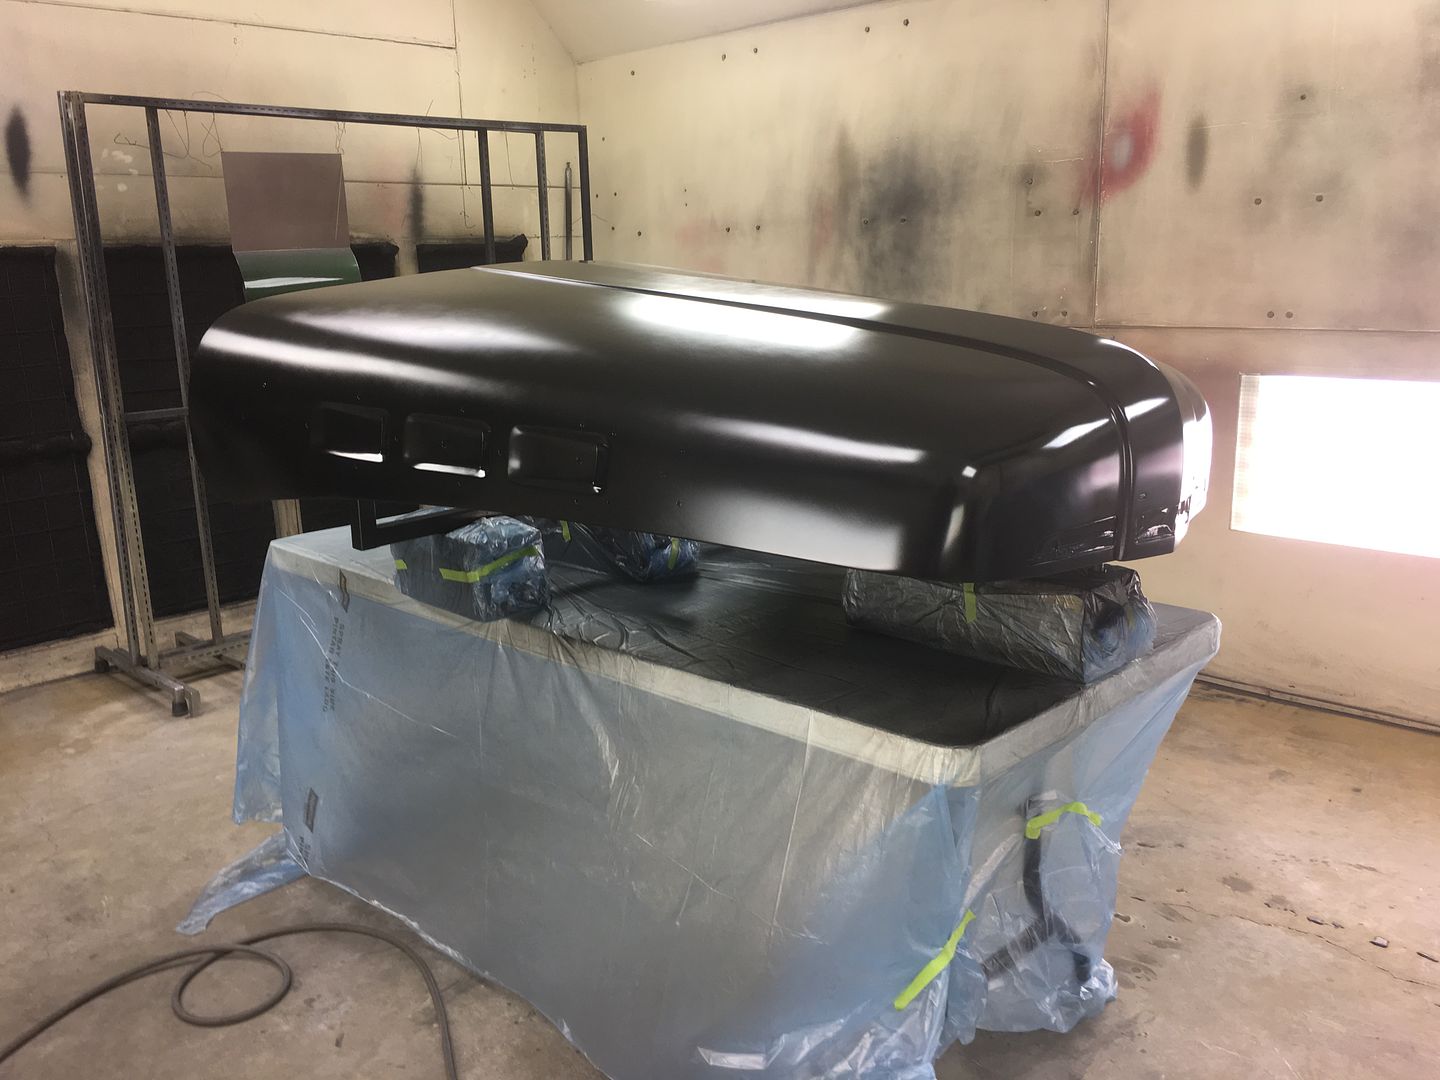
2 coats of color, 2 coats of SPI Universal Clear...

Being nothing more then a backyard hacker myself, and despite my sometimes failing efforts to be better, I really really enjoy watching a real craftsman at his craft. Thanks for taking to the time to post!
Thanks for checking out our progress!!
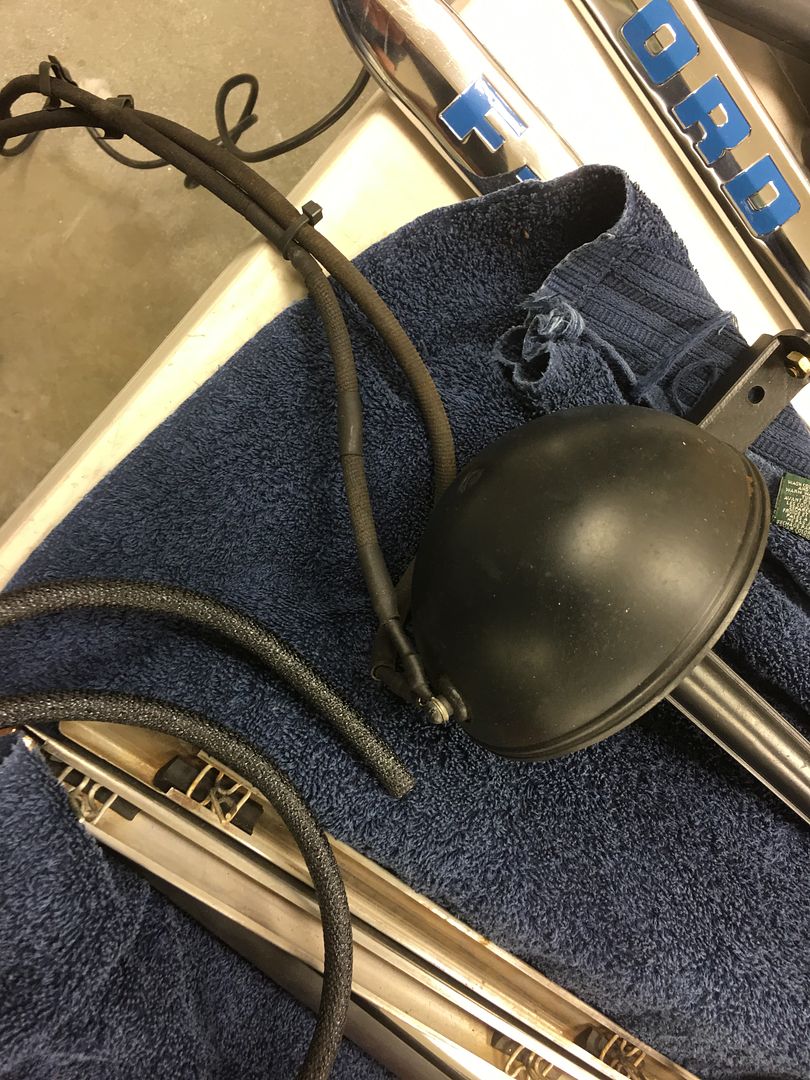
This past Friday night we cut and buffed the F7 hood to get rid of some dust nibs, and Saturday morning Jared and I started to reassemble the hood. The horn wiring had some dry and cracking insulation sleeving, so it was replaced as well.
John stopped by mid morning and we got all the parts put back together and adjusted. Looks much better with the hood back on, John has been driving without one for a couple months.
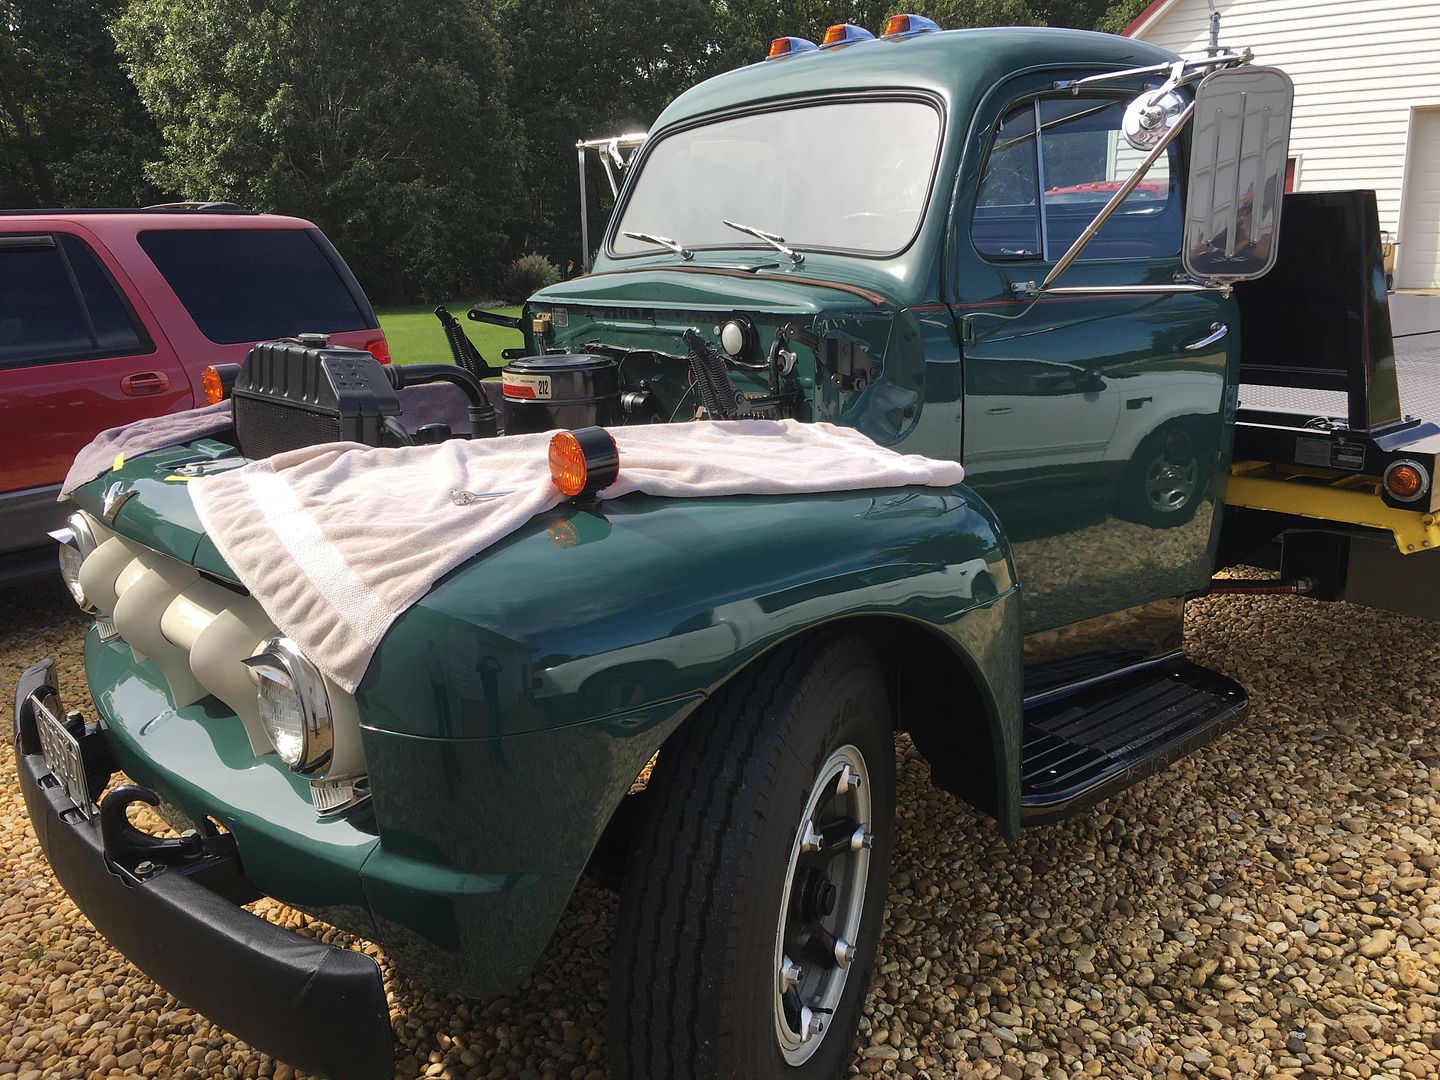
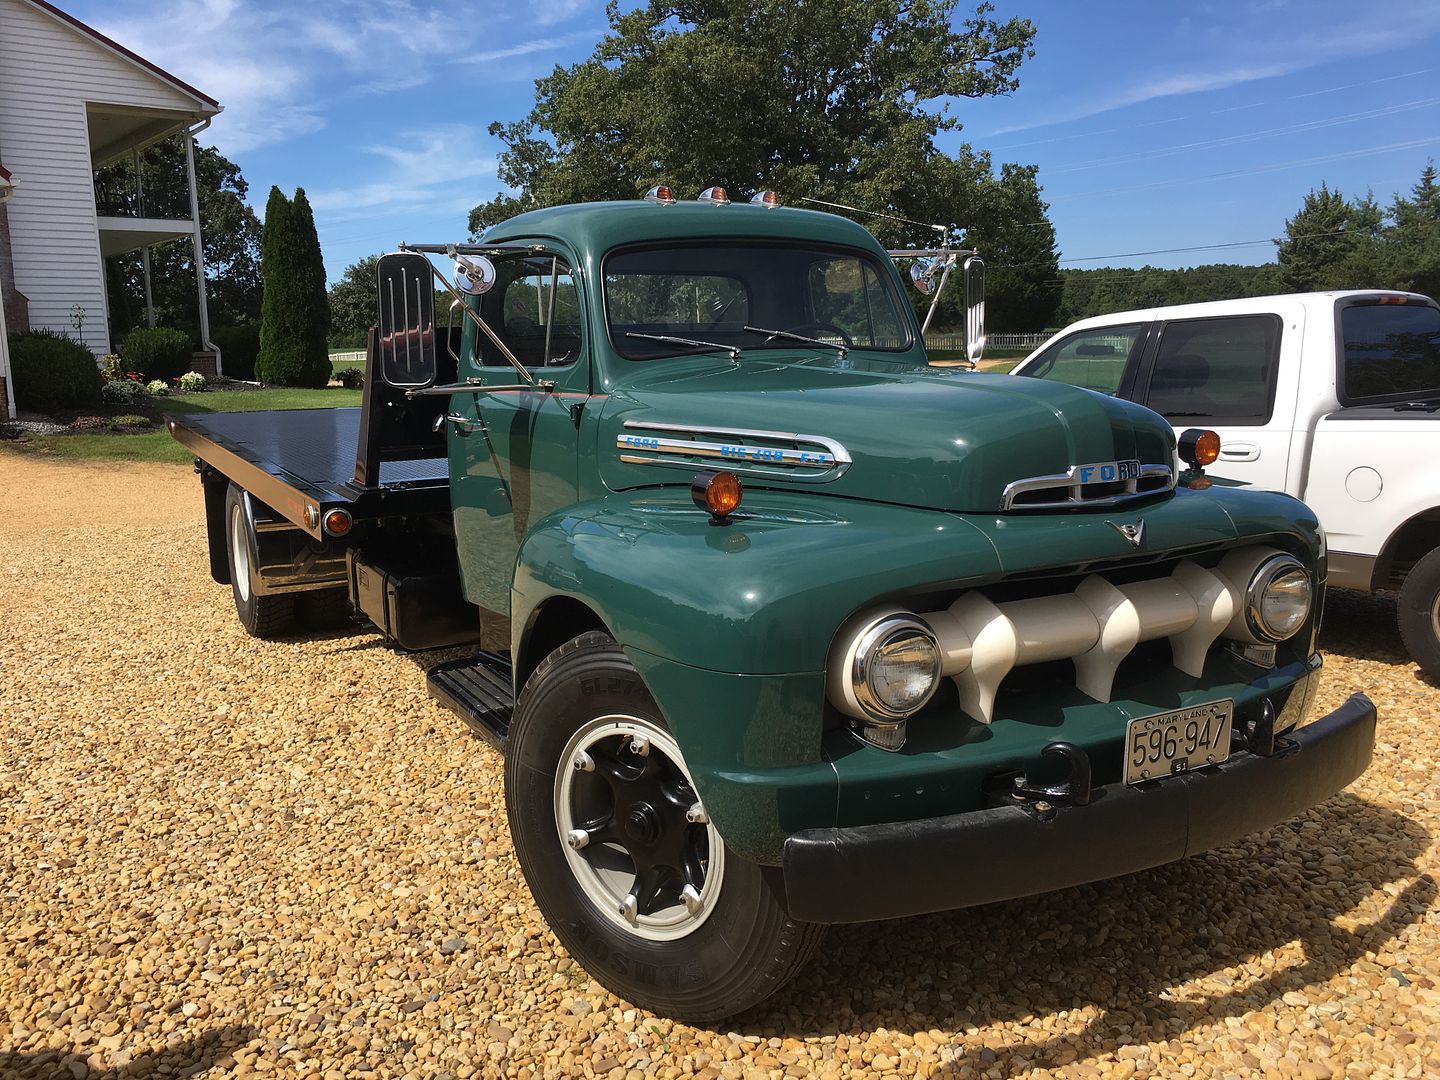
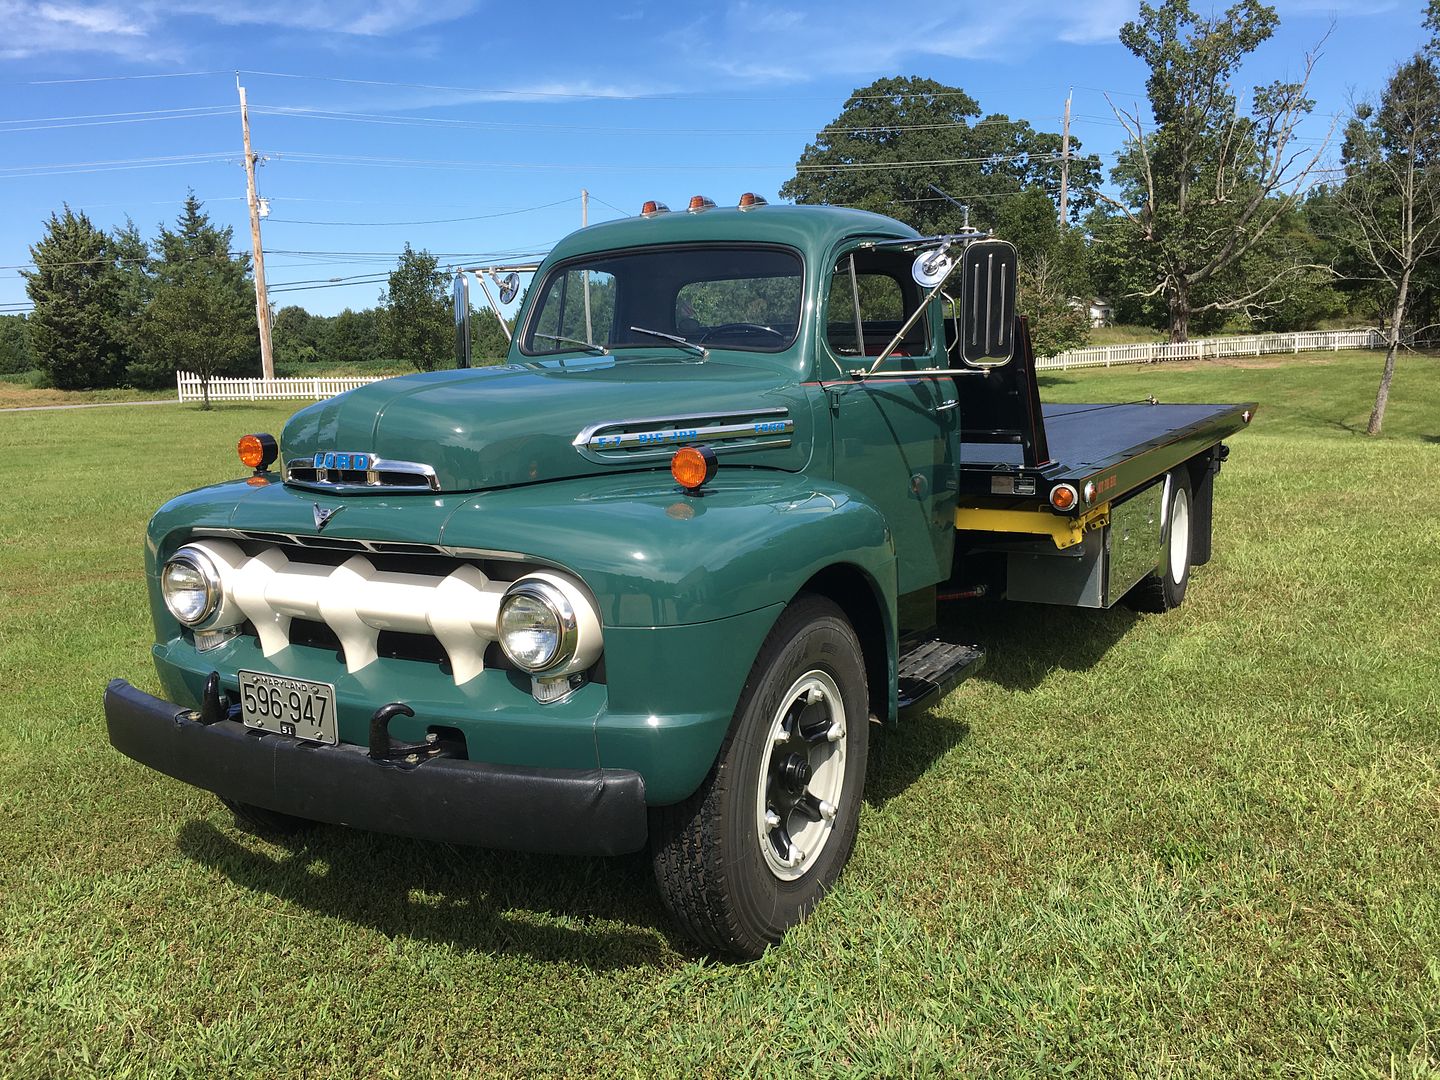
All ready for the Tri-state Antique Truck Show this week in Clear Brook VA..

Robert,
As usual, that is outstanding work and results! Observers will have no clue of the painstaking and inventive work you do. I am sure I also don't really have a clue, even though I have seen the pics you post. Thanks for sharing your great work!
Thanks! Doug
Thanks Doug!!

Nice work Robert. Thank you for diligently documenting your work. Most of us are learning the tricks of the metal working trade from you!
1957 Nomad- LS1/T56 on C4 chassis
1959 Fleetside Apache 1/2 ton, shortbed, big window, 327ci.
Thanks, hope the "lessons" help out!!
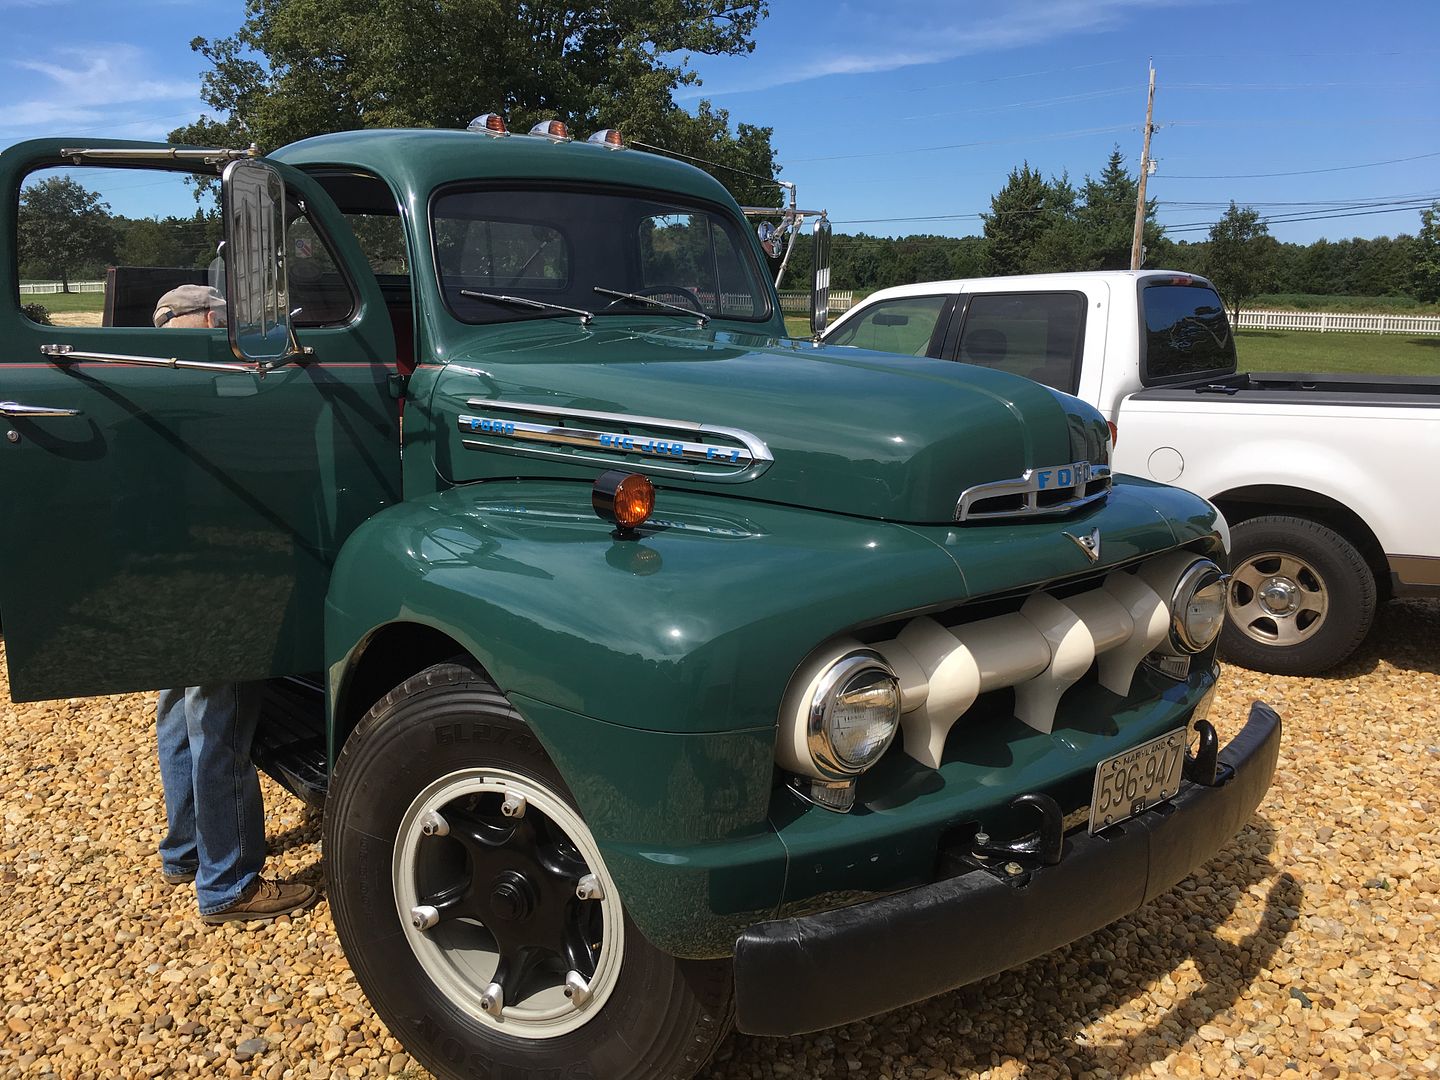
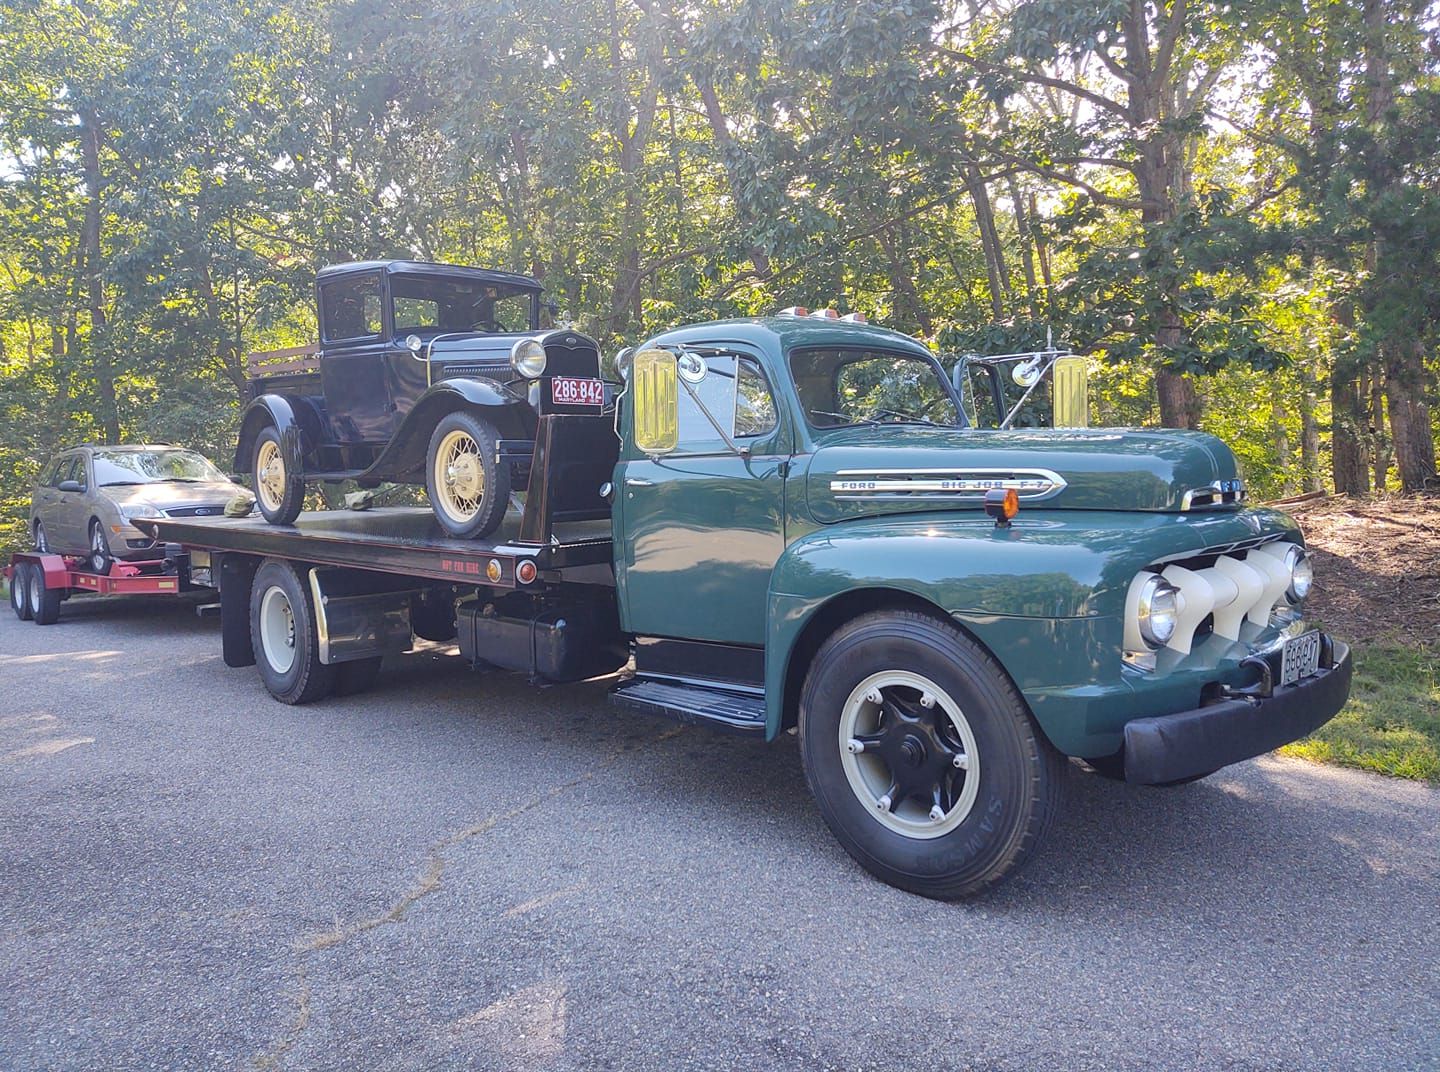
John got the truck loaded up today, ready for departing tomorrow for the show at the Frederick County Fairgrounds in Clear Brook, VA. I may have to take a ride on Friday and check out the show..
 Posting Permissions

 Reply With Quote
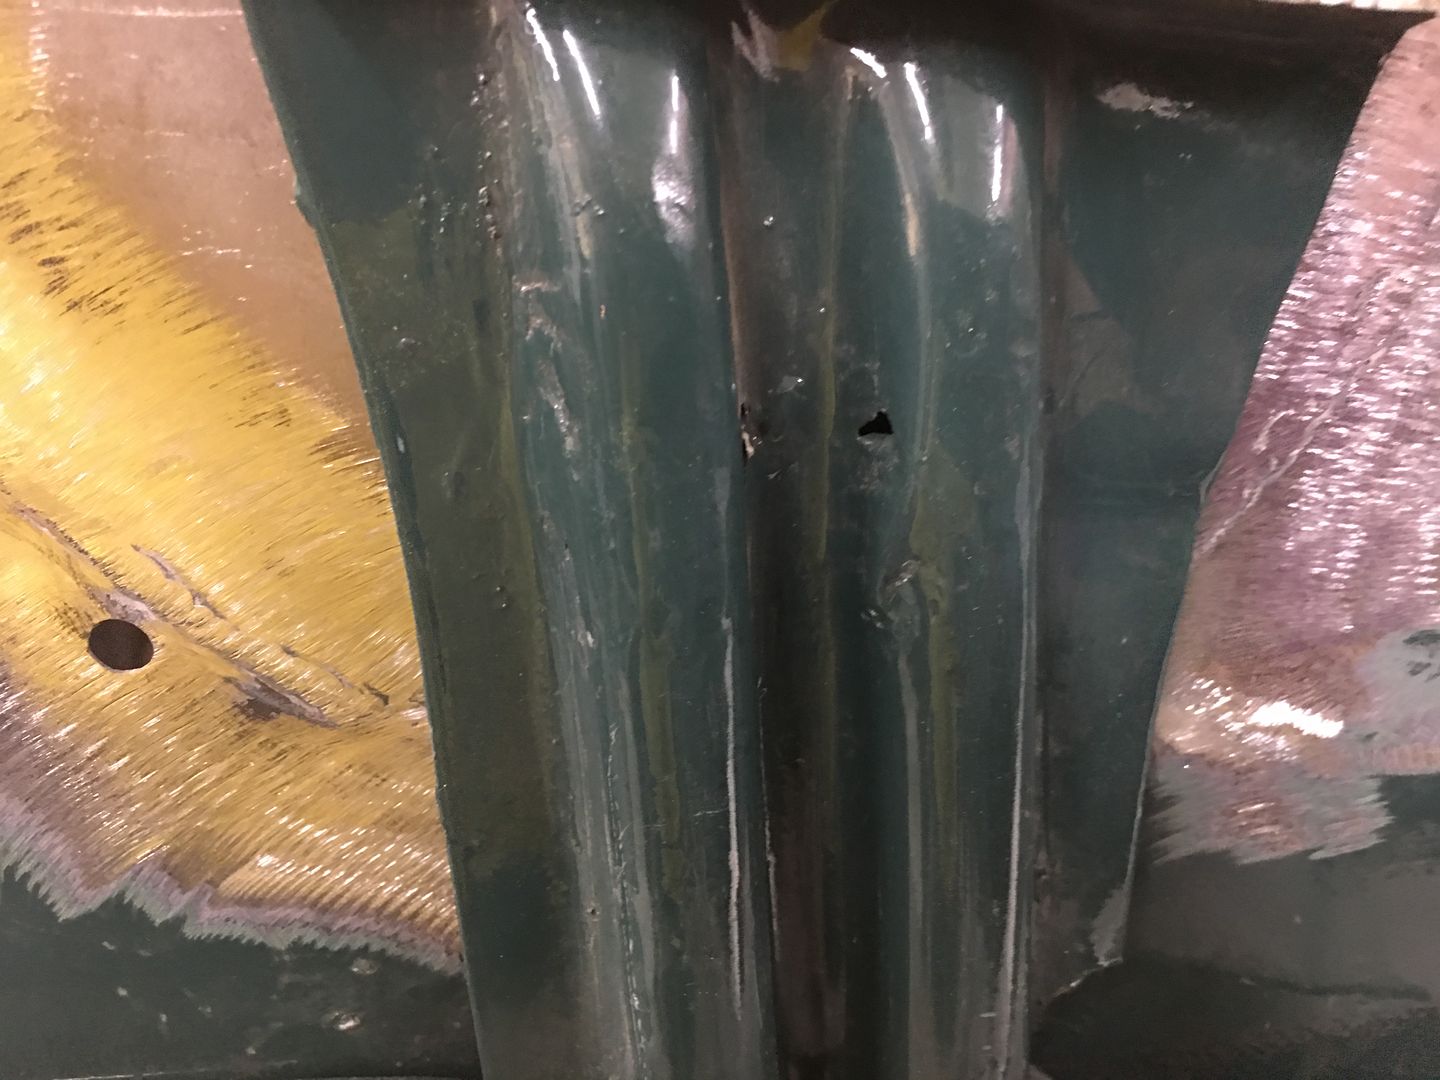
.JPG)